Tag Archives: stamping

STAMPlorations 13th birthday celebration – Day 1

Hello and welcome to the STAMPlorations 13th birthday celebration week!! Let´s get the party started with DAY 1!!
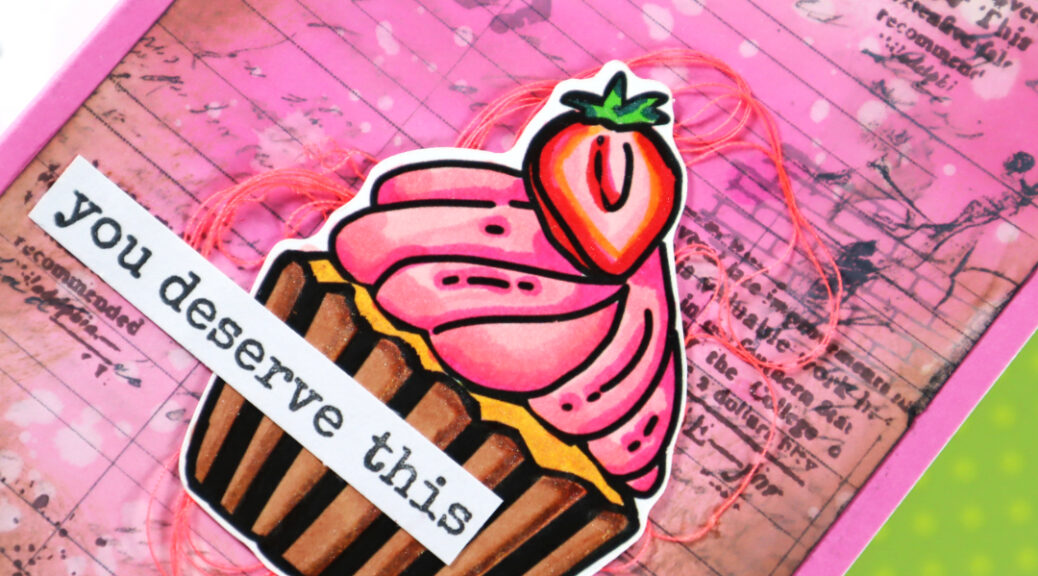
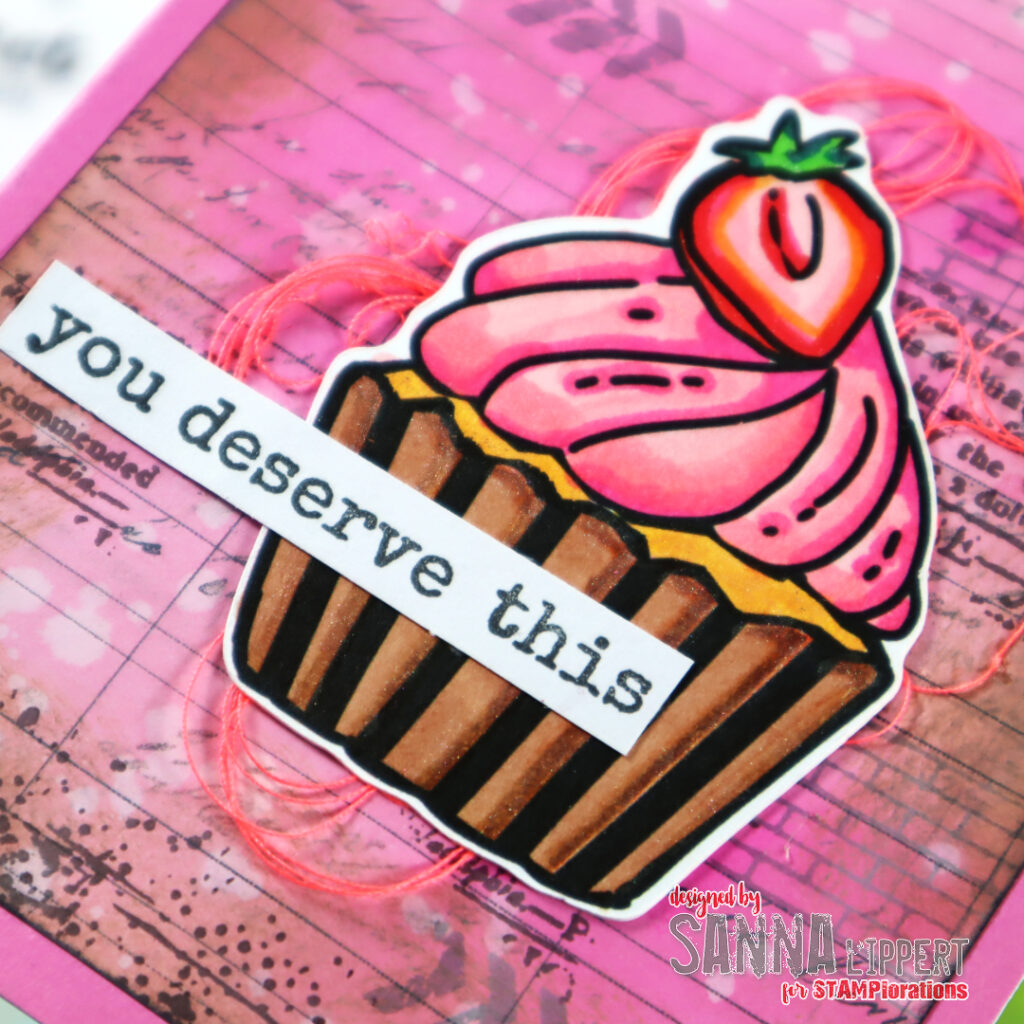
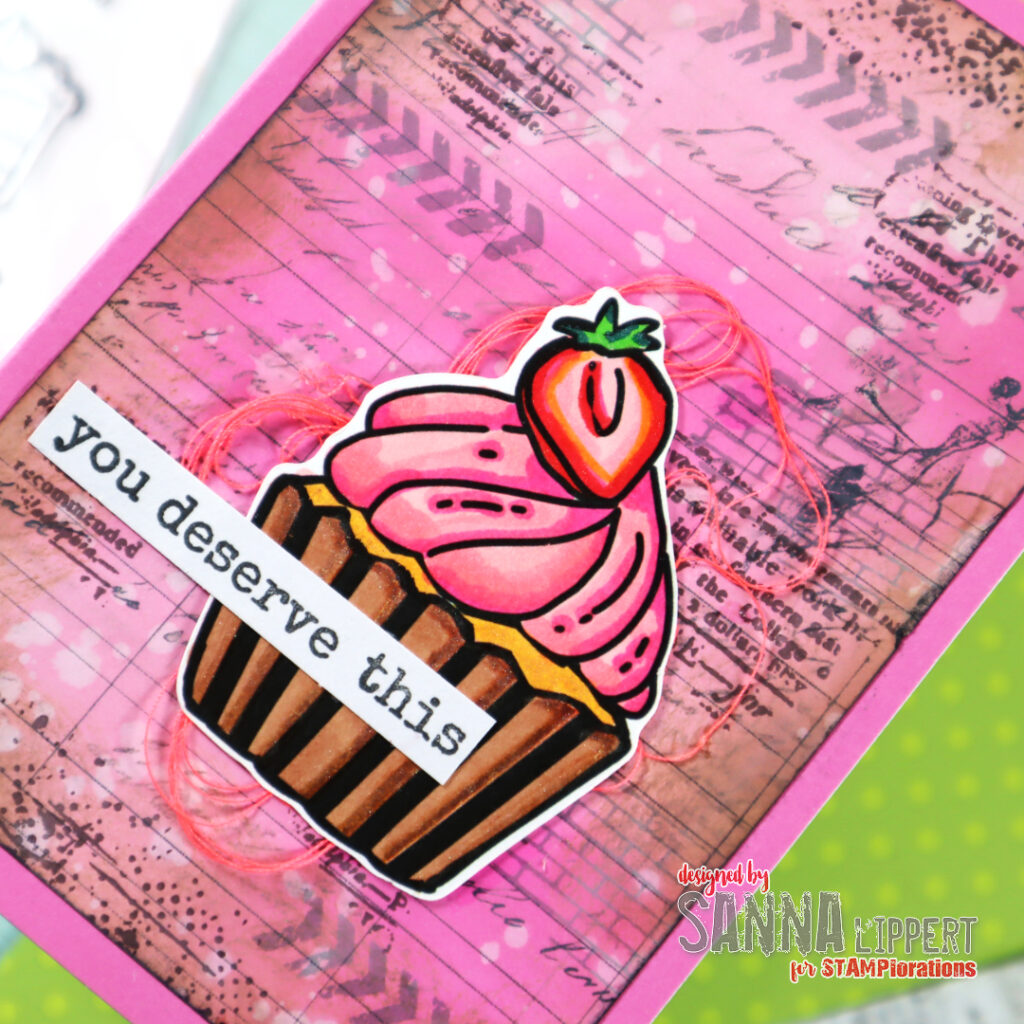
This is my take for the first day. A very pink toned card featuring Big Cupcakes Colorables and the Old Letters Pocket Backdrops paper from the NEW PRODUCTS and also used the Mixed Media Grunge stamp set and the Sweet Cravings stamp set.
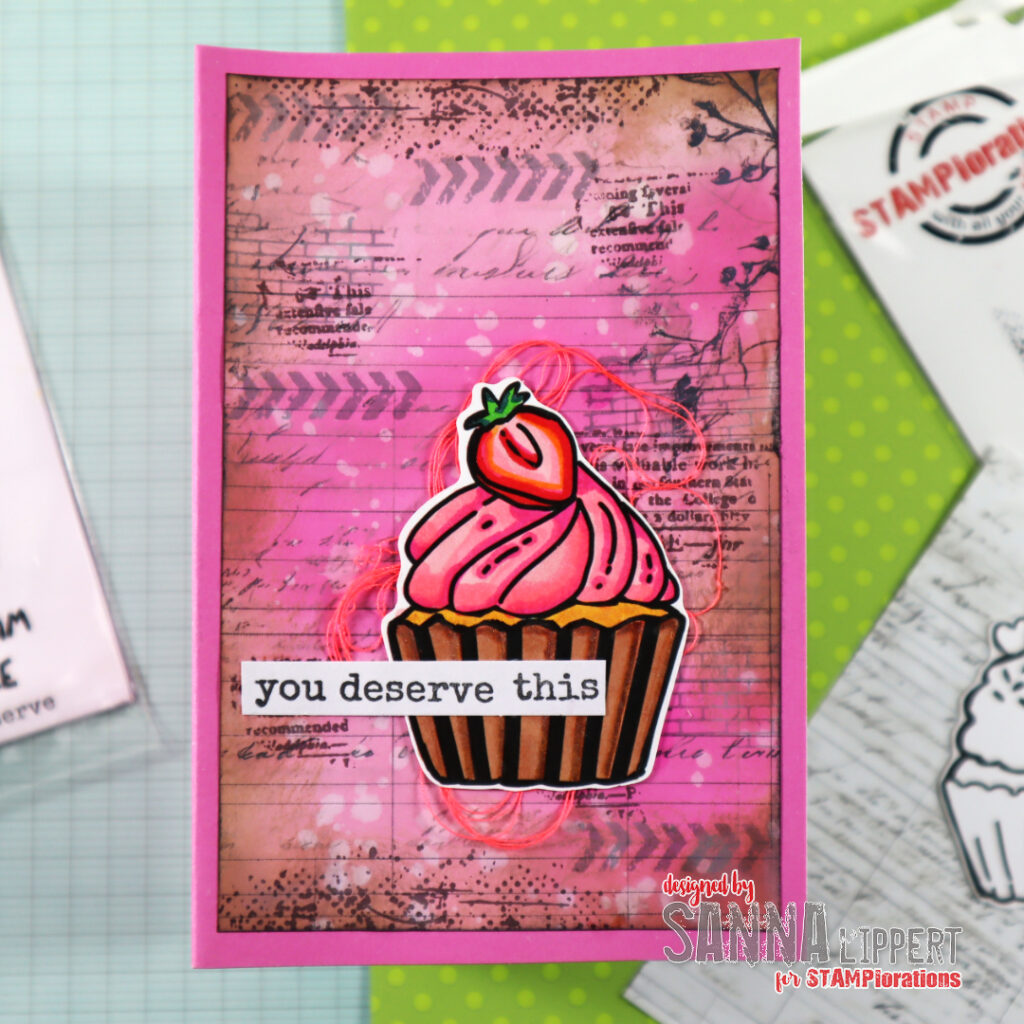
I first inked the Old Letters Pocket Backdrop paper with two different pink tones of Distress Oxide inks. Then I added some stamping on top with Mixed Media Grunge stamps. After that I inked the edges with brown Distress Oxide Ink for depth. The paper is mounted on a pink card base. I then colored the cupcake image with alcohol markes and stamped the sentiment with Sweet Cravings stamp set. I mounted the image and the sentiment on place and added some garn underneath and that was it.
Here is peek into some new products available at STAMPlorations:

and

How to celebrate with us:

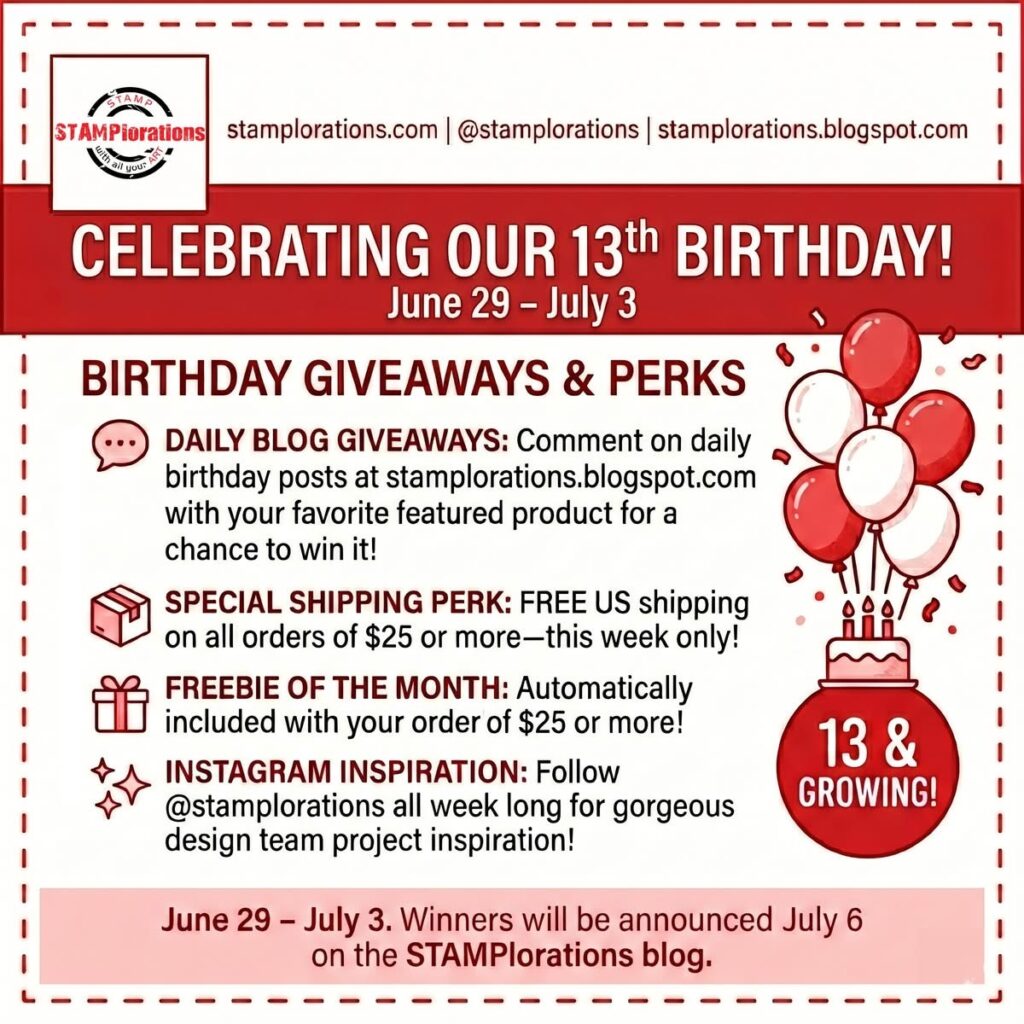
  • DAILY GIVEAWAY: you can enter this one by commenting on the STAMPlorations blog DAY 1 celebration post with your absolute favorite new product featured one of the projects of that day. One winner will be drawn from the daily post and will win the specific product of your choice.
  • SHOPPING PERK: For US participants there will be free shipping on orders of 25 USD or more, valid thru the celebration week only. Plus a freebie of the moth for orders.

The birthday celebration will go until 3rd of July. This will also be the day when the Wishlist party will officially close. The winners will be announced on Monday, the 6th of July.

Hope you will join in with us and celebrate 13 years of STAMPlorations!!
xx, Sanna
AJ page with layered stenciling and Distress Oxide Inks – Rubber Dance

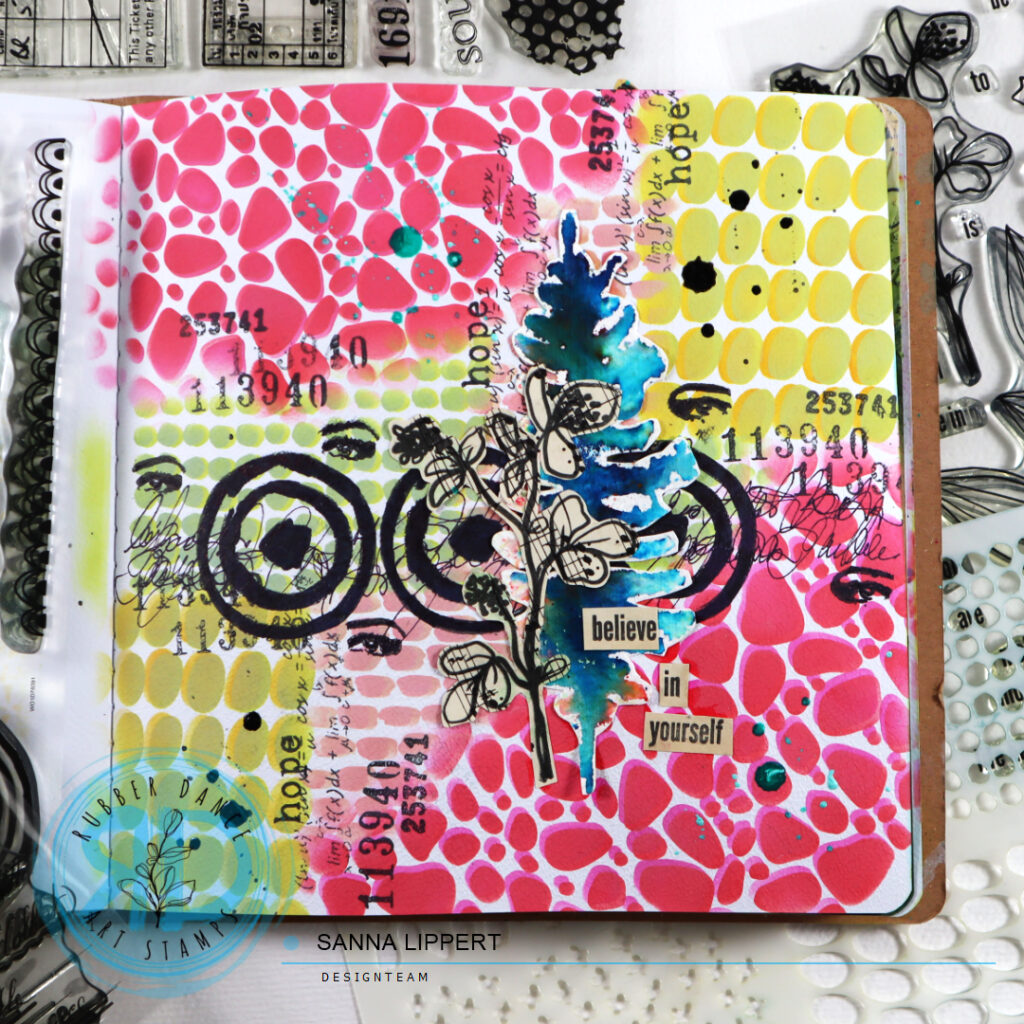
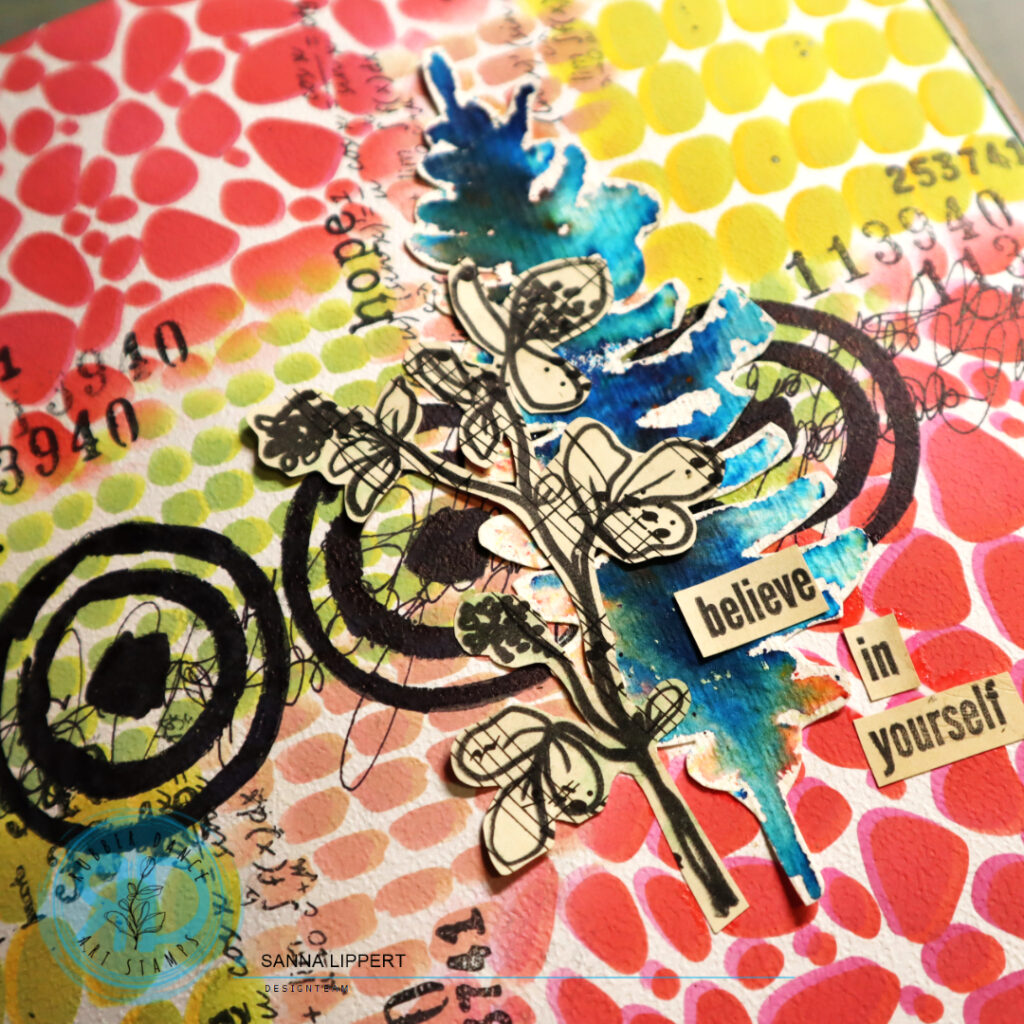
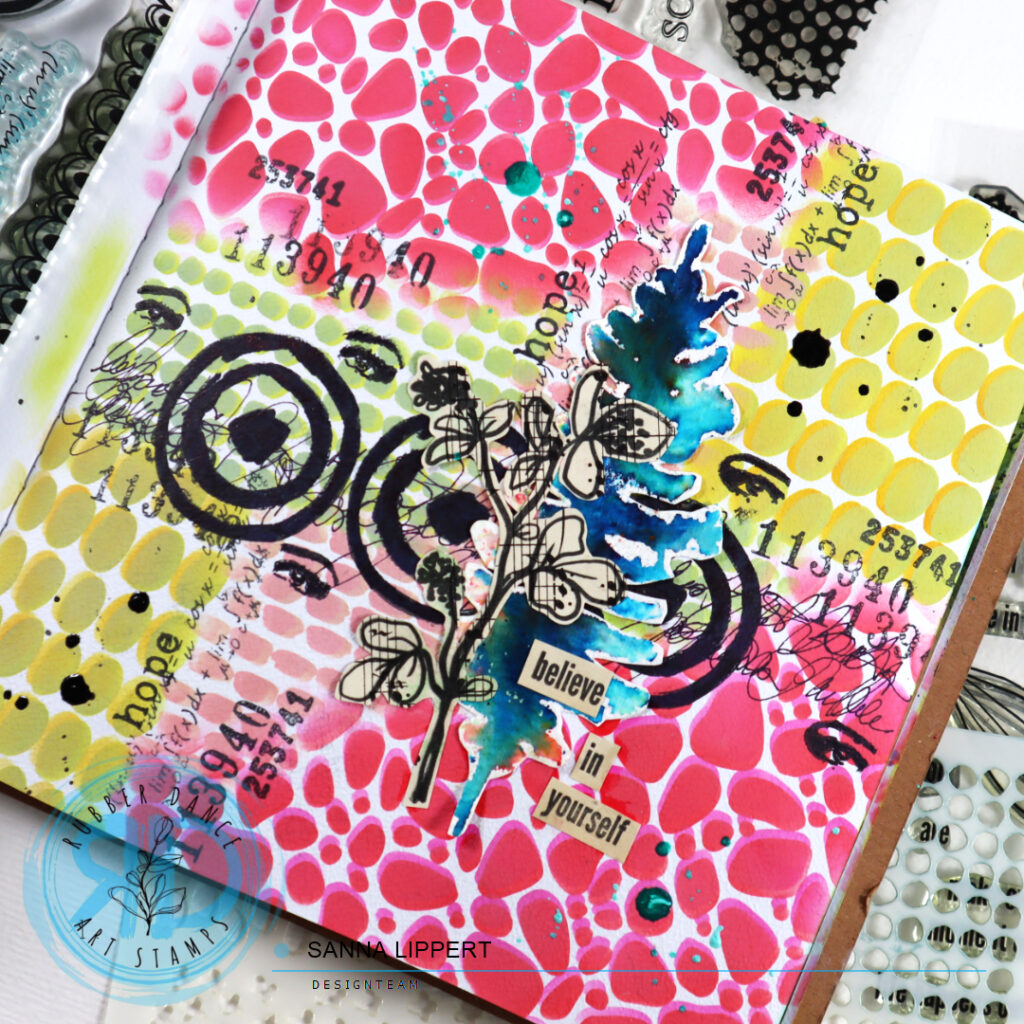
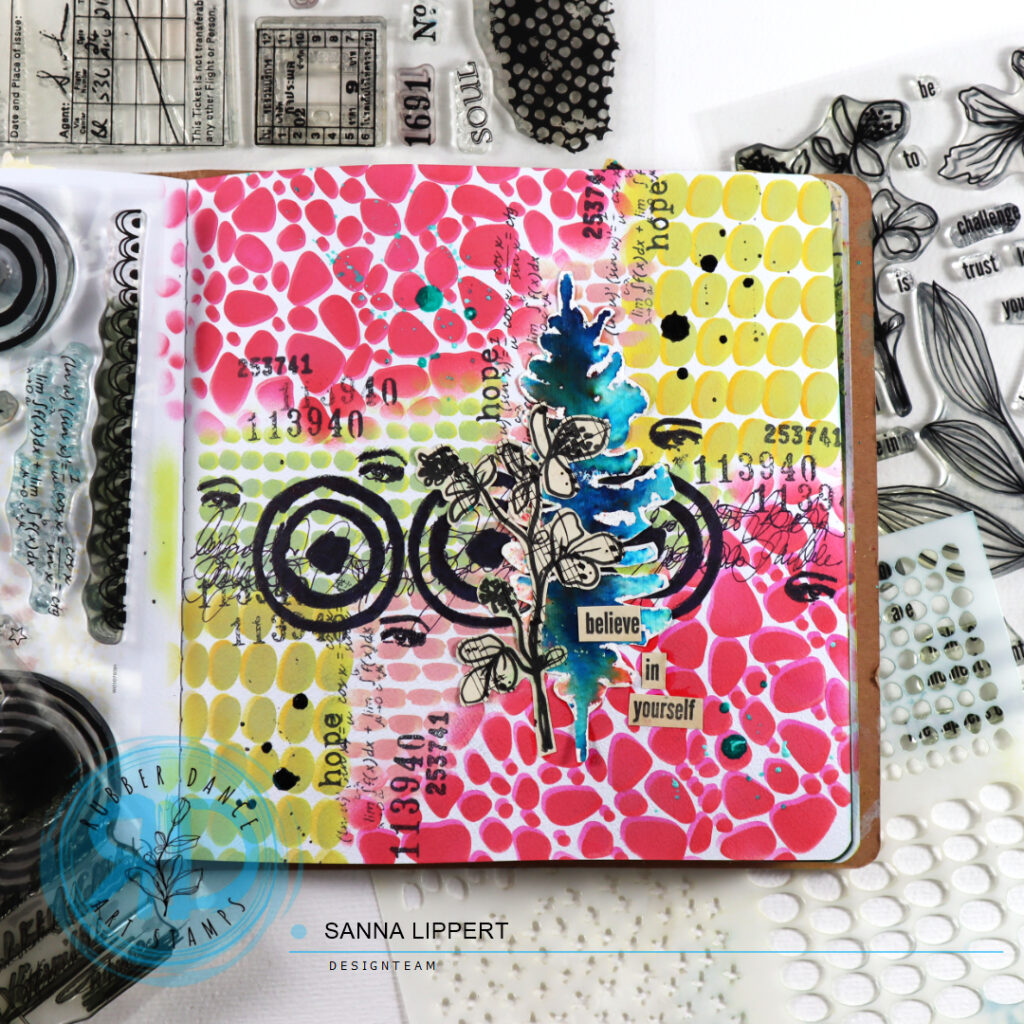
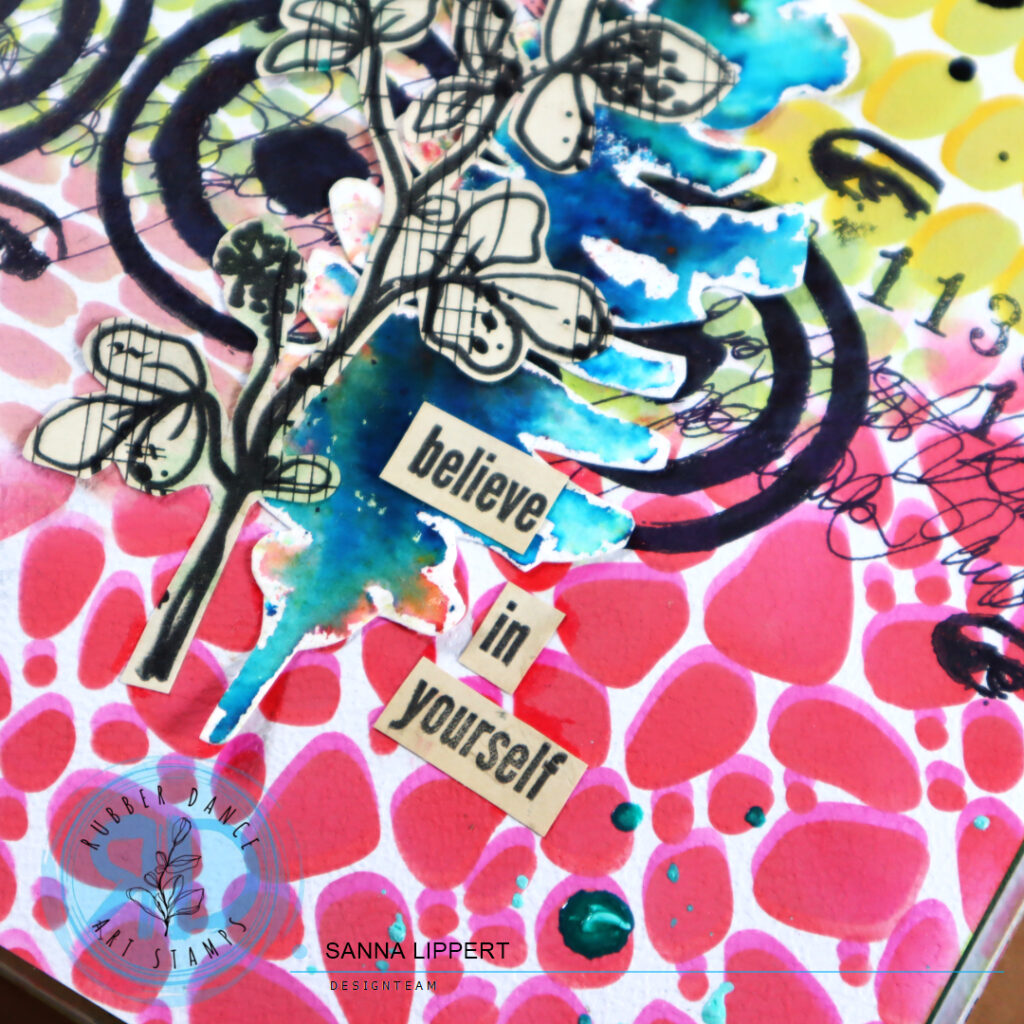
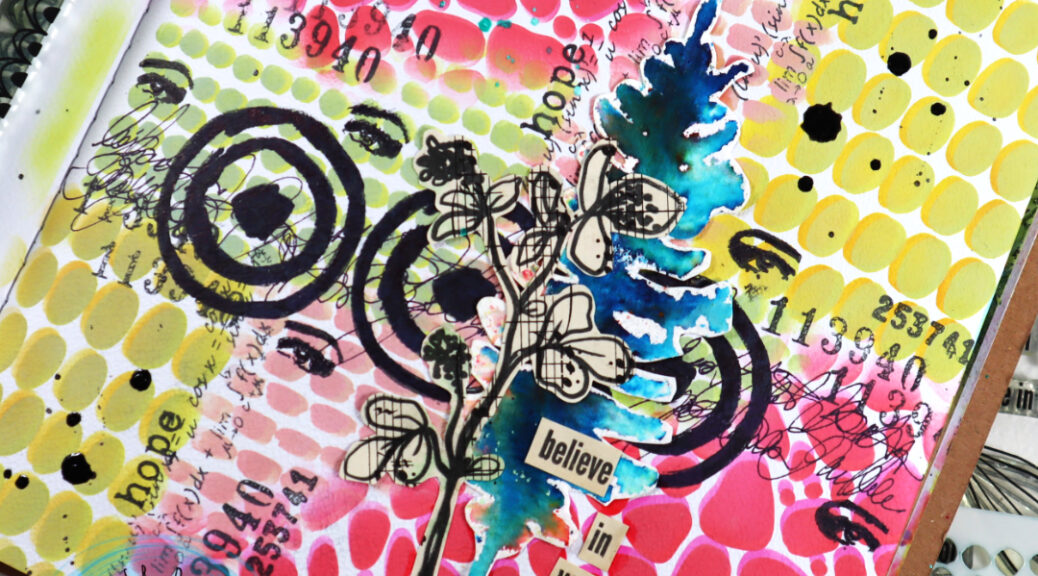
Hello, it´s Sanna here today with a layer stenciled art journal page share. For this project I used the following products: Organic 4 and Mini Textures 1 stencils as well as the Sketchy Leaves 5 stencil in the focal point cluster. The stamps used as a further layer and focal point feature following sets: Mix It Up 7, Mix It Up 4, Collage Leaves 3 and Mix It Up 6.

I started with the following steps:

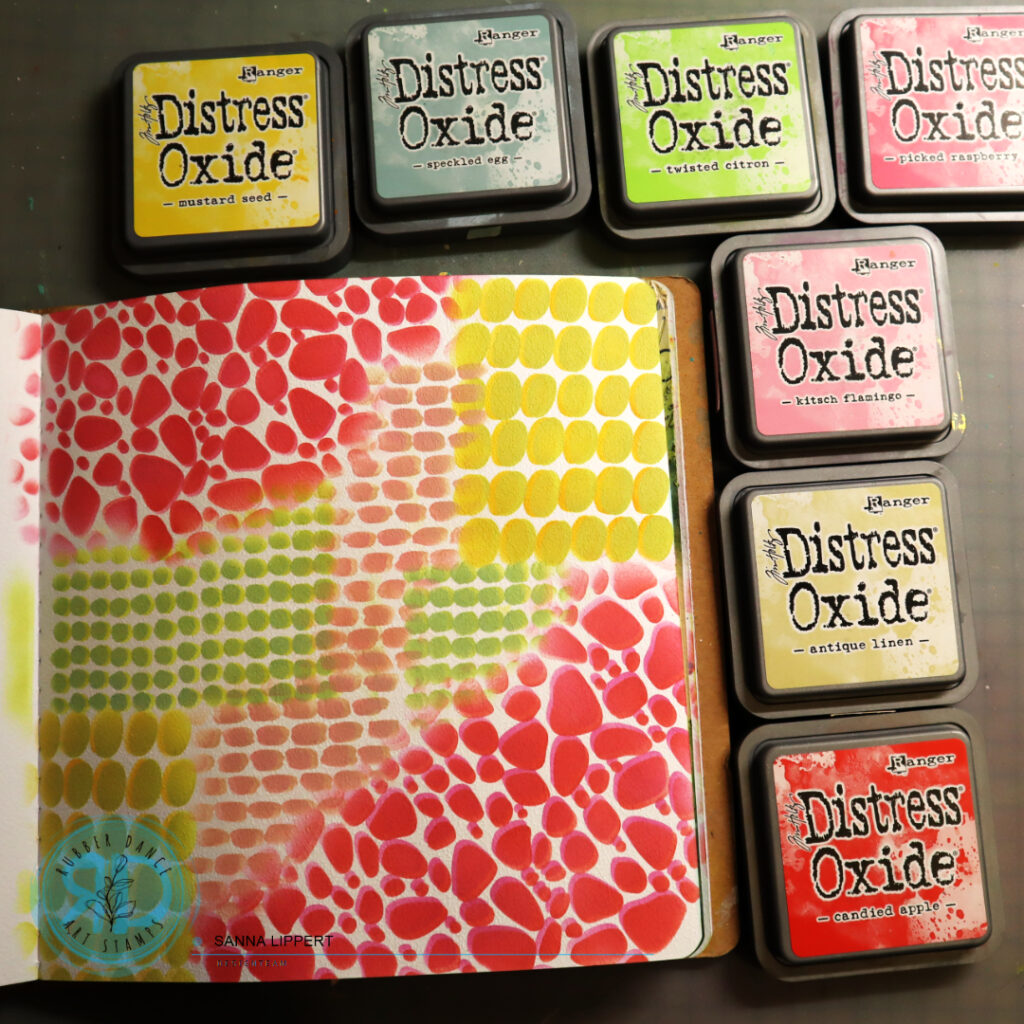
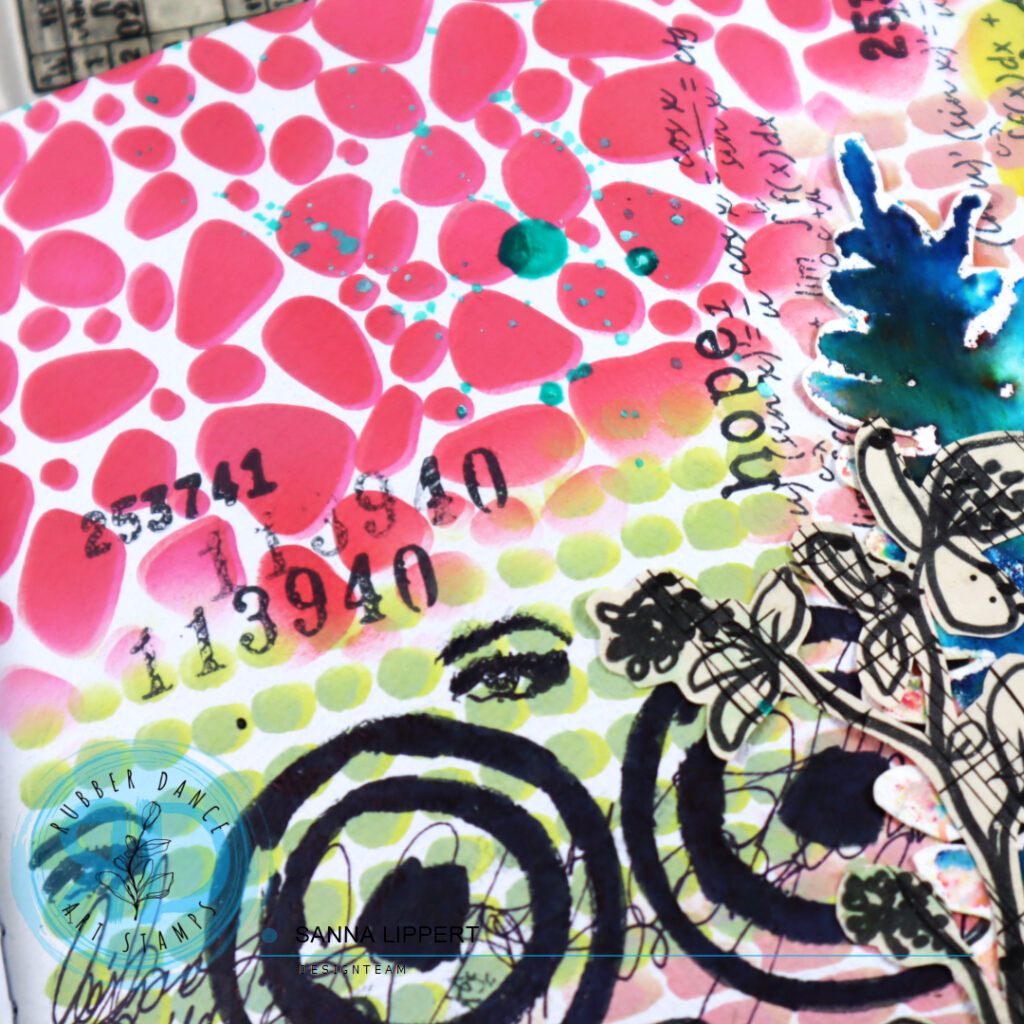
I first inked a lighter toned layer thru the above mentioned stencil onto the page, then slightly moved the stencil to create a 3D-effect and inked over the area with a similar tone, but slithly darker. That creates this really fun effect.

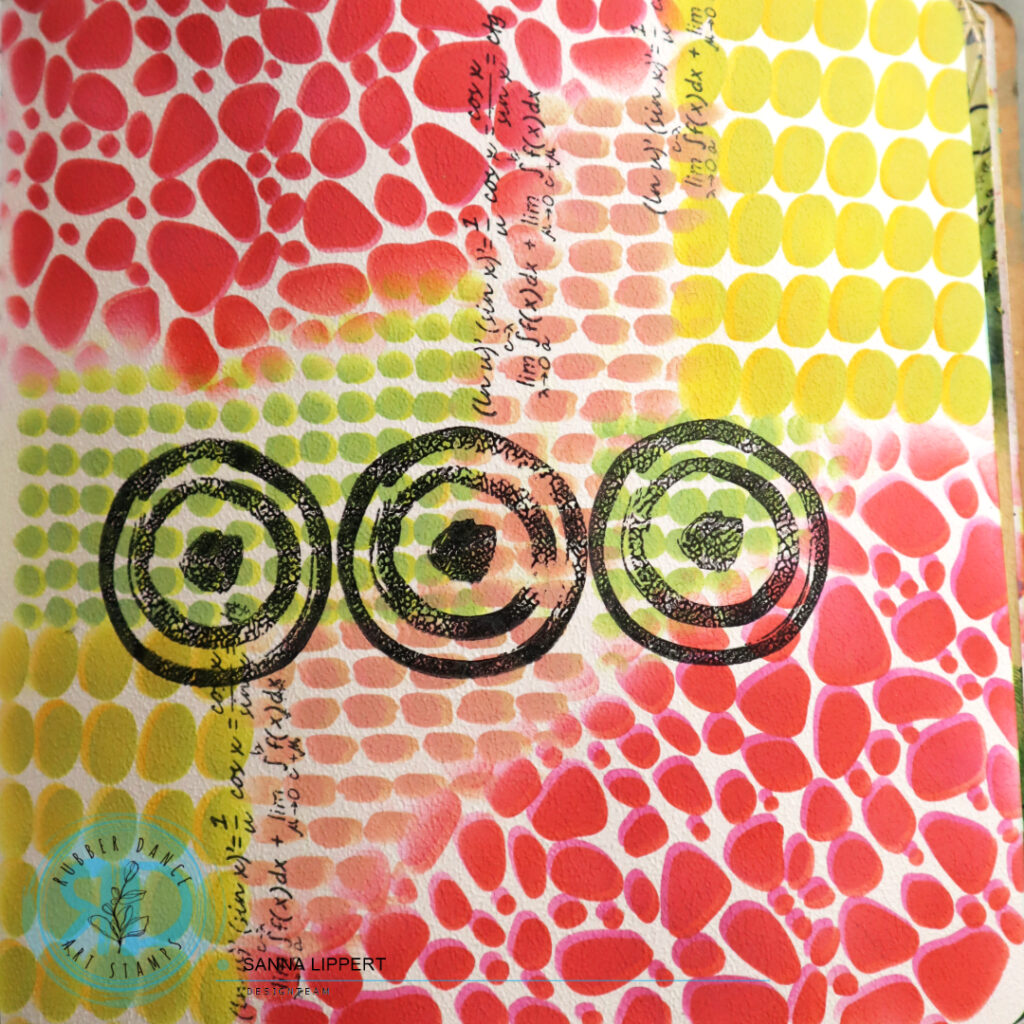
Next I took a black stamp ink and stamped some details with the Mix It Up 4 stamp set.

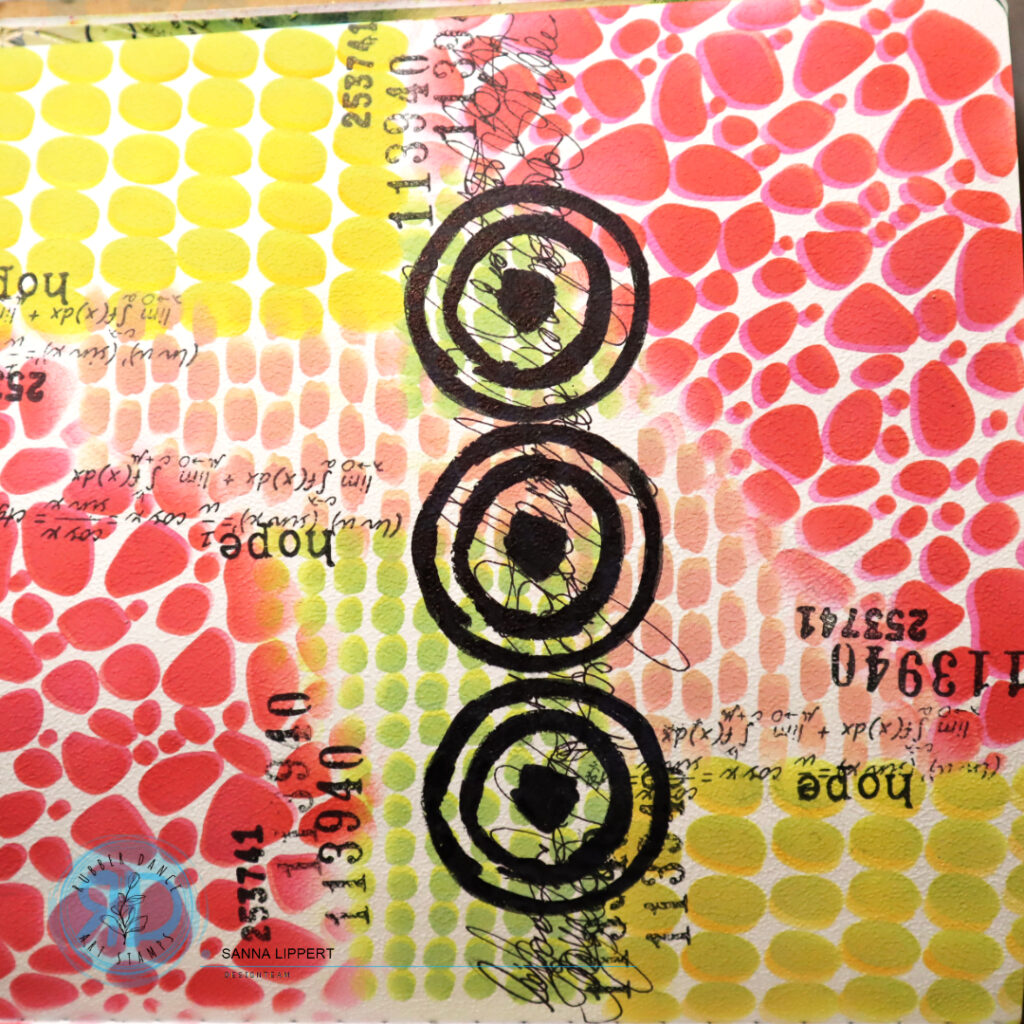
Followed with further stamping with the Mix It Up 6 and Mix It Up 7 stamp sets.

I also added some asemic writing to the background before creating a cluster of elements as a focal point. The blue collage fodder element is a previous make with Sketchy Leaves 5 and Brushos (see details here). The leafy flower is stamped on a music note paper with black ink (using Collage Leaves 3) and then fussy cut. Finally the sentiment was stamped on an old book page with the Collage Leaves 3 stamp set anf fussy cut to fit the page composition.

I also added some “turquoise” and “medieval” Gloss Spray droplets as detail and also added some stamped eyes in the process. They are from the Mix It Up 7 stamp set.

I love layering stencils and adding fun details to art journal pages with them. Then mixing some stamping with various stamp sets for contrast make creating art journal pages so much fun! I hope I could inspire you all abit with this page.

Have fun creating with Rubber Dance products!
xxx, Sanna

Bold card backgrounds with Distress Inks and Rubber Dance stamps

Hello, it´s my time to share a project over at Rubber Dance blog again. This time with a photo step-by-step card tutorial. For this one I used the brand new Carved Collection 6 stamp set with Distress Inks and black stamp ink.

And here is how I created the colorful background:

My starting point was a piece of white cardstock, the Carved Collection 6 stamp set and pink, yellow and orange toned Distress Inks. You also need an acrylic block and a water spray bottle.

I took all 4 triangle stamp images from the set and chose a color for each (mustard seed, picked raspberry, spiced marmalade and kitsch flamingo). I inked the image with the chosen stamp ink and lightly sprayed the surface with water mist (for a watercolor type of style). I repeated this step throughout the whole paper, changing color and image in a repetitive way, until the paper was full.

This is what the finished first layer looked like. I left some white space between the images, so each image would stand out better.

Then I took a black stamp ink and a leaf branch from the same set and repeatedly stamped with it on top of the first layer. I then fussy cut the image into two same sized pieces, drew along the edges with a black marker and adhered the background to a white card base. Next I added a Tim Holtz chipboard sentiment and some silver rhinestones onto the cards and they were done.

It is so much fun to create DIY card background “papers” with a stamp set like this! I hope you give it a try!
Happy crafting,
xxx, Sanna

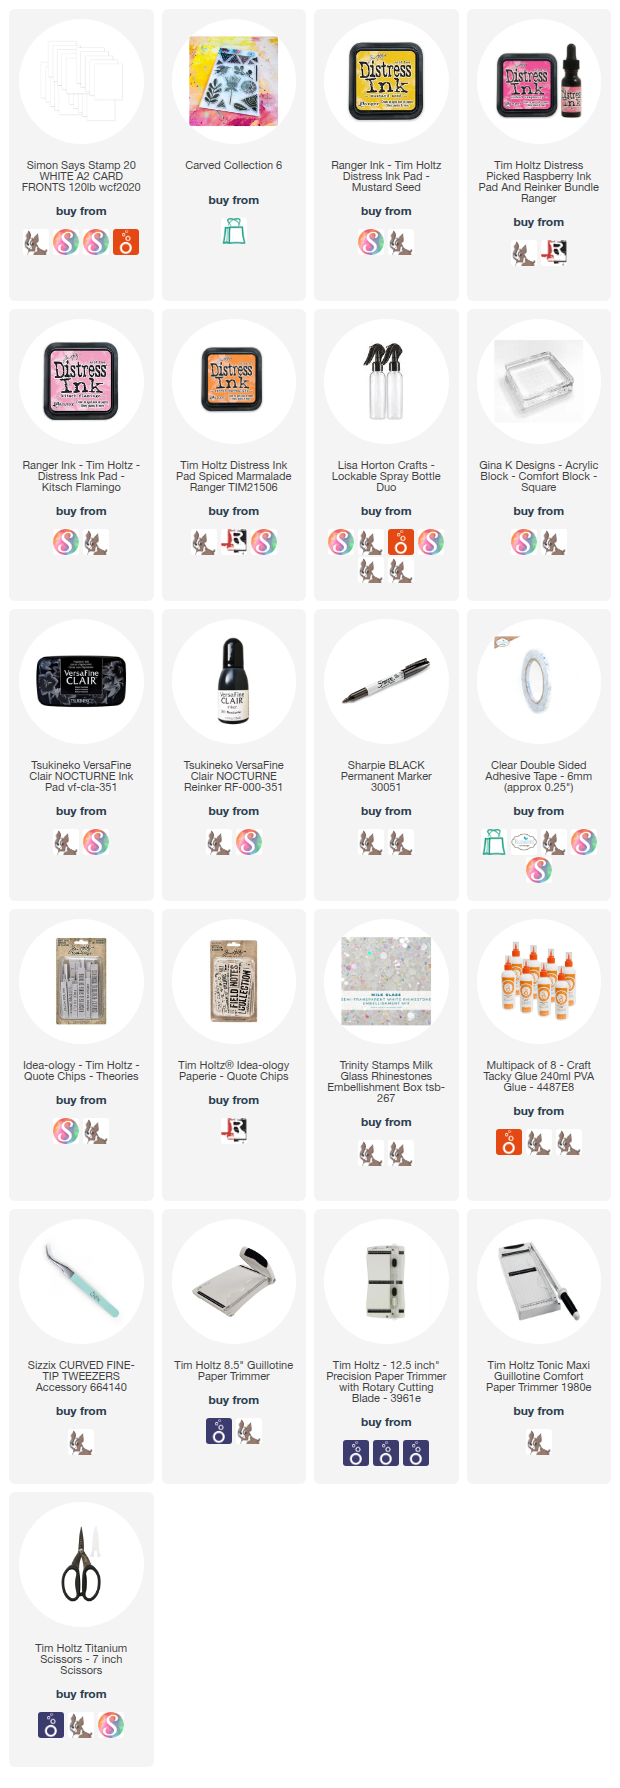
Supplies:


Layered and Distress Ink stenciled butterfly card – Rubber Dance

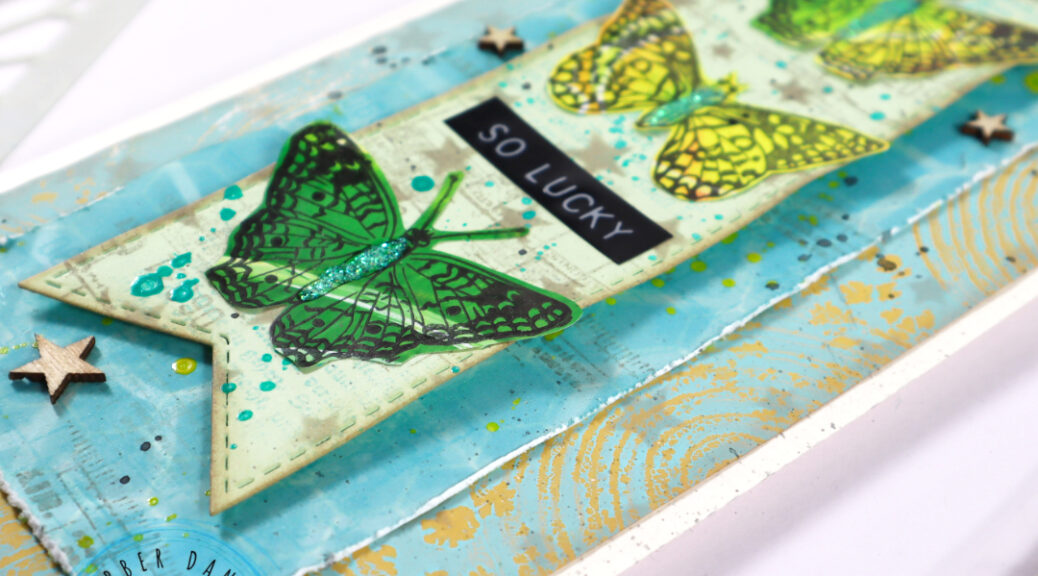
Hello everyone, it´s again my turn to share a project over at Rubber Dance blog today and I am up with a video tutorial to a heavily stenciled and lightly layered butterfly card. For this card I used the Stars 1 and Lattice stencils as well as the Mix It Up 5 stamp set. I also used the Butterflies and Moths fodder I had created for my last share.

I used a gelli printed background paper on the card. I created that one using the Mix It Up 4 stamp set with my gel plate. You can find videos around gelli prints with Rubber Dance stencils and stamps here.

I wanted to keep the colors on the card very light and matching. I therefore added stenciling with pumice stone & tumbled glas tones. They go very well with the background and don´t create a contrast too strong.

After stenciling, I added some stamping in same colors to the papers to create more interest and details. The edges of the paper are distressed and inked and the die cut flag is adhered to the paper with 3D foam for more depth.

I´ve also used Gloss Sprays to add splatters to the paper layers. I am a big fan of splatters. I think they add a fun element to projects. For finishing touches I added the gelli printed and stamped butterfly fodder (made using the Butterflies and Moths stamp set), a Tim Holtz sentiment sticker and some very old wood veneer stars. The black splatters are done with a wet brush and a watercolor crayon.

For more info, here is a full start-to-finish video for your to watch:

I also can not resist a little bit of glitter here and there sometimes. So the bodies of the butterflies got a little coat of Stickles in the end. I hope you like the idea and try it out yourself! Happy crafting,
xx, Sanna

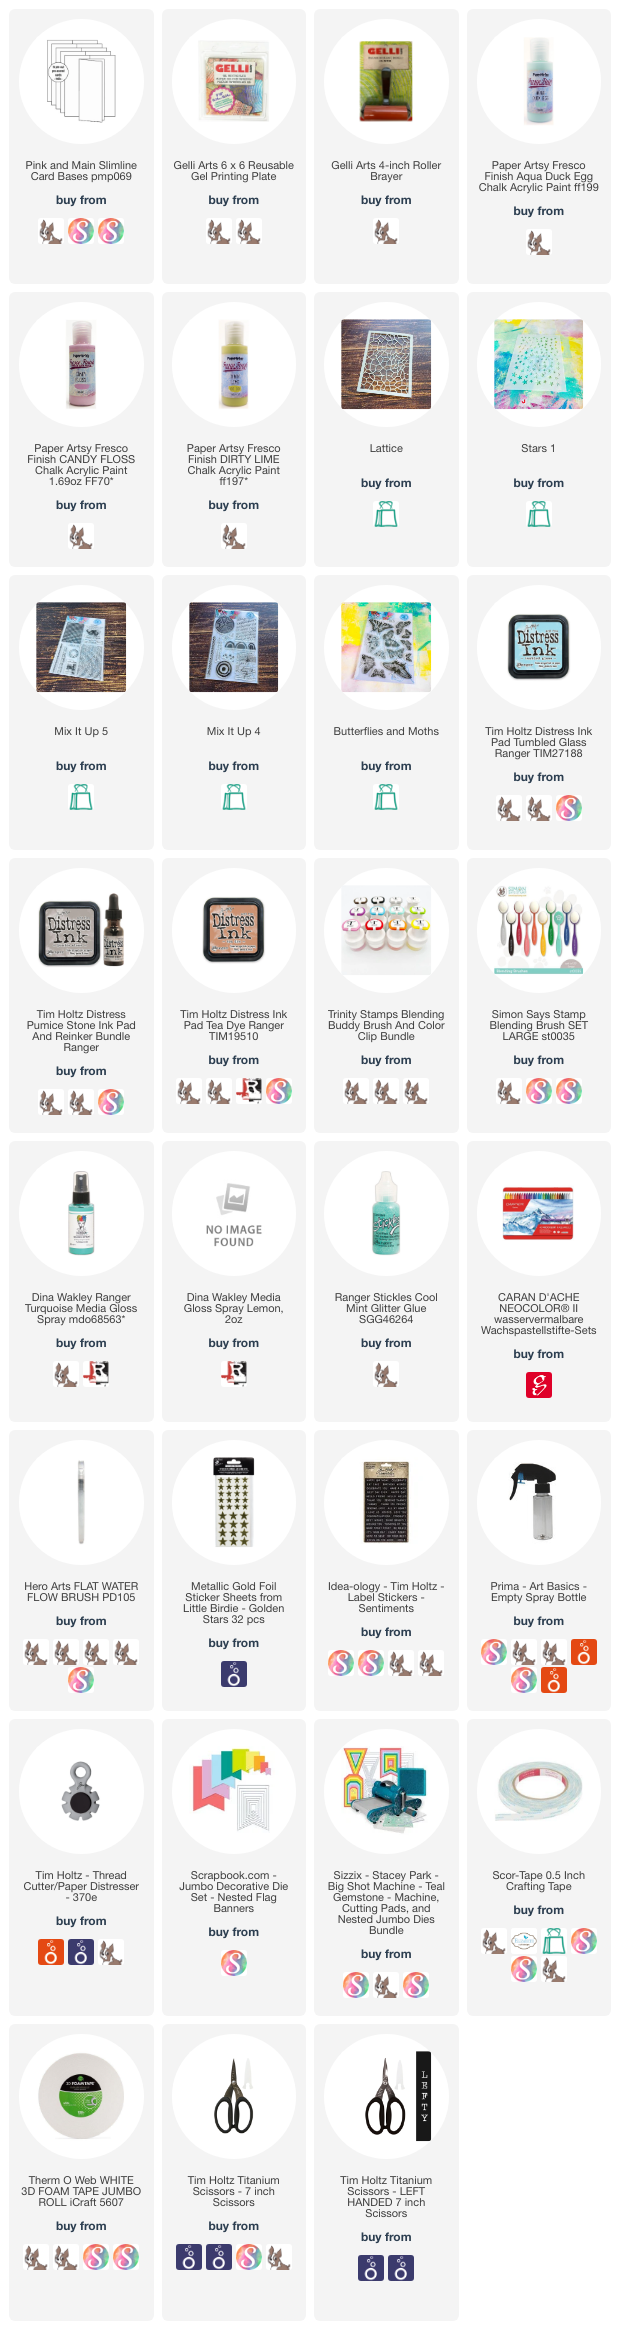
Supplies:

Layered, mixed media flower card with gelli background and stamps

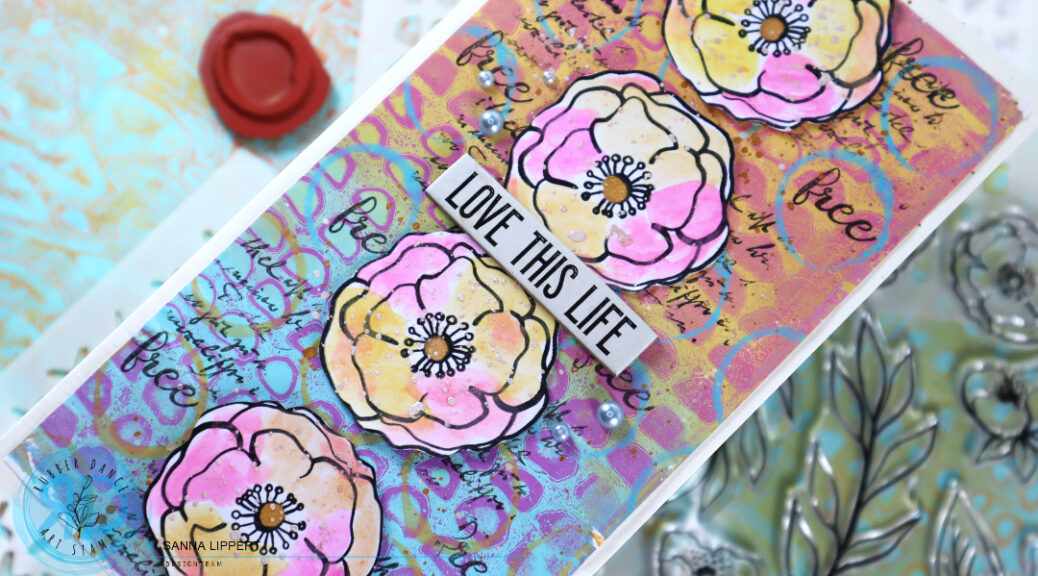
Hello, this time I am up with a slimline mixed media flower card share over at the Rubber Dance blog. For this card I used a stenciled and gelli printed background paper that I created & used also on my previous projects (for example here). For the card I used the Loose Florals stamp set, as well as the Mix It Up 6 stamp set and the Round In Circles stamp set.

For the background gelli paper I used acrylic paints with Marks 2 stencil. You can find the video to that in the post linked above.

First I cut the gelli printed paper into right size to match my card base. Then I stamped with the Round In Circles stamp set stamp some circles on top of the gelli image with salvaged patina and spiced marmalade Distress Oxide Inks. After that I grabbed the Mix It Up 6 stamp set and black stamp ink and added some random stamping on top for additional interest and contrast.

After that I stamped some Loose Florals with black stamp ink onto white paper and colored them very loosely with watercolors and fussy cut them.

Finally I added some golden and silver ink droplets onto the fussy cut flowers as well as onto the background. Then I arrenged the flowers onto the card, added a chipboard sentiment and some half pearls for decor.

I had so much fun creating this card. It has quite a few layers again and happy, bold colors. I hope it makes it´s recipient happy and also inspired you to grab your stamp and stencil stash a play a little!!
Have fun! xxx, Sanna

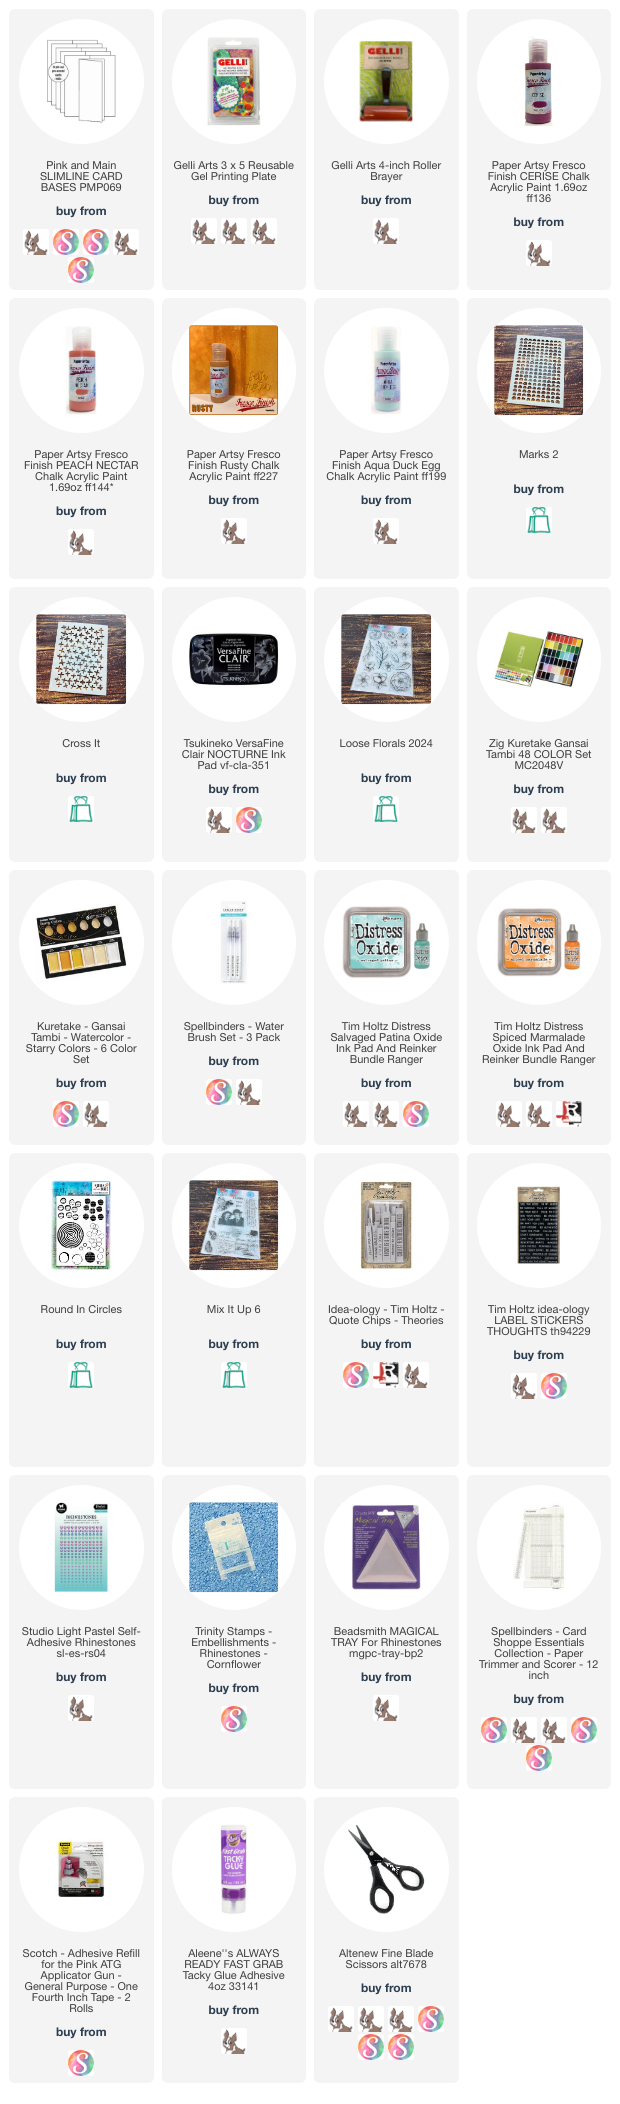
Supplies:

ATC´s with Mix it Up 6 stamp set, stencils and Distress Oxide inks – Rubber Dance

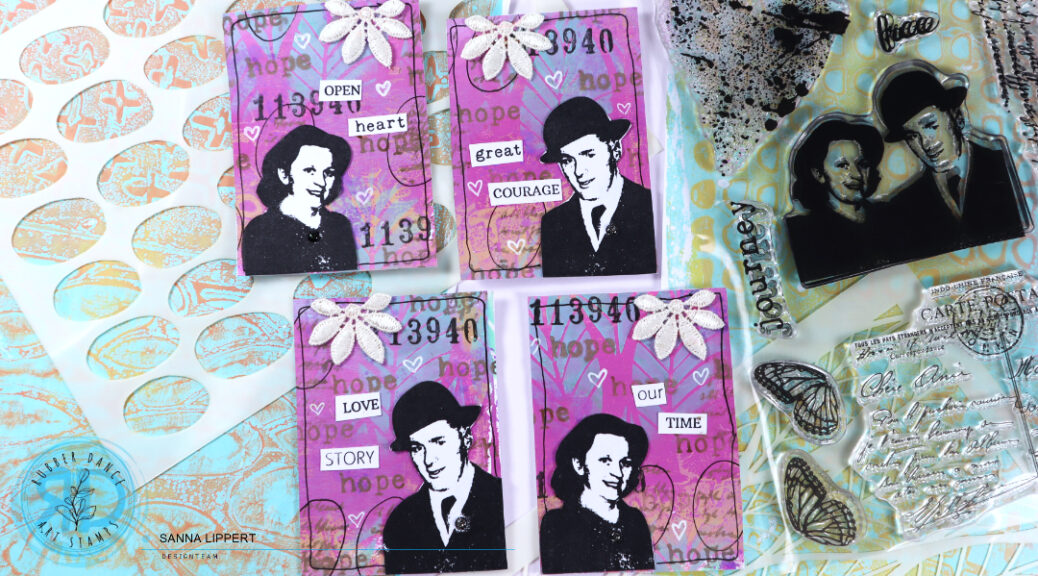
Hello everyone, I have an Artist Trading Card set up over at the Rubber Dance blog this time. I created these Artist Trading Cards with the Mix It Up 6 stamp set, Leaves #2 and Big Ovals stencil. As a background I used a gelli printed paper that I have used on a previous project (here).

The background paper, like mentioned above, is from my previous project and done using acrylic paints, a gelli plate and Cross It, as well as Marks 2 stencils. I used that paper as my starting point and added even more layers on top of it to create an interesting, artsy background for my ATC´s.

I started with the Leaves #2 stencil and cracked pistachio Distress Oxide ink by applying the ink thru the stencil randomly onto the background with a blending brush.

After that I took the Mix It Up 6 stamp set and the Big Ovals stencil and placed it on top of the paper. With ground expresso Distress Oxide I first added some stamped text thru the big ovals stencil onto the background. Then I outlined some of the stamped areas with a black pen thru the same stencil to make them stand out more from the background.

Next I stamped some wilted violet Distress Oxide toned splatters with the heart shaped stamp from the same stamp set and also some black numbers onto the background. After that I took the stamp image of the couple and stamped them with black stamp ink onto white paper and fussy cut them. In addition I added some ground expresso stamped words (hope) onto the background for more interest.

Finally I took some of the Mix A Sentiment 2023 stamp set words that I had left over from my previous projects and added them to go with the images. I also decorated the pages with a black pen outline and some fabric, vintage flowers and white gel pen hearts as well as some glitter enamel dots.

I hope I could inspire you to play with the Mix It Up 6 stamp set and the featured stencils! Have a great time creating!!
xxx, Sanna

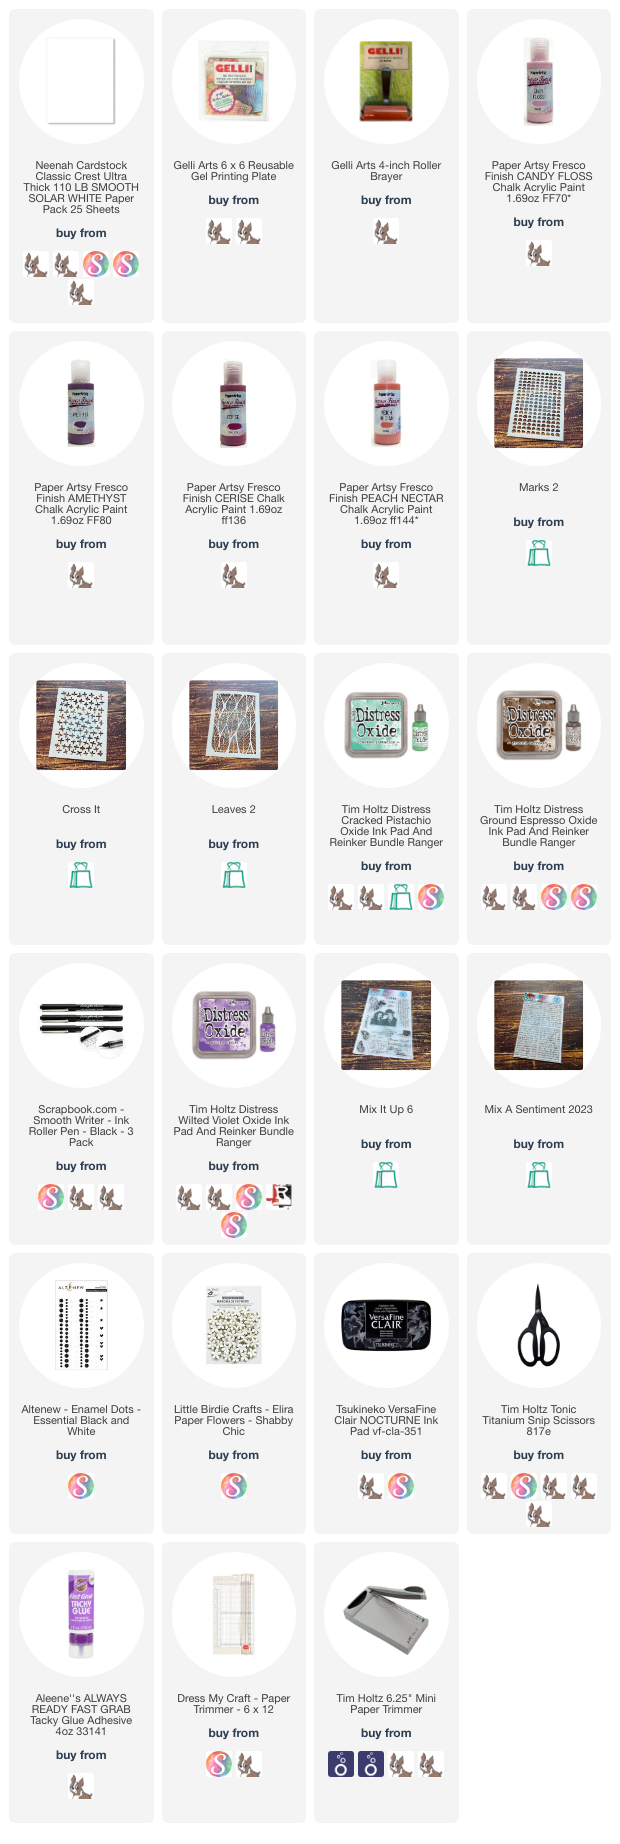
Supplies:

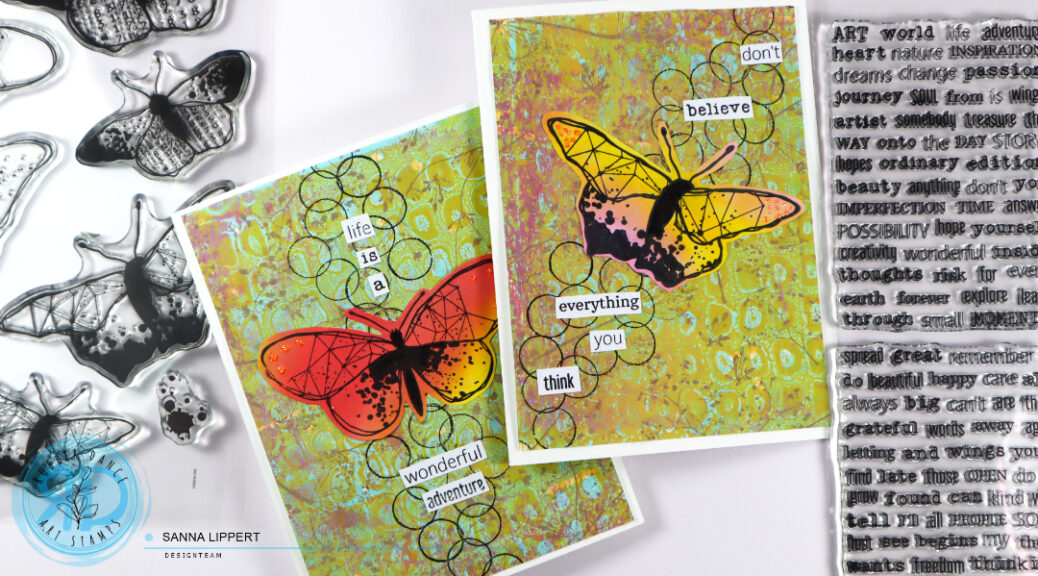
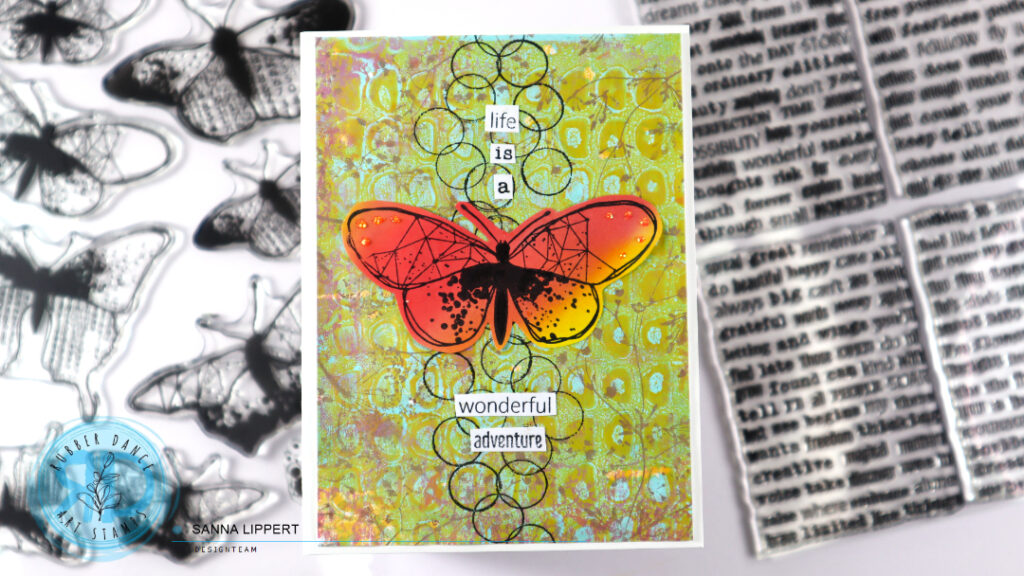
Butterfly cards with mixed media backgrounds – Rubber Dance

Hello everyone, it´s my turn today to share another fun project over at Rubber Dance blog. I made these cards with the Grungy Butterflies and some gelli printed paper with Marks 2 stencil and Weed Love stamping on top.

For both cards I used some of my previously made gelli printed background papers as a starting point. After cutting them into a right size I added stamping with Weed Love stamps and brown Distress Oxide Ink on top to create an even more layered and interesting background.

After that I used the clustered circle stamp from the Round in Circles stamp set to create an additional pattern to the card.

After that I selected some words from the Mix a Sentiment 2023 stamp set that I had used on a previous project and arranged the words into sentiments. I adhered the butterflies into the middle and the sentiment next to them. For finishing touches I added some glitter glue to the butterfly wings.

I still have plenty of words left, so I might use them it future projects. I really like this sentiment set, because you can build your own sentiments from the various words available in the set. And stamp them out once, fussy cut and they will go a really long way. I hope you got inspired to play with your stamps and stencils and create fun cards!!

Happy crafting,
xxx, Sanna

Supplies:

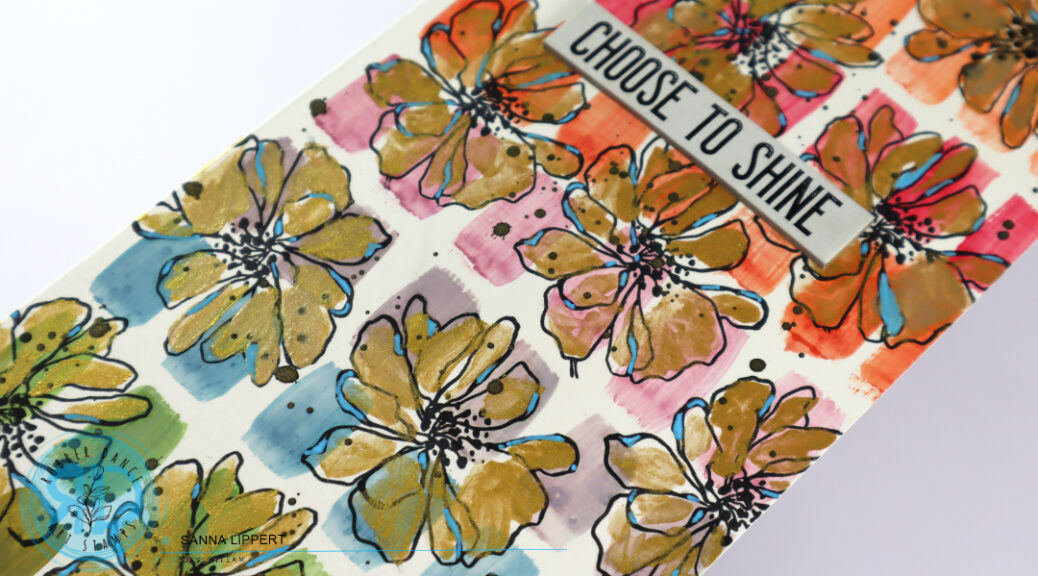
Slimline birthday card with watercolors and stamps – Rubber Dance

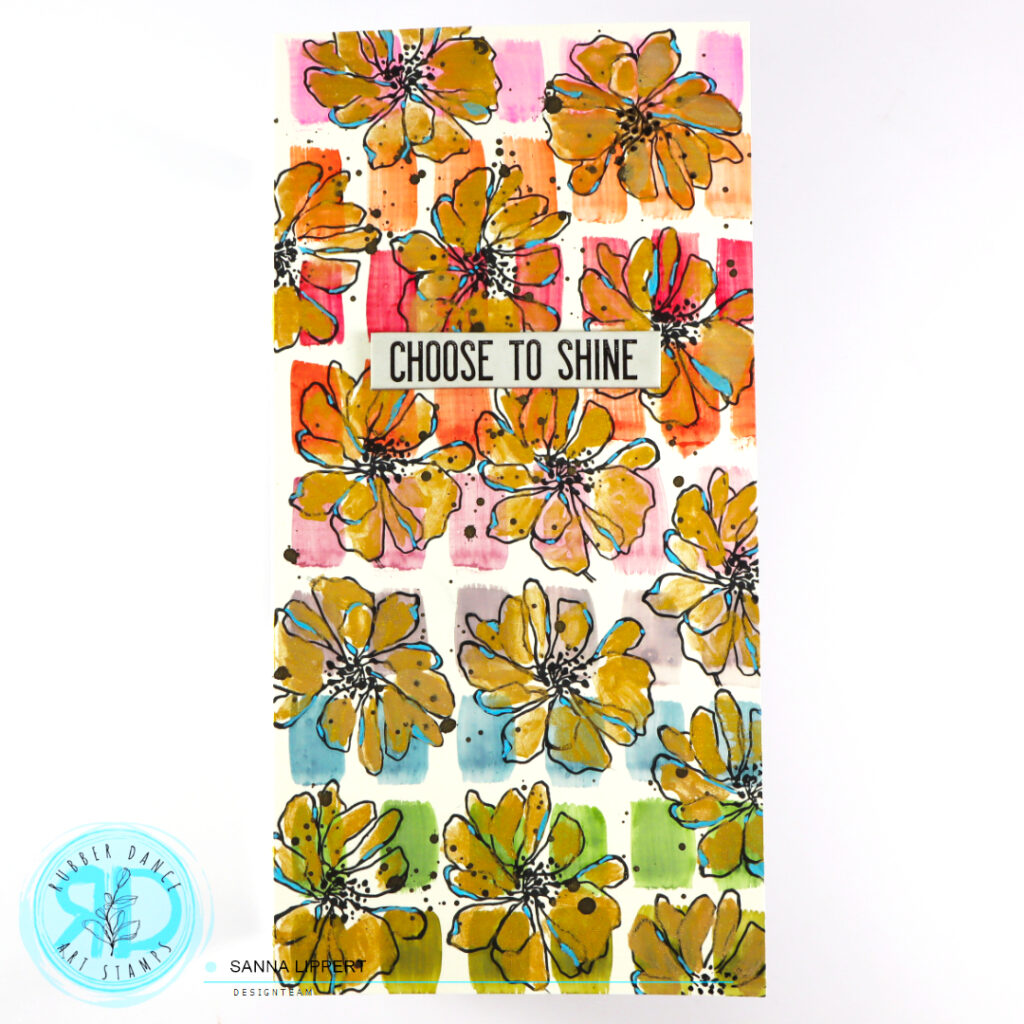
Hello, it´s again my turn to share a project over at the Rubber Dance blog today. I created a fun slimline birthday card using watercolors and the Sketchy Flowers stamp set and it turned out very colorful. Here is how I did it:

I first painted “rectangles” with a paint brush and watercolors in rainbow colors onto a slimline card base, let that layer dry and then repeatedly added a black flower stamped image on top onto the whole surface.

Next I painted the flower petals in golden tones and when that layer was dry, I added black watercolor droplets on top of the two layers.

For finishing touches I added some blue details with a blue Posca pen around the edges of the flower petals. After that I just added a chipboard sentiment and the card was done. It´s bold and colorful and still not bulky, so it will be relatively easy to mail.

I hope you get inspired to play with your stamps and watercolors to create funky and bold colored cards.
Happy crafting,
xxx, Sanna

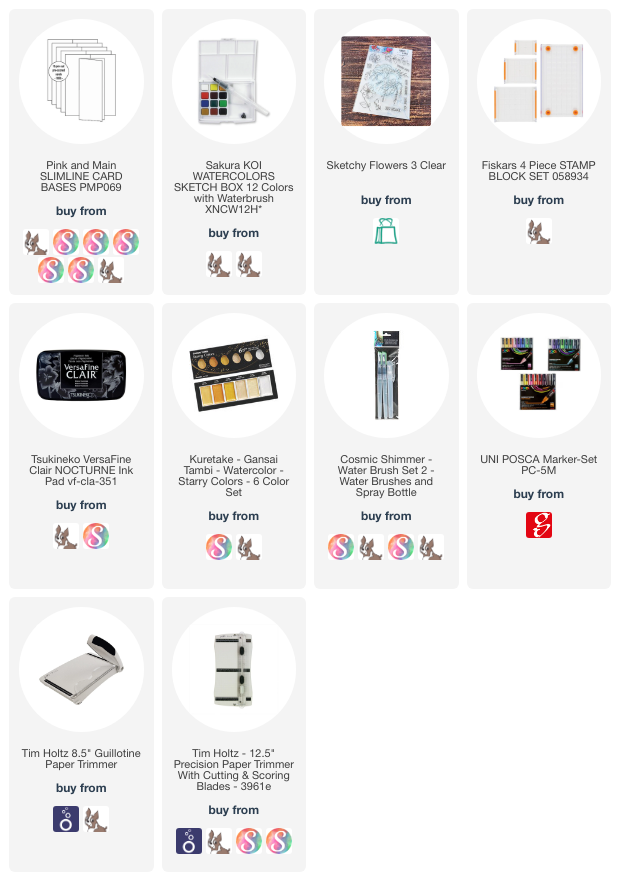
Supplies:

Present tags with Sketchy Flowers #3 using embossing powders and watercolors

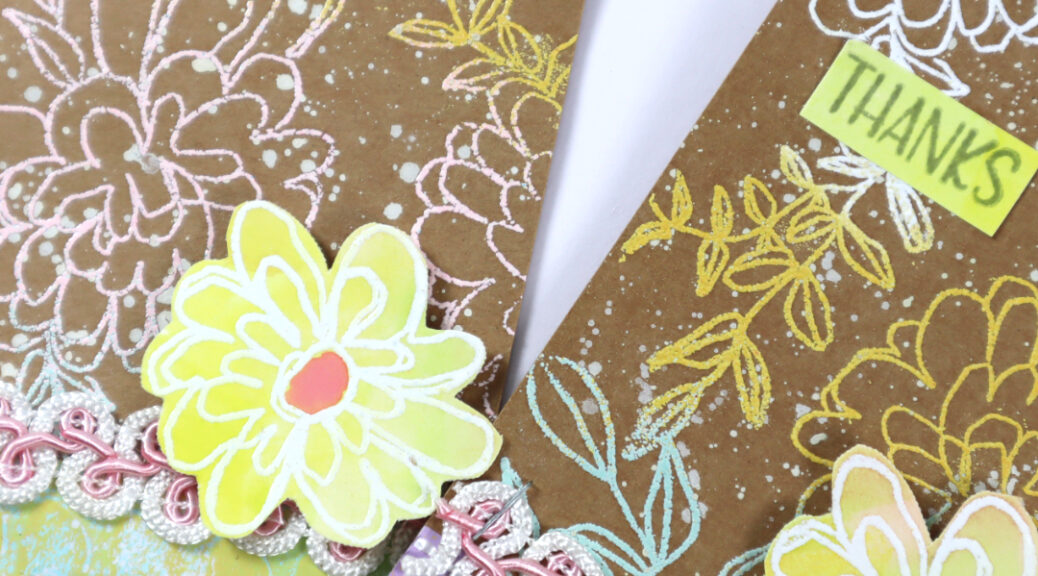
Hello everyone, it´s Sanna here with two present tags using the Sketchy Flowers #3 stamp set with embossing powders and watercolors. I wanted to create cute present tags with kraft cardstock and pastel tones for springtime.

I first stamped the big flower image from the Sketchy Flowers #3 stamp set onto one side of the tag with embossing ink and applied three tones of embossing ink onto the image (see the full video tutorial at the end of this post). I used light blue, yellow and white on the first tag and light pink, light blue and yellow on the second. To add more interest to the background, I took white watercolor and a wet paint brush to add splatters.

Next I fussy cut a piece of gelli printed paper (see my previous posts for the tutorial) as a border and combined it with a cute ribbon. After that I painted a piece of watercolor paper with similar colors like the previously used embossing powders. I added a heat embossed flower image onto the paper, fussy cut them and then assemblied the tags. For finishing touches I used sentiments from the said stamp set with grey stamp ink on the residue watercolor paper left over from the flowers and adhered them onto place. And here is the video step-by-step tutorial:

I hope I could inspire you to create some fun tags!! You don´t have to use them for presents, you could create a few in bulk and use them in art journals, on cards as a focal point or add them into a frame as wall art for example.

Happy crafting,
xxx, Sanna

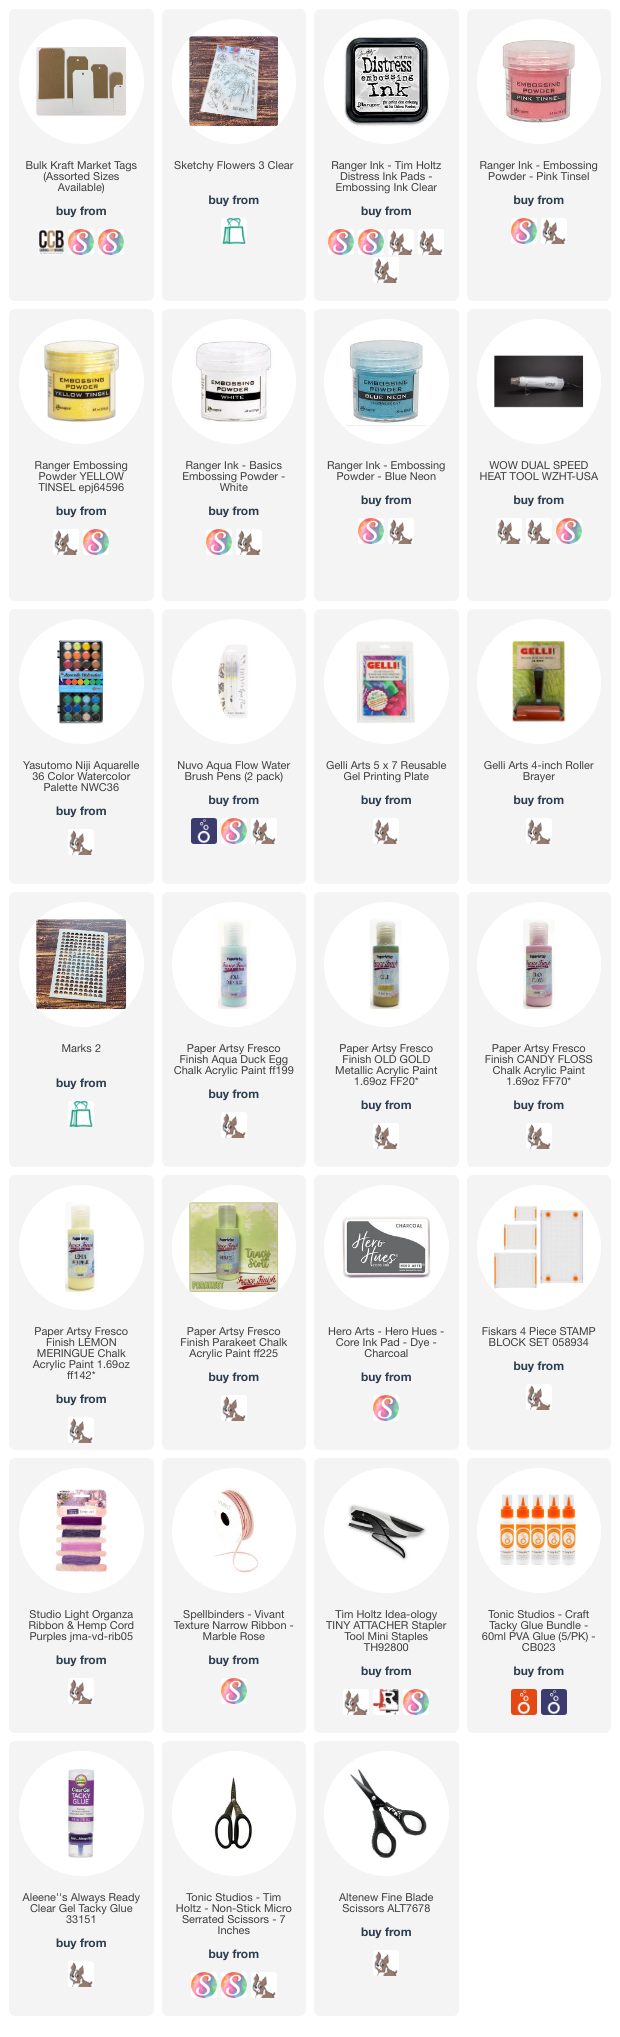
Supplies:

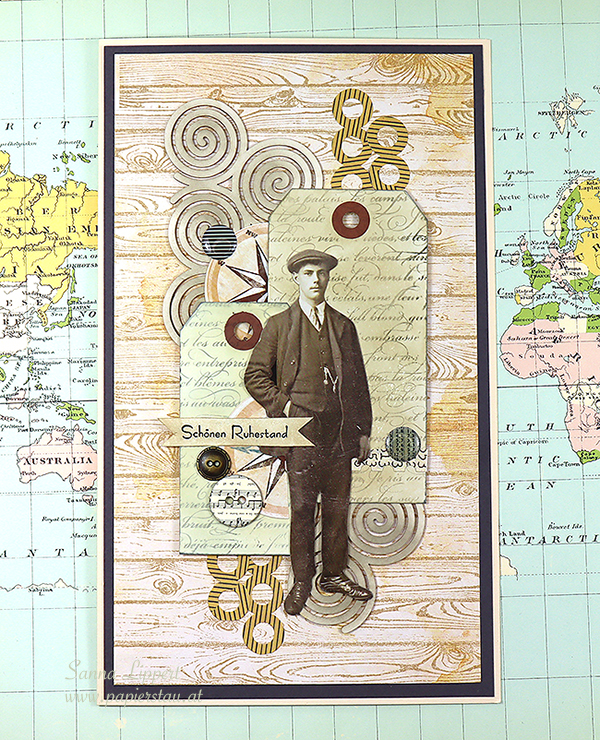
Vintage Retirement card

Hello and happy Thursday! I want to share a retirement card that I created a few weeks back with you today.

I used plenty of older product for this card. It´s bigger in size – 14×21 cm´s – and is kept in vintage style to match the recipients age. On the background I used a Stampin´ Up! background woodgrain stamp and Hero Arts inks. On top of that I added some border stickers and Wycinanka chipboards. The tags were inked with Distress Ink (old paper) and the script stamp images are stamped with various grey tones (Hero Arts).

On top of the tags I have a few buttons and a Tim Holtz paper doll as added decor. The banner sentiment is stamped with another Stampin´ Up! stamp.

I really liked creating this vintage-style card. It´s plenty of layer on top of each other, but still everything is very “flat”. I like layers, but I also like keeping them flat for easy mailing.

Wishing you a lovely evening! Weekend is almost here :)!! Yay!
xxx, Sanna

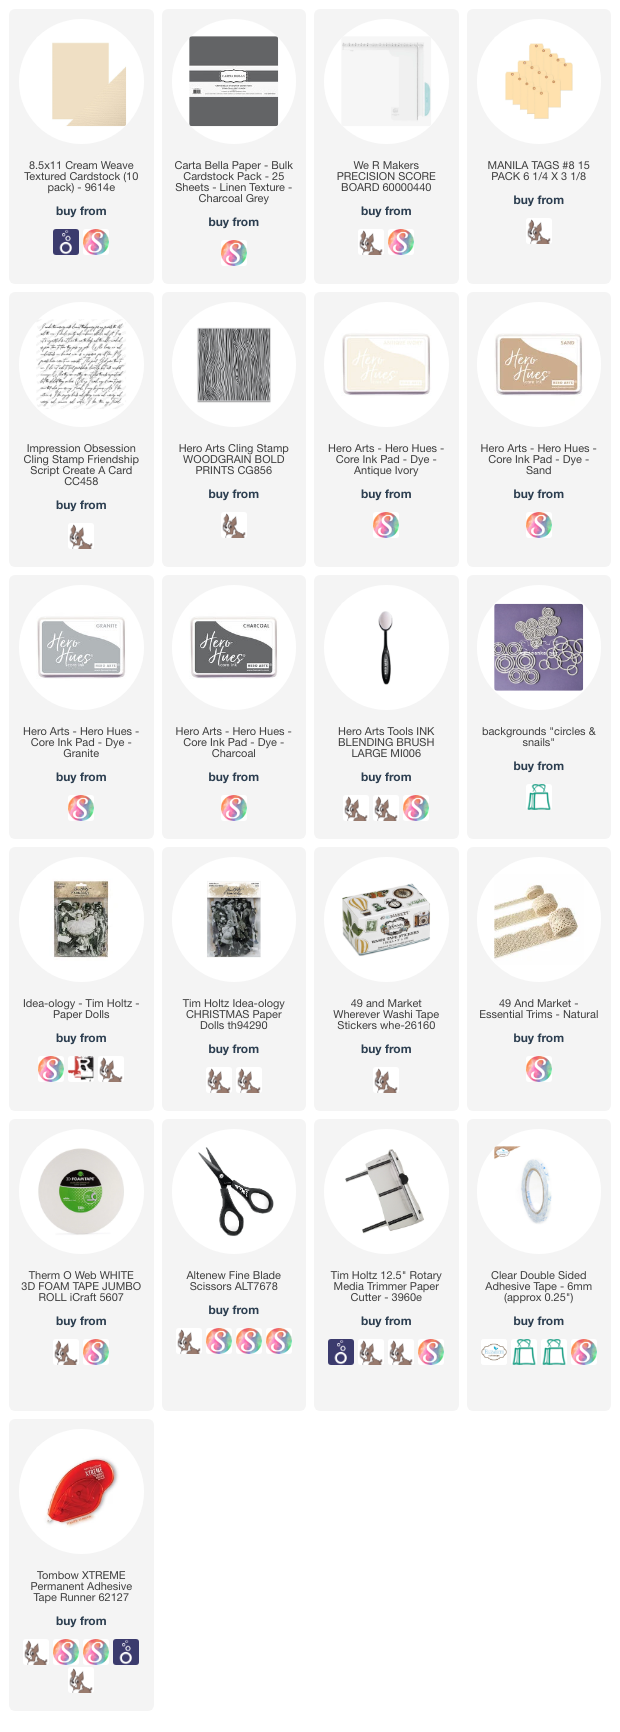
Supplies: