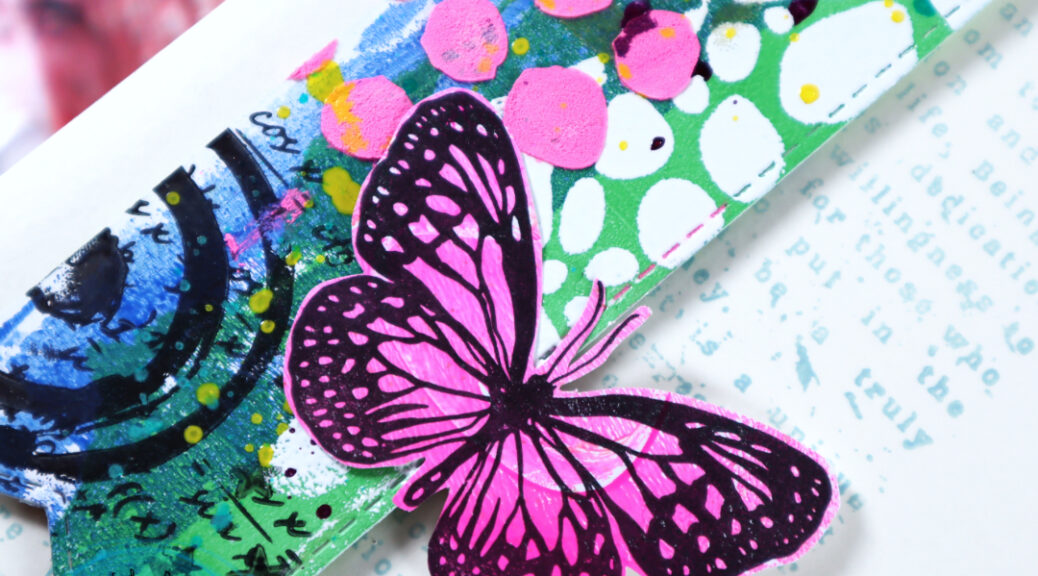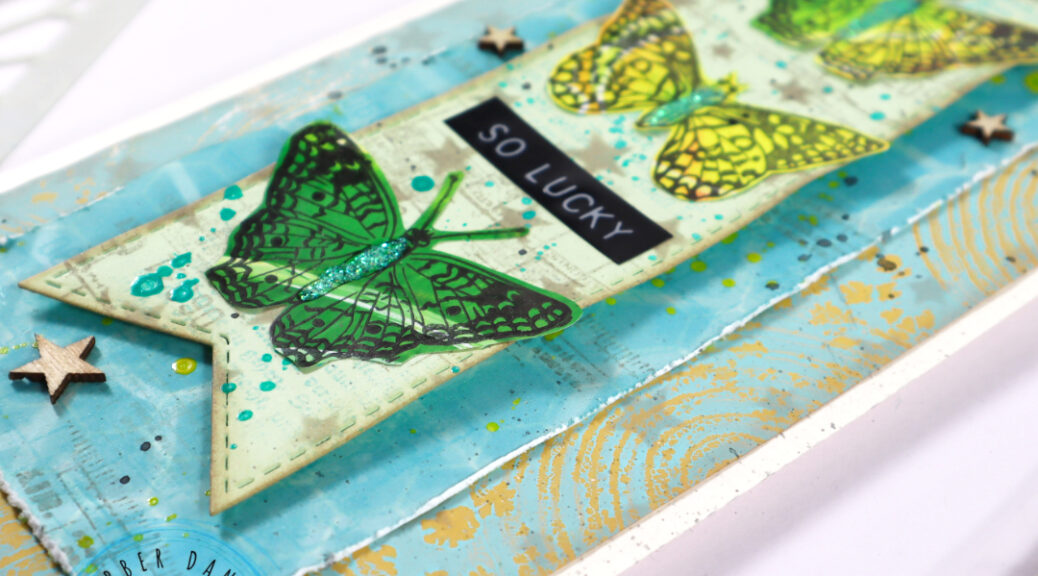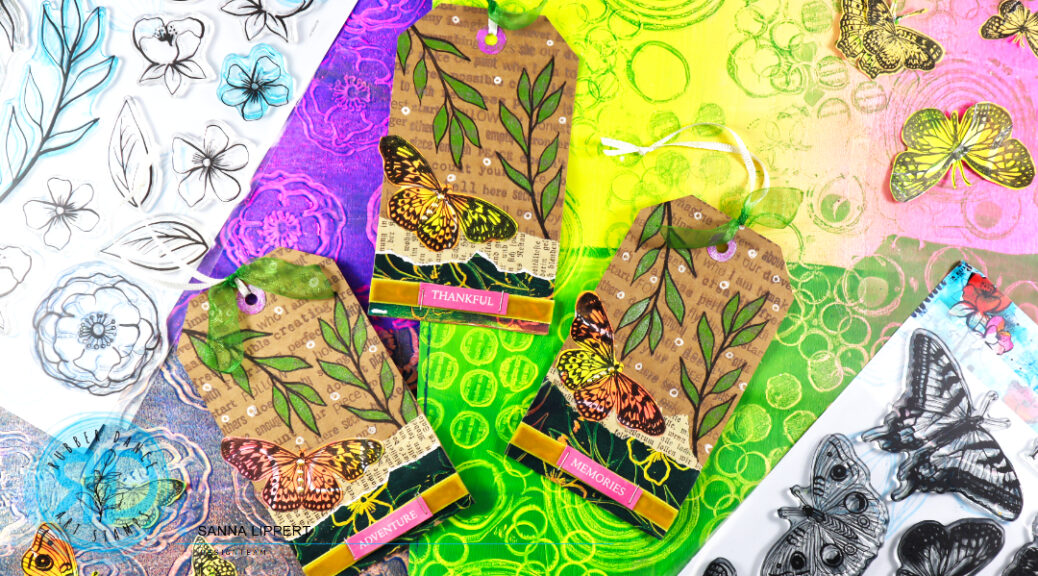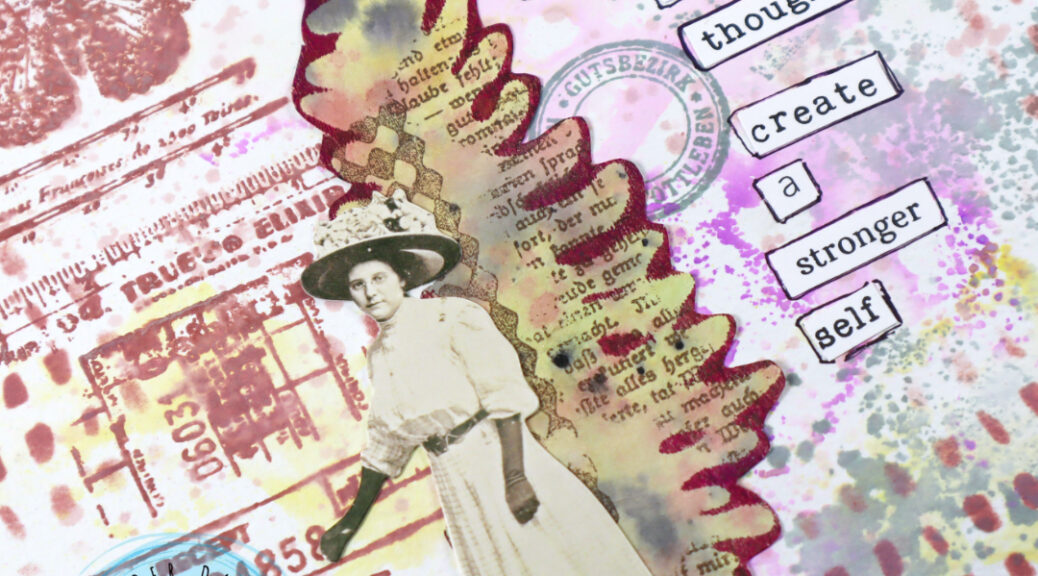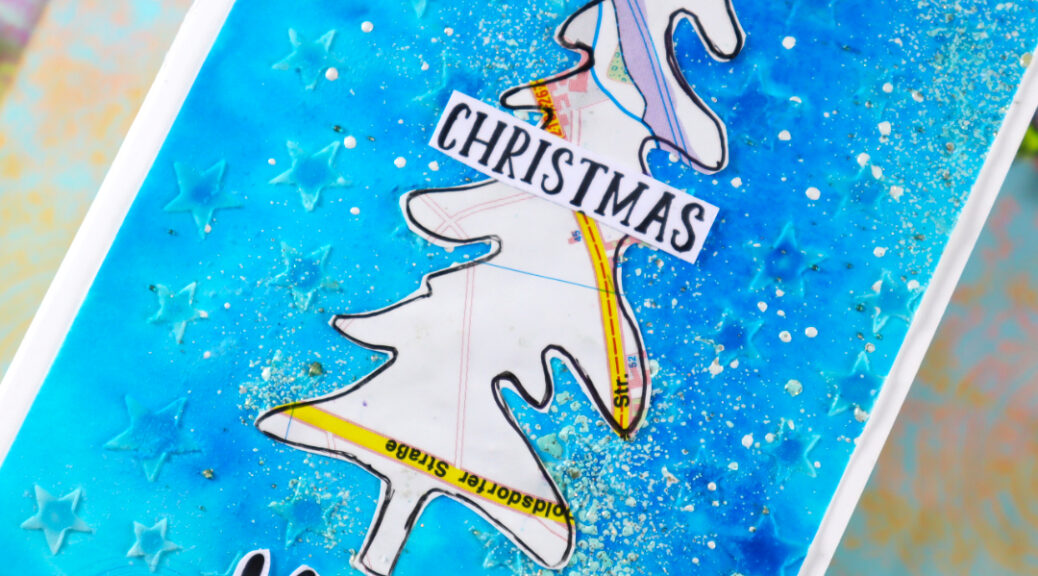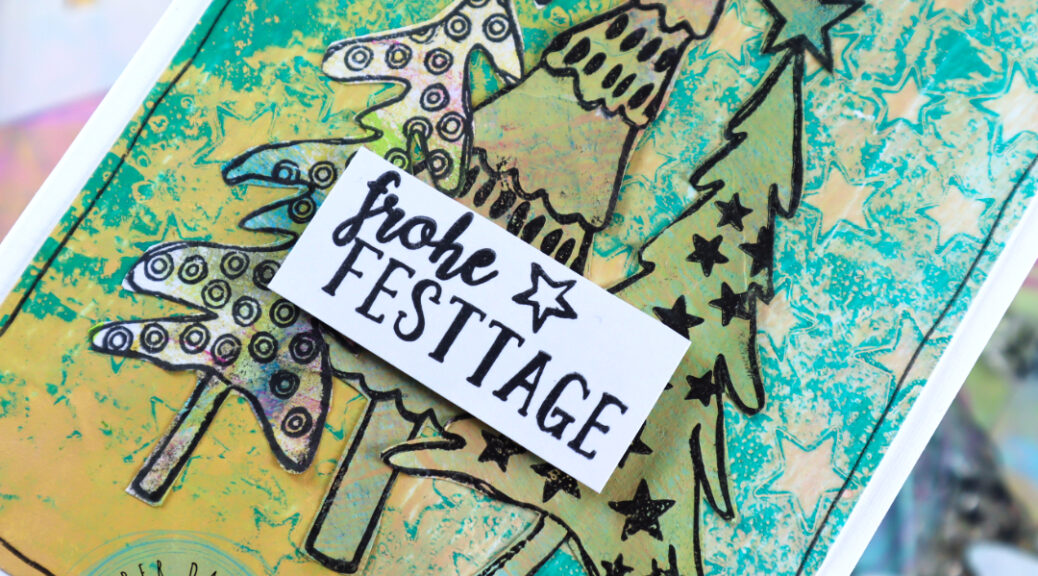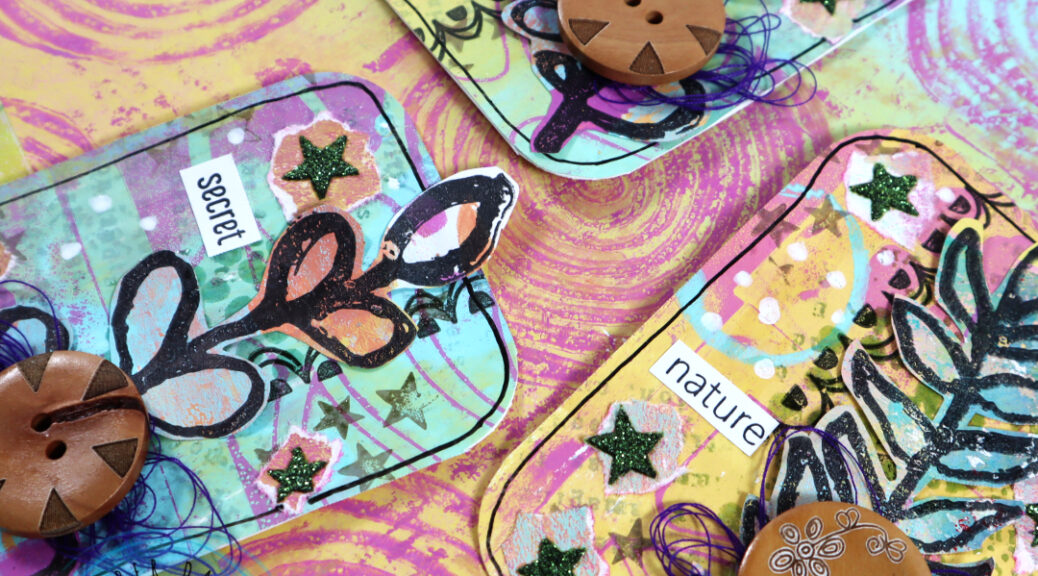
Hello, I am again up over at Rubber Dance blog with another project share. This time I have a set of stamped Artist Trading Cards with a video tutorial for your inspiration. For this set I used a gelli printed background paper, where I used the Marks 2 and Organic 3 stencils with acrylic paints to create the paper. The following layers were done using Pencil Marks 8 and Mix It Up 4 stamp sets and the Stars 1 stencil.

I started by stamping first with Mix It Up 4 stamp set and brown and grey shadow inks onto the paper. Next I stamped some circles with Pencil Marks 8 stamp set and applied Distress embossing glaze (weathered wood) with a heat tool on top.


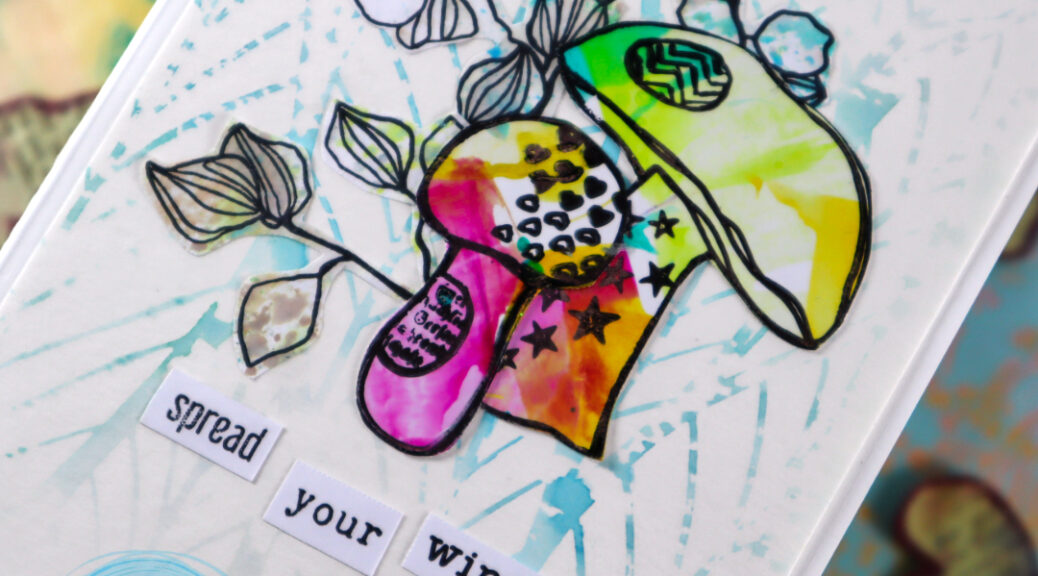
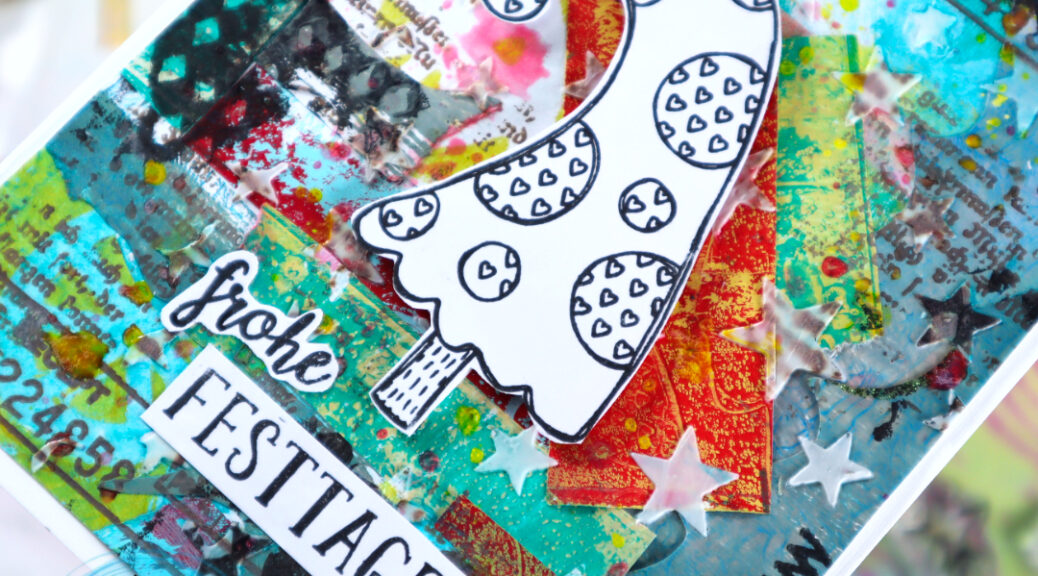
Next I grabbed the scallop border stamp from the Mix It Up 4 stamp set and stamped with black ink onto the paper. After that I took some pre-made paper that had stenciled glitter paste on it (thru Stars 1 stencil). I wripped some stars from the paper and adhered them randomly onto the background. Next I decorated the ATC´s with leaf collage fodder (see the reel for that here), some yarn and a wooden button. For finishing touches I added some black pen outlining, some white Posca dots and a stamped and fussy cut sentiment from the Mix a Sentiment 2023 stamp set.
Here is a start-to-finish video for you to watch. Hope you enjoy it!
See you again soon with another inspirational project. Happy crafting!
xxx, Sanna
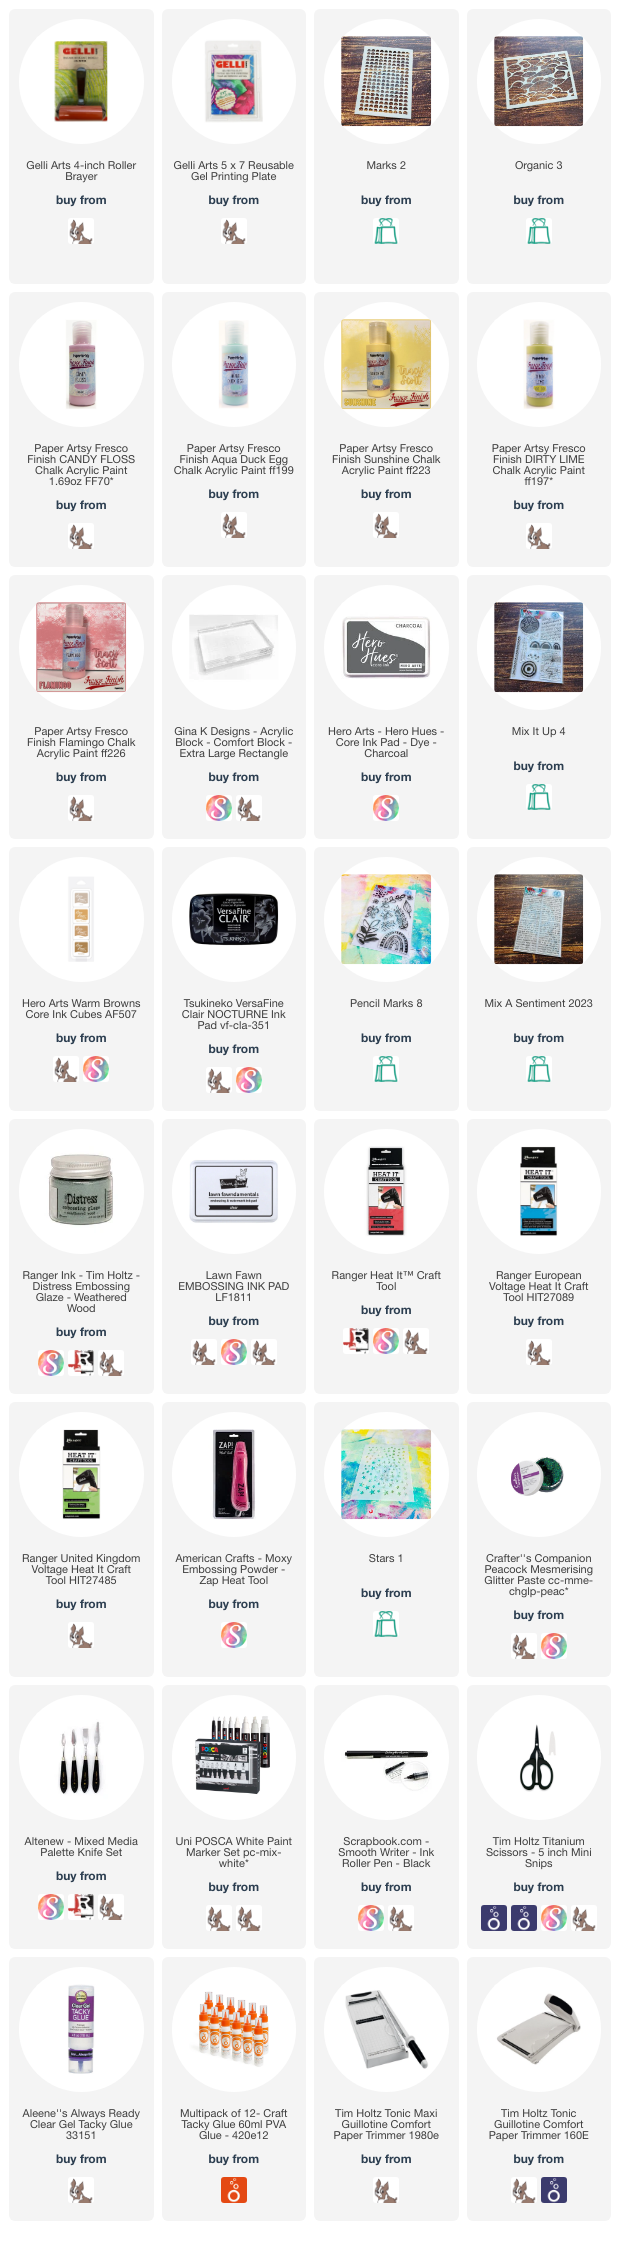
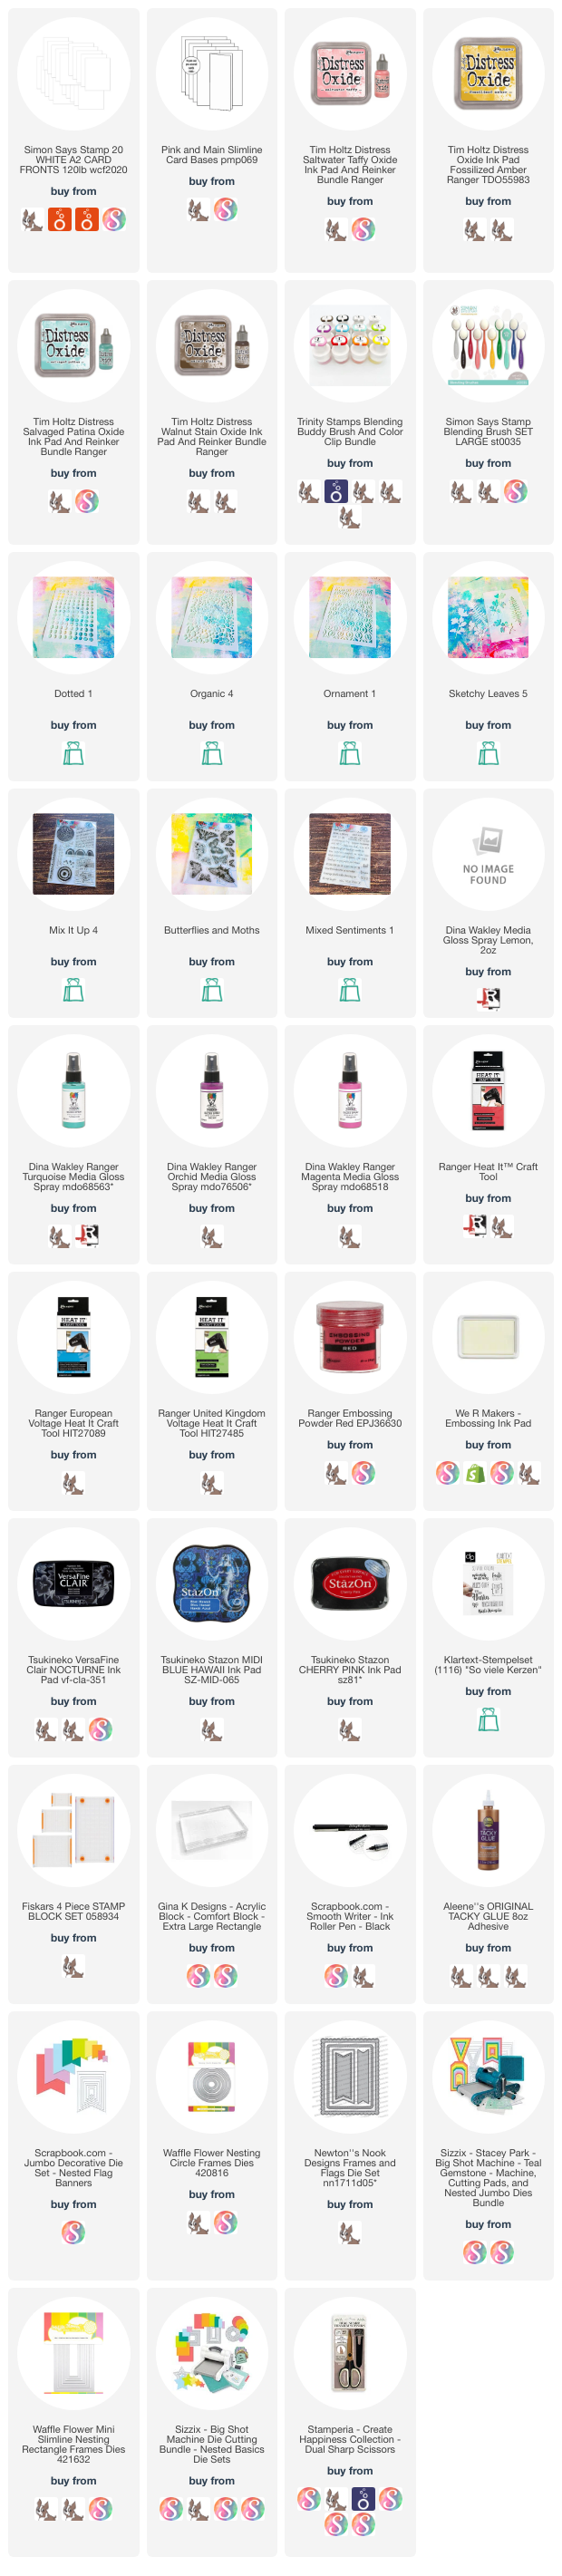
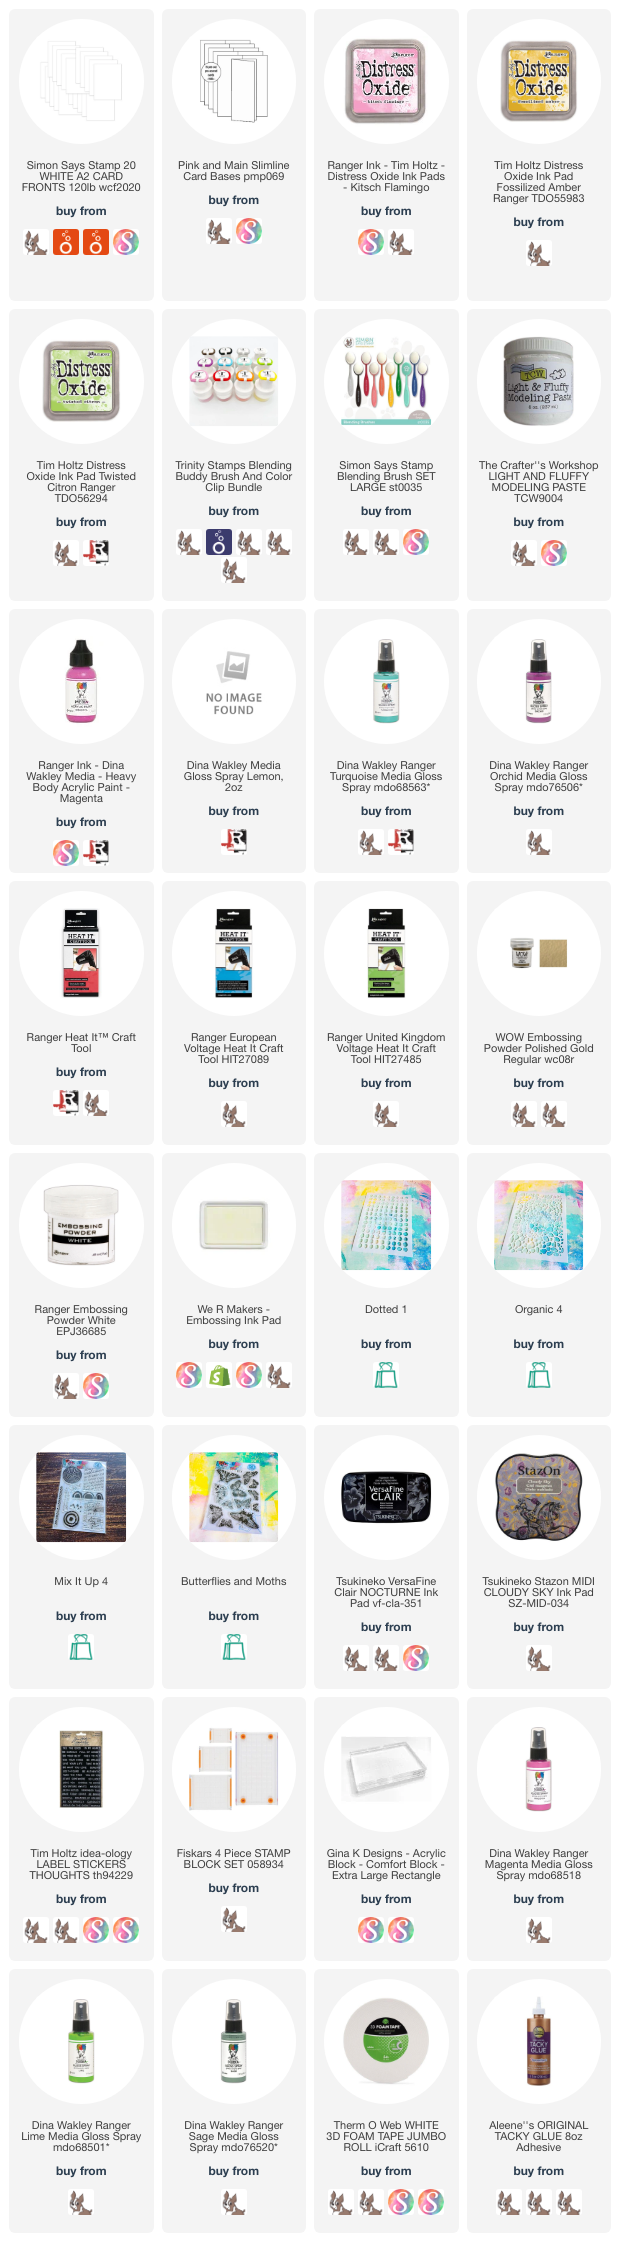
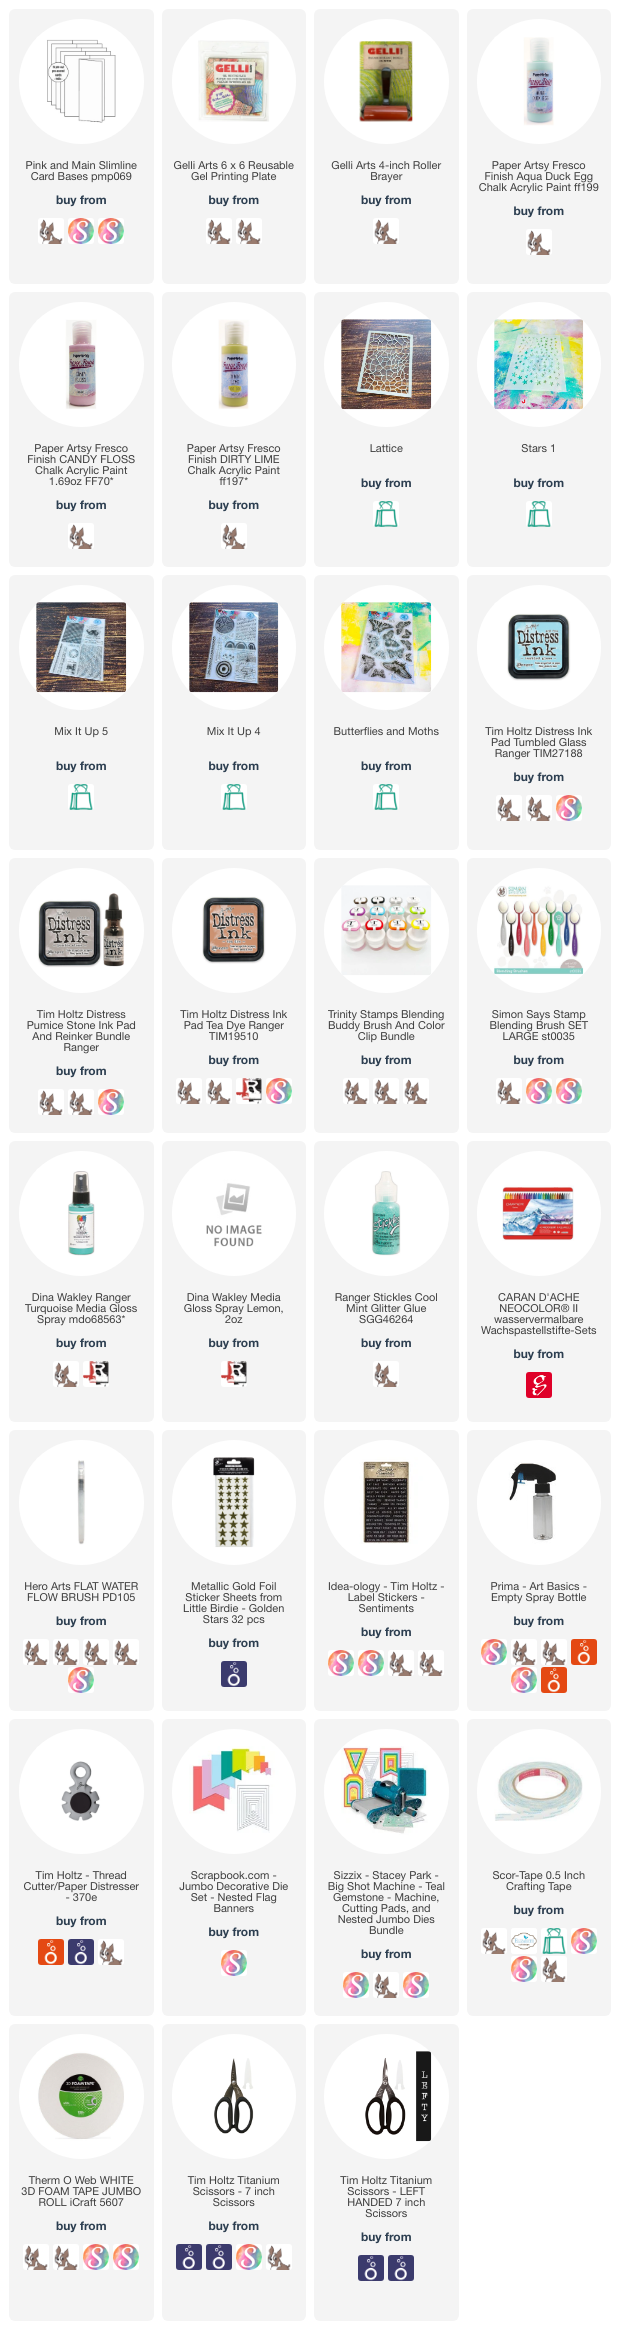
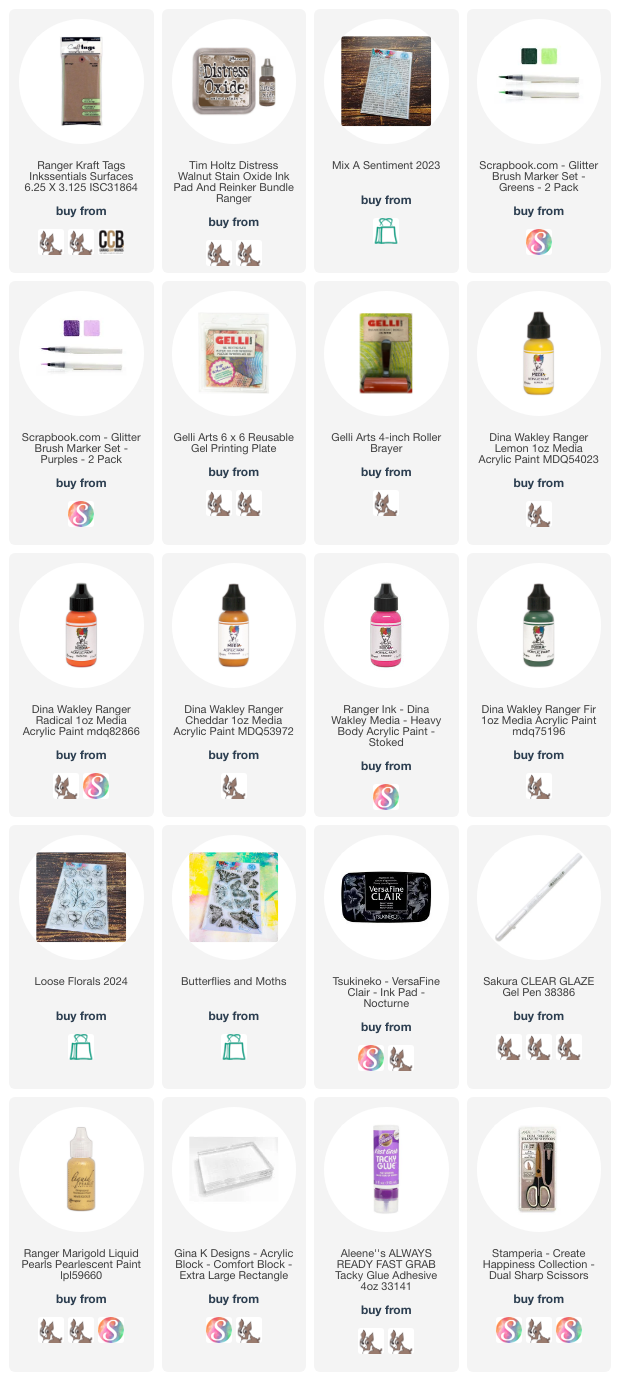
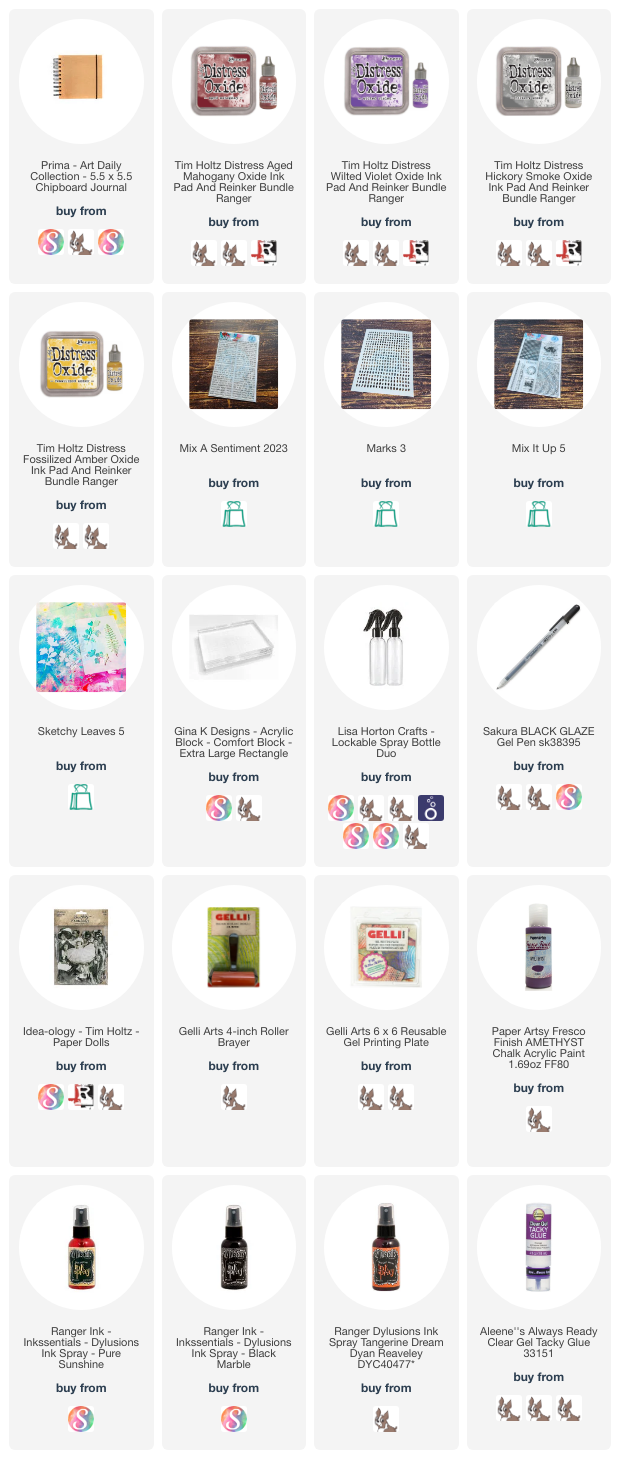
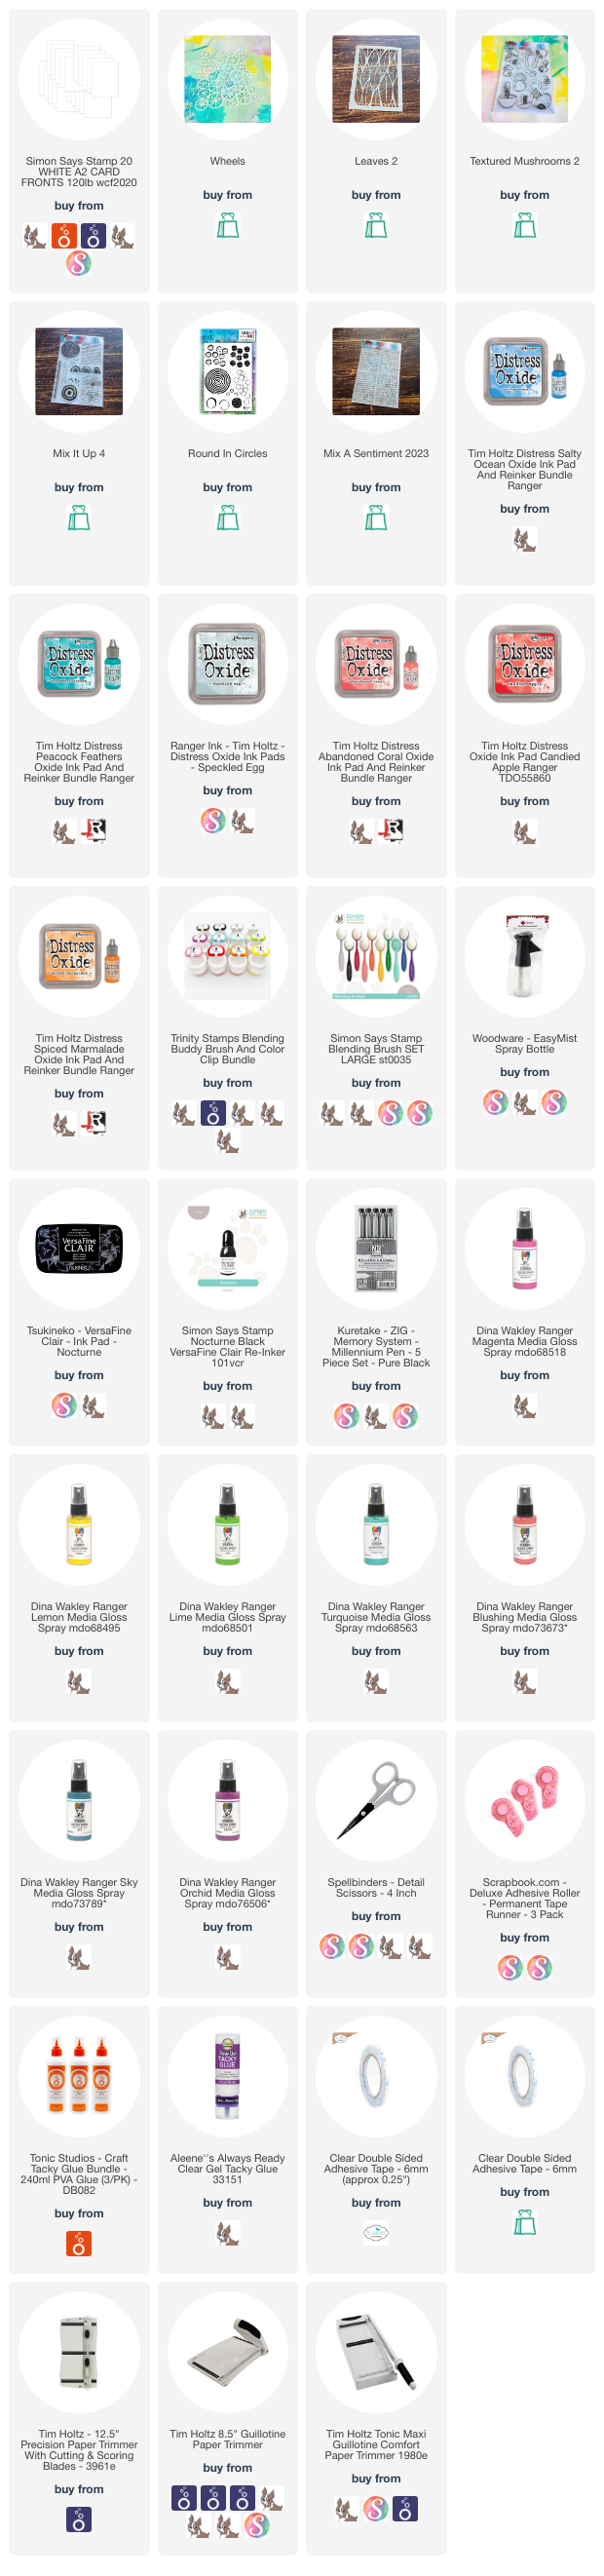
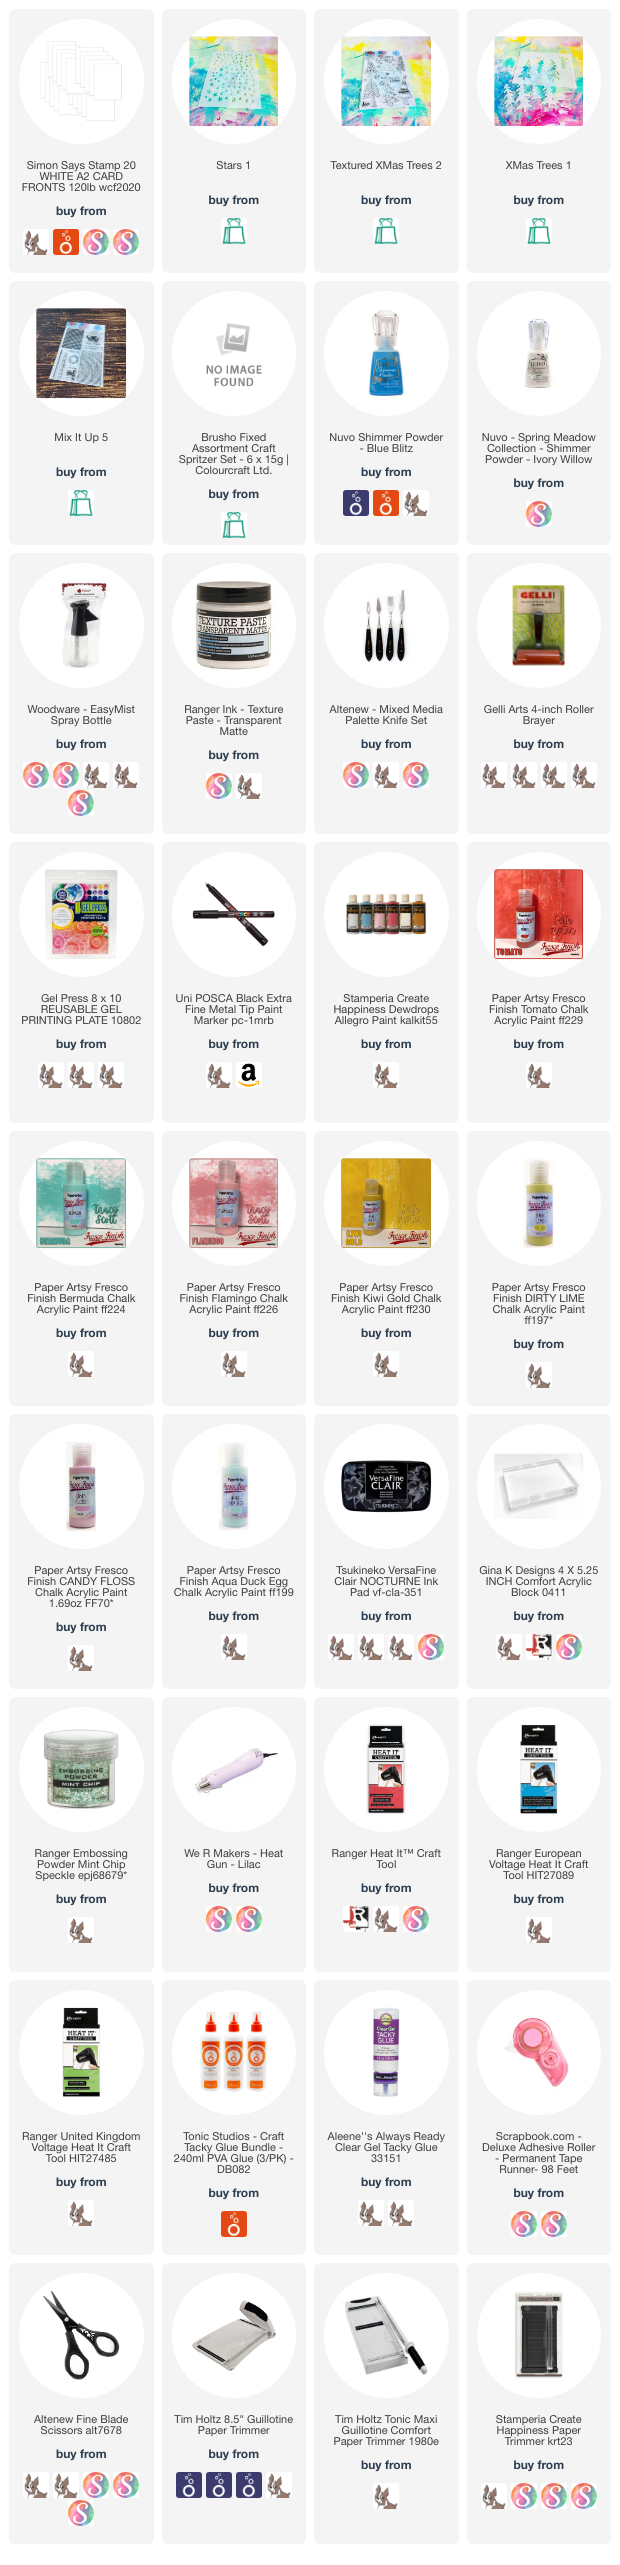
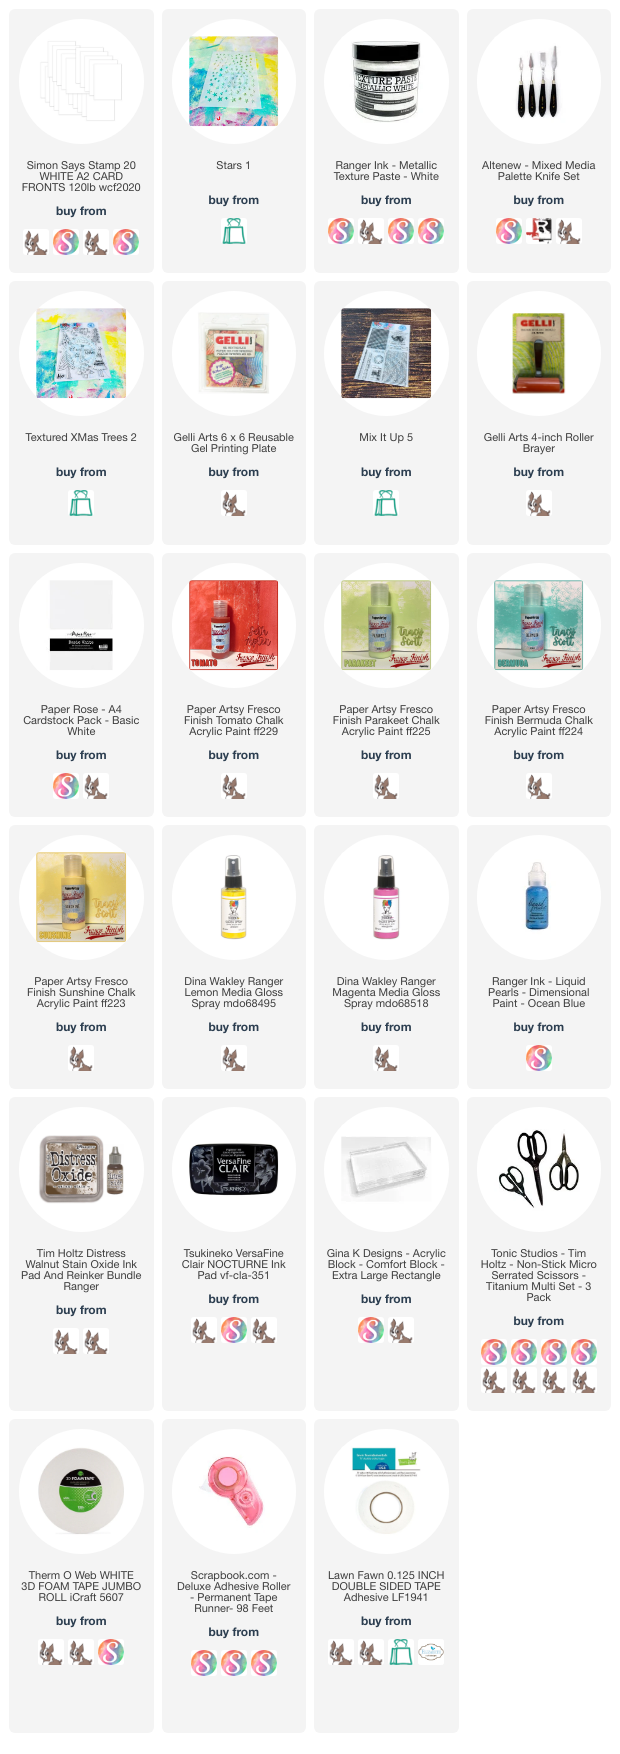
Supplies: