Tag Archives: modeling paste

Spring Art Journal page with tinted modeling paste and stencils – Rubber Dance

Hello, it´s my turn to share a. project over at Rubber Dance blog again. Today I am sharing a page from my art journal that started from a mark making play and ended up being a bright spring themed page. I used the Dotted 1, Organic 4 and Marks 3 stencils and the Mix It Up 5 stamp set to create the page. I also added previously made collage fodder bits done with Doodle Flowers 2 and Butterflies and Moths stamp sets.

This is how my creating process went. I always have a journal close to me, when creating on other projects. That way I can wipe and add random layers to my journal with residue paints, inks and pastes. In the first photo you can see I added some residue pink paint, then some black mark making to the journal page. Next I mixed some modeling paste with neon pink and yellow paint and sky blue paint together and applied those onto the background thru the previously mentioned stencils. I love to tint my white modeling paste with acrylic paints to create different colors.

While the paste was drying, I took a pink tag and stamped some Distress Oxide Ink (kitsch flamingo) with one of the Mix It Up 5 stamp set stamps. Then I grabbed a small piece of residue gelli printed paper, stamped with the same set and black ink some images onto the piece and adhered it onto the tag. After that I arranged a cluster of leaves and flowers to the tag and cut off any residue along the edges.

After that I adhered the tag onto the journal page, created a sentiment with sticker and paper alphas and added some Gloss Spray splatters for finishing touches (Medieval).

Have you tried creating your own tinted modeling pastes? It´s a fun way to add some interest to any project (journal, wall art, card background). It also adds a nice texture and depth to a project. Wishing you a fun time playing with stencils and modeling paste!! If you missed how the fodder was done, you can watch the videos and the photo tutorial here, here and here.

Happy creating!
xxx, Sanna

Supplies:

Residue gelli printing paper as card focal point – Rubber Dance

Hello, it´s my turn for a project share over at Rubber Dance blog today. I am up with a fun card project, created using residue gelli printing paper that I turned into card focal points. For this project I used the Dotted 1 and Organic 4 stencils and Mix It Up 4 as well as Butterflies and Moths stamp sets.

When gelli printing, I always take a sheet or two of paper to brayer the residue paint and/or lift paint from the gel plate on to. So sometimes these paper sheets are full of paint layers and I figured, I could upcycle them and make something fun of them.

I first took some die cut dies out and die cut the paper sheets into smaller pieces (circles, banners etc.). Next I took out the Dotted 1 and Organic 4 stencils and added some white and golden heat embossing powder areas to the die cut papers. Next I mixed white modeling paste with magenta acrylic paint together and applied the paste thru the Dotted 1 stencil onto the die cut pieces.

After that I took the Mix It Up 4 stamp set and added stamped details with black and light grey stamping ink to the pieces. After that ink and tinted modeling paste was dry, I added some Gloss Spray details in yellow, turquoise and fuchsia on top.

Now all I needed to do, was to stamp some details to the white card bases with Distress Oxide Inks and the Mix It Up 4 stamp set. I chose lighter colors as a contrast to the bold focal point pieces here. I then adhered the die cut focal point pieces with 3D foam tape onto the card bases, added some Butterflies and Moths fodder to go with them and chose a sticker sentiment to each card. For finishing touches I added a few Gloss Spray droplets alongside the card sentiments for additional interest.

Here is a video on the creating process for you to watch. I hope you get inspired by it!

Happy crafting,
xxx, Sanna

Supplies:

Wedding card in shabby chic style

Hello and happy Wednesday! Today I am sharing a new card creation with you. This time for a wedding theme.
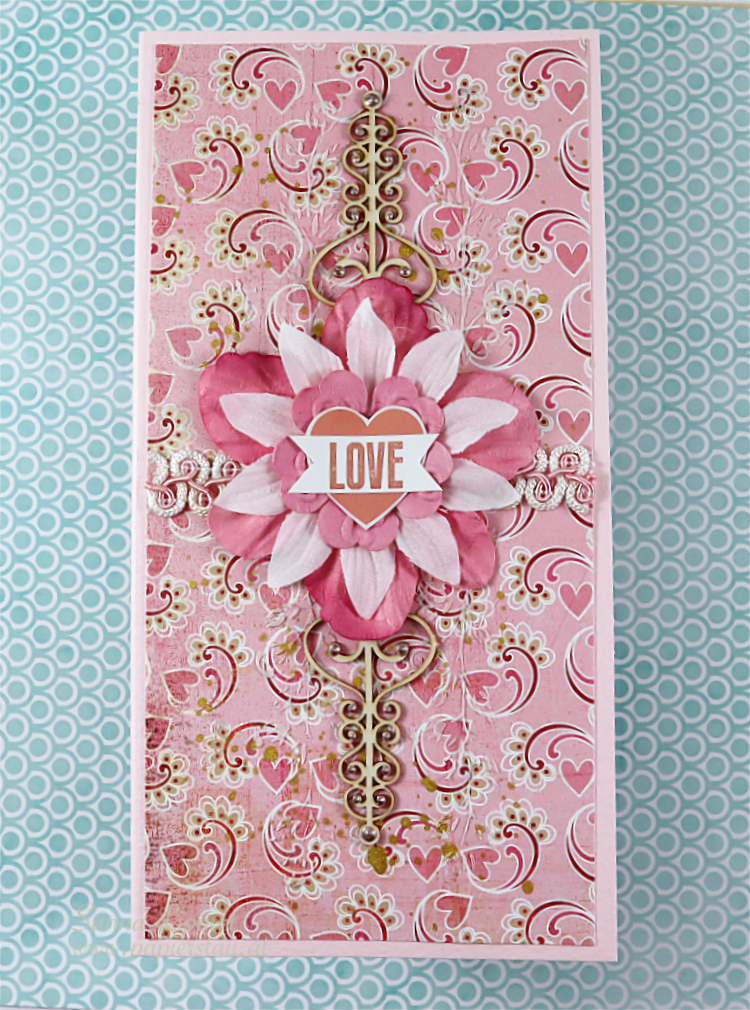
This is a slimline card with lots of pink tones on it. I have used older paper collections from my stash for the background (Basic Grey, anyone?). On top of that I have some modeling paste applied thru a The Crafter´s Workshop stencil in size 6×6. It´s small rose branches going up and down next to the Wycinanka chipboard piece.
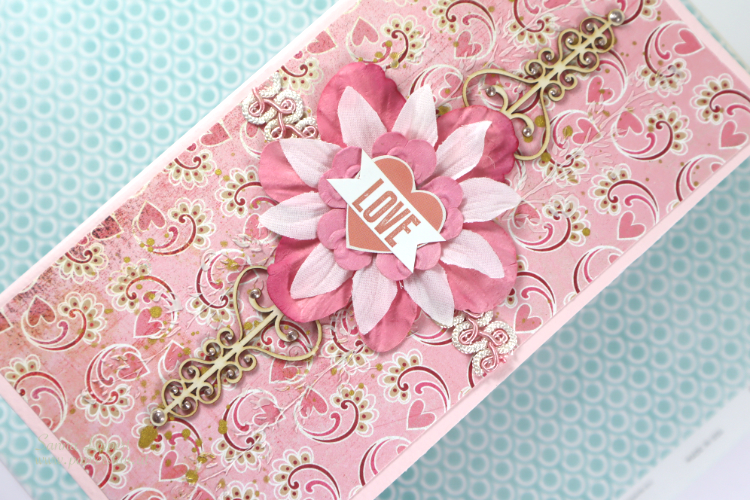
I also added some golden splatters with Gansai Tambi golden pigments here and there on the background. And as a centerpiece I layered pink and white flowers and added some Teresa Collins wedding themed stickers on top. There is also a pink and white ribbon going across the card under the flowers.
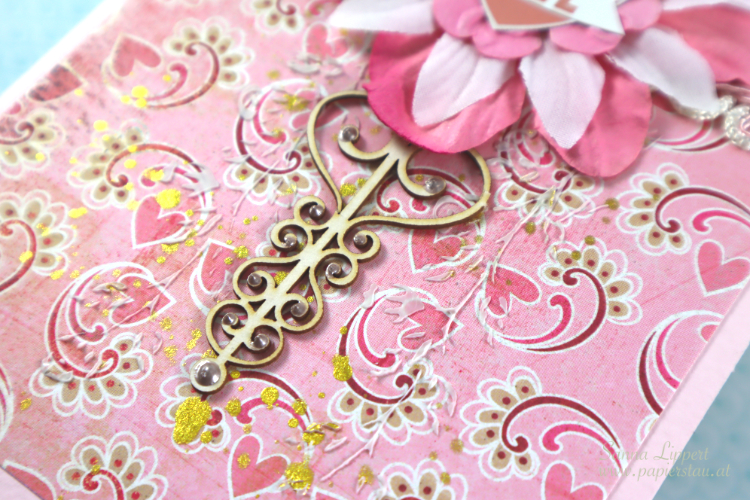
And onto the chipboard pieces I have added some Nuvo Drops for detail. Since the bride loves pink, I totally went with her color favorite for this card ;-). And luckily, she really liked the card :).

I hope you got inspired to a) use some older product from your stash and b) to create some fun cards yourself!! Wishing you a lovely day &
Happy crafting,
xxx, Sanna

Supplies (alternative product suggestions):