Hello everyone and happy Monday! I have a clean and simple wedding card share up for you today.
I mounted the heart foiled white cardstock piece onto a pink toned card base. But before doing that, I mounted a pink patterned paper behind the die cut heart area. I then added a 49andMarket rub-on sentiment to the pink heart area. Next I decorated the heart with half pearls and paper flowers in one corner. I also added some pearly leaves next to the paper flower for decor.
I really like the effect the foiled heart paper creates. And the focal point without any other details around makes the card look more elegant.
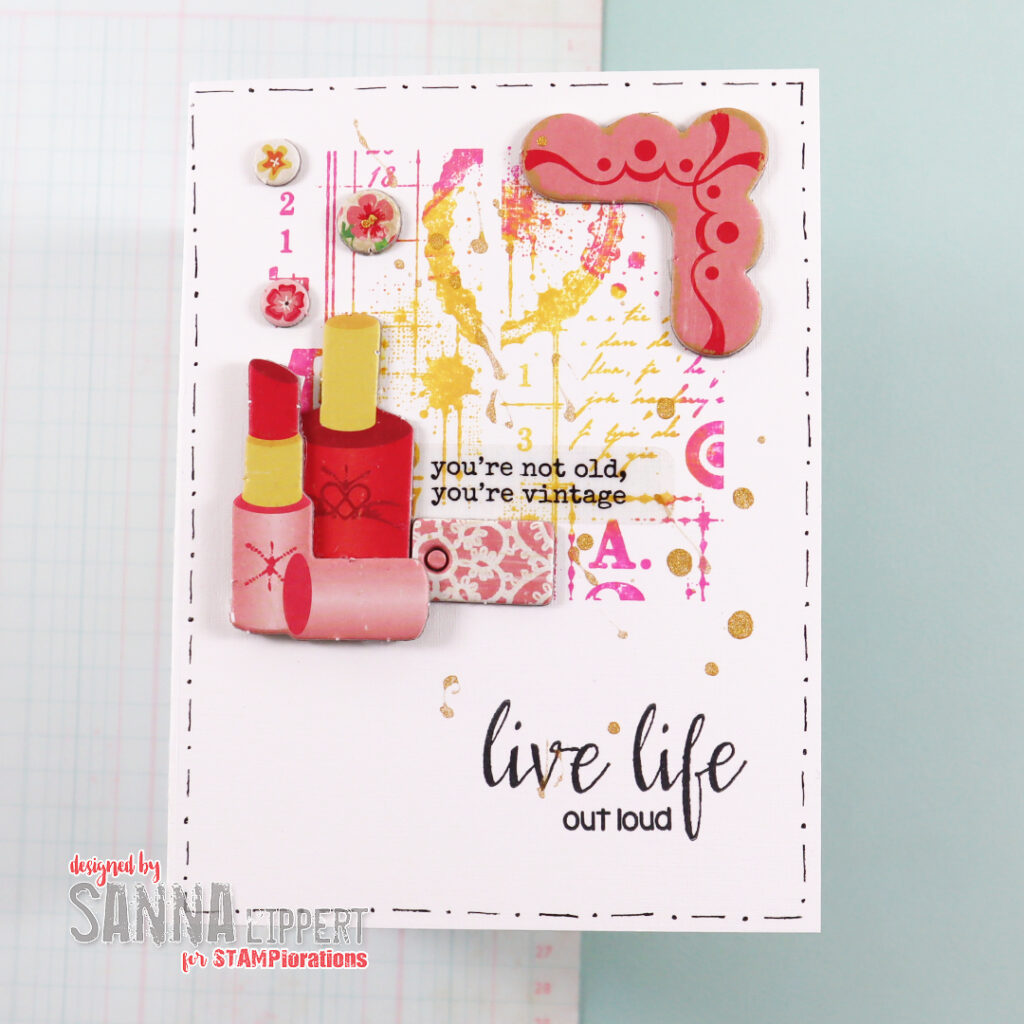
Hello and happy Sunday! Here is a slimline card I created for a 60th birthday.
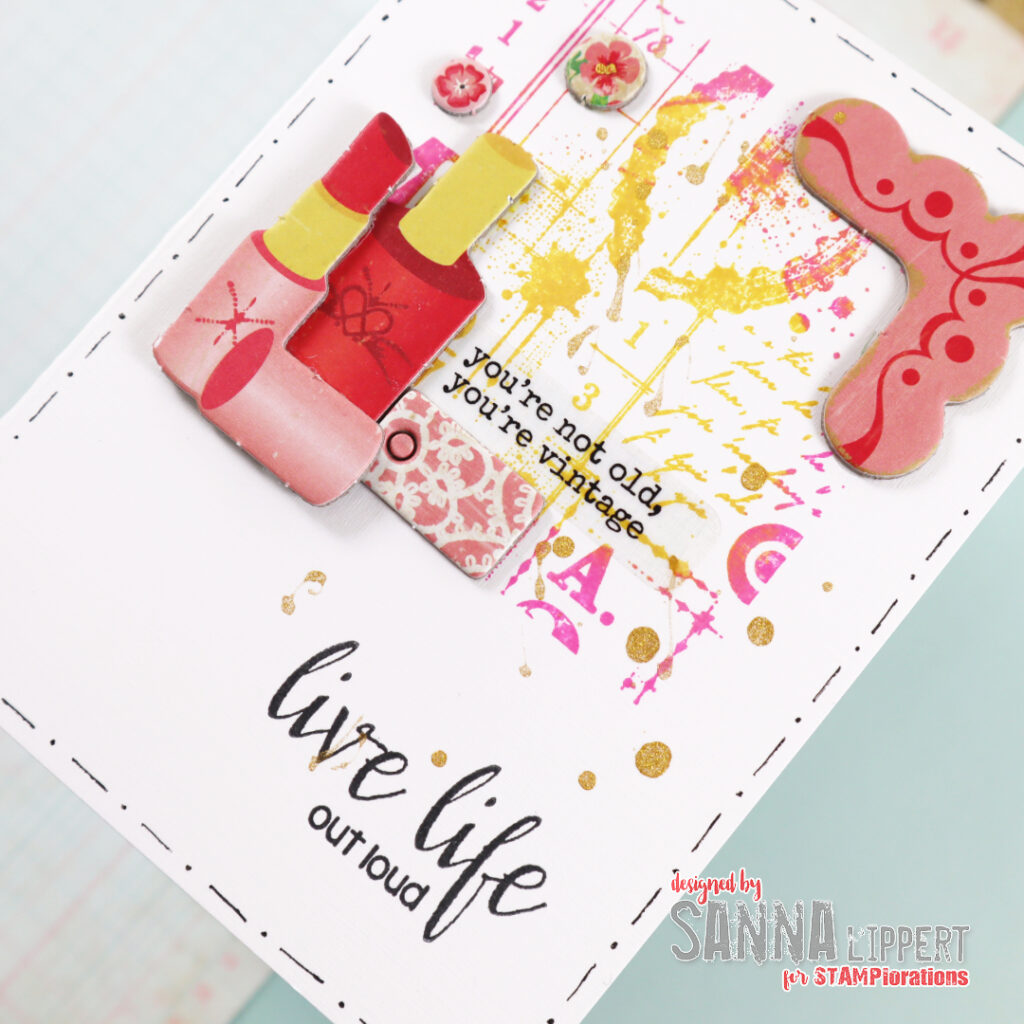
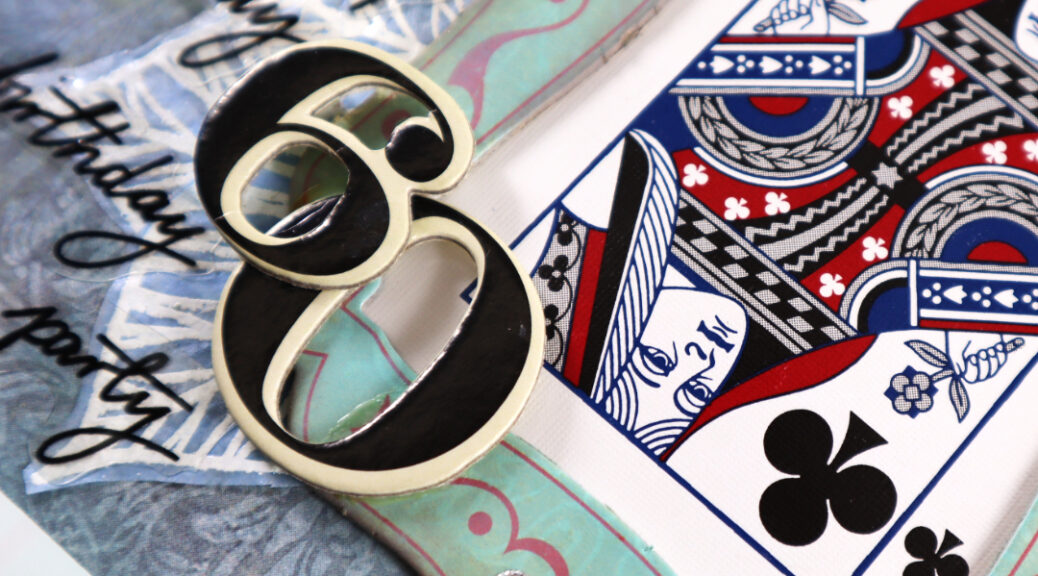
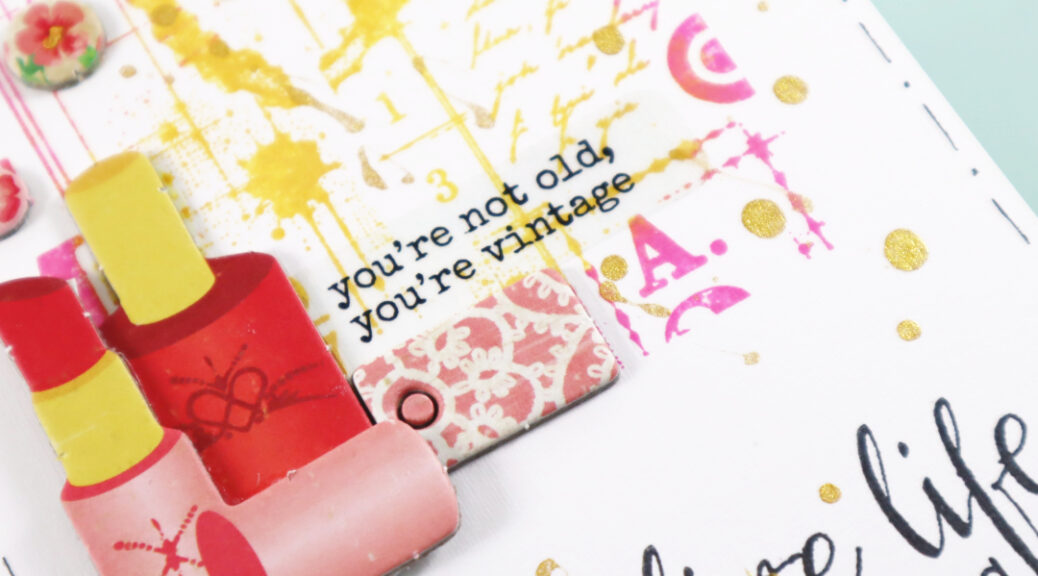
I´ve used patterned paper from my older stash with some lace ribbon and a chipboard border image from back in the day. Also added as a centerpiece is a paper flower in bright red and a ephemera piece to adhere the Thickers foam number onto. I´ve outlined the card with a white gel pen and finished the card off with a happy birthday sentiment by Rubber Dance (this set).
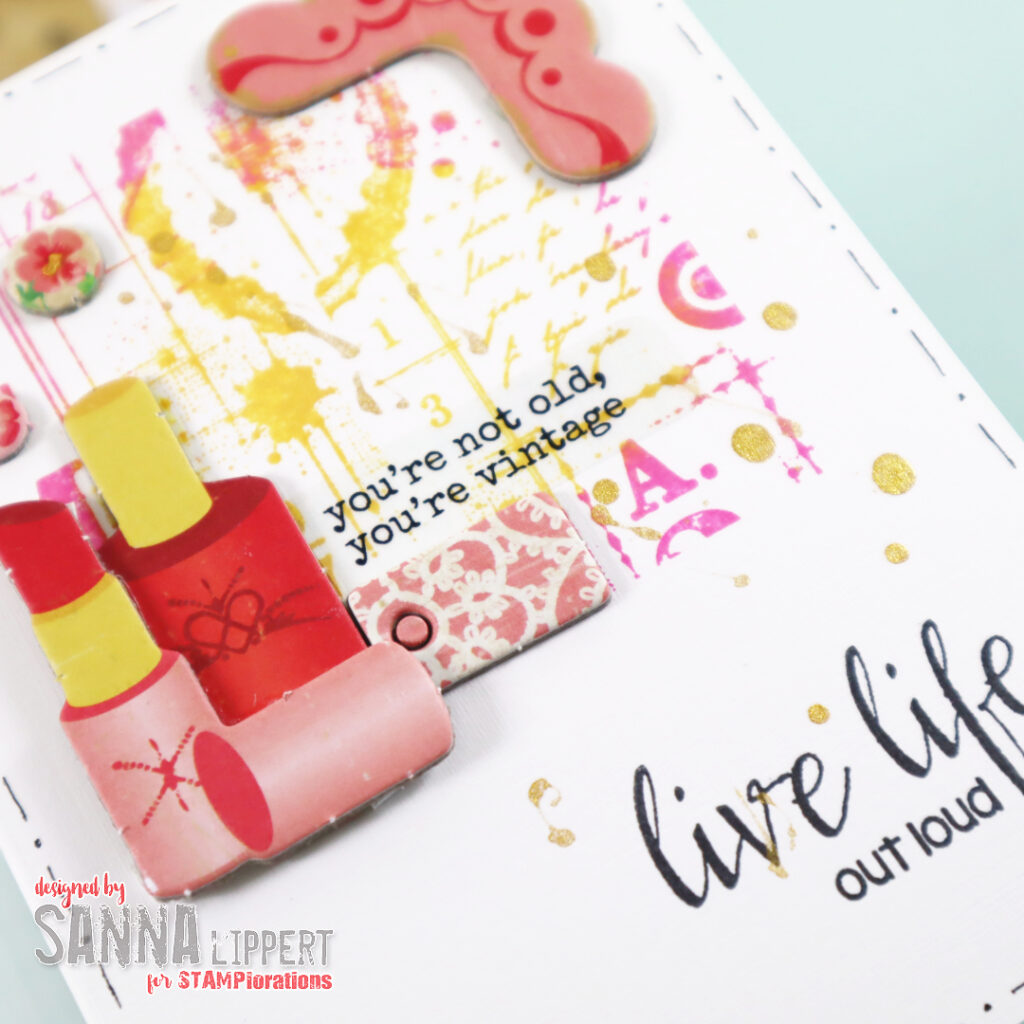
Also, on the close-up photos you can see some tiny white flowers here and there on the background. They are older rub-ons from my stash and I have added some half pearls into the middle for some extra texture.
I like how this turned out! Hope you get inspired! xxx, Sanna
Hello everyone and happy Friday! I have a clean and simple wedding card share up for you today.
I mounted the dry embossed, glossy/shiny white paper onto a piece of peach toned cardstock. But before that, I mounted a rose image behind the die cut heart area. Before adhering the paper on place I took a piece of white ribbon and added a 49andMarket rub-on sentiment to the ribbon. I then decorated it with a golden enamel heart. To add some more golden details, I added some half pearls around the die cut area.
The card is very simple in design and has plenty of white space in it. I love how elegant the shimmery dry embossed paper makes the card look.
I stared by wripping the floral background paper quite randomly and adhering it to the card base. That way I had some white space left to adhere the Floral Magic clear sticker to the white space underneath. I then fussy cut and adhered the Floral Parade Ephemera Cut-Out on place and added some outlining with a black marker.
I first cut the dark green paper into size, then adhered it on place. After that I fussy cut and adhered the Nostalgia #1 Ephemera Cut-Out as a centerpiece. I then adhered the Nostalgic #1 clear sticker onto white cardstock, then cut that into size and adhered it onto the card base. I then decorated the card with a few enamel elements (arrow and hearts) and added faux stitching around the edges with a white gel pen.
For this card I just adhered the Old Letters Pocket Backdrops paper onto the card base, then added the Flowers and Coffee Focal Front element. After that I fussy cut the croissant from the All Things Coffee Ephemera sheet and adhered it next to the coffee cup. The clear sticker is adhered on white cardstock, then cut into size and adhered to the card. The only “old” product added to this card is the brown Distress Oxide Ink around the edges of the paper.
Here is a quick peek into Flowers + Coffee Focal Fronts:
How to celebrate with us:
DAILY GIVEAWAY: you can enter this one by commenting on the STAMPlorations blog DAY 5 celebration post with your absolute favorite new product featured one of the projects of that day. One winner will be drawn from the daily post and will win the specific product of your choice.
SHOPPING PERK: For US participants there will be free shipping on orders of 25 USD or more, valid thru the celebration week only. Plus a freebie of the moth for orders.
The birthday celebration will go until 3rd of July. This will also be the day when the Wishlist party will officially close. The winners will be announced on Monday, the 6th of July.
Hope you will join in with us and celebrate 13 years of STAMPlorations!! xx, Sanna
I placed the stencil directly onto the card base, applied various tones of Distress Oxide inks thru the stencil pattern to create a bold background. Next I colored the cupcake with alcohol markers and adhered it onto the card base. Finally, I stamped the Sweet Cravings set´s sentiments directly onto the card with black ink.
I simply stenciled the Henna Pattern directly onto the card base by moving it around and creating a full surface random pattern. Next I fussy cut the Nostalgia #1 Ephemera Cut-Outs and adhered the into a cluster onto the card. For finishing touches I added some stamping with Sweet Cravings stamp set and some black ink splatters. I also outlined the card base with a black pen (faux stitching).
Here is a quick peek into Big Cupcakes and Big Birthday Cakes Colorables:
How to celebrate with us:
DAILY GIVEAWAY: you can enter this one by commenting on the STAMPlorations blog DAY 4 celebration post with your absolute favorite new product featured one of the projects of that day. One winner will be drawn from the daily post and will win the specific product of your choice.
SHOPPING PERK: For US participants there will be free shipping on orders of 25 USD or more, valid thru the celebration week only. Plus a freebie of the moth for orders.
The birthday celebration will go until 3rd of July. This will also be the day when the Wishlist party will officially close. The winners will be announced on Monday, the 6th of July.
Hope you will join in with us and celebrate 13 years of STAMPlorations!! xx, Sanna
I started by placing the Modern Envelopes stencil onto the Old Letter Pocket Backdrop paper and stenciling with brown Distress Oxide Ink thru it. Next I fussy cut the All Things Coffee Ephemera Cut-Out image and adhered it to the background. In addition, I stamped a sentiment with the Feathery stamp set and brown ink and adhered it to the card. After that I took a white card base, inked the corners all around with brown ink and then adhered the paper on place.
Here is a quick peek into the new Old Letter Pocket Backdrop papers:
How to celebrate with us:
DAILY GIVEAWAY: you can enter this one by commenting on the STAMPlorations blog DAY 3 celebration post with your absolute favorite new product featured one of the projects of that day. One winner will be drawn from the daily post and will win the specific product of your choice.
SHOPPING PERK: For US participants there will be free shipping on orders of 25 USD or more, valid thru the celebration week only. Plus a freebie of the moth for orders.
The birthday celebration will go until 3rd of July. This will also be the day when the Wishlist party will officially close. The winners will be announced on Monday, the 6th of July.
Hope you will join in with us and celebrate 13 years of STAMPlorations!! xx, Sanna
I first placed the Profile 2 stencil onto a white card base, then directly inked with various yellow and pink/red and brown toned Distress Oxide Inks thru the stencil creating a multi-colored face image. I also used the same ink tones to add some random stamping to the hair using the Mixed Media Grunge stamp set. I then went on to outline the image with a black pen along the stencil lines. After that I used a light green Distress Oxide Ink tone with the Henna Pattern stencil to add details to the background. Finally, I finished the card with a Sweet Cravings set stamped sentiment.
Here is peek into the new stencils:
How to celebrate with us:
DAILY GIVEAWAY: you can enter this one by commenting on the STAMPlorations blog DAY 2 celebration post with your absolute favorite new product featured one of the projects of that day. One winner will be drawn from the daily post and will win the specific product of your choice.
SHOPPING PERK: For US participants there will be free shipping on orders of 25 USD or more, valid thru the celebration week only. Plus a freebie of the moth for orders.
The birthday celebration will go until 3rd of July. This will also be the day when the Wishlist party will officially close. The winners will be announced on Monday, the 6th of July.
Hope you will join in with us and celebrate 13 years of STAMPlorations!! xx, Sanna
Like on my art journal page (see details here) I used the tinted paste residues from that project for this card background. I placed the Rainbows 2 stencil onto a piece of white paper and wiped the tinted pastes thru it onto the paper very randomly. I then let the pastes dry and added some stamping with the Pencil Marks 8 stamp and a grey stamp ink.
On top of the paste I stamped with the Mix It Up 5 stamp set and the text stamp with brown ink. It adds an interesting detail to the stenciled surface. I finished the card off with a sticker sentiment and stamped flower and leaf images from the Pencil Marks 8 stamp set. I stamped onto a piece of music paper here too, to add more interest to the images.
This is a great way to use up any leftover pastes and to create interesting looking starting points for cards. I hope you like the idea and grab some pastes to make fun card backgrounds of your own.
Hello everyone and welcome to the STAMPlorations Never-ending Anything Goes Challenge! We are changing things up abit at STAMPlorations challenges and this is a new format.
This challenge will start on June 5th and will not end. A new winner will be drawn every time 50 challenge entries are reached and it will go on no-stop from there (read more here).
It´s a folded card, decorated on all sides and closes with a twine and some brads. I hope you get inspired by it and join in on the STAMPlorations challenge!!! Hope to see many of you there! And also, don´t forget to check out the various subscription packages, Shery has on offer and be sure to check out the blowout sale too! As new products are coming in, she is offering other stock with reduced prizes. So if you considered doing some shopping, now is a perfect time to do so :).
Hello everyone! Today I am stopping by to remind you of the current STAMPlorations May challenge. It is still possible to join in on the fun and submit your creations!!
For a strong contrast I used a dark blue cardstock to adhere the fussy cut feathers on. A simple stamped sentiment (from the same stamp set) added on white paper with some enamel hearts finishes the card off.
I like the clean and simple look of this card. Now is your turn. Make sure to follow the rules (read here) and submit your take latest 30th of May to be eligible for prizes. Also, don´t forget to have fun creating!!! xx, Sanna