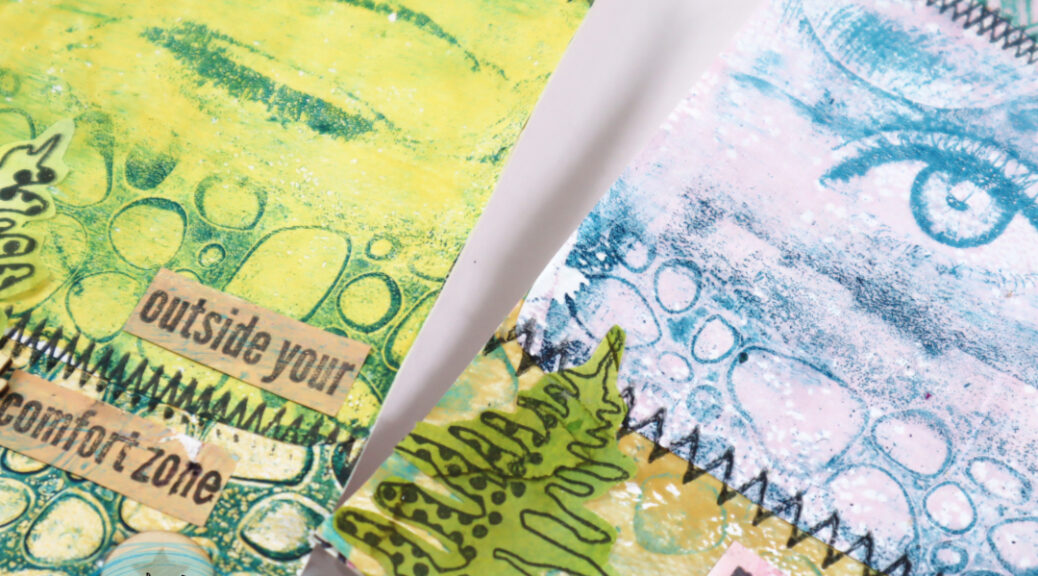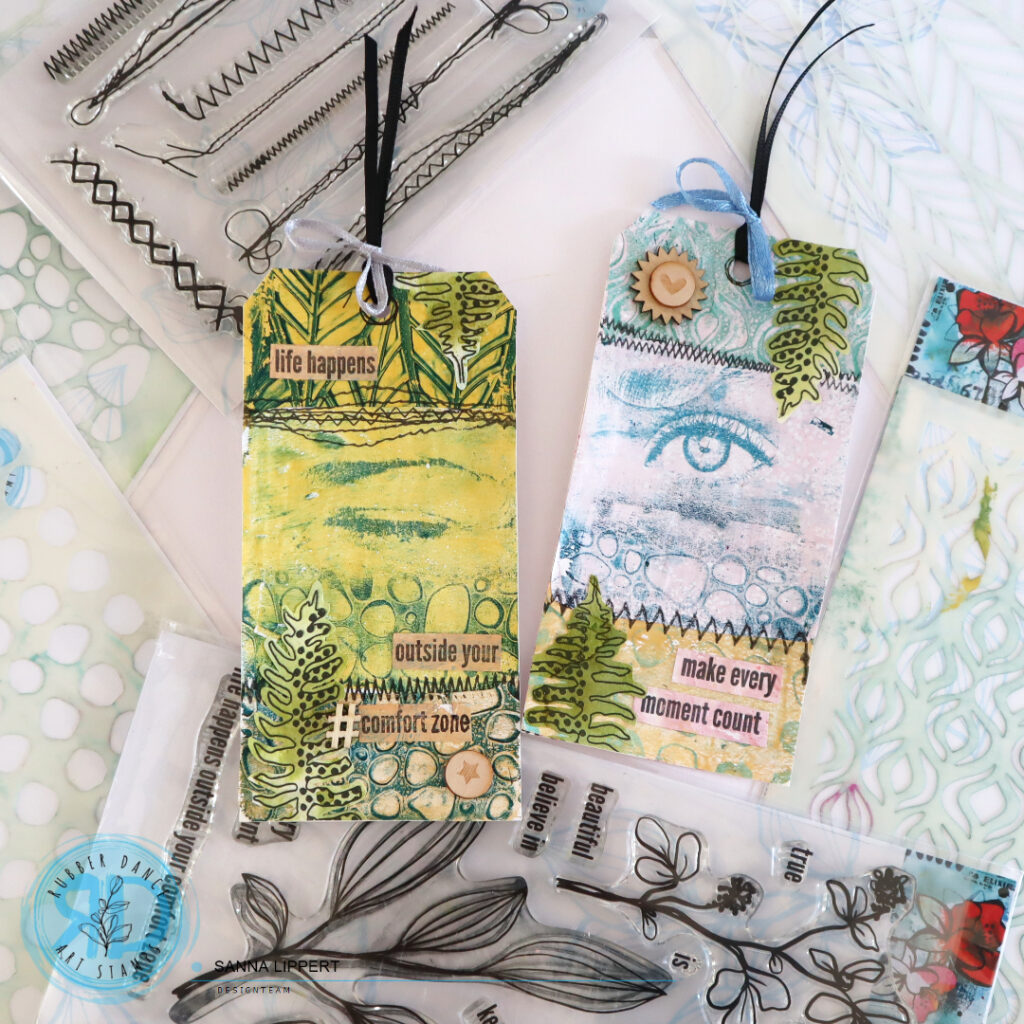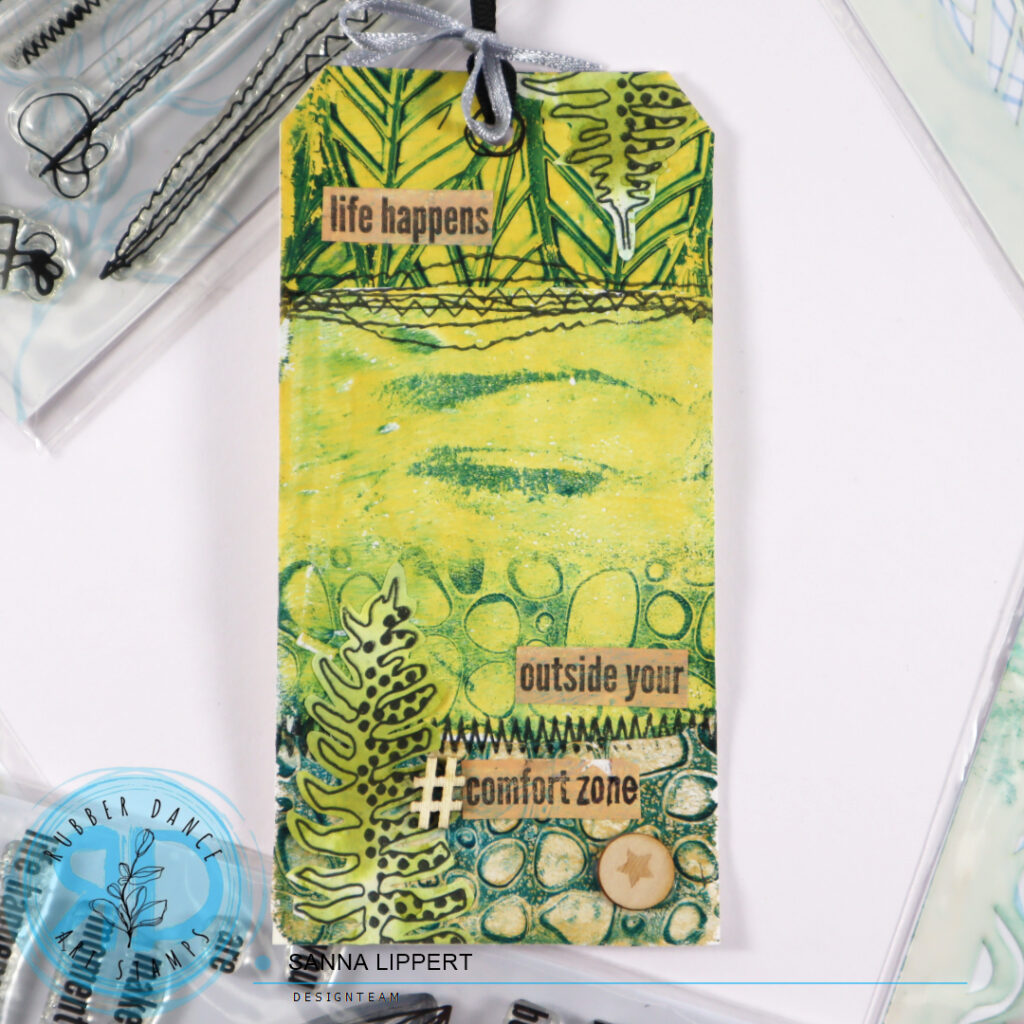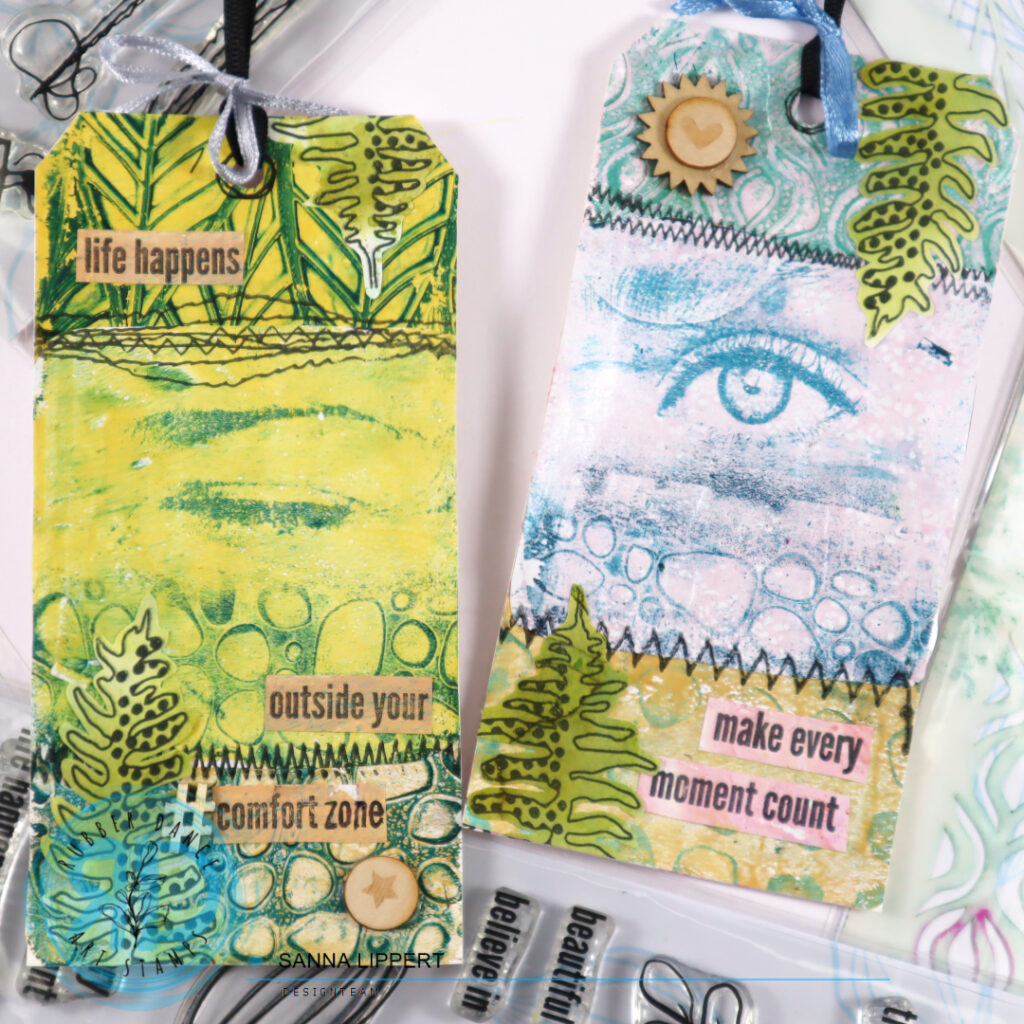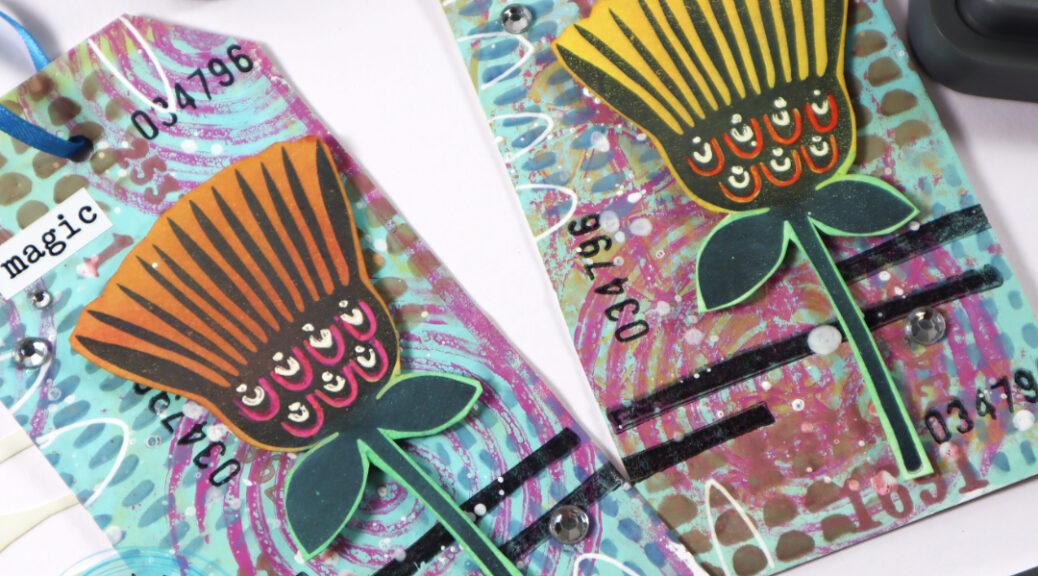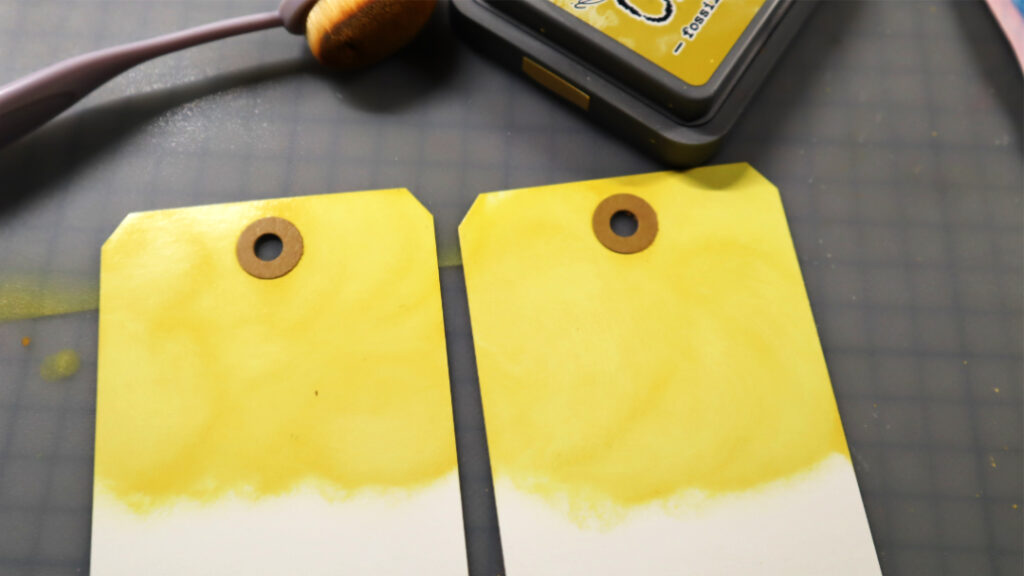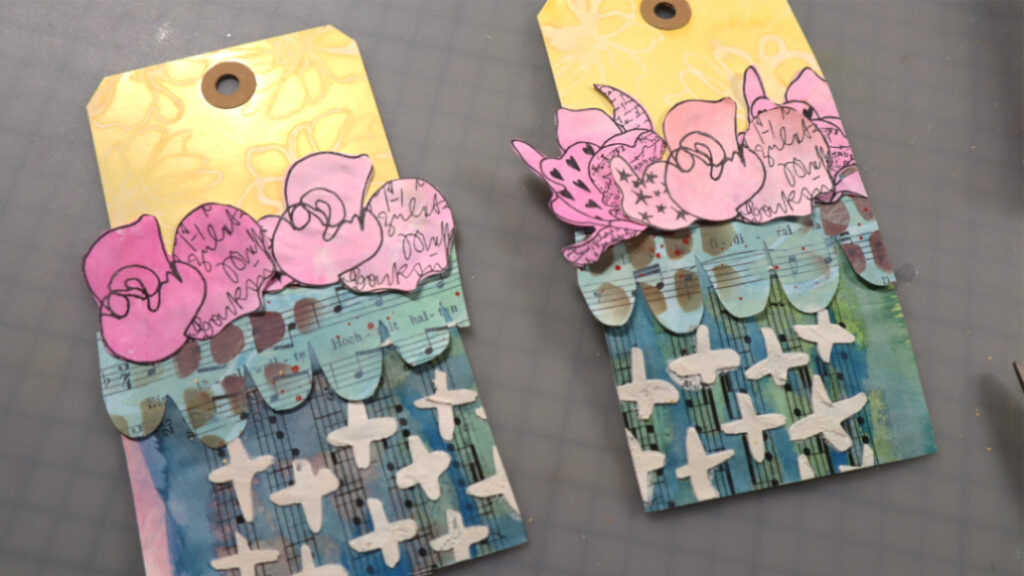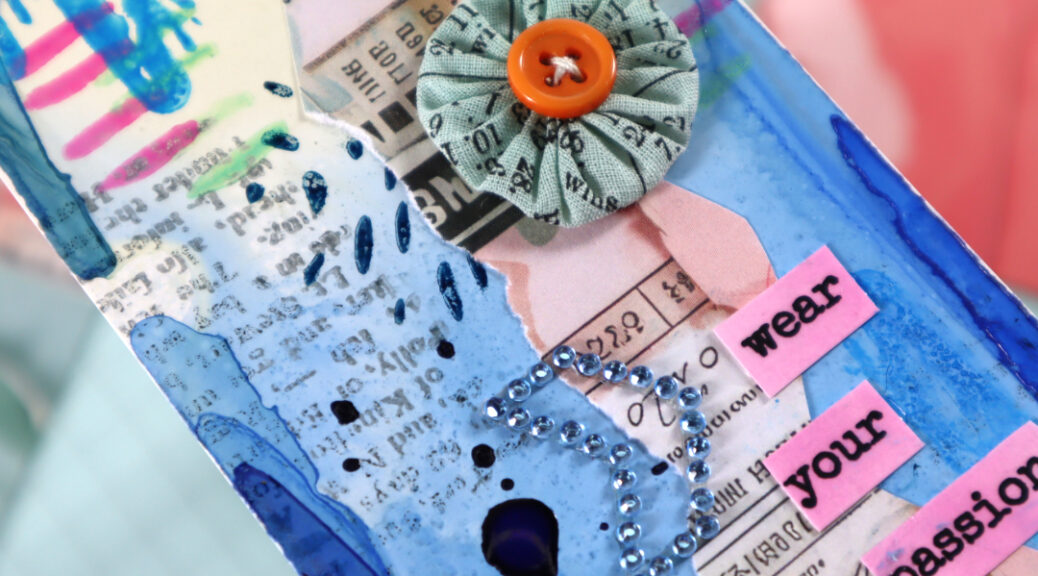
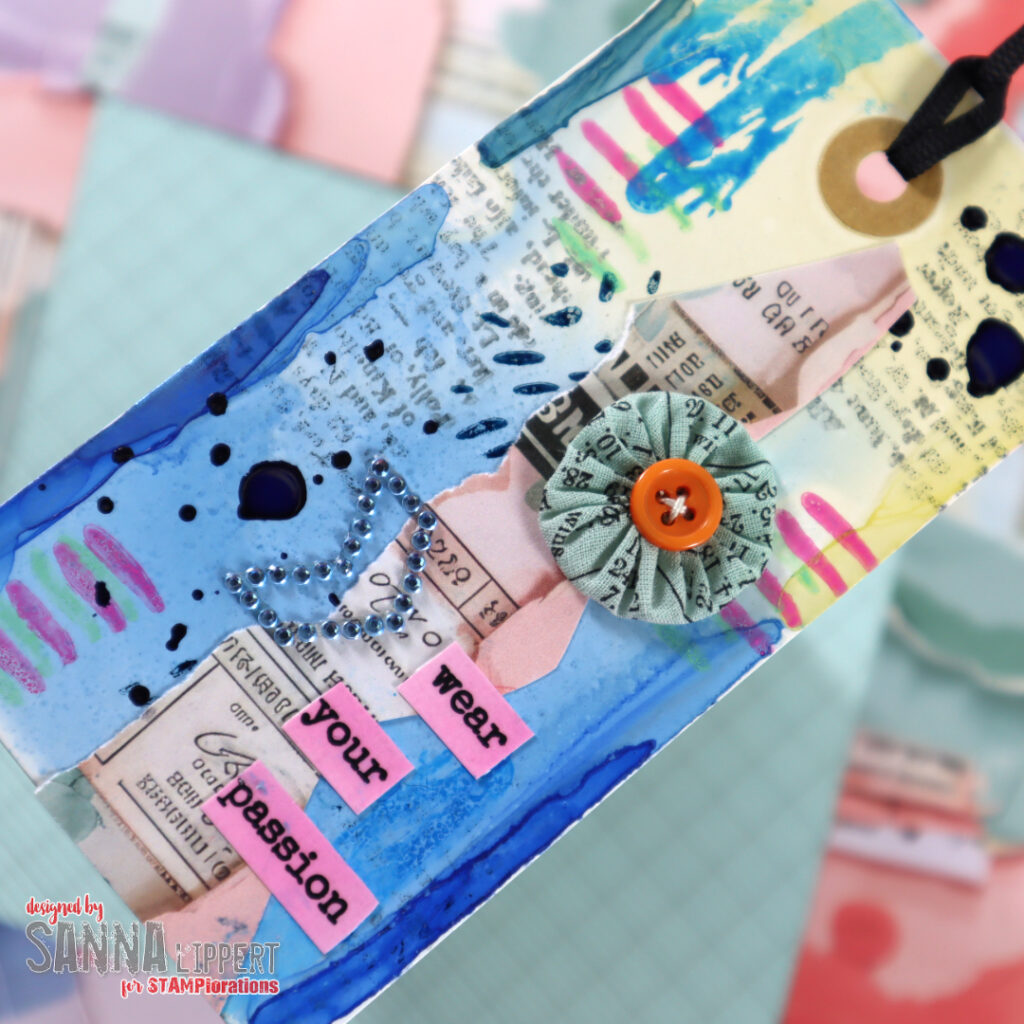
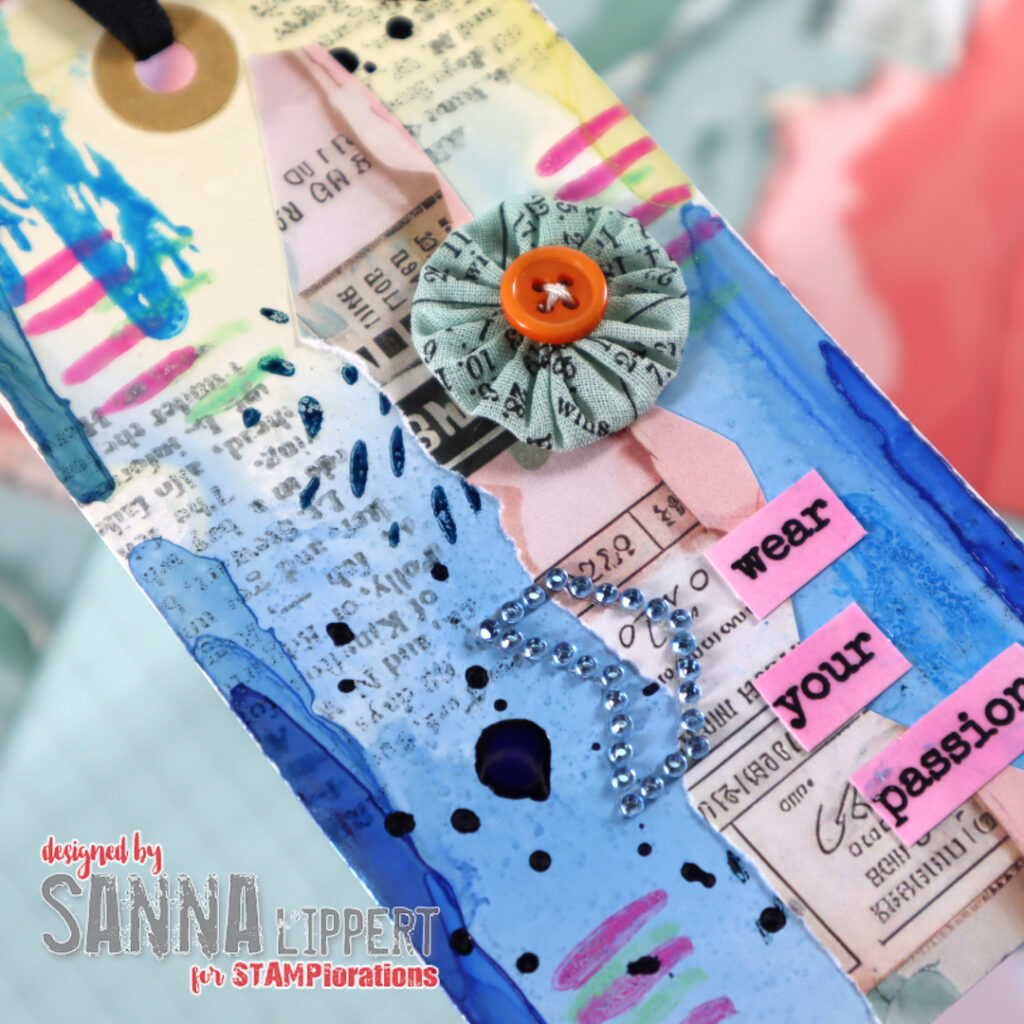
Hello and happy Wednesday! Today I am sharing a mixed media tag that I created with the new STAMPlorations ephemeral edges collage papers.

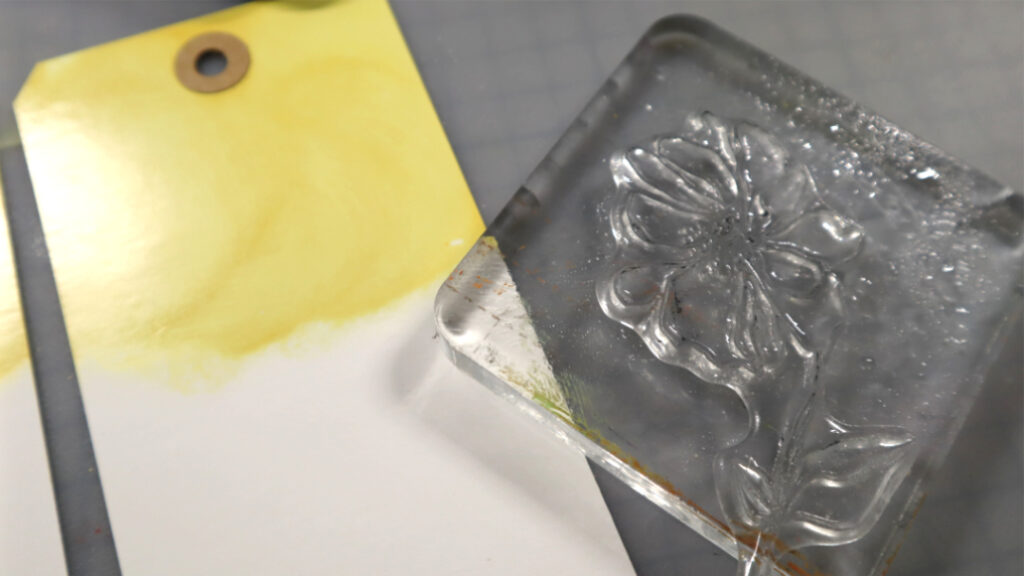
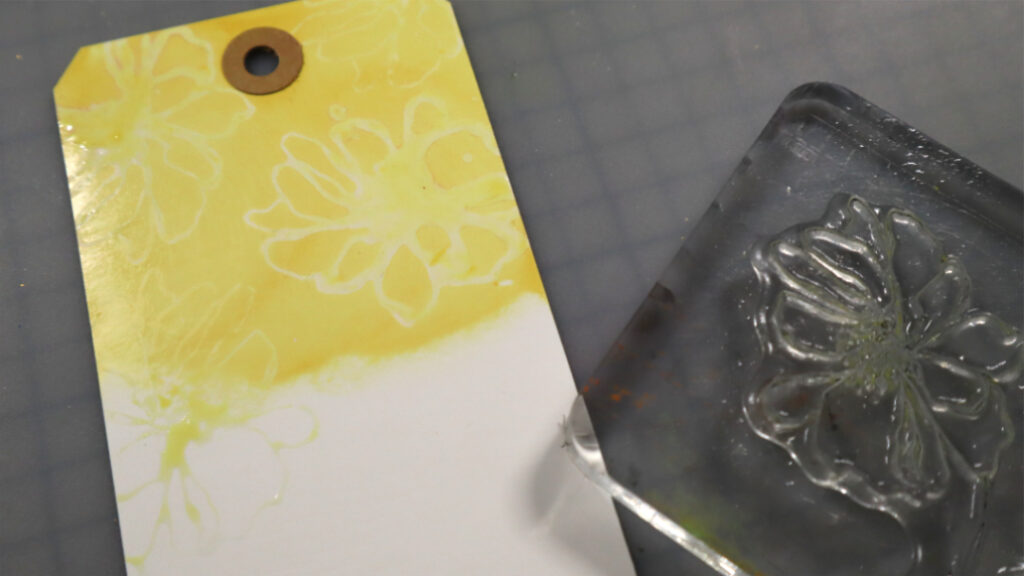
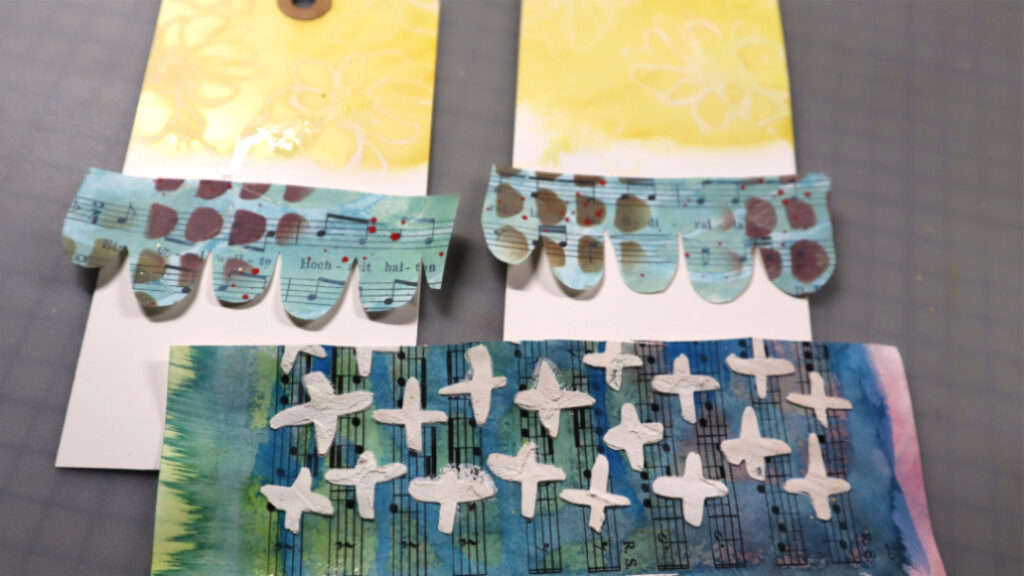
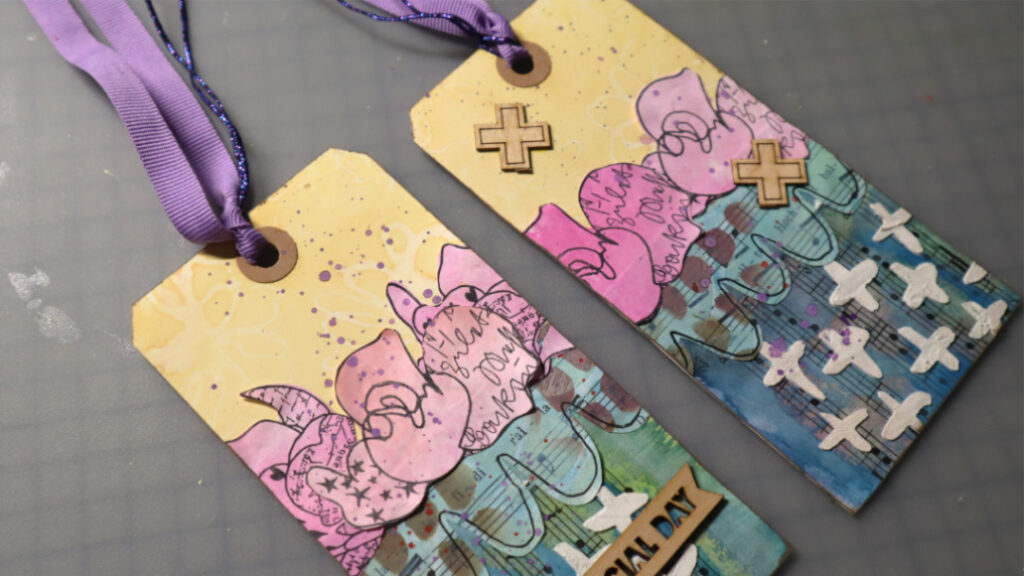
I´ve used a manila tag as my starting point with some added spray inks on the bottom part. On top I added stamping with STAMPlorations Art Marks 3 clear stamp set and Distresss Oxide Inks. On top I added a strip of Ephemeral Edges paper, some Gloss Spray splatters and embellishments. The sentiment is from the STAMPlorations clear sticker set called “New Day”.
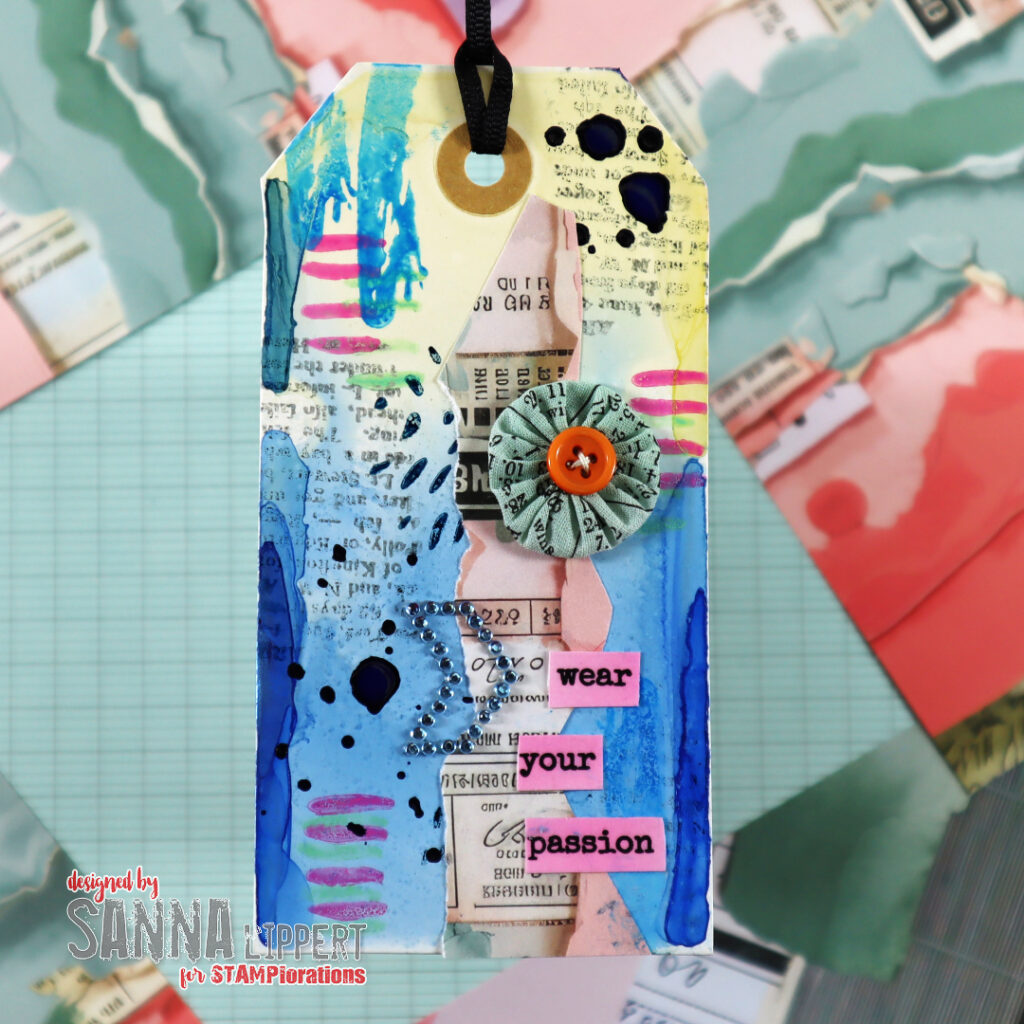
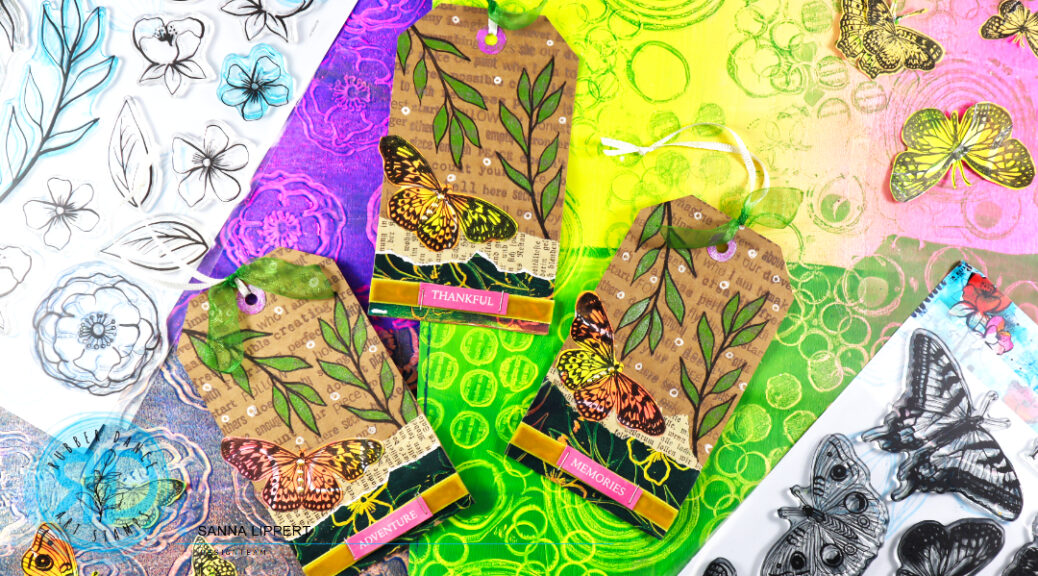
I love making this kind of mixed media tags! And the new collage papers are a perfect match for this kind of projects. Ephemeral Edges is one of the 9 stunning packs included in The Artistic Crafter’s Collage Papers Anthology, vol. 1.
Here is a short flip-thru video of the papers:
The entire collection is available for pre-order at a huge 45% off now through March 4th. Secure your set today to ensure you’re the first to start your next creative adventure when they ship!

Make sure to get your order in :).
xxx, Sanna