Category Archives: ARTIST TRADING CARDS

New Product!!! Simple Expressions stamps – STAMPlorations

Hello everyone! STAMPlorations has a new stamp series out called “Simple Expressions“. These stamps aren’t just regular sentiments to add at the end of a project. They are designed to become part of the artwork itself, inviting us to tell a story through both words and creativity.
I got to play with the new “Happiness” set. Some words have a special meaning to us and lets us reflect and this word certainly is one of them. Everybody understands the word and defines it a little different. It´s versatile and can be used for all kinds of purposes – ATC´s, journal pages, cards, even with shrink foil as key chain decor.

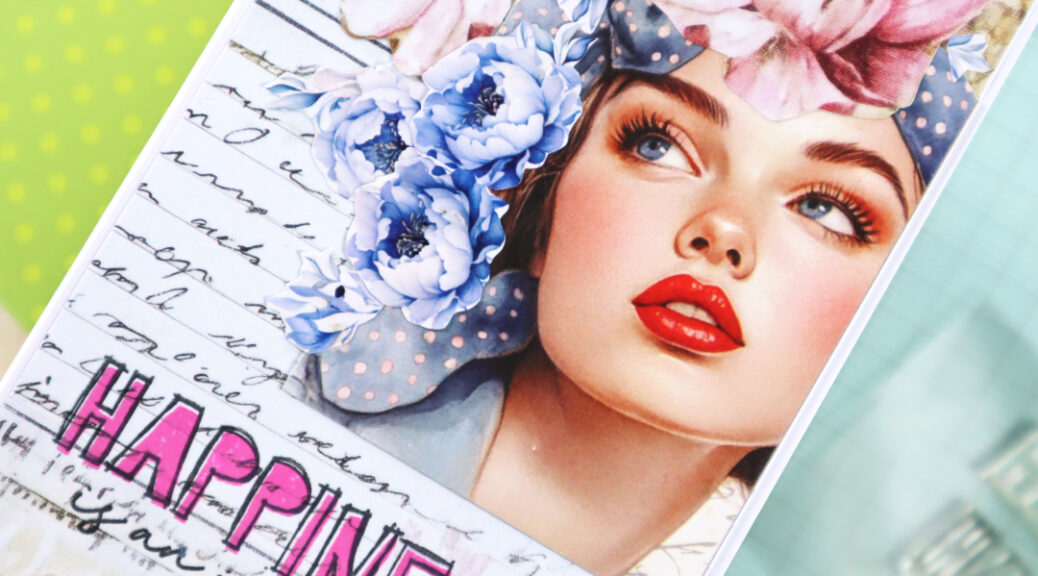
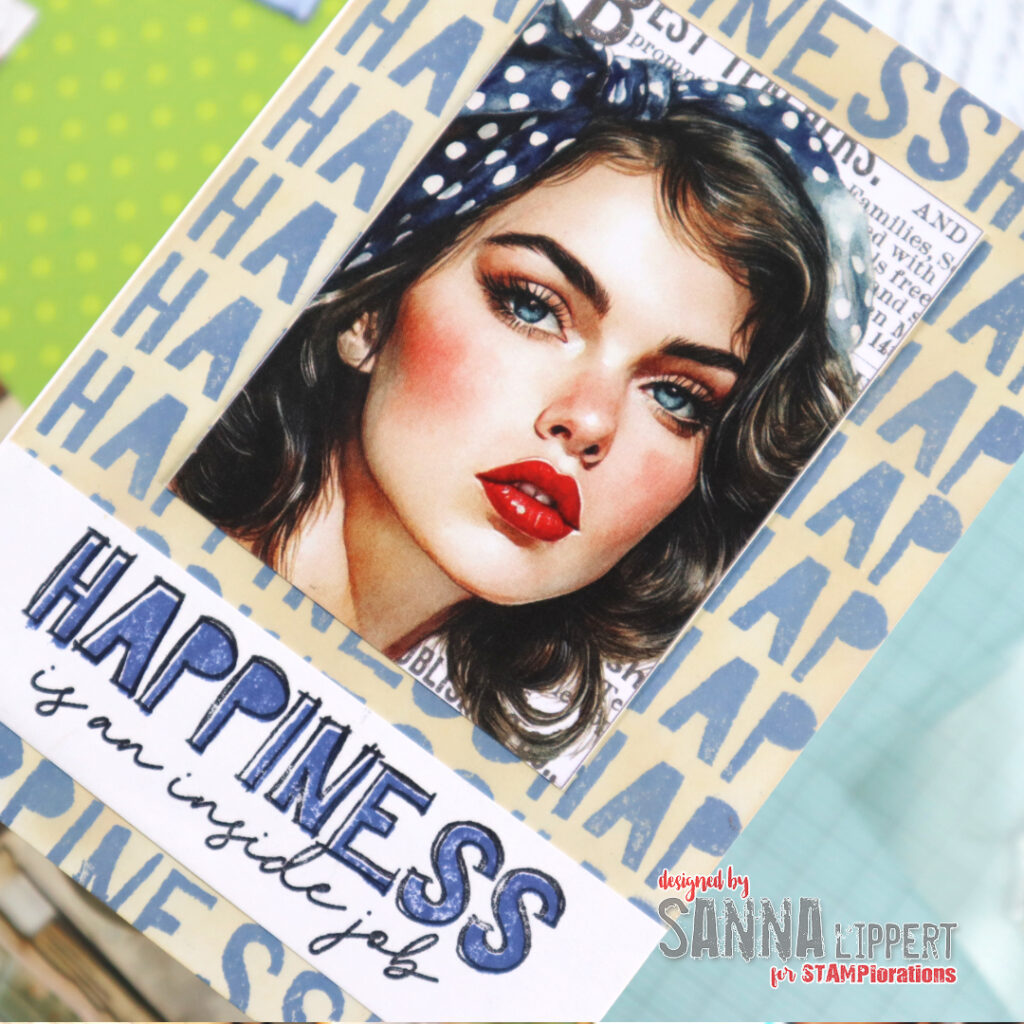
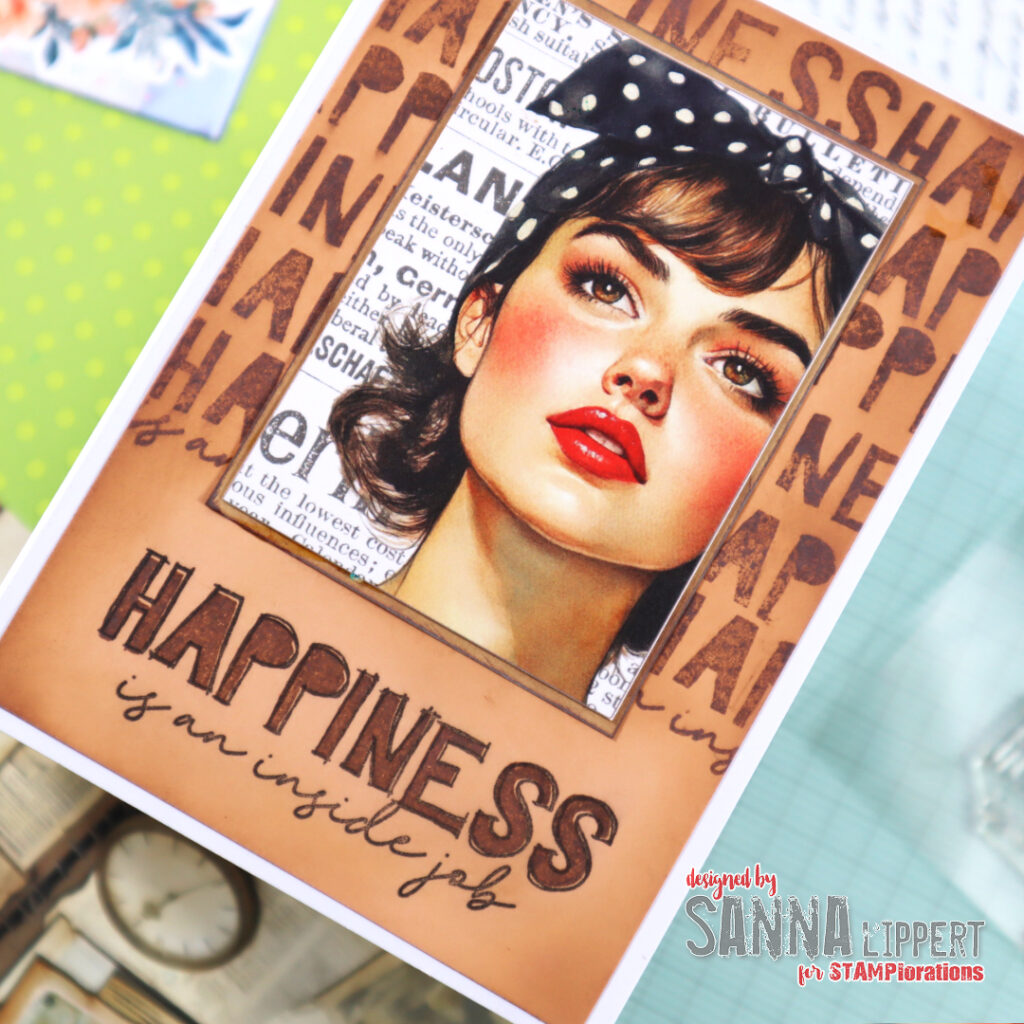
For my first card I combined the vintage looking Retro-Femme ATC image and the gorgeous Analog Grunge paper with the Happiness Simple Expressions stamp. They work together so very well! I used Distress Oxide ink in “old paper” for the solid stamp image. then added black stamping with the outline stamp on top and in the process, also stamped the hand written sentiment. I also added some Edding glitter brush pen in silver and purple to the ribbon on the lady´s hat. Only when you tilt the card, it will show.

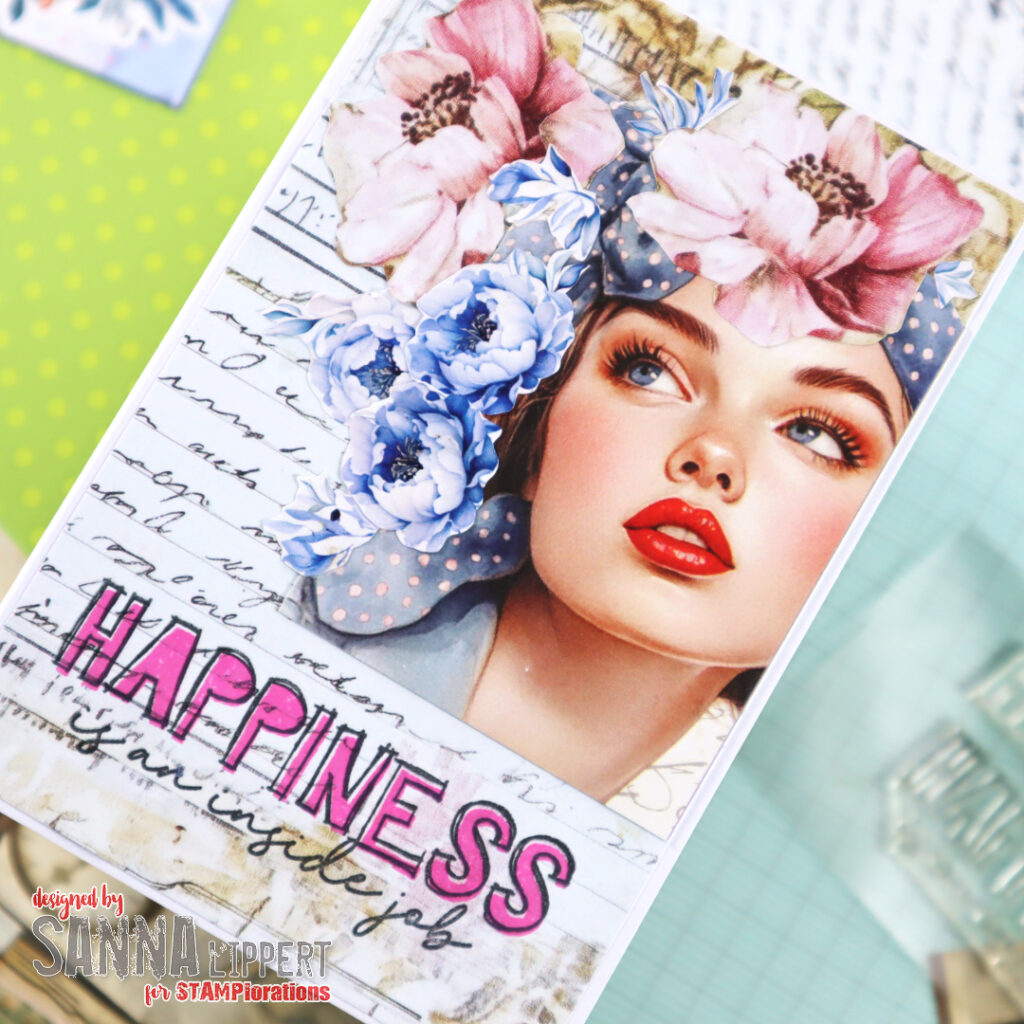
For the second card I used the Old Letter Pocket Backdrops paper as a background. Then i added the sweet and eerie Retro-Femme ATC image directly on top. I also fussy cut flowers from the Floral Parade Ephemera Cut-Outs and added those and another pink flower from the Old Letter Pocket paper to the ATC. I love how it creates a romantic head piece for her. For the Happiness stamp image I used Distress Oxide ink in pink and a black VersaFine ink. For some glitter details, again a silver Edding glitter brush pen.

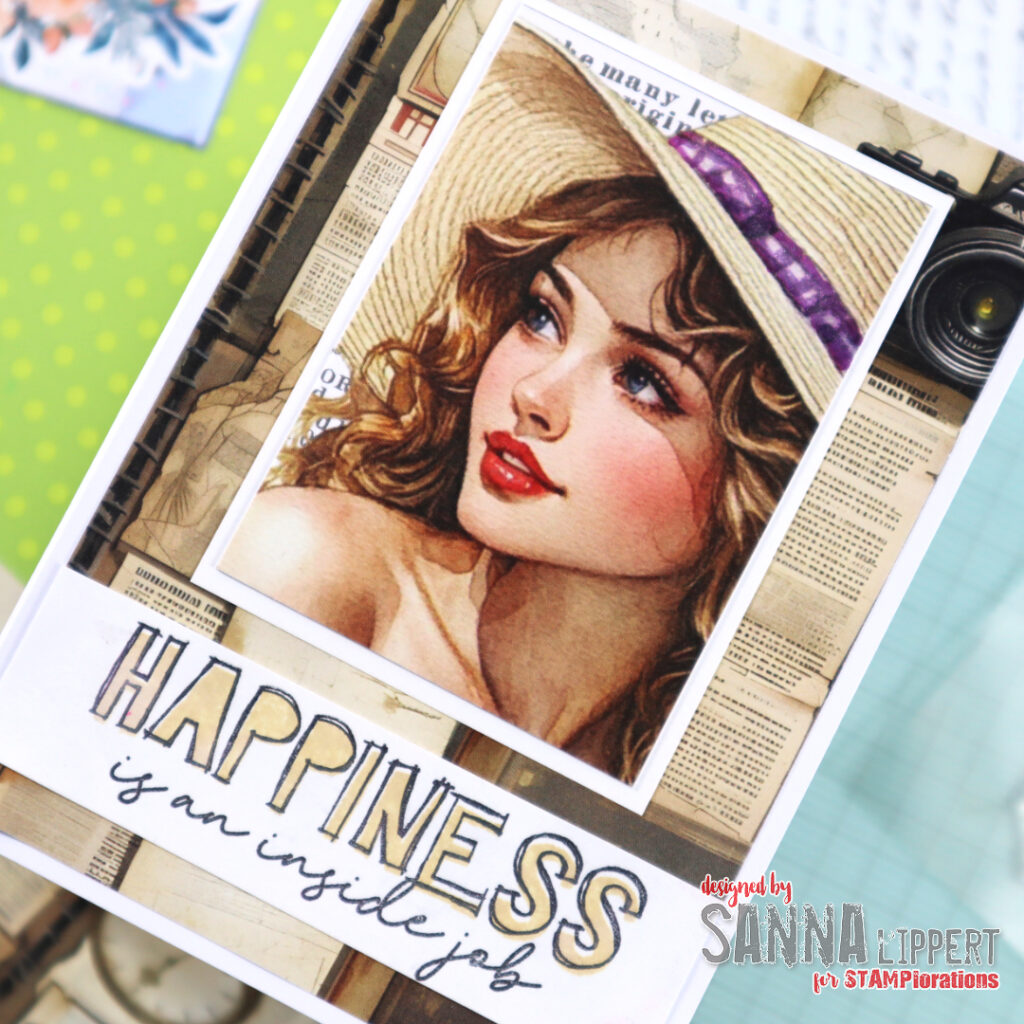
This brown card turned out to be my favorite. The design is actually really simple to do. I first inked a piece of white cardstock with brown Distress Oxide ink, then used the solid Happiness stamp with VersaFine brown stamp ink to create the background pattern. After that I outlined the Retro-Femme ATC image with another inked paper and finished the card off with some glitter brush pen details. For me, the bold ATC image and the warm brown background just work perfectly together.

For my last take I used the same technique, like on the previous card. Except I started by stamping with solid Happiness words first with blue stamp ink. Next I blended some “old paper” Distress Oxide ink over the whole background. This created the softer look. Next I added the more unapproachable looking lady´s image from the Retro-Femme ATC set on top. The colder color choices work better with this image. I then simply stamped the Happiness stamp image on white cardstock with blue and black ink and mounted that onto the card base. And I again sneaked some Edding glitter brush pen details to the focal image for interest, too.
Happiness can mean so many things to us all. For me it´s spending time with my people, chatting and just enjoying each other´s company. It´s also creative time and travelling, smelling flowers, being happy with myself. Happiness is a good book, a cup of coffee. It´s all those things that come from the inside! I really like this sentiment ALOT!
Discover What’s Possible

One of my favorite things about Simple Expressions is seeing how beautifully they pair with our Paper Goods. Whether it’s an ATC Pack, Card Fronts Pack, Pocket Backdrops, Collage Sheets, or Ephemera Cut-Out Sheets, combining them opens up so many creative possibilities while making it easy to create layered, artful projects.

When you purchase any Simple Expressions stamp set, you can add one Paper Goods pack to your order for 40% off. It’s a wonderful opportunity to discover just how effortlessly these collections work together – and perhaps even find your next favorite creative pairing.

Happy crafting,
xxx, Sanna
New ATC spring projects – STAMPlorations

Hello everyone! STAMPlorations has some gorgeous new ATC fronts out. I´ve created some cards with the new ATCs:

I started by creating gelli prints with ARTplorations stencils “Molecules”, “Evolution” and “Art Flowers 2” and my Gelli Arts gel plate. I used those collage papers as card backgrounds.

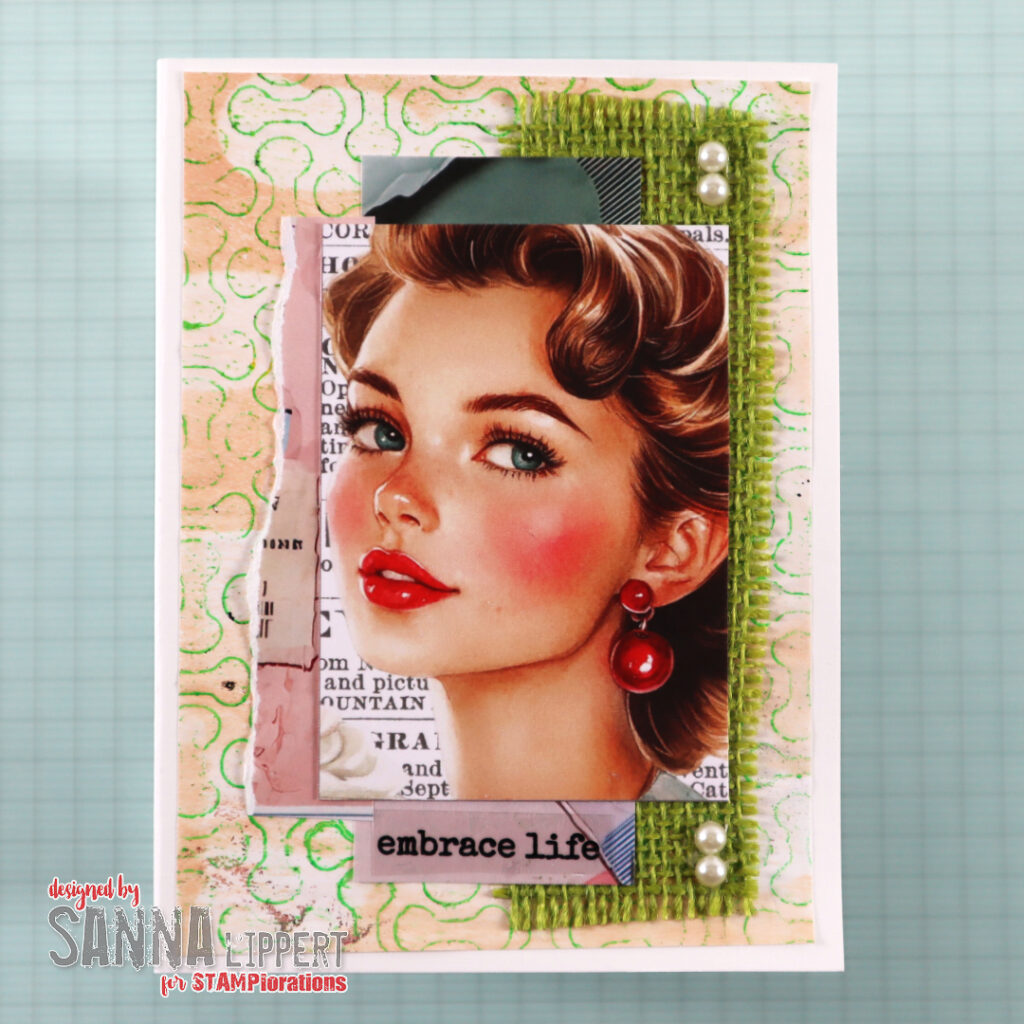
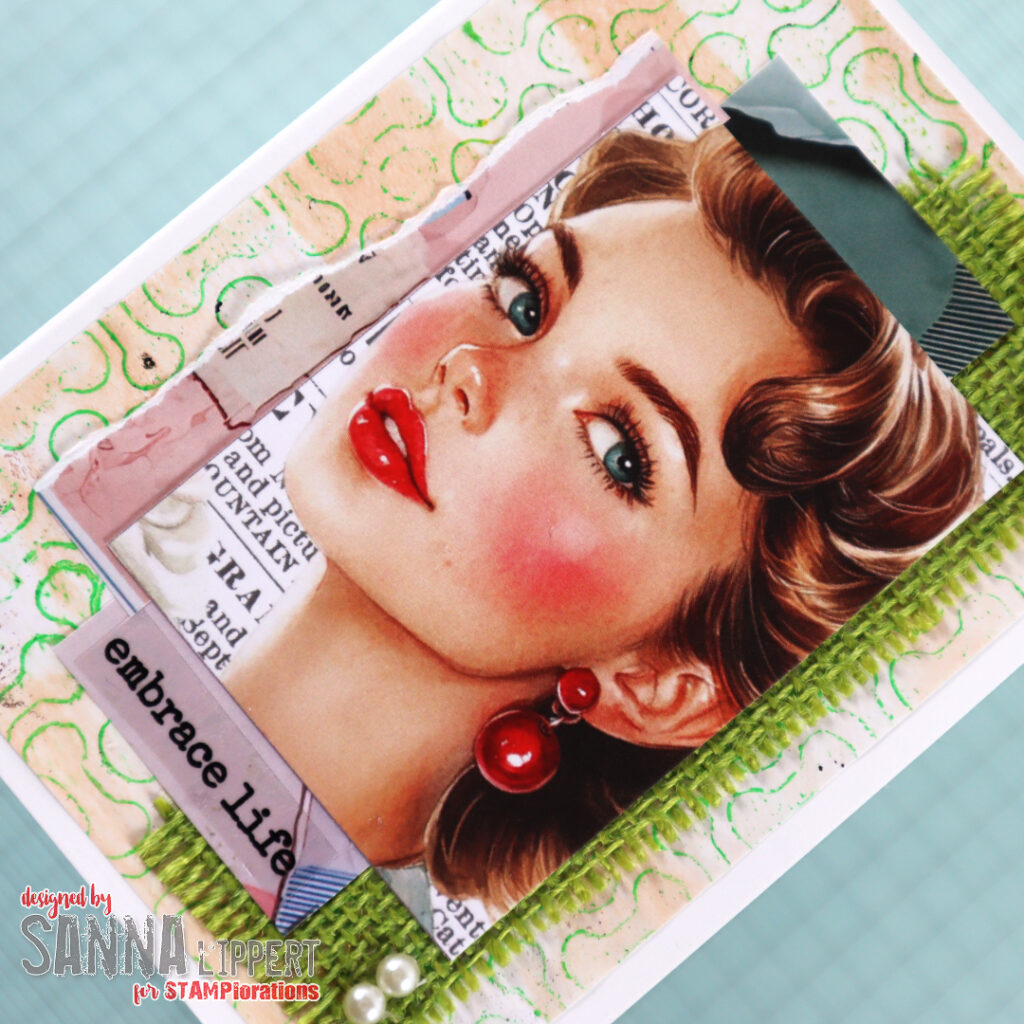
For the first card I created a cluster with Ephemeral Edges collage paper, a Retro Femme ATC and some green burlap. For additional decor I used white half pearls and STAMPlorations clear stickers.

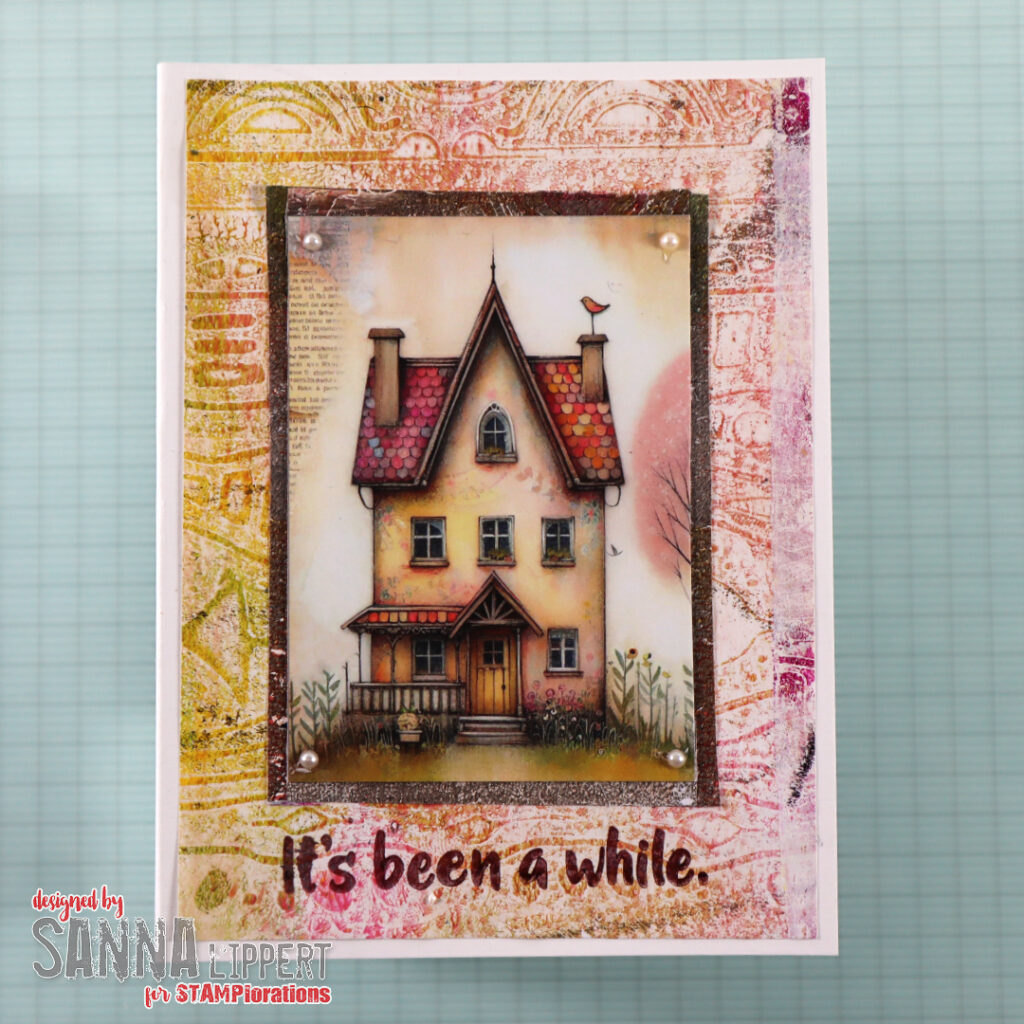
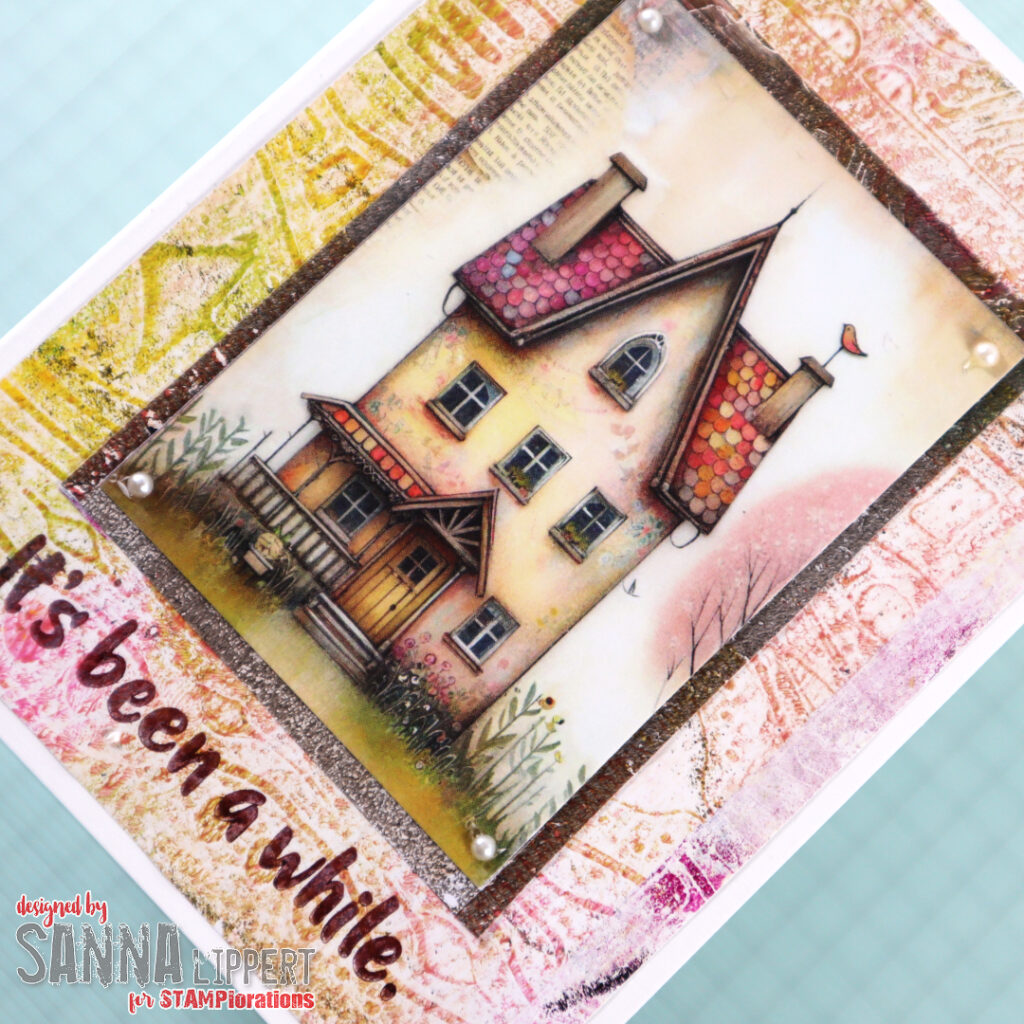
The second card also has a gelli printed collage paper background and a stamped sentiment (Hello You stamp set). As a centerpiece I used the gorgeous Whimsical Homes ATC card. Decorated with small white half pearls on each edge.

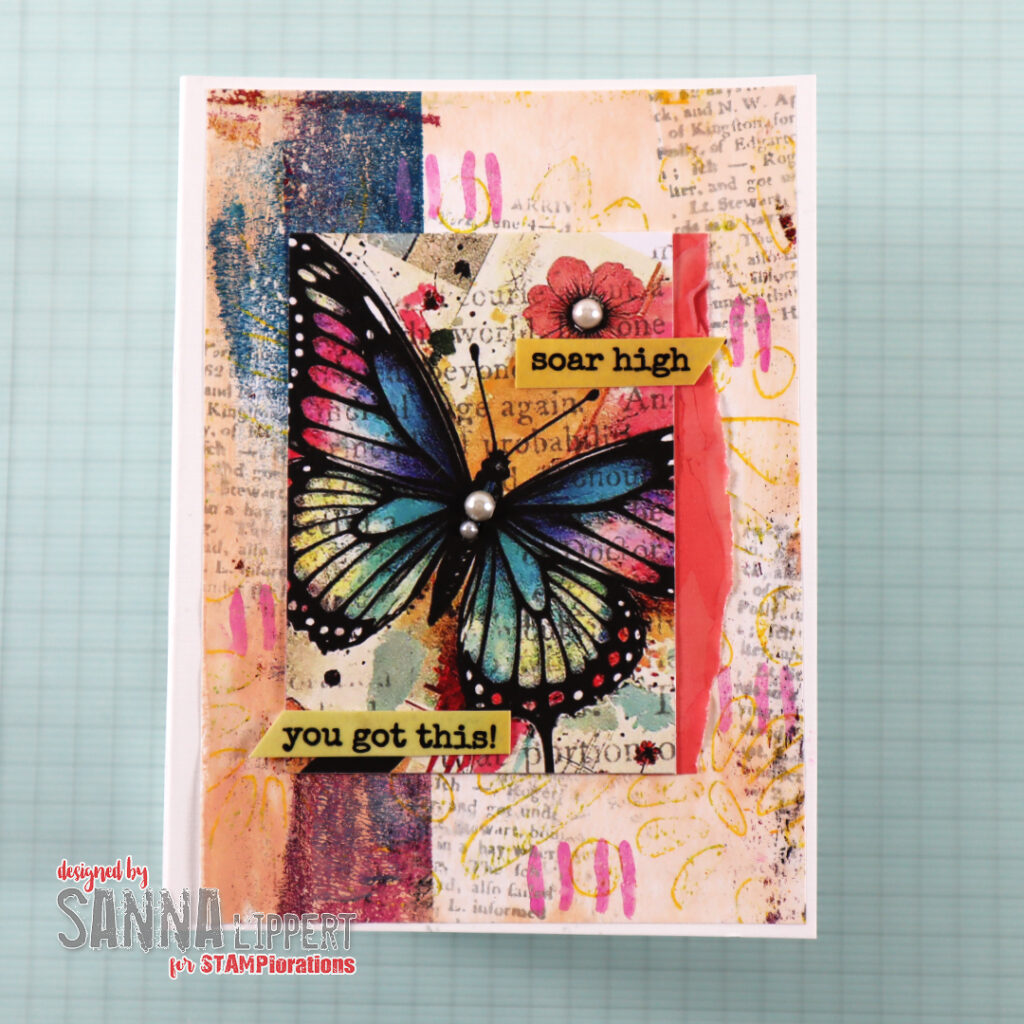
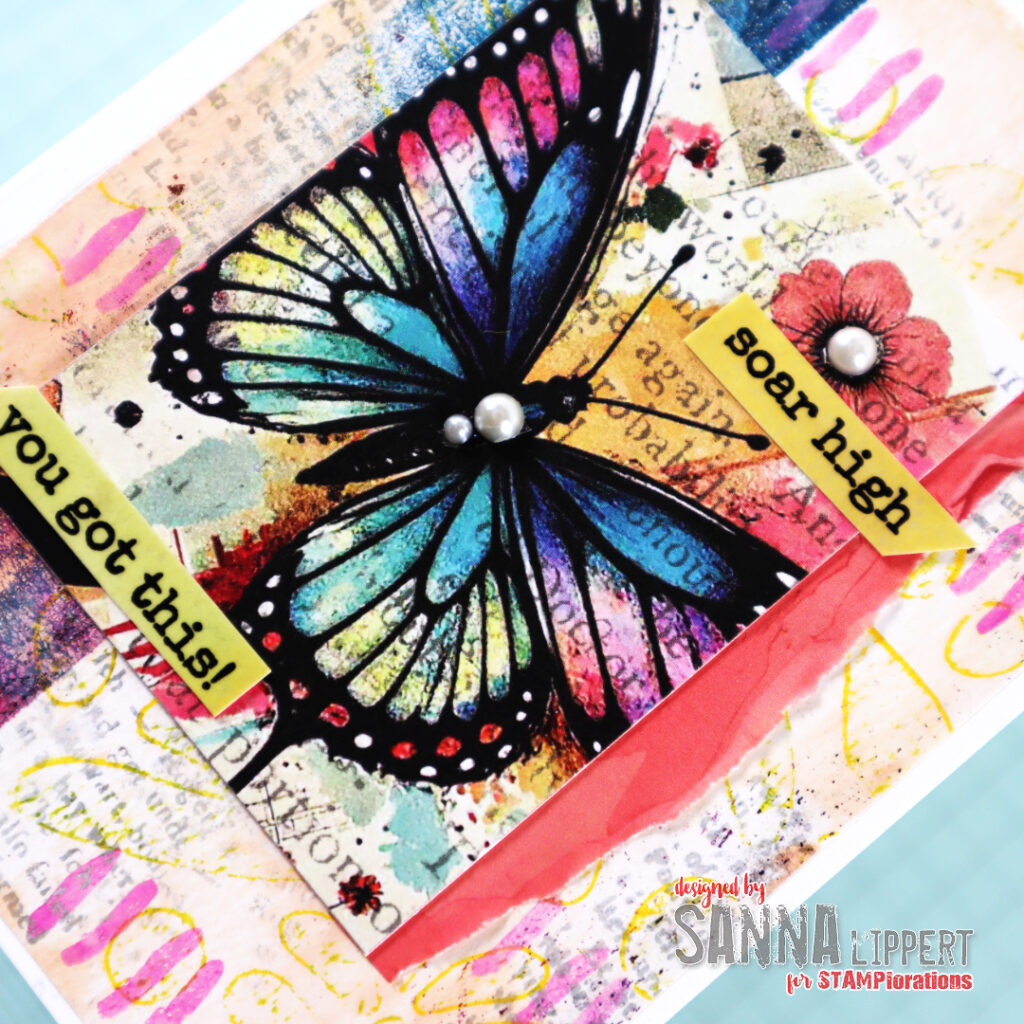
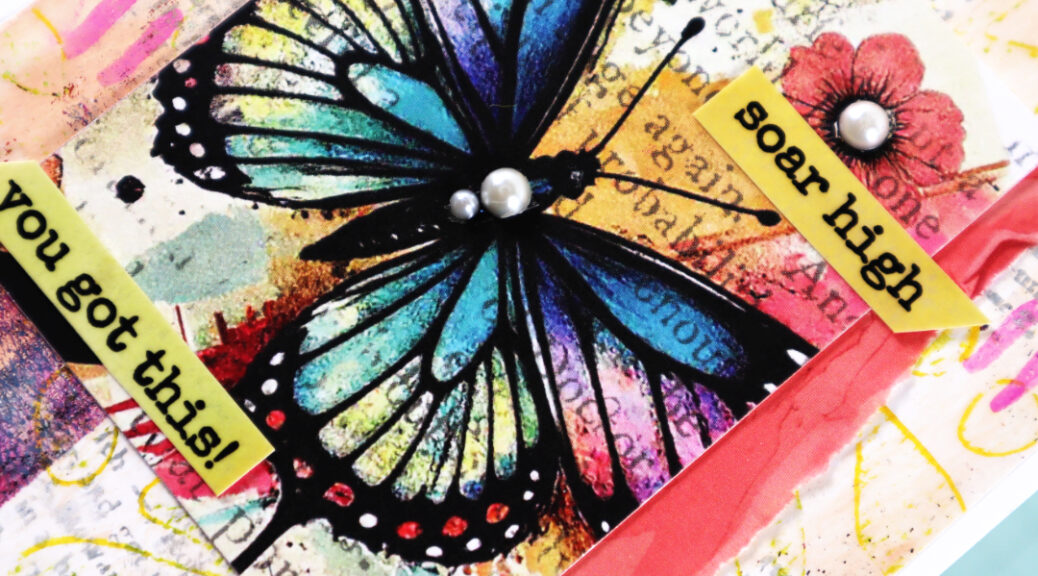
For the last card I´ve used another gelli printed collage paper as a background. As a centerpiece a Color Me Spring ATC butterfly card. I´ve also added a strip of Ephemeral Edges collage paper to the ATC and some clear stickers. As a decor element, again some white half pearls here and there. I also added some stamping to the collage paper with Distress Oxide Inks and Art Marks 3 stamp set.

I loved creating cards with these ATCs! They are sturdy 325 gr paper, so you could use them various purposes. And the designs and colors are just dreamy!!

Like always, you can use my discount code at the store:

Happy crafting, shopping and happy Spring!!!!
xxx, Sanna

Ephemeral Edges collage papers – STAMPlorations, Vol. 2

Hello everyone and happy Sunday! Here is another project I created using the new STAMPlorations collage papers – playing with Ephemeral Edges.

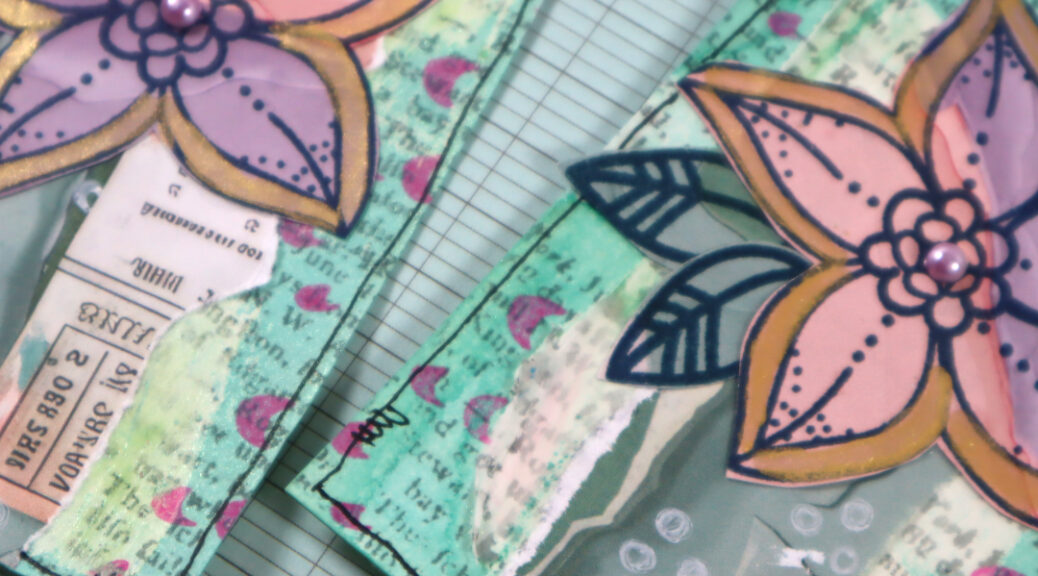
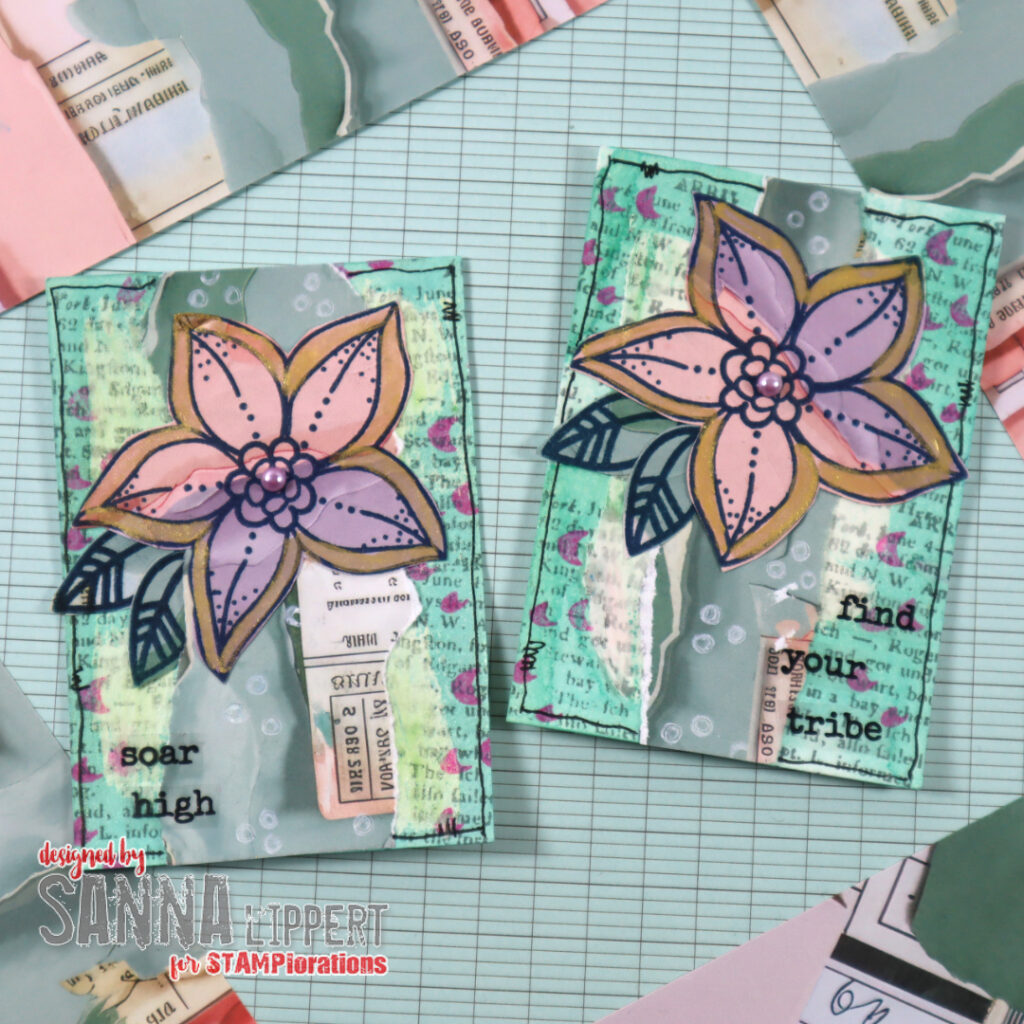
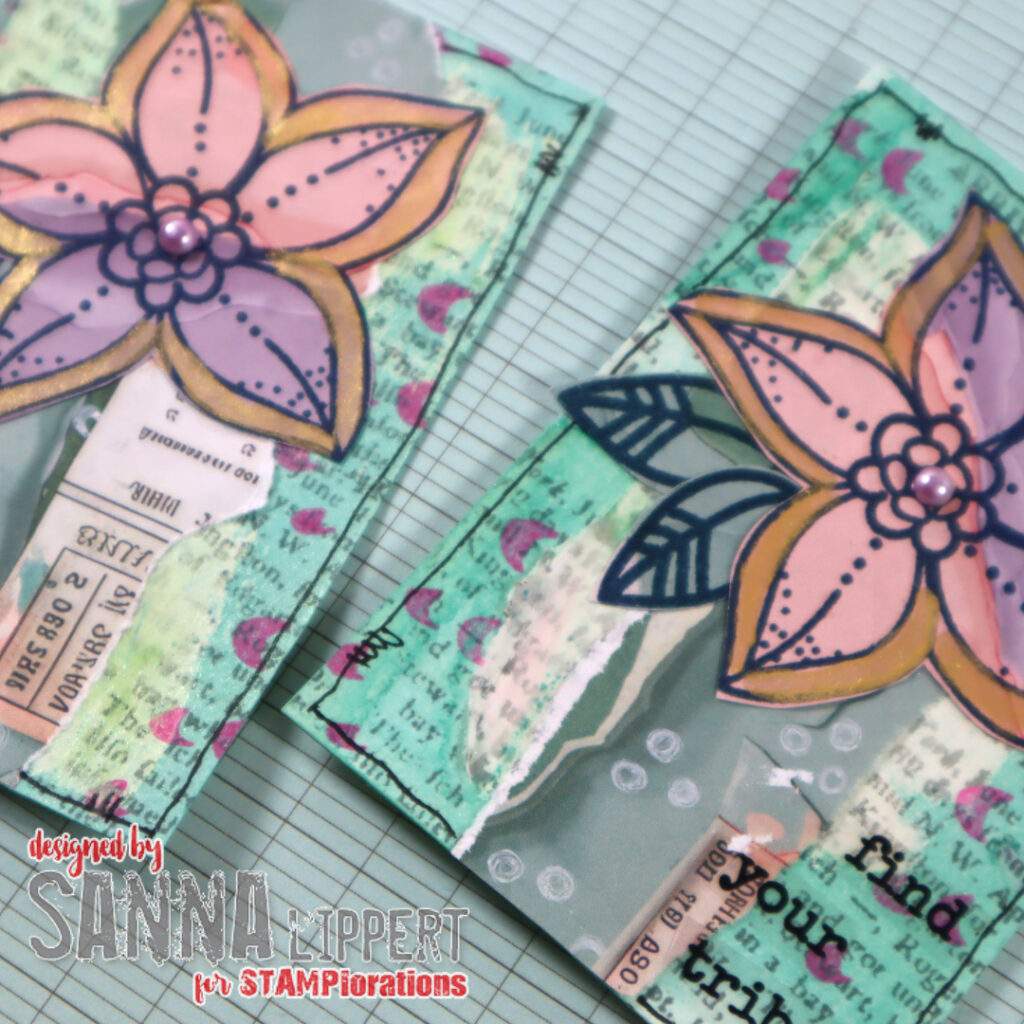
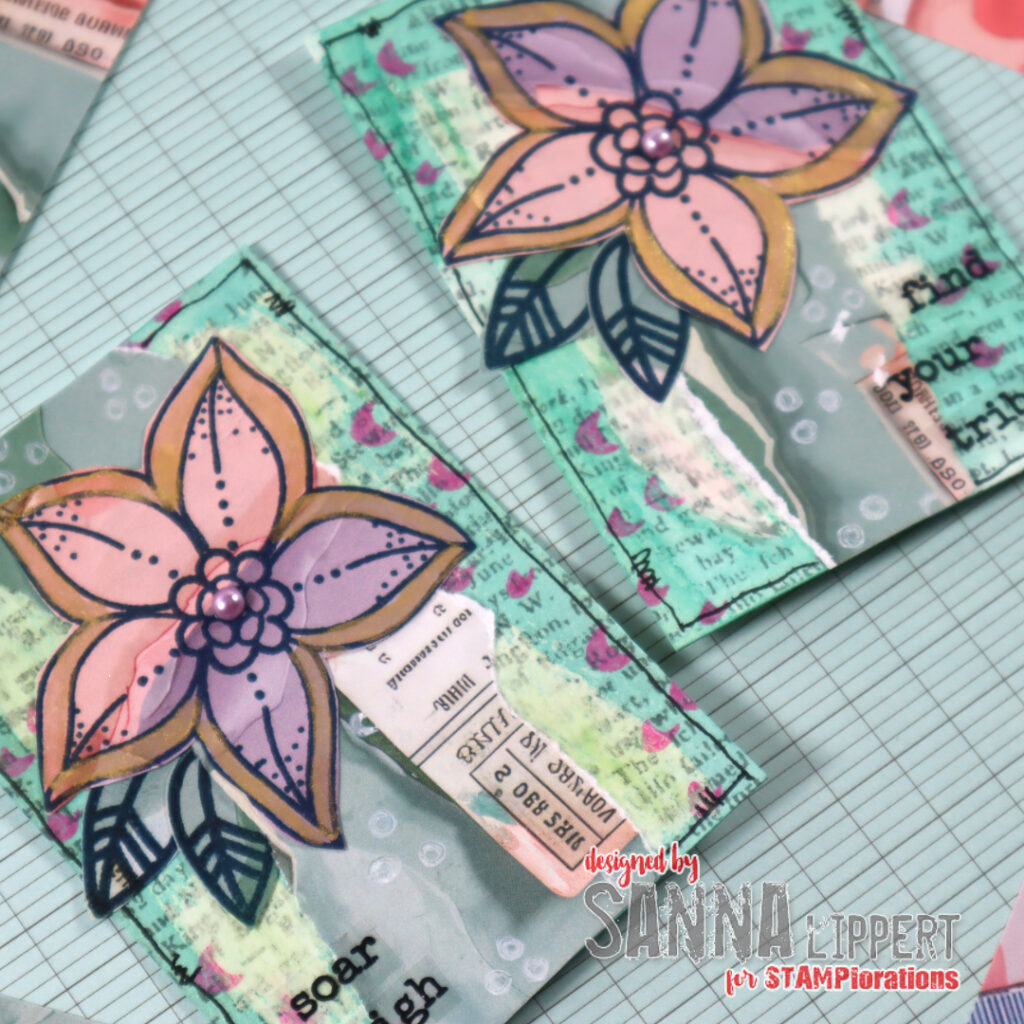
This time I created a set of Artist Trading Cards. I started by wiping some gesso and gel medium onto each of the bases. Let that layer dry and sprayed green spray ink on top. The areas treated with the medium made a little resist effect. On top I stamped with Distress Oxide Inks and Art Marks 3 stamp set.

Next I layered a strip of the collage paper into the middle of each card. On top some white gel paint details. Then I stamped with the Bloom Doodles stamp set onto the pink and purple areas of the collage paper to create the flowers. The leaves are done the same way, just on green paper areas. I fussy cut the elements and added some golden pigment to the flowers and a half pearl. For finishing touches I used some clear stickers (New Day) for sentiments.

I love the versatility of these papers. You can use them for whatever projects you prefer. Cards, tags, journals, altered art, pockets, scrapbooking, making DIY embellishments etc.

Here is a short video of the collage paper pack:

There are 9 different designs of these papers available at the STAMPlorations store. And they are now also on offer as sets or bundles. But you can also buy them as single packs, starting from March 15th. Check out the store and blog for more details.

Happy crafting,
xx, Sanna

Set of stamped ATCs – Rubber Dance

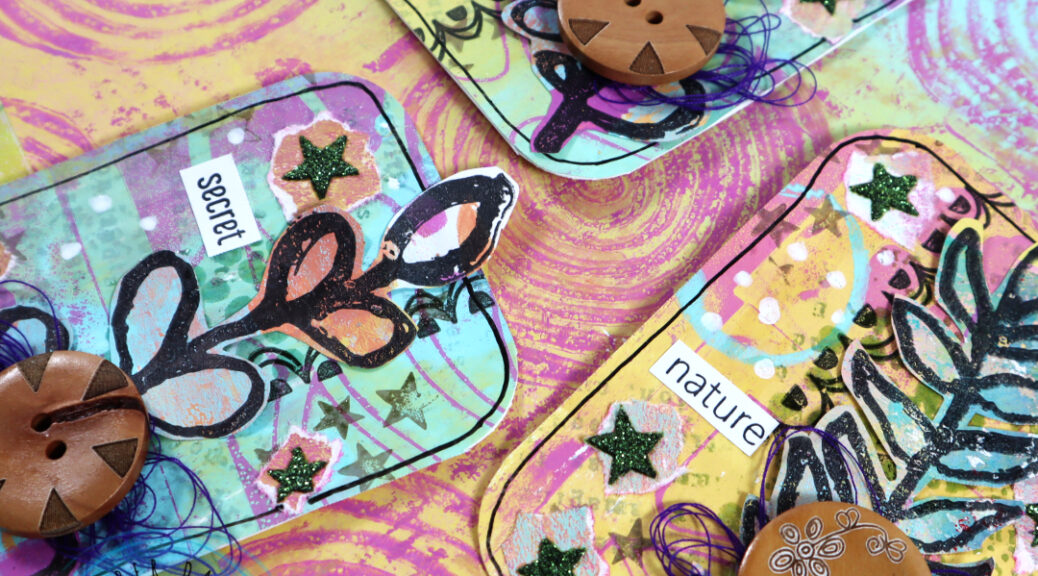
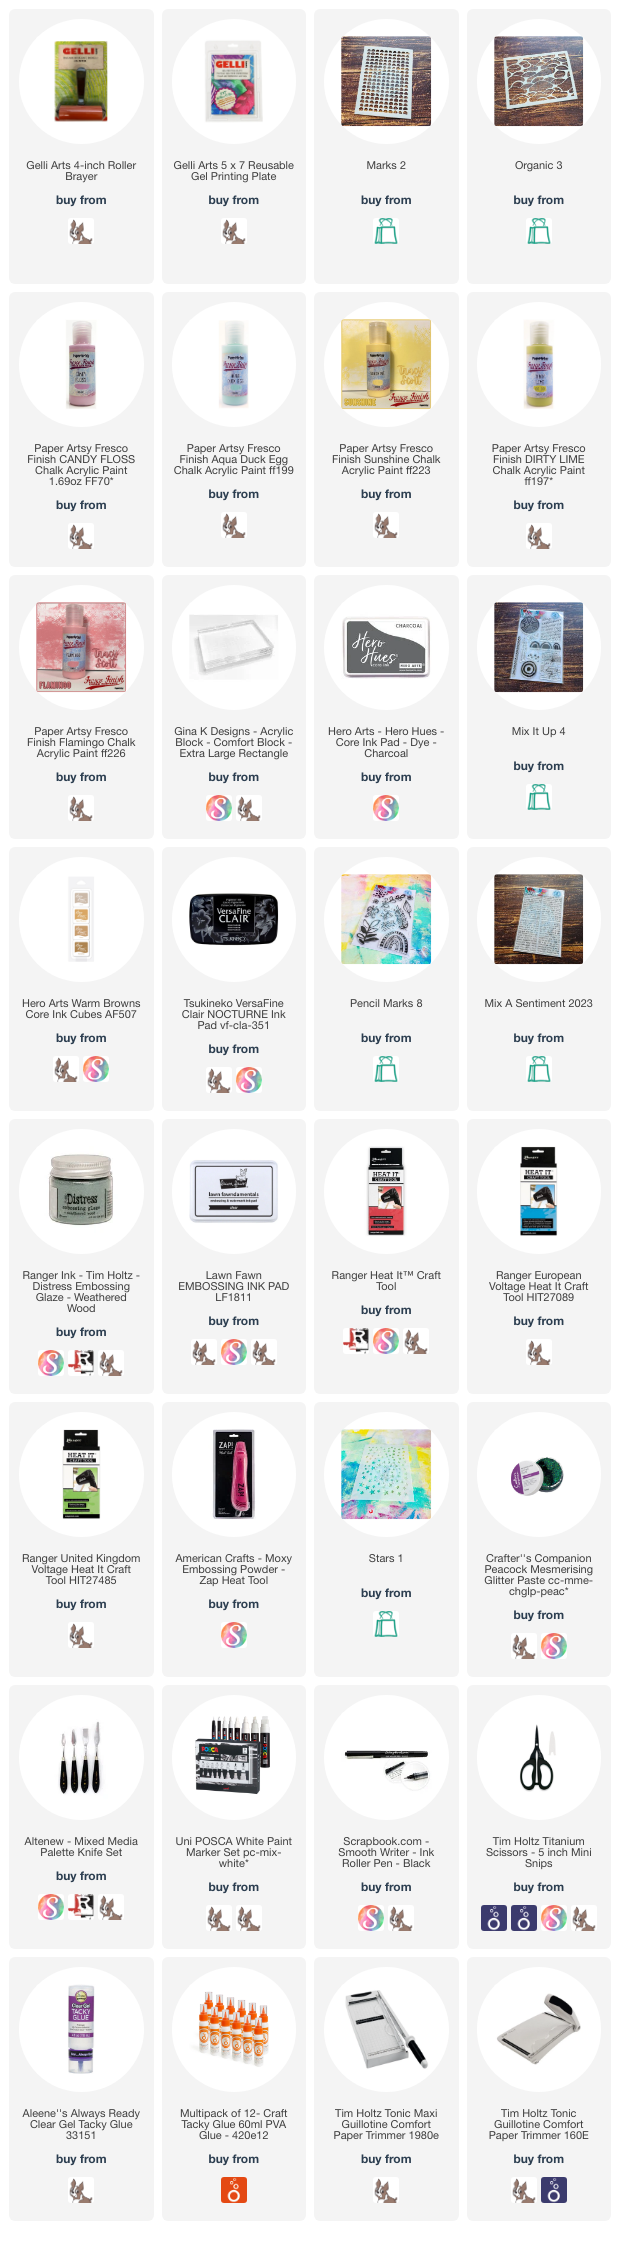
Hello, I am again up over at Rubber Dance blog with another project share. This time I have a set of stamped Artist Trading Cards with a video tutorial for your inspiration. For this set I used a gelli printed background paper, where I used the Marks 2 and Organic 3 stencils with acrylic paints to create the paper. The following layers were done using Pencil Marks 8 and Mix It Up 4 stamp sets and the Stars 1 stencil.

I started by stamping first with Mix It Up 4 stamp set and brown and grey shadow inks onto the paper. Next I stamped some circles with Pencil Marks 8 stamp set and applied Distress embossing glaze (weathered wood) with a heat tool on top.

Next I grabbed the scallop border stamp from the Mix It Up 4 stamp set and stamped with black ink onto the paper. After that I took some pre-made paper that had stenciled glitter paste on it (thru Stars 1 stencil). I wripped some stars from the paper and adhered them randomly onto the background. Next I decorated the ATC´s with leaf collage fodder (see the reel for that here), some yarn and a wooden button. For finishing touches I added some black pen outlining, some white Posca dots and a stamped and fussy cut sentiment from the Mix a Sentiment 2023 stamp set.

Here is a start-to-finish video for you to watch. Hope you enjoy it!

See you again soon with another inspirational project. Happy crafting!
xxx, Sanna

Supplies:

Artist Trading card set with Textured Mushrooms 2 – Rubber Dance

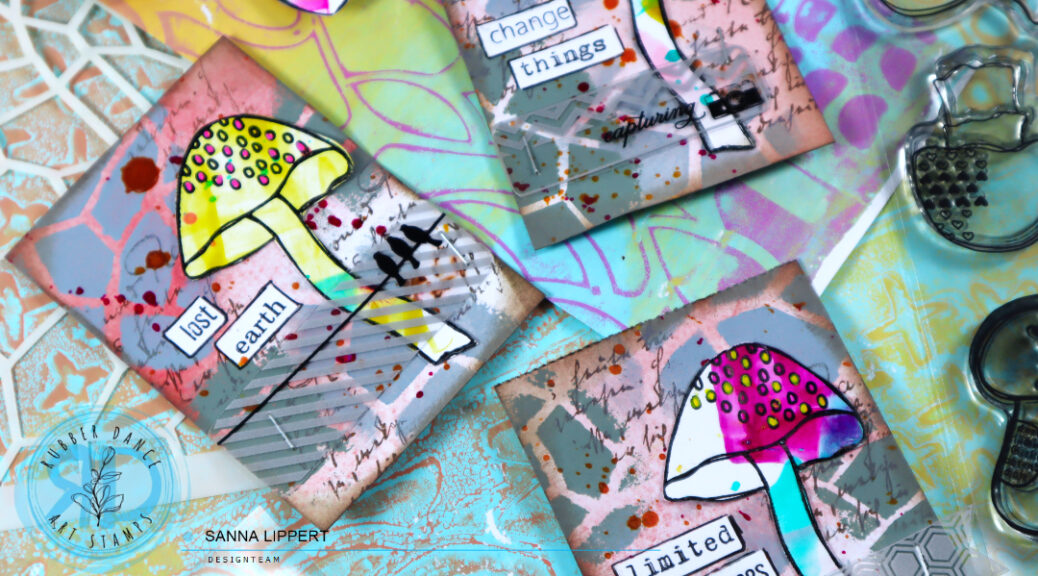
Hello, it´s my turn over at the Rubber Dance blog again today and I am sharing a fall themed Artist Trading Card set, created with Textured Mushrooms 2, Mix It Up 6 and Mix a Sentiment 2023 stamp sets as well as the Lattice stencil. As my starting point I again used the Gloss Spray mushrooms from my post back on the 20th of October. I made plenty of them at once and now have fun material to play with.

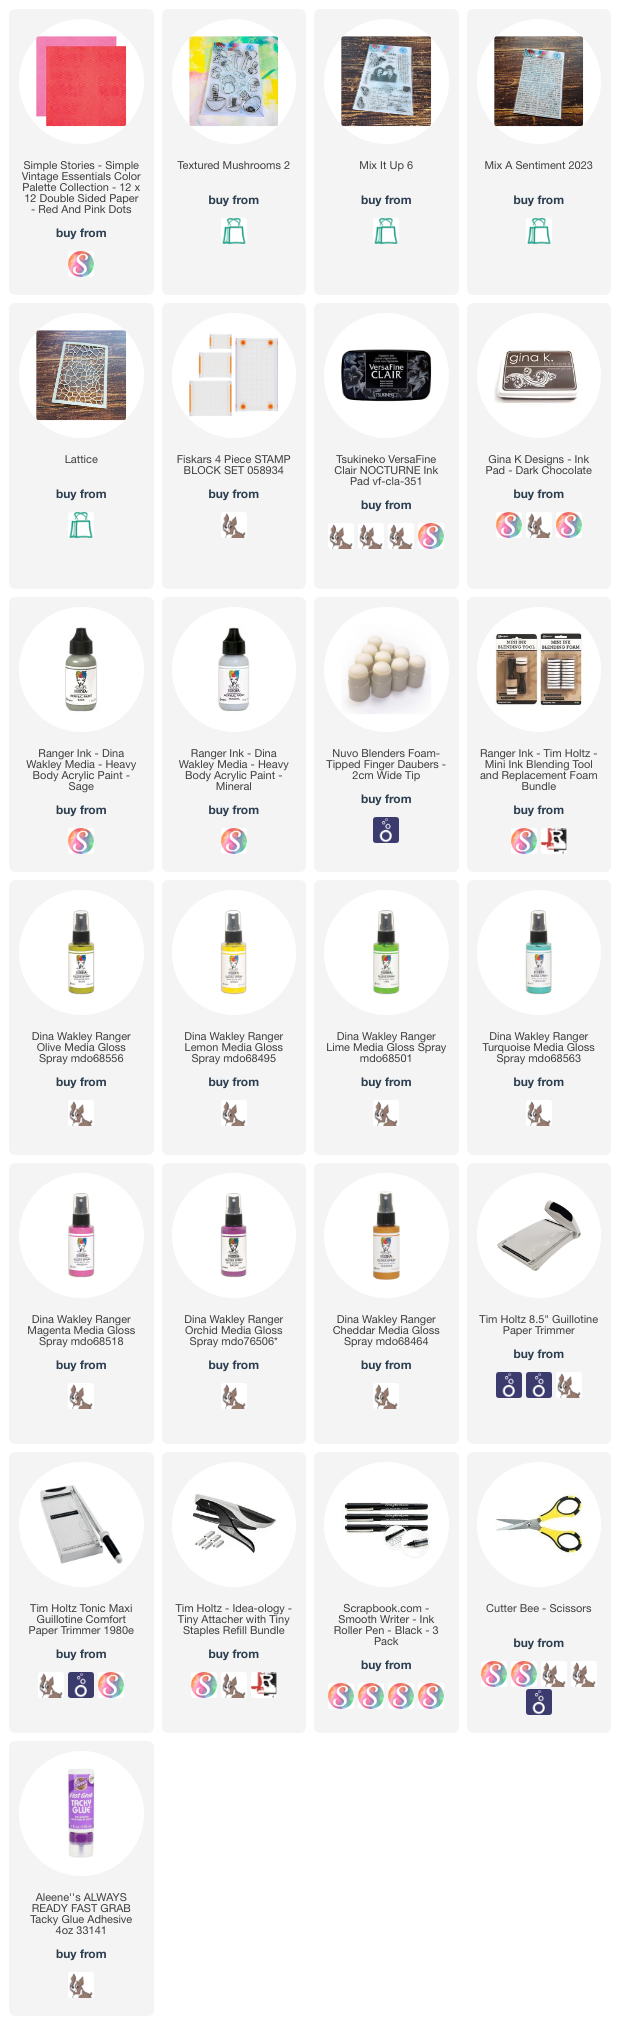
For this set I started with a red patterned paper piece that I fussy cut into right size. Next I took Dina Wakley paints in tones Mineral and Sage and applied those thru the Lattice stencil onto the papers very randomly. After the paint was dry, I added stamping with the Mit It Up 6 stamp set stamps and brown stamp ink.

For additional interest I added some Gloss Spray splatters in Cheddar and Fuchsia and let the layer dry before attaching some screen prints to the cards with a stapler. Now all I needed to do, was to arrange the Gloss Spray mushrooms onto the cards and adhere them on place. For finishing touches I added some Mix a Sentiment 2023 words to the ATC´s as well as added details to the mushrooms with Posca pens. Finally, to add more depth to the cards, I inked the edges with a brown Distress Oxide ink.

And here is the video start-to-finish for further details and steps – hope you like it and get inspired!

Happy creating!
xx, Sanna

Supplies:

ATC´s with Mix it Up 6 stamp set, stencils and Distress Oxide inks – Rubber Dance

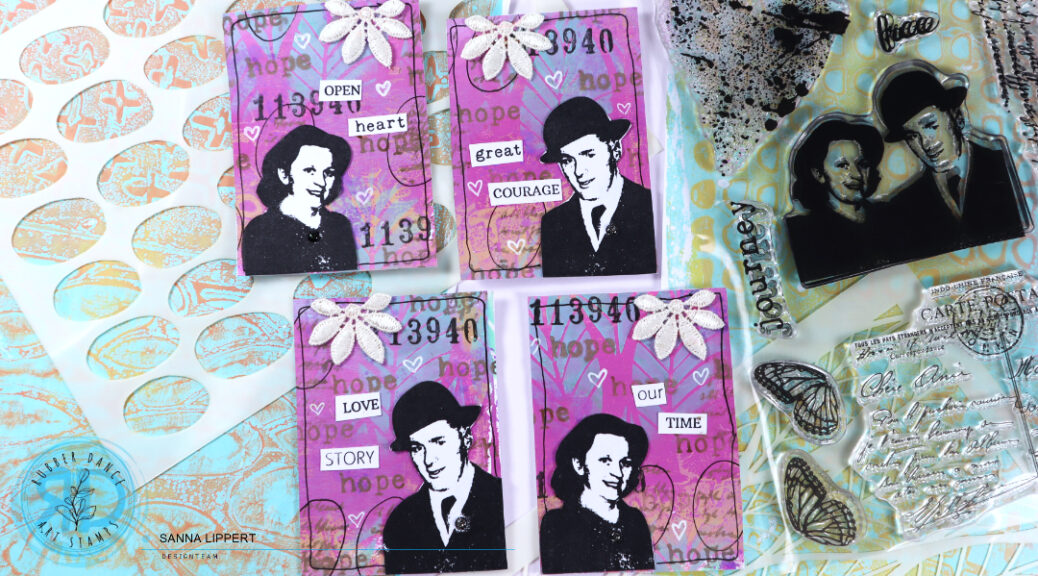
Hello everyone, I have an Artist Trading Card set up over at the Rubber Dance blog this time. I created these Artist Trading Cards with the Mix It Up 6 stamp set, Leaves #2 and Big Ovals stencil. As a background I used a gelli printed paper that I have used on a previous project (here).

The background paper, like mentioned above, is from my previous project and done using acrylic paints, a gelli plate and Cross It, as well as Marks 2 stencils. I used that paper as my starting point and added even more layers on top of it to create an interesting, artsy background for my ATC´s.

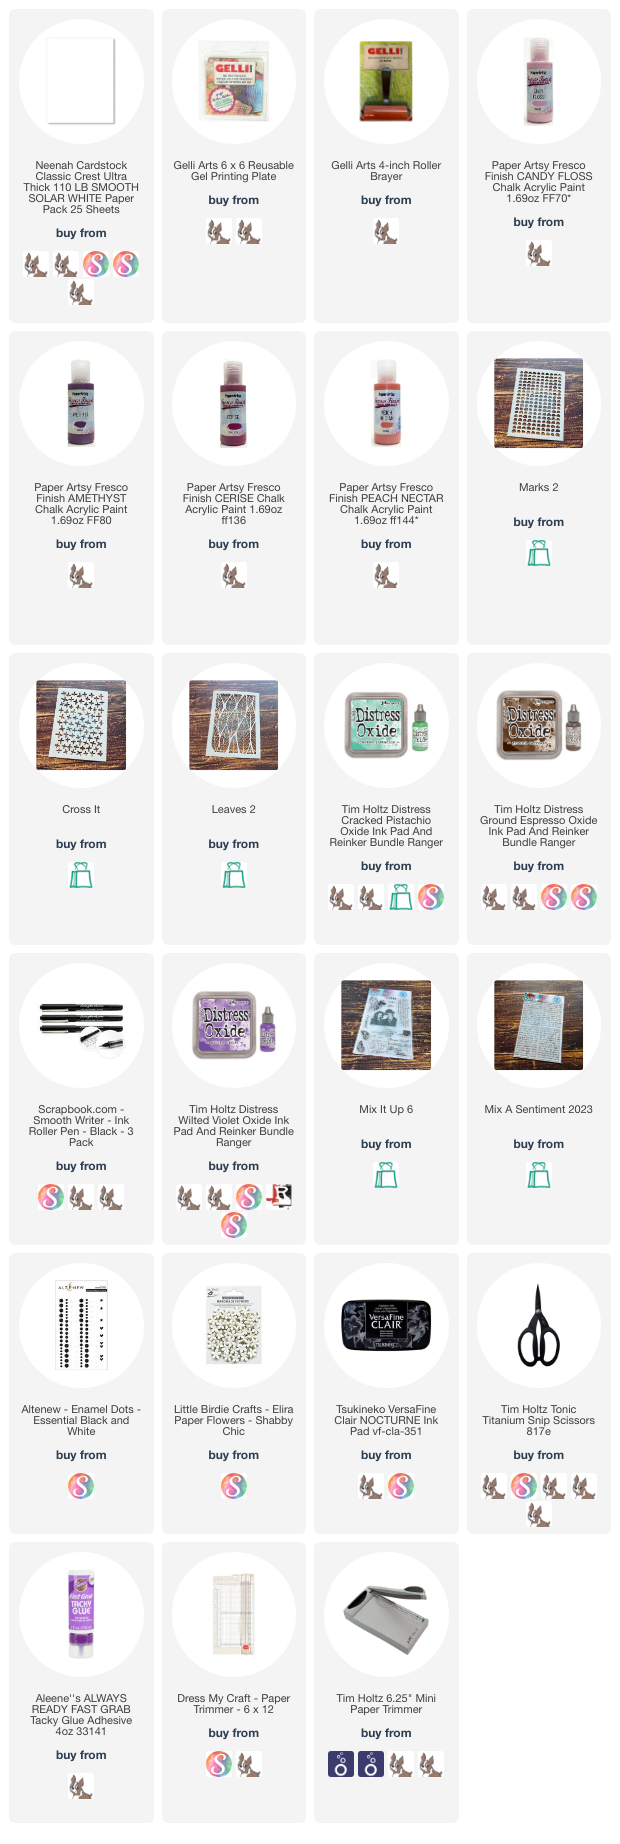
I started with the Leaves #2 stencil and cracked pistachio Distress Oxide ink by applying the ink thru the stencil randomly onto the background with a blending brush.

After that I took the Mix It Up 6 stamp set and the Big Ovals stencil and placed it on top of the paper. With ground expresso Distress Oxide I first added some stamped text thru the big ovals stencil onto the background. Then I outlined some of the stamped areas with a black pen thru the same stencil to make them stand out more from the background.

Next I stamped some wilted violet Distress Oxide toned splatters with the heart shaped stamp from the same stamp set and also some black numbers onto the background. After that I took the stamp image of the couple and stamped them with black stamp ink onto white paper and fussy cut them. In addition I added some ground expresso stamped words (hope) onto the background for more interest.

Finally I took some of the Mix A Sentiment 2023 stamp set words that I had left over from my previous projects and added them to go with the images. I also decorated the pages with a black pen outline and some fabric, vintage flowers and white gel pen hearts as well as some glitter enamel dots.

I hope I could inspire you to play with the Mix It Up 6 stamp set and the featured stencils! Have a great time creating!!
xxx, Sanna

Supplies:

Grungy Butterfly ATC´s with stencils, stamps and Distress Inks – Rubber Dance

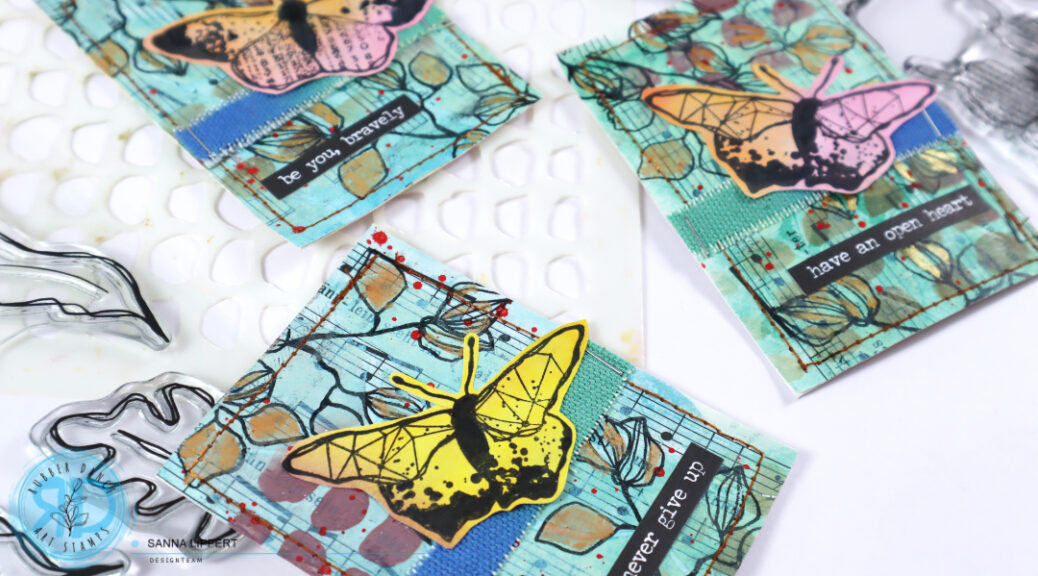
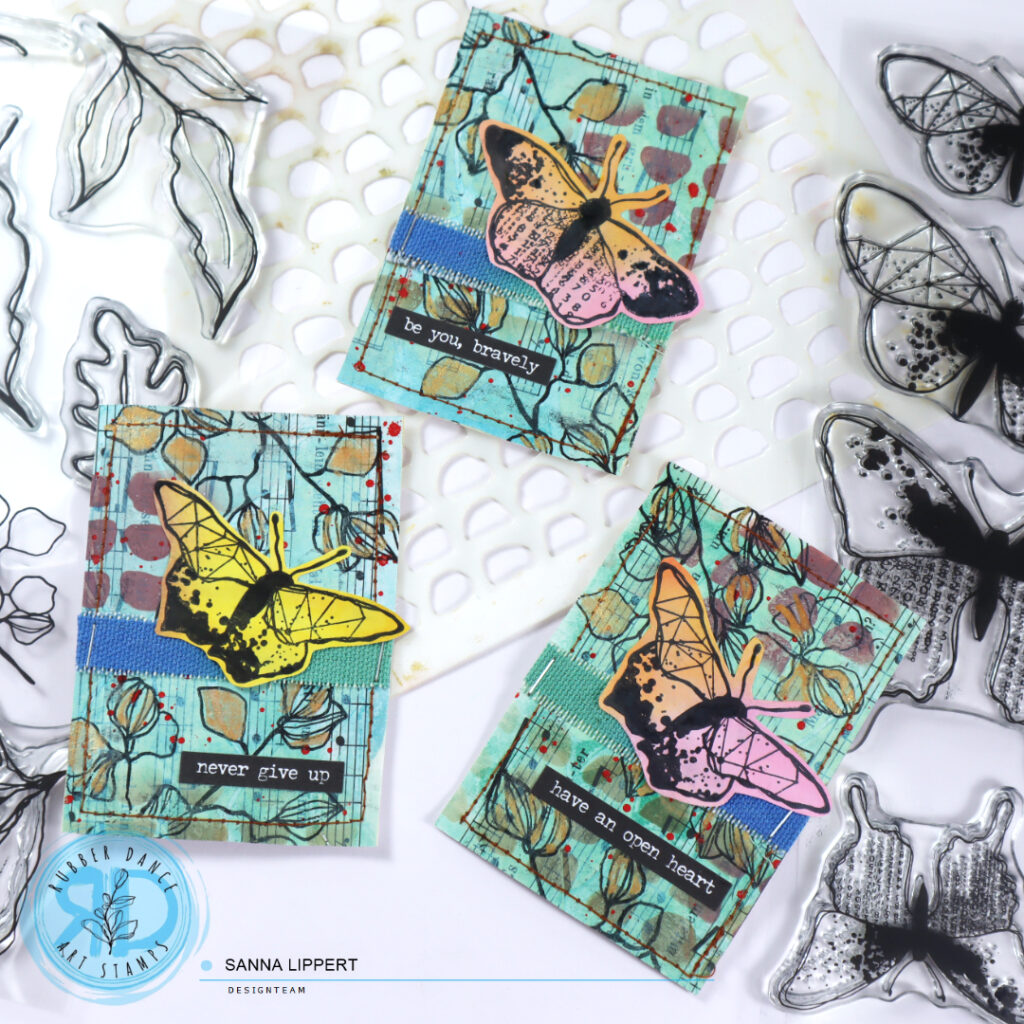
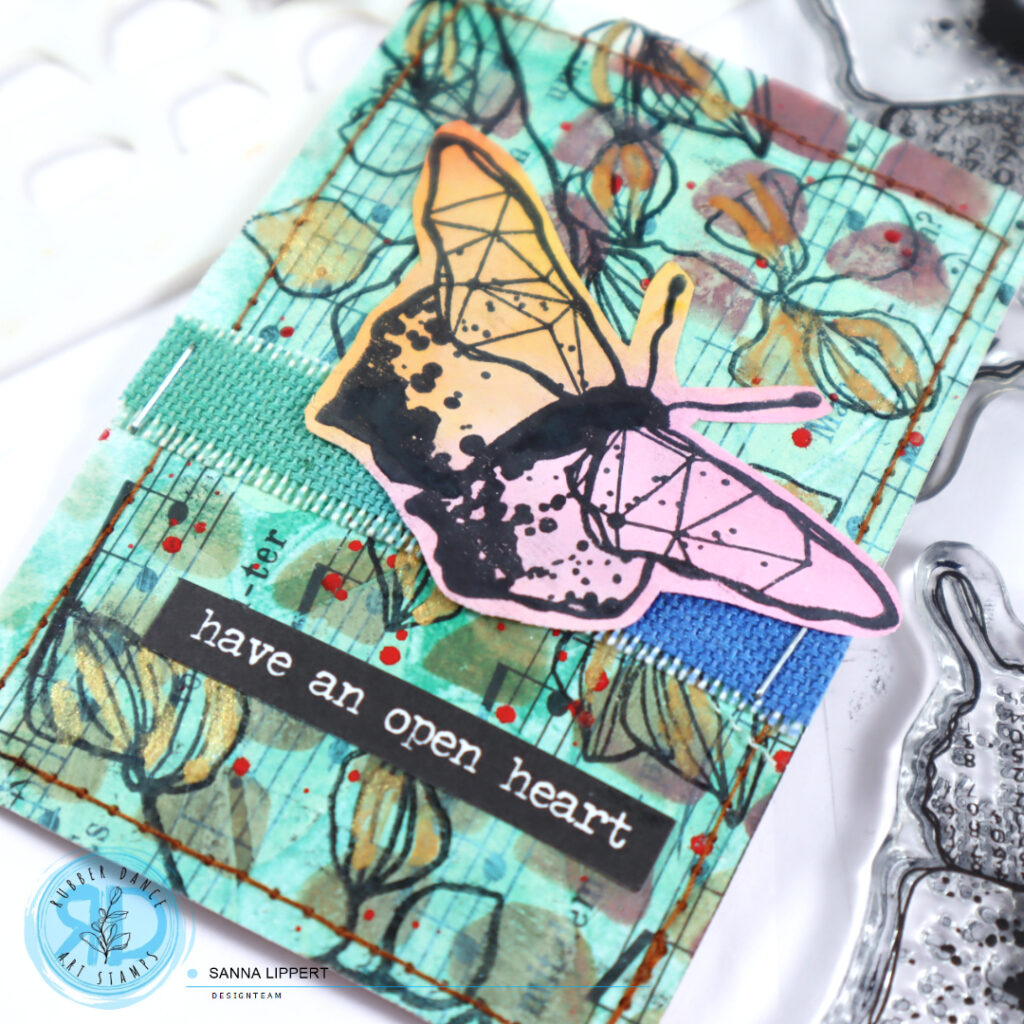
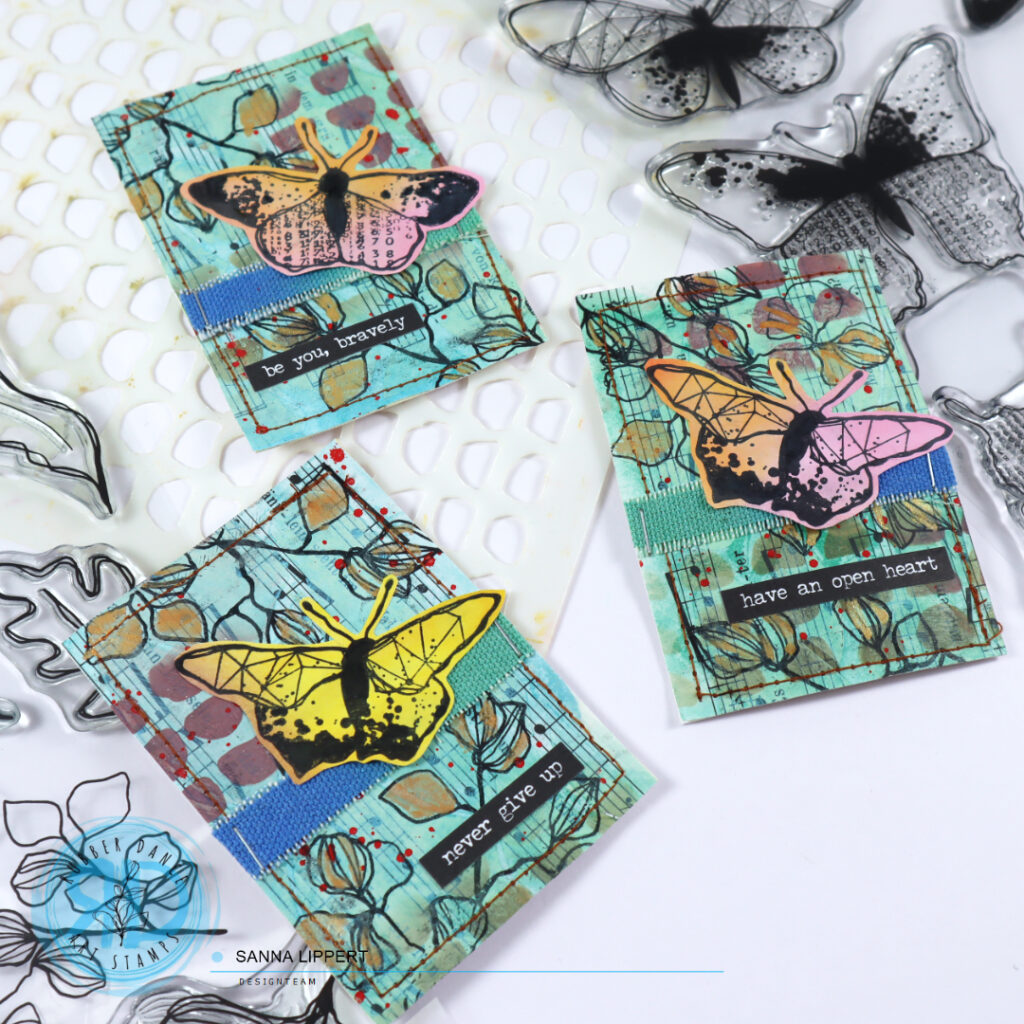
Hello, I am again up over at the Rubber Dance blog with an Artist Trading Card tutorial share. I created these ATC´s with various sets of Rubber Dance stamps and stencils.

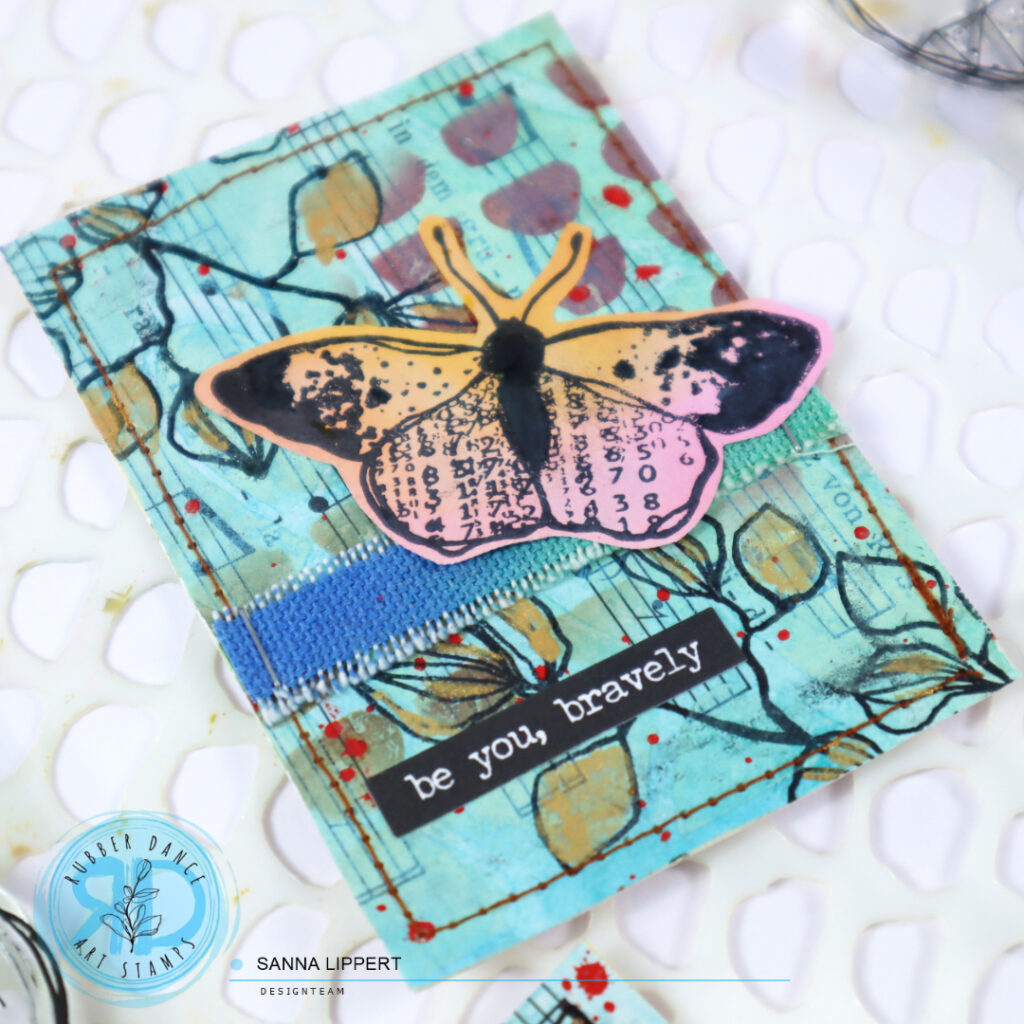
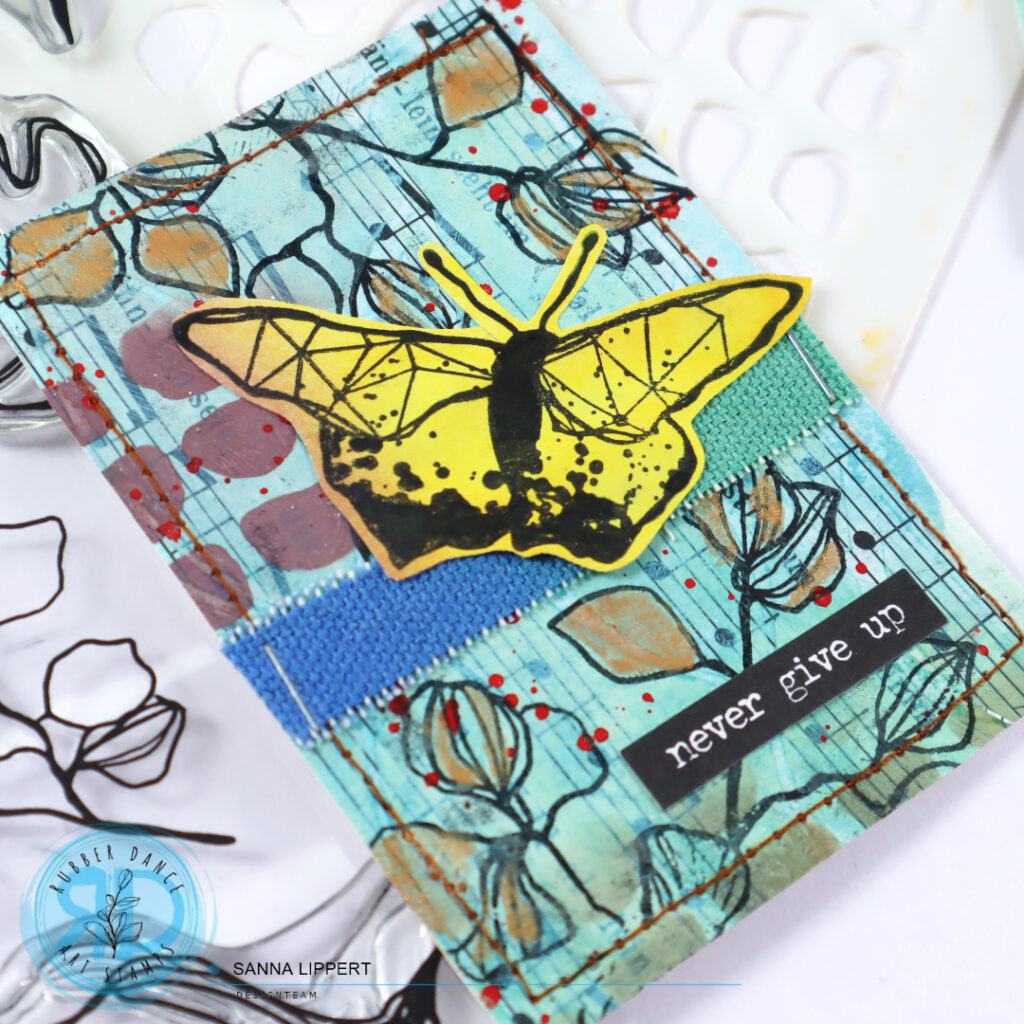
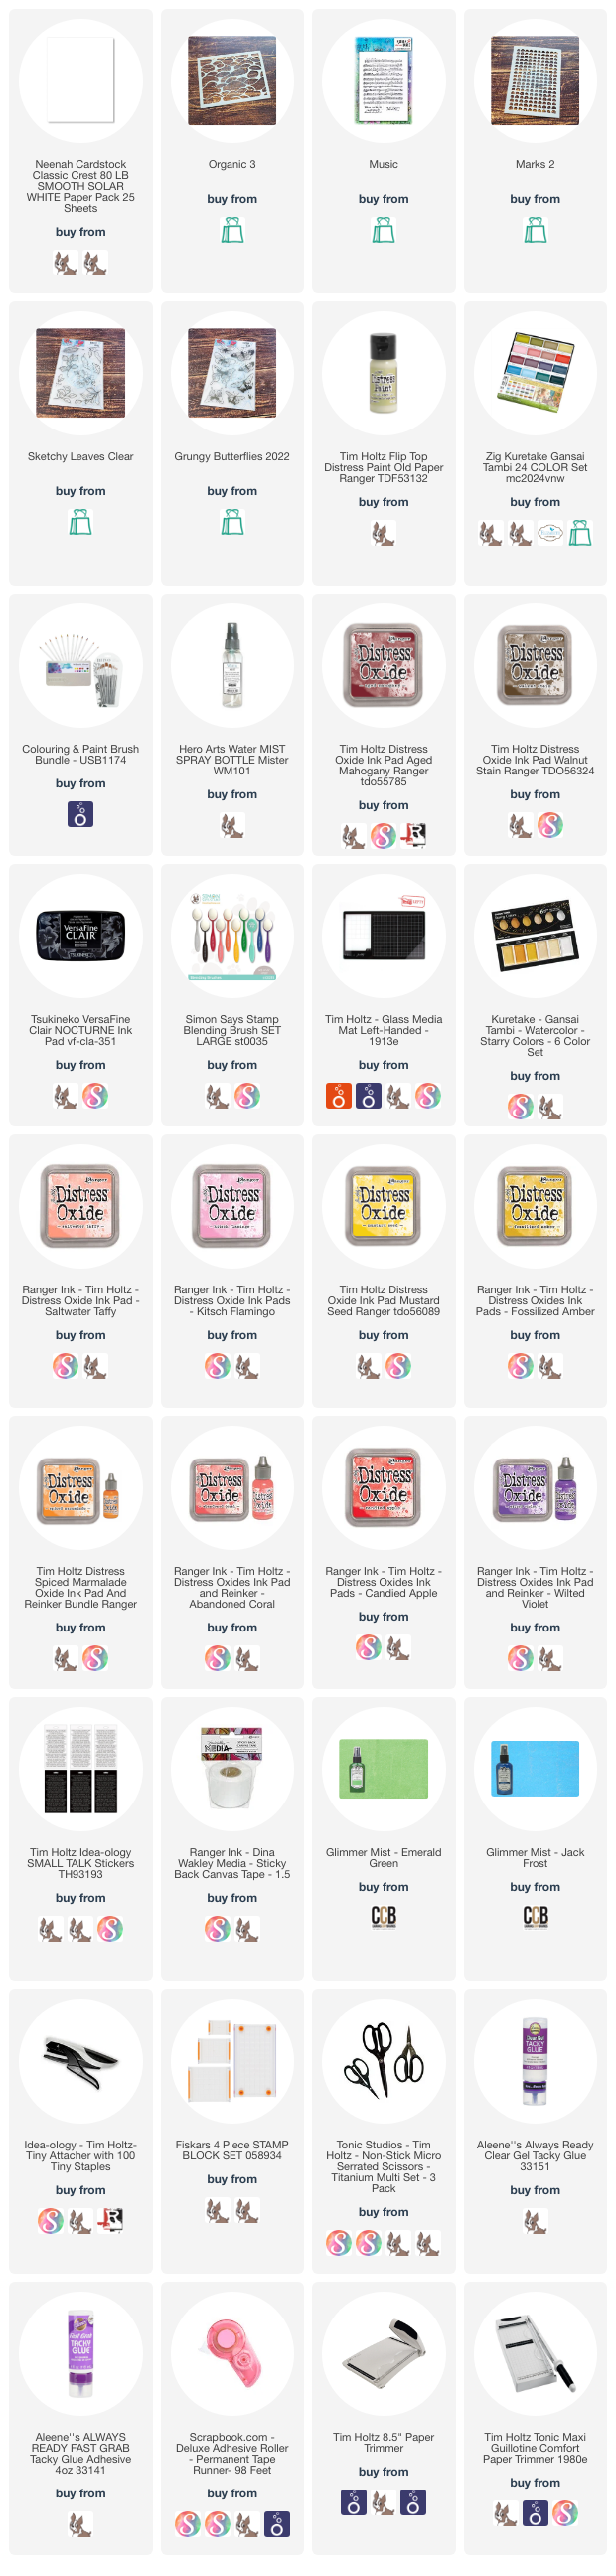
For these Artist Trading Cards I used a music note paper (if you don´t have one, you can stamp your own using the Rubber Dance “Music” stamp) on the background. On that I applied Distress Paint thru the Organic #3 stencil and then added a slightly darker tone of watercolor on top. After that I took a brown and mahogany tone of Distress Oxide ink and applied those onto the background for additional detail thru the “Marks 2” stencil. I sewed the paper onto a sturdy background with my sewing machine and then stamped some images with black ink and the “Sketchy Leaves” on the papers.

After that I added some golden watercolor pigment details to the stamped leaves and some red watercolor splatters onto the background for additional detail. On top of that I used some of my previously made “Grungy Butterflies” fodder pieces and a piece of misted canvas and sentiment stickers to finish the ATC´s.

Here is the start-to-finish video on how I created the ATC´s:

and just in case, here is how I made the butterfly fodder:

I hope I could inspire you with my tutorials a little today.
Happy crafting,
xxx, Sanna
Supplies: