Category Archives: MY STENCILS

Perfect Pairs Blooms & Sunshine cards – STAMPlorations

Hello everyone! This time I am stopping by to share a few more cards created with the Perfect Prairs Blooms and Sunshine stamp and ephemera set by STAMPlorations.
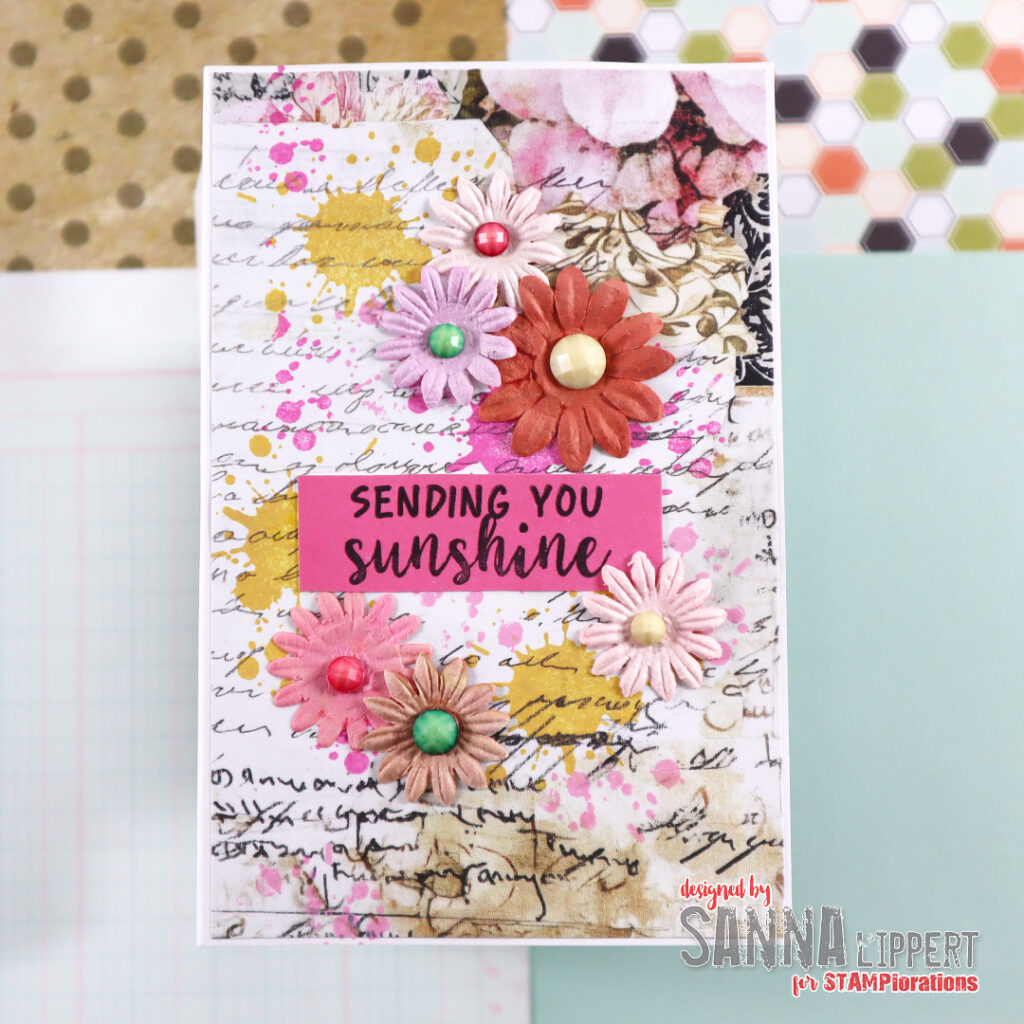
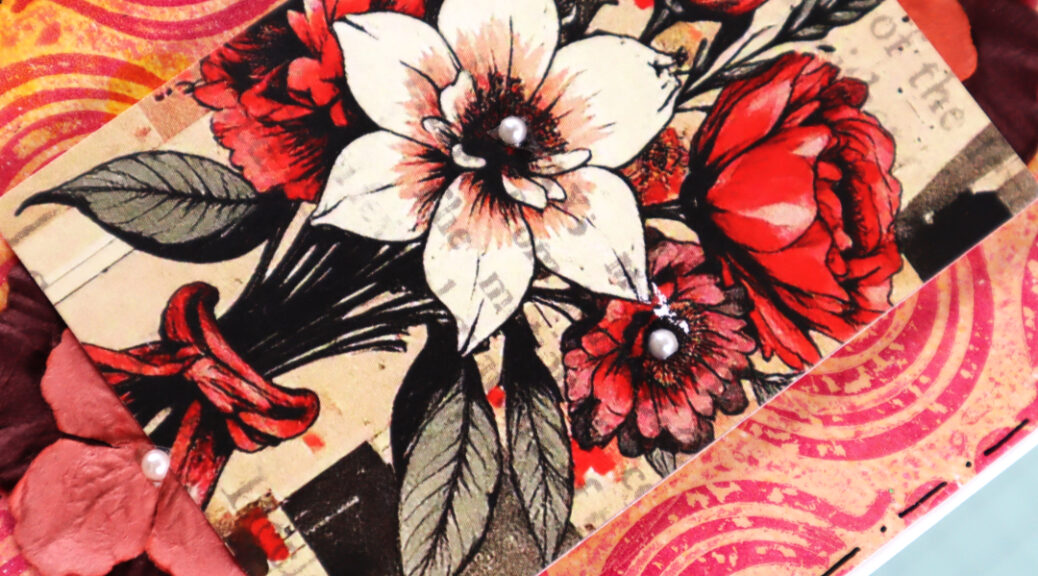
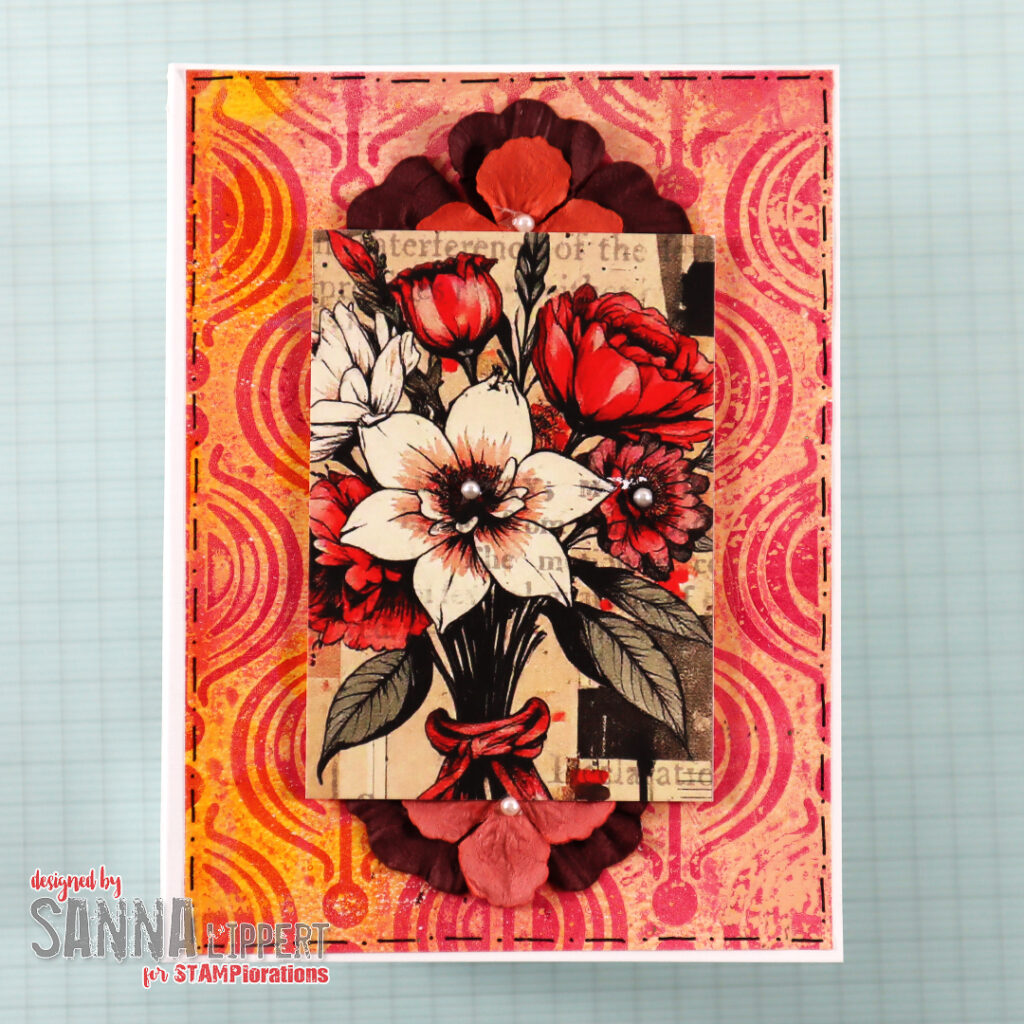
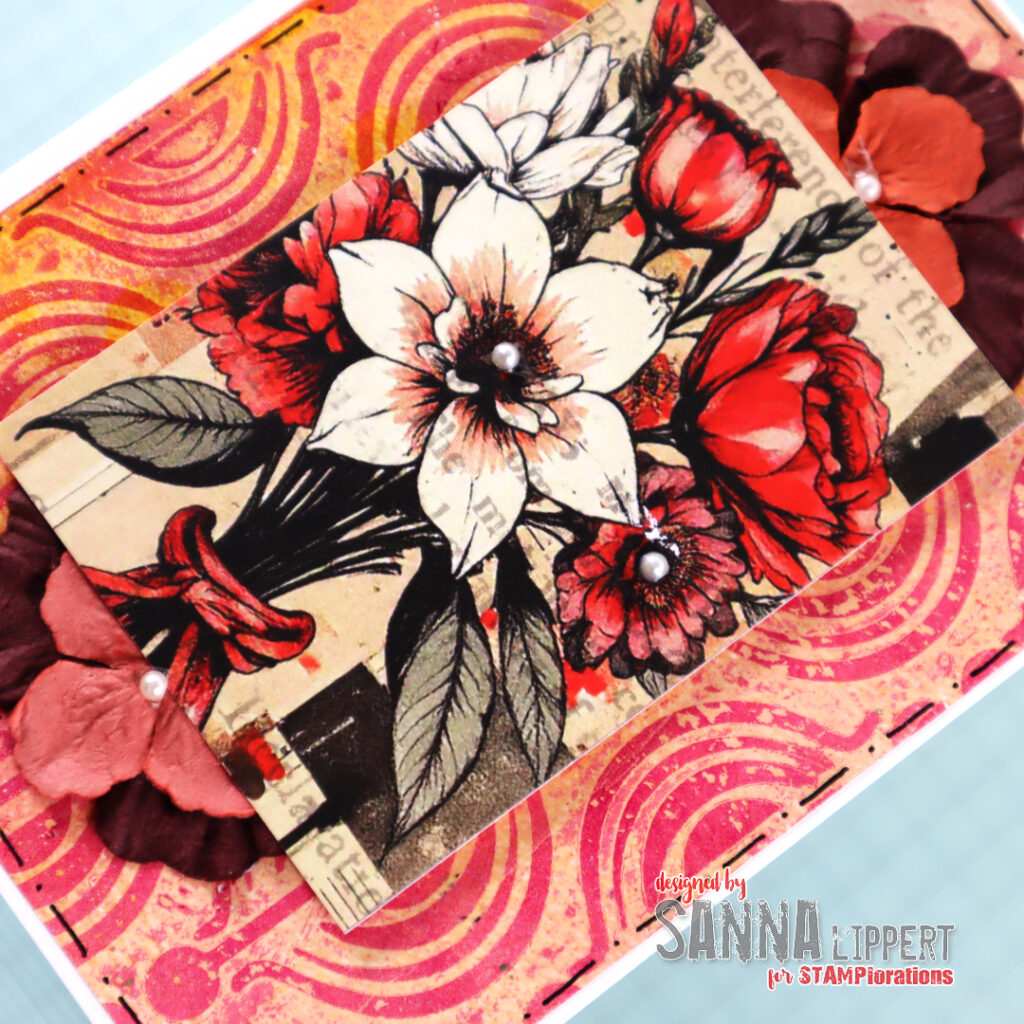
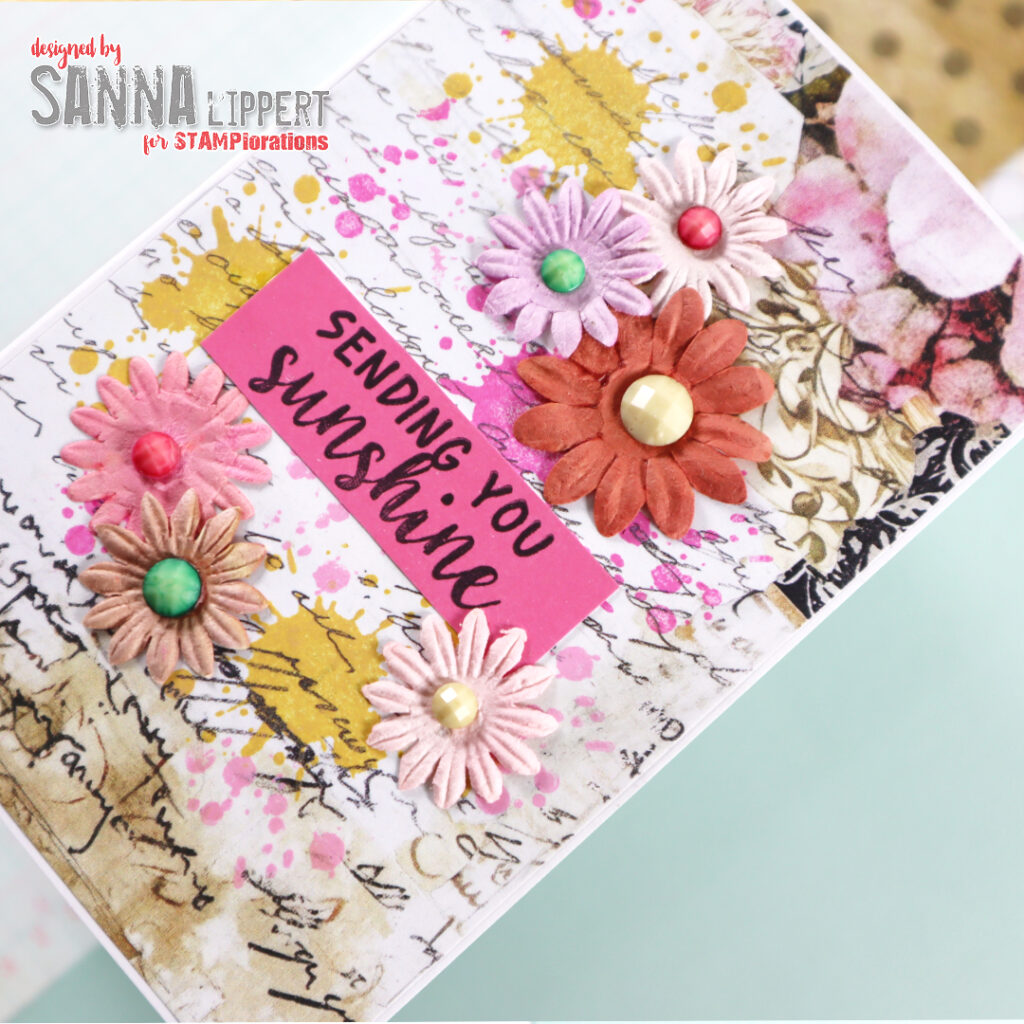
For this card I´ve used the Old Letter Pocket Backdrops paper as my starting point. After that I used yellow and pink Distress Oxide inks to stamp the ink splatter images with the Blooms & Sunshine stamp set onto the paper. I then added paper flowers in similar colors in clusters and adhered half pearls into the middle of each flower. For a centerpiece I stamped the stamp sentiment on pink paper and adhered it on place.
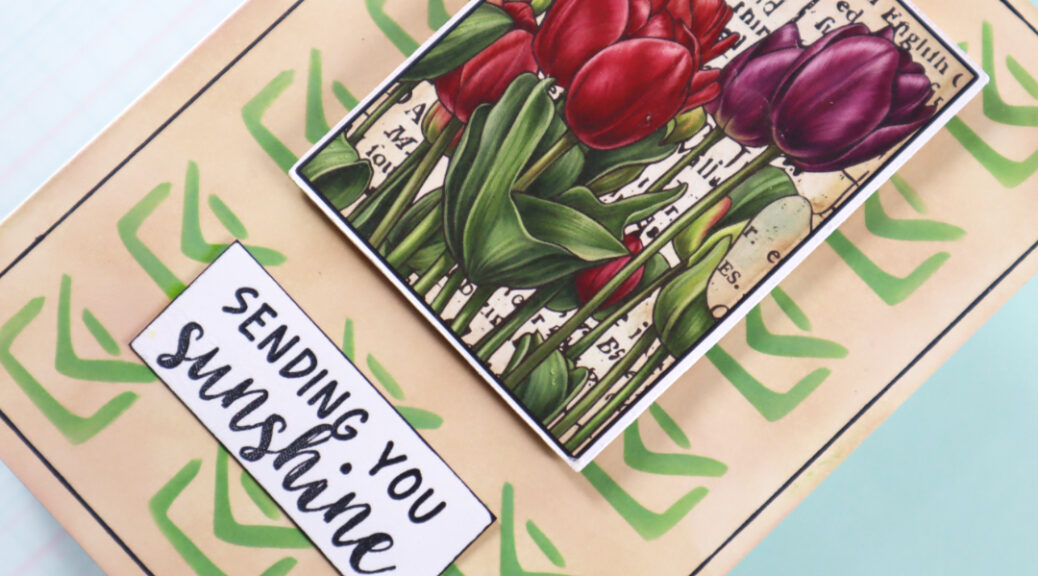
For the second card I first inked the white card base with old paper Distress Oxide Ink tone, then placed the Modern Envelops stencil onto the background and wiped some green ink thru it.
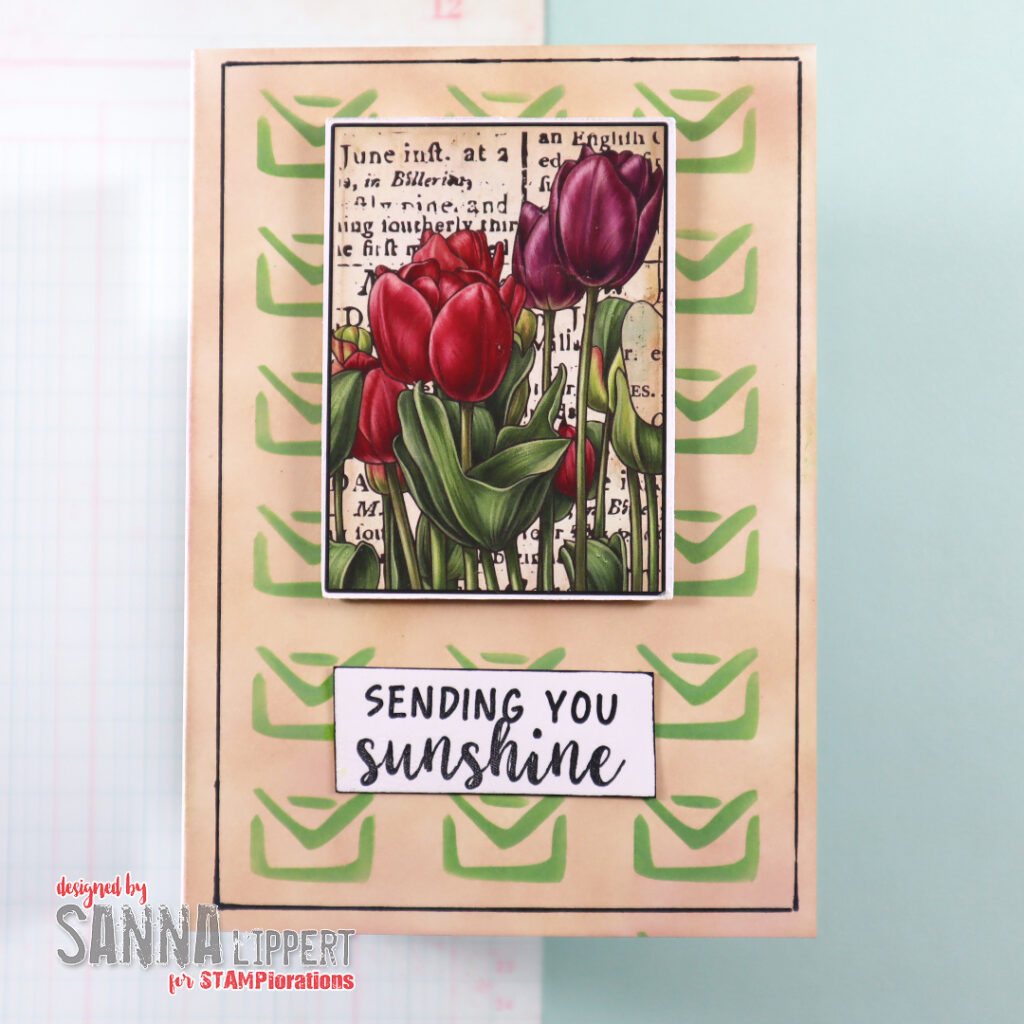
Next I chose a focal image from the ephemera that comes in the set and adhered it with 3D-foam onto the card base. In addition I stamped the sentiment on white cardstock and inked the edges to match the look of the focal image. I also added some black outlining around the card to repeat the black lines also on the card edges.
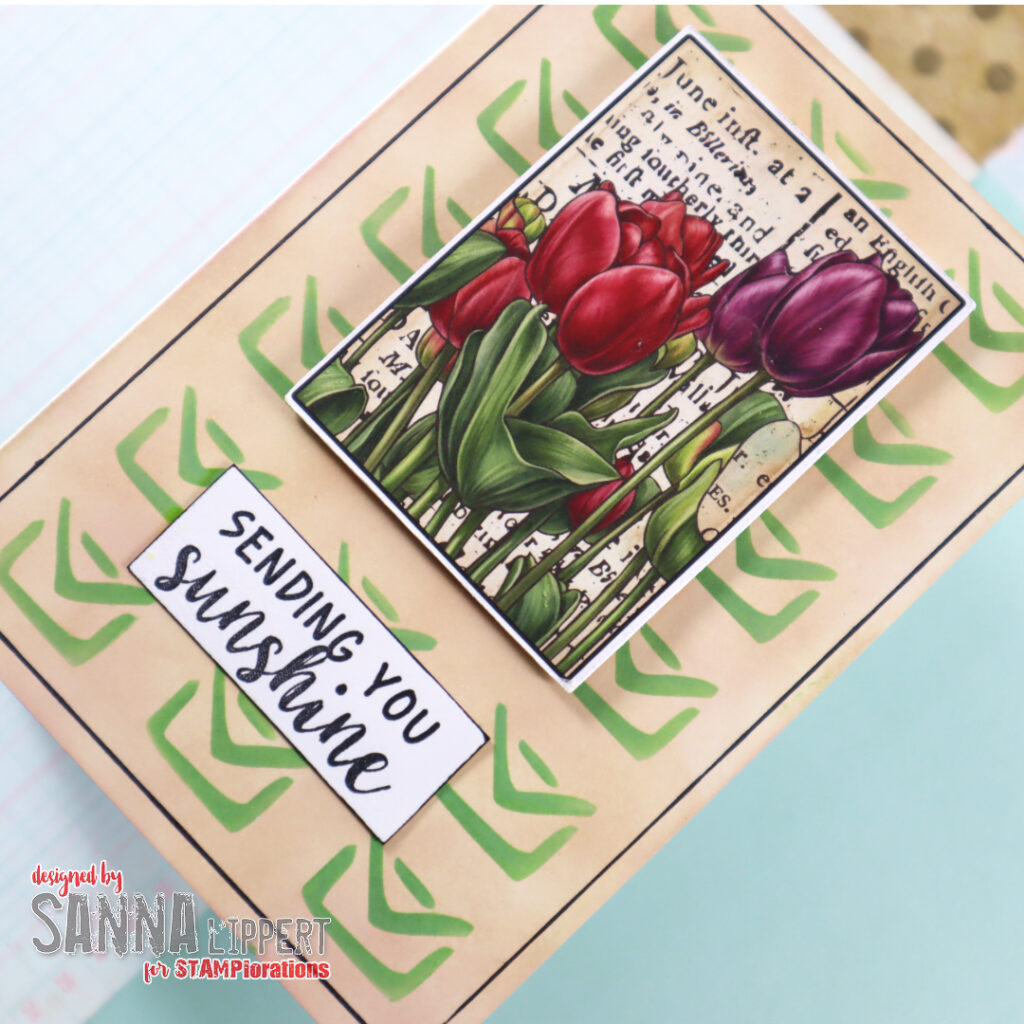
I had so much fun making these cards! It´s so easy and fun to create with this set. There is plenty of ephemera in the set to choose from and you can create so many different cards with just using the set as is or adding bits and bobs to it from your stash.
Have fun creating,
xx, Sanna
Art journal page – STAMPlorations

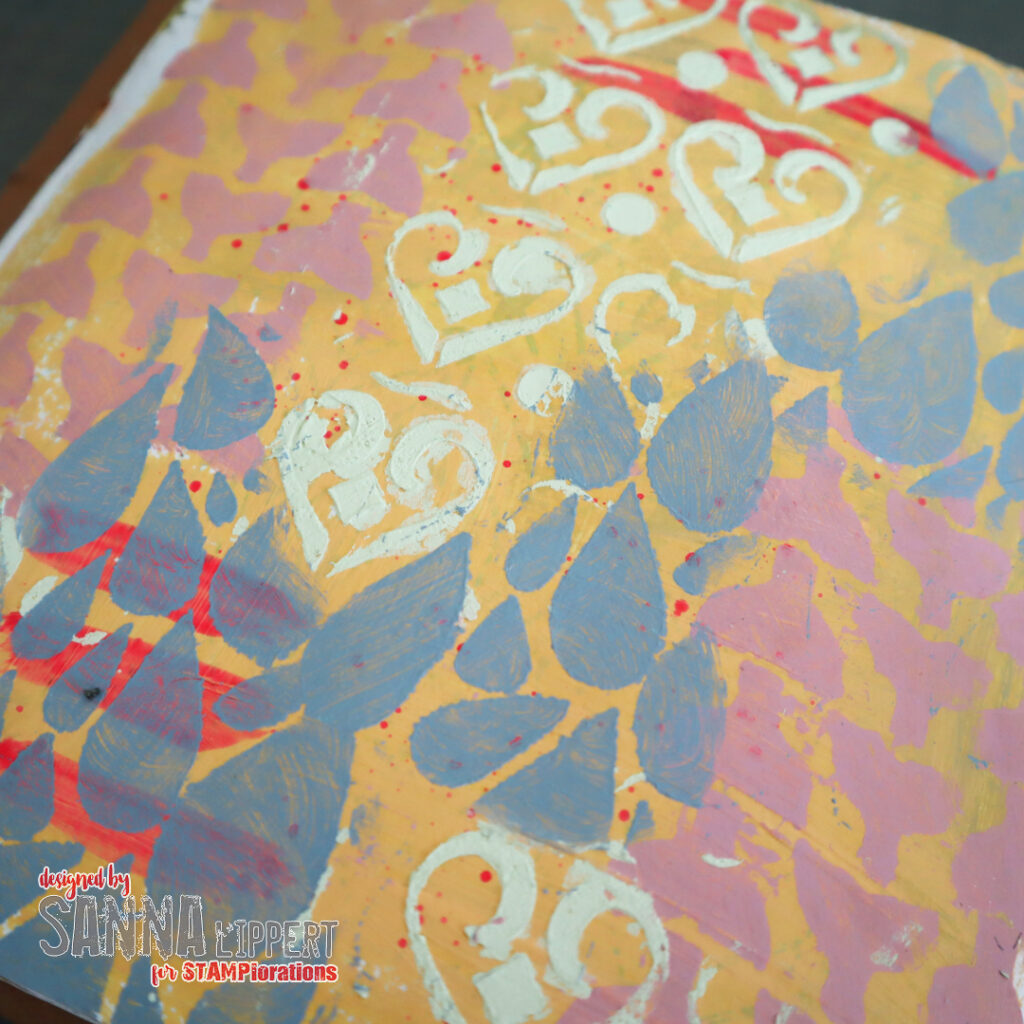
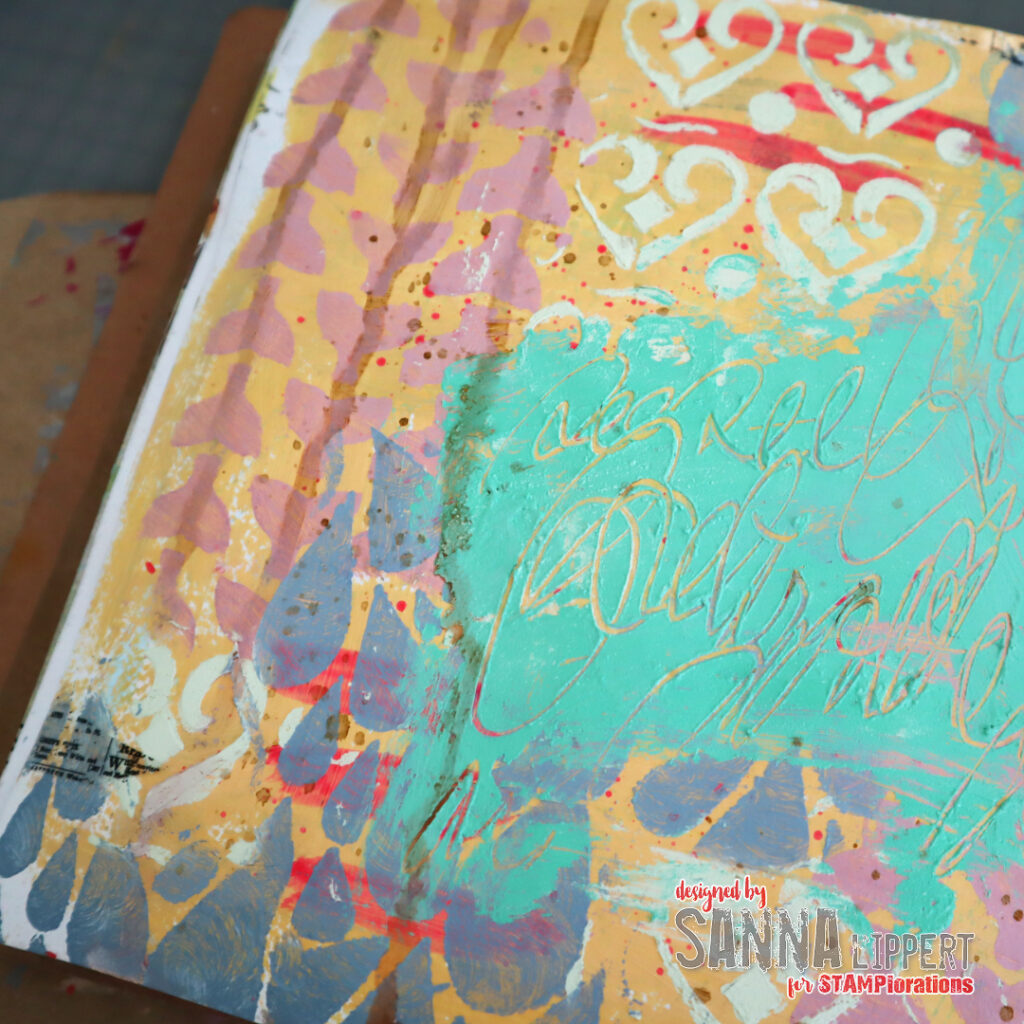
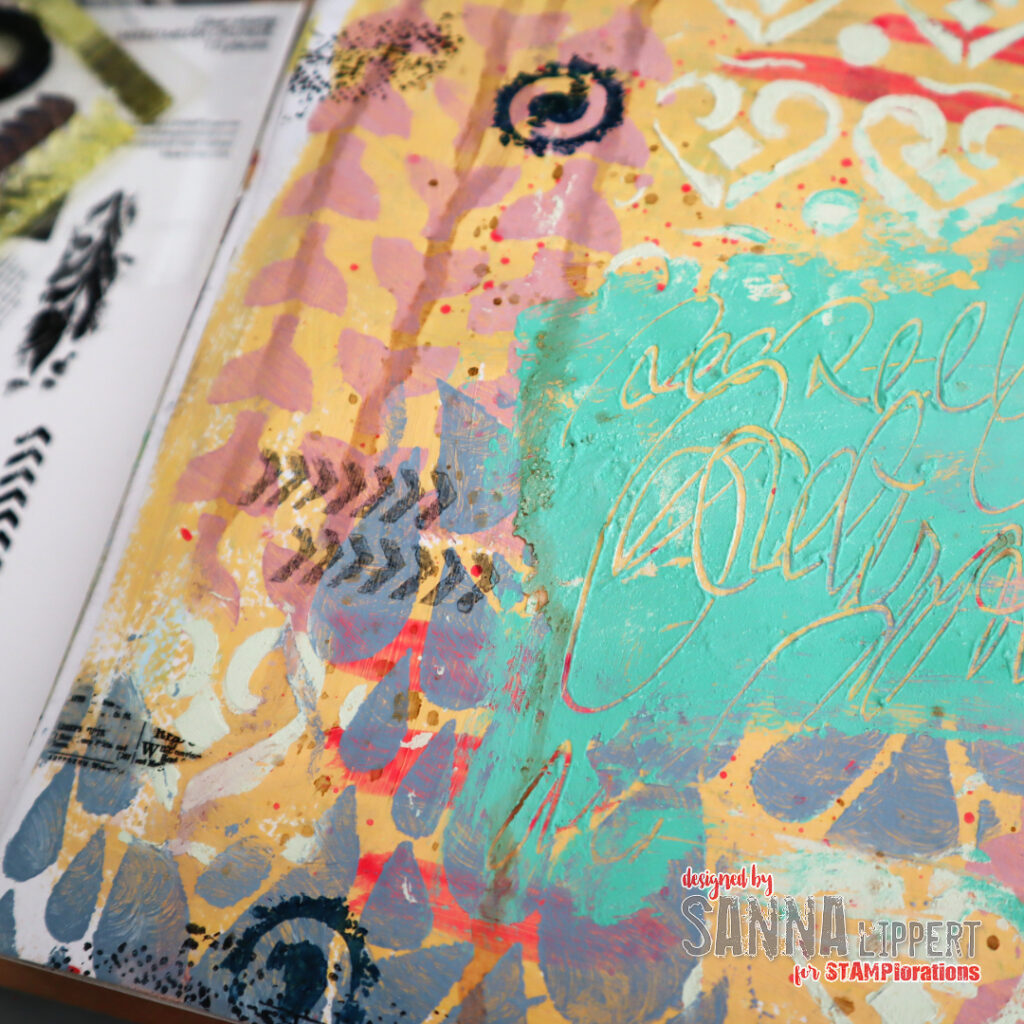
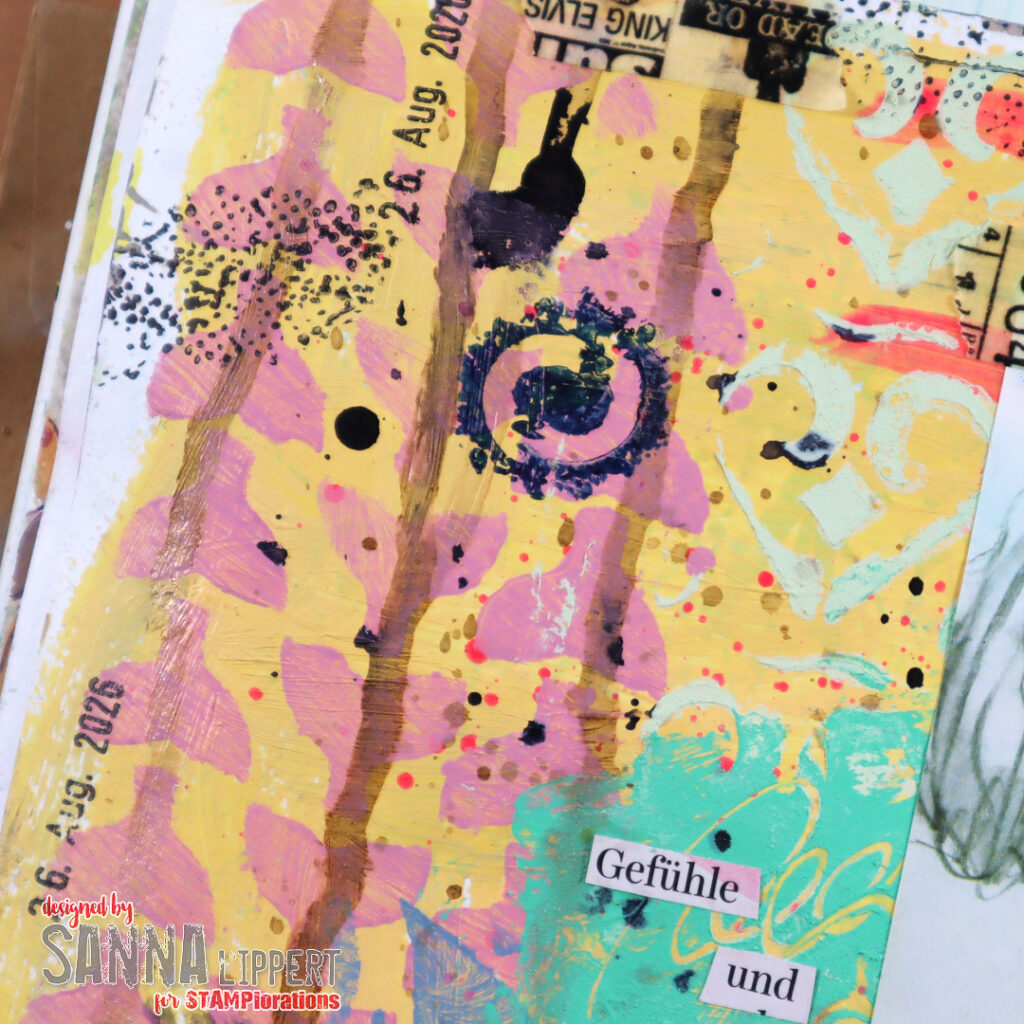
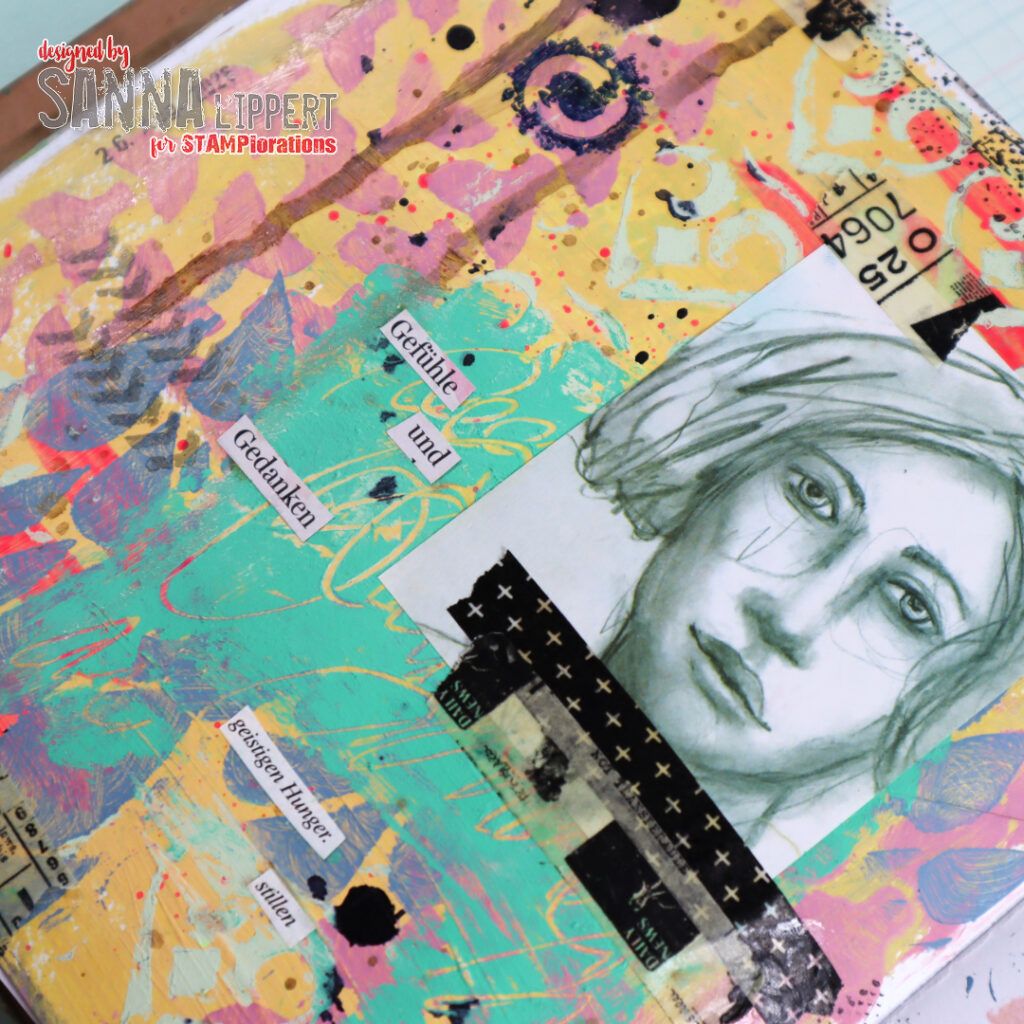
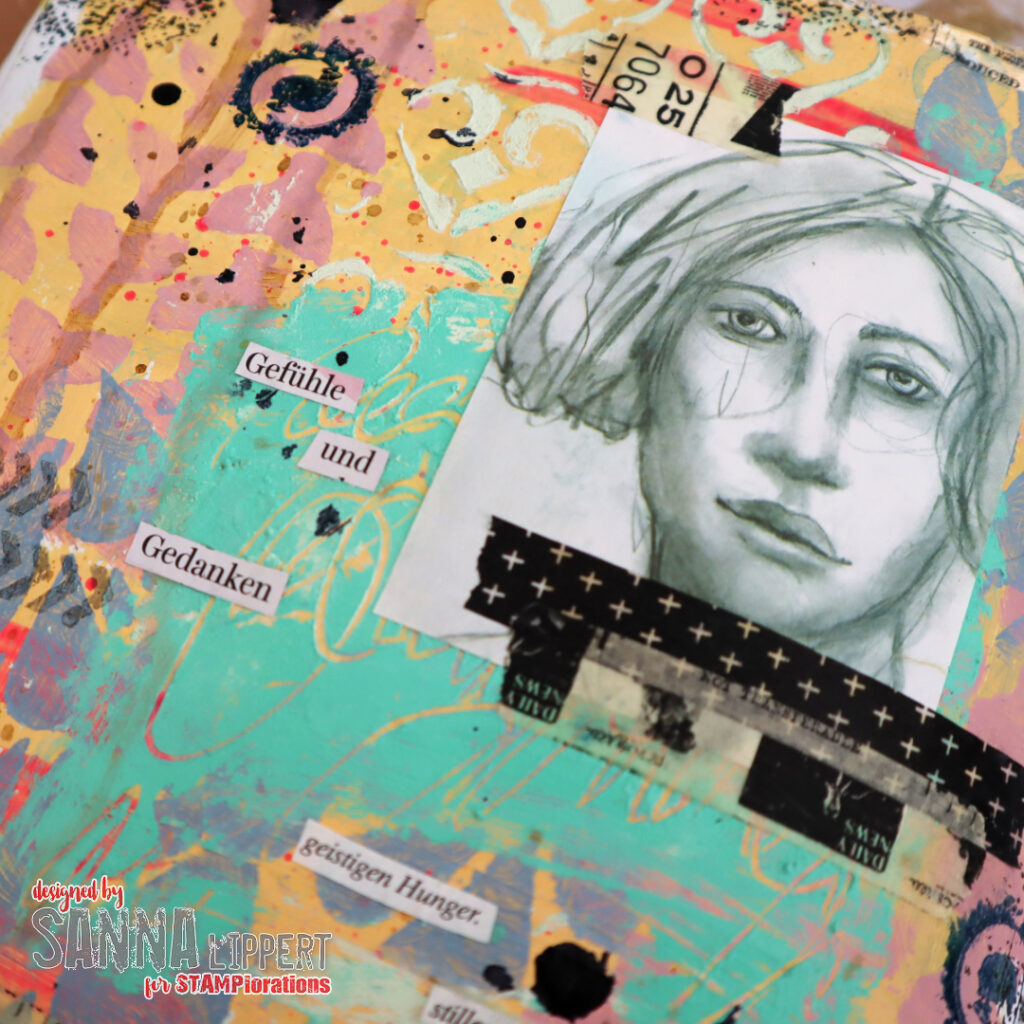
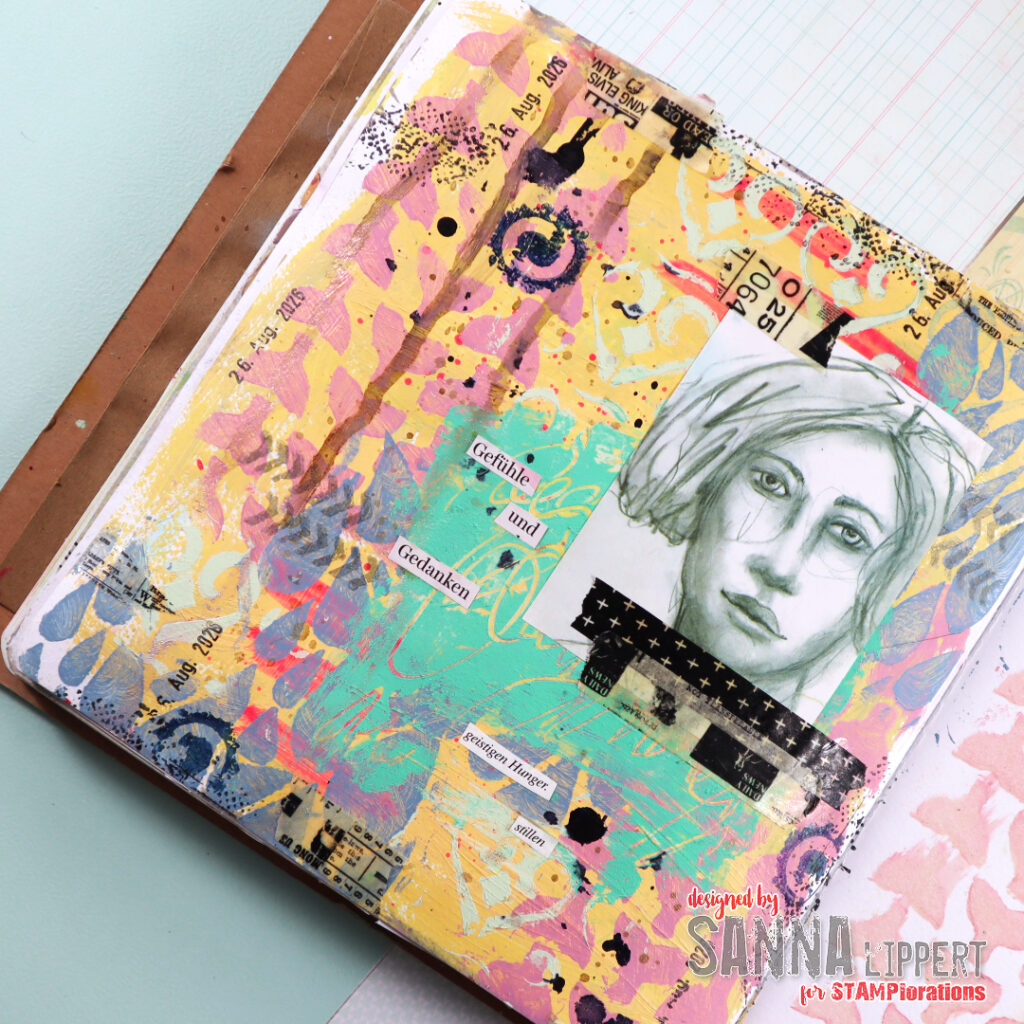
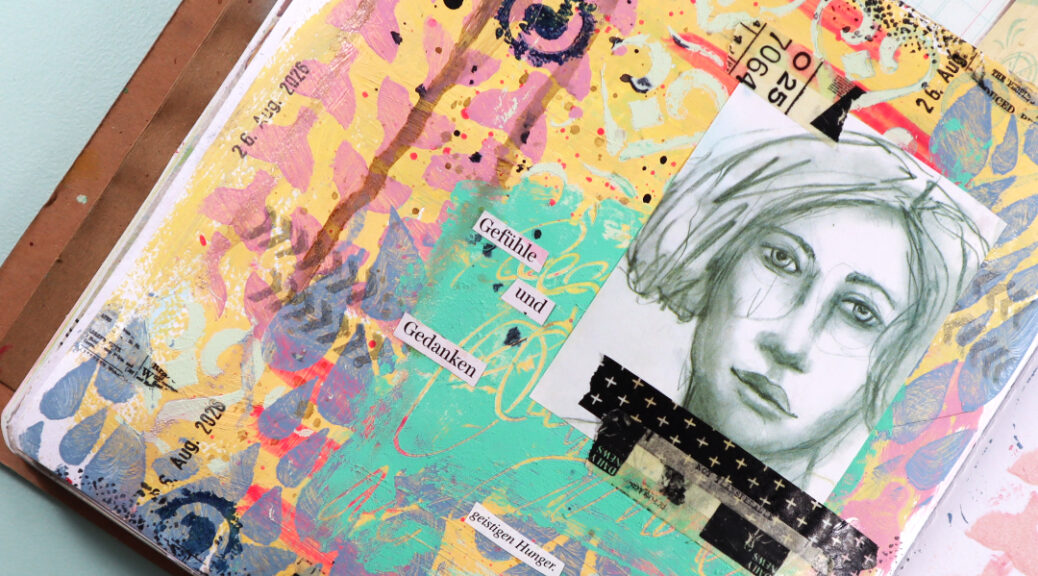
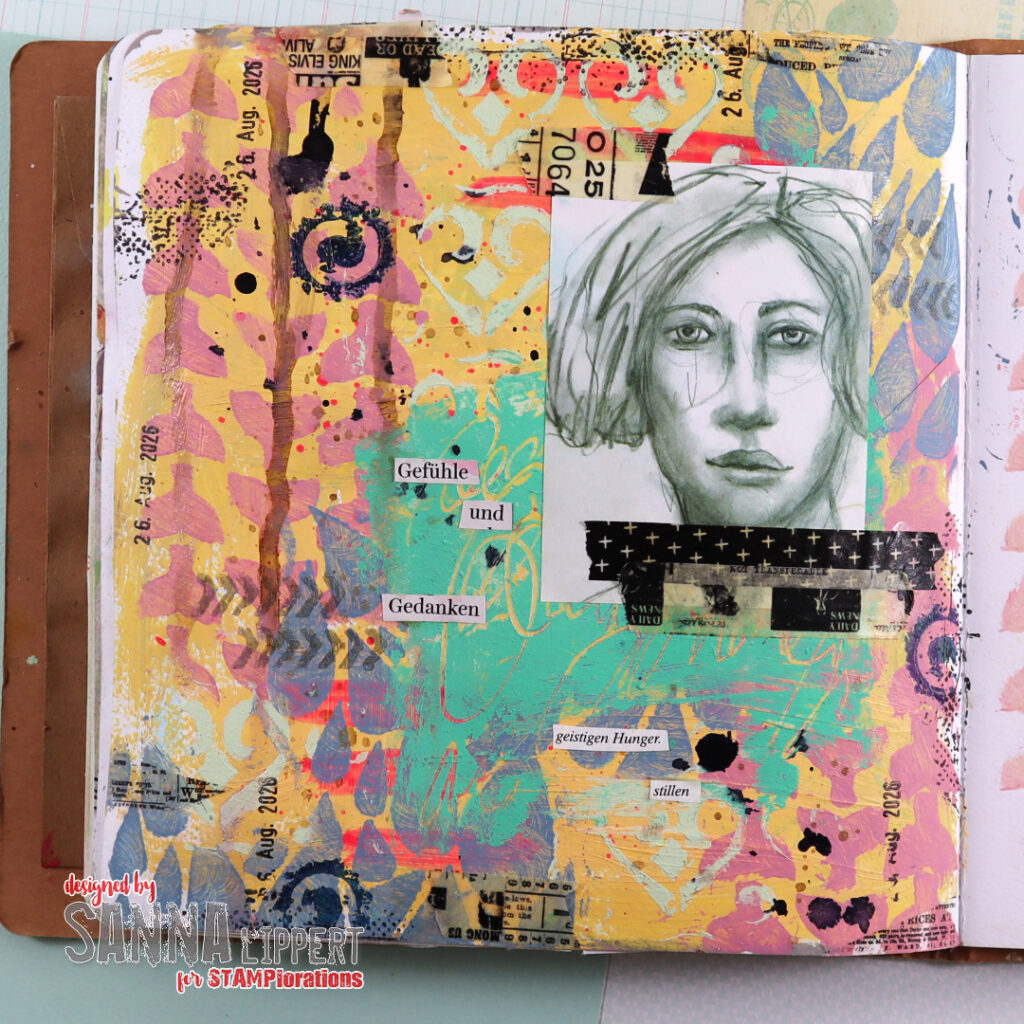
Hello everyone! Today I am stopping by to share another art journal page with you. For this page I´ve again used plenty of STAMPlorations products, acrylic paints, stamps and stamp inks as well as clear stickers, washi tape and a portrait image.

I started off by applying yellow paint onto the background. On top I wiped some magenta stripes and paint droplets. After that I took out some STAMPloration stencils and applied light pink, light blue and mint green paints thru them. The stencils used are called: A Whale´s Tale, Abstract April Showers and Retro Hearts.

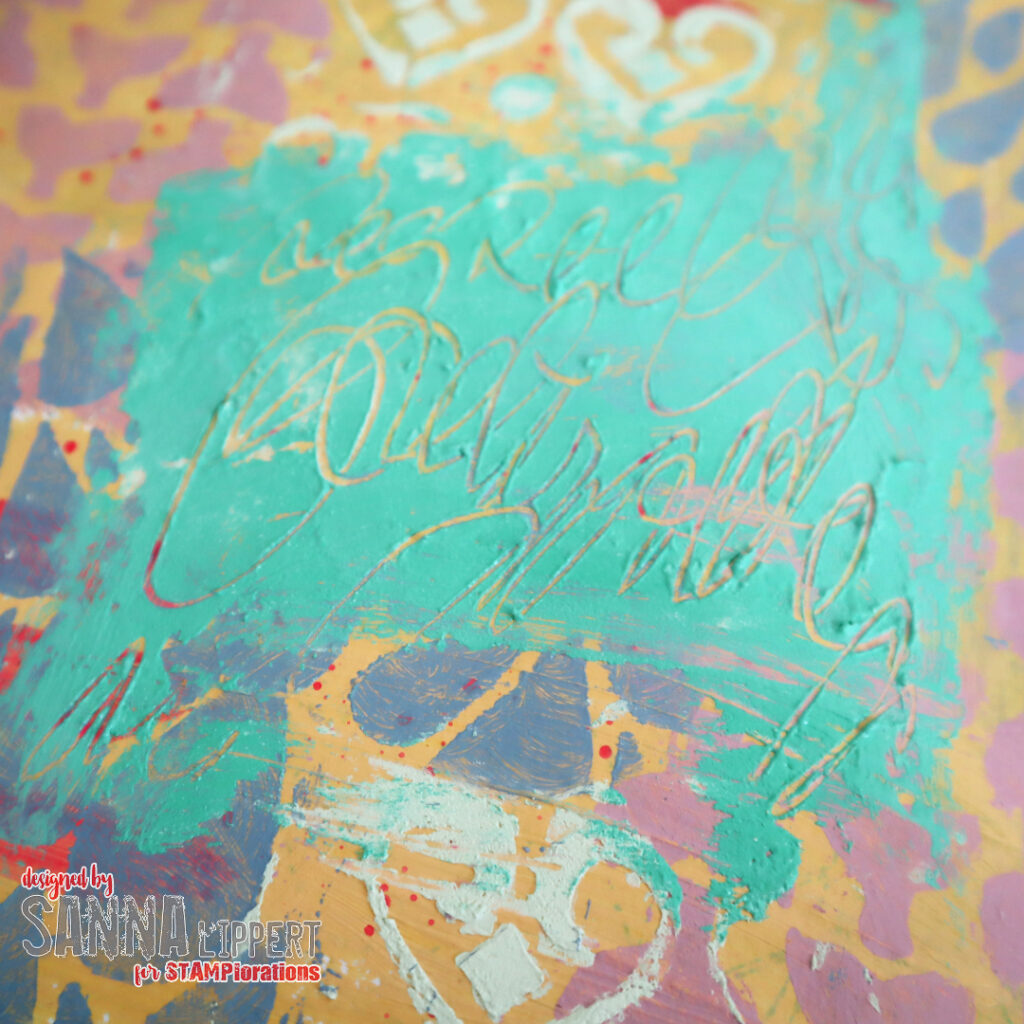
Next I applied a thicker layer of green paint and did some asemic writing onto it with a mark making tool.

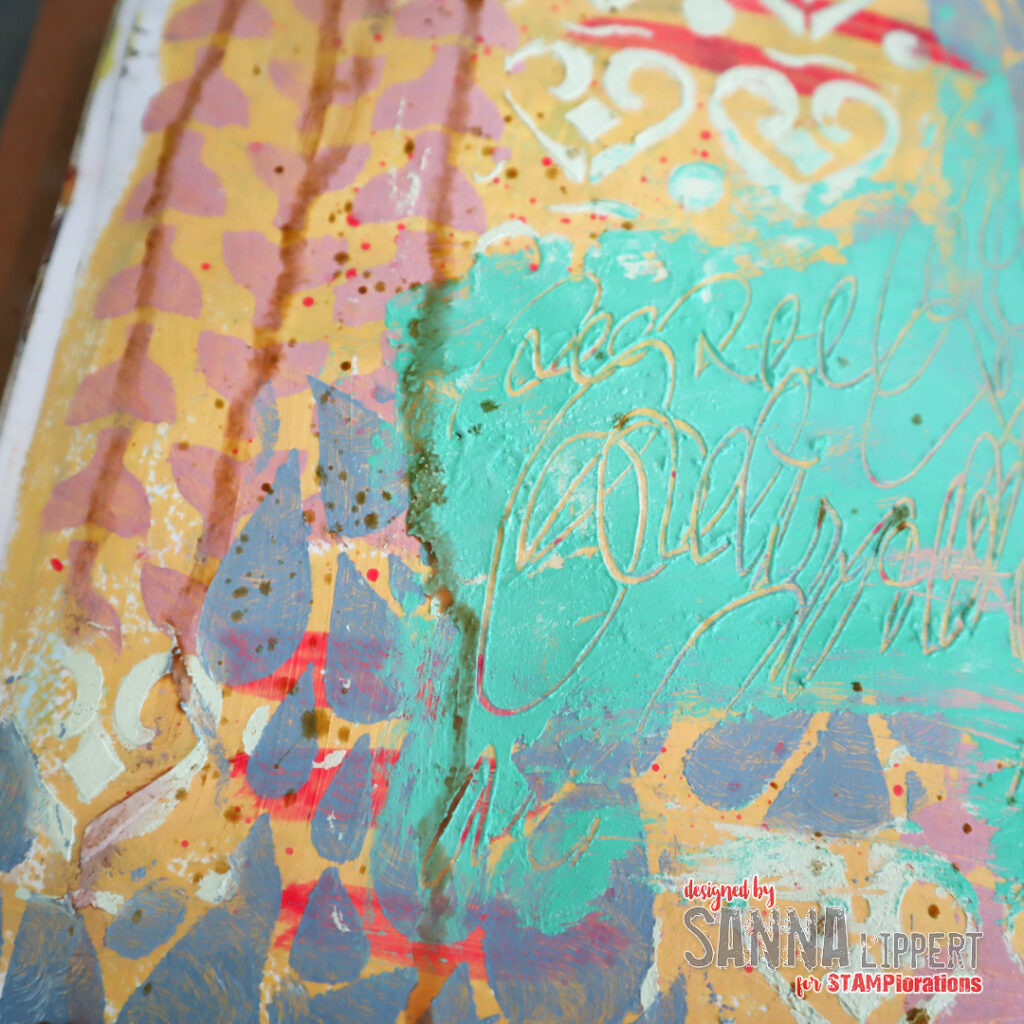
Then I sprayed some brown spray ink and let it run freely down the paper. I also added some splatters in same color.

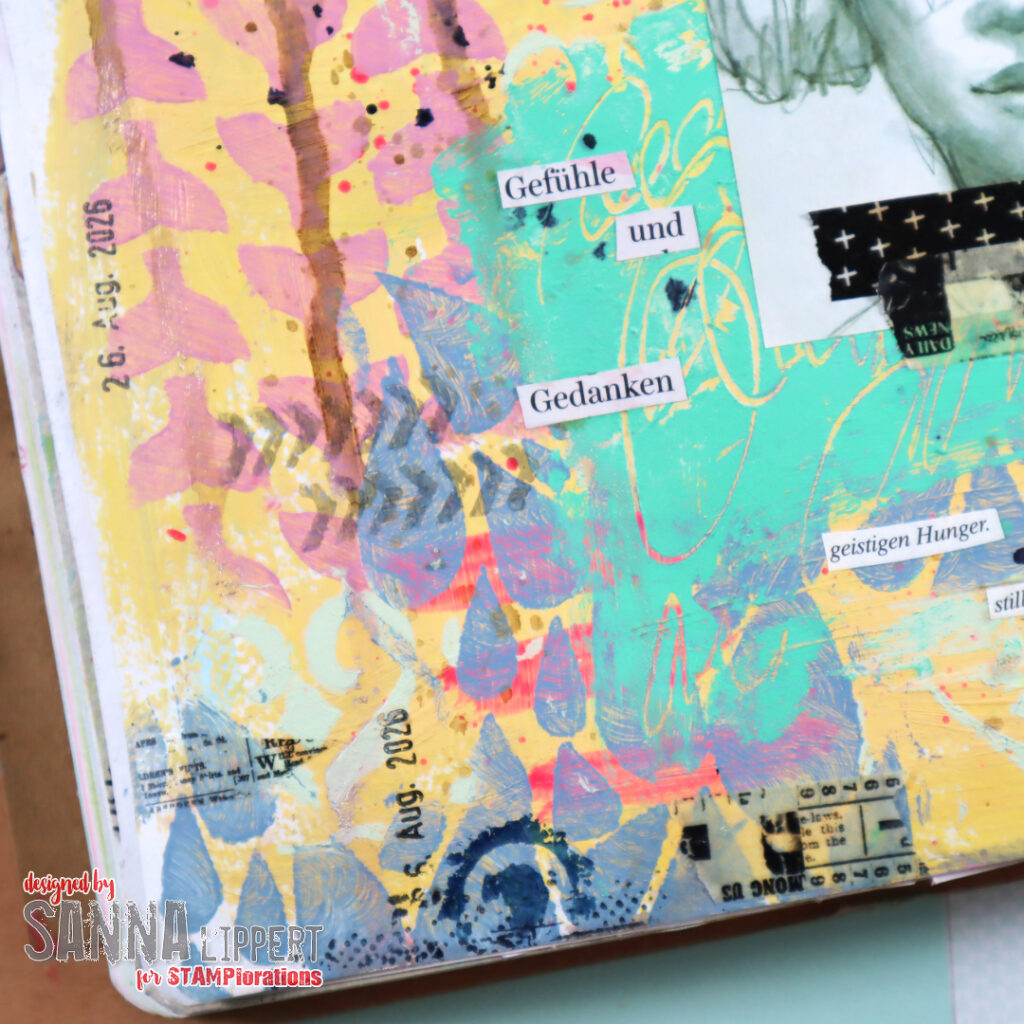
After that I added some clear stickers to edges of the page here and there. I used the STAMPlorations Newsprint Background Bits #1 for this purpose.

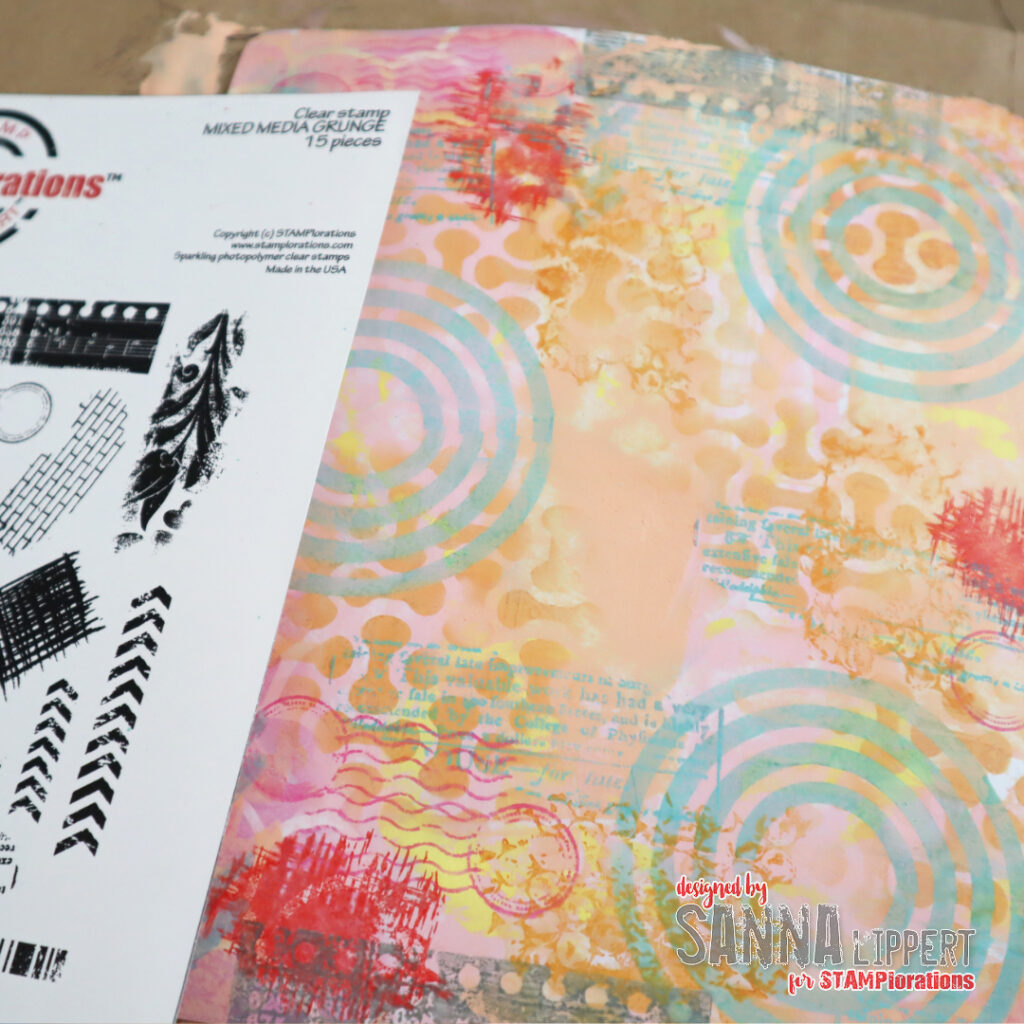
After that I added some stamping with the Mixed Media Grunge stamp set using blue, gray and black stamp inks with the stamp set.

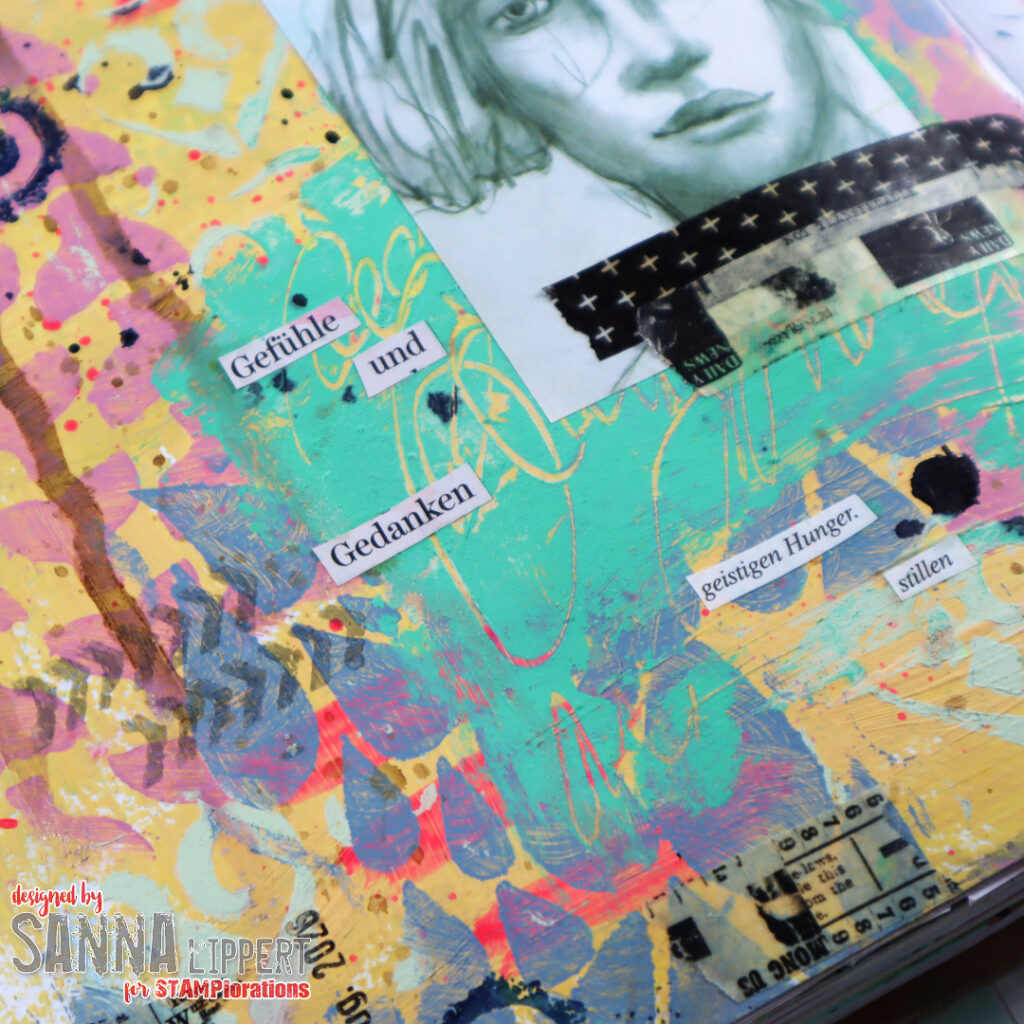
For finishing touches I added a portrait picture from my 2023 Artist Almanac, a fussy cut sentiment in german, some date stamping and some washi tape for decor. I also applied some blue ink splatters for contrast.

Here are some details of the finished page:

I hope I could inspire you to play with stencils on your journal!!
Happy creating!
xx, Sanna

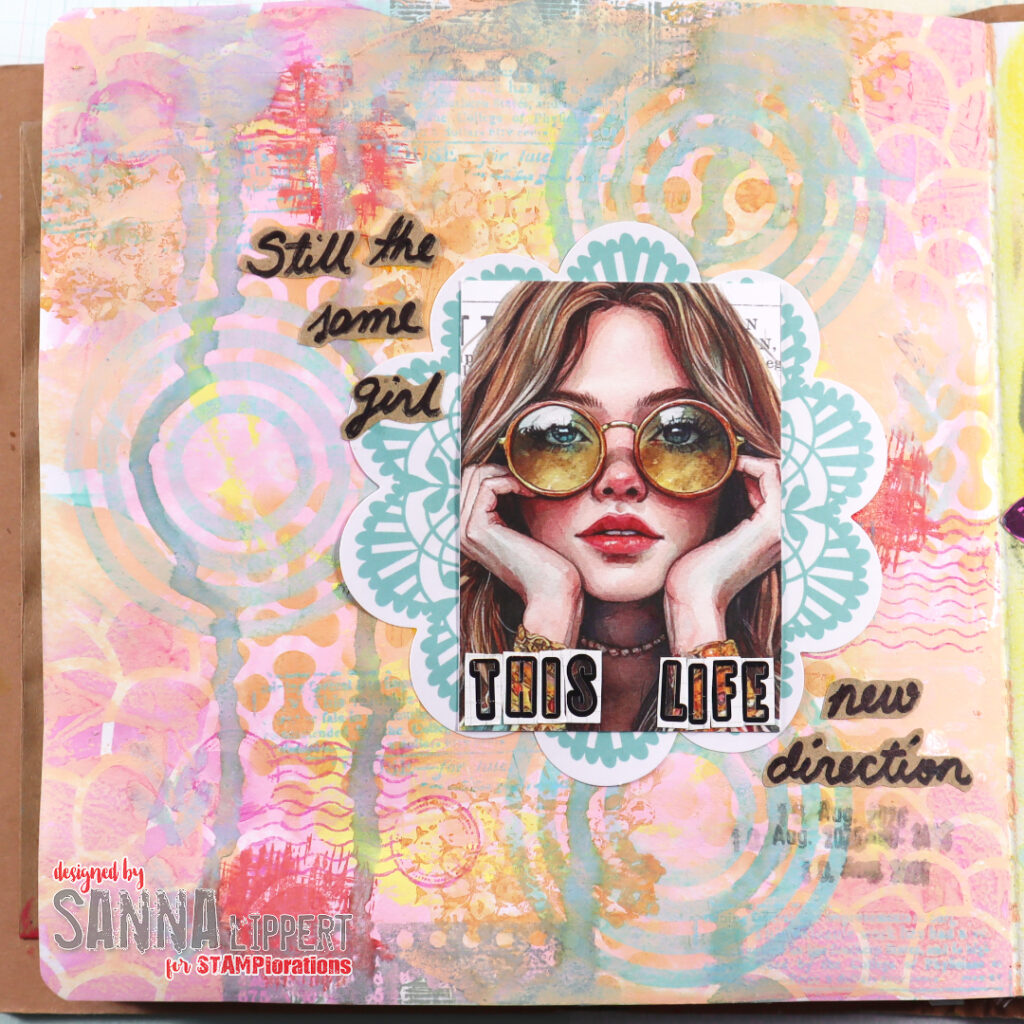
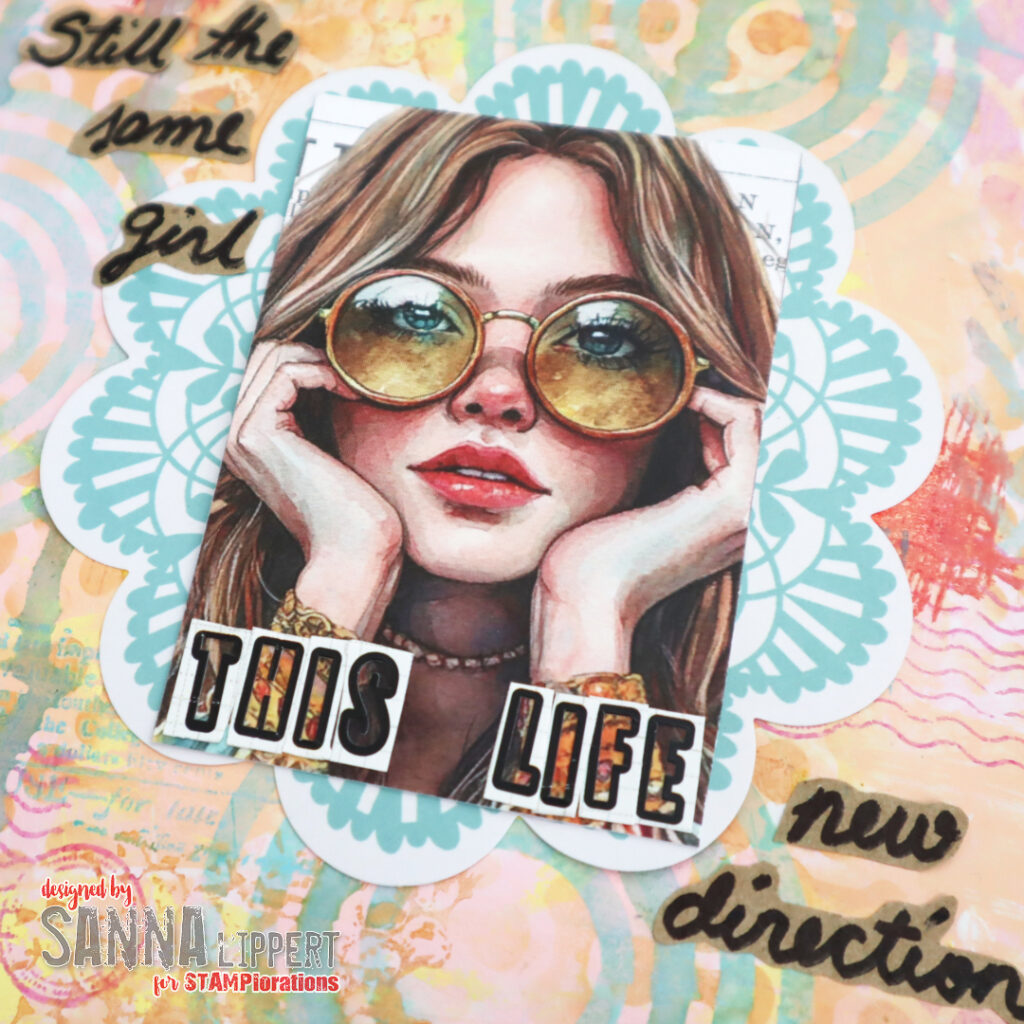
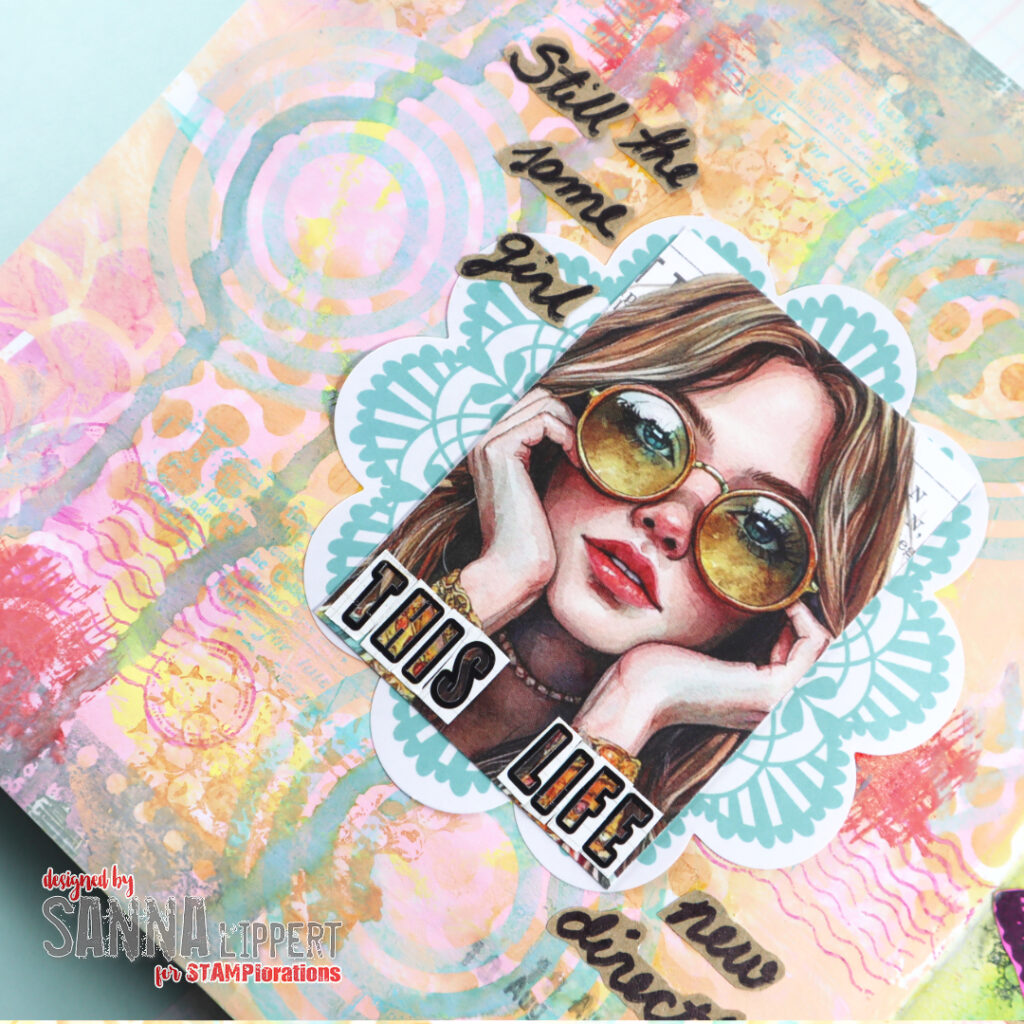
Still the same girl – Art Journal Page

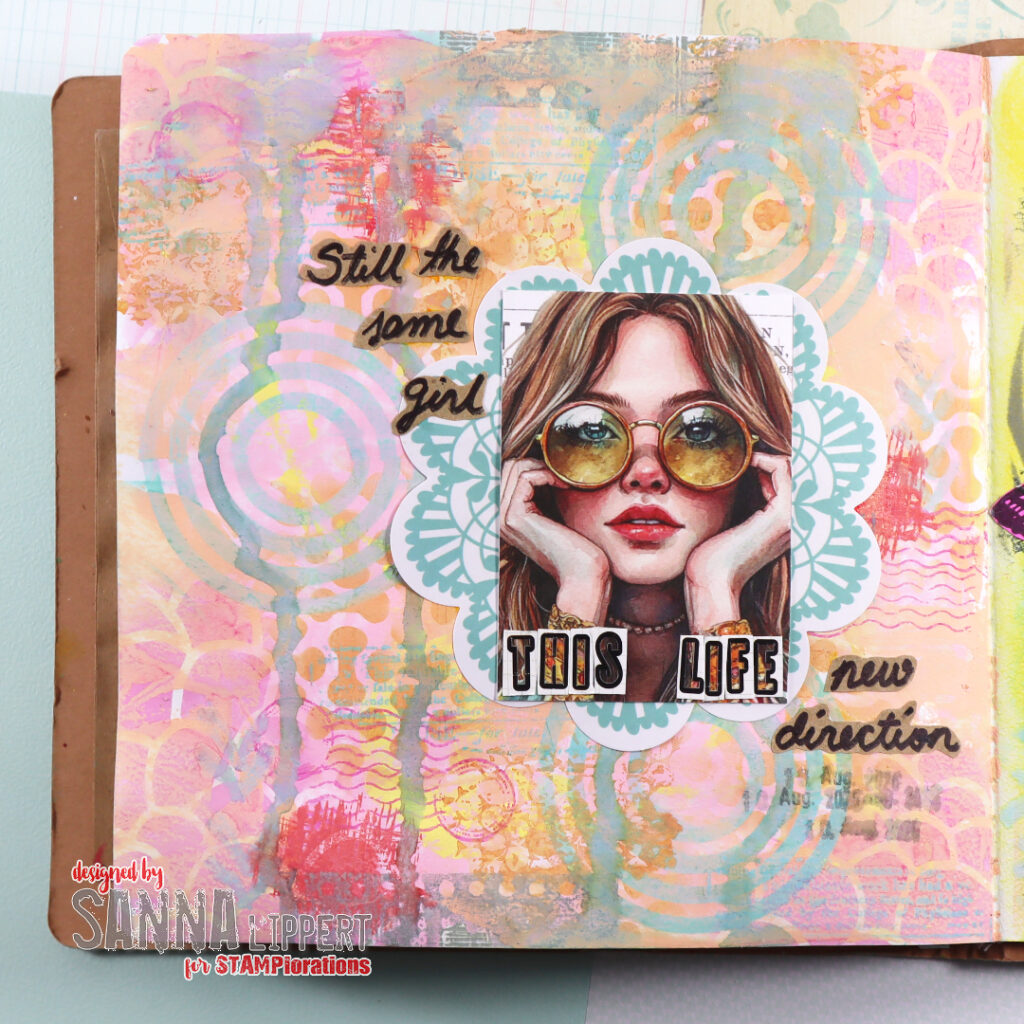
Hello everyone, I played in my art journal again. This time creating a heavily layered and stenciled page with STAMPlorations stencils and goodies.

Here is how I made the journal page:

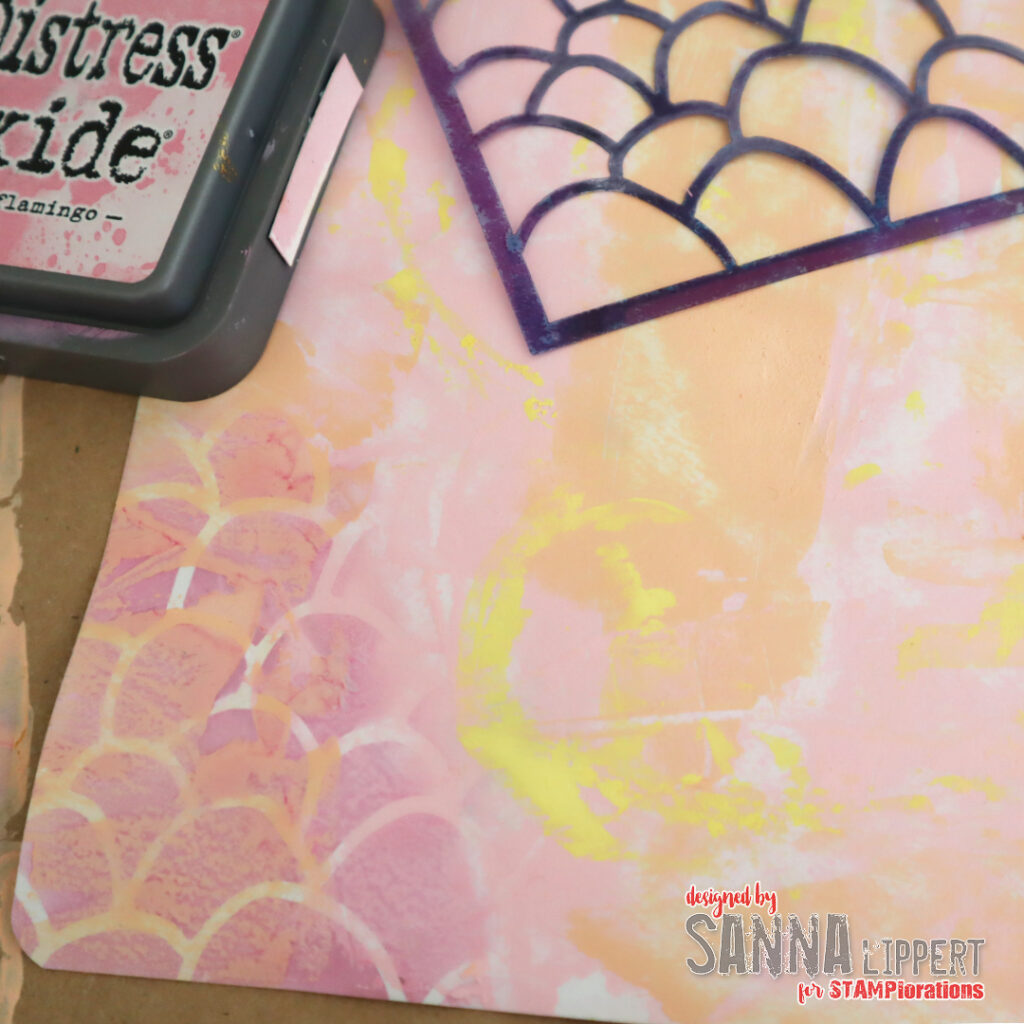
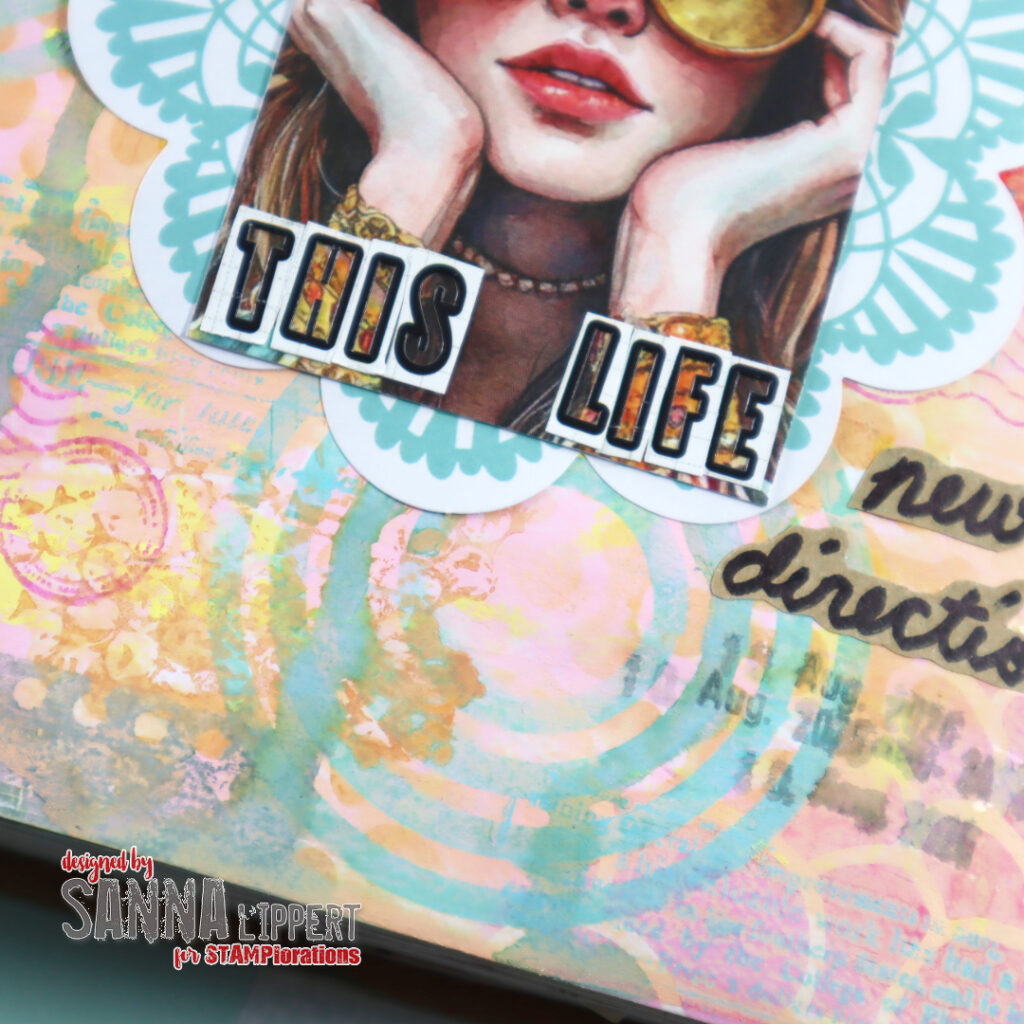
I started off with a palette knife and Distress Paints (light pink and light peach tones) and a hint of bright yellow paint here and there. On top of that layer, after it was dry, I placed the Painted Scales stencil and added light pink (kitsch flamingo) Distress Oxide Ink thru it. I added the pattern here and there on the page.

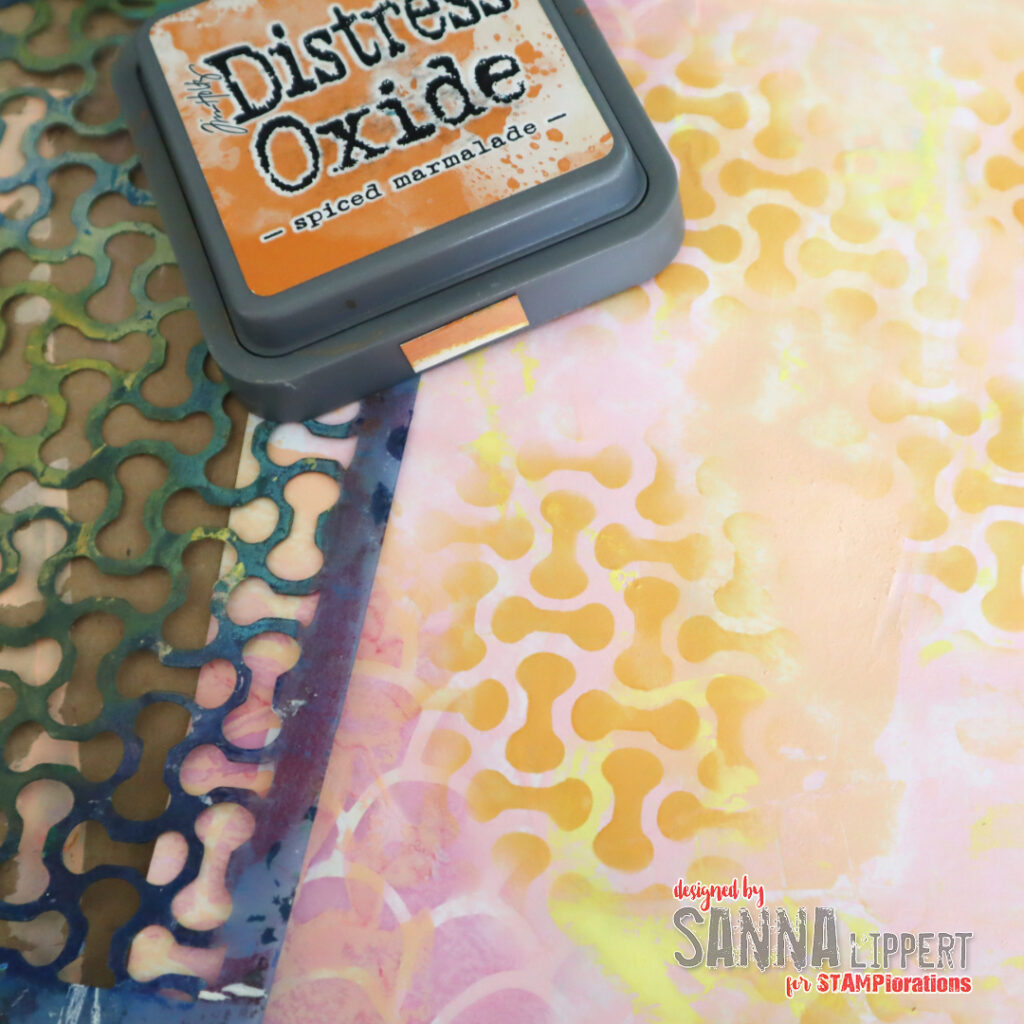
Next I changed the stencil pattern to Molecules and the Oxide Ink to spiced marmalade and added more stenciled patterns to the page. I applyed the pattern very randomly and freely, without giving it any particular thought, where to place the pattern. I was basically just playing.

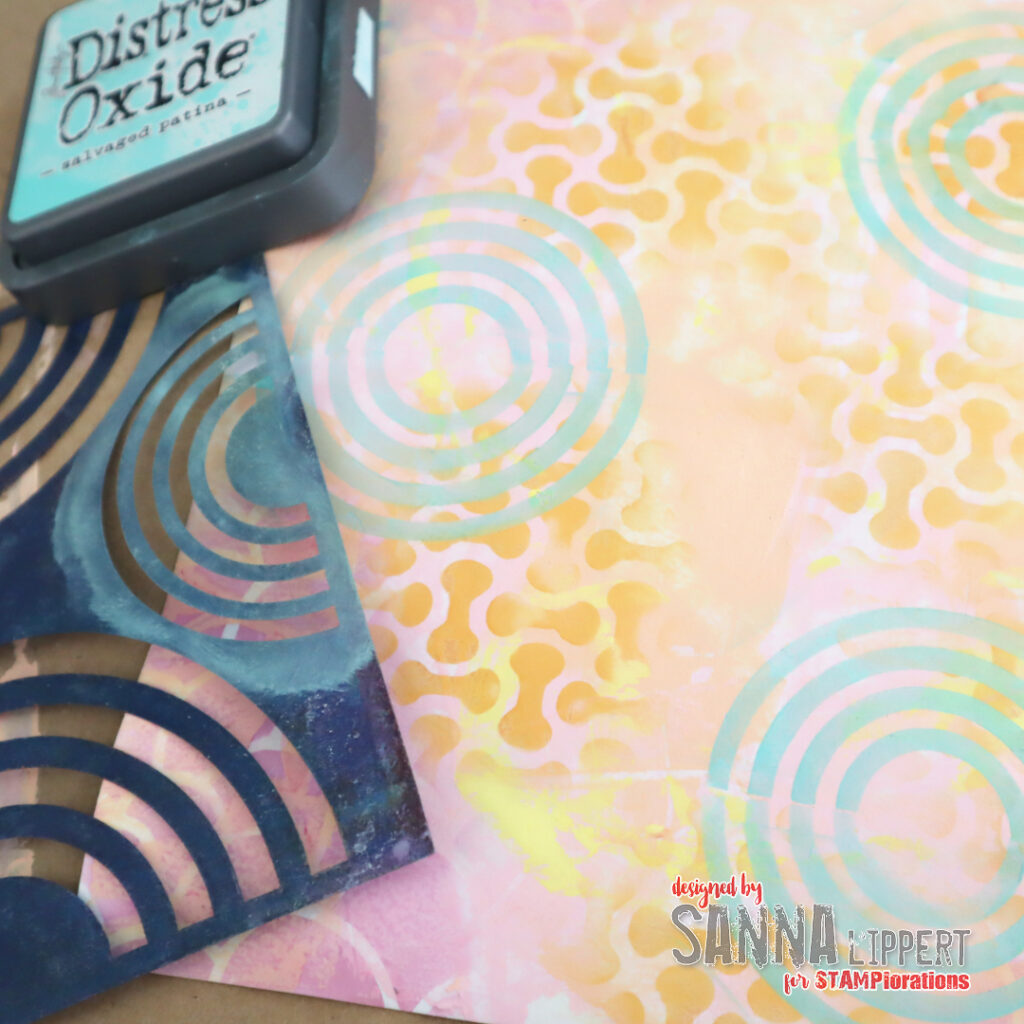
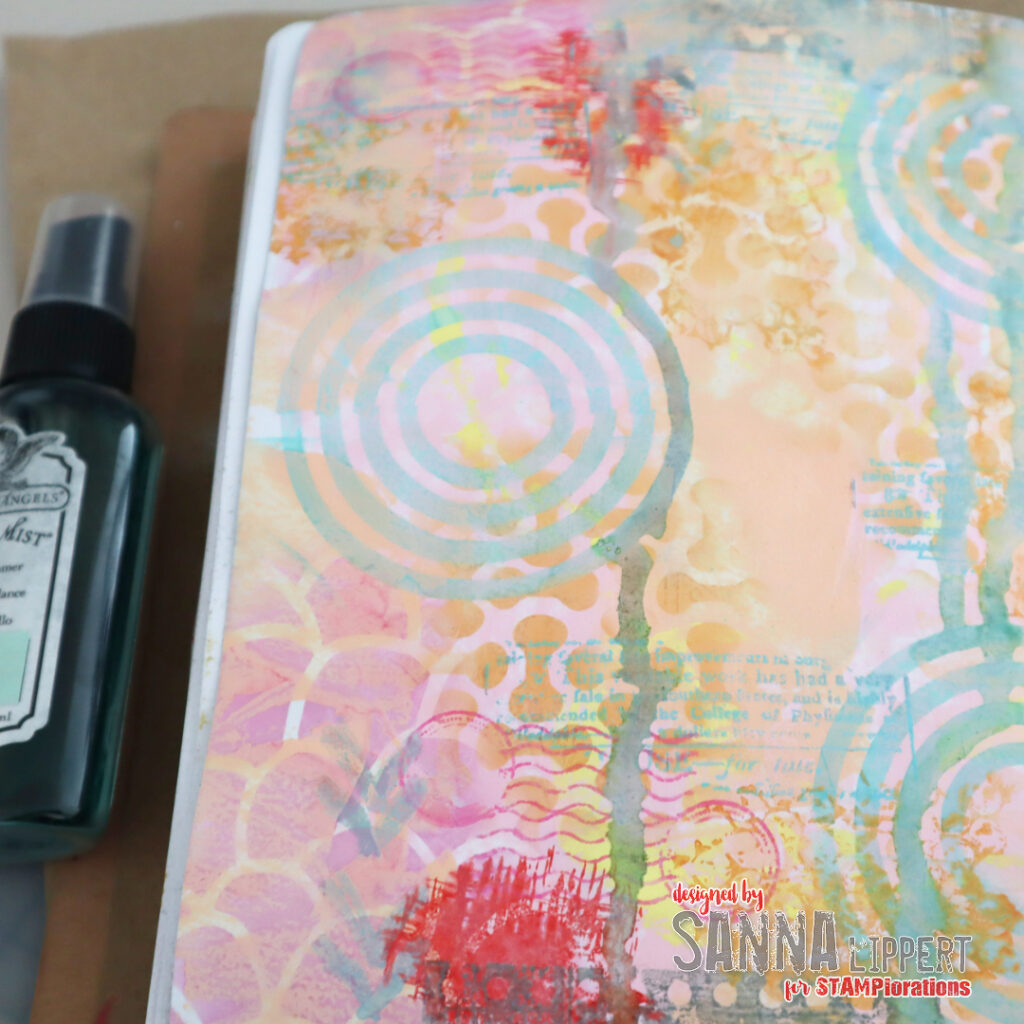
Next I wanted to add a pop of colour, so I swapped to salvaged patina (one of my all time favorite colors from Distress Oxide Inks) and the Rainbows stencil. I didn´t create rainbows thought, but instead made circle patterns by combining the half circles together. I love this stencil for it´s versatility.

After stenciling, I changed to stamping to add even more layers. I used the Mixed Media Grunge stamp set and orange, red, pink, grey and green Distress Oxide tones to add more interest to the page.

After stamping I wanted to add some spray ink to the page. I placed the journal on a piece of paper (standing up) and sprayed the top of the page with light green Glimmer Mist. I let the mist run along the page all the way to the bottom. The fun happens, when the water soluble inks mix with the mist and create interesting effects on the page. I also didn´t mind the stenciled patterns and stamped images getting partly wiped away from the mist.

After misting the top, I flipped the page 180 degrees and repeated the step on the “bottom”. That way I had spray “runnings” beginning from both sides of the page.

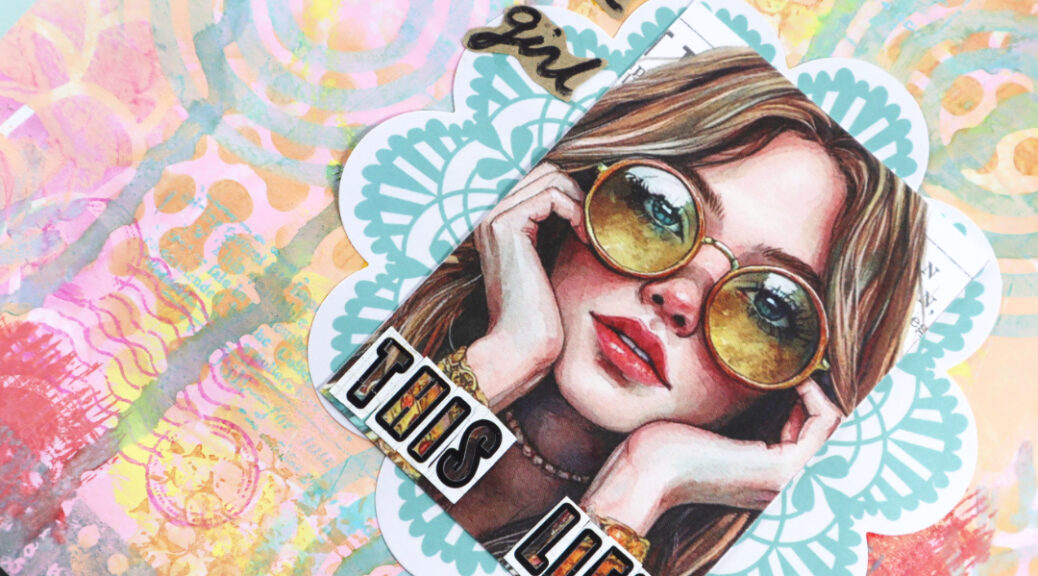
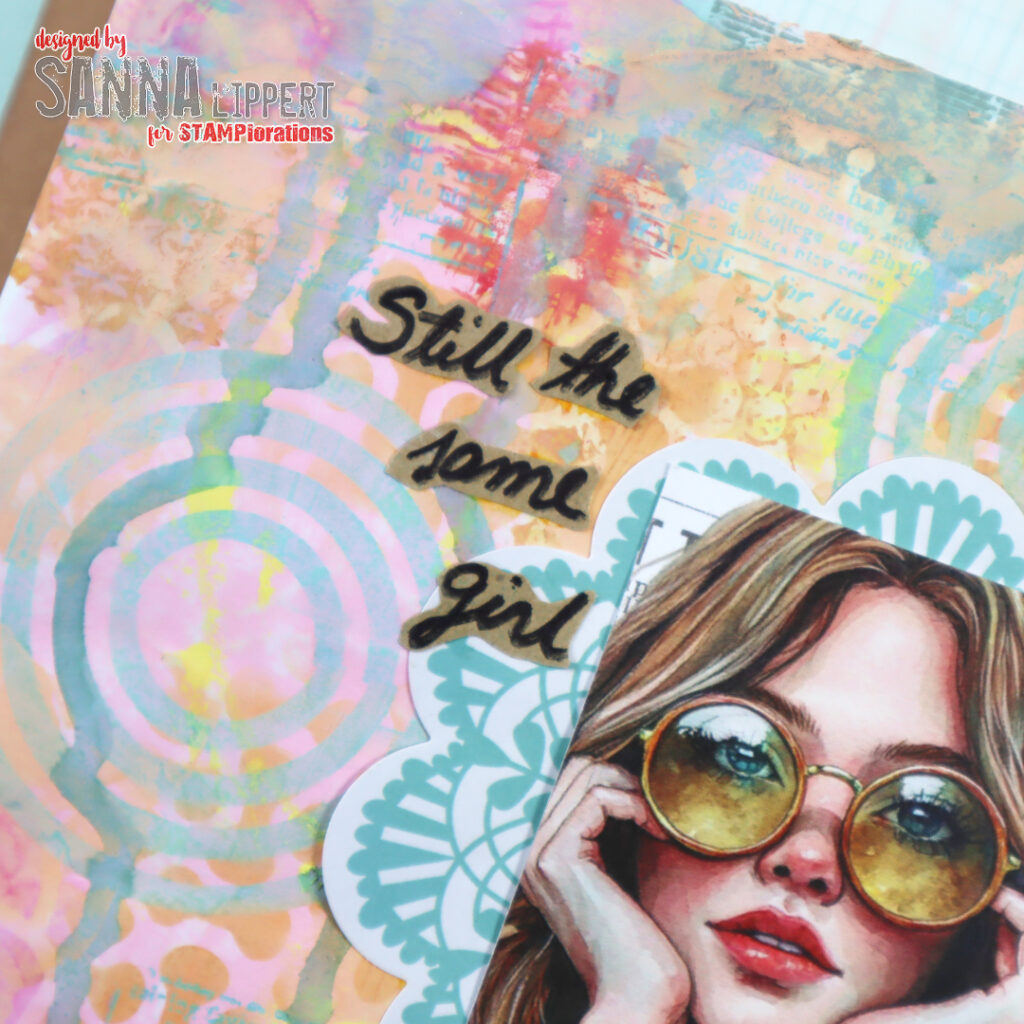
As a focal point I added a big doilie ephemera from my older stash as a background for the Retro Femme ATC piece. I wrote the sentiment by hand onto a kraft paper with a black marker and fussy cut and adhered it next to the focal image. I also used a date stamp to add the actual date to the page for reference.

I also added some alpha stickers to the ATC image. Well, actually it´s the leftover carrier sheet bits I used here, not the actual alpha stickers. But I loved the effect they created with the see-thru parts.

Like always, here is my discount code for the store, just in case you want to stock on some STAMPlorations goodies:

This journal page has all the colors that make me happy! What´s your go-to summer color combo?

Happy crafting,
xx, Sanna
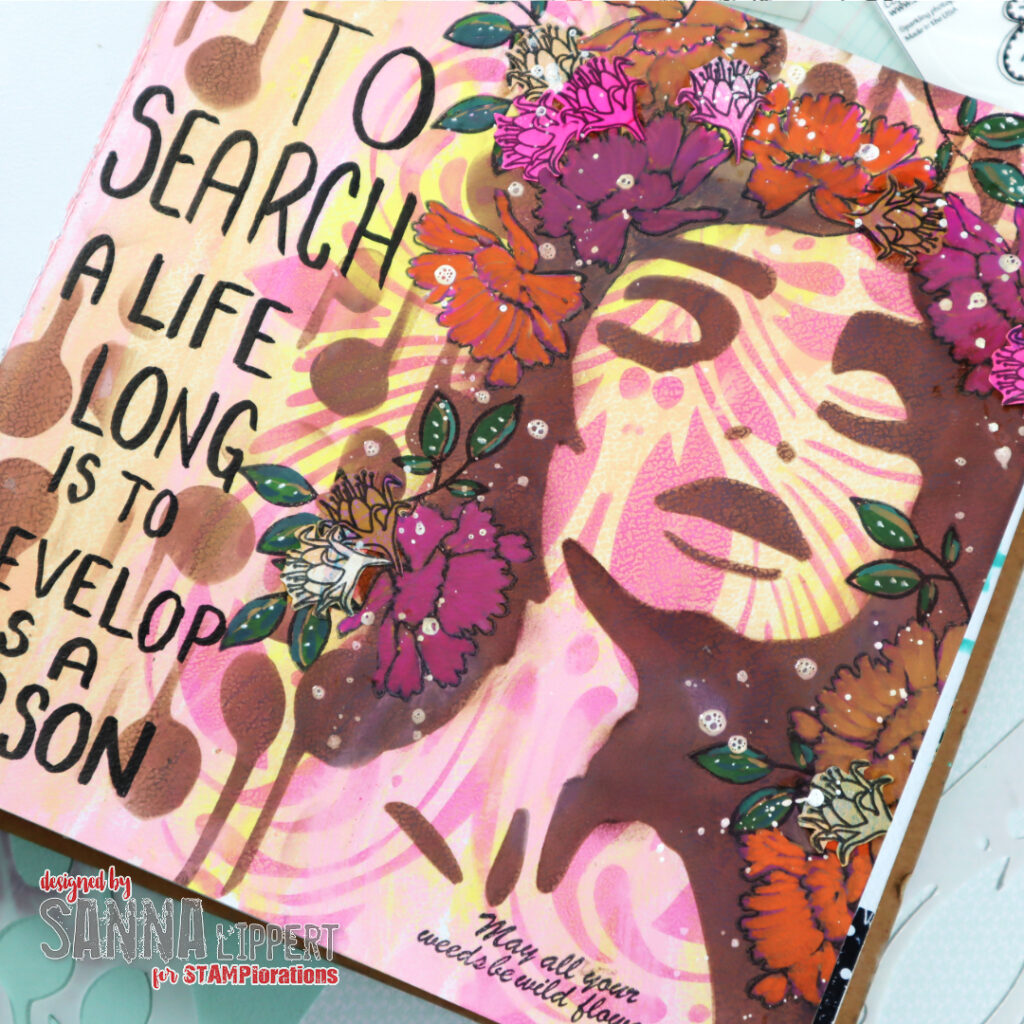
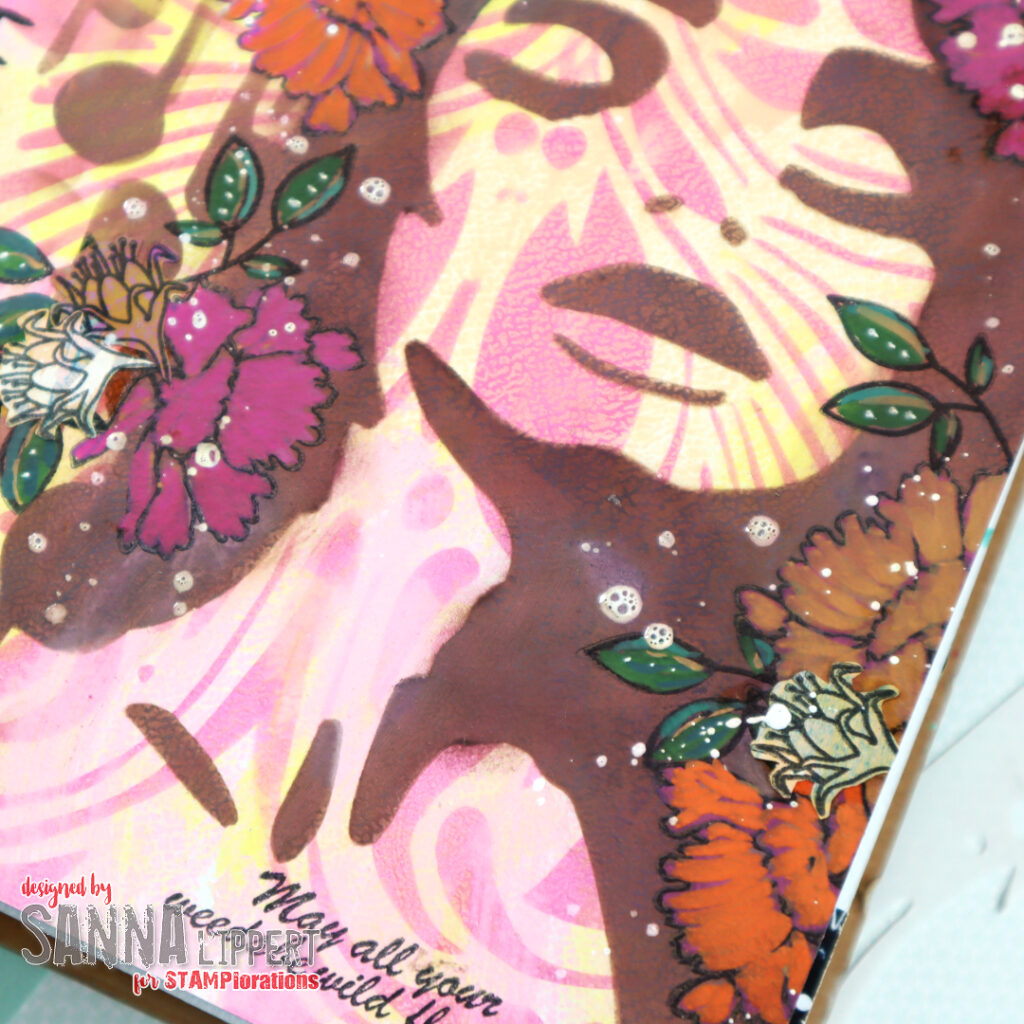
Search – Art Journal page

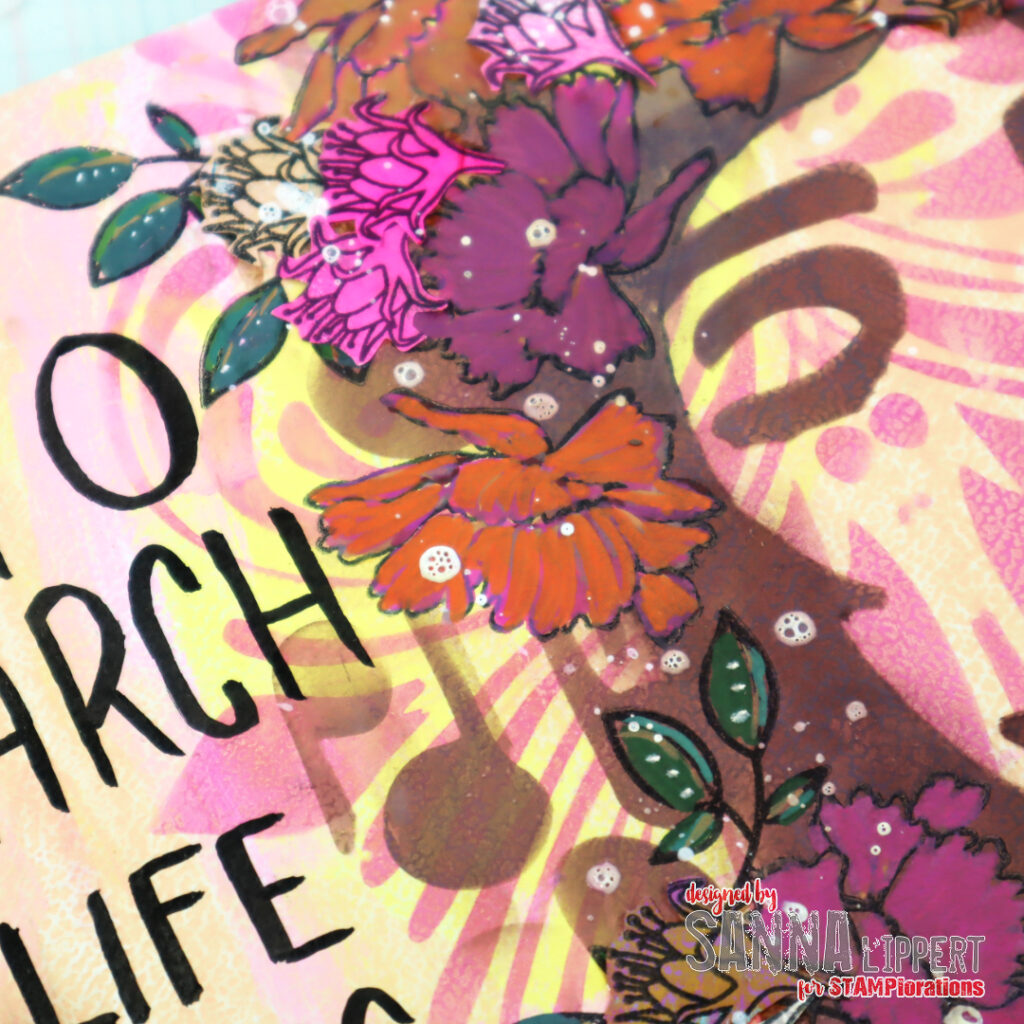
Hello everyone! Today´s page is a share from my art journal. This one is done with STAMPlorations stencils and stamps mainly.

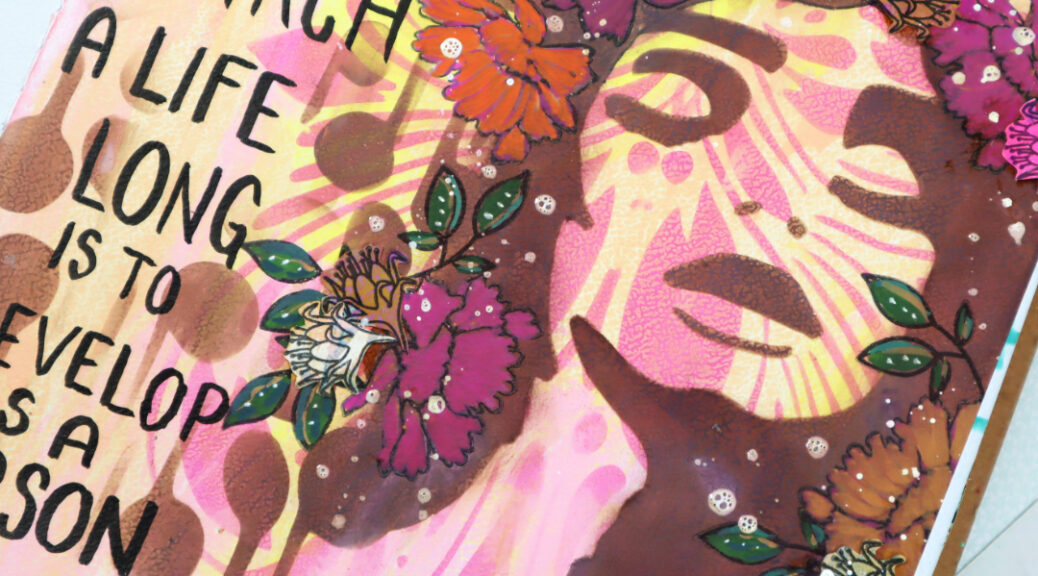
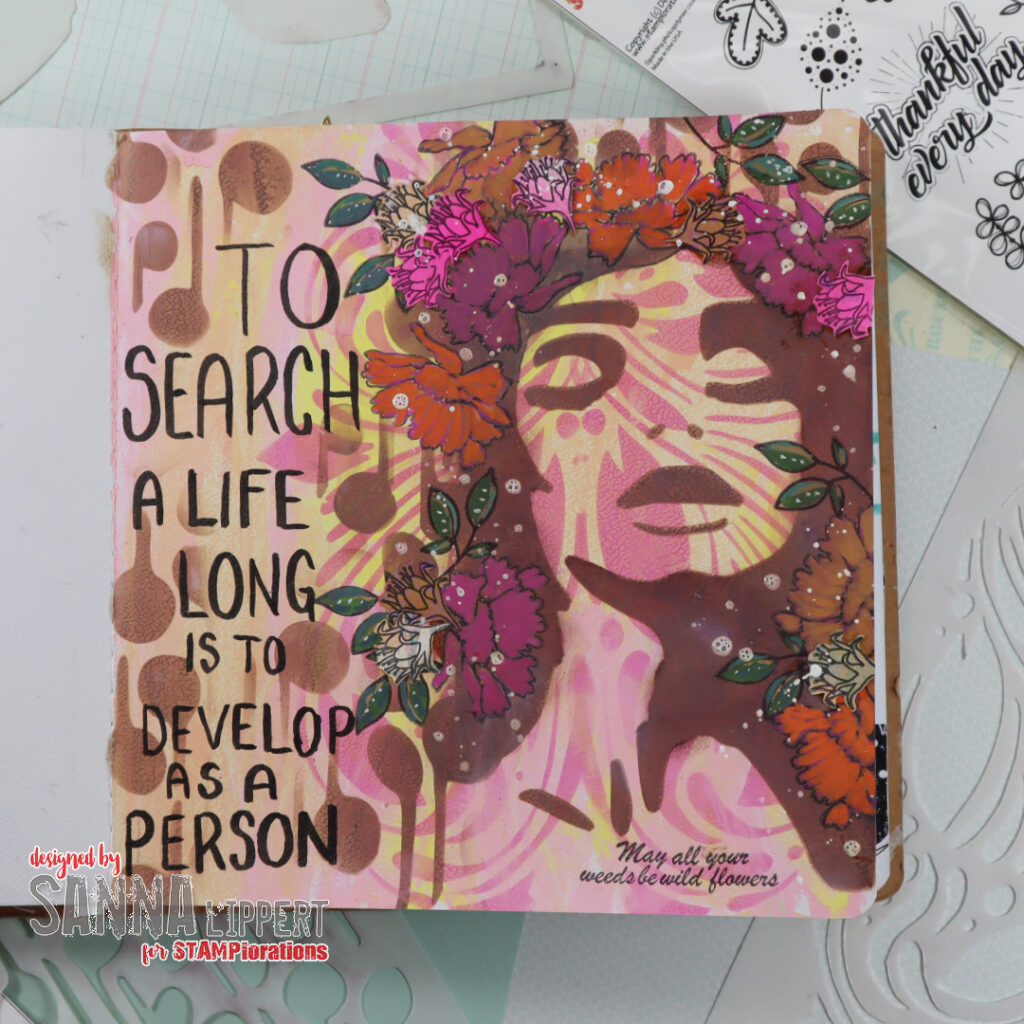
For the background I first added light pink and yellow Distress Paints with a palette knife without any specific plan. Just added very randomly. On top I used the Henna Pattern stencil with a pink Distress Oxide ink tone. I stenciled the image twice next to each other, for the second image I just flipped the stencil around to make a mirror image. I love the pattern it created!

Next I took some brown Distress Oxide Ink out and stenciled the Profile 1 stencil image onto the page on top of the previous layers. Next to that I added some Abstract Notes stencil pattern with the same ink color. Now that the stenciled layers were done, I wanted to decorate the lady´s hair with flowers. Therefore I stamped flower with the Blooming Buds stamp set and leaves with the Leaves of Thanks stamp set onto the page with black ink. I let the ink dry properly and then colored the leaves and flowers with acrylic markers.

After that I wrote the quote to the page with a black acrylic marker. I still wanted to add a few more flowers, so I took some collage paper out and stamped ore Blooming Buds images onto it. I then fussy cut the images and adhered them to the previously stamped and colored images in clusters. For finishing touches I added some white Dina Wakley Gloss Spray splatters an da stamped sentiment from the Blooming Buds stamp set.

I had a lot of fun creating this page. I hope it inspires you to play with STAMPlorations stencils abit!! Here is again the discount code for the store:

Happy crafting,
xxx, Sanna

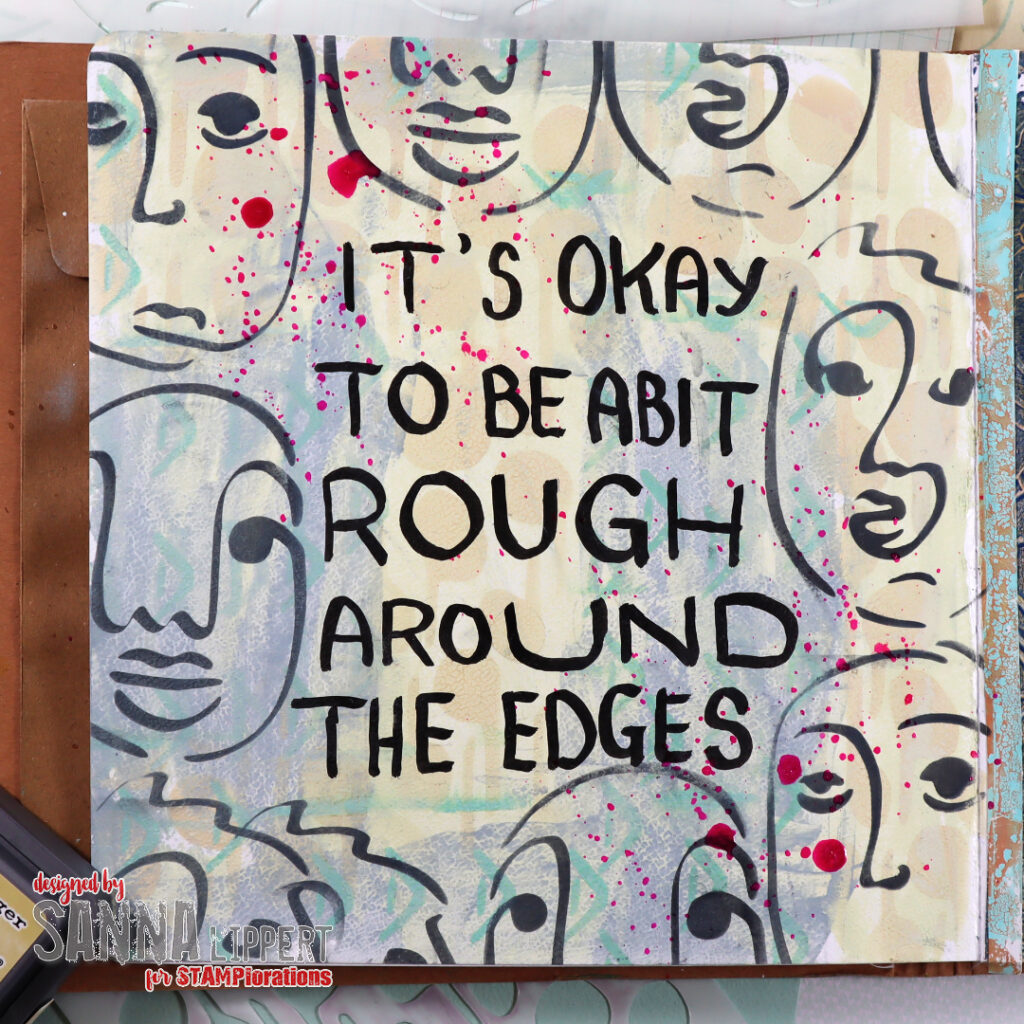
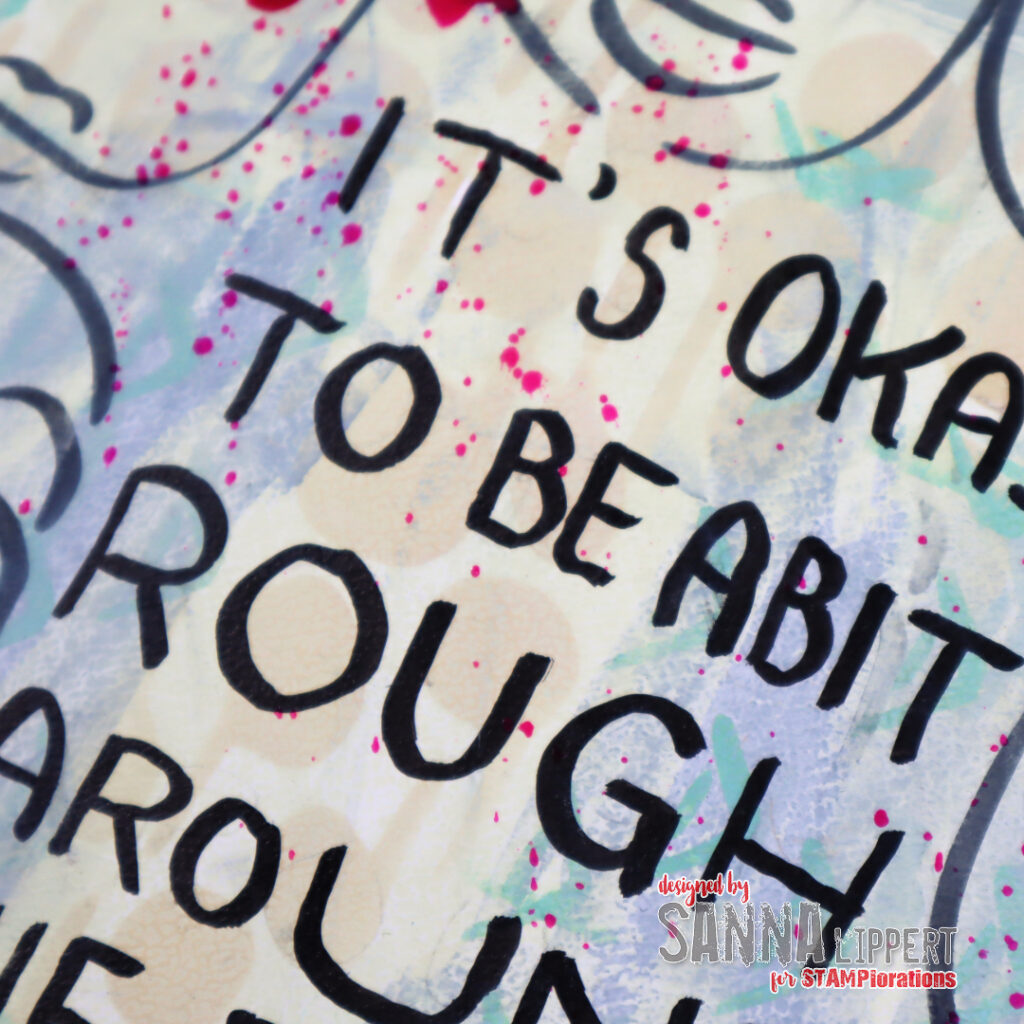
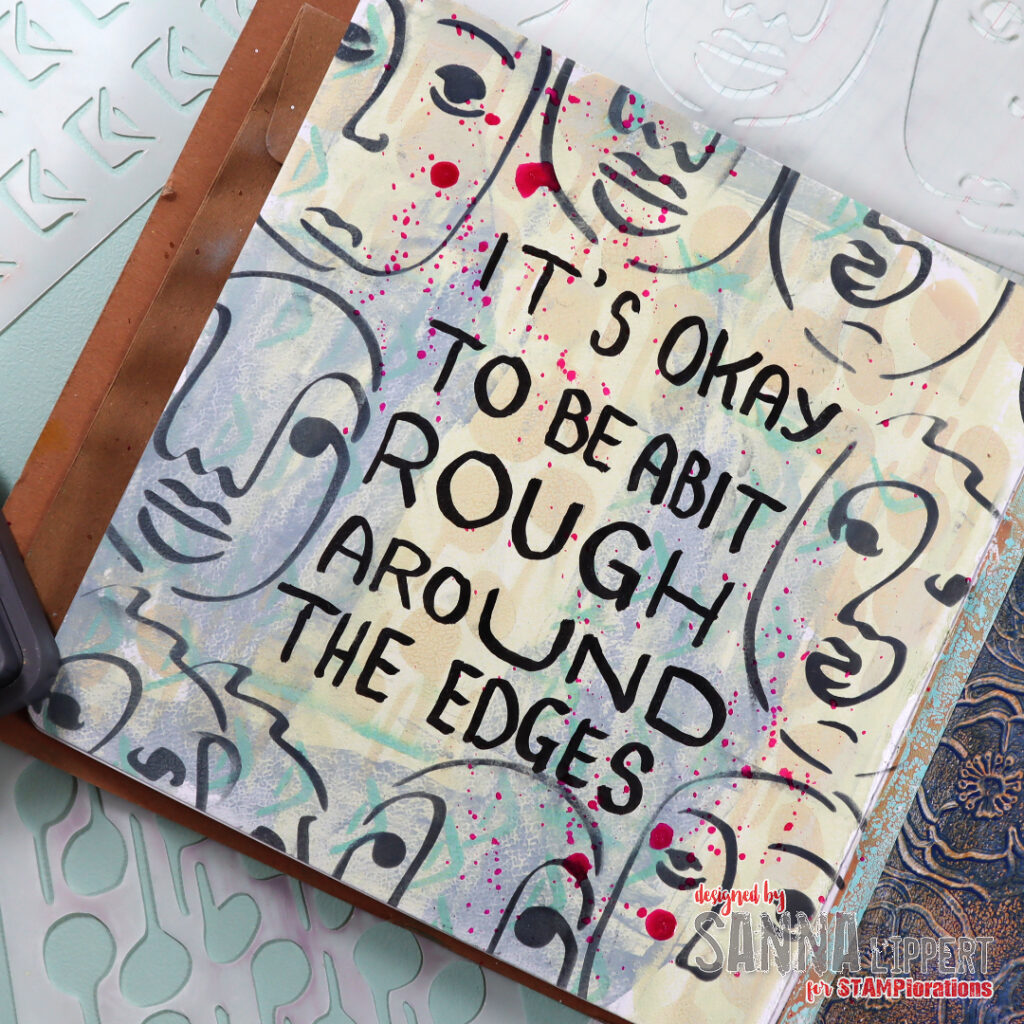
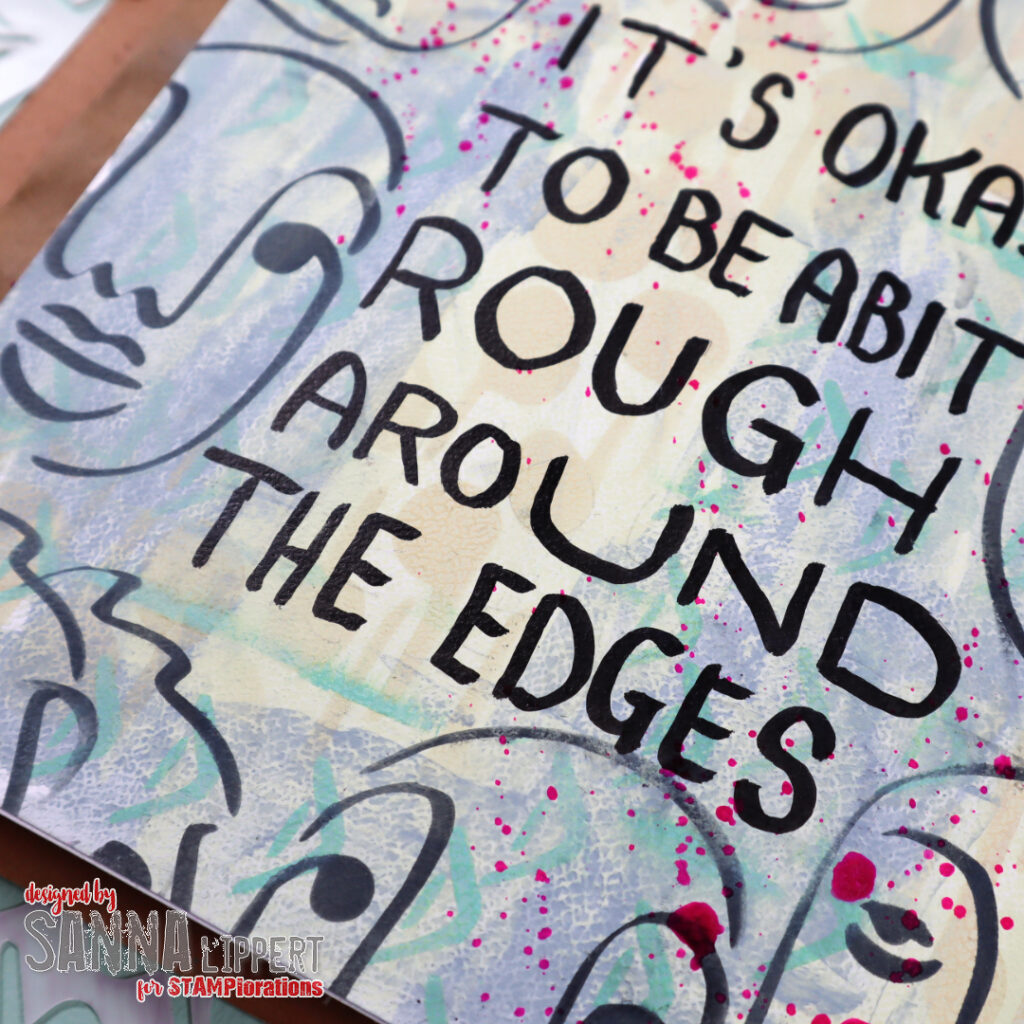
Art journal page with STAMPlorations stencils

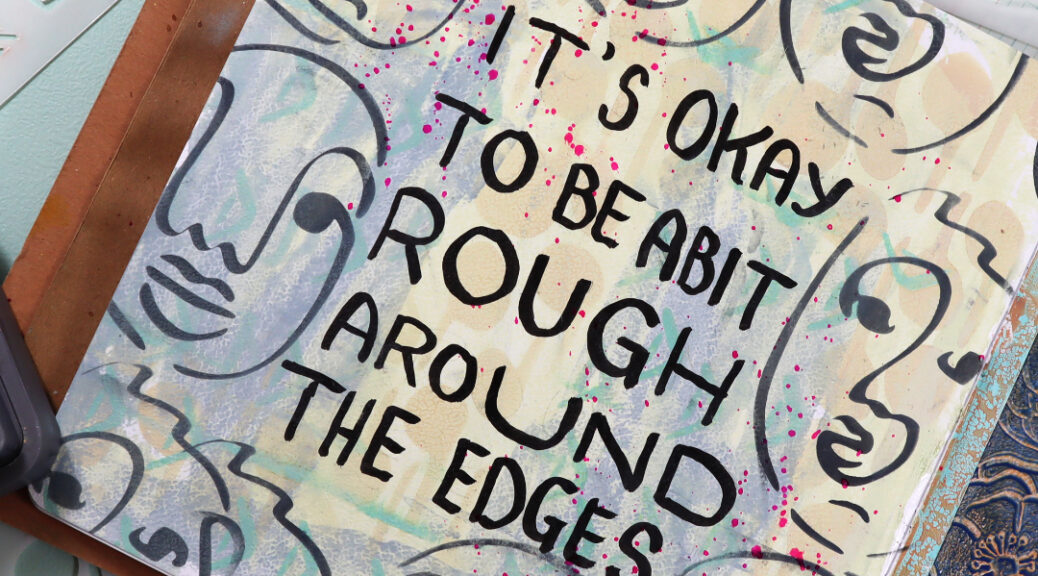
Hello everyone! Today I´m sharing another page from my art journal. This time I used STAMPlorations stencils in the process.

for the background I used tinted light blue and old paper toned Distress Paints. I applied those with a palette knife to the background very randomly. On top of that paint layer I used Distress Oxide Inks with following stencils: Abstract Notes and Modern Envelopes. You can see some hints of pattern here and there in light beige and green ink tones.

Next I used some black Distress Oxide Ink with the Profile #3 stencil to make the face pattern. I placed the images around the edges to create a big free space for a sentiment in the middle of the page. Next I wrote a bold sentiment with an acrylic black pen and finished the page off with some Dina Wakley Gloss Spray ink splatters in magenta.

I really like how this page turned out. I also hope I could inspire you abit to play and have fun with STAMPlorations stencils. Also, upon purchase, feel free to use my discount code for 20% off your order at STAMPlorations:

Happy crafting,
xxx, Sanna

Stenciled card idea

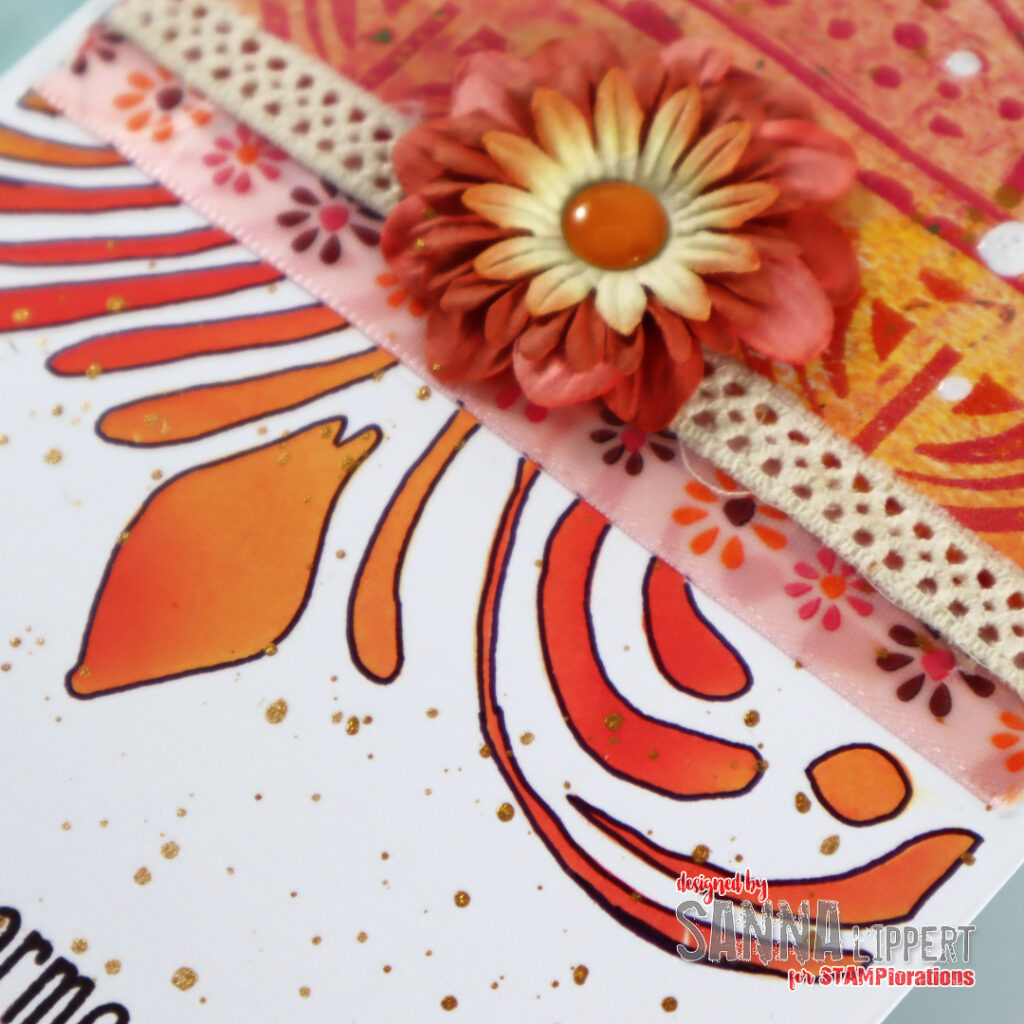
Hello there! I´ve got a stenciled card share up for you today. This is made using STAMPlorations products with some bits and bobs from my older stash.

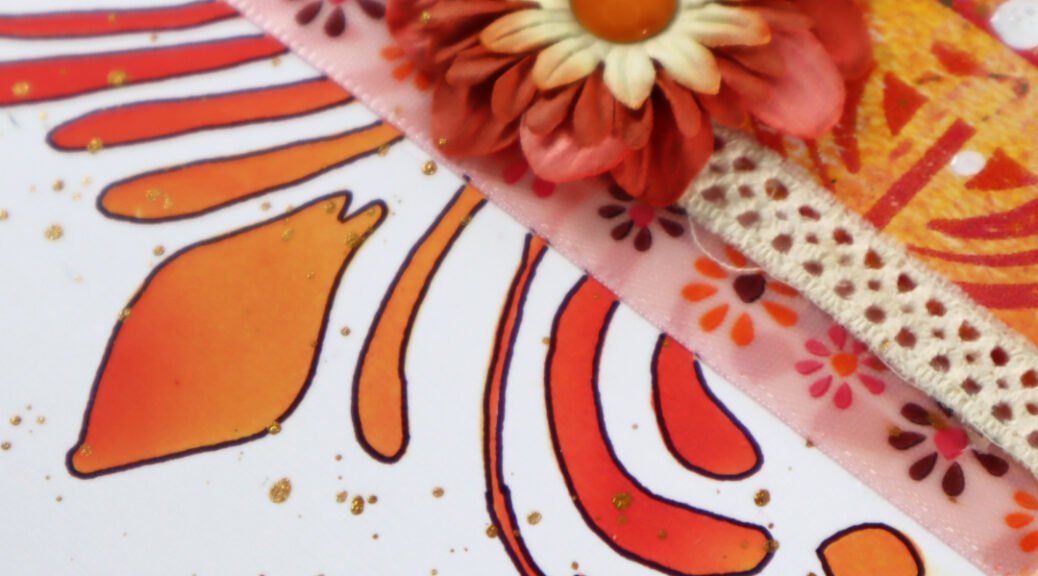
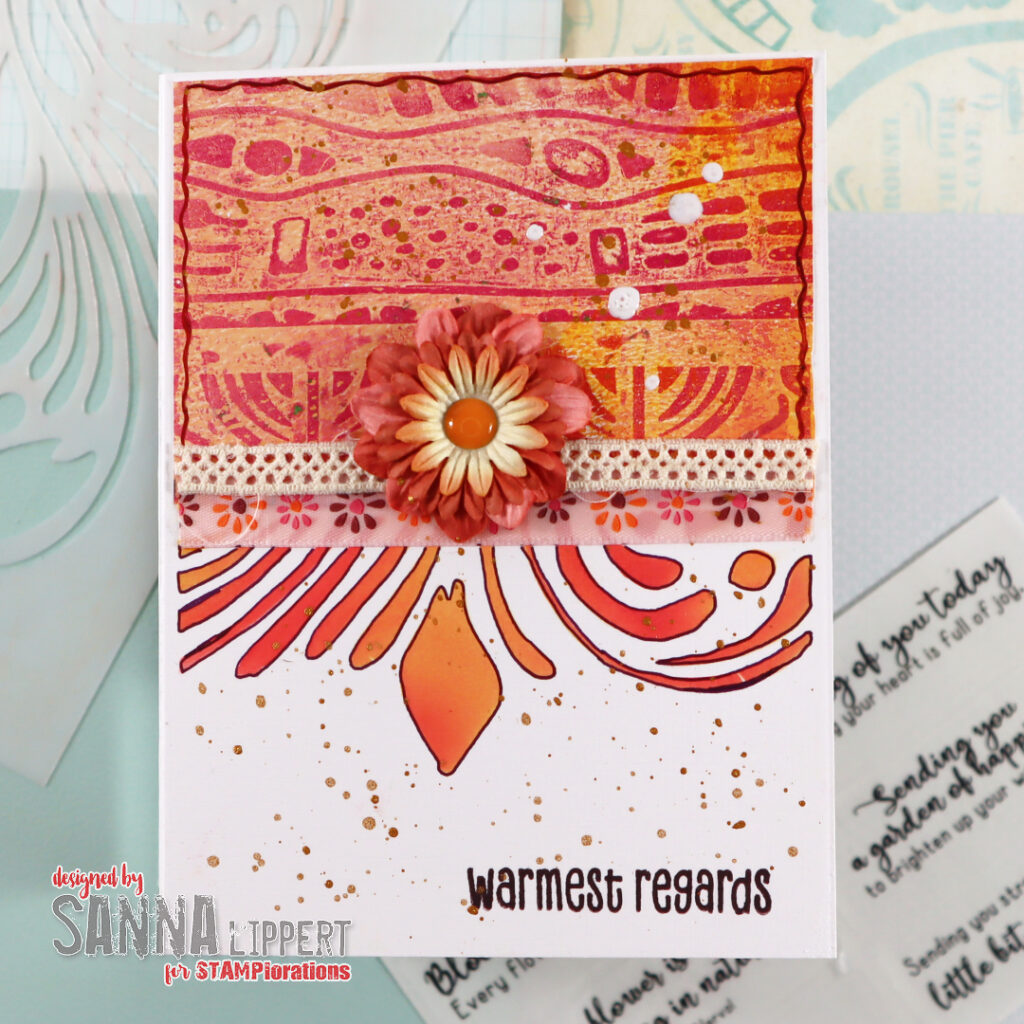
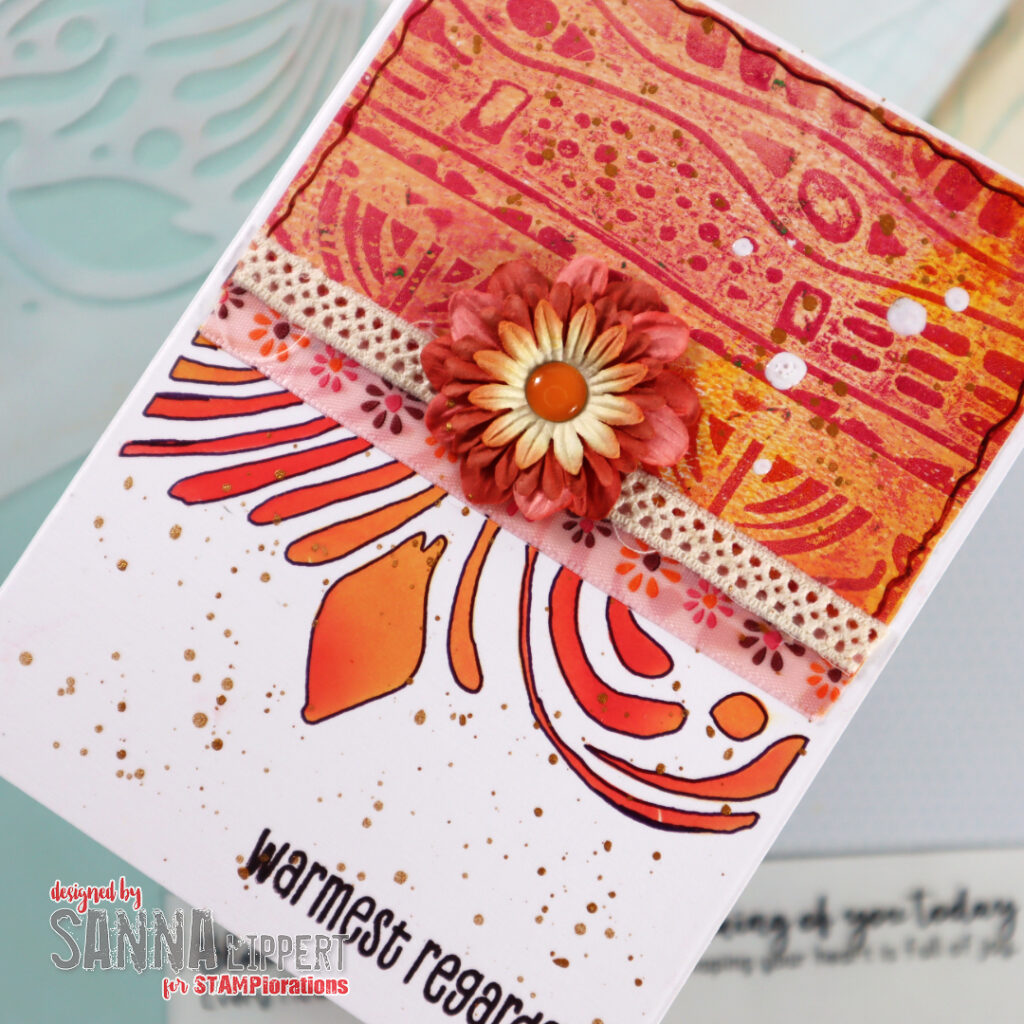
For this card I first made a collage paper with a gel plate and the Evolution stencil. I then cut the piece to match the card size. Before adhering this piece on place I stenciled in red and orange toned Distress Ink tones and the Henna Pattern stencil below the area where I wanted to attach the collage paper piece. I also outlined the Henna Pattern with a dark brown marker to make it stand out from the background even more. After that I adhered the collage paper piece on place.

For the sentiment I used a Rubber Dance stamp set called “Feathery”. I stamped again using brown ink to keep the colors similar. After that I added some golden pigment droplets here and there on the white space and a row of two different ribbons as well as layered paper flowers and a brad to finish the card off.

I recently went thru my stash and noticed that I have quite an amount of ribbon collected over the years. Thus, I will try and incorporate some ribbon to my cards in the future.

I hope I could inspire you to use some stencils in your cardmaking projects. Also hop over to the STAMPlorations blog to see more inspiration and join the never ending challenge. And like always, here is your discount code for the STAMPlorations store purchaces:

Happy crafting,
xx, Sanna
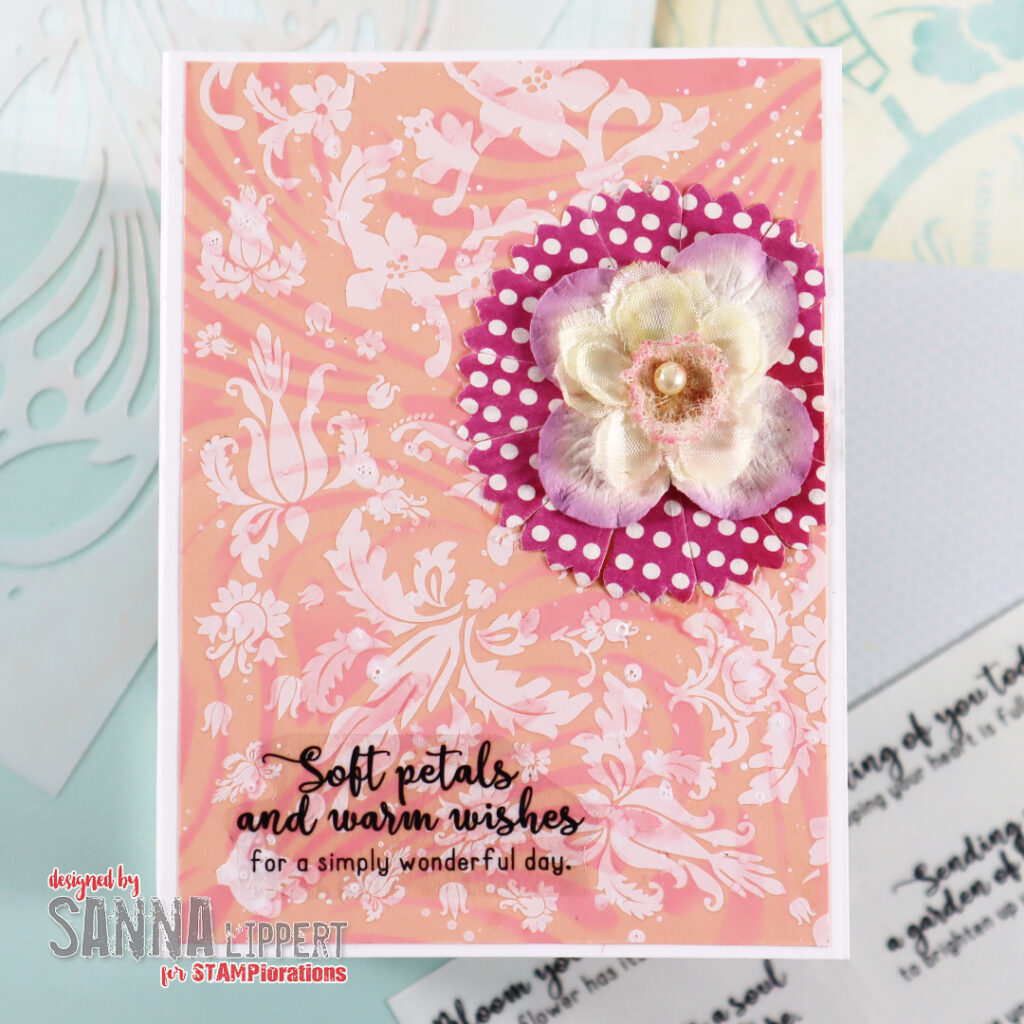
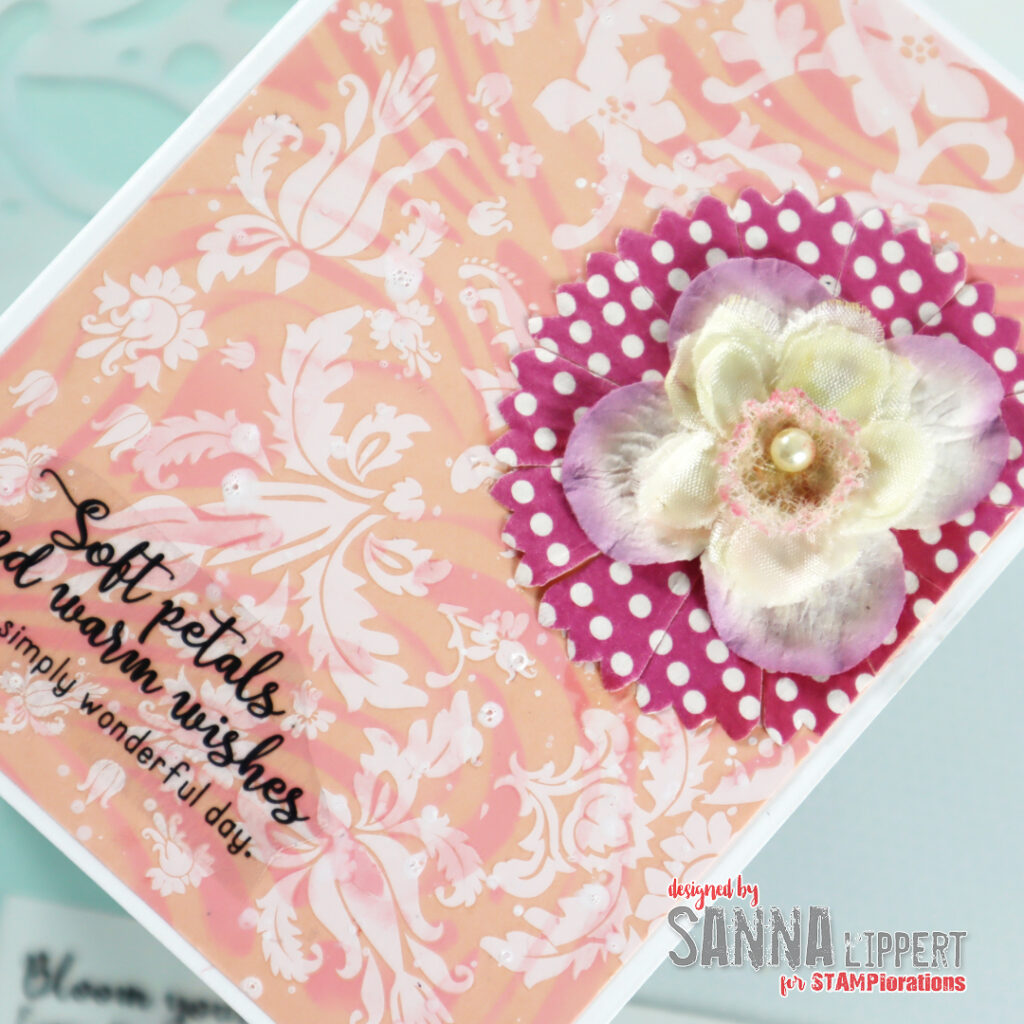
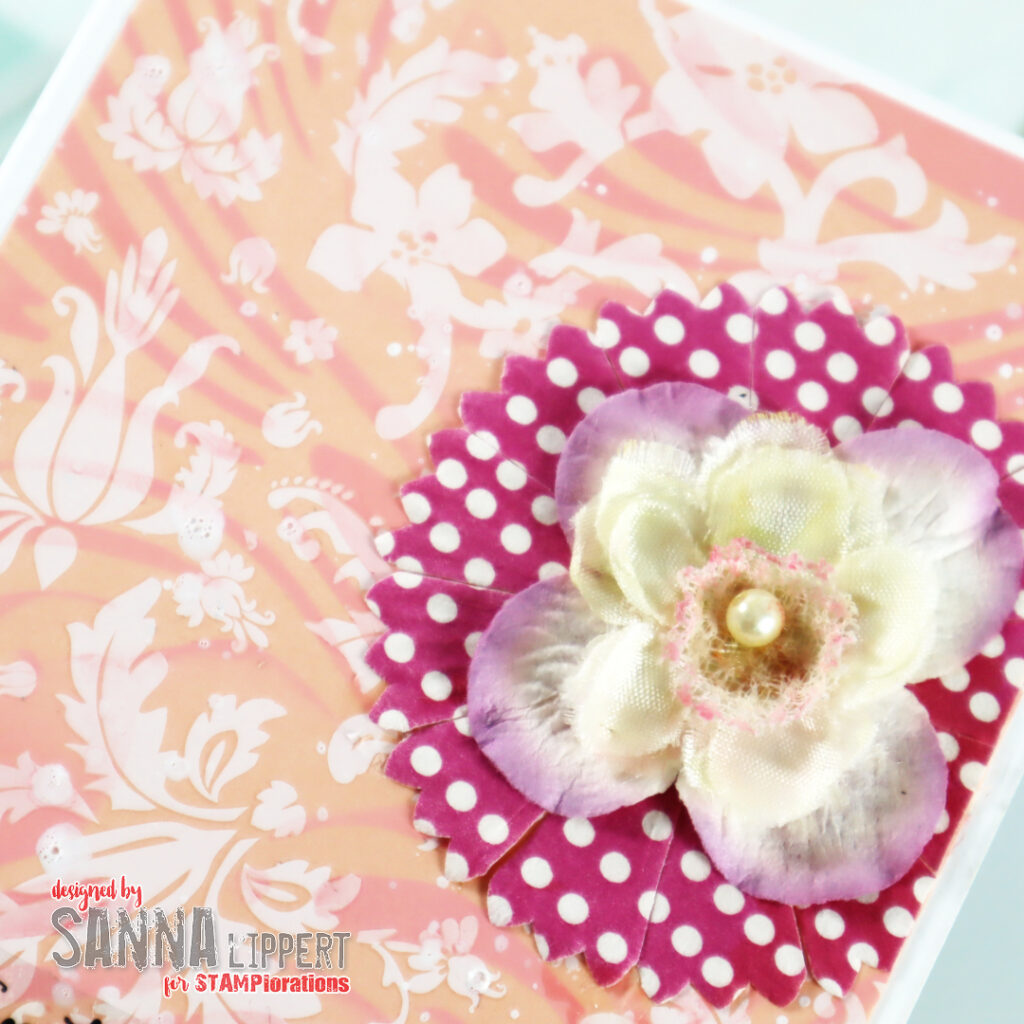
Soft pink toned card

Hello everyone! I´ve been playing with STAMPlorations products again. This time I´ve used some very old rub-ons and flowers from my stash and combines those with new STAMPlorations products.

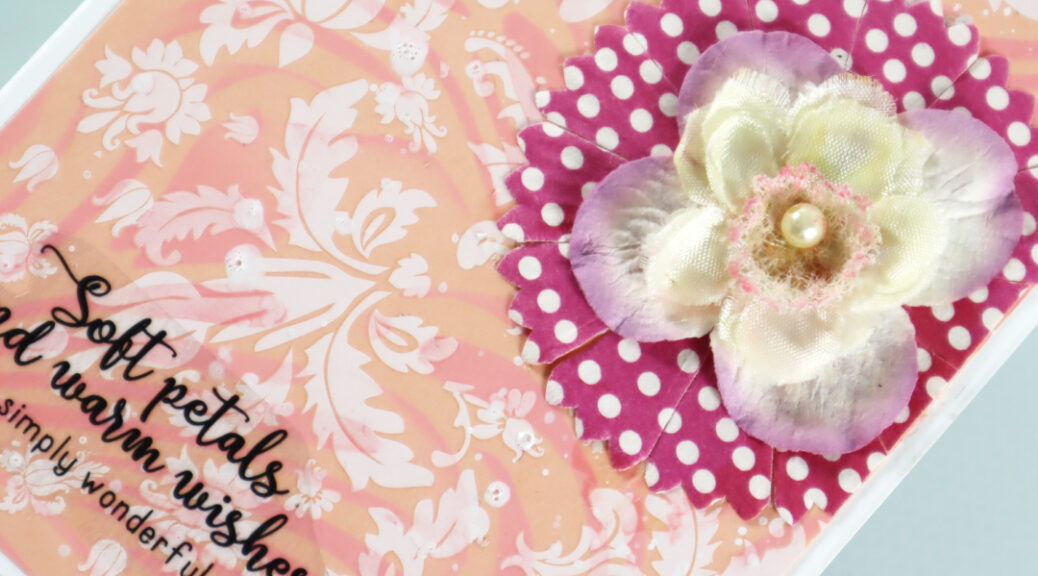
For this card I took a peach toned cardstock as a base, then added some older white rub-ons on top. I wanted to add a very light stenciling on top with the Henna Pattern stencil and light pink Distress Ink. I like how you need to take a second look on the card to really see the second background layer. It makes the card so much interesting.

Next I arranged 3 flowers on top of each other. Two paper and one fabric flower – these are all older product from my stash.

I then mounted the piece onto a white card base and added a sticker sentiment. This is from the new STAMPlorations Floral Magic clear sticker set. I love the softness of this card and the fact that I could incorporate some old with the new.

Happy crafting,
xx, Sanna
STAMPlorations 13th birthday celebration – DAY 2

Hello and welcome to DAY 2 of the STAMPlorations 13th birthday celebration!!

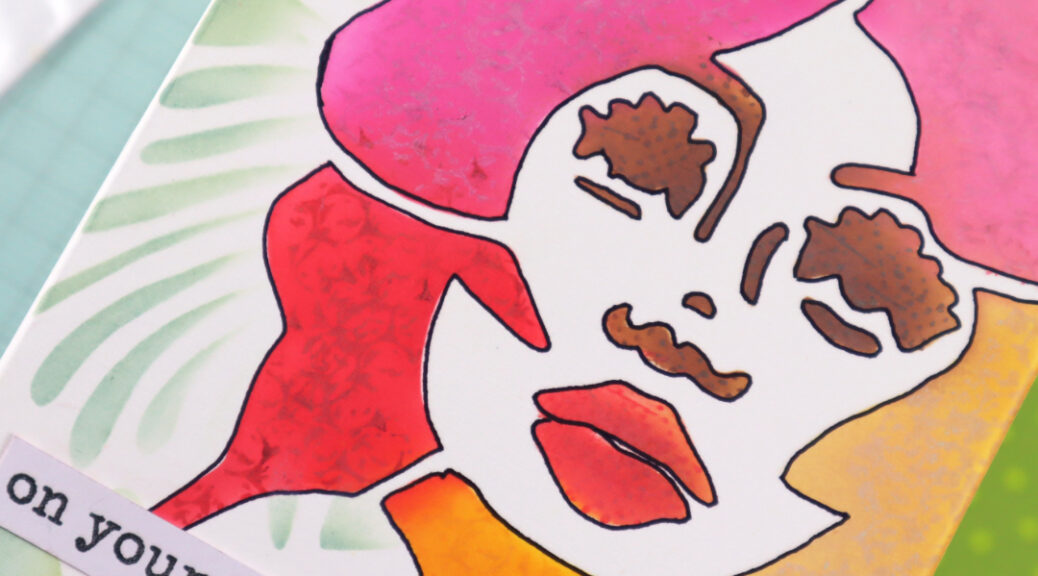
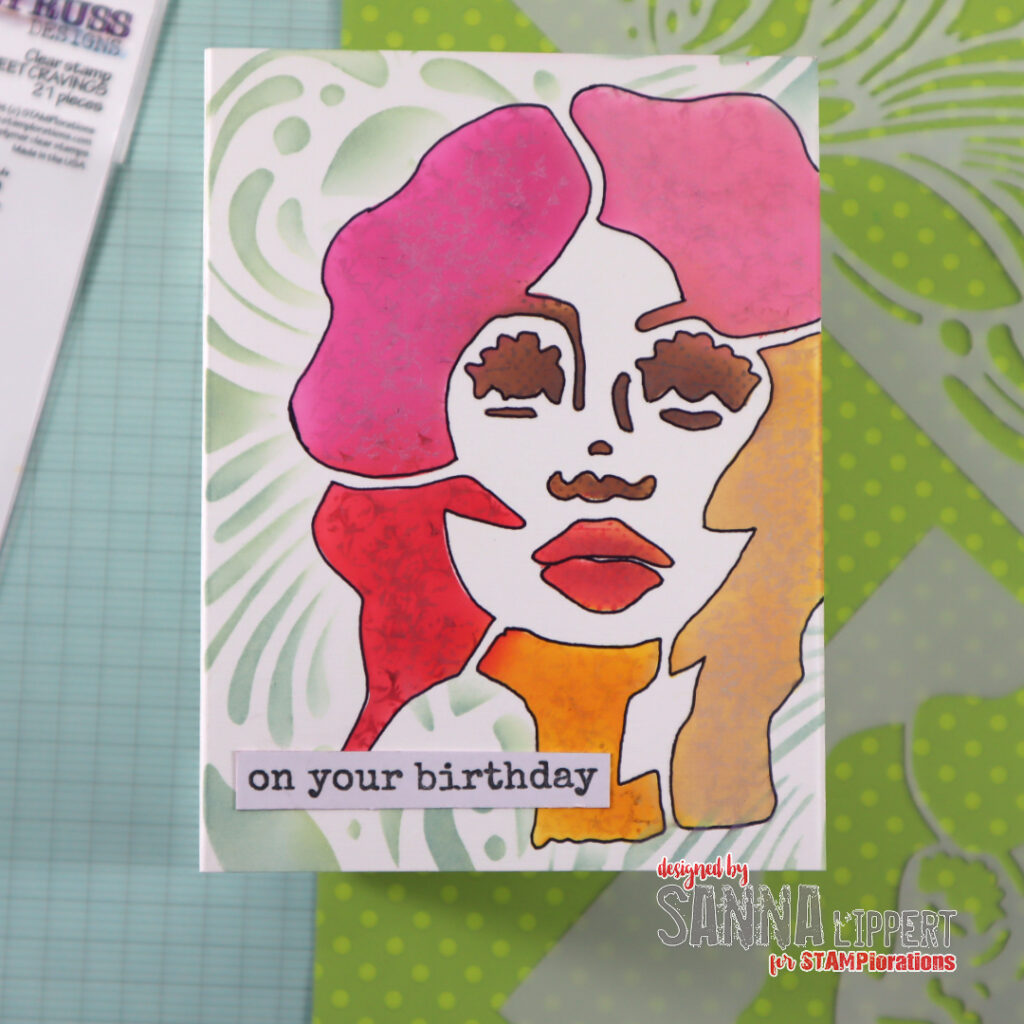
For this days project I used following NEW PRODUCT: the Henna Pattern stencil and the Profile 2 stencil. The card also features older product: the Mixed Media Grunge stamp set and the Sweet Cravings stamp set´s sentiment.

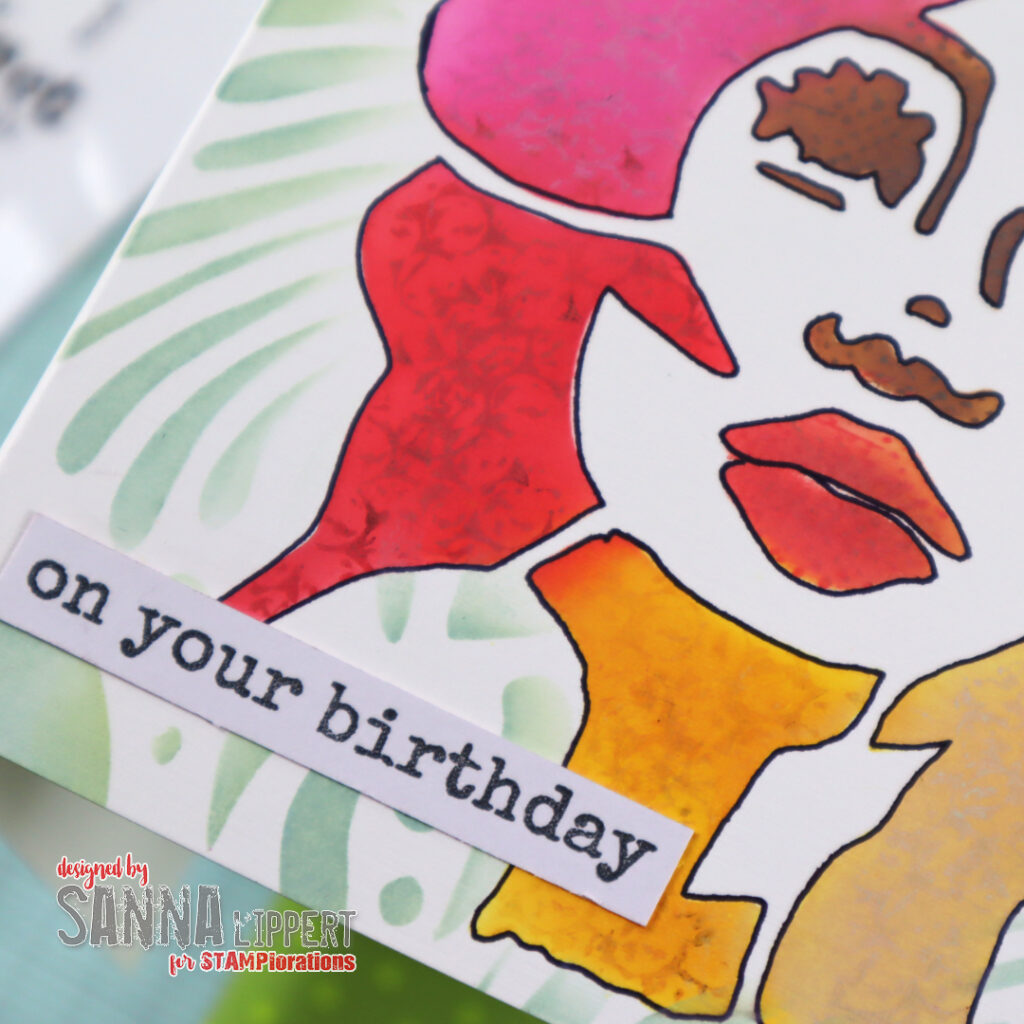
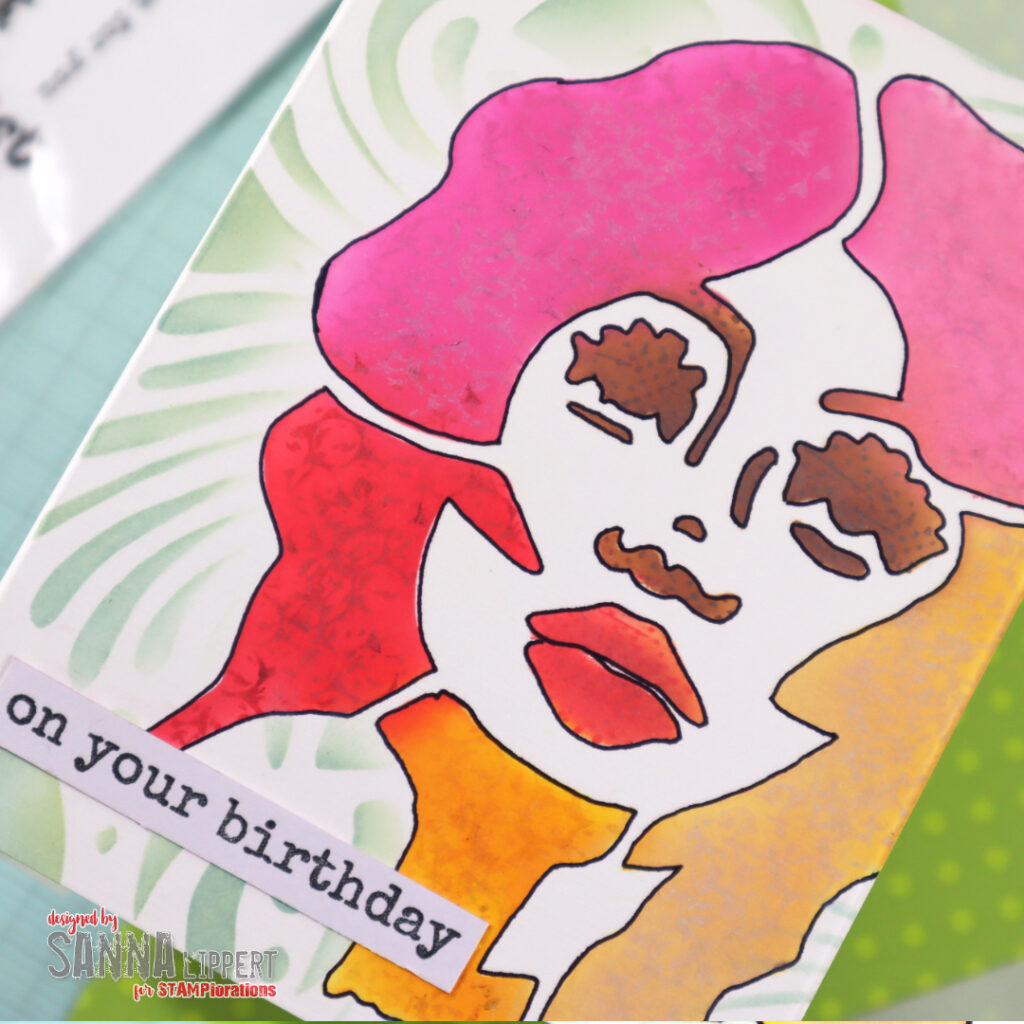
I first placed the Profile 2 stencil onto a white card base, then directly inked with various yellow and pink/red and brown toned Distress Oxide Inks thru the stencil creating a multi-colored face image. I also used the same ink tones to add some random stamping to the hair using the Mixed Media Grunge stamp set. I then went on to outline the image with a black pen along the stencil lines. After that I used a light green Distress Oxide Ink tone with the Henna Pattern stencil to add details to the background. Finally, I finished the card with a Sweet Cravings set stamped sentiment.

Here is peek into the new stencils:

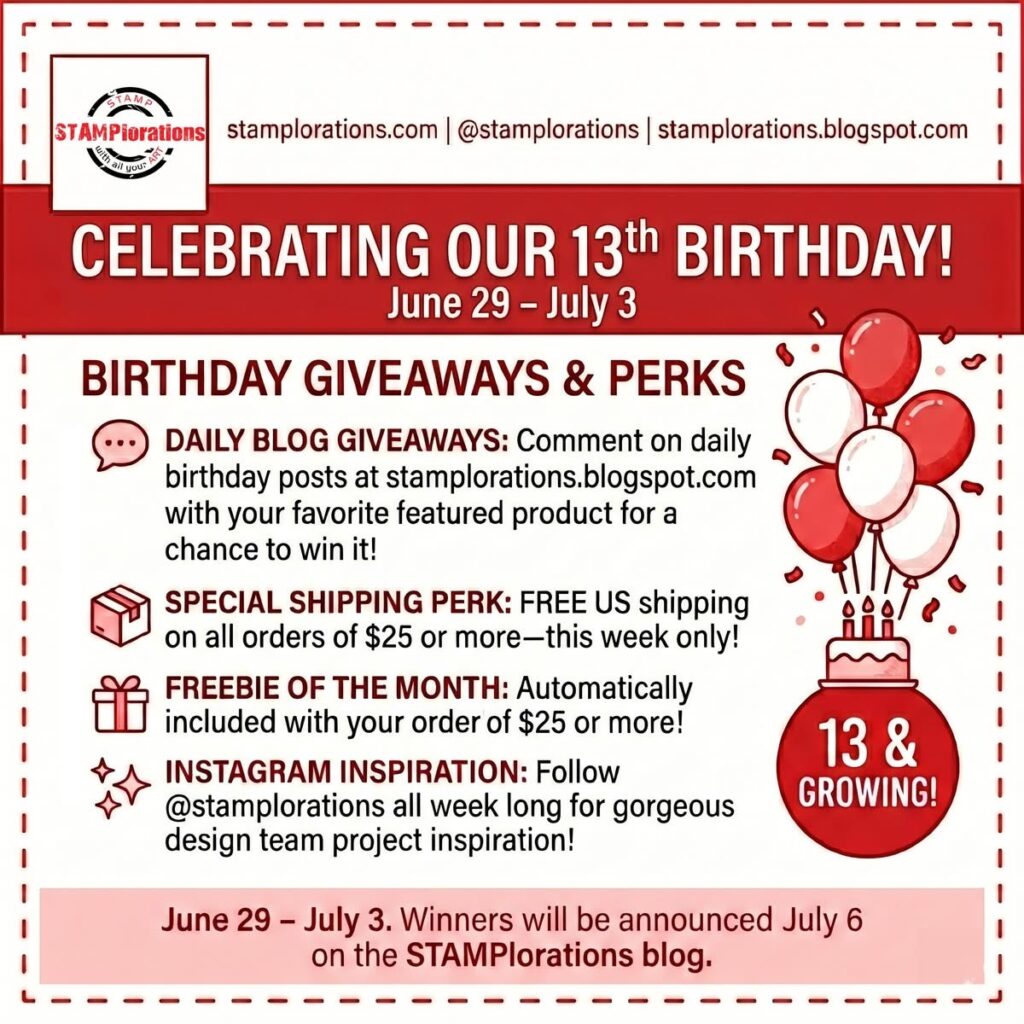
How to celebrate with us:

  • DAILY GIVEAWAY: you can enter this one by commenting on the STAMPlorations blog DAY 2 celebration post with your absolute favorite new product featured one of the projects of that day. One winner will be drawn from the daily post and will win the specific product of your choice.
  • SHOPPING PERK: For US participants there will be free shipping on orders of 25 USD or more, valid thru the celebration week only. Plus a freebie of the moth for orders.

The birthday celebration will go until 3rd of July. This will also be the day when the Wishlist party will officially close. The winners will be announced on Monday, the 6th of July.

Hope you will join in with us and celebrate 13 years of STAMPlorations!!
xx, Sanna
Wish you the best – STAMPlorations May challenge reminder

Hello everyone! Today I am stopping by to remind you of the current STAMPlorations May challenge. It is still possible to join in on the fun and submit your creations!!

Just go HERE and play along!!

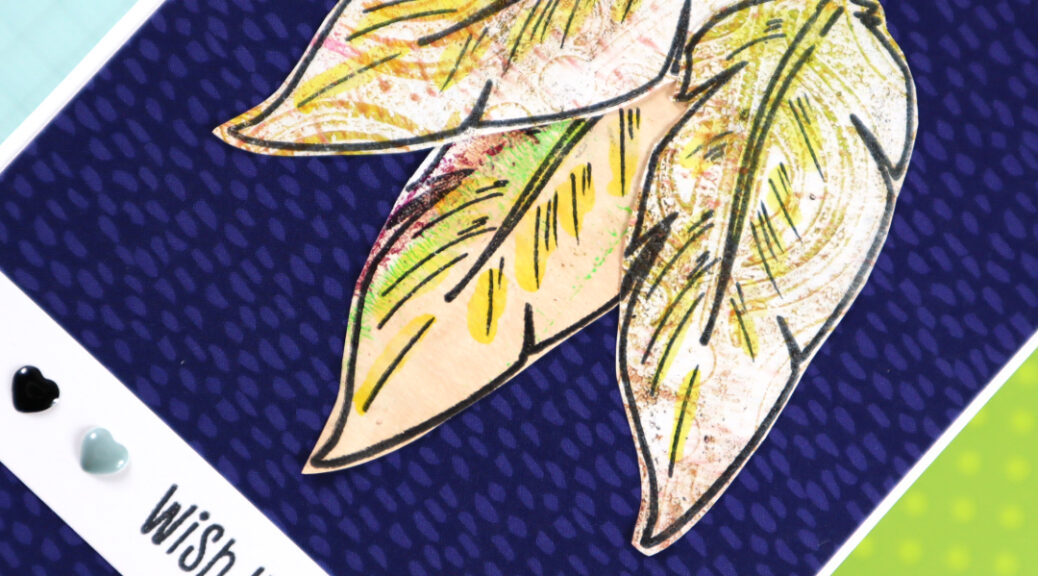
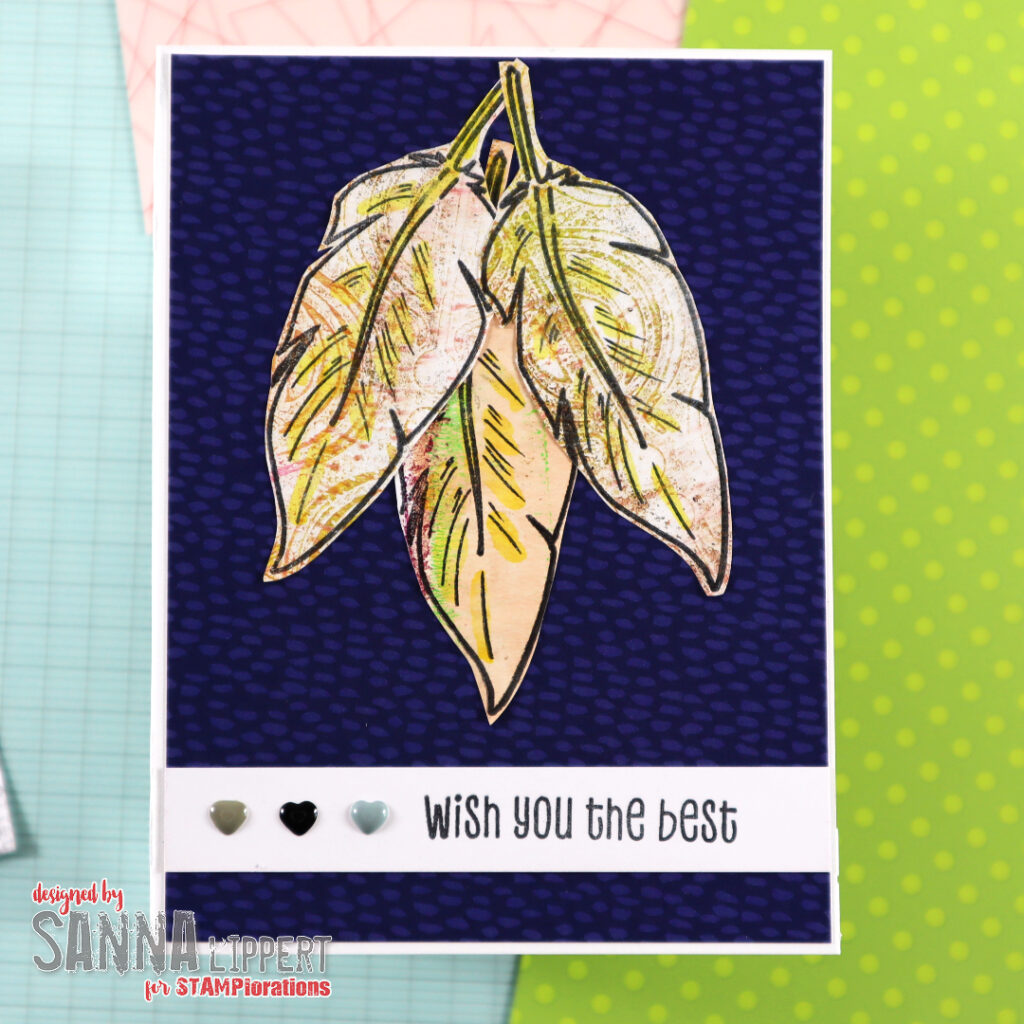
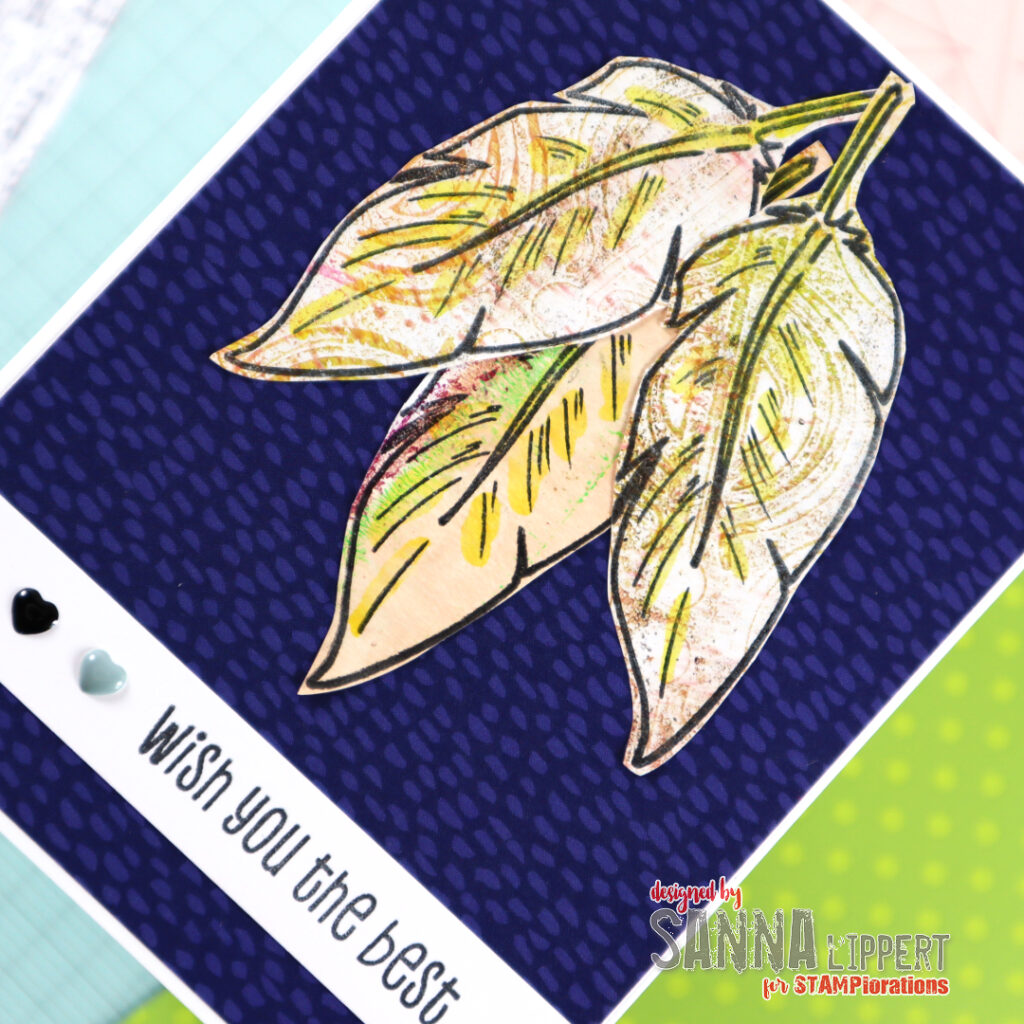
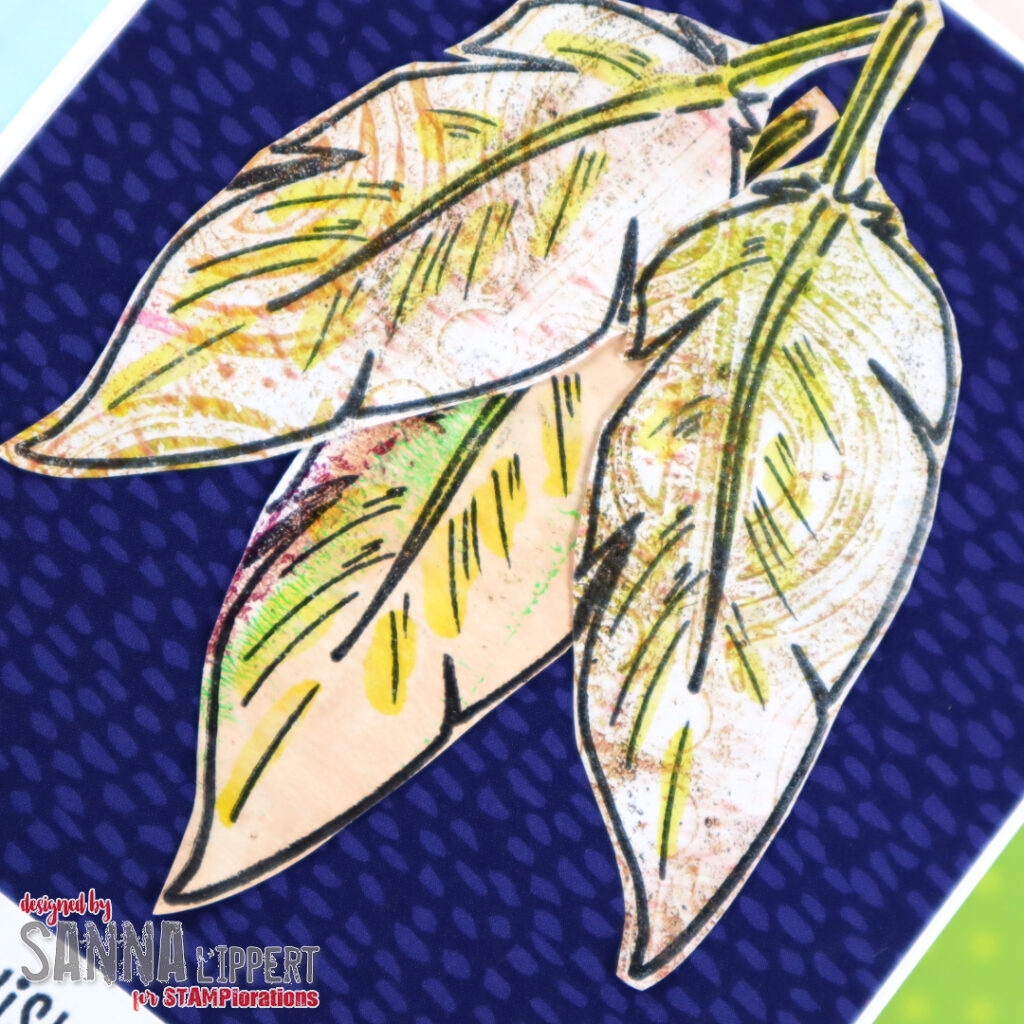
I used a gelli printed collage paper (made with Onions in Raws stencil and a gel plate) to stamp the FEATHERY stamp images onto it with black ink.

For a strong contrast I used a dark blue cardstock to adhere the fussy cut feathers on. A simple stamped sentiment (from the same stamp set) added on white paper with some enamel hearts finishes the card off.

I like the clean and simple look of this card. Now is your turn. Make sure to follow the rules (read here) and submit your take latest 30th of May to be eligible for prizes. Also, don´t forget to have fun creating!!!
xx, Sanna
STAMPlorations Spring Fling blog hop and linky party!!!

Hello everyone! Today is the day – we have a blog hop and linky party prepared for you at STAMPlorations!! Are you ready??
This is my take on a spring theme! I used the Onions in Raws stencil with a gelli plate to create a gelli printed collage paper background for my card. On top I added a ATC paper goods piece from the set called Color Me Spring ATC. I also added a few paper flowers to top and bottom of the ATC piece to create more texture. Some half pearls and the card was done. I didn´t add a sentiment this time.

Here are some details of the hop and linky party:

The event starts on Monday the 11th of May at 6:00 AM PDT and ends on Wednesday, May 20th at 11:59 PM PDT.

Winners will be announced on Friday the 22nd of May at the STAMPlorations blog at 8:00 AM PDT.

A) For those, who join in by creating and linking, there will be prizes as follows:

– 1 Top Winner will get a $25 prize code to the STAMPlorations shop
– 1 Runner-Up will get a $15 prize code to the STAMPlorations shop
RULES: One project entry per person.

B) For those, who will be hopping (commenting on the blogs):

– 3 winners will get their choice of a $10 prize code OR any $7 product
– 3 winners will get a $10 prize code for the digital store
RULES: One project entry per person.

C) BONUS:

The first 7 persons to link up their project on the STAMPlorations blog will each win a spring themed Paper Goods Sampler Bag!! These bags come with 12+ pieces of ephemera, ATCs and card fronts.

How to Join the Fun 📏

1️⃣ Hop & Comment: Leave a comment below then head to the STAMPlorations blog to visit the  rest of the designers and leave some love on their posts as well. 

2️⃣ Create & Link: Upload your favorite new spring-themed project to the Linky tool at the bottom of the Spring Fling blog post.

As always, also feel free to use my discount code at the store:

Have fun hopping and creating!!!Good luck!!
xxx, Sanna