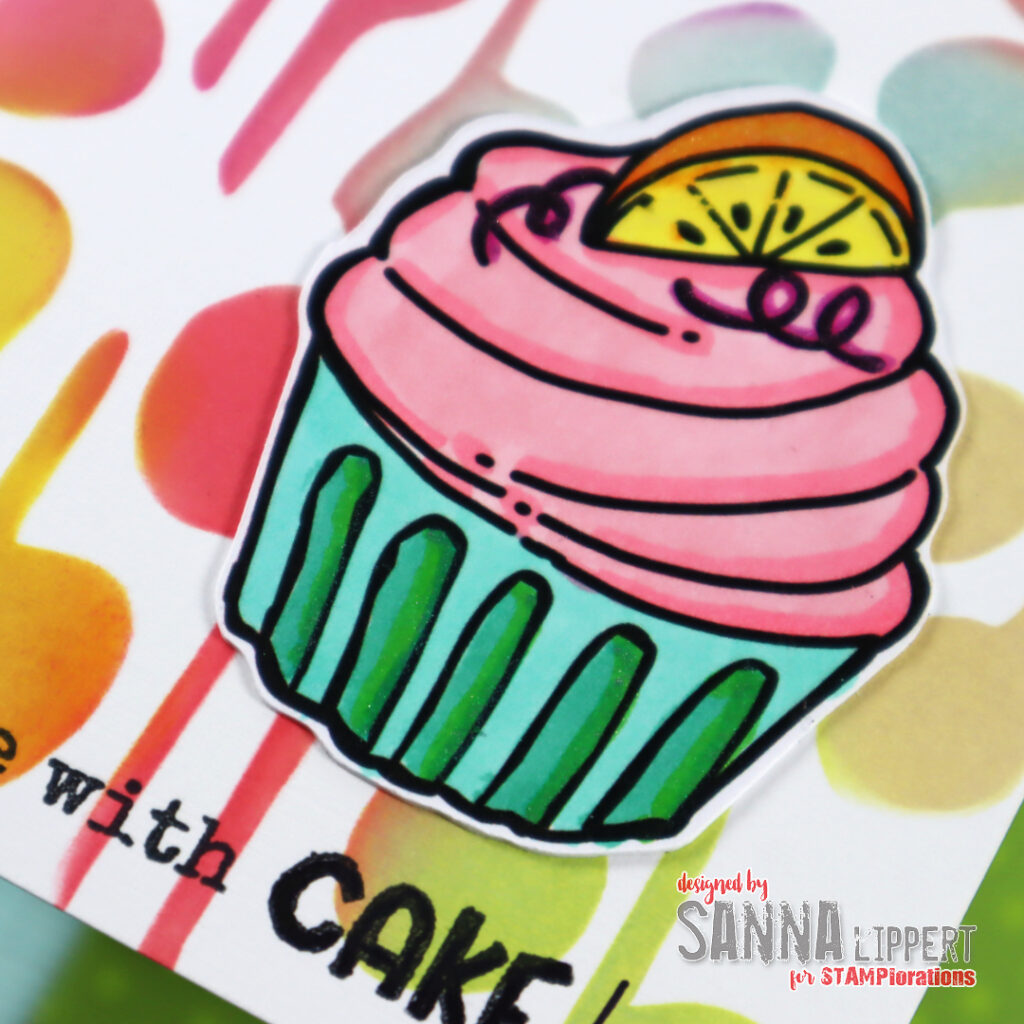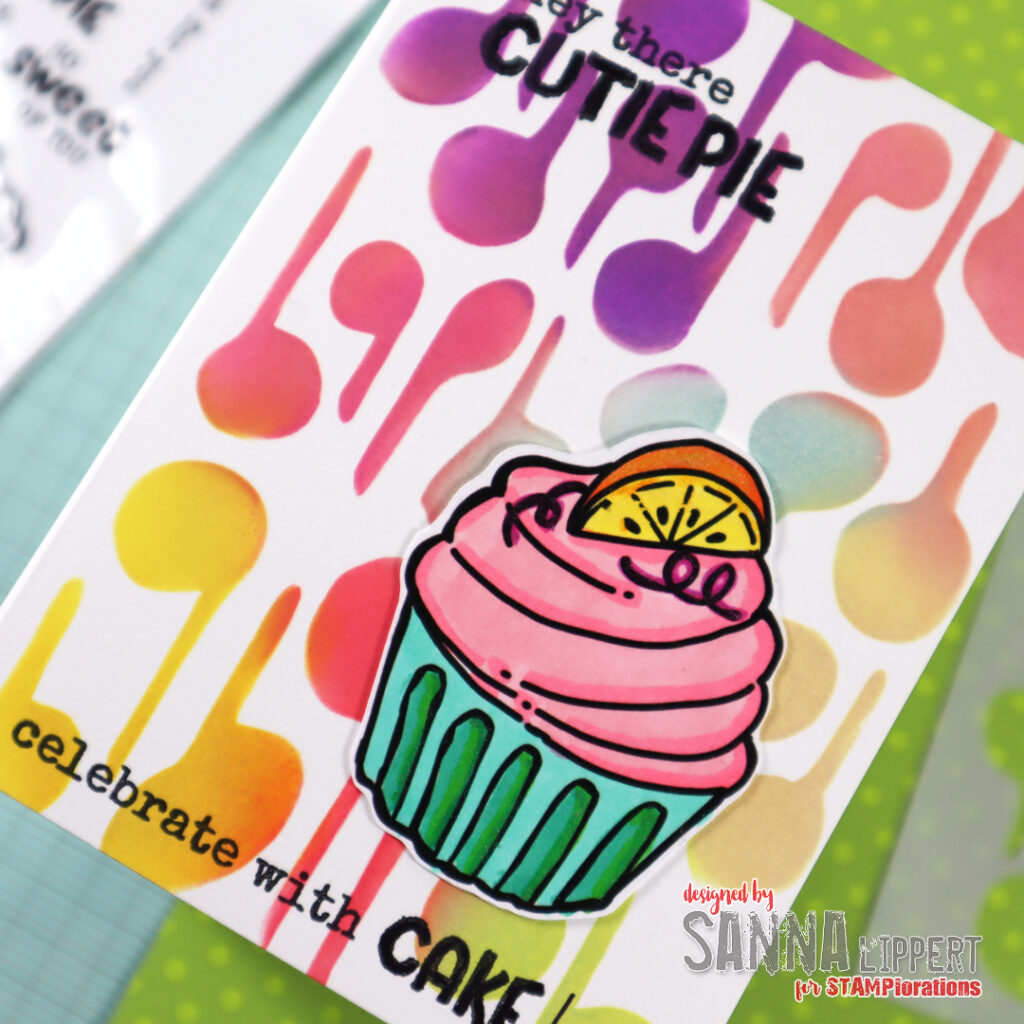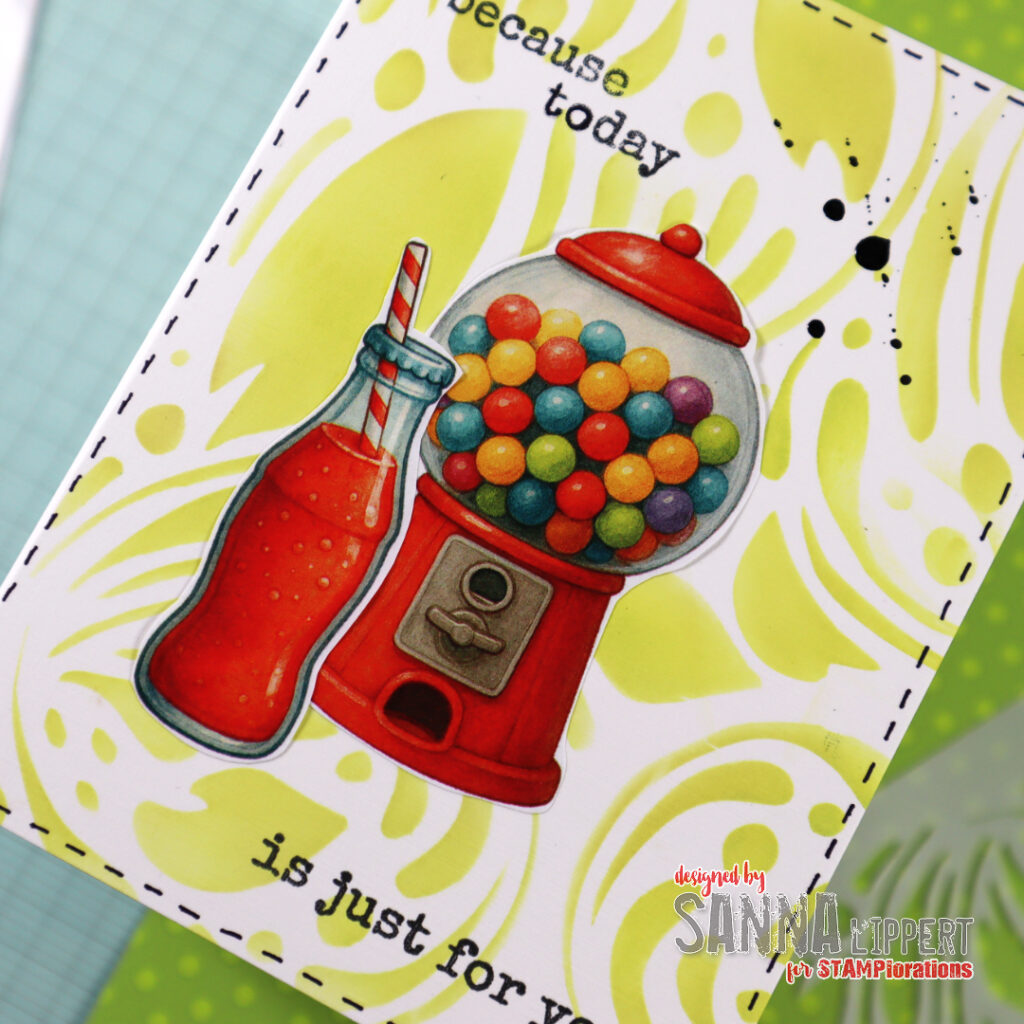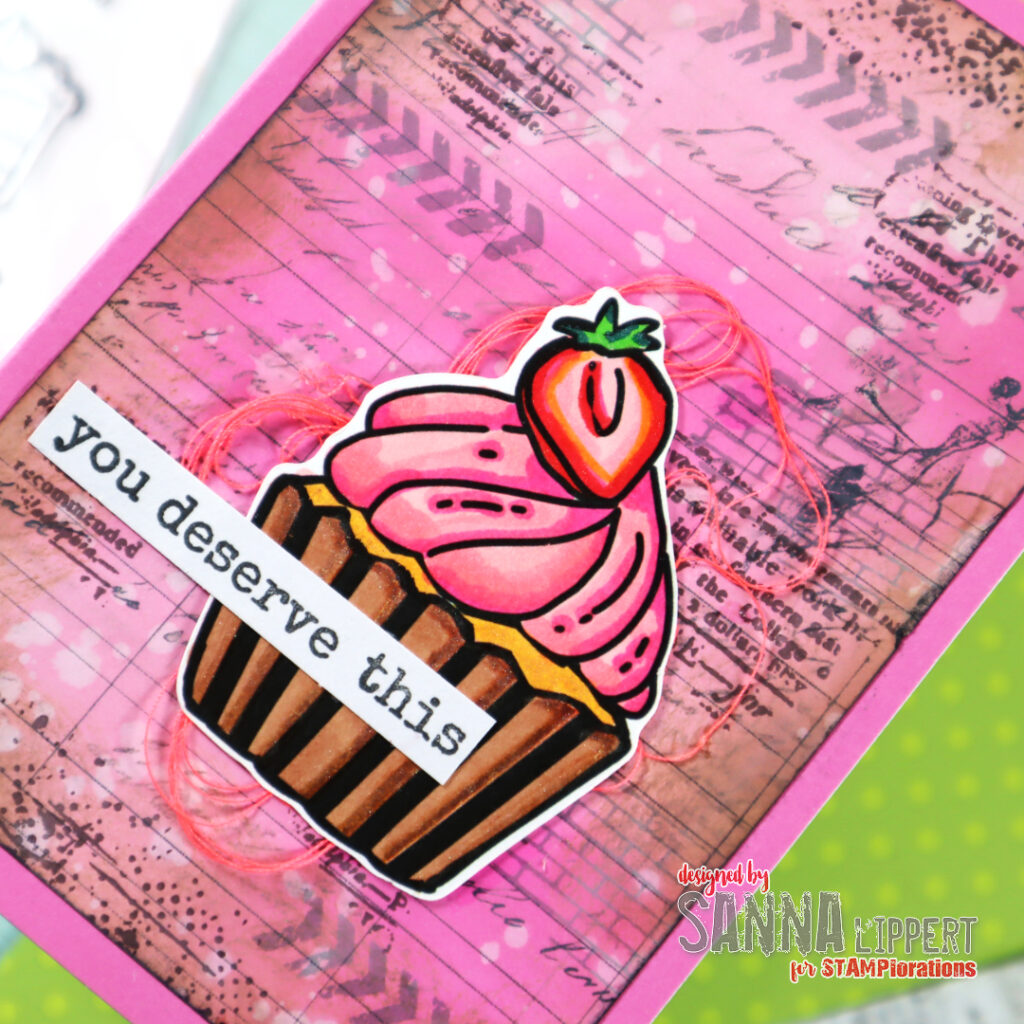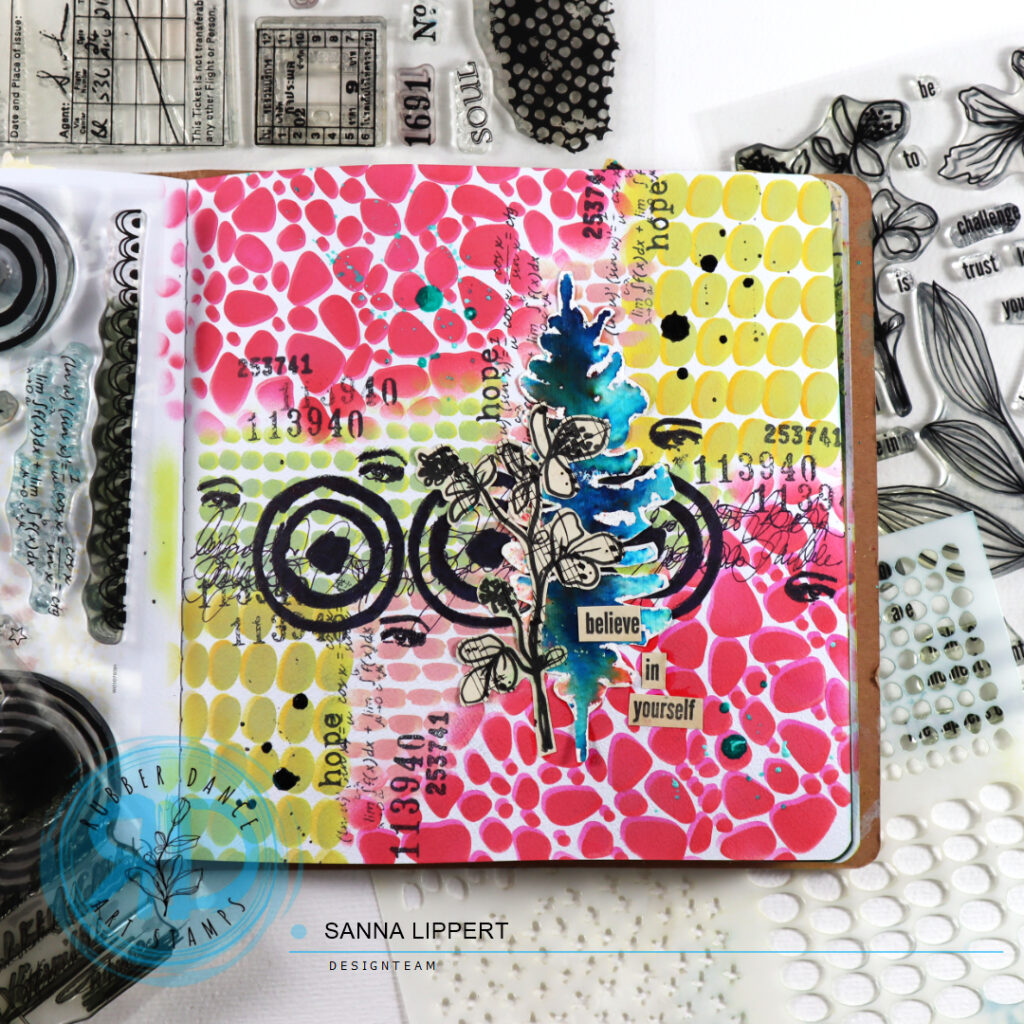
Hello everyone! STAMPlorations has a new stamp series out called “Simple Expressions“. These stamps aren’t just regular sentiments to add at the end of a project. They are designed to become part of the artwork itself, inviting us to tell a story through both words and creativity.
I got to play with the new “Happiness” set. Some words have a special meaning to us and lets us reflect and this word certainly is one of them. Everybody understands the word and defines it a little different. It´s versatile and can be used for all kinds of purposes – ATC´s, journal pages, cards, even with shrink foil as key chain decor.

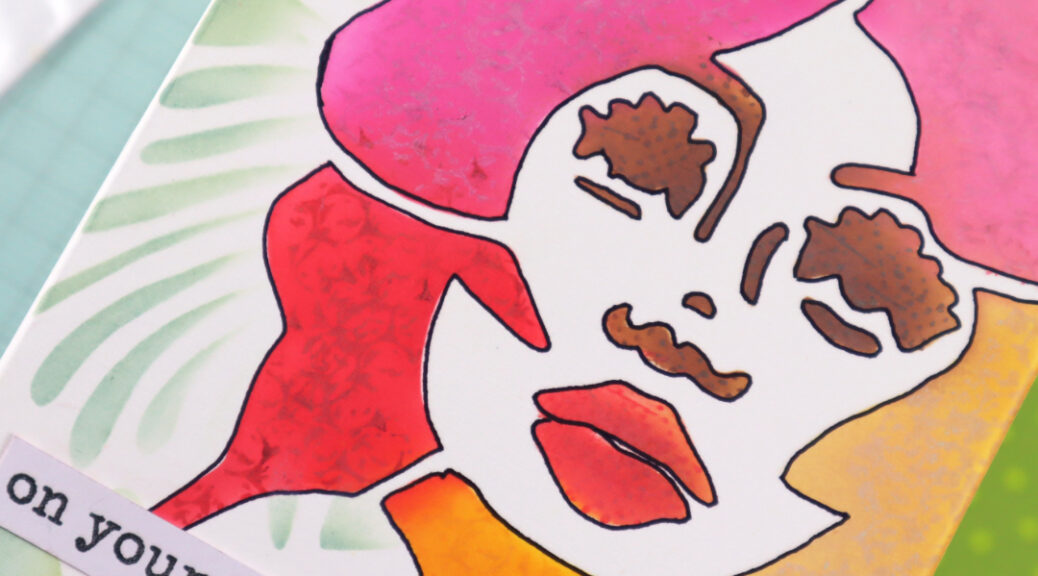
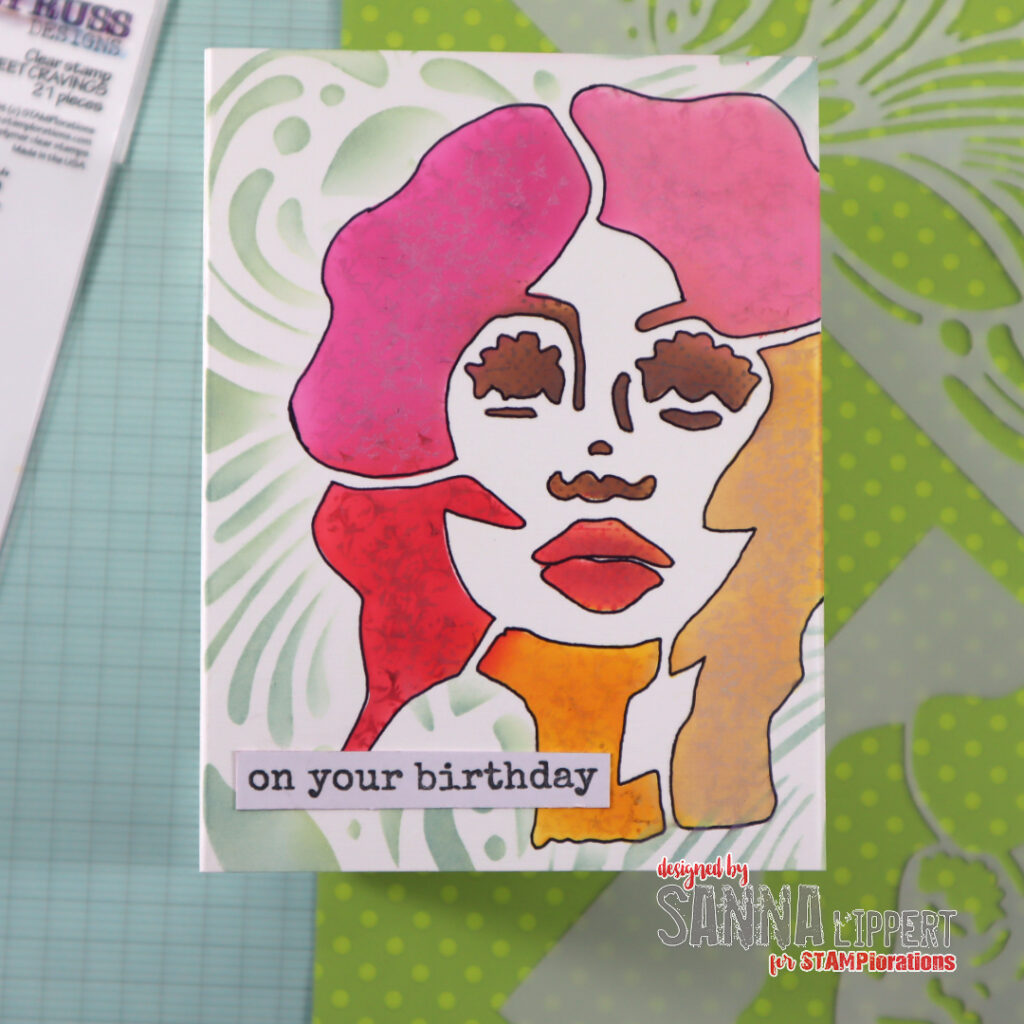
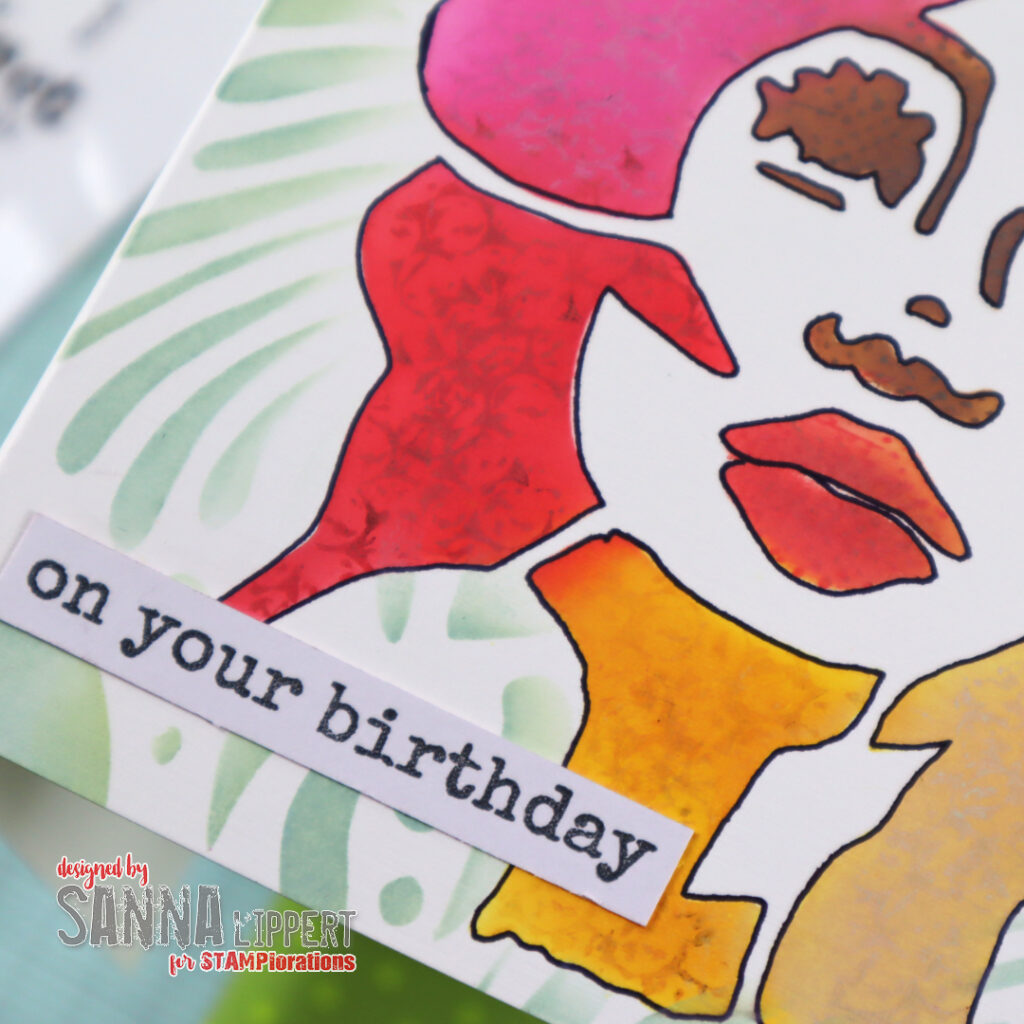
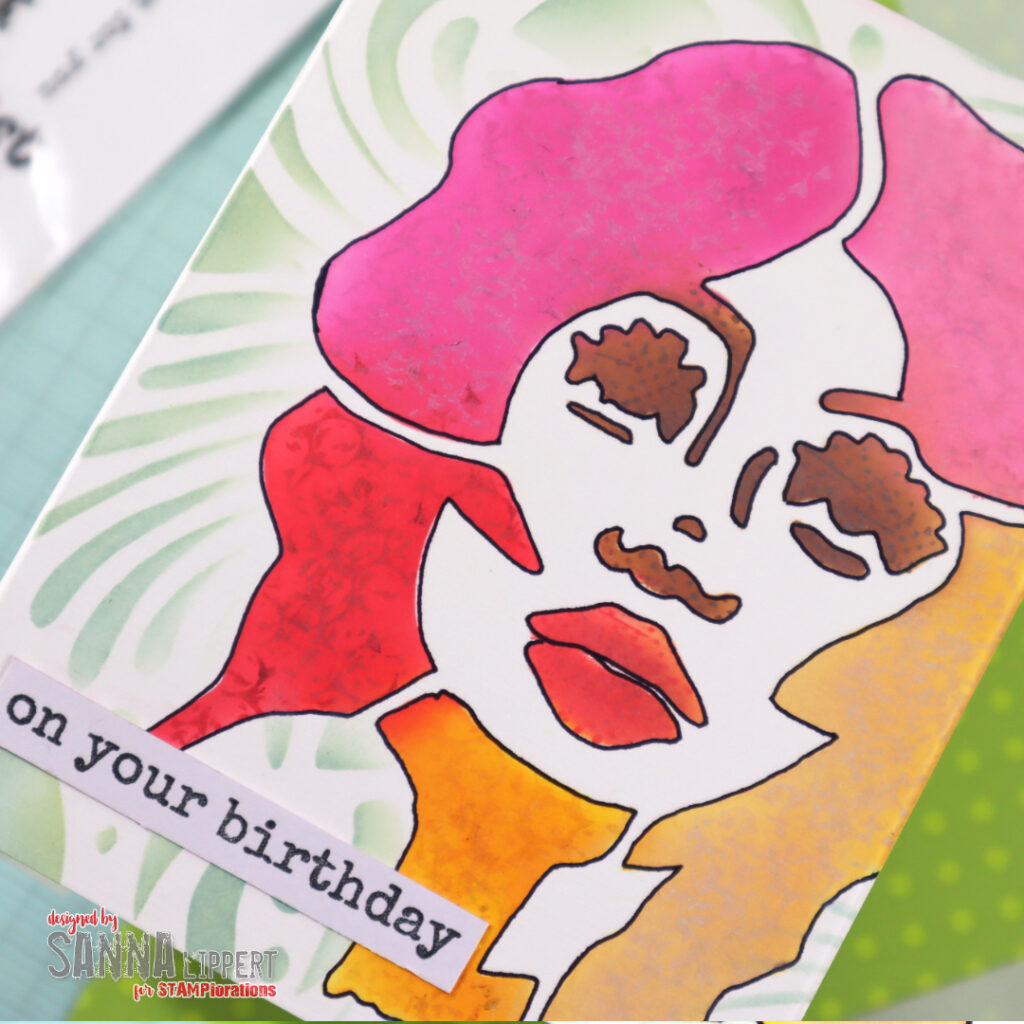
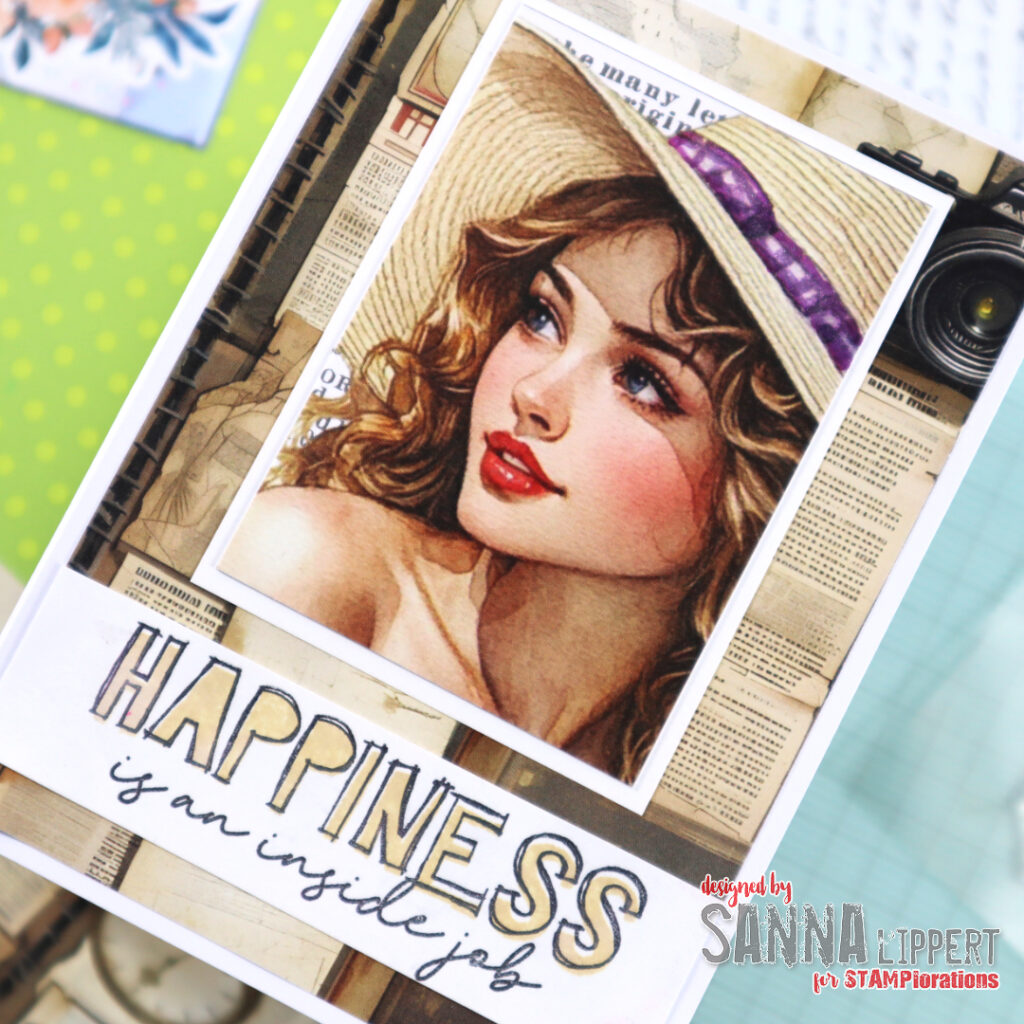
For my first card I combined the vintage looking Retro-Femme ATC image and the gorgeous Analog Grunge paper with the Happiness Simple Expressions stamp. They work together so very well! I used Distress Oxide ink in “old paper” for the solid stamp image. then added black stamping with the outline stamp on top and in the process, also stamped the hand written sentiment. I also added some Edding glitter brush pen in silver and purple to the ribbon on the lady´s hat. Only when you tilt the card, it will show.

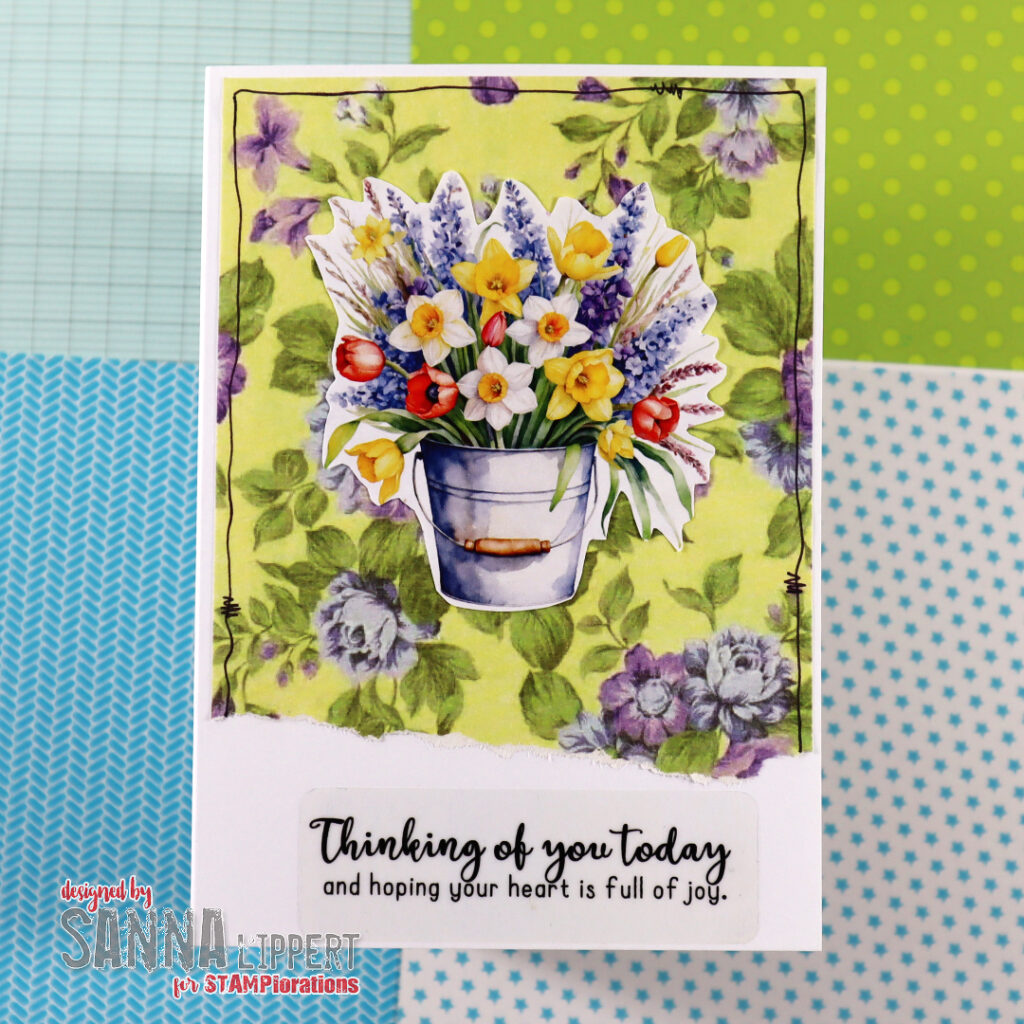
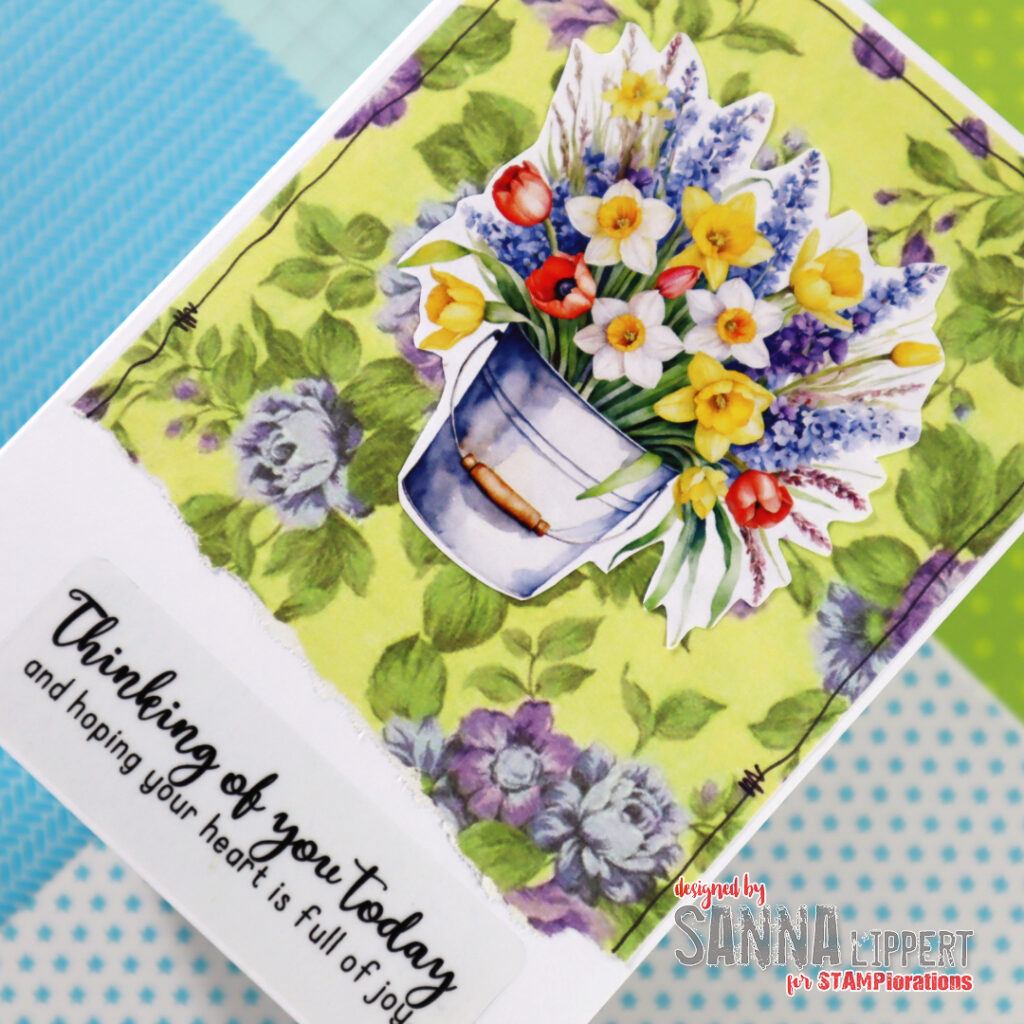
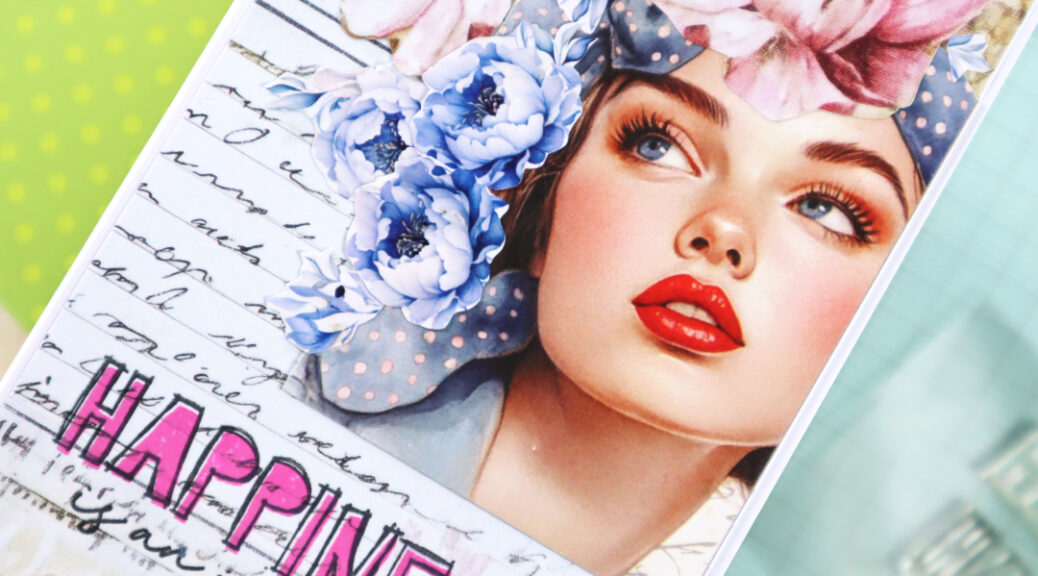
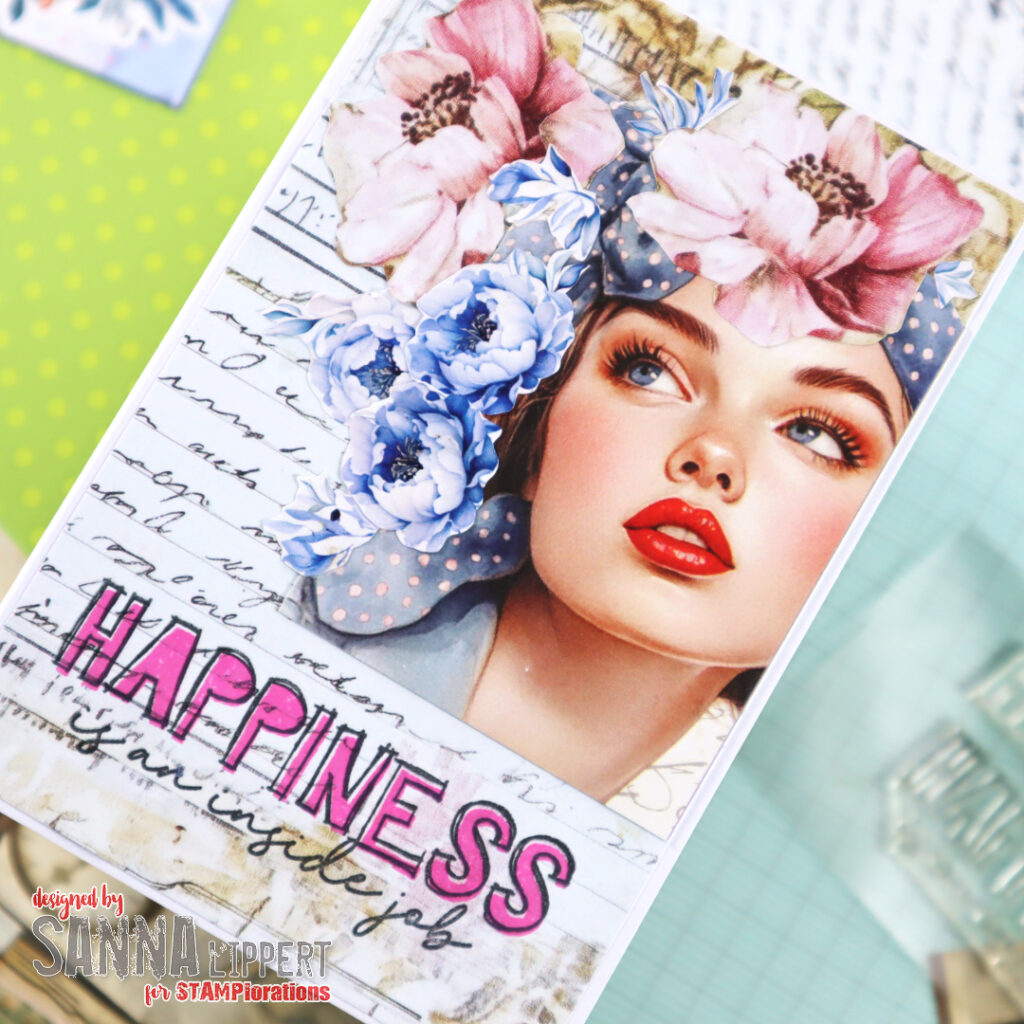
For the second card I used the Old Letter Pocket Backdrops paper as a background. Then i added the sweet and eerie Retro-Femme ATC image directly on top. I also fussy cut flowers from the Floral Parade Ephemera Cut-Outs and added those and another pink flower from the Old Letter Pocket paper to the ATC. I love how it creates a romantic head piece for her. For the Happiness stamp image I used Distress Oxide ink in pink and a black VersaFine ink. For some glitter details, again a silver Edding glitter brush pen.

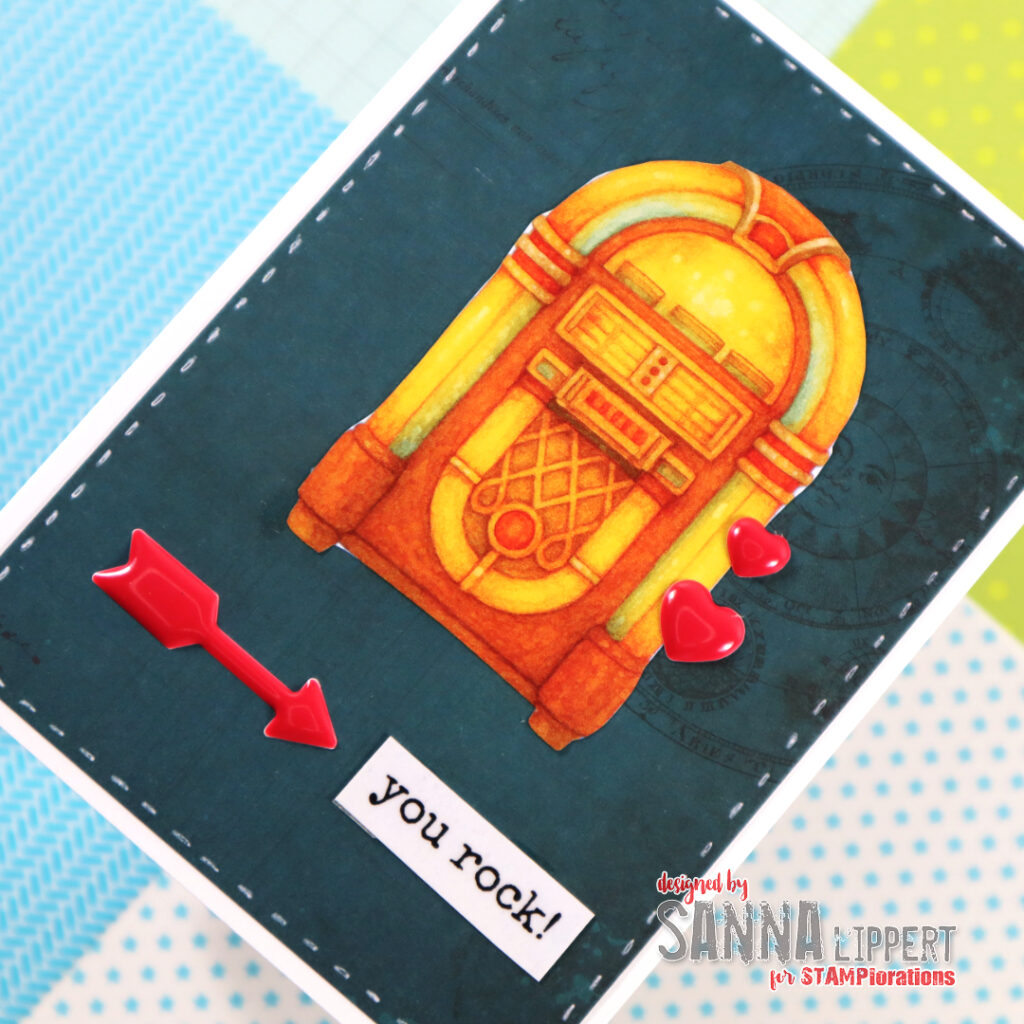
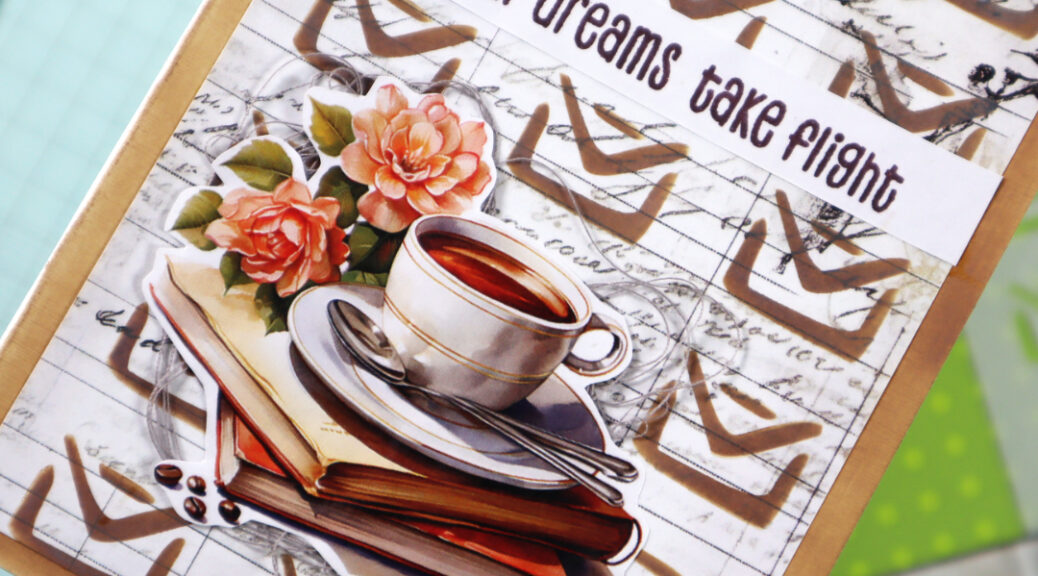
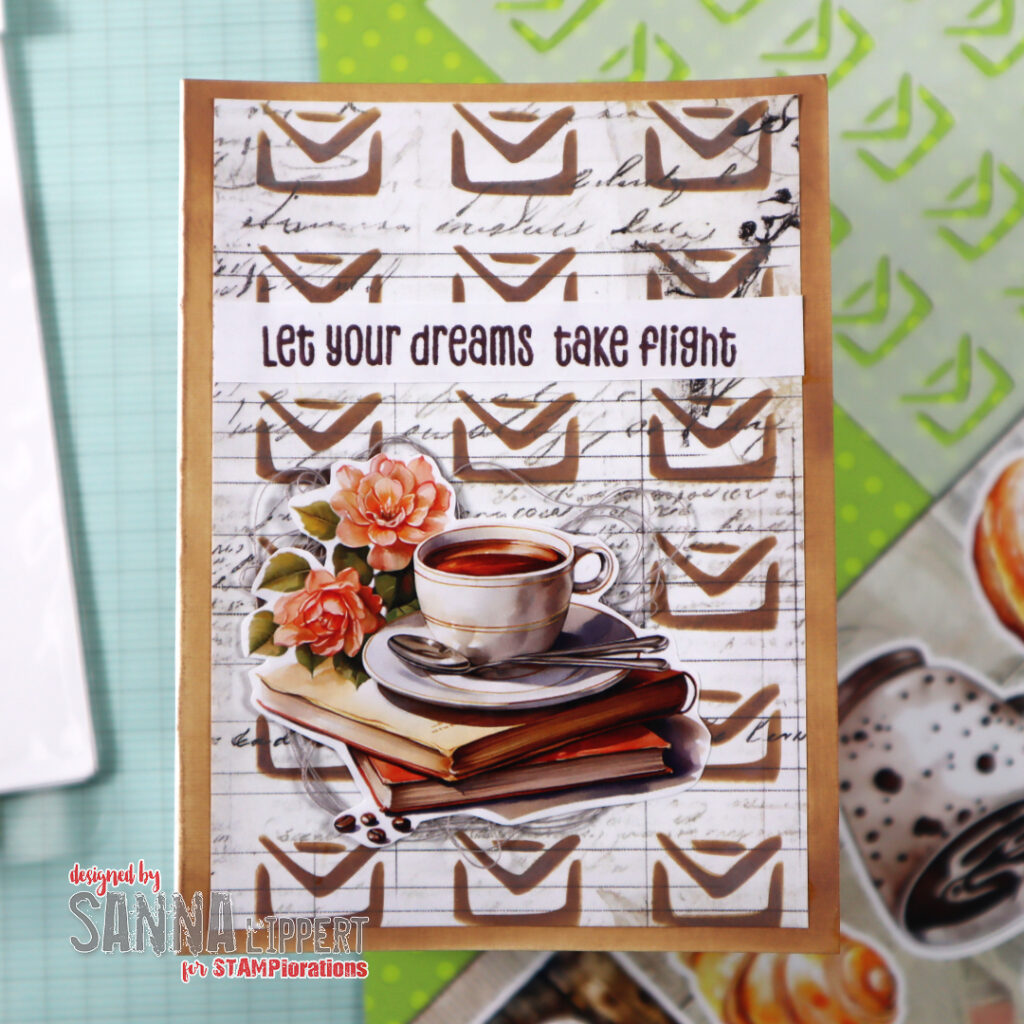
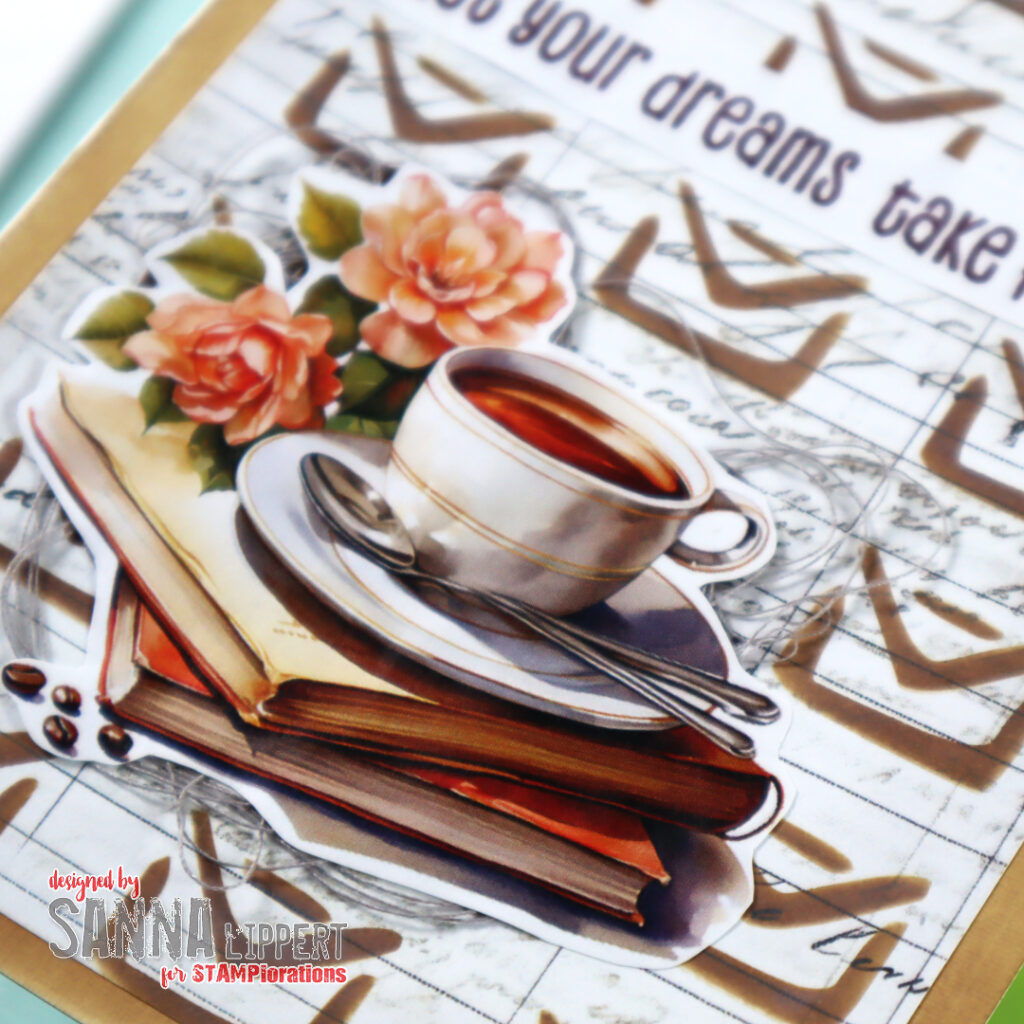
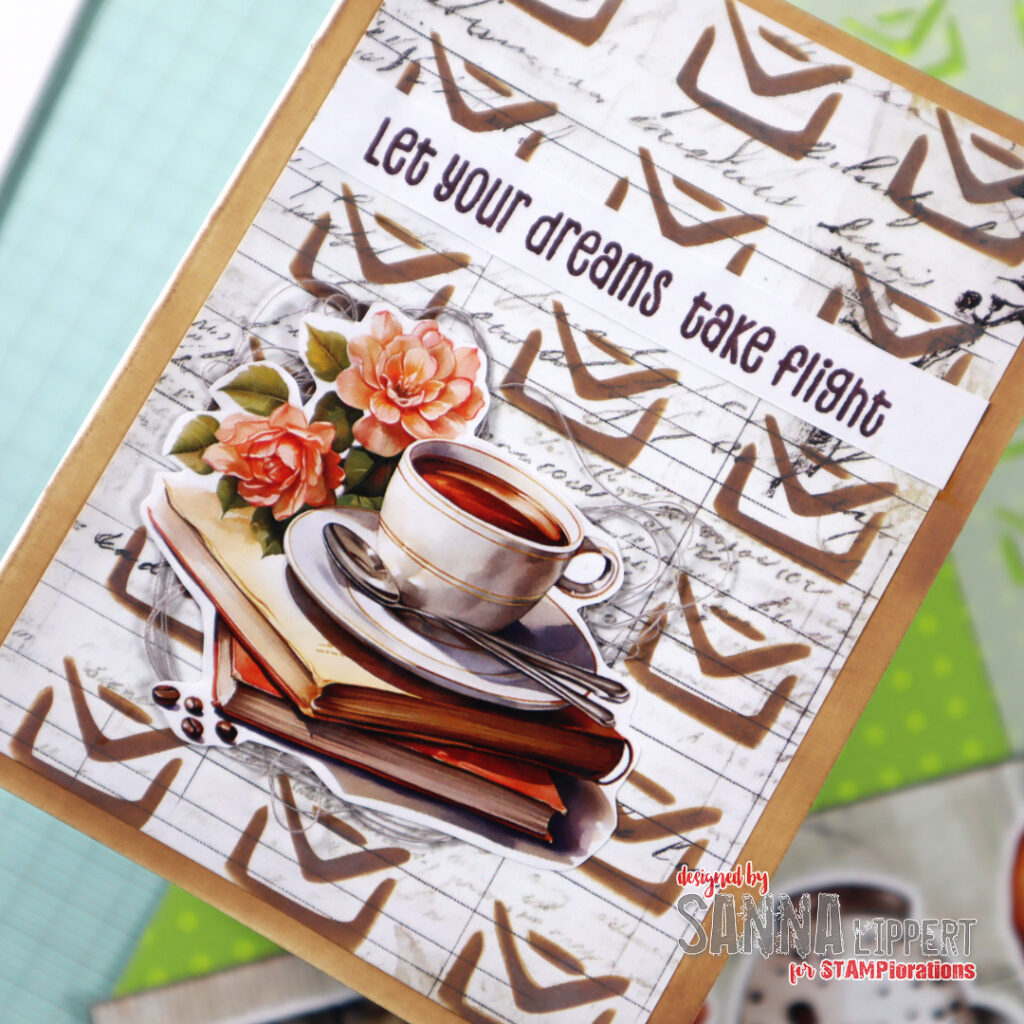
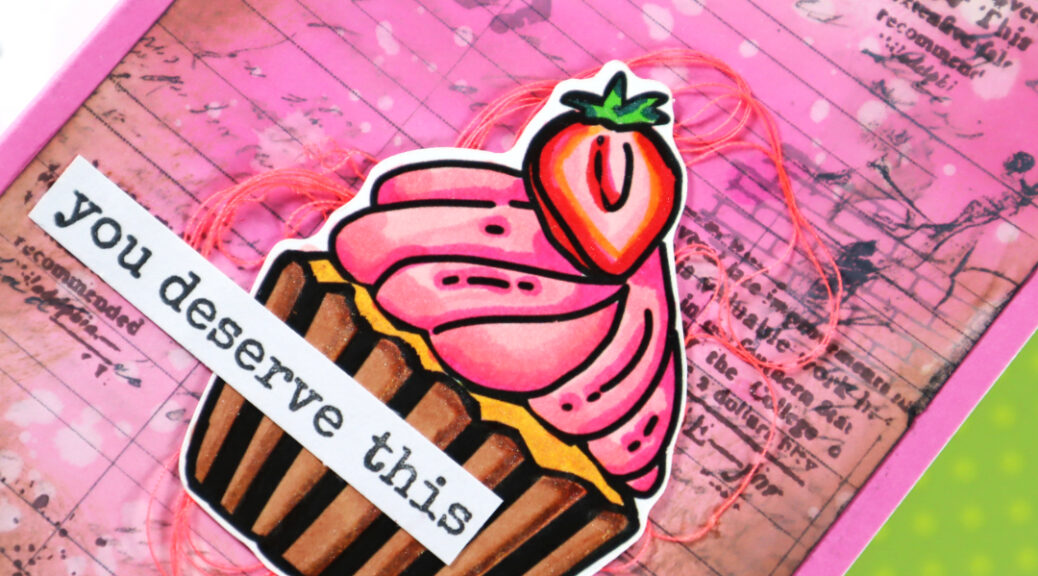
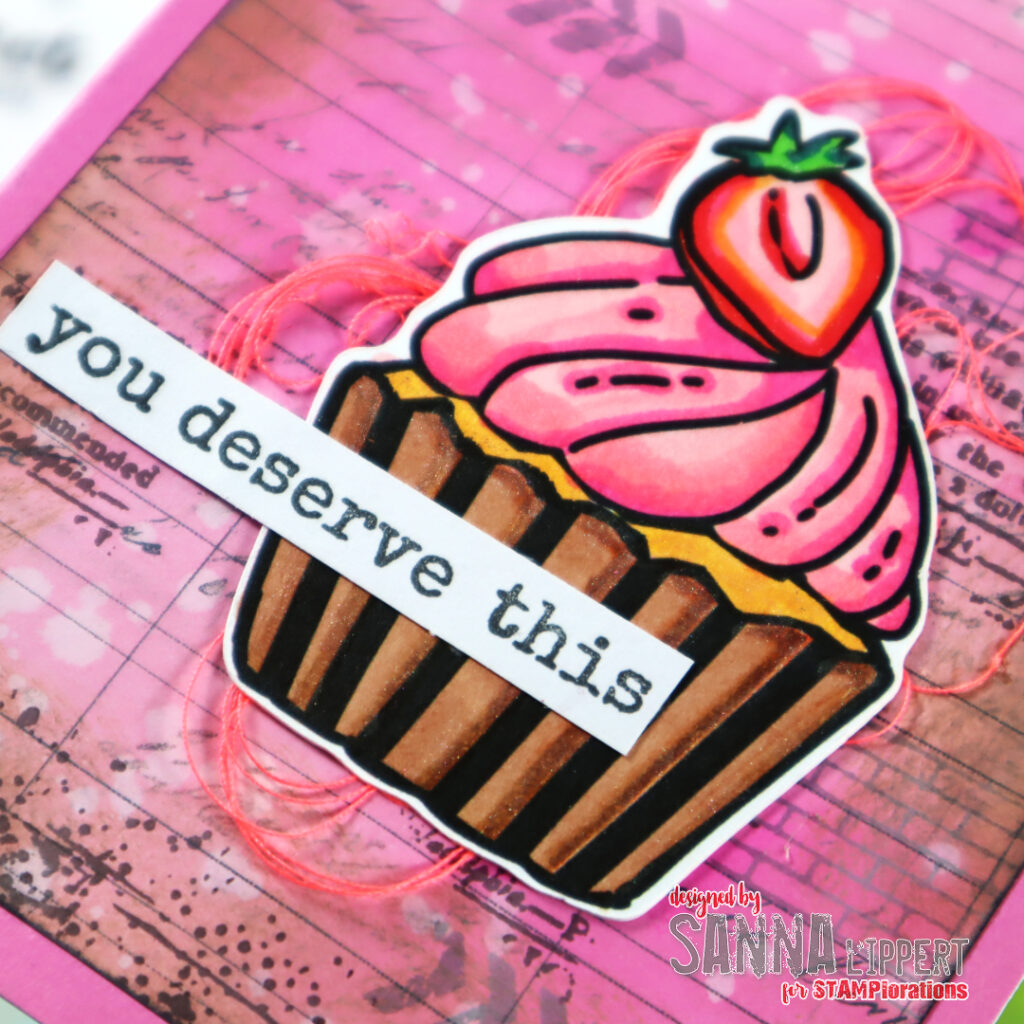
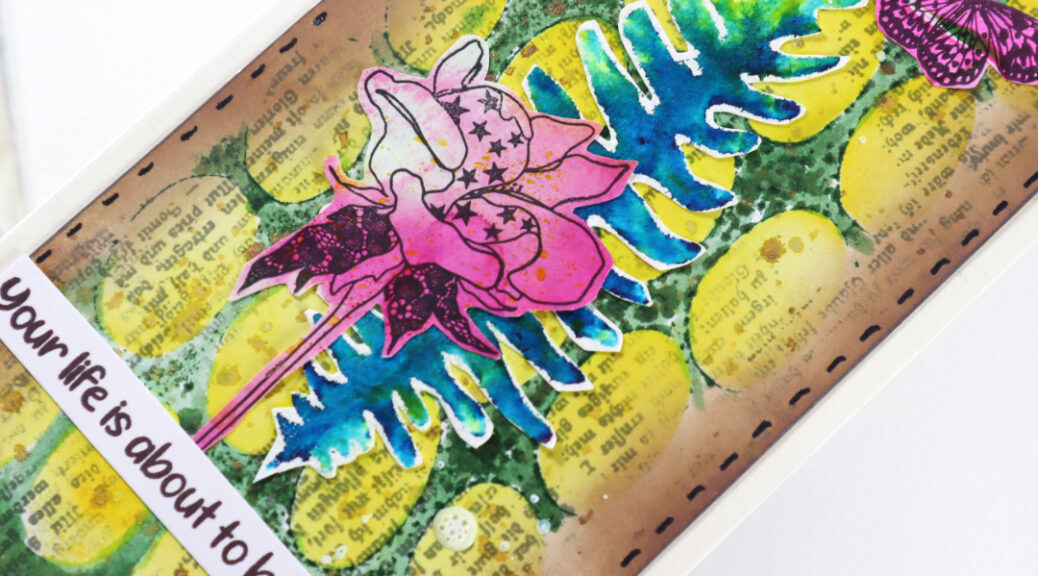
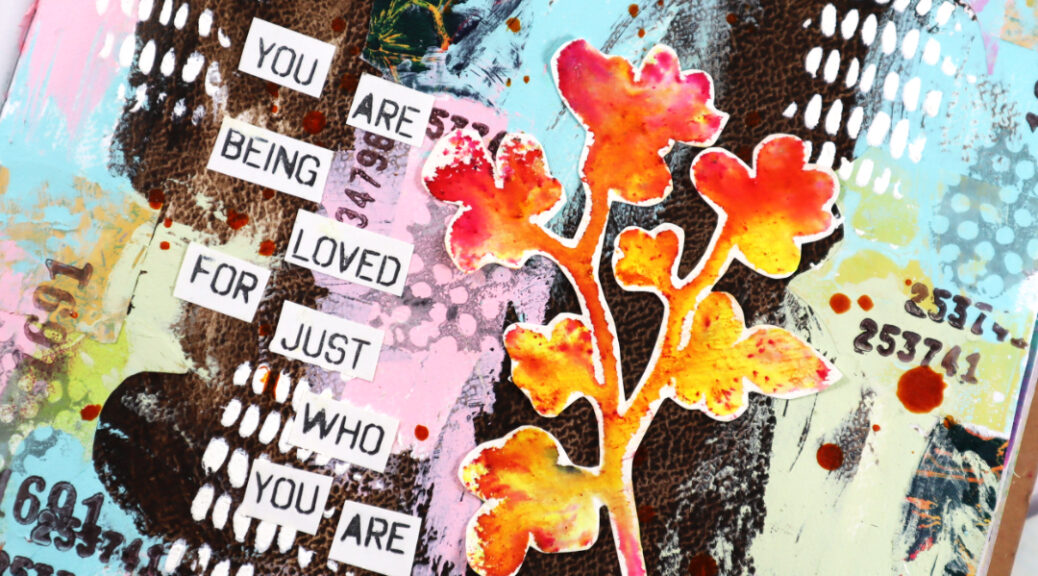
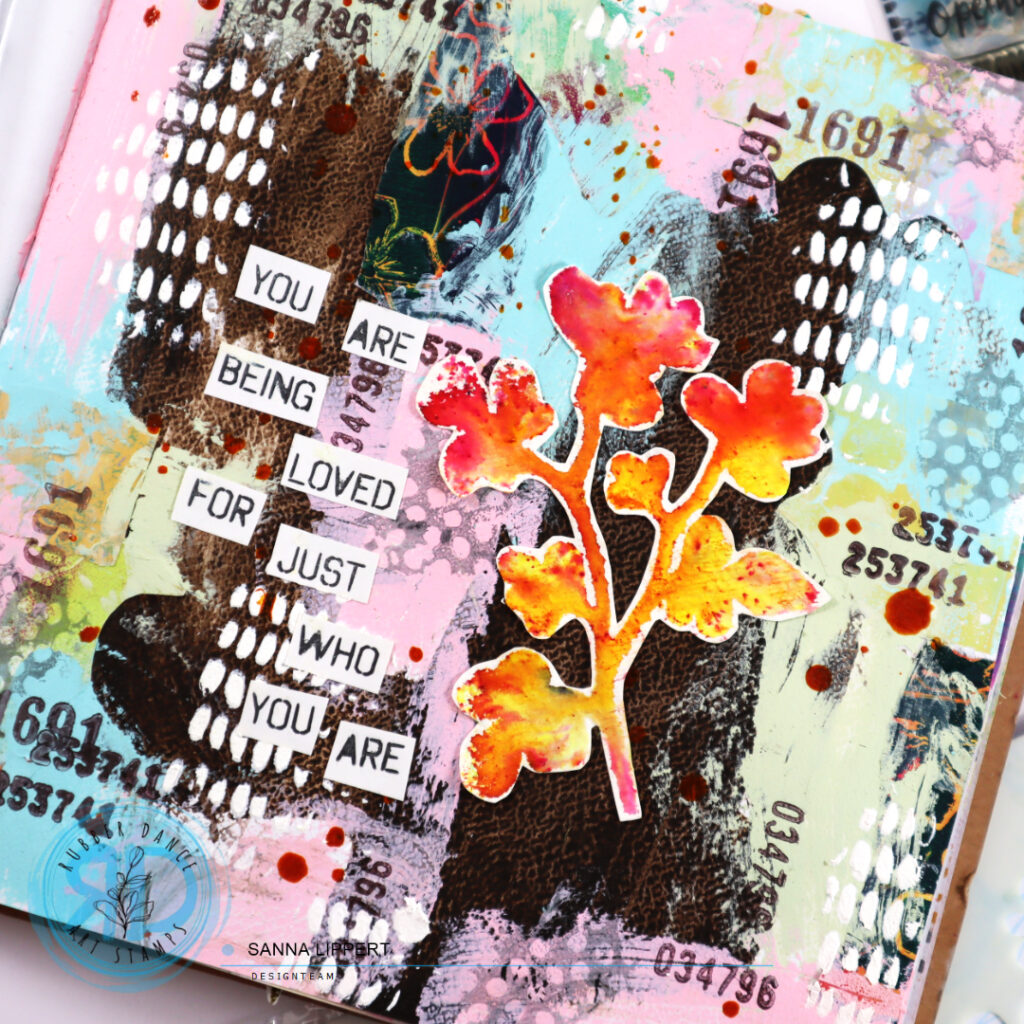
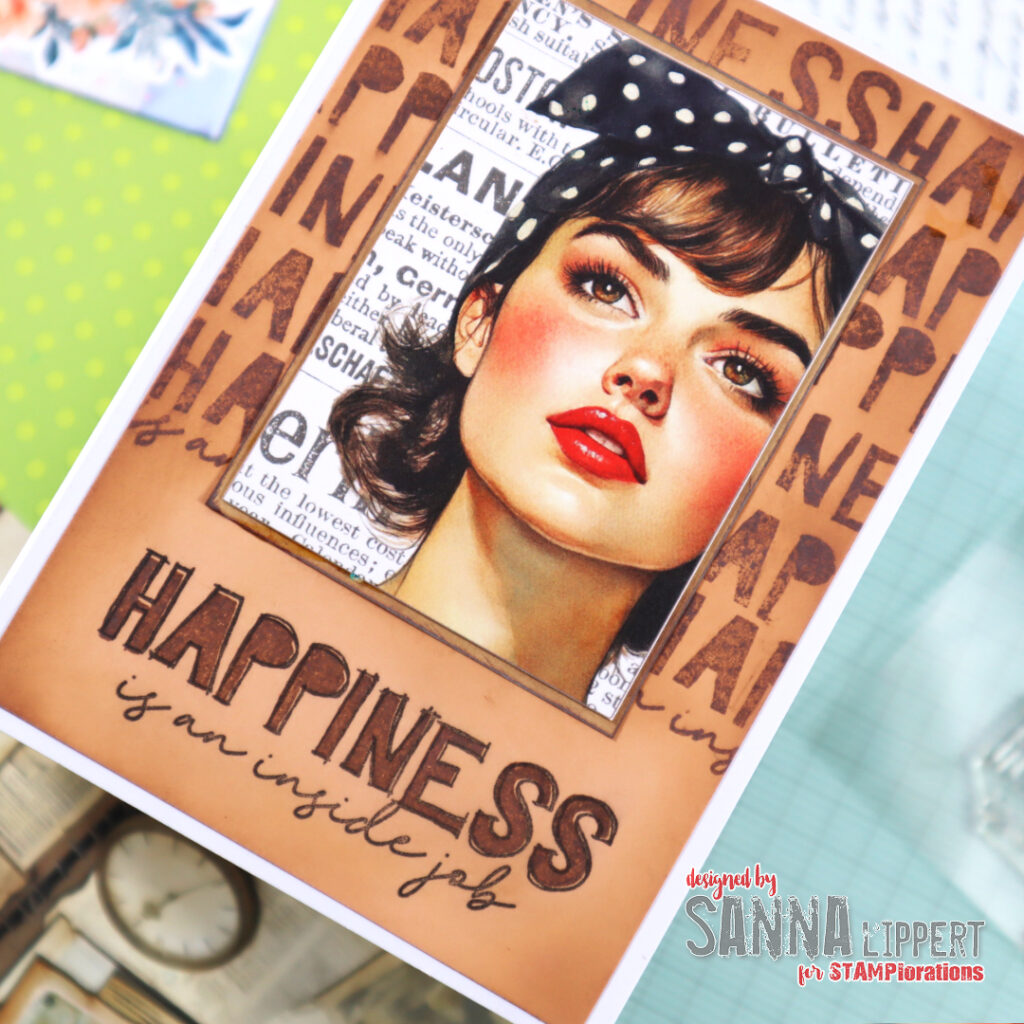
This brown card turned out to be my favorite. The design is actually really simple to do. I first inked a piece of white cardstock with brown Distress Oxide ink, then used the solid Happiness stamp with VersaFine brown stamp ink to create the background pattern. After that I outlined the Retro-Femme ATC image with another inked paper and finished the card off with some glitter brush pen details. For me, the bold ATC image and the warm brown background just work perfectly together.

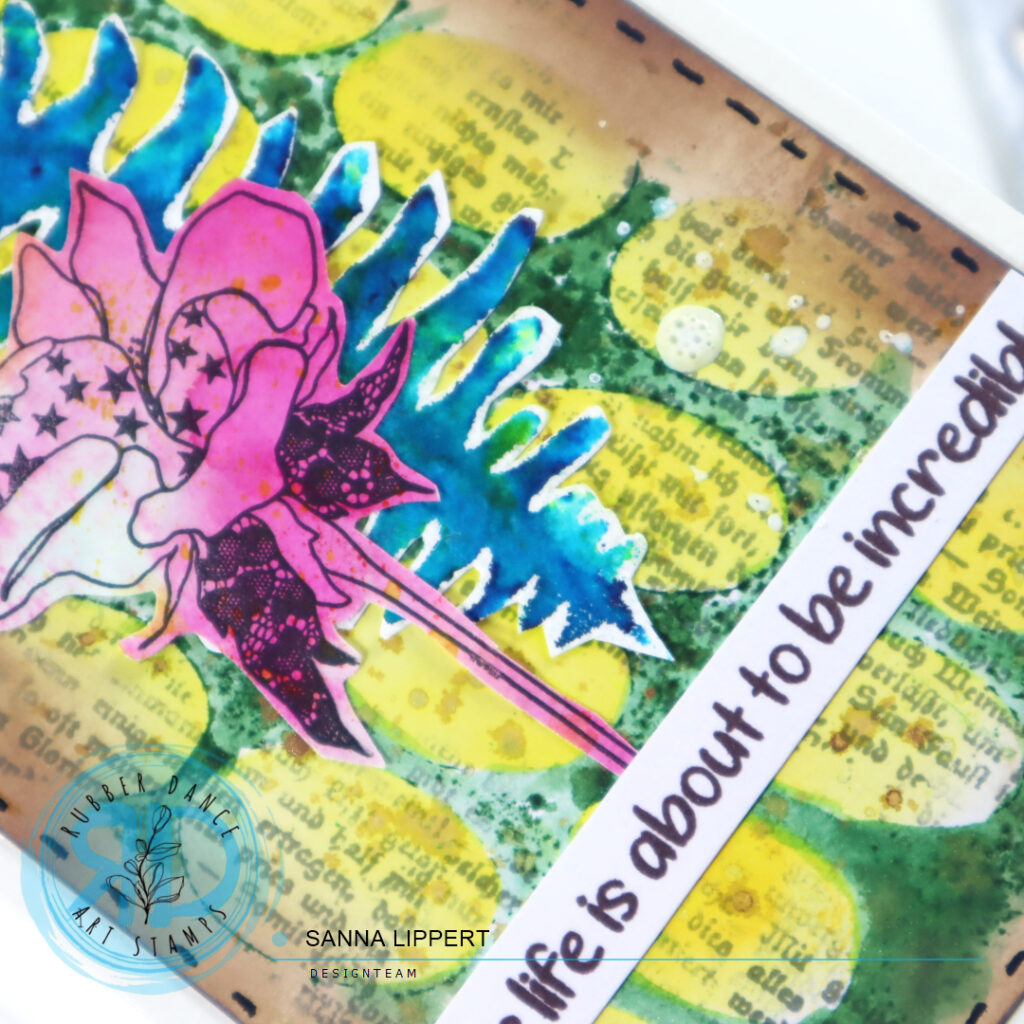
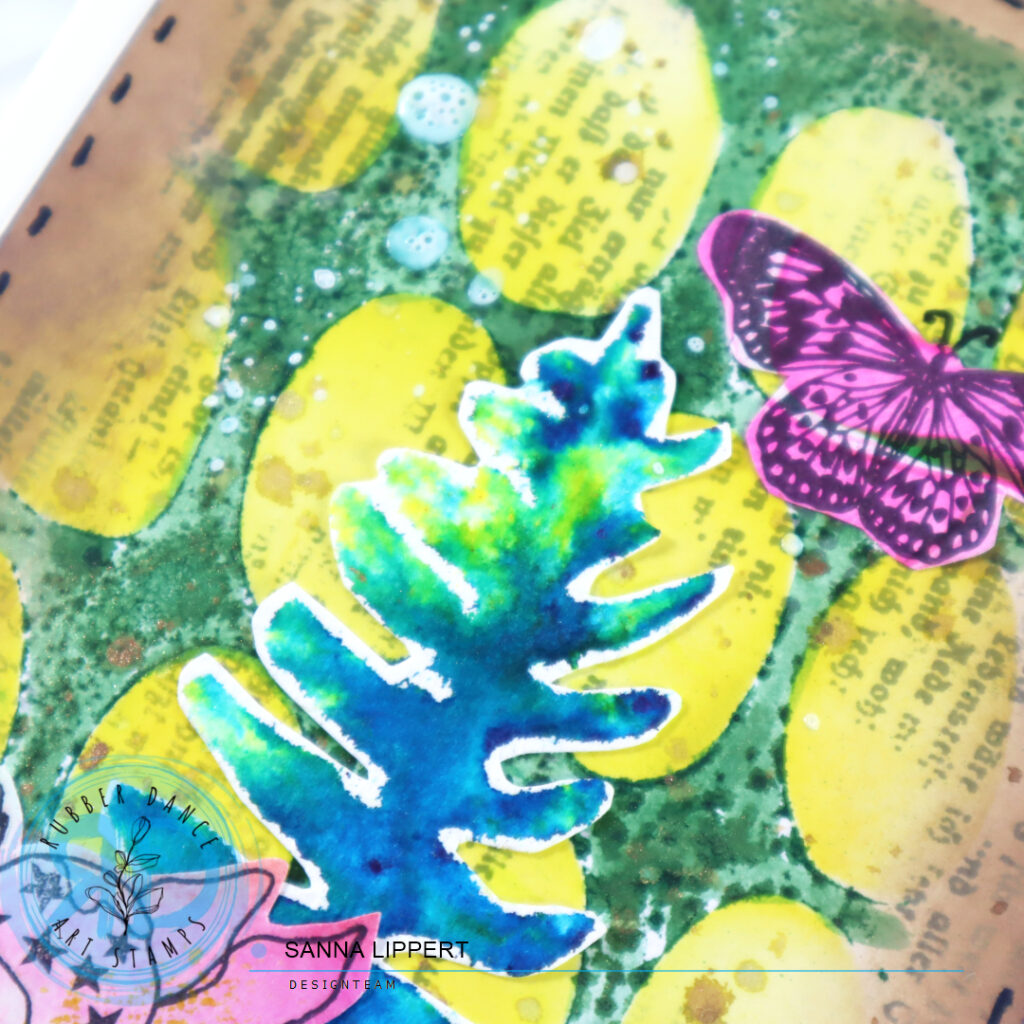
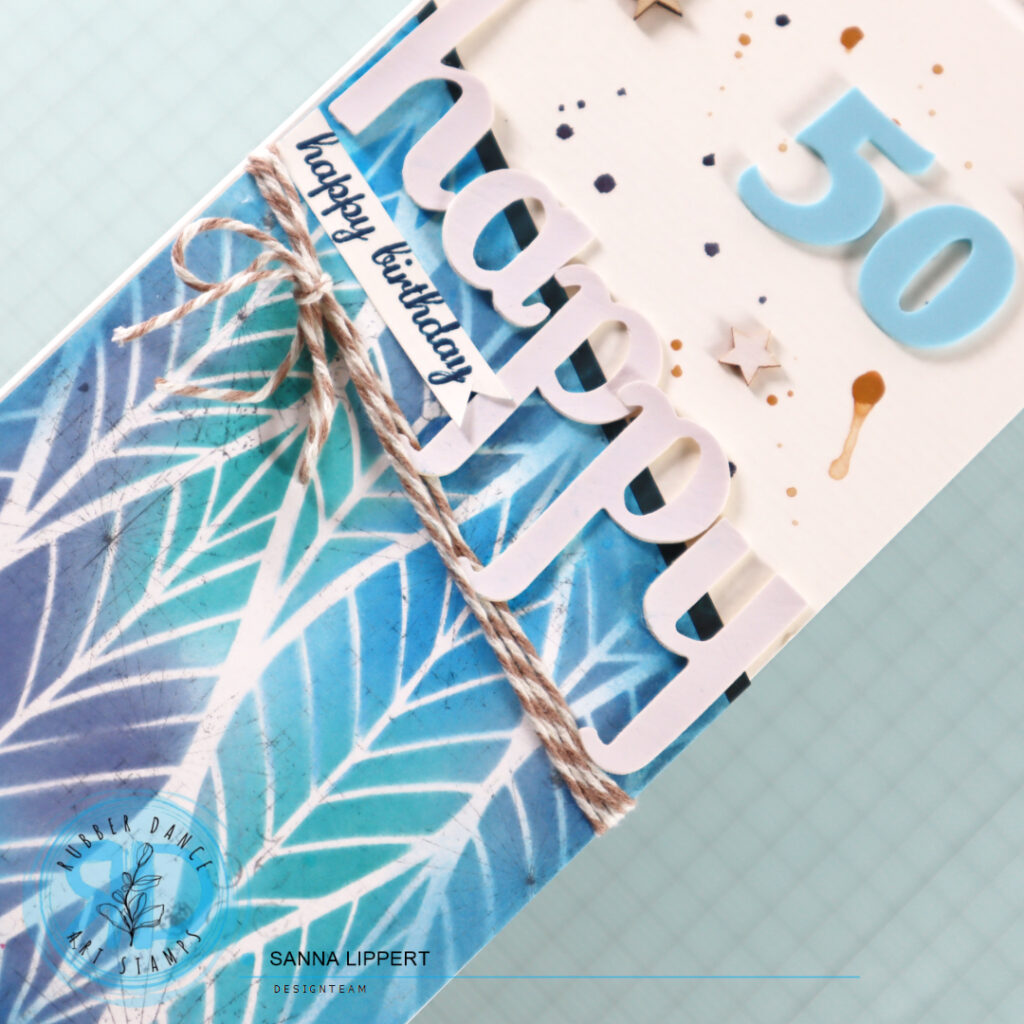
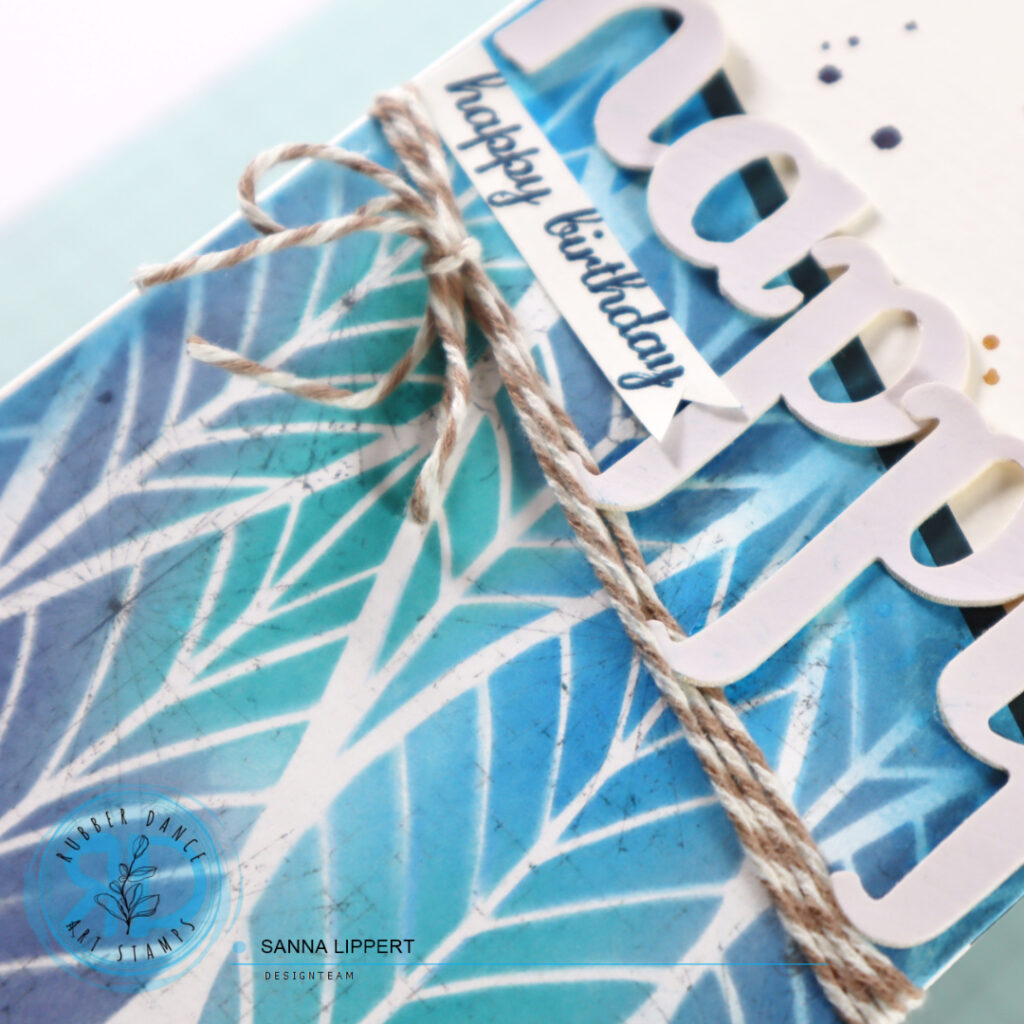
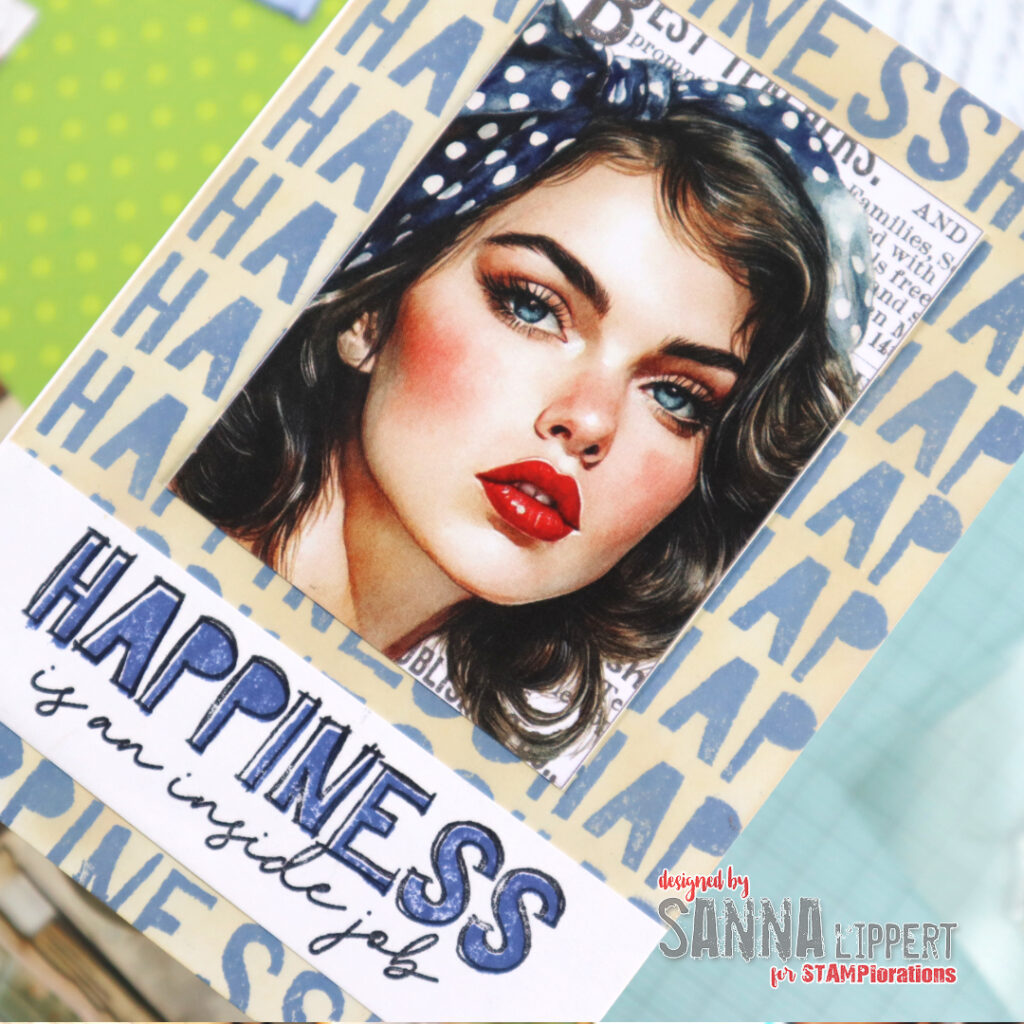
For my last take I used the same technique, like on the previous card. Except I started by stamping with solid Happiness words first with blue stamp ink. Next I blended some “old paper” Distress Oxide ink over the whole background. This created the softer look. Next I added the more unapproachable looking lady´s image from the Retro-Femme ATC set on top. The colder color choices work better with this image. I then simply stamped the Happiness stamp image on white cardstock with blue and black ink and mounted that onto the card base. And I again sneaked some Edding glitter brush pen details to the focal image for interest, too.
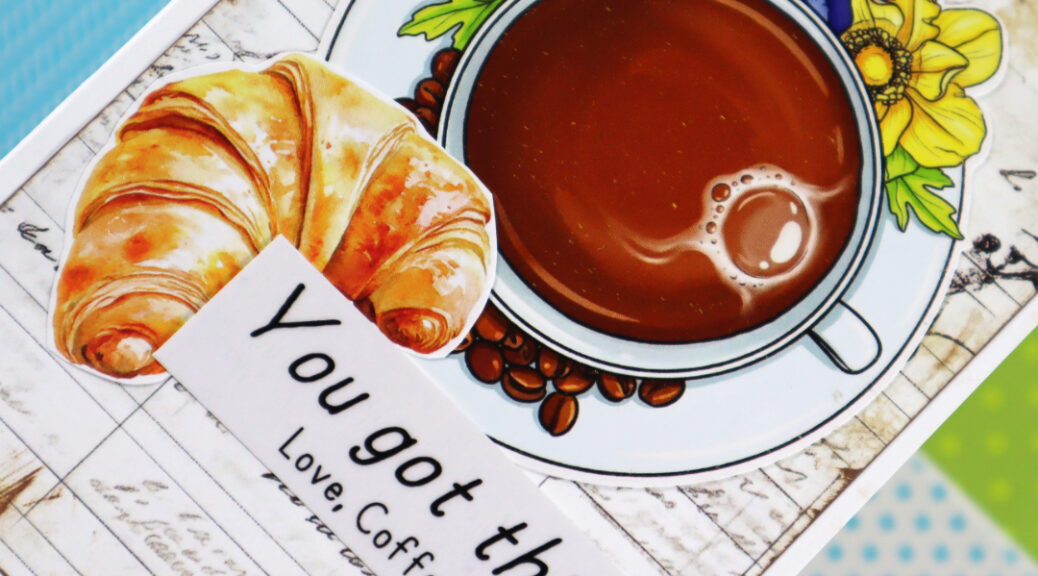
Happiness can mean so many things to us all. For me it´s spending time with my people, chatting and just enjoying each other´s company. It´s also creative time and travelling, smelling flowers, being happy with myself. Happiness is a good book, a cup of coffee. It´s all those things that come from the inside! I really like this sentiment ALOT!
Discover What’s Possible
One of my favorite things about Simple Expressions is seeing how beautifully they pair with our Paper Goods. Whether it’s an ATC Pack, Card Fronts Pack, Pocket Backdrops, Collage Sheets, or Ephemera Cut-Out Sheets, combining them opens up so many creative possibilities while making it easy to create layered, artful projects.
When you purchase any Simple Expressions stamp set, you can add one Paper Goods pack to your order for 40% off. It’s a wonderful opportunity to discover just how effortlessly these collections work together – and perhaps even find your next favorite creative pairing.
Happy crafting,
xxx, Sanna