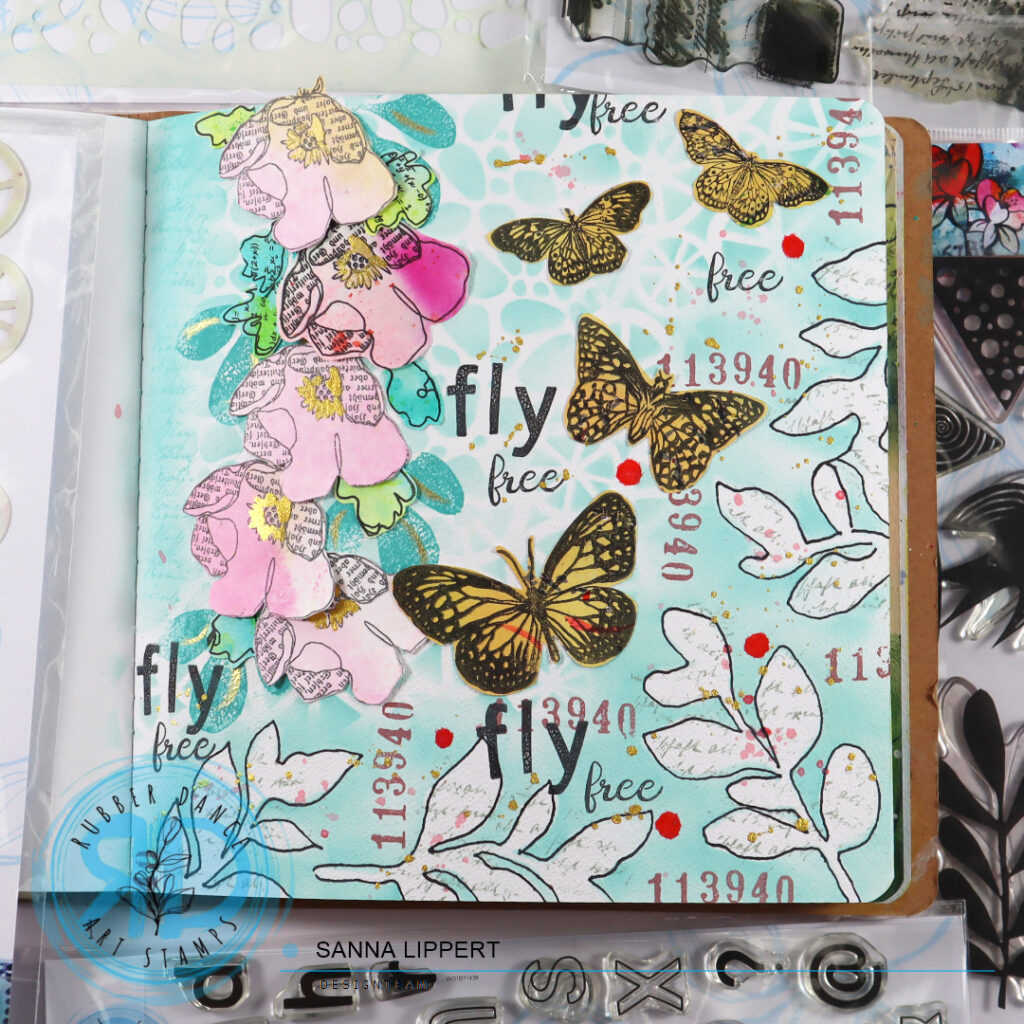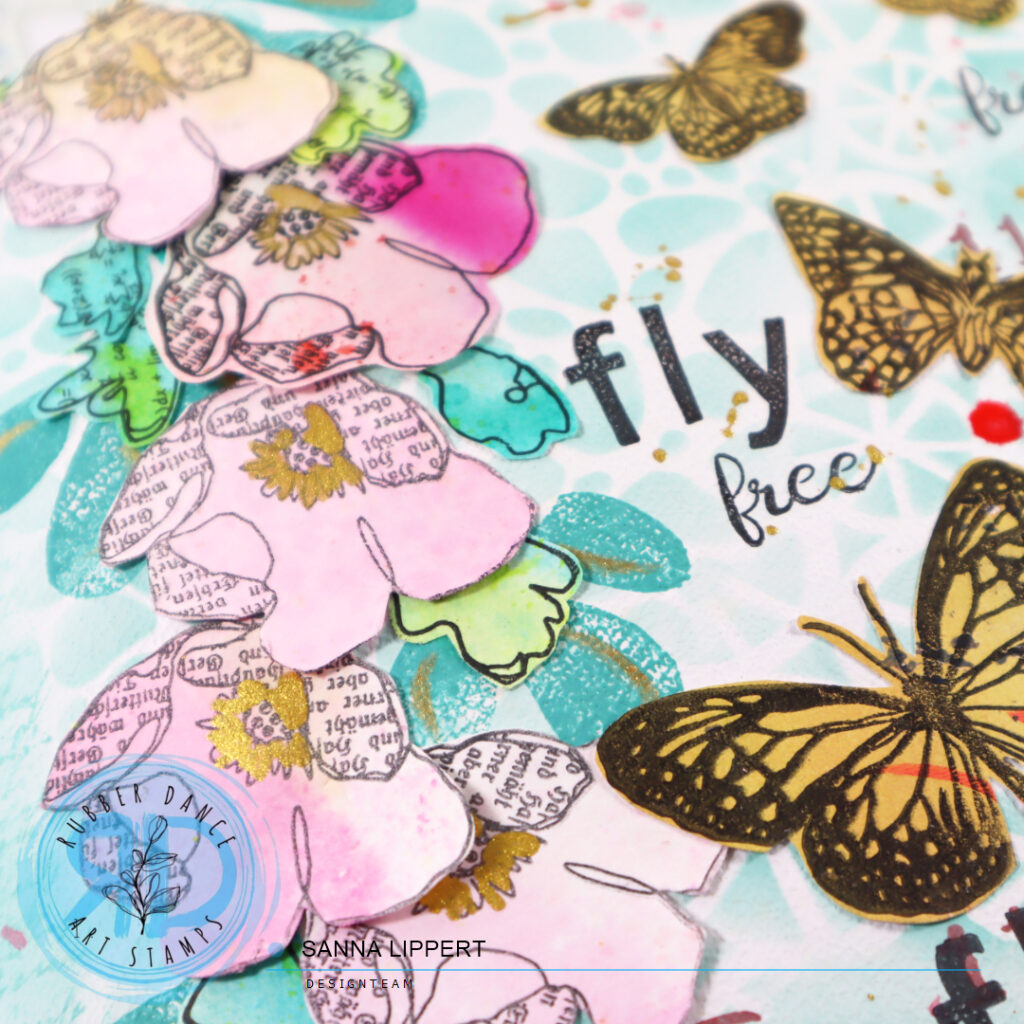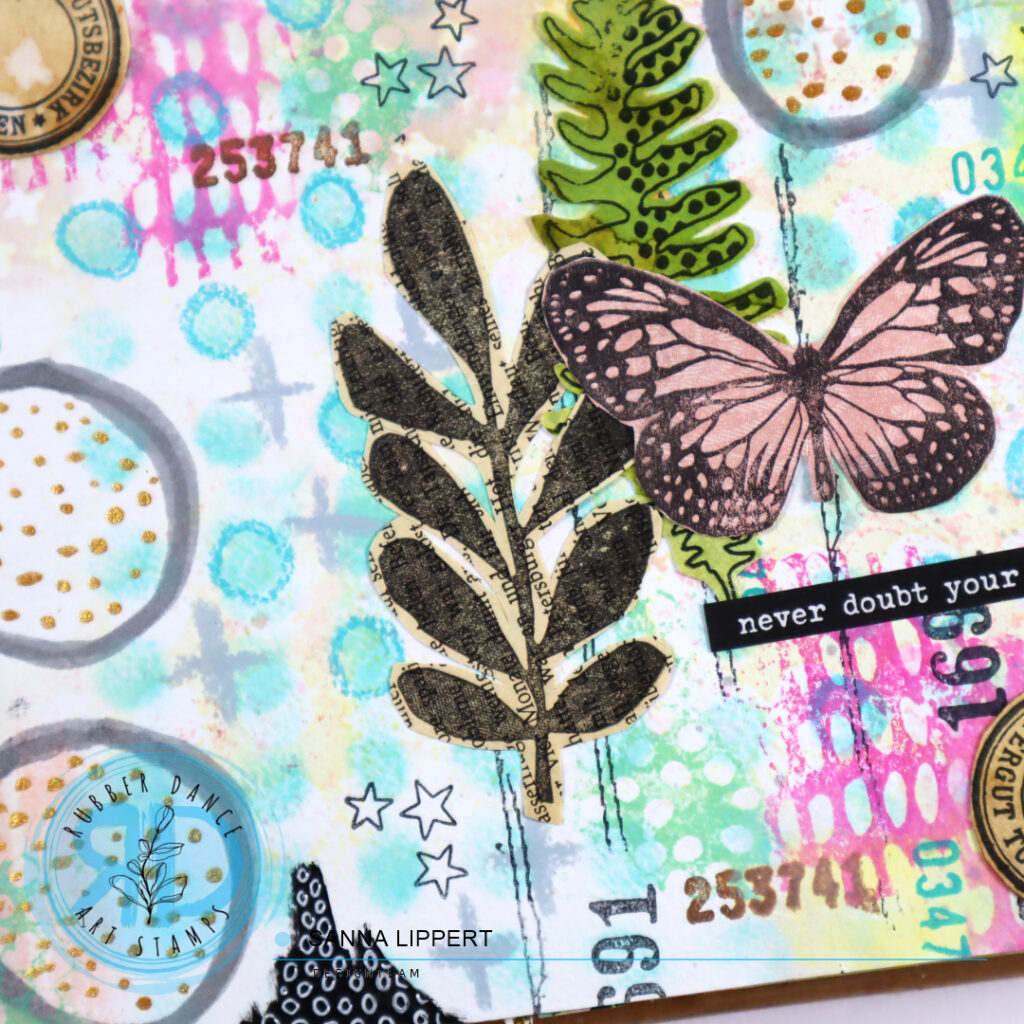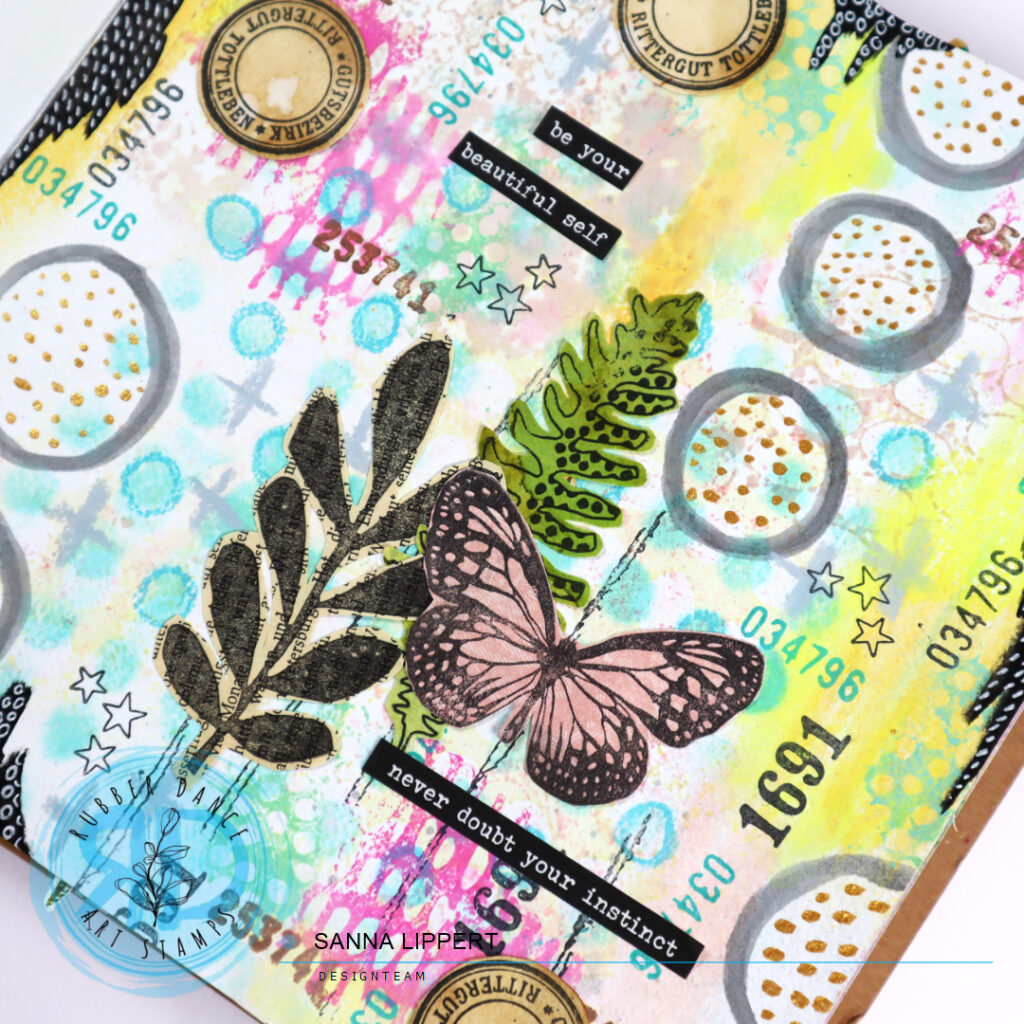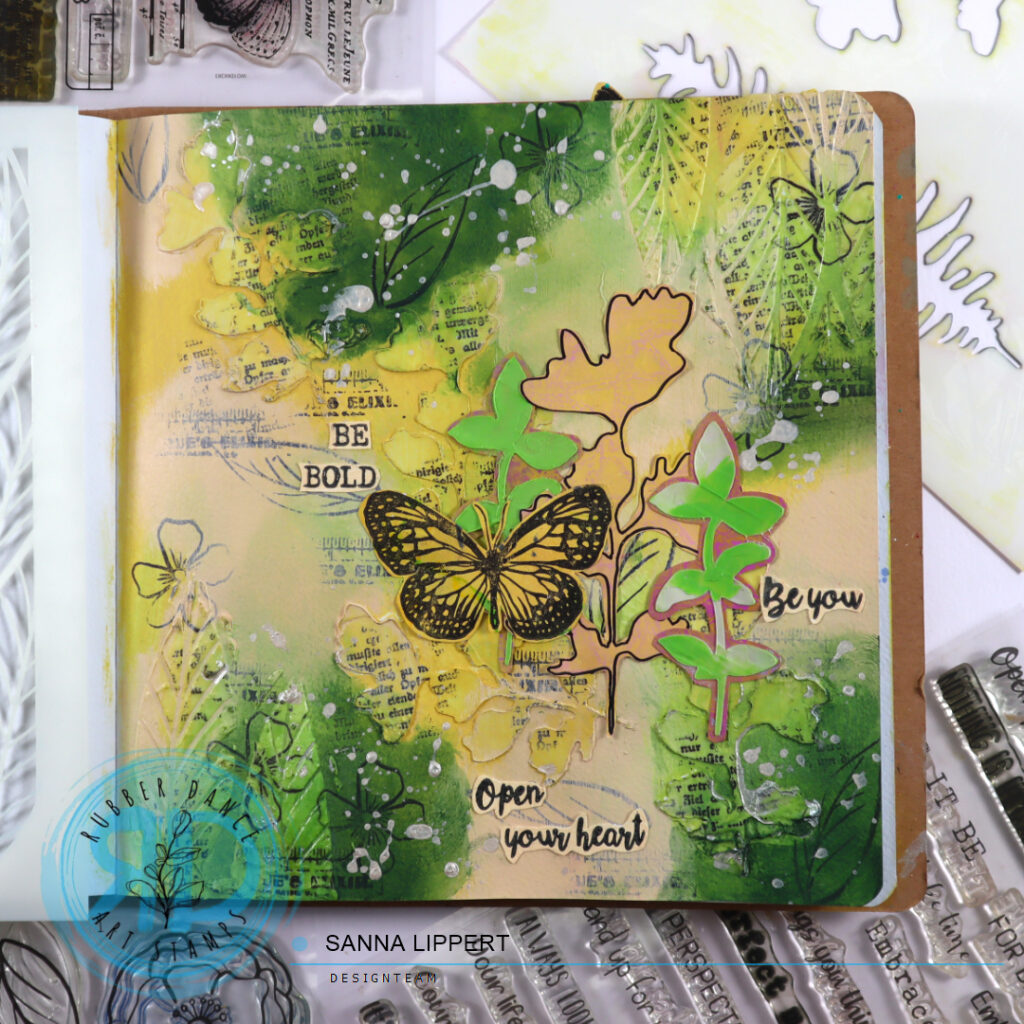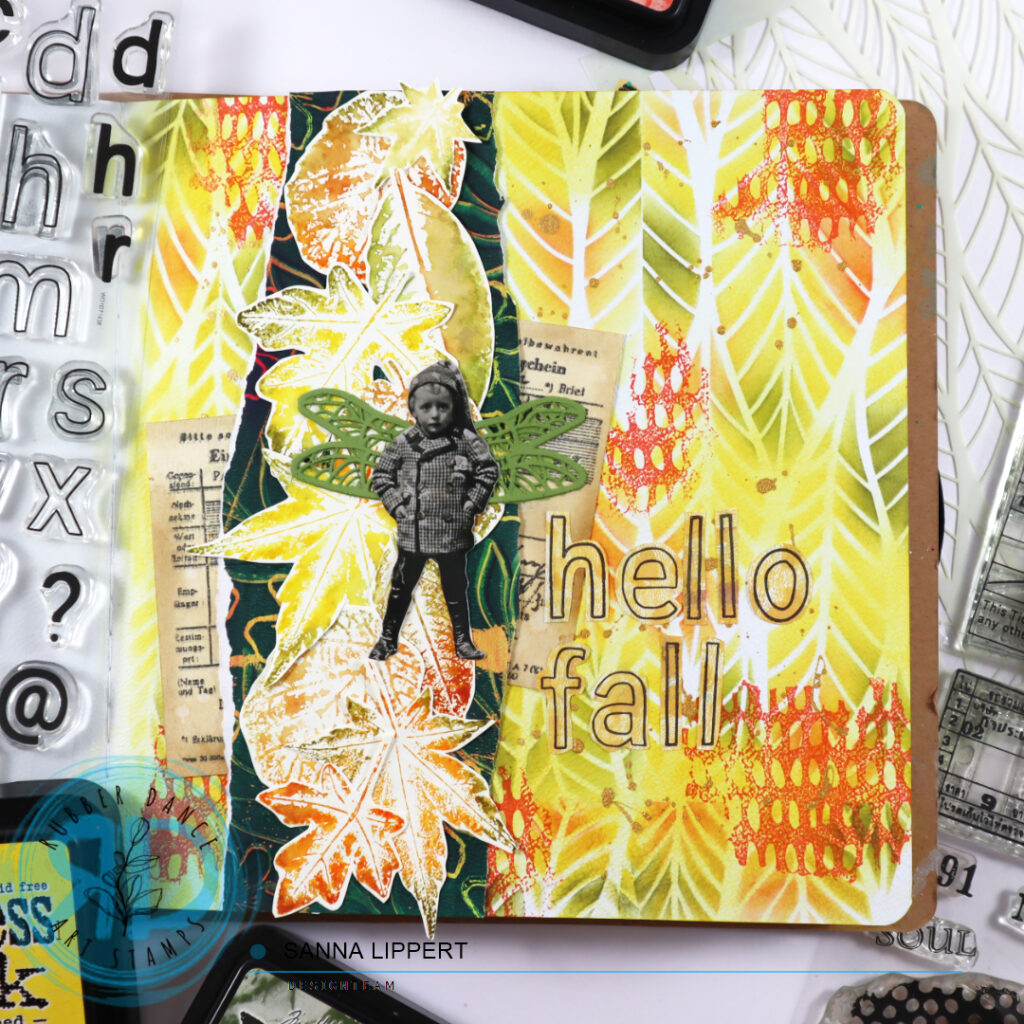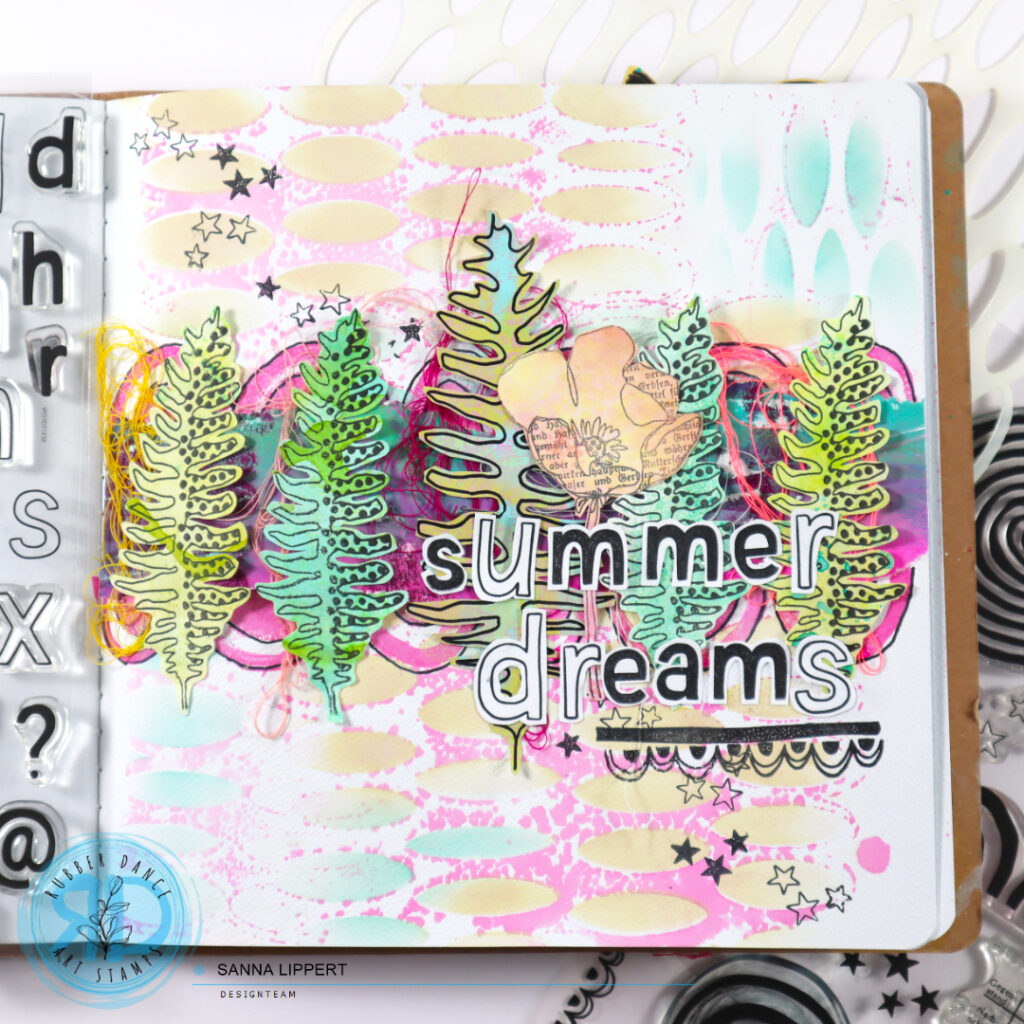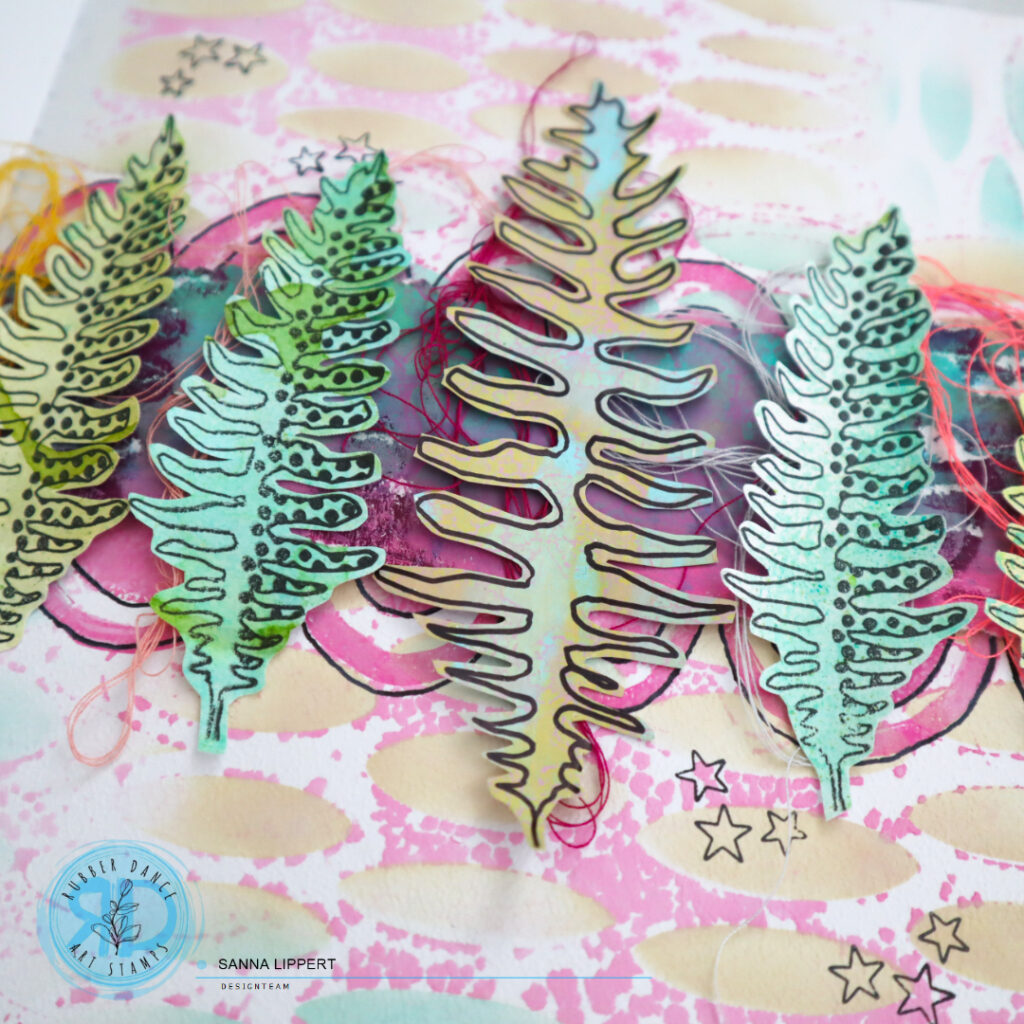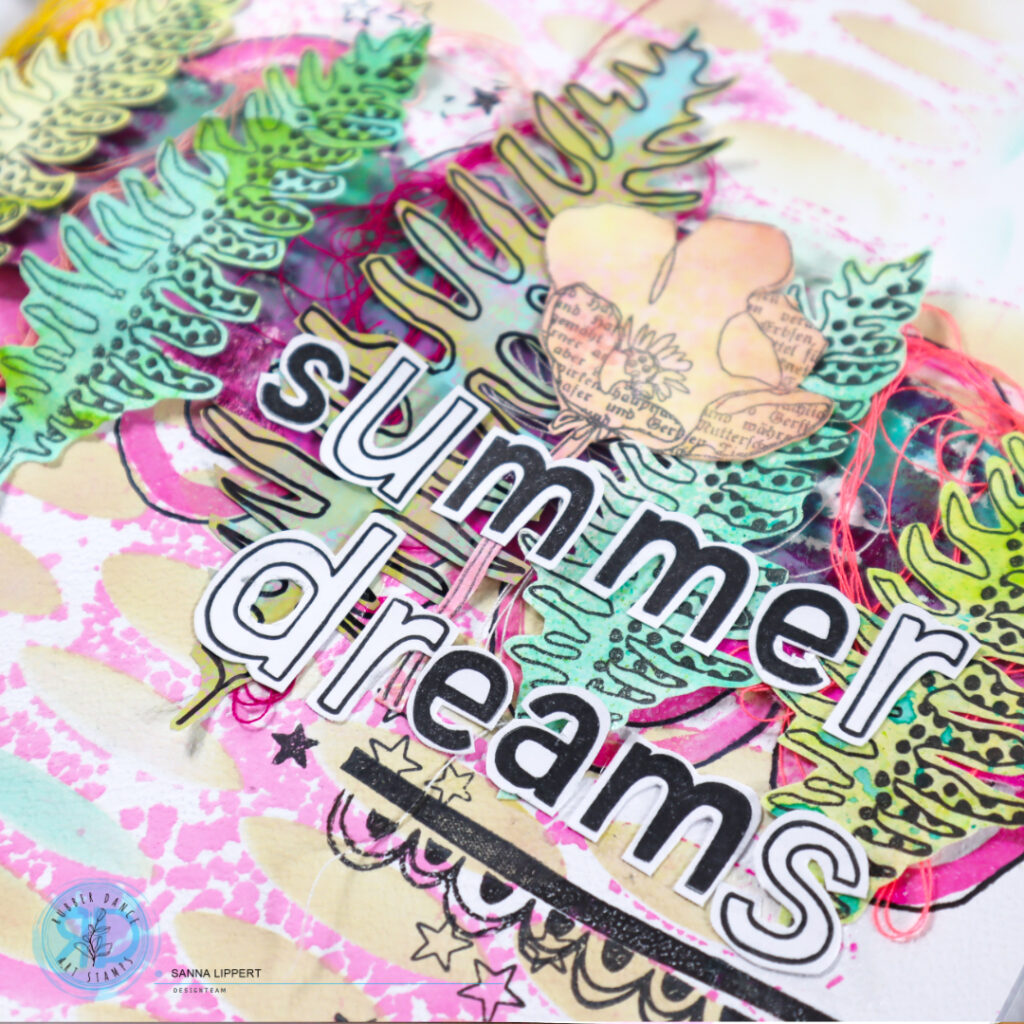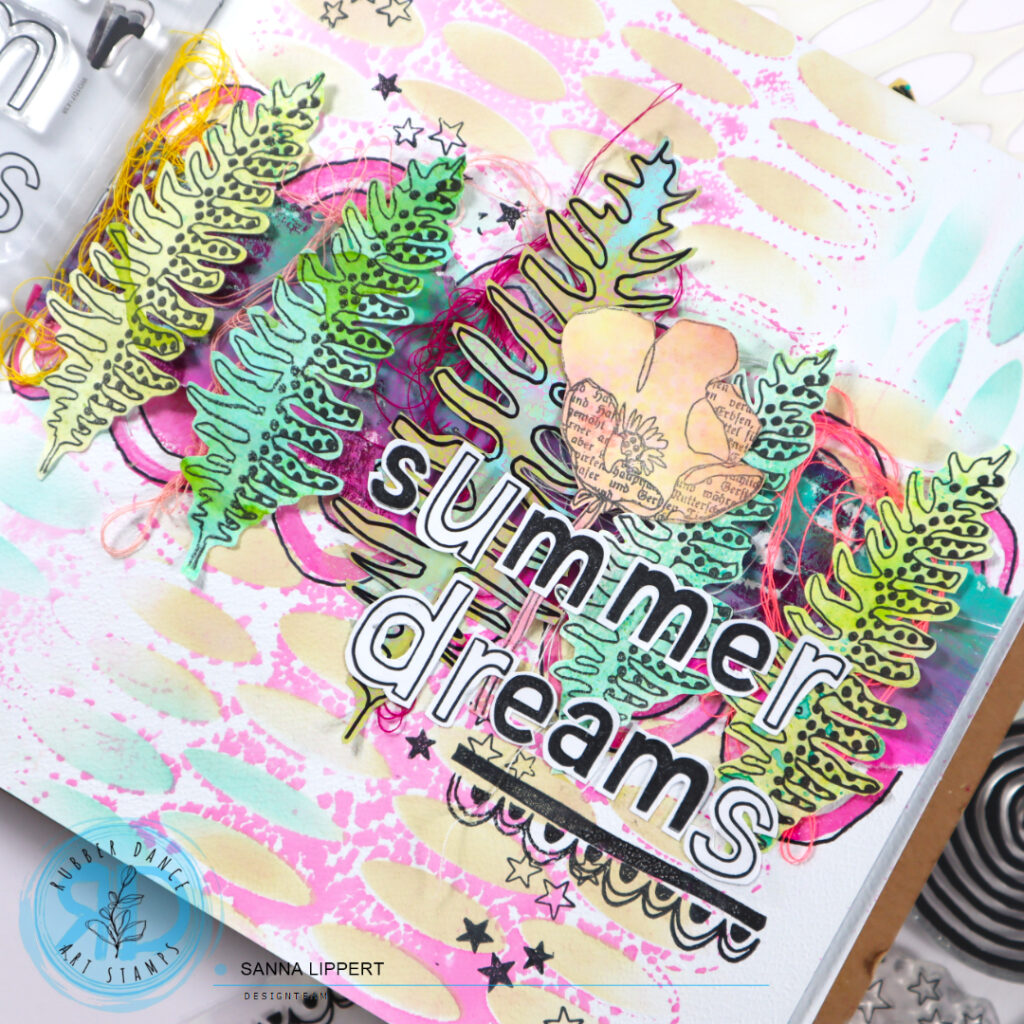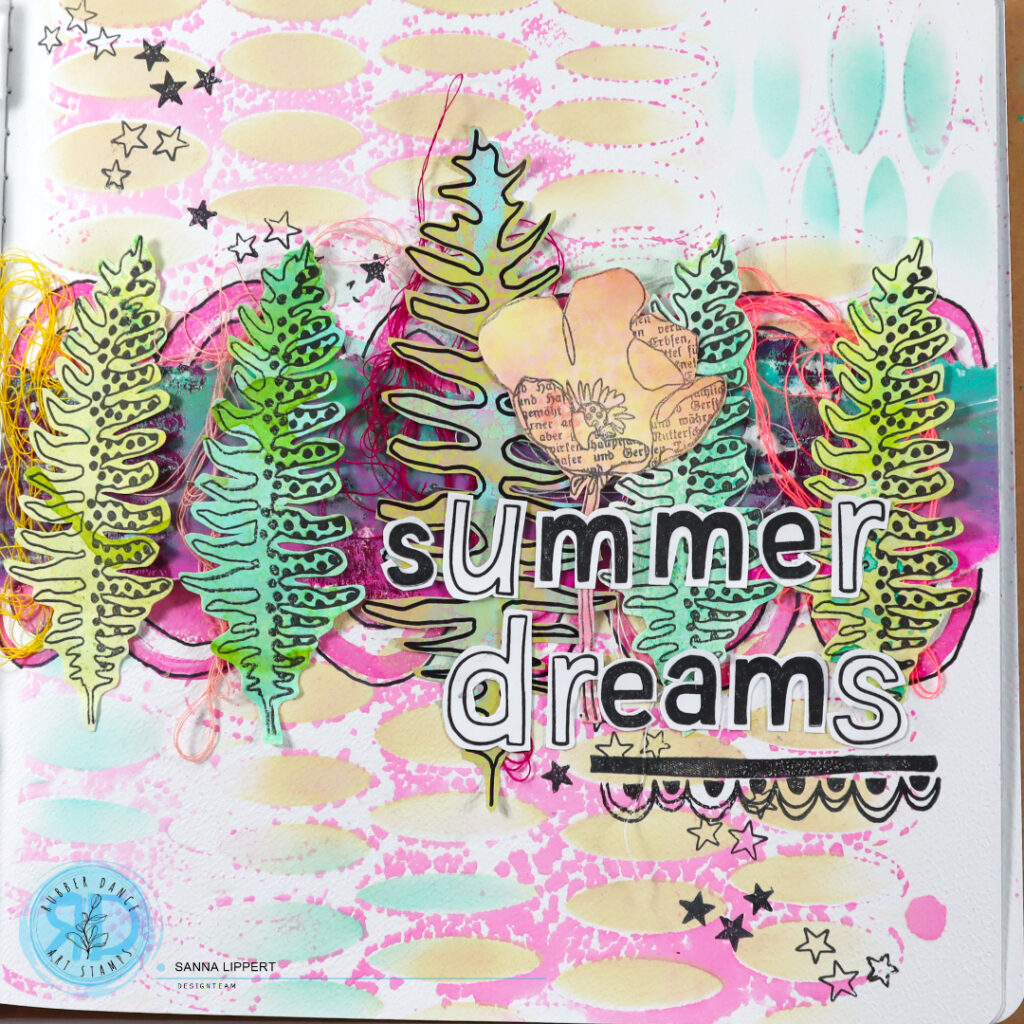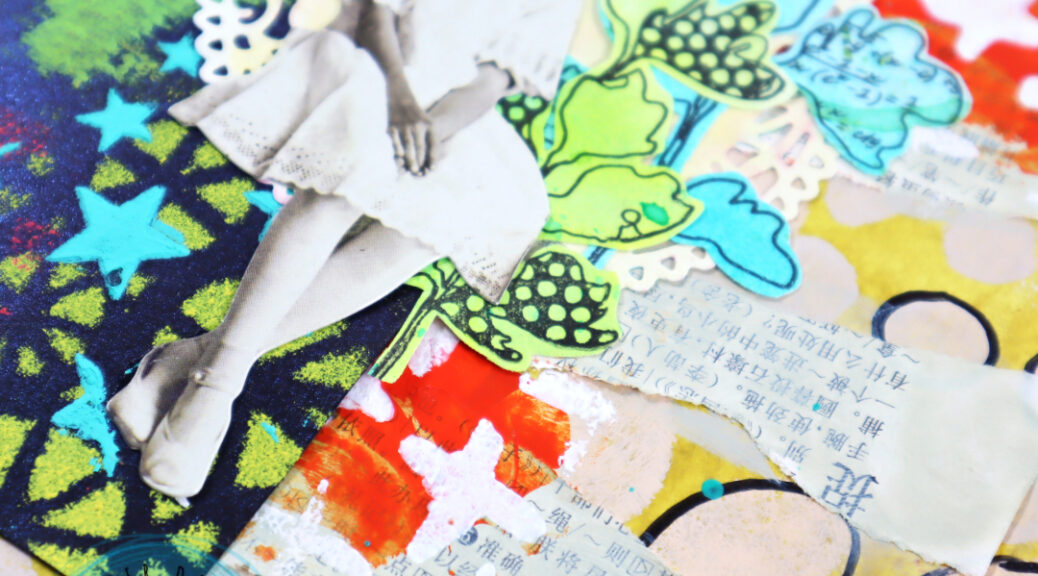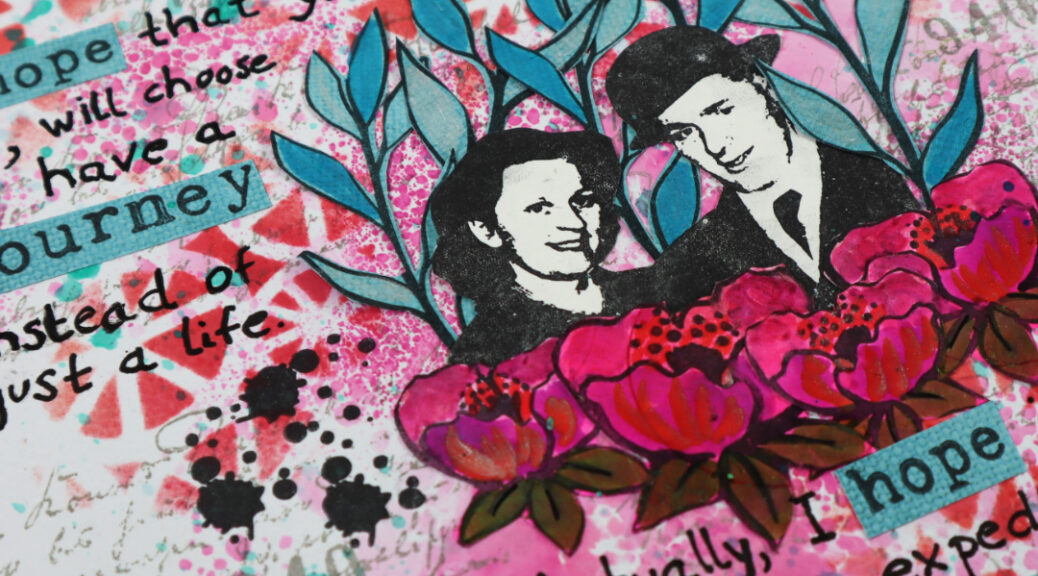
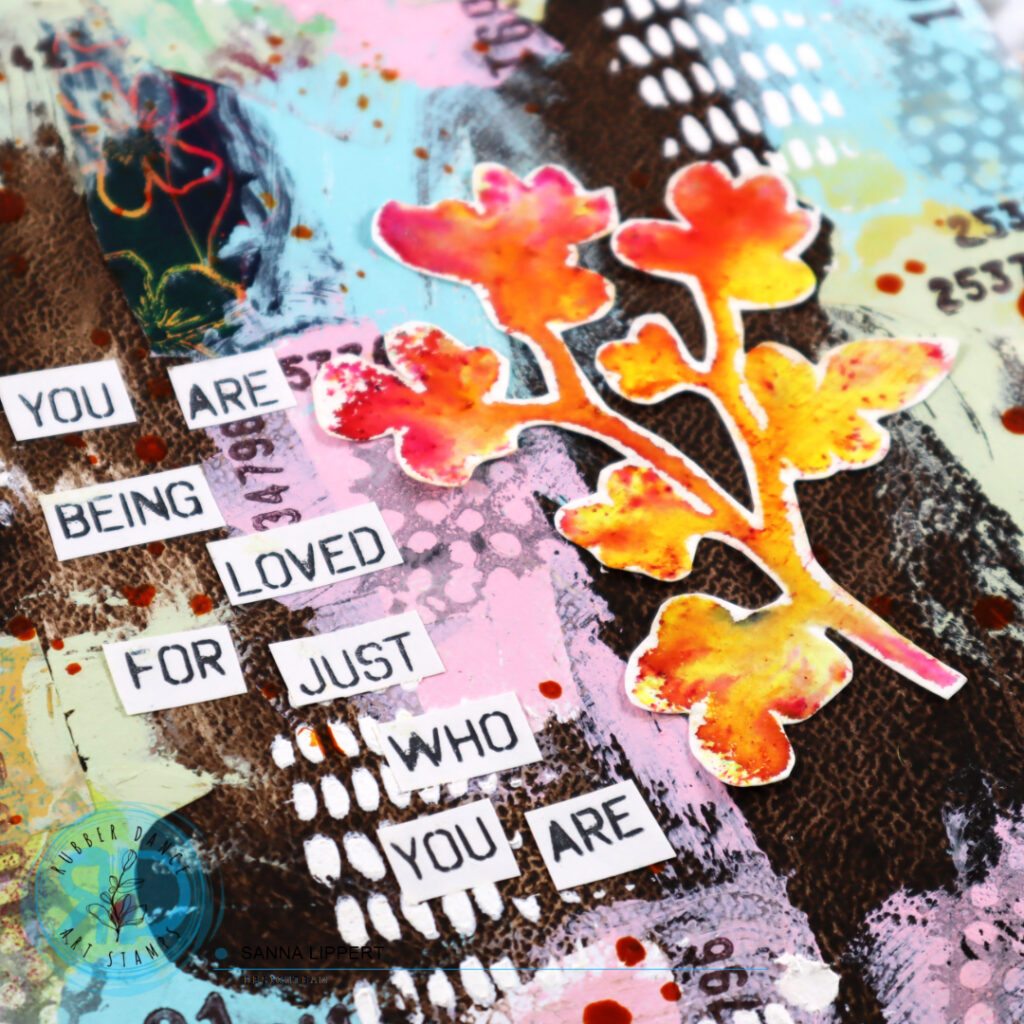
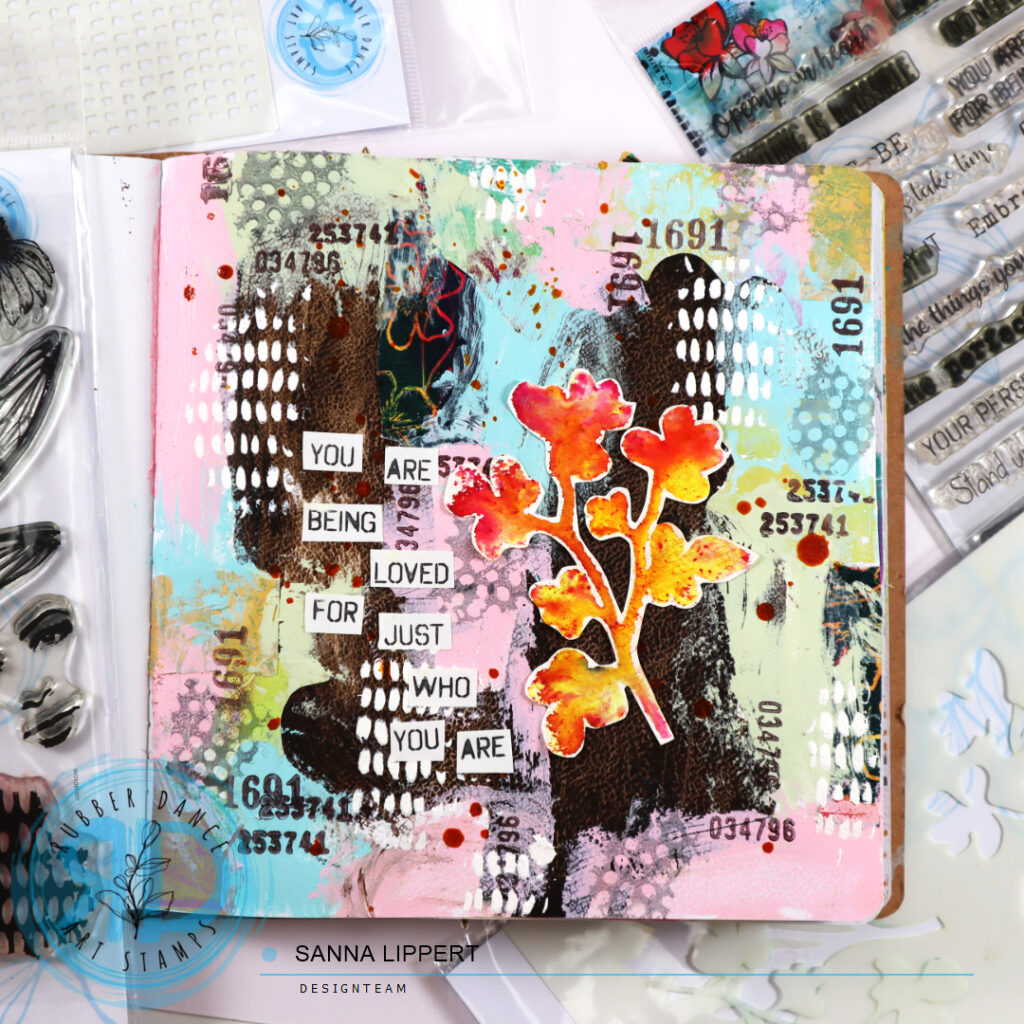
Hello, it´s Sanna here today with another Art Journal page share. For this project I used the Mix It Up 7 and the Mixed Sentiments 1 stamp sets with the Mini Marks 1 and the Sketchy Leaves 7 stencils on this journal page.

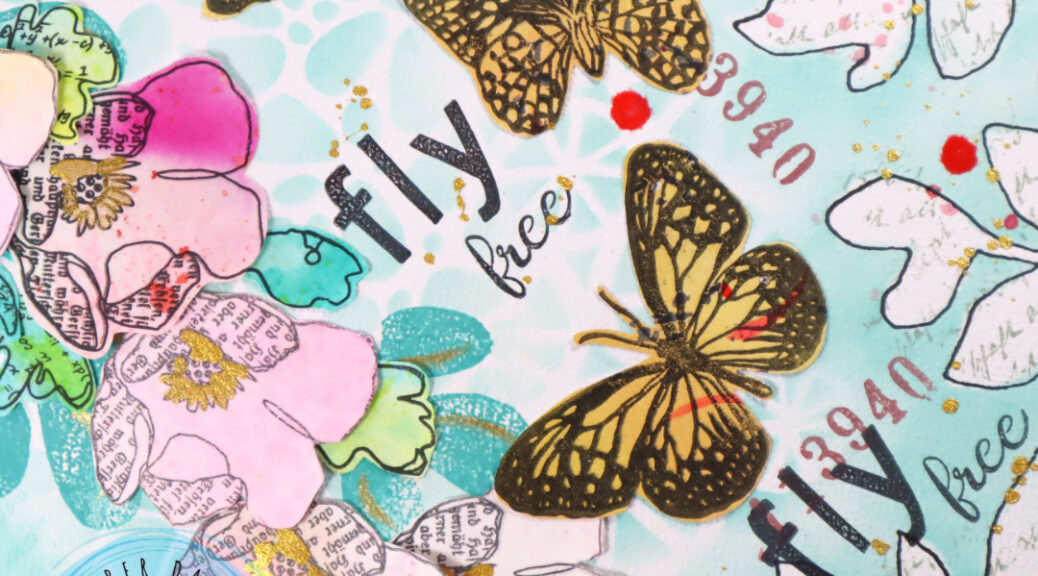
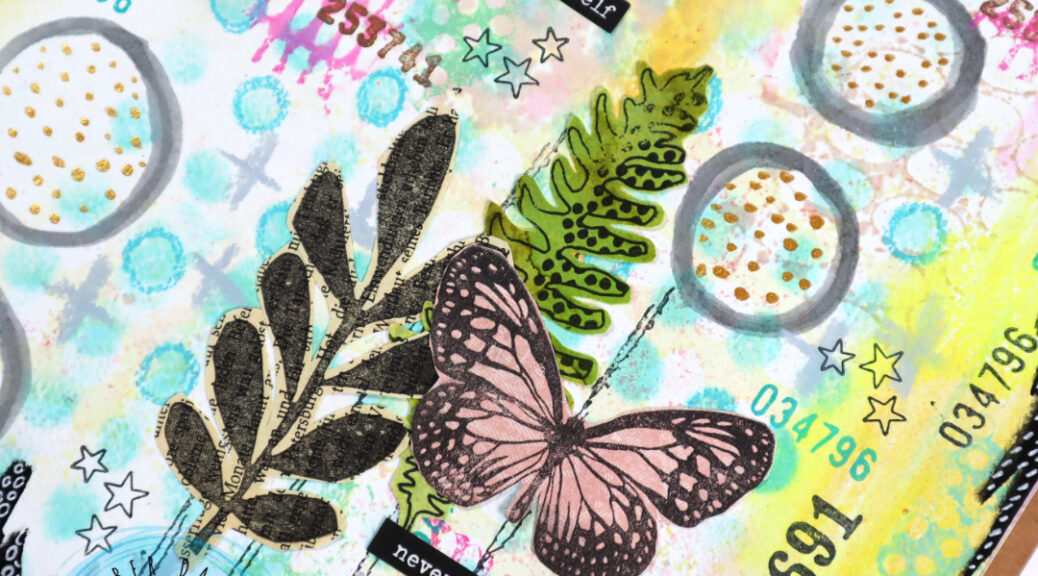
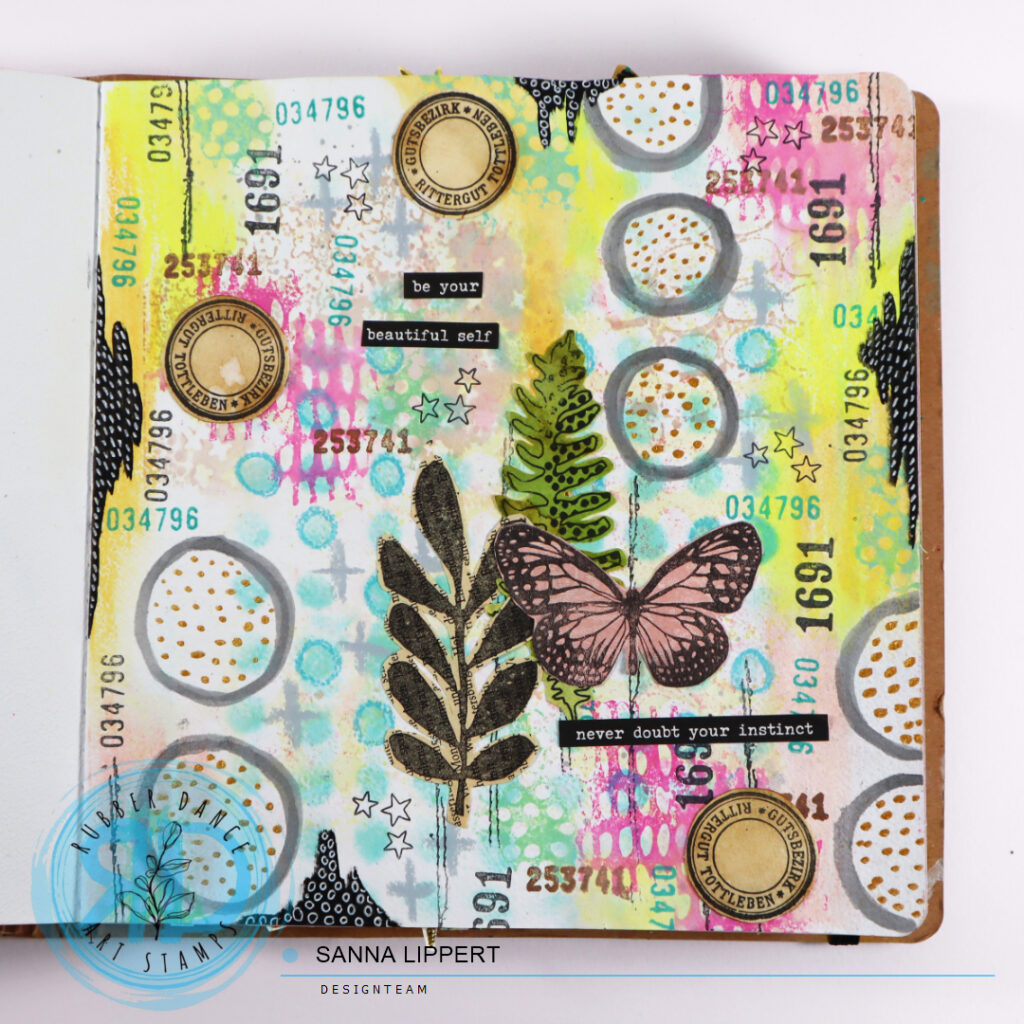
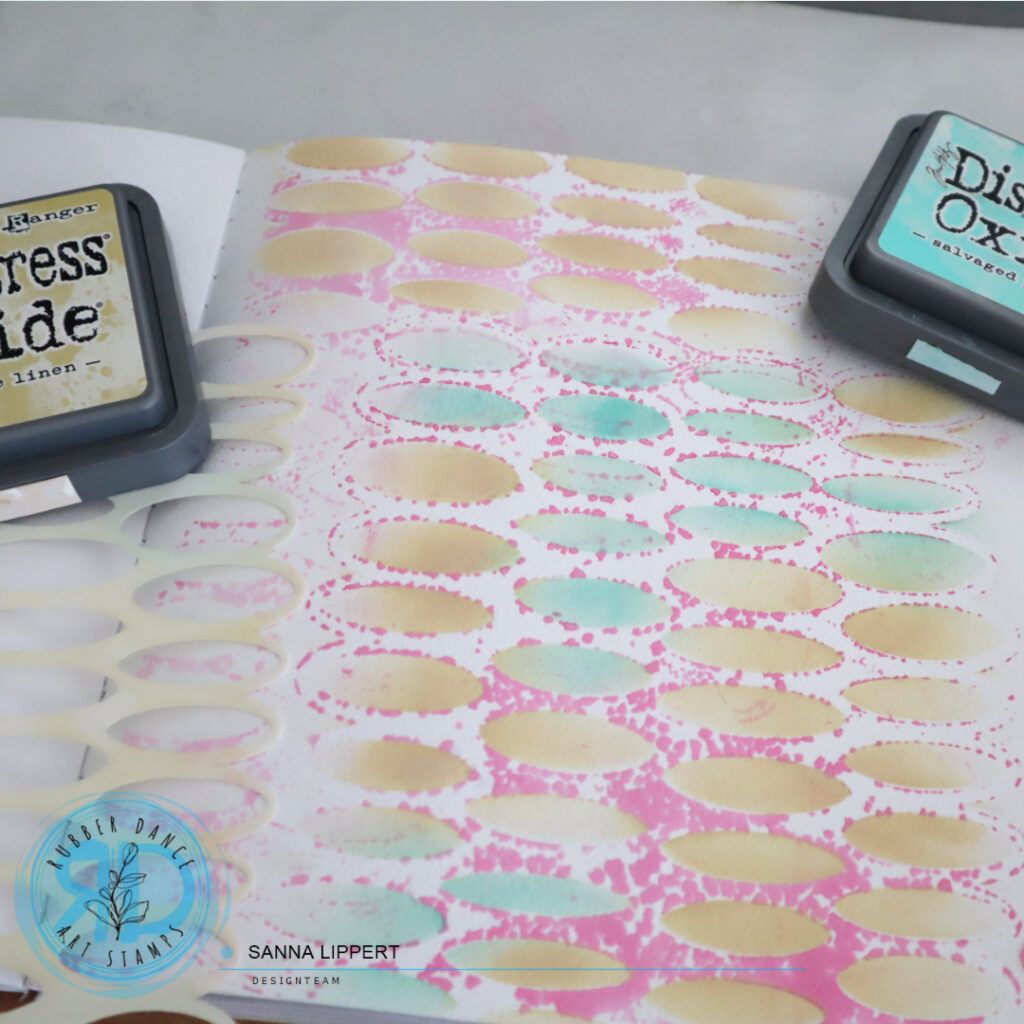
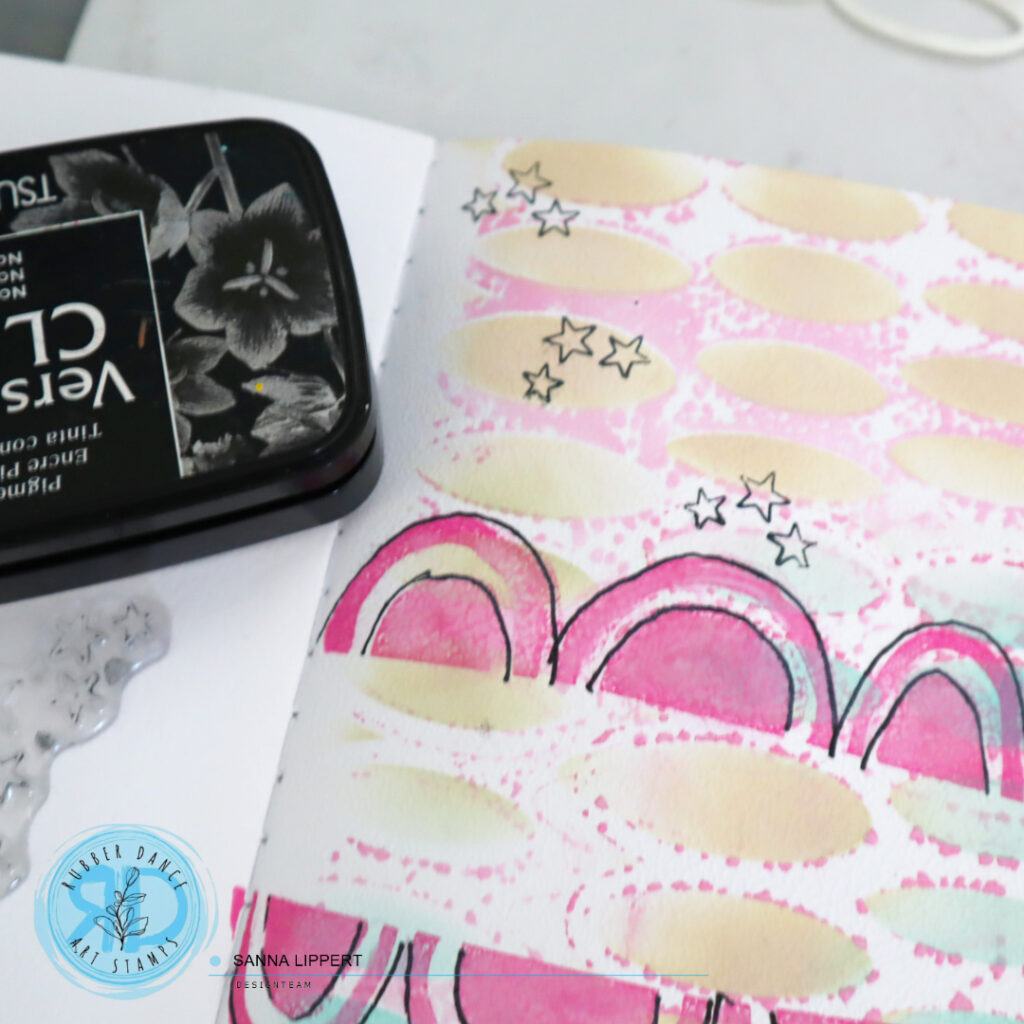
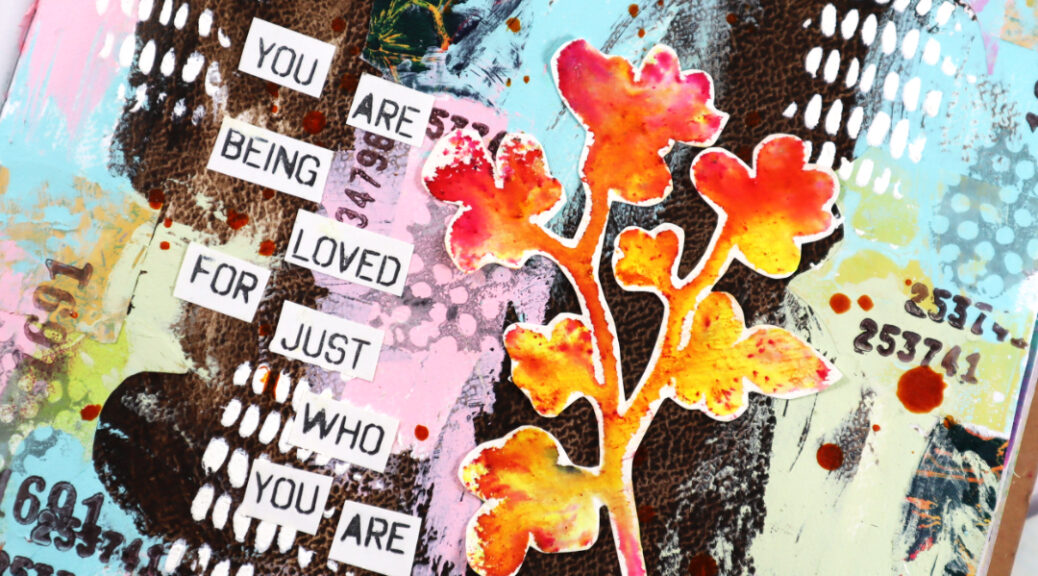
I started by applying the ground espresso Distress Paint randomly with a palette knife onto the page. Next I took some leftover collage paper bits and adhered them around the edges to the page. After that I applied layers of Distress Paint in antique linen, spun sugar and tumbled glass to the background. Some parts of the residue collage papers got cover with paint, some didn´t. After that I added some stamping using the Mix It Up 7 stamp set and grey and brown stamp inks and the number stamps.
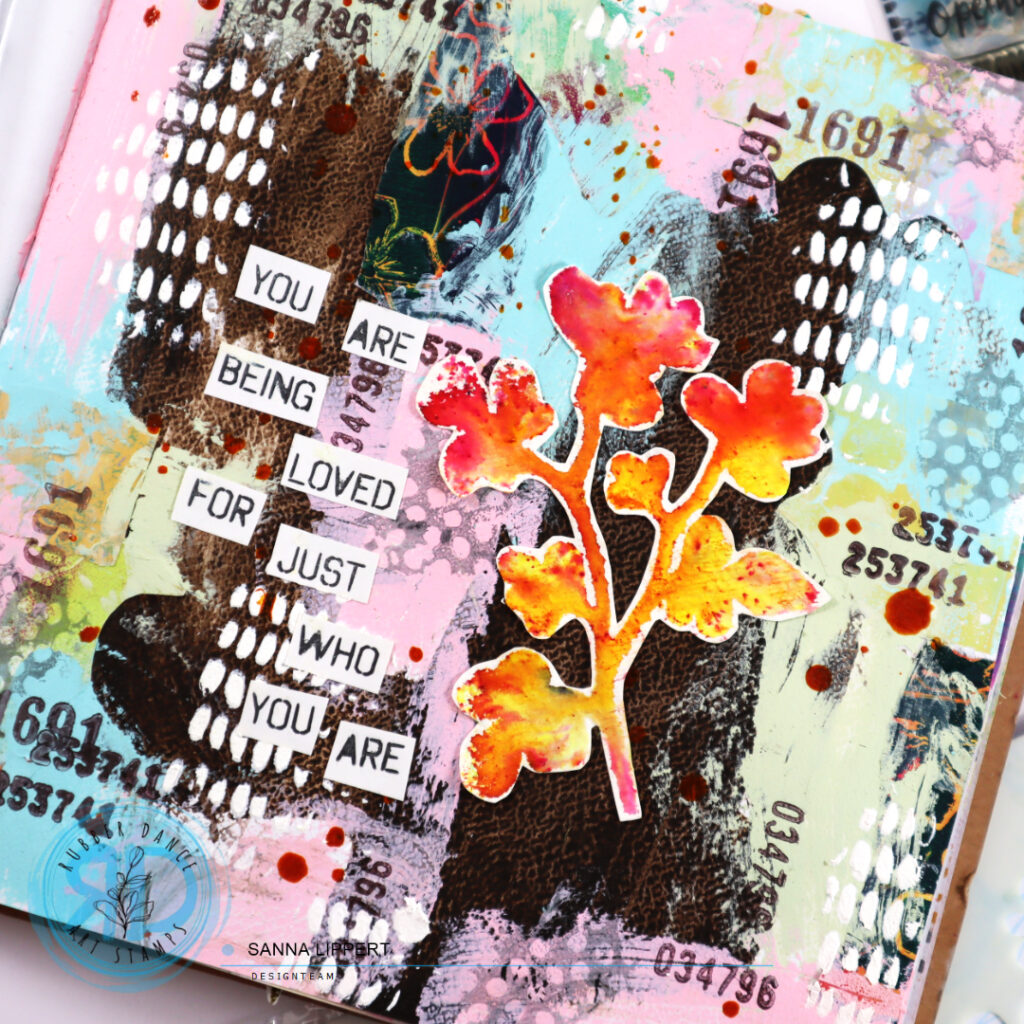
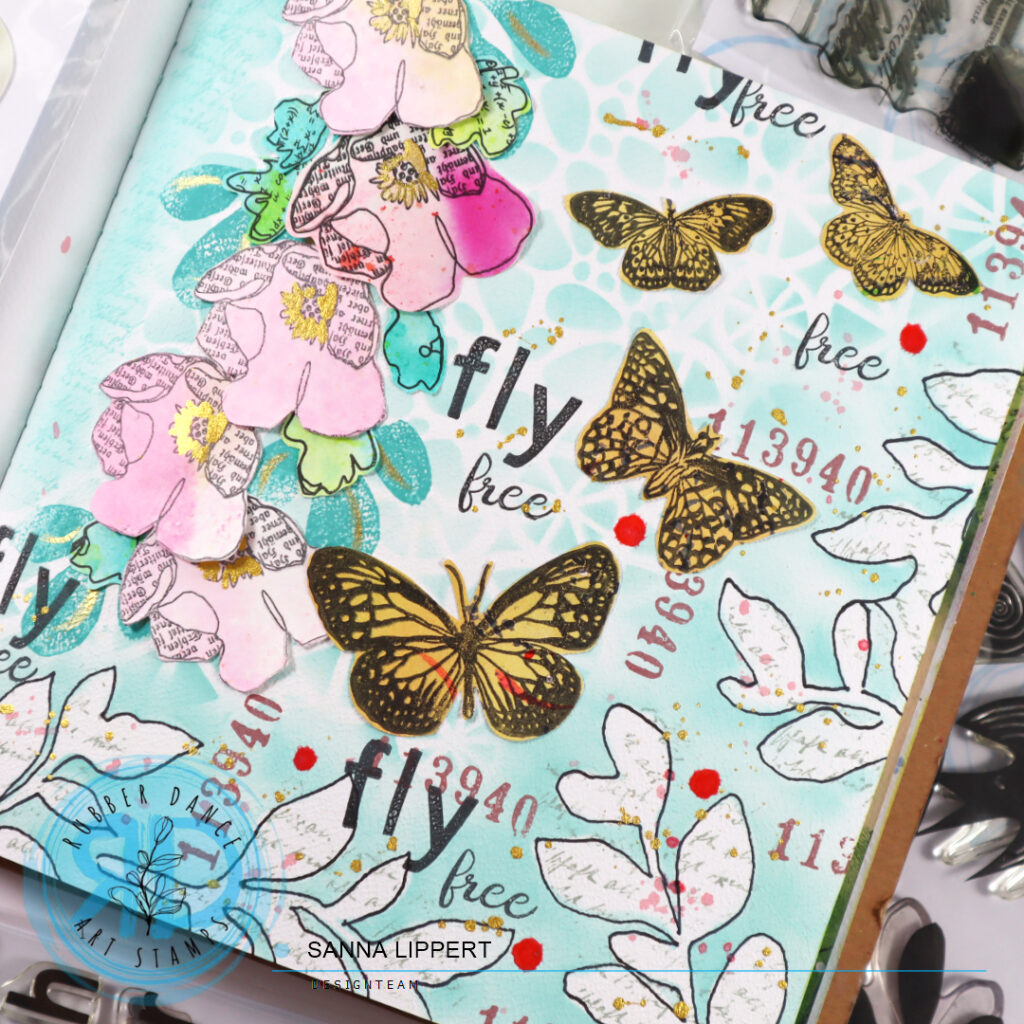
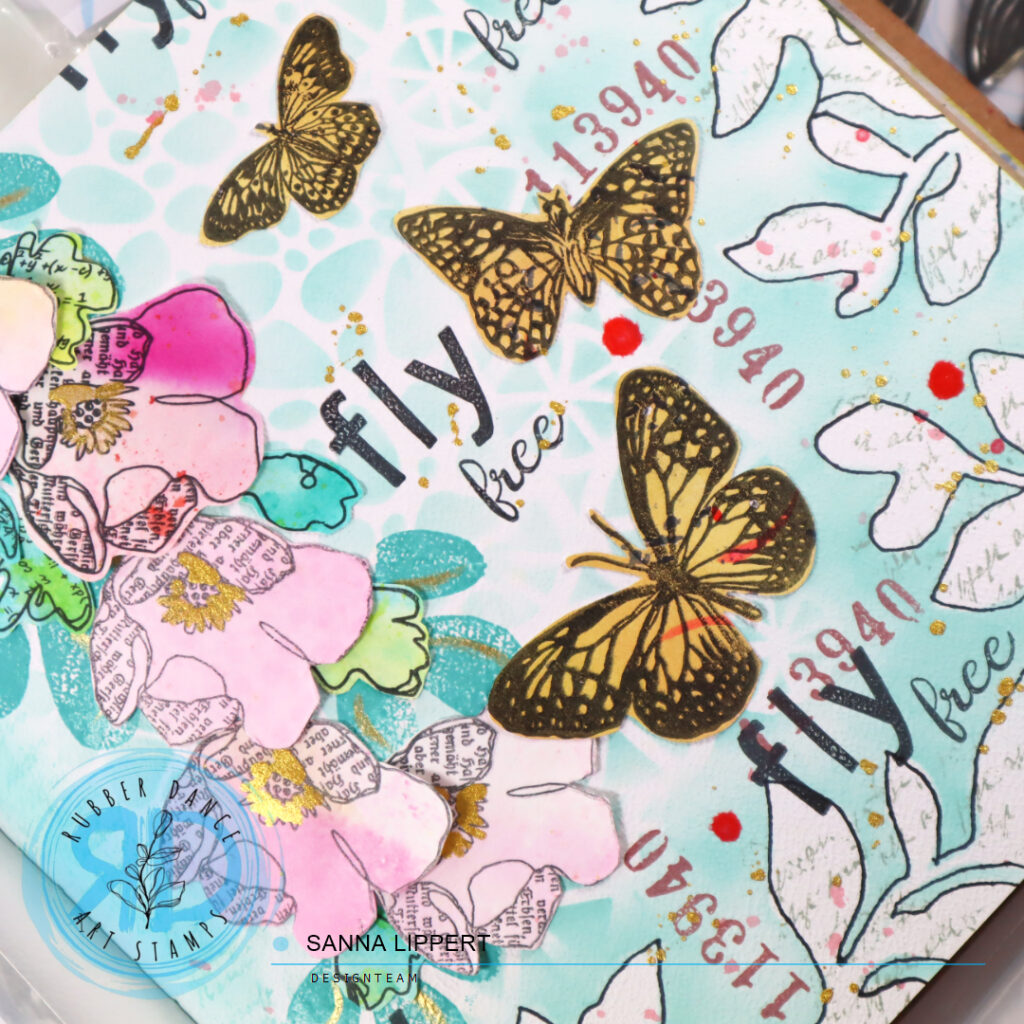
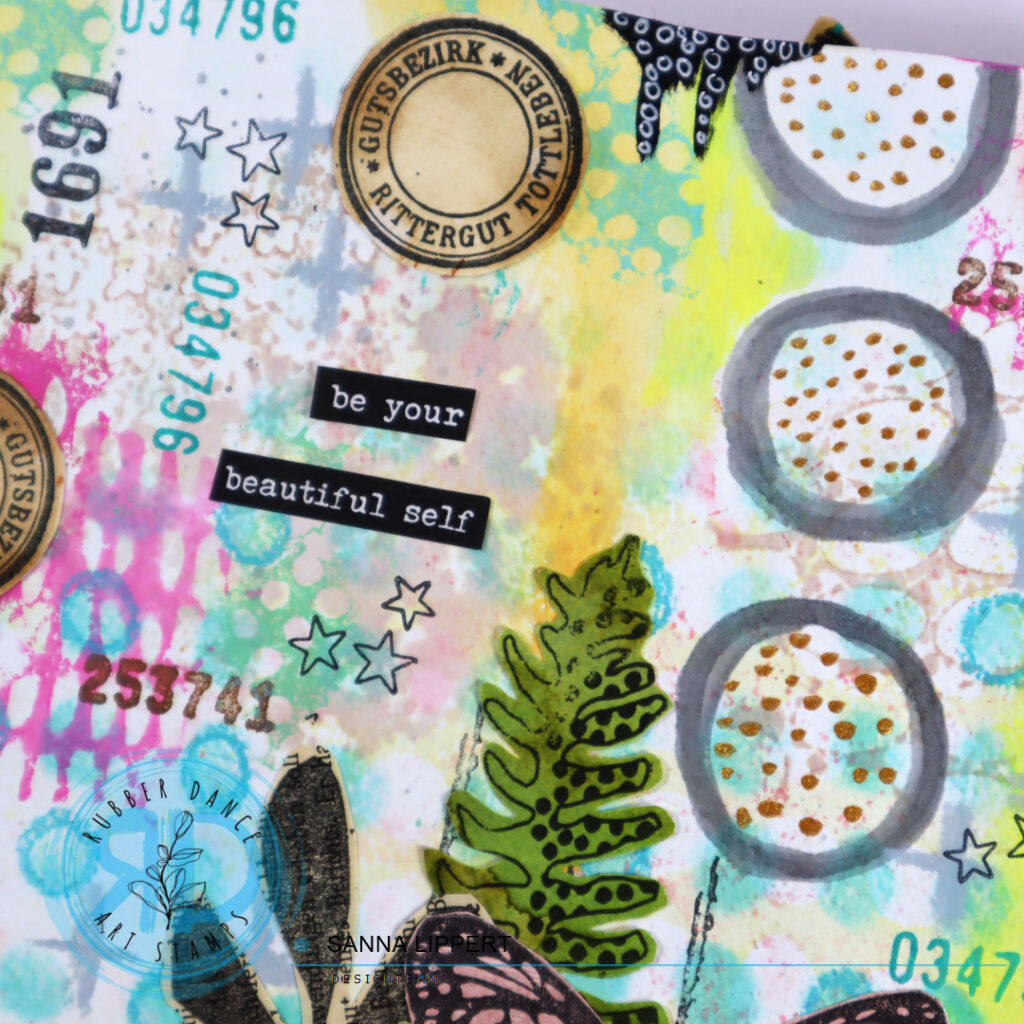
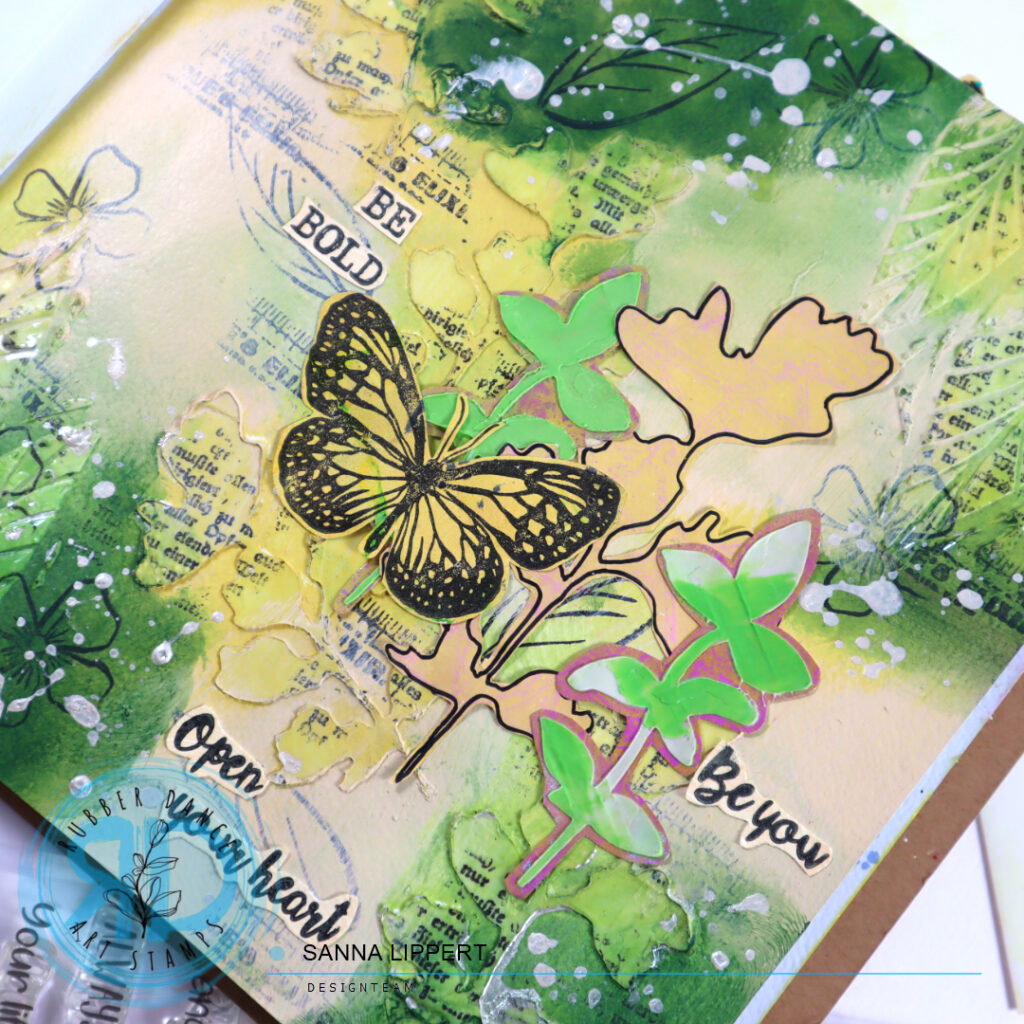
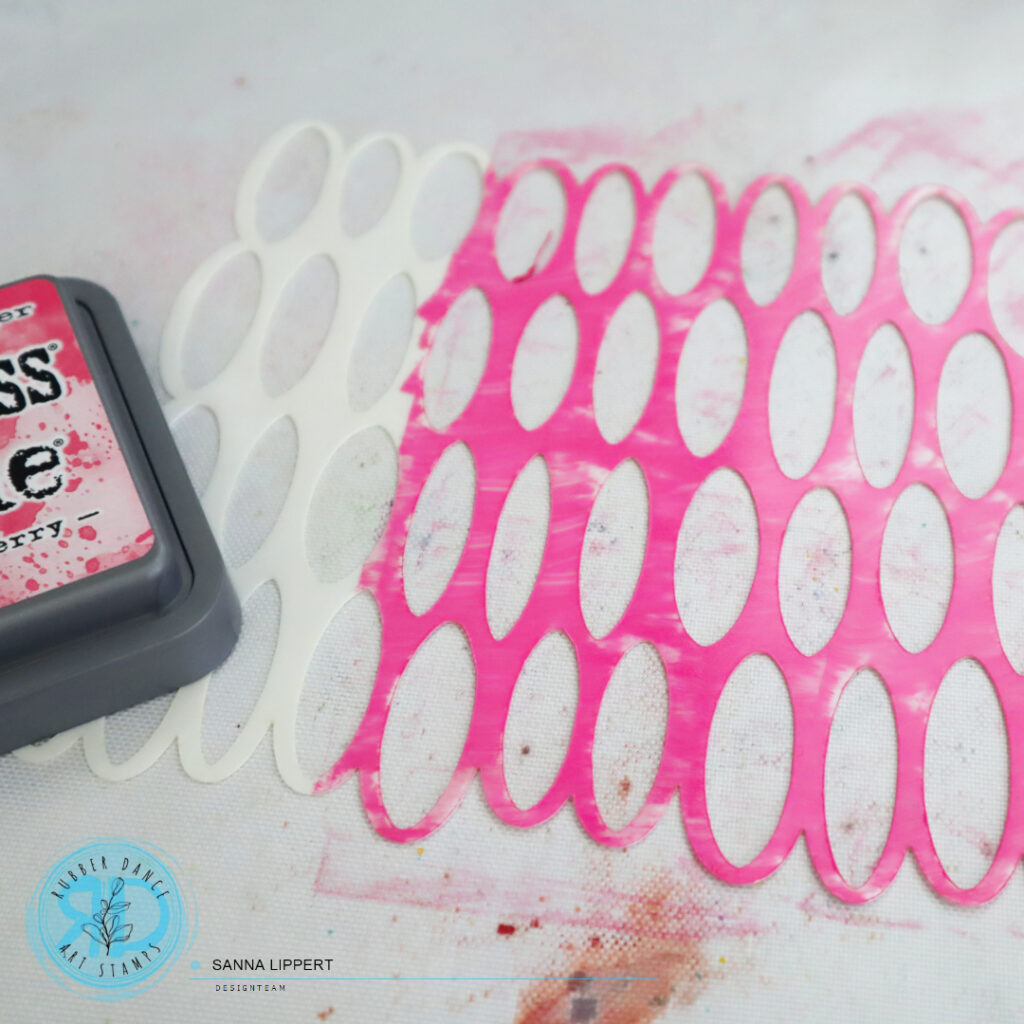
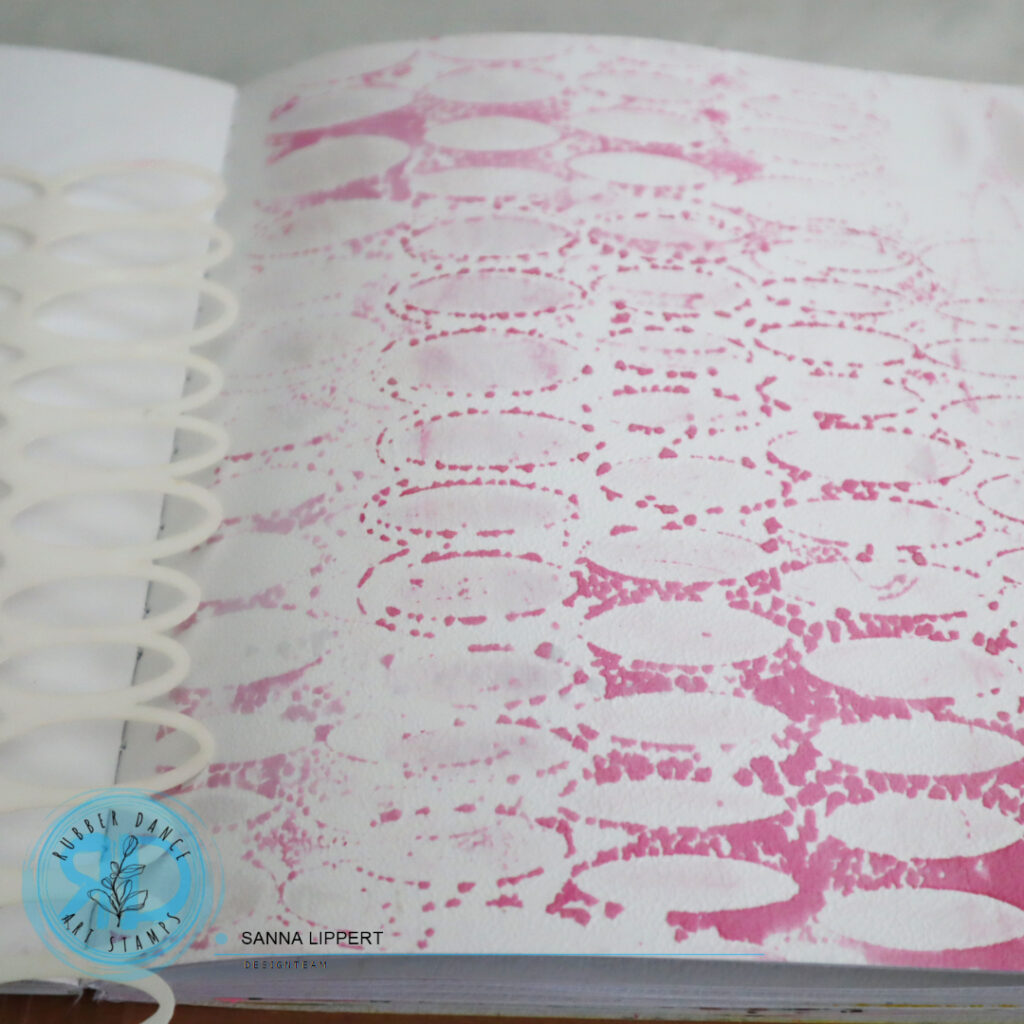
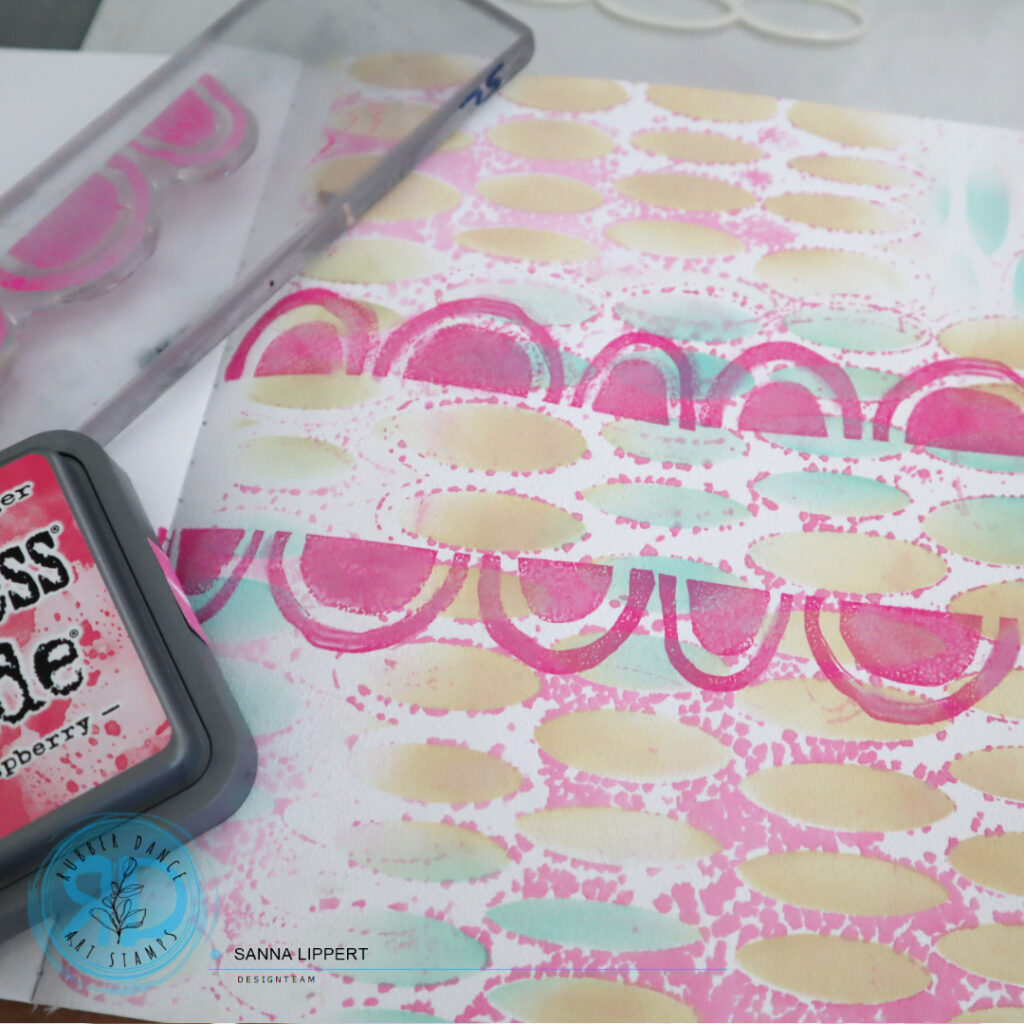
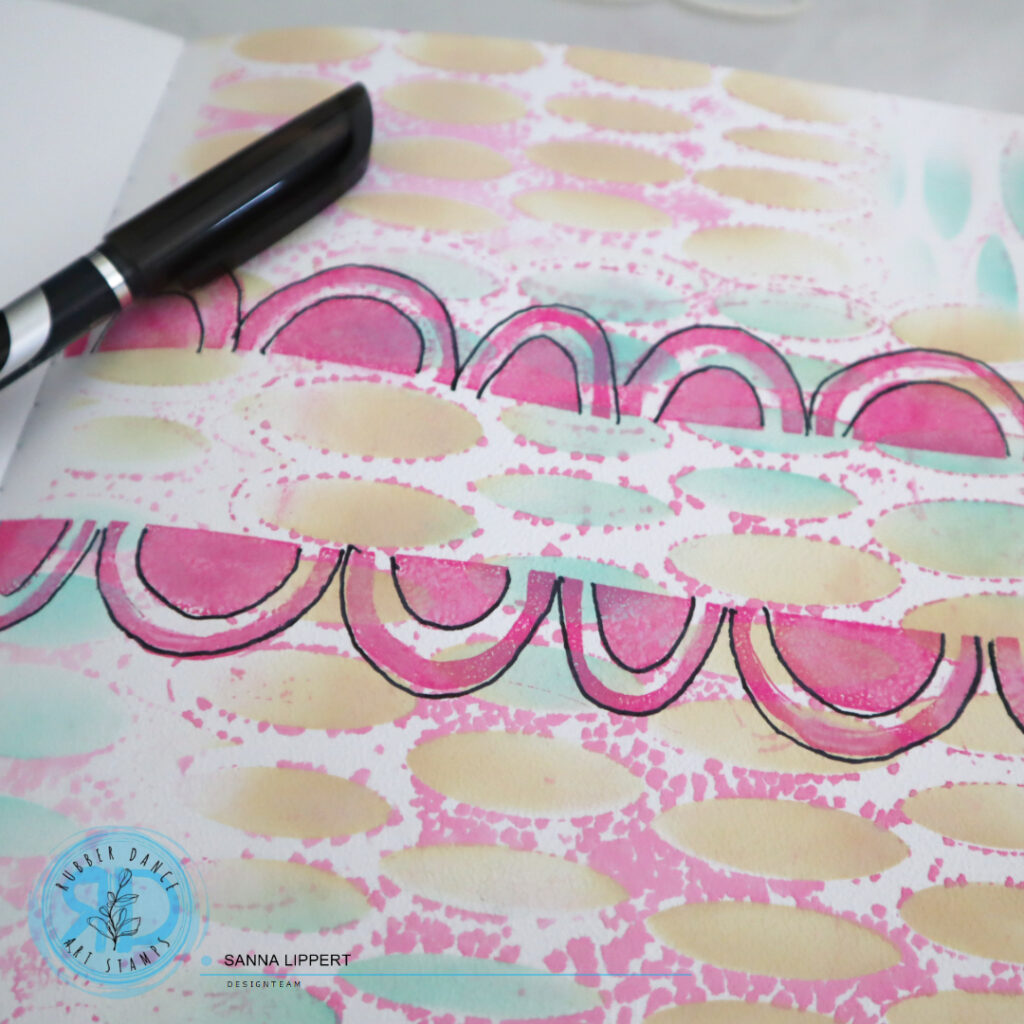
As my next layer I added some stamped “punchinella” pattern with a light grey stamp ink and the Mix It Up 7 stamp set here and there. As my next step I used the Mini Marks 1 stencil and Distress Paint picket fence to add some stenciling to the page. My paint is a bit older and thicker already, so it works great as texture paste here.
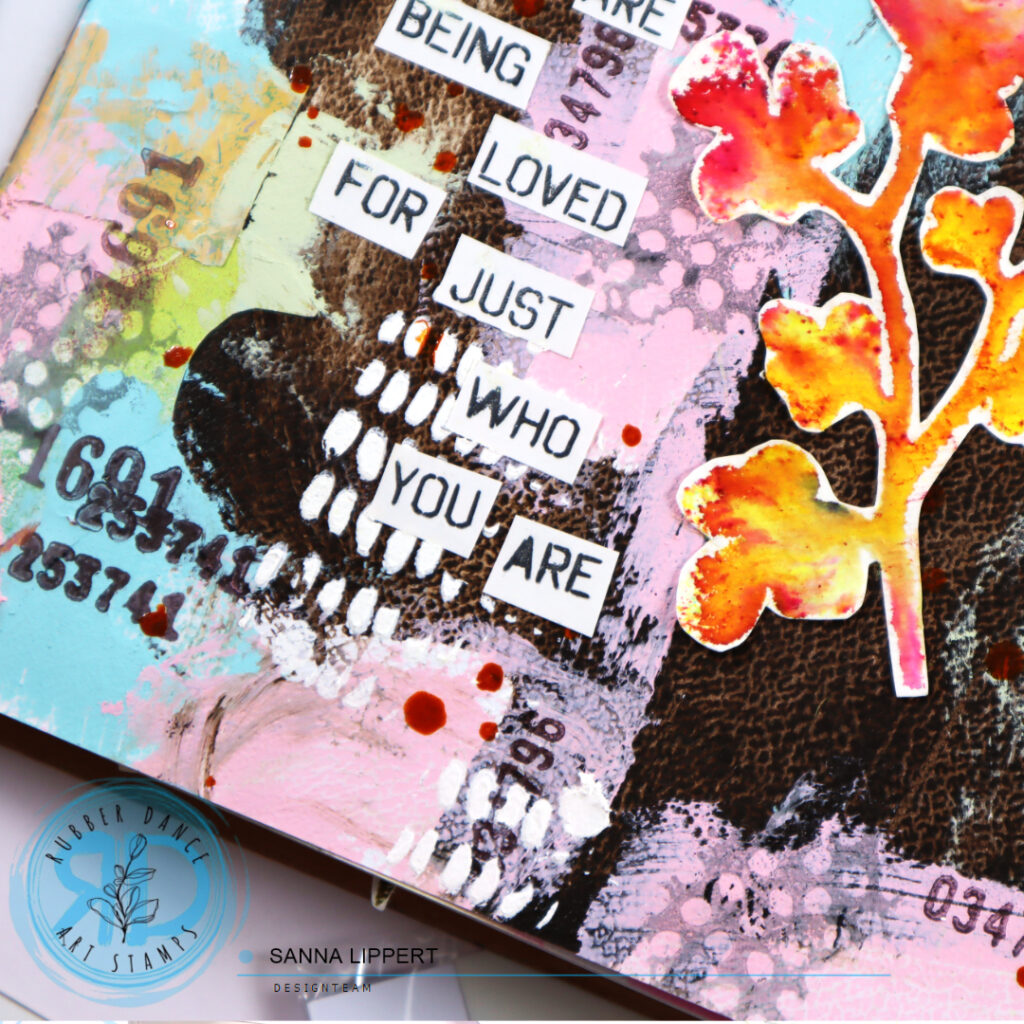
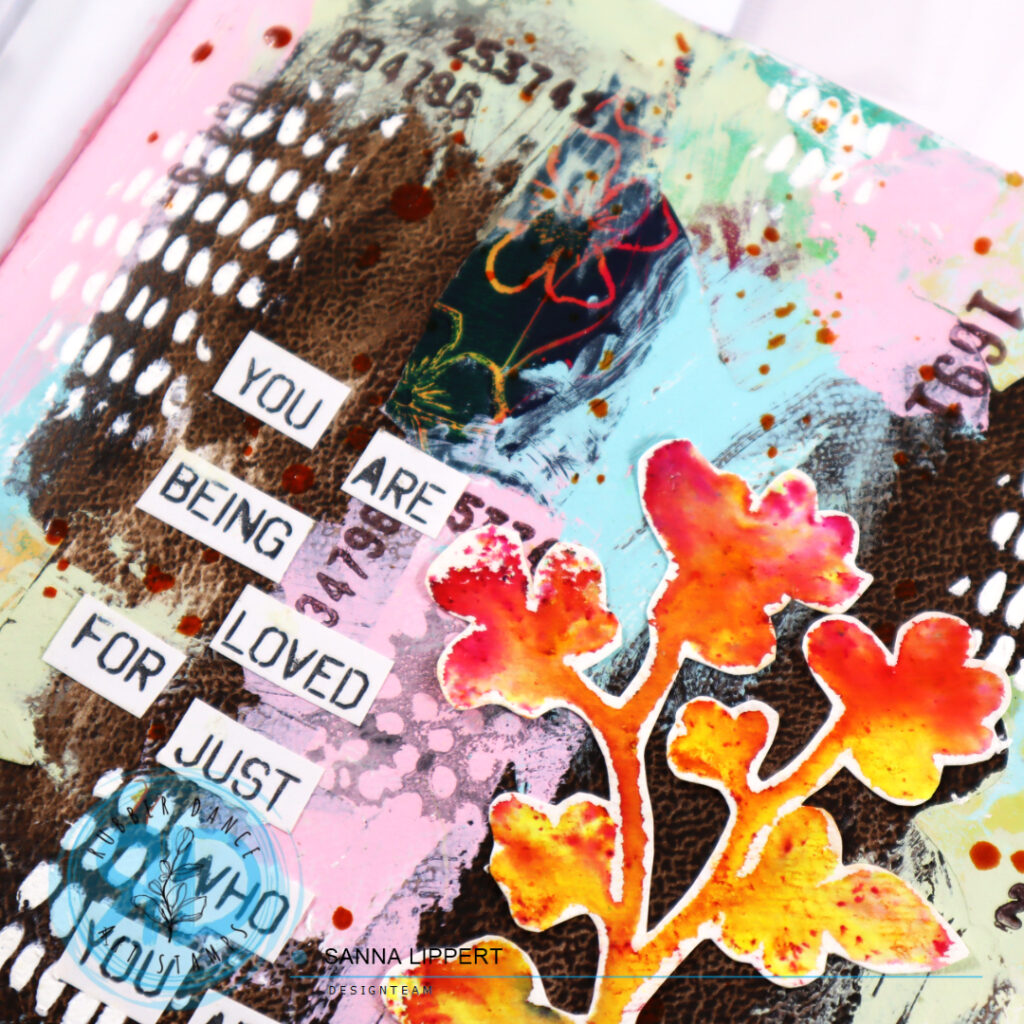
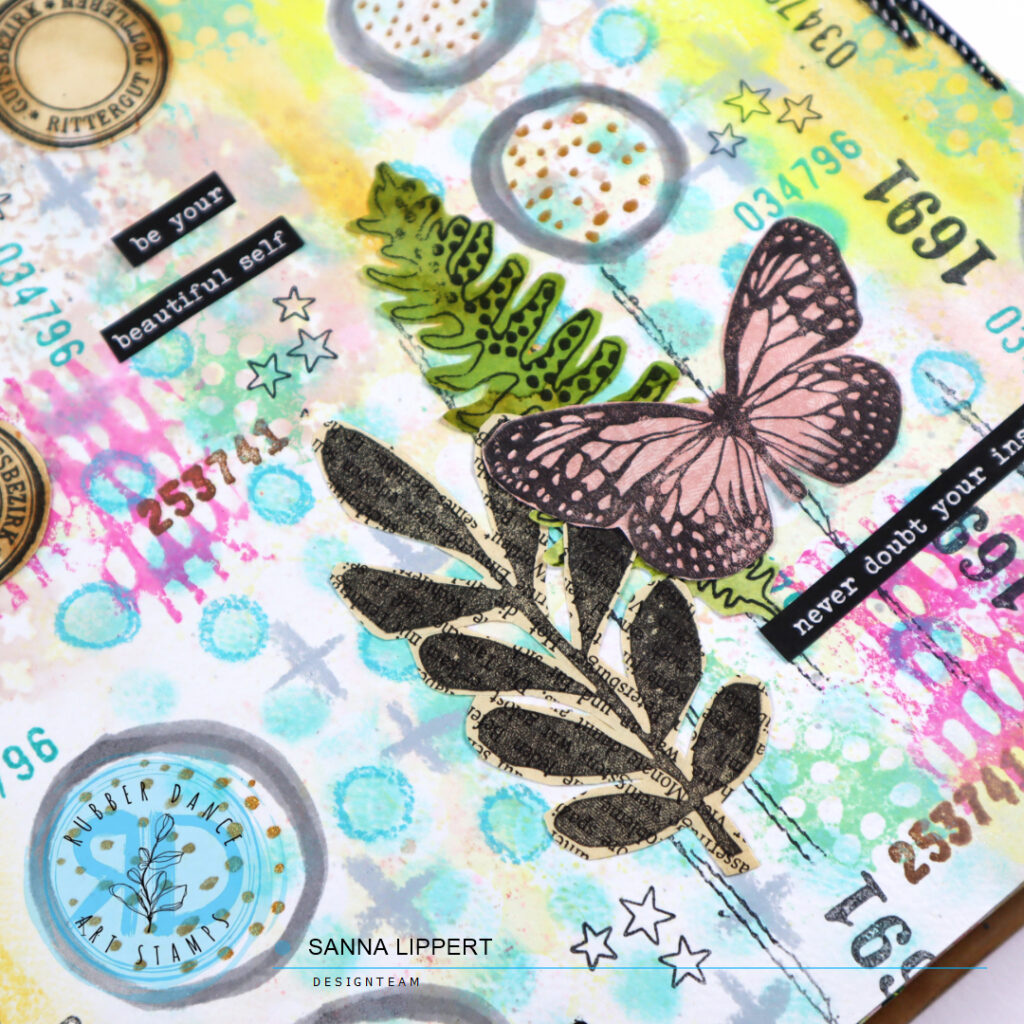
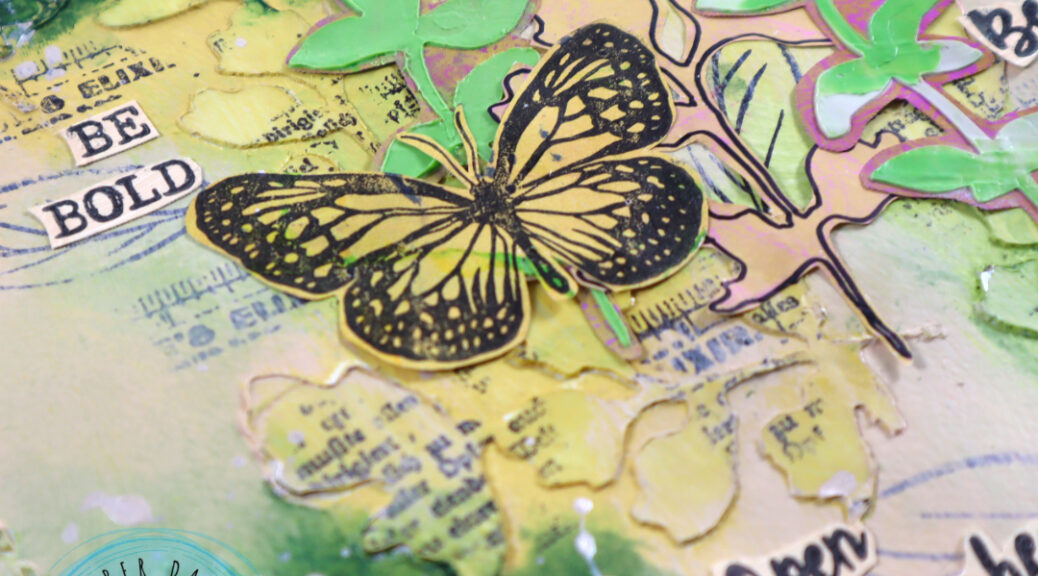
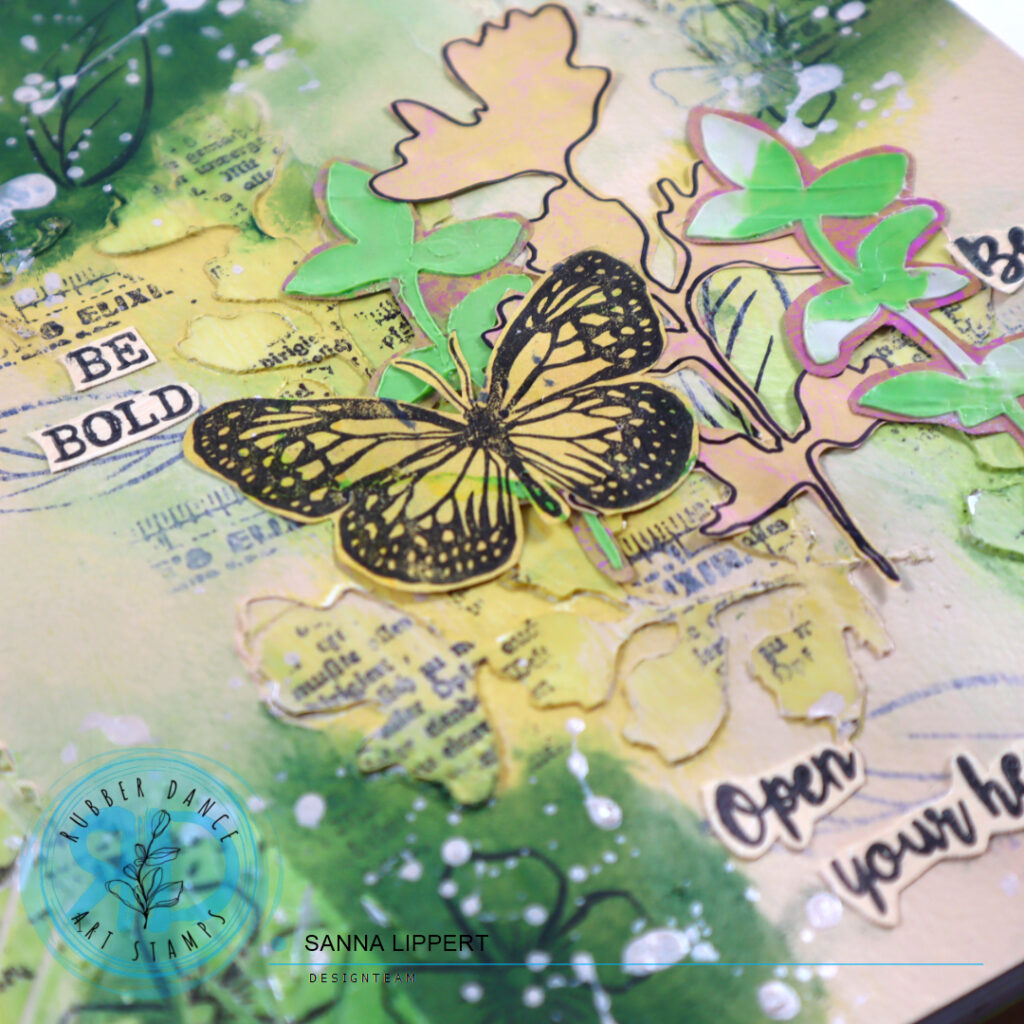
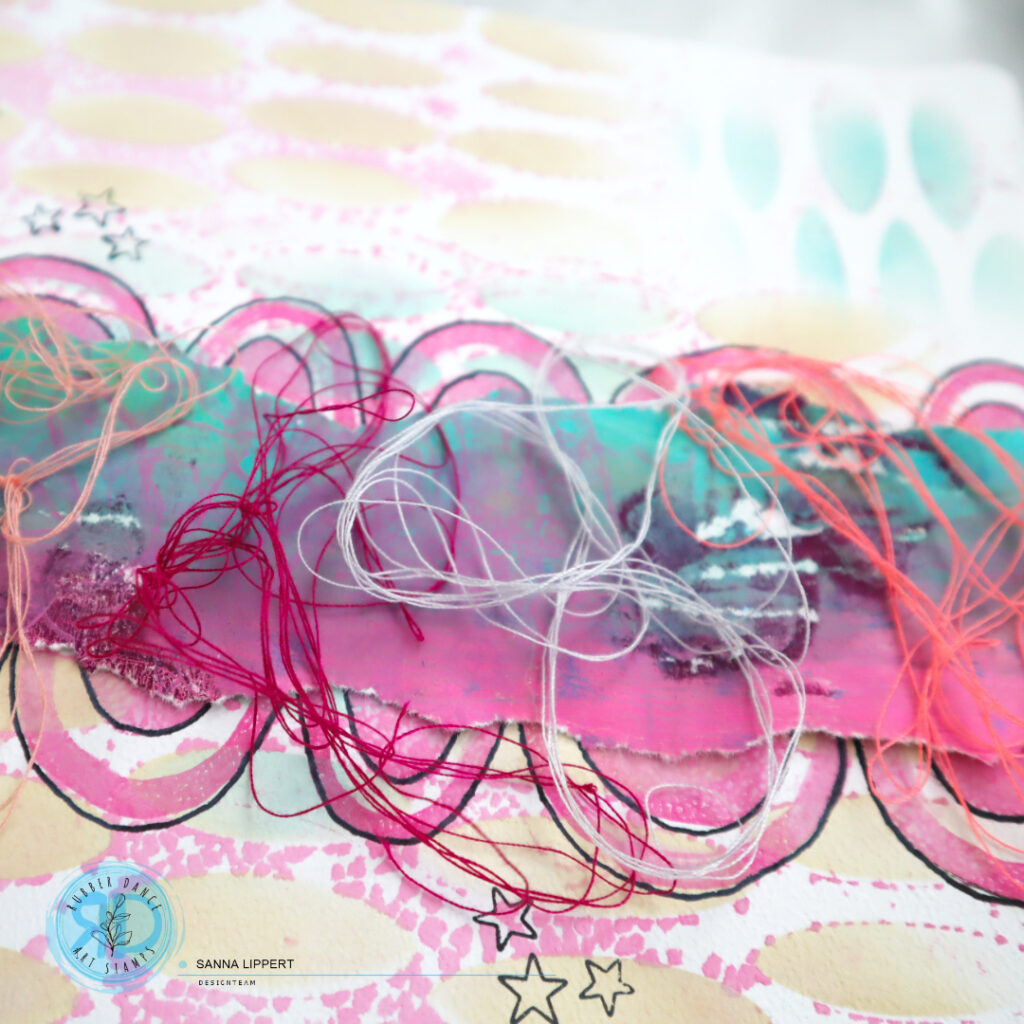
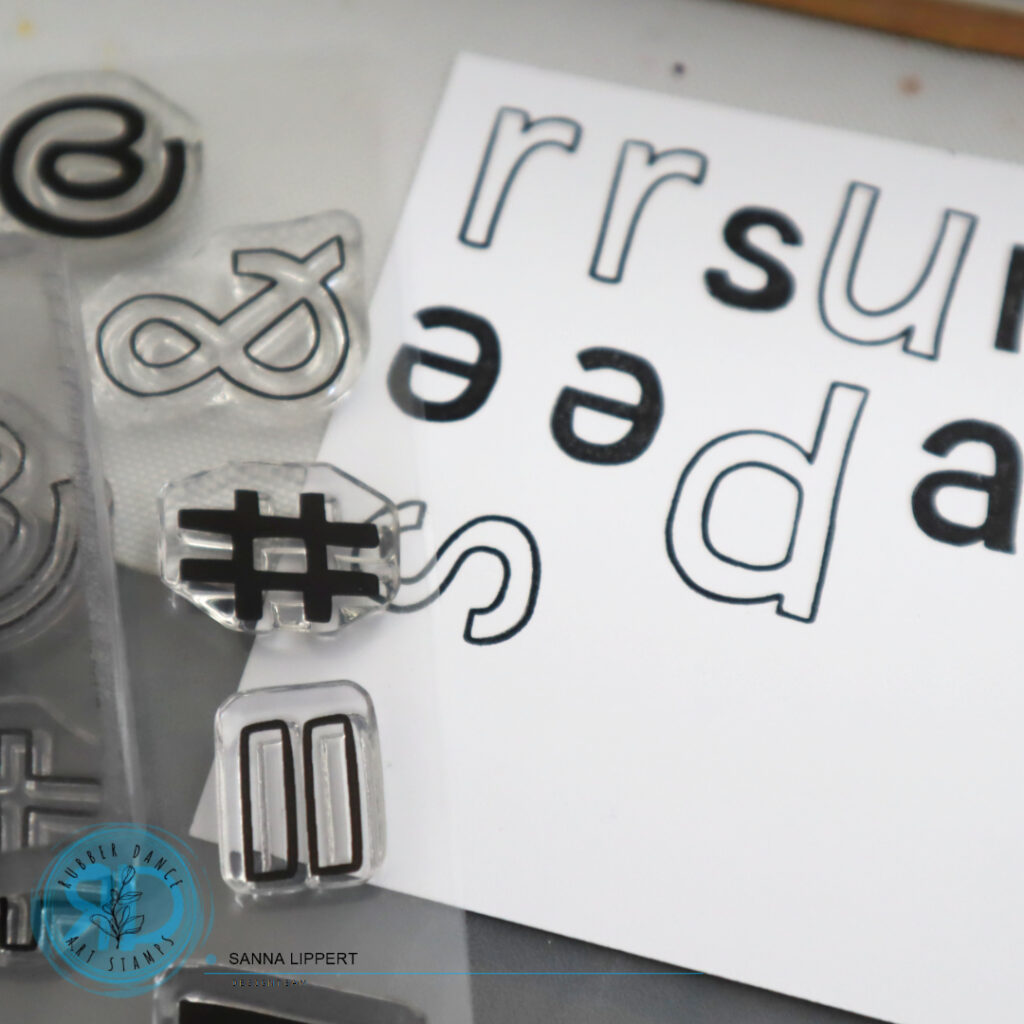
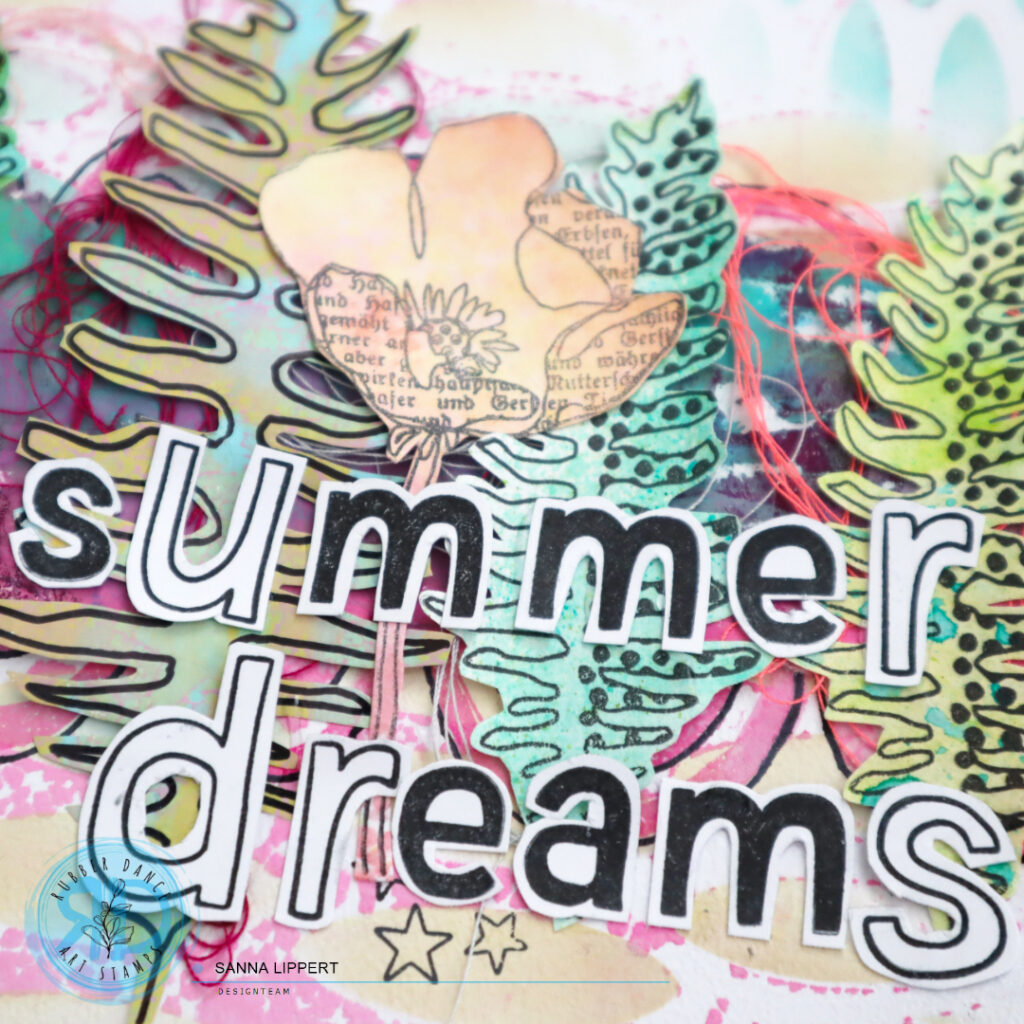
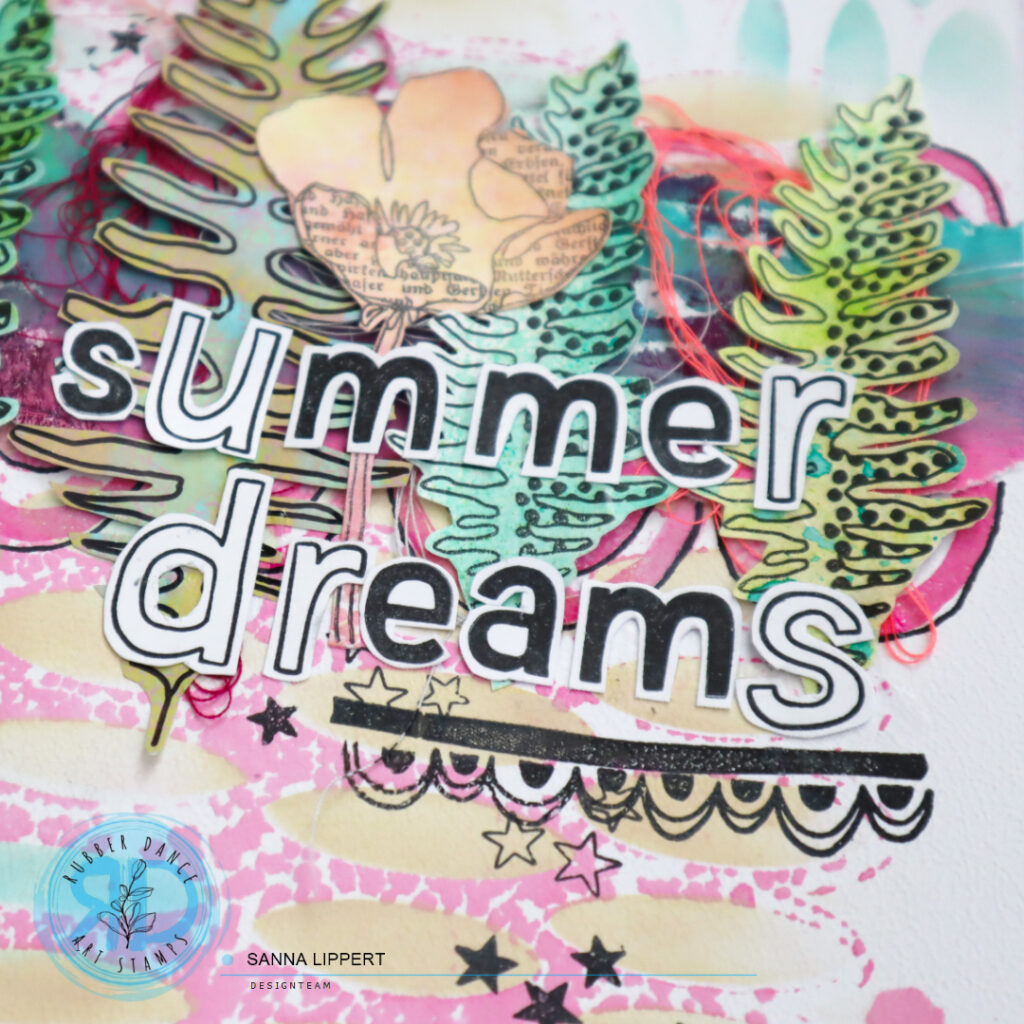
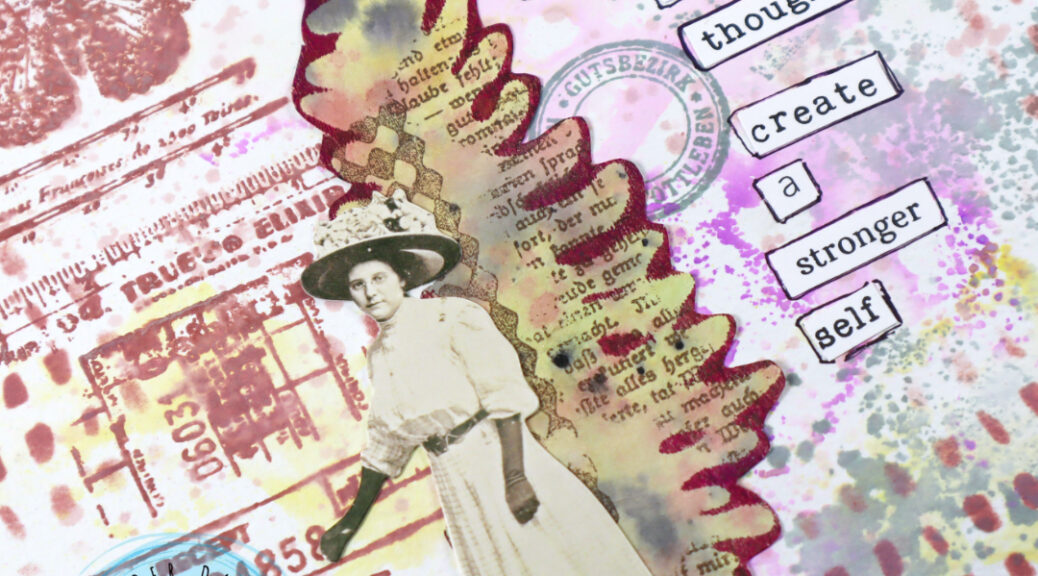
As my focal point I used a previosly made Brusho leaf collage fodder piece (see video here) and for the sentiment I stamped and fussy cut a sentiment from the Mixed Sentiments 1 stamp set. For final touches and additional interest I also had to add a few droplets of Gloss Spray in cheddar.
Here is the process video for you to watch:
Hope I could inspire you to play with Rubber Dance products in your own journal!
Happy crafting,
xx, Sanna