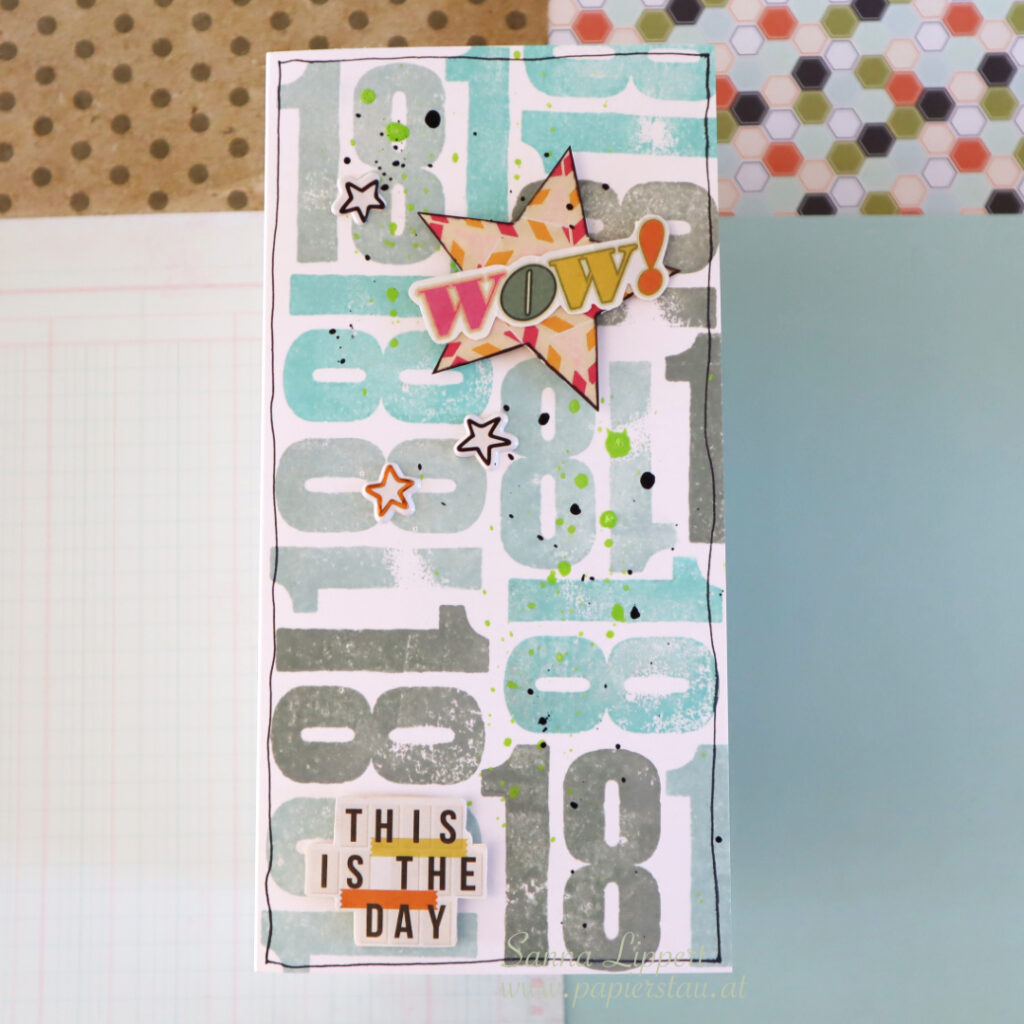
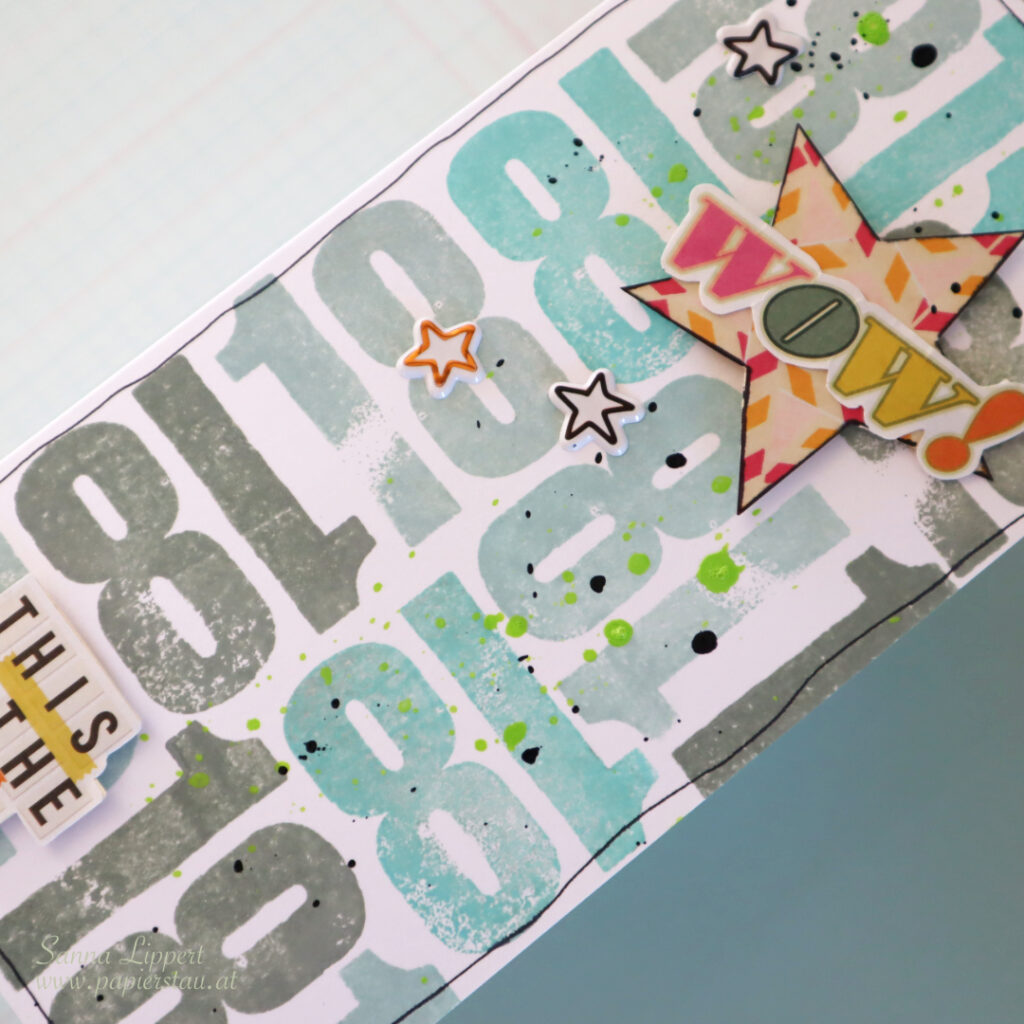
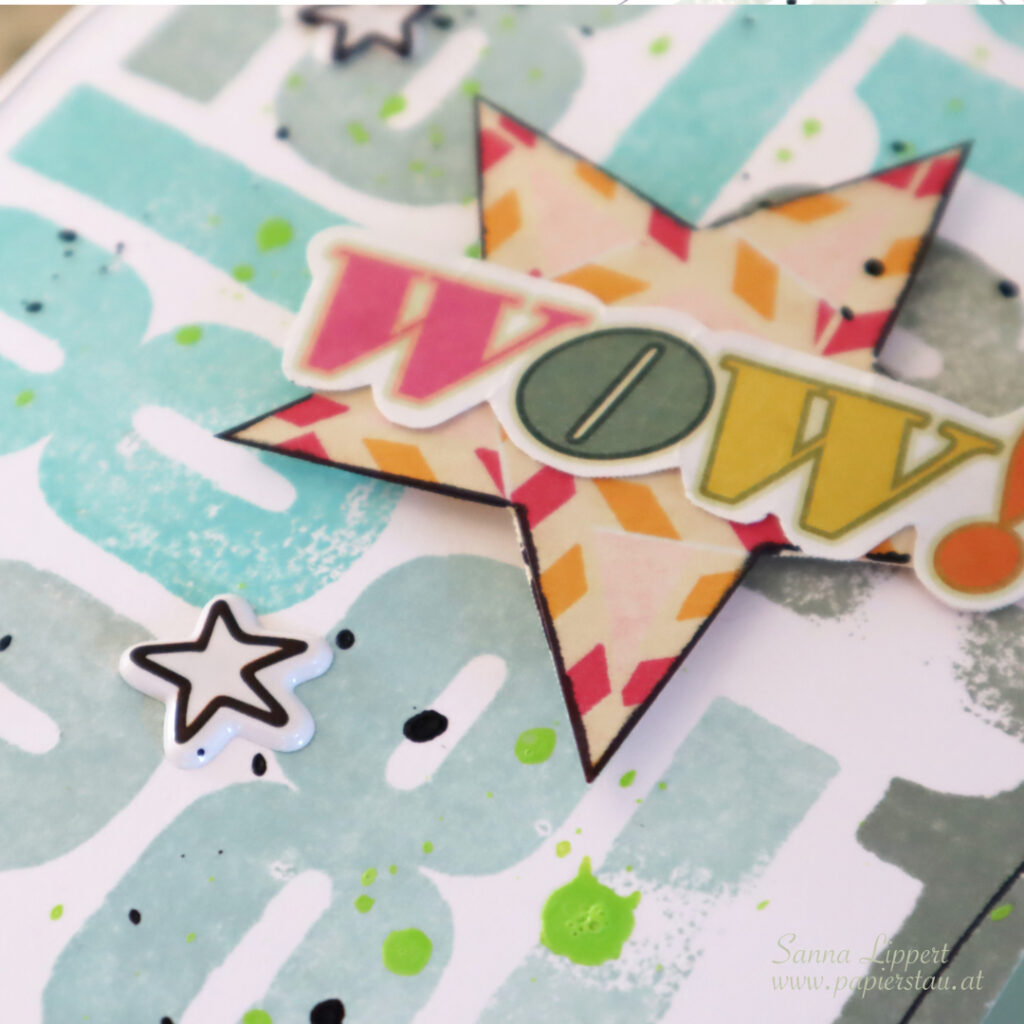
Hello everyone! Today´s share is another slimline 18th birthday card for a boy.
I used a Close to my Heart number stamp set for the background. I arranged the 1 and the 8 next to each other and stamped the white slimline card background with the numbers. I used Distress Oxide inks in light blue and grey hues repeatedly on the surface.
Now that the background was done I only wante dto add a few colorful details to the card. I chose some stickers from my stash. I first adhered the stickers (American Crafts and Sassafrass) onto a piece of carstock and then fussy cut them. This way I could adhere them to the base using 3D-foam. That added some depth and interest to the card. I also used some puffy stickers (stars) here and there and also added some Gloss Spray in lime and dark blue for splatters.
Hope the recipient likes his card – I sure had fun making it! xx, Sanna
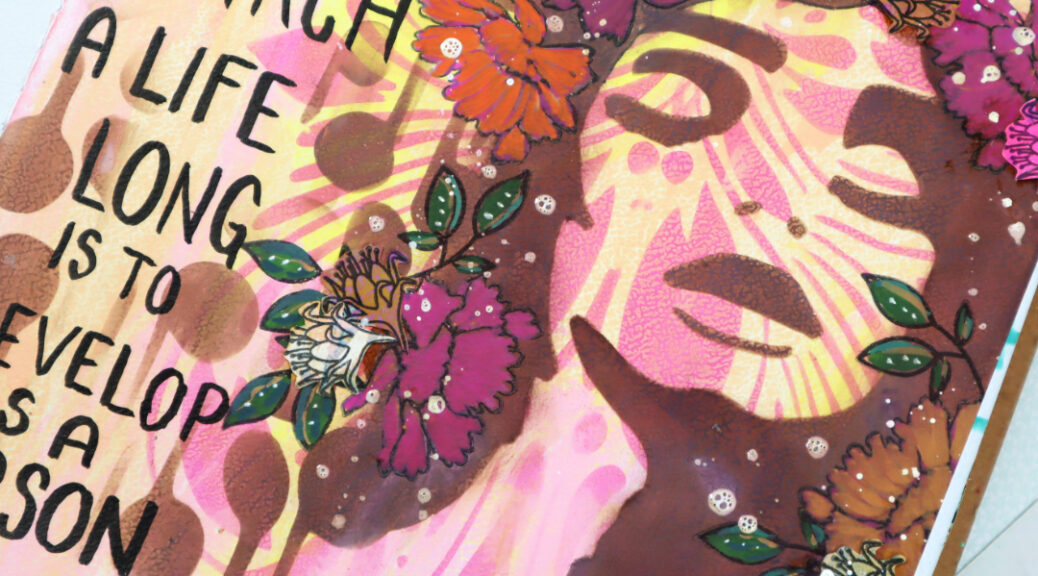
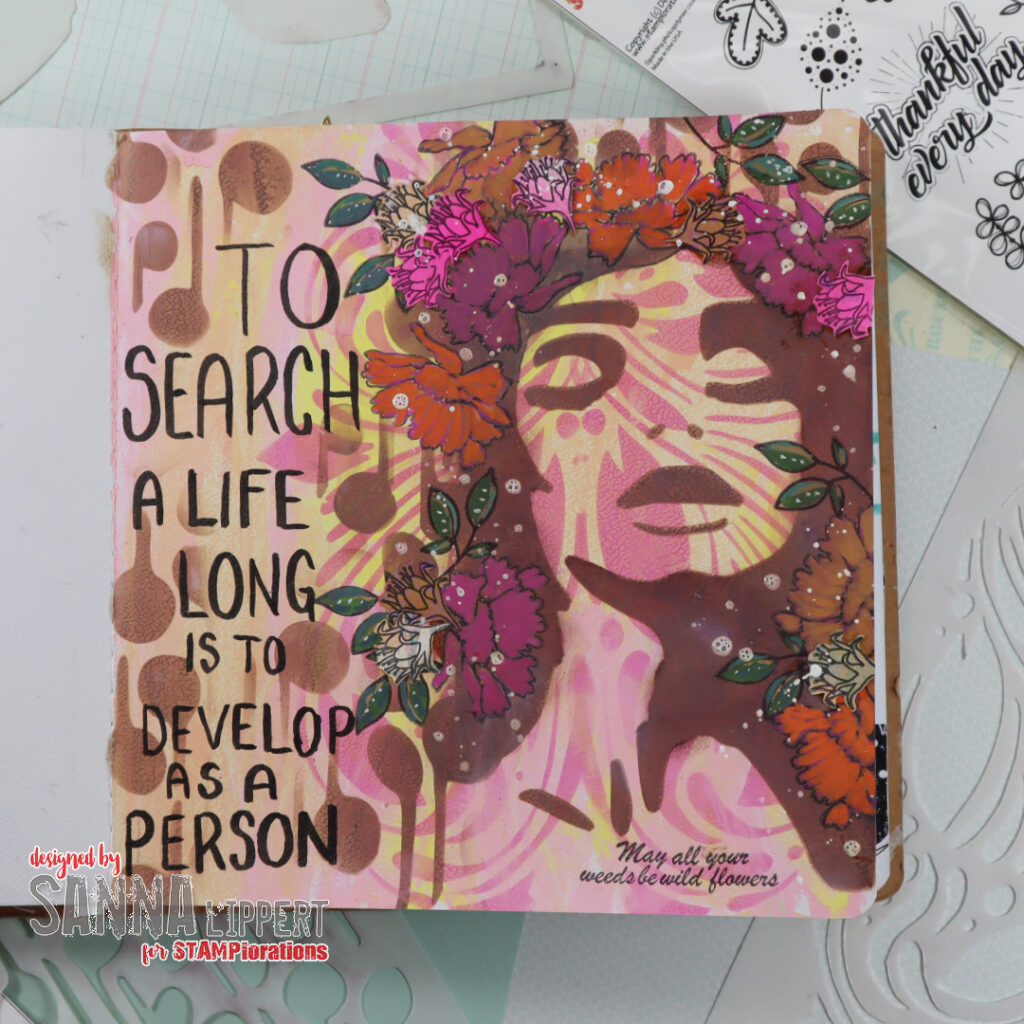
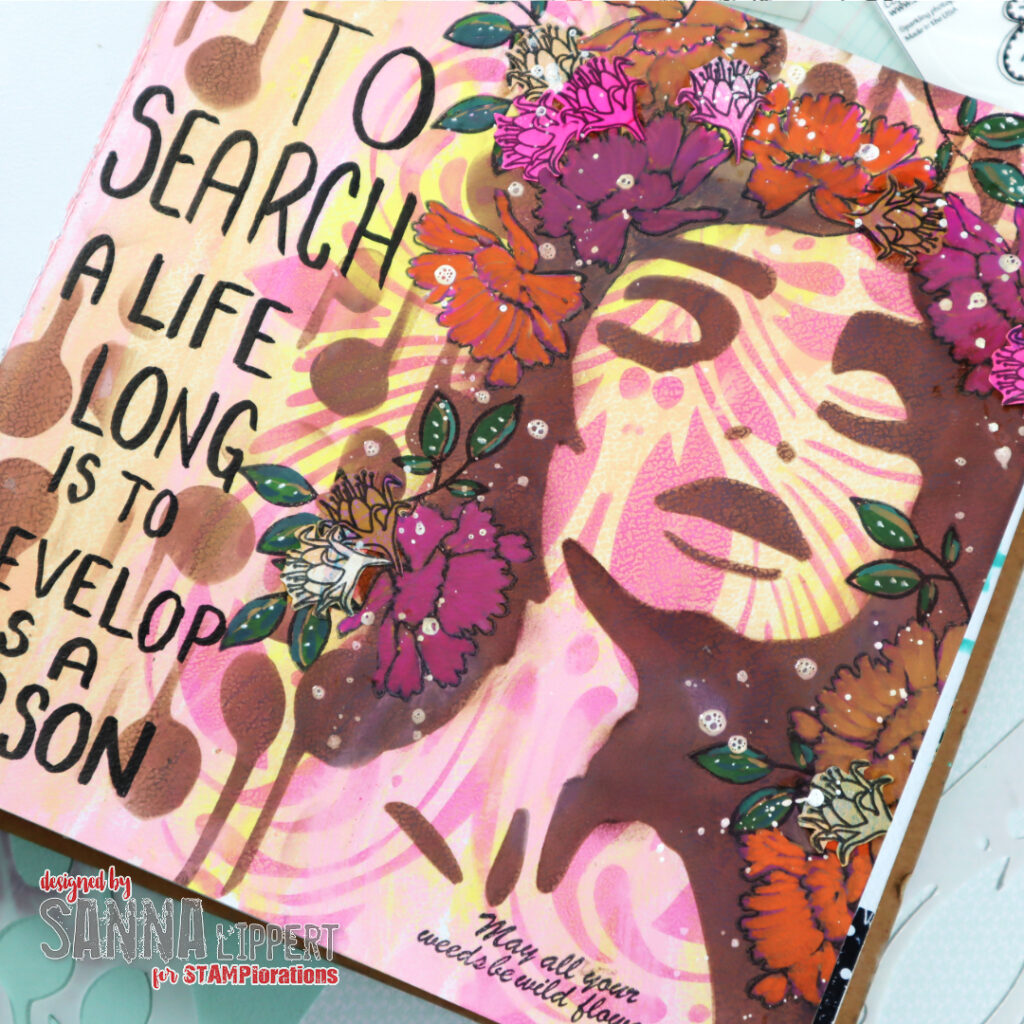
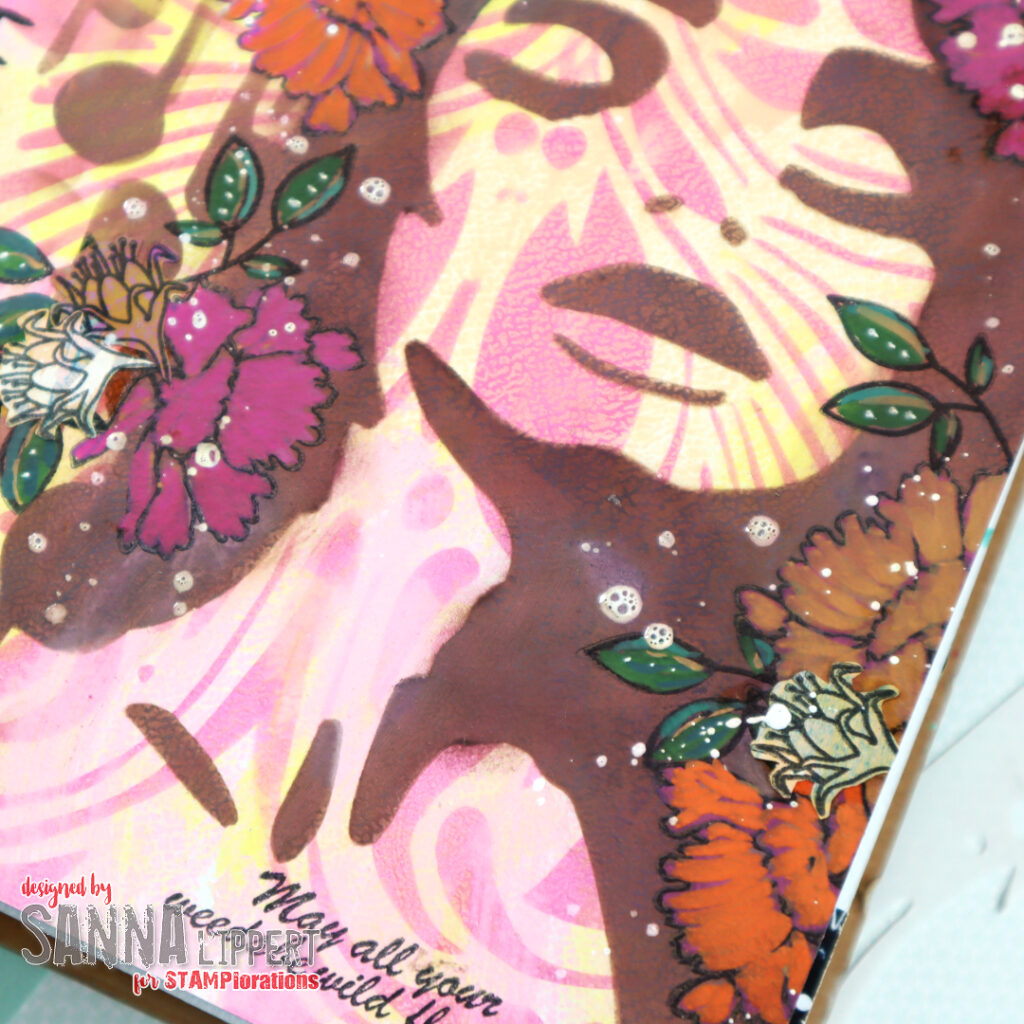
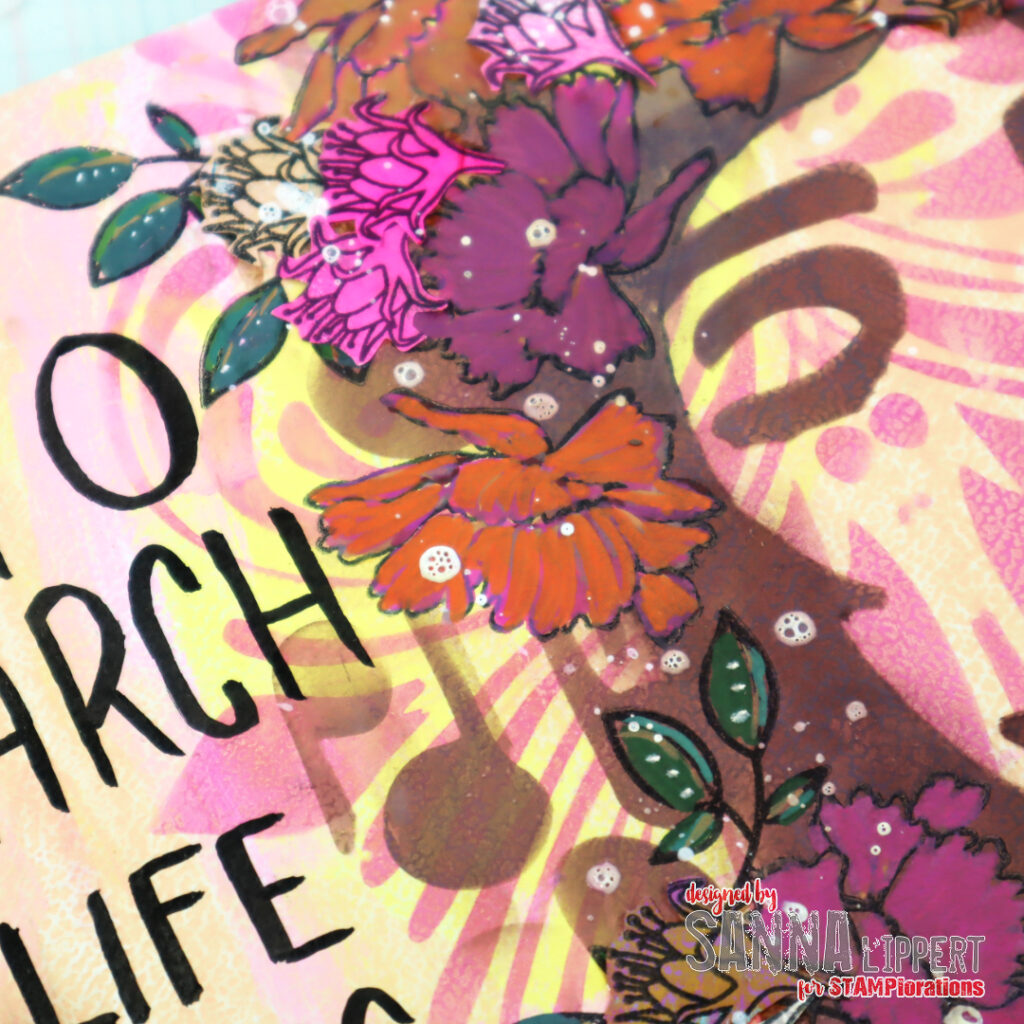
Hello everyone! Today´s page is a share from my art journal. This one is done with STAMPlorations stencils and stamps mainly.
For the background I first added light pink and yellow Distress Paints with a palette knife without any specific plan. Just added very randomly. On top I used the Henna Pattern stencil with a pink Distress Oxide ink tone. I stenciled the image twice next to each other, for the second image I just flipped the stencil around to make a mirror image. I love the pattern it created!
Next I took some brown Distress Oxide Ink out and stenciled the Profile 1 stencil image onto the page on top of the previous layers. Next to that I added some Abstract Notes stencil pattern with the same ink color. Now that the stenciled layers were done, I wanted to decorate the lady´s hair with flowers. Therefore I stamped flower with the Blooming Buds stamp set and leaves with the Leaves of Thanks stamp set onto the page with black ink. I let the ink dry properly and then colored the leaves and flowers with acrylic markers.
After that I wrote the quote to the page with a black acrylic marker. I still wanted to add a few more flowers, so I took some collage paper out and stamped ore Blooming Buds images onto it. I then fussy cut the images and adhered them to the previously stamped and colored images in clusters. For finishing touches I added some white Dina Wakley Gloss Spray splatters an da stamped sentiment from the Blooming Buds stamp set.
I had a lot of fun creating this page. I hope it inspires you to play with STAMPlorations stencils abit!! Here is again the discount code for the store:
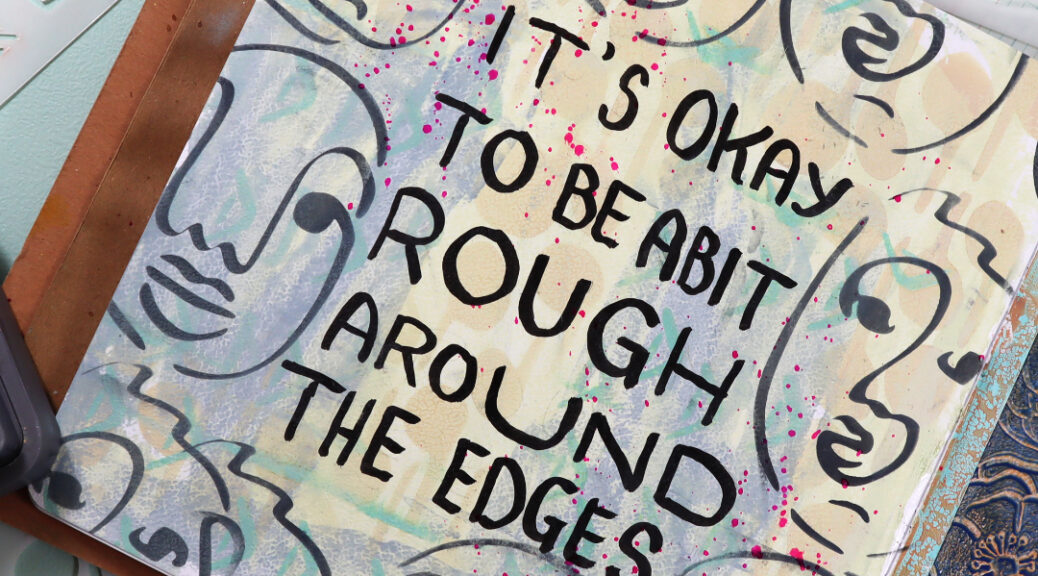
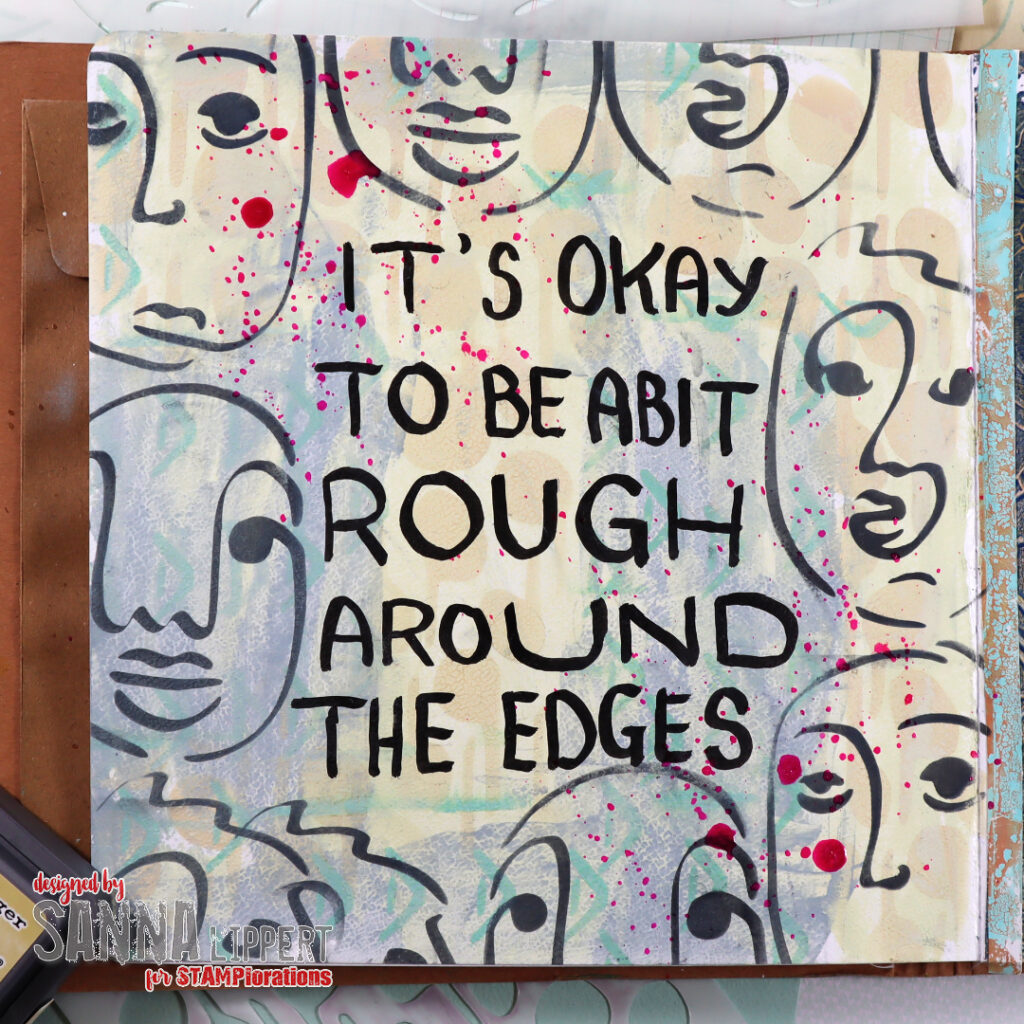
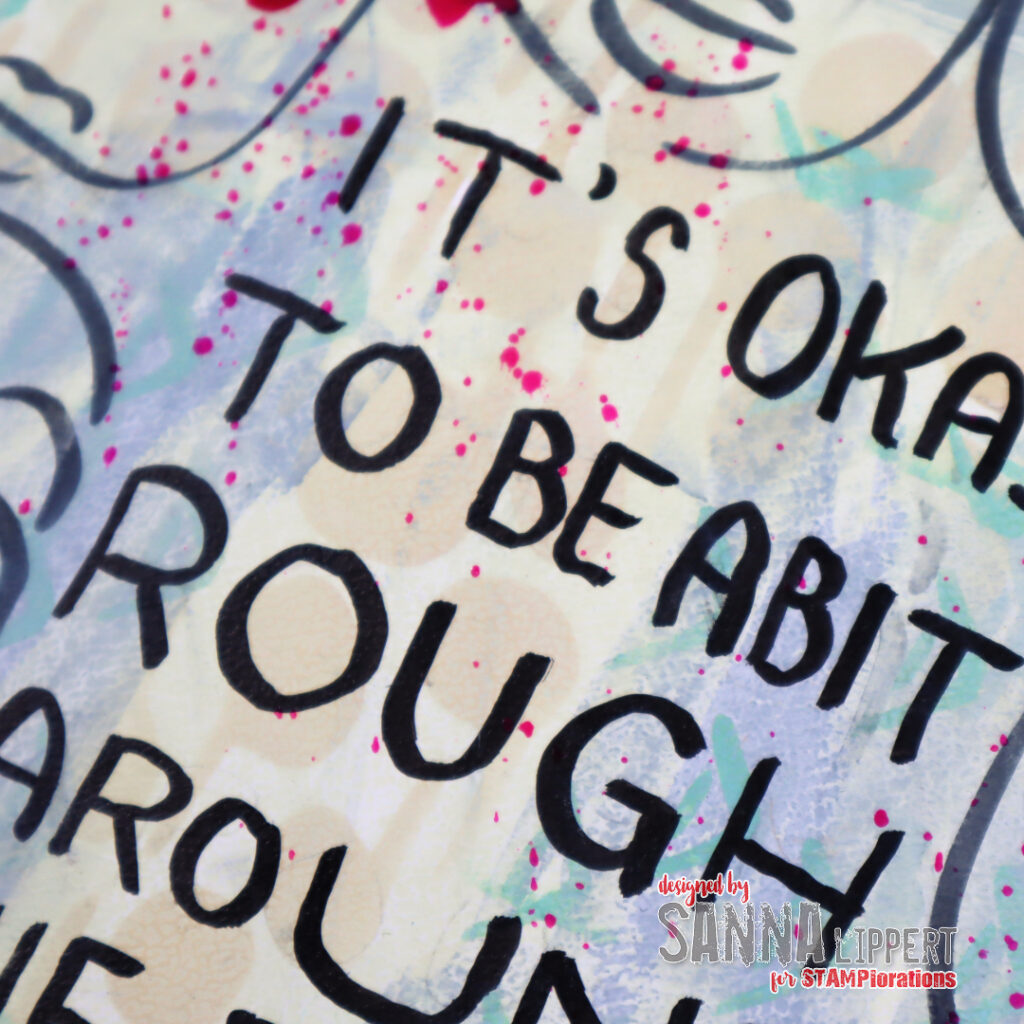
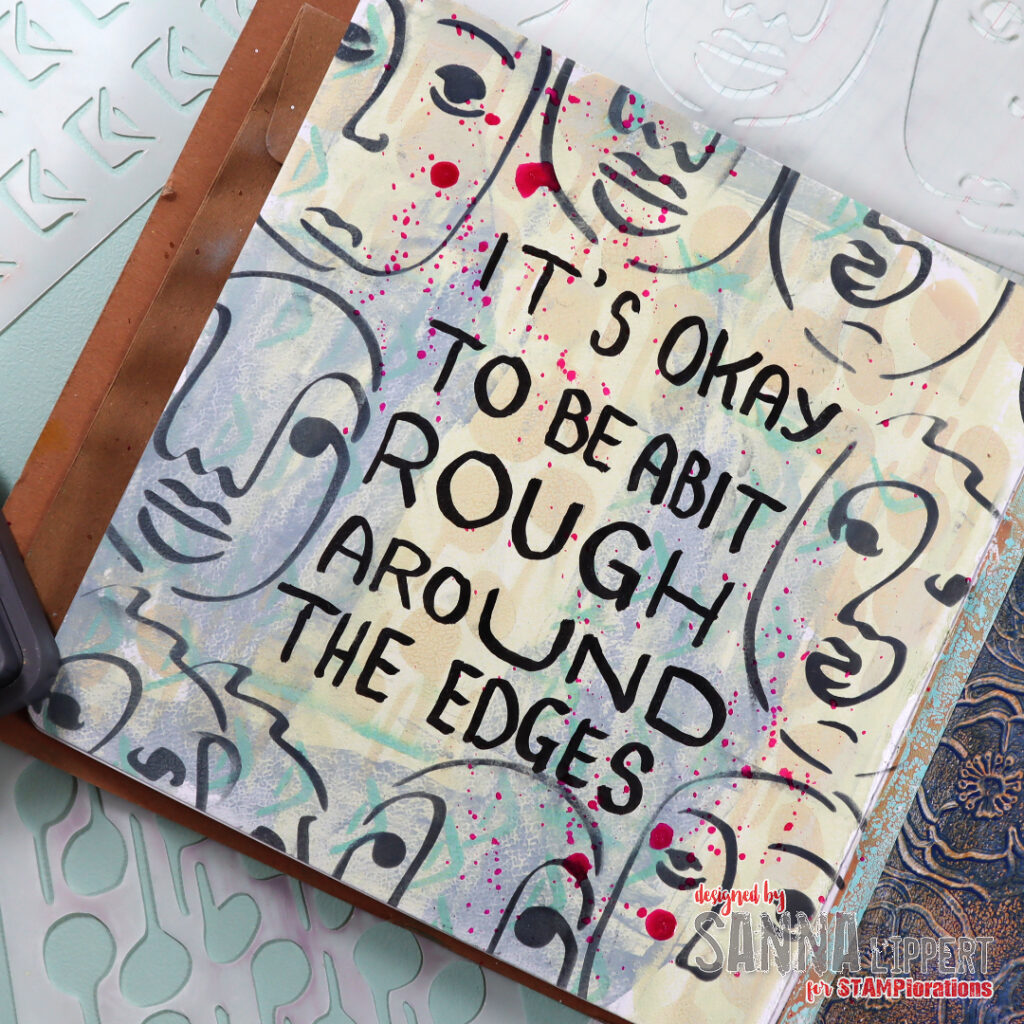
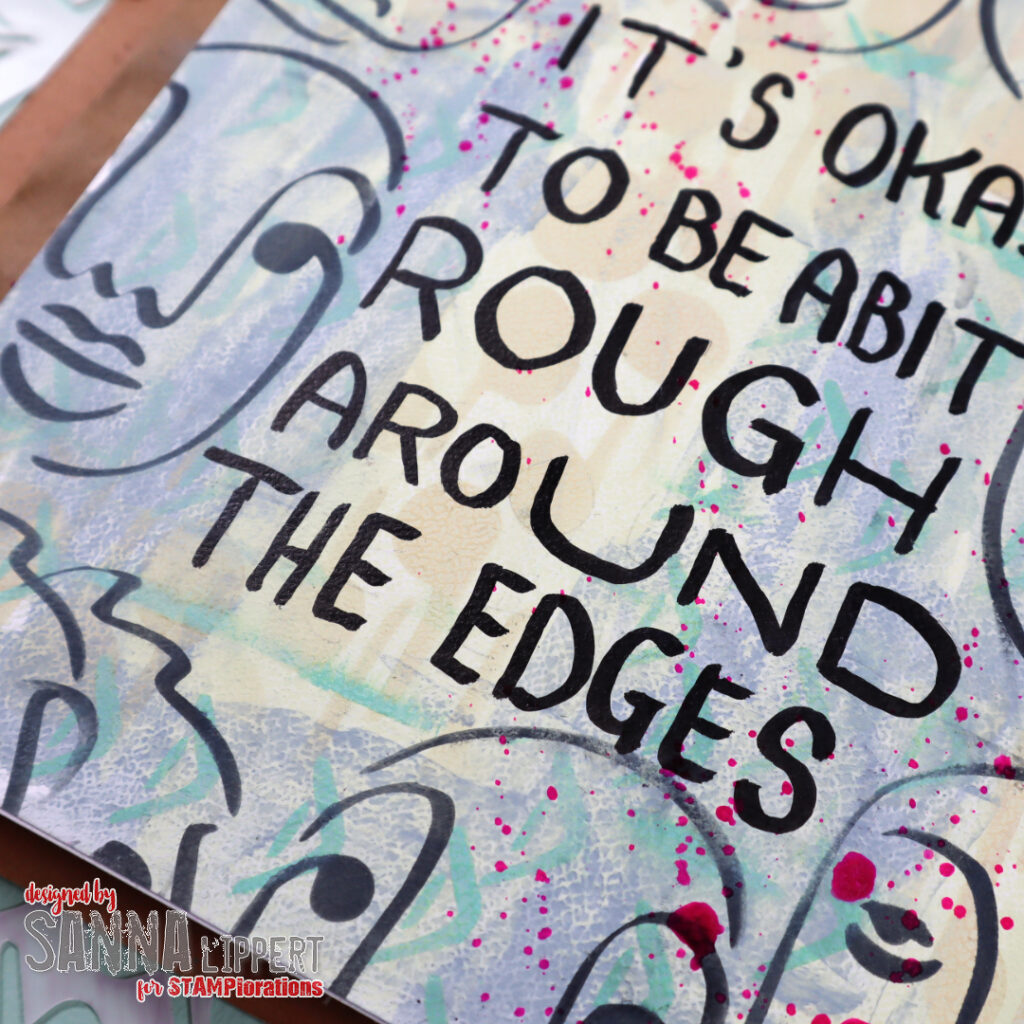
Hello everyone! Today I´m sharing another page from my art journal. This time I used STAMPlorations stencils in the process.
for the background I used tinted light blue and old paper toned Distress Paints. I applied those with a palette knife to the background very randomly. On top of that paint layer I used Distress Oxide Inks with following stencils: Abstract Notes and Modern Envelopes. You can see some hints of pattern here and there in light beige and green ink tones.
Next I used some black Distress Oxide Ink with the Profile #3 stencil to make the face pattern. I placed the images around the edges to create a big free space for a sentiment in the middle of the page. Next I wrote a bold sentiment with an acrylic black pen and finished the page off with some Dina Wakley Gloss Spray ink splatters in magenta.
I really like how this page turned out. I also hope I could inspire you abit to play and have fun with STAMPlorations stencils. Also, upon purchase, feel free to use my discount code for 20% off your order at STAMPlorations:
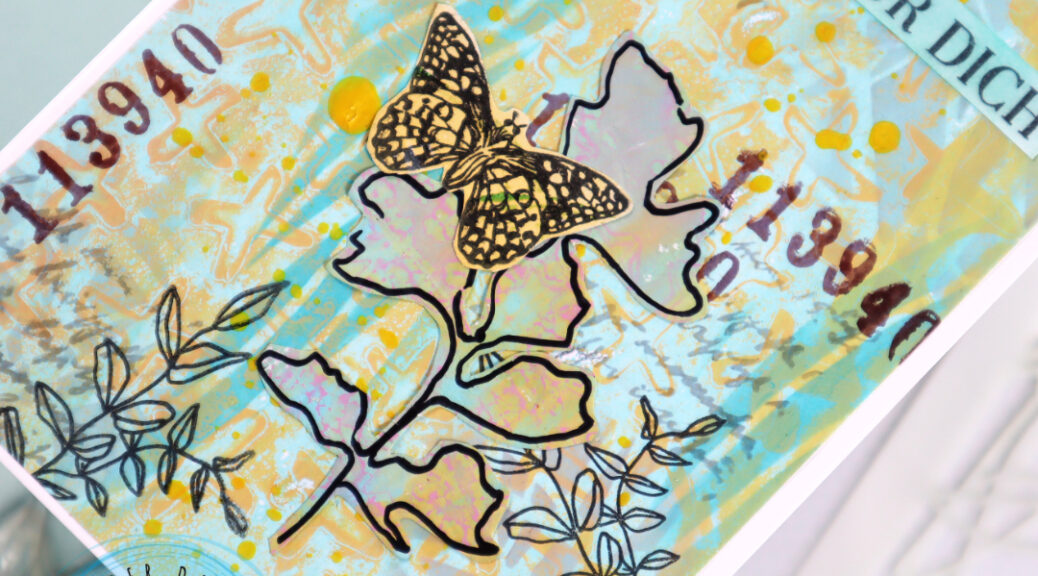
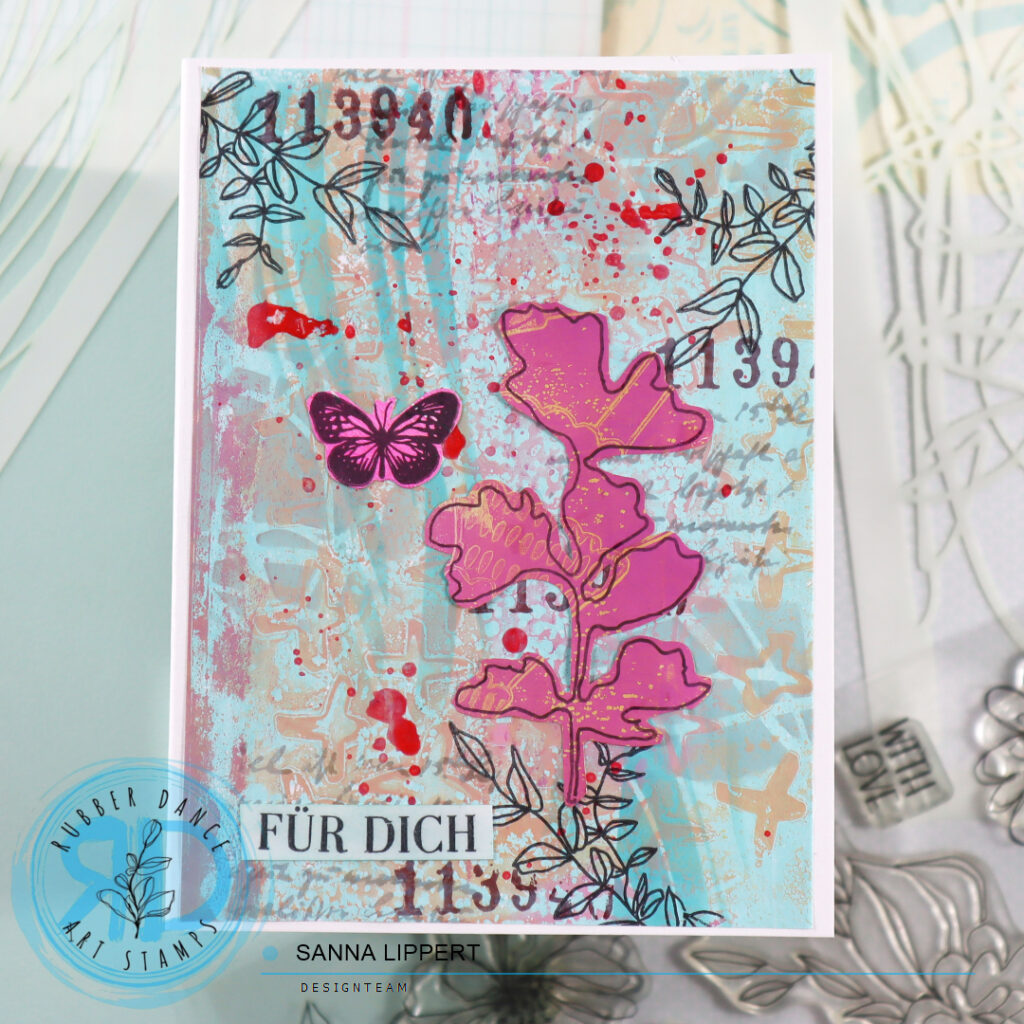
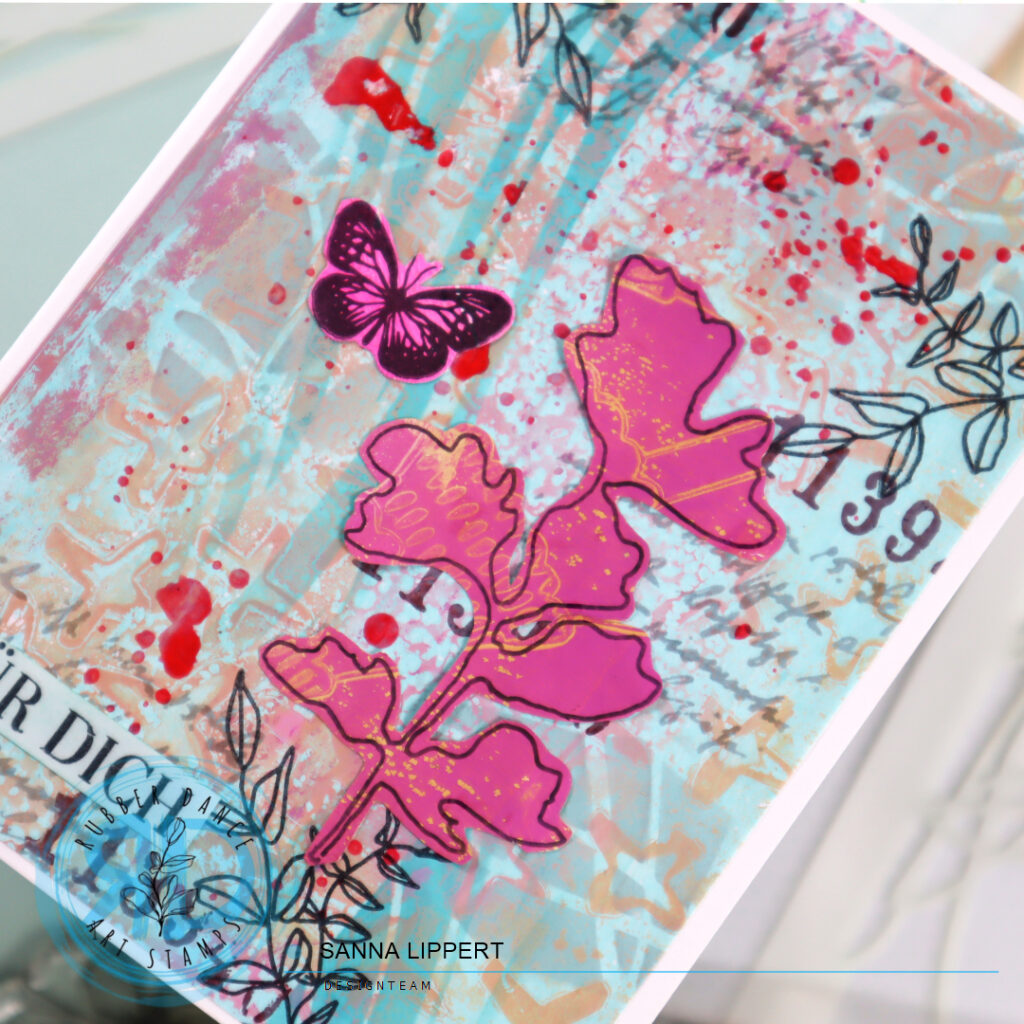
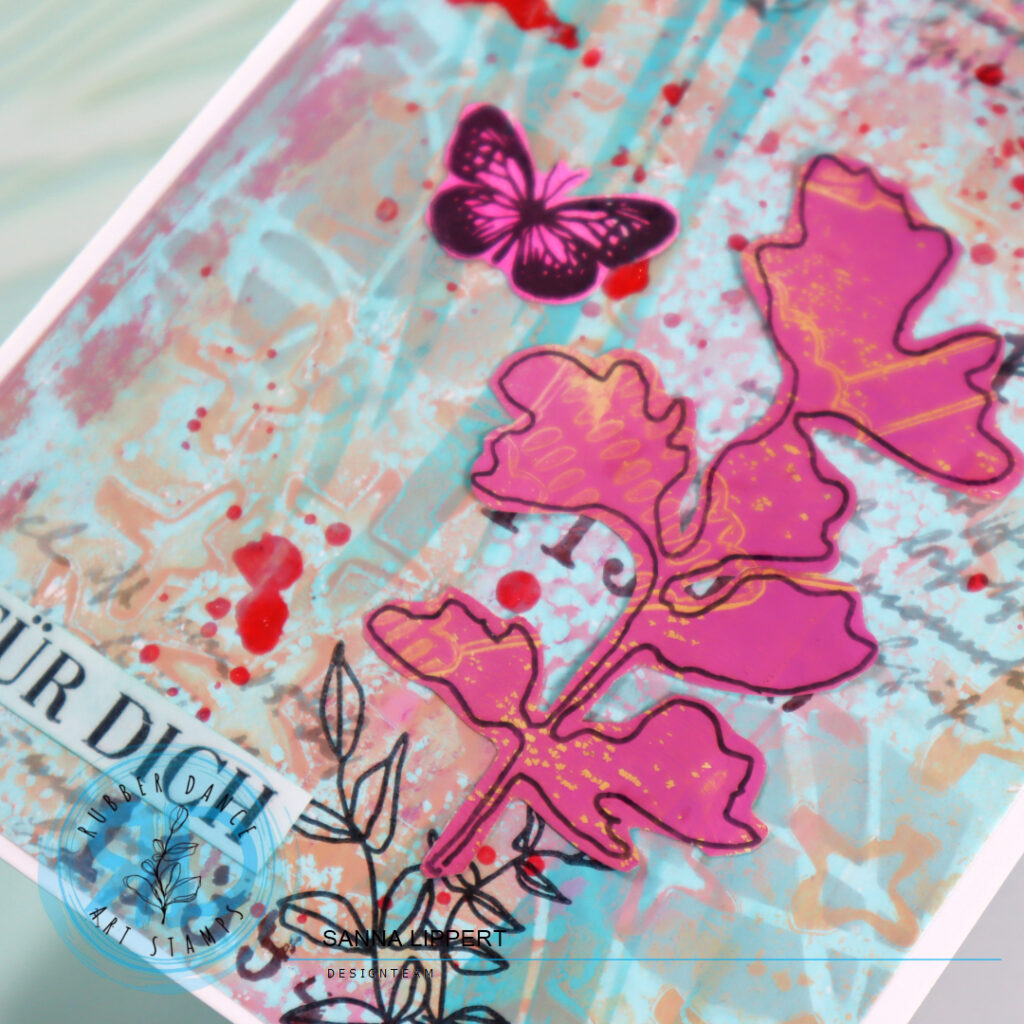
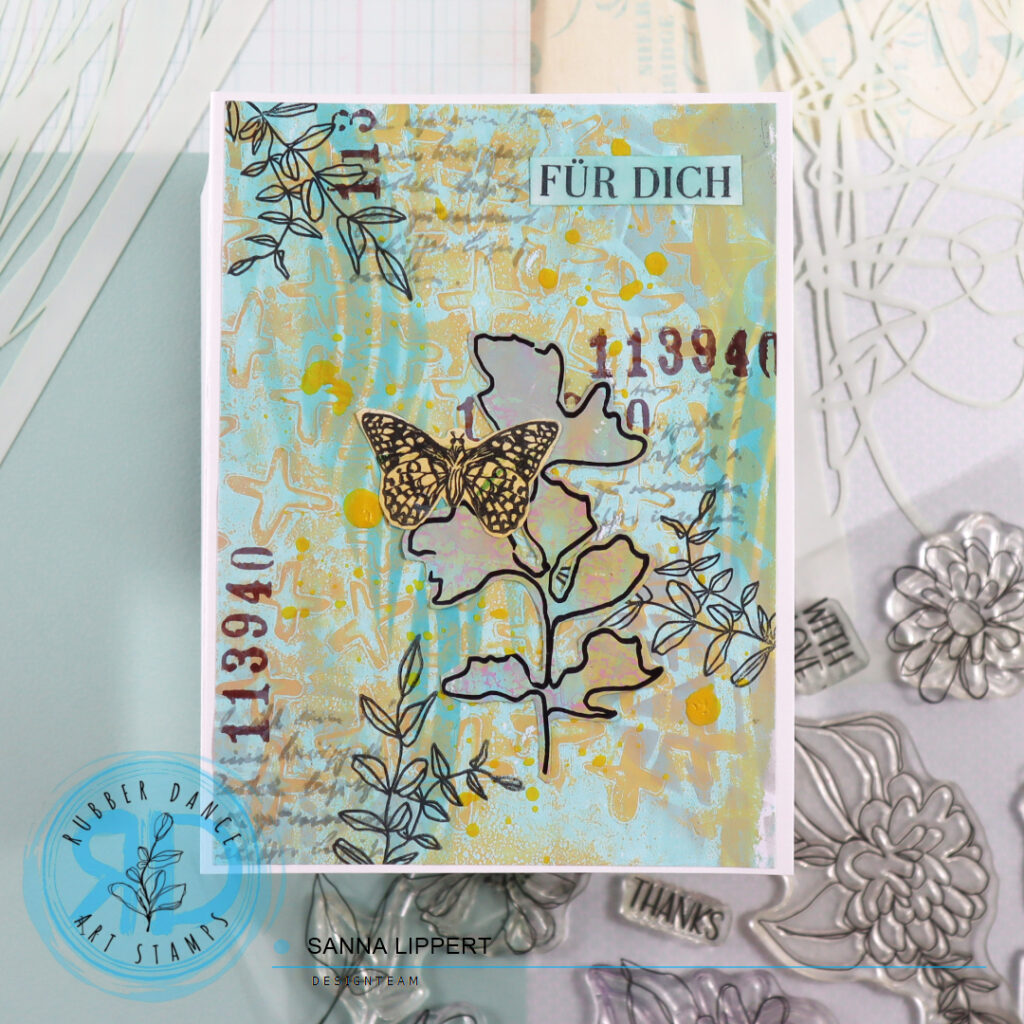
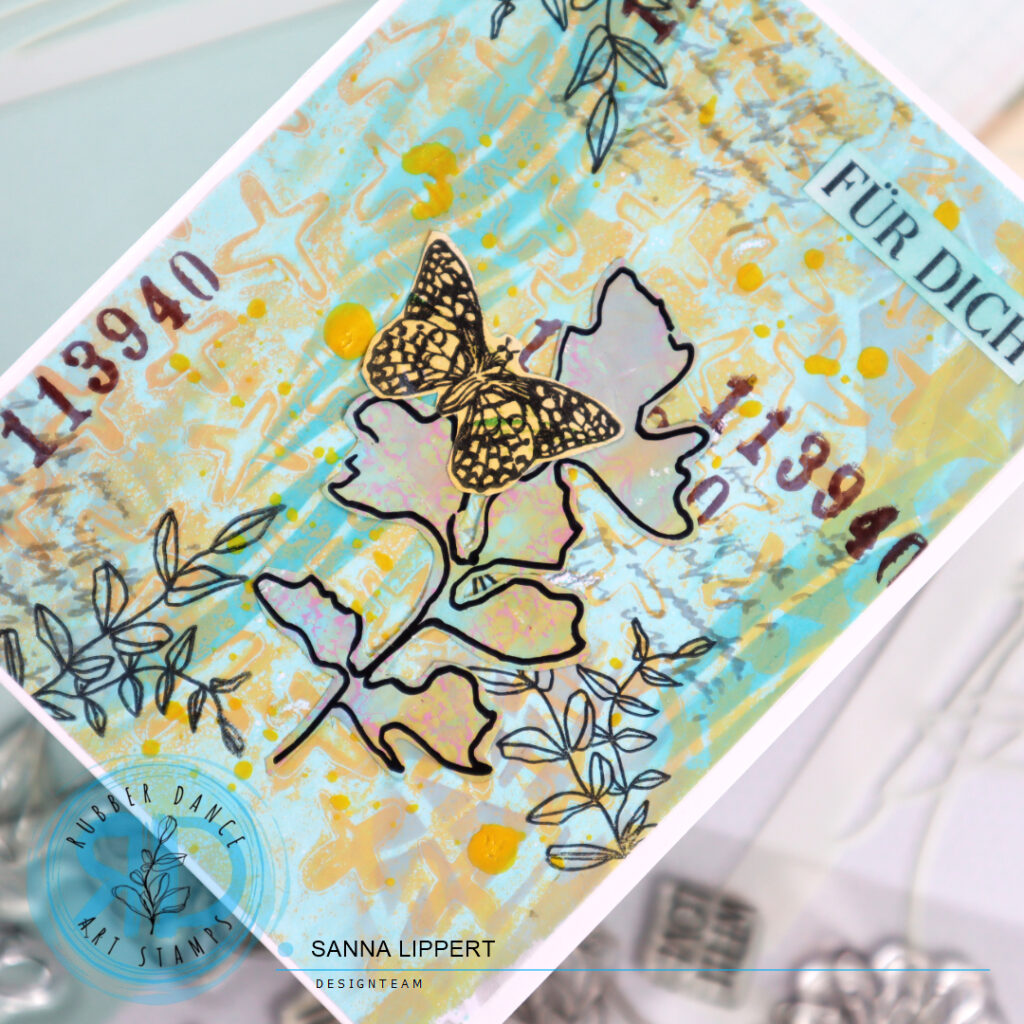
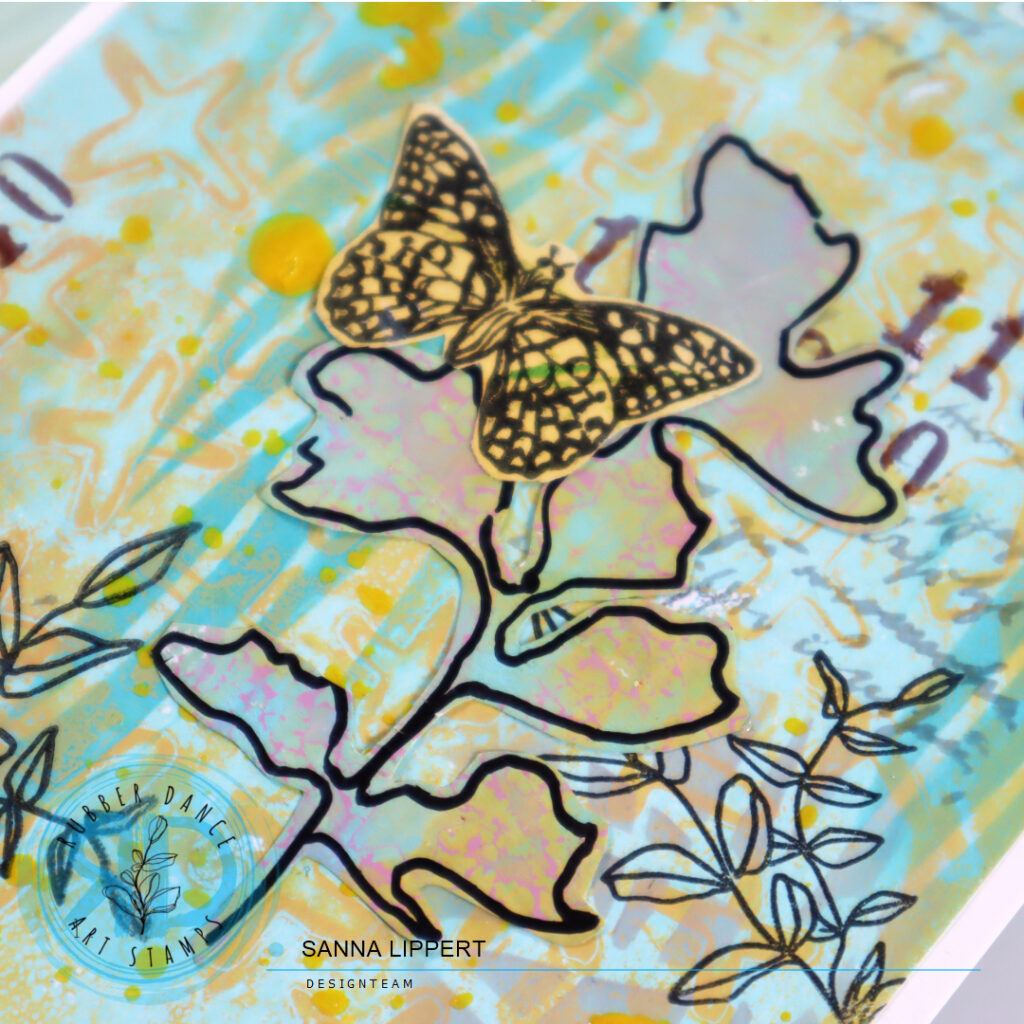
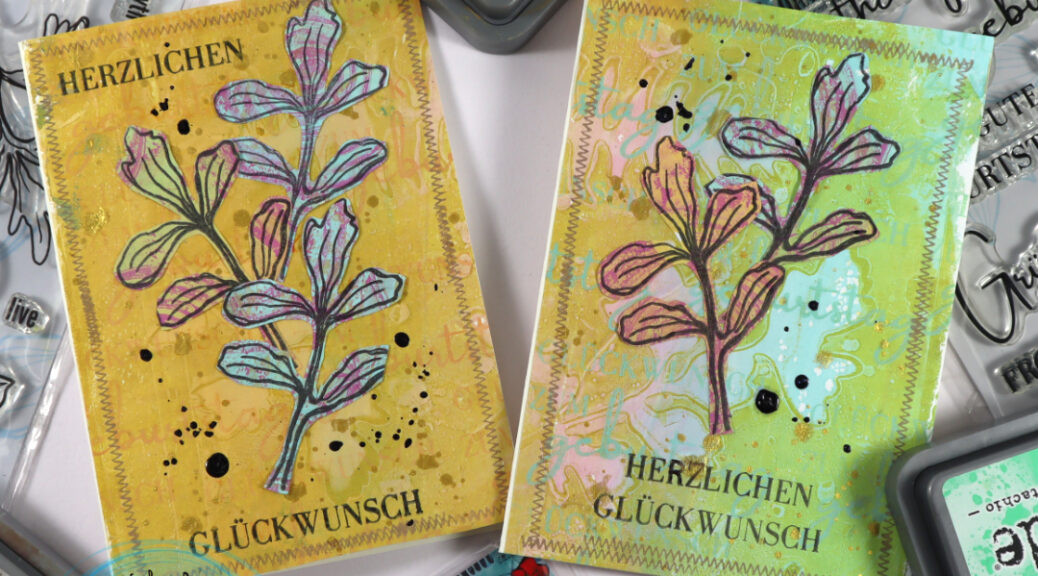
I started off with collage papers I had made using the Cross It stencil with my gelli plate and acrylic paints. I first cut the paper into a size to fit the card bases. After that I took Distress Oxide Inks in two grey tones as well as a turquoise tone and applied ink thru the Scribbles and Organic stencil patterns onto the collage papers. I didn´t fill the whole paper with these patterns, instead I applied bits here and there. That way the original pattern also still shows thru.
Next I stamped with grey VersaFine ink and the Mix It Up 6 text stamp some patterns to both pieces of paper. I then took the number stamp from the same set and stamped with dark brown ink (also VersaFine ink) next to the previous stamped areas. As the next layer I took the Sketchy Flowers #3 stamp set and stamped only the tiny leaf images with black stamp ink – again next to the previously stamped areas.
My next layer on the background was Gloss Spray droplets in “lemon” and “blushing”. At this point I let the paper dry a while until adding the focal point elements.
As a focal point I used some collage fodder I had made with the Sketchy Leaves 5 stencil from gelli printed collage papers (see video here). I also added some butterflies (Butterflies and Moths set) that I had created the same way. Finally I stamped a sentiment for each card using the Kartengrüße stamp set. I stamped on white paper first and then wiped light blue ink onto the paper to have a matching color with the card backgrounds.
I also recorded a step-by-step video – hope it inspires you!
I like creating this type of layered cards – what about you? I hope this inspires you to play with your Rubber Dance products!! xxx, Sanna
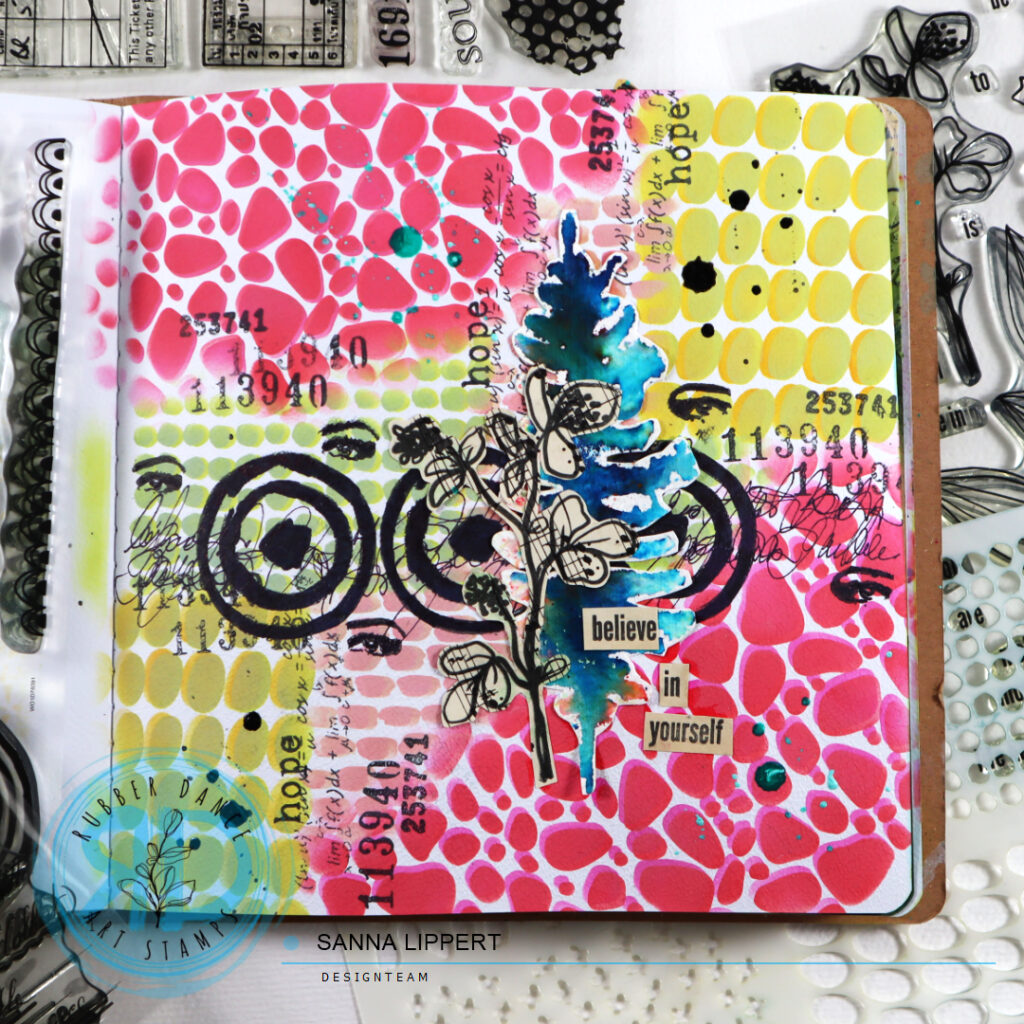
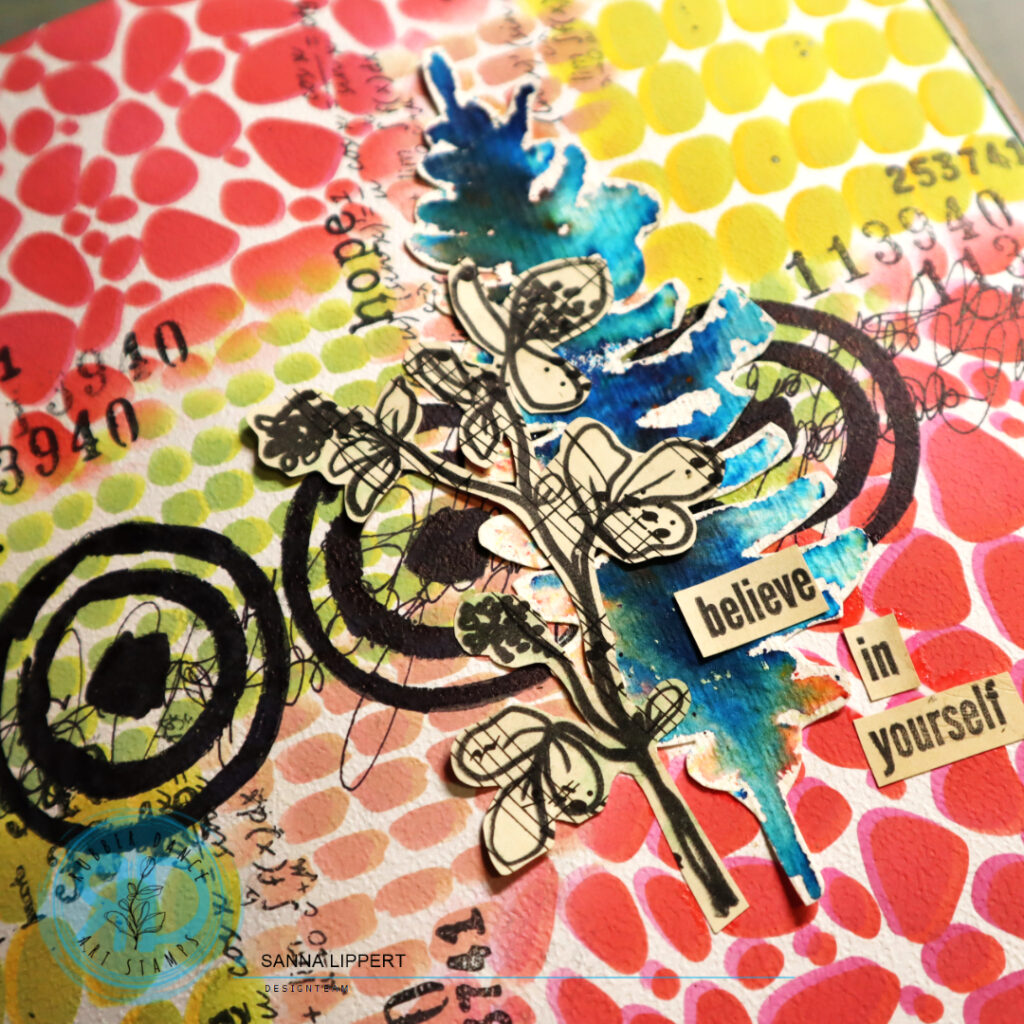
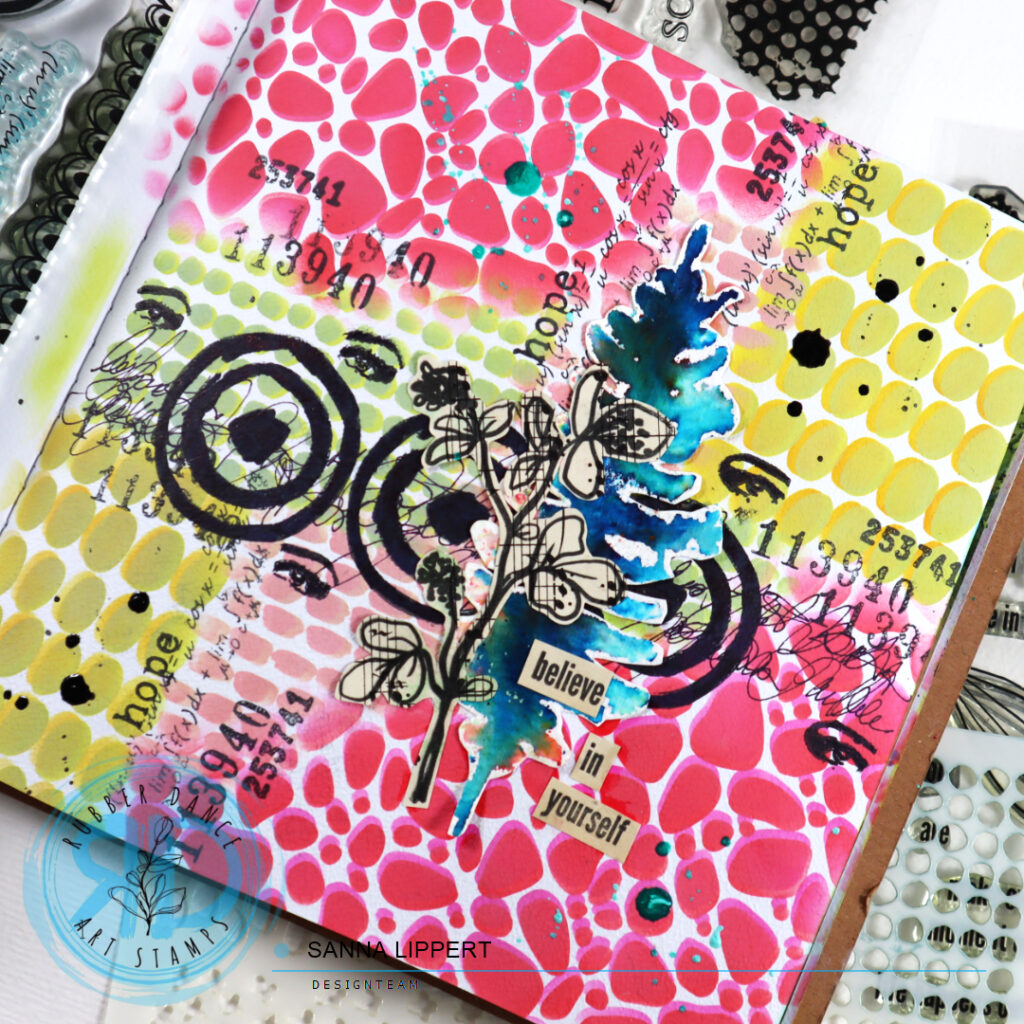
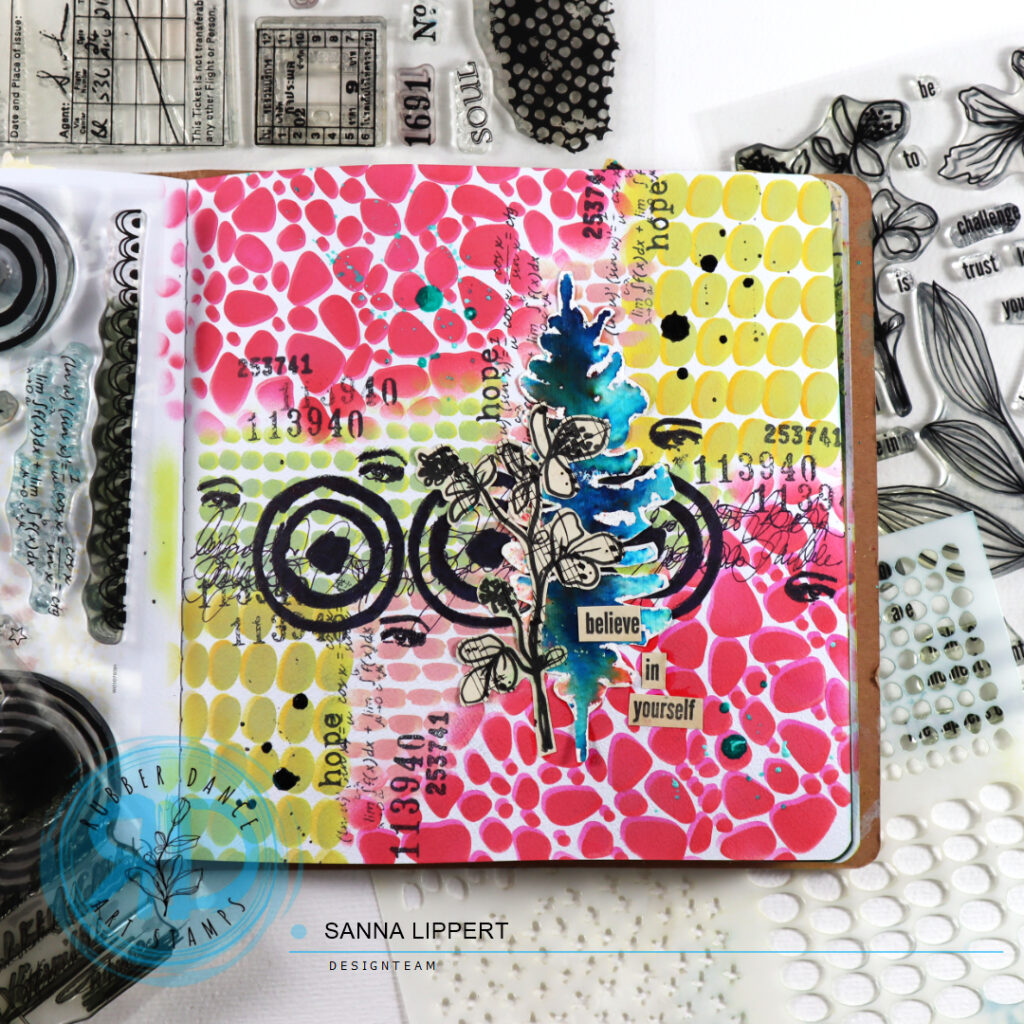
Hello, it´s Sanna here today with a layer stenciled art journal page share. For this project I used the following products: Organic 4 and Mini Textures 1 stencils as well as the Sketchy Leaves 5 stencil in the focal point cluster. The stamps used as a further layer and focal point feature following sets: Mix It Up 7, Mix It Up 4, Collage Leaves 3 and Mix It Up 6.
I started with the following steps:
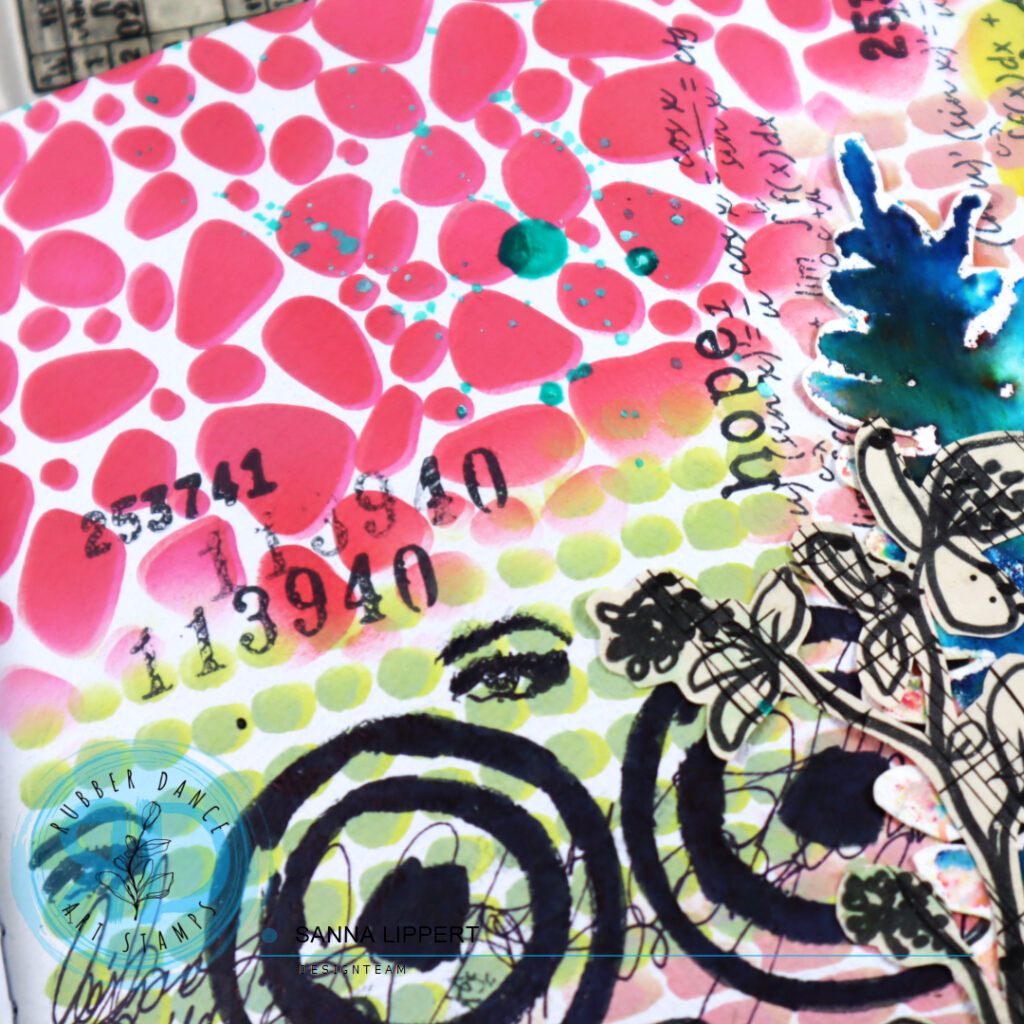
I first inked a lighter toned layer thru the above mentioned stencil onto the page, then slightly moved the stencil to create a 3D-effect and inked over the area with a similar tone, but slithly darker. That creates this really fun effect.
Next I took a black stamp ink and stamped some details with the Mix It Up 4 stamp set.
Followed with further stamping with the Mix It Up 6 and Mix It Up 7 stamp sets.
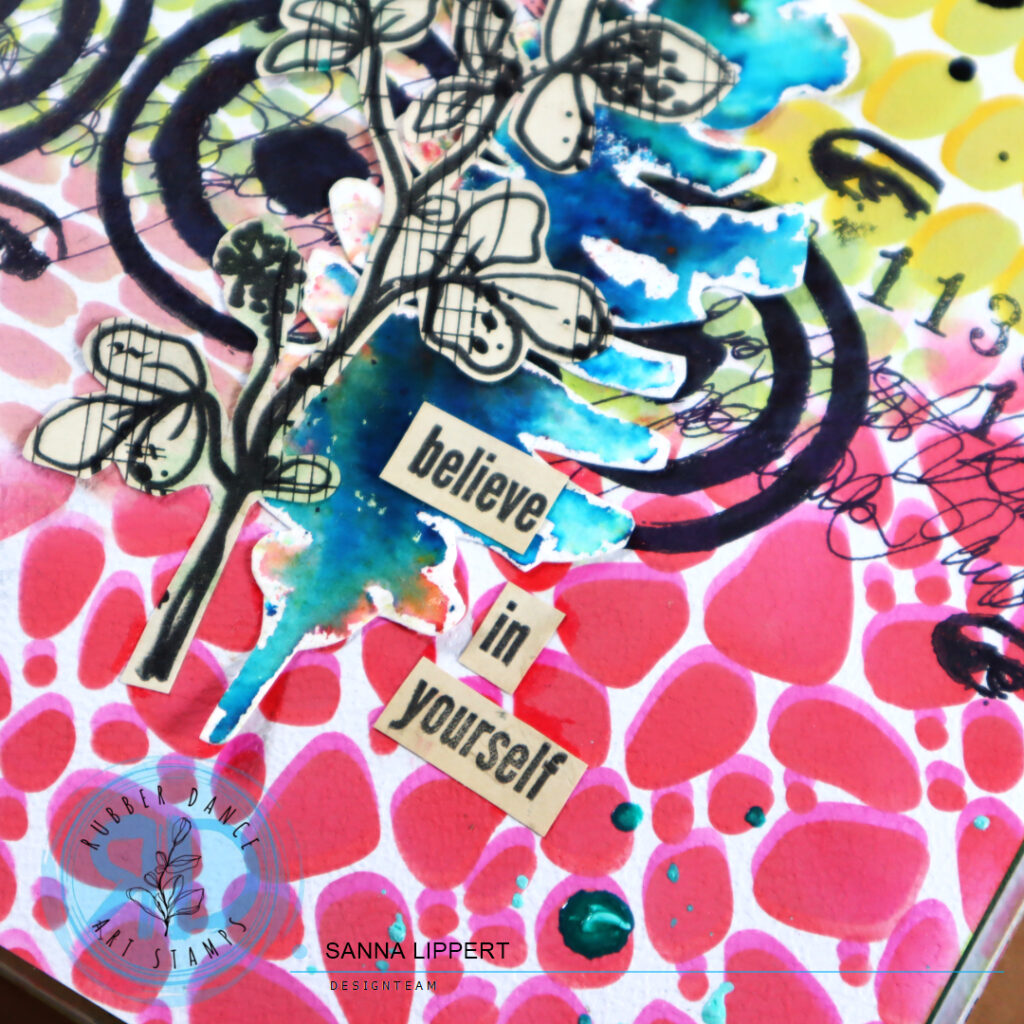
I also added some asemic writing to the background before creating a cluster of elements as a focal point. The blue collage fodder element is a previous make with Sketchy Leaves 5 and Brushos (see details here). The leafy flower is stamped on a music note paper with black ink (using Collage Leaves 3) and then fussy cut. Finally the sentiment was stamped on an old book page with the Collage Leaves 3 stamp set anf fussy cut to fit the page composition.
I also added some “turquoise” and “medieval” Gloss Spray droplets as detail and also added some stamped eyes in the process. They are from the Mix It Up 7 stamp set.
I love layering stencils and adding fun details to art journal pages with them. Then mixing some stamping with various stamp sets for contrast make creating art journal pages so much fun! I hope I could inspire you all abit with this page.
Have fun creating with Rubber Dance products! xxx, Sanna
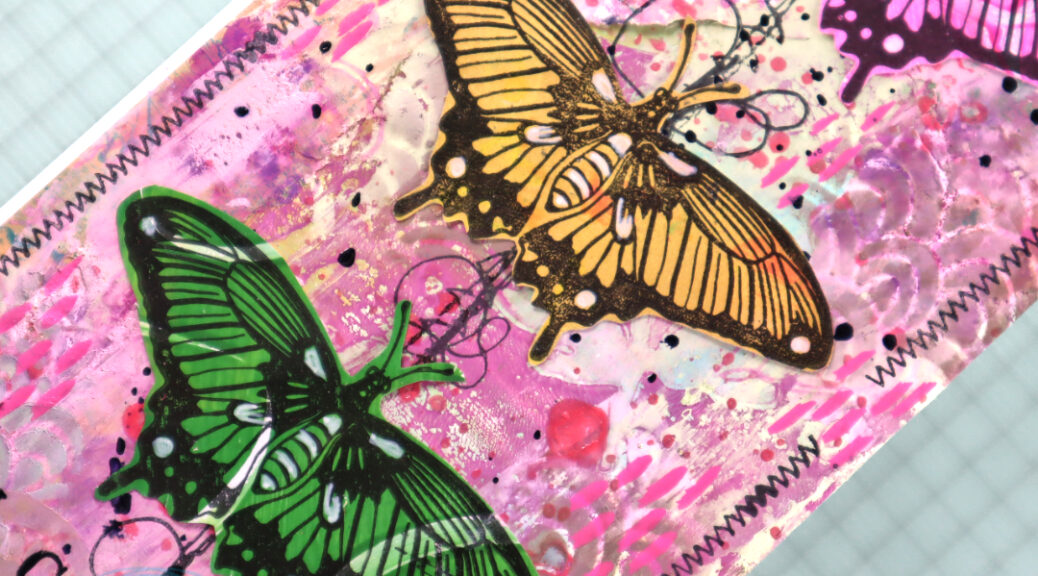
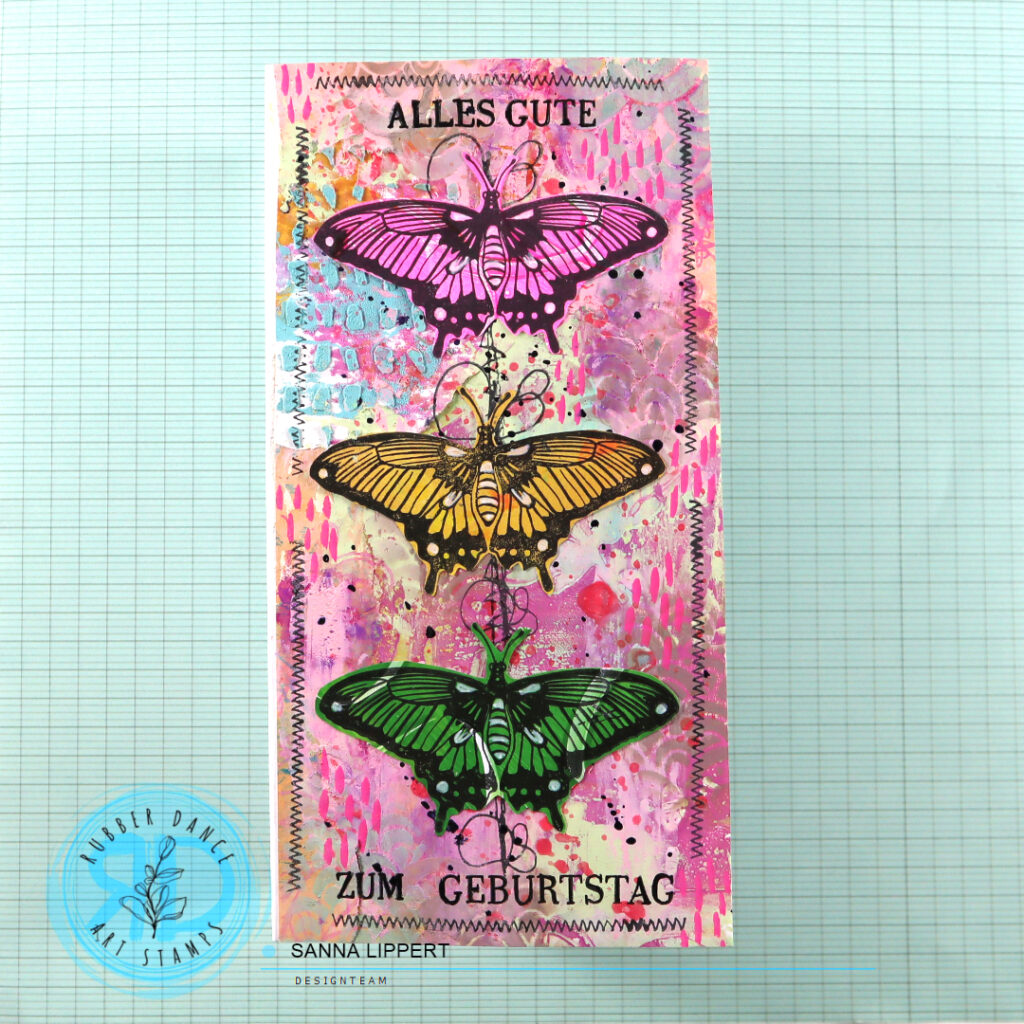
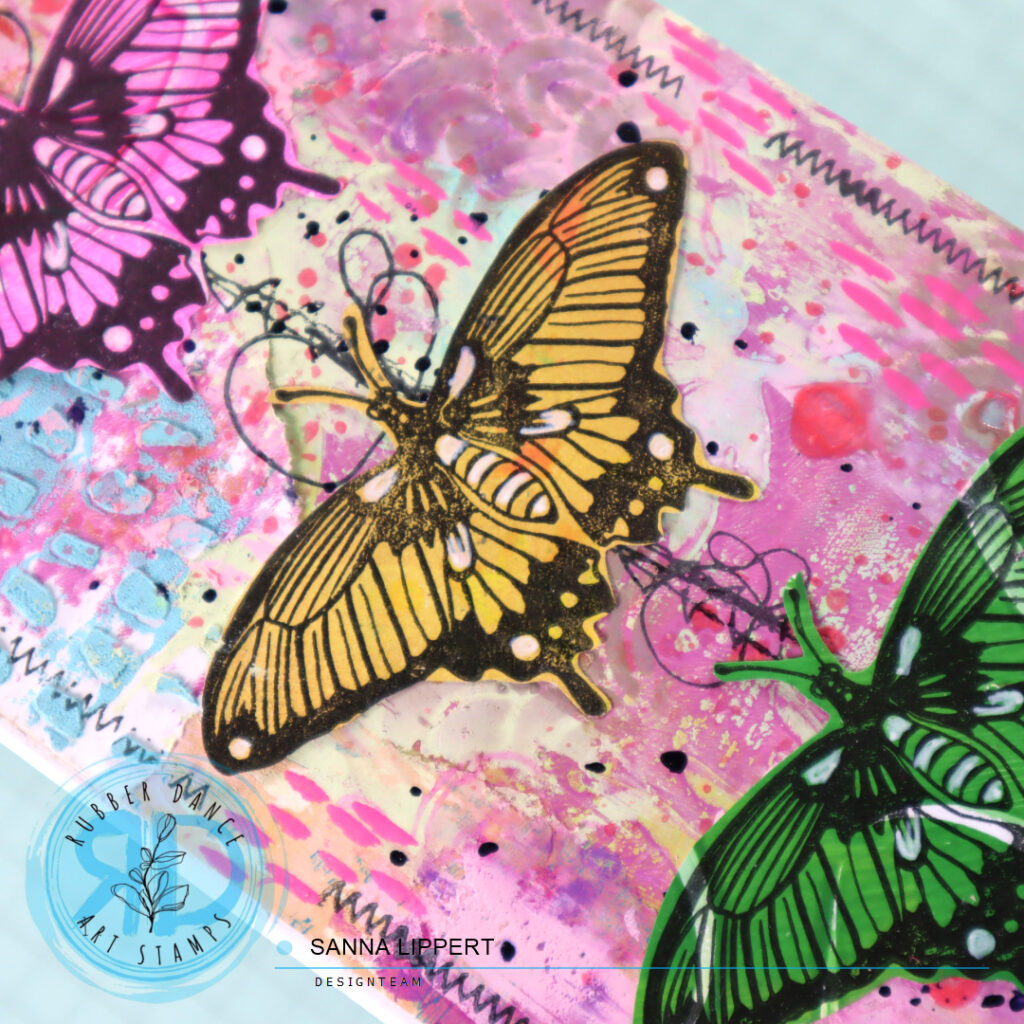
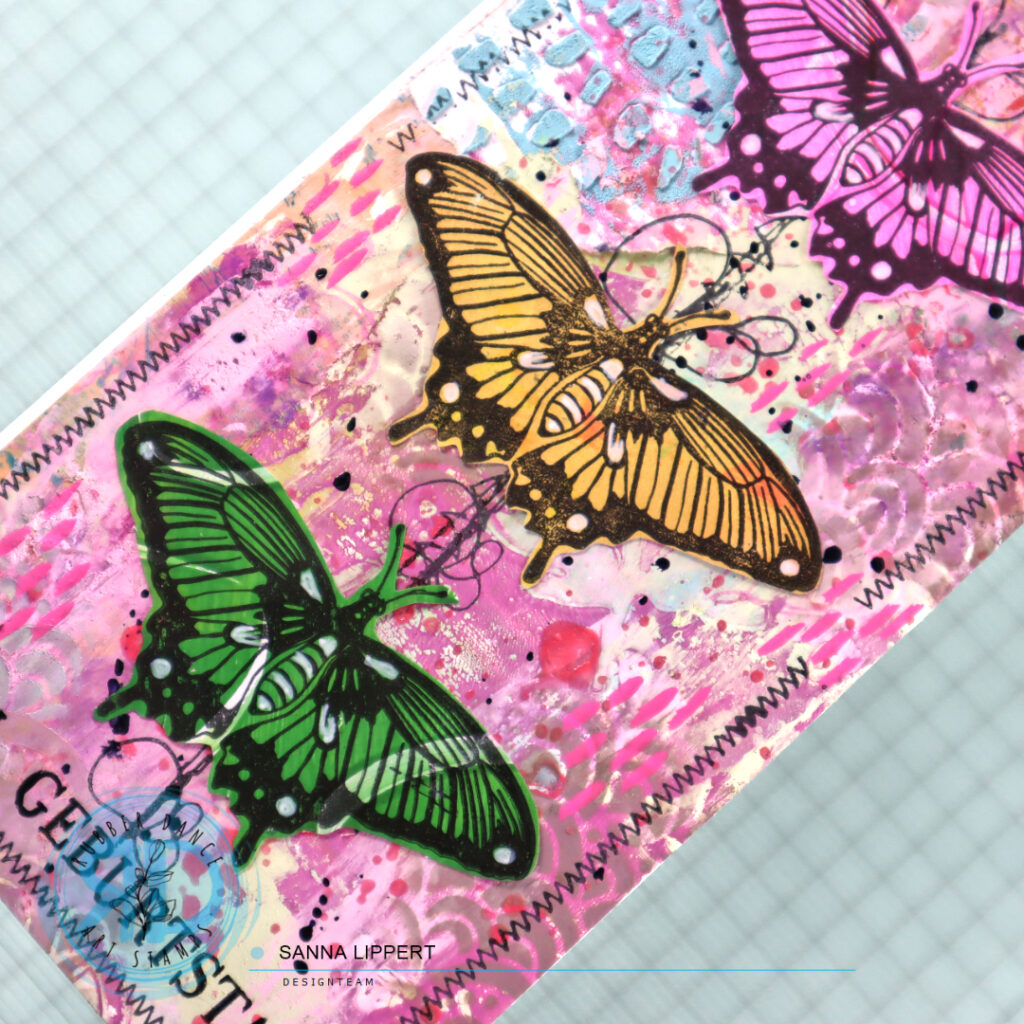
I started off with 3 different papers – some of them were gelli printed collage papers and others had texture paste stenciling on them. I adhered them onto the slimline card base and started adding Distress Paints in “spun sugar” and “antique linen” here and there. After the paint layers had dried, I placed the Rainbows 2 stencil onto the paper and added some Distress Oxide Inks thru the stencil onto the background. I used greys, browns and light greens here. I also added some black and pink ink splatters to the background as well as some Posca pen marks in bright pink.
After that I stamped outlining with the Stitching Borders stamp set and a line into the middle with black ink. Then I took some collage butterflies I had made previously and adhered those to the card as a centerpiece. I added some white gel pen details to them and finished the card off with a stamped birthday wish.
Who else is in love with the butterfly stamps? I could add them to almost every project I make.
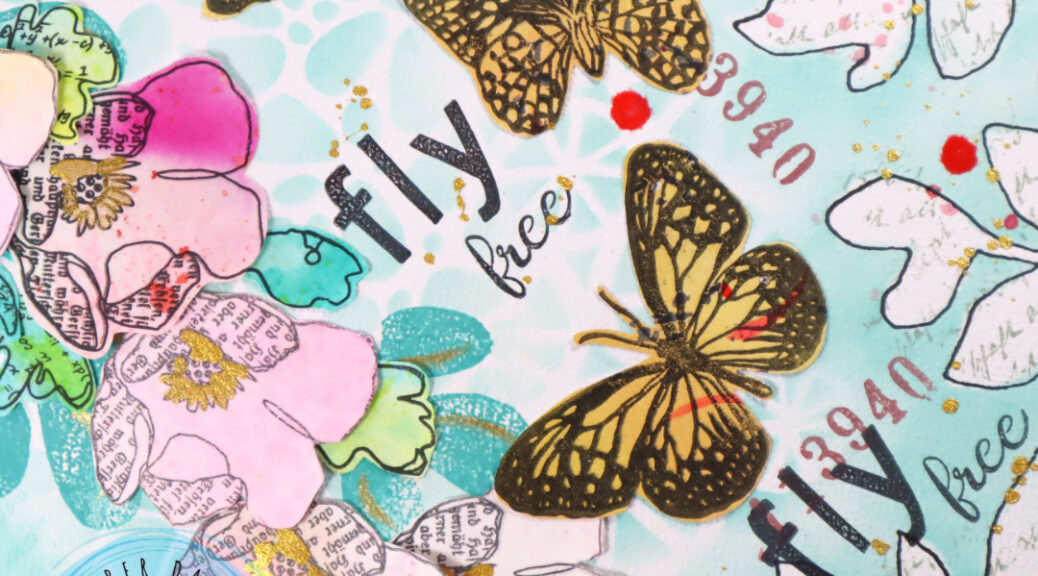
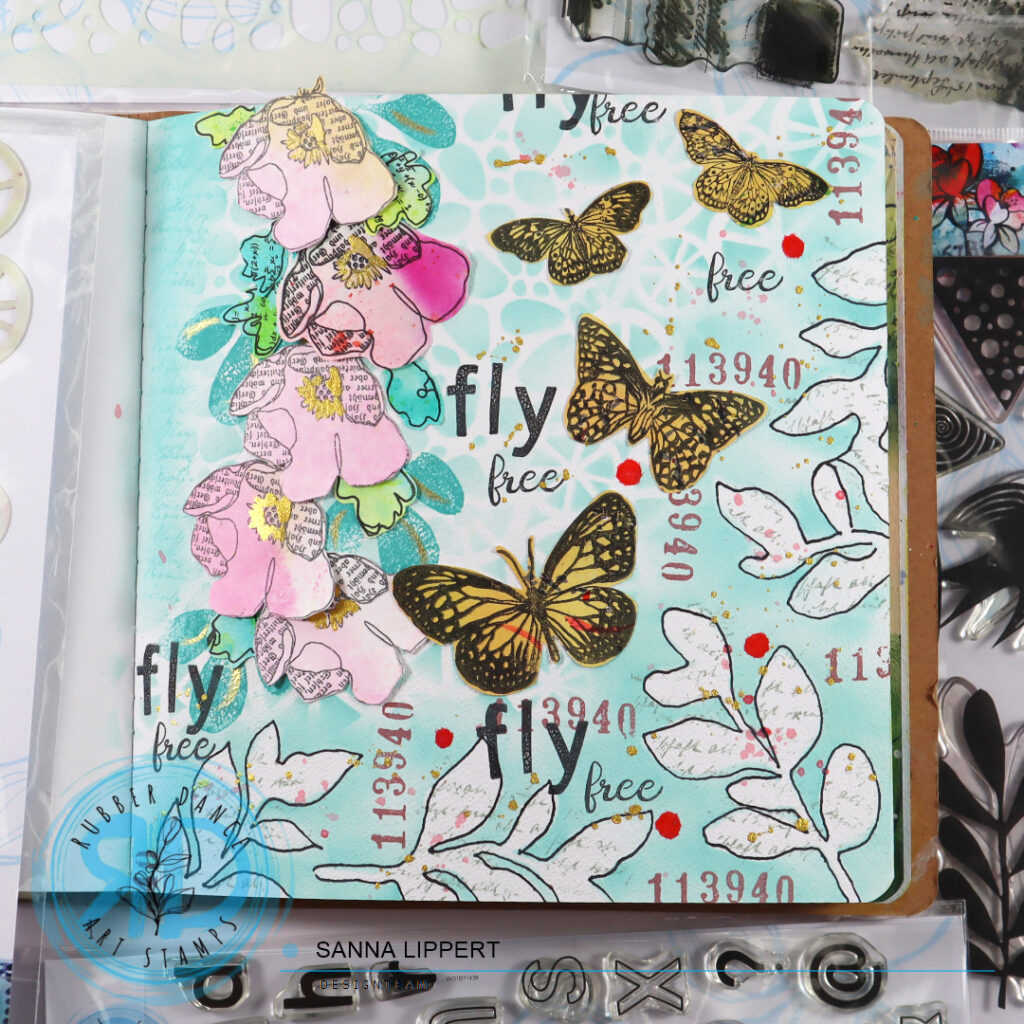
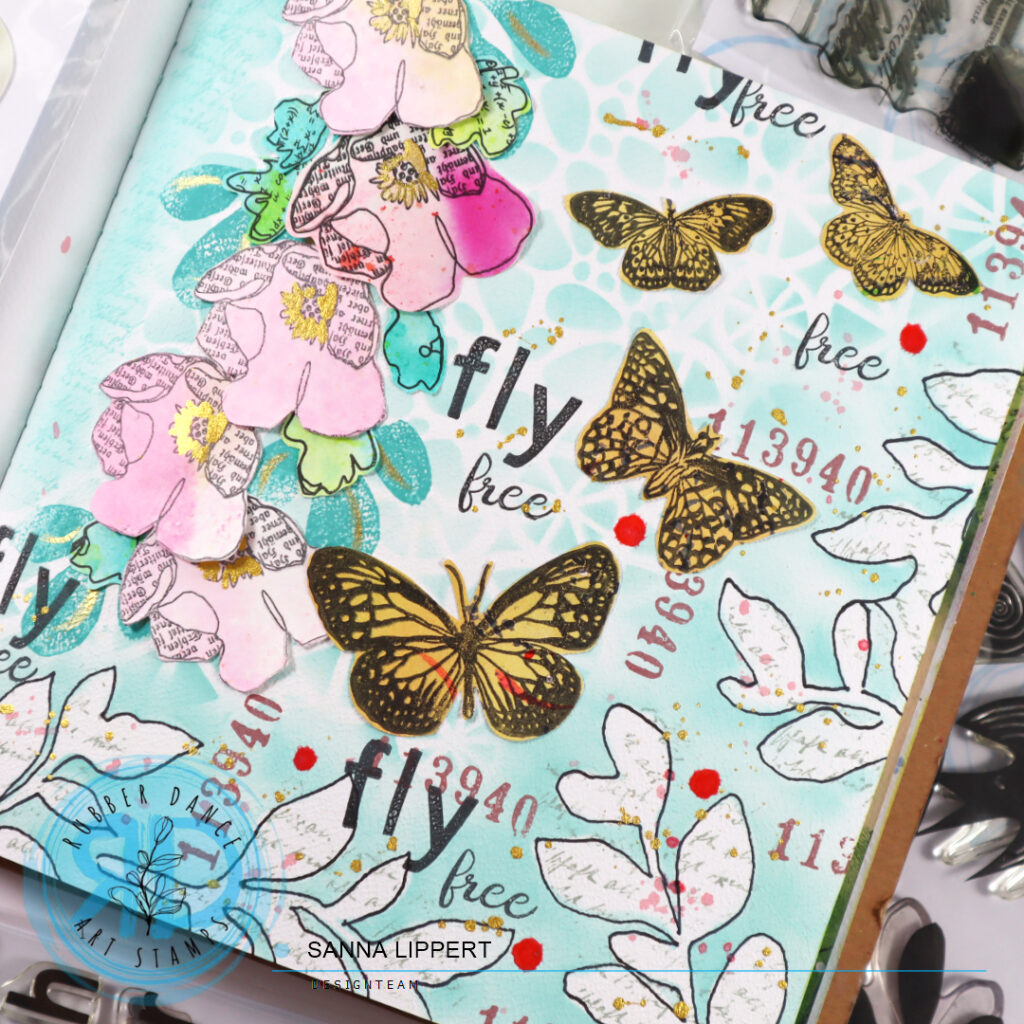
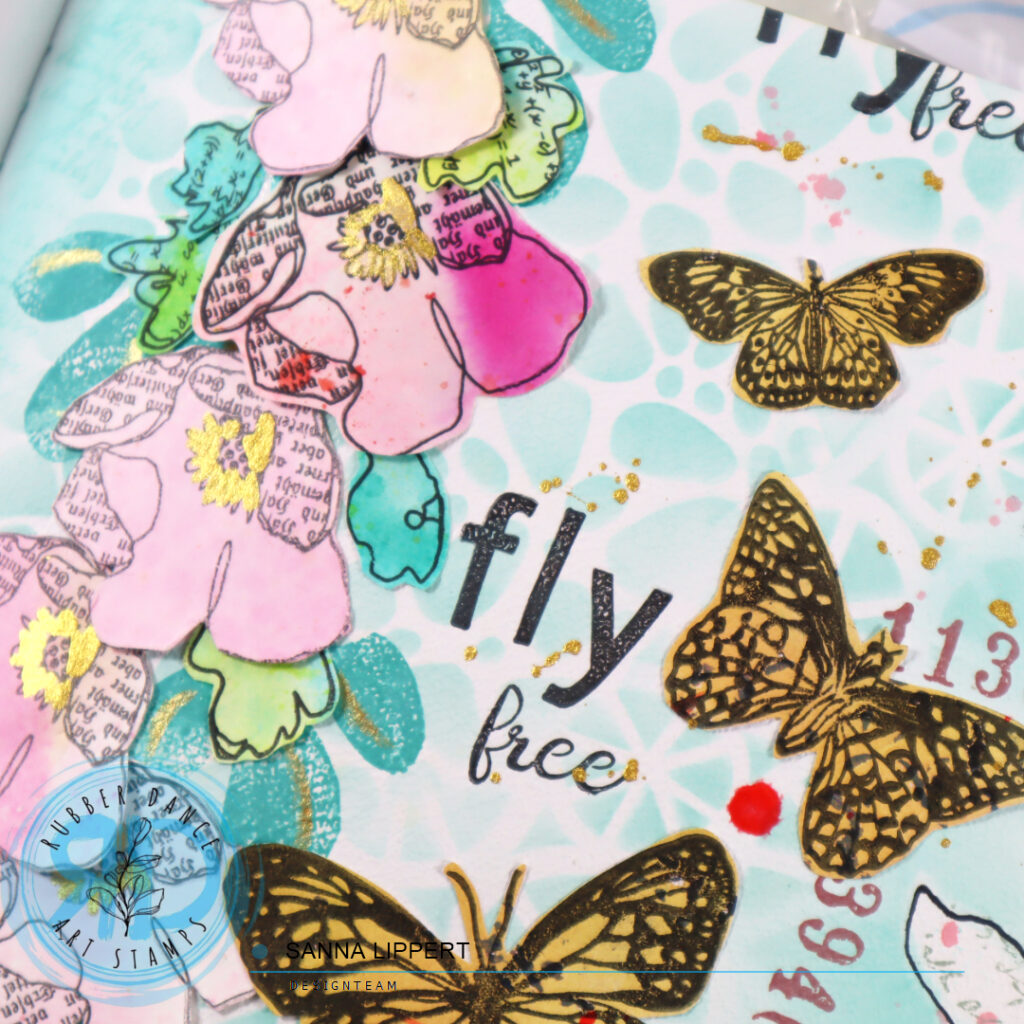
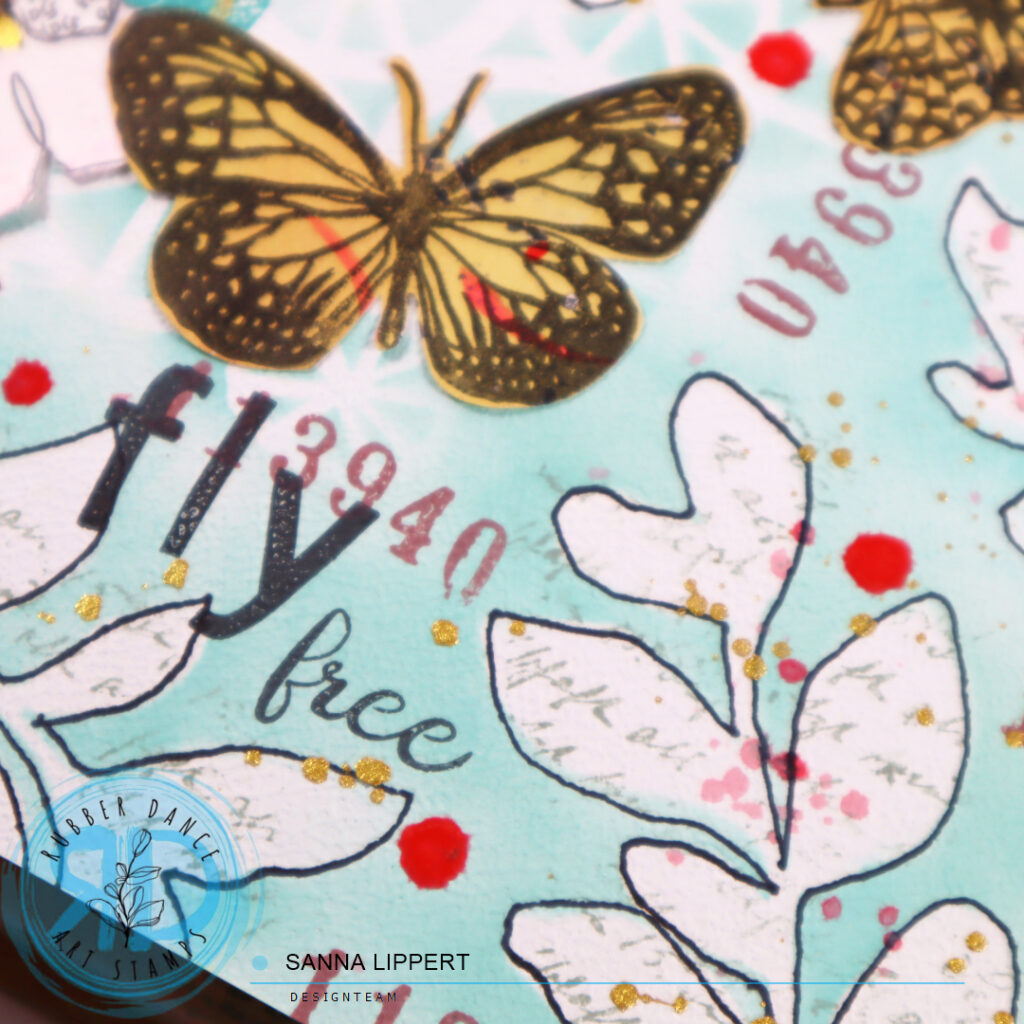
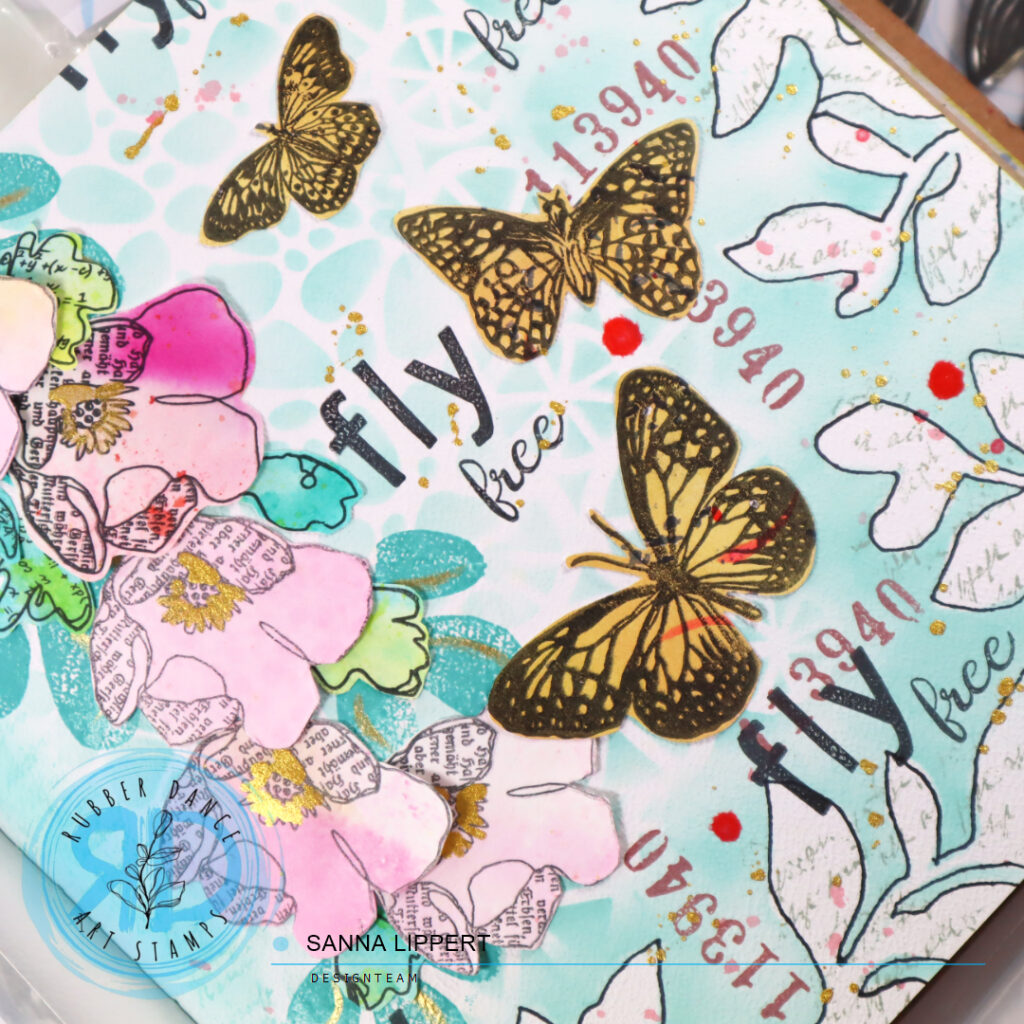
I started by placing the leaves and using them as masks with salvaged patina Distress Oxide Ink. I placed them onto the page and brushed the ink over them to the page repeatedly. After that I continued the background pattern with the Wheels stencil and the same ink tone, blending them into each other. Next I took the Organic 4 stencil and continued adding the same ink thru the stencil onto the page.
After finishing the inking, I took the iced spruce Distress Oxide Ink and stamped with Mix It Up 6 stamp set hand writing stamp over the white leaf areas very freely. Then I outlined the leaves with a black pen. This made them pop out of the background and I love the look it creates to the page. After that I used the number stamp from the same stamp set with aged mahogany Distress Oxide Ink to randomly stamp numbers next to the leaf patterns.
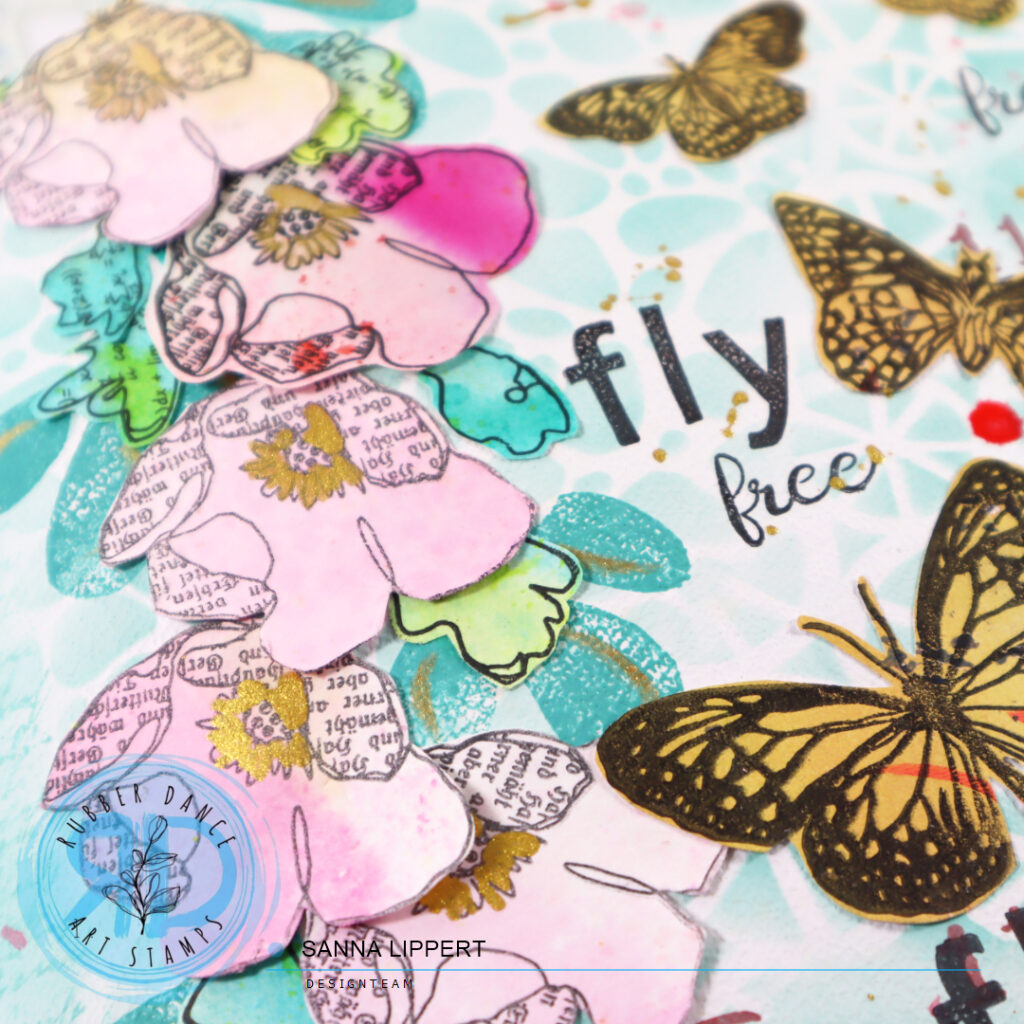
After that I took the peacock feathers Distress Oxide Ink tone and stamped a leaf pattern with the Carved Collection 6 stamp onto the page from top towards the bottom. I added golden pigment details with Gansai Tambi watercolors to them. Then I took some previously made leaf and collage fodder (see videos here and here) and added those on top of the stamped leaves overlappingly.
I also decorated the page with some yellow toned butterflies. These were also previously made collage fodder (with Butterflies and Moths stamp set) from my gelli printing sessions. For the text I used black ink and the word free from the Mix It Up 6 stamp set. The word fly is stamped with the A to Z set.
For finishing touches I also added some light written text stamping in the salvaged patina tone next to the pink flowers. It´s just a hue, but it adds some detail to the otherwise blank area. I also added some golden droplets and Gloss Spray in the tone blushing here and there.
For more details, here is the start-to-finish video for you to watch:
I really enjoy playing with stencils, creating collage fodder and then combining all these bits and pieces together in a project.
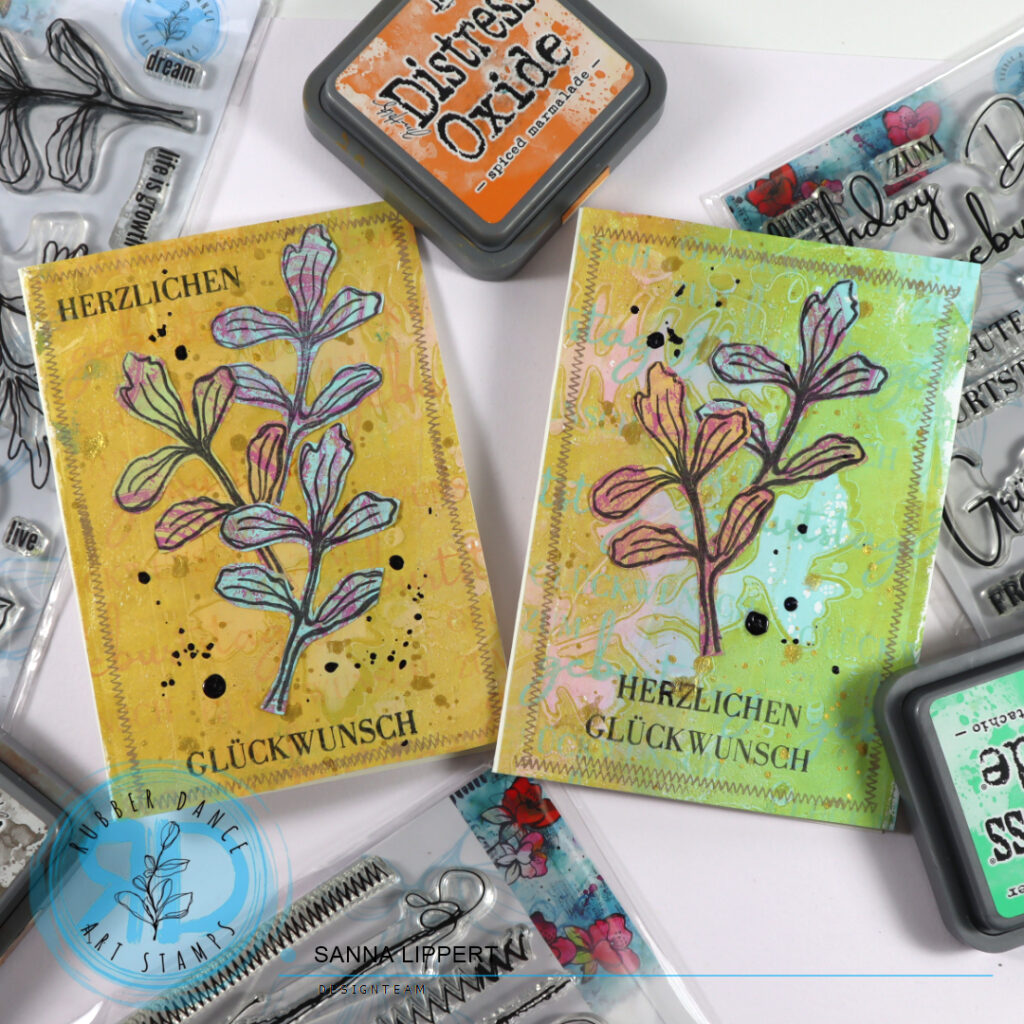
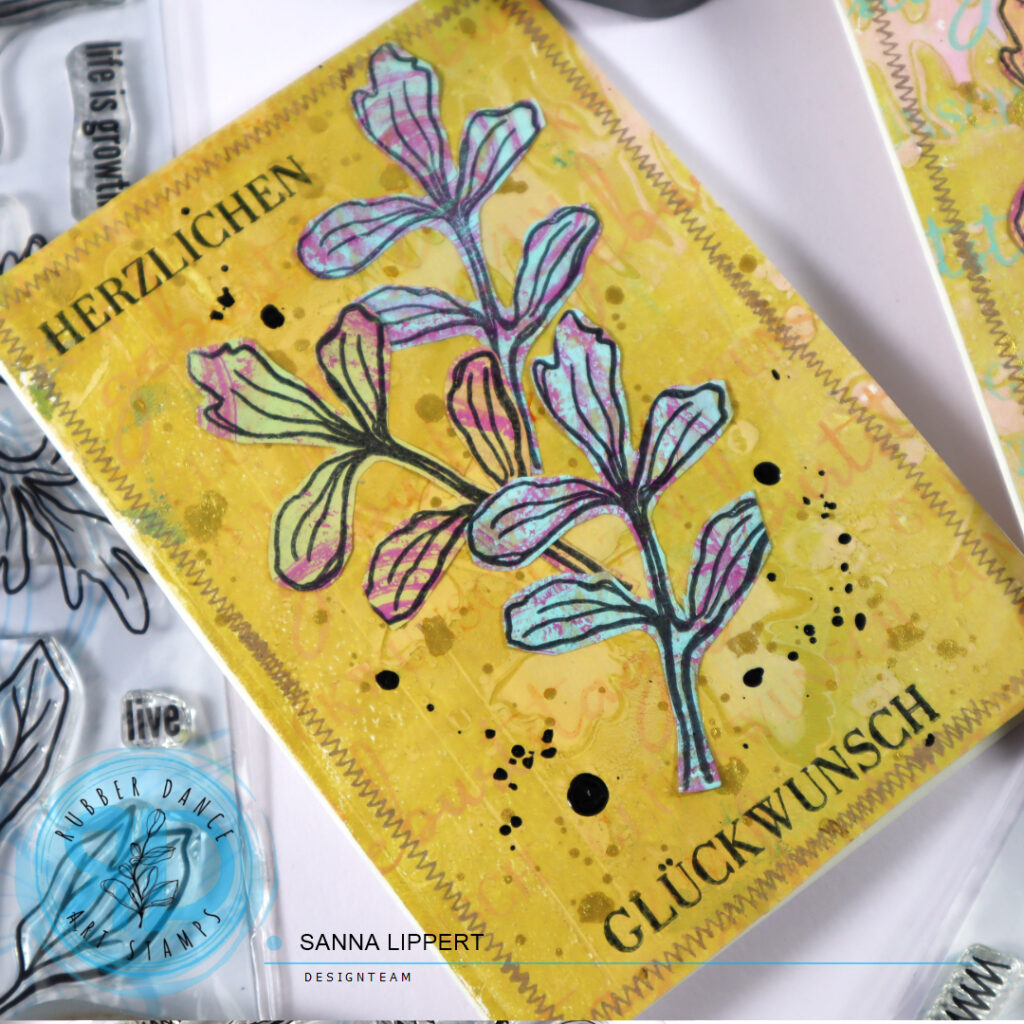
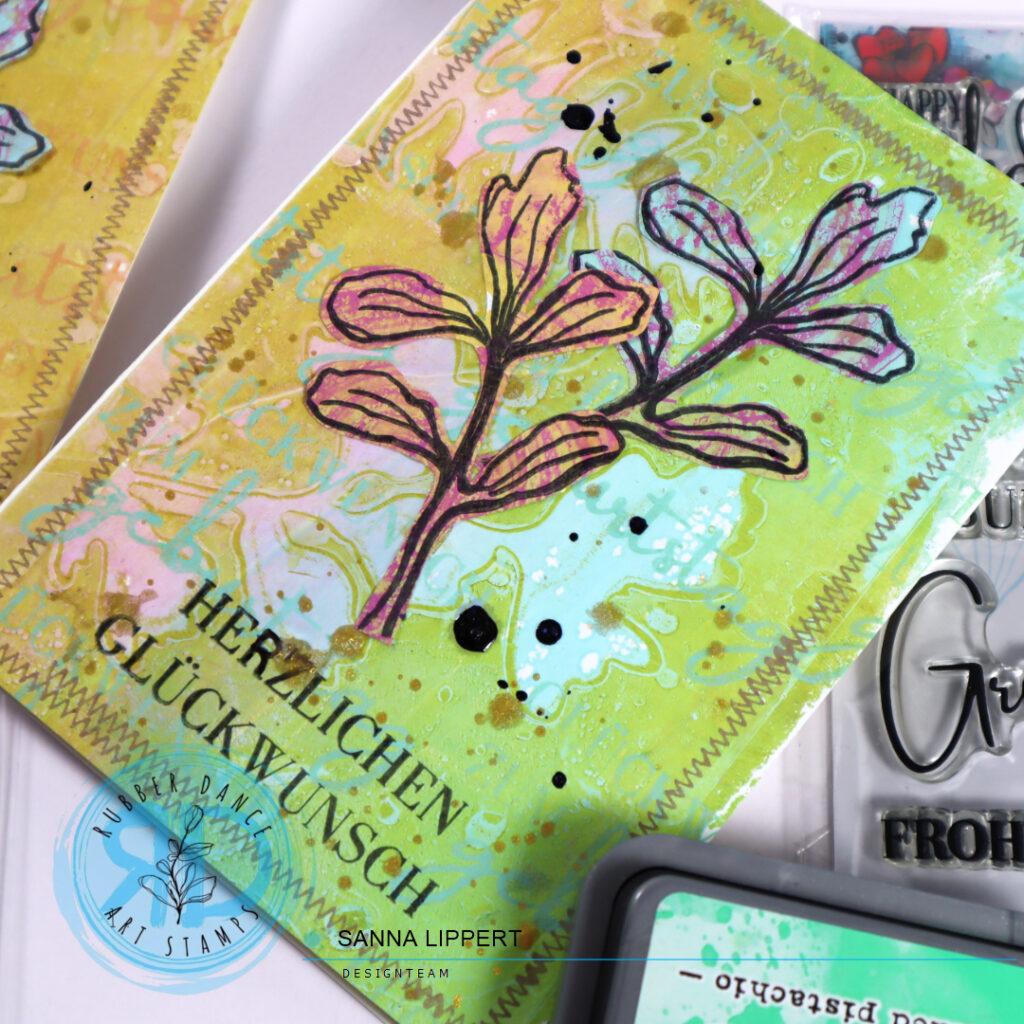
Hello, it´s my turn to share a project over at Rubber Dance today. I am up with a set of cards, created using some of the new Rubber Dance stamps. For this card set I used the: Collage Leaves 3, Stitching Borders and Kartengrüße stamp sets. My starting point was a previously made, gelli printed collage paper. For that I had used the Sketchy Leaves 5 stencil.
I started by cutting the previously made collage paper (gelli print with Sketchy Leaves 5 stencil) in two halves. After that I took an additional residue collage paper piece and stamped with black ink and Collage Leaves 3 onto it. Next I fussy cut the images.
After that I arranged a German birthday sentiment onto an acrylic block and stamped with orange and green Distress Oxide inks onto the background collage paper. Then I added some golden pigment splatters to the backgrounds. Next I took the fussy cut leaves and adhered them onto the card bases. For finishing touches I added a stamped birthday sentiment in black and some stitching around the edges with brown Distress Oxide Ink.
Here is the process video for you to watch:
I hope you get inspired and create fun, stamped cards with the new Rubber Dance stamps!
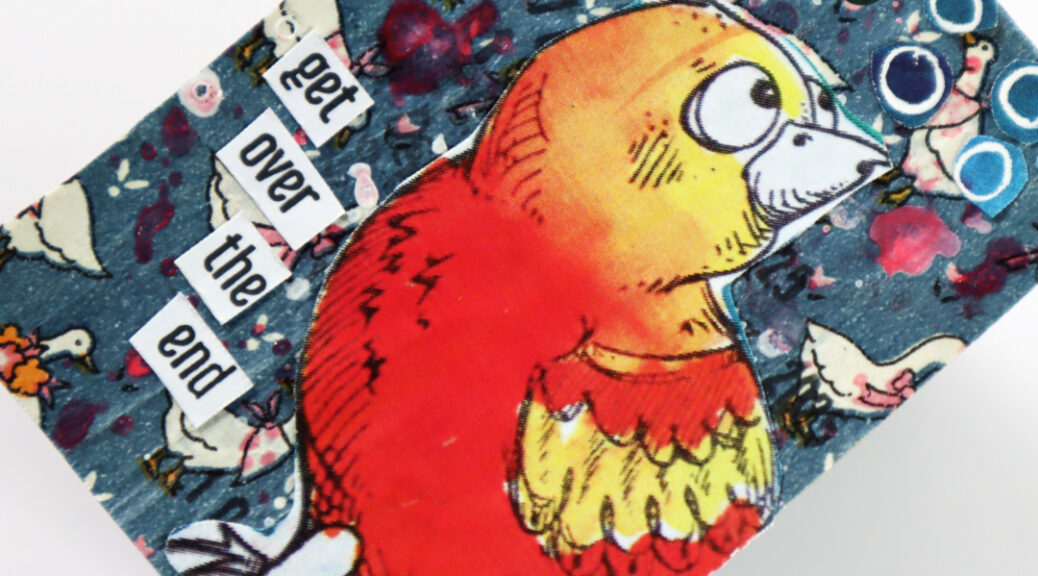
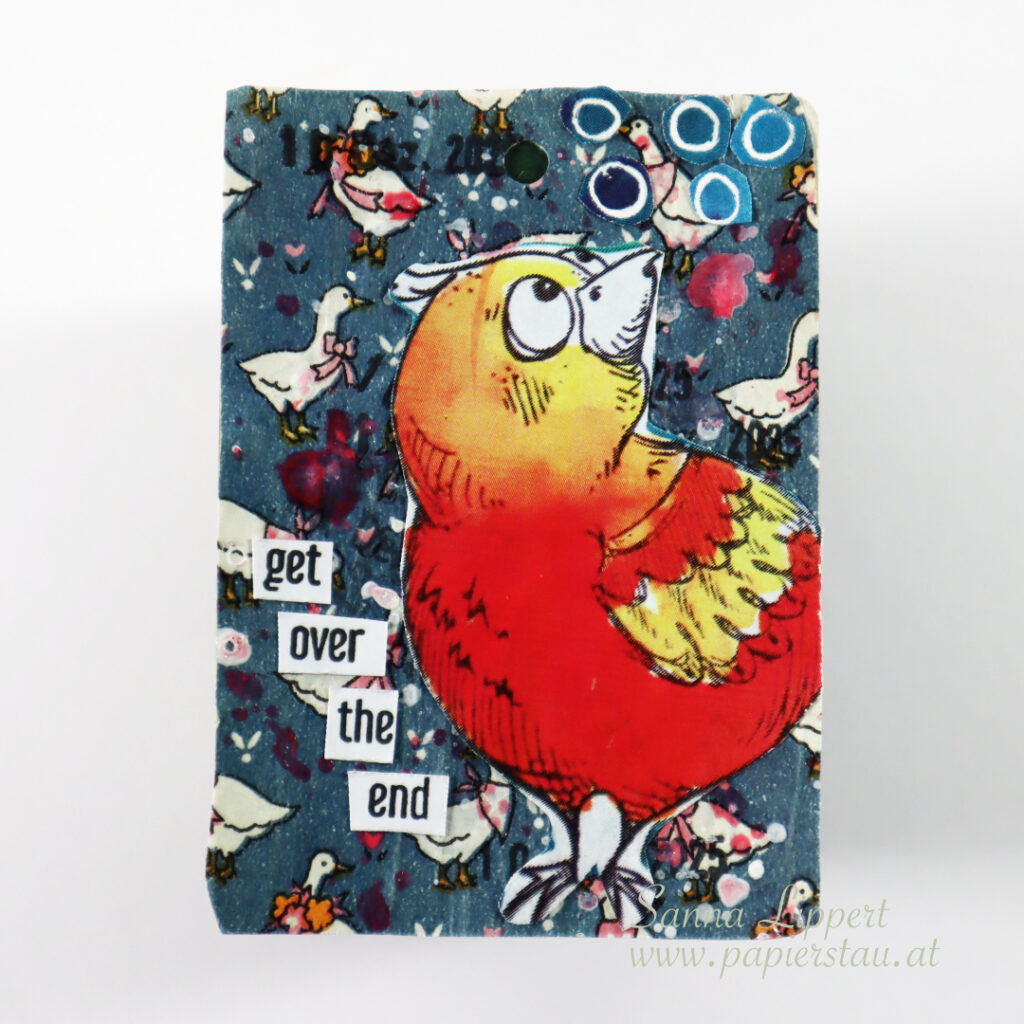
Hello! So this is it! I´ve finished the 2025 ShanoukiArt Full Deck Challenge with this deck card. The theme was “animal print”.
I interpreted the theme very loosely. See, the paper ribbon I used as a background paper, has animals on it and it is printed. Sooo…very loosely, it´s “animal print”. Ducks on paper, how cute is that?!
On top some Dina Wakley Gloss Sprays and my constant, a date stamp. My focal point is a big birdie, adding to the bird theme there. The stamped words are from a Rubber Dance stamp set. For finishing touches I added some hand drawn white circles. Drawn on the same blue paper I used on my previous deck card for the hearts. So also ticked off the carry over theme there, too.
Here is the final process video:
And this has been a fun year with the deck cards. I really enjoyed making them. The recording of the videos also did not get too stressfull, because it´s only one a week. There will, I think, be a new deck card challenge for 2026. Thinking if I should join again. Are you going to join?
Happy crafting and a fabulous end of 2025 and all the best for 2026!!! xxx, Sanna
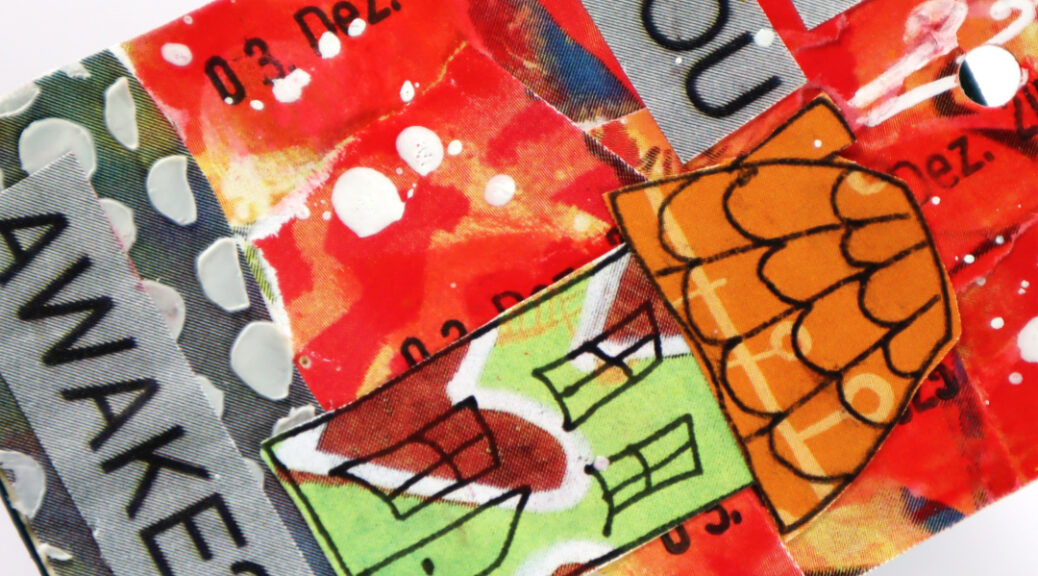
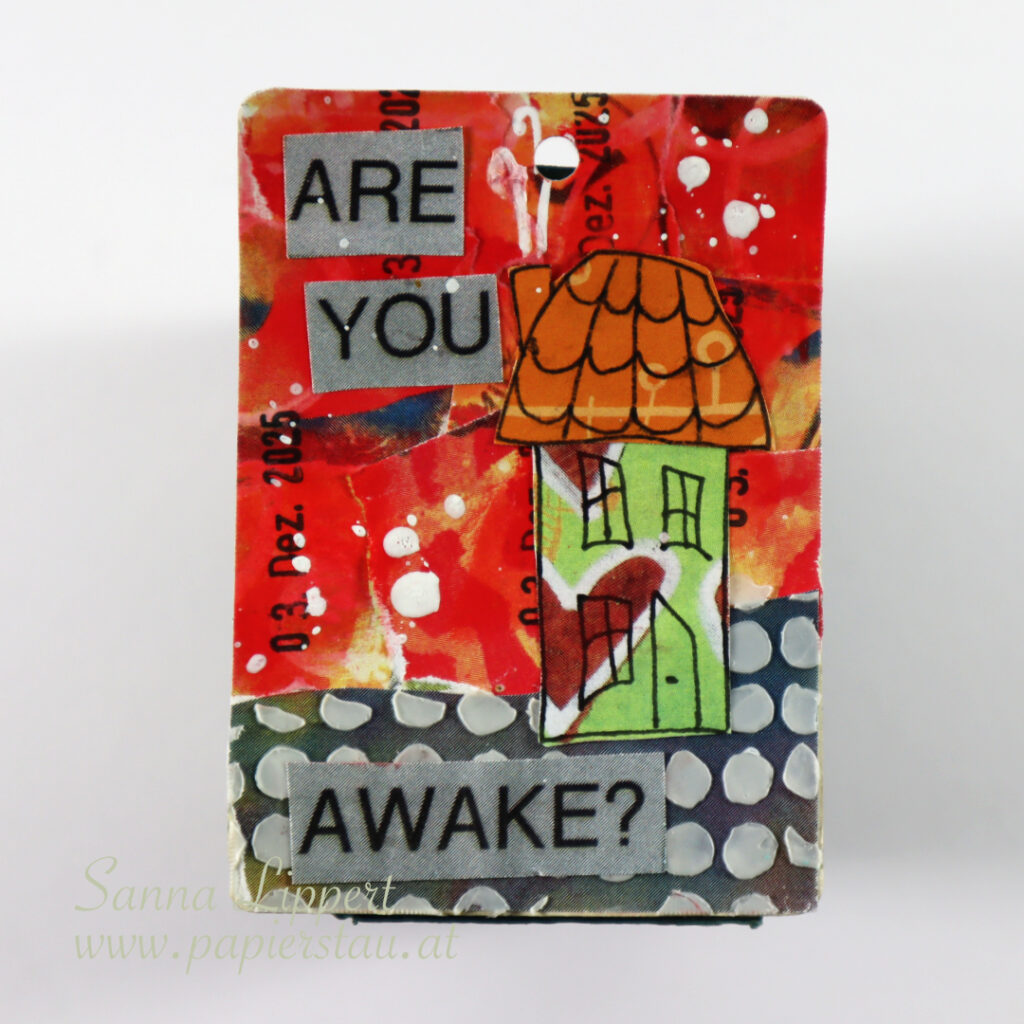
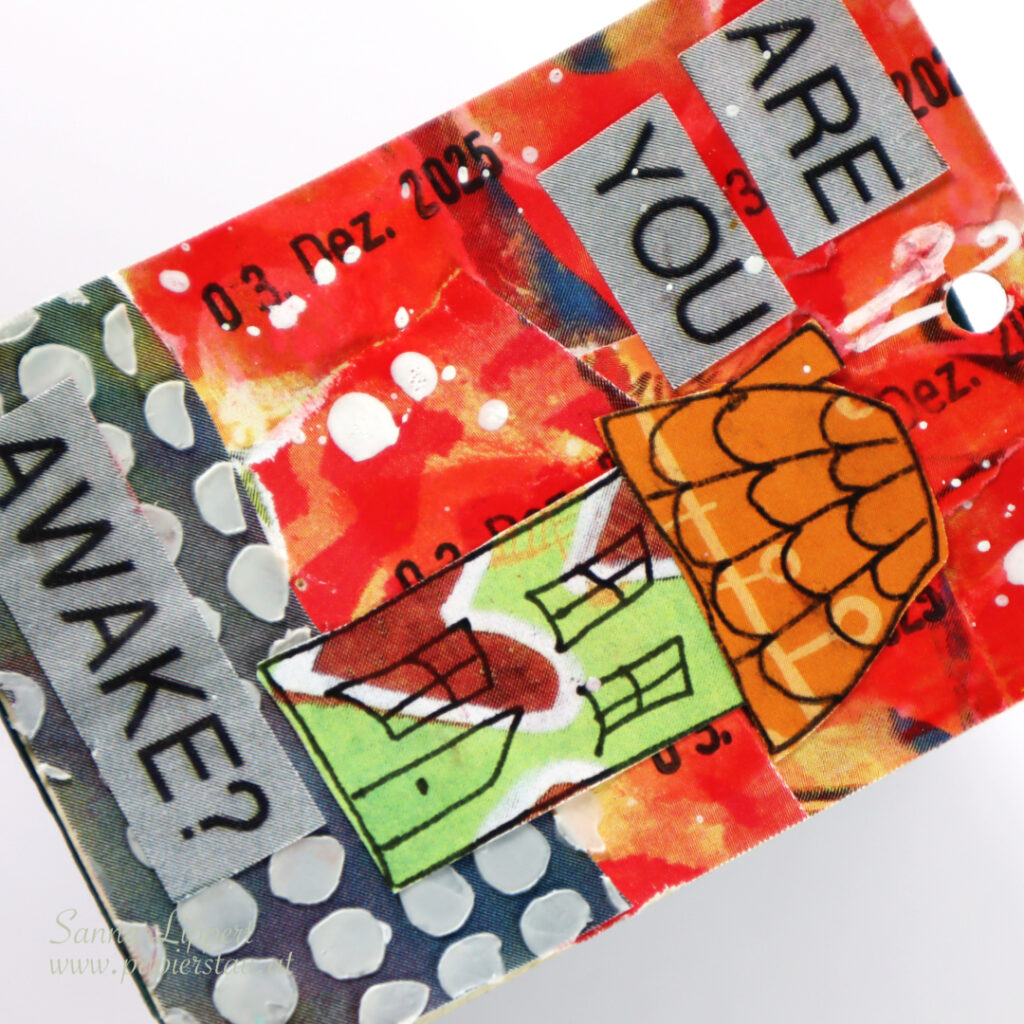
Hello! This is my take on the 2025 ShanoukiArt Full Deck Challenge number 50: wonky house.
On the background I´ve again used collage papers gifted to me by Yuna. On top some Neocolor II crayon and Dina Wakley Gloss Spray in white. The bottom paper is stenciled with a Rubber Dance stencil and modeling paste.
I hand drew the wonky house and fussy cut it. The title was a coincidence, because one of Yuna´s collage papers had it written on it. So I fussy cut that and used it as my title.
Here is the process video:
This was the hardest one for more of the deck challenges. I just could not figure out what to do with “wonky house”. So this is all I came up with. Come back for the next one in a few days! xx, Sanna