Hello and happy Tuesday! The ShanoukiArt “Full Deck Challenge” 18/2025 was about “junk”. This is my take.
I chose a piece of old book paper for the background with some cigar labels. On top of that I added my constant, the date stamping. After that I adhered a postage stamp to the background and then made a hole with a Crop-A-Dile big bite to attach my junk to the deck card (a clothing label and a cola can piece (both attached to the deck card with a brad).
A gelli printed Rubber Dance stamp image decorates the card and some stamped words got added for detail. Also by Rubber Dance. And here is the start-to-finish video:
See you next week with another deck card. Thanks for stopping by! xxx, Sanna
Hello and happy Thursday! Here is my take o the ShanoukiArt “Full Deck Challenge” number 17. This challenge was all about blending.
I used a piece of patterned tissue paper on the background, then added some matt medium on top. On that layer I used Distress Oxide inks (blended) in pink, yellow and light grey. After that I added my constant, a date stamp and a Rubber Dance stamp image, stamped with grey Distress Oxide ink.
My carry over item from the last deck card is a stamped butterfly (Rubber Dance). And on top of that I added a Tim Holtz paper doll with some garn and a stamped words for journaling. I also outlined the deck card with a black pen.
And here is the full star-to-finish video:
Thanks for stopping by and see you next week with another FDC take! xxx, Sanna
Hello and happy Wednesday! Here is another share from my take on the ShanoukiArt “Full Deck Challenge 2025”. This weeks theme is: “Stack it up!”.
I used layers over layers (as much as I could). Starting with gelli printed leftover paper bits, then adding some texture paste treated paper bits on top. Then some washi tapes. After that some fabric tape bits. Next some pink Posca pen marks and turqouoise Gloss Spray splatter. After that a collage fodder leaf (Rubber Dance) and some hand drawn ephemera (hearts and crosses). In between some yarn and on top some stamped words. I love how this one turned out. The happy colors on top of each other. Pure joy!
The hand drawn bits are from last years 100 day challenge. I am so glad I can incorporate those bits on this challenge. And now to the video:
Hope you liked it and got inspired! See you next week with another one.
Hello and happy Wednesday! Here is my take on the ShanoukiArt “Full Deck Challenge” number 13: crazy colors & black mark making.
I started off with gelli printed bits (leftovers) and a piece of collage paper gifted to me by Yuna. I then added black paint with a piece of cardboard packaging material and a foam piece for mark making. Then I added some of my constant (date stamps). I wanted more crazy colors, so I added some Gloss Spray droplets in turquoise and then the hand drawn eyes from my last years “the100daychallenge” with some stamped words (Rubber Dance).
I found this weeks challenge hard, but at the end I am happy about the result. It sure has crazy colors on it!
See you again next week with another deck challenge take! Happy crafting, xxx, Sanna
Hello, I am again up over at Rubber Dance blog with another project share. This time I have a set of stamped Artist Trading Cards with a video tutorial for your inspiration. For this set I used a gelli printed background paper, where I used the Marks 2 and Organic 3 stencils with acrylic paints to create the paper. The following layers were done using Pencil Marks 8 and Mix It Up 4 stamp sets and the Stars 1 stencil.
I started by stamping first with Mix It Up 4 stamp set and brown and grey shadow inks onto the paper. Next I stamped some circles with Pencil Marks 8 stamp set and applied Distress embossing glaze (weathered wood) with a heat tool on top.
Next I grabbed the scallop border stamp from the Mix It Up 4 stamp set and stamped with black ink onto the paper. After that I took some pre-made paper that had stenciled glitter paste on it (thru Stars 1 stencil). I wripped some stars from the paper and adhered them randomly onto the background. Next I decorated the ATC´s with leaf collage fodder (see the reel for that here), some yarn and a wooden button. For finishing touches I added some black pen outlining, some white Posca dots and a stamped and fussy cut sentiment from the Mix a Sentiment 2023 stamp set.
Here is a start-to-finish video for you to watch. Hope you enjoy it!
See you again soon with another inspirational project. Happy crafting! xxx, Sanna
Hello and happy Wednesday! Here is my take on the ShanoukiArt “Full Deck Challenge” number 12: “holes and drippy paint”.
I love how this turned out! I started off with collage papers gifted to me by Yuna. Then I added some Dina Wakley heavy body paint in light pink into the open areas. On top of that I added some small bits of gelli printed paper leftover to which I made holes with my Drop-A-Dile.
After adhering the papers with holes onto the background, I added Gloss Spray (in pink and blue) drippings. Next I added my constant (the date stamp) and after that I decorated the deck card with some Rubber Dance fodder and hand drawn flowers. The leaves are from the set “Pencil Marks 8” and the flowers are from my last years “the100daychallenge” project. For finishing touches I added again some stamped words (Rubber Dance stamp). I love how this deck card turned out!!!
Here is the video for you to watch:
See you next week with another deck challenge take! Happy crafting, xxx, Sanna
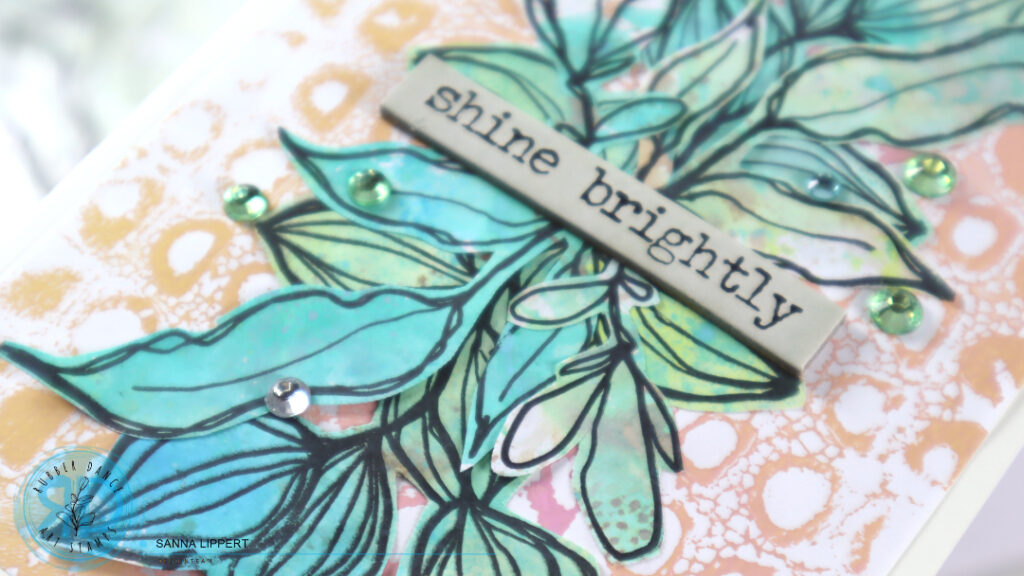
Hello, it´s my turn to share a project over at the Rubber Dance blog and I am up with a fodder bouquet card set. I have made piles and piles of fodder and gelli prints recently and what for? For projects like this. I used the Mix It Up 5, Mixed Sentiments 1, Pencil Marks 8 and the Doodle Flowers 2 stamp set with the Wheels stencil on this project.
I love making leaf and flower fodder. Creating random colored backgrounds and stamping onto them and only when fussy cutting the images, to discover the beauty of every single piece on it´s own, is something very exciting.
So for these cards I used some recently made flower and butterfly fodder as well as gelli printed backgrounds. Have you tried making some yourself? It is a very inspiring process, so I truly recommend, you try it out.
Here is a video on how I built the cards together:
And I´ve prepared 2 different short videos on some fodder making, just for fun:
I hope you enjoy this card idea and the videos and that they inspire you to play with Rubber Dance products!! Have fun! xxx, Sanna
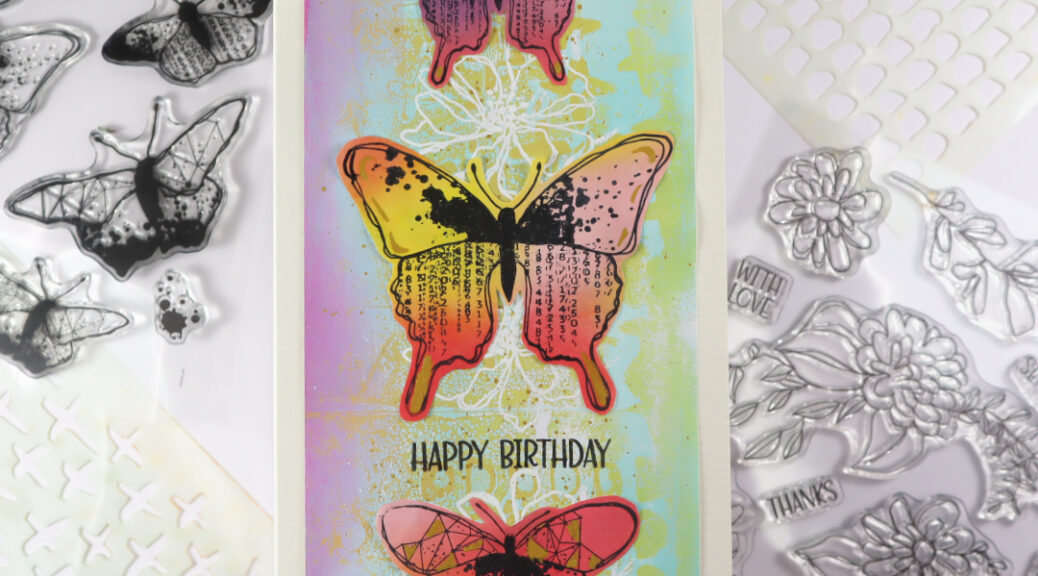
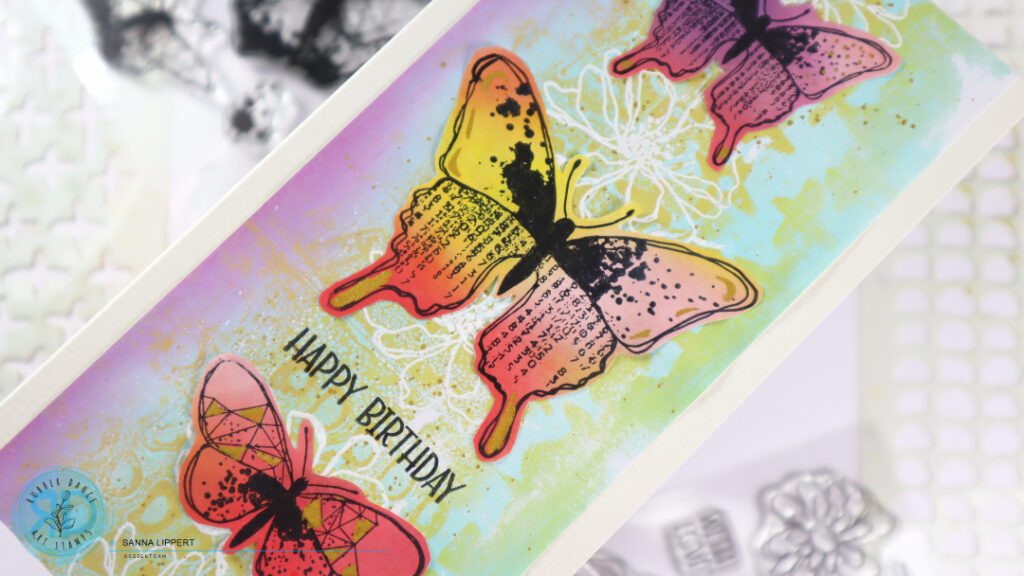
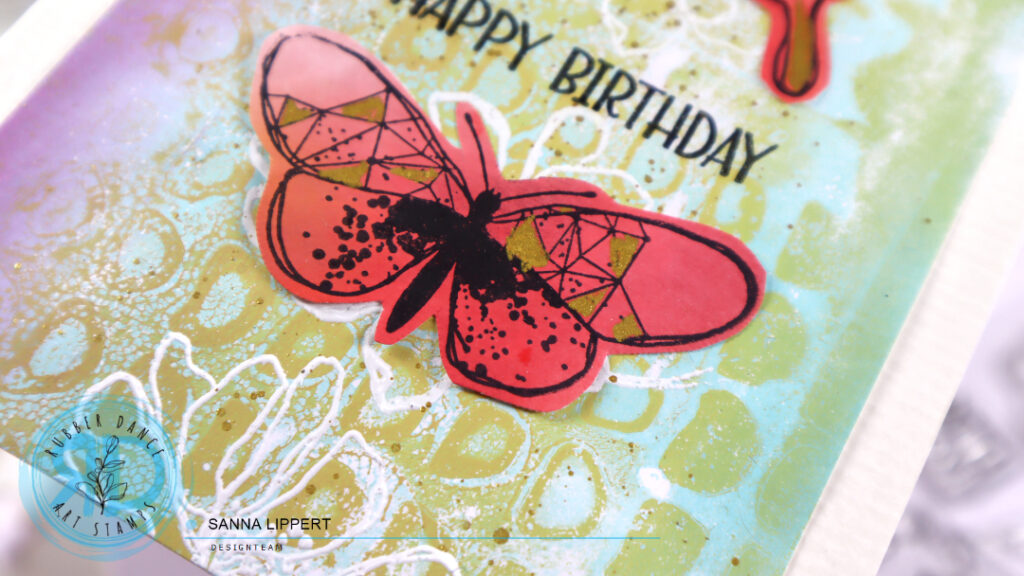
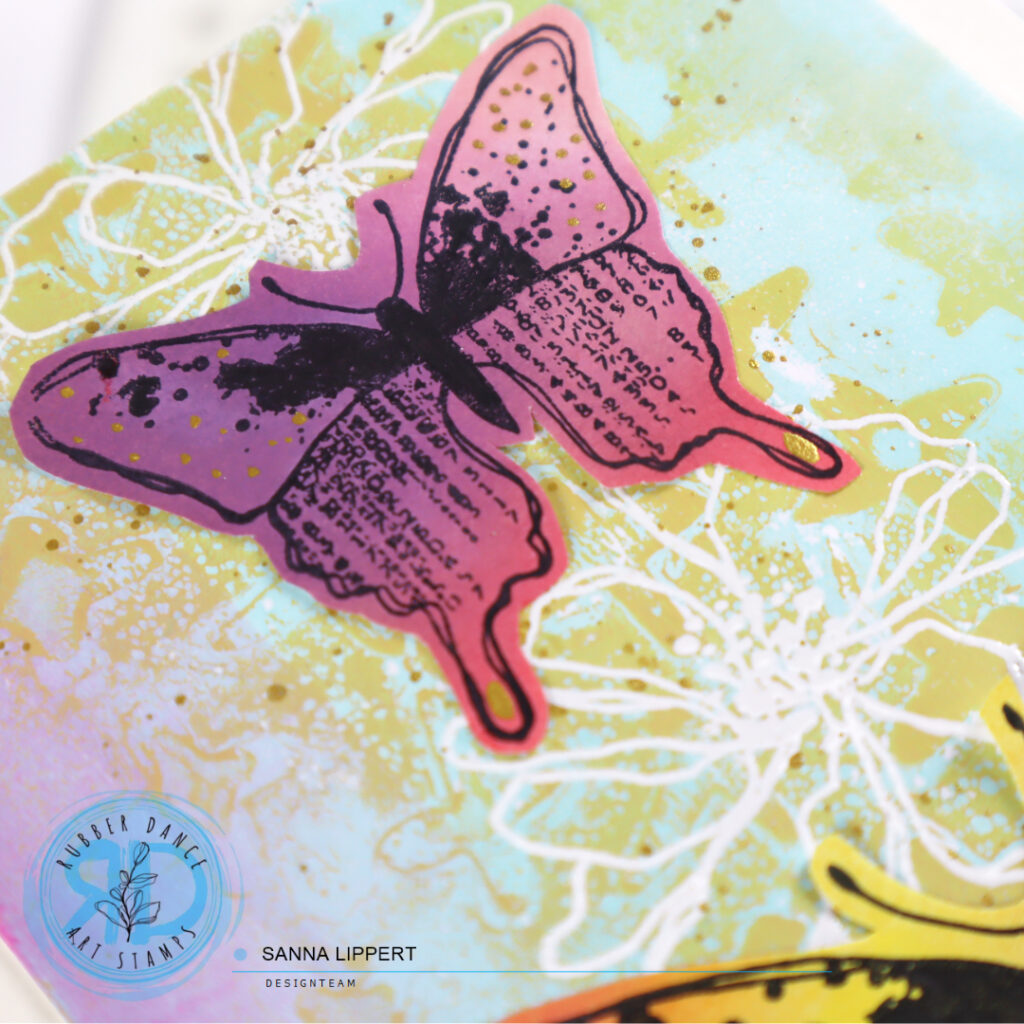
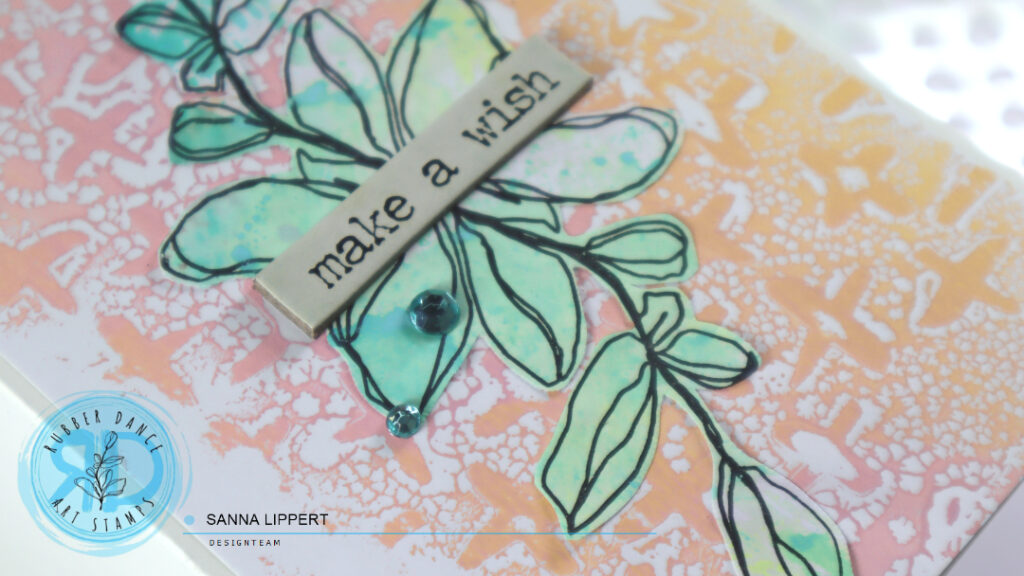
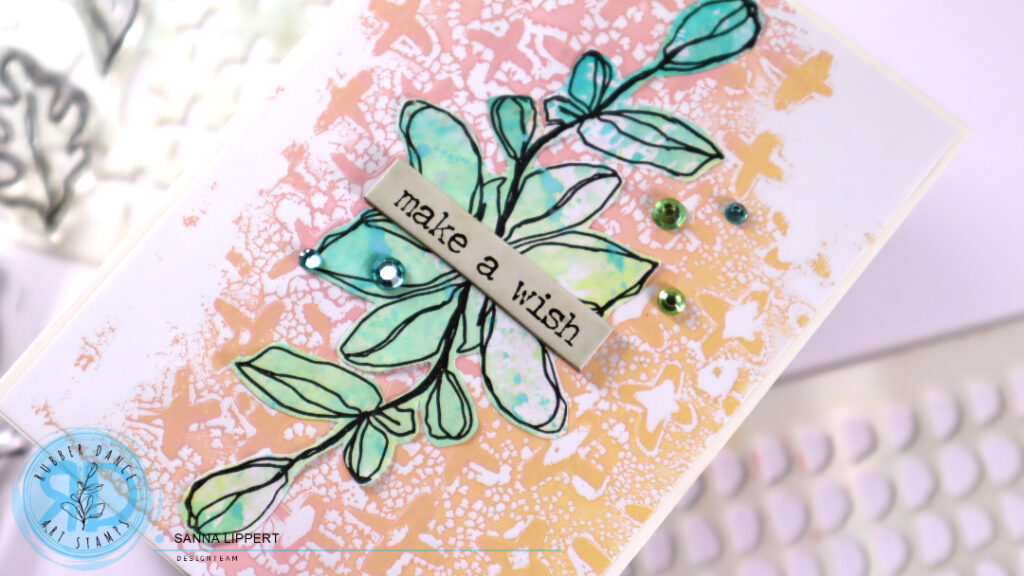
Happy Wednesday! Here is another card share, again created using Rubber Dance stamps. For this one I used the Butterflies and Moths fodder and the Mix It Up 4 stamp set.
I stamped the background pattern with Iced Spruce Distress Oxide ink and the Mix It Up 4 stamp set repeatedly. After that I grabbed the butterfly fodder I had previously created using a gelli printed paper and with black ink stamped and fussy cut butterflies.
You can find the how-to reel for the butterfly fodder on my Instagram under reels.
I adhered the butterflies directly onto the stamped card base, then added a Tim Holtz label sentiment and some Dina Wakley Gloss Spray droplets to the butterfly wings.
Hope this card gives you some spring “feelz”!!! Happy crafting, xxx, Sanna
Hello, it´s my turn again over at the Rubber Dance blog today and I am up sharing another take on residue gelli prints turned into card focal points. Like on my last post, I created another set of die cut focal points out of residue gelli printing papers. This time using different color combinations and stenciling the card backgrounds, instead of stamping.
I first die cut the residue gelli printing paper with die cut dies into different forms and sizes (banners, circles and squares). I then added some stamping with black stamp ink and some heat embossed details with red embossing ink and the Pencil Marks 8 stamp set.
After that I took the Ornament 1 stencil and added brown Distress Oxide Ink thru it onto the die cut pieces. Then I took the Mix It Up 4 stamp set and added some stamping with blue StazOn ink here and there onto the background.
Next I took out some premade Sketchy Leaves 5 stencil fodder and adhered them onto the die cut pieces. On top of those I added some yarn and a fodder butterfly, created with a gel plate and Butterflies and Moths stamp set.
I also wanted to add a stamped word onto the focal point elements and took out the Mixed Sentiments 1 stamp set. I just used one word from each sentiment, instead of the whole quote.
Instead of adding a stamped background, I chose to stencil Distress Oxide Inks thru the Ornament 1, Dotted 1 and Organic 4 stencils onto the card bases and then adhered the die cut pieces with fodder onto the cards.
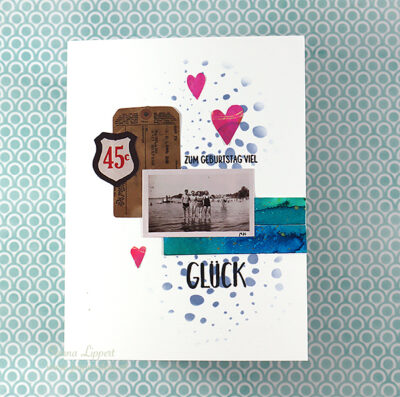
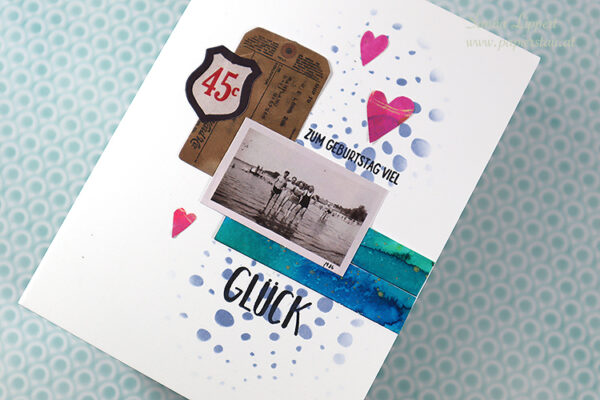
I also wanted to add a stamped sentiment to every card, so I used an older German birthday sentiment stamp set from my own stash for stamping them.
After finishing the cards, I added some Gloss Spray droplets to the butterflies wings here and there for additional color and interest.
Here is a video on how I created the Sketchy Leaves 5 stencil fodder that I used on some of the focal point elements:
And here is a short video on the focal point elements and how I put the cards together:
I hope I could inspire you to play with your Rubber Dance stamps and stencils and create colorful cards.
Hello everyone, it´s again my turn to share a project over at Rubber Dance blog today and I am up with a video tutorial to a heavily stenciled and lightly layered butterfly card. For this card I used the Stars 1 and Lattice stencils as well as the Mix It Up 5 stamp set. I also used the Butterflies and Moths fodder I had created for my last share.
I used a gelli printed background paper on the card. I created that one using the Mix It Up 4 stamp set with my gel plate. You can find videos around gelli prints with Rubber Dance stencils and stamps here.
I wanted to keep the colors on the card very light and matching. I therefore added stenciling with pumice stone & tumbled glas tones. They go very well with the background and don´t create a contrast too strong.
After stenciling, I added some stamping in same colors to the papers to create more interest and details. The edges of the paper are distressed and inked and the die cut flag is adhered to the paper with 3D foam for more depth.
I´ve also used Gloss Sprays to add splatters to the paper layers. I am a big fan of splatters. I think they add a fun element to projects. For finishing touches I added the gelli printed and stamped butterfly fodder (made using the Butterflies and Moths stamp set), a Tim Holtz sentiment sticker and some very old wood veneer stars. The black splatters are done with a wet brush and a watercolor crayon.
For more info, here is a full start-to-finish video for your to watch:
I also can not resist a little bit of glitter here and there sometimes. So the bodies of the butterflies got a little coat of Stickles in the end. I hope you like the idea and try it out yourself! Happy crafting, xx, Sanna