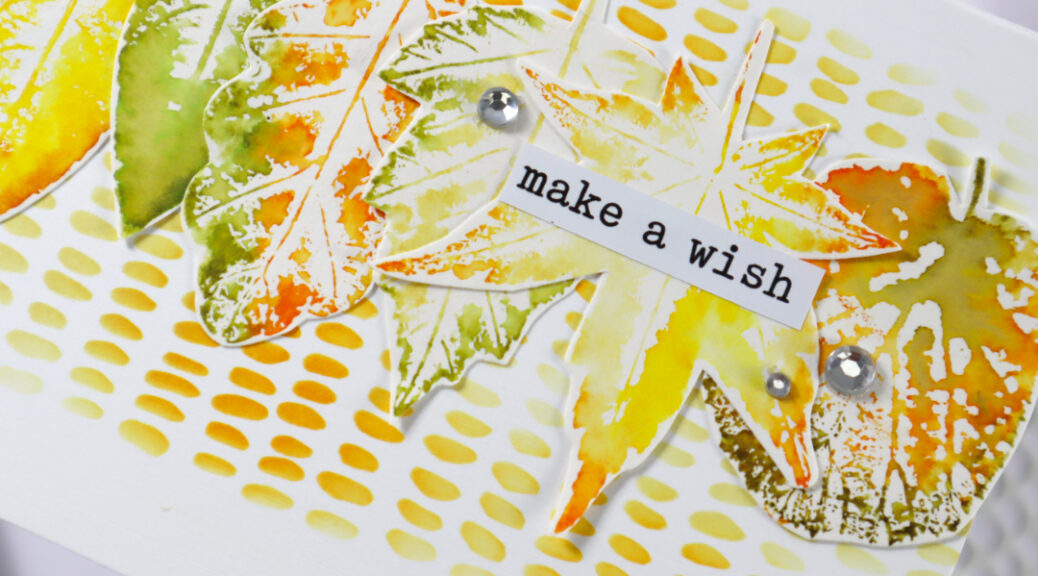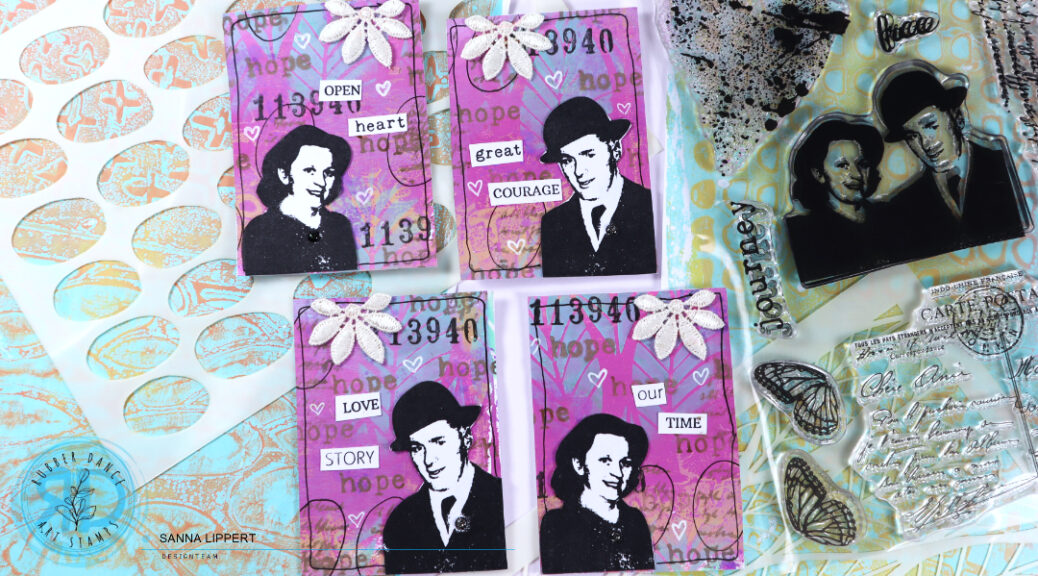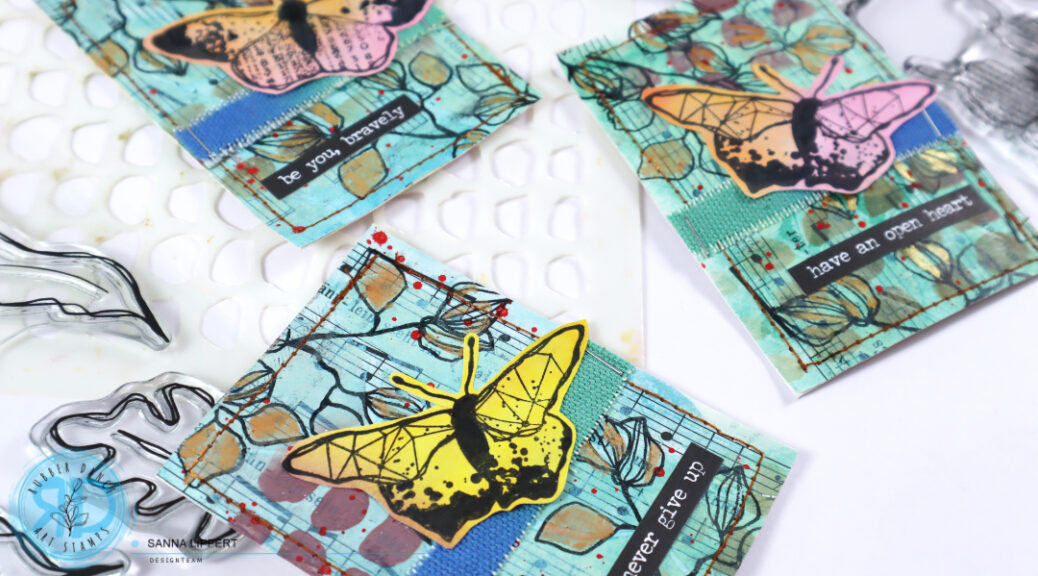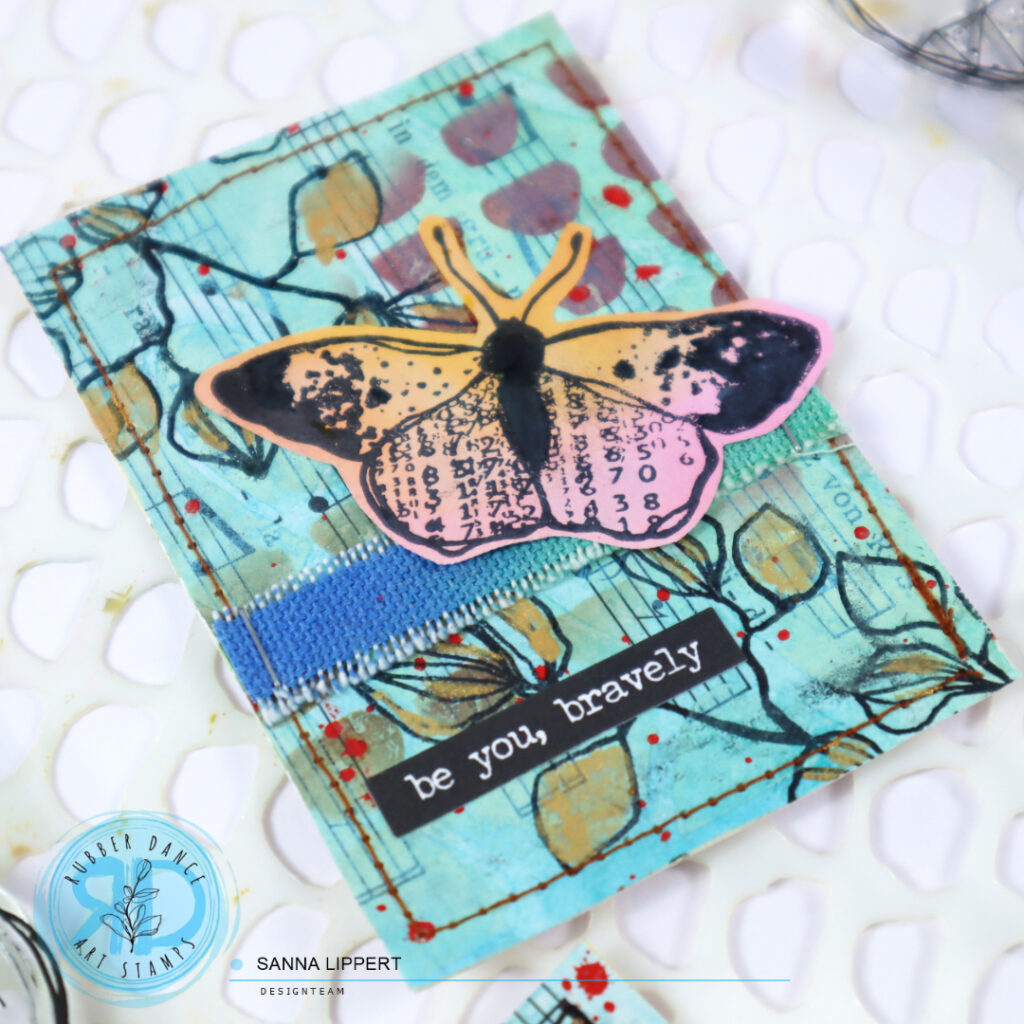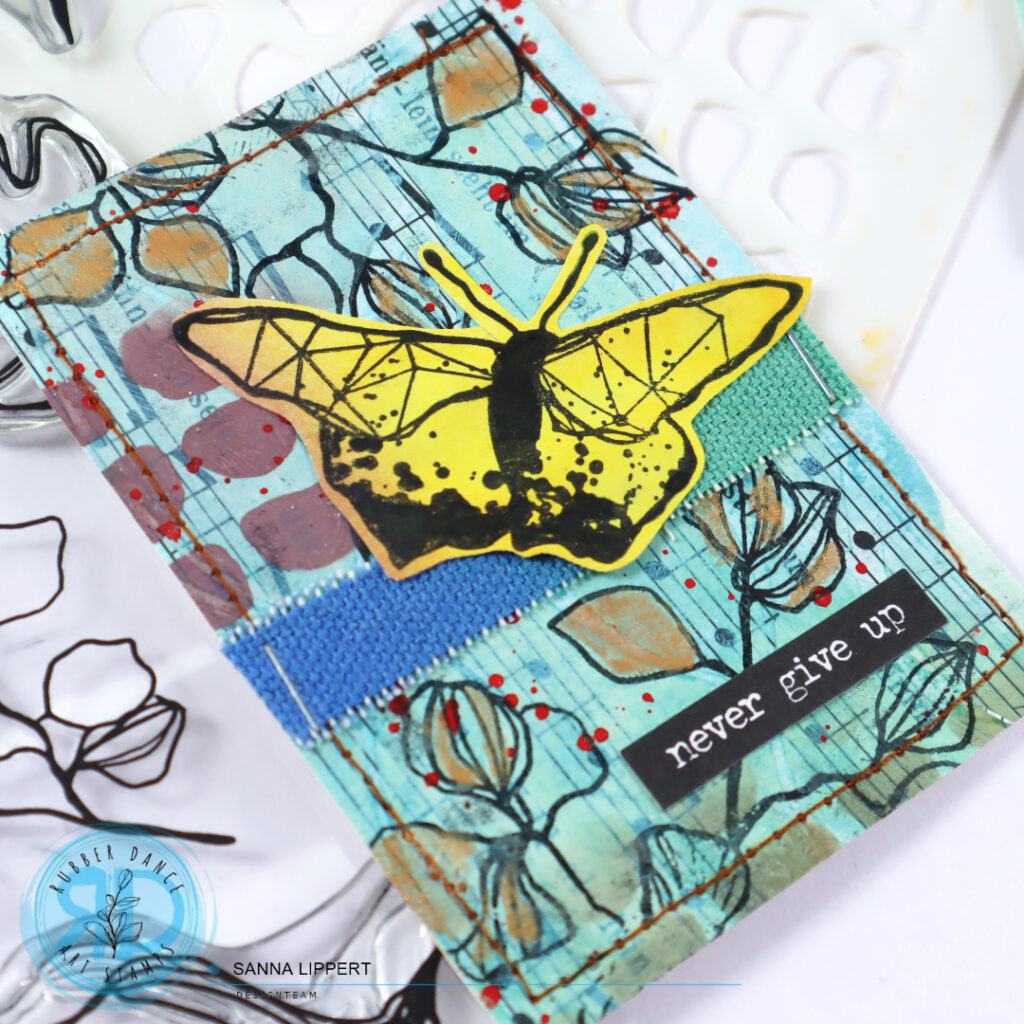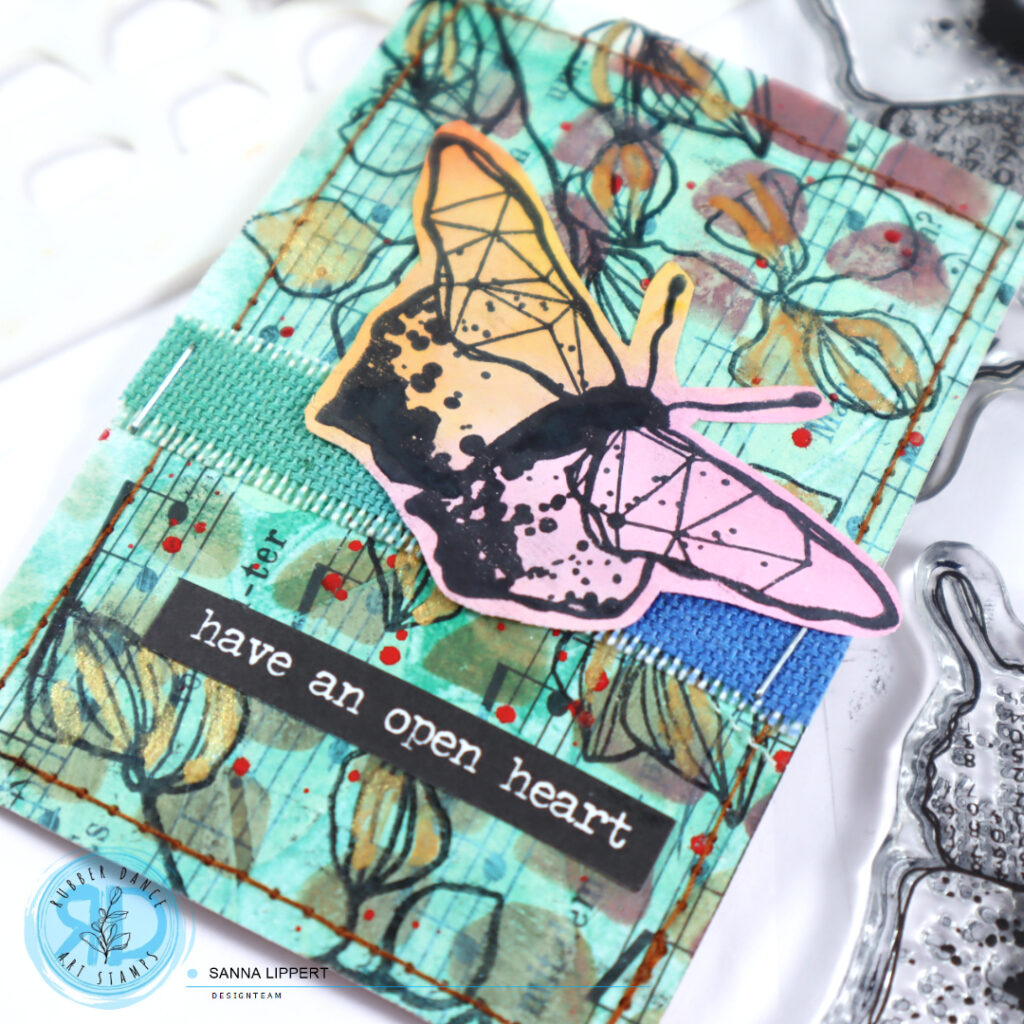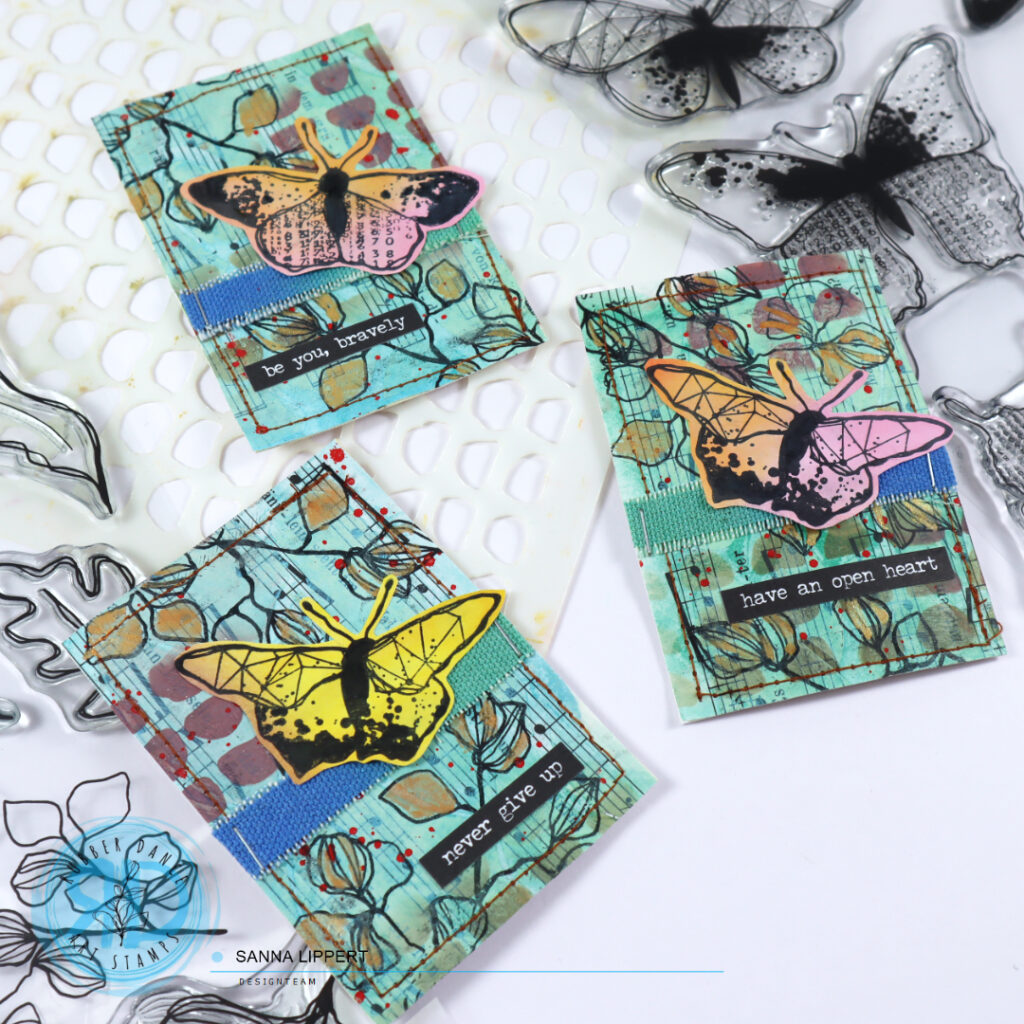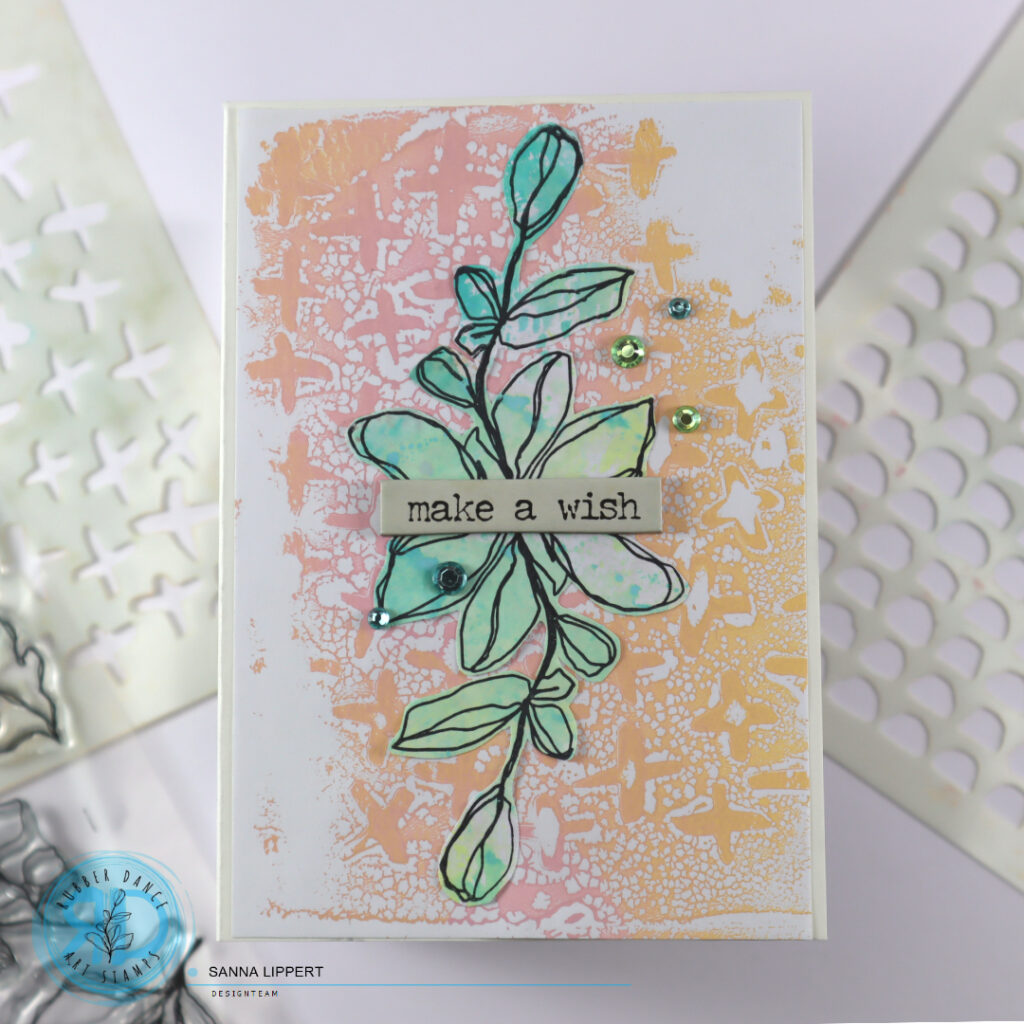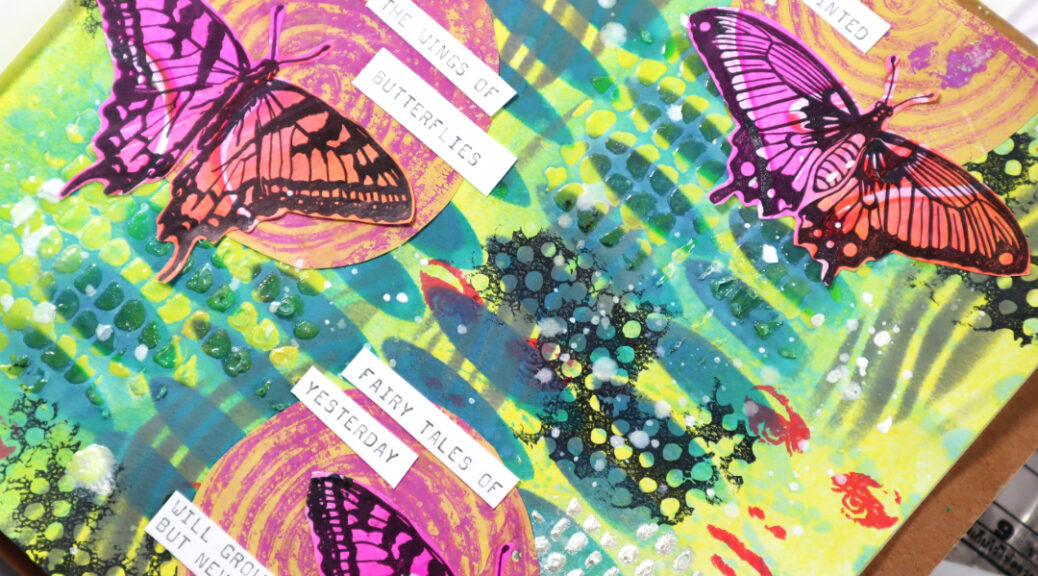
Hello, it´s Sanna here today with a art journal process video. For this page I used the Stacked Ovals, Mini Marks 1 and Organic 2 stencils as well as Mix It Up 7, Round In Circles and Butterflies and Moths stamps.
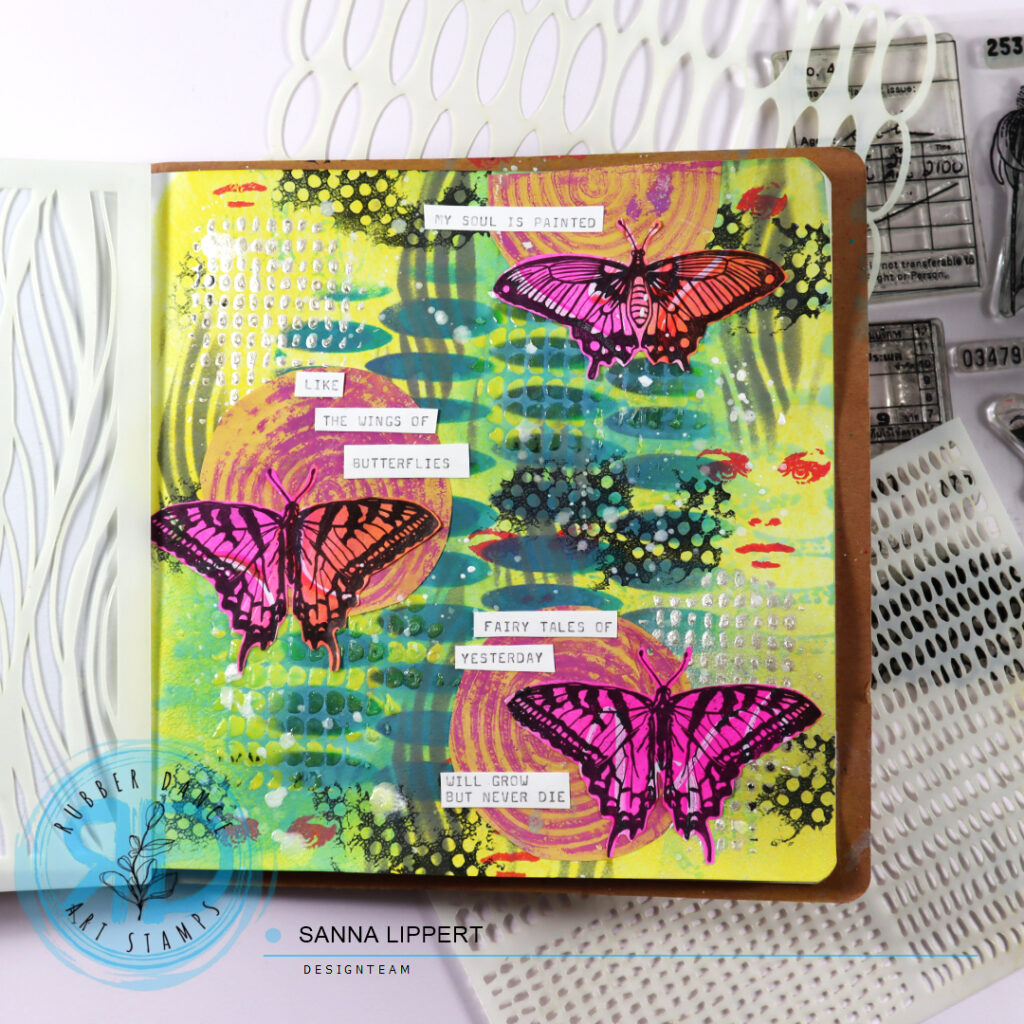
I used plenty of Distress Oxide Inks on the background. First I inked the backround with “mustard seed”, then added “faded jeans” and “peacock feathers” thru the Stacked Ovals stencil. On top of that I applied some Marabu Metallic Liner thru the Mini Marks 1 stencil. I used the same stencil on a different area with Faber Castell Texture Gems media. When these layers were dry, I applied some “salvaged patina” with a blending tool onto the page.
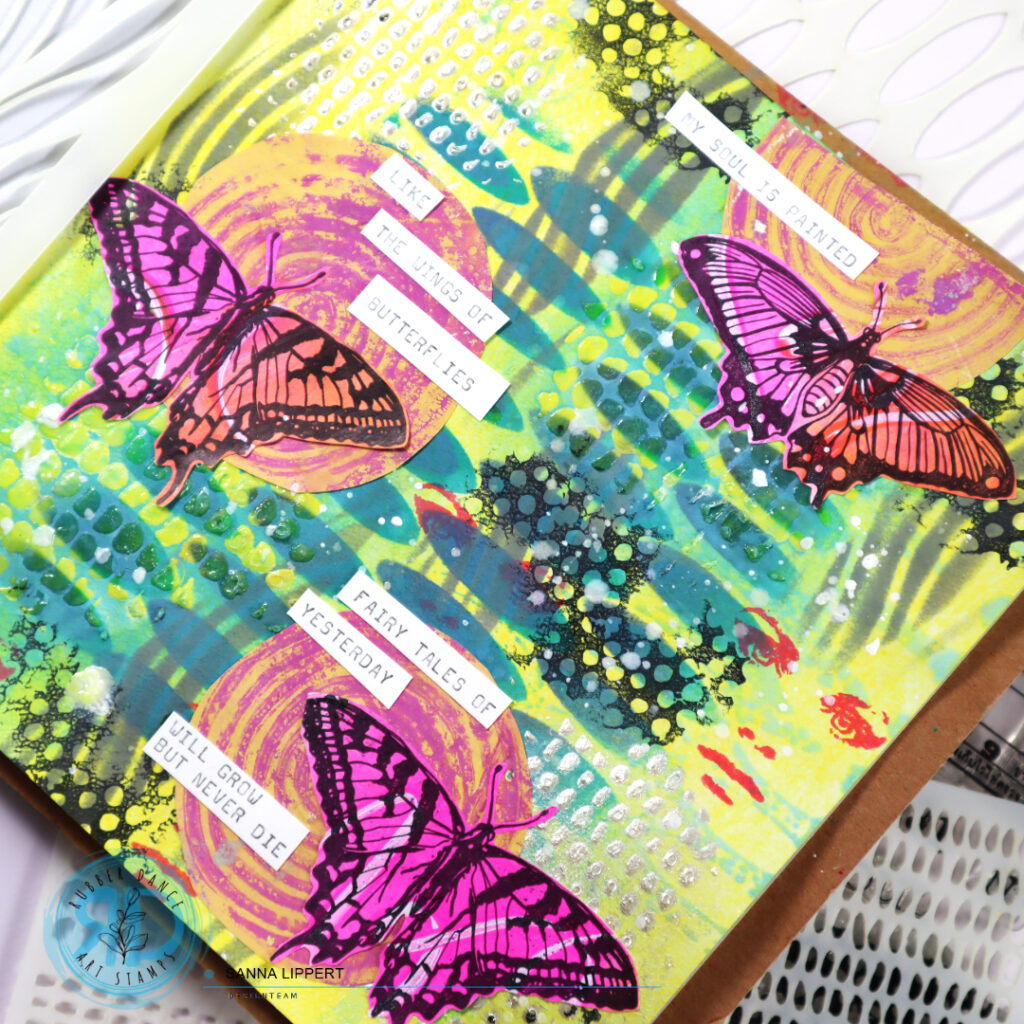
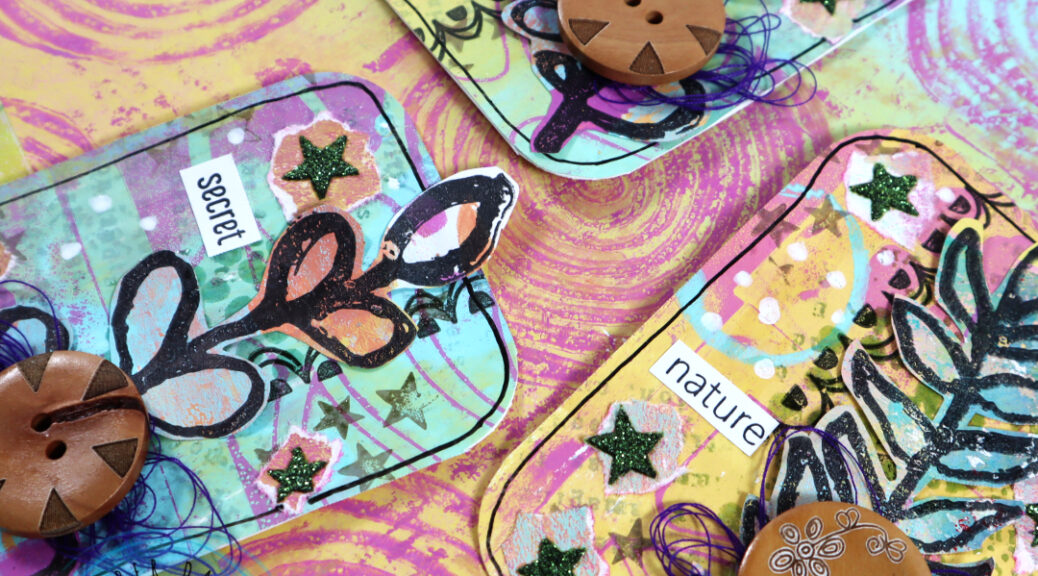
Then I placed the Organic 2 stencil onto the page and applied “iced spruce” thru the stencil onto the background. After that I stamped some faces (Mix It Up 7 stamp set) with “abandoned coral” onto the background. Then using the same stamp set I added some black stamping on top. After that I added white Gloss Spray droplets all over the page.
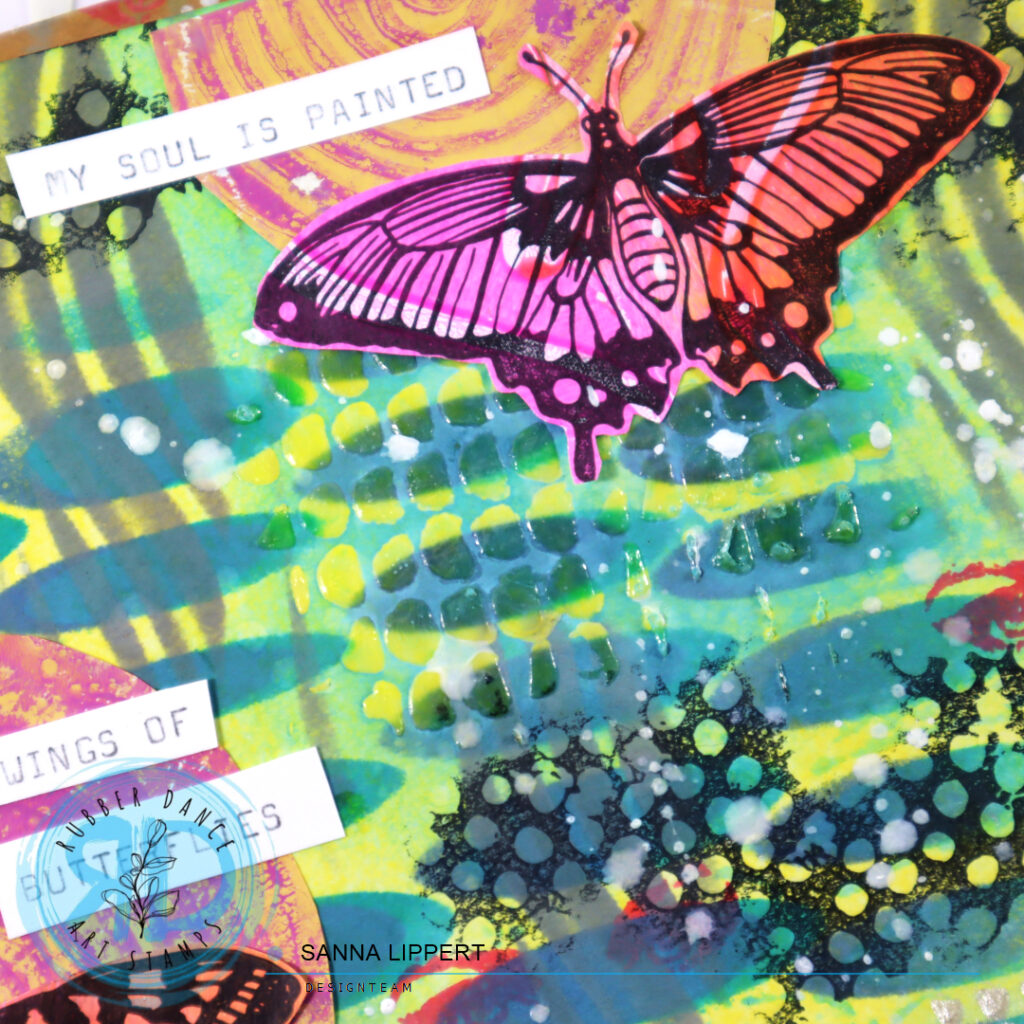
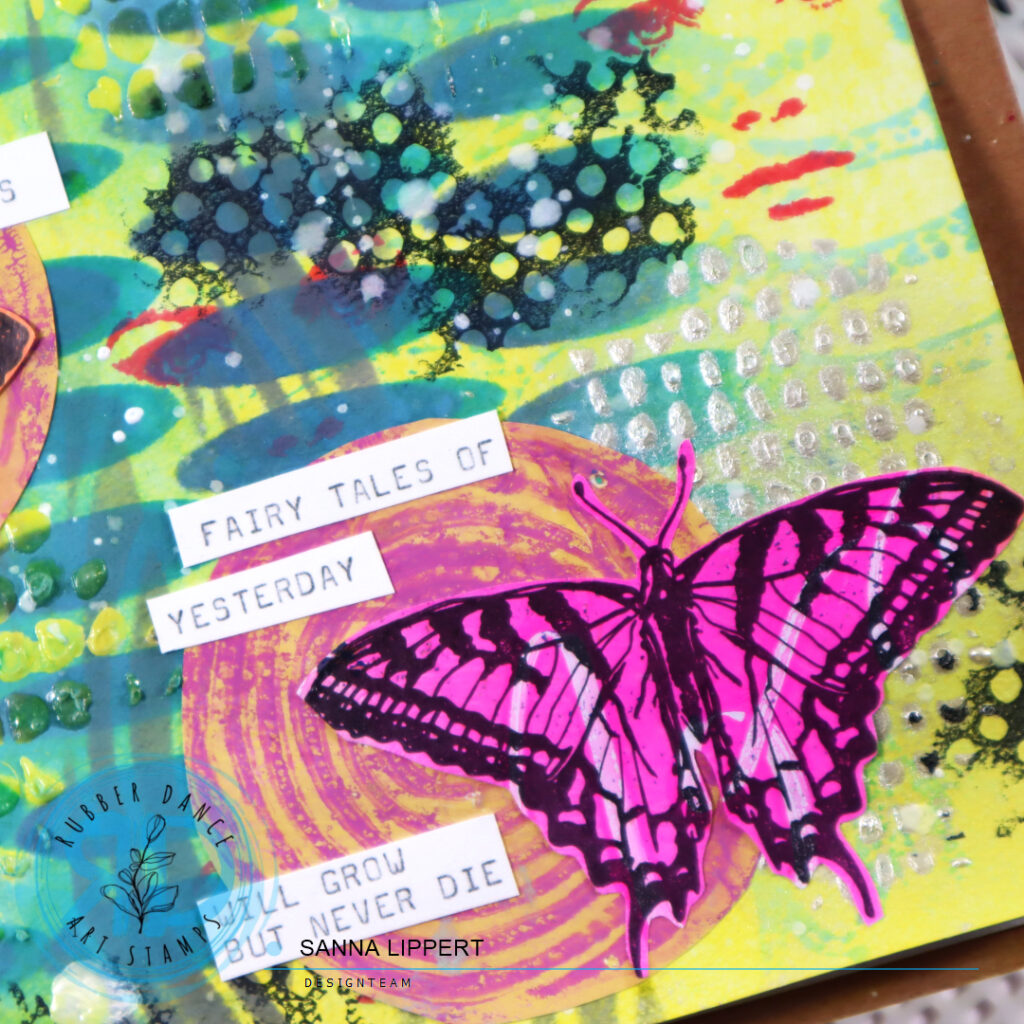
I had some previously made gelli printed collage papers (made with Round in Circles stamp set) which I cut into circles and adhered them onto the page. Next to the circles, I adhered collage fodder made with Butterflies and Moths stamp set. I finished the page off with typewrite typed song lyrics.
I hope you liked watching the process and got inspired to create in your own journal. Happy crafting,
xxx, Sanna