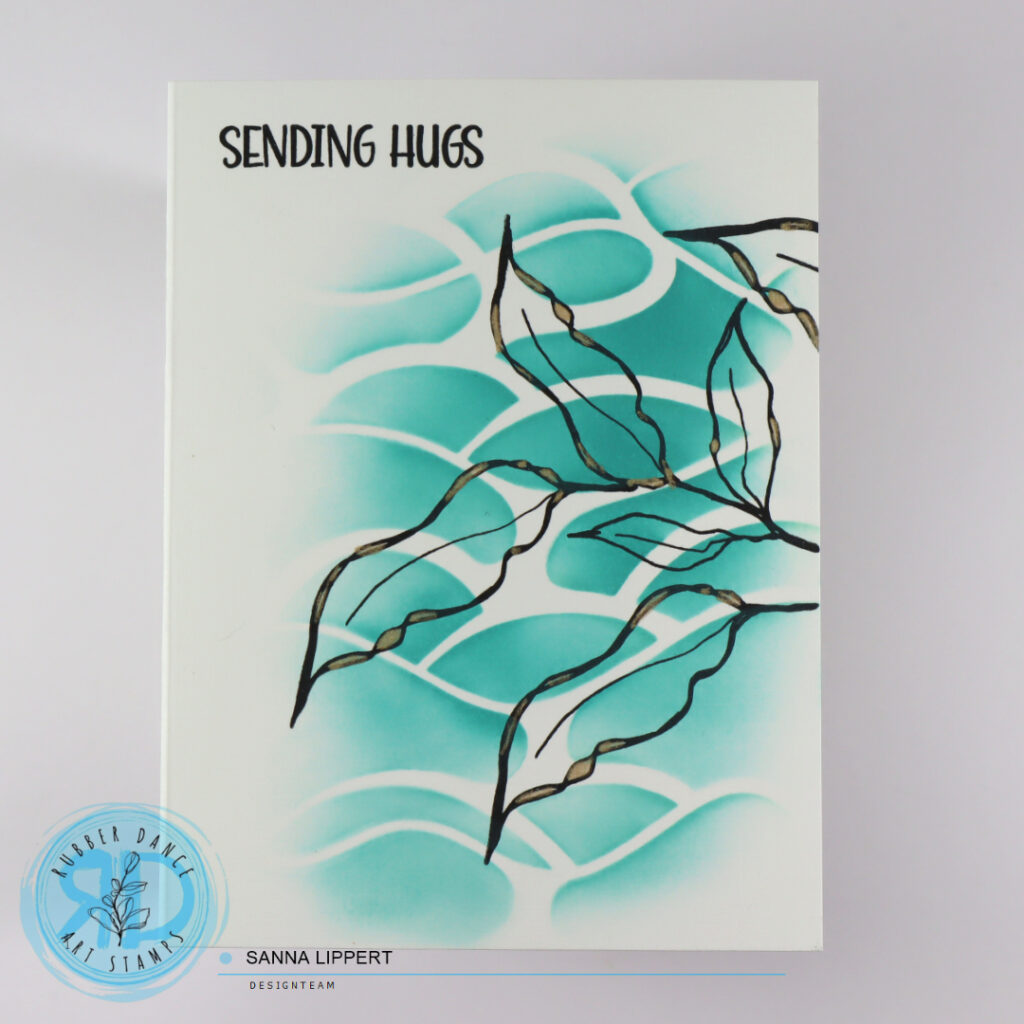
Hello, it´s my turn to share another creative project over at the Rubber Dance blog today. I am up with a simple, but fun to make card idea. I used Autumn Leaves and Mini Marks 1 for this card project with plenty of Distress Ink tones.

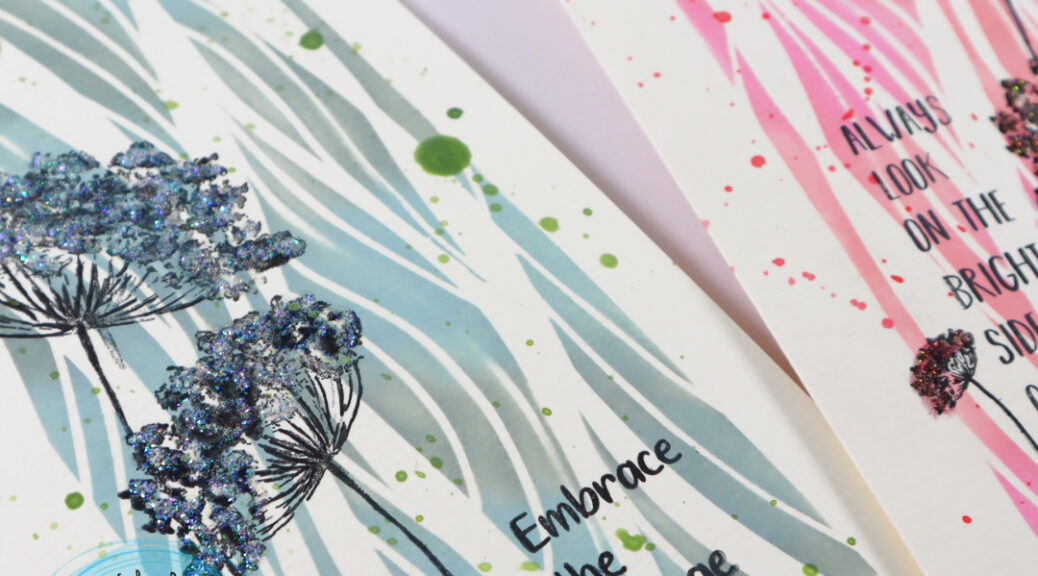
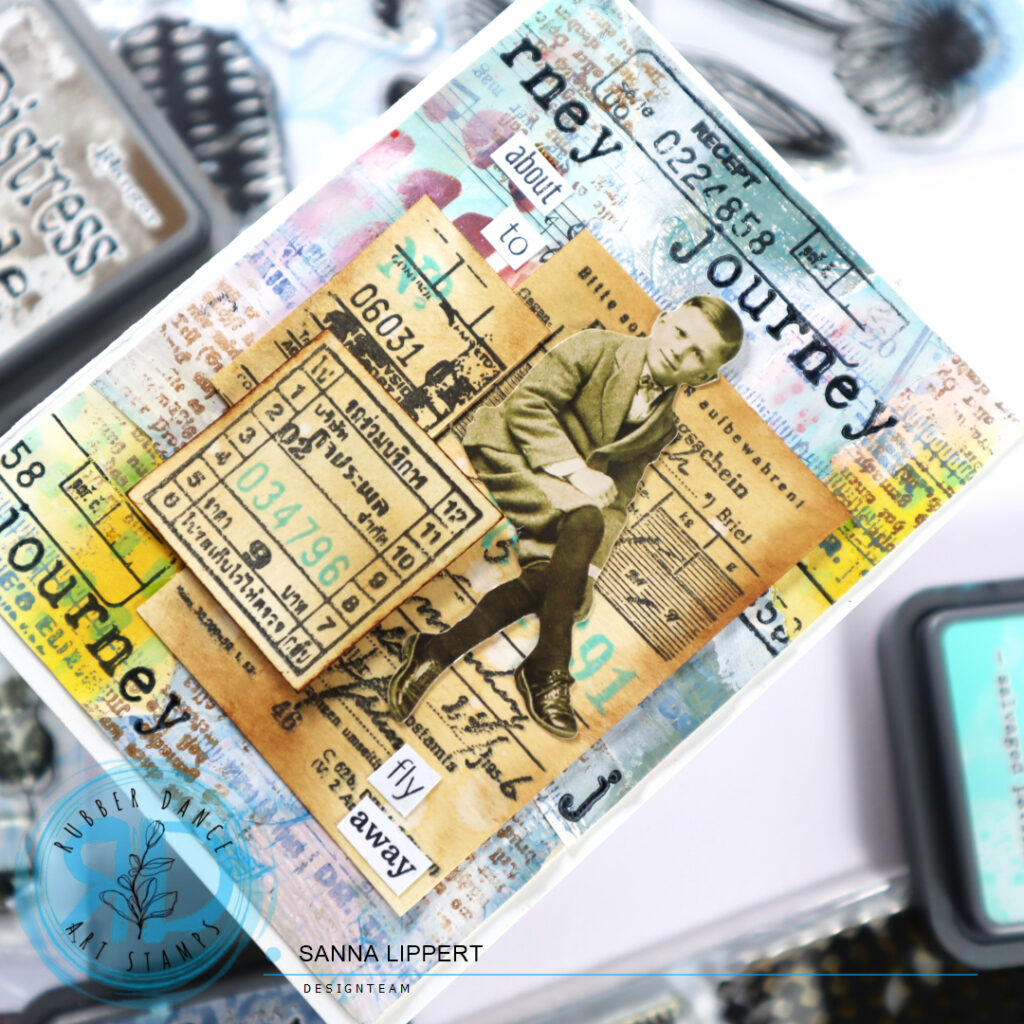
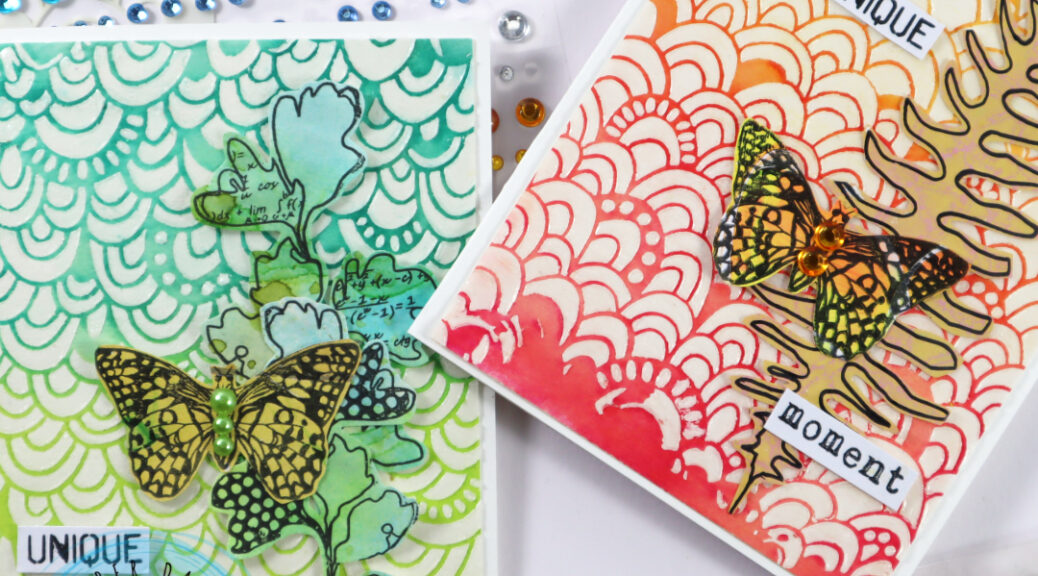
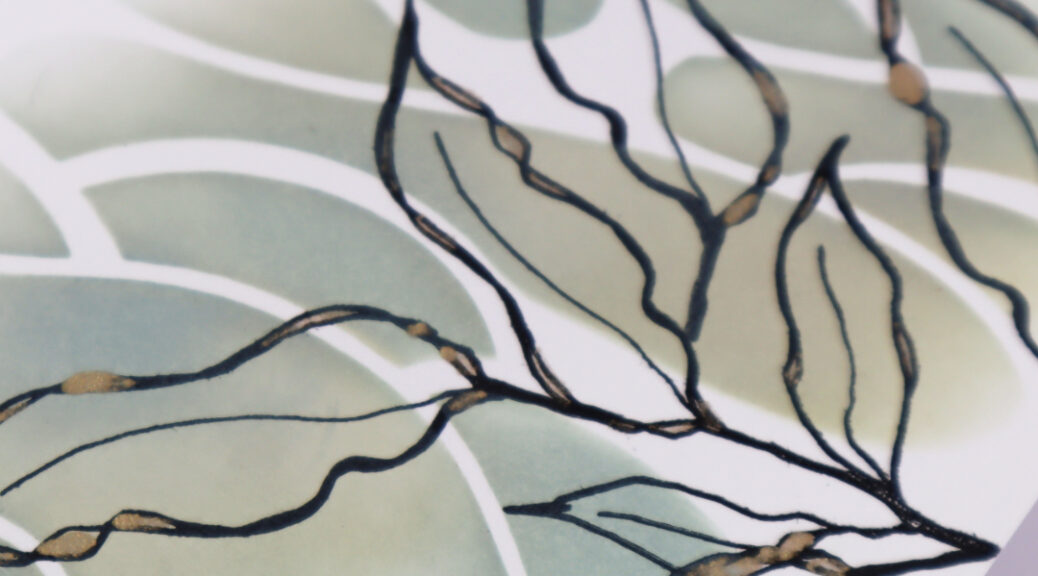
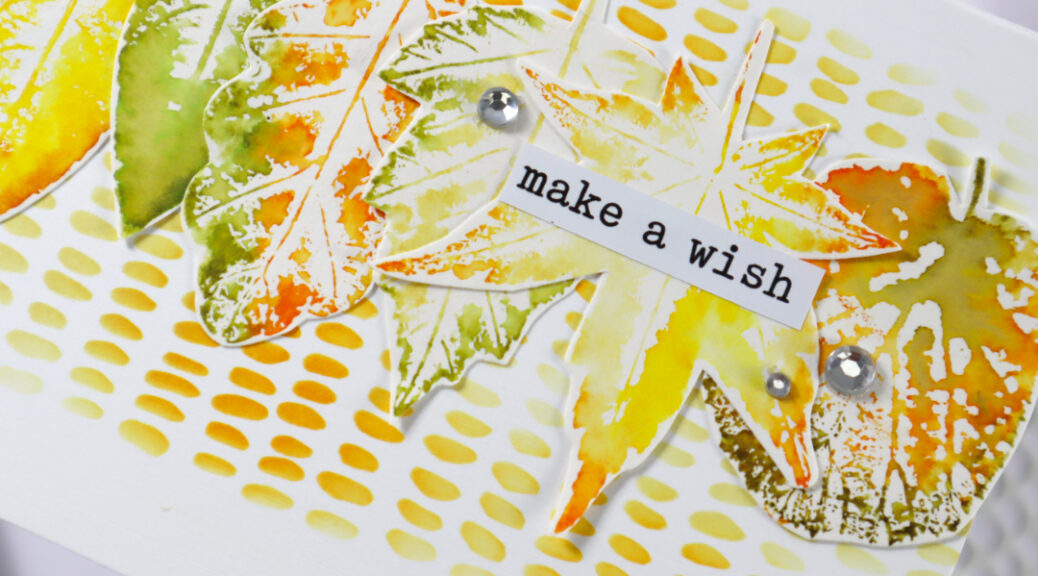
I started the card project by playing with Distress Inks and the Autumn Leaves stamp set. I wanted to create “watercolor styled” collage fodder with the leaves. So I stamped with various fall toned Distress Inks onto the stamp images, misted them lightly and stamped onto a mixed media paper.

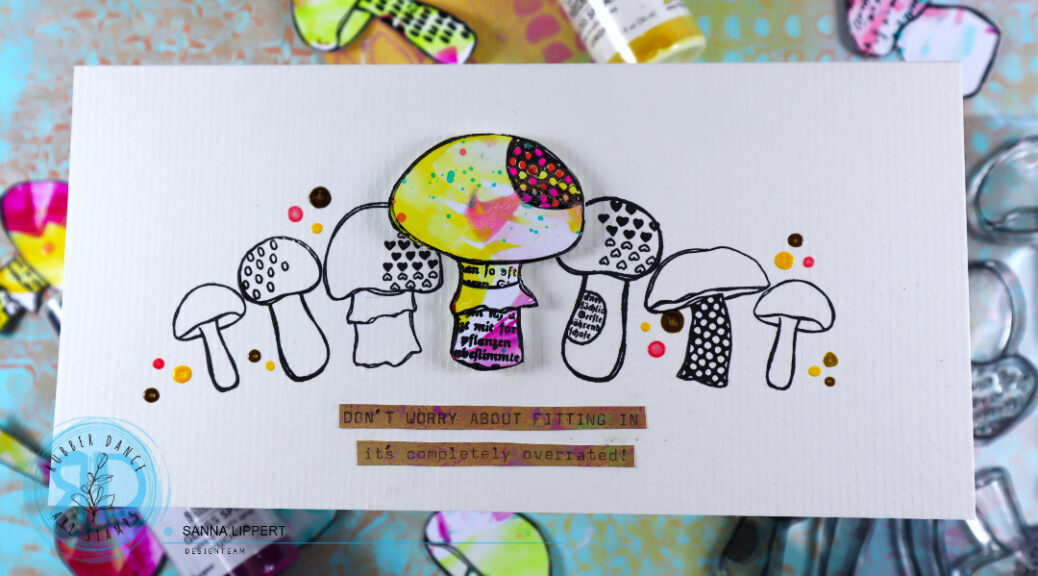
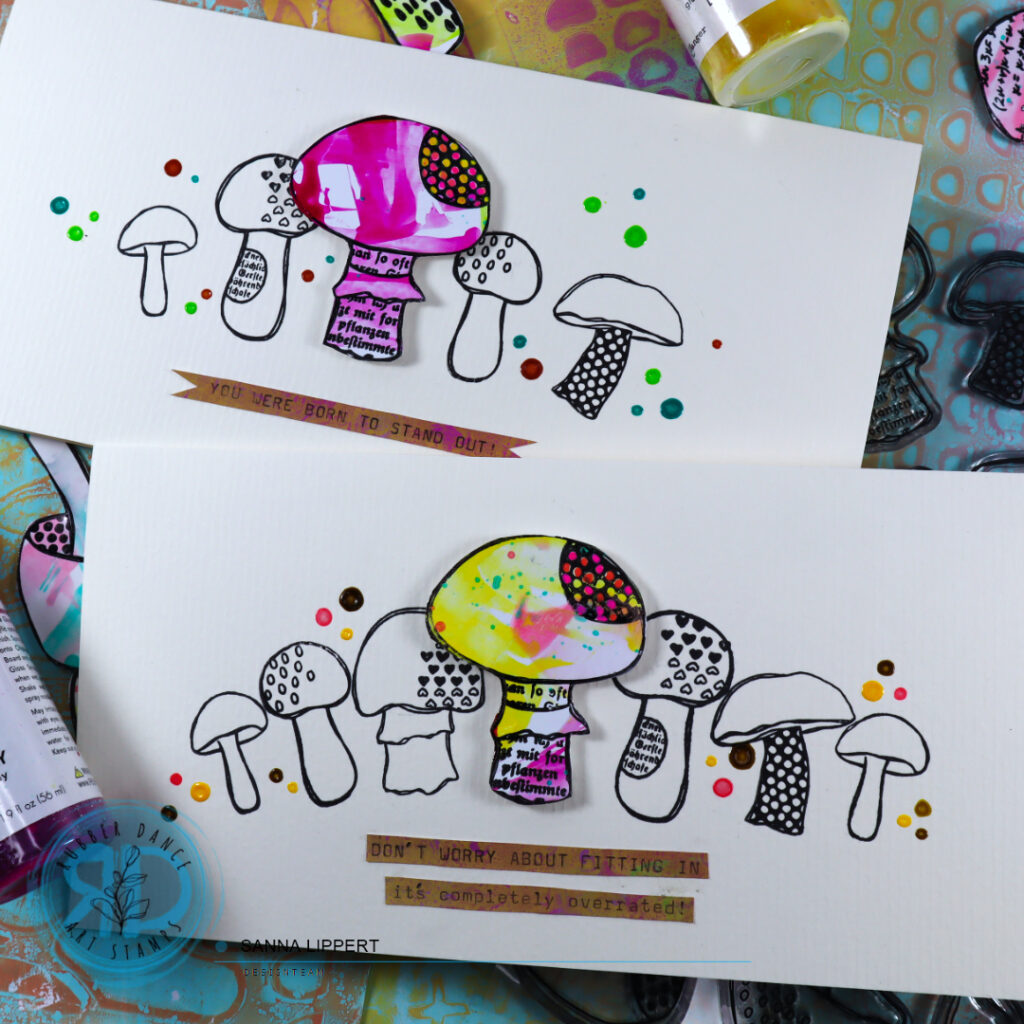
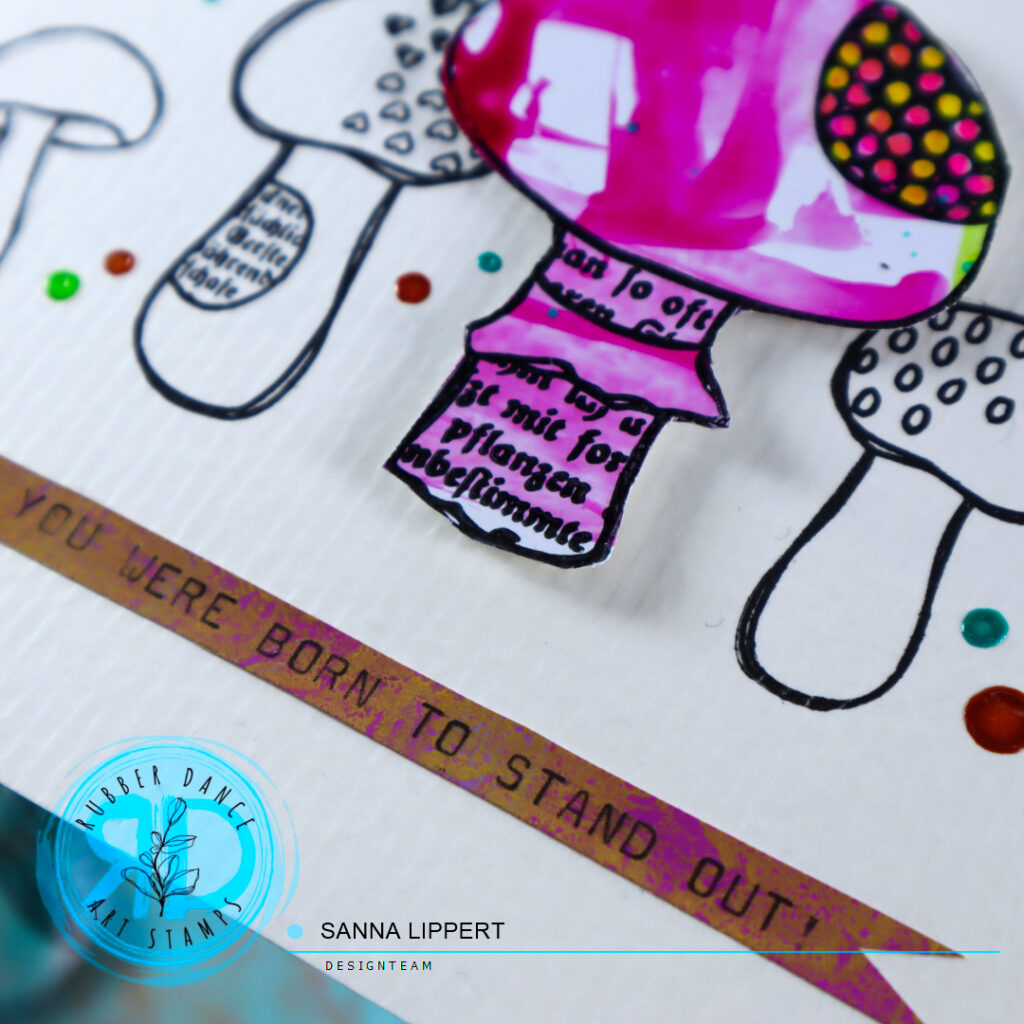
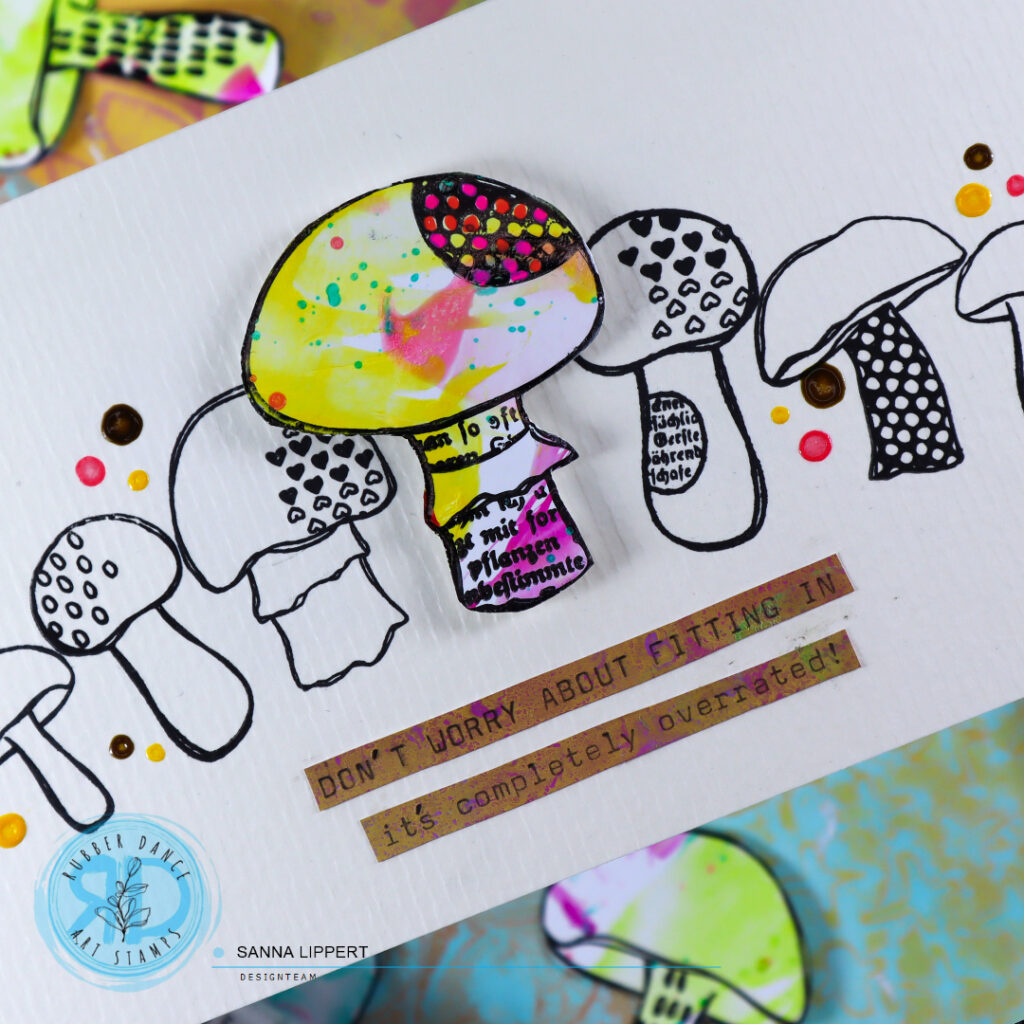
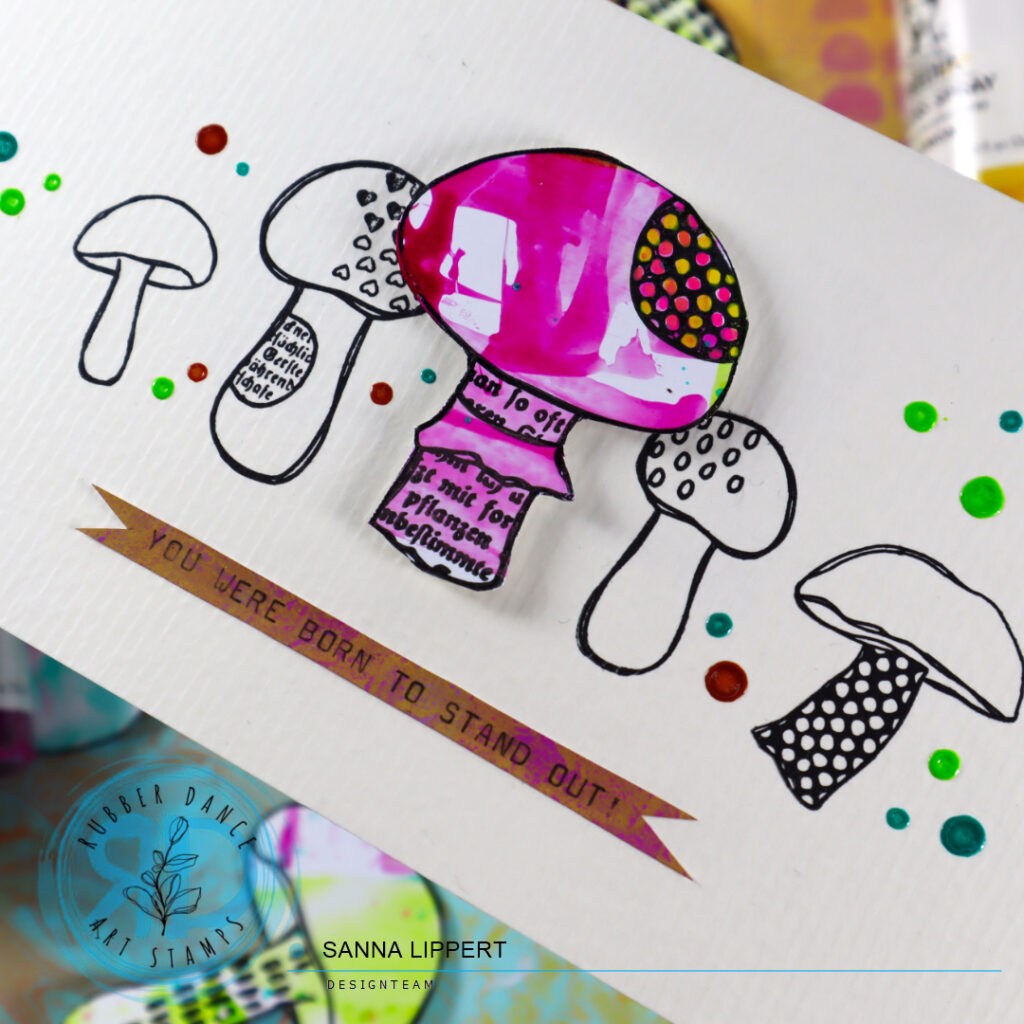
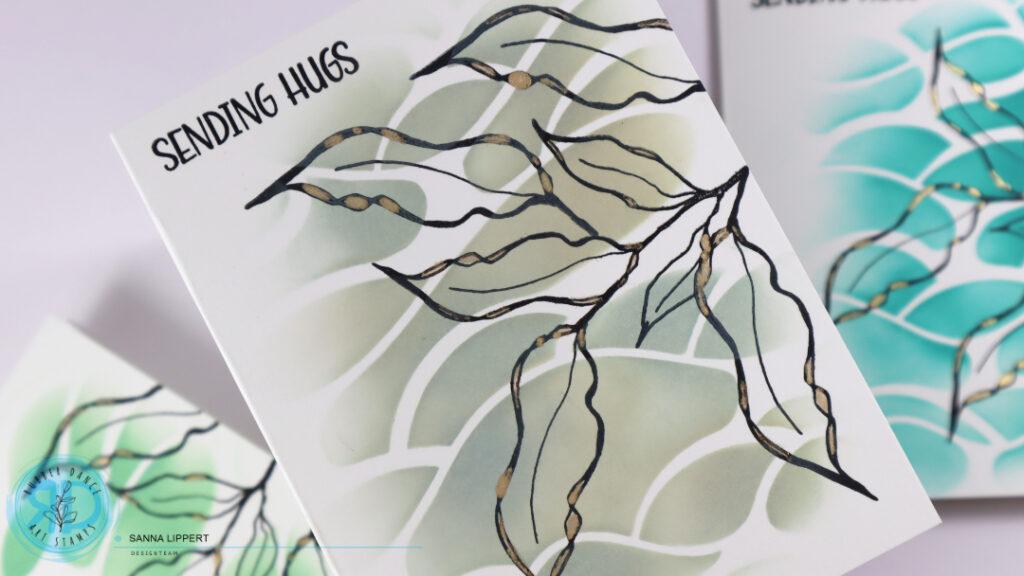
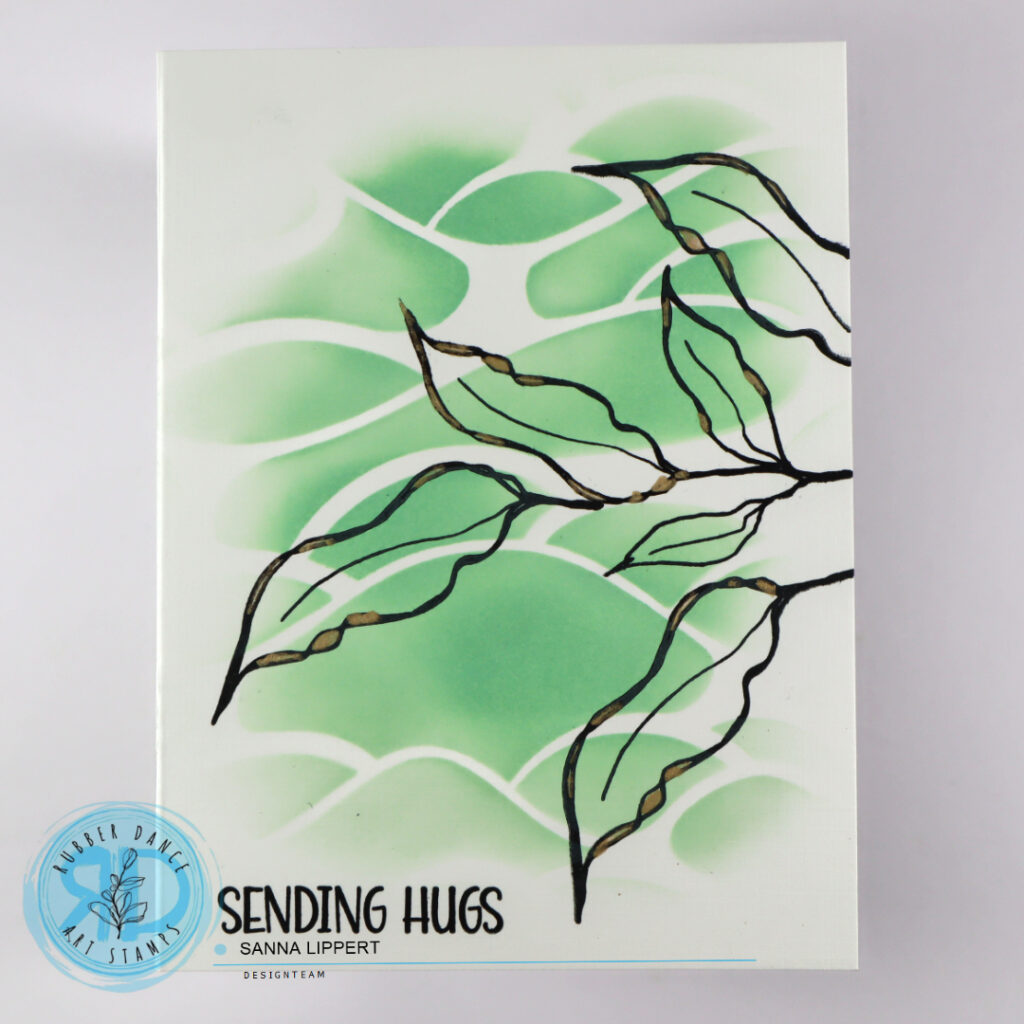
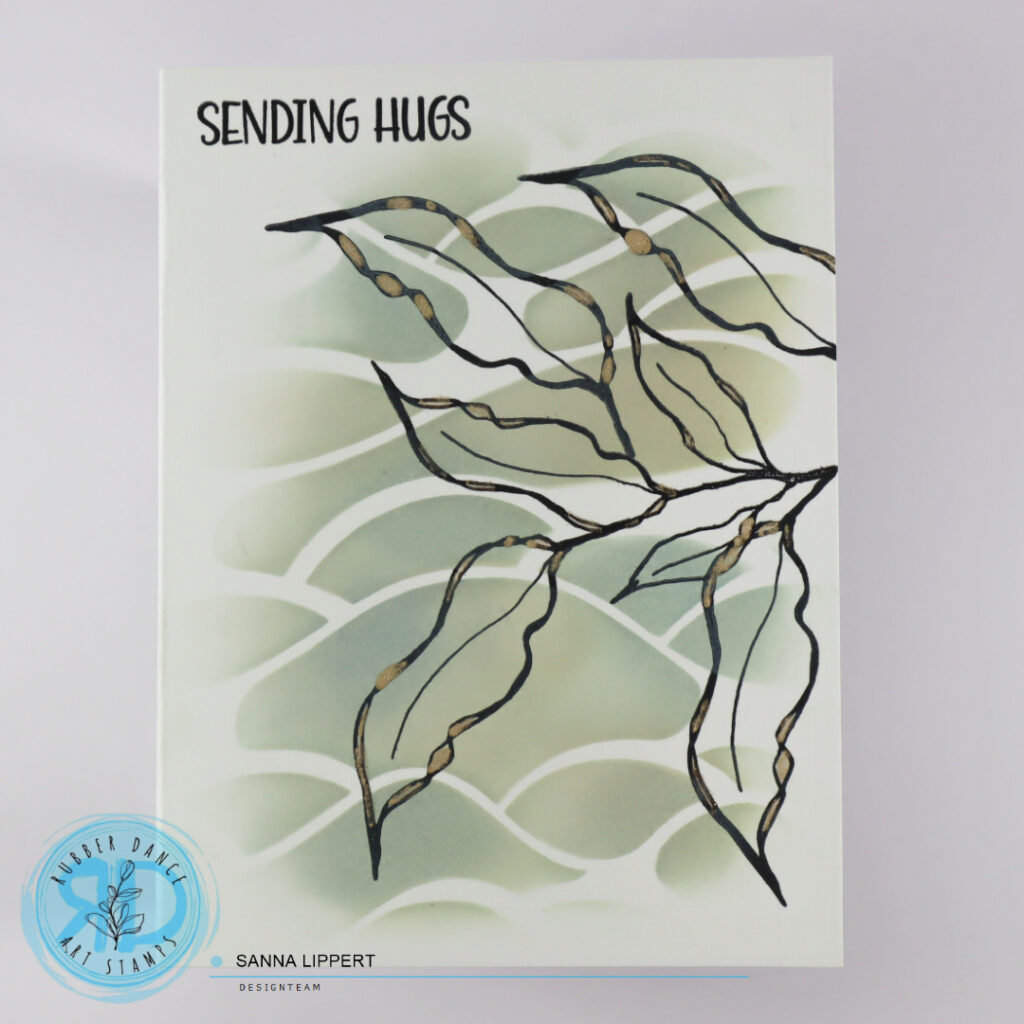
After fussy cutting the images, I took the “Mini Marks 1” stencil, places it onto a card base and added two tones of Distress Ink with a blending brush thru it onto the background. Next I just needed to adhere a row of leaves on top of the stenciled pattern as a focal point and add a sticker sentiment (or use the Mix A Sentiment 2023 stamp set to make a sentiment) and some rhinestones for decor. The card itself was done in no time, it´s the fodder creating that takes some time. Thus, I suggest, when you start, make plenty at once.


Here are the videos on how to make the collage fodder and about the card process. Hope you get inspired!
I know it´s still summer, but for those, who cannot wait for fall to come. Here is some fall themed card inspiration. Happy crafting!
xx, Sanna
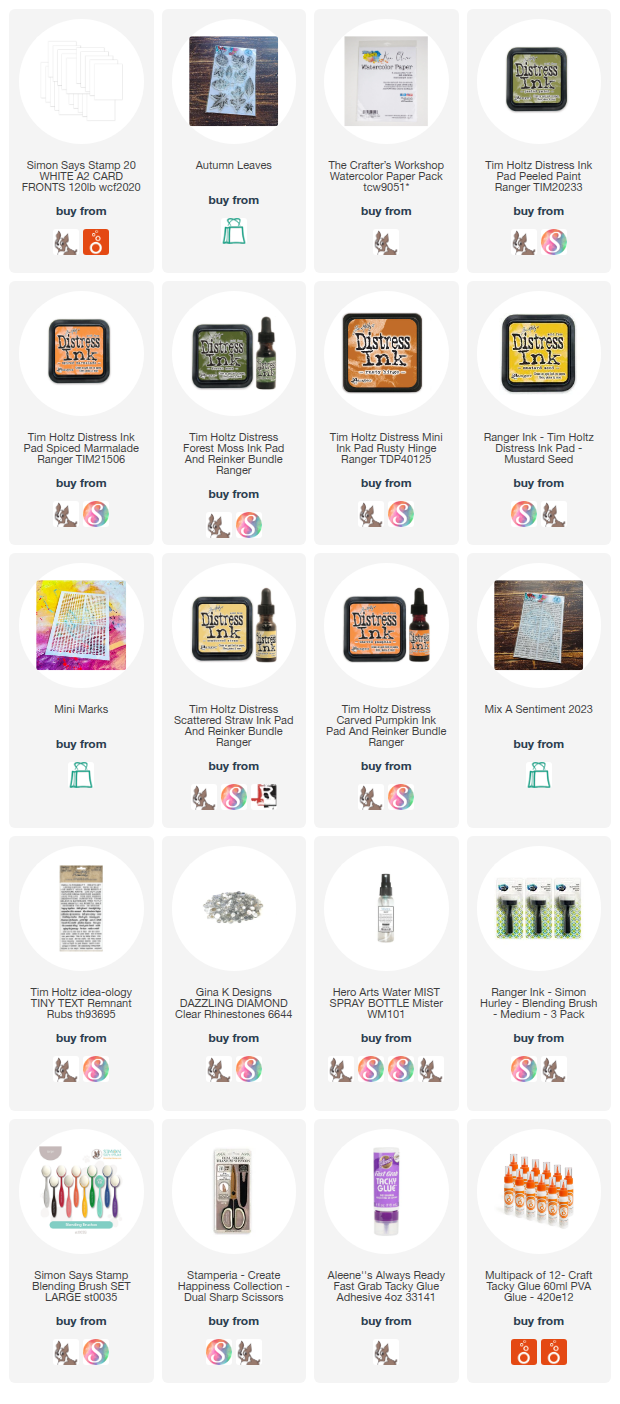
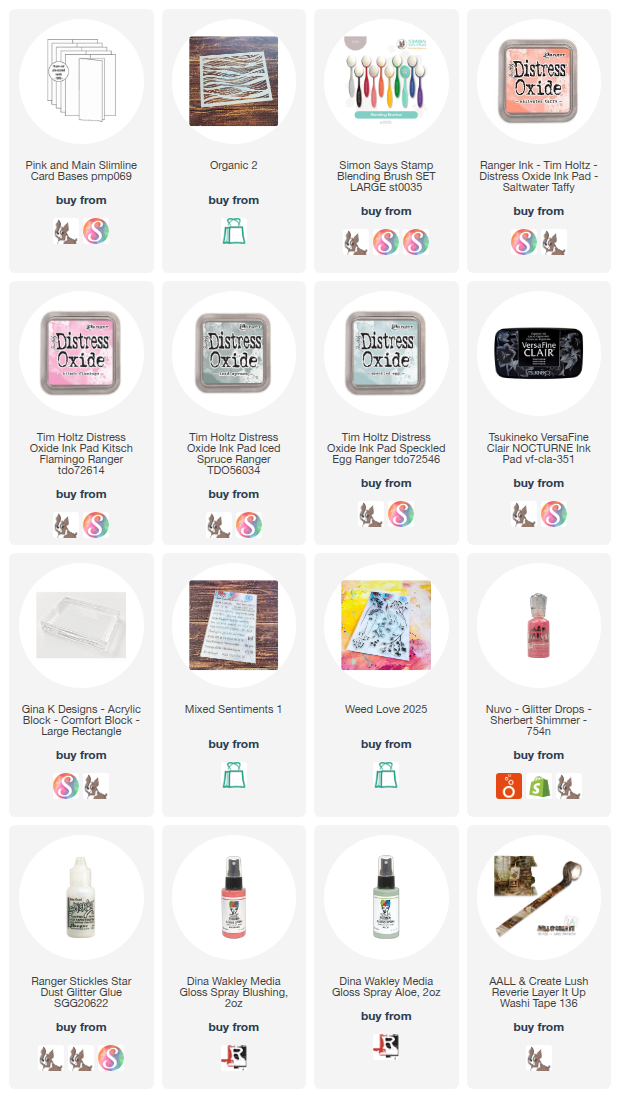
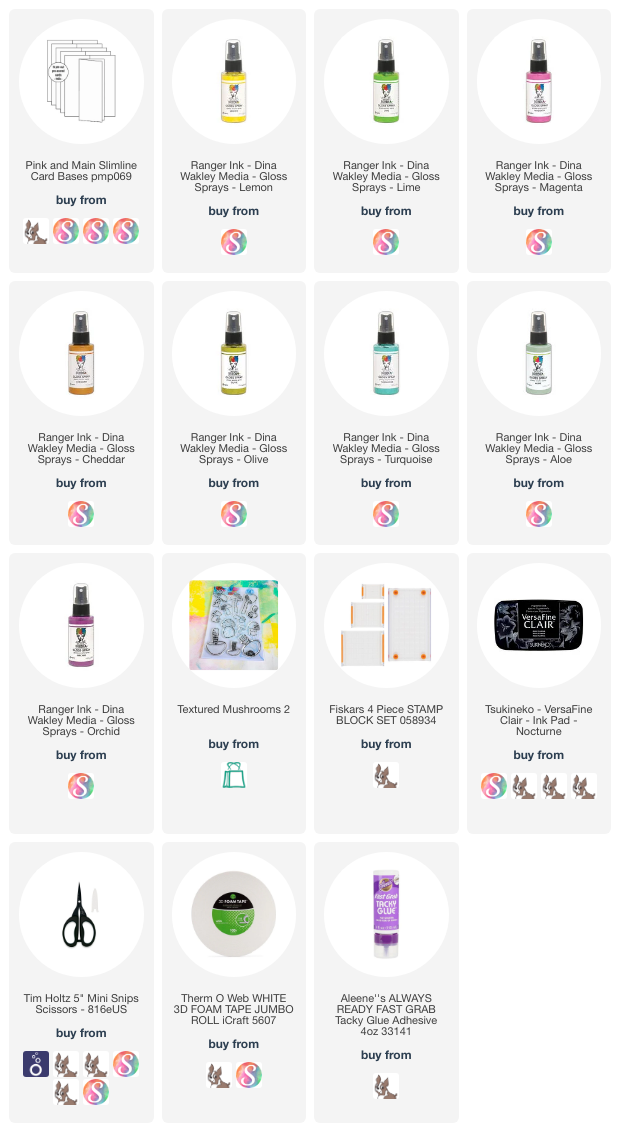
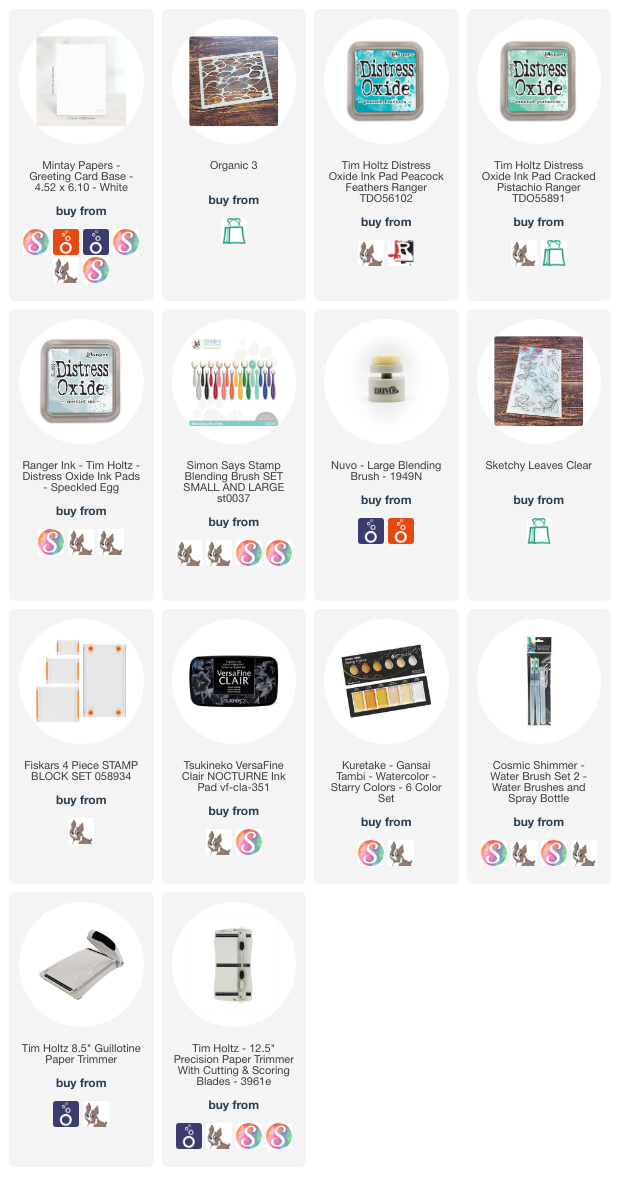
Supplies: