Hello everyone and happy Monday! I have a clean and simple wedding card share up for you today.
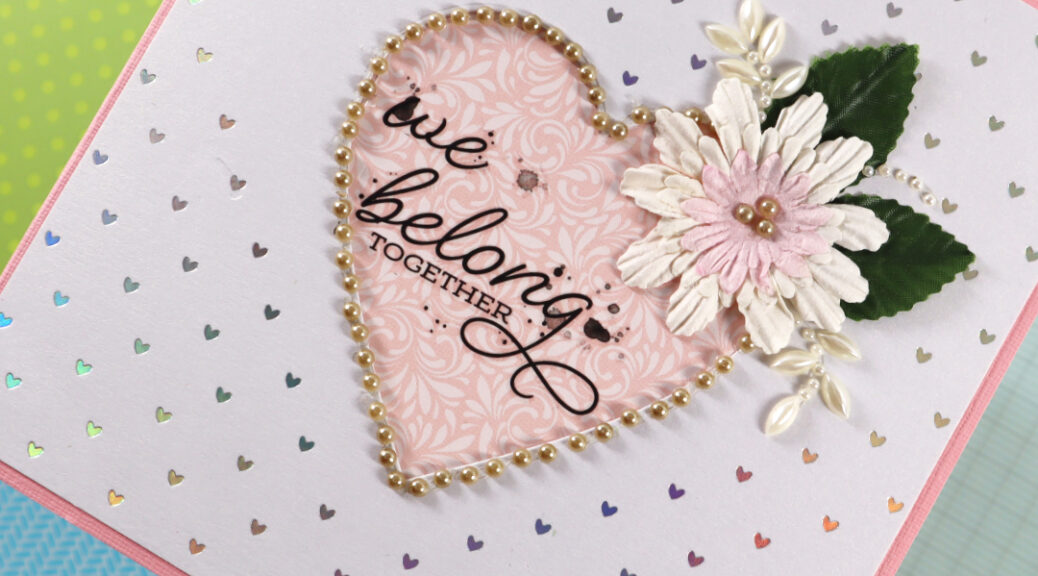
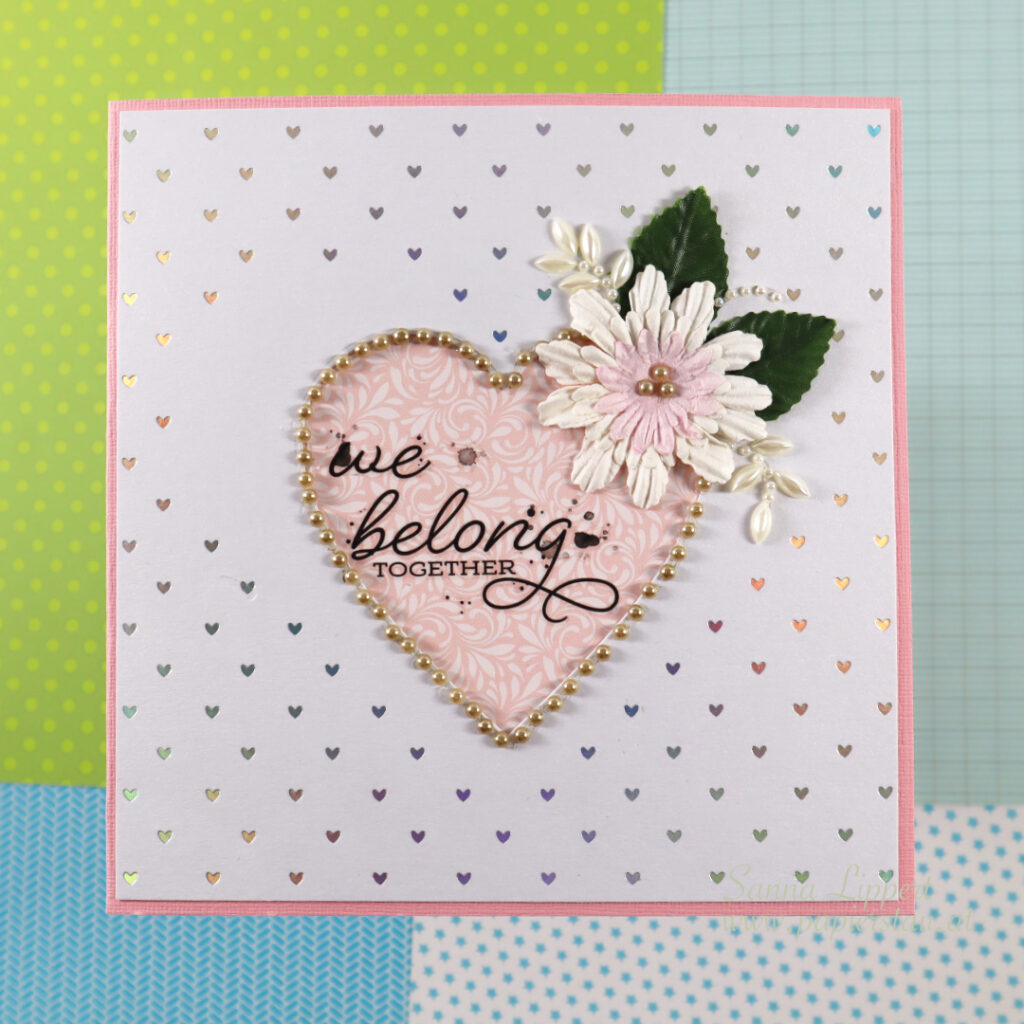
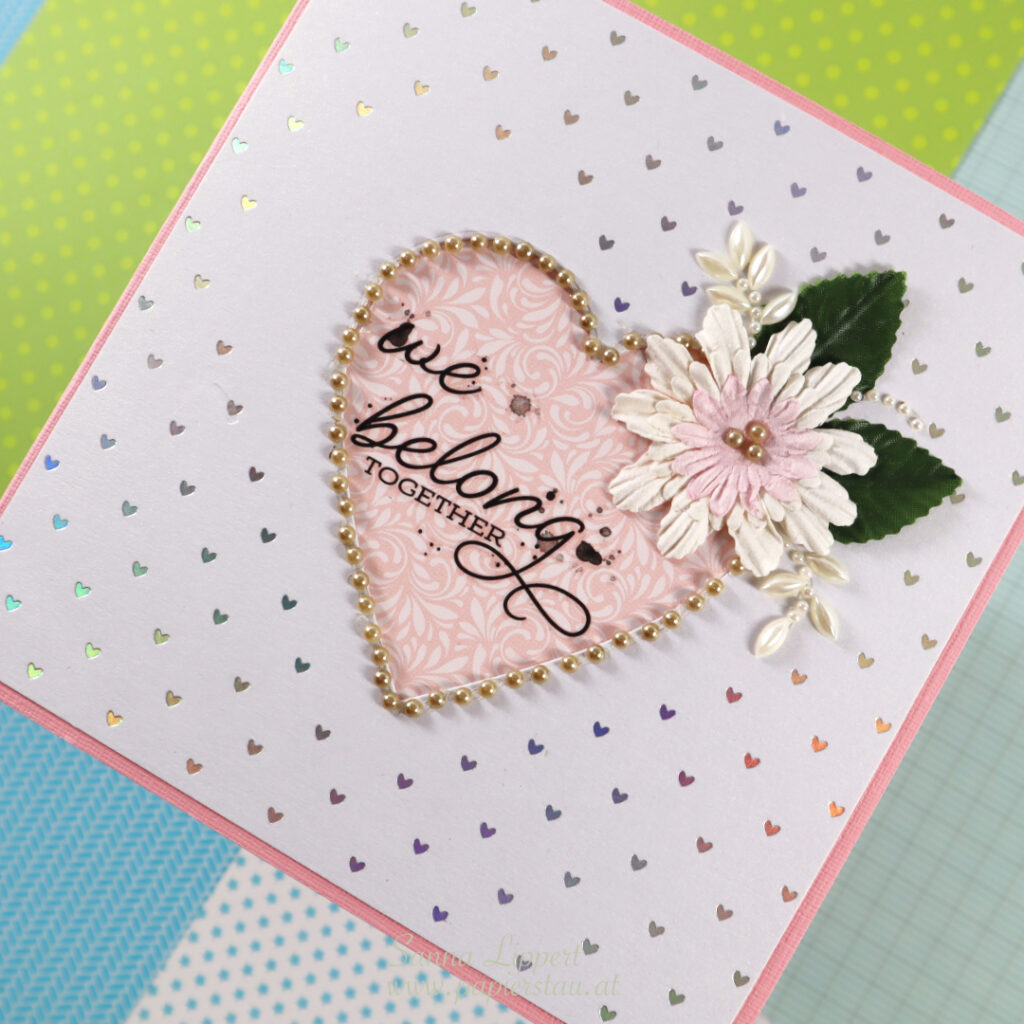
I mounted the heart foiled white cardstock piece onto a pink toned card base. But before doing that, I mounted a pink patterned paper behind the die cut heart area. I then added a 49andMarket rub-on sentiment to the pink heart area. Next I decorated the heart with half pearls and paper flowers in one corner. I also added some pearly leaves next to the paper flower for decor.
I really like the effect the foiled heart paper creates. And the focal point without any other details around makes the card look more elegant.
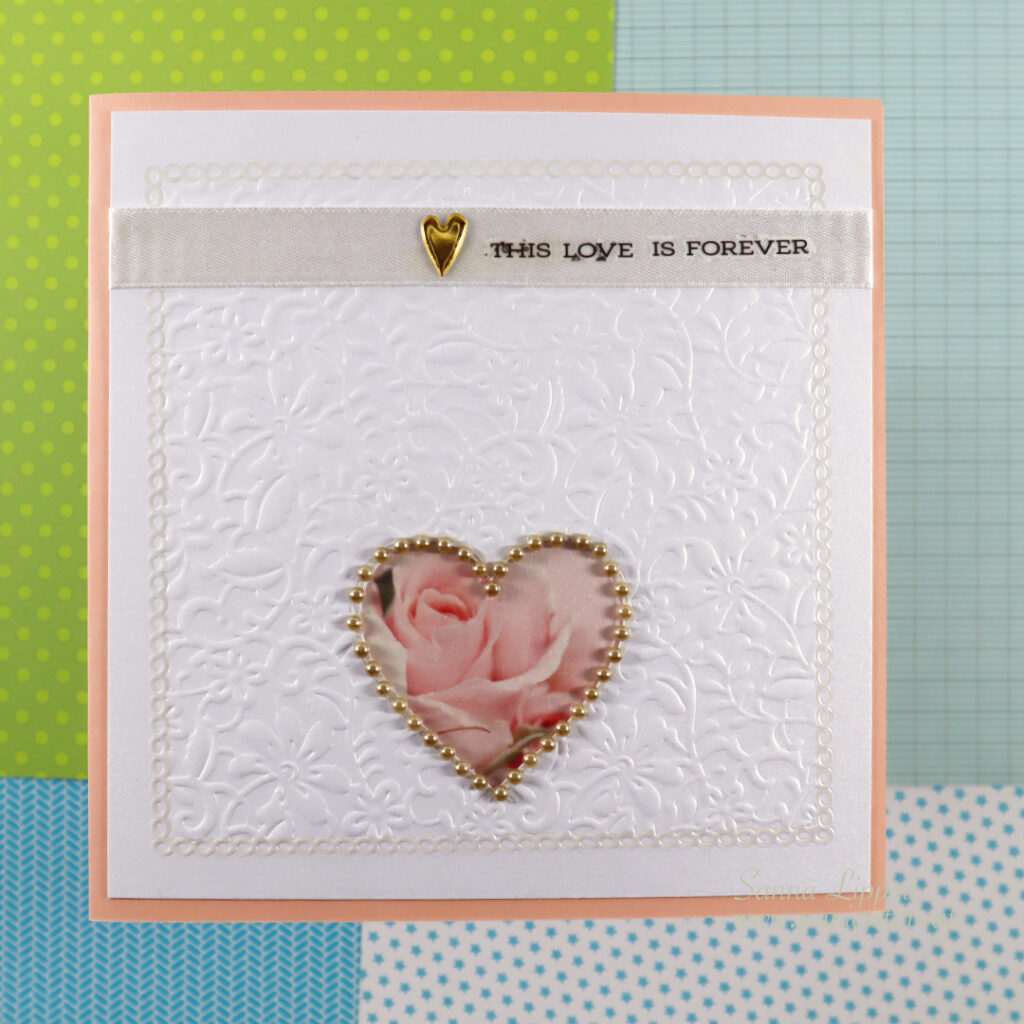
Hello everyone and happy Friday! I have a clean and simple wedding card share up for you today.
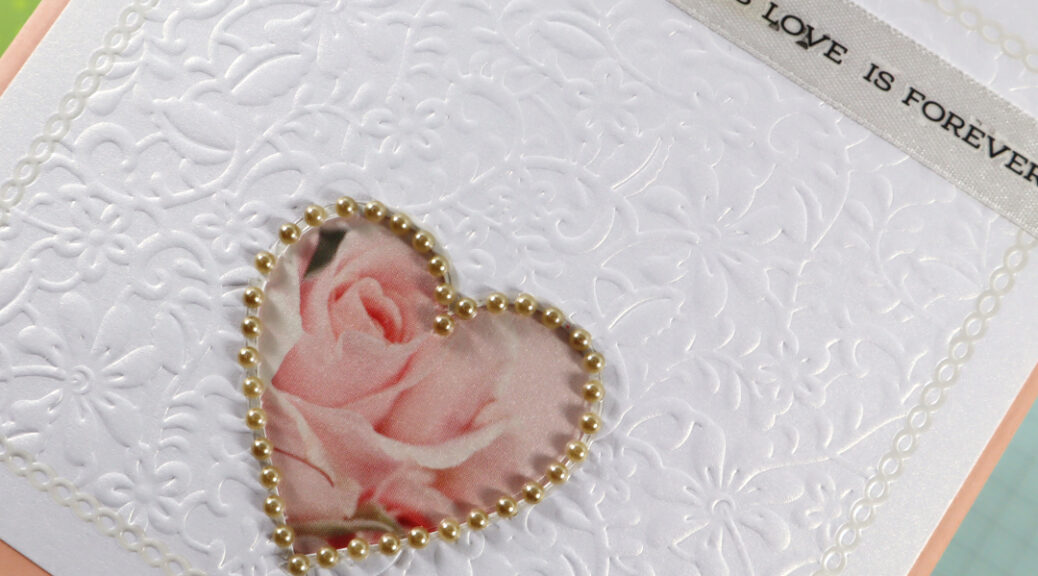
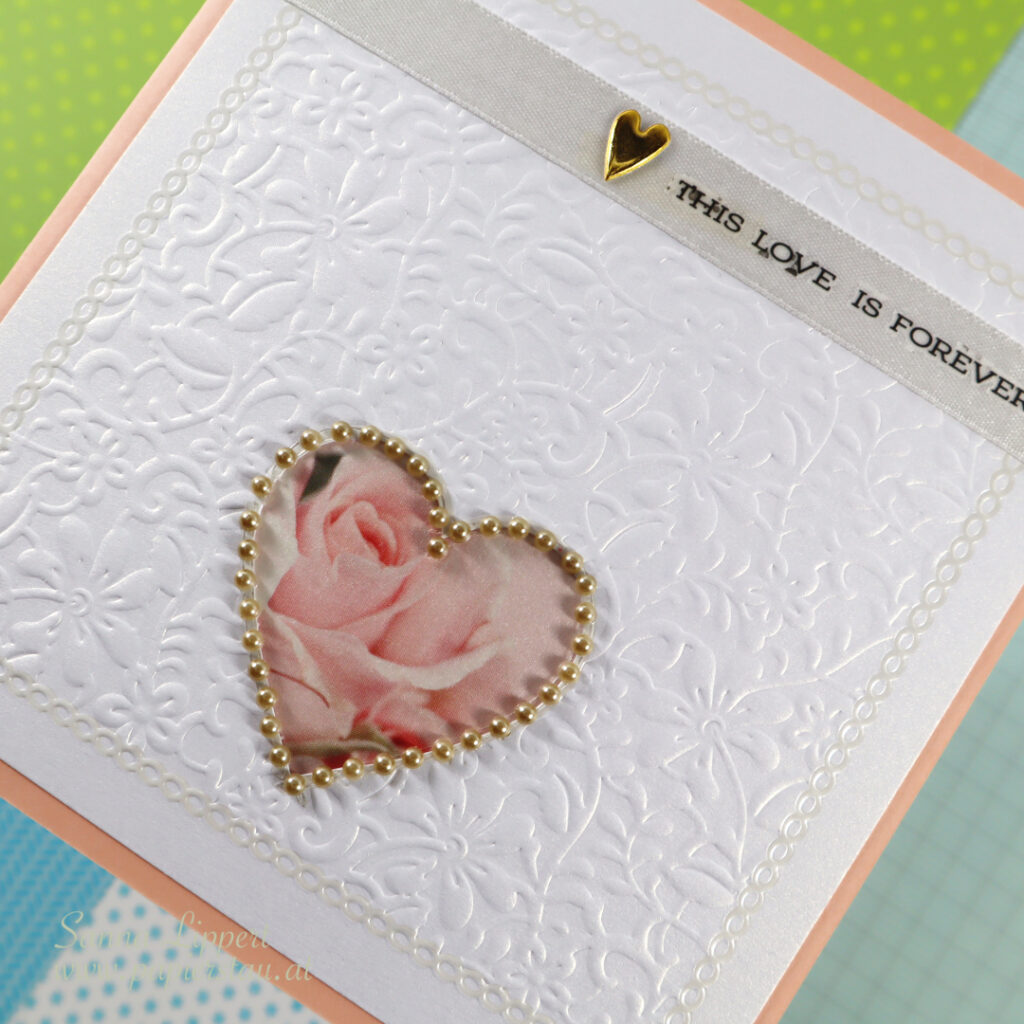
I mounted the dry embossed, glossy/shiny white paper onto a piece of peach toned cardstock. But before that, I mounted a rose image behind the die cut heart area. Before adhering the paper on place I took a piece of white ribbon and added a 49andMarket rub-on sentiment to the ribbon. I then decorated it with a golden enamel heart. To add some more golden details, I added some half pearls around the die cut area.
The card is very simple in design and has plenty of white space in it. I love how elegant the shimmery dry embossed paper makes the card look.
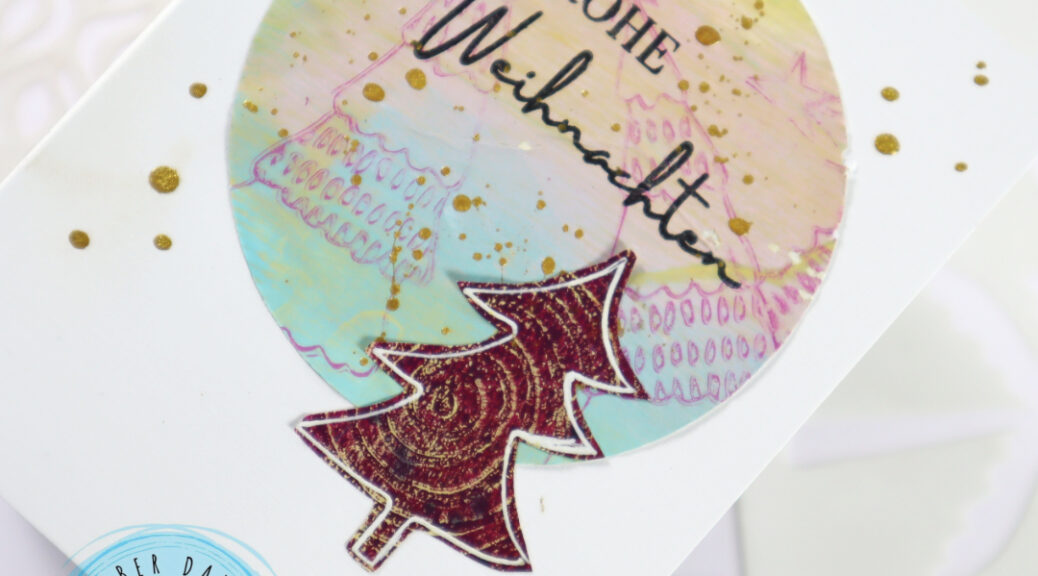
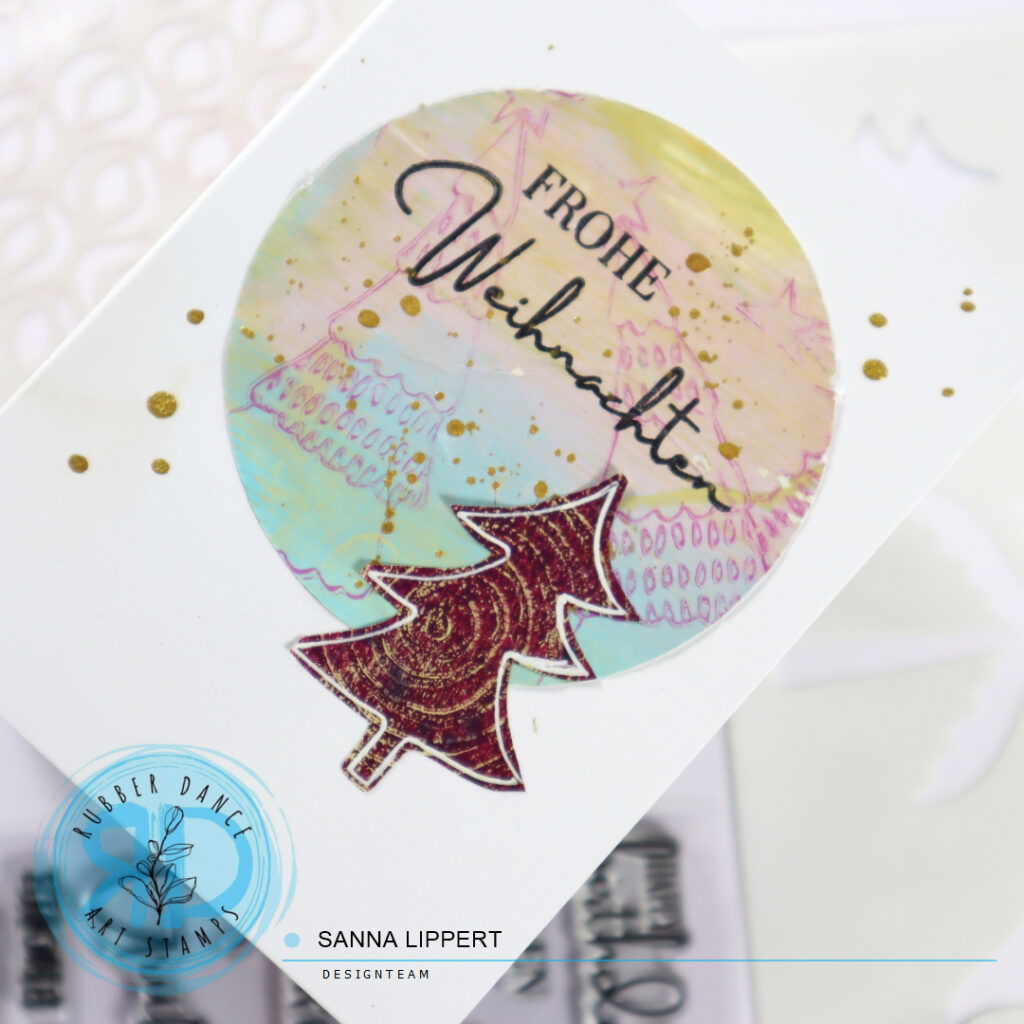
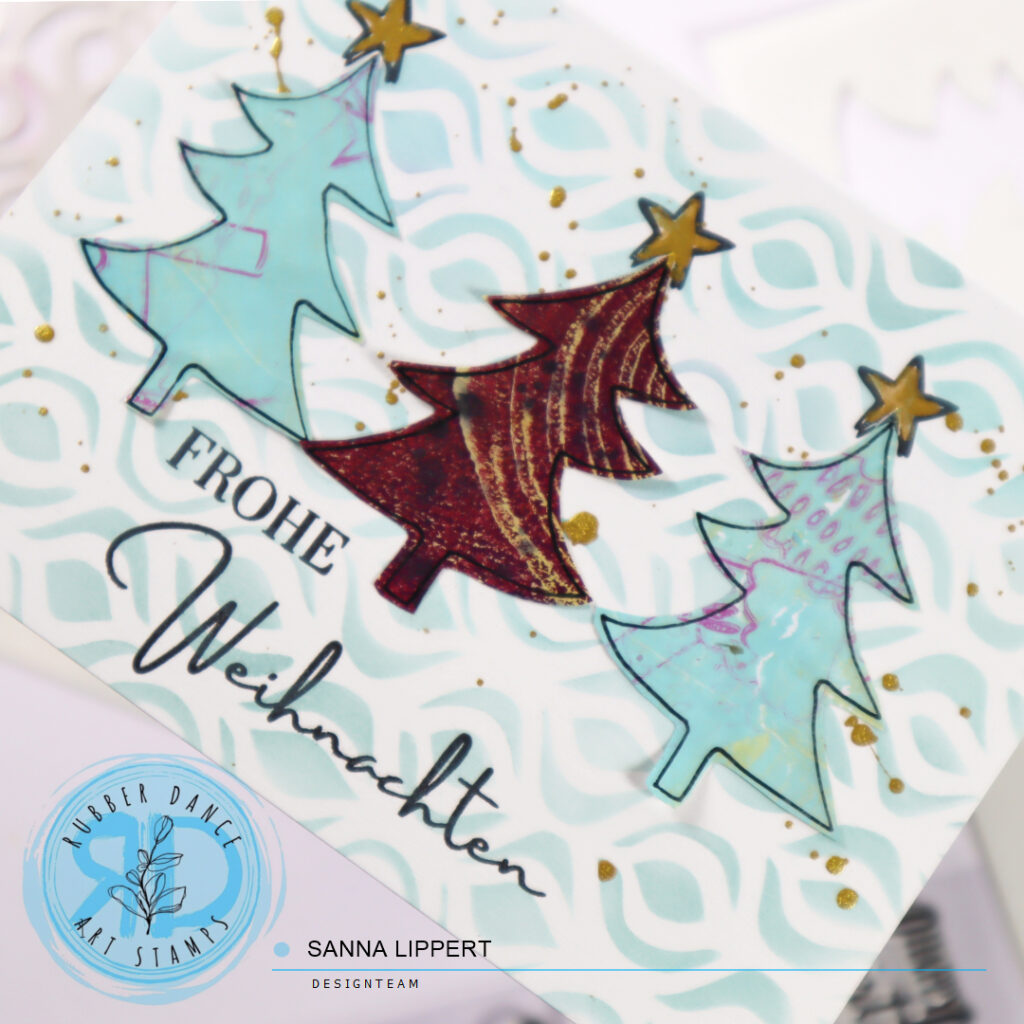
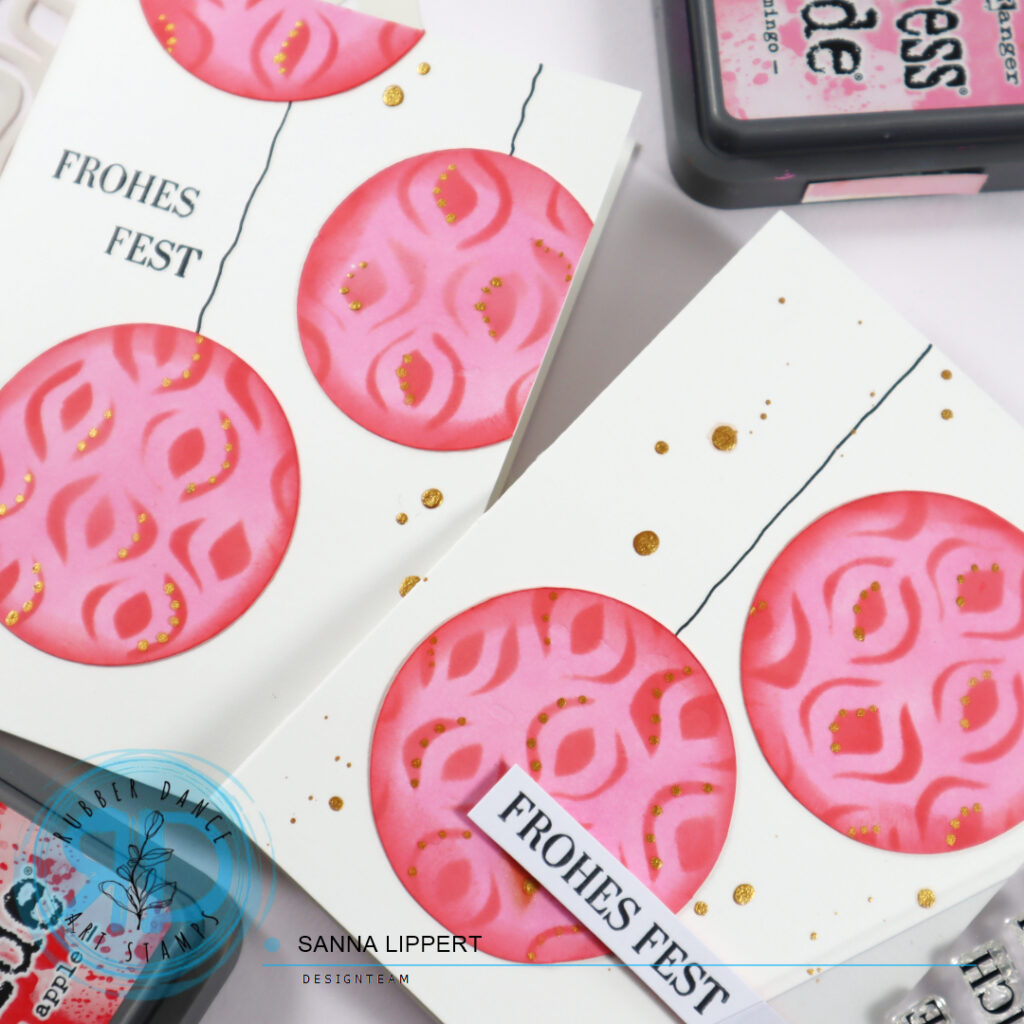
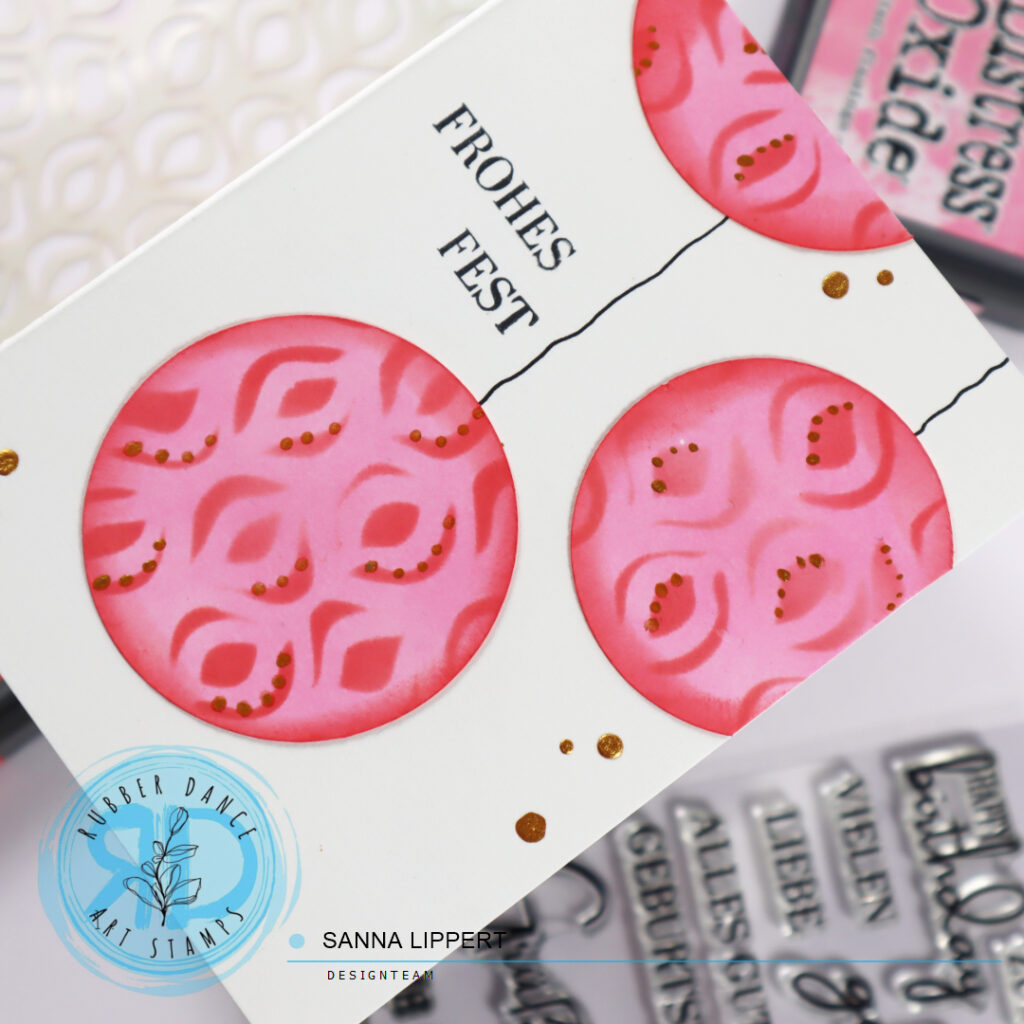
Hello, I am up over at the Rubber Dance blog again today with another clean and simple card Christmas card share. For these cards I used some gelli printed collage papers, the Xmas Trees 2 stencil and the Kartengrüße stamp set. For the collage paper I had used the Textured Xmas Trees 2 and the Mix It Up 4 stamp set.
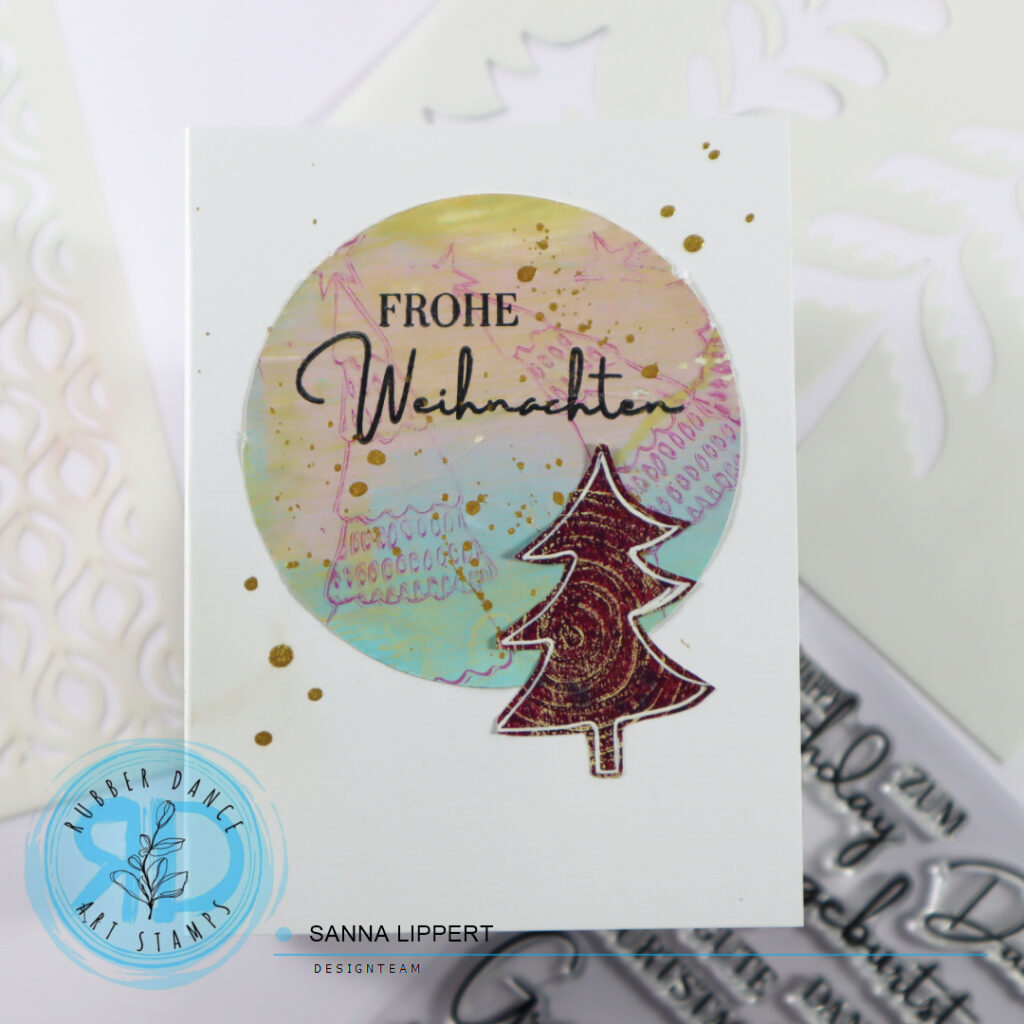
I basically combined the ideas from my previously shared Christmas cards here. I die cut the collage paper with the Textured Xmas Trees 2 pattern on it with circle die cut dies. And the Mix It Up 4 set circle stamp patterned paper is traced thru the Xmas Trees 2 stencil and then fussy cut. I then adhered both pieces to a white card base, added a sentiment stamp with the Kartengrüße stamp set and some golden pigment droplets here and there.
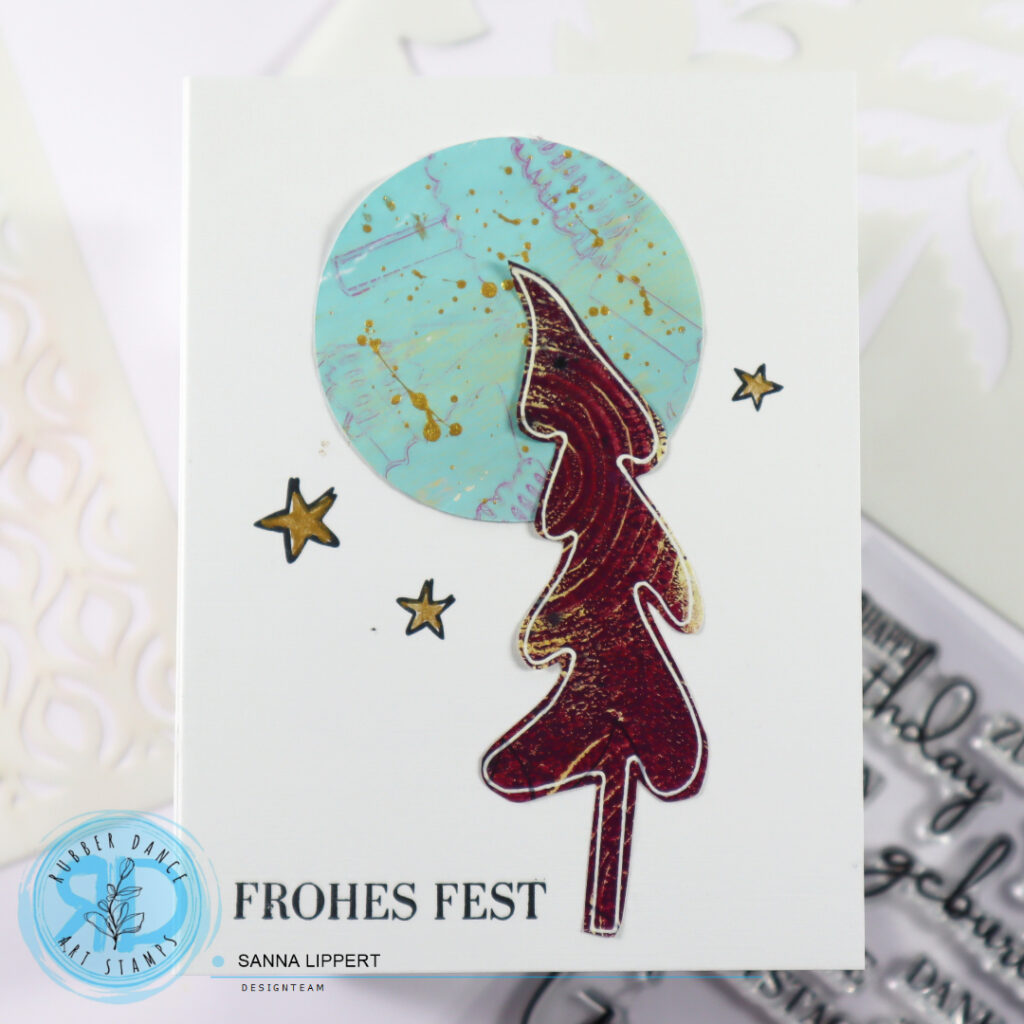
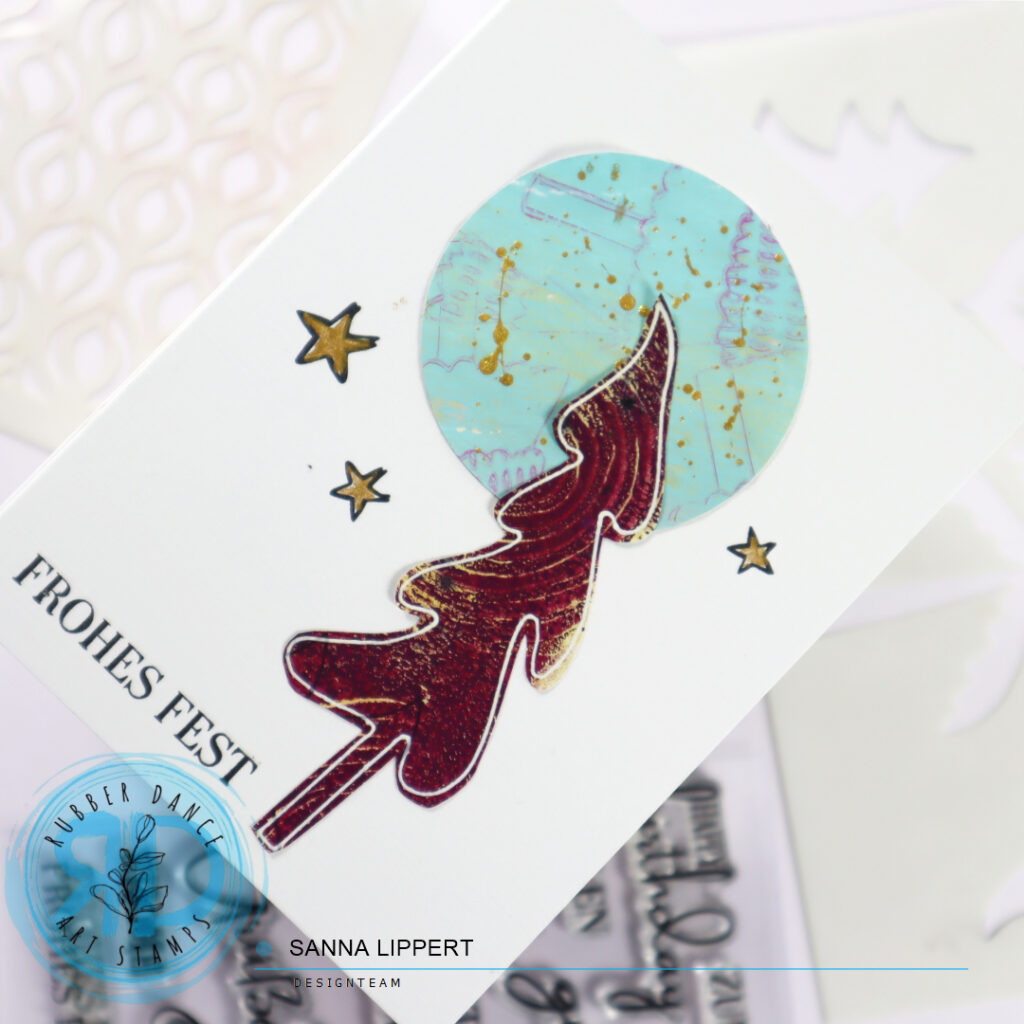
For the second card I basically did the same, except the stamped sentiment is on the card base, not on the collage paper. Also the golden pigment droplets are on the collage paper and the stamped stars are colored with the same golden color. For stamping those I used the Textured Xmas Trees 2 stamp set.
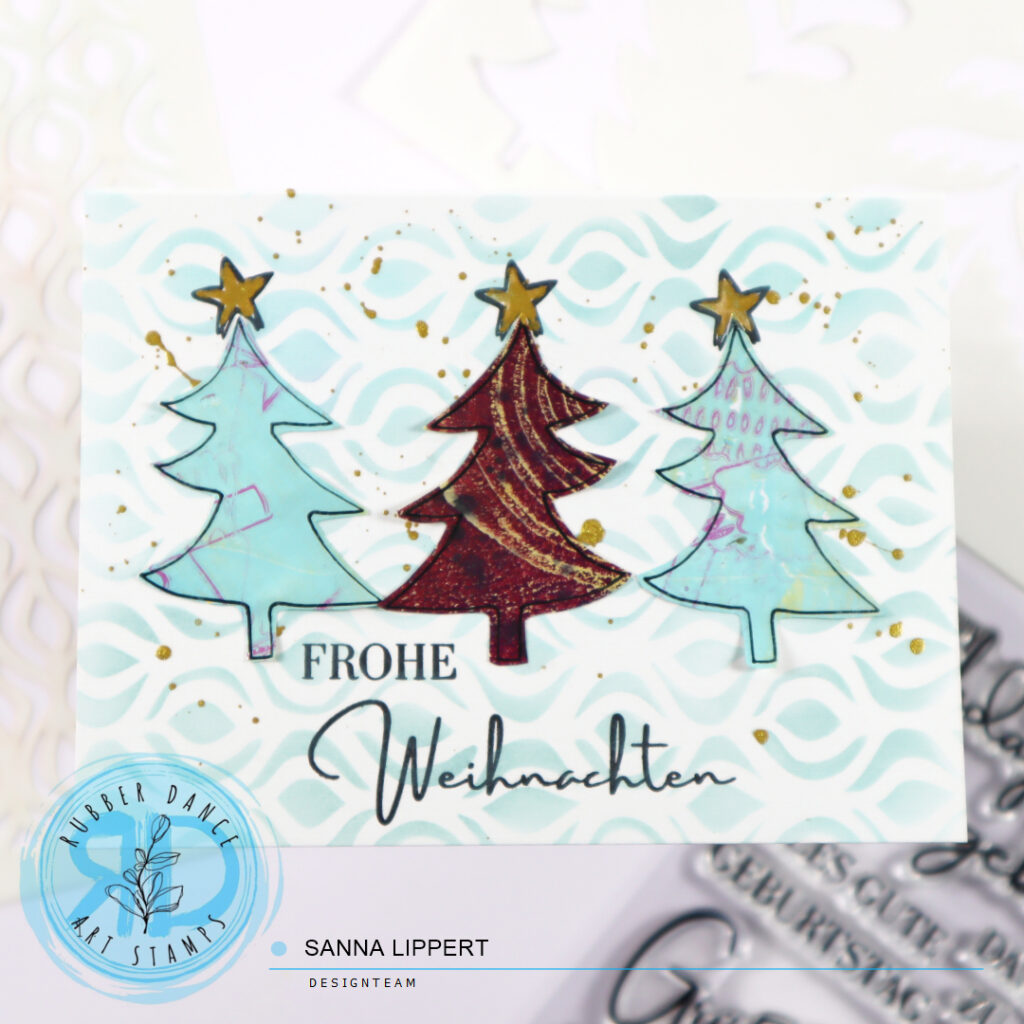
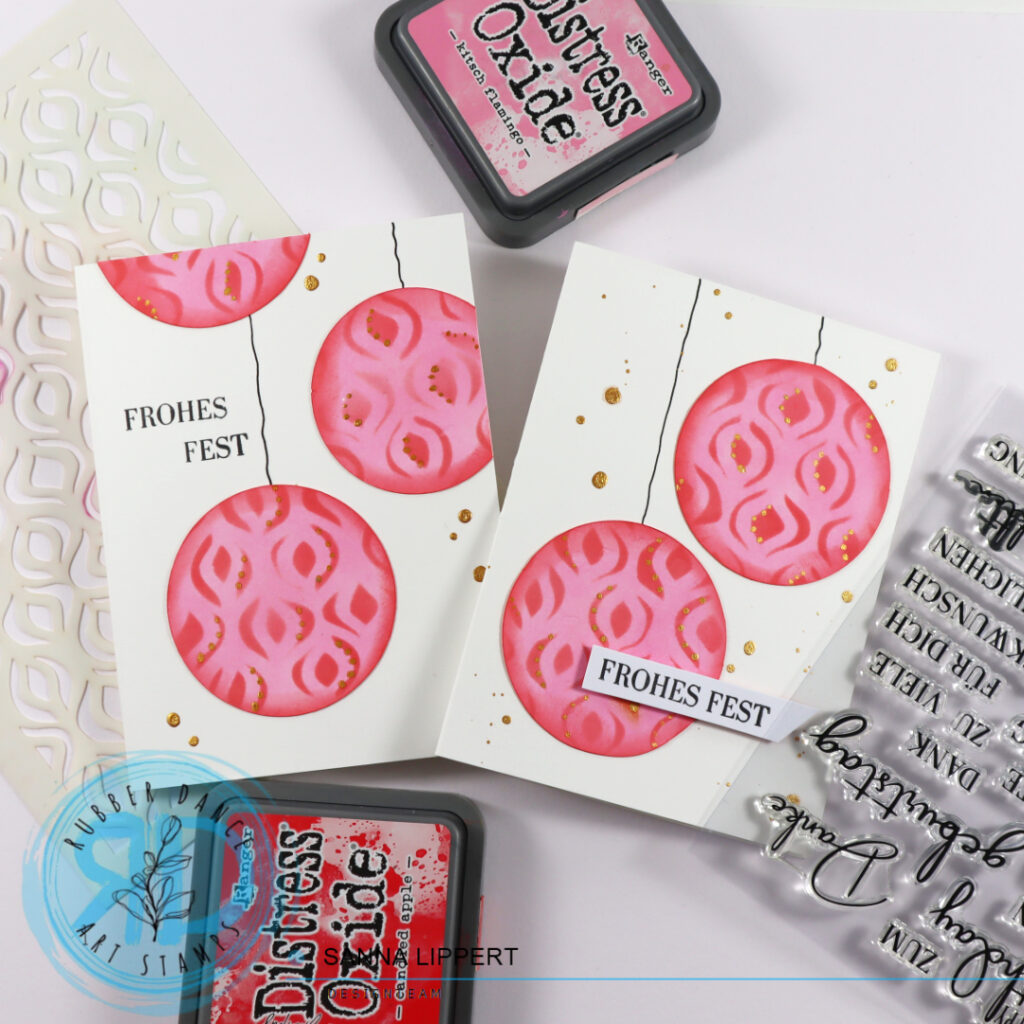
Here is one more bonus card, for which I just added some stenciling with the Ornament 1 stencil as a background and arranged some collage paper trees on top. I had some left over and didn´t want them to go to waste.
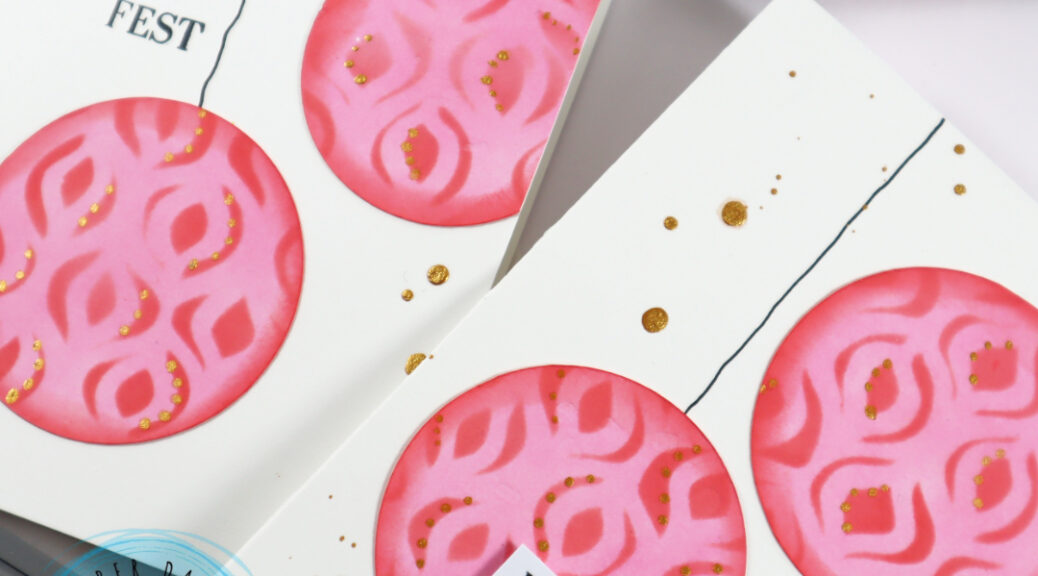
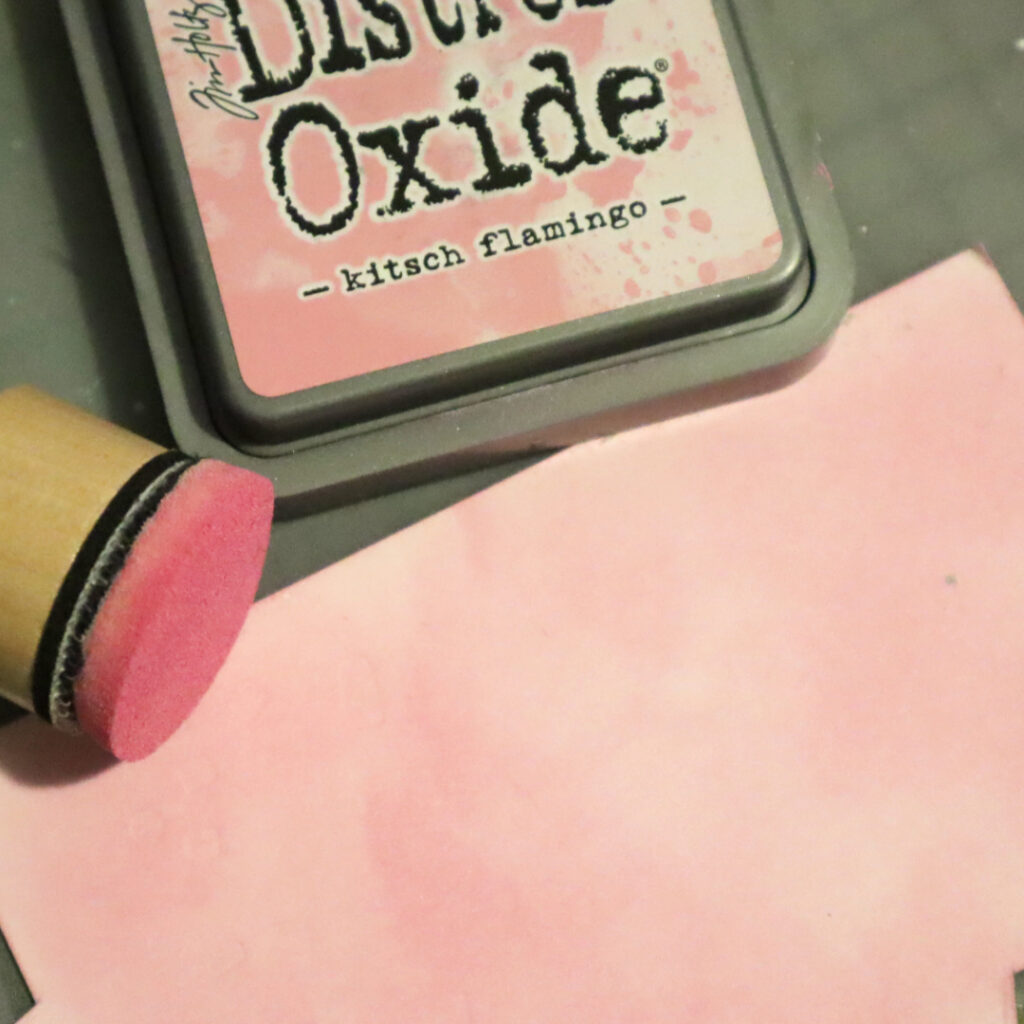
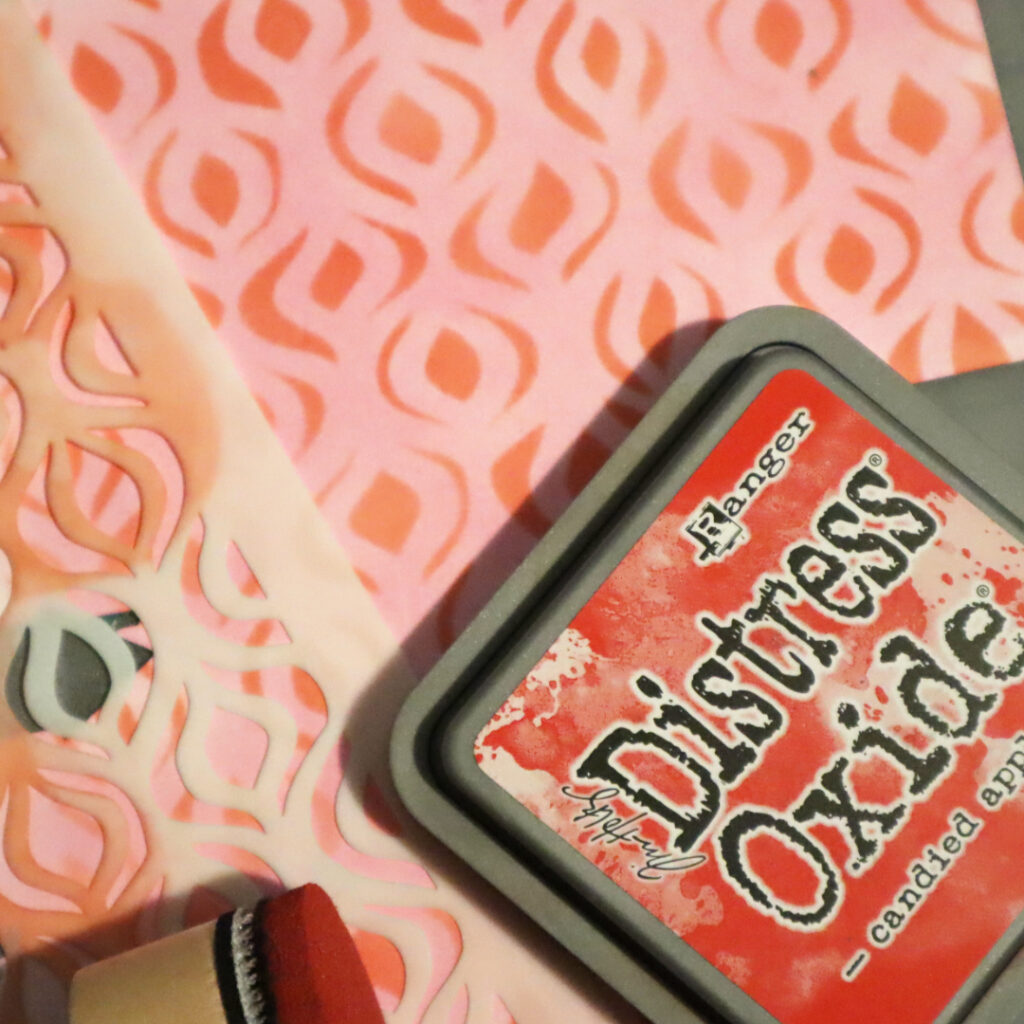
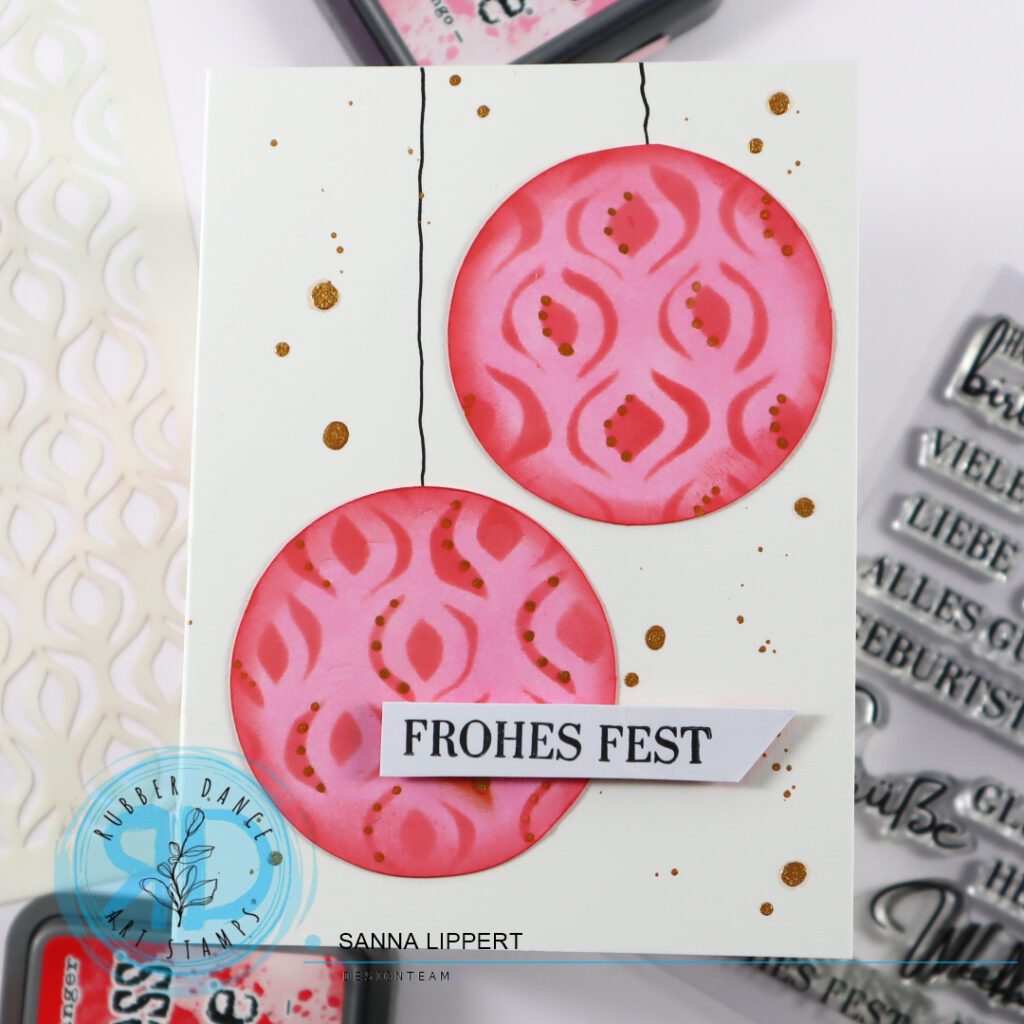
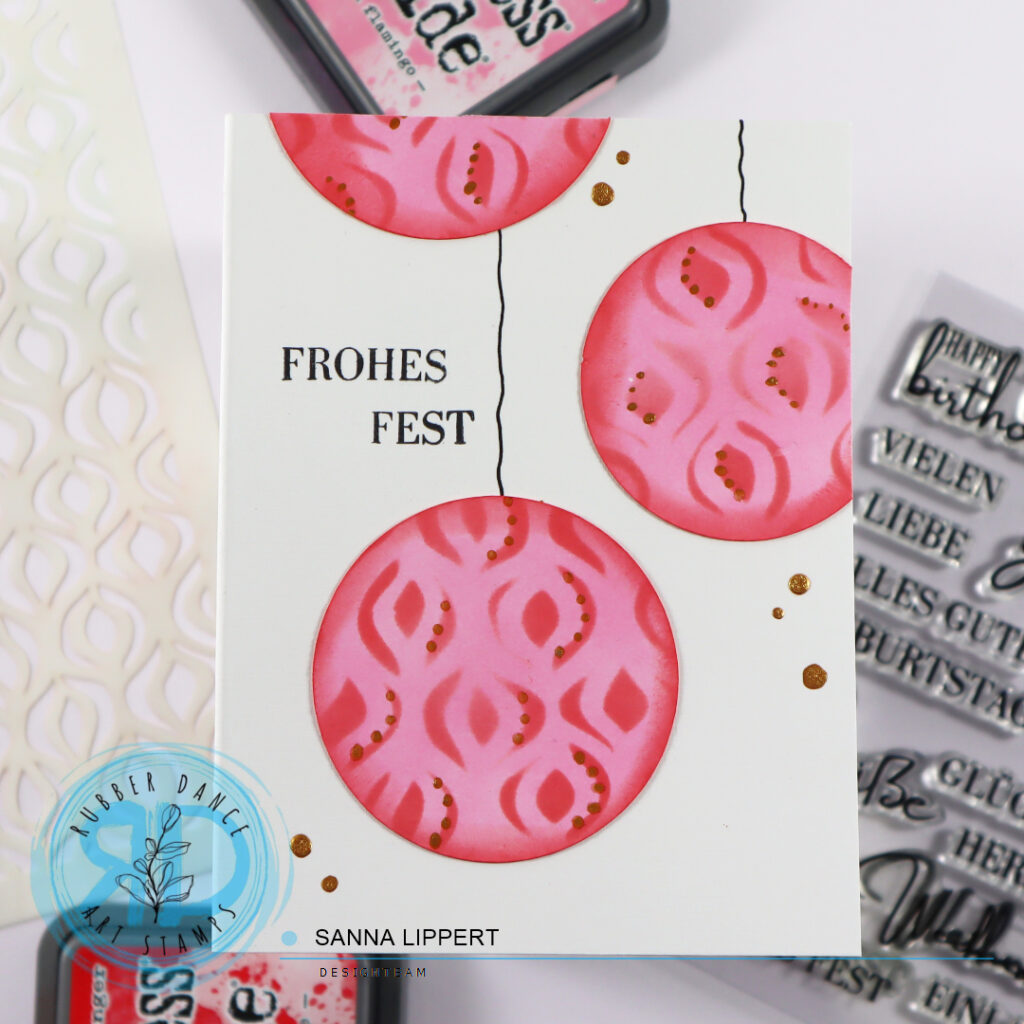
I started by inking a piece of white cardstock with “kitsch flamingo” Distress Oxide ink. next I placed the Ornament 1 stencil on top of the inked paper and applied a darker red tone, “candied apple”, thru the stencil onto paper.
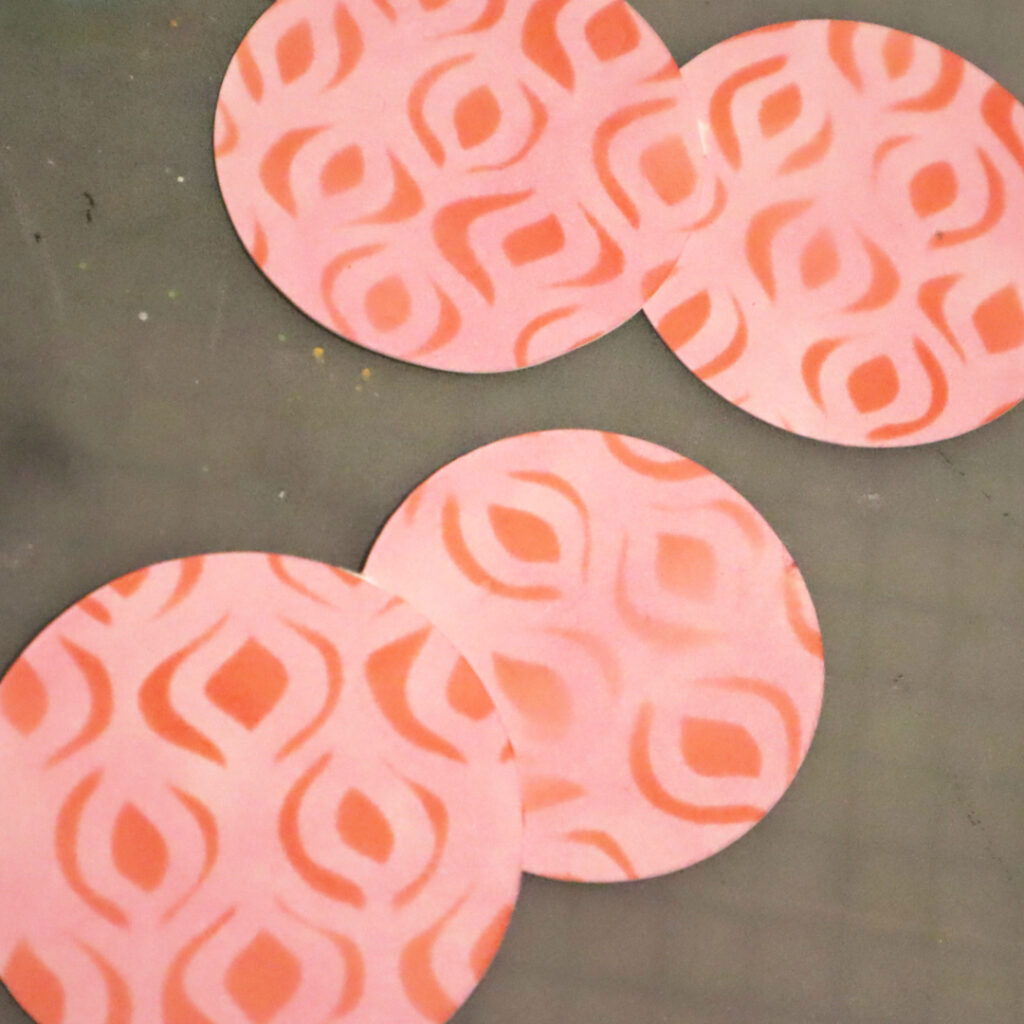
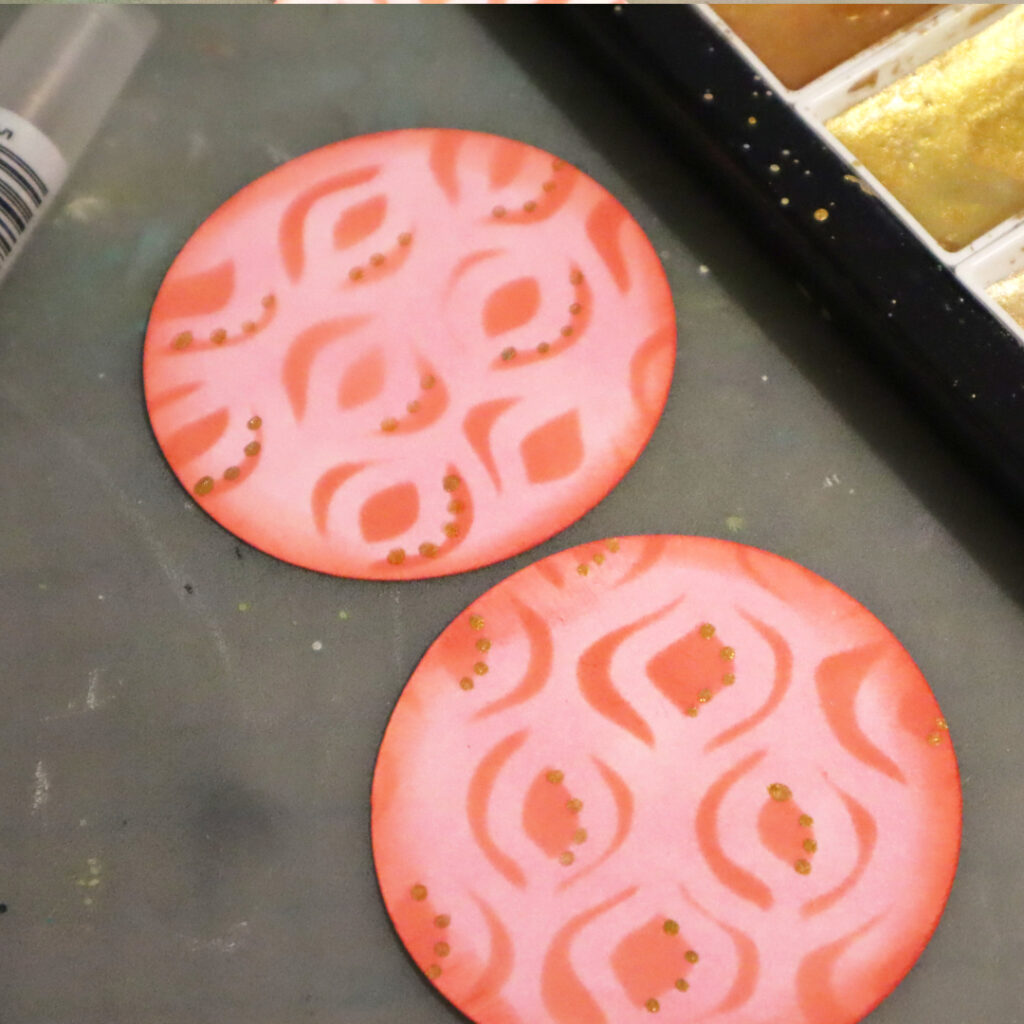
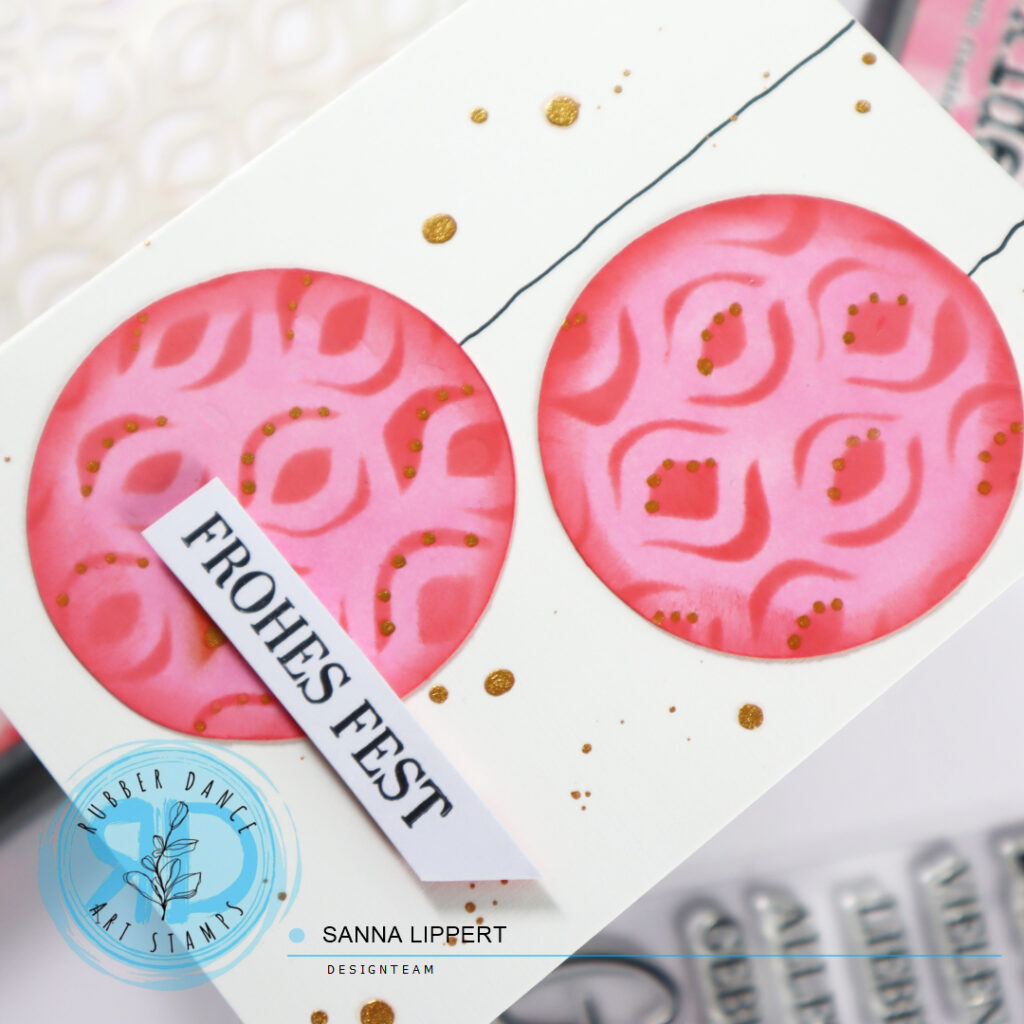
After that I die cut the paper into two different sized circles. I then inked the edges with the darker red toned ink and added some golden dots with a water brush onto them.
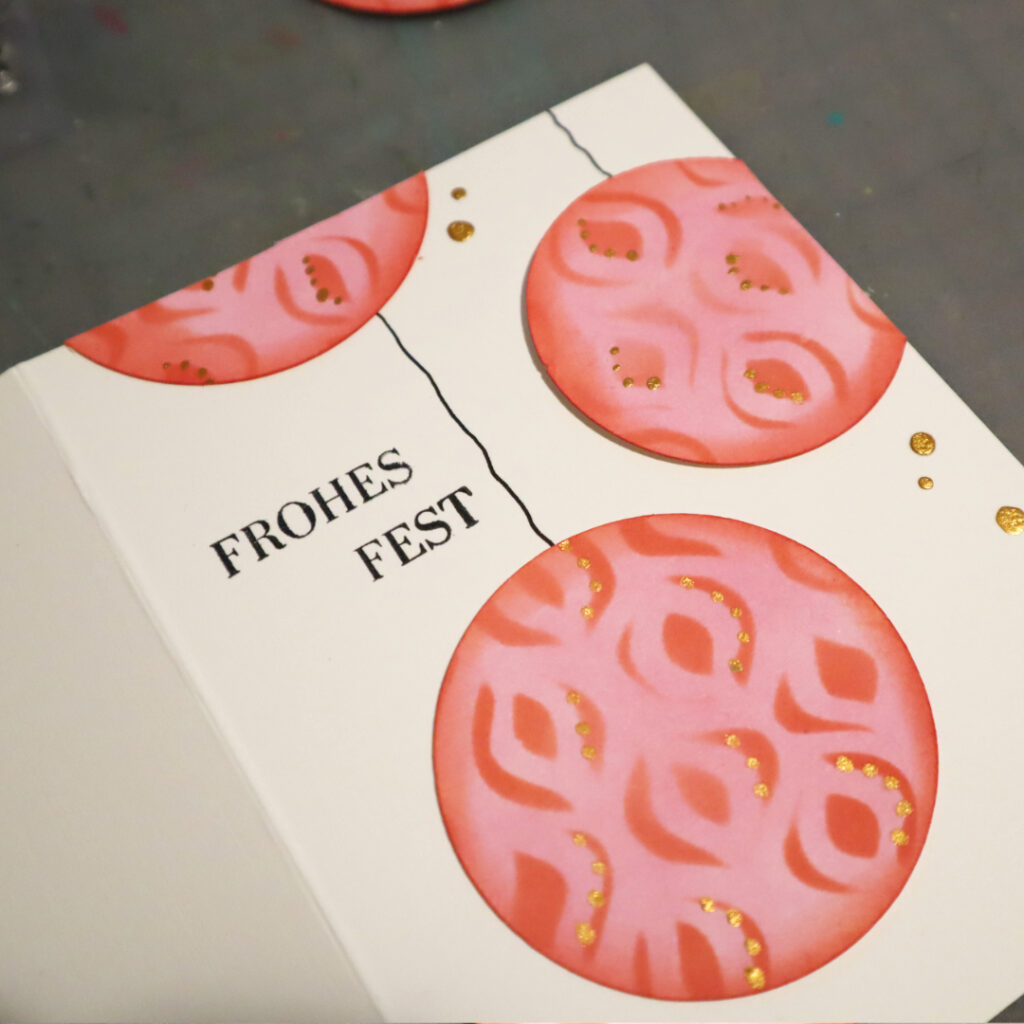
Then I just drew some strings for the baubles to hang onto the card base and adhered the circles on place. After that I stamped a sentiment with black ink onto the cards using the Kartengrüße stamp set.
I also added some golden droplets to the card bases for additional interest in the end just for fun. Here are the finished cards:
I hope you enjoy this card idea and make some Christmas bauble cards yourself. Happy crafting, xxx, Sanna
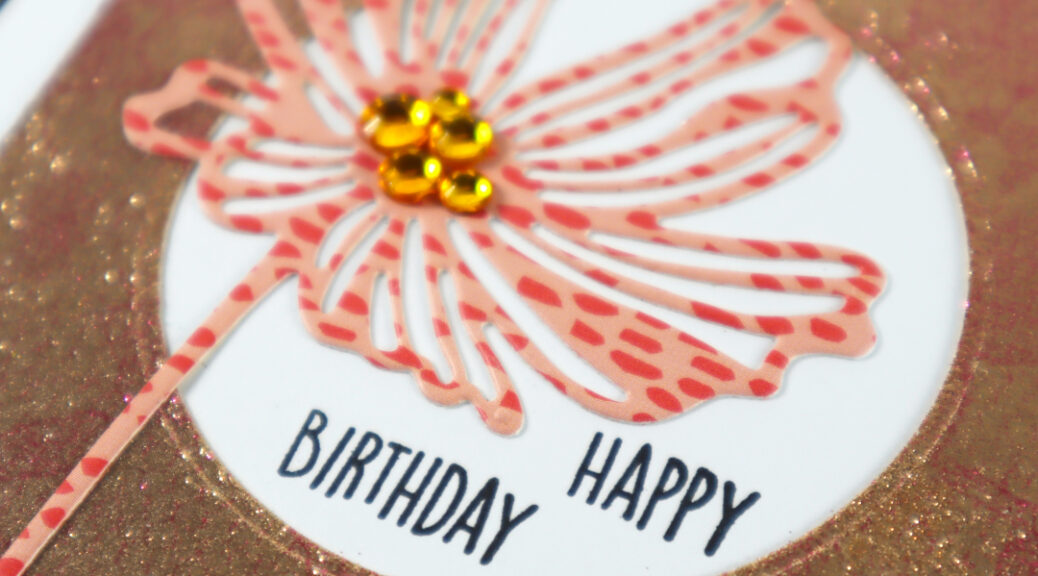
Hello, I don´t know what it is with January, but I always get the urge to play and craft alot in January. Thus, today I am sharing something I created yesterday evening :). A set of sparkly birthday cards:
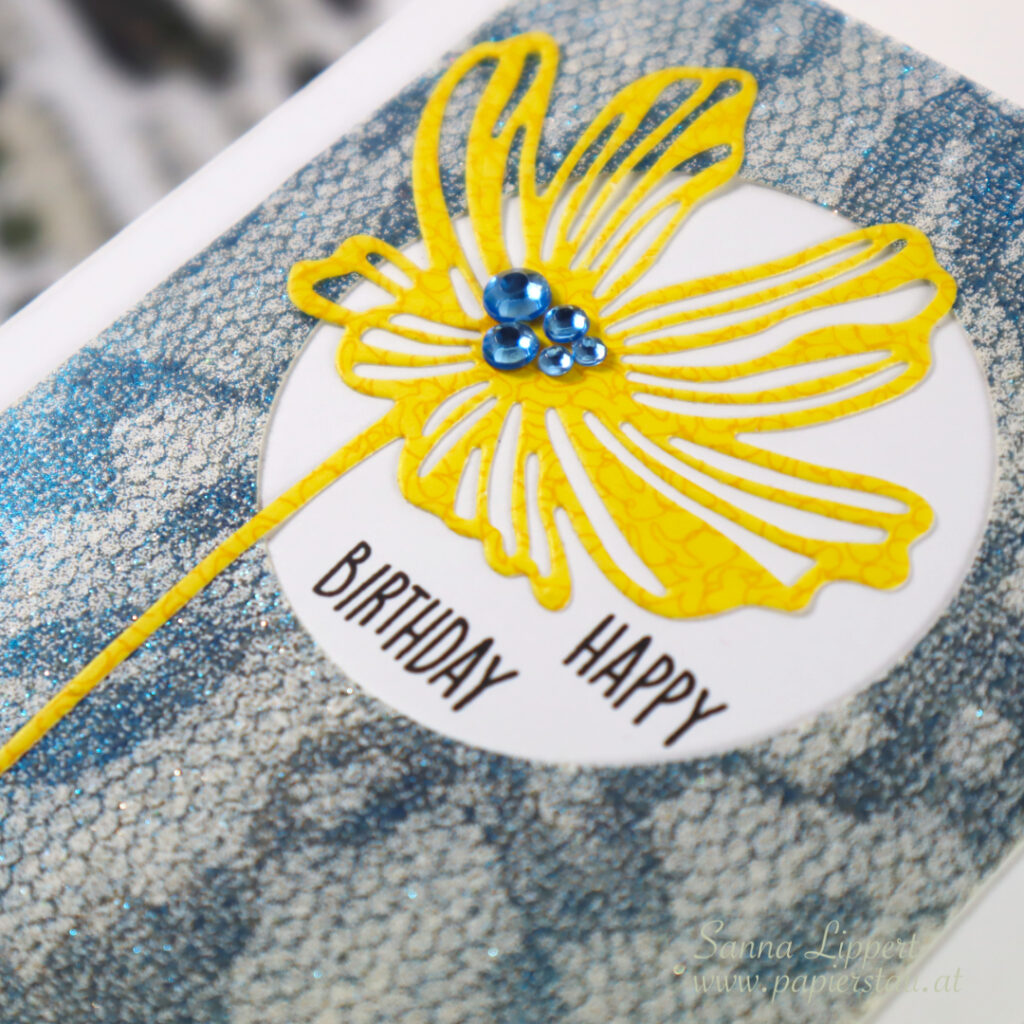
I created these using my Elizabeth Craft Designs stash – silk microfine glitter, stamps and die cut dies. Only the rhinestones are from another manufacturer (my very old stash).
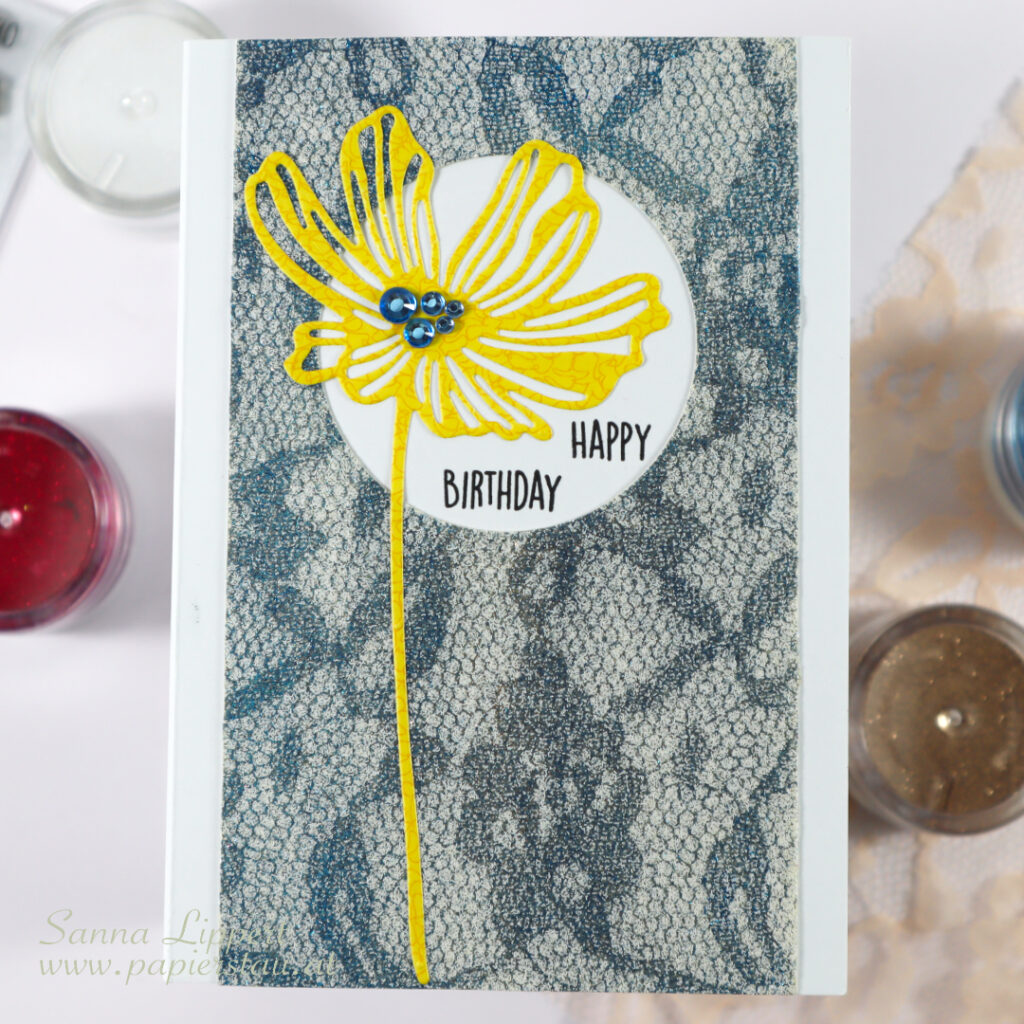
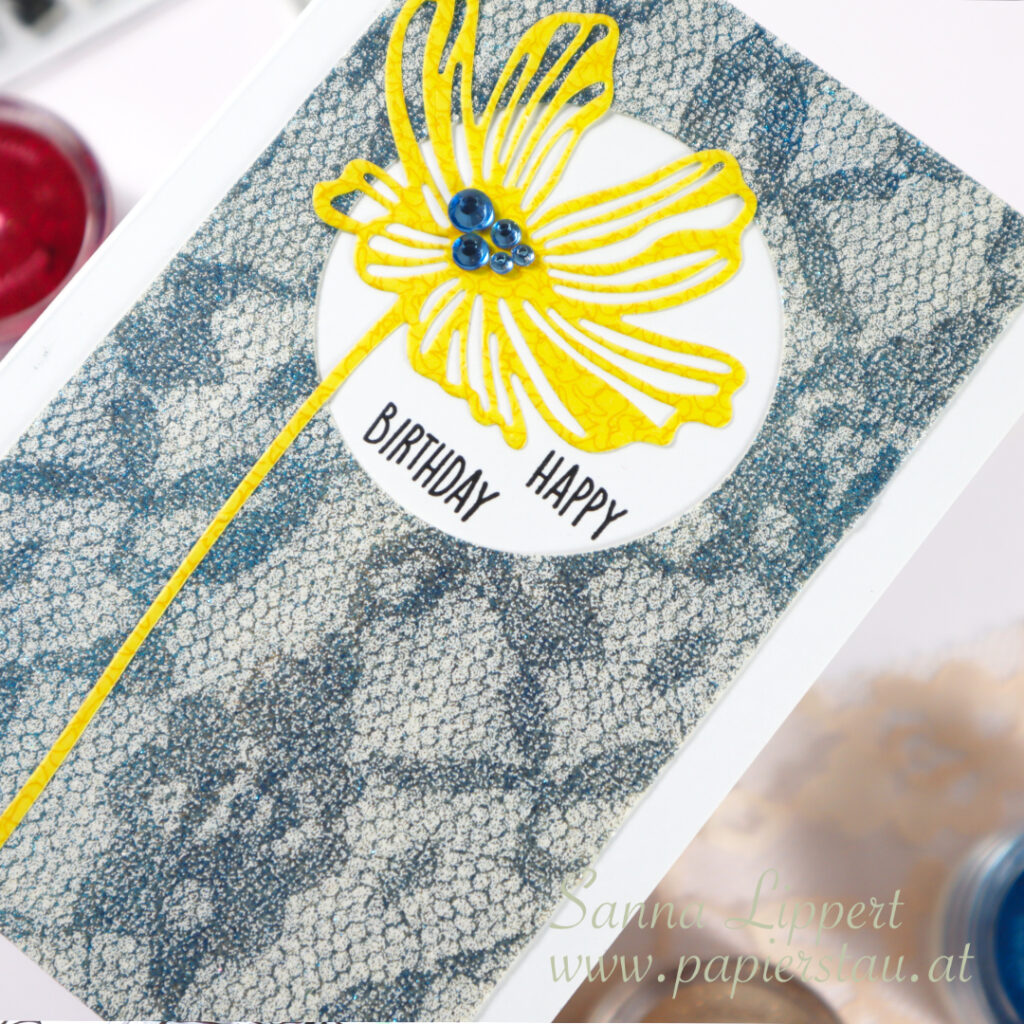
I started with a piece of lace and golden and pink glitter, but since I hadn´t done this for a while, I forgot that a stronger contrast in color makes the pattern more visible, and ended up with a shiny, sparkly golden background with hardly any noticeable pattern. Thus, the second one in blue and white :).
As you can see here. Hardly any pattern to be seen. Oh well, I still kept the paper, because of this beautiful sparkle. There is very little going on else on the cards, just a die cut flower and a stamped sentiment.
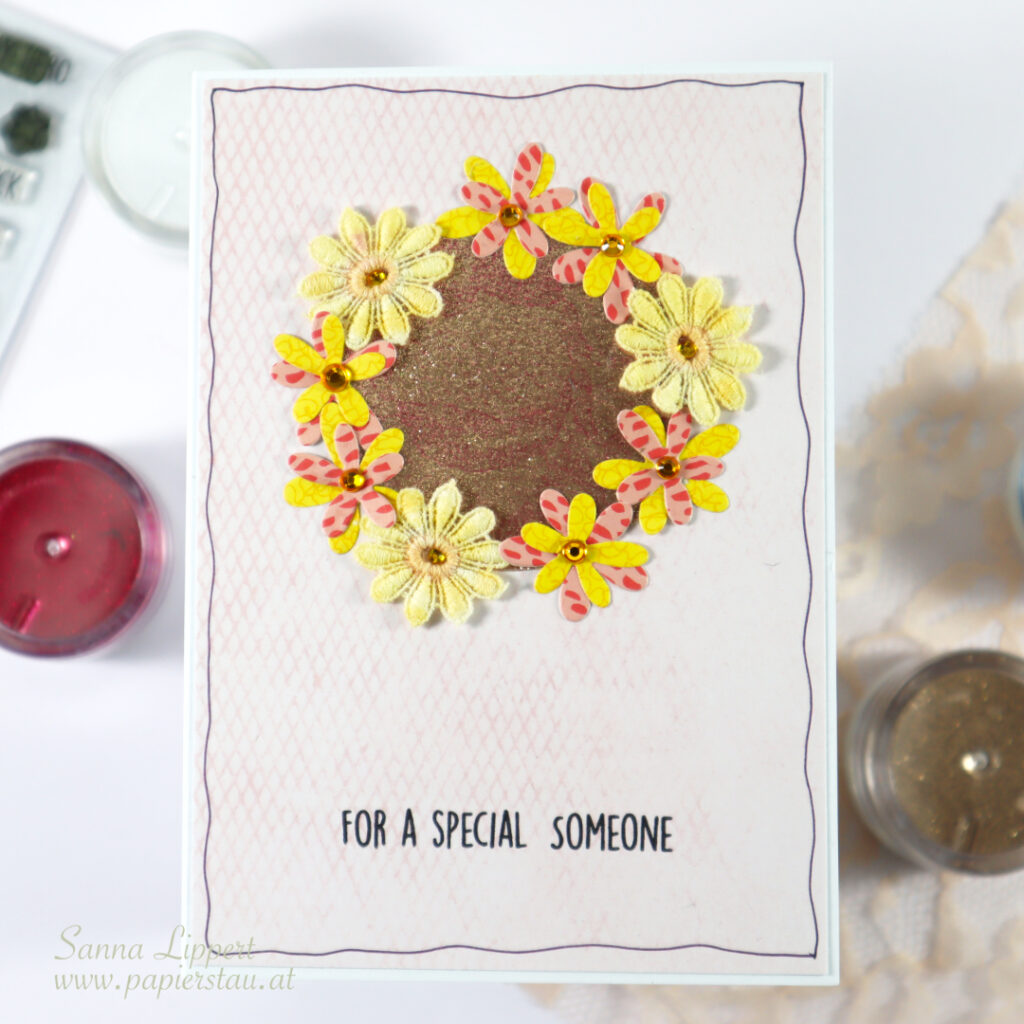
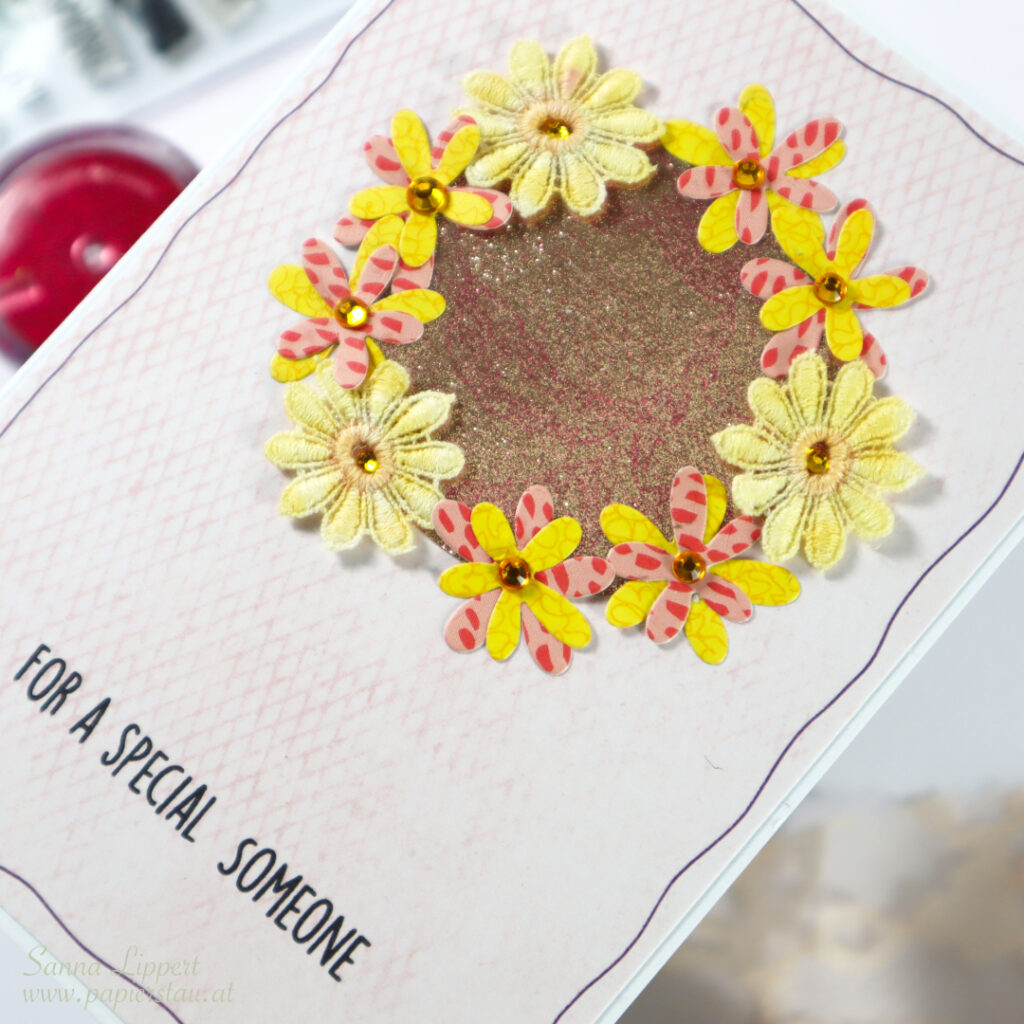
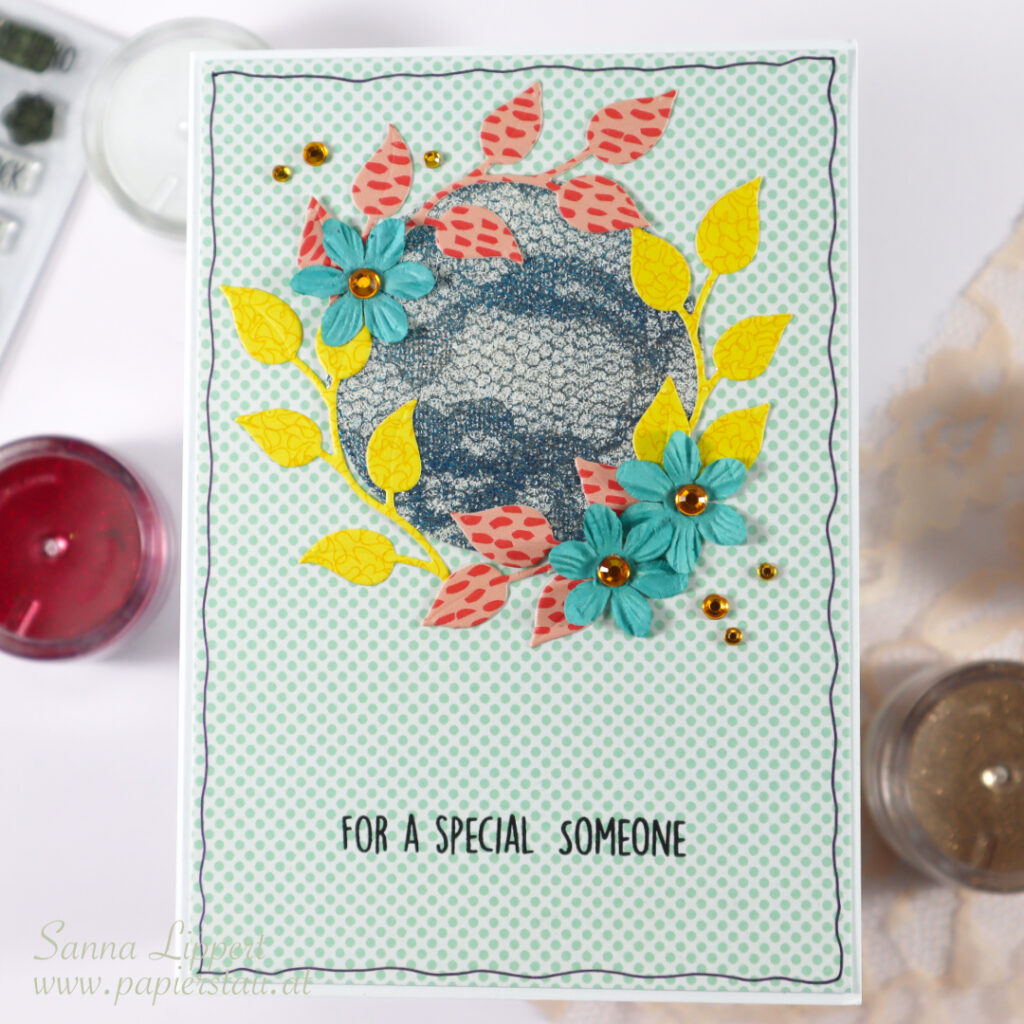
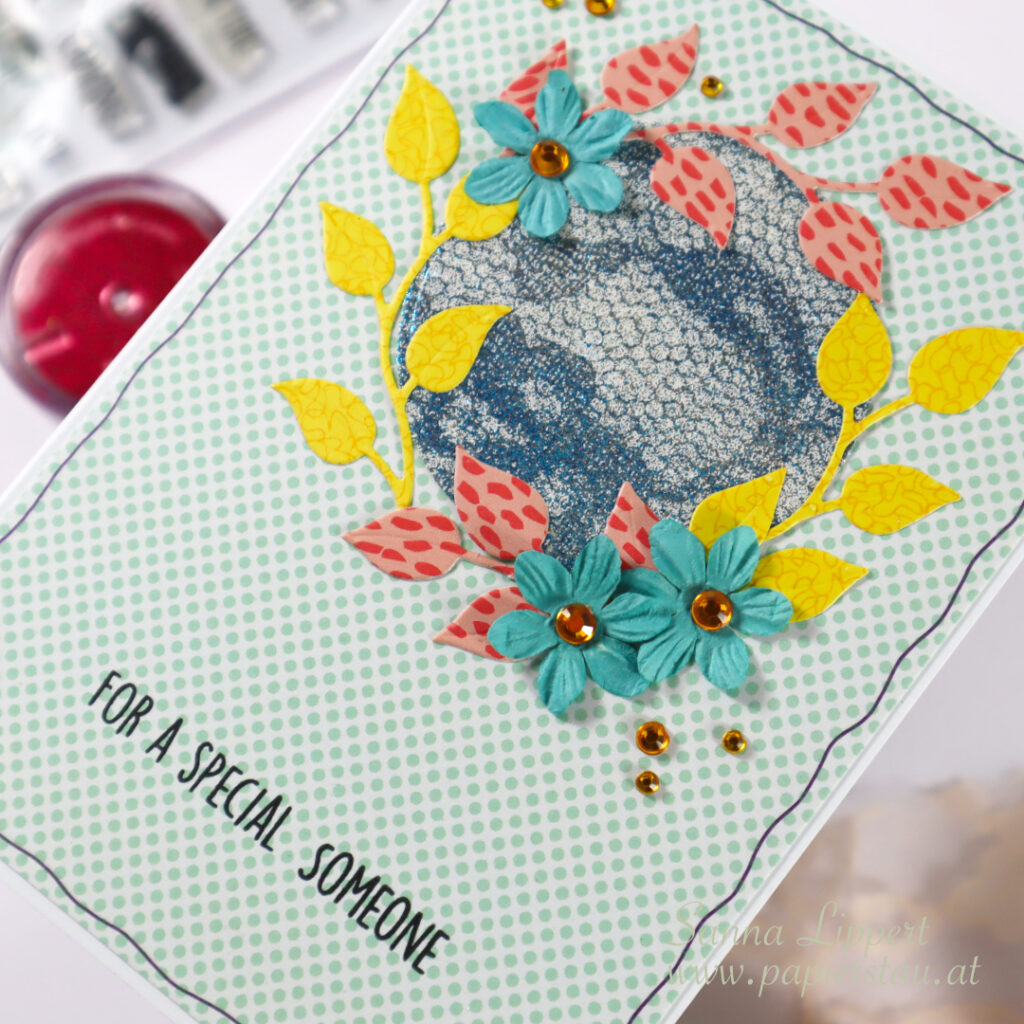
I had originally planned on using the postcard paper as is, but ended up die cutting a circle in the center and going on from there. So I had leftover pieces which I then used for these two “residue” cards. I used up all the glitter bits and the patterned paper pieces left from die cutting the flowers for the first two cards.
I created a cluster around the leftover glitter circles from die cut leaves and flowers and adhered everything on lightly patterned papers. I then embellished with rhinestones again and stamped a sentiment.
I made a little start-to-finish video, too, while I was at it – hope you like it:
Thanks for stopping by!! It was fun to go back to this technique. I haven´t done it in a while and still have plenty of lovely glitter here, so I should probably do this more often :). Have a great Sunday and happy crafting! xxx, Sanna
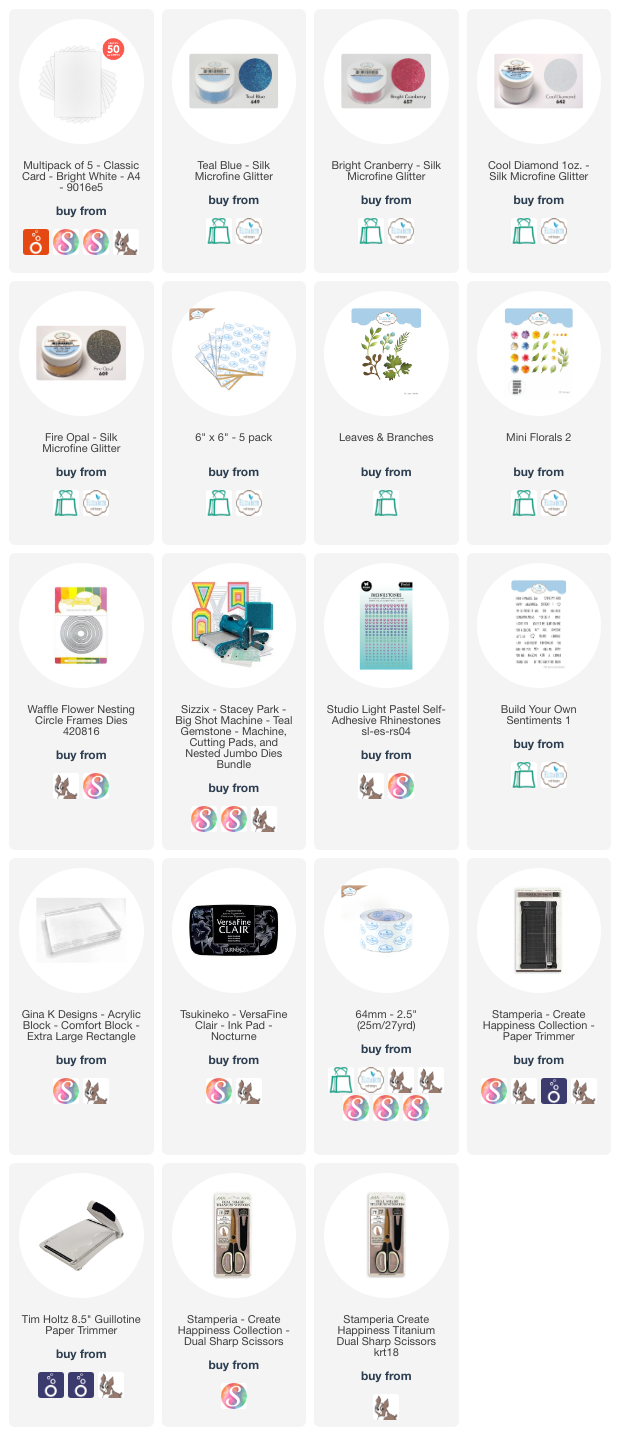
Supplies (also added alternatives to my older die cut dies):
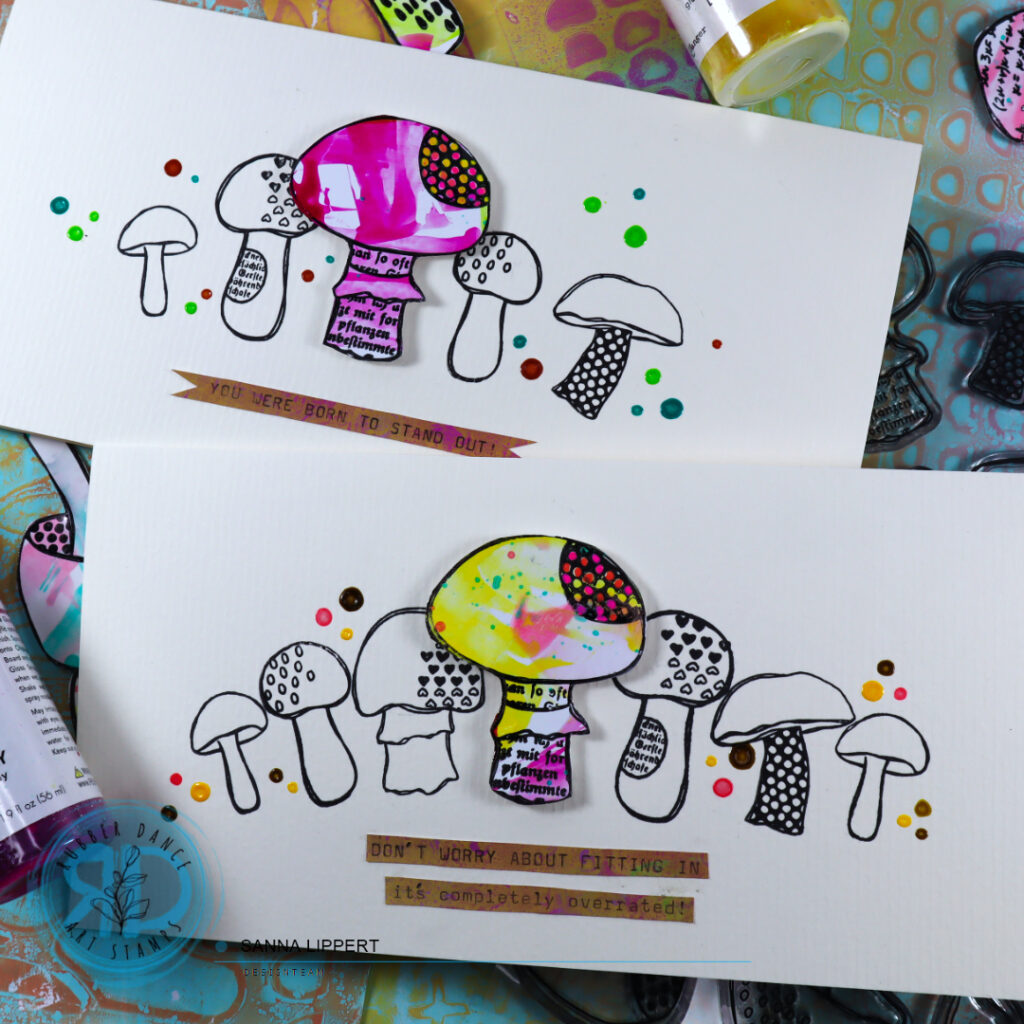
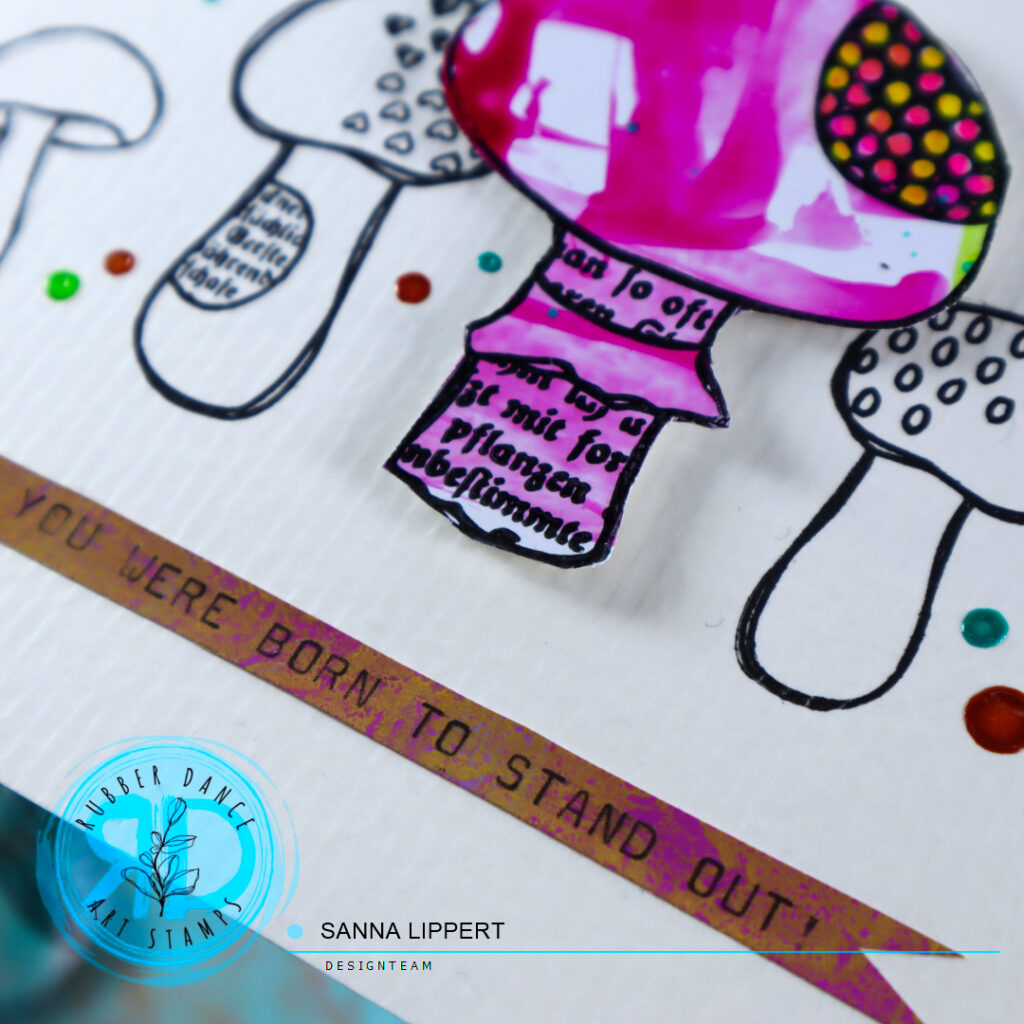
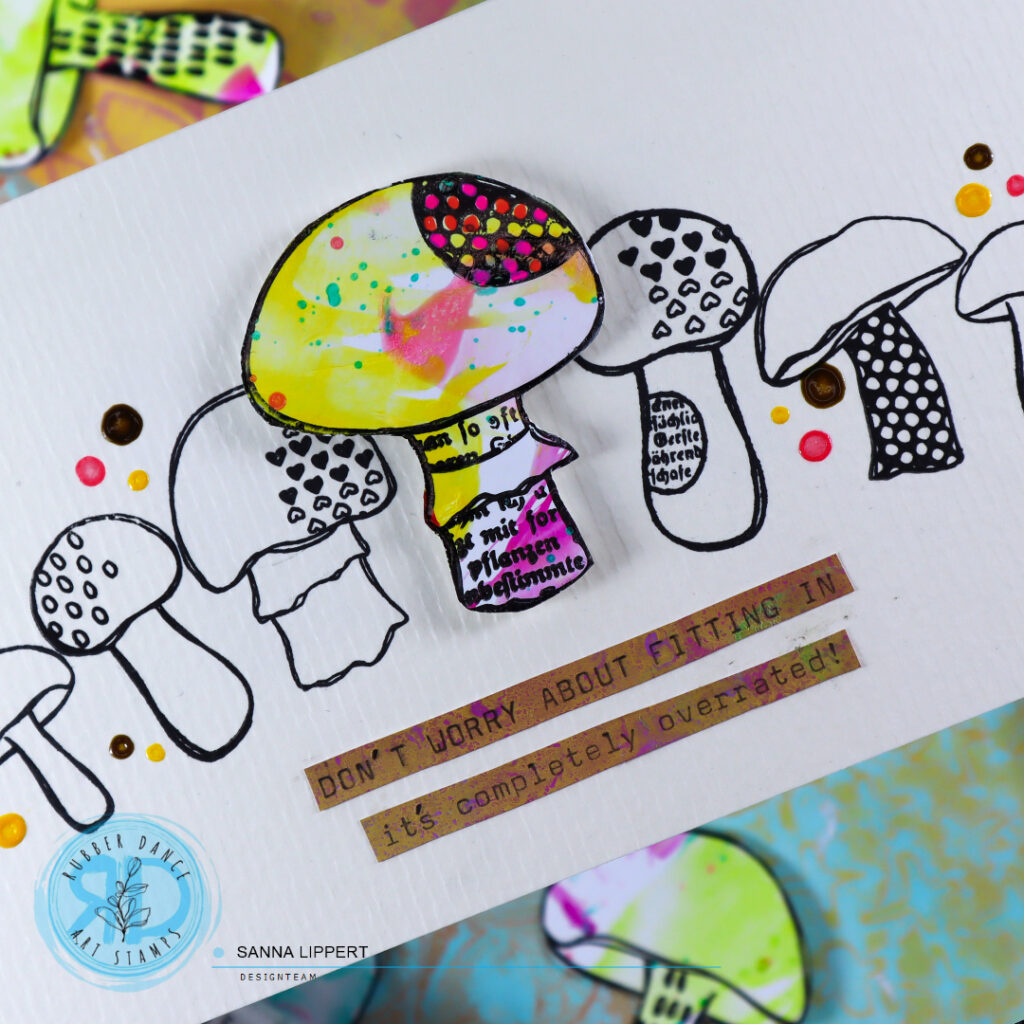
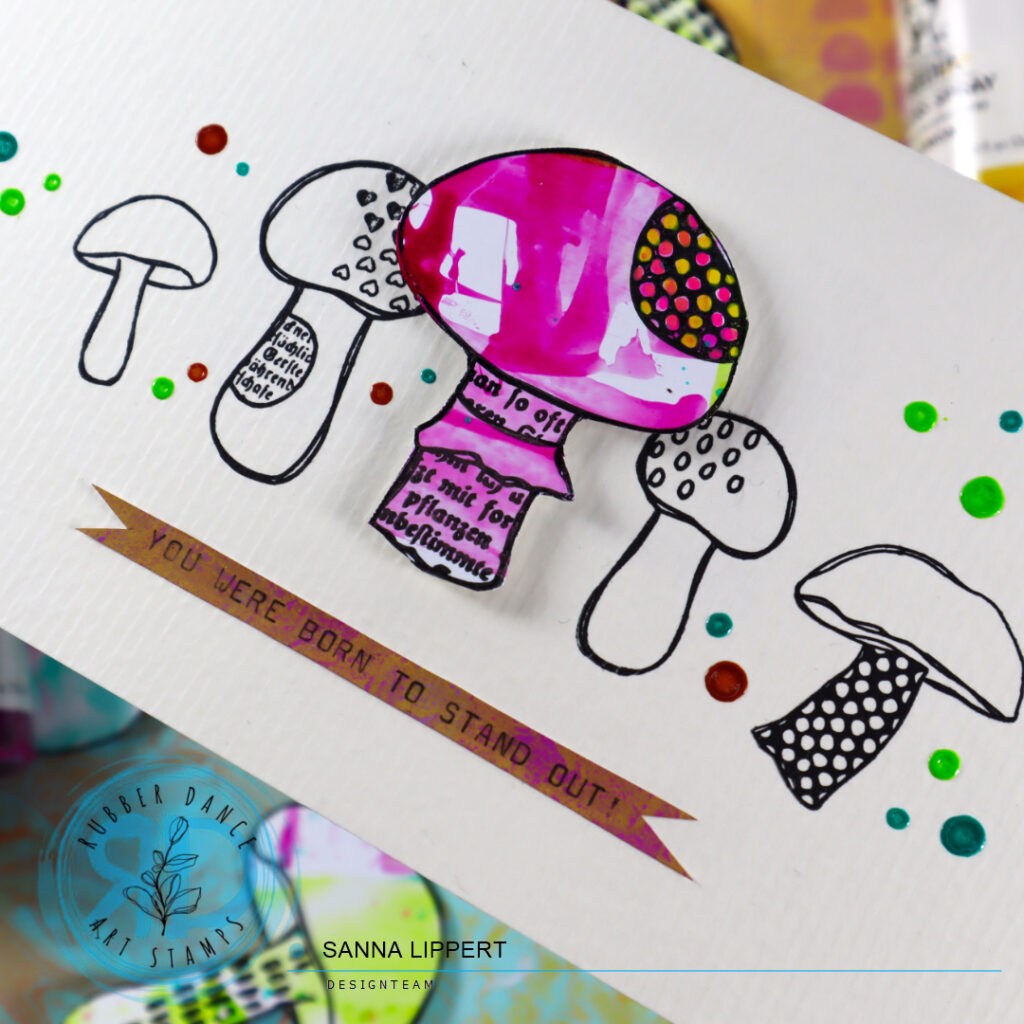
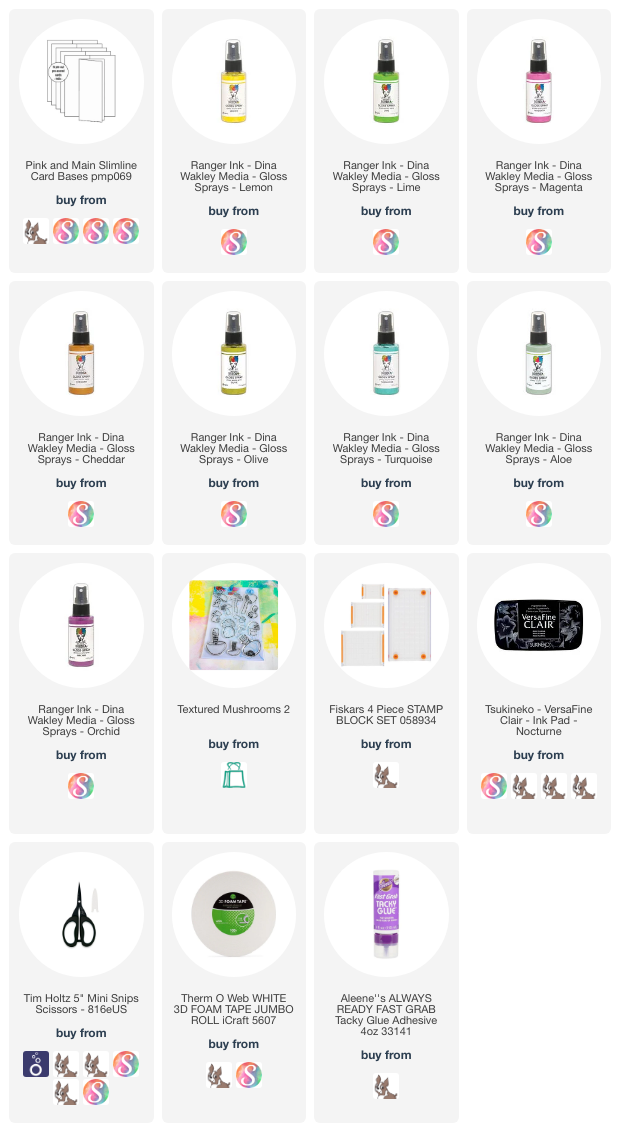
Hello! It´s project share day over at Rubber Dance blog today for me and I am up with a mushroom themed card set in clean and simple style and slimline format. I used my favorite fall stamp set (Textured Mushrooms 2) on these cards with Gloss Sprays and a typewriter written sentiment.
Here is how I created the cards:
First I took a piece of glossy cardstock and applied several tones of Gloss Spray onto the surface by wiping the color here and there and then adding some droplets on top.
Next I took the Textured Mushrooms 2 stamp set and stamped mushrooms onto the colored paper with black stamp ink. The ink needs to dry a while, because of the glossy surface, but once it is dry, you can continue with the next step.
After that I fussy cut the colorful mushrooms. For these cards I only needed two of them, so I have plenty still to use on future projects.
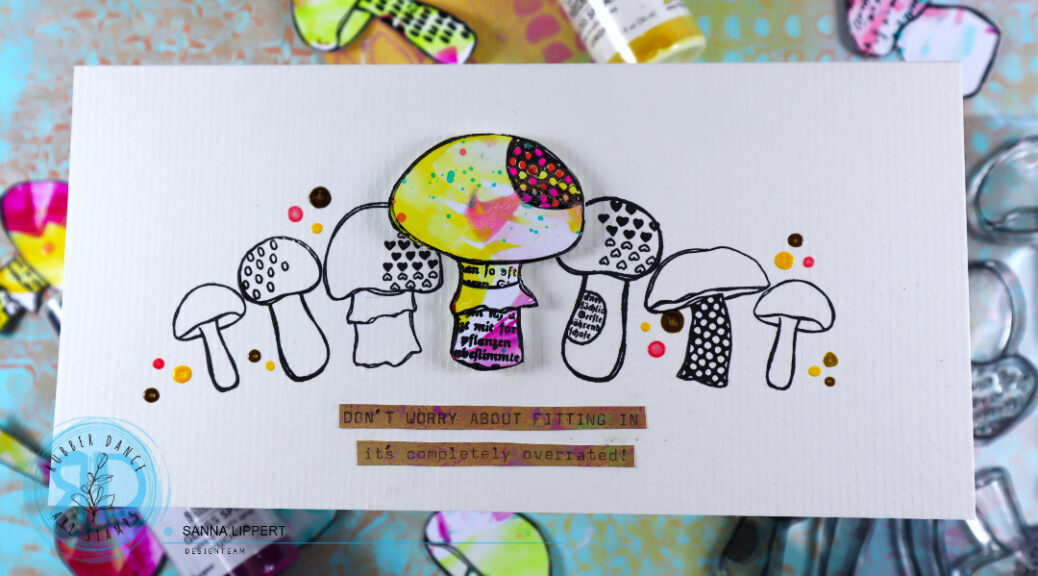
Then I stamped smaller mushrooms onto a plain slimline card base with black ink and added a colored, fussy cut mushroom as a centerpiece into th middle of the card (adhered with 3D foam tape). Now I just needed to decorate.
I then wrote a sentiment with my old typewriter onto a piece of leftover gelli printed paper, adhered that onto the card and added some Gloss Spray splatters around the mushrooms and the card was done. I did the same steps with both cards.
I hope you get inspired by this easy-to-do idea and make some fun fall-themed cards yourself! If you don´t own Gloss Sprays, try using other spray paints, spray inks or watercolors. They work just as well for this idea. Just replace the glossy paper with a different one. Have fun!
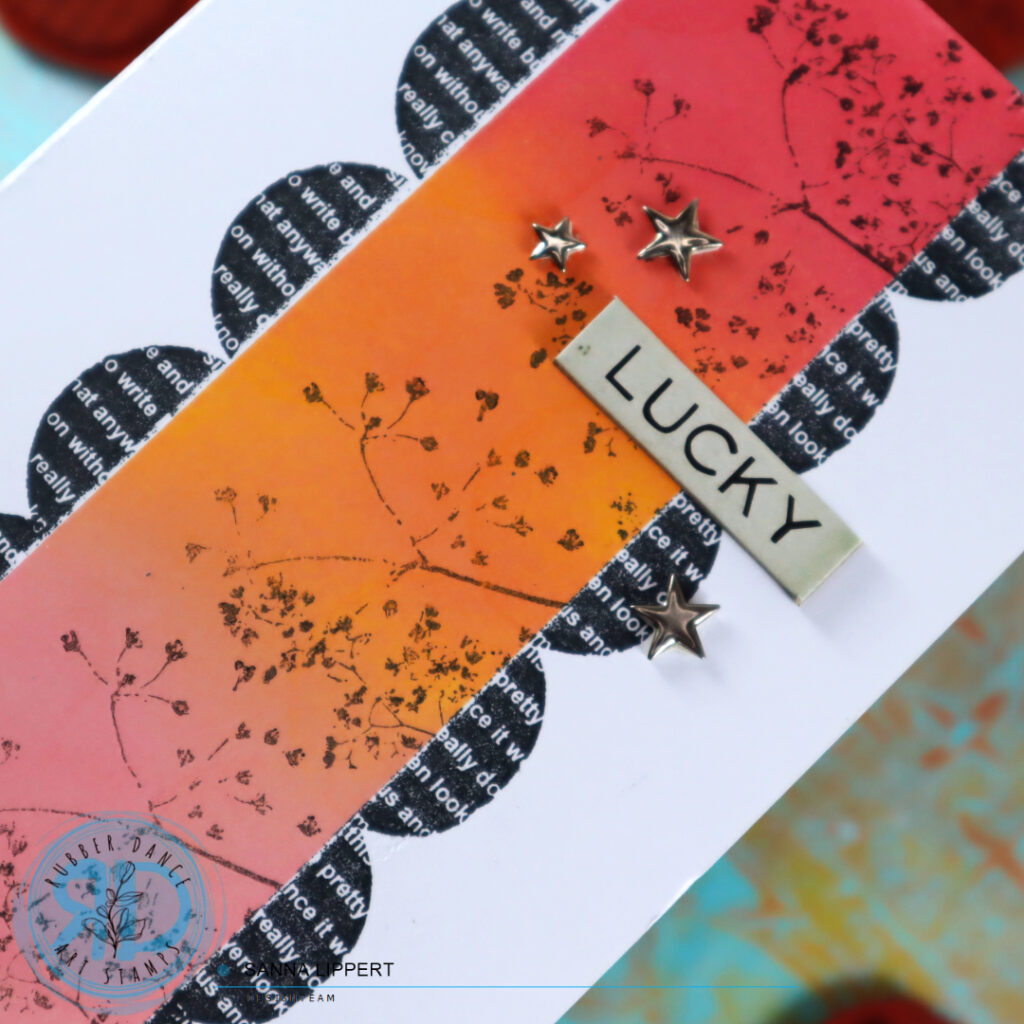
Hello, I am up over at the Rubber Dance blog with a card set tutorial. For these cards I used plenty of Distress Oxide Inks and two various rubber stamp sets (Weed Love & Round in Circles) from the store.
And this is how I created these cards:
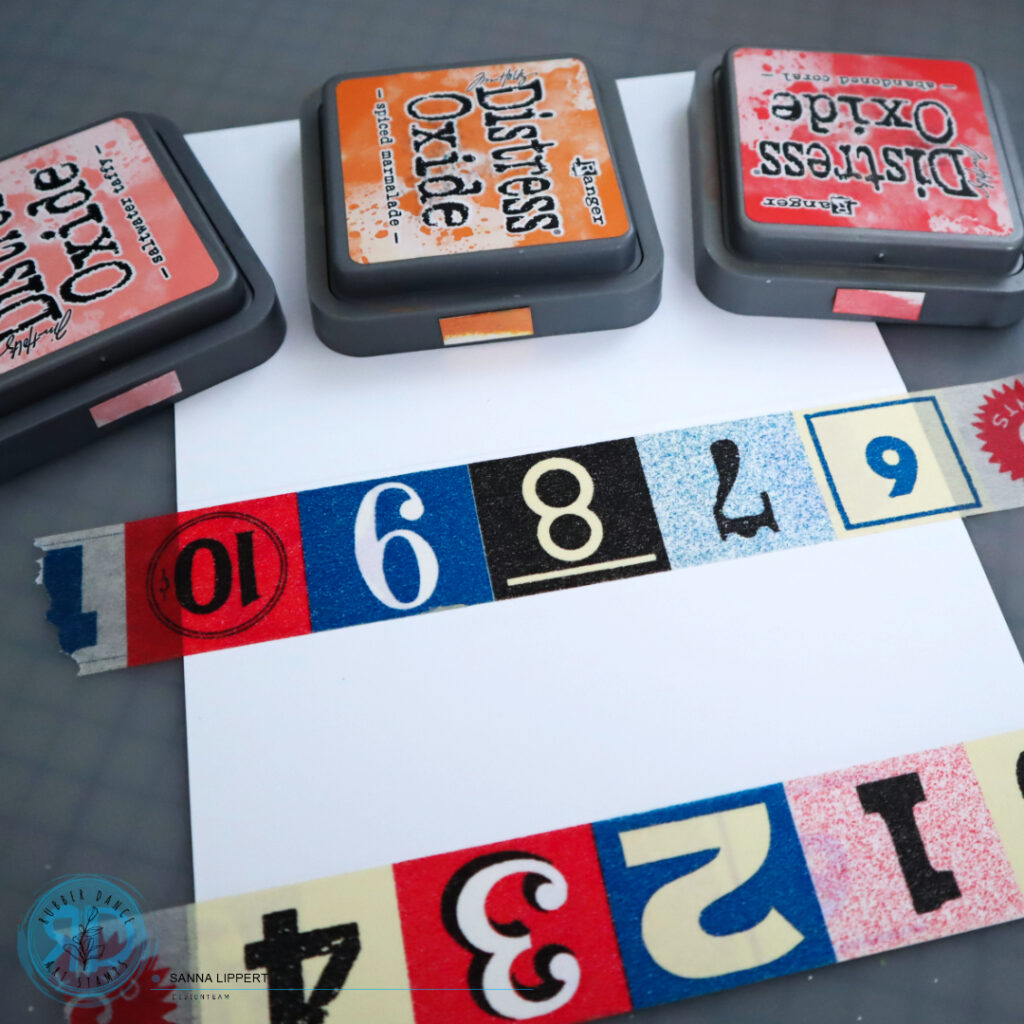
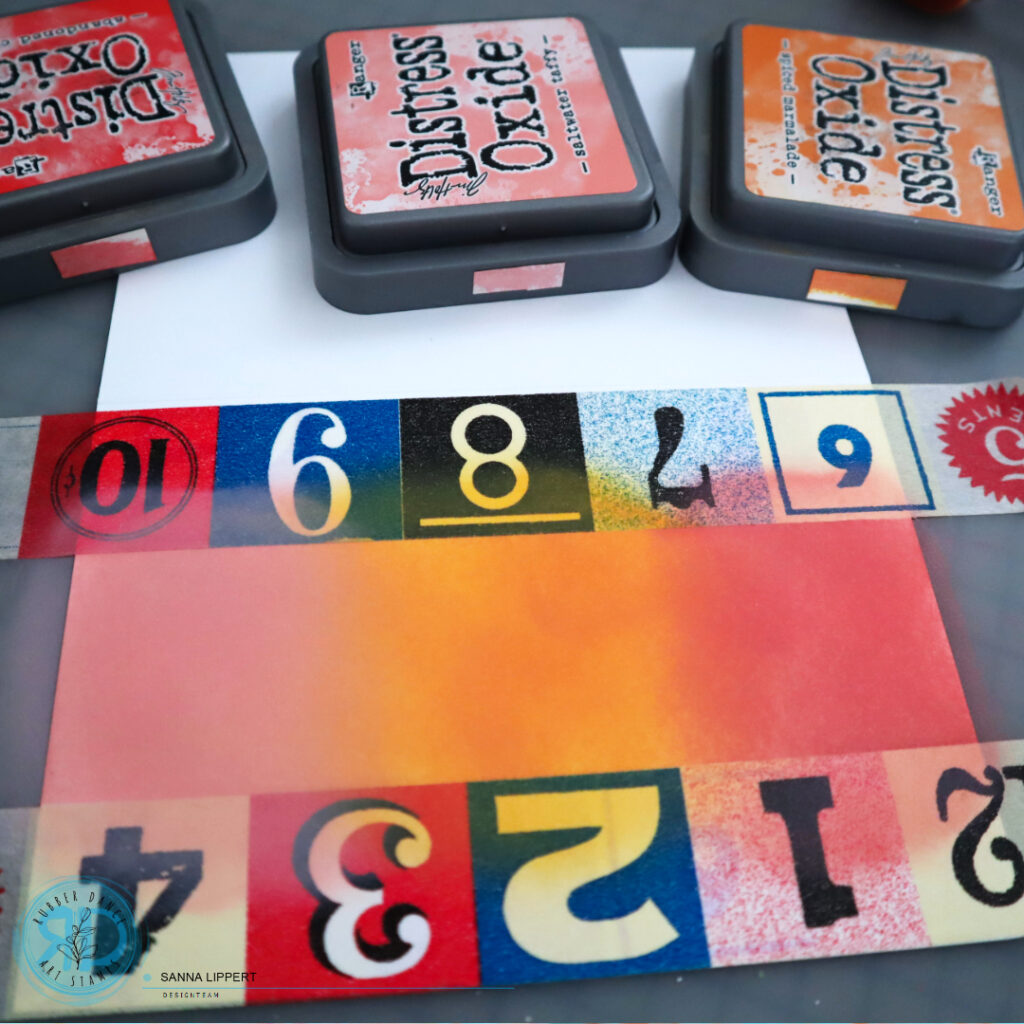
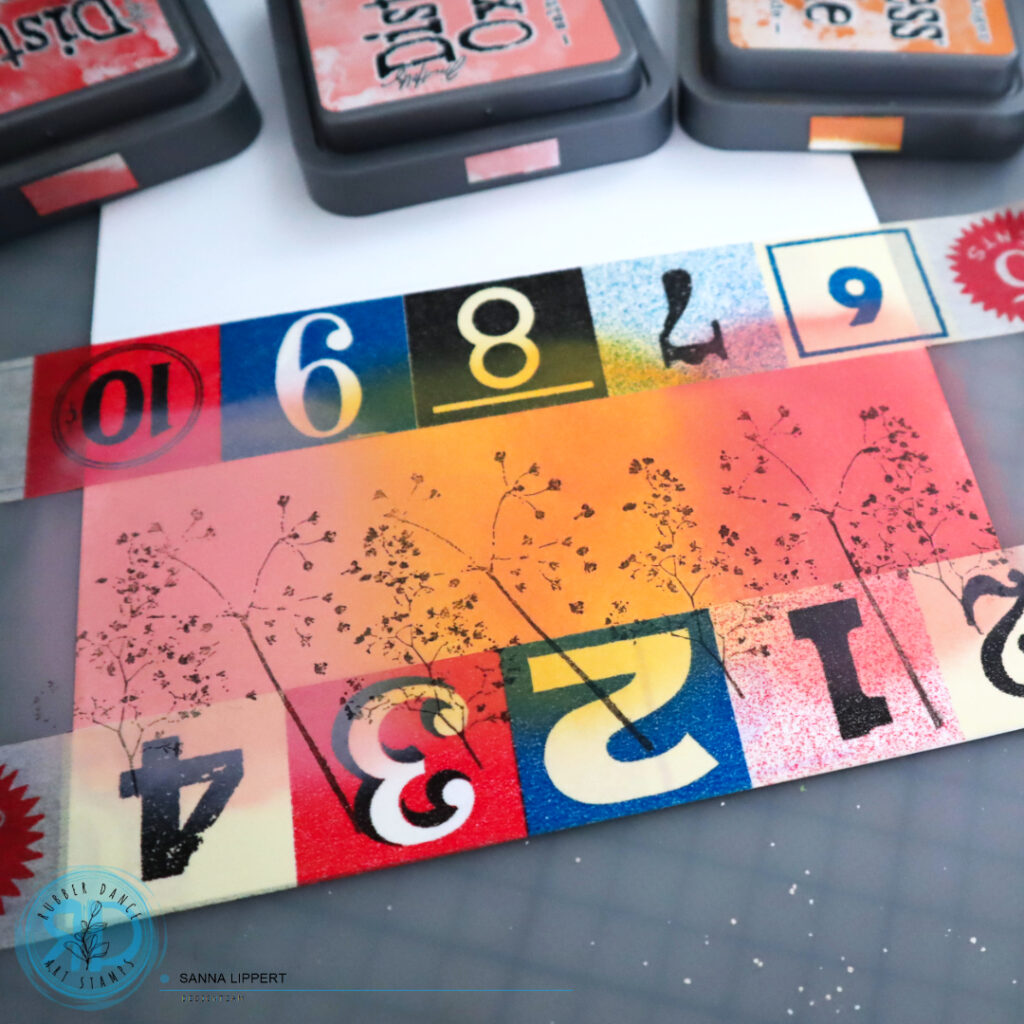
First I added some washi tape to create borders for the area I was about to add ink blending onto. I used Distress Oxide Ink tones: saltwater taffy, spiced marmelade and abandoned coral for the first card. After adding the ink onto the card base I used one of the Weed Love stamp set stamps to add some stamping onto the area using black stamp ink.
Next I added another layer of washi tape on top of the ink blended and stamped area to create a border with black ink and one of the Round in Circles stamps. After that I only had to decorate the card with a sentiment (Tim Holtz Quote Chips) and a few enamel stars and the first card was done.
For the second card I used the same steps, but changed the colors to: hickory smoke, salvaged patina and fossilized amber. After that I added a border with the same stamp as on the previous card, except this time I stamped slightly overlappingly to create a different border. Then to decorate the card with Quote Chips and some green enamel dots.
I hope I could inspire you to play with the stamps featured on today´s post and give ink blending and creating clean and simple styled cards a try. Have fun!!! xxx, Sanna
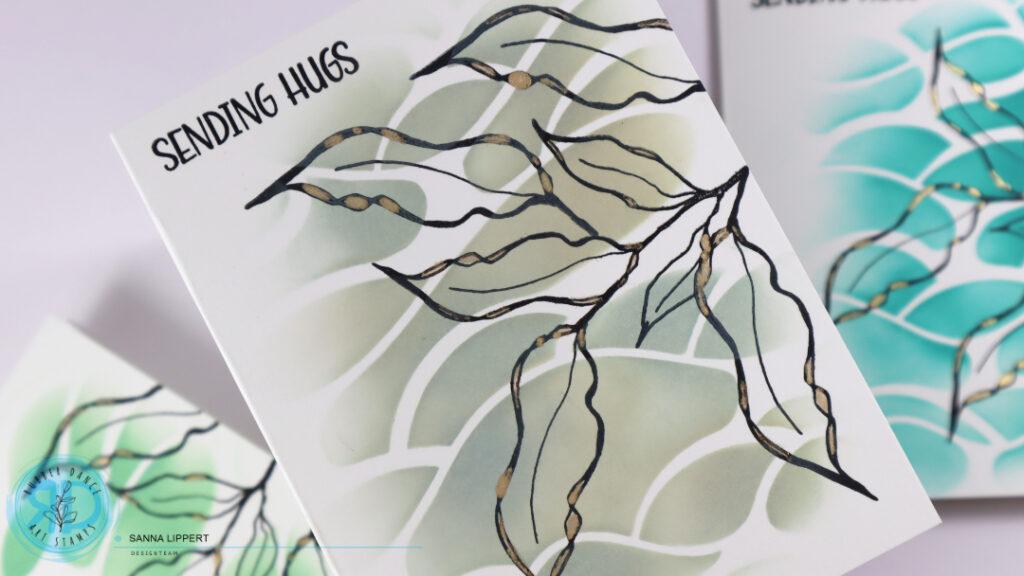
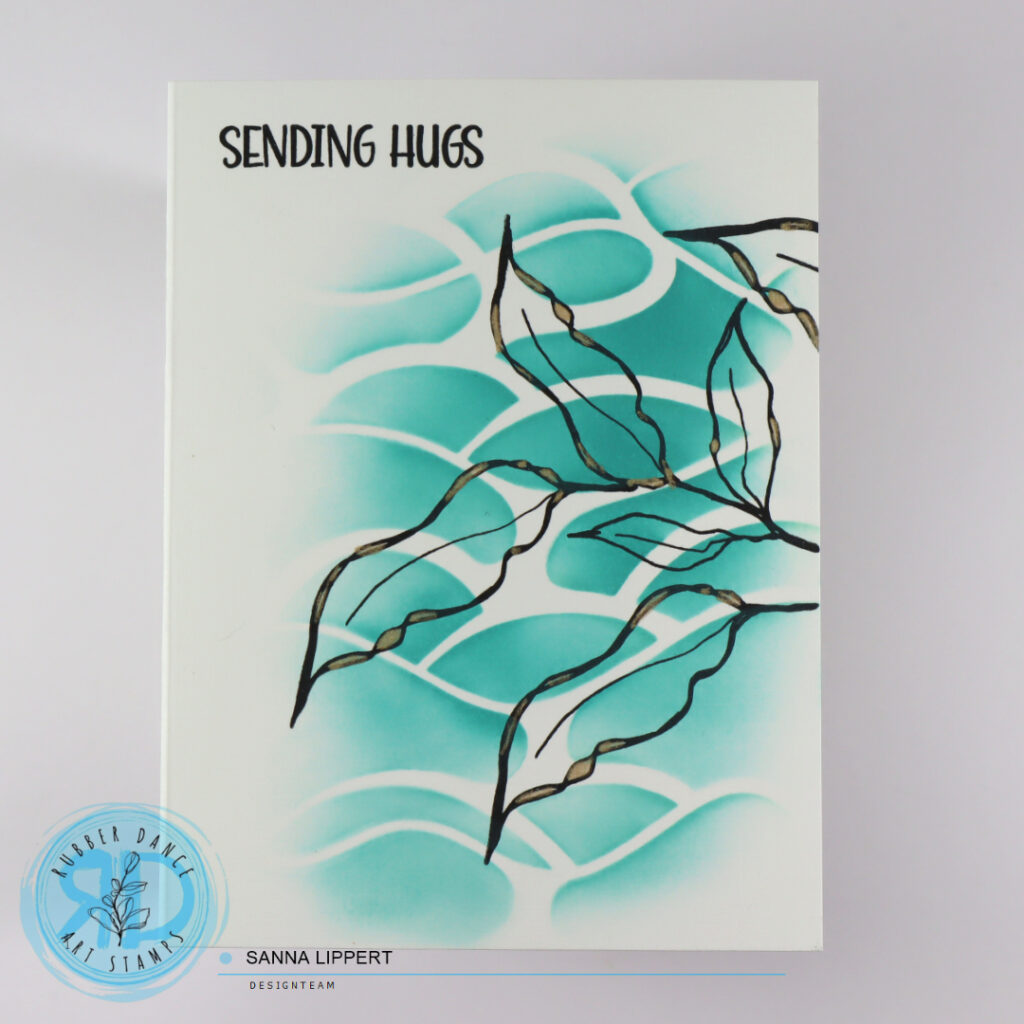
Hello everyone, it´s again my turn ot share a project over at the Rubber Dance blog and I am up with a set of clean and simple cards and a photo tutorial today. For these cards I used the Sketchy Leaves stamp set – which I absolutely adore – and the gorgeous Organic 3 stencil with Distress Oxide Inks.
Here is how I created these cards:
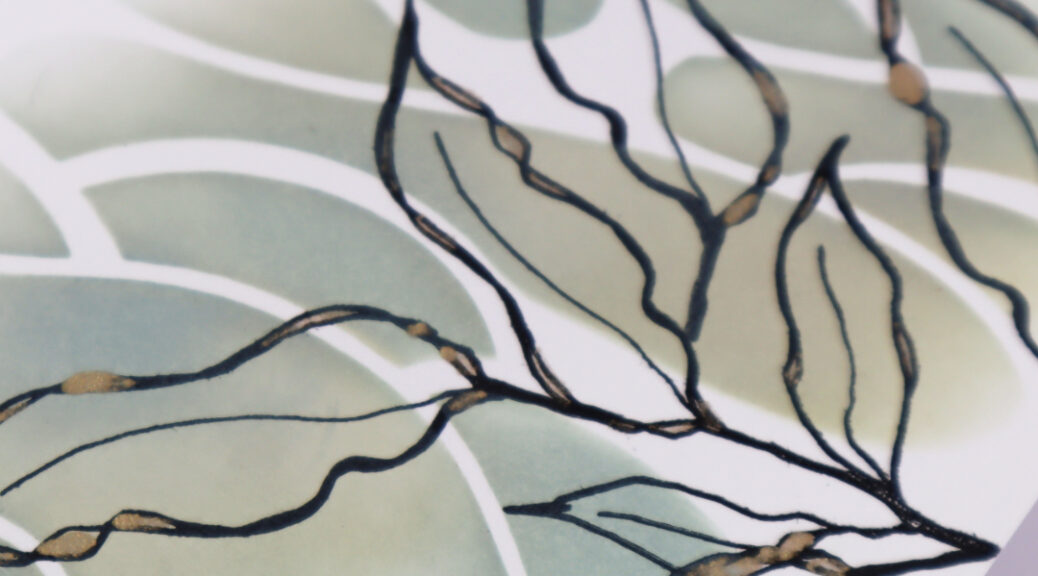
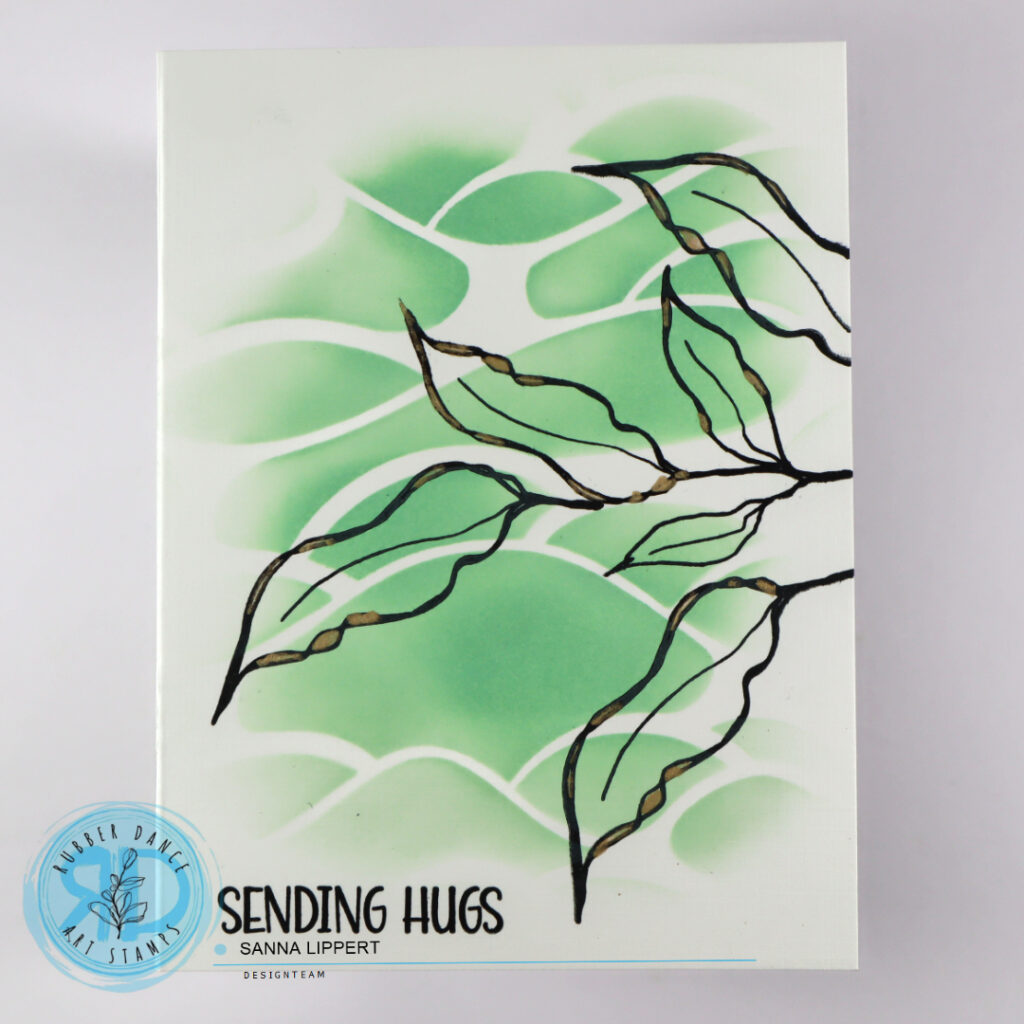
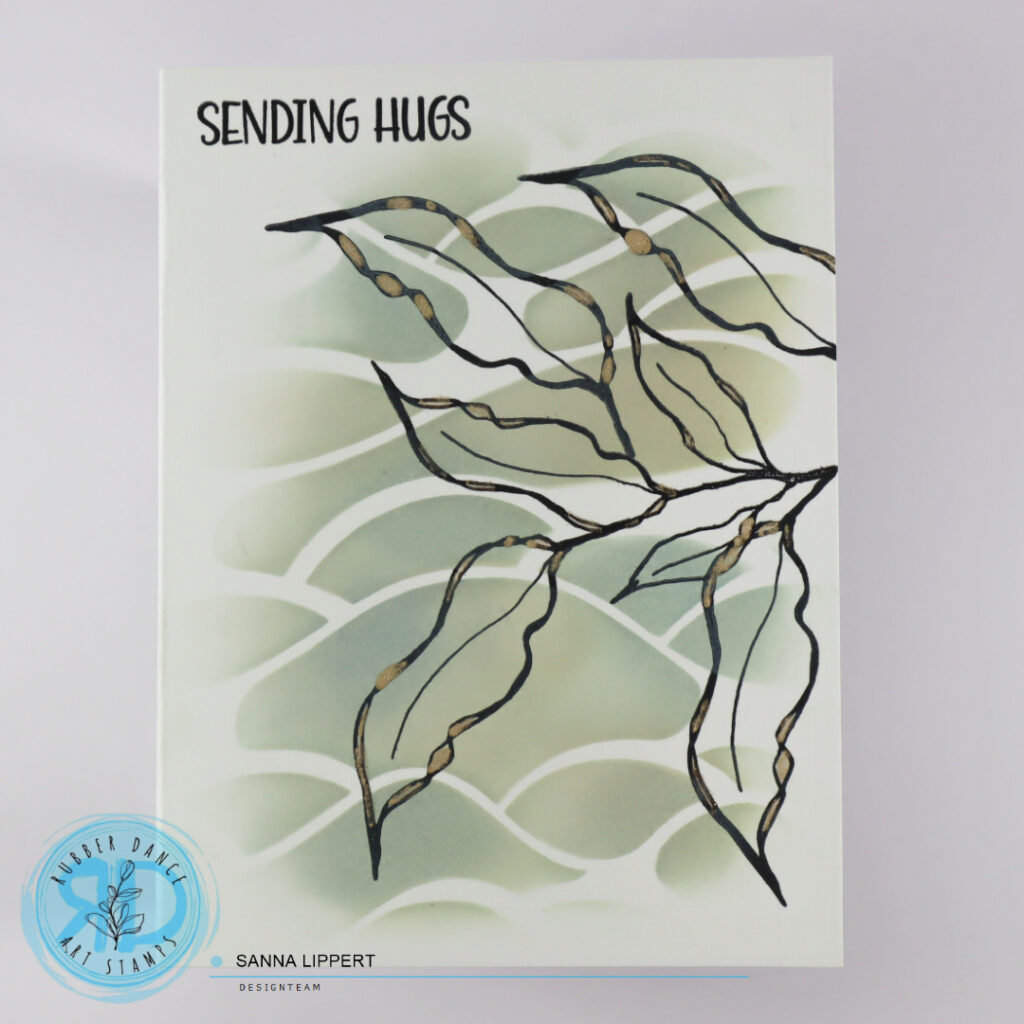
First I took a white card base, then placed the Organic 3 stencil on top and applied Distress Oxide Ink with a blending brush thru the stencil onto the card base. I used cracked pistachio, speckled egg and peacock feathers tones for my cards.
After finishing the stenciled background, I took the Sketchy Leaves stamp set out and stamped leaf images on top of the stenciling. I combined two of the leaf images to create a leaf branch like piece.
Next I stamped sentiments from the Sketchy Flowers 3 stamp set onto the card base with the same black stamp ink.
After stamping the sentiments, I wanted to add a tiny bit of additional detail, so I painted some of the areas on the leaves with golden pigments.
That´s all there is to these cards. Did you notice that all the layers are built directly onto the card base? That way these cards are not very heavy and easy to sent off in an envelope.
I hope I could inspire you to create some clean and simple cards with Rubber Dance products ! Happy crafting, xx, Sanna
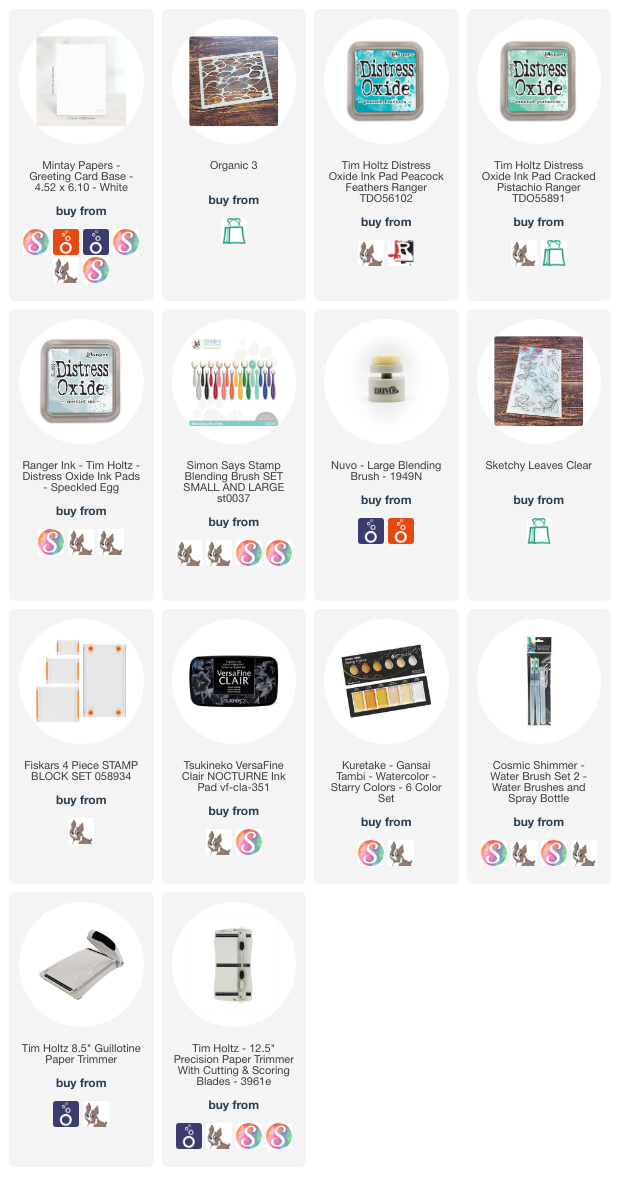
Hello again! Here is yet another set of card that I created using the mixed media cutouts by kreativt_uttrykk.
What cutouts, you are asking? Go to this INSTA PAGE for awesome inspiration and more details on the cutous and also a link to ther Etsy store. You can buy her cutouts in various sets (in different colours) over HERE (her Etsy-page).
And now to the cards I made:
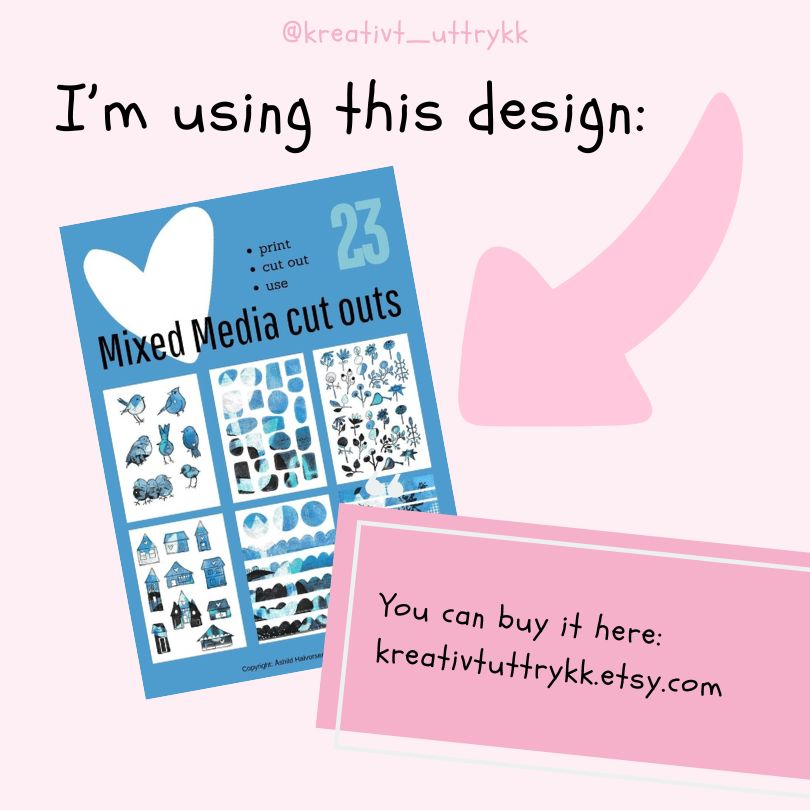
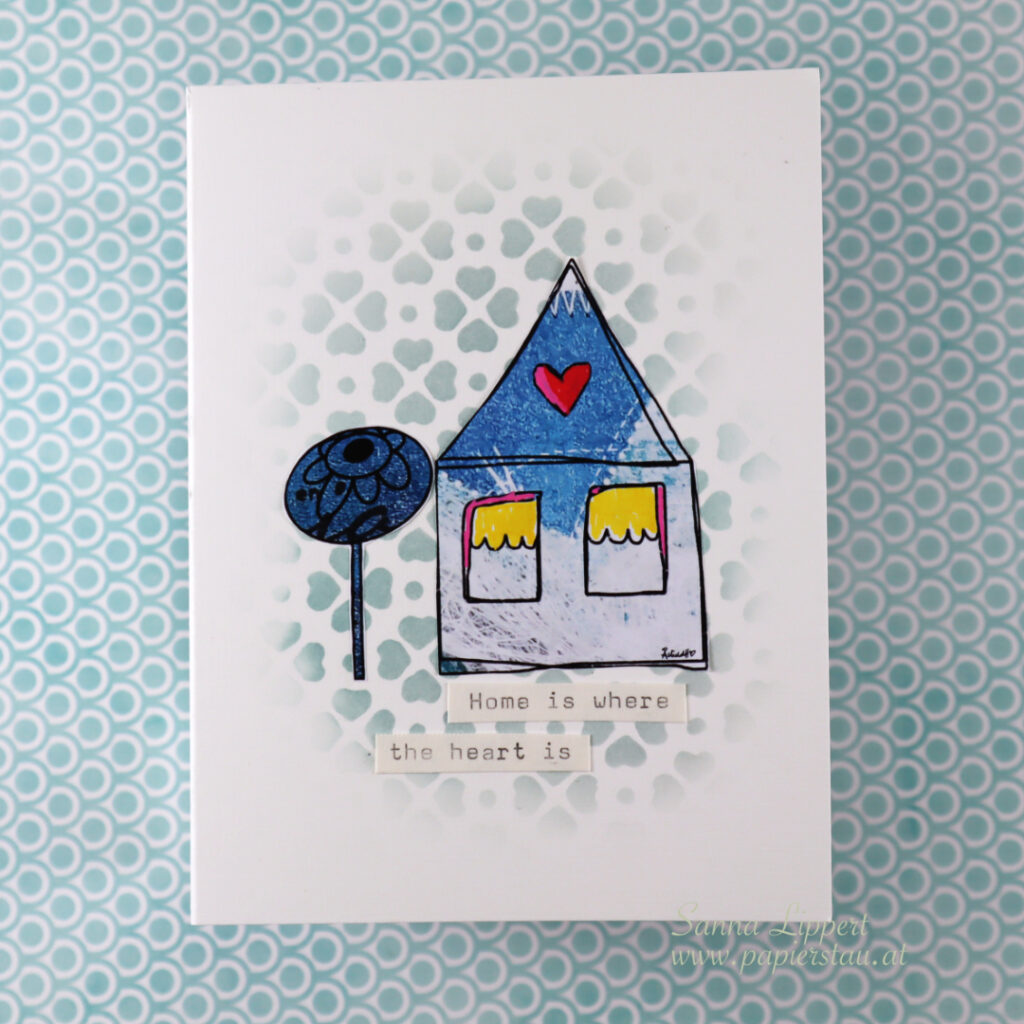
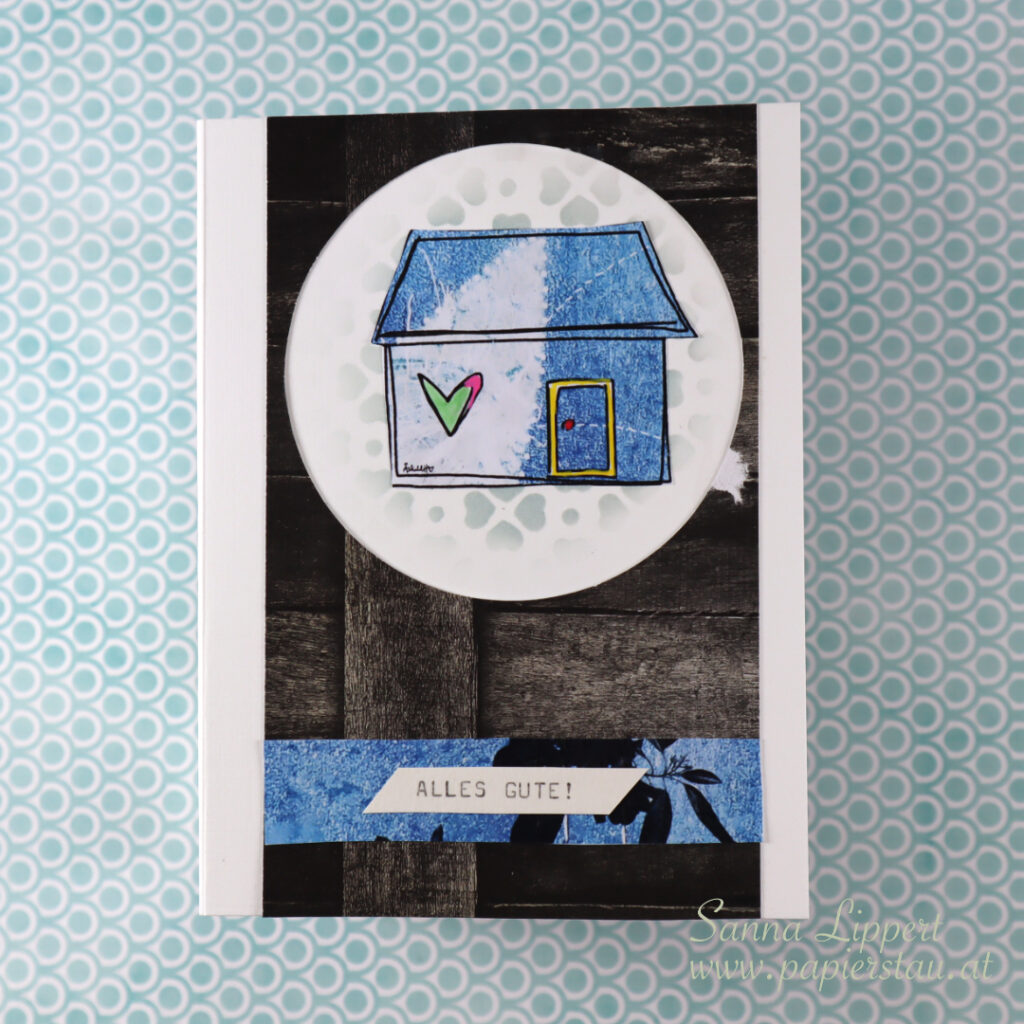
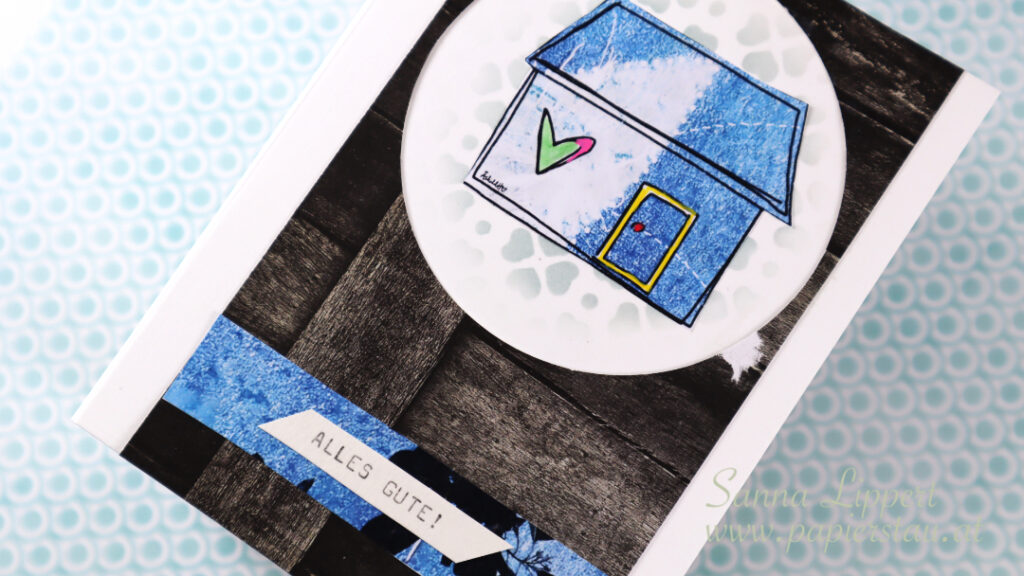
For this one I used a STAMPlorations stencil with Distress Oxide Ink to create the faded background pattern. On top of that I added the house and “tree” cutout and colored some of the parts with Posca pens. For finishing touches I added a sentiment I typed with my old typewriter.
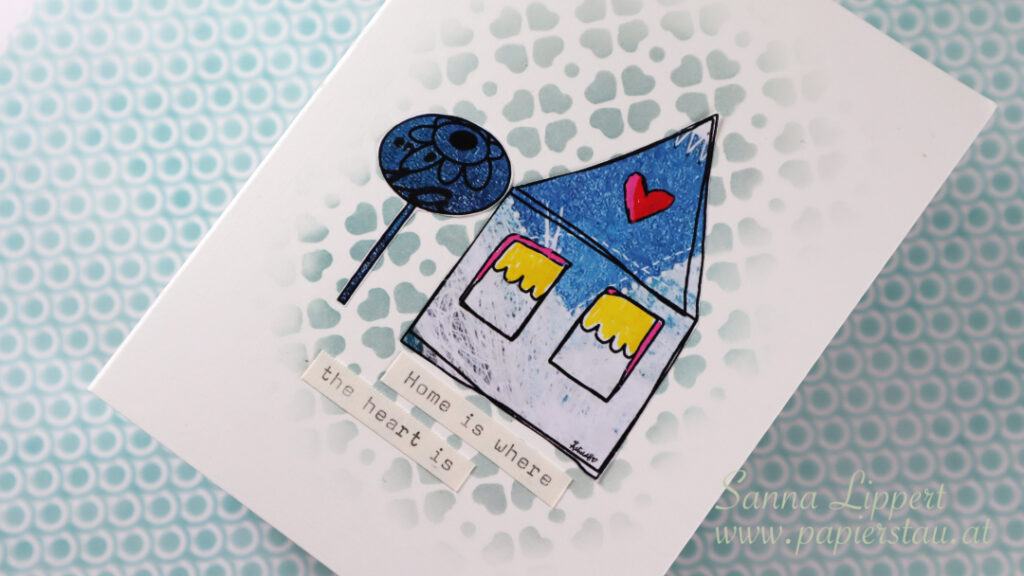
For the second one I used similar techniques, except I also added a leftover 7DotsStudio paper a “frame” to the house and stenciled background. The rest is again decorated with Posca pens and a typewriter sentiment.
I love the houses on this set, as you might have noticed :). Happy crafting, xxxx, Sanna
Hello everyone!! My design team colleague at Rubber Dance Art Stamps has designed some cool mixed media cutouts and I was able to play around with them a litte.
First of all, go to her INSTA PAGE for awesome inspiration and more details on her various social media sites. Also, you can buy her cutouts in various sets (in different colours) over HERE (her Etsy-page).
And now to what I made:
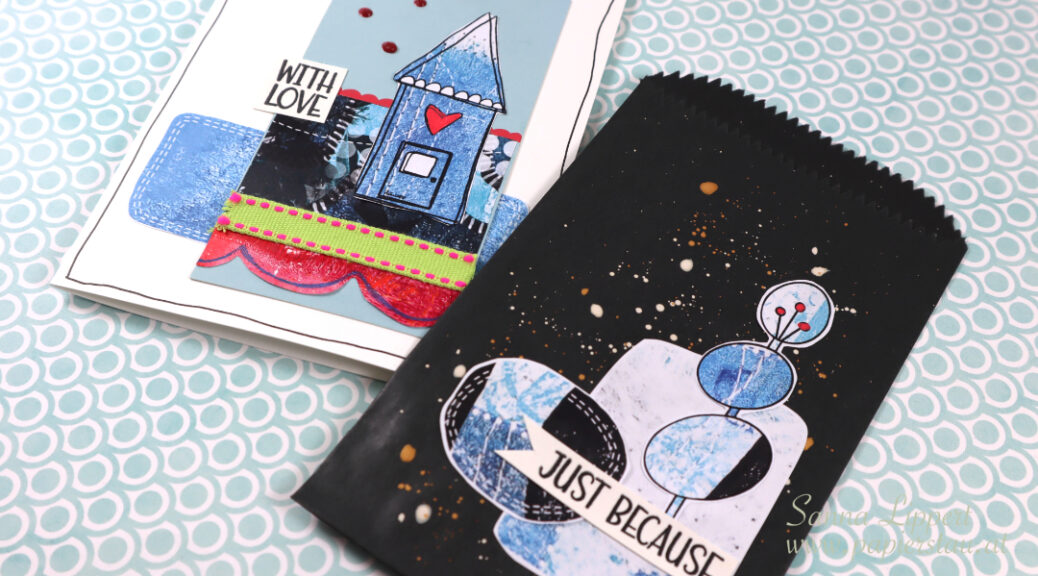
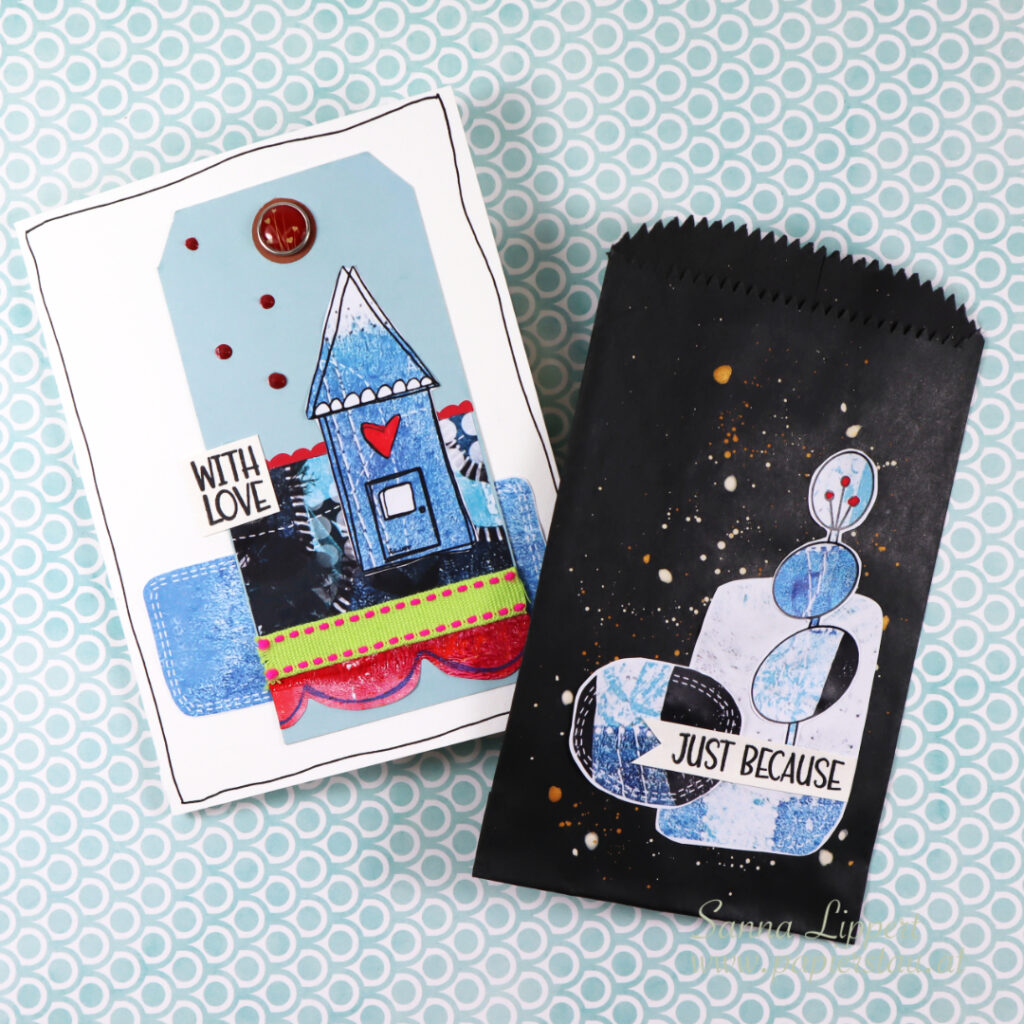
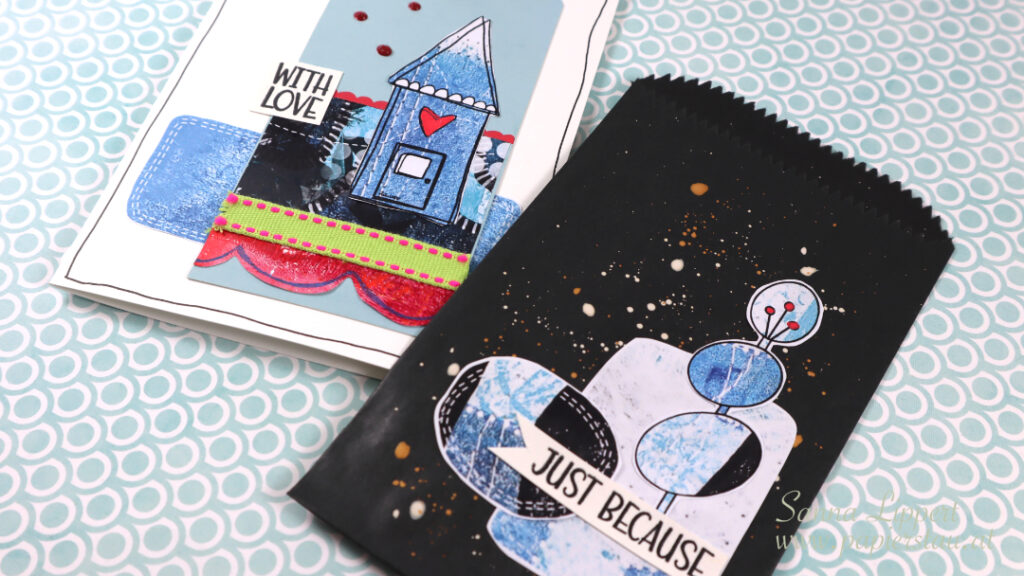
I did a clean and simple style card with a tag on it that features the blue-toned cutouts. I added some details with a red Posca pen and a leftover strip of red gelli printed paper to go with all the blues and blacks. The sentiment stamps are by Rubber Dance, by the way. I also wanted to see how te cutouts would look like against a darker background, so I used a black paper bag that I decorated with several images from the “kit”.
On the background of the paper bag I have used some white and rose gold watercolor splatters for additional interest as well as a tiny red detail on the tree added with a Posca pen. The sentiment is again by Rubber Dance.
I will be sharing more inspiration here in a few days time, so do come back for more projects created with Åshild Halvorsen´s mixed media cutouts :). Happy crafting, xxx, Sanna