Hello, it´s my time to share a project over at Rubber Dance blog again. This time with a photo step-by-step card tutorial. For this one I used the brand new Carved Collection 6 stamp set with Distress Inks and black stamp ink.

And here is how I created the colorful background:

My starting point was a piece of white cardstock, the Carved Collection 6 stamp set and pink, yellow and orange toned Distress Inks. You also need an acrylic block and a water spray bottle.

I took all 4 triangle stamp images from the set and chose a color for each (mustard seed, picked raspberry, spiced marmalade and kitsch flamingo). I inked the image with the chosen stamp ink and lightly sprayed the surface with water mist (for a watercolor type of style). I repeated this step throughout the whole paper, changing color and image in a repetitive way, until the paper was full.

This is what the finished first layer looked like. I left some white space between the images, so each image would stand out better.

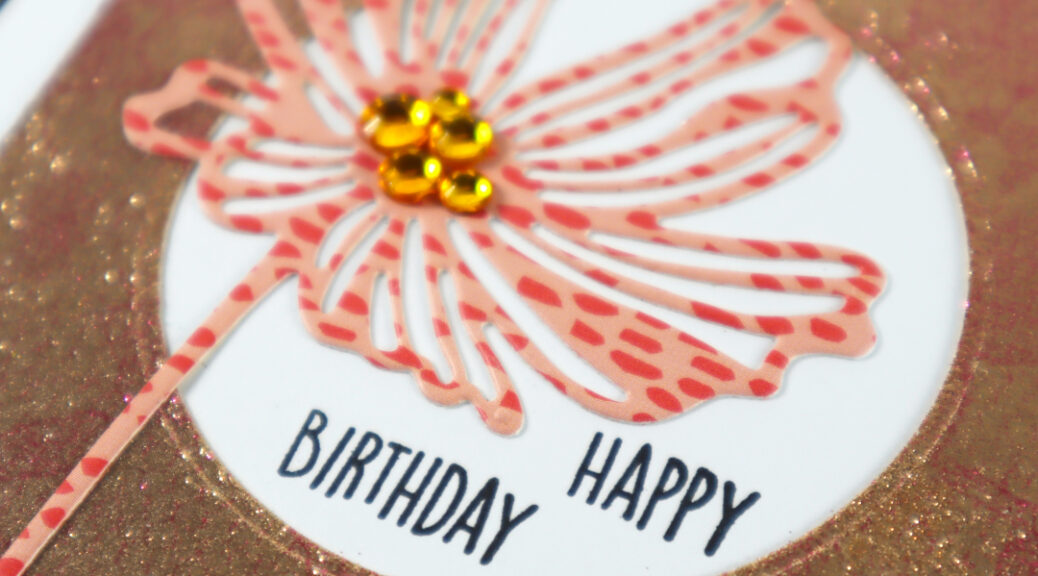
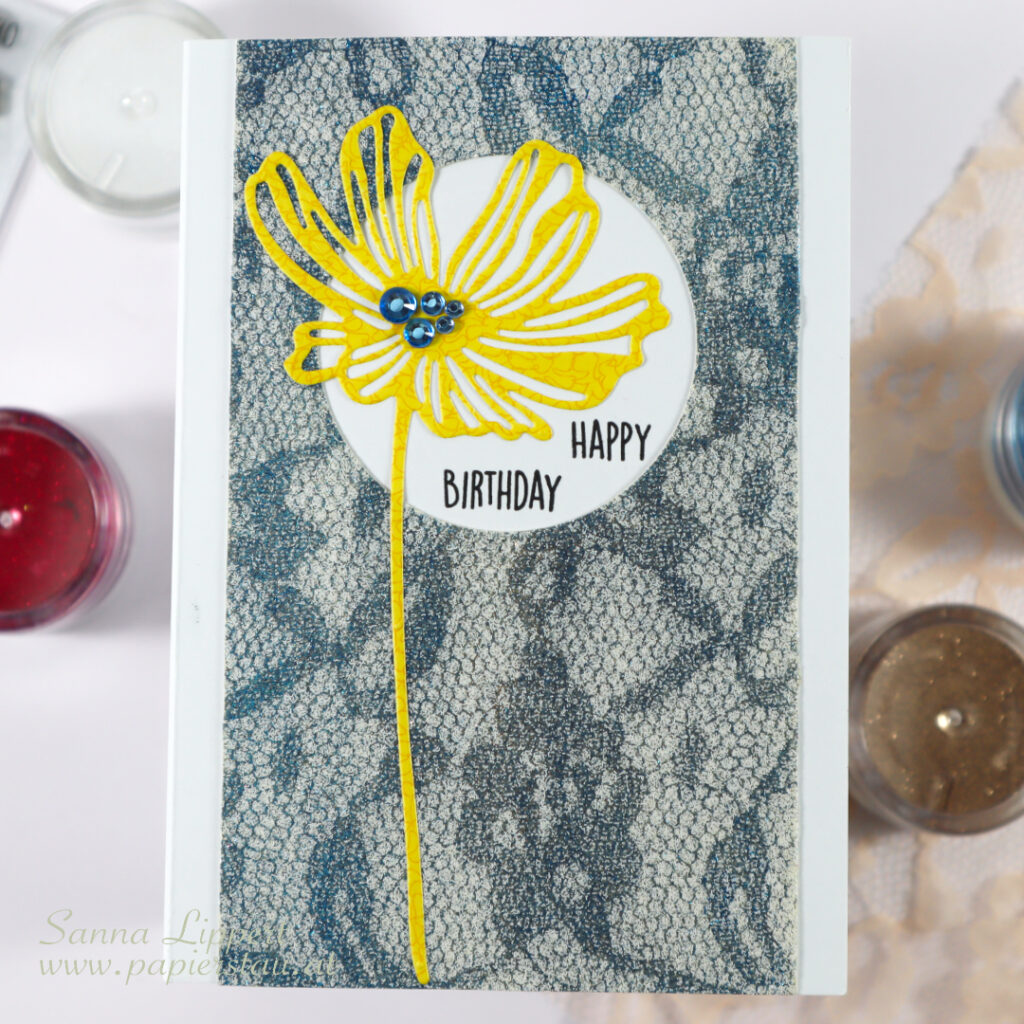
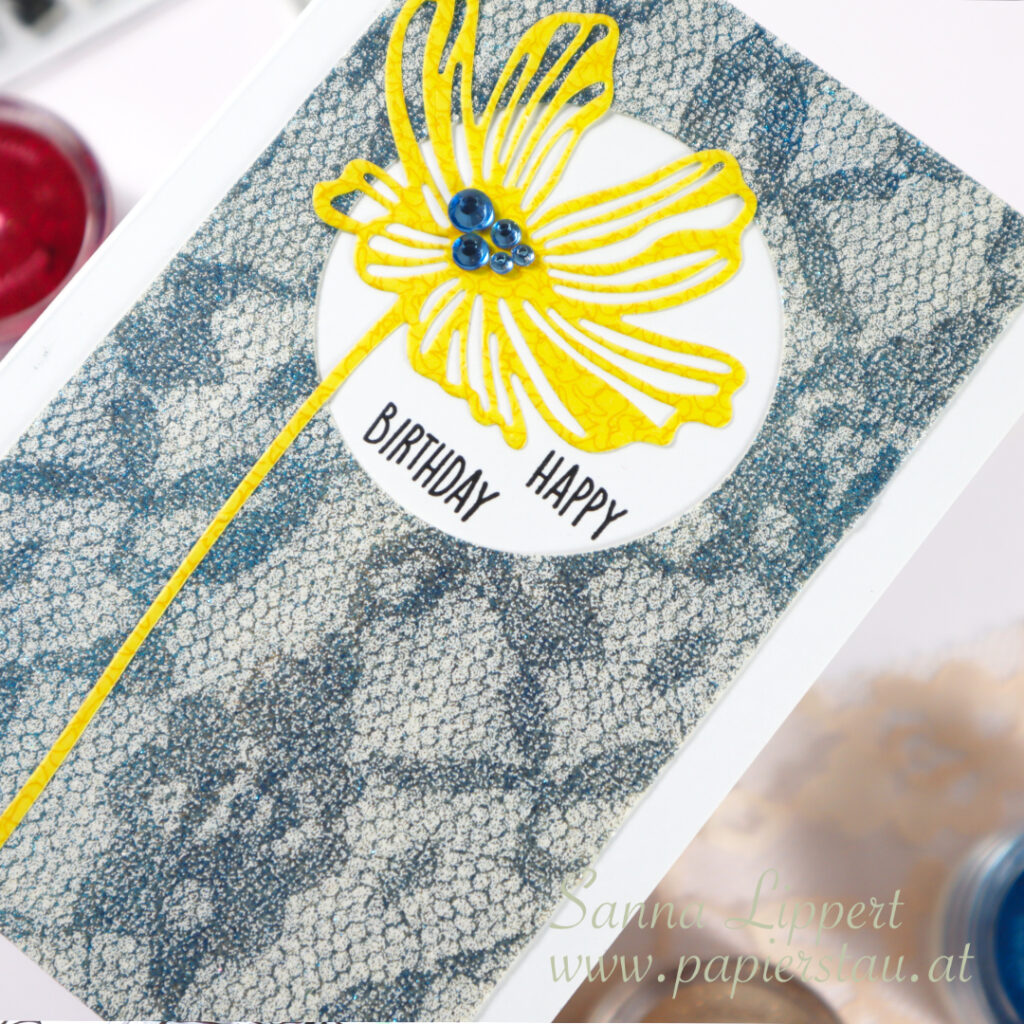
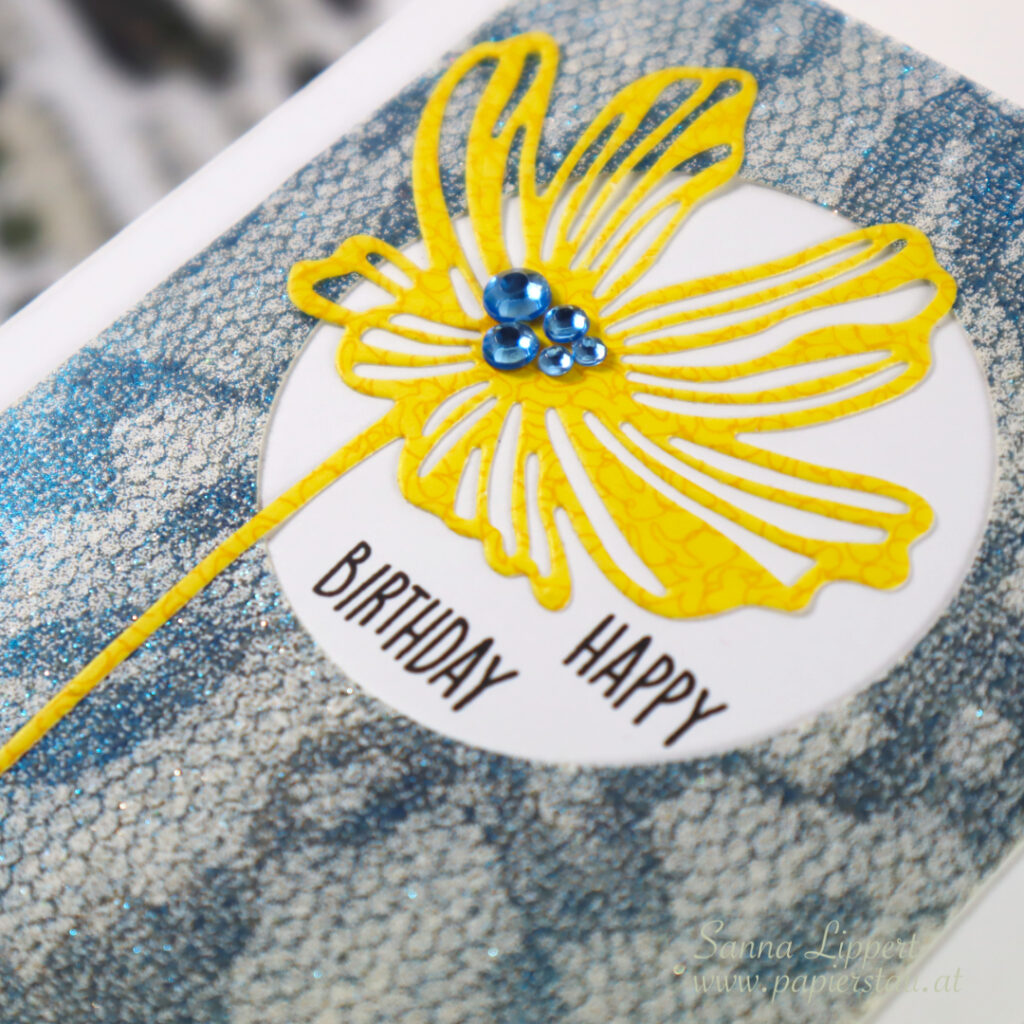
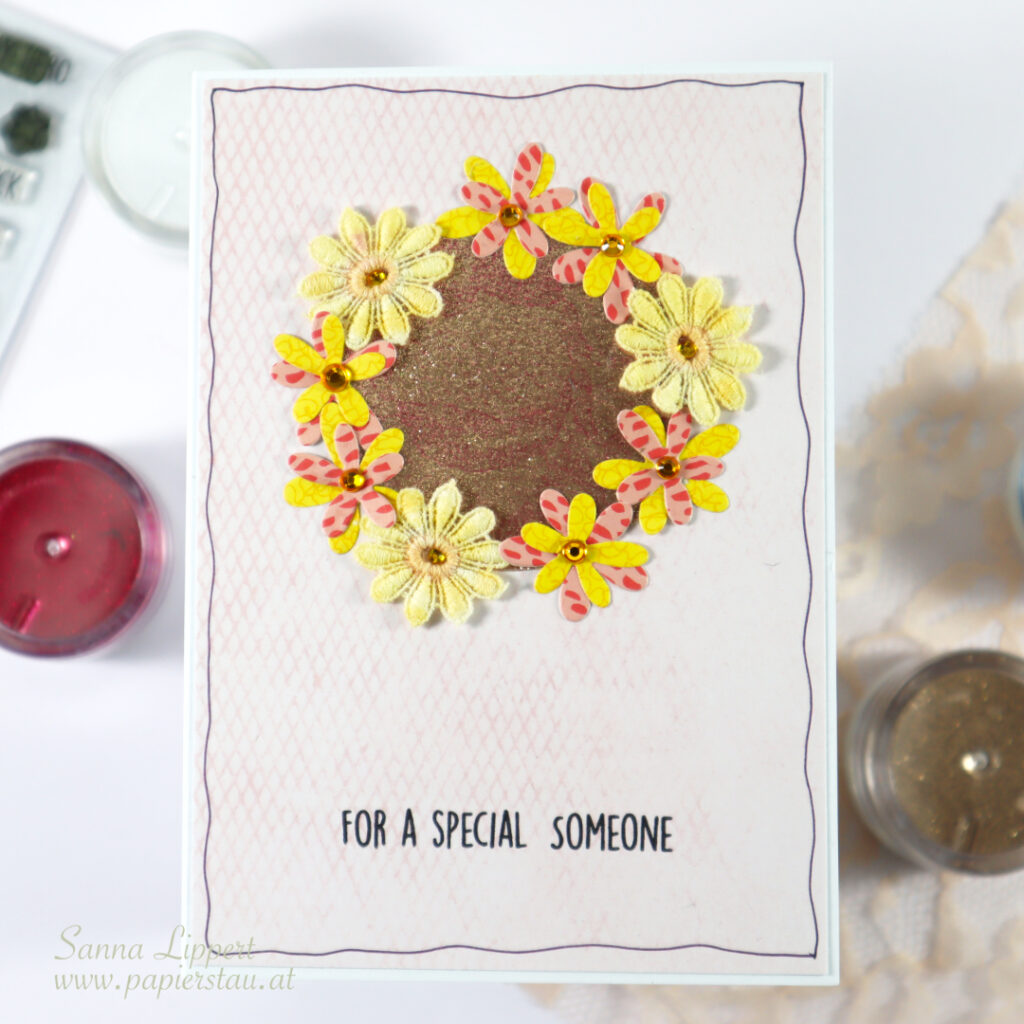
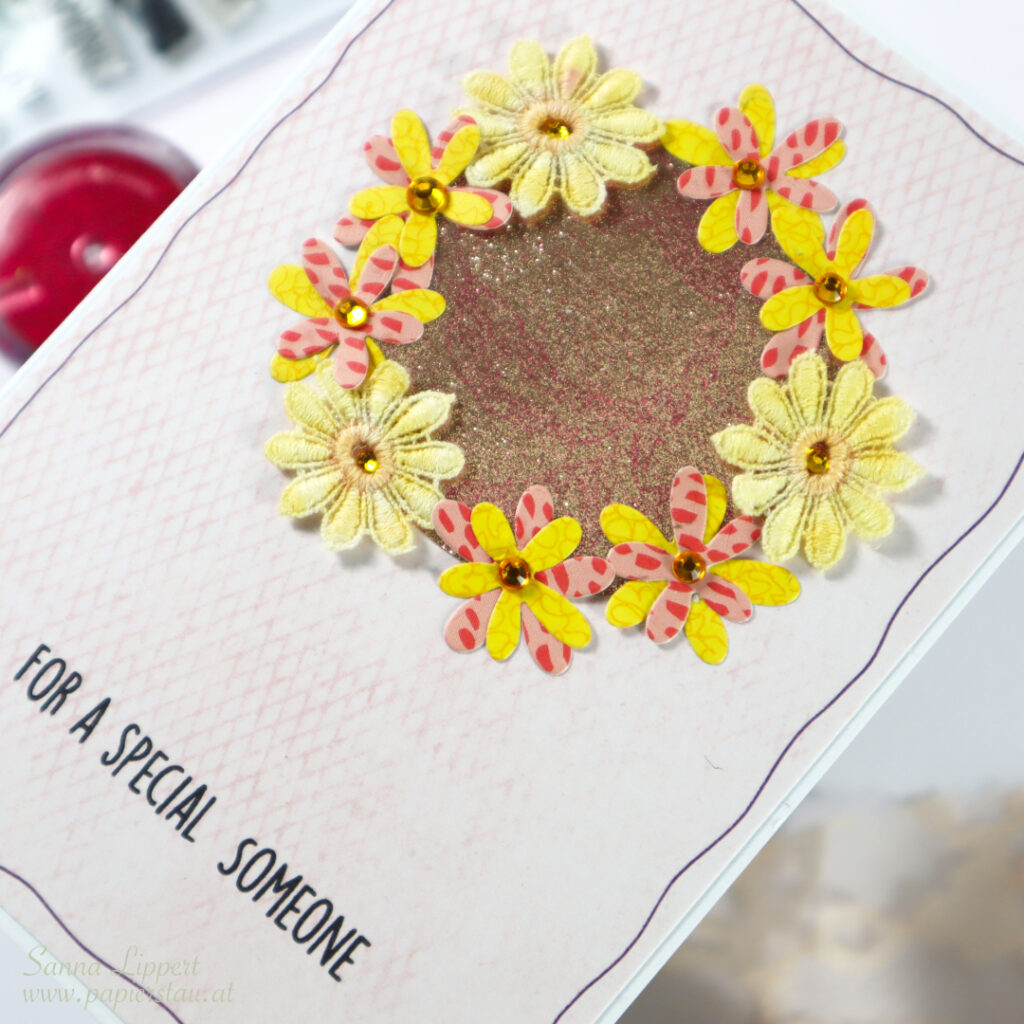
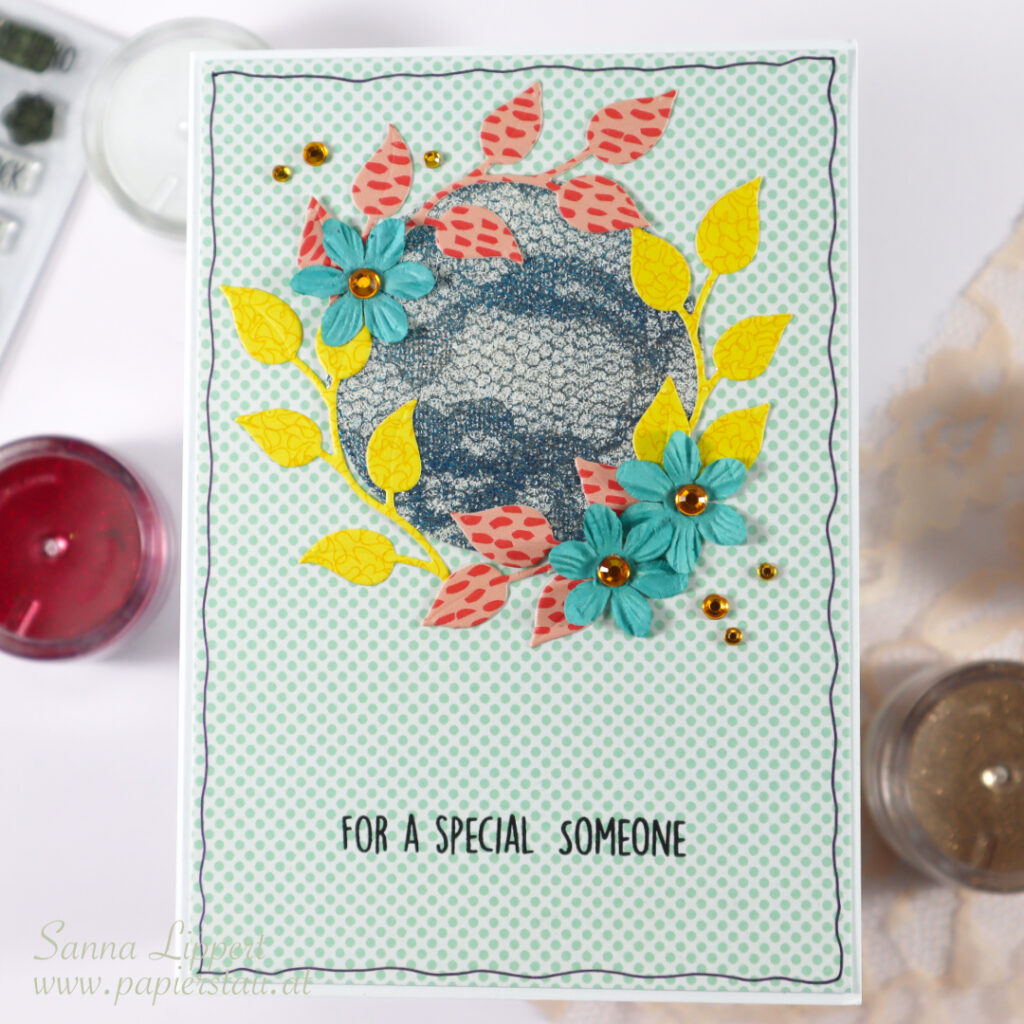
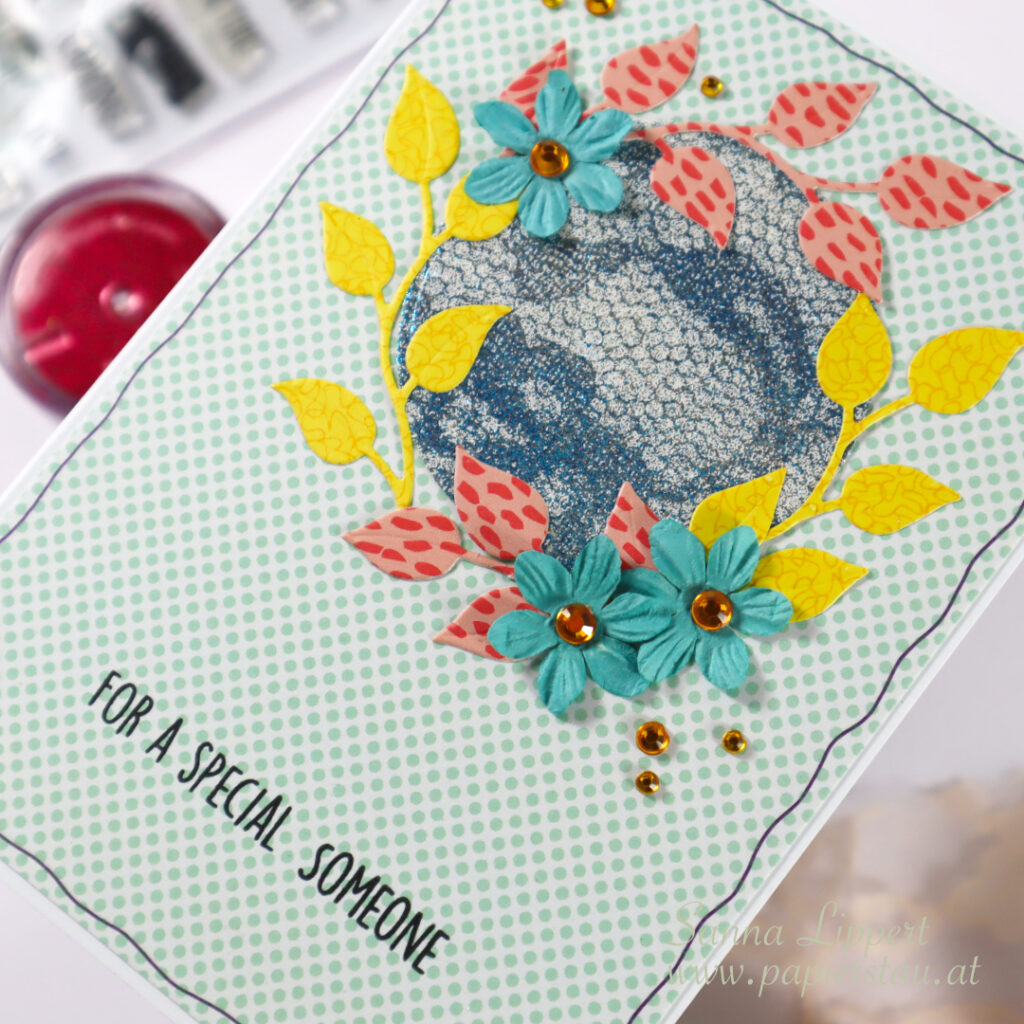
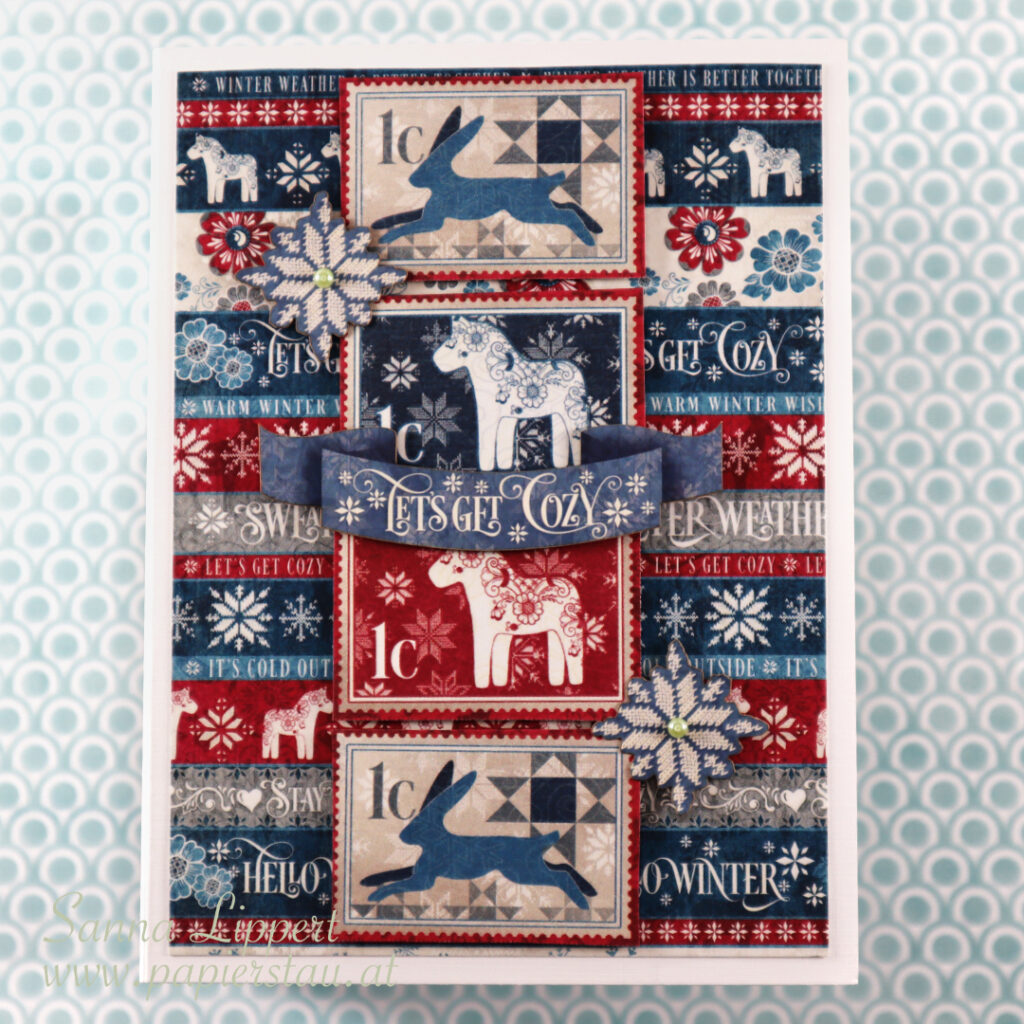
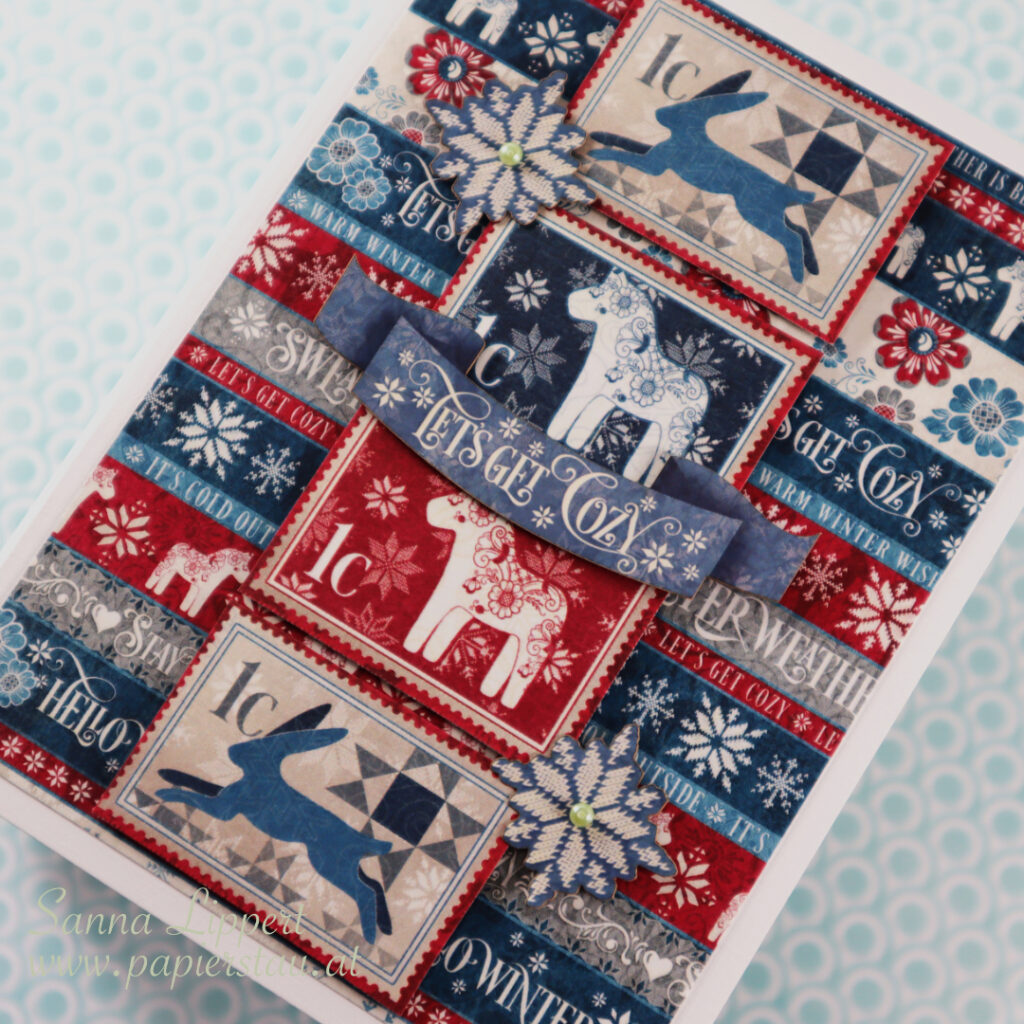
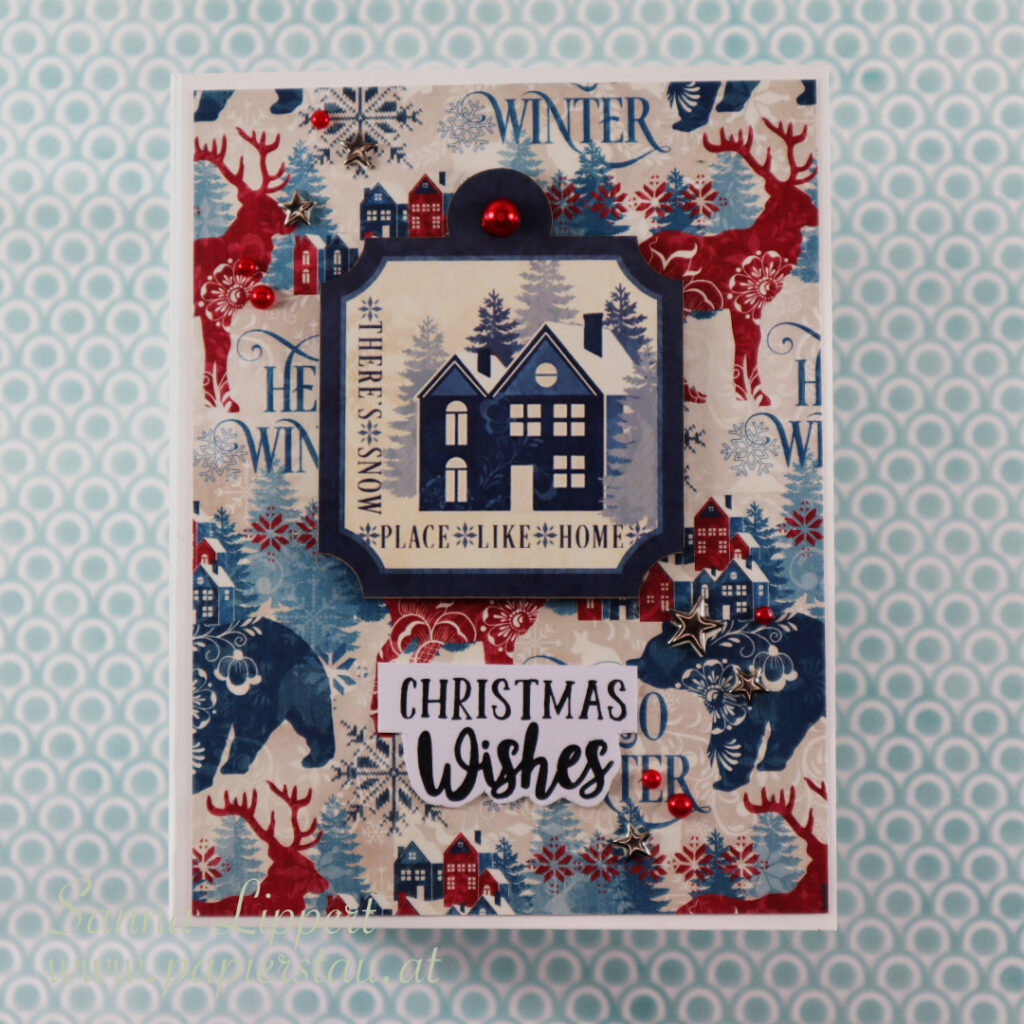
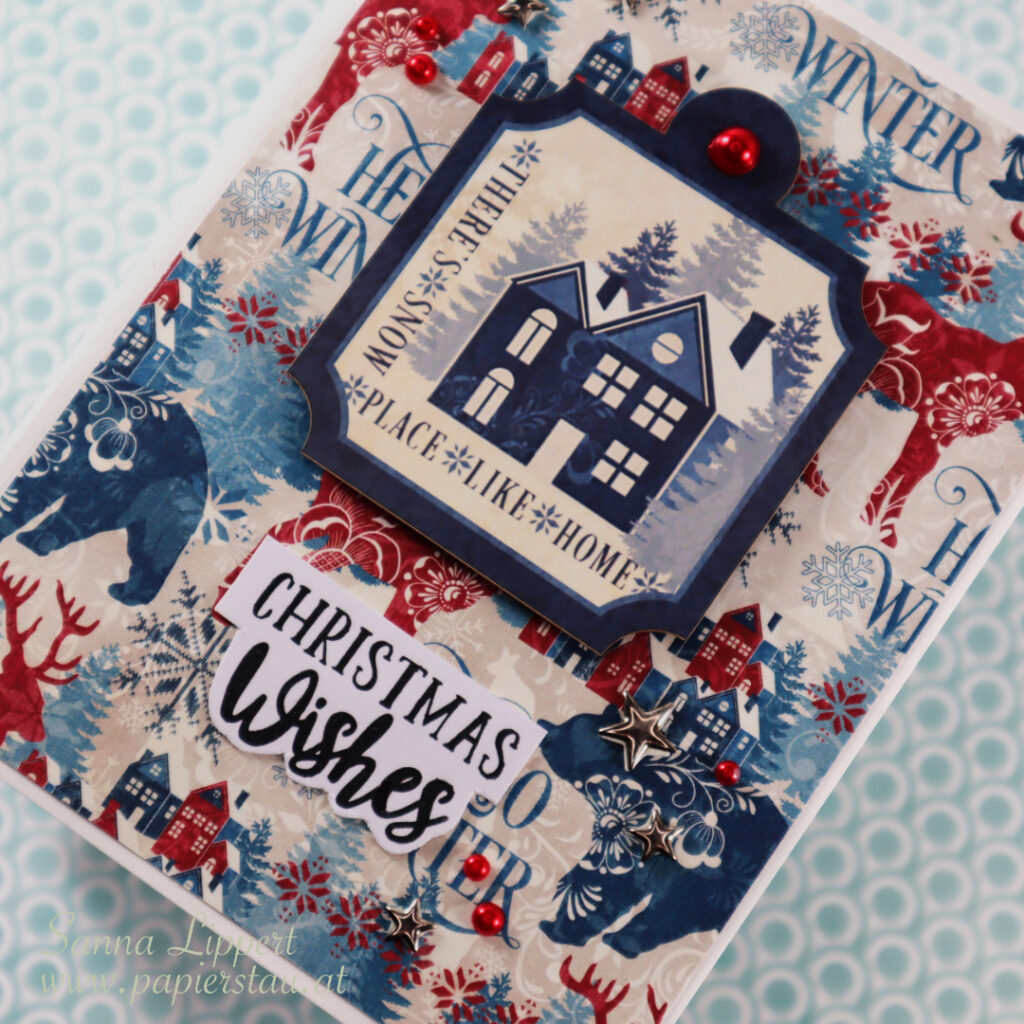
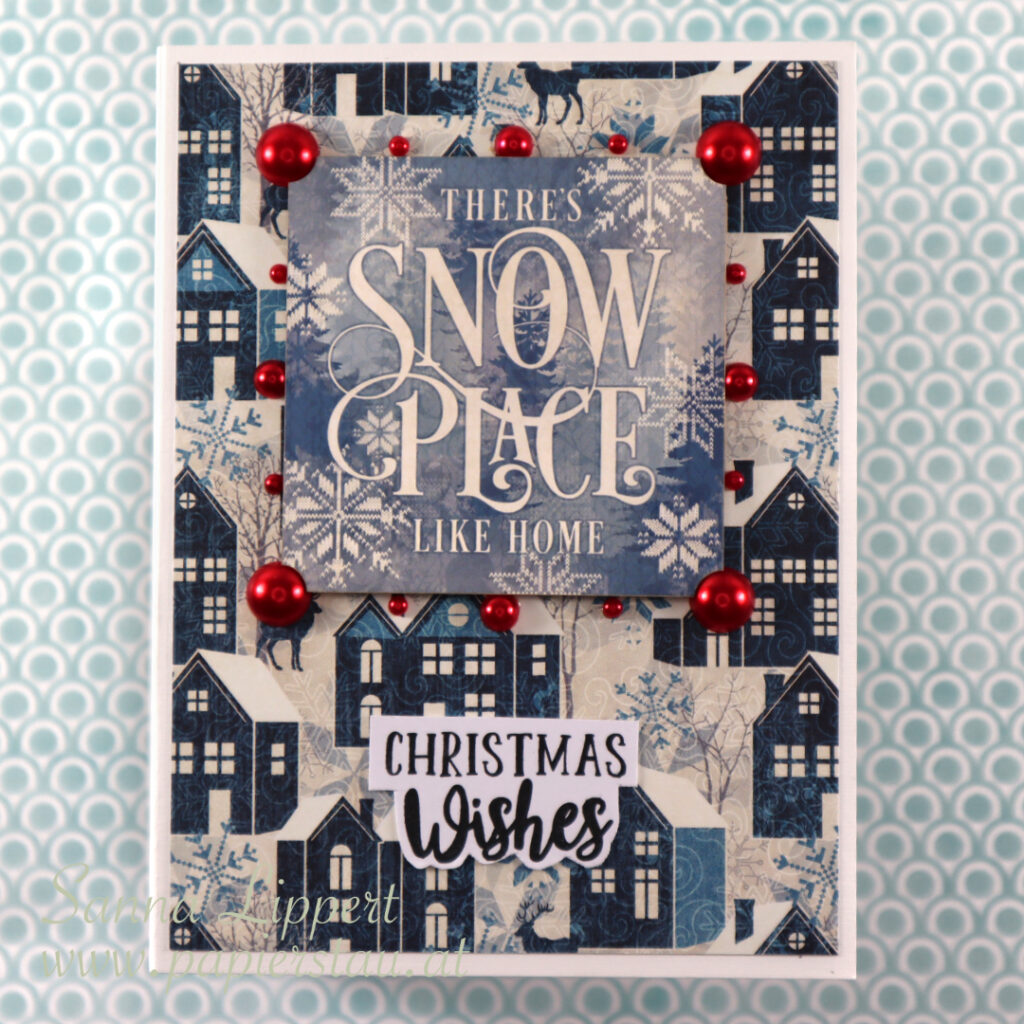
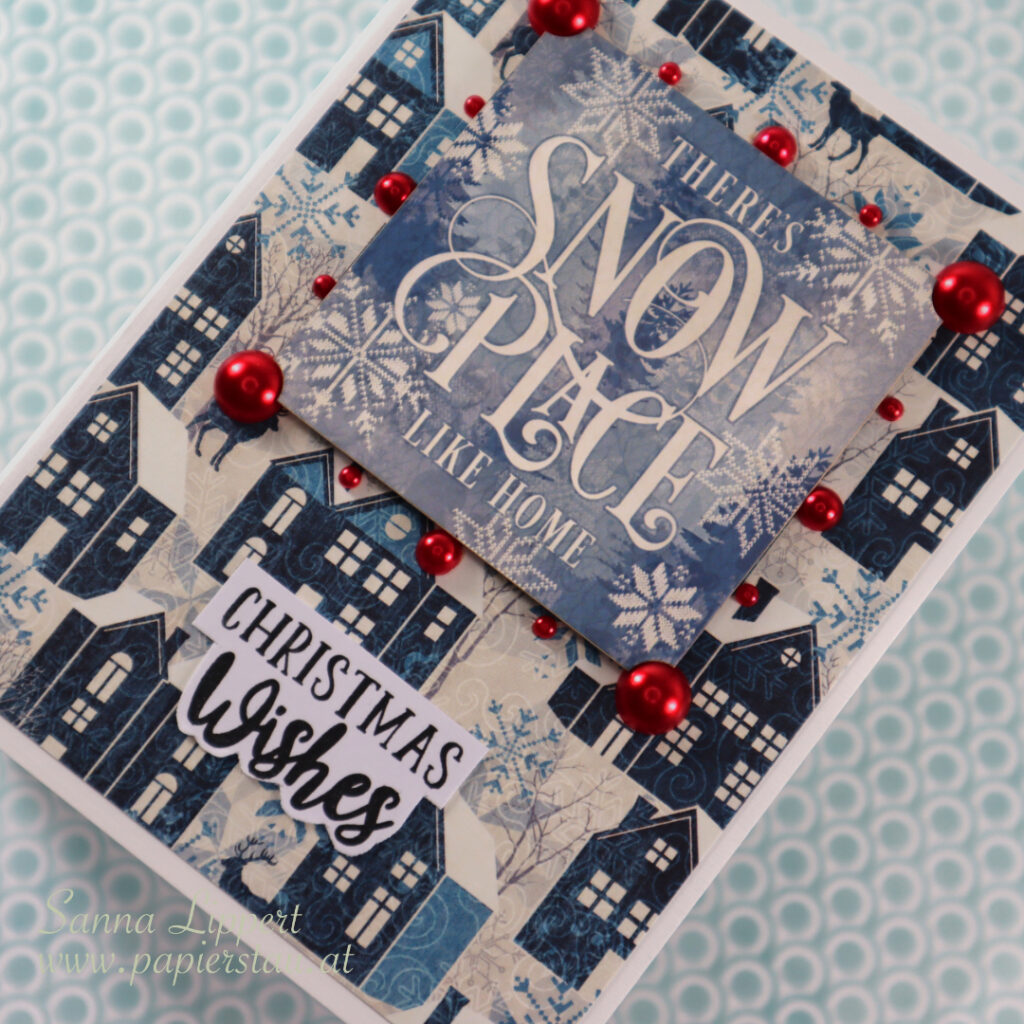
Then I took a black stamp ink and a leaf branch from the same set and repeatedly stamped with it on top of the first layer. I then fussy cut the image into two same sized pieces, drew along the edges with a black marker and adhered the background to a white card base. Next I added a Tim Holtz chipboard sentiment and some silver rhinestones onto the cards and they were done.


It is so much fun to create DIY card background “papers” with a stamp set like this! I hope you give it a try!
Happy crafting,
xxx, Sanna
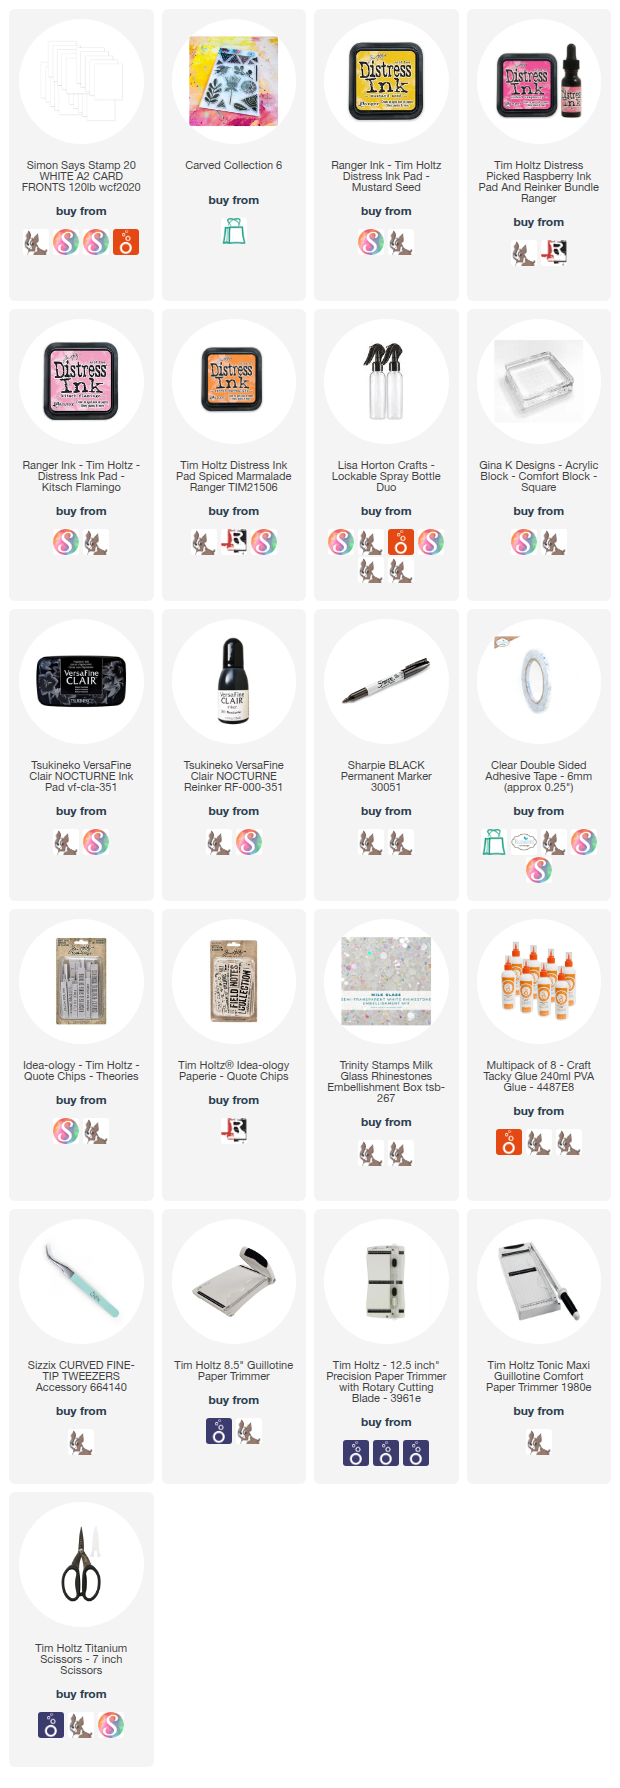
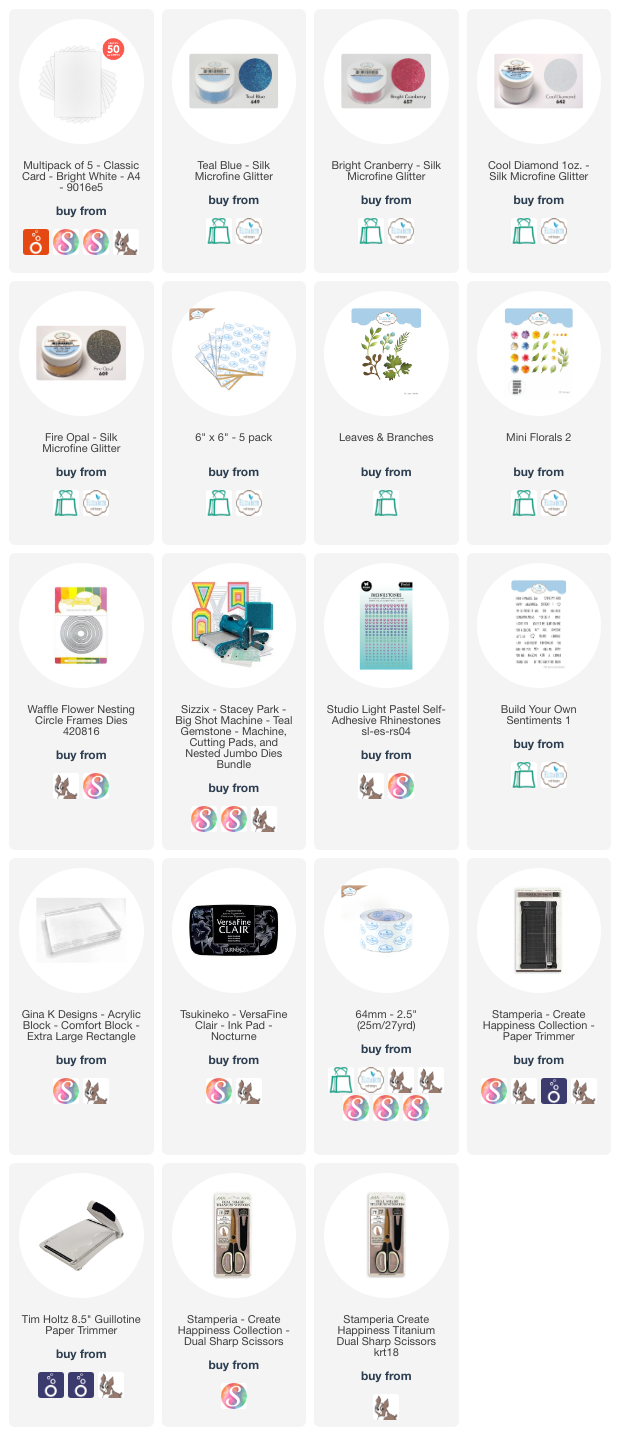
Supplies: