Category Archives: ART JOURNALING

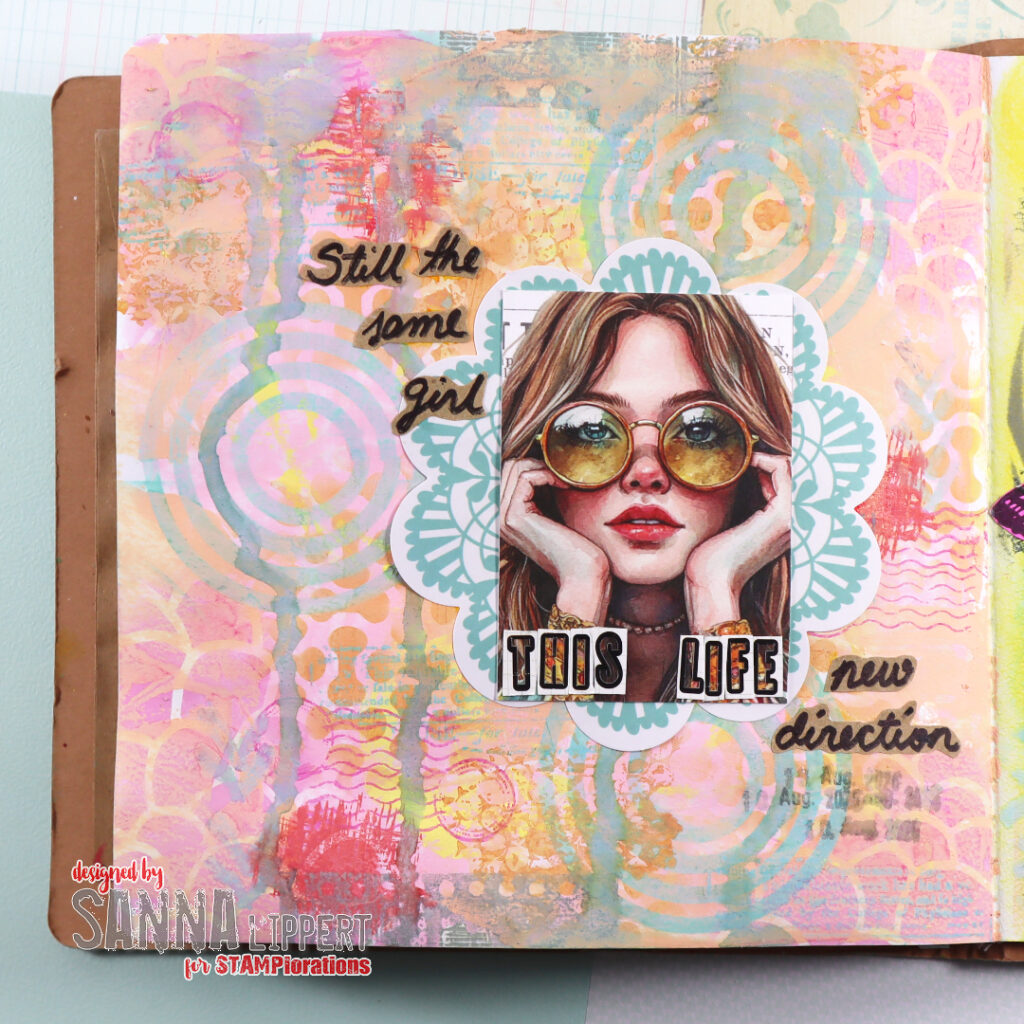
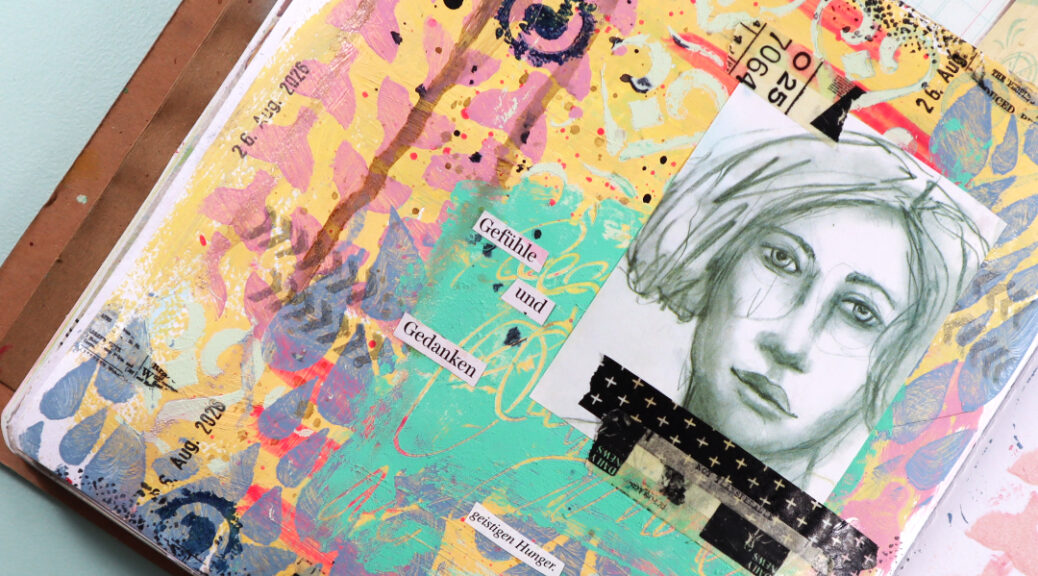
Still the same girl – Art Journal Page

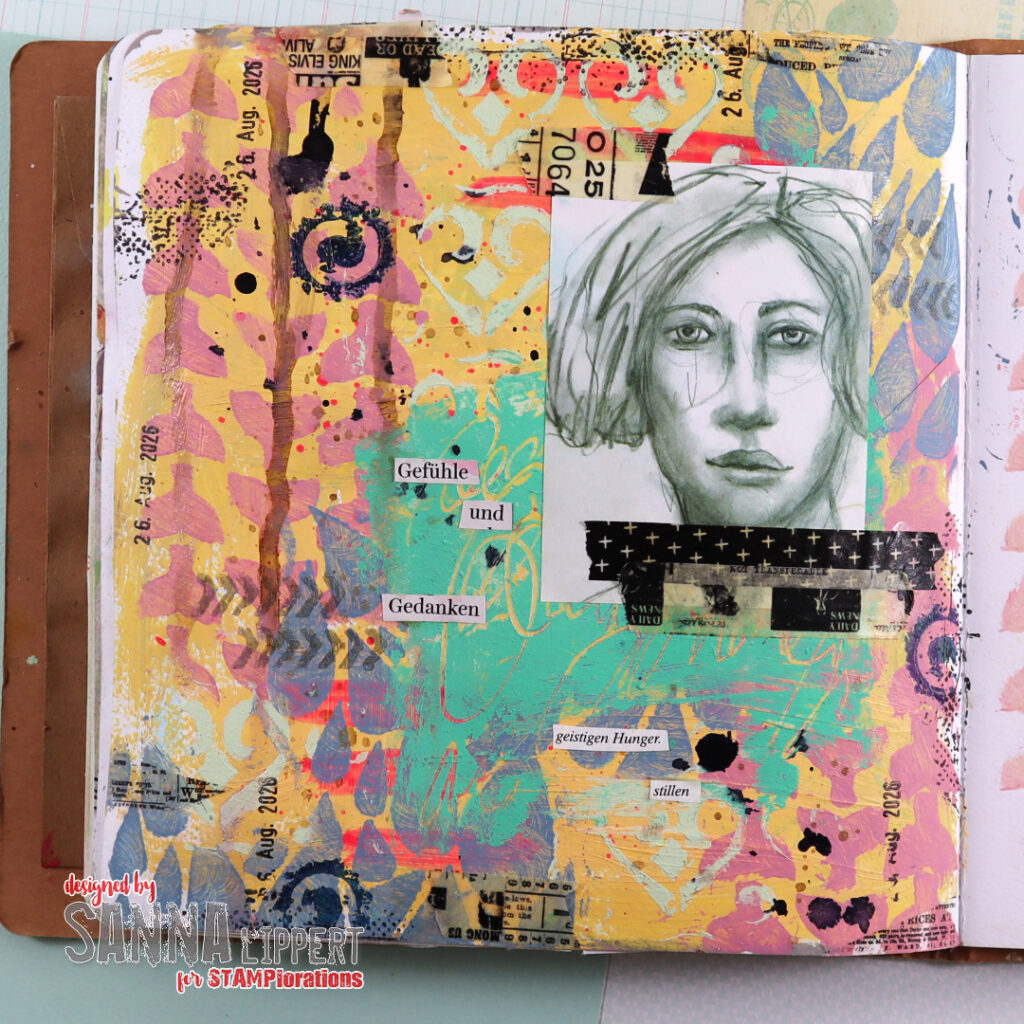
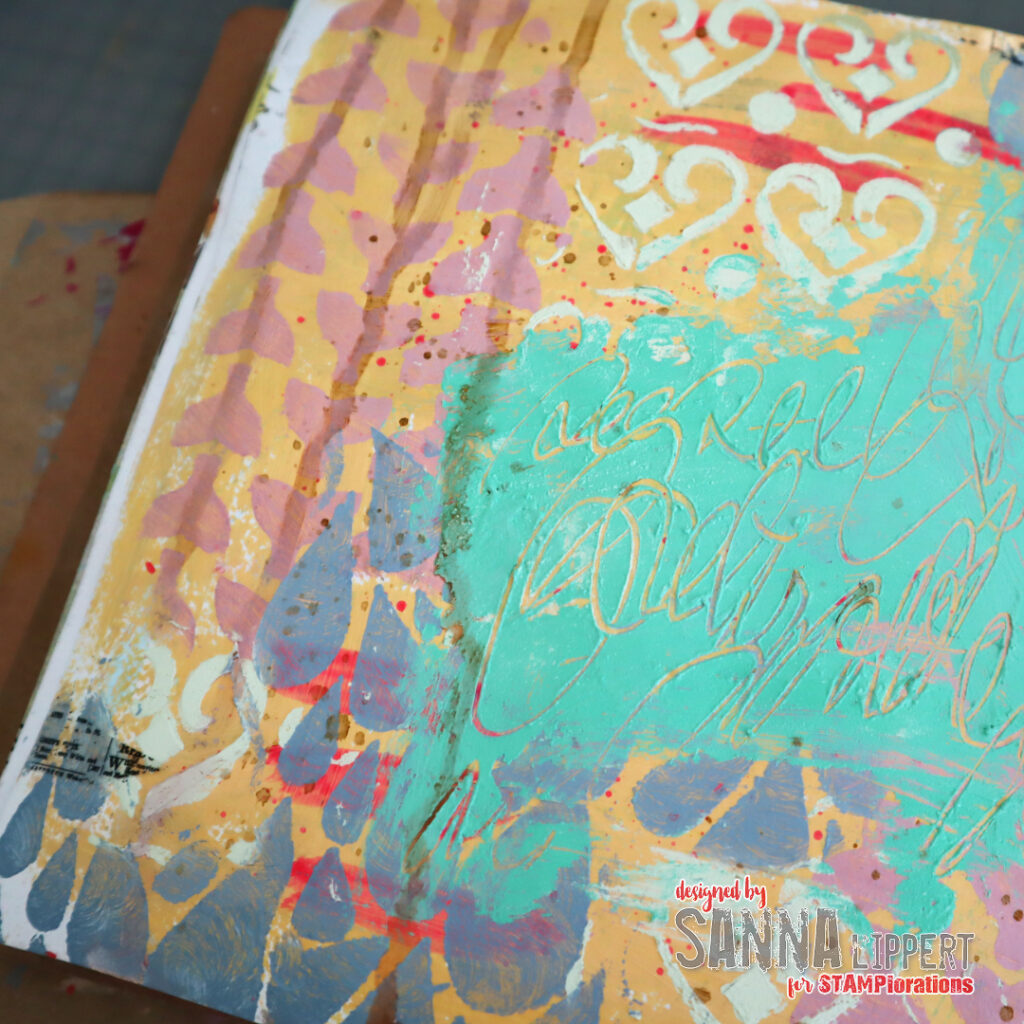
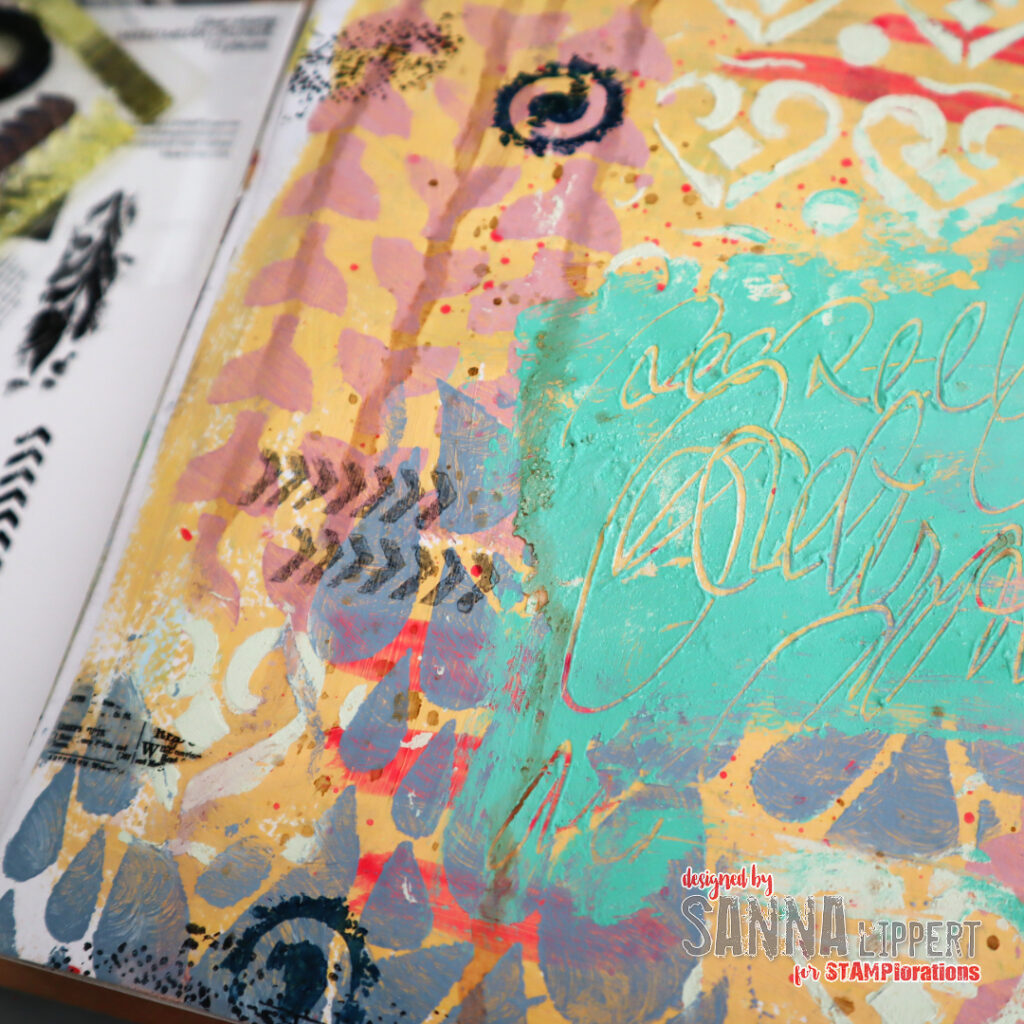
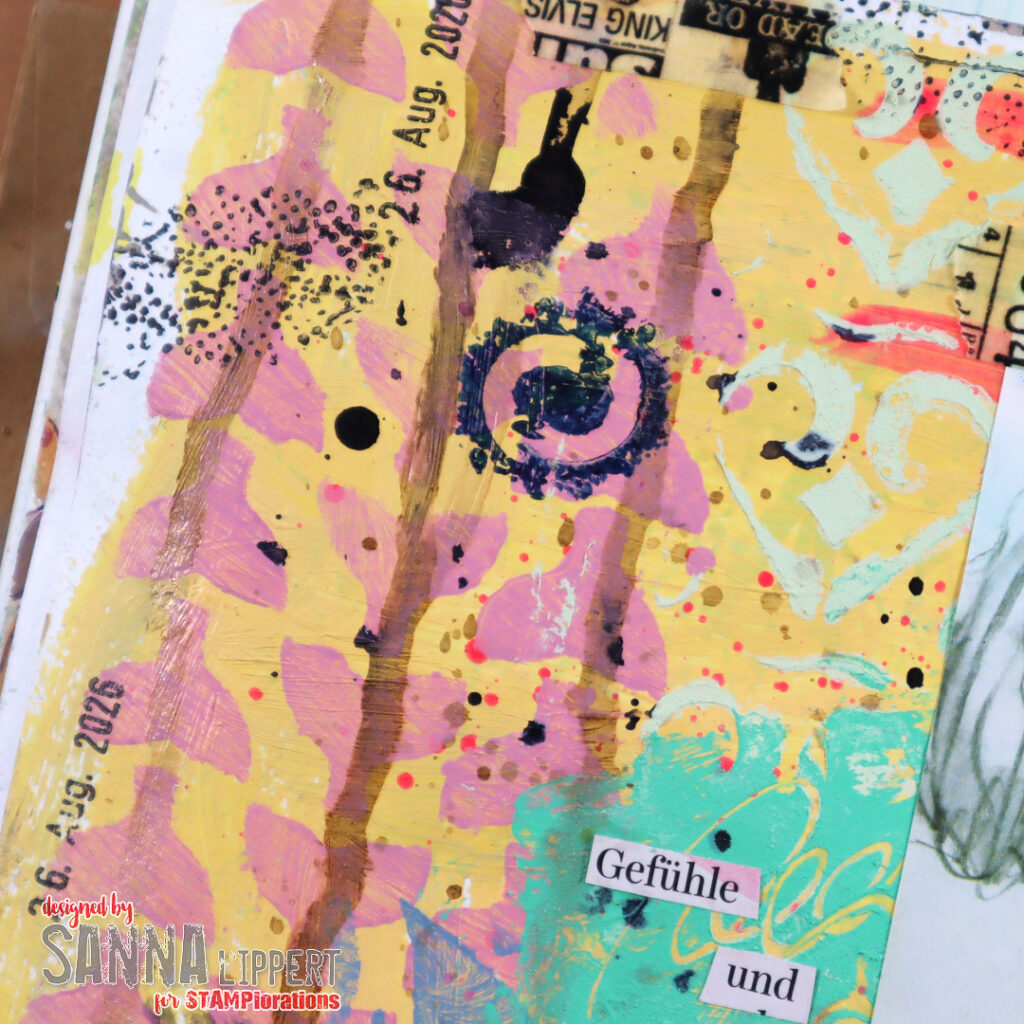
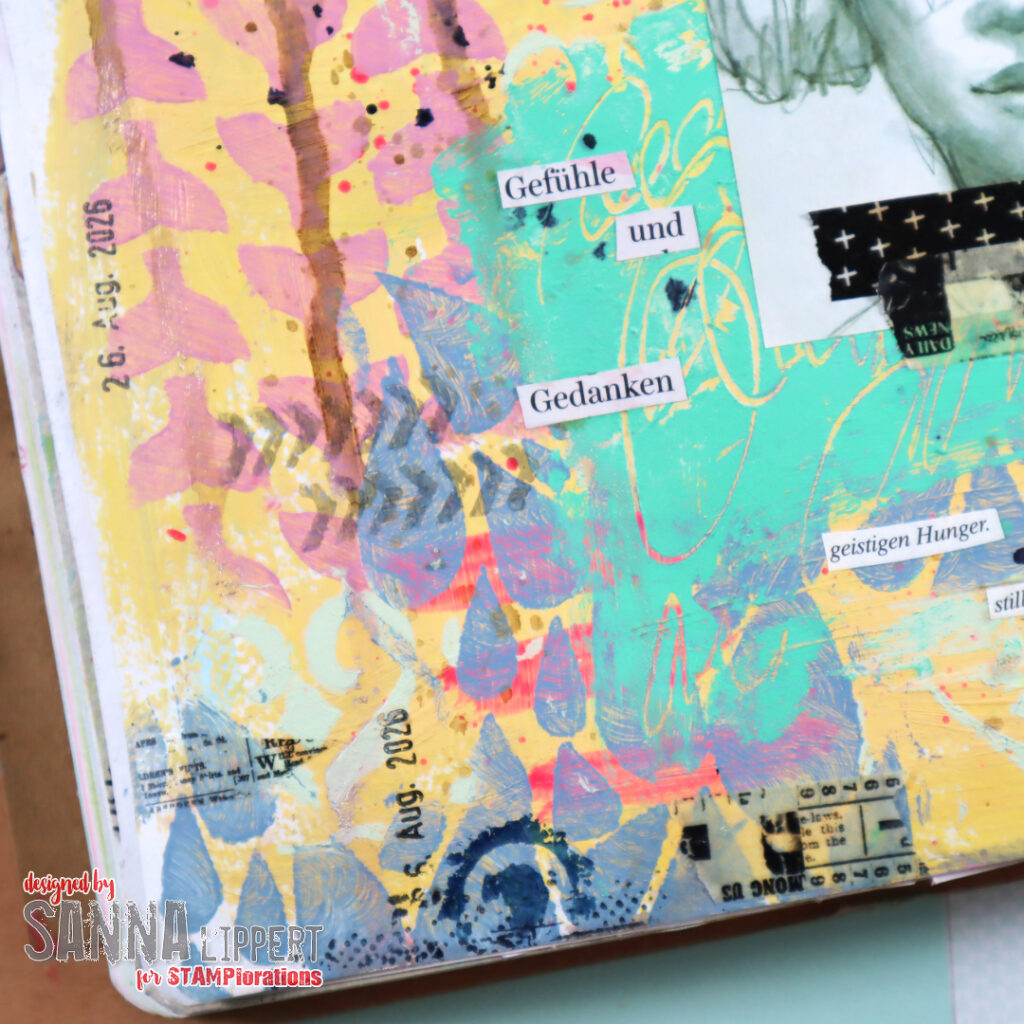
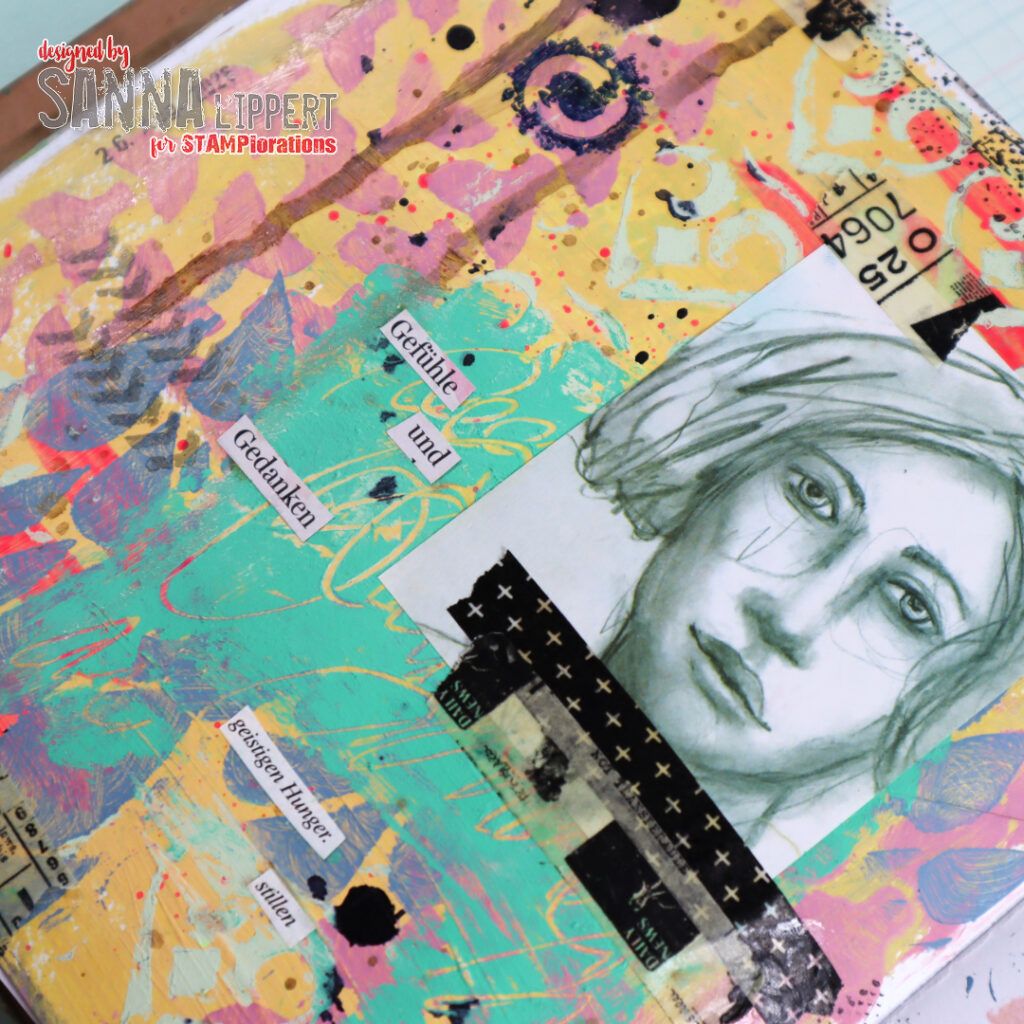
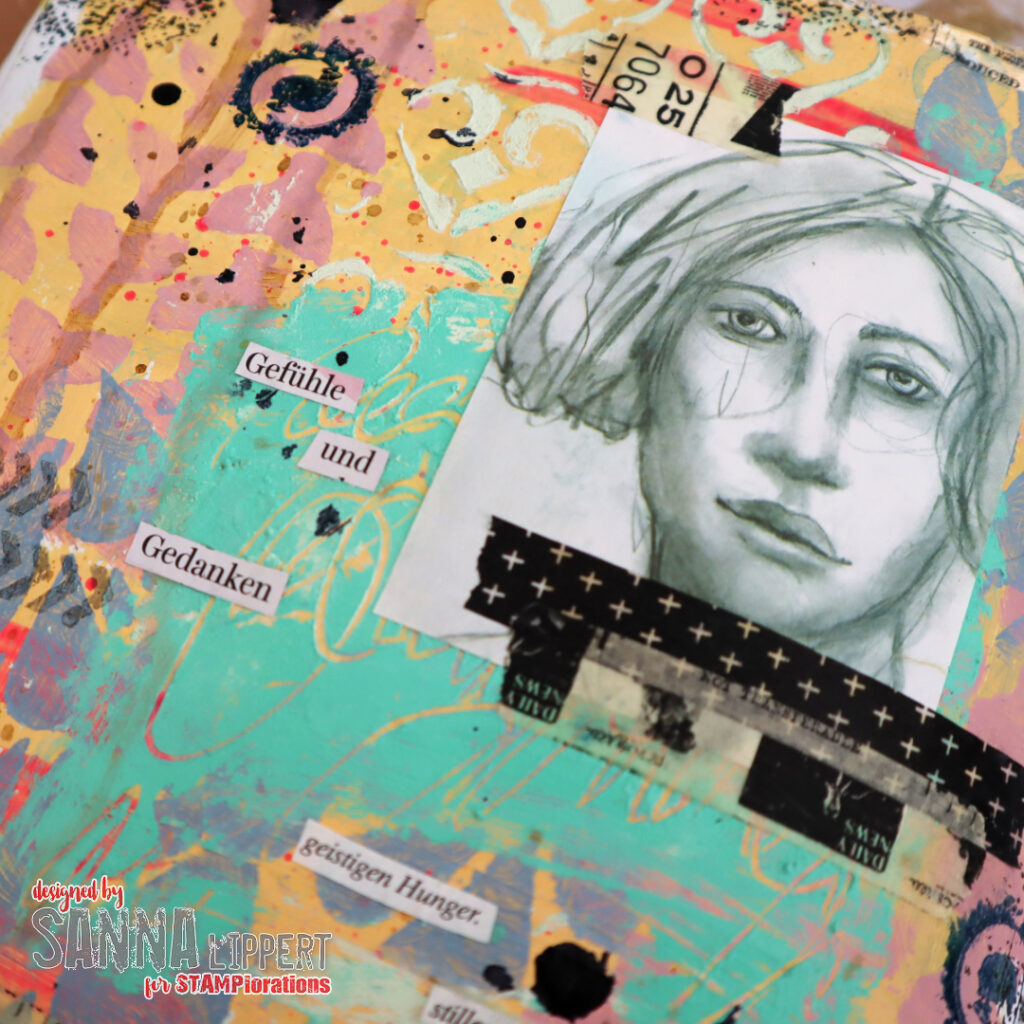
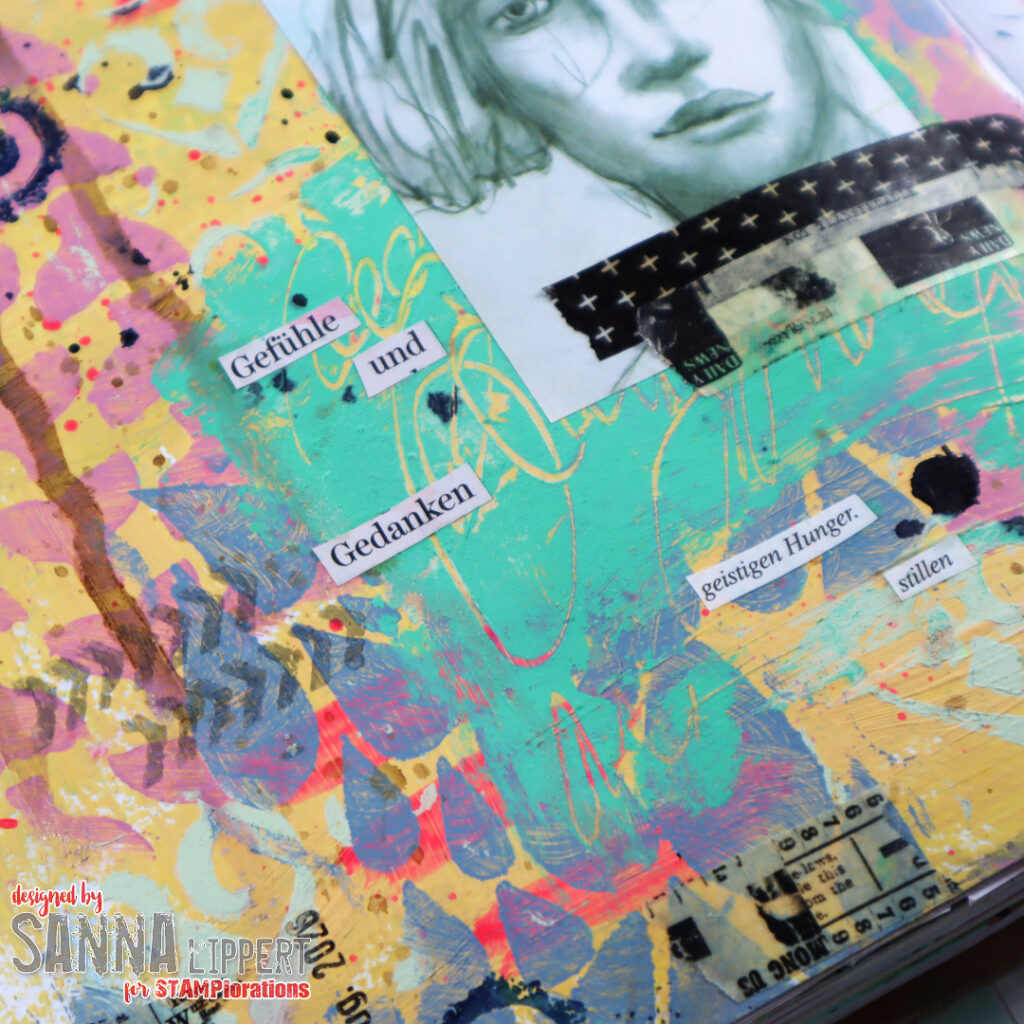
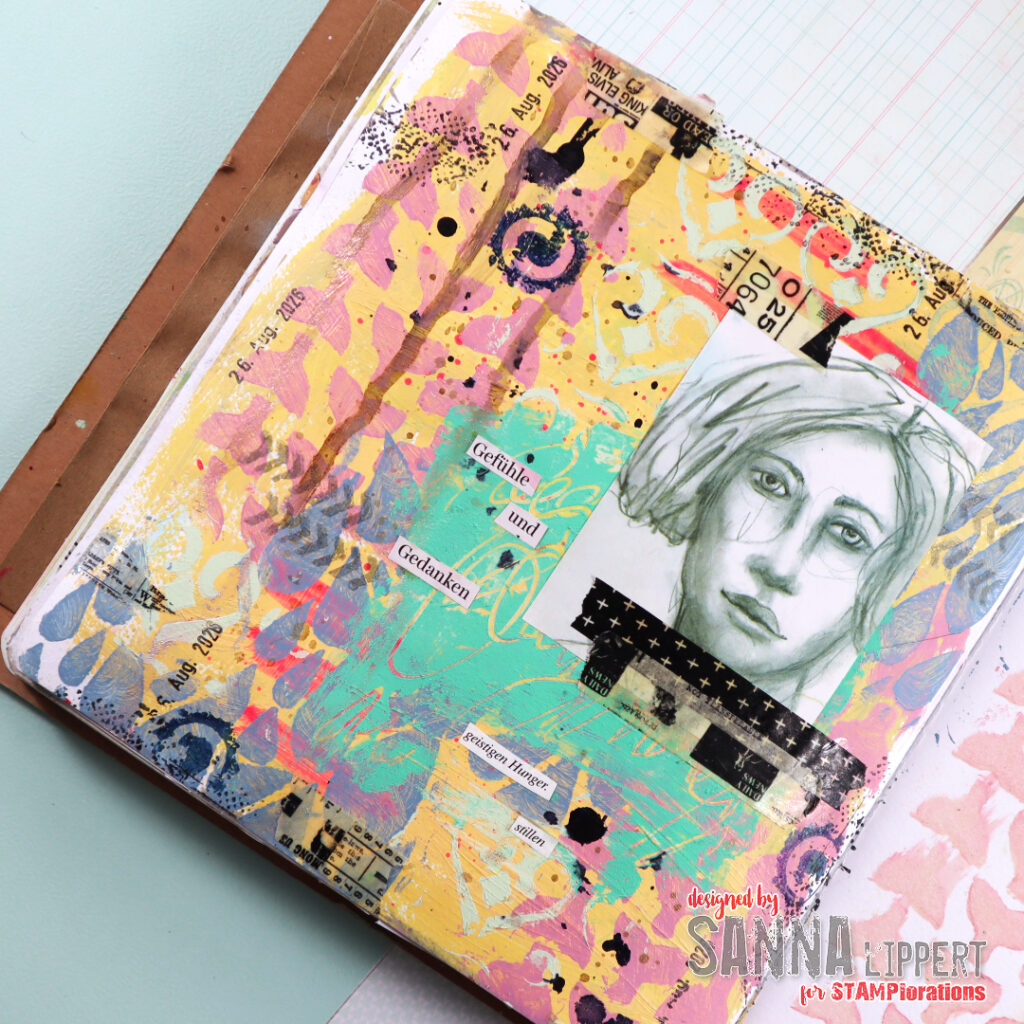
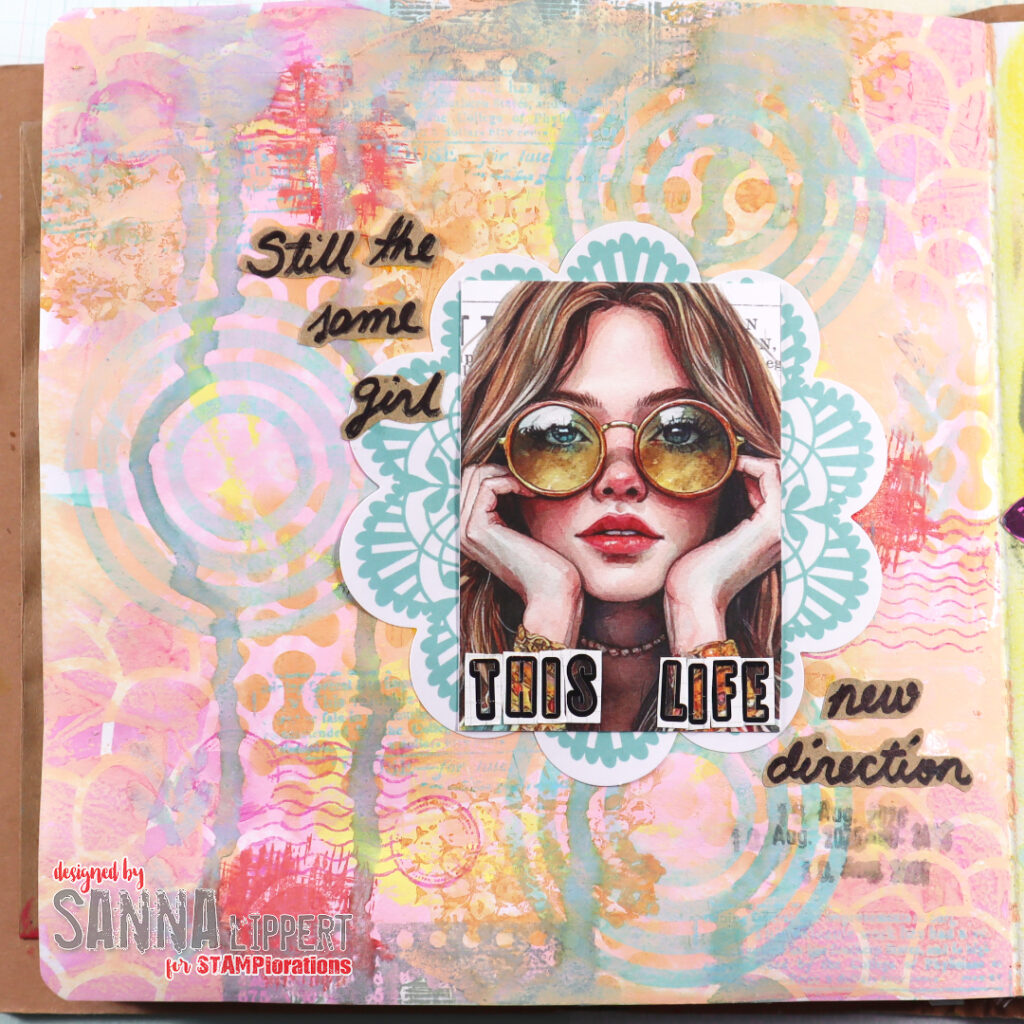
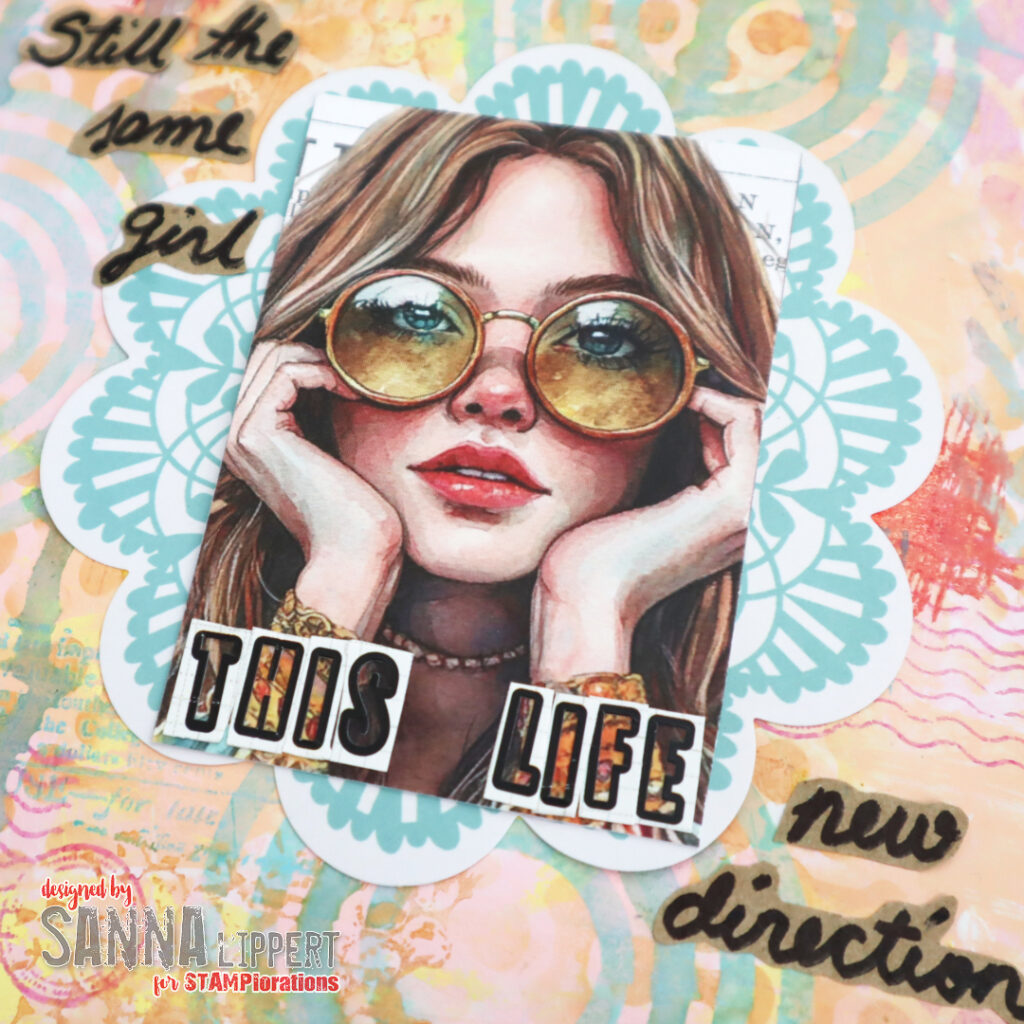
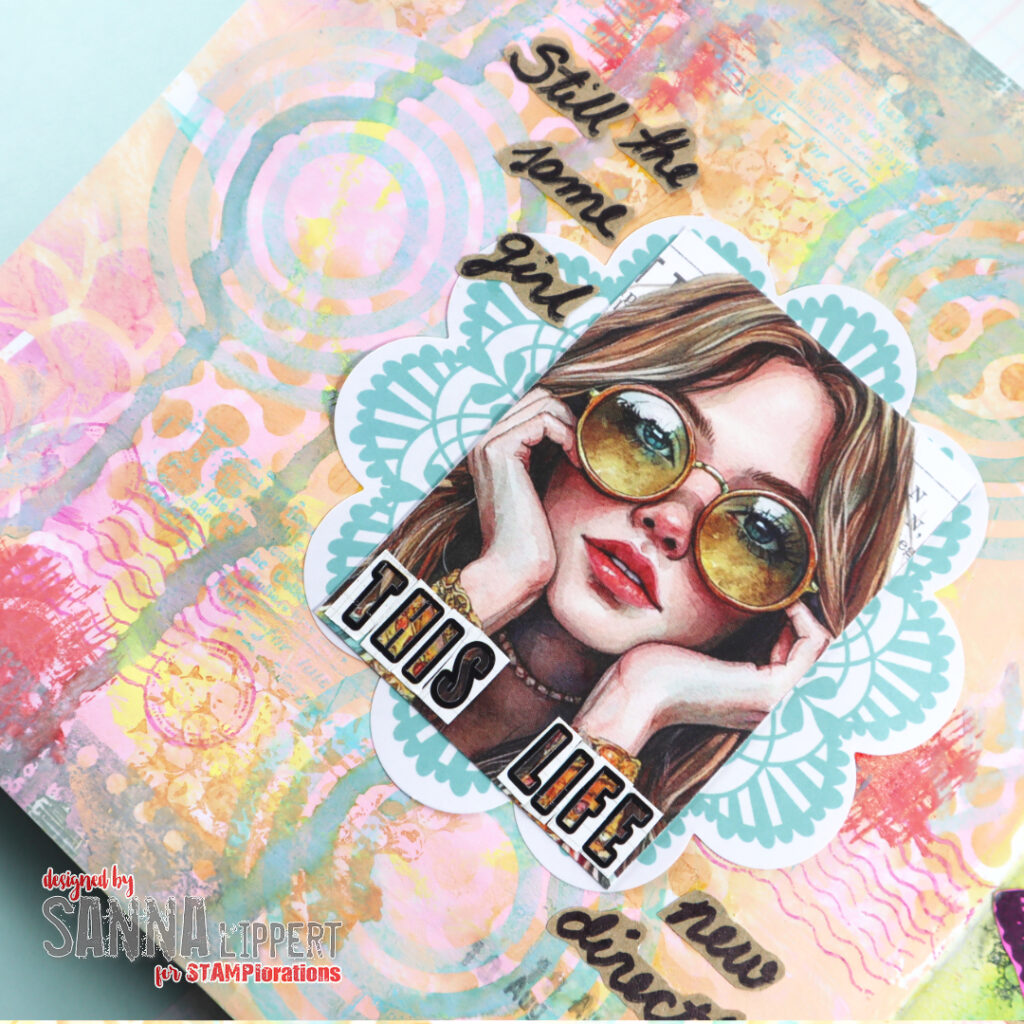
Hello everyone, I played in my art journal again. This time creating a heavily layered and stenciled page with STAMPlorations stencils and goodies.

Here is how I made the journal page:

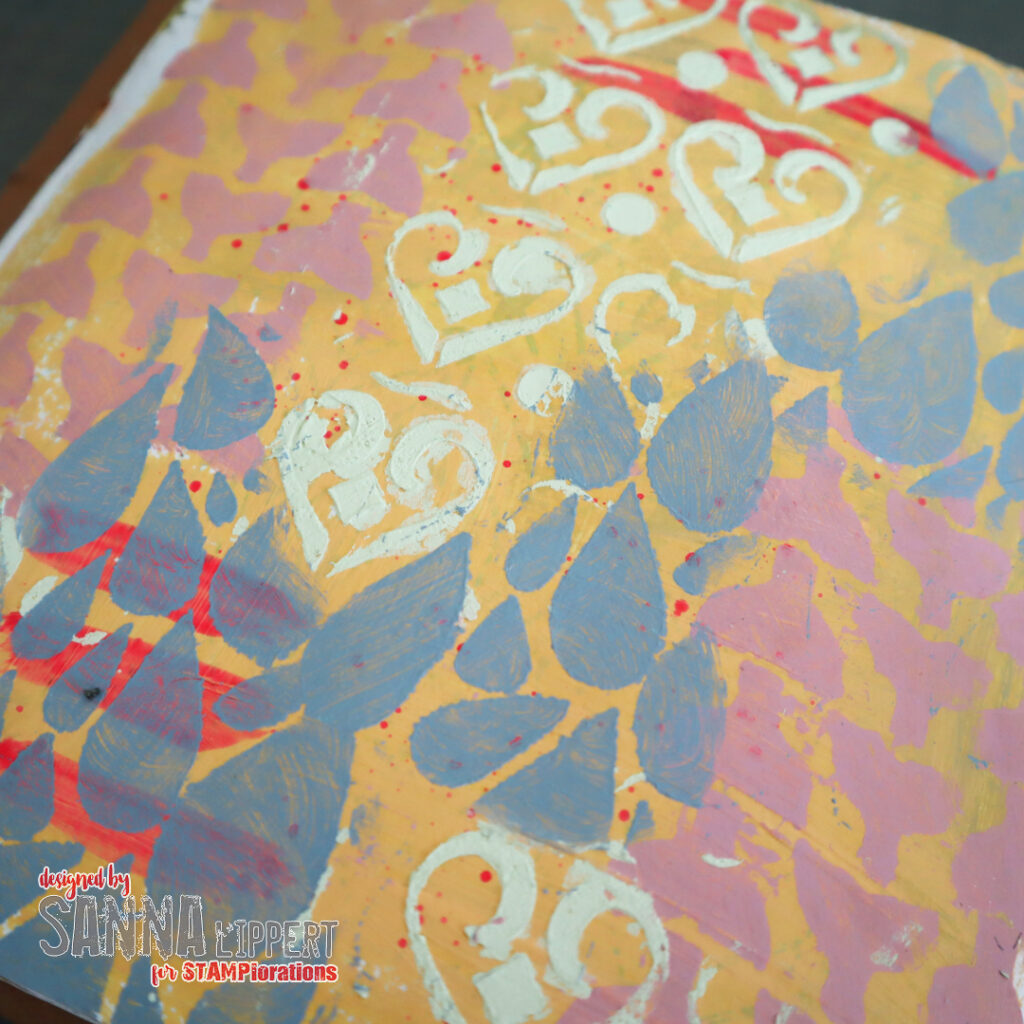
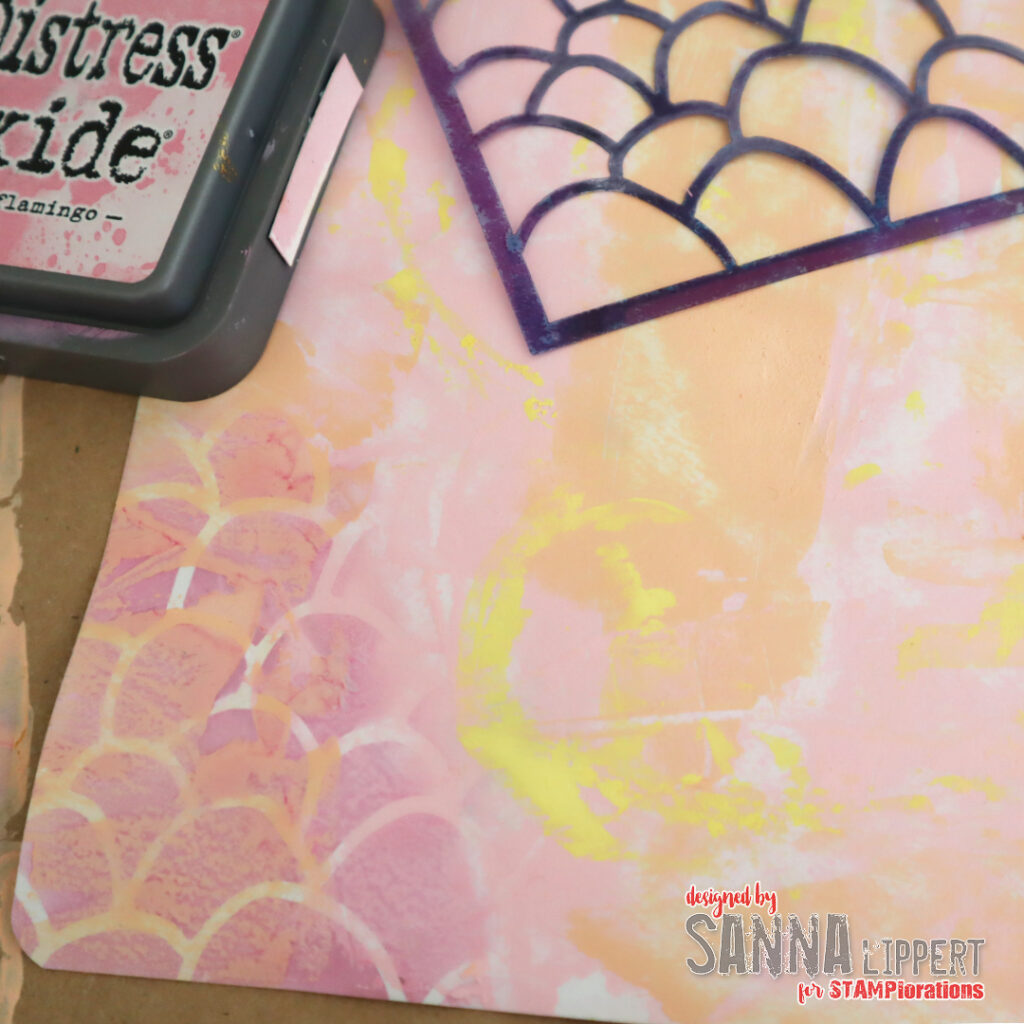
I started off with a palette knife and Distress Paints (light pink and light peach tones) and a hint of bright yellow paint here and there. On top of that layer, after it was dry, I placed the Painted Scales stencil and added light pink (kitsch flamingo) Distress Oxide Ink thru it. I added the pattern here and there on the page.

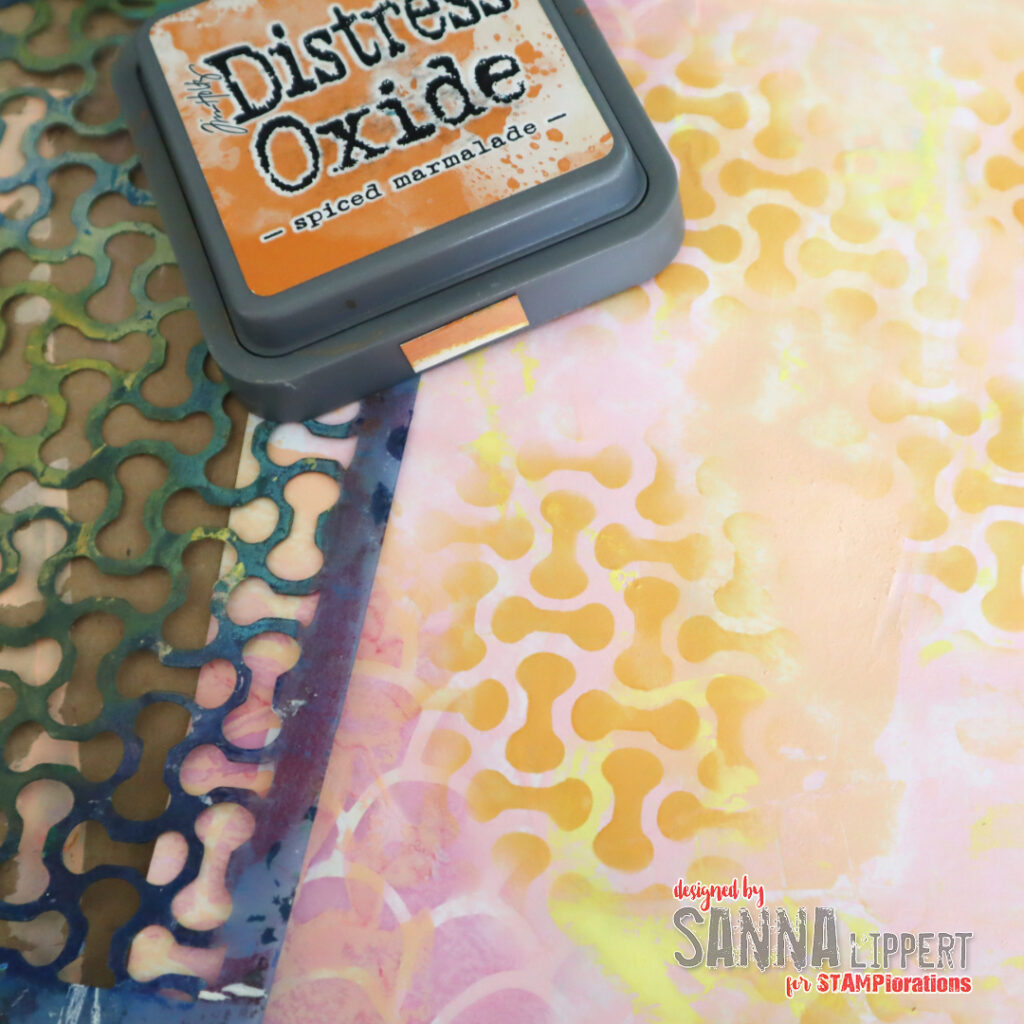
Next I changed the stencil pattern to Molecules and the Oxide Ink to spiced marmalade and added more stenciled patterns to the page. I applyed the pattern very randomly and freely, without giving it any particular thought, where to place the pattern. I was basically just playing.

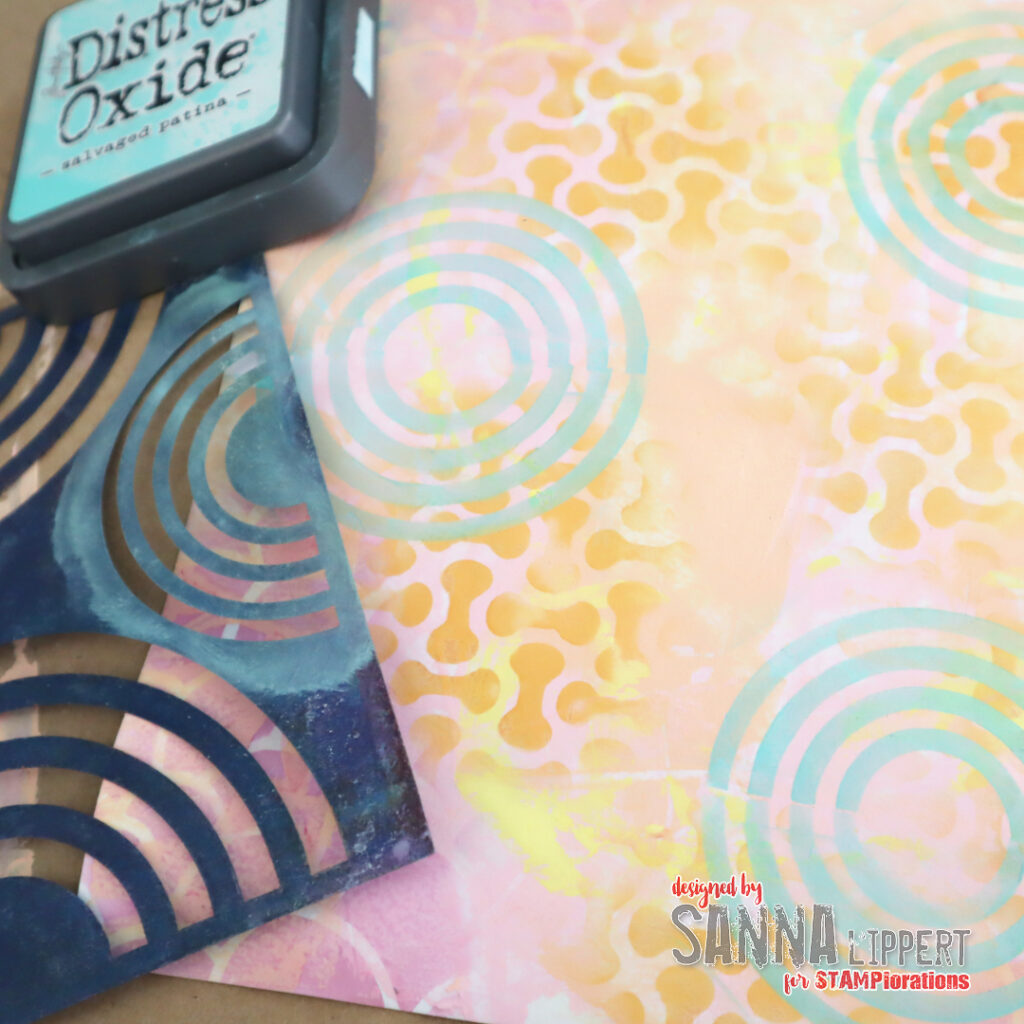
Next I wanted to add a pop of colour, so I swapped to salvaged patina (one of my all time favorite colors from Distress Oxide Inks) and the Rainbows stencil. I didn´t create rainbows thought, but instead made circle patterns by combining the half circles together. I love this stencil for it´s versatility.

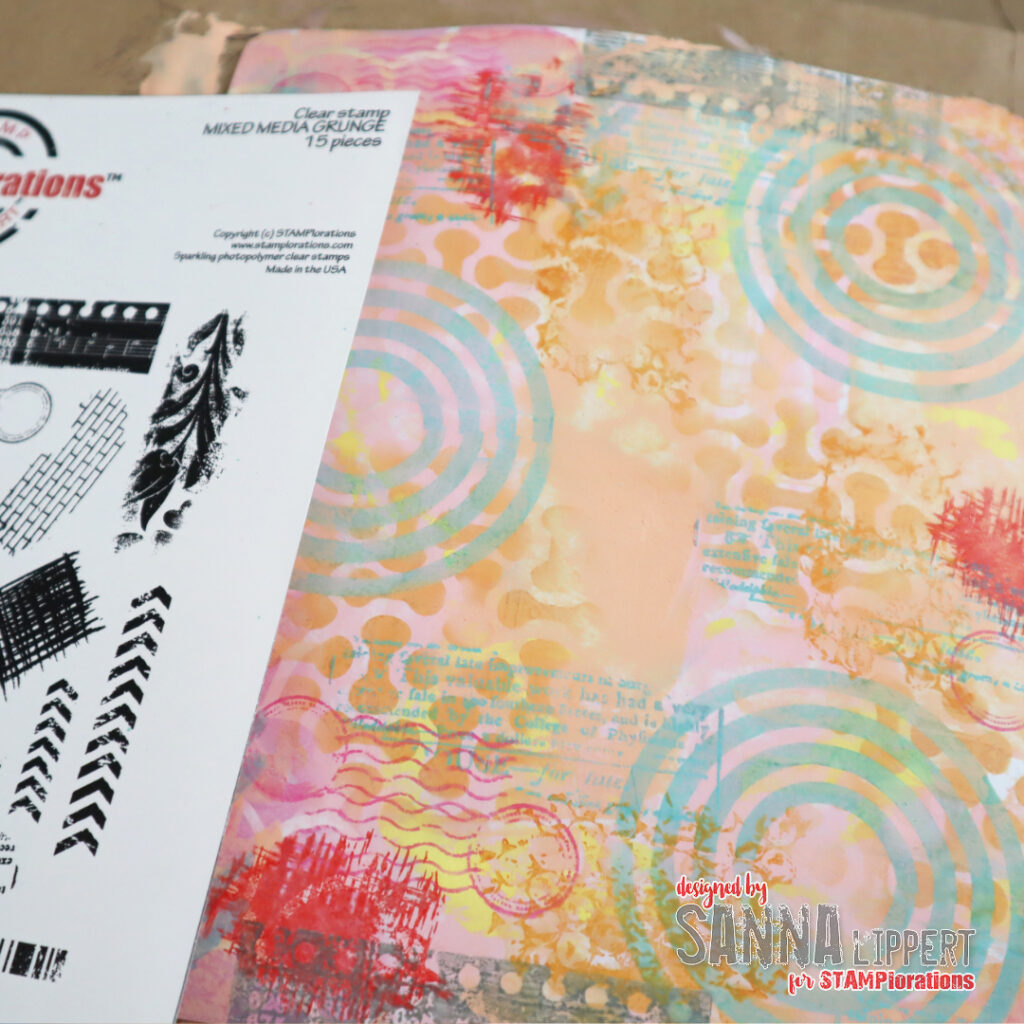
After stenciling, I changed to stamping to add even more layers. I used the Mixed Media Grunge stamp set and orange, red, pink, grey and green Distress Oxide tones to add more interest to the page.

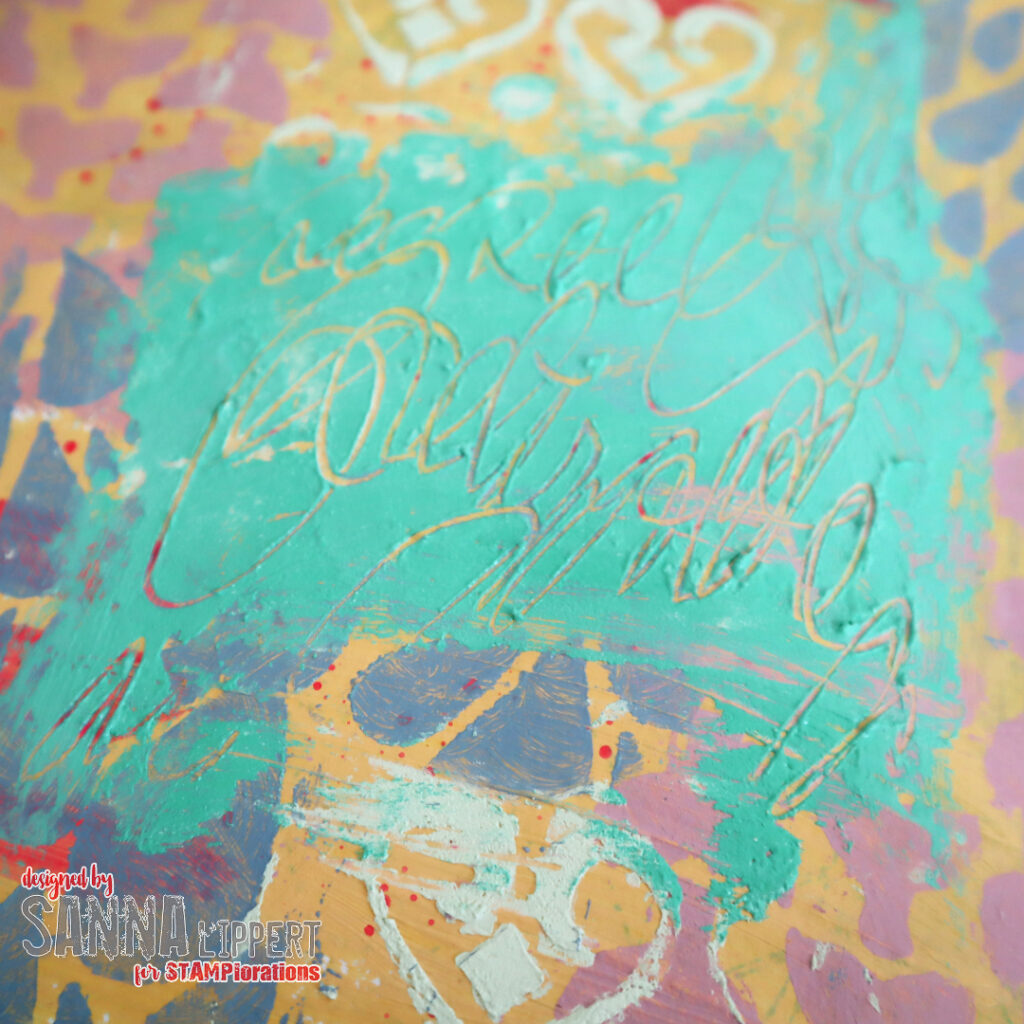
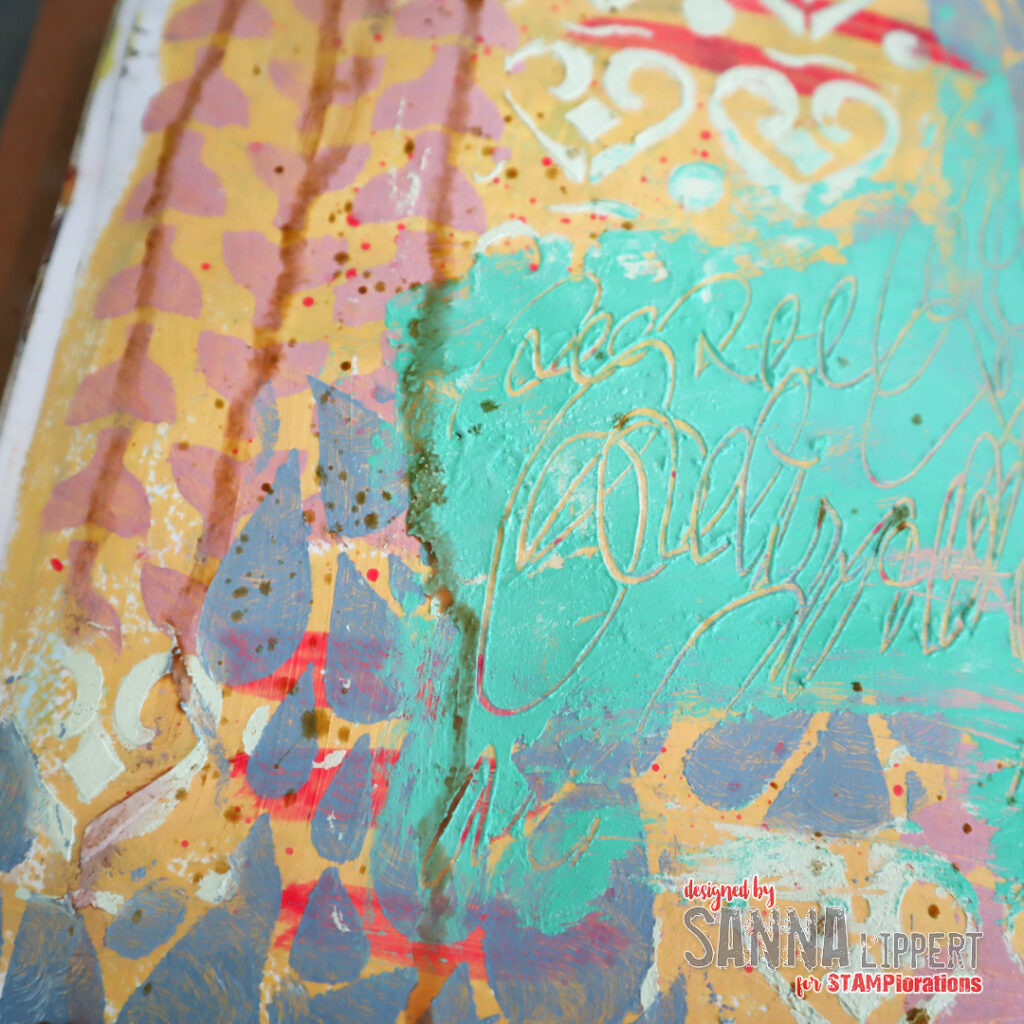
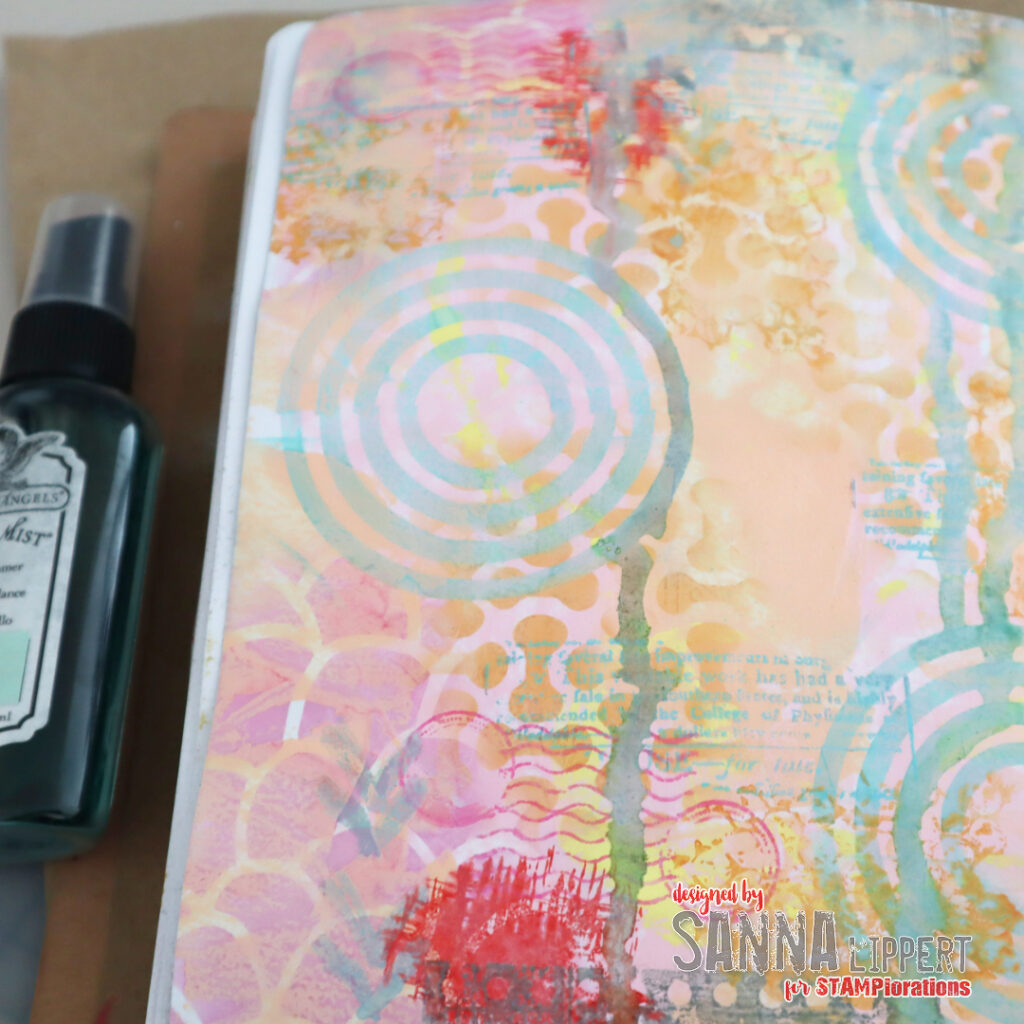
After stamping I wanted to add some spray ink to the page. I placed the journal on a piece of paper (standing up) and sprayed the top of the page with light green Glimmer Mist. I let the mist run along the page all the way to the bottom. The fun happens, when the water soluble inks mix with the mist and create interesting effects on the page. I also didn´t mind the stenciled patterns and stamped images getting partly wiped away from the mist.

After misting the top, I flipped the page 180 degrees and repeated the step on the “bottom”. That way I had spray “runnings” beginning from both sides of the page.

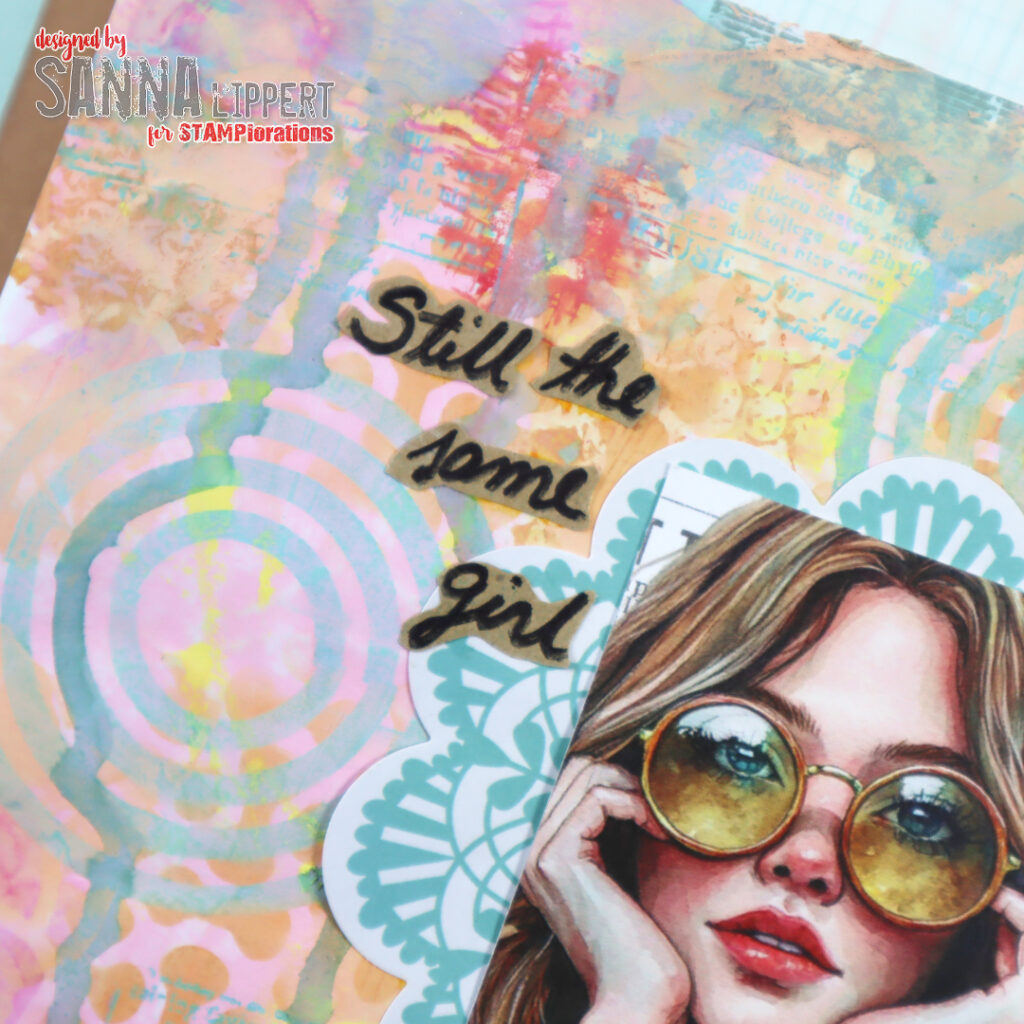
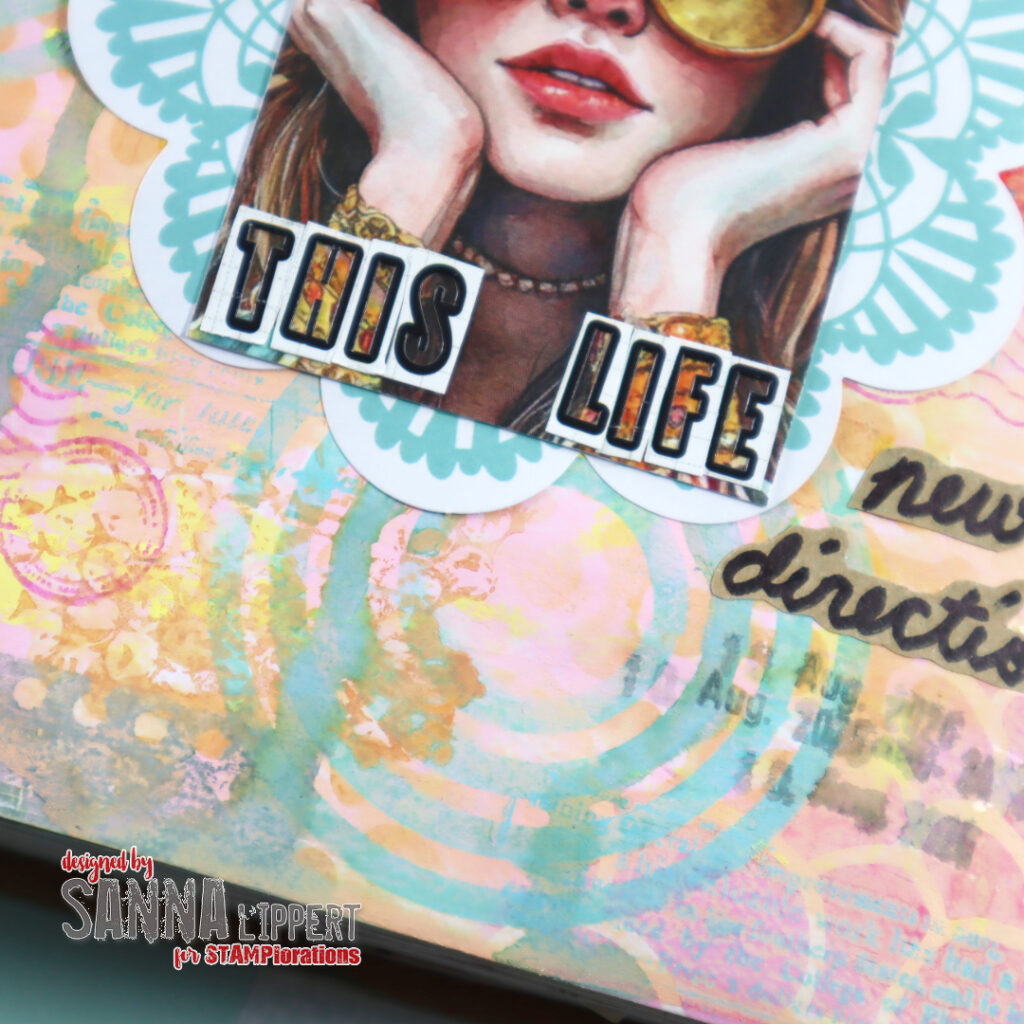
As a focal point I added a big doilie ephemera from my older stash as a background for the Retro Femme ATC piece. I wrote the sentiment by hand onto a kraft paper with a black marker and fussy cut and adhered it next to the focal image. I also used a date stamp to add the actual date to the page for reference.

I also added some alpha stickers to the ATC image. Well, actually it´s the leftover carrier sheet bits I used here, not the actual alpha stickers. But I loved the effect they created with the see-thru parts.

Like always, here is my discount code for the store, just in case you want to stock on some STAMPlorations goodies:

This journal page has all the colors that make me happy! What´s your go-to summer color combo?

Happy crafting,
xx, Sanna

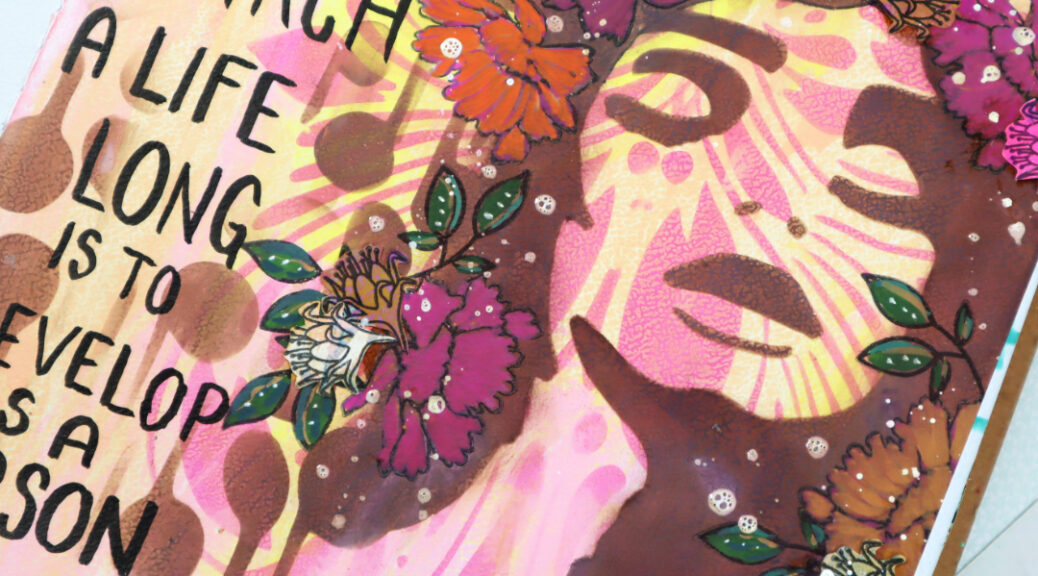
Search – Art Journal page

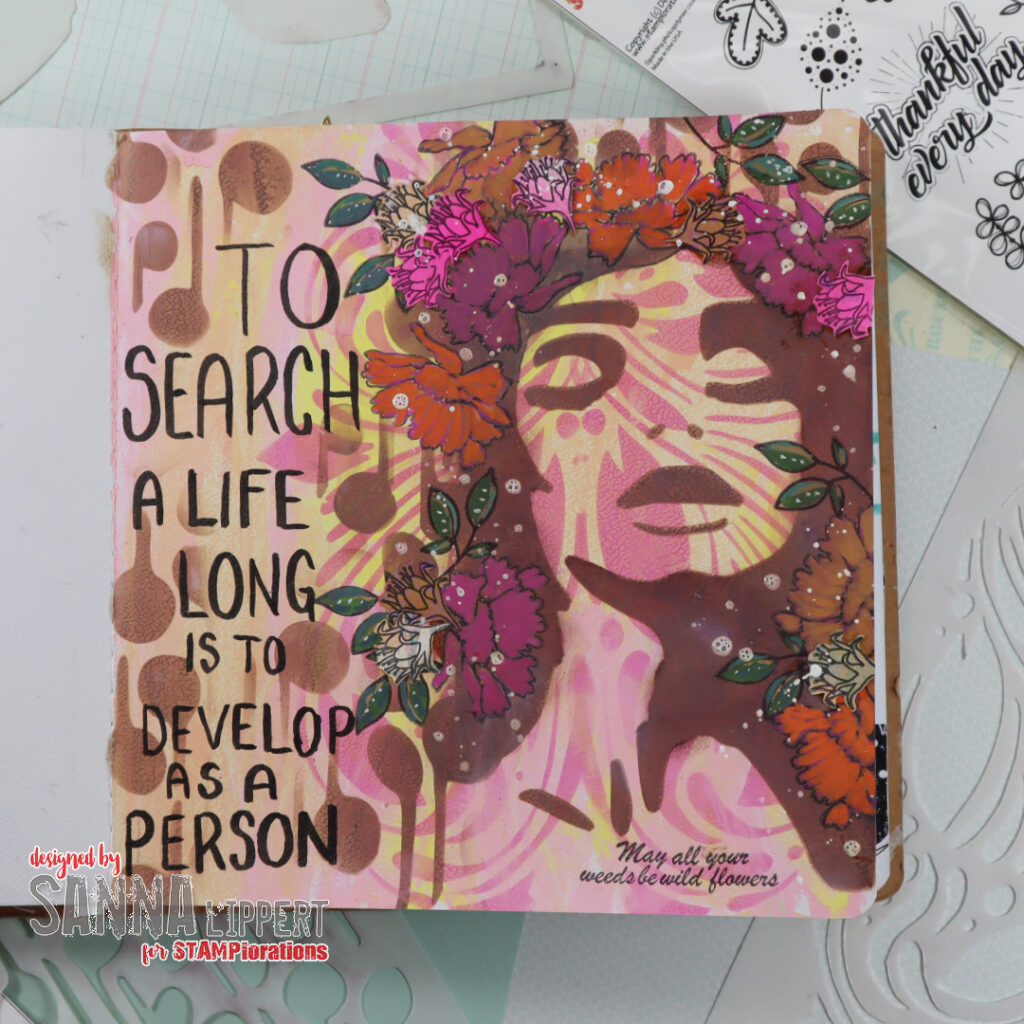
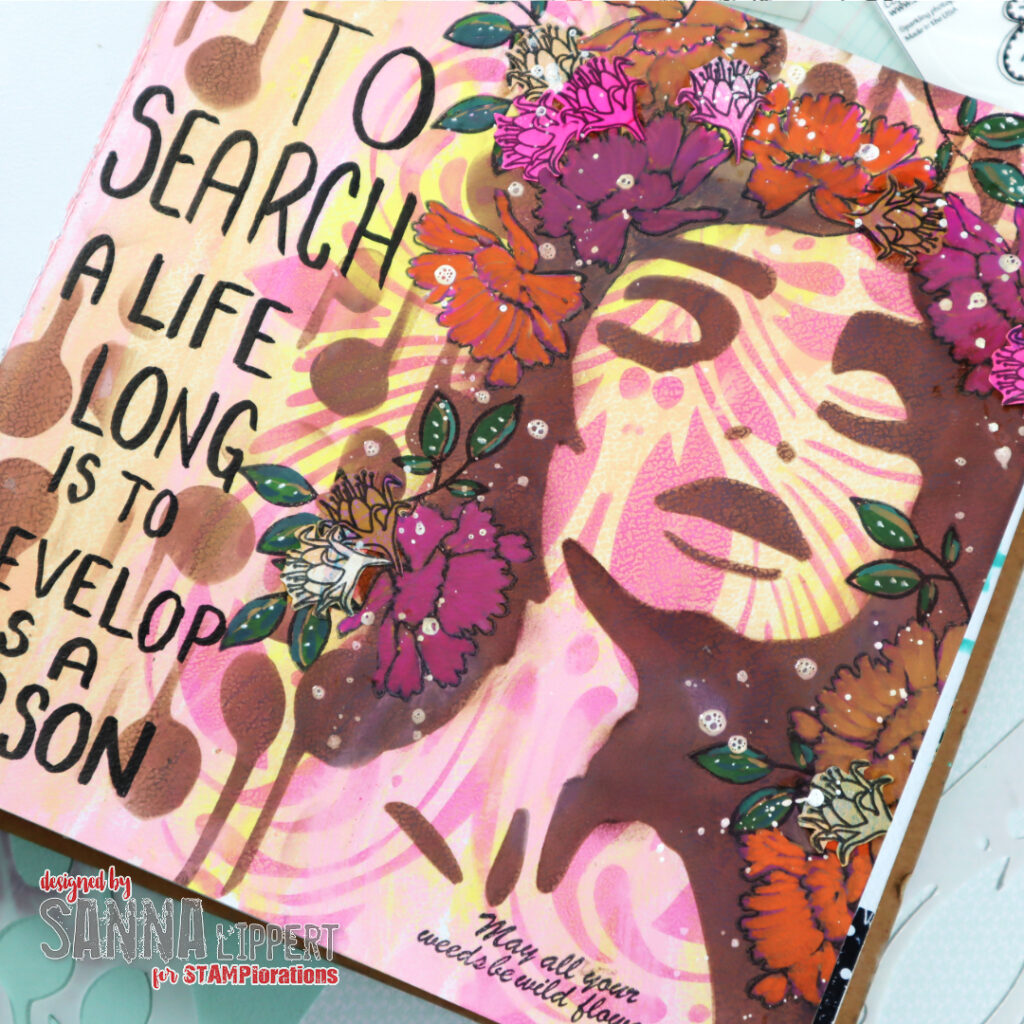
Hello everyone! Today´s page is a share from my art journal. This one is done with STAMPlorations stencils and stamps mainly.

For the background I first added light pink and yellow Distress Paints with a palette knife without any specific plan. Just added very randomly. On top I used the Henna Pattern stencil with a pink Distress Oxide ink tone. I stenciled the image twice next to each other, for the second image I just flipped the stencil around to make a mirror image. I love the pattern it created!

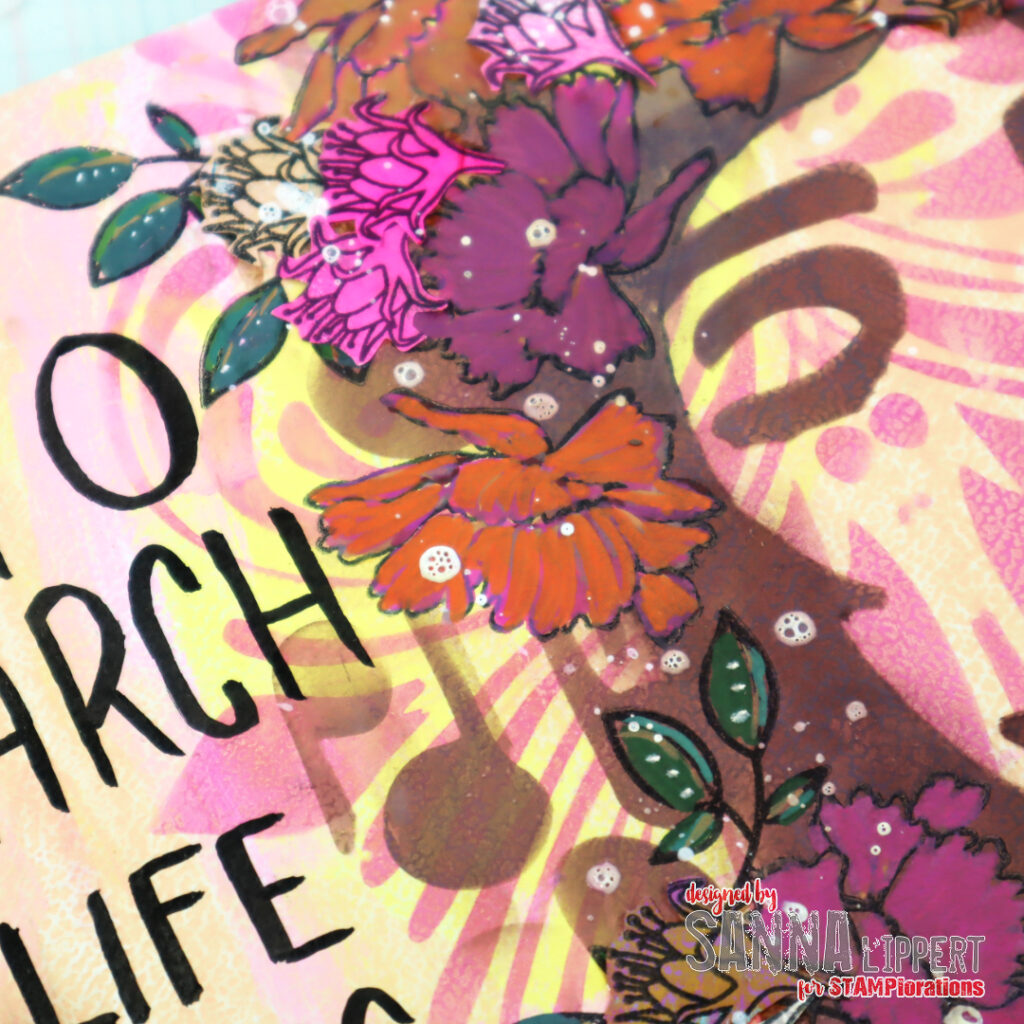
Next I took some brown Distress Oxide Ink out and stenciled the Profile 1 stencil image onto the page on top of the previous layers. Next to that I added some Abstract Notes stencil pattern with the same ink color. Now that the stenciled layers were done, I wanted to decorate the lady´s hair with flowers. Therefore I stamped flower with the Blooming Buds stamp set and leaves with the Leaves of Thanks stamp set onto the page with black ink. I let the ink dry properly and then colored the leaves and flowers with acrylic markers.

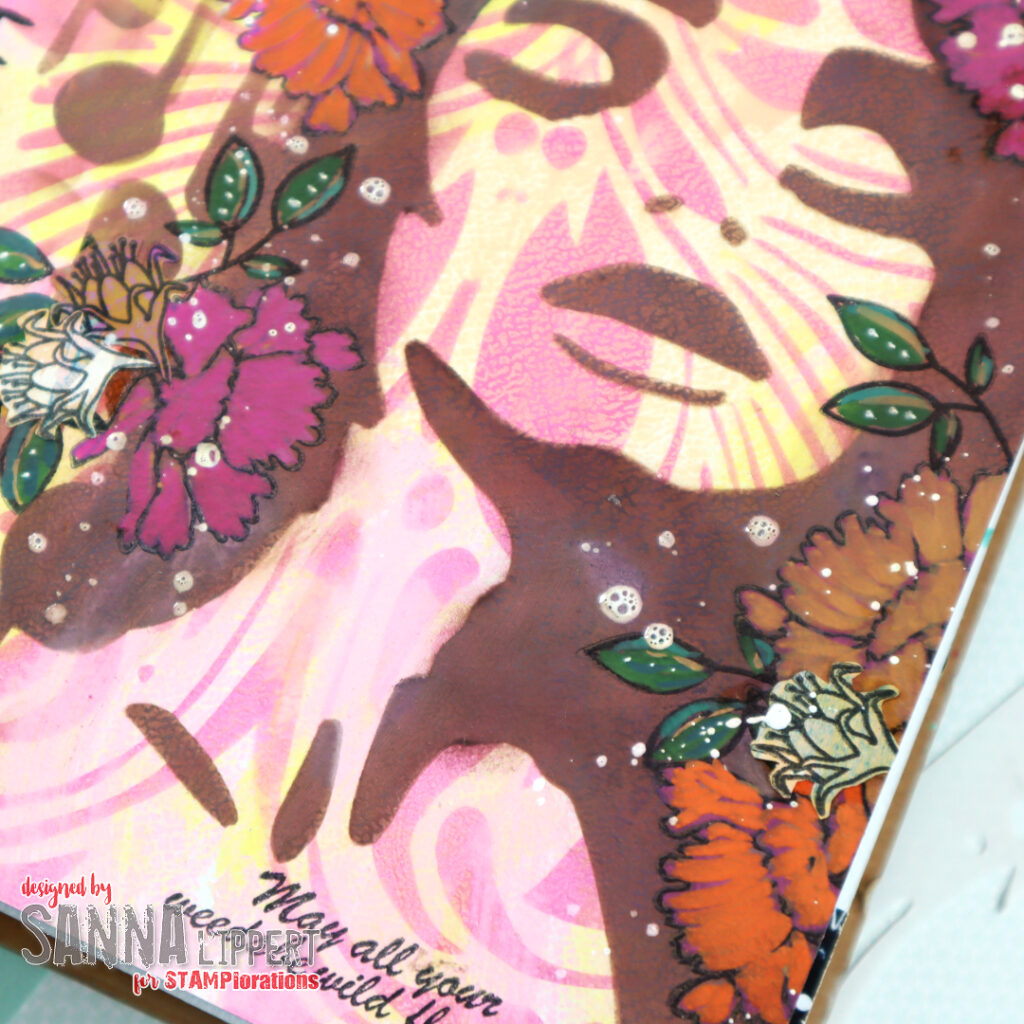
After that I wrote the quote to the page with a black acrylic marker. I still wanted to add a few more flowers, so I took some collage paper out and stamped ore Blooming Buds images onto it. I then fussy cut the images and adhered them to the previously stamped and colored images in clusters. For finishing touches I added some white Dina Wakley Gloss Spray splatters an da stamped sentiment from the Blooming Buds stamp set.

I had a lot of fun creating this page. I hope it inspires you to play with STAMPlorations stencils abit!! Here is again the discount code for the store:

Happy crafting,
xxx, Sanna

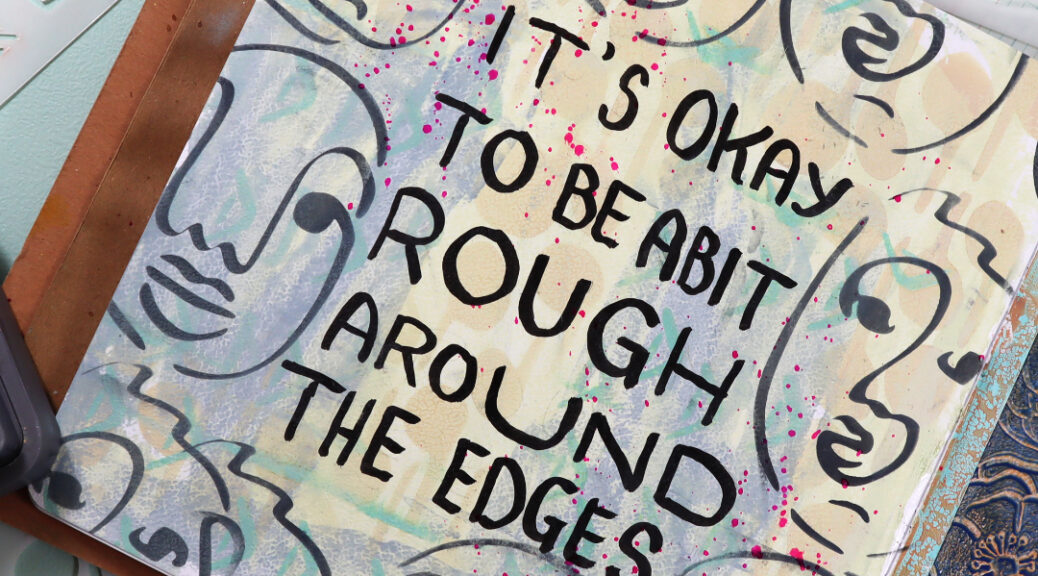
Art journal page with STAMPlorations stencils

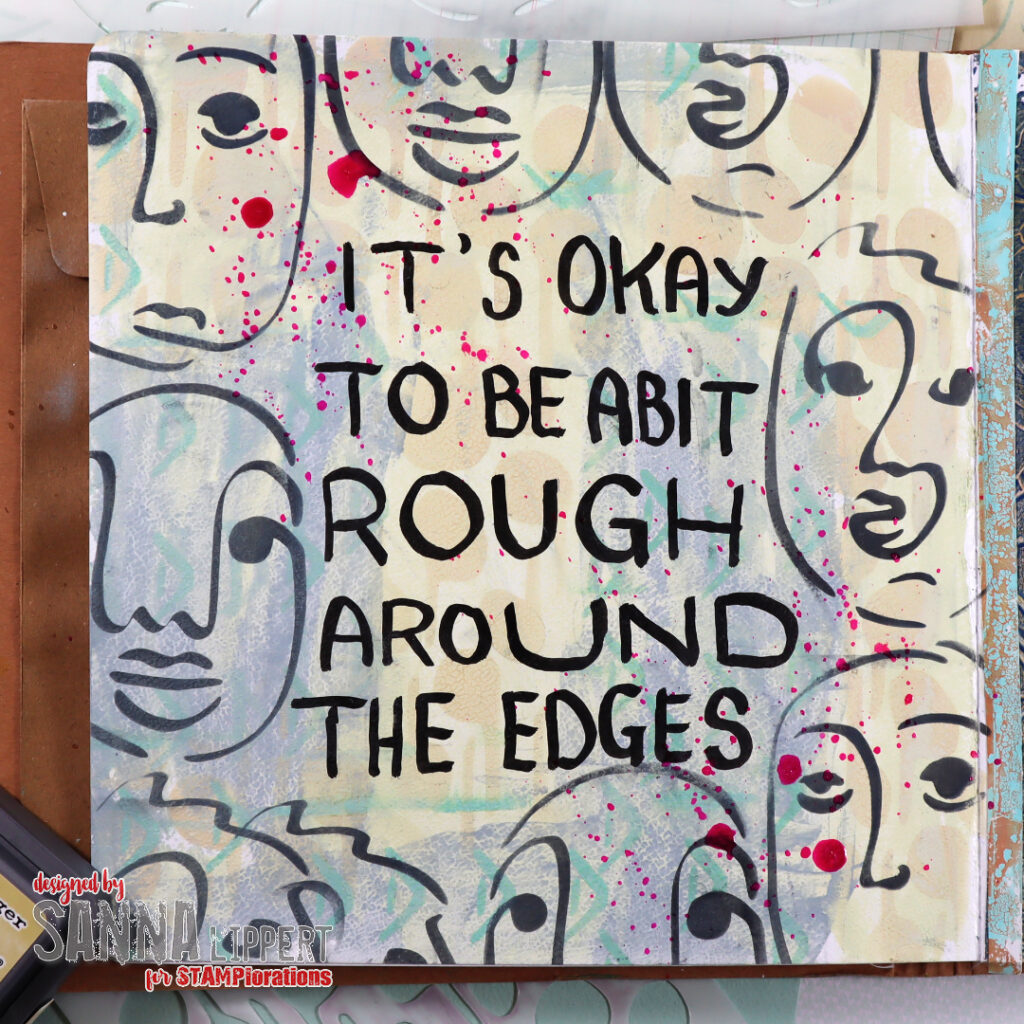
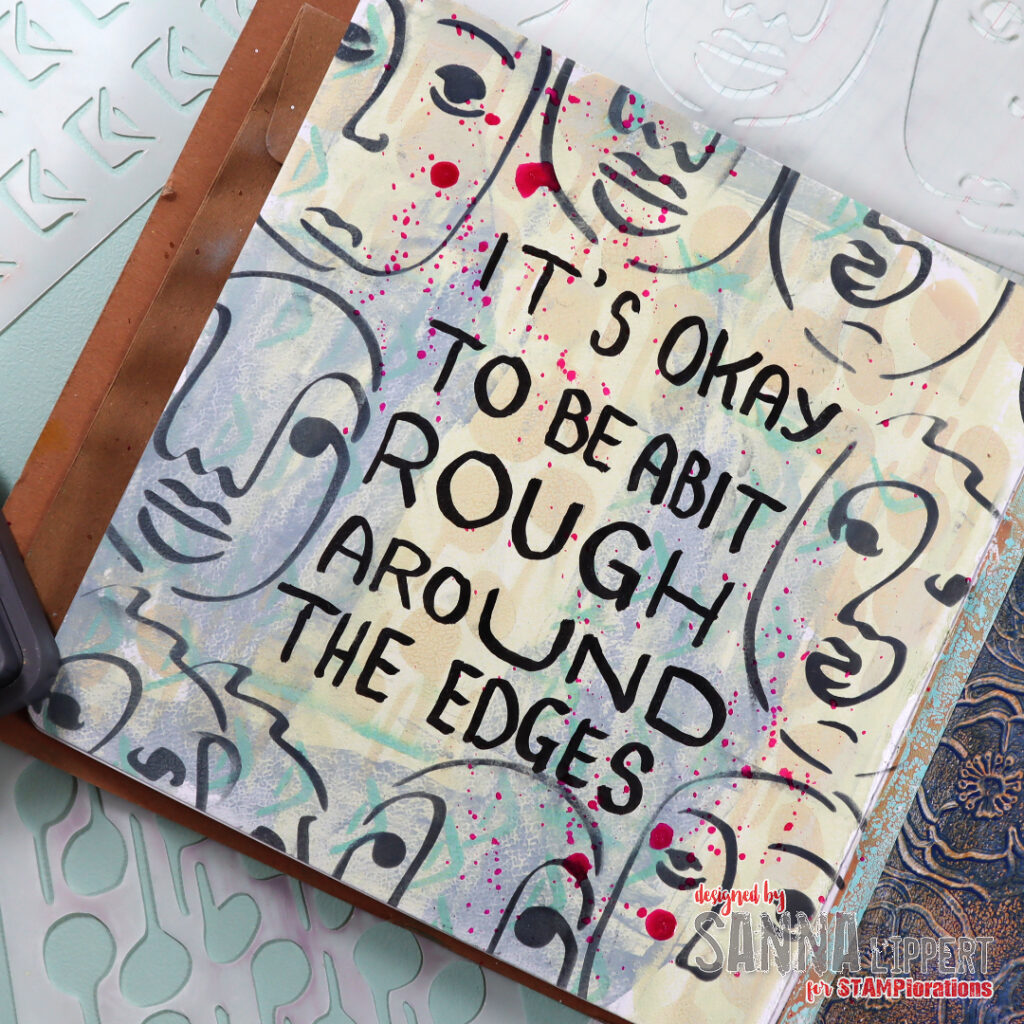
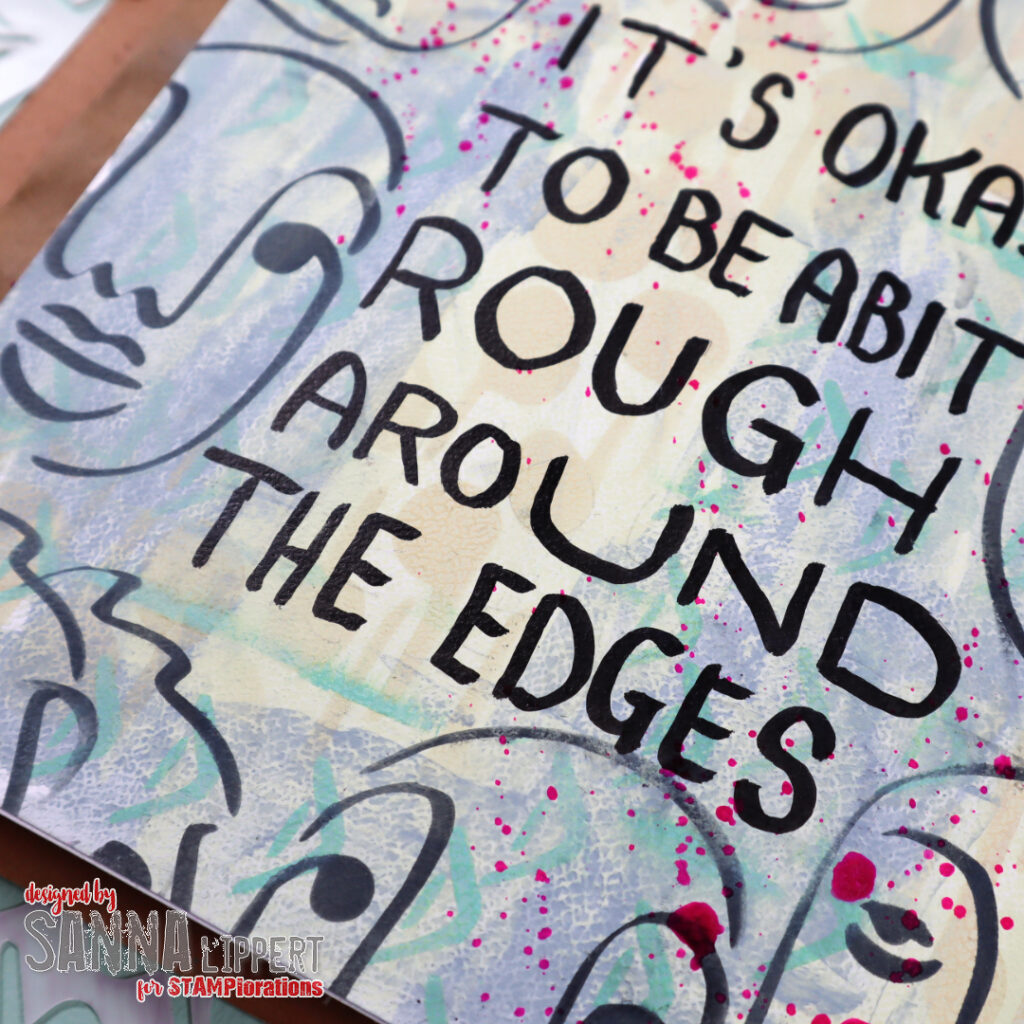
Hello everyone! Today I´m sharing another page from my art journal. This time I used STAMPlorations stencils in the process.

for the background I used tinted light blue and old paper toned Distress Paints. I applied those with a palette knife to the background very randomly. On top of that paint layer I used Distress Oxide Inks with following stencils: Abstract Notes and Modern Envelopes. You can see some hints of pattern here and there in light beige and green ink tones.

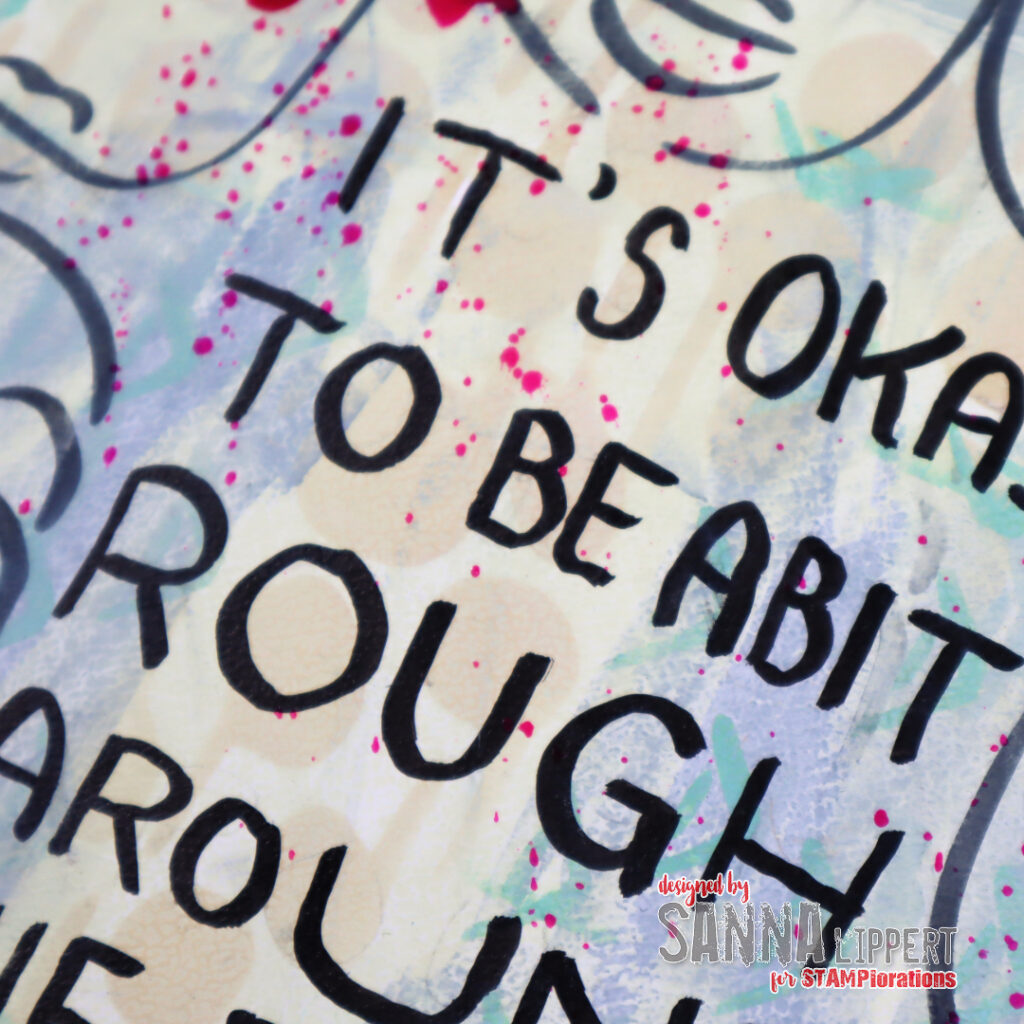
Next I used some black Distress Oxide Ink with the Profile #3 stencil to make the face pattern. I placed the images around the edges to create a big free space for a sentiment in the middle of the page. Next I wrote a bold sentiment with an acrylic black pen and finished the page off with some Dina Wakley Gloss Spray ink splatters in magenta.

I really like how this page turned out. I also hope I could inspire you abit to play and have fun with STAMPlorations stencils. Also, upon purchase, feel free to use my discount code for 20% off your order at STAMPlorations:

Happy crafting,
xxx, Sanna

Art journal page in nature tones

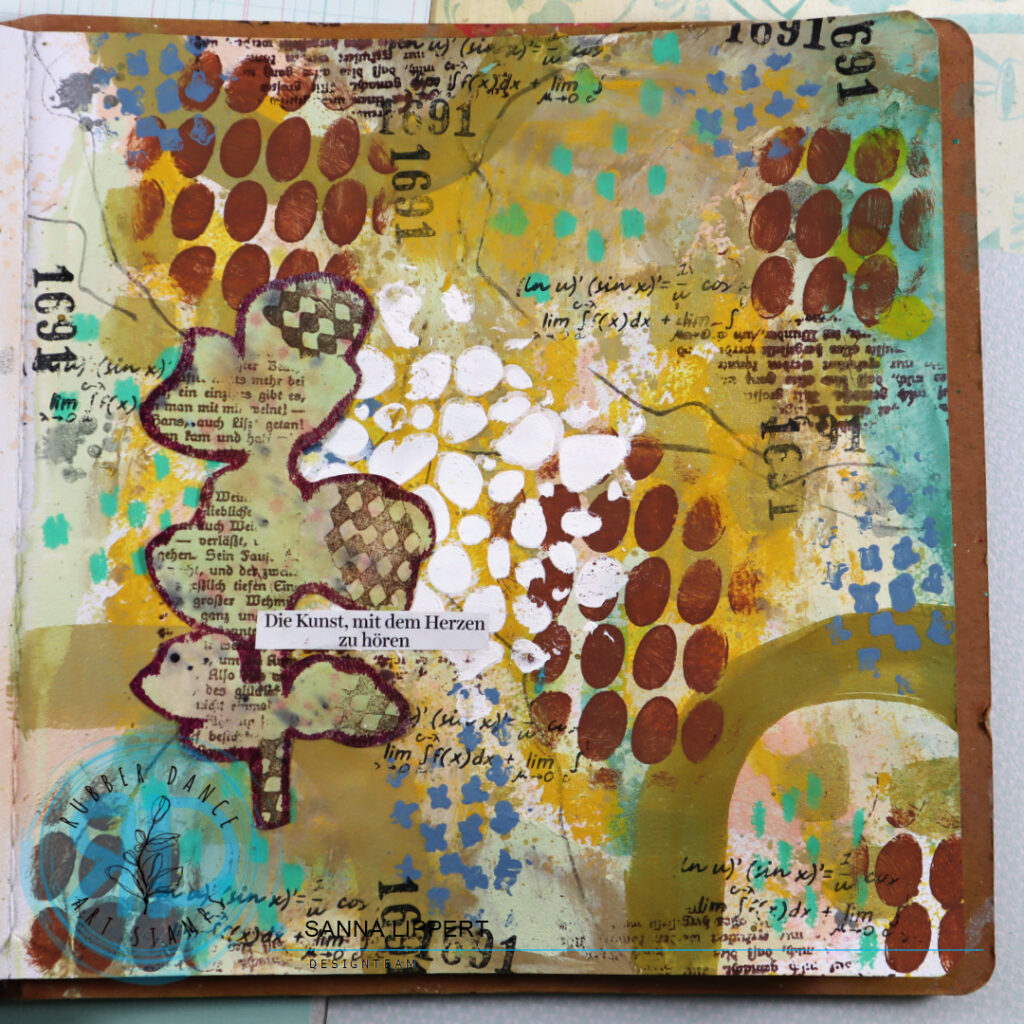
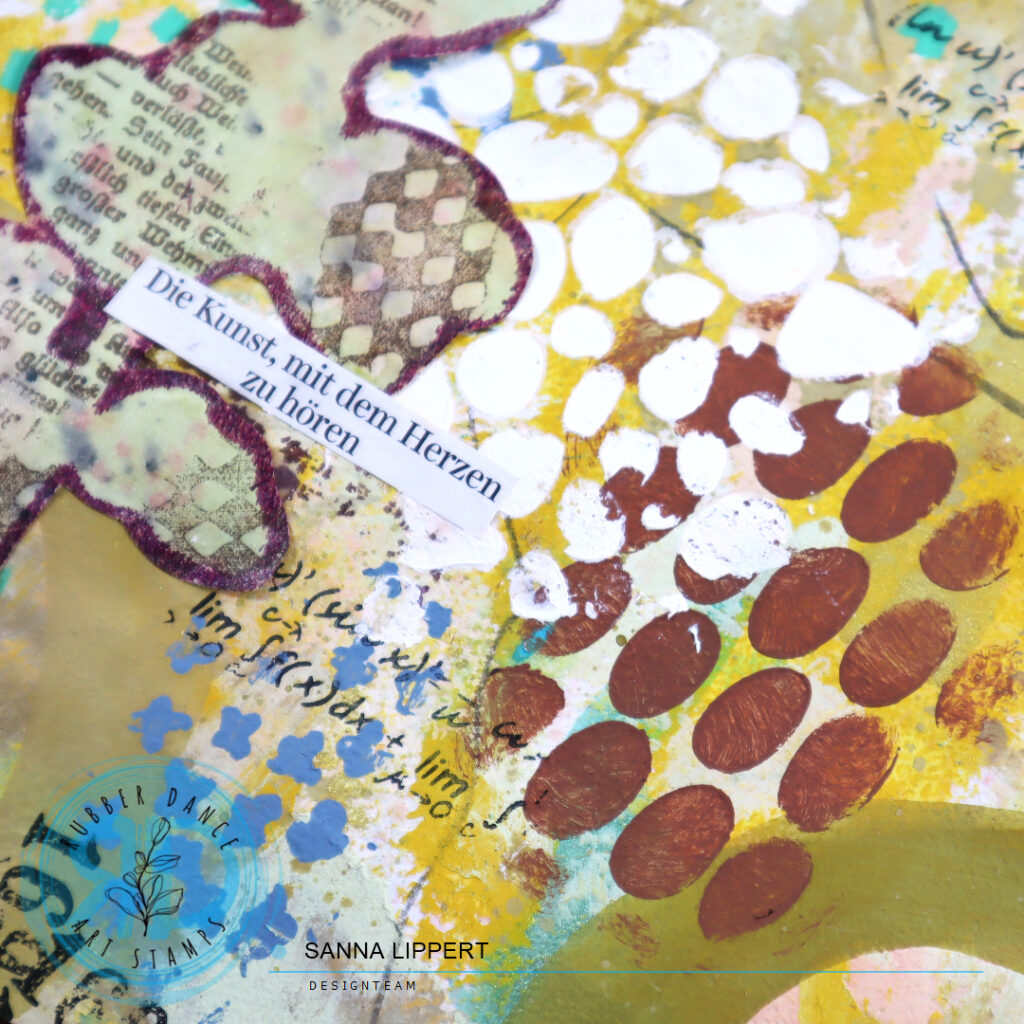
Hello everyone! I have yet another art journal page share up for you. This time in tones of the nature for a change. I really, really like this color combination!

For this page I´ve first used light green, yellow and light blue Distress Paints on the background. Added with a palette knife very randomly.

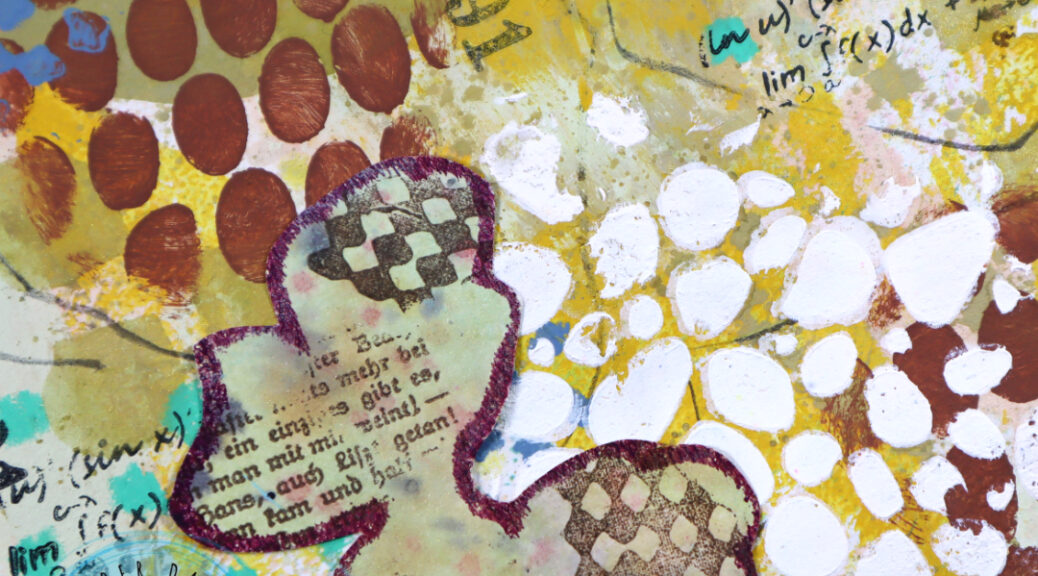
I then painted some bigger circles with brown-ocker tones and watercolor paints. On top of that layer I´ve added stenciling with brown and blue Distress Paints and the Mini Textures 1 stencil by Rubber Dance. I also added some green marks with Neocolor II crayons here and there. Next I did some stamping with brown and black stamp inks and the Mix It Up 4 and Mix It Up 7 stamp sets (Rubber Dance).

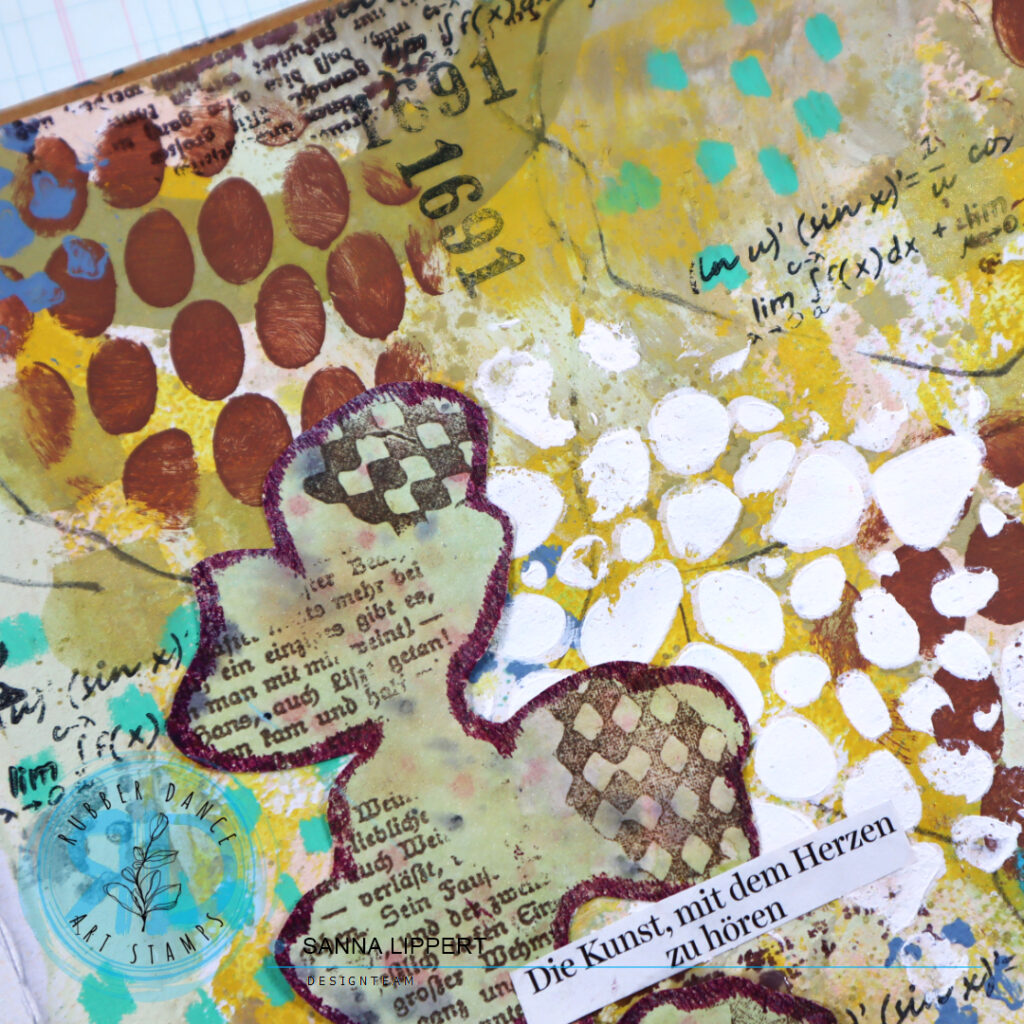
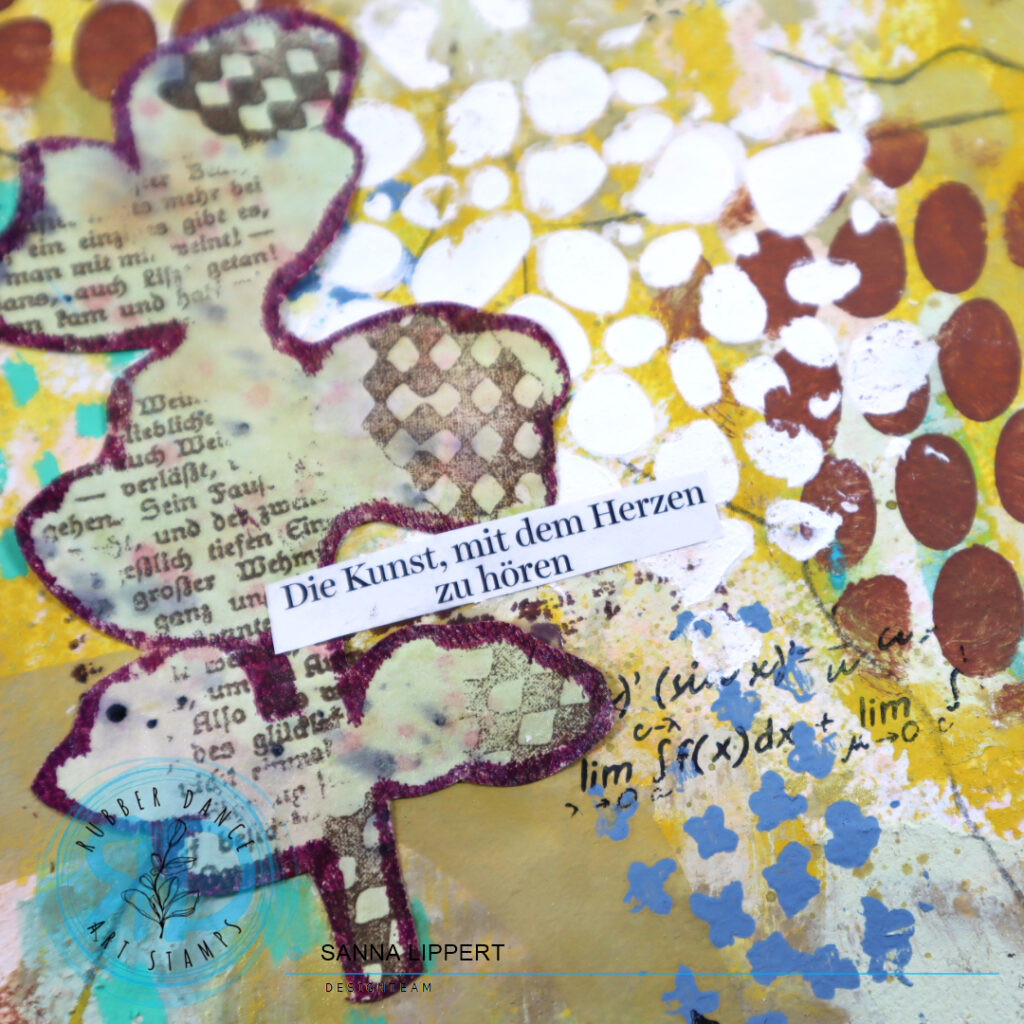
As a centerpiece I´ve used white texture paste with the Organic 4 stencil (Rubber Dance) and a collage fodder piece made with the Sketchy Leaves 5 stencil and a gel plate + stamping on top. The stamps used here are from the Mix It Up 5 stamp set. For finishing touches I´ve fussy cut a magazine title as my page title. It freely translates to: ” the art of listening with ones heart”.

All of the stamps and stencils on this page are by Rubber Dance, who happen to have a 50% sale on their products right now. Sadly, they are going to close the store. So if you are a fan of their products, make sure to put your order in quickly, until they sell out.

I´m very sad to see them close as I love their designs very much.
Happy crafting,
xx, Sanna

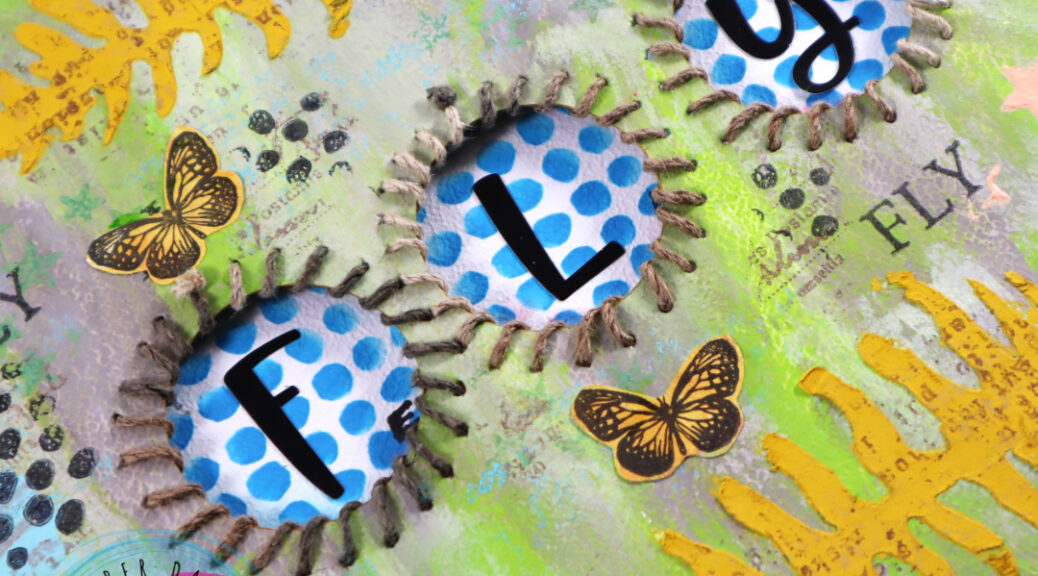
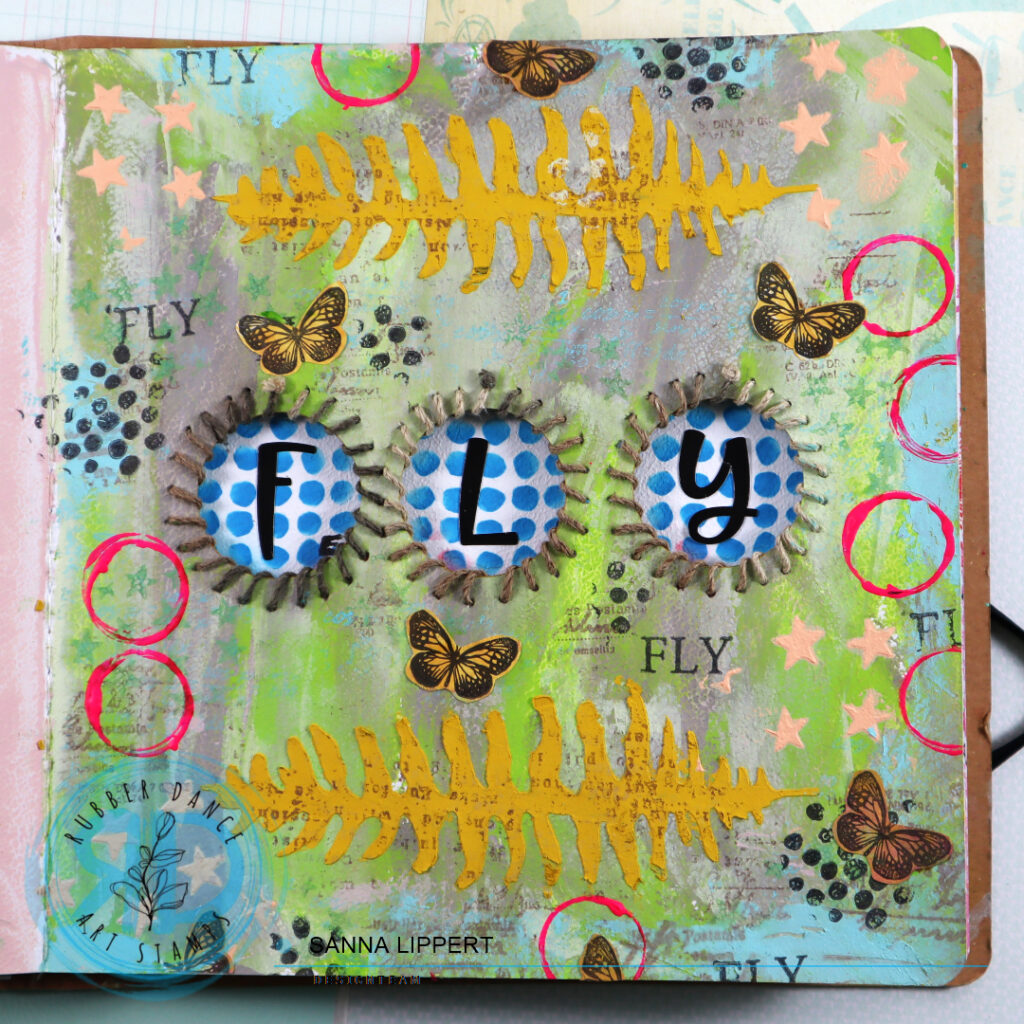
FLY – Art journal page

Hello everyone! Today I´m sharing a page from my art journal. I´ve wanted to create a page like this for a while now and finally came to it.

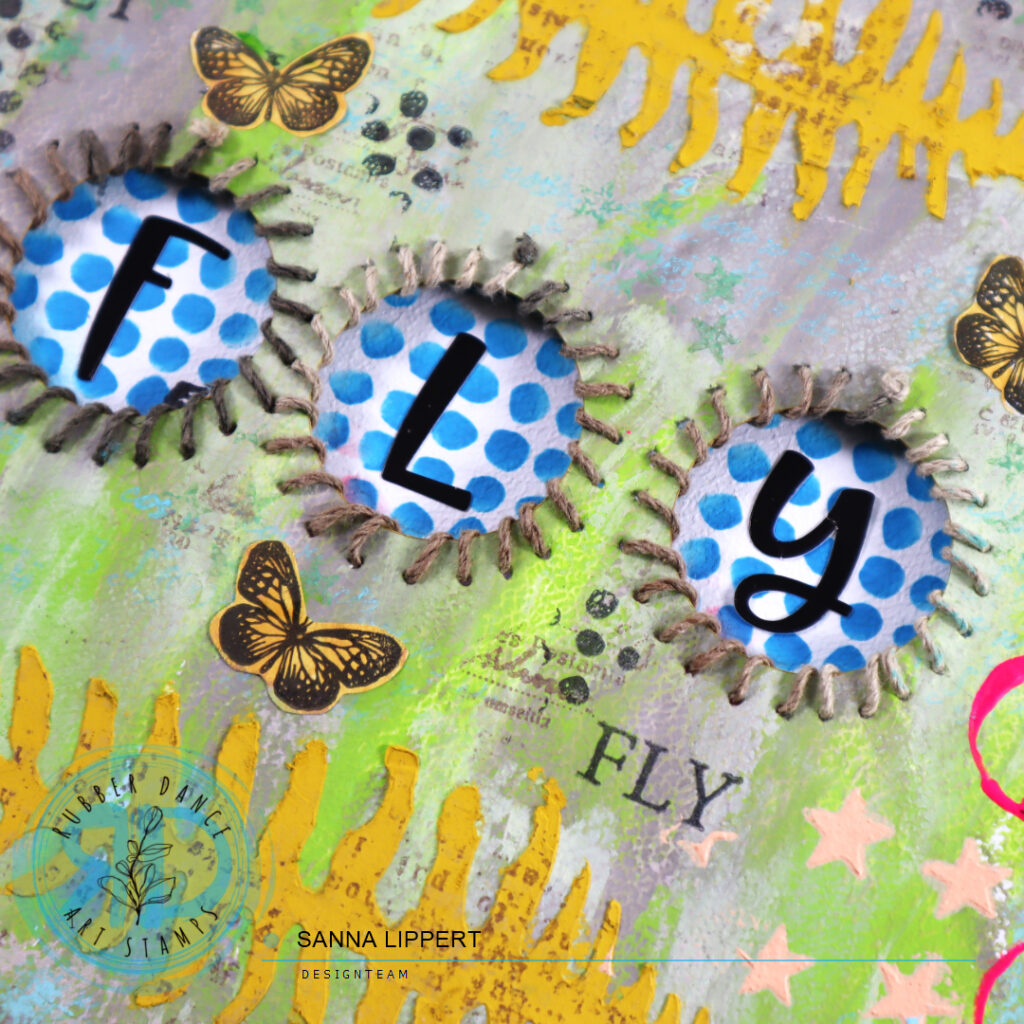
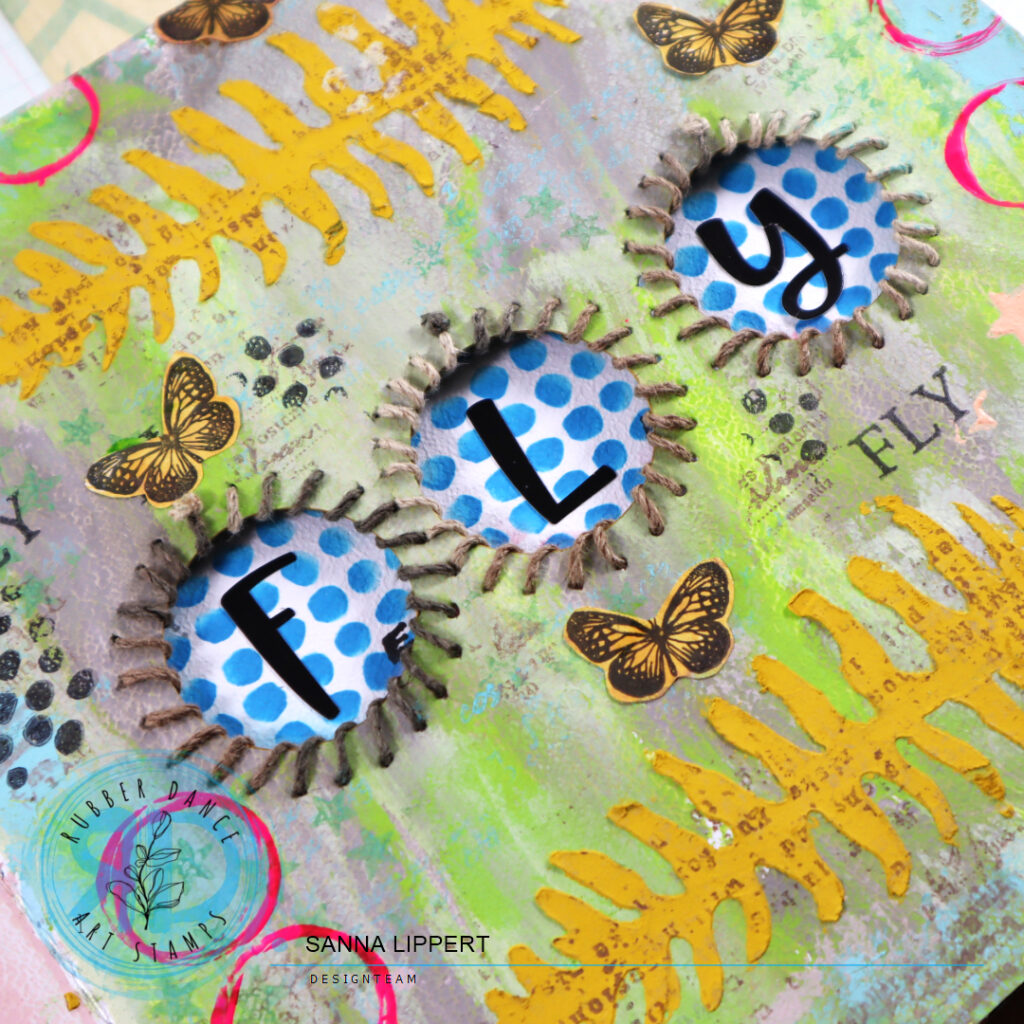
For this page I first wiped grey, green and light blue Distress Paints onto the background with a palette knife. After that I cut 3 holes with a paper cutter into the middle and hand sewed some twine around the edges of the holes.

Next I applied some yellow tinted texture paste thru a Rubber Dance stencil (Sketchy Leaves 5) onto the page. After that I took a peach toned Distress Paint and applied it thru the Stars 1 stencil onto the page. Next I stamped with brown ink and the Mix It Up 5 set text stamp onto the yellow leaf images. I also stamped words, dots and writing with light grey and black stamp ink here and there. The stamp sets used are: Mix It Up 4 and Butterflies and Moths. I also added some tiny butterflies for decor – stamped on a collage paper and then fussy cut. The stamp set used is the Butterflies and Moths set.

For finishing touches I added some pink circles, “stamped” using a paint bottle cap and Dina Wakley heavy body paint in neon pink. And the word you can see thru the holes is done by adding alpha stickers to the areas of the openings on the following page. On that background I used Distress Oxide Ink in blue and the Mini Textures 1 stencil.

All stamps and stencils are by Rubber Dance, who are having a 50% sale at their store right now. Sadly, they have decided to close the store. So if you love their product, be quick, before everything is sold out. I´m really sad to see them closing – they will be greatly missed!

xxx, Sanna

“Shine” Art Journal page process – Rubber Dance

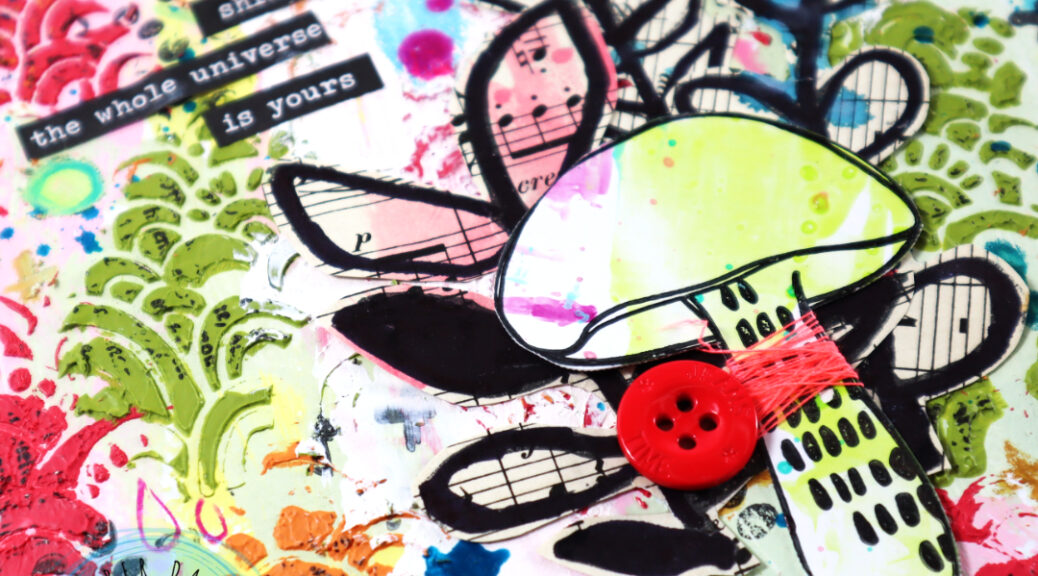
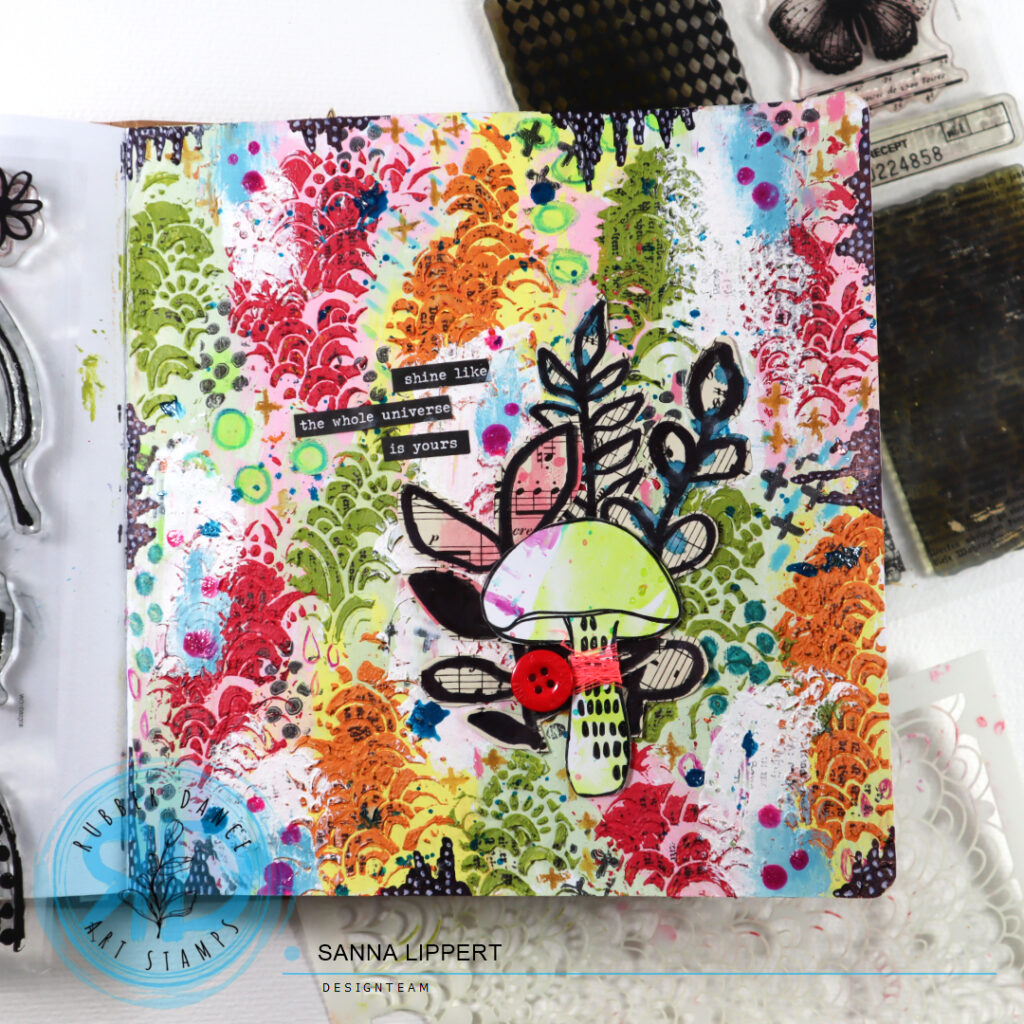
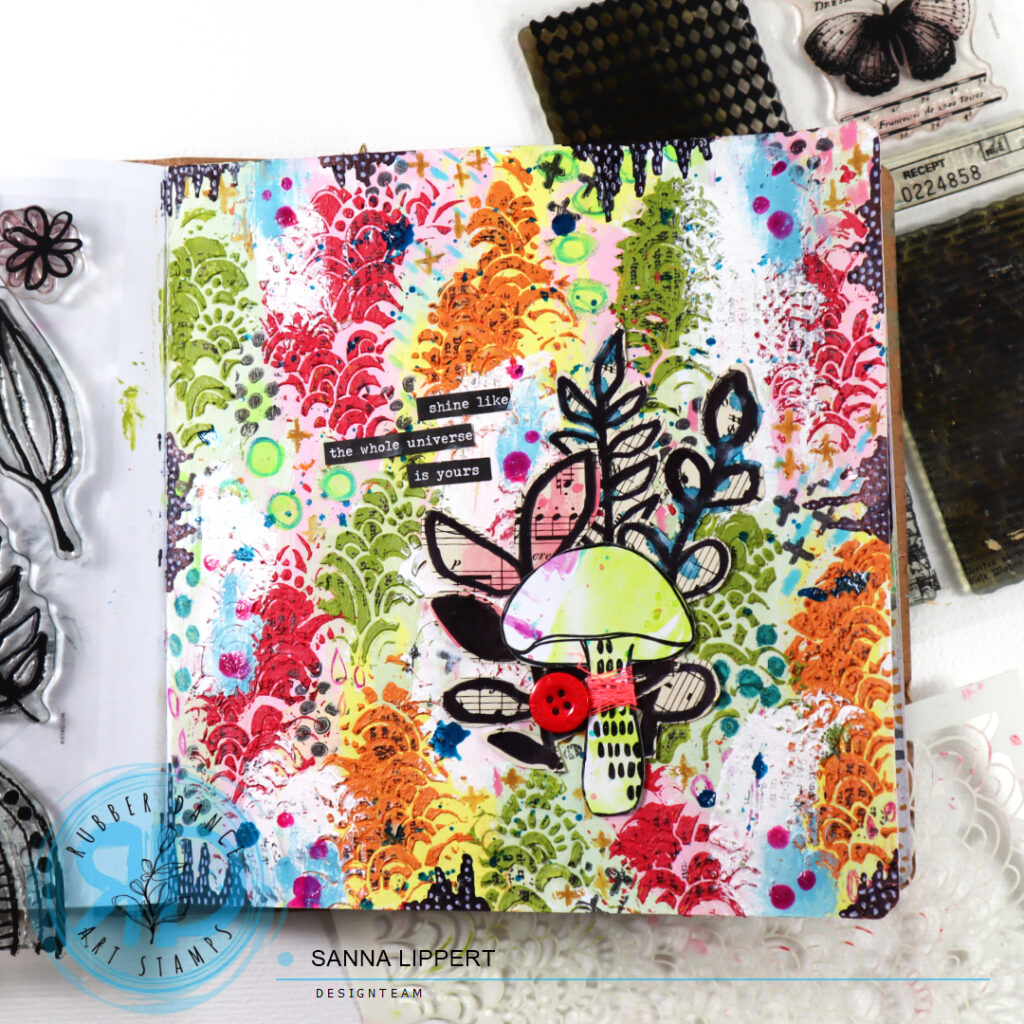
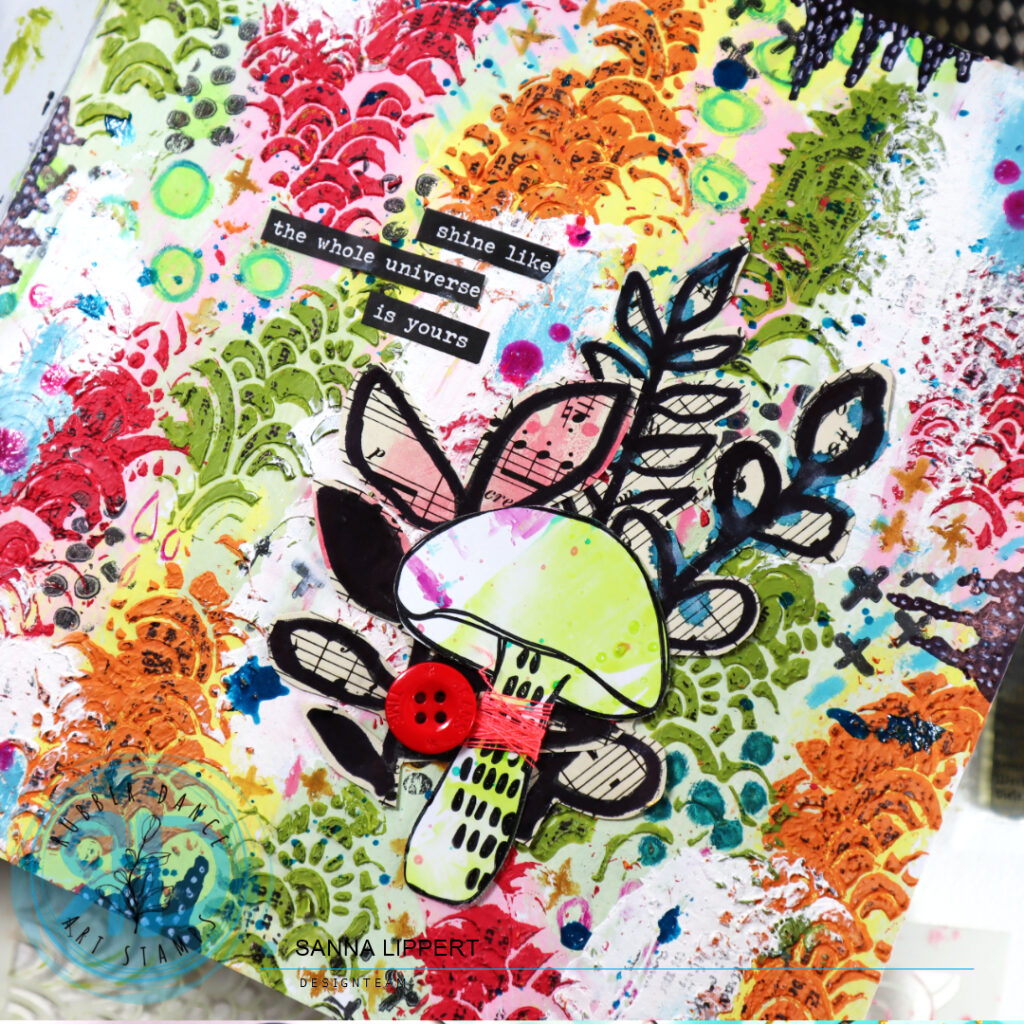
Hello, it´s Sanna here today with an art journal page process post and video. For this Art Journal page I used following products: Rainbows 2 stencil, Mix It Up 5, Textured Mushrooms 2 and Pencil Marks 8 stamp sets.

I started by adding light pastel Distress Paint tones onto the background and covering the page with them first. Next I took some texture paste and darker red, green and orange Distress Paint and mixed those together. Then I took the Rainbows 2 stencil and applied the tinted pastes onto the journal page thru the stencil.

Next I added some marks with Neocolor II´s onto the empty areas. I drew random patterns here and there. After that I took black stamp ink and made marks with Pencil Marks 8 stamp here and there. I then wiped some white Distress Paint over some areas with a palette knife.

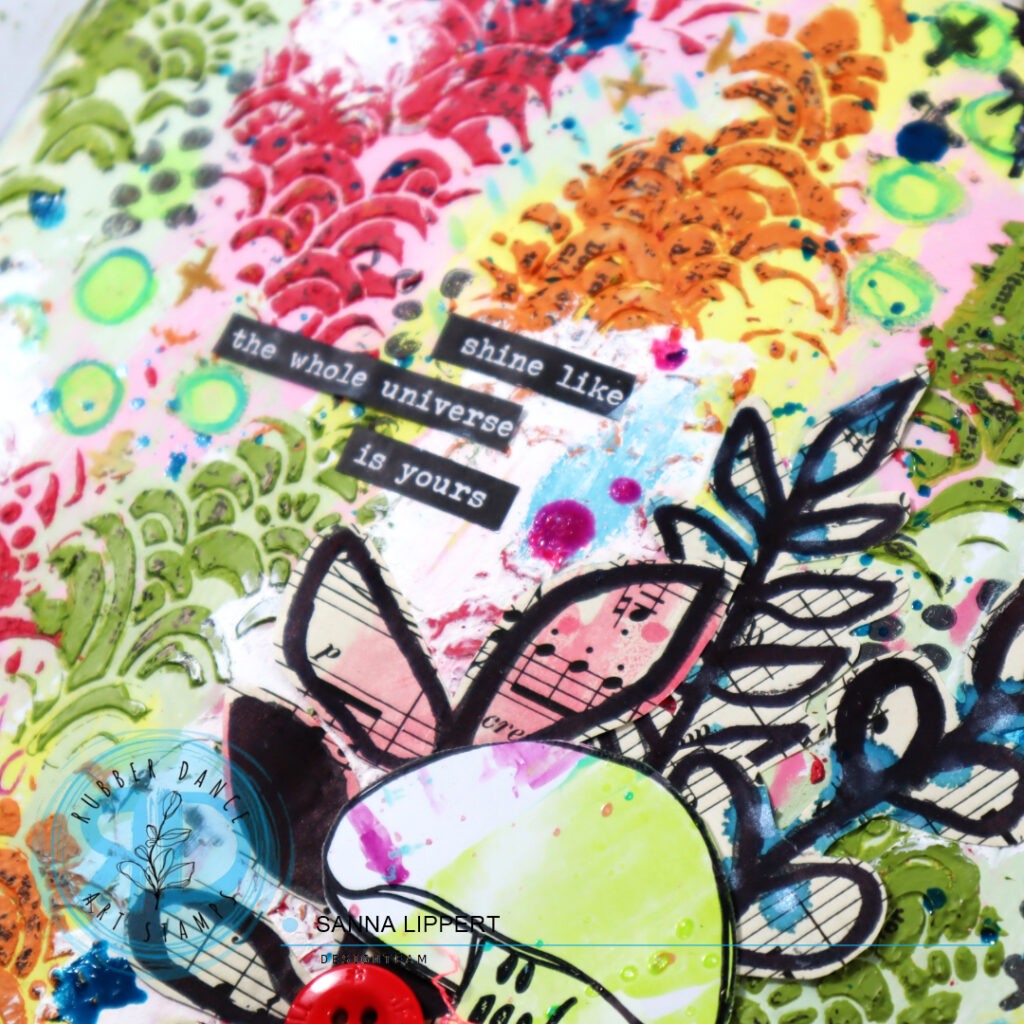
Next I took a piece of old music paper out, stamped leaves from Pencil Marks 8 stamp set onto it with black ink and fussy cut the images. After that texture pasted areas were dry, I stamped some text with black ink onto those areas using the Mix It Up 5 stamp.

And of course I again had to add some ink splatters (I love using those!). I used Gloss Sprays for this purpose. Then I arranged the stamped, and fussy cut leaves into a cluster and took a previously made mushroom image to accompany them. I added some neon yarn around the mushroom and adhered a bright red button next to it.

Now that the focal point was done, I colored some areas around the edges with a black marker to add more contrast to the page. After that I did some mark making with a white gel pen onto them for additonal interest.

For finishing touches I added a sticker sentiment as a title. Some more Neocolor here and there, as well as pink Gloss Spray splatters, and the page was done.

Here is the full process video for you to watch:

I hope you like the ideas incorporated into this page. Have fun creating!
xx, Sanna
AJ page with layered stenciling and Distress Oxide Inks – Rubber Dance

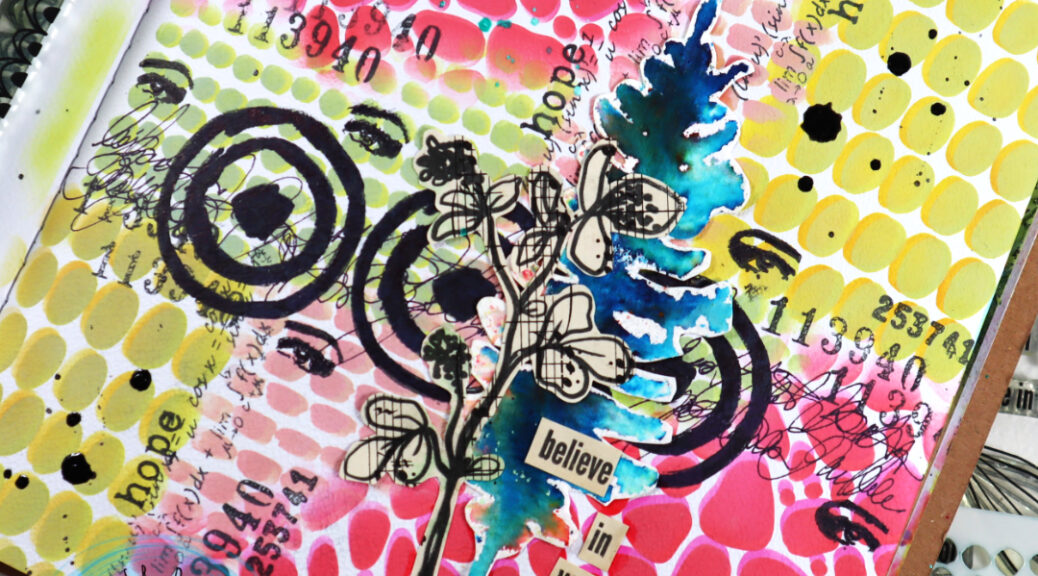
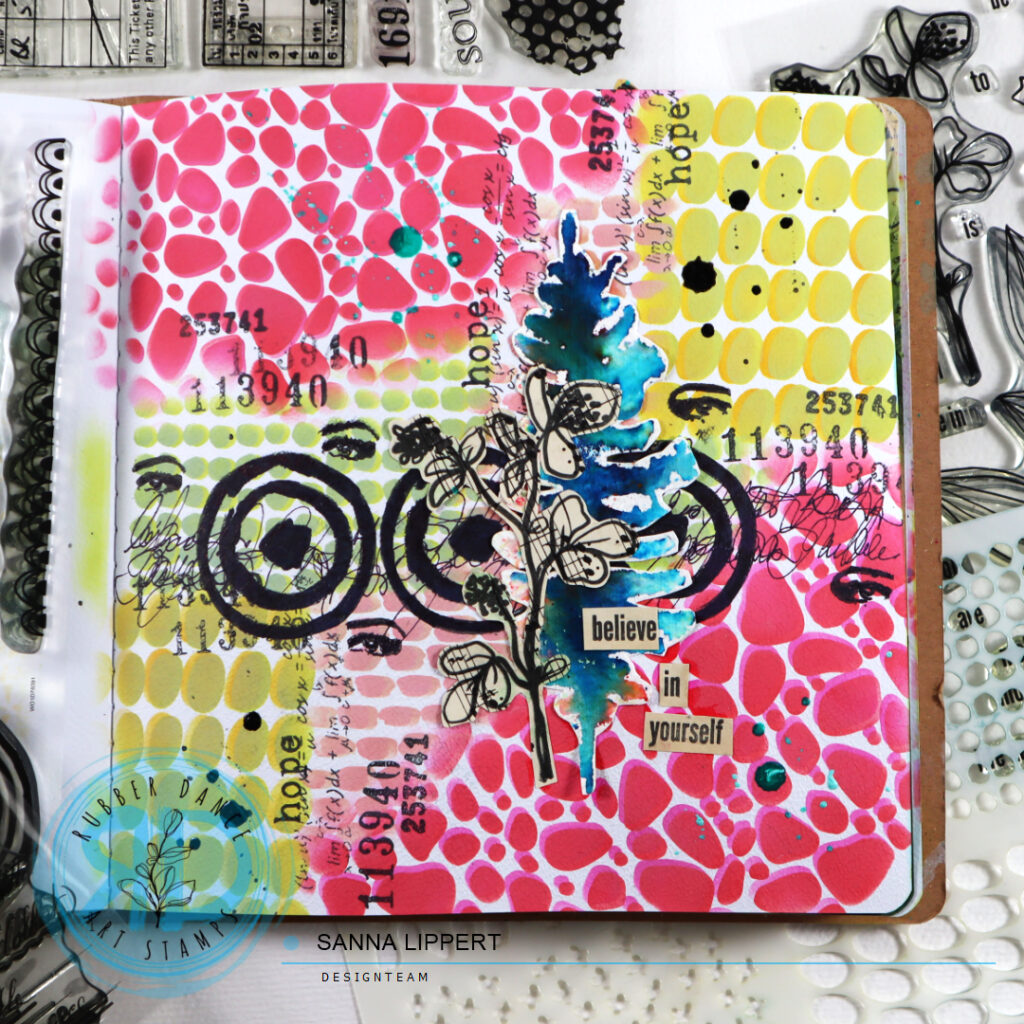
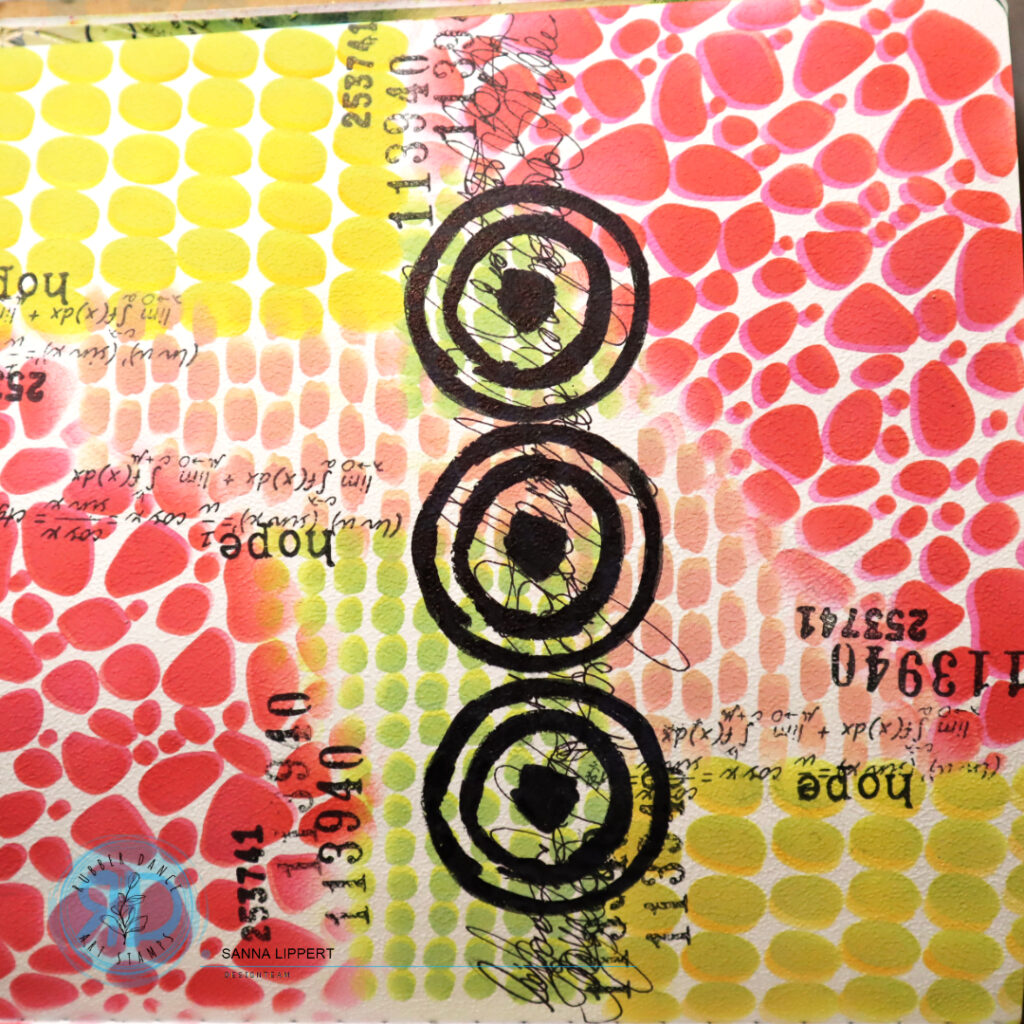
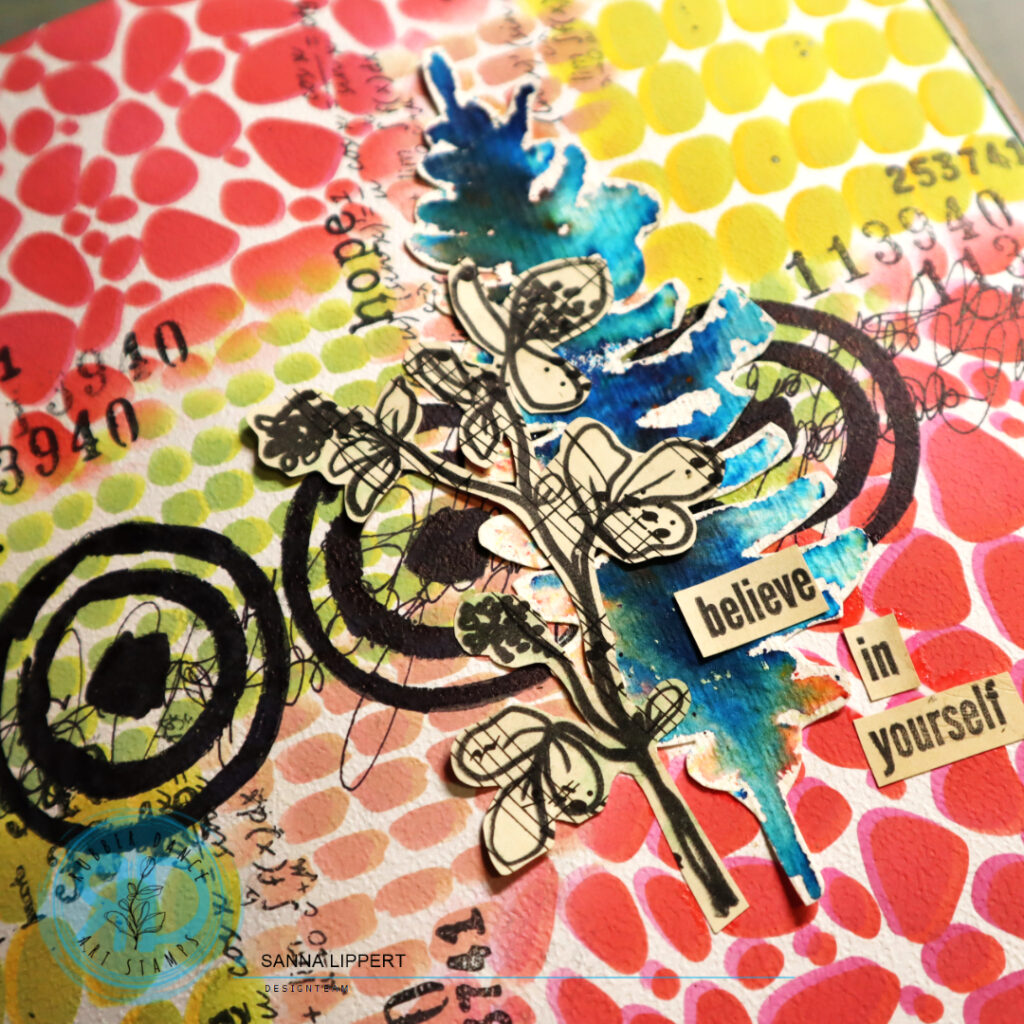
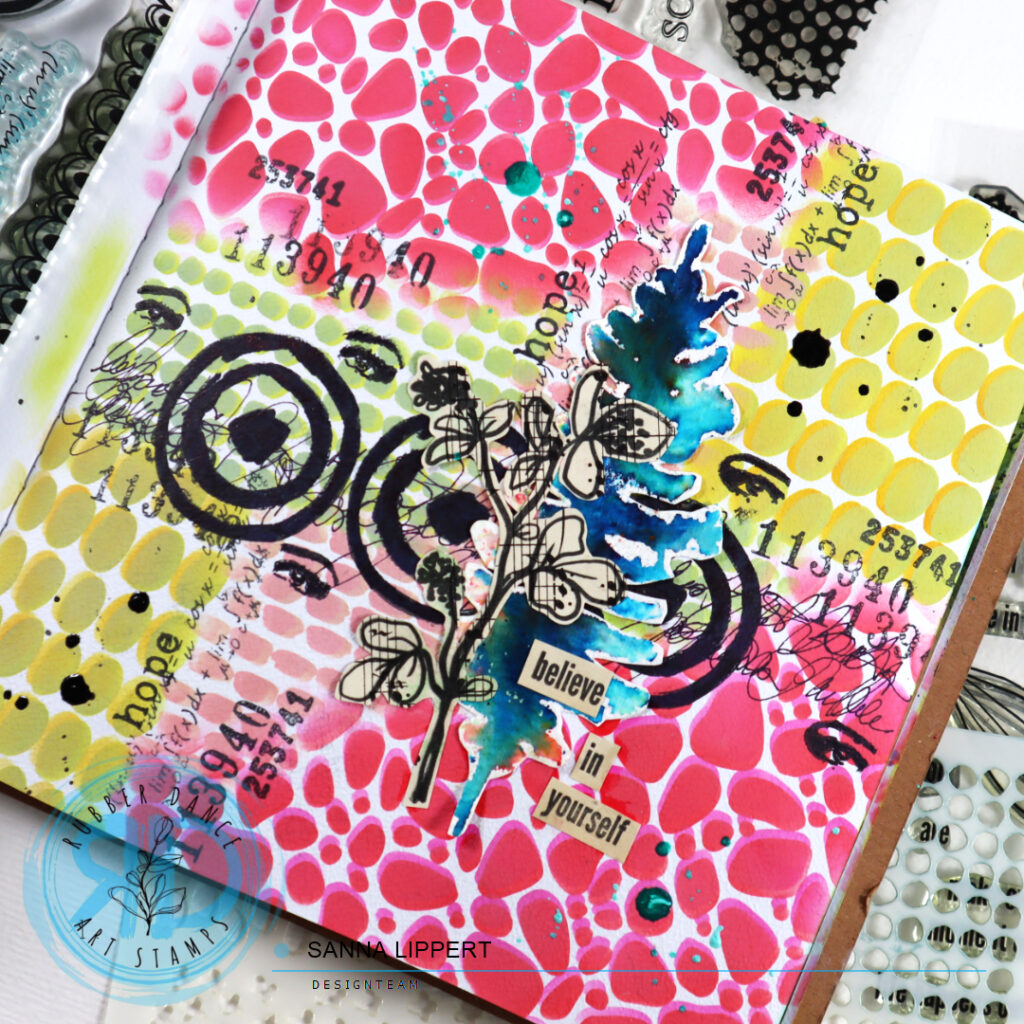
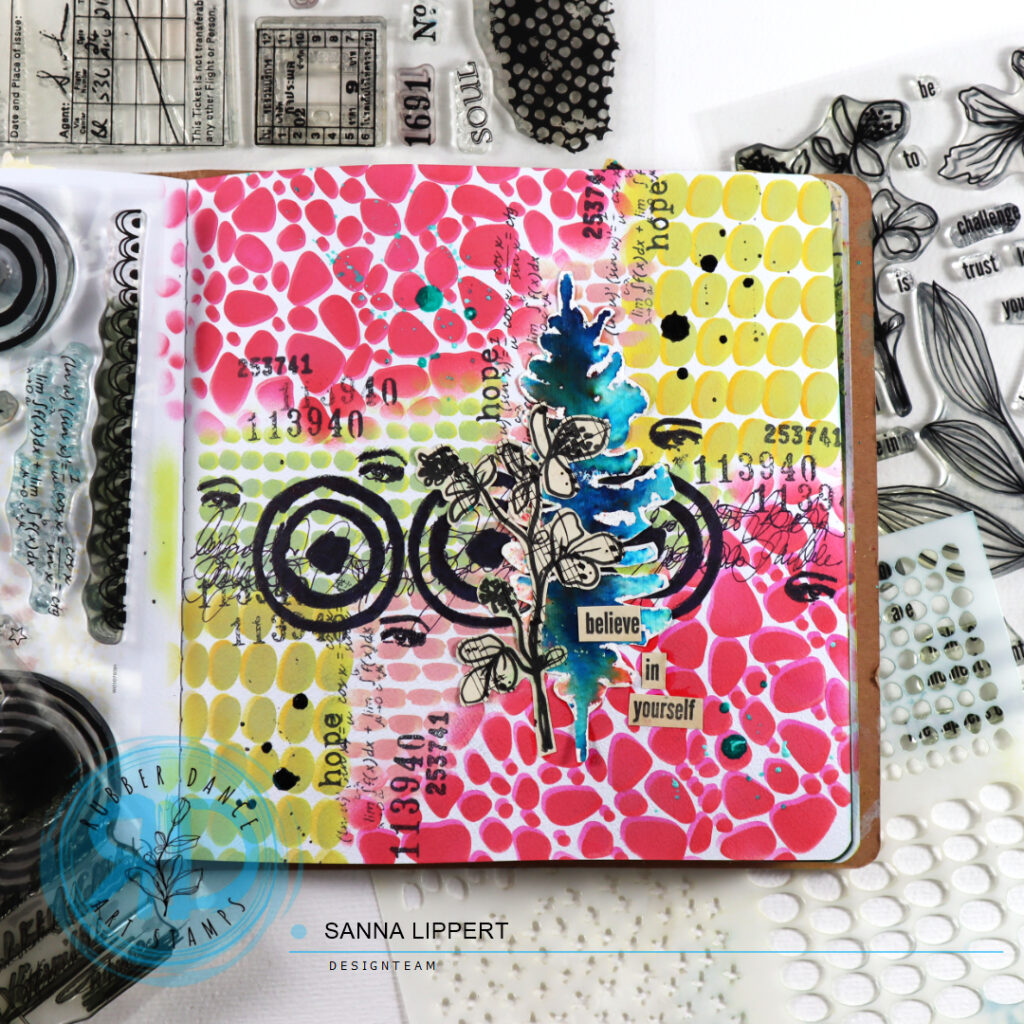
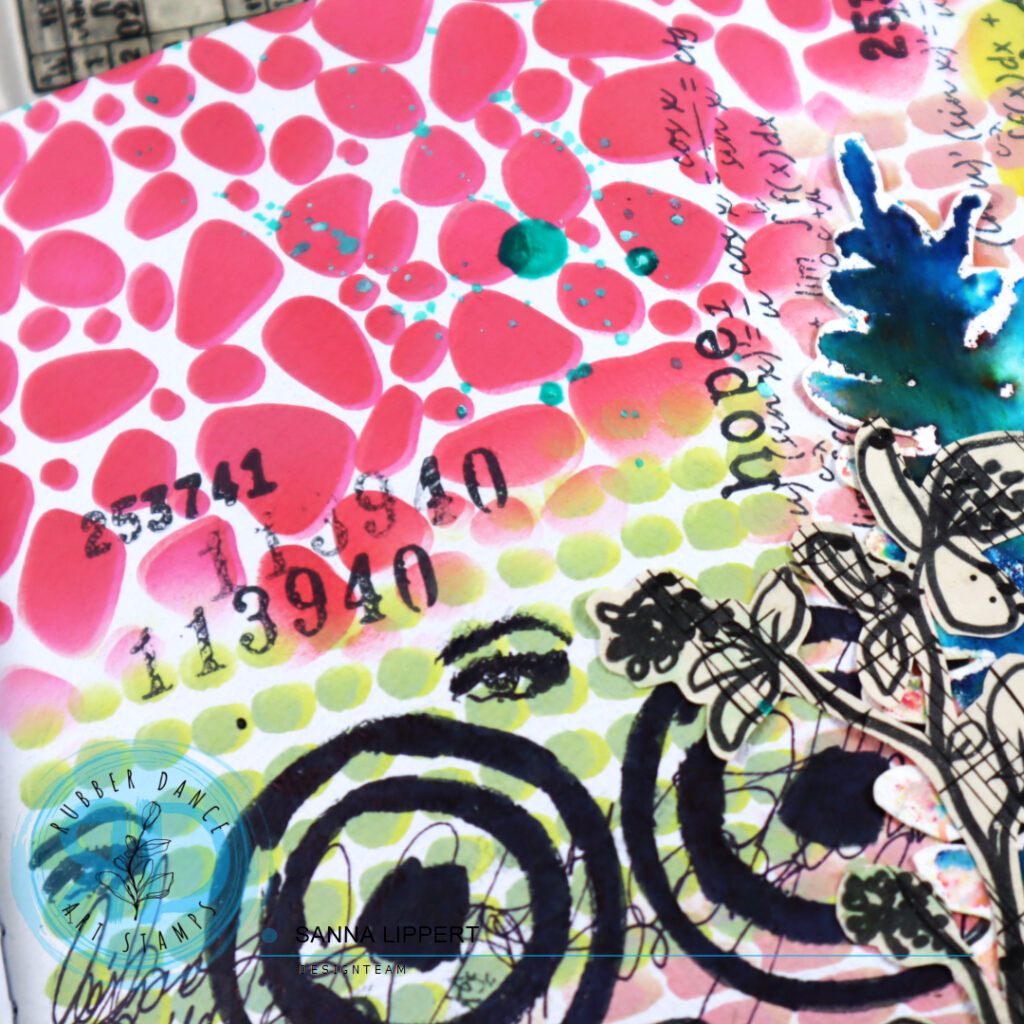
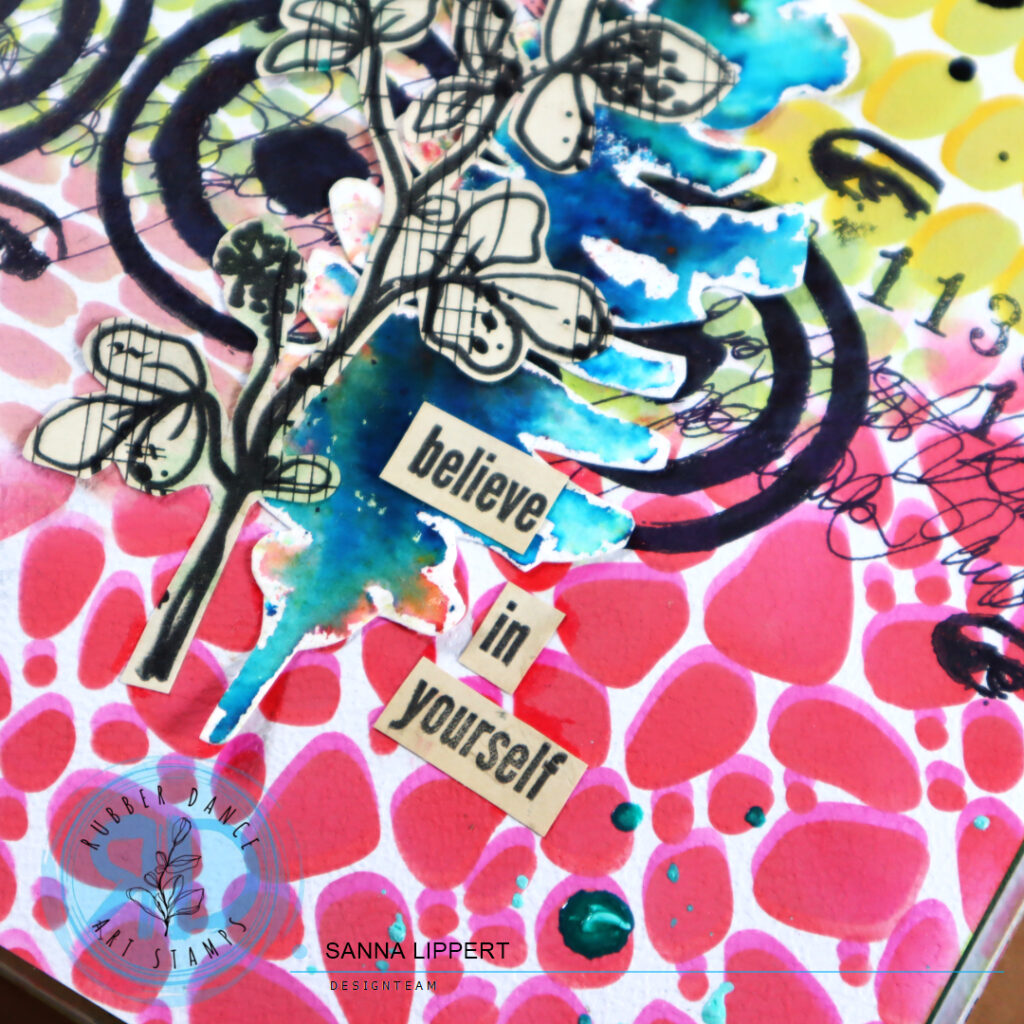
Hello, it´s Sanna here today with a layer stenciled art journal page share. For this project I used the following products: Organic 4 and Mini Textures 1 stencils as well as the Sketchy Leaves 5 stencil in the focal point cluster. The stamps used as a further layer and focal point feature following sets: Mix It Up 7, Mix It Up 4, Collage Leaves 3 and Mix It Up 6.

I started with the following steps:

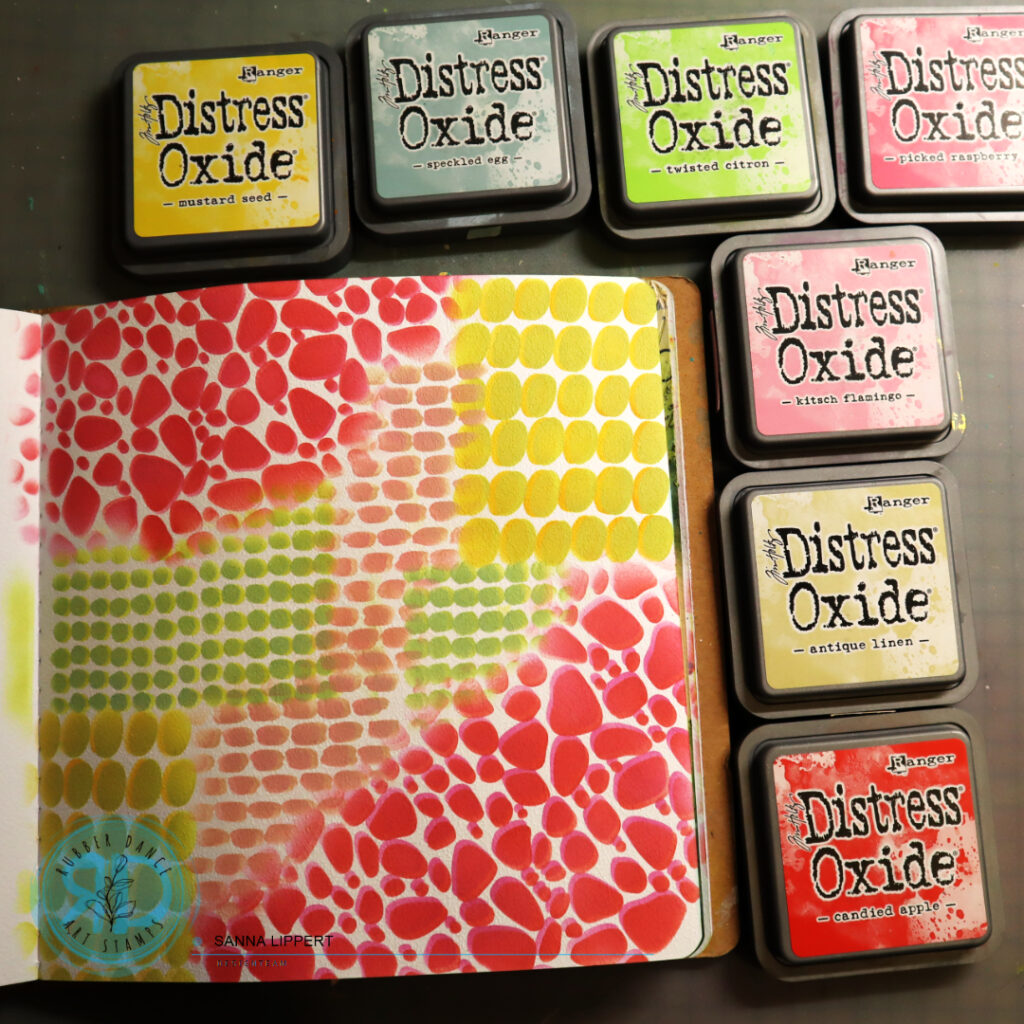
I first inked a lighter toned layer thru the above mentioned stencil onto the page, then slightly moved the stencil to create a 3D-effect and inked over the area with a similar tone, but slithly darker. That creates this really fun effect.

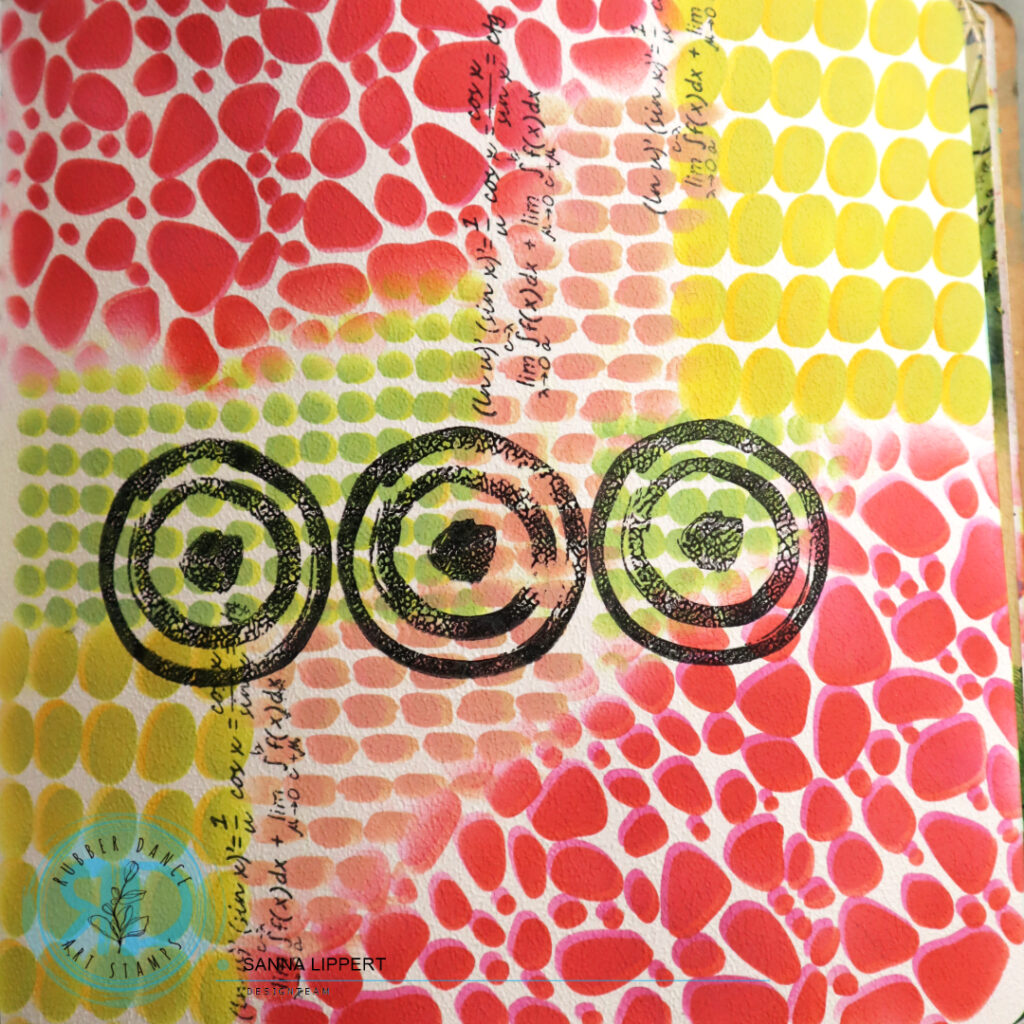
Next I took a black stamp ink and stamped some details with the Mix It Up 4 stamp set.

Followed with further stamping with the Mix It Up 6 and Mix It Up 7 stamp sets.

I also added some asemic writing to the background before creating a cluster of elements as a focal point. The blue collage fodder element is a previous make with Sketchy Leaves 5 and Brushos (see details here). The leafy flower is stamped on a music note paper with black ink (using Collage Leaves 3) and then fussy cut. Finally the sentiment was stamped on an old book page with the Collage Leaves 3 stamp set anf fussy cut to fit the page composition.

I also added some “turquoise” and “medieval” Gloss Spray droplets as detail and also added some stamped eyes in the process. They are from the Mix It Up 7 stamp set.

I love layering stencils and adding fun details to art journal pages with them. Then mixing some stamping with various stamp sets for contrast make creating art journal pages so much fun! I hope I could inspire you all abit with this page.

Have fun creating with Rubber Dance products!
xxx, Sanna

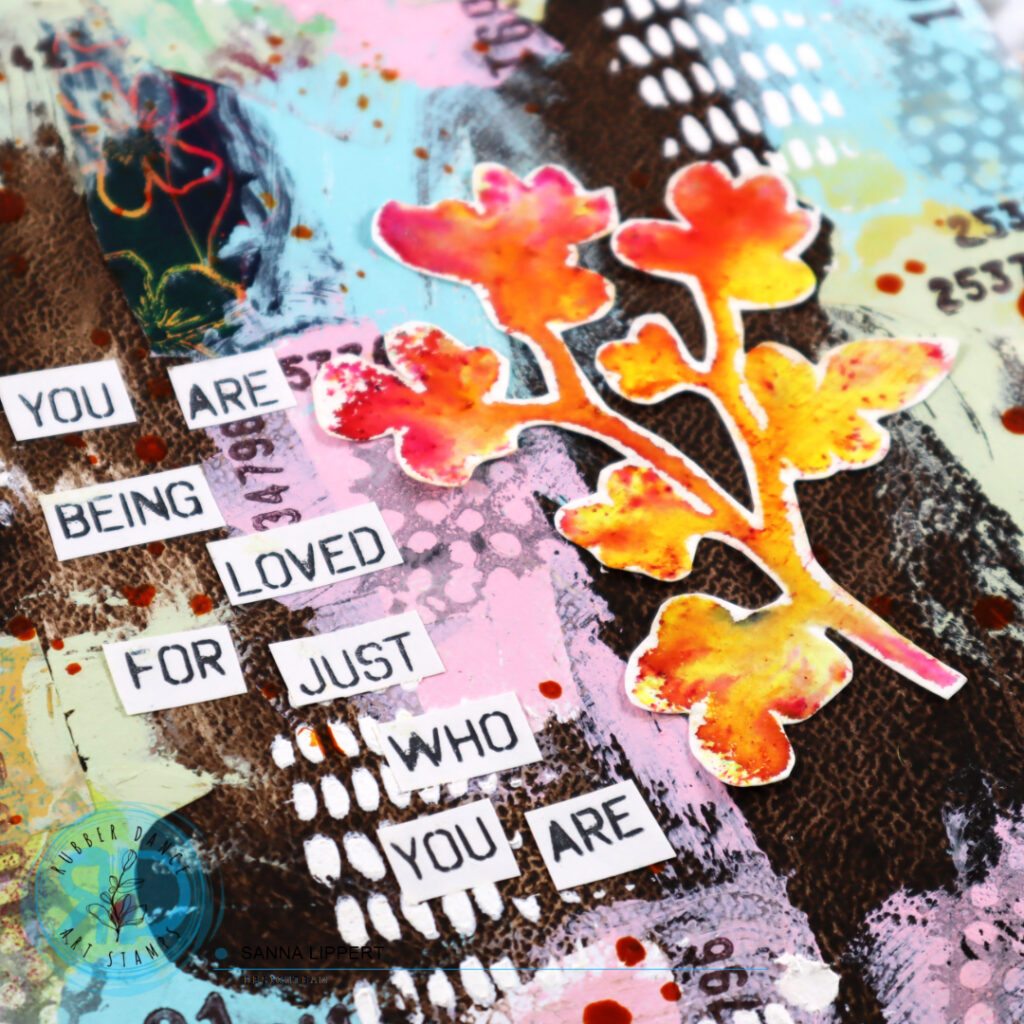
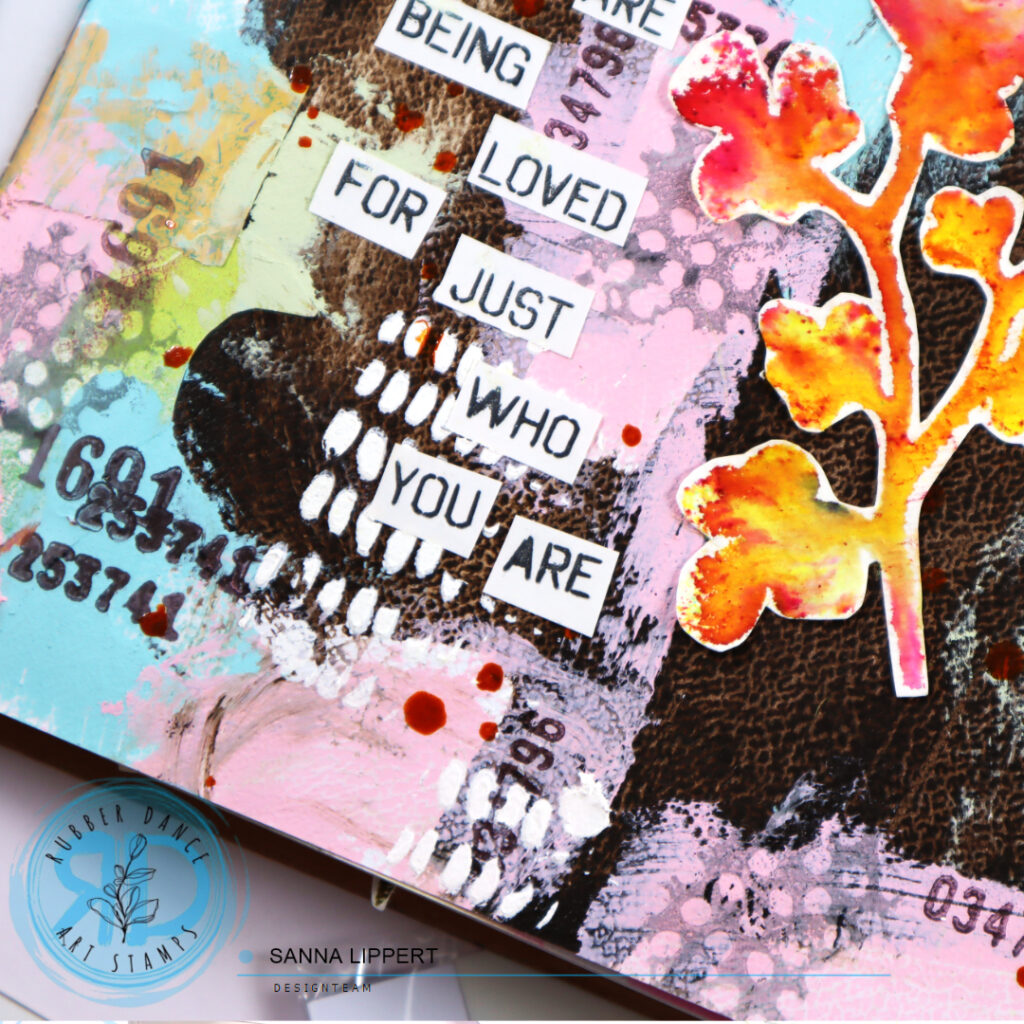
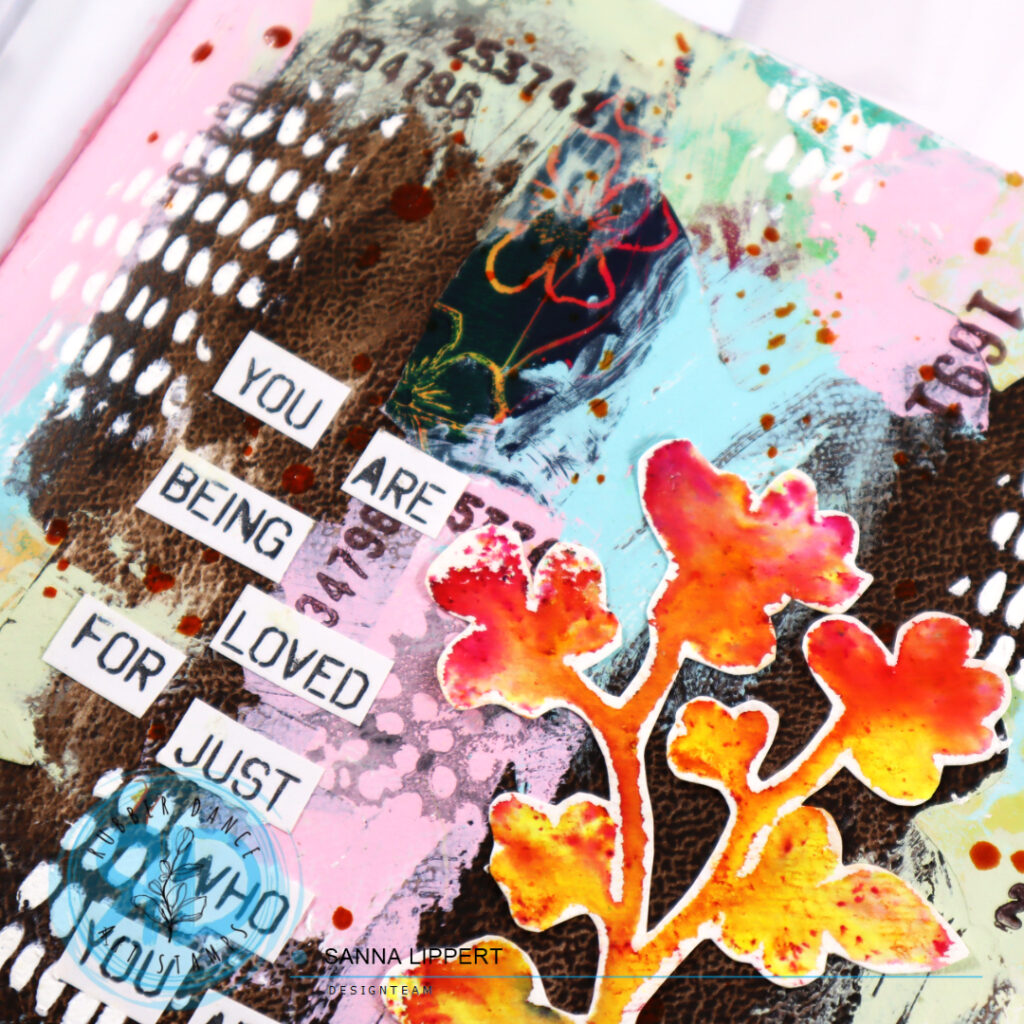
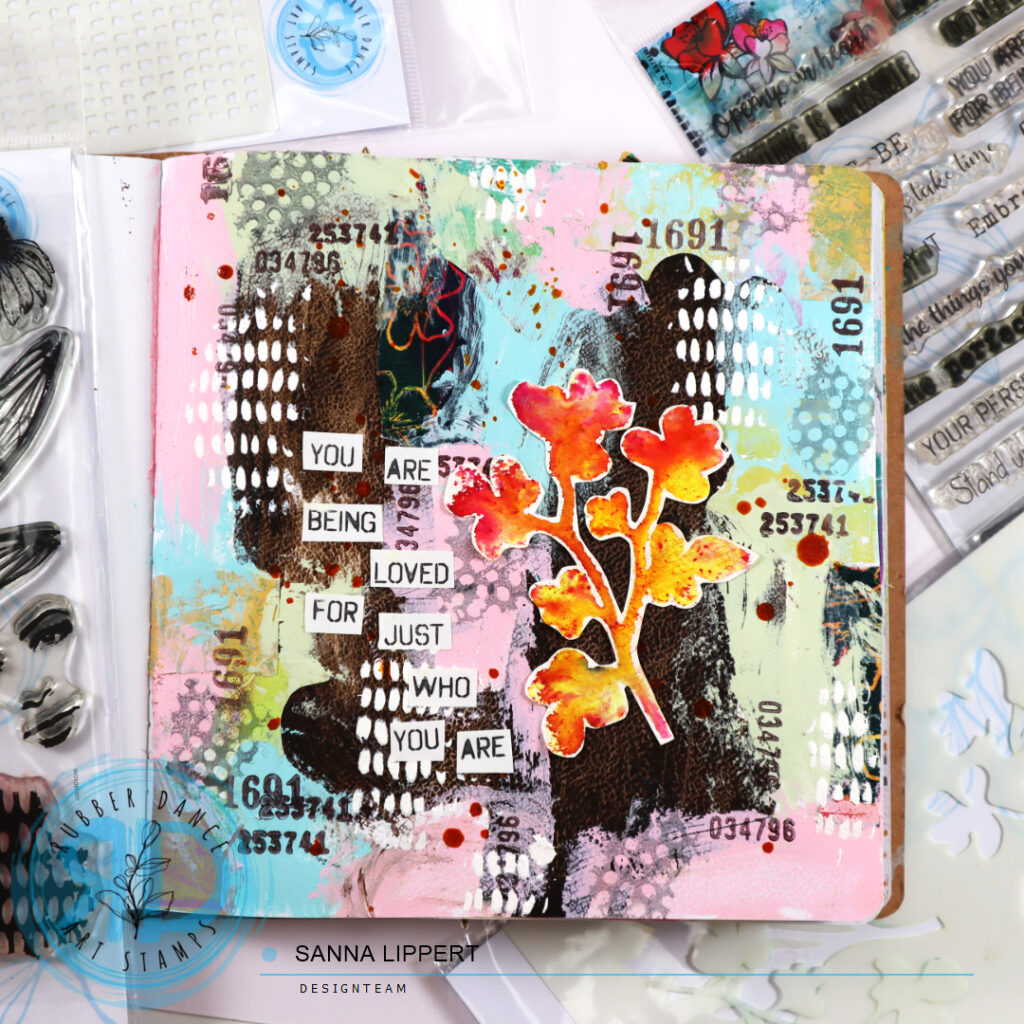
“You Are” Art Journal page – Rubber Dance

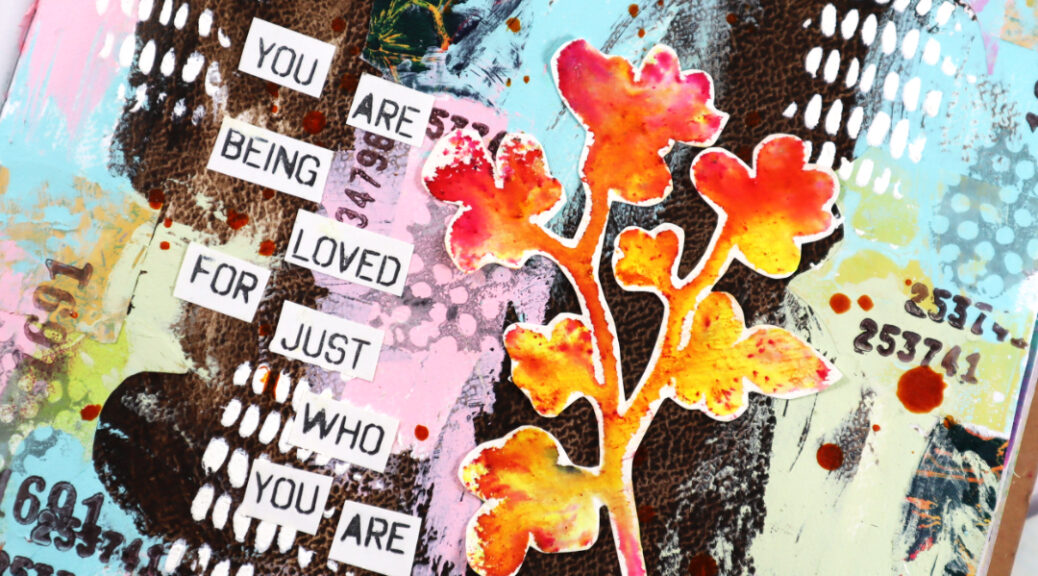
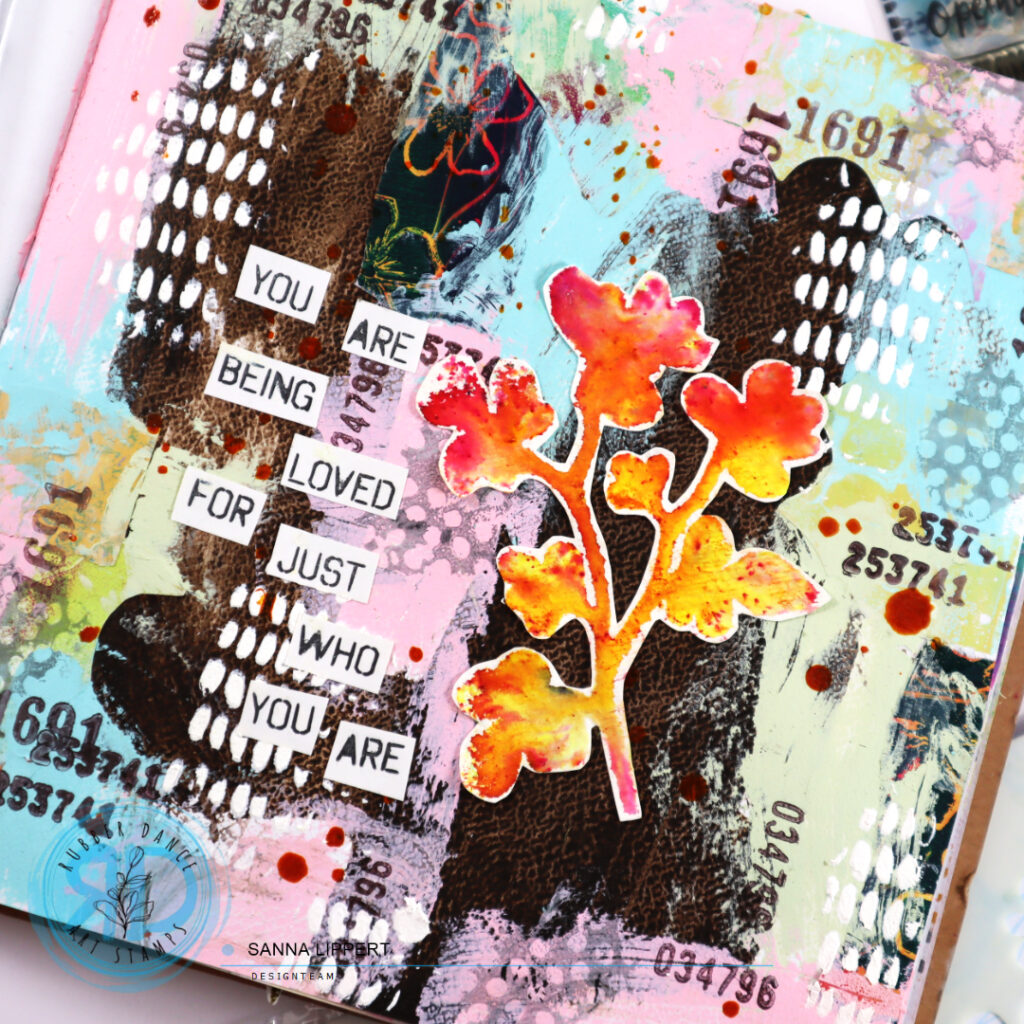
Hello, it´s Sanna here today with another Art Journal page share. For this project I used the Mix It Up 7 and the Mixed Sentiments 1 stamp sets with the Mini Marks 1 and the Sketchy Leaves 7 stencils on this journal page.

I started by applying the ground espresso Distress Paint randomly with a palette knife onto the page. Next I took some leftover collage paper bits and adhered them around the edges to the page. After that I applied layers of Distress Paint in antique linen, spun sugar and tumbled glass to the background. Some parts of the residue collage papers got cover with paint, some didn´t. After that I added some stamping using the Mix It Up 7 stamp set and grey and brown stamp inks and the number stamps.

As my next layer I added some stamped “punchinella” pattern with a light grey stamp ink and the Mix It Up 7 stamp set here and there. As my next step I used the Mini Marks 1 stencil and Distress Paint picket fence to add some stenciling to the page. My paint is a bit older and thicker already, so it works great as texture paste here.

As my focal point I used a previosly made Brusho leaf collage fodder piece (see video here) and for the sentiment I stamped and fussy cut a sentiment from the Mixed Sentiments 1 stamp set. For final touches and additional interest I also had to add a few droplets of Gloss Spray in cheddar.

Here is the process video for you to watch:

Hope I could inspire you to play with Rubber Dance products in your own journal!

Happy crafting,
xx, Sanna
Fly free – Art Journal page with Rubber Dance

Hello, I am here today with a page from my art journal. For this page I used the Organic 4, Sketchy Leaves 6 and Wheels stencils and plenty of stamps: Carved Collection 6, Mix It Up 6, Butterflies and Moths, Doodle Flowers 2 and from A to Z.

I started by placing the leaves and using them as masks with salvaged patina Distress Oxide Ink. I placed them onto the page and brushed the ink over them to the page repeatedly. After that I continued the background pattern with the Wheels stencil and the same ink tone, blending them into each other. Next I took the Organic 4 stencil and continued adding the same ink thru the stencil onto the page.

After finishing the inking, I took the iced spruce Distress Oxide Ink and stamped with Mix It Up 6 stamp set hand writing stamp over the white leaf areas very freely. Then I outlined the leaves with a black pen. This made them pop out of the background and I love the look it creates to the page. After that I used the number stamp from the same stamp set with aged mahogany Distress Oxide Ink to randomly stamp numbers next to the leaf patterns.

After that I took the peacock feathers Distress Oxide Ink tone and stamped a leaf pattern with the Carved Collection 6 stamp onto the page from top towards the bottom. I added golden pigment details with Gansai Tambi watercolors to them. Then I took some previously made leaf and collage fodder (see videos here and here) and added those on top of the stamped leaves overlappingly.

I also decorated the page with some yellow toned butterflies. These were also previously made collage fodder (with Butterflies and Moths stamp set) from my gelli printing sessions. For the text I used black ink and the word free from the Mix It Up 6 stamp set. The word fly is stamped with the A to Z set.

For finishing touches I also added some light written text stamping in the salvaged patina tone next to the pink flowers. It´s just a hue, but it adds some detail to the otherwise blank area. I also added some golden droplets and Gloss Spray in the tone blushing here and there.

For more details, here is the start-to-finish video for you to watch:

I really enjoy playing with stencils, creating collage fodder and then combining all these bits and pieces together in a project.

Happy crafting,
xx, Sanna
Layered art journal page – Rubber Dance

Hello, today I have an art journal page share for you. For this page I used the Doodle Flowers 2, Butterflies and Moths, Mix It Up 5, Mix It Up 7, Carved Collection 6, Stitching Borders and Mix It Up 4 stamp sets as well as Dotted 1 and Mini Textures 1 stencils.

I started by wiping residue ink from the Dotted 1 stencil onto the background and pressing another layer of residue brown ink from the Mini Textures 1 stencil around the first pattern. Next I grabbed some Neocolor II crayons and applied various yellow and light pink tones to the page. After that I grabbed a selection of pink, green, brown and turquoise Distress Oxide Inks and used the various stamps to add details and layers to the background.
I also painted some circles onto the page and filled those with golden pigment dots. Next I added contrast with a black stamp ink by adding stamped stars and numbers as well as stitching. I then clustered a few collage fodder pieces together (leaves and butterfly) and adhered those on place. I also had a few “diy vintage labels” left over, so I adhered a few onto the page. For finishing touches I added two sentiment stickers and created black areas with an acrylic marker and detailed those with a white gel pen.

This was a really fun one to make! Have you tried this idea of freely adding plenty of layers and seeing where the page takes you?
xxx, Sanna