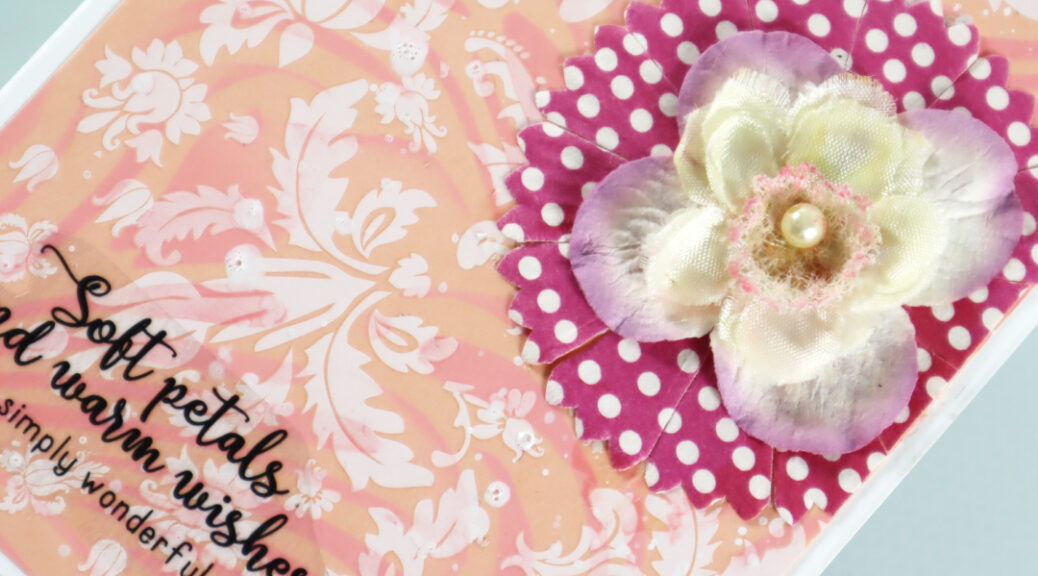
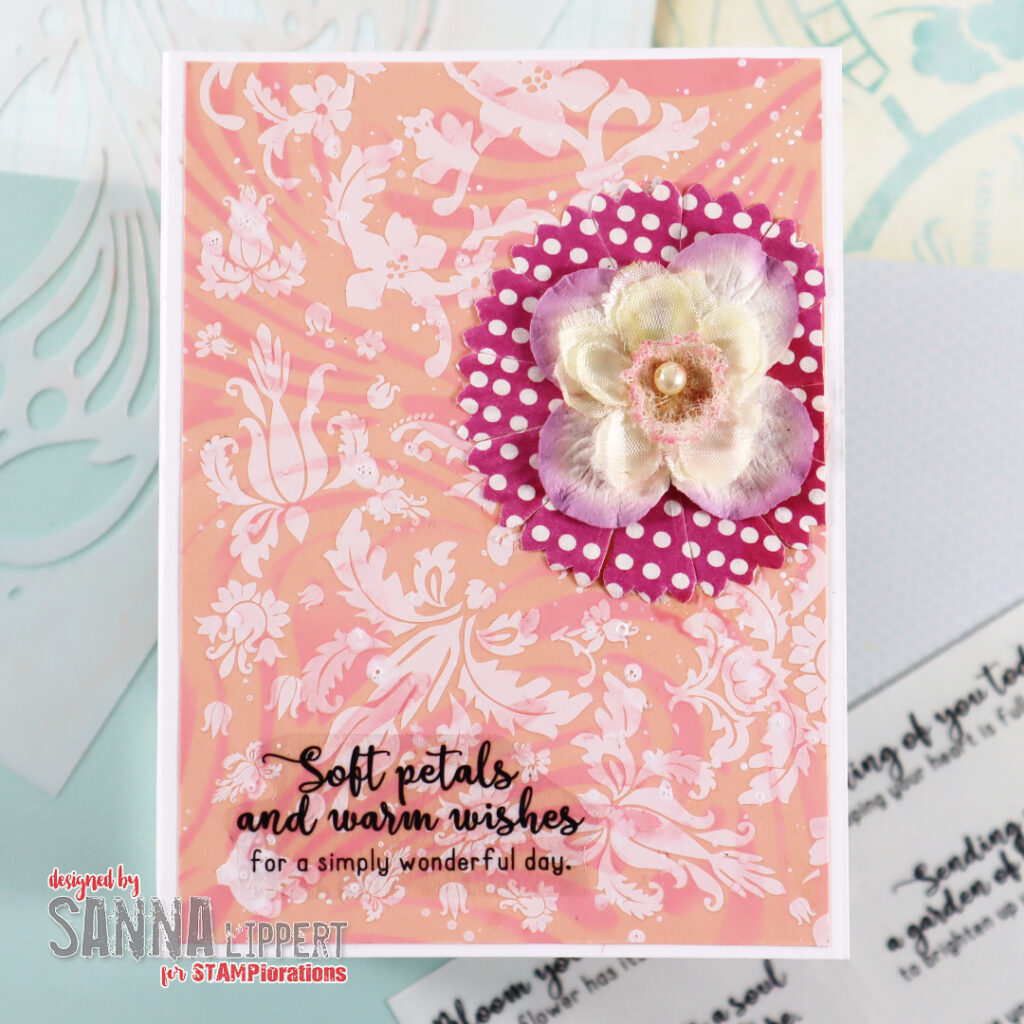
Hello everyone! I´ve been playing with STAMPlorations products again. This time I´ve used some very old rub-ons and flowers from my stash and combines those with new STAMPlorations products.
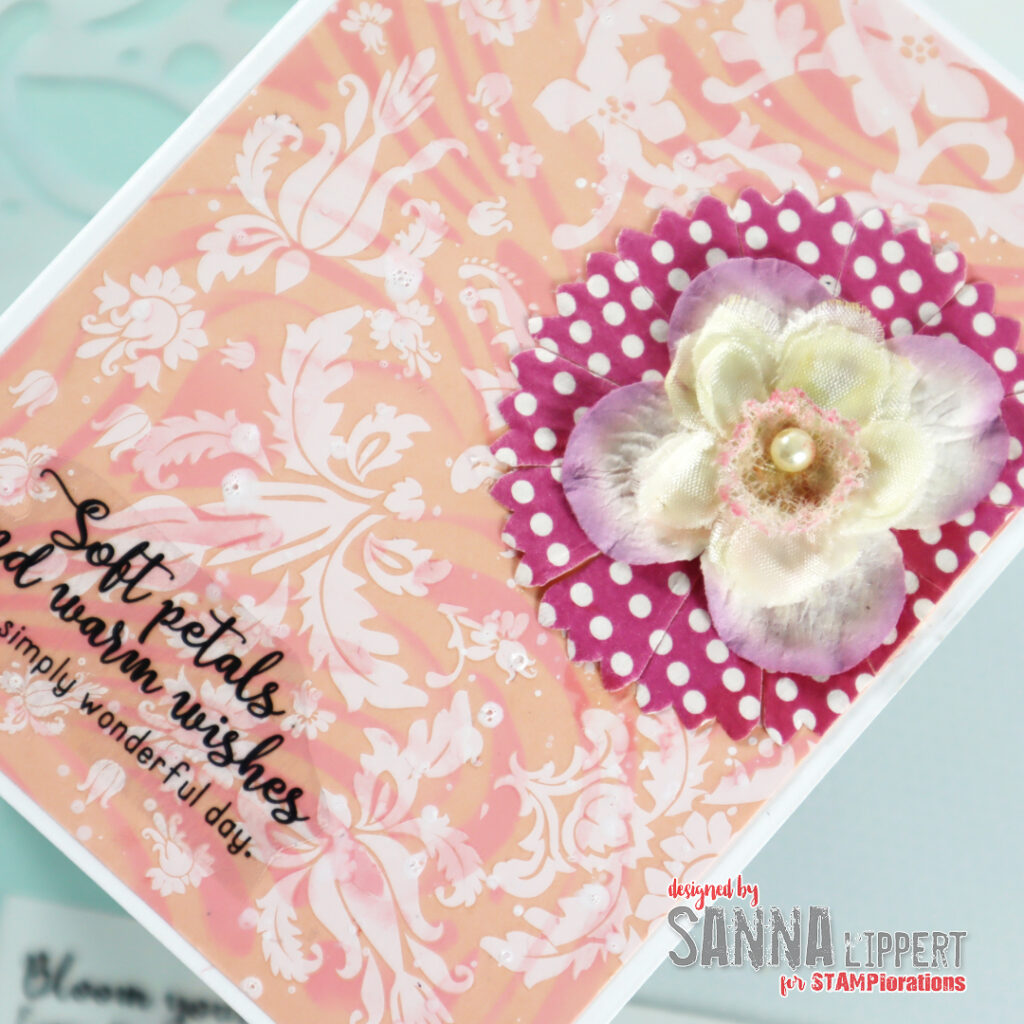
For this card I took a peach toned cardstock as a base, then added some older white rub-ons on top. I wanted to add a very light stenciling on top with the Henna Pattern stencil and light pink Distress Ink. I like how you need to take a second look on the card to really see the second background layer. It makes the card so much interesting.
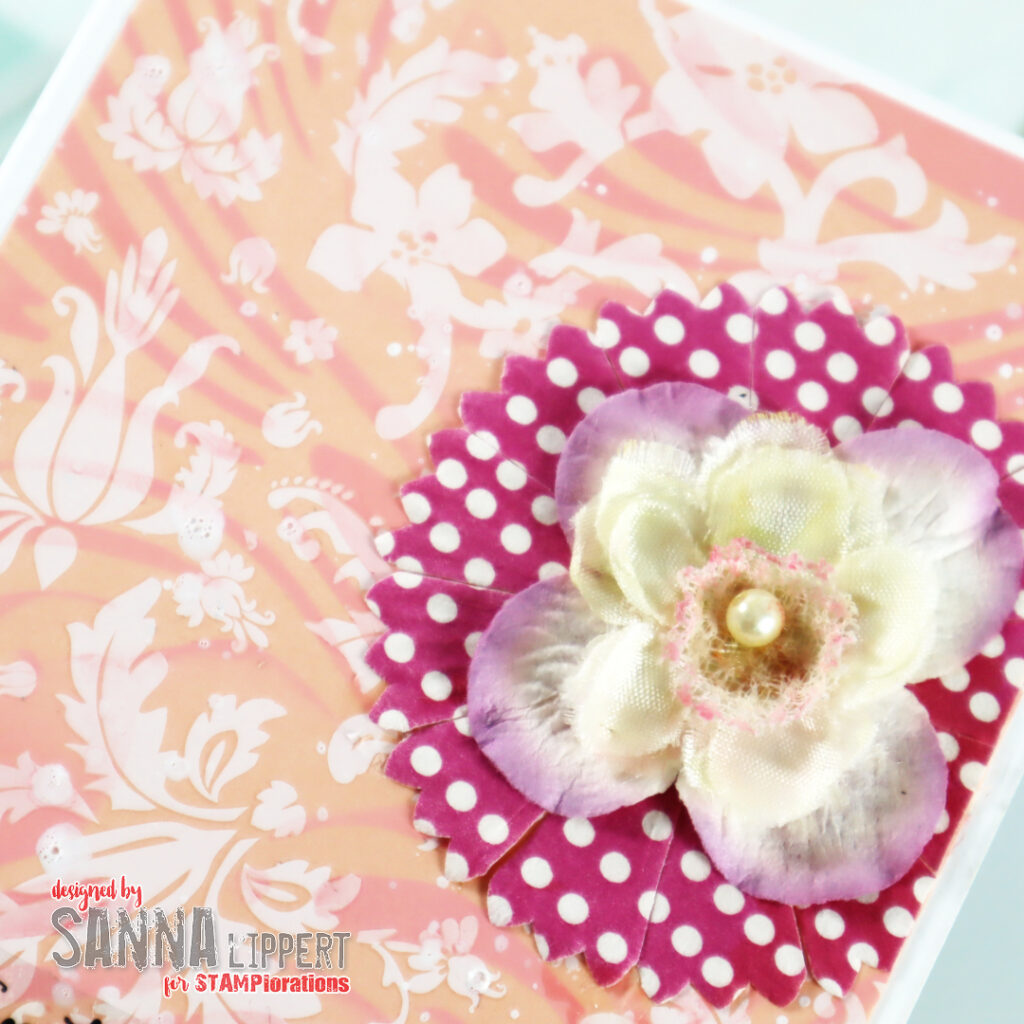
Next I arranged 3 flowers on top of each other. Two paper and one fabric flower – these are all older product from my stash.
I then mounted the piece onto a white card base and added a sticker sentiment. This is from the new STAMPlorations Floral Magic clear sticker set. I love the softness of this card and the fact that I could incorporate some old with the new.
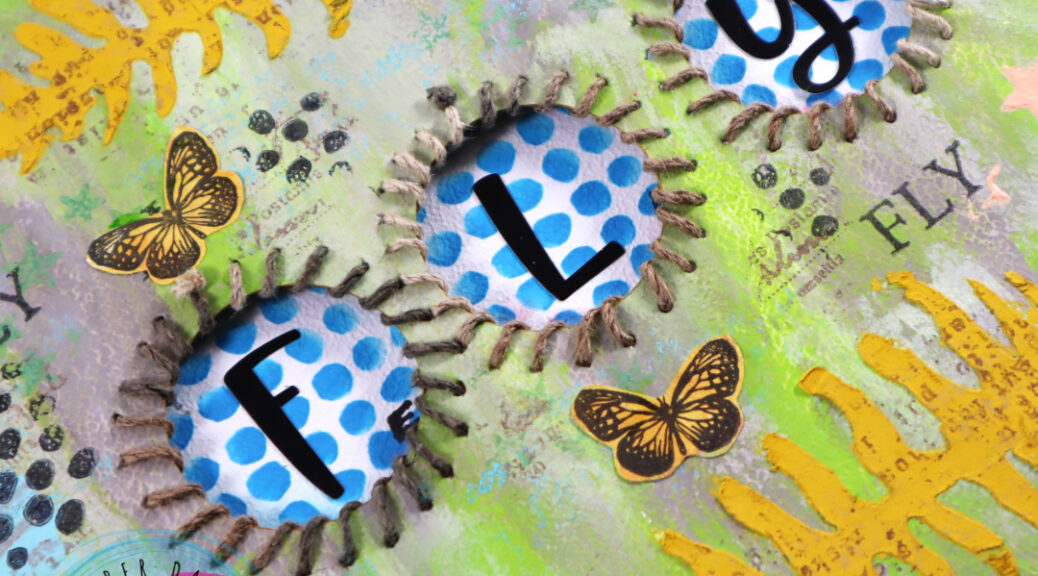
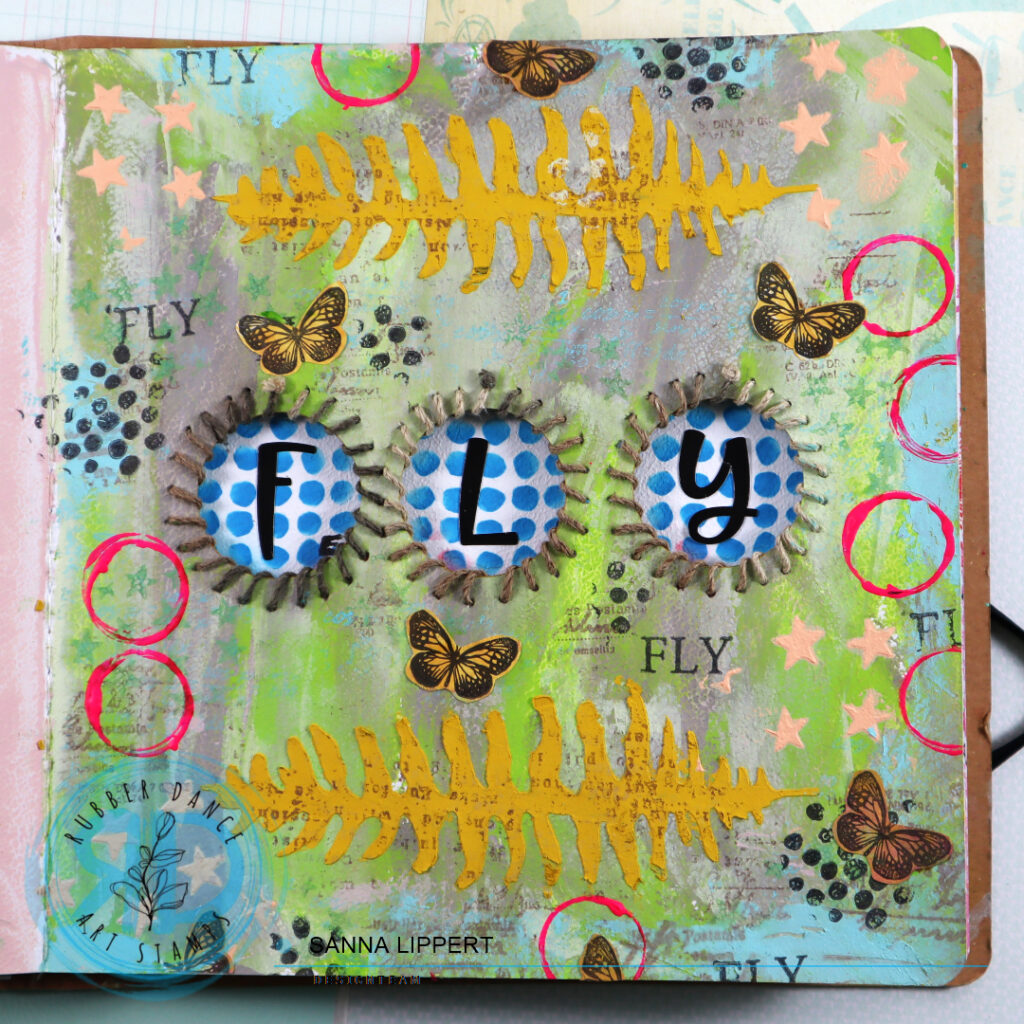
Hello everyone! Today I´m sharing a page from my art journal. I´ve wanted to create a page like this for a while now and finally came to it.
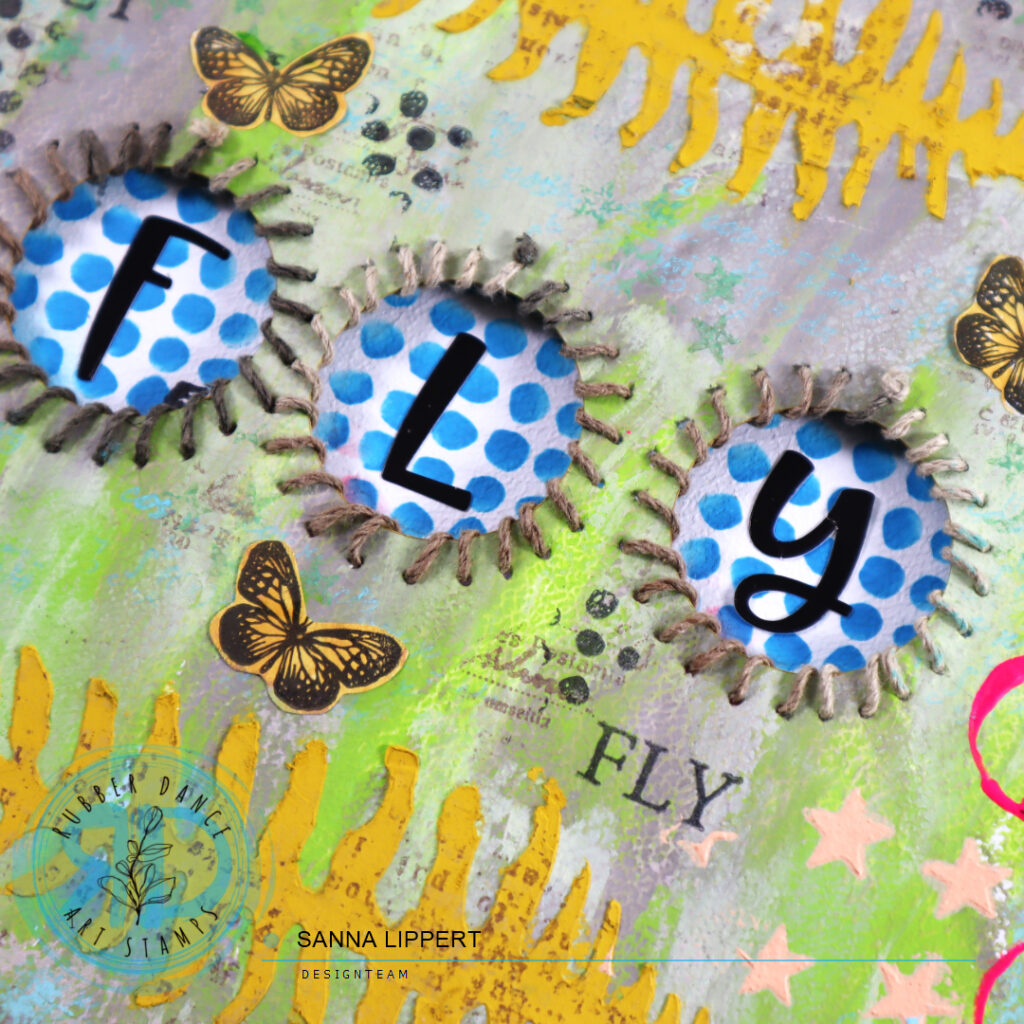
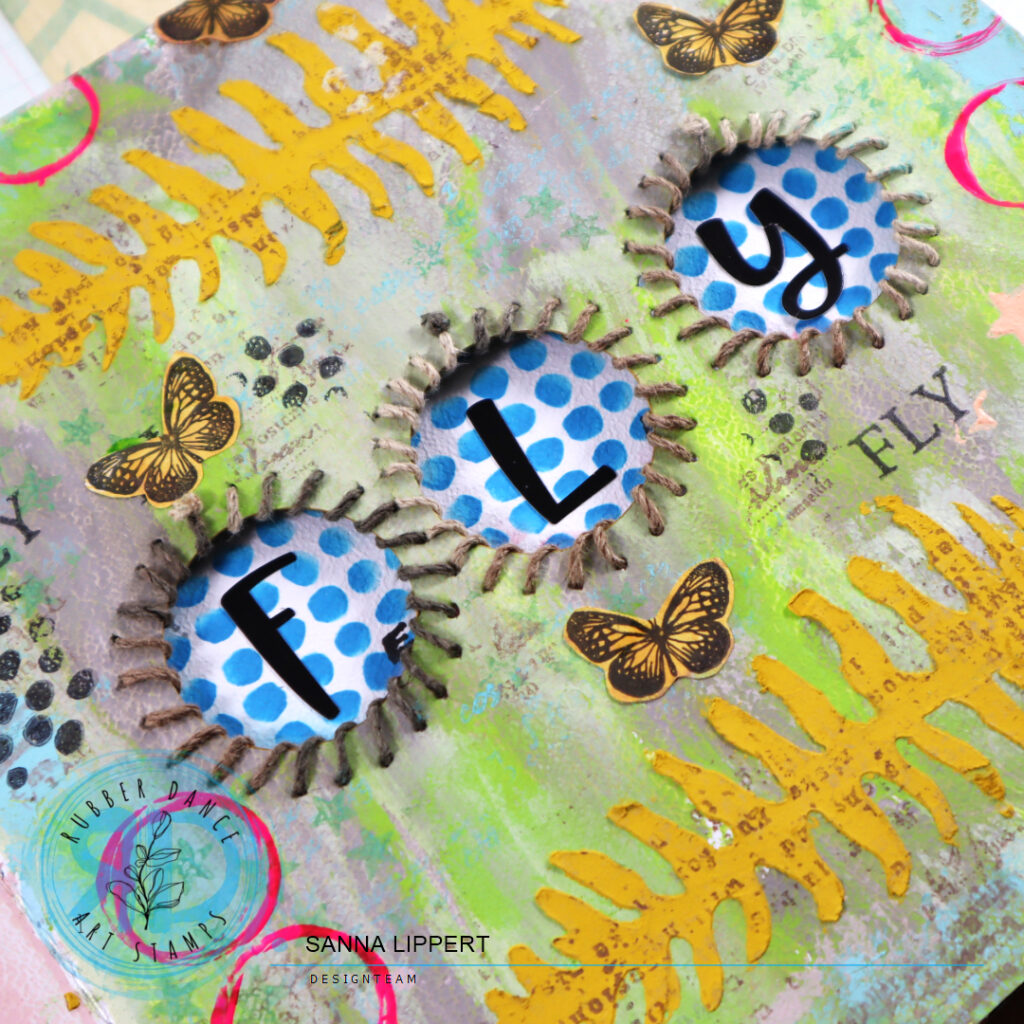
For this page I first wiped grey, green and light blue Distress Paints onto the background with a palette knife. After that I cut 3 holes with a paper cutter into the middle and hand sewed some twine around the edges of the holes.
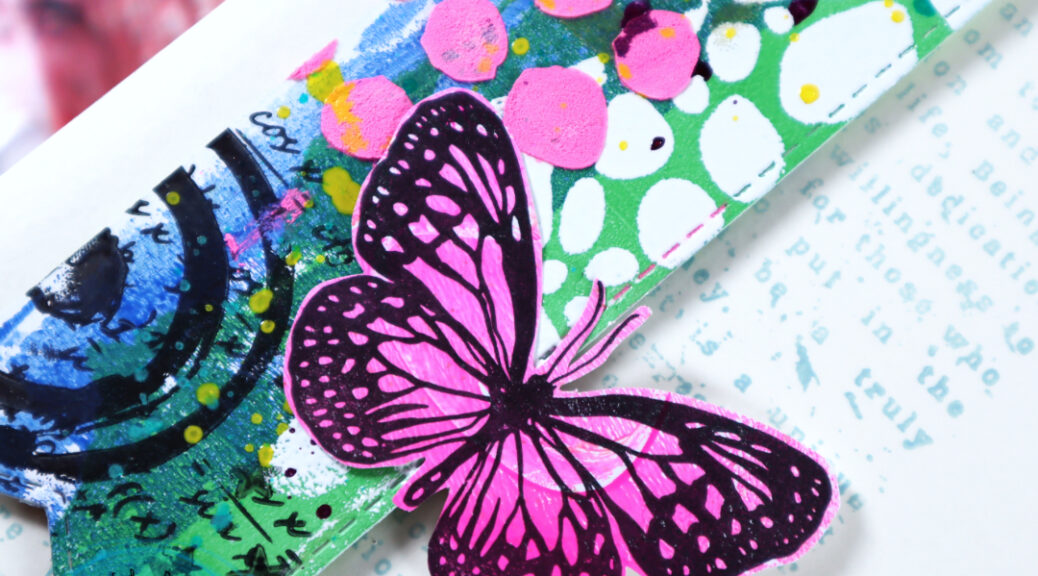
Next I applied some yellow tinted texture paste thru a Rubber Dance stencil (Sketchy Leaves 5) onto the page. After that I took a peach toned Distress Paint and applied it thru the Stars 1 stencil onto the page. Next I stamped with brown ink and the Mix It Up 5 set text stamp onto the yellow leaf images. I also stamped words, dots and writing with light grey and black stamp ink here and there. The stamp sets used are: Mix It Up 4 and Butterflies and Moths. I also added some tiny butterflies for decor – stamped on a collage paper and then fussy cut. The stamp set used is the Butterflies and Moths set.
For finishing touches I added some pink circles, “stamped” using a paint bottle cap and Dina Wakley heavy body paint in neon pink. And the word you can see thru the holes is done by adding alpha stickers to the areas of the openings on the following page. On that background I used Distress Oxide Ink in blue and the Mini Textures 1 stencil.
All stamps and stencils are by Rubber Dance, who are having a 50% sale at their store right now. Sadly, they have decided to close the store. So if you love their product, be quick, before everything is sold out. I´m really sad to see them closing – they will be greatly missed!
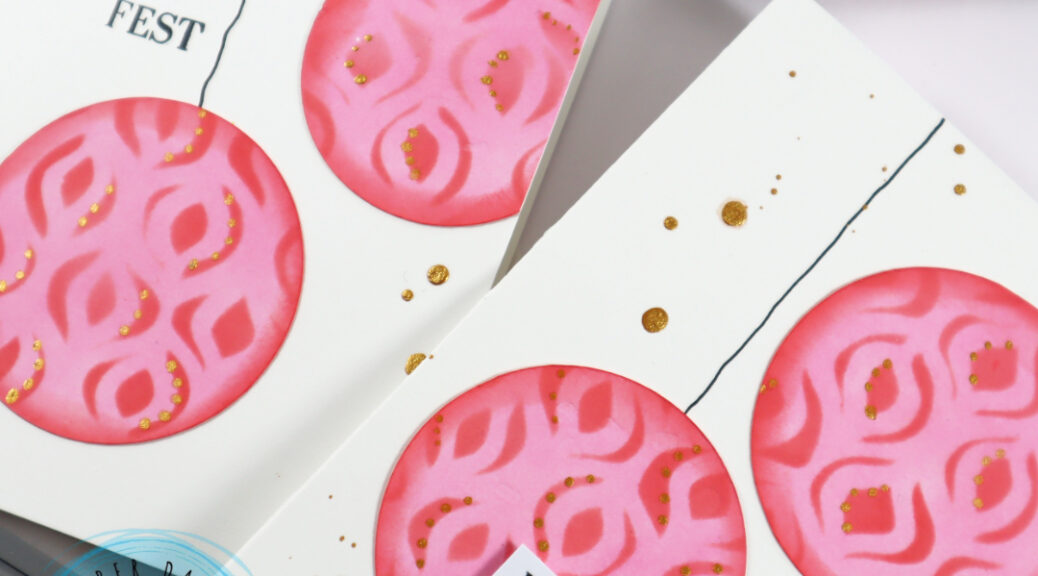
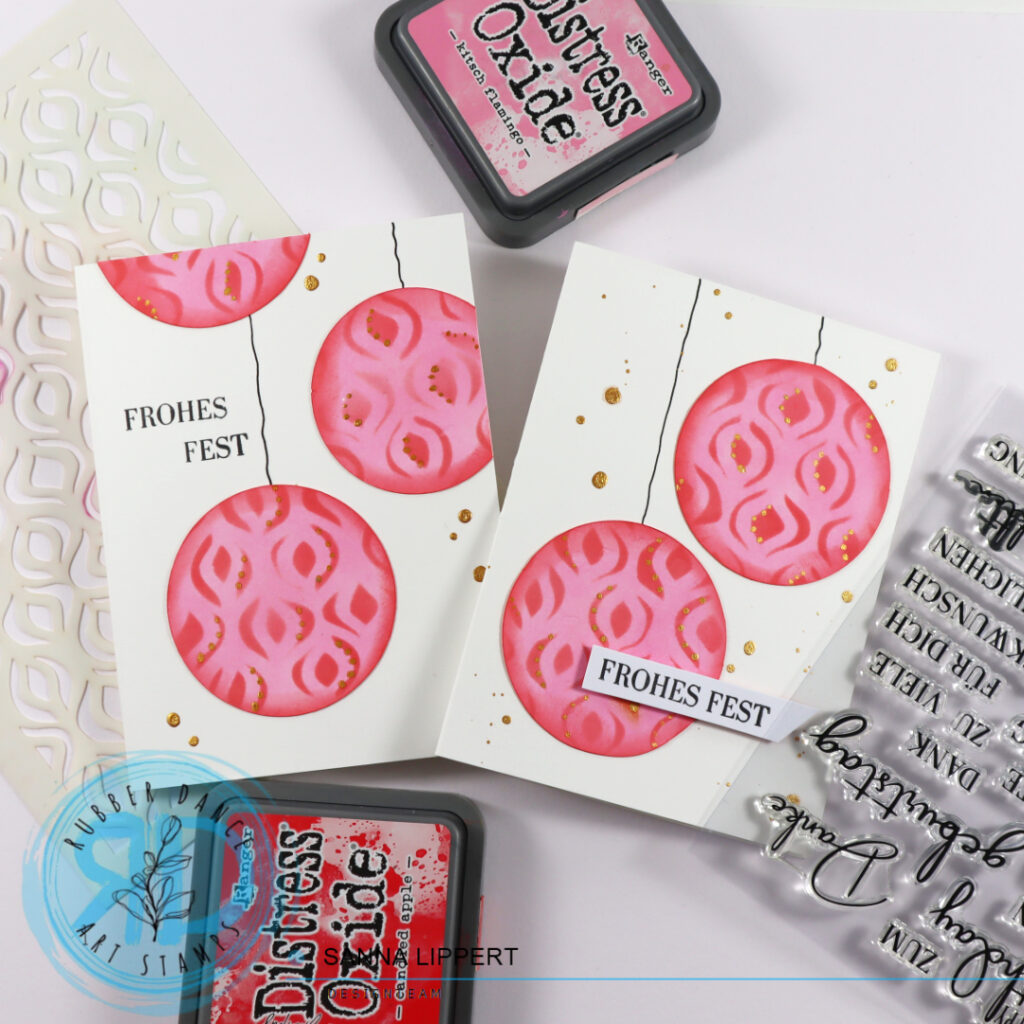
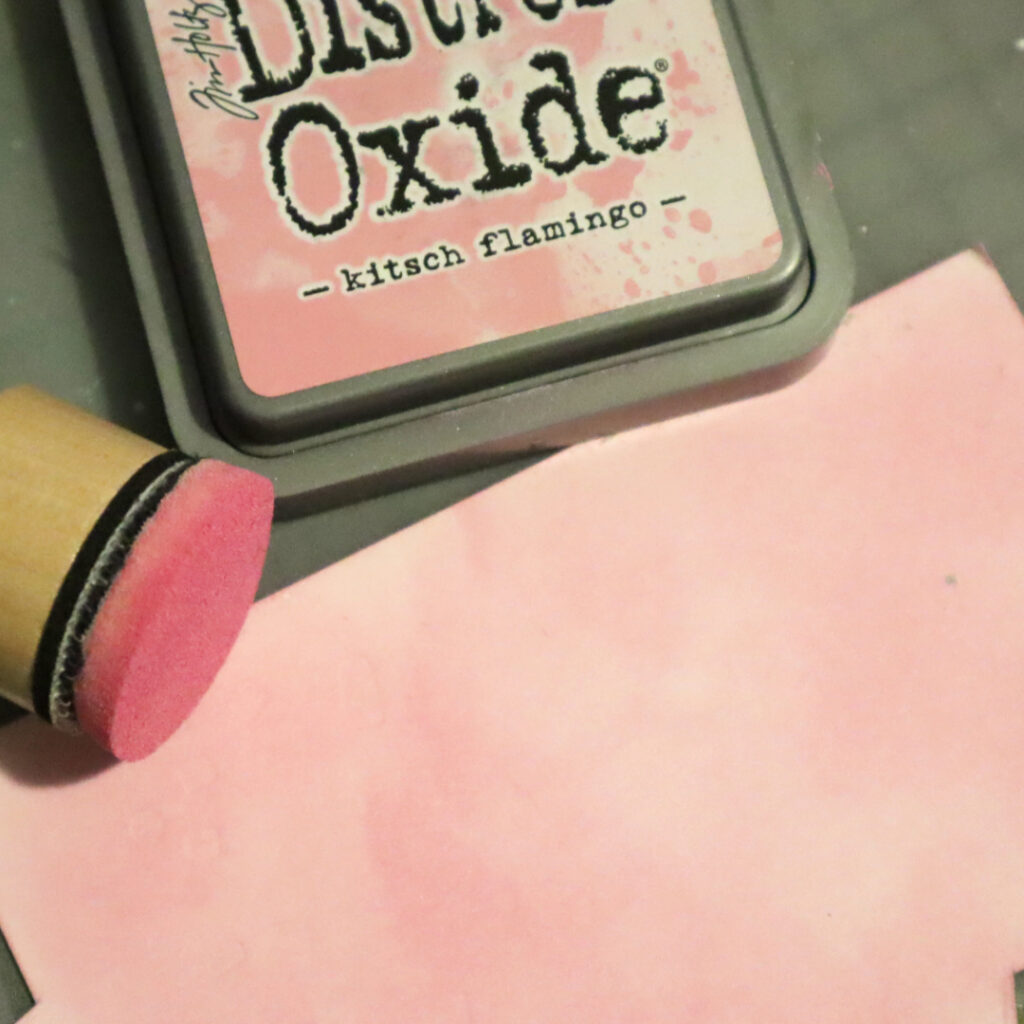
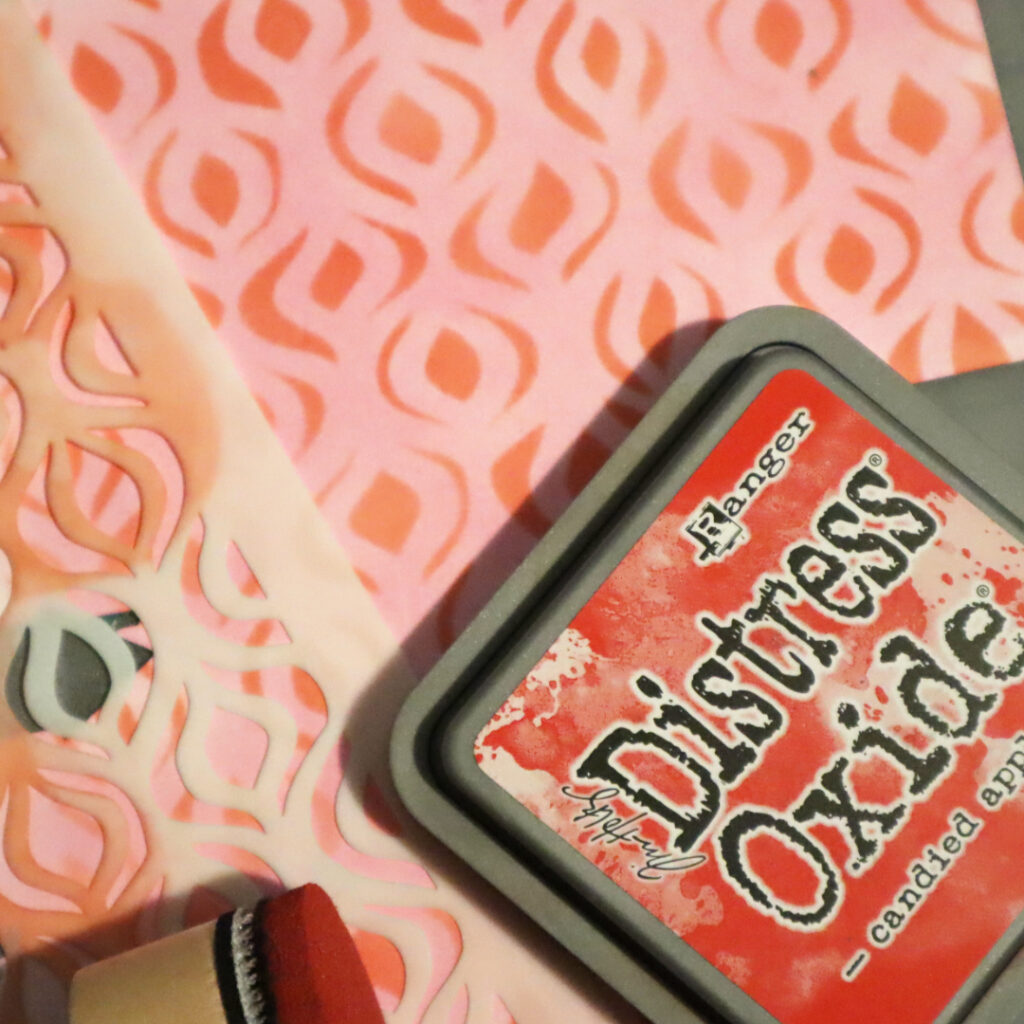
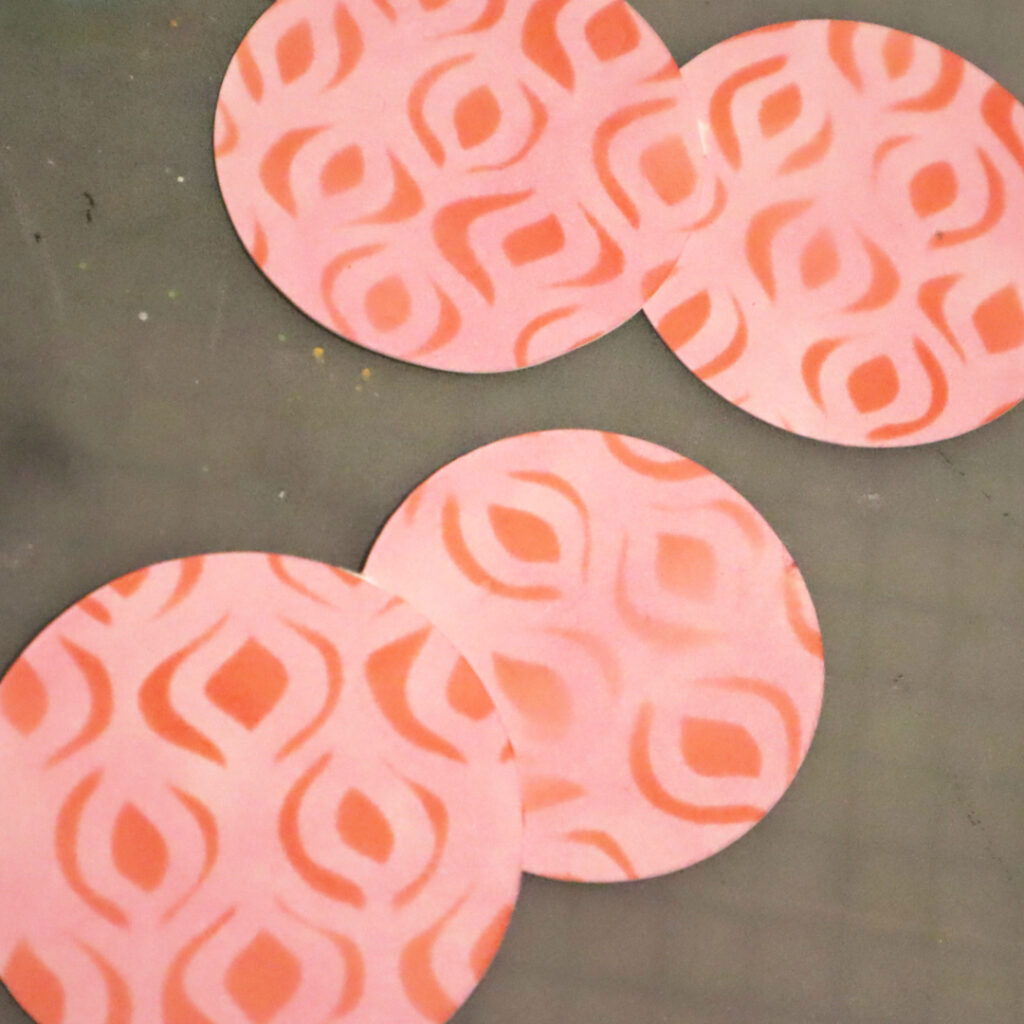
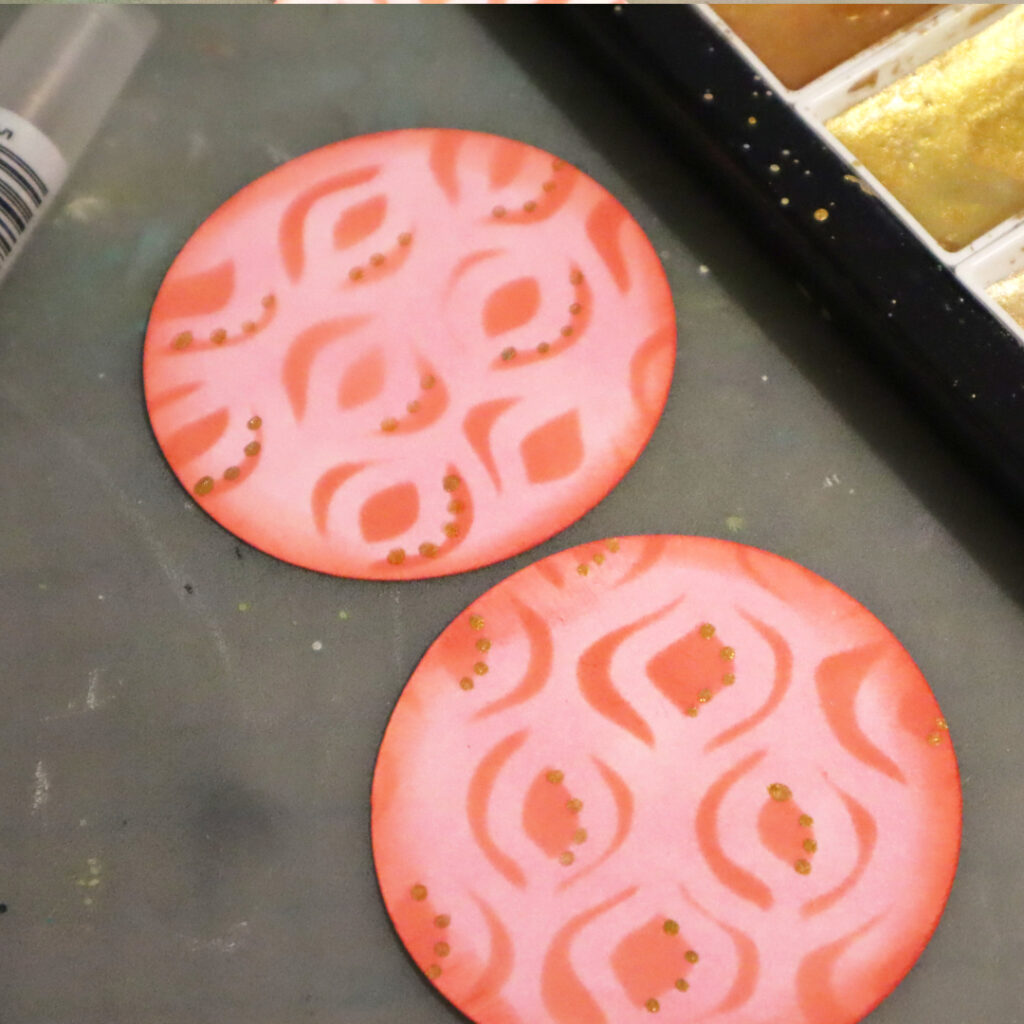
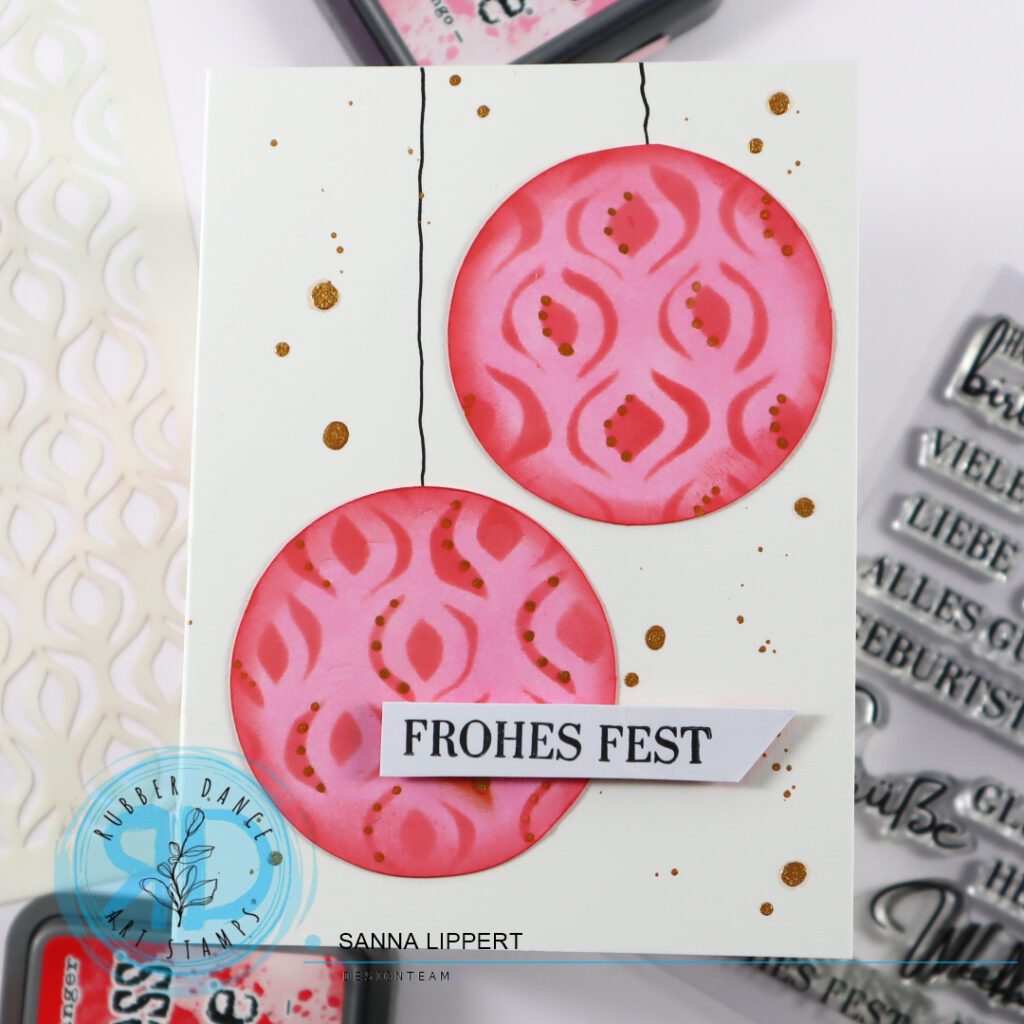
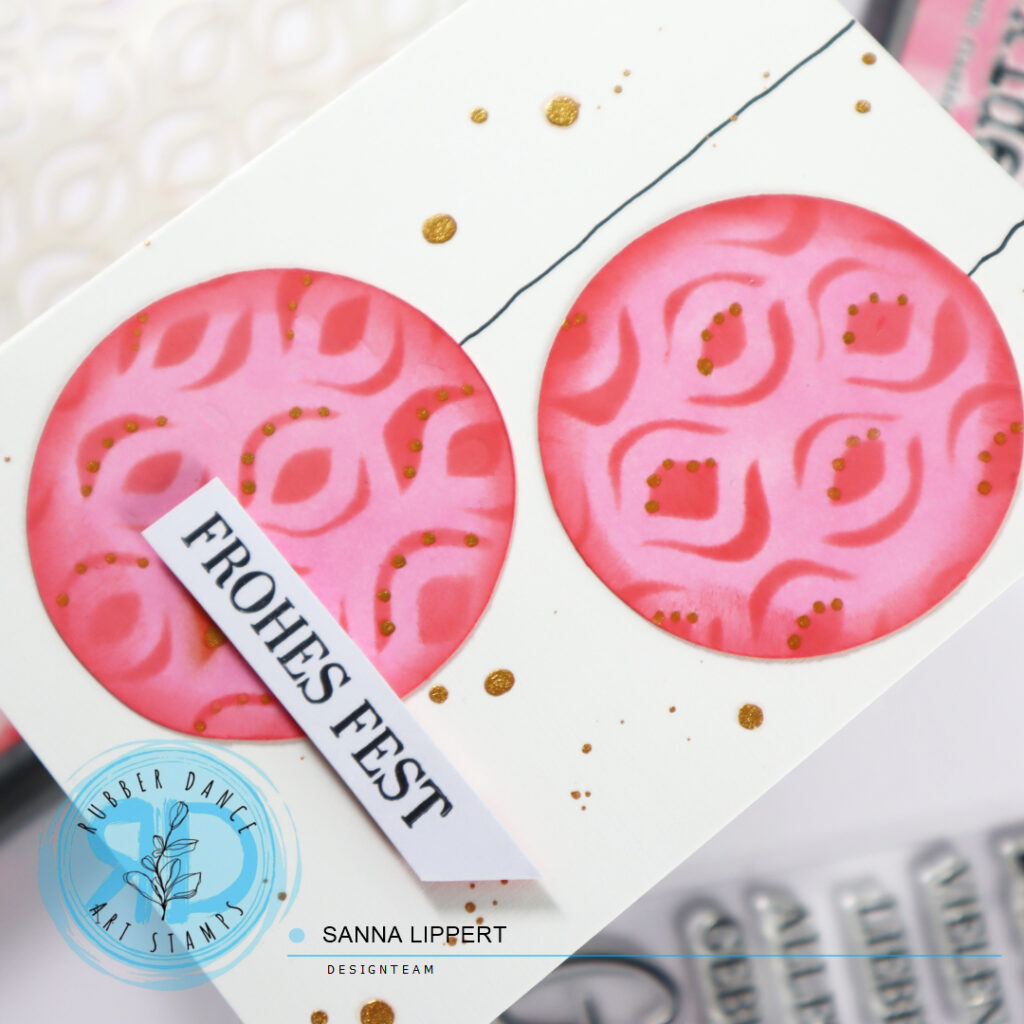
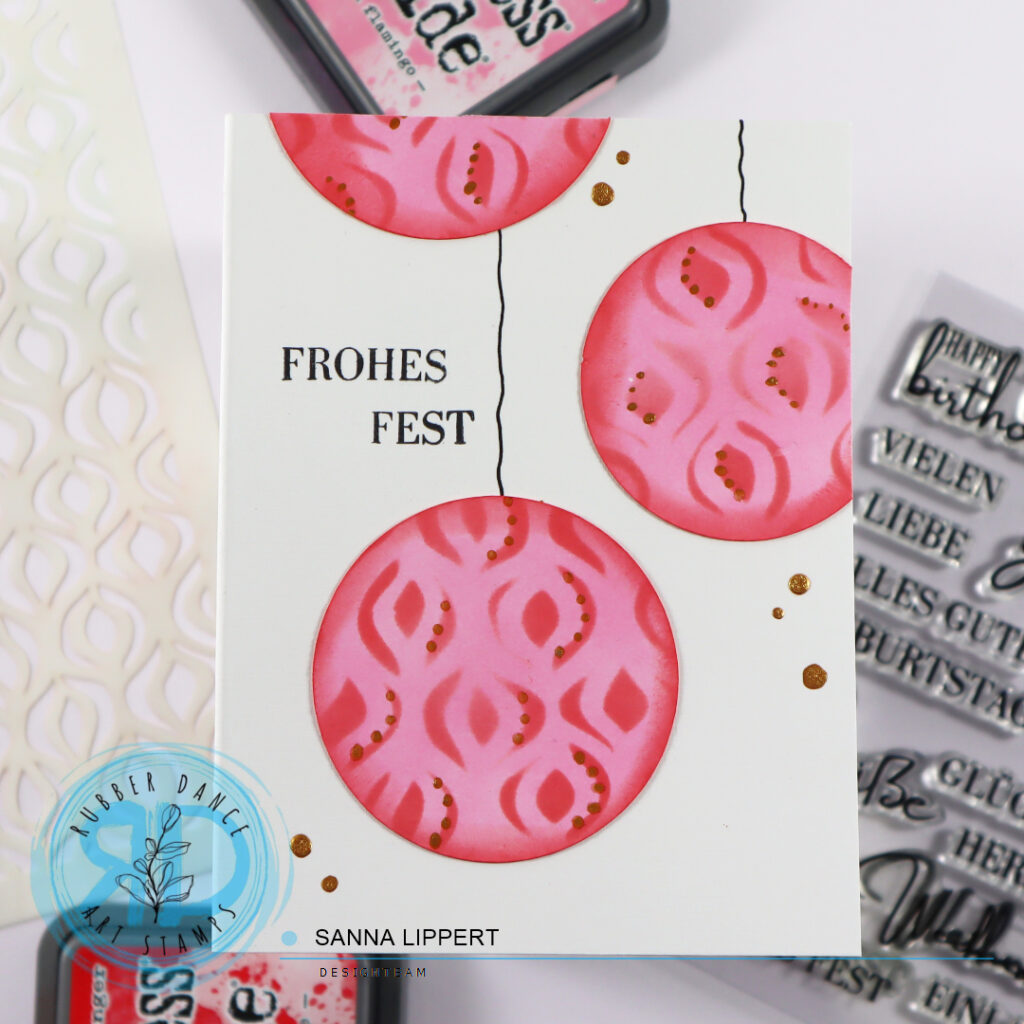
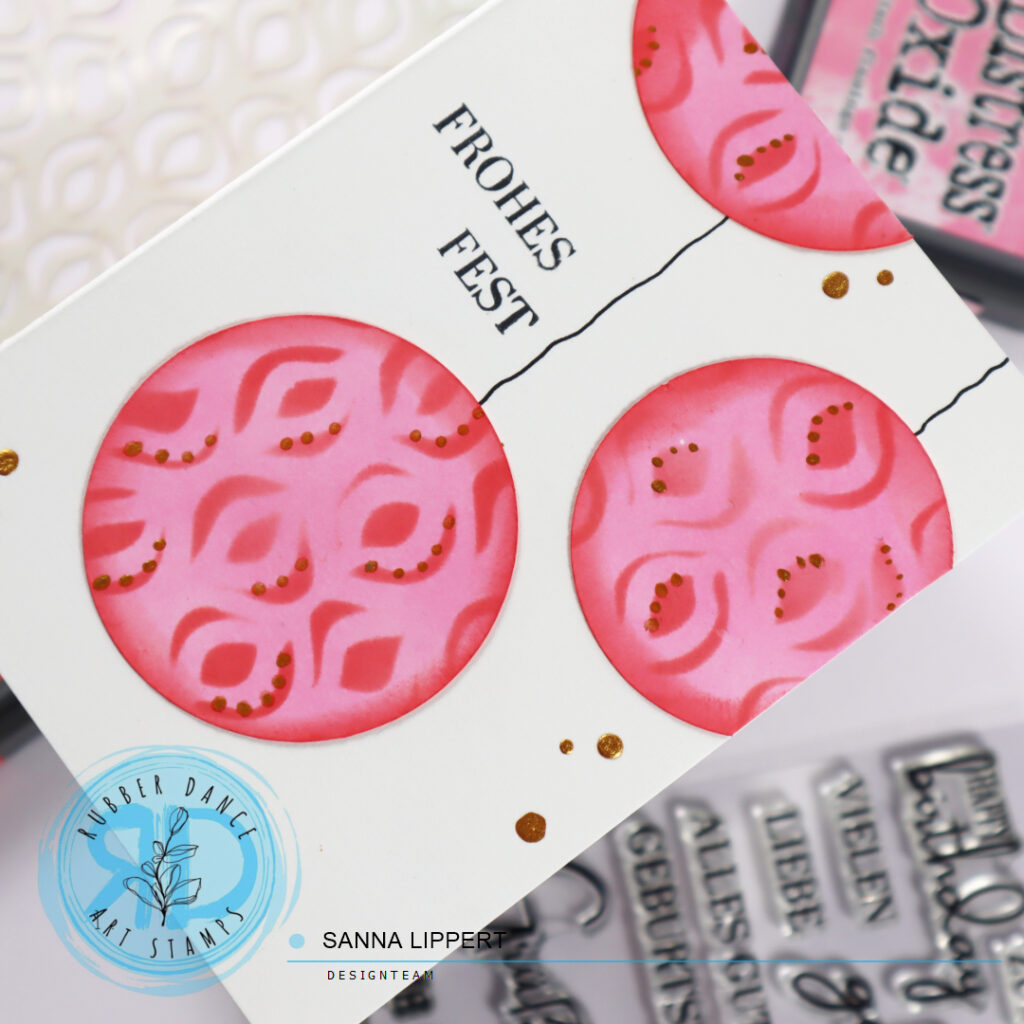
I started by inking a piece of white cardstock with “kitsch flamingo” Distress Oxide ink. next I placed the Ornament 1 stencil on top of the inked paper and applied a darker red tone, “candied apple”, thru the stencil onto paper.
After that I die cut the paper into two different sized circles. I then inked the edges with the darker red toned ink and added some golden dots with a water brush onto them.
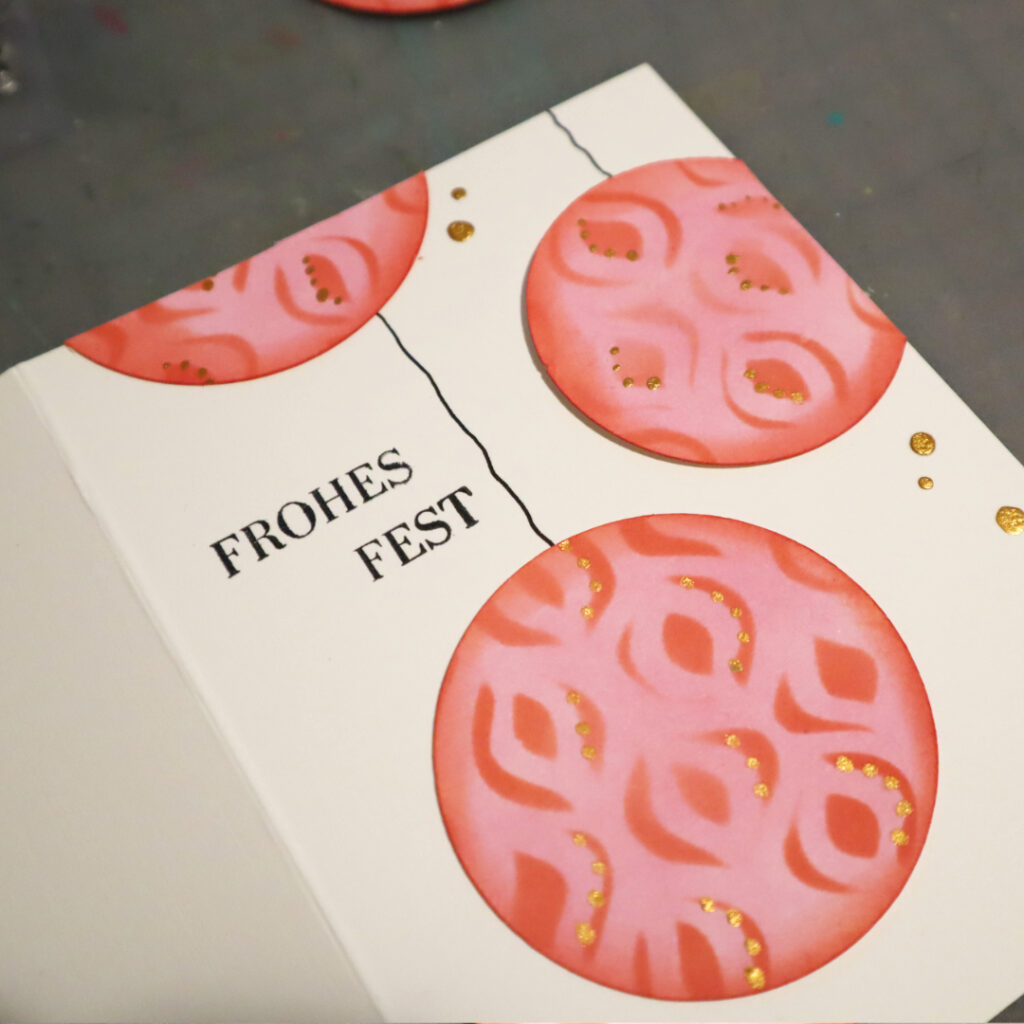
Then I just drew some strings for the baubles to hang onto the card base and adhered the circles on place. After that I stamped a sentiment with black ink onto the cards using the Kartengrüße stamp set.
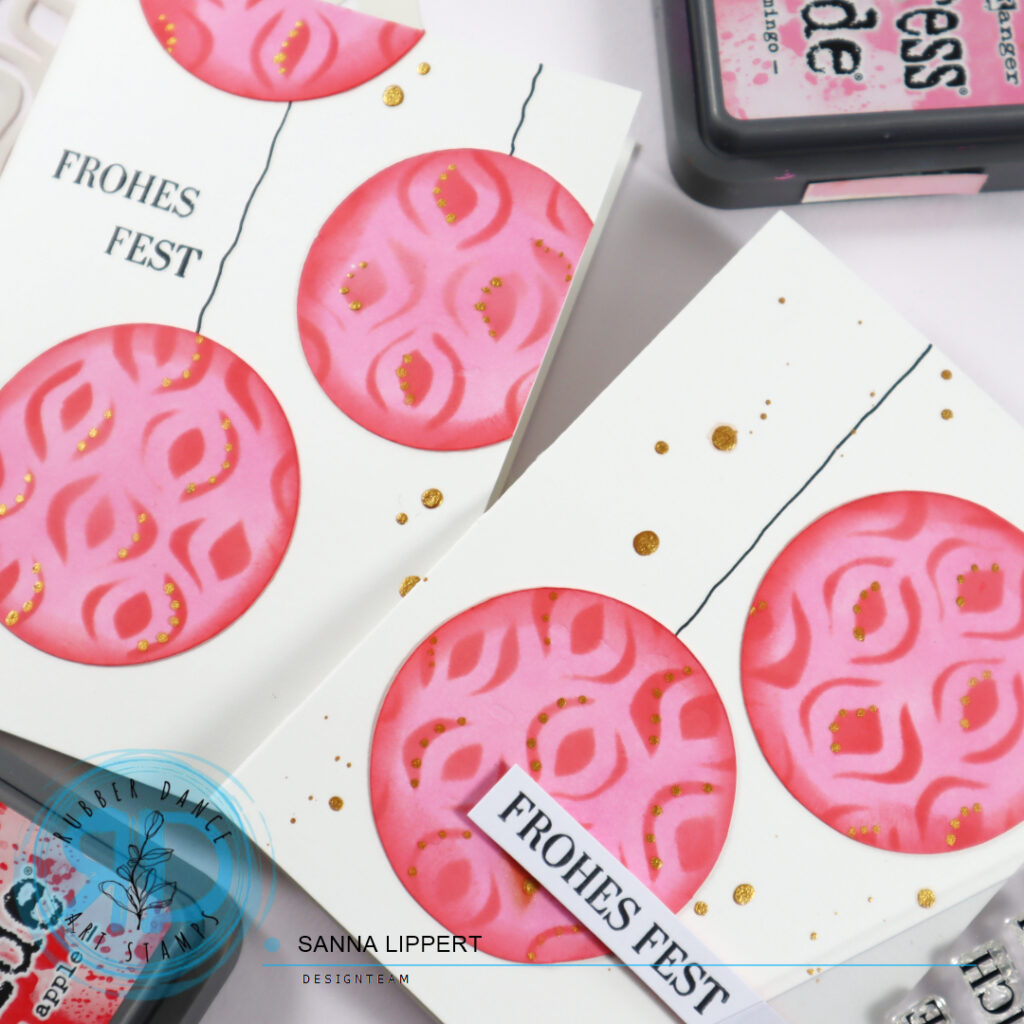
I also added some golden droplets to the card bases for additional interest in the end just for fun. Here are the finished cards:
I hope you enjoy this card idea and make some Christmas bauble cards yourself. Happy crafting, xxx, Sanna
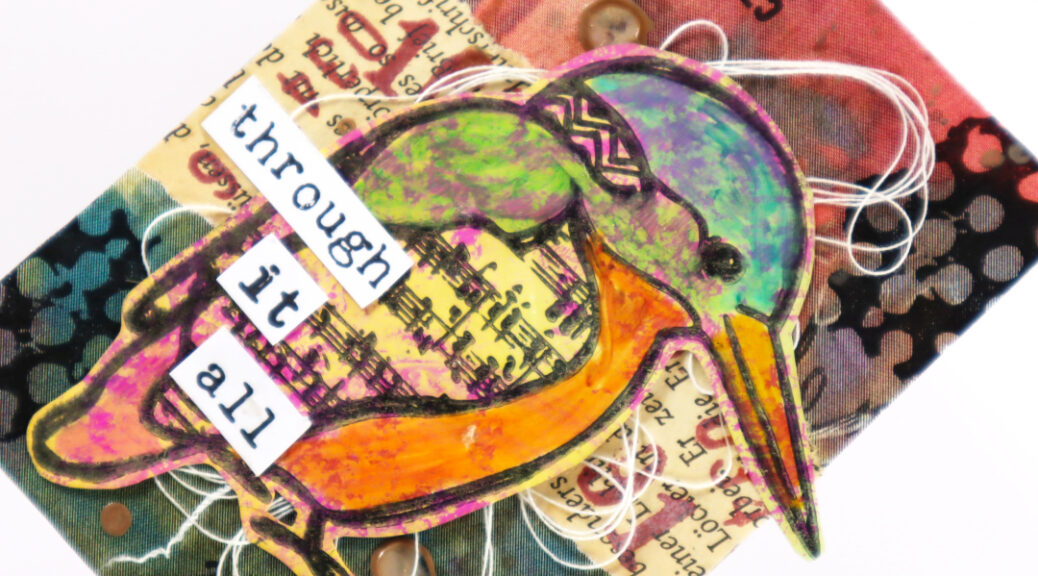
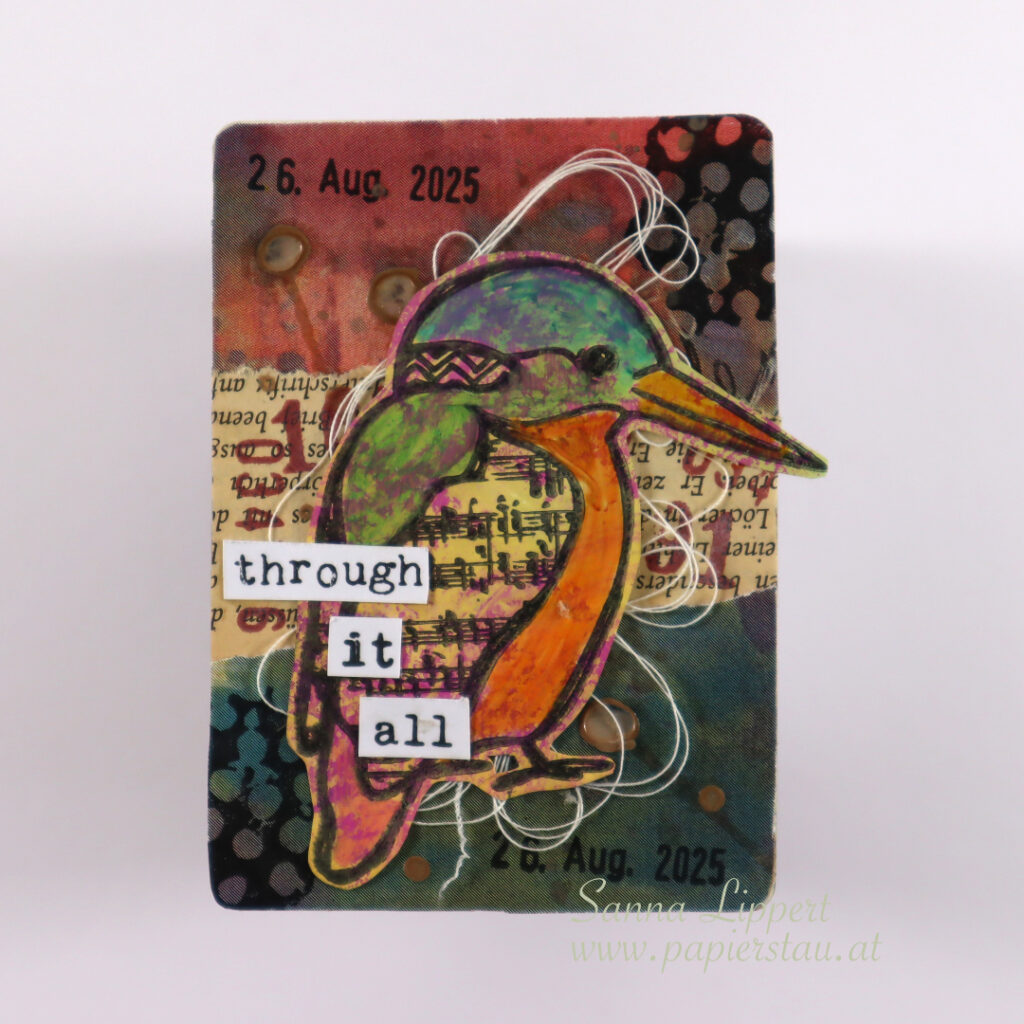
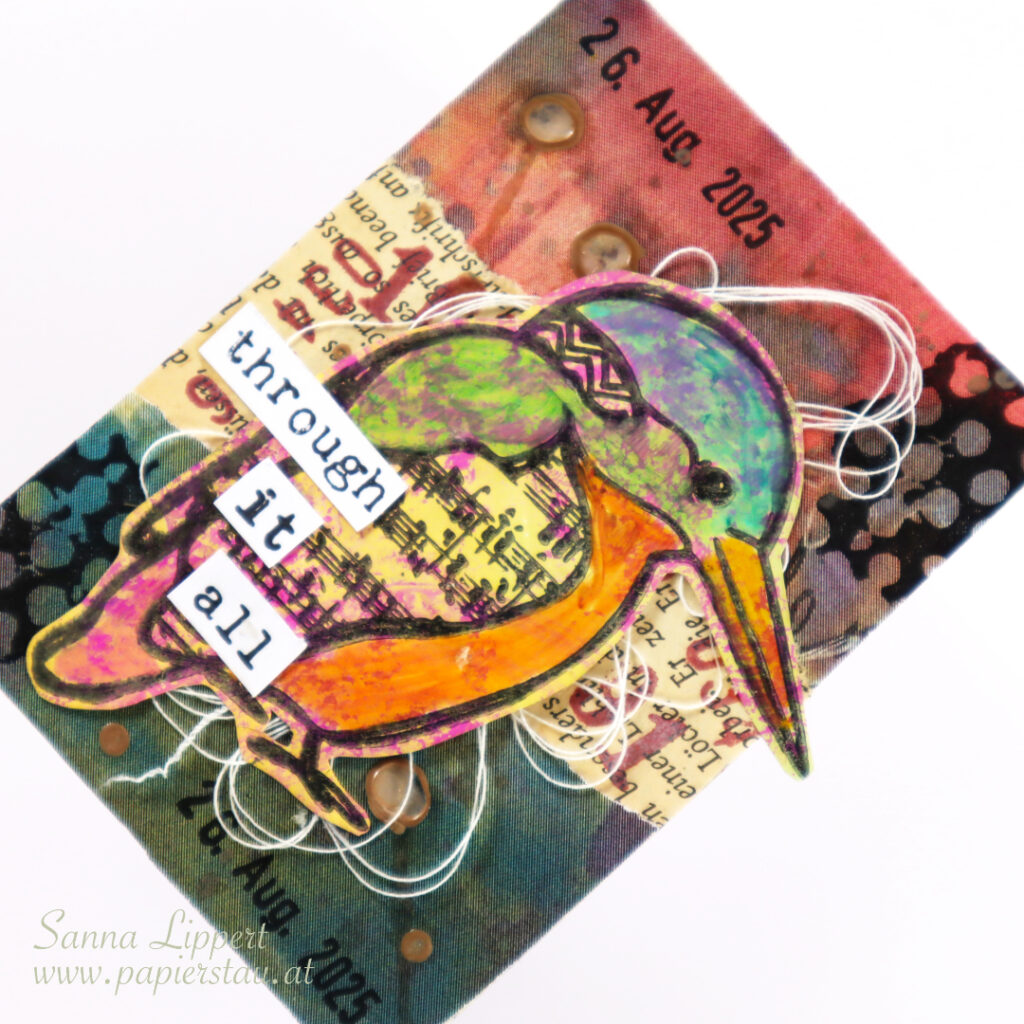
Hello and happy Wednesday! Here is my take on the ShanoukiArt Full Deck Challenge 32/2025 – bird.
I used a piece of book paper as my carry over item from my last deck card. Rest of the papers are again collage papers gifted to me by Yuna from Australia. On top I added some stamping with aged mahogany Distress Oxide Ink and a black ink and used Rubber Dance stamps (Textured Birds 2 and Mix It Up 7 stamp sets).
My constant is the date stamp and I again used some Gloss Spray drops (Sand) on the background, then added a piece of white gard under the fussy cut and colored bird. I added it for texture. On top of it all are again some words stamped with a Rubber Dance stamp set (Mix A Sentiment 2023). That´s it for this time. Here is the video for you to watch:
Happy creating! See you next week with another take! xxx, Sanna
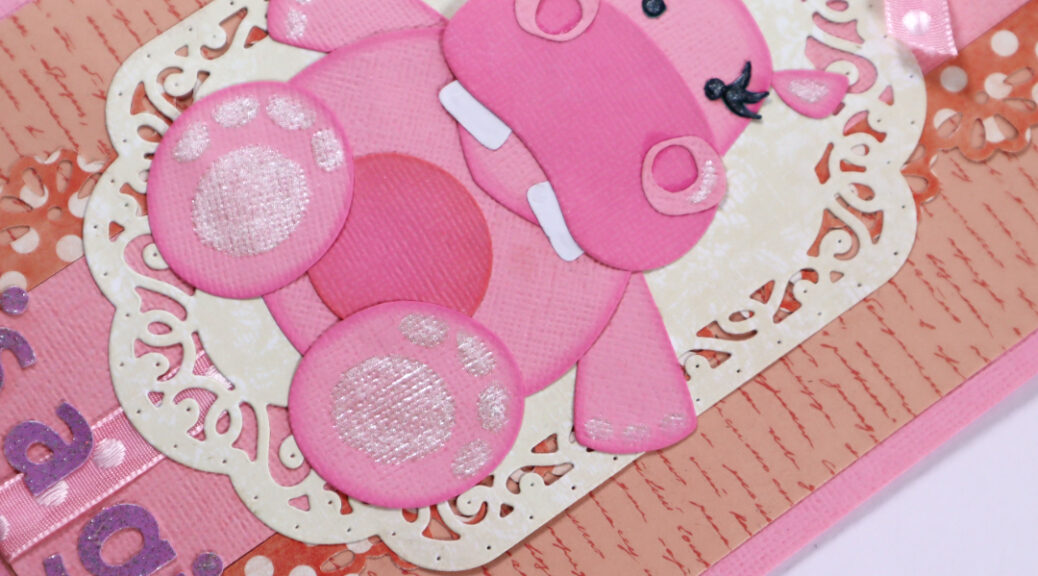
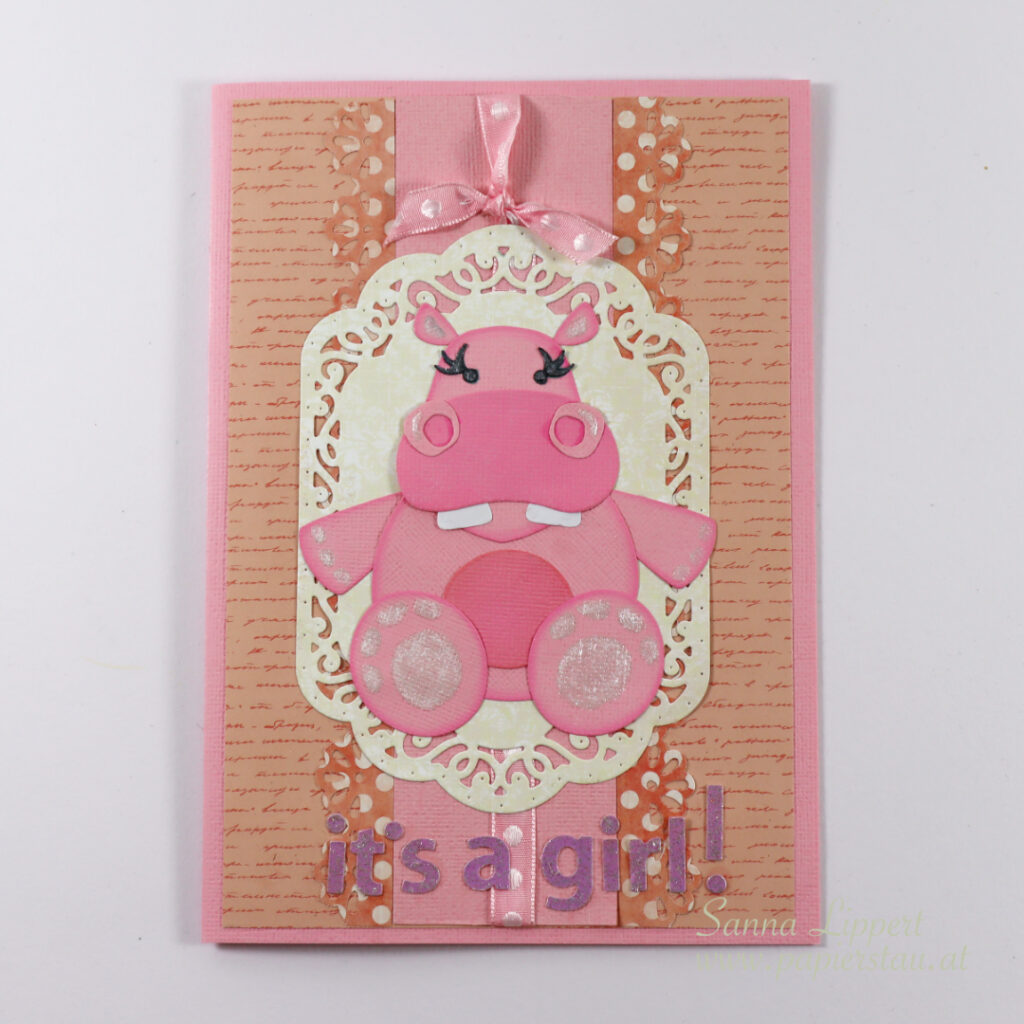
Hello everyone! I was asked to create a bigger sized (A5) baby card. Since it is for a baby girl, it was supposed to be all pink and cute. This is what I came up with:
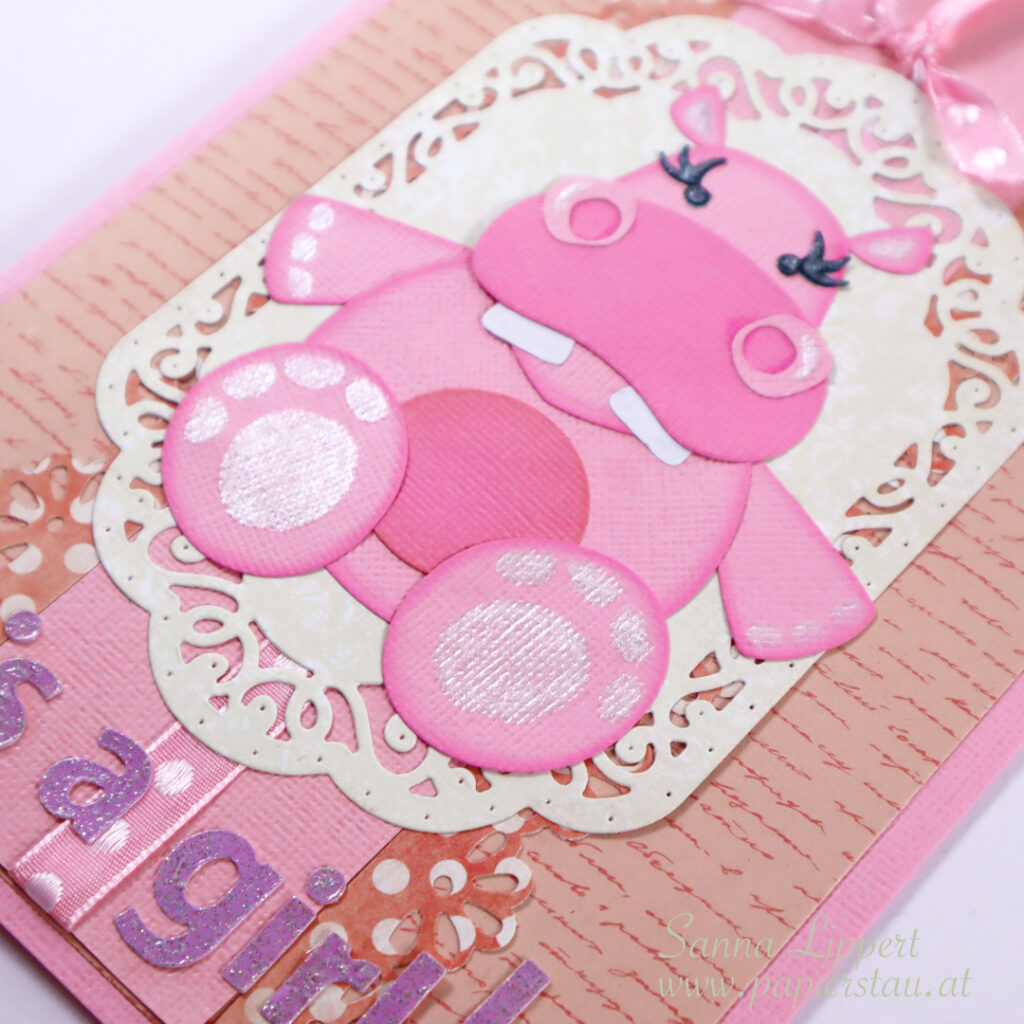
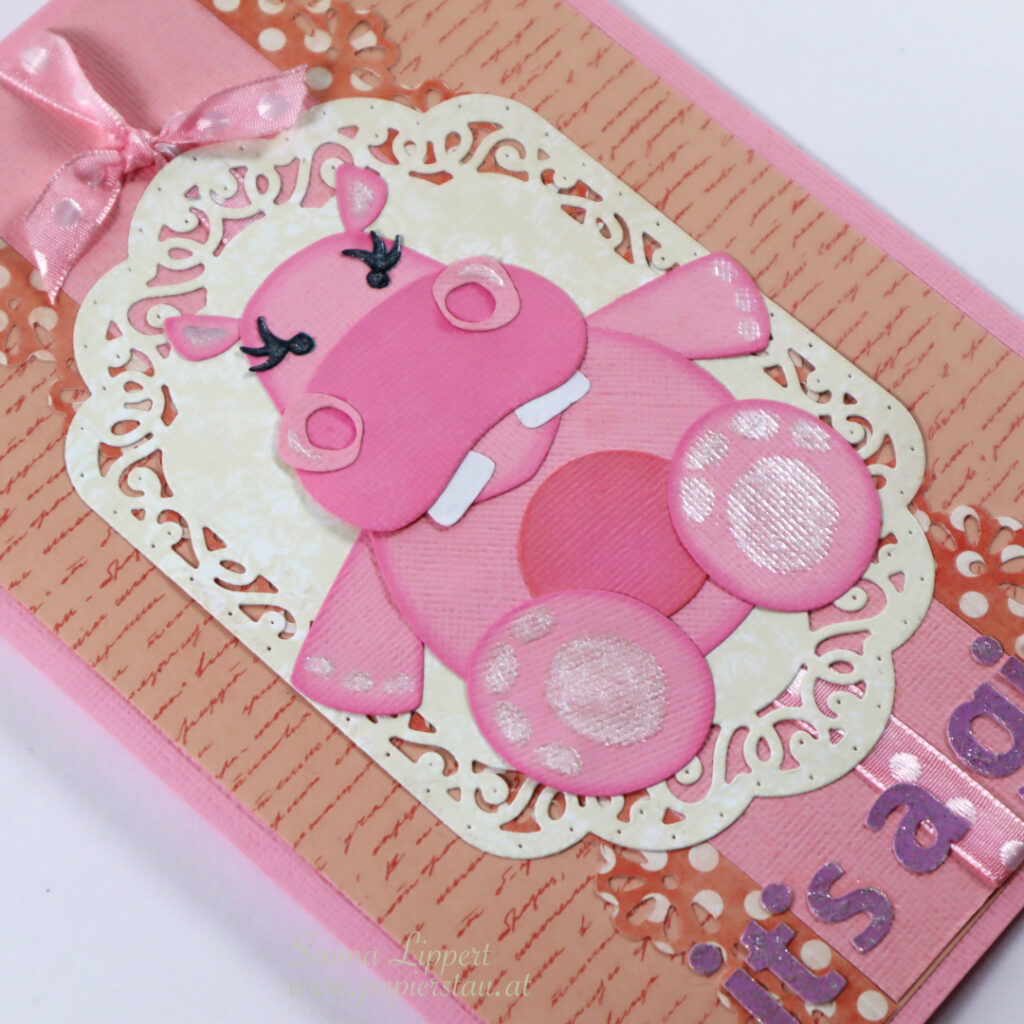
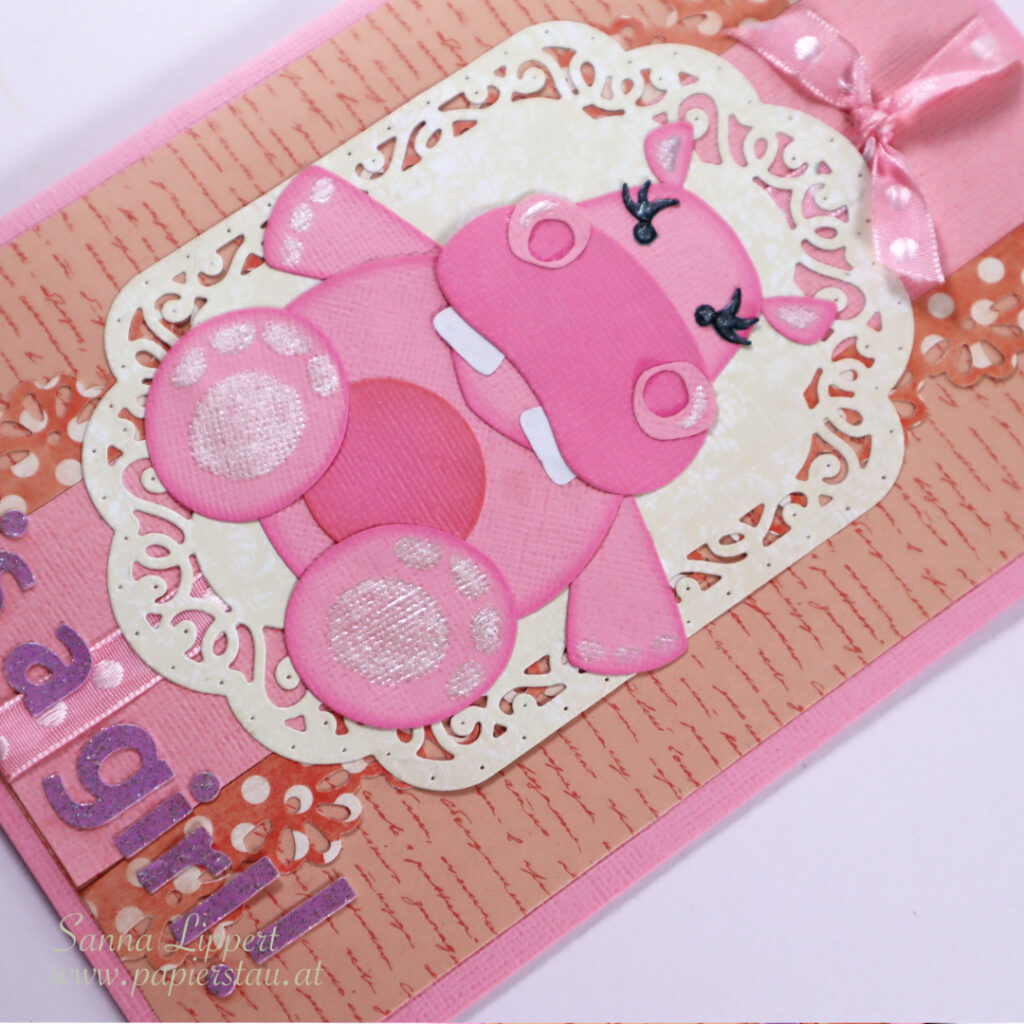
I used pink toned cardstock as a base. Added a handwriting patterned pinkish paper on top, cut some polka dot paper with a border punch. and added a Tonic Studios centerpiece in ecru as a background for the cute hippo.
The hippo die cut die is also by Tonic Studios. I used only one pink cardstock, but inked some parts with a darker pink toned Distress Oxide Ink to add contrast. The Gitter pen toes and fingers are done using a Edding silver glitter brush pen.
I also added some pink toned ribbon and glitter aplhas in purple. Very girly and very, very pink, like requested :).
Thanks for stopping by and taking a look! xxx, Sanna
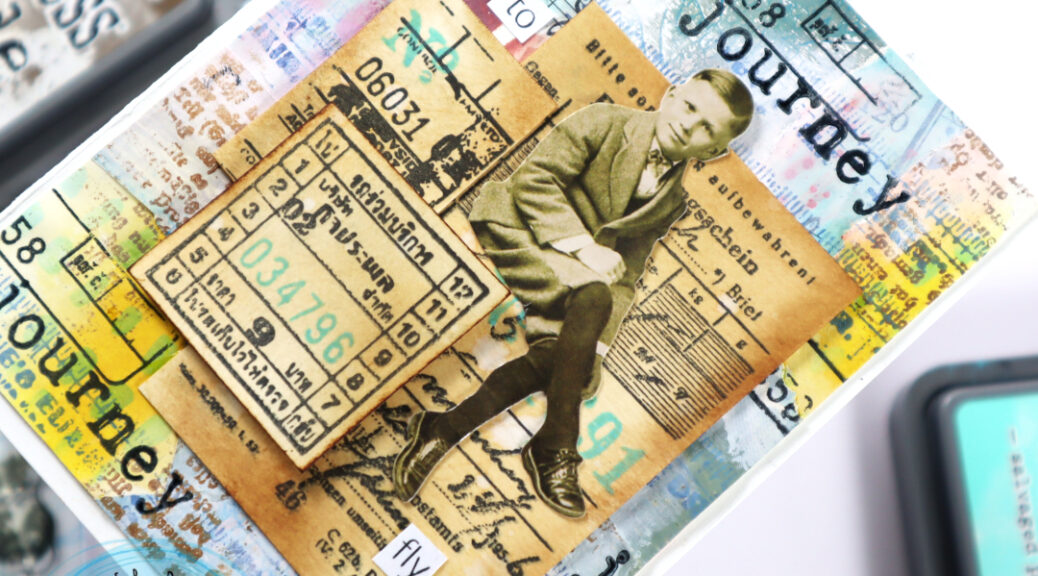
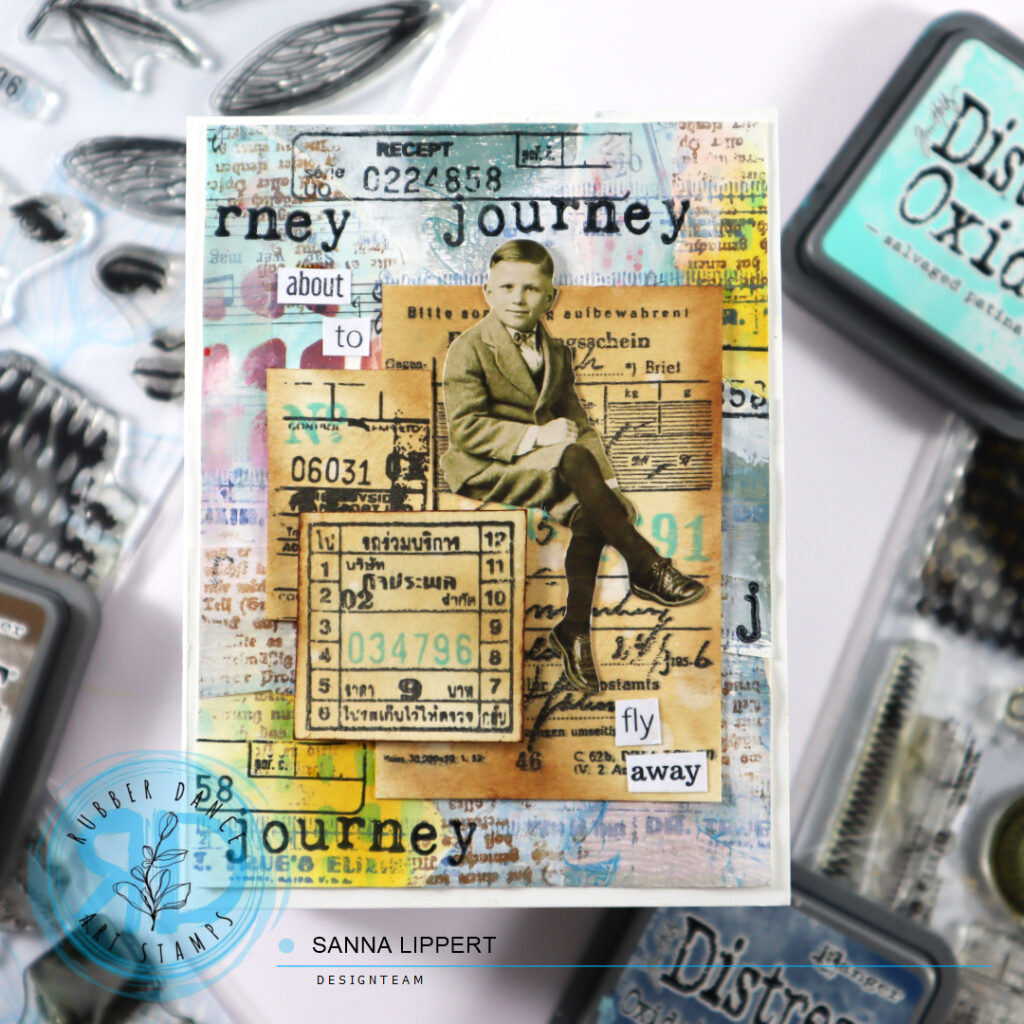
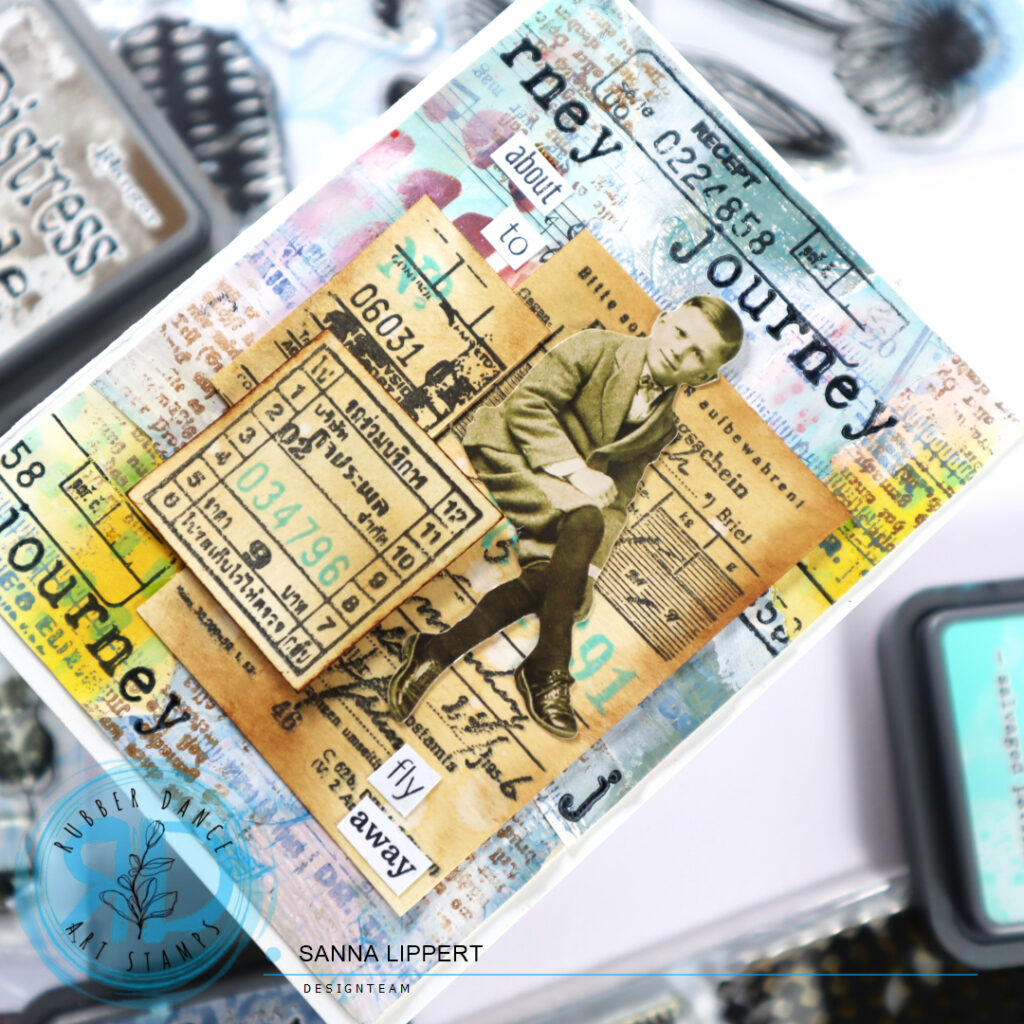
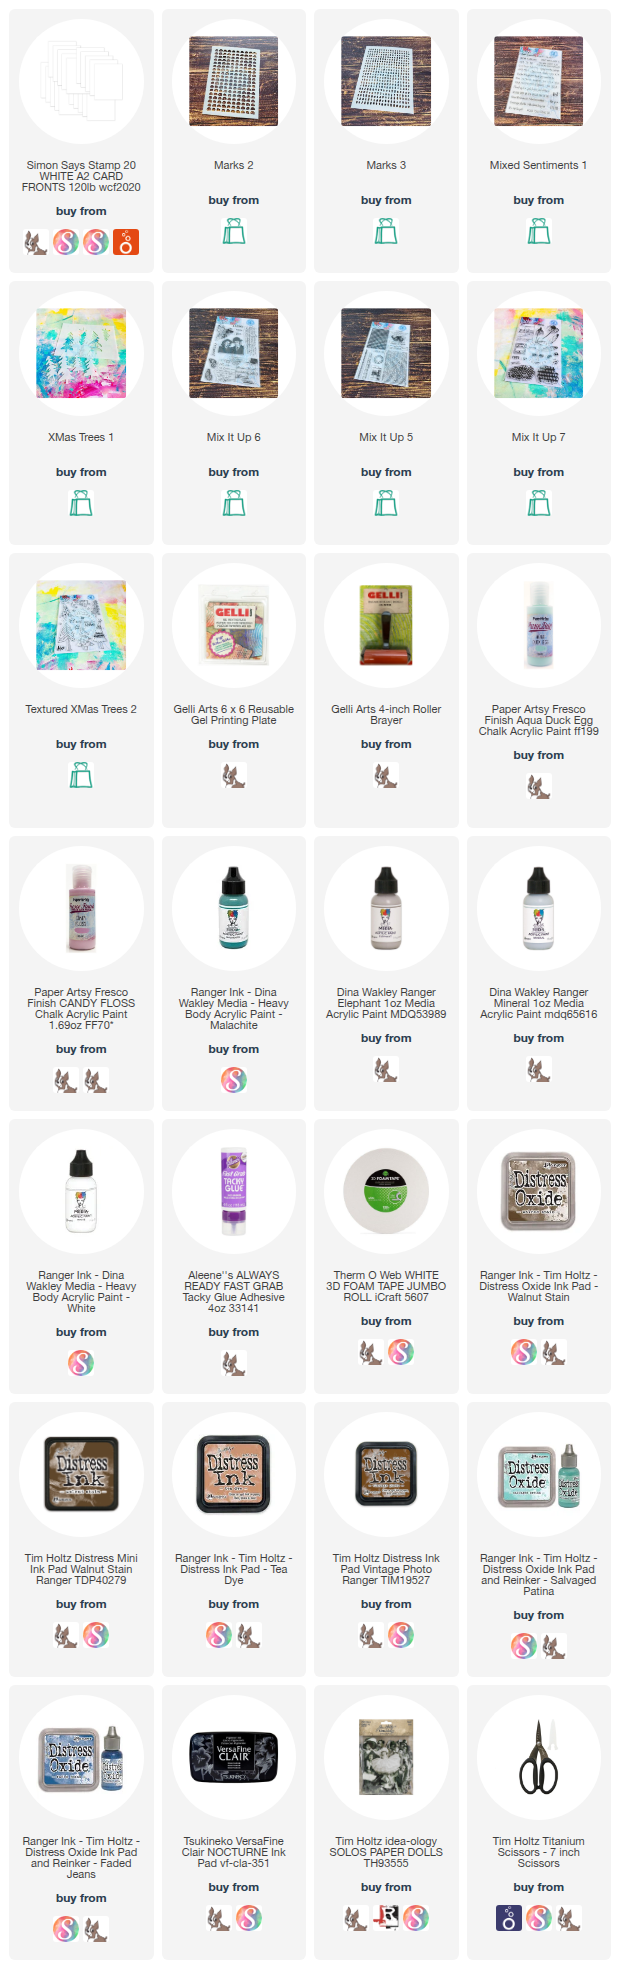
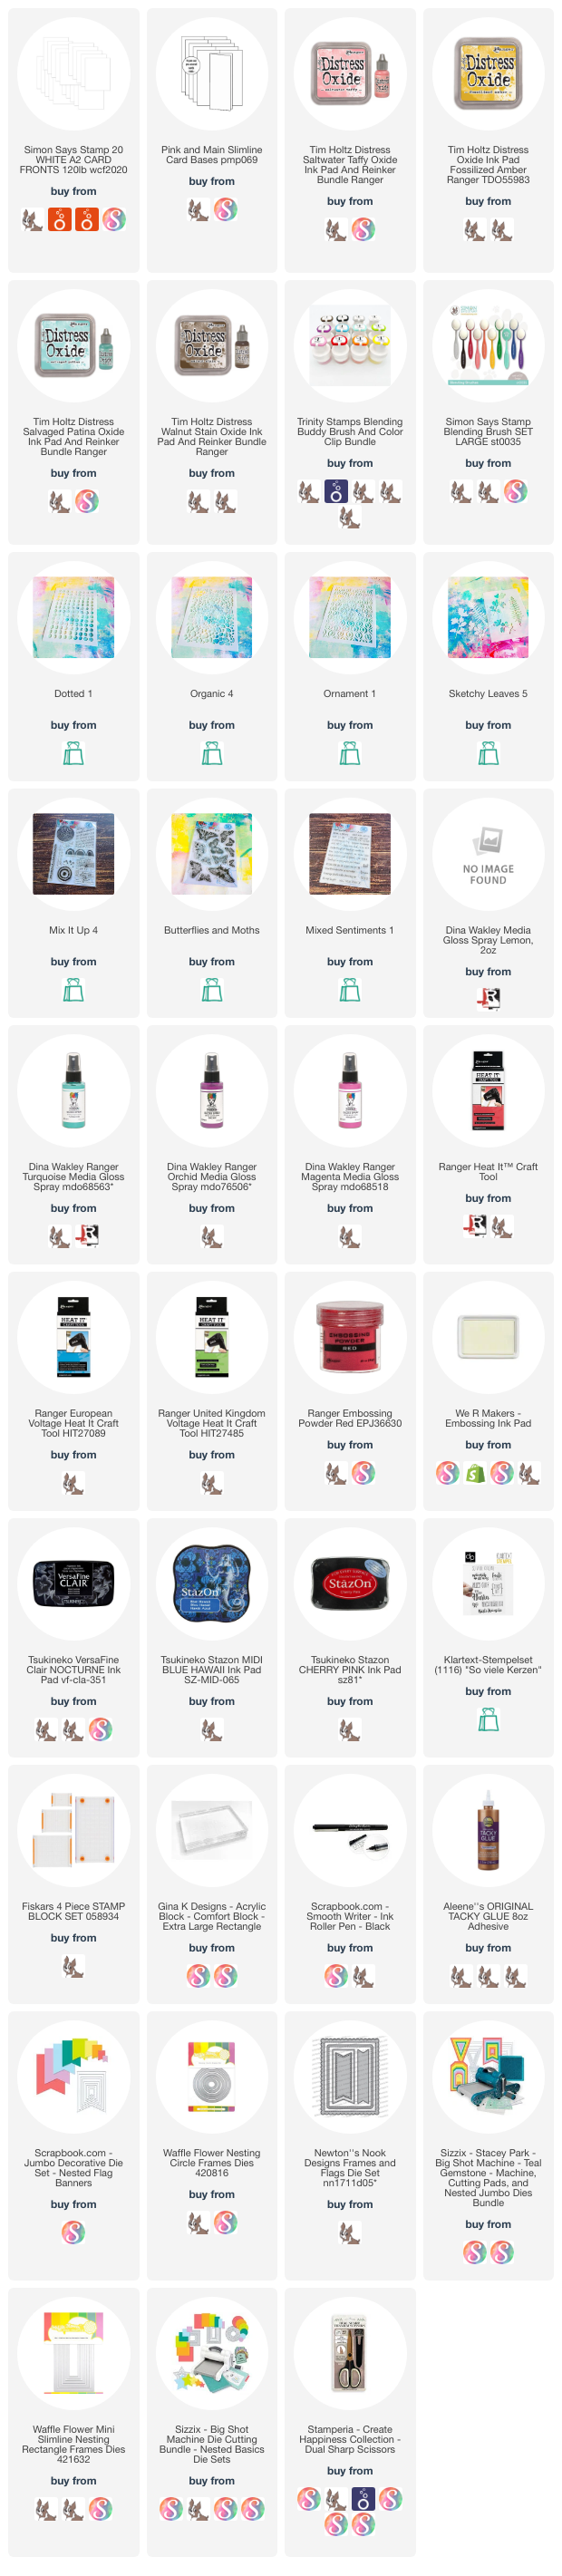
Hello everyone, it´s my turn to share a project over at Rubber Dance blog today. I am up with a vintage styled collage background card. For this card I´ve used the “DIY vintage tickets” I recently created, as my focal point. The stamps used on this project are: Mix It Up 7, Mix It Up 6 and Mix It Up 5. On the background I´ve used various gelli printed and stenciled collage papers using different stencils, like: Marks 2, Marks 3 and Xmas Trees 1.
For this card I first gathered gelli printed and stenciled collage paper bits together and wripped and adhered random bits onto a piece of cardstock. Next I applied some white heavy body paint with my fingers onto the surface to tie the different papers together.
After that I grabbed some dark brown Distress Oxide ink and stamped a script image with Mix It Up 5 stamp set randomly onto the surface. Using the same stamp set I swapped for black stamp ink and another stamp and continued adding images. Finally using a dark blue Distress Oxide ink and one more stamp image from the set I finished the background.
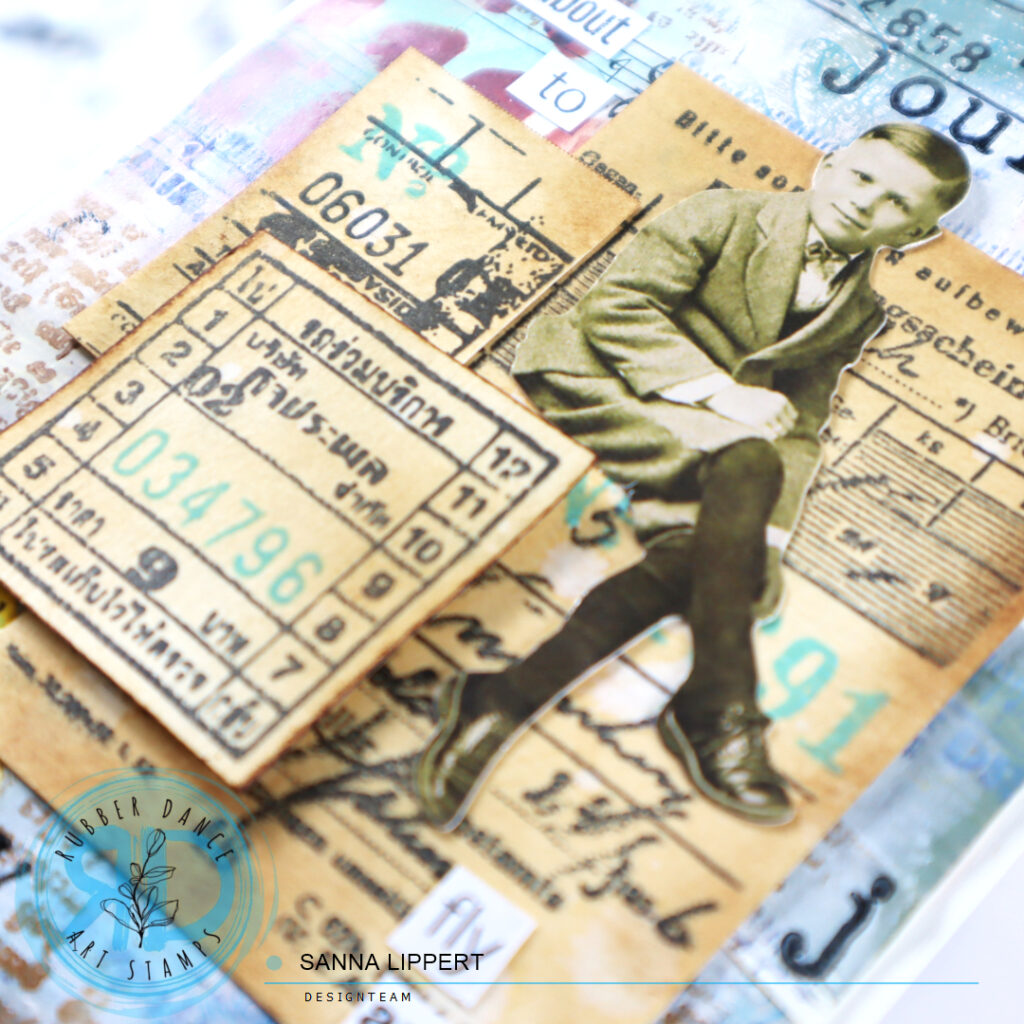
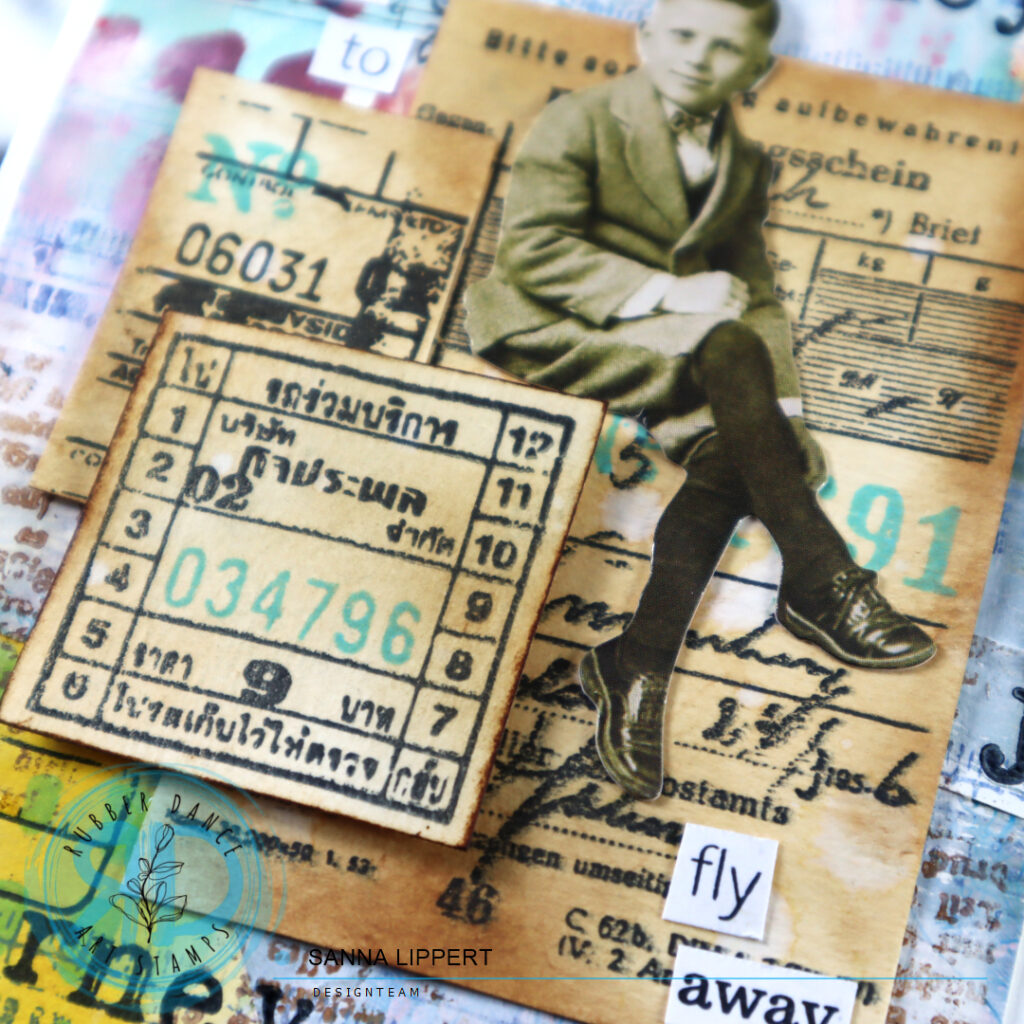
Next I created a cluster with my “DIY vintage tickets” on to the card (see the video here). I adhered one of the tickets with 3D foam to create more depth. I also stamped some additional details to the tickets with Mix It Up 7 stamp set and a turquoise Distress Oxide Ink tone.
Then I added a Tim Holtz paper doll to go with the tickets, added some Mixed Sentiments 1 words to create a sentiment to the card and finished the card by stamping the word “journey” with black ink onto the background (Mix It Up 6).
To give you a better idea of the steps, here is the process video of the card:
I hope you get inspired to try some of these ideas out. Have fun! xx, Sanna
Hello, it´s my turn again over at the Rubber Dance blog today and I am up sharing another take on residue gelli prints turned into card focal points. Like on my last post, I created another set of die cut focal points out of residue gelli printing papers. This time using different color combinations and stenciling the card backgrounds, instead of stamping.
I first die cut the residue gelli printing paper with die cut dies into different forms and sizes (banners, circles and squares). I then added some stamping with black stamp ink and some heat embossed details with red embossing ink and the Pencil Marks 8 stamp set.
After that I took the Ornament 1 stencil and added brown Distress Oxide Ink thru it onto the die cut pieces. Then I took the Mix It Up 4 stamp set and added some stamping with blue StazOn ink here and there onto the background.
Next I took out some premade Sketchy Leaves 5 stencil fodder and adhered them onto the die cut pieces. On top of those I added some yarn and a fodder butterfly, created with a gel plate and Butterflies and Moths stamp set.
I also wanted to add a stamped word onto the focal point elements and took out the Mixed Sentiments 1 stamp set. I just used one word from each sentiment, instead of the whole quote.
Instead of adding a stamped background, I chose to stencil Distress Oxide Inks thru the Ornament 1, Dotted 1 and Organic 4 stencils onto the card bases and then adhered the die cut pieces with fodder onto the cards.
I also wanted to add a stamped sentiment to every card, so I used an older German birthday sentiment stamp set from my own stash for stamping them.
After finishing the cards, I added some Gloss Spray droplets to the butterflies wings here and there for additional color and interest.
Here is a video on how I created the Sketchy Leaves 5 stencil fodder that I used on some of the focal point elements:
And here is a short video on the focal point elements and how I put the cards together:
I hope I could inspire you to play with your Rubber Dance stamps and stencils and create colorful cards.
Hello, it´s my turn for a project share over at Rubber Dance blog today. I am up with a fun card project, created using residue gelli printing paper that I turned into card focal points. For this project I used the Dotted 1 and Organic 4 stencils and Mix It Up 4 as well as Butterflies and Moths stamp sets.
When gelli printing, I always take a sheet or two of paper to brayer the residue paint and/or lift paint from the gel plate on to. So sometimes these paper sheets are full of paint layers and I figured, I could upcycle them and make something fun of them.
I first took some die cut dies out and die cut the paper sheets into smaller pieces (circles, banners etc.). Next I took out the Dotted 1 and Organic 4 stencils and added some white and golden heat embossing powder areas to the die cut papers. Next I mixed white modeling paste with magenta acrylic paint together and applied the paste thru the Dotted 1 stencil onto the die cut pieces.
After that I took the Mix It Up 4 stamp set and added stamped details with black and light grey stamping ink to the pieces. After that ink and tinted modeling paste was dry, I added some Gloss Spray details in yellow, turquoise and fuchsia on top.
Now all I needed to do, was to stamp some details to the white card bases with Distress Oxide Inks and the Mix It Up 4 stamp set. I chose lighter colors as a contrast to the bold focal point pieces here. I then adhered the die cut focal point pieces with 3D foam tape onto the card bases, added some Butterflies and Moths fodder to go with them and chose a sticker sentiment to each card. For finishing touches I added a few Gloss Spray droplets alongside the card sentiments for additional interest.
Here is a video on the creating process for you to watch. I hope you get inspired by it!
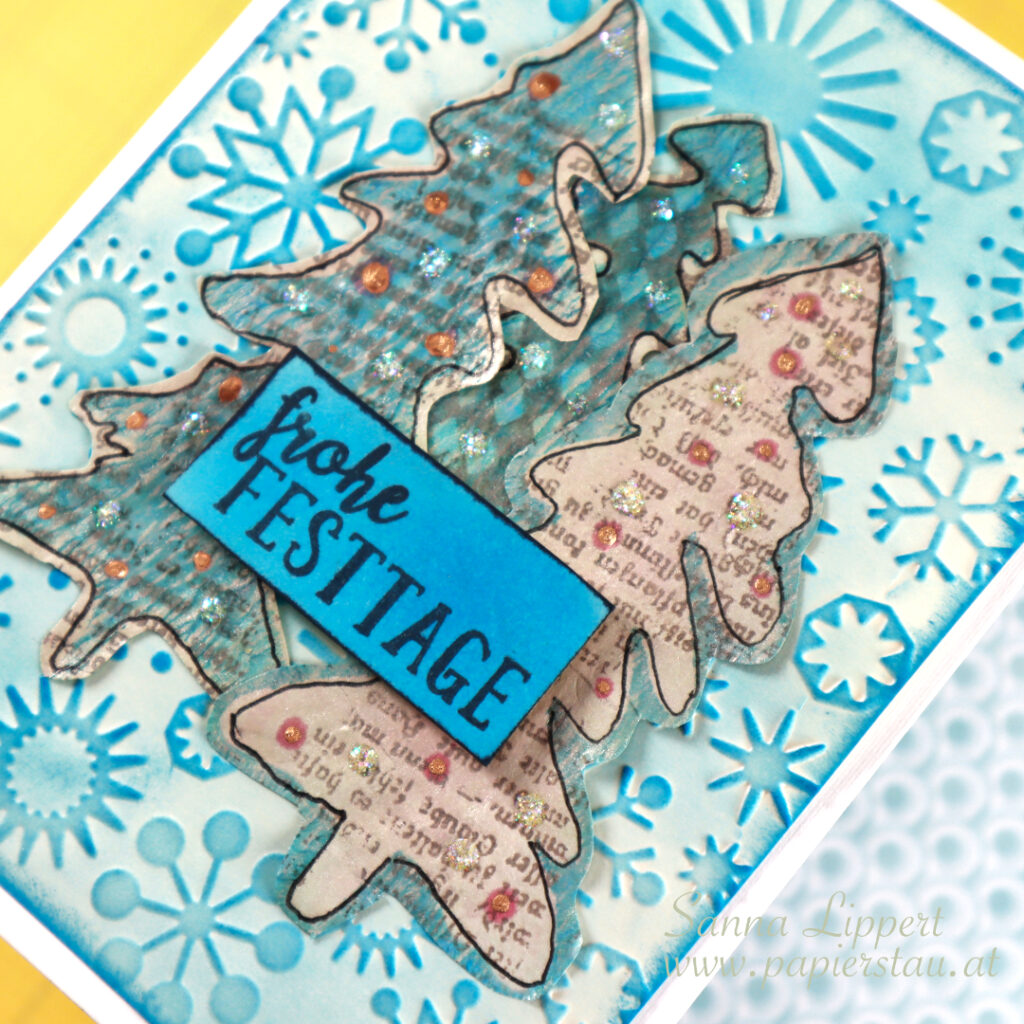
Hello and hapy Monday! Here is yet another Xmas card I created.
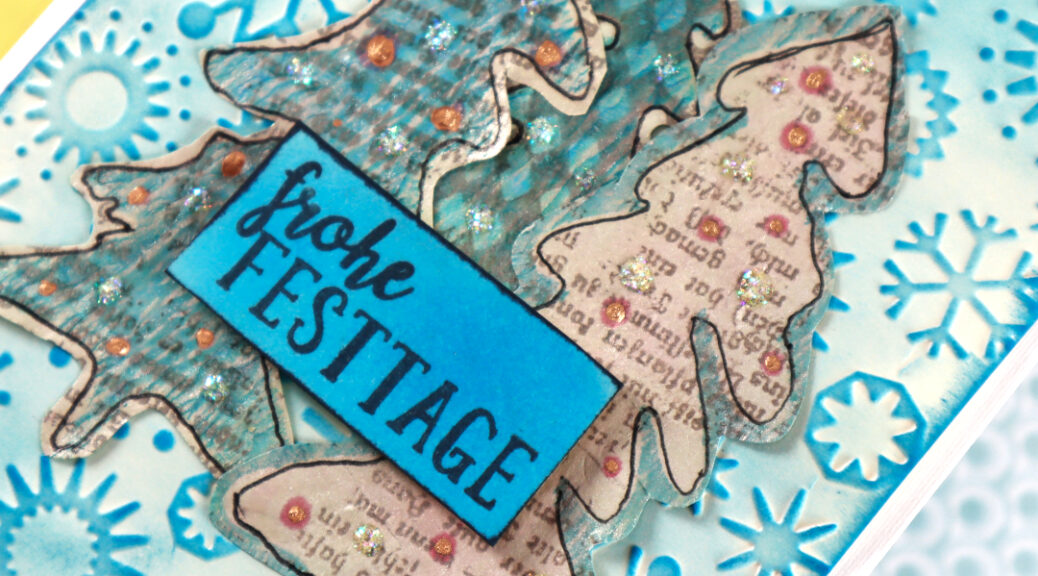
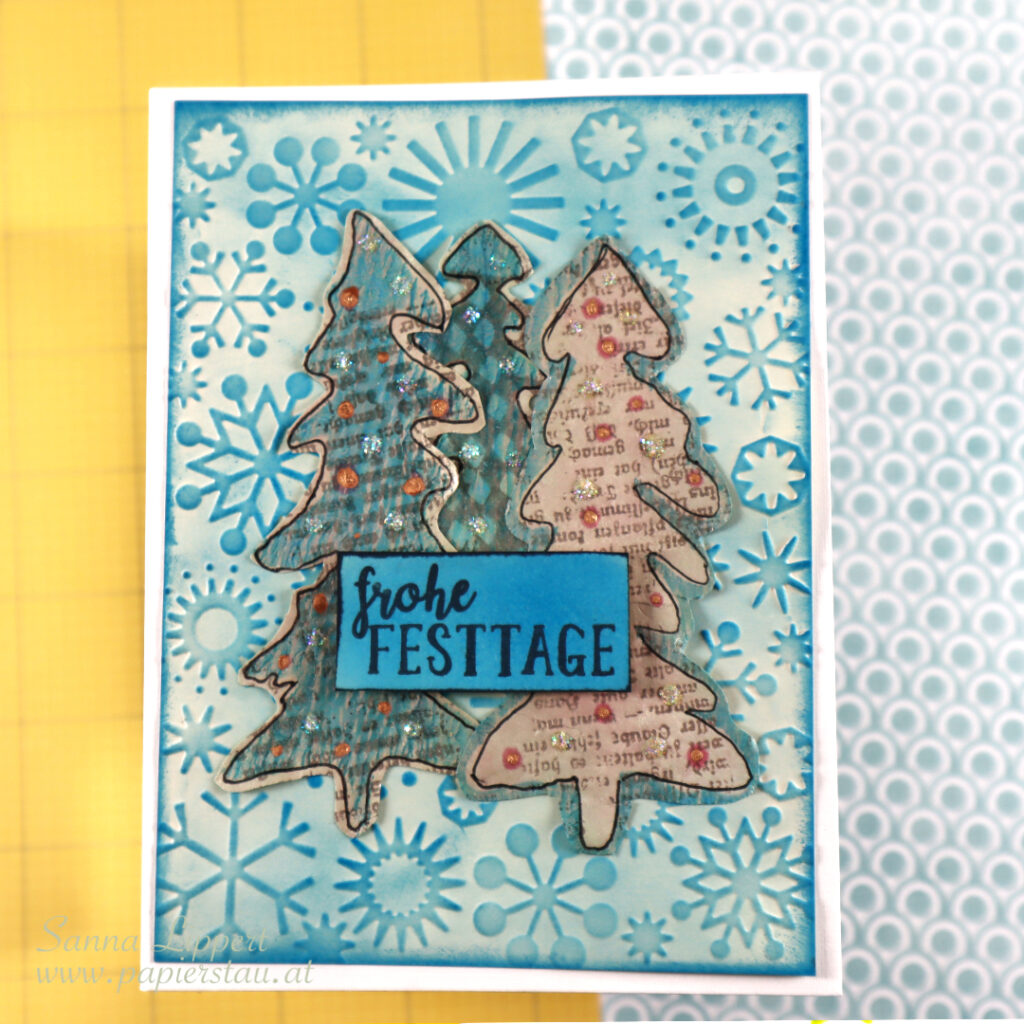
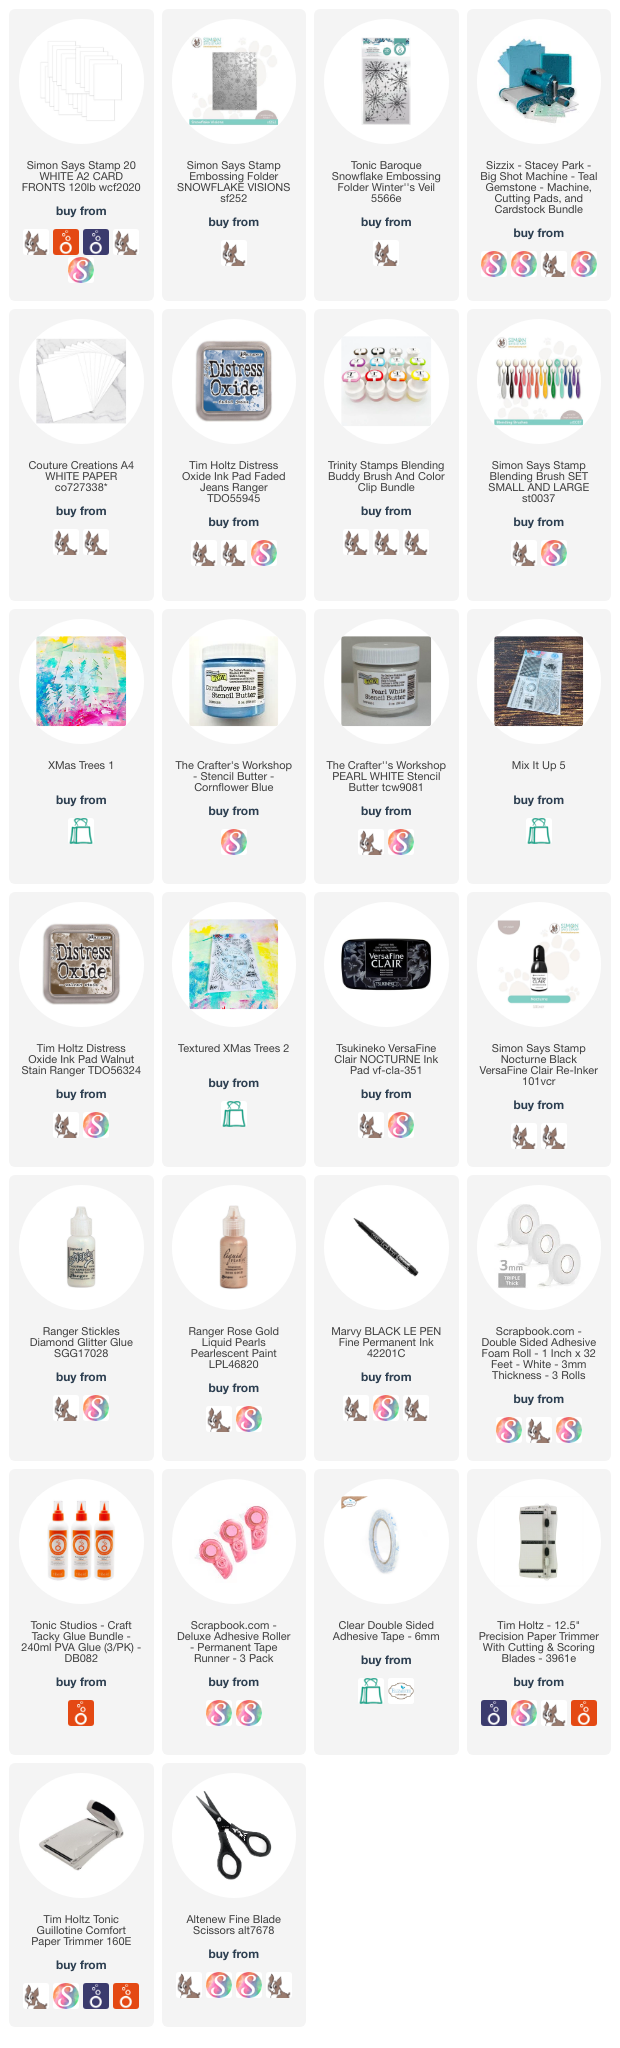
I used my old dry embossing folder by Cuttlebug to create this background, then inked over the embossed paper with Distress Oxide ink (Faded Jeans) very lightly. I then added some stenciled and stamped Xmas trees as a centerpiece and stamped a sentiment on an inked piece of paper with 3D foam. The dots are made with golden paint and glitter glue.
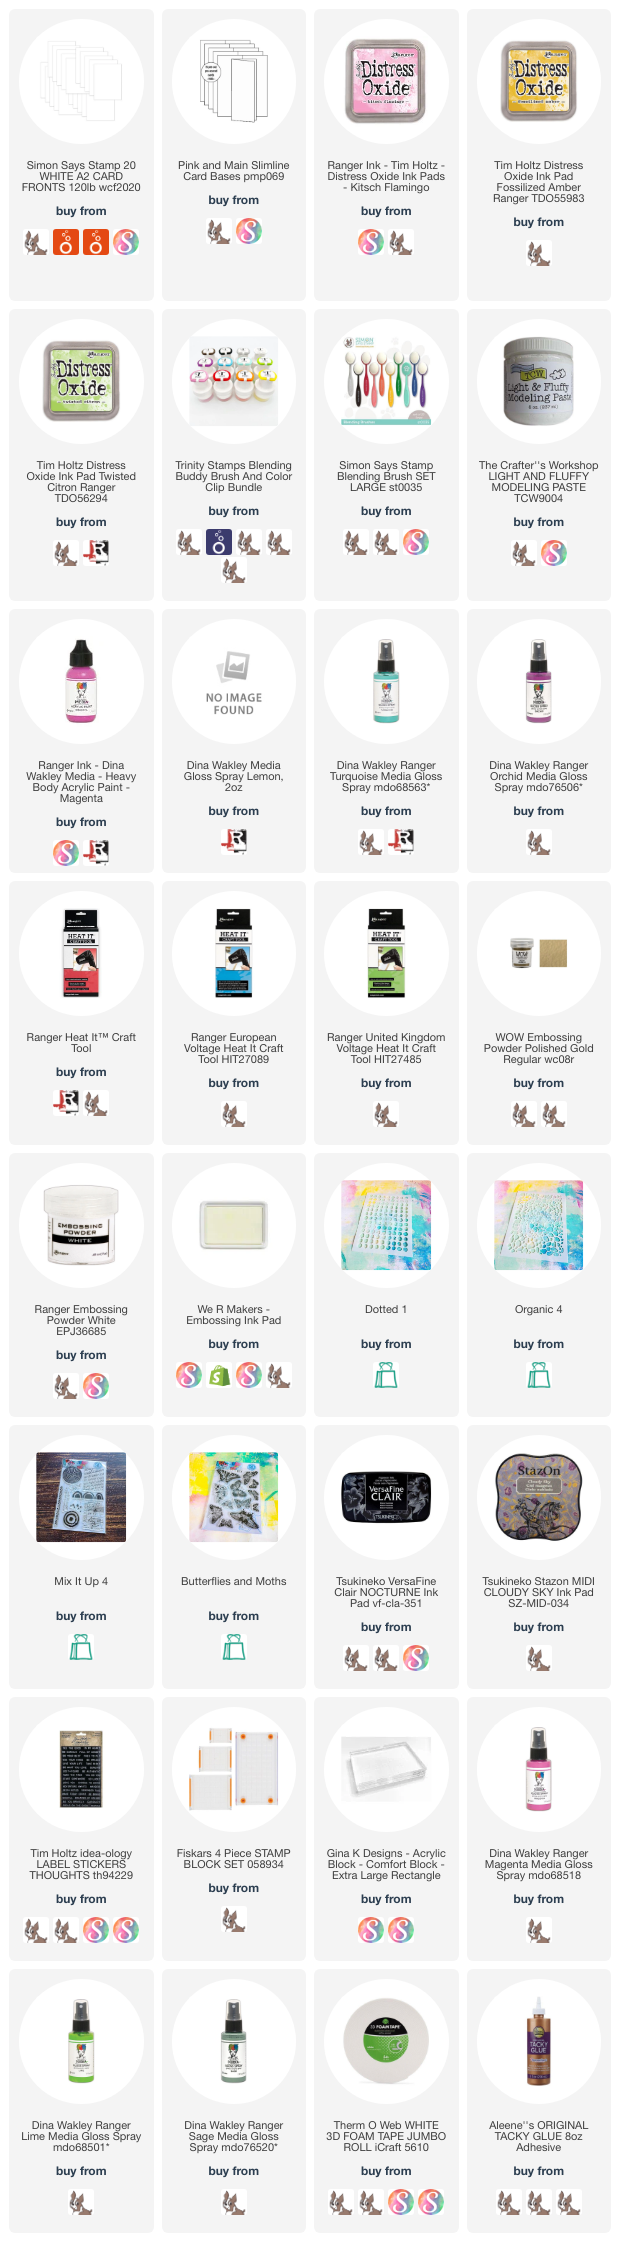
The stamps used on the stenciled and outlined trees are by Rubber Dance, as is the stencil used here. For more details see the supply list at the end.
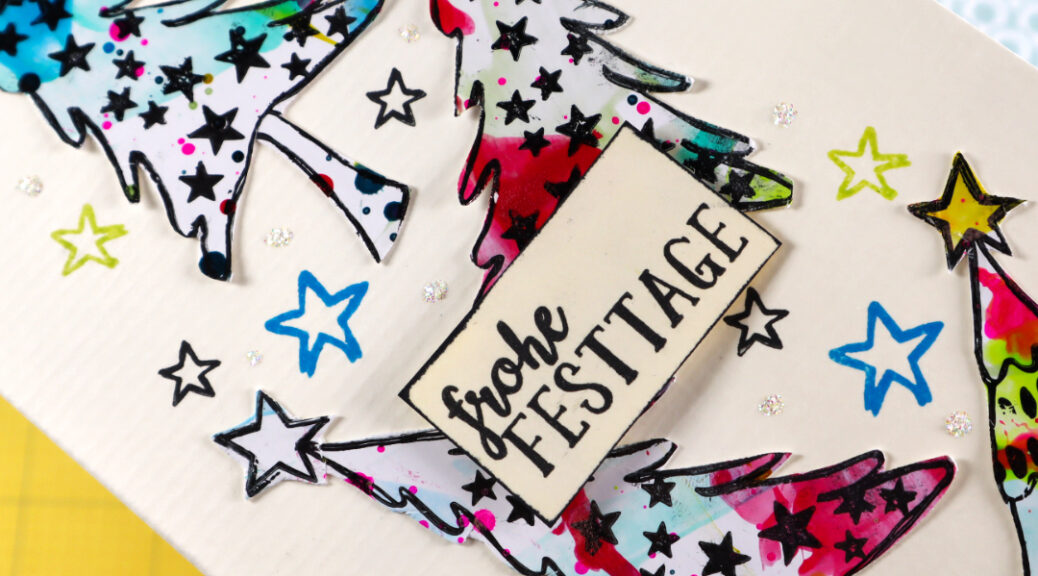
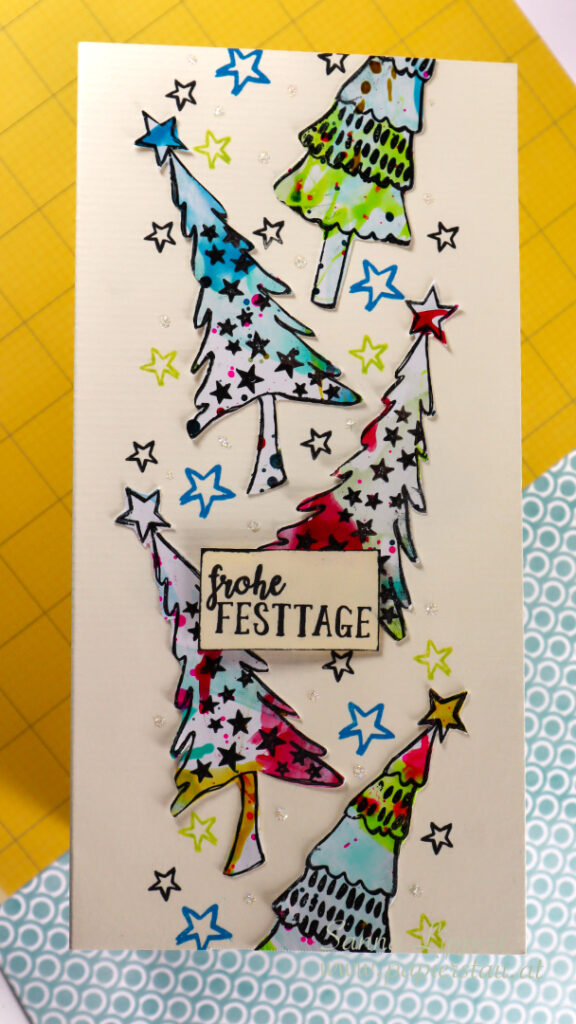
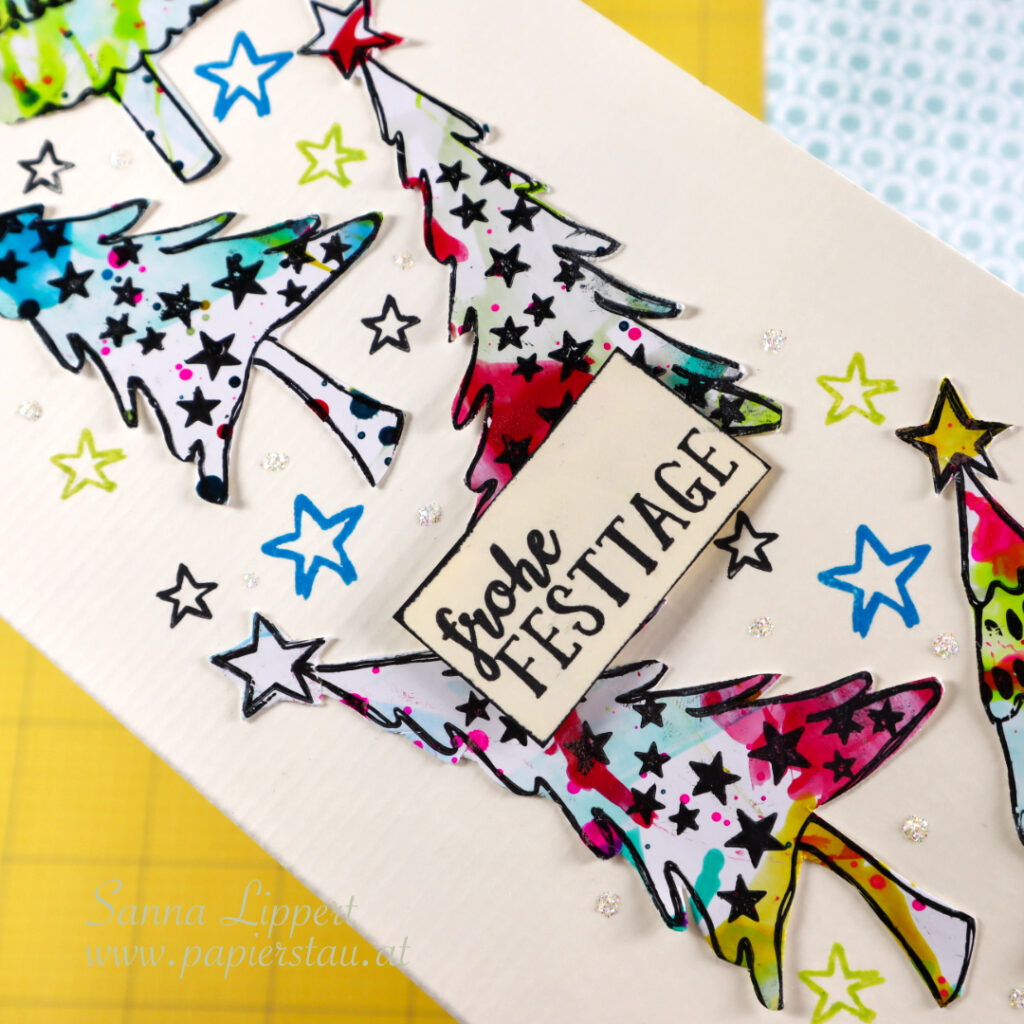
Hello and happy Thursday! Here is another slimline card I created with the Gloss Spray Xmas Trees I made in bulk.
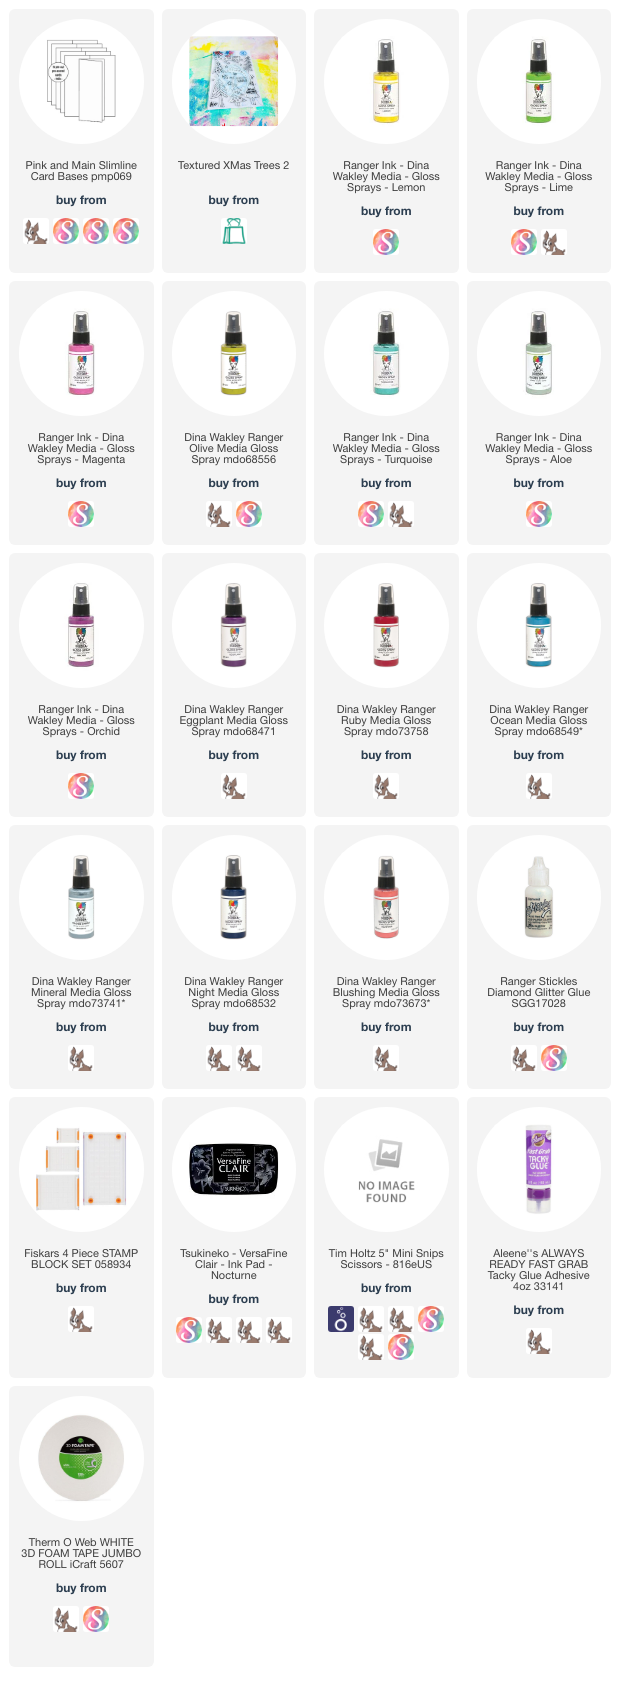
For this one I just took the premade trees and arranged and adhered them onto a slimline card, then added some stamped stars from the same stamp set (see details on the supply list). I used Distress Oxide inks for stamping the stars.
After that I added some datails with Stickles and a stamped sentiment into the middle, adhered with 3D foam tape.
Have a great rest of the week! Happy crafting, xxx, Sanna