Tag Archives: distress oxide ink

Artist Trading card set with Textured Mushrooms 2 – Rubber Dance

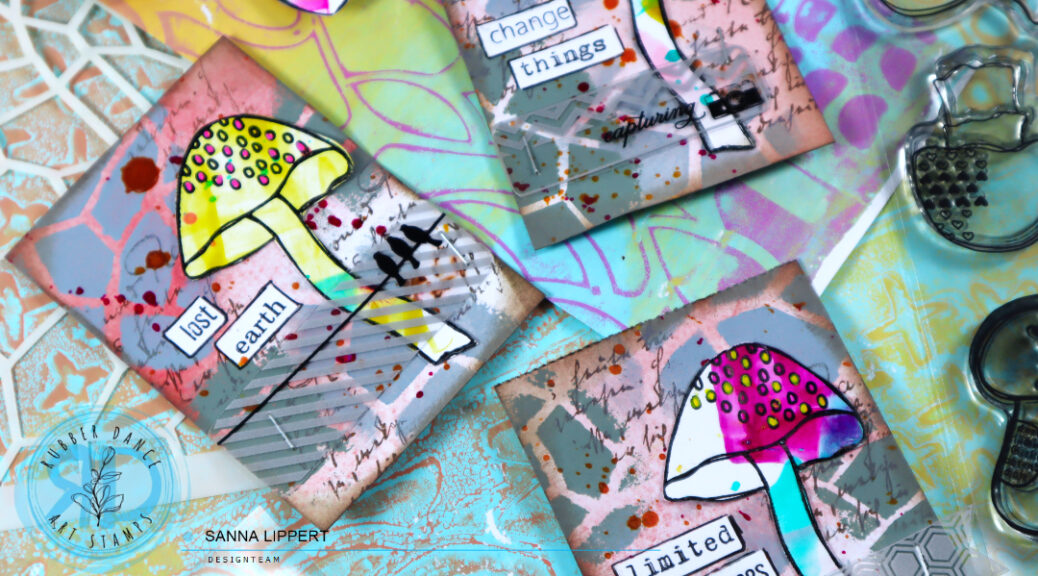
Hello, it´s my turn over at the Rubber Dance blog again today and I am sharing a fall themed Artist Trading Card set, created with Textured Mushrooms 2, Mix It Up 6 and Mix a Sentiment 2023 stamp sets as well as the Lattice stencil. As my starting point I again used the Gloss Spray mushrooms from my post back on the 20th of October. I made plenty of them at once and now have fun material to play with.

For this set I started with a red patterned paper piece that I fussy cut into right size. Next I took Dina Wakley paints in tones Mineral and Sage and applied those thru the Lattice stencil onto the papers very randomly. After the paint was dry, I added stamping with the Mit It Up 6 stamp set stamps and brown stamp ink.

For additional interest I added some Gloss Spray splatters in Cheddar and Fuchsia and let the layer dry before attaching some screen prints to the cards with a stapler. Now all I needed to do, was to arrange the Gloss Spray mushrooms onto the cards and adhere them on place. For finishing touches I added some Mix a Sentiment 2023 words to the ATC´s as well as added details to the mushrooms with Posca pens. Finally, to add more depth to the cards, I inked the edges with a brown Distress Oxide ink.

And here is the video start-to-finish for further details and steps – hope you like it and get inspired!

Happy creating!
xx, Sanna

Supplies:
Ink blended and stamped clean & simple style cards – Rubber Dance

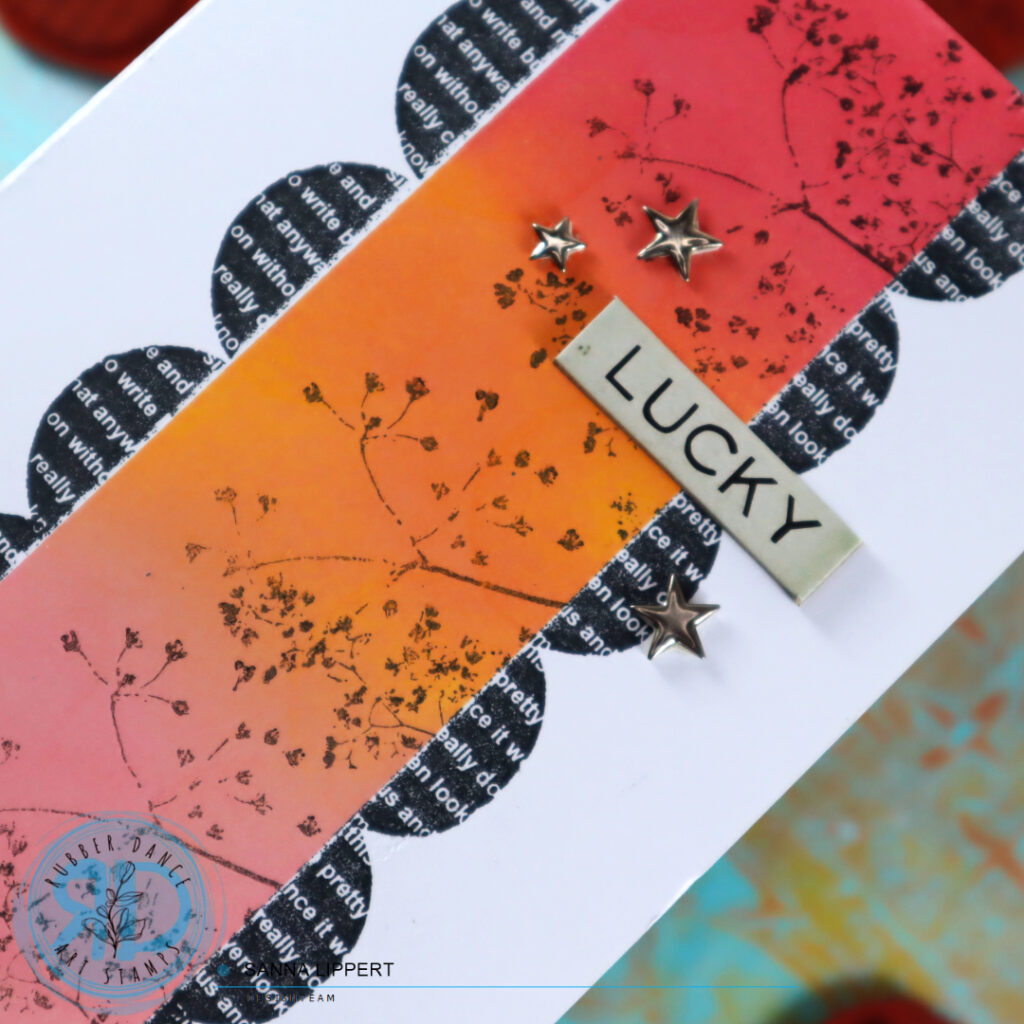
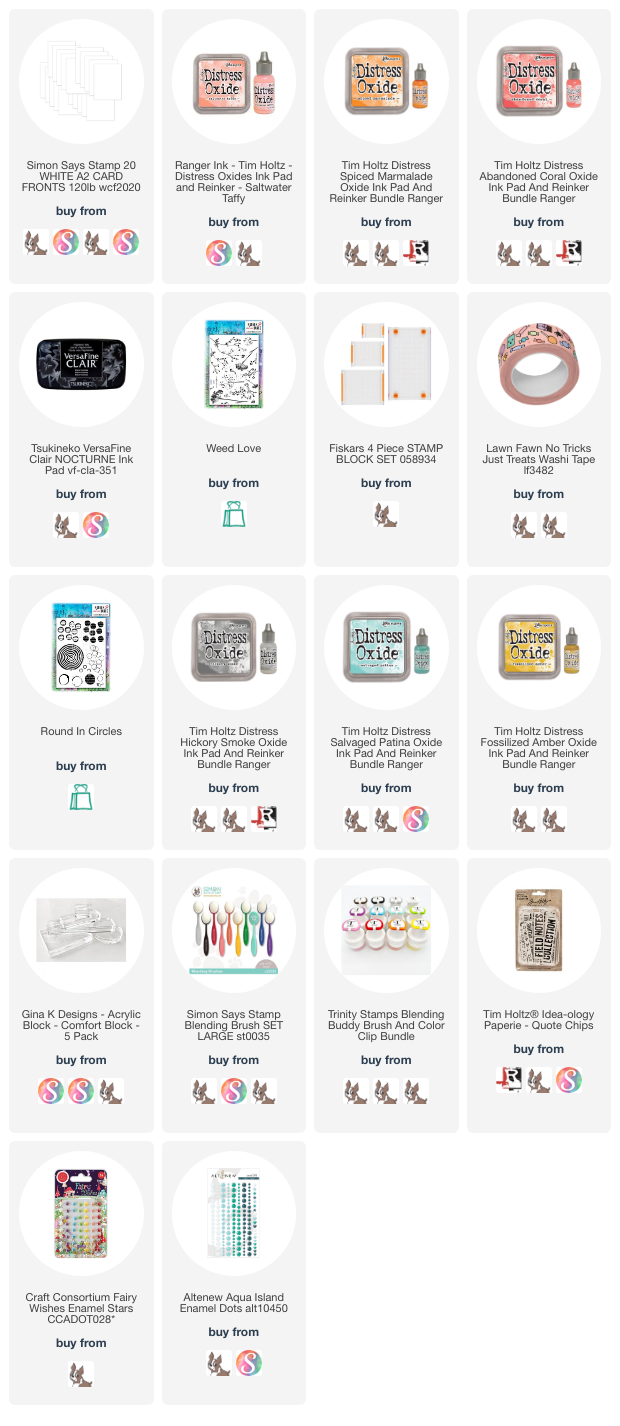
Hello, I am up over at the Rubber Dance blog with a card set tutorial. For these cards I used plenty of Distress Oxide Inks and two various rubber stamp sets (Weed Love & Round in Circles) from the store.

And this is how I created these cards:

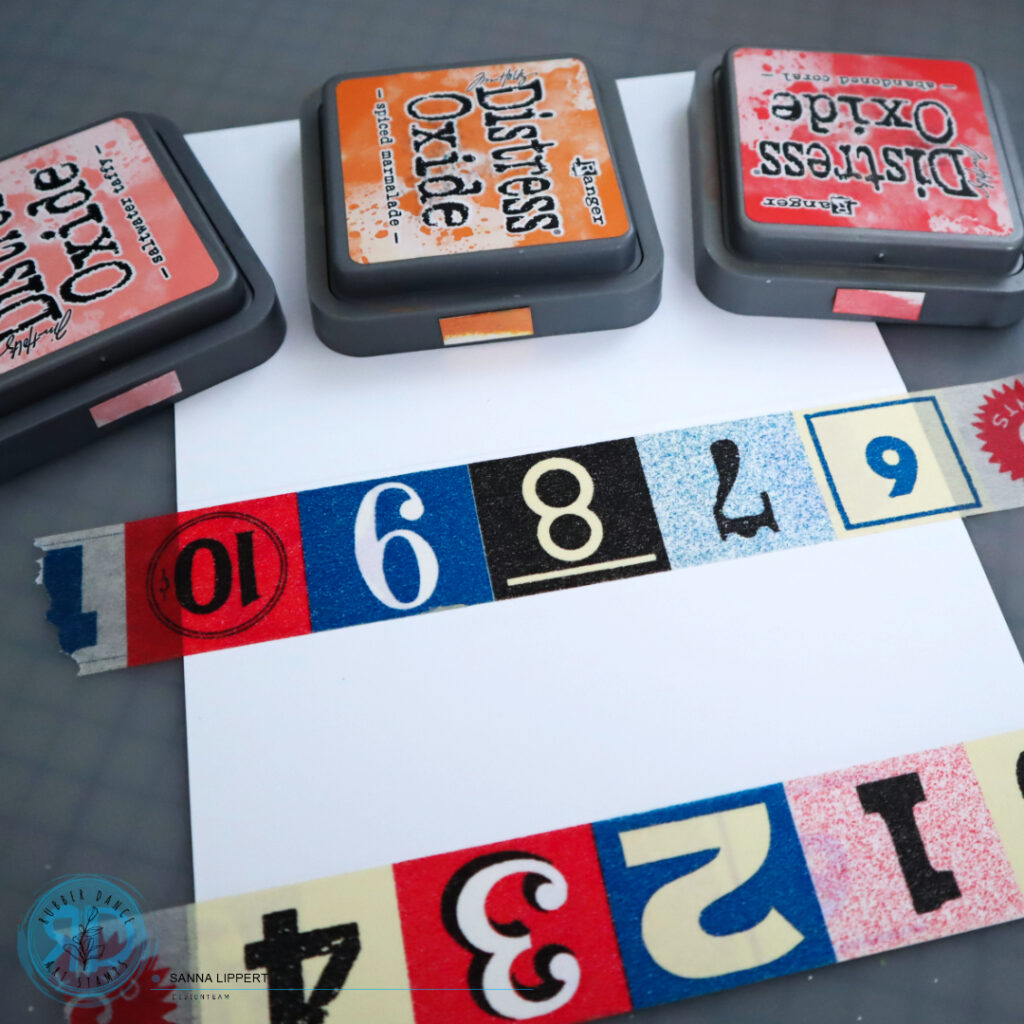
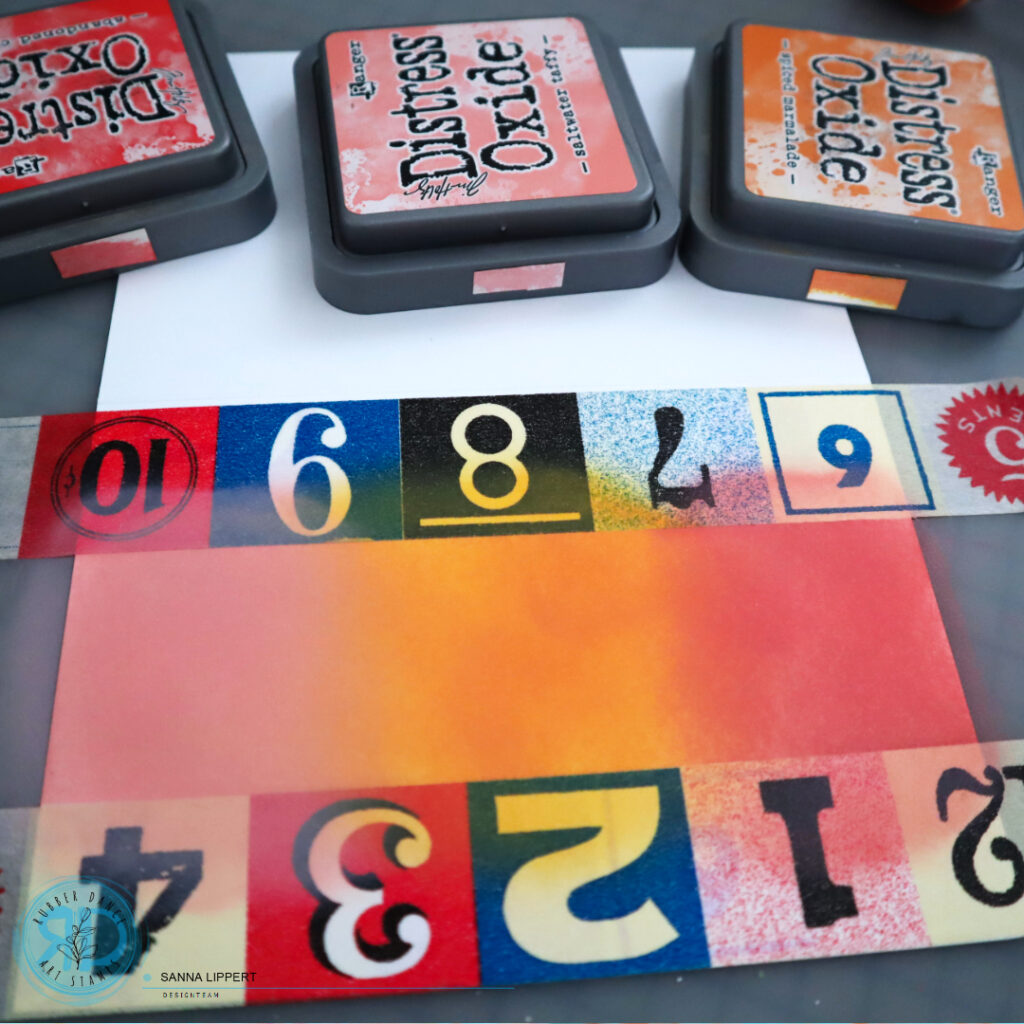
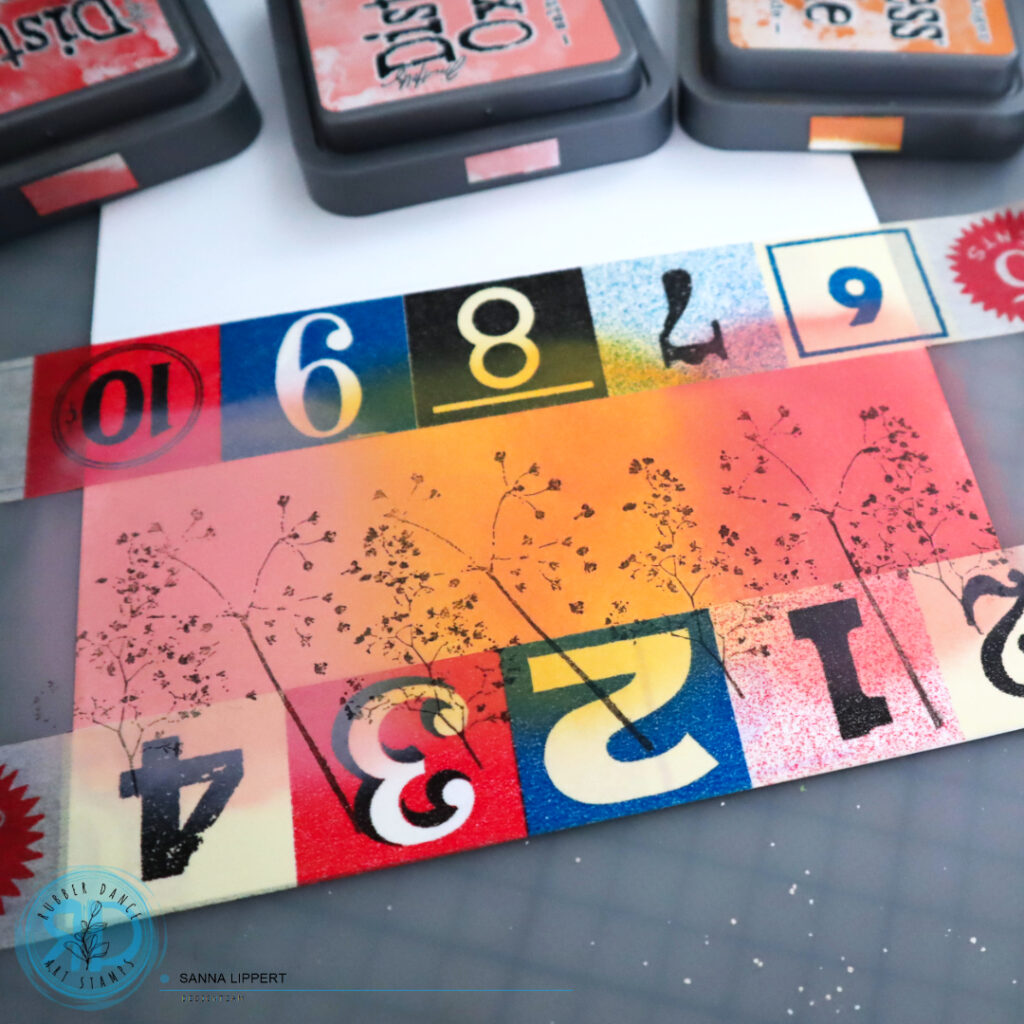
First I added some washi tape to create borders for the area I was about to add ink blending onto. I used Distress Oxide Ink tones: saltwater taffy, spiced marmelade and abandoned coral for the first card. After adding the ink onto the card base I used one of the Weed Love stamp set stamps to add some stamping onto the area using black stamp ink.

Next I added another layer of washi tape on top of the ink blended and stamped area to create a border with black ink and one of the Round in Circles stamps. After that I only had to decorate the card with a sentiment (Tim Holtz Quote Chips) and a few enamel stars and the first card was done.

For the second card I used the same steps, but changed the colors to: hickory smoke, salvaged patina and fossilized amber. After that I added a border with the same stamp as on the previous card, except this time I stamped slightly overlappingly to create a different border. Then to decorate the card with Quote Chips and some green enamel dots.

I hope I could inspire you to play with the stamps featured on today´s post and give ink blending and creating clean and simple styled cards a try. Have fun!!!
xxx, Sanna

Supplies:
White space birthday card

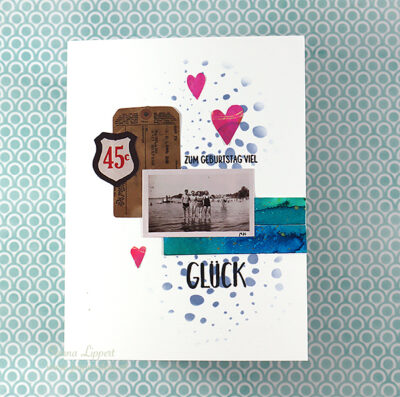
Hello and happy Sunday! I used to do layouts and cards with lots of white space back in the day and I find that style currently very appealing again.

There are still all the elements in there that I also like. Mixed media bits, stamping, stenciling and bits of ephemera/paper. But with white space.

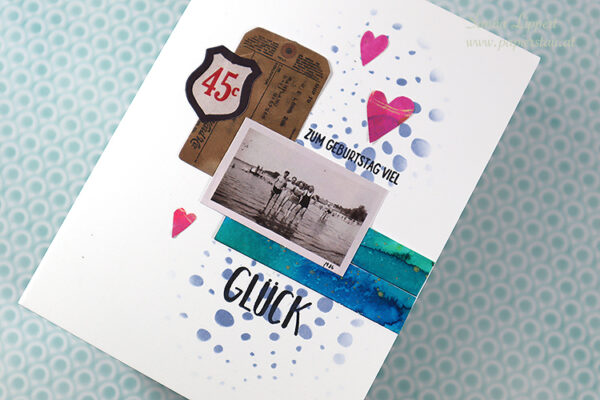
I´ve used ephemera by Tim Holtz (snippets) with an AALL & Create stencil on the background. Ink is Distress Oxide ink and the paper bits are leftover pieces from various mixed media projects. The sentiment is stamped with a Create a Smile stamp.

I enjoy making this type of cards recently, so be prepared for a couple of more shares the next days ;-).

Happy crafting,
xxx, Sanna

Supplies:
Christmas cards 2023 – part four

Hello! Here is another set of Christmas cards I made for this holiday season:


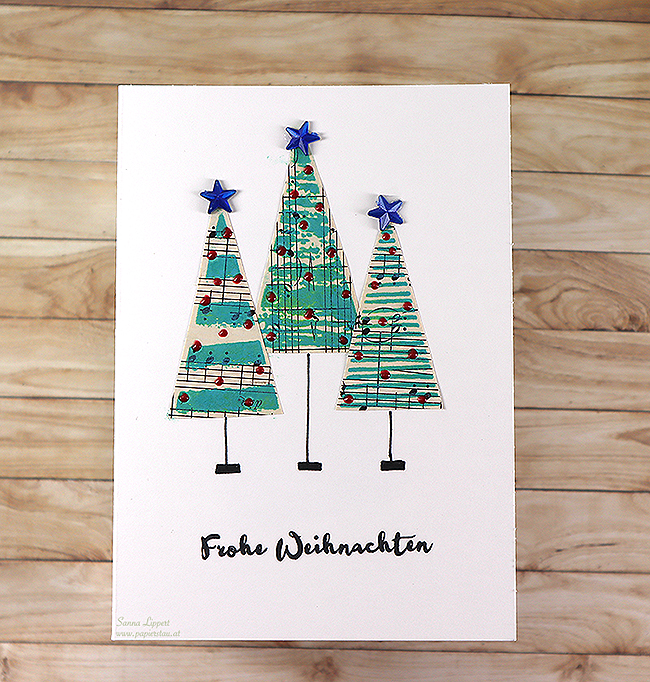
For this card I used music note papers and stamped Klartext stamp images onto them, then fussy cut the trees and adhered them onto the card base. I then hand drew the “tree trunks” and decorated the trees with Nuvo Drops and some rhinestone stars. For stamping the trees I used Distress Oxide inks.

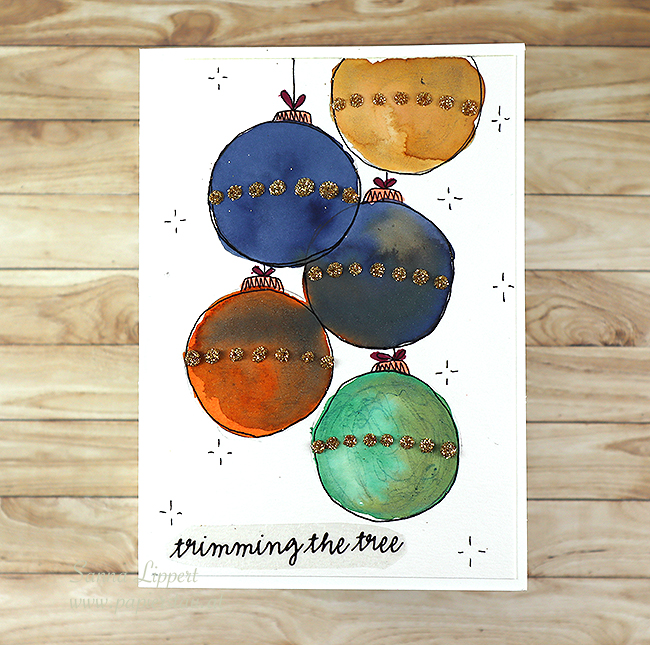
I also had to join the hand drawn Christmas bauble trend that is going strong on various social media sites this year. I used spray inks for “painting” the baubles and then outlined them with a black pen and added some golden glitter onto them and finished the card with a clear sticker sentiment.

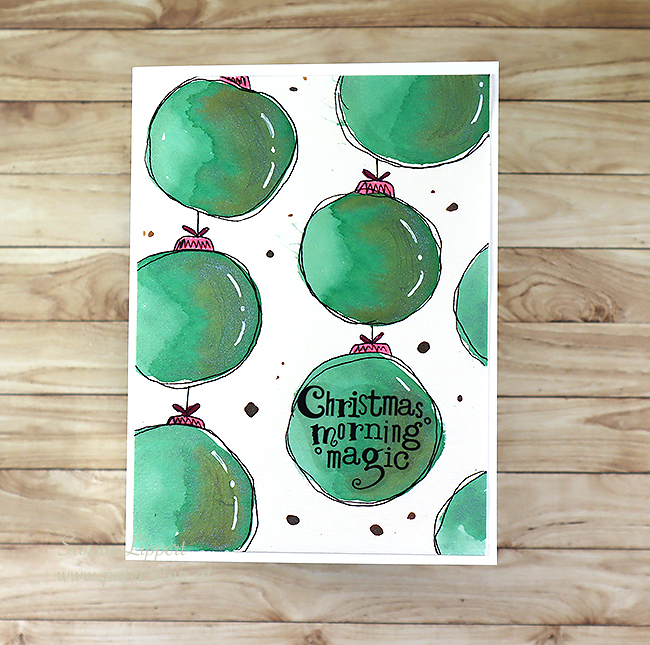
And here is another try on the Christmas bauble trends. This time I use Lindy´s spray ink and made them all in the same colour and again outlined with a black pen and added details with a Signo uni-ball white pen. For finishing touches there is again a clear sticker sentiment.
And it was fun making these!

There might be more coming 😉
xxx, Sanna


Supplies: