Tag Archives: Artist Trading Cards

Artist Trading card set with Textured Mushrooms 2 – Rubber Dance

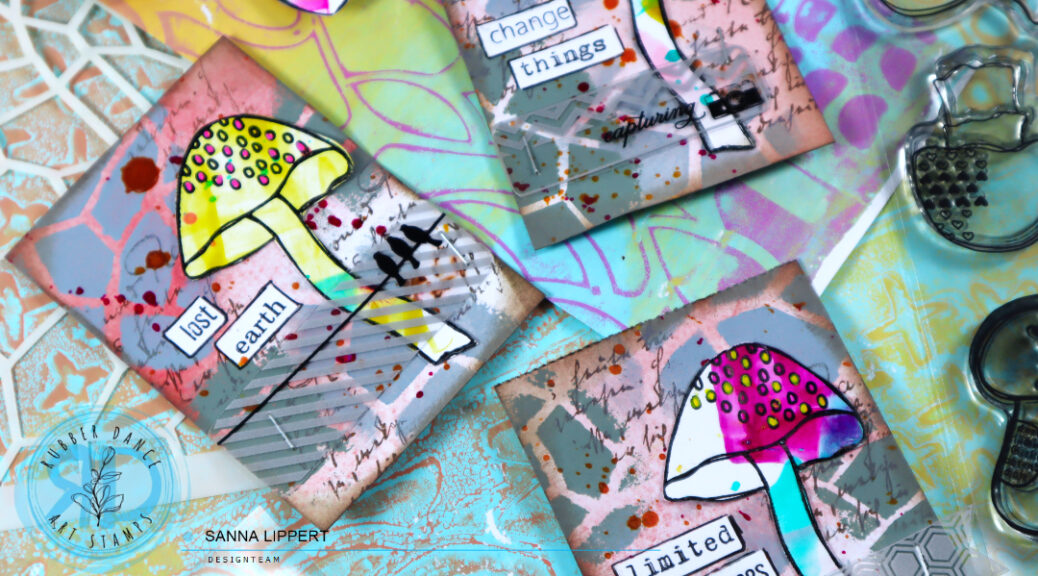
Hello, it´s my turn over at the Rubber Dance blog again today and I am sharing a fall themed Artist Trading Card set, created with Textured Mushrooms 2, Mix It Up 6 and Mix a Sentiment 2023 stamp sets as well as the Lattice stencil. As my starting point I again used the Gloss Spray mushrooms from my post back on the 20th of October. I made plenty of them at once and now have fun material to play with.

For this set I started with a red patterned paper piece that I fussy cut into right size. Next I took Dina Wakley paints in tones Mineral and Sage and applied those thru the Lattice stencil onto the papers very randomly. After the paint was dry, I added stamping with the Mit It Up 6 stamp set stamps and brown stamp ink.

For additional interest I added some Gloss Spray splatters in Cheddar and Fuchsia and let the layer dry before attaching some screen prints to the cards with a stapler. Now all I needed to do, was to arrange the Gloss Spray mushrooms onto the cards and adhere them on place. For finishing touches I added some Mix a Sentiment 2023 words to the ATC´s as well as added details to the mushrooms with Posca pens. Finally, to add more depth to the cards, I inked the edges with a brown Distress Oxide ink.

And here is the video start-to-finish for further details and steps – hope you like it and get inspired!

Happy creating!
xx, Sanna

Supplies:

ATC´s with Mix it Up 6 stamp set, stencils and Distress Oxide inks – Rubber Dance

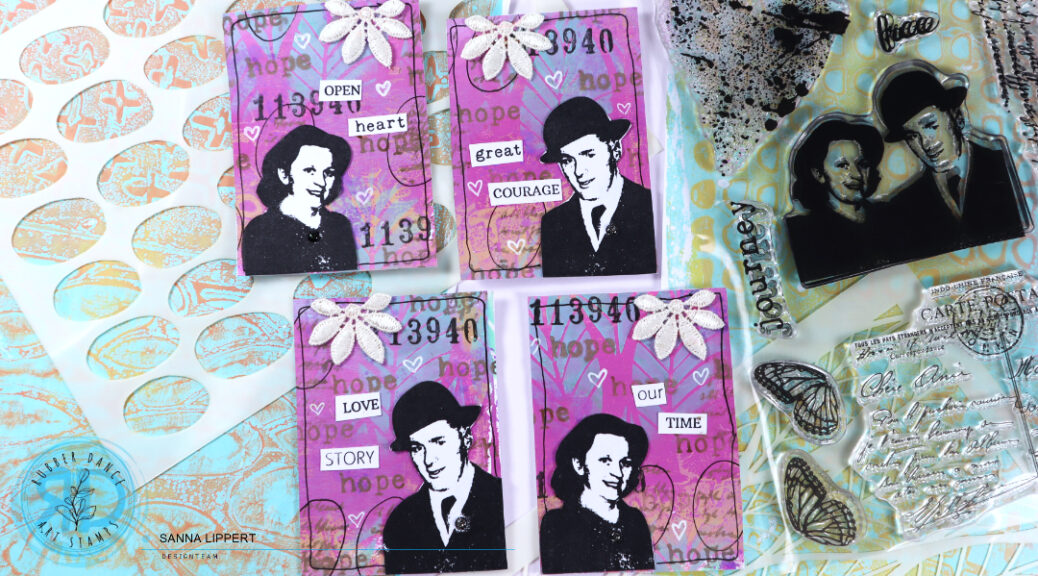
Hello everyone, I have an Artist Trading Card set up over at the Rubber Dance blog this time. I created these Artist Trading Cards with the Mix It Up 6 stamp set, Leaves #2 and Big Ovals stencil. As a background I used a gelli printed paper that I have used on a previous project (here).

The background paper, like mentioned above, is from my previous project and done using acrylic paints, a gelli plate and Cross It, as well as Marks 2 stencils. I used that paper as my starting point and added even more layers on top of it to create an interesting, artsy background for my ATC´s.

I started with the Leaves #2 stencil and cracked pistachio Distress Oxide ink by applying the ink thru the stencil randomly onto the background with a blending brush.

After that I took the Mix It Up 6 stamp set and the Big Ovals stencil and placed it on top of the paper. With ground expresso Distress Oxide I first added some stamped text thru the big ovals stencil onto the background. Then I outlined some of the stamped areas with a black pen thru the same stencil to make them stand out more from the background.

Next I stamped some wilted violet Distress Oxide toned splatters with the heart shaped stamp from the same stamp set and also some black numbers onto the background. After that I took the stamp image of the couple and stamped them with black stamp ink onto white paper and fussy cut them. In addition I added some ground expresso stamped words (hope) onto the background for more interest.

Finally I took some of the Mix A Sentiment 2023 stamp set words that I had left over from my previous projects and added them to go with the images. I also decorated the pages with a black pen outline and some fabric, vintage flowers and white gel pen hearts as well as some glitter enamel dots.

I hope I could inspire you to play with the Mix It Up 6 stamp set and the featured stencils! Have a great time creating!!
xxx, Sanna

Supplies:

Grungy Butterfly ATC´s with stencils, stamps and Distress Inks – Rubber Dance

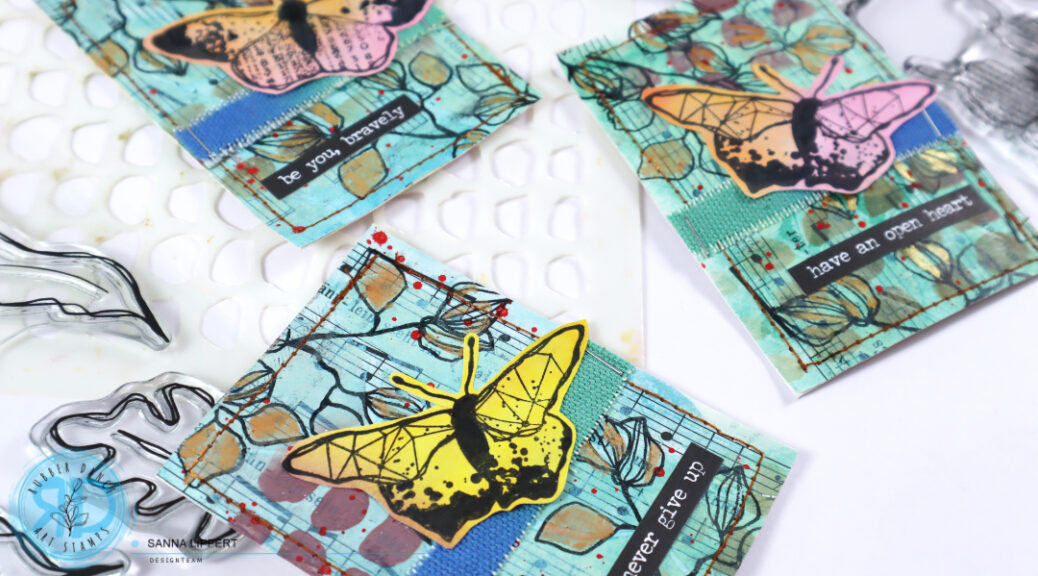
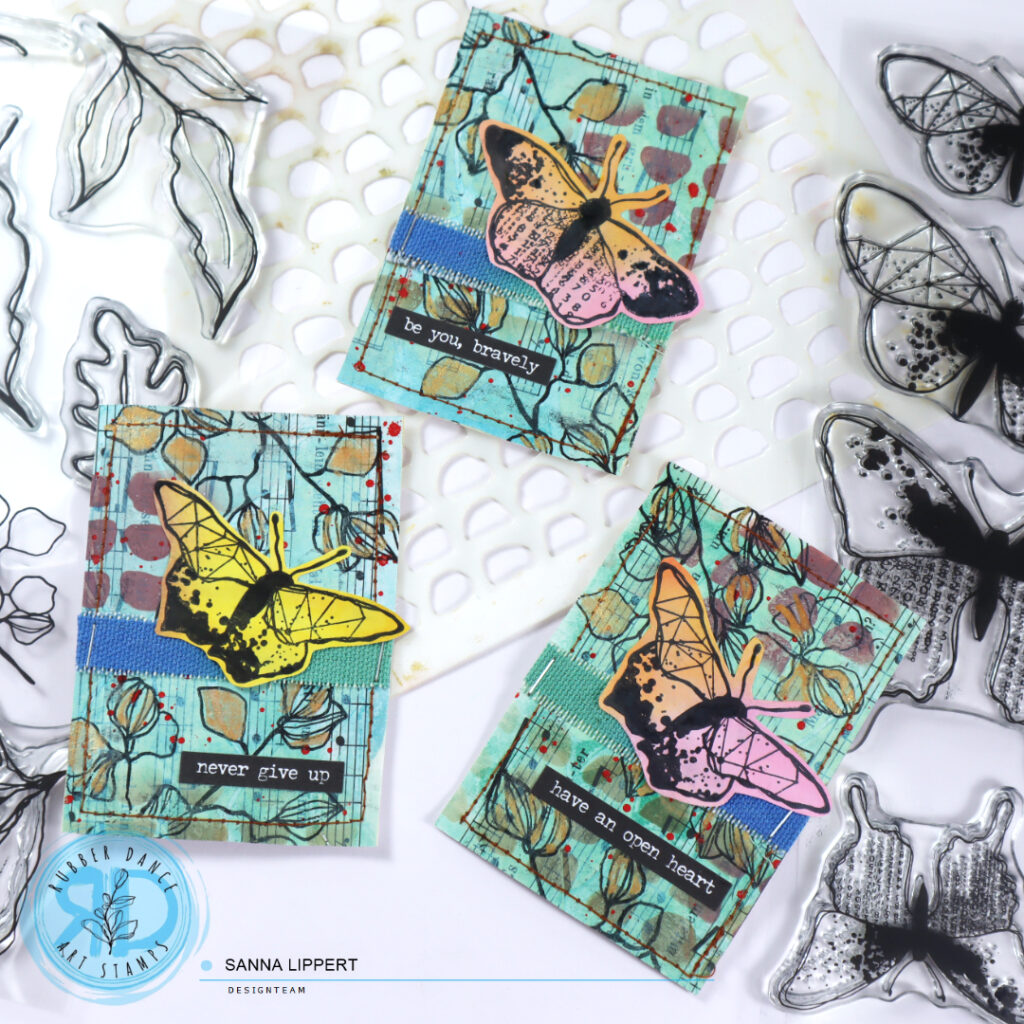
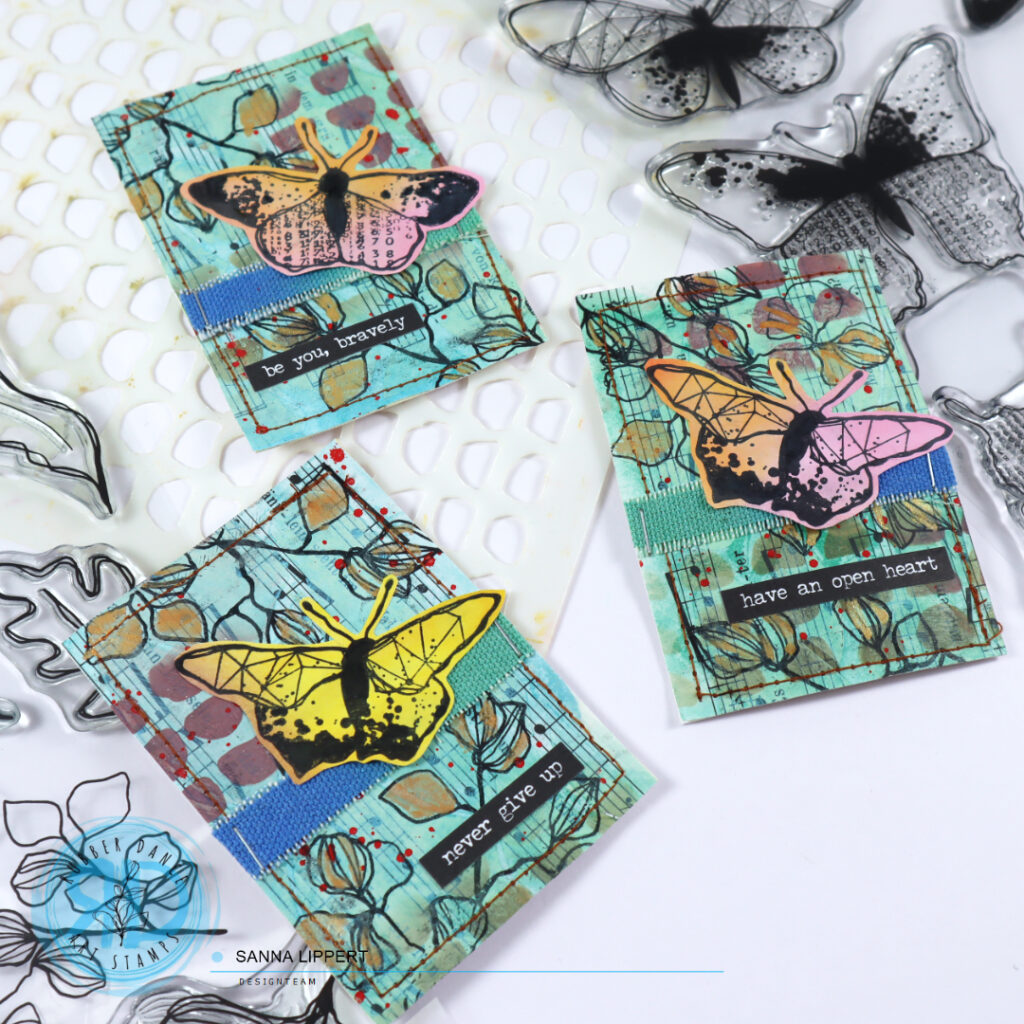
Hello, I am again up over at the Rubber Dance blog with an Artist Trading Card tutorial share. I created these ATC´s with various sets of Rubber Dance stamps and stencils.

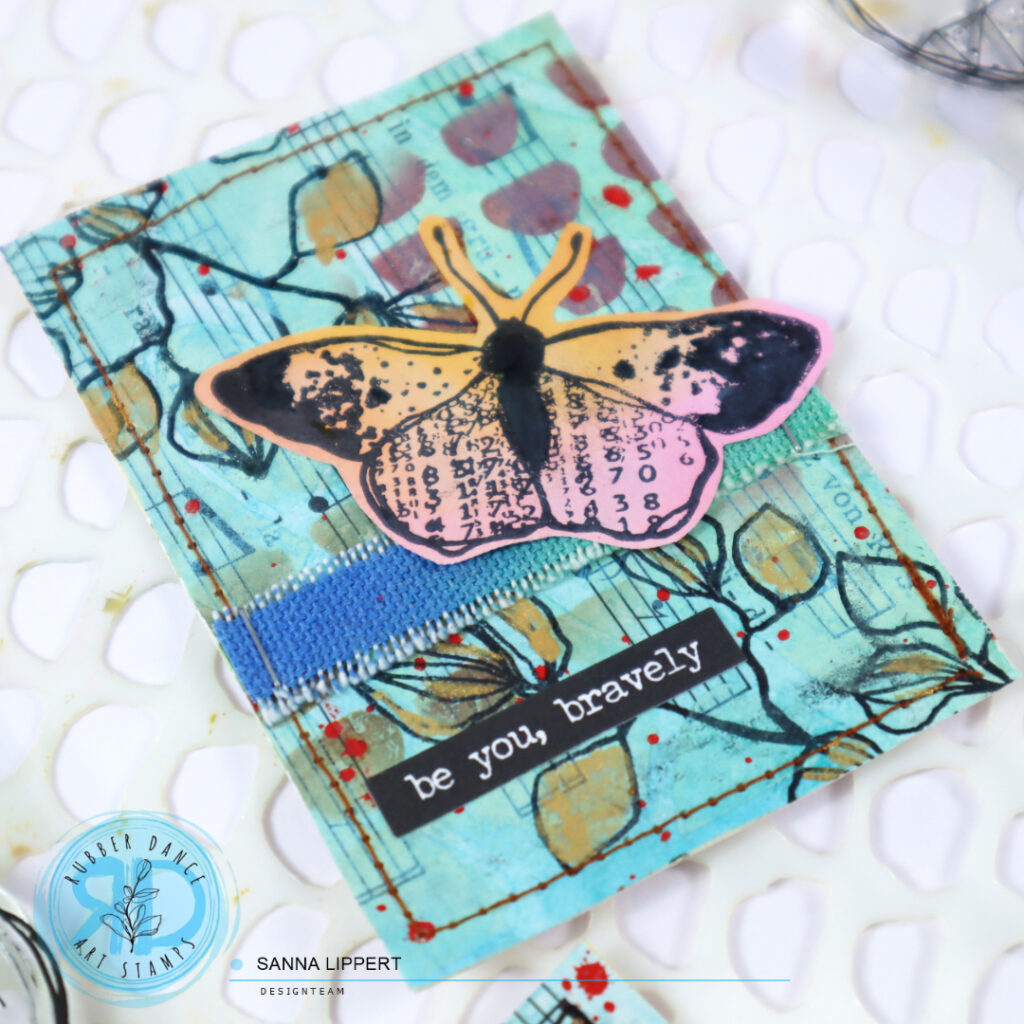
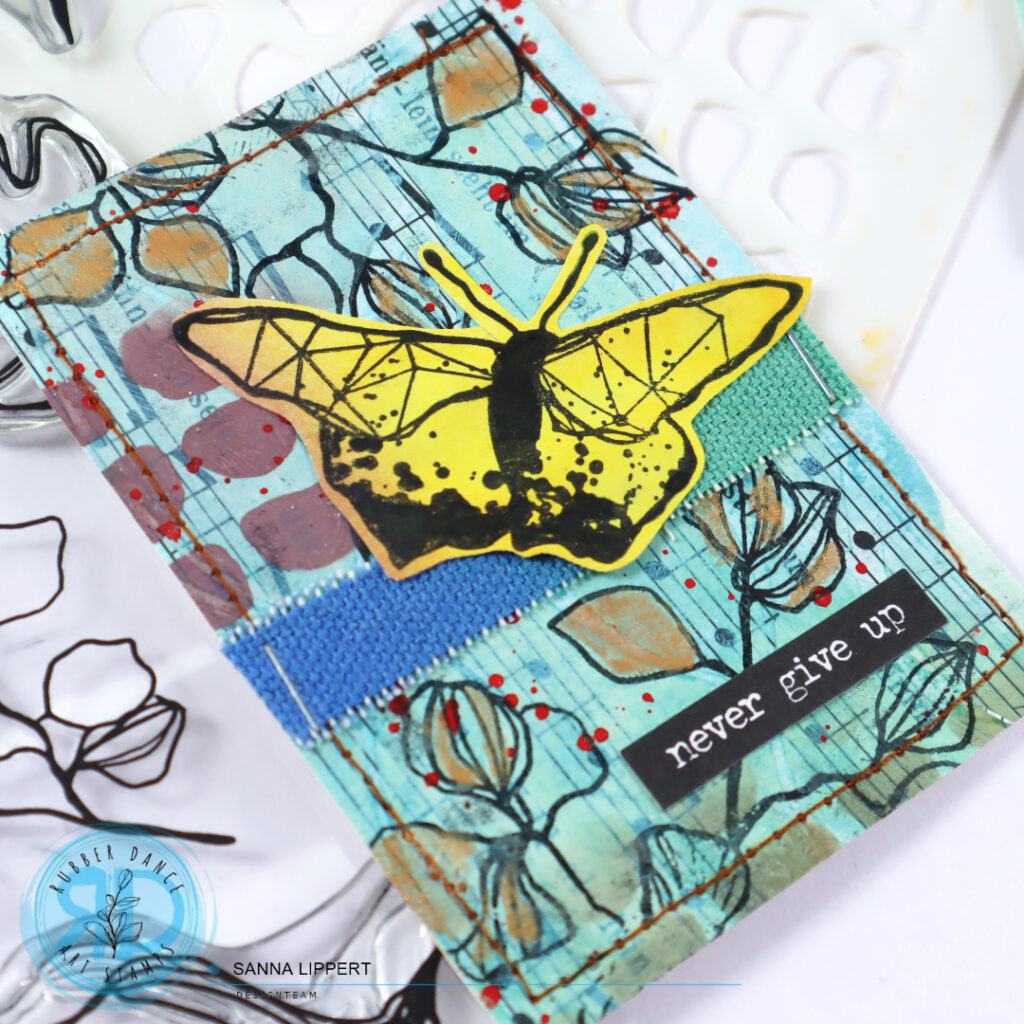
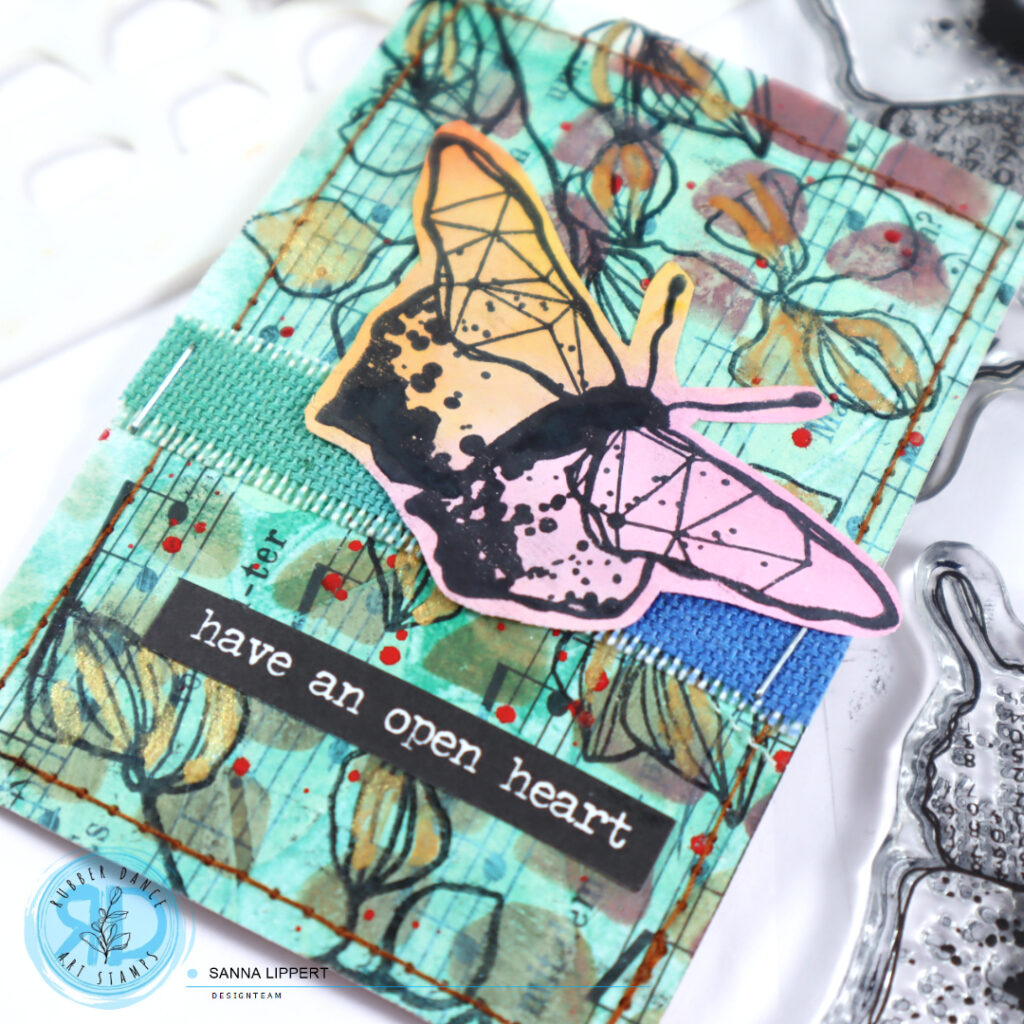
For these Artist Trading Cards I used a music note paper (if you don´t have one, you can stamp your own using the Rubber Dance “Music” stamp) on the background. On that I applied Distress Paint thru the Organic #3 stencil and then added a slightly darker tone of watercolor on top. After that I took a brown and mahogany tone of Distress Oxide ink and applied those onto the background for additional detail thru the “Marks 2” stencil. I sewed the paper onto a sturdy background with my sewing machine and then stamped some images with black ink and the “Sketchy Leaves” on the papers.

After that I added some golden watercolor pigment details to the stamped leaves and some red watercolor splatters onto the background for additional detail. On top of that I used some of my previously made “Grungy Butterflies” fodder pieces and a piece of misted canvas and sentiment stickers to finish the ATC´s.

Here is the start-to-finish video on how I created the ATC´s:

and just in case, here is how I made the butterfly fodder:

I hope I could inspire you with my tutorials a little today.
Happy crafting,
xxx, Sanna

Supplies: