Tag Archives: Dina Wakley Media

AJ page with layered stenciling and Distress Oxide Inks – Rubber Dance

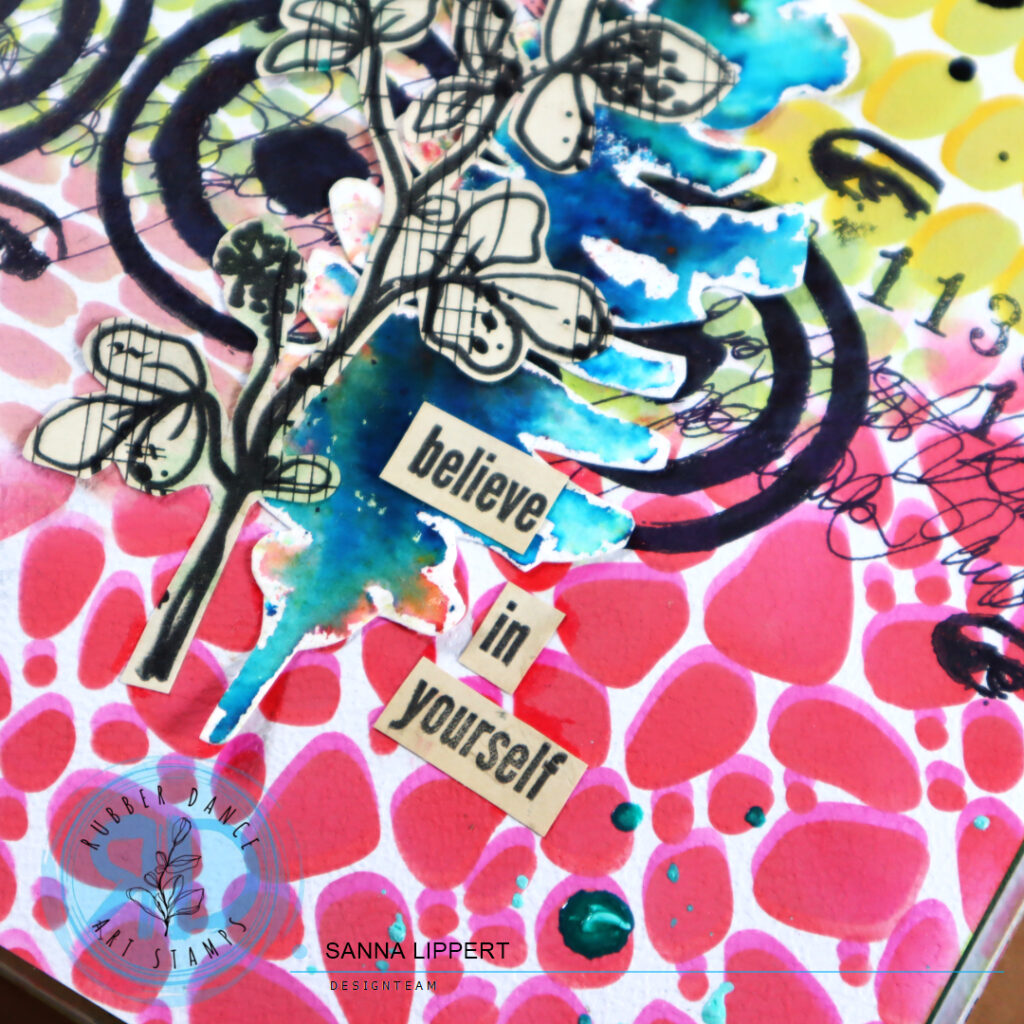
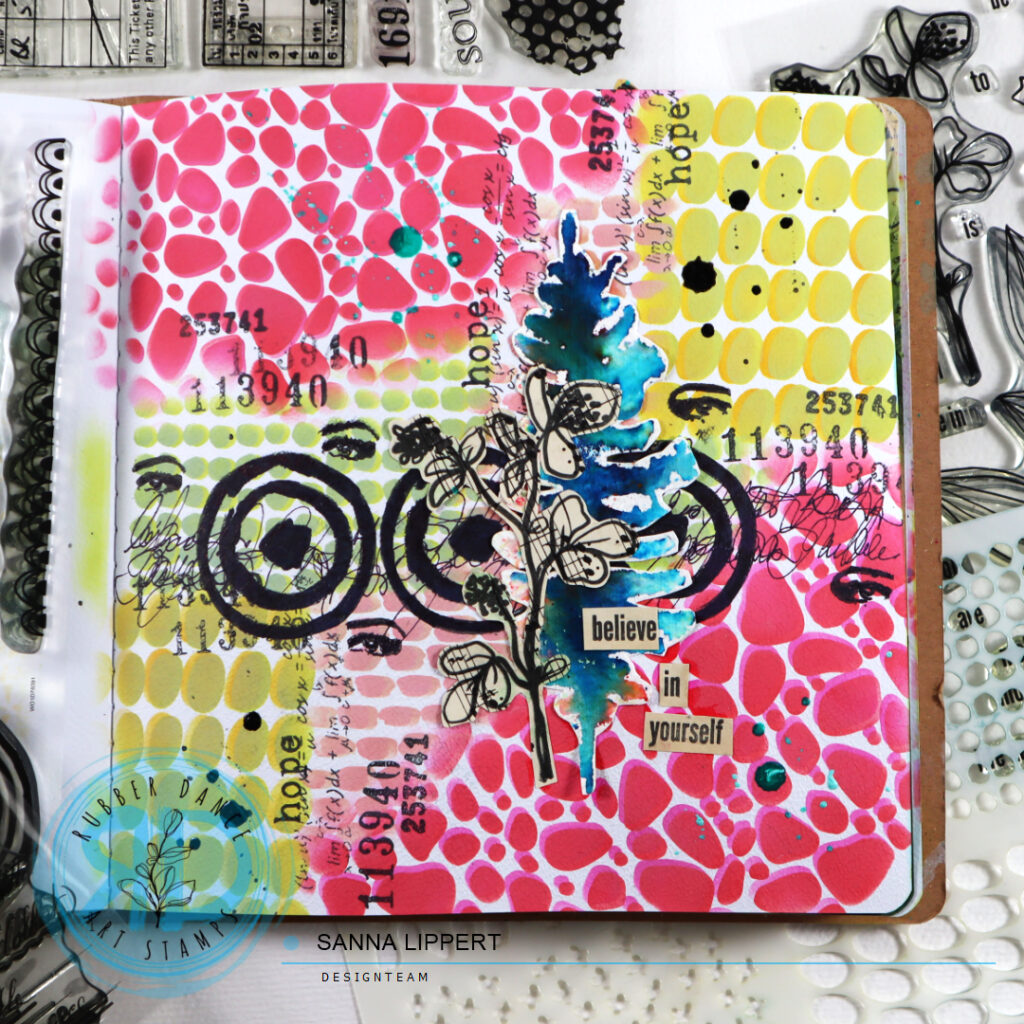
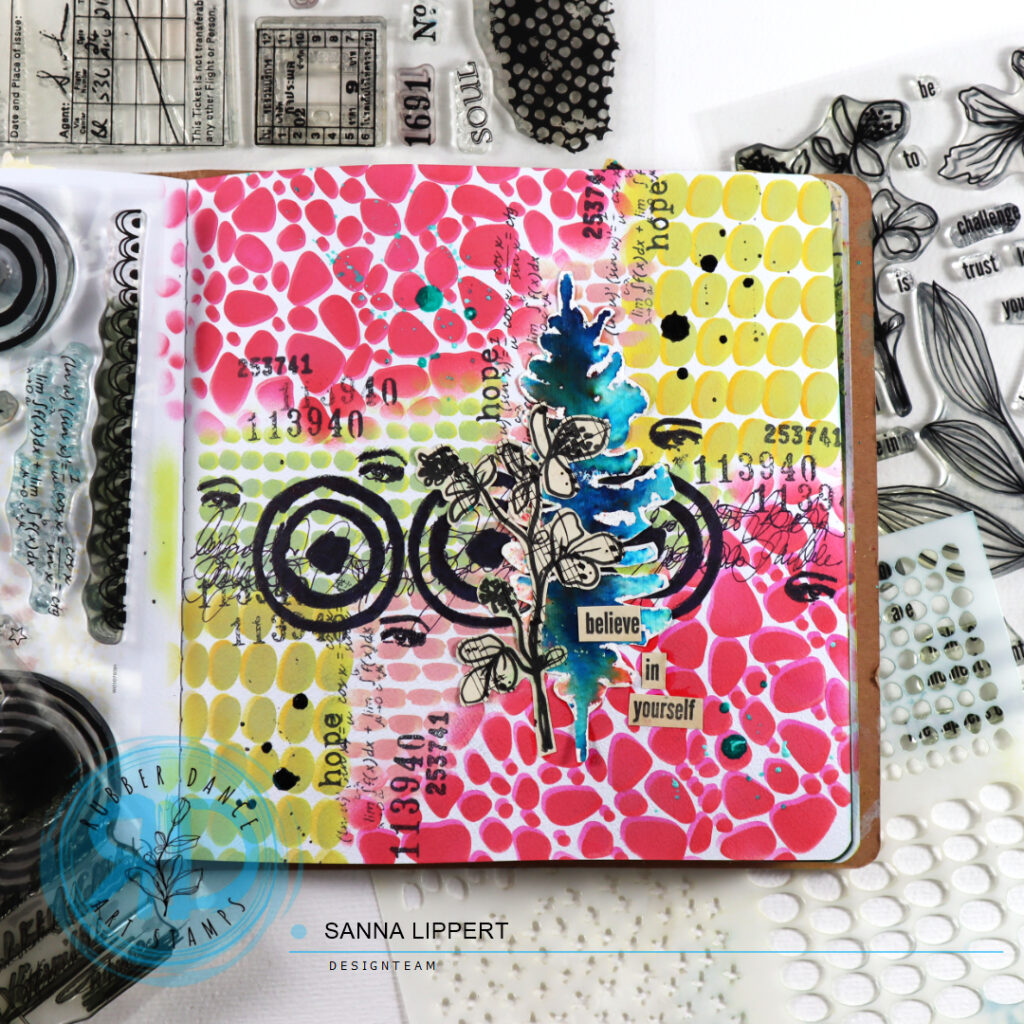
Hello, it´s Sanna here today with a layer stenciled art journal page share. For this project I used the following products: Organic 4 and Mini Textures 1 stencils as well as the Sketchy Leaves 5 stencil in the focal point cluster. The stamps used as a further layer and focal point feature following sets: Mix It Up 7, Mix It Up 4, Collage Leaves 3 and Mix It Up 6.
I started with the following steps:
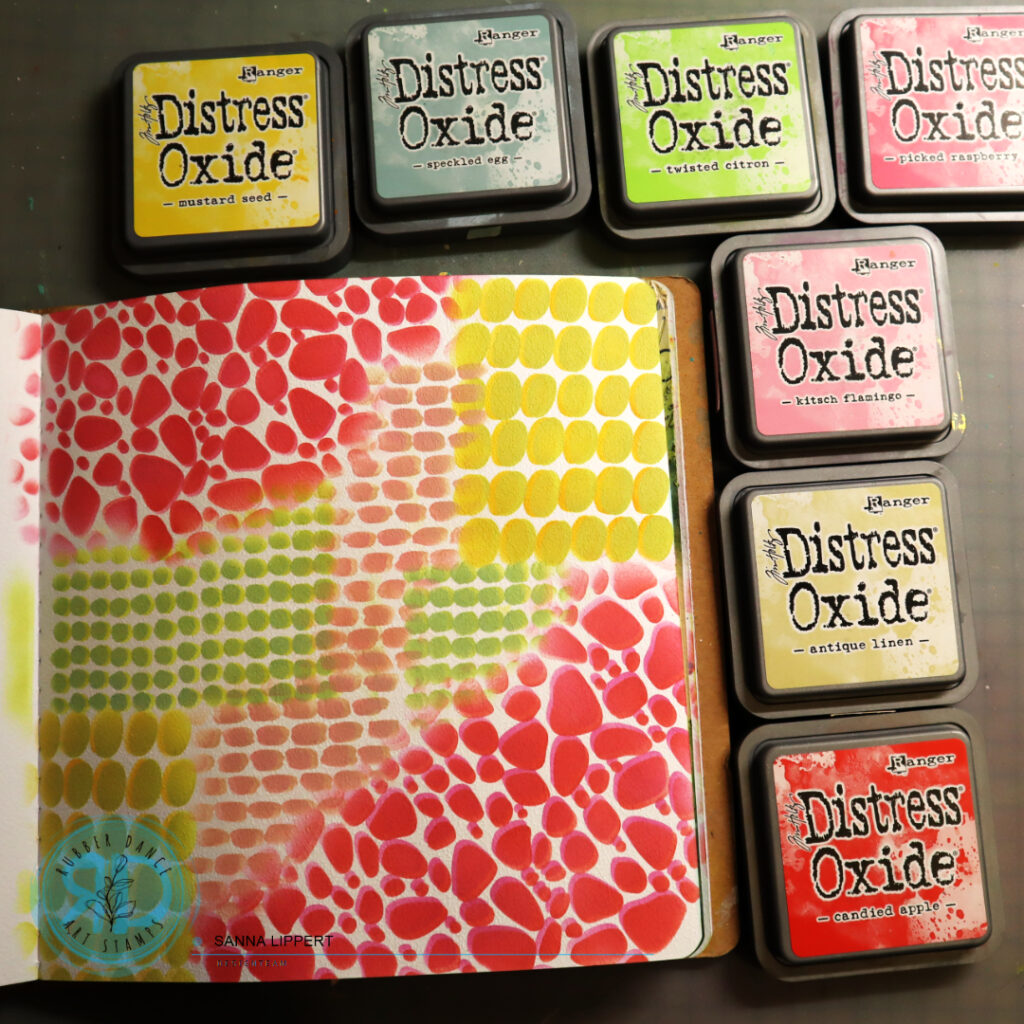
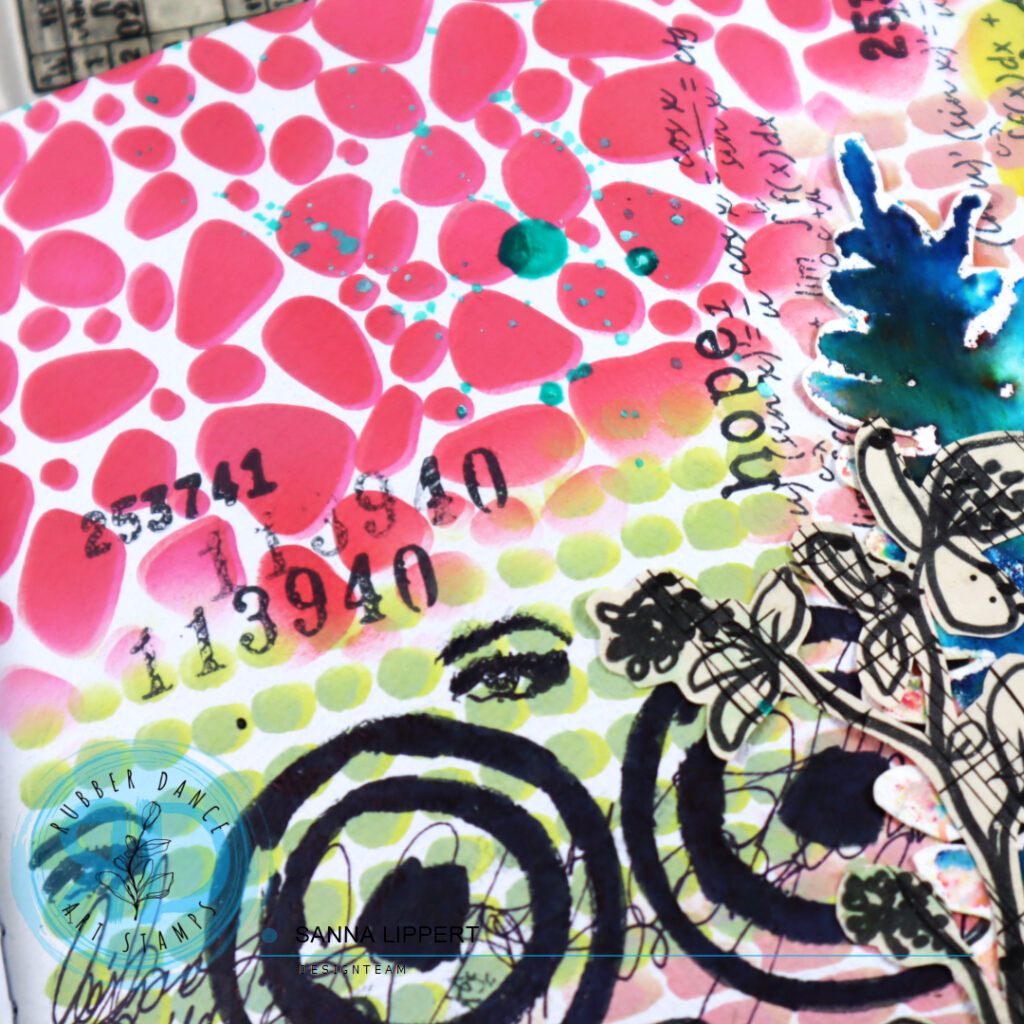
I first inked a lighter toned layer thru the above mentioned stencil onto the page, then slightly moved the stencil to create a 3D-effect and inked over the area with a similar tone, but slithly darker. That creates this really fun effect.
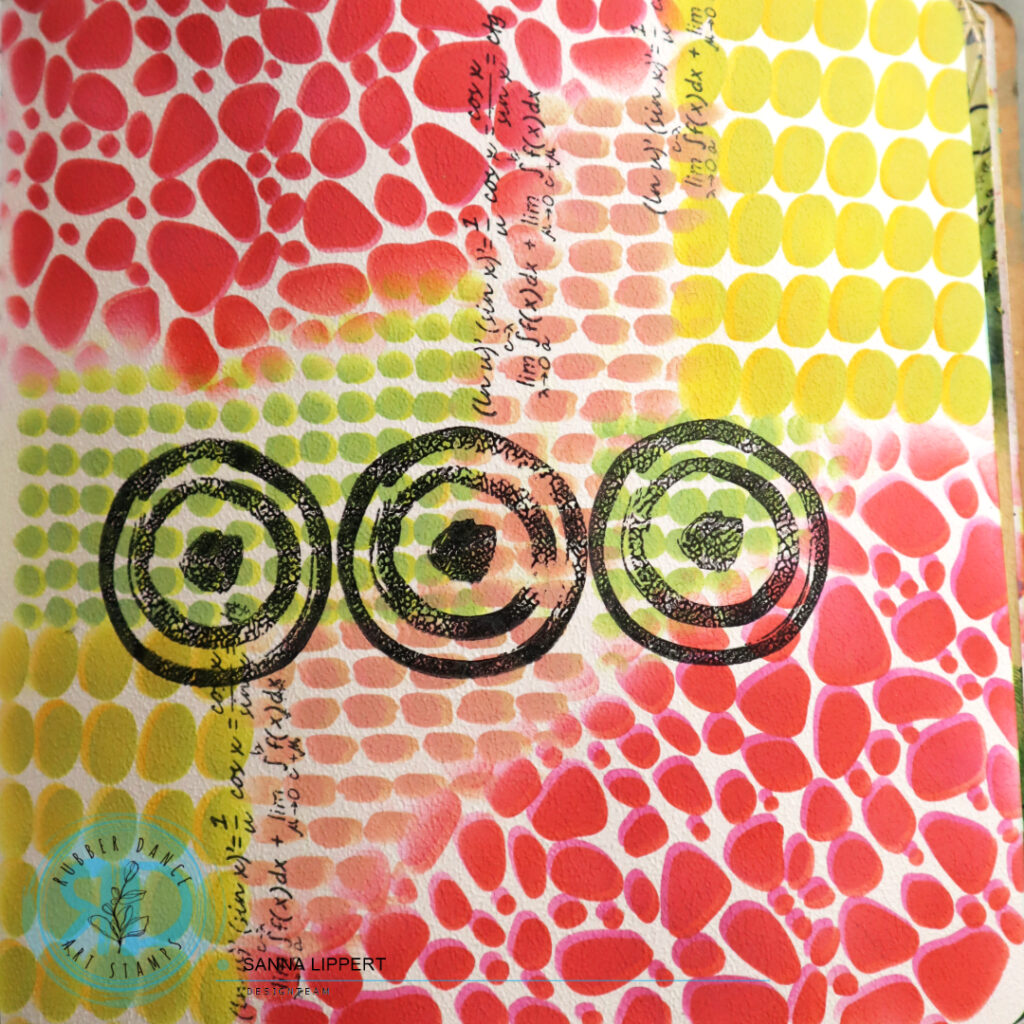
Next I took a black stamp ink and stamped some details with the Mix It Up 4 stamp set.
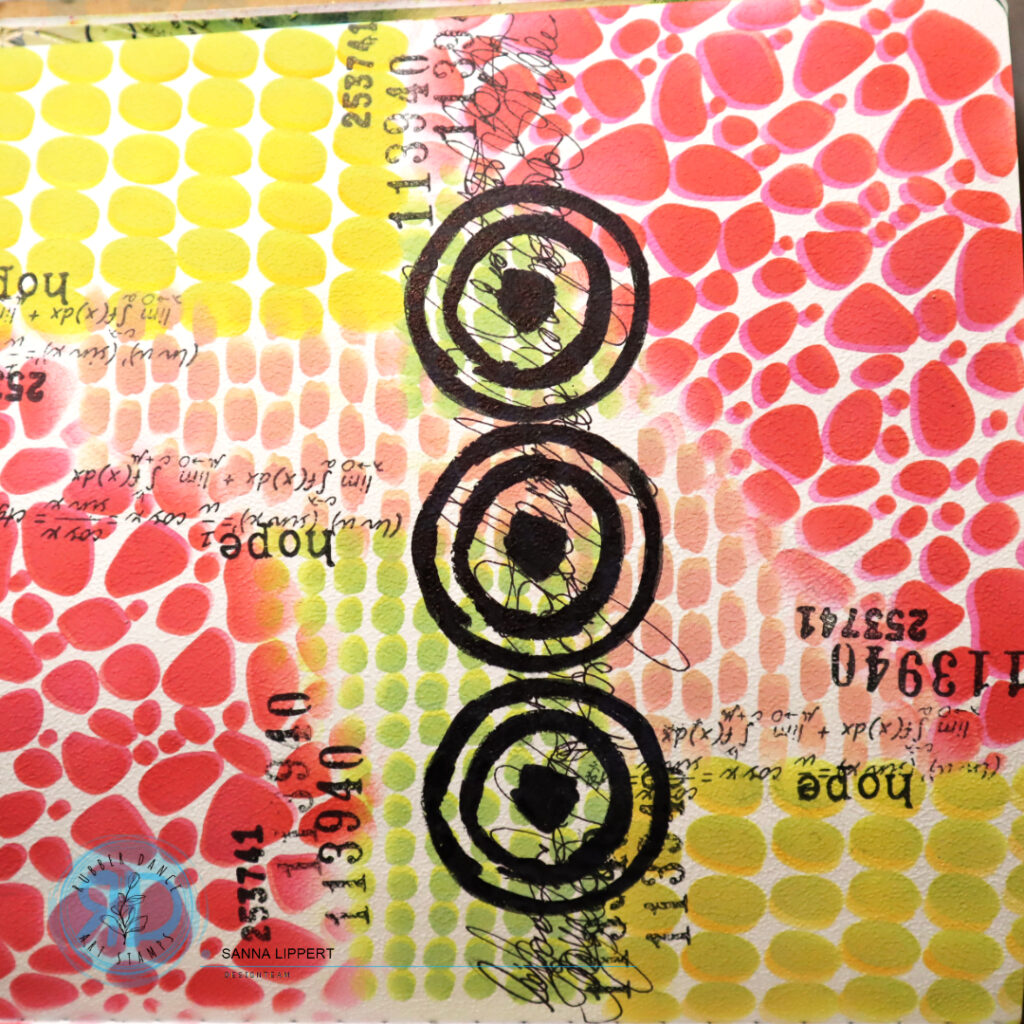
Followed with further stamping with the Mix It Up 6 and Mix It Up 7 stamp sets.
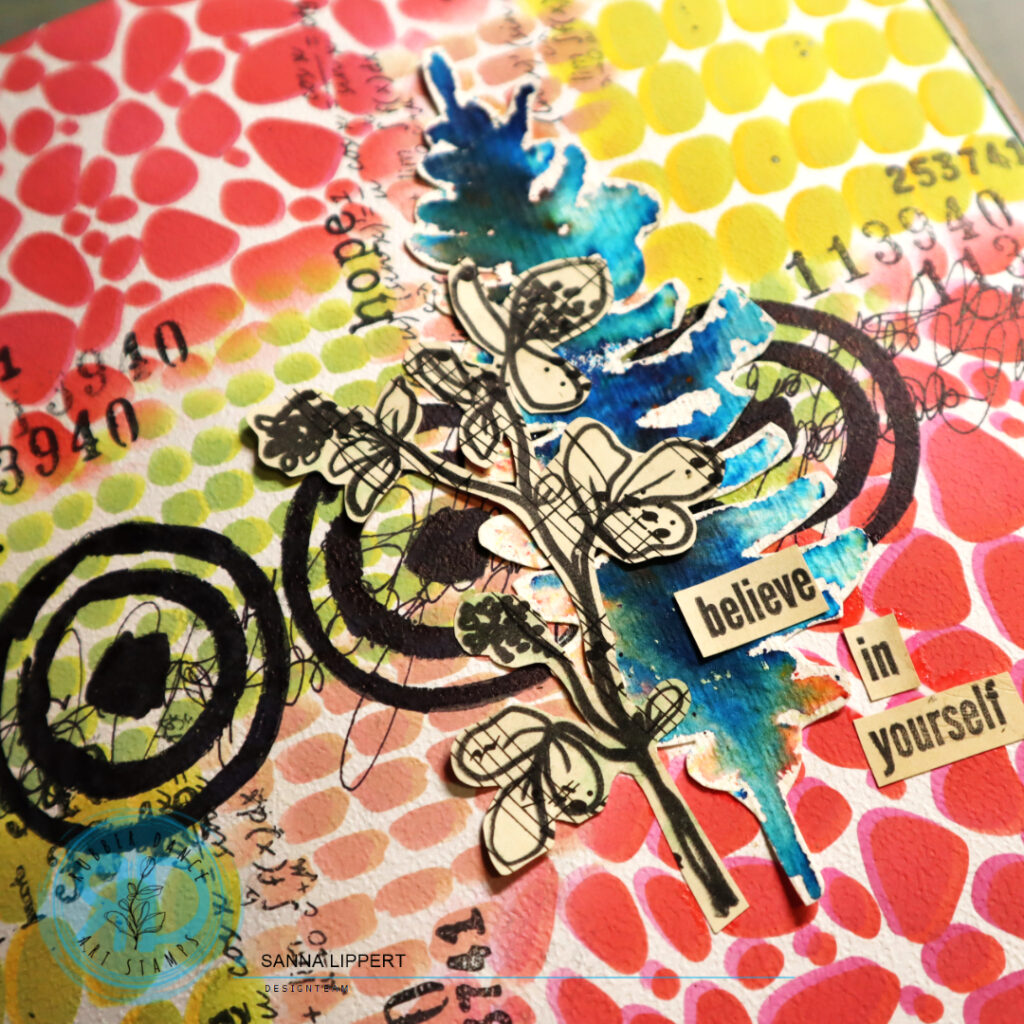
I also added some asemic writing to the background before creating a cluster of elements as a focal point. The blue collage fodder element is a previous make with Sketchy Leaves 5 and Brushos (see details here). The leafy flower is stamped on a music note paper with black ink (using Collage Leaves 3) and then fussy cut. Finally the sentiment was stamped on an old book page with the Collage Leaves 3 stamp set anf fussy cut to fit the page composition.
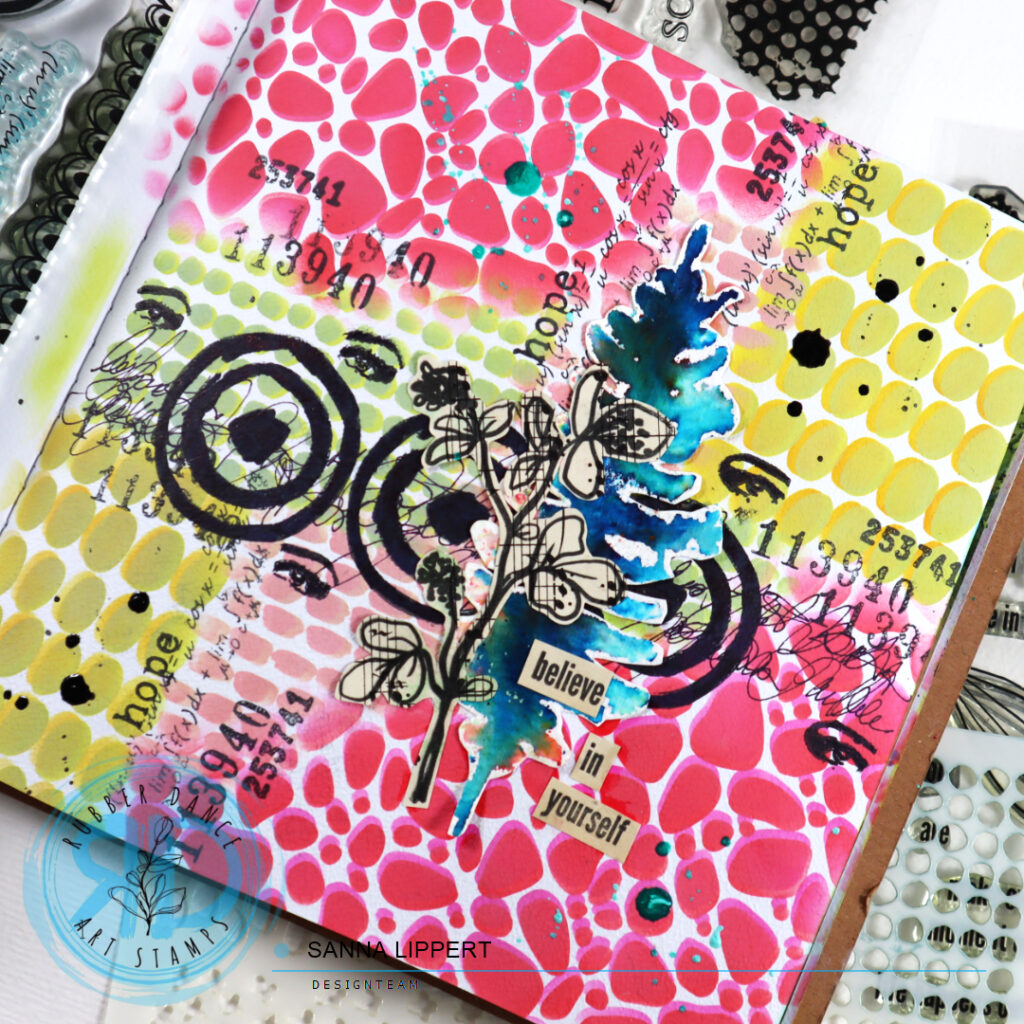
I also added some “turquoise” and “medieval” Gloss Spray droplets as detail and also added some stamped eyes in the process. They are from the Mix It Up 7 stamp set.
I love layering stencils and adding fun details to art journal pages with them. Then mixing some stamping with various stamp sets for contrast make creating art journal pages so much fun! I hope I could inspire you all abit with this page.

Have fun creating with Rubber Dance products!
xxx, Sanna
Incredible Life mixed media card with Distress Oxide Inks and spray ink – Rubber Dance

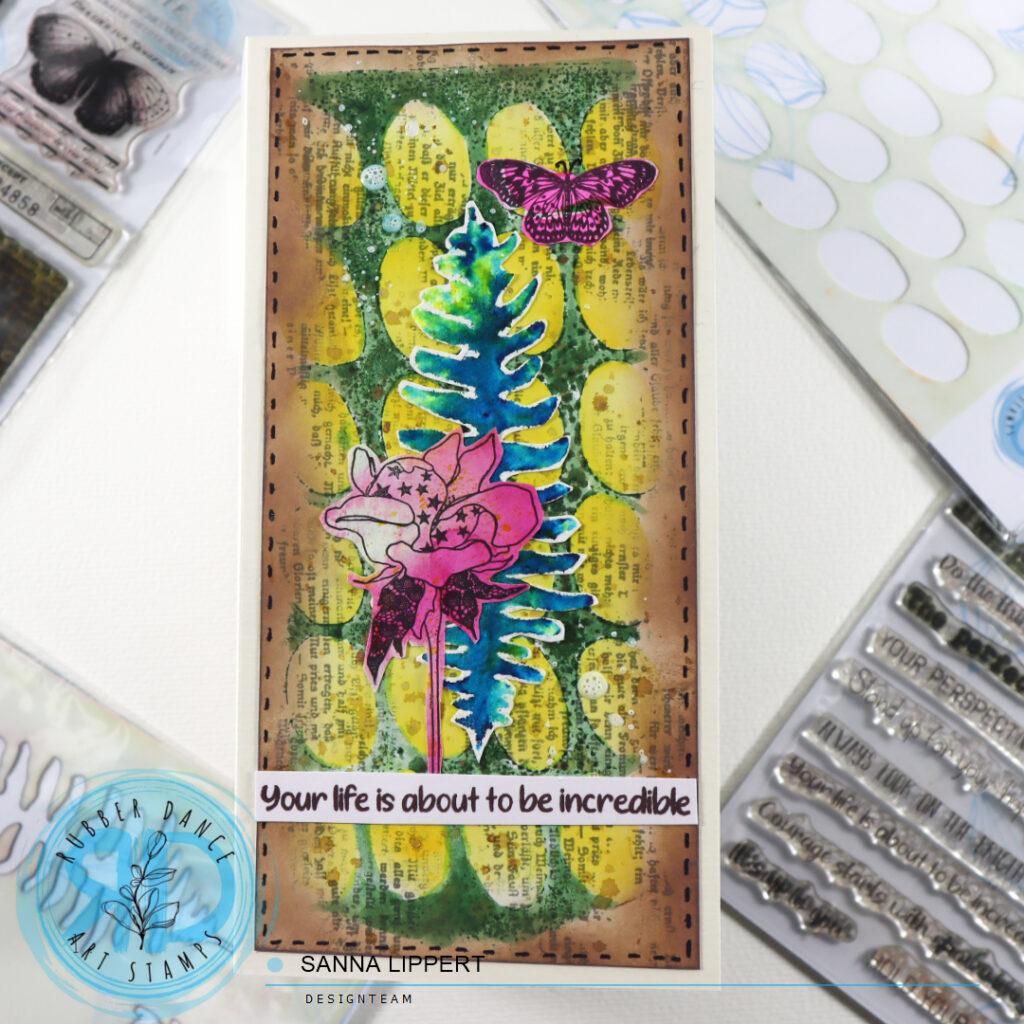
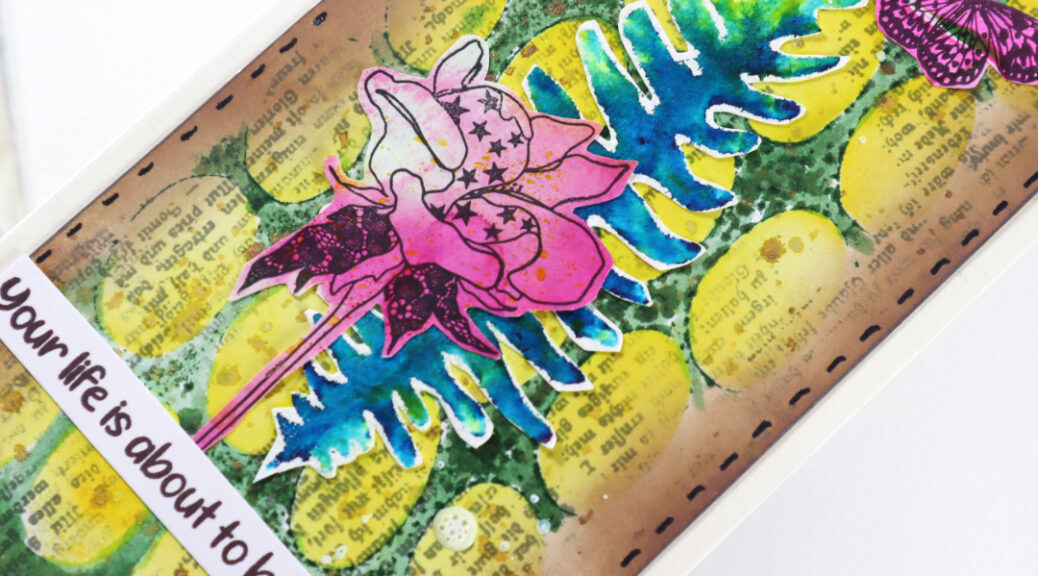
Hello, today I have a slimine mixed media card and a process video share for you. I´ve used the Big Ovals and Sketchy Leaves 5 stencils and Butterflies and Moths, Doodle Flowers 2, Mixed Sentiments 1 and Mix It up 5 stamps for this card project.

I started by spraying the Big Ovals stencil with a green spray ink, then lifting it from the surface and pressing the wet stencil carefully onto the thick cardstock. I let it rest (and the ink soak in onto the paper) and next applied “mustard seed” Distress Oxide stamp ink thru the stencil onto the paper. After that I removed the stencil from the surface.

Next I took the Mix It Up 5 stamp set and stamped with the text pattern and grey stamp ink very randomly over the stenciled image, creating another layer. Then I took a golden brown spray ink and sprinkled some of it onto the surface. I let that layer dry, before moving to the next step.

As my next step I blended brown Distress Oxide Ink with a blending brush around the edges of the paper to frame the stenciled image. I then drew some faux stitching with a black pen around the edges to add some sharpness to the piece.

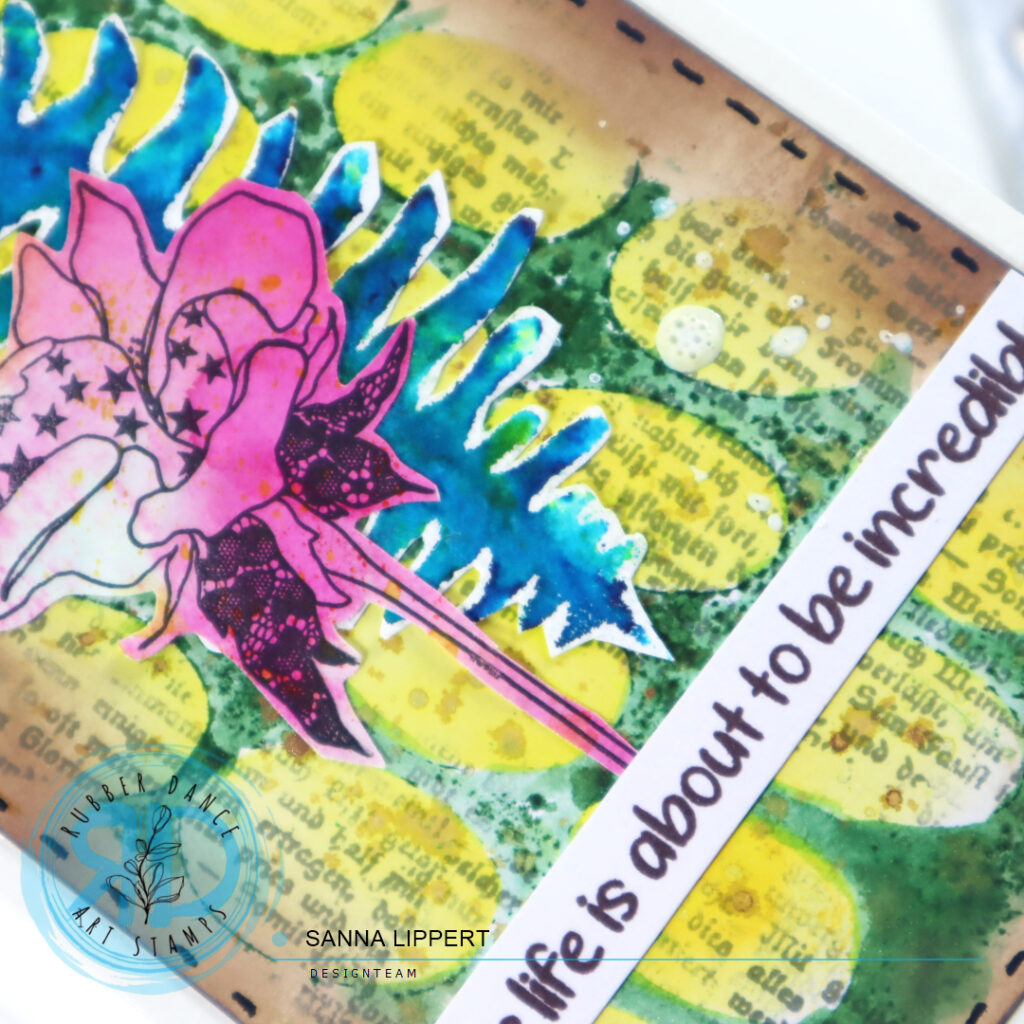
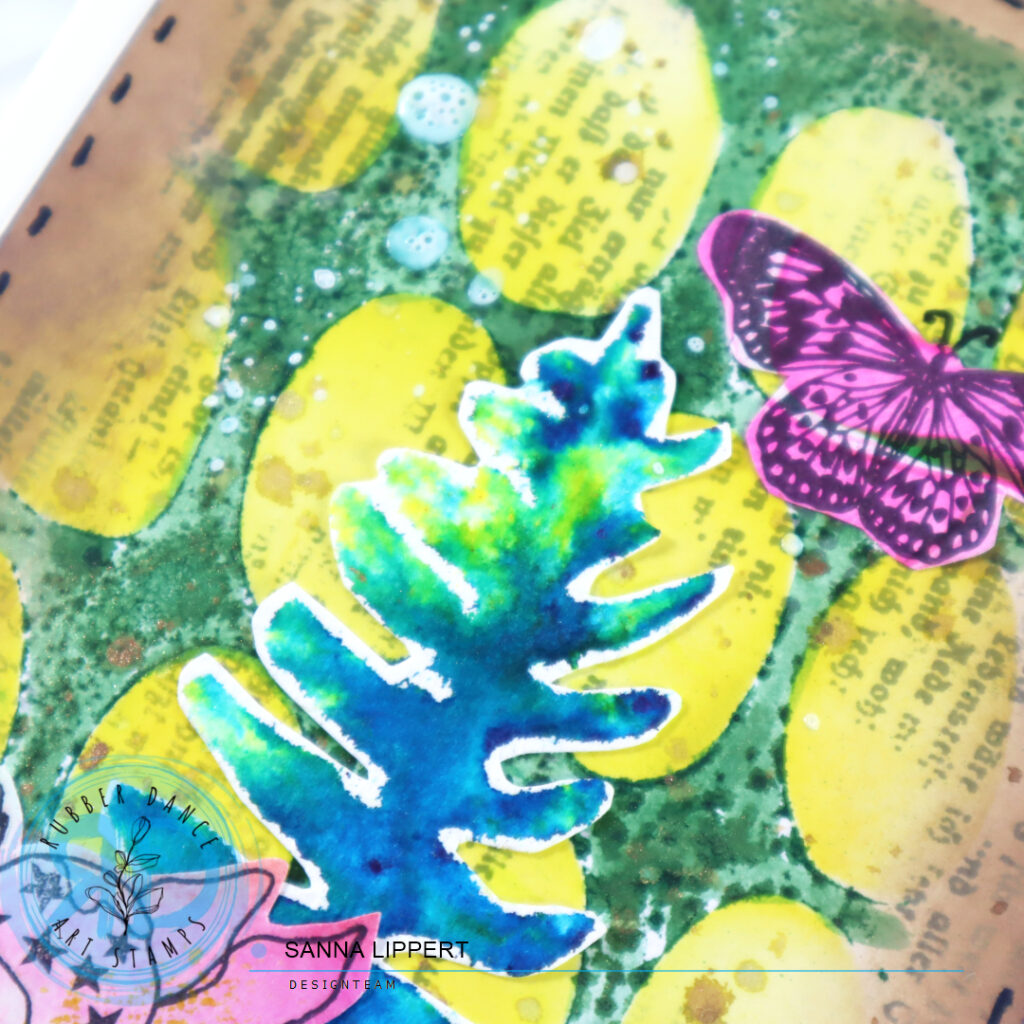
Finally, I gathered some collage fodder from my fodder stash (made with Skethcy Leaves 5 stencil and Brushos (video) and Distress Inks and Doodle Flowers 2 (video) as well as gelli plate and Butterflies and Moths (video). I arranged the images into a cluster of some sort and added a white sentiment strip to the card base. I used the Mixed Sentiments 1 stamp set with brown stamp ink for it. Before adhering the finished piece onto a white card base, I also added some white Gloss Spray splatters to the background for fun. I just cannot seem to create without splatters.

Here is the process video for you to watch:

I hope you get inspired by this idea and make some mixed media cards yourself!
Happy crafting,
xx, Sanna

Full Deck Challenge 45/2025 – lace

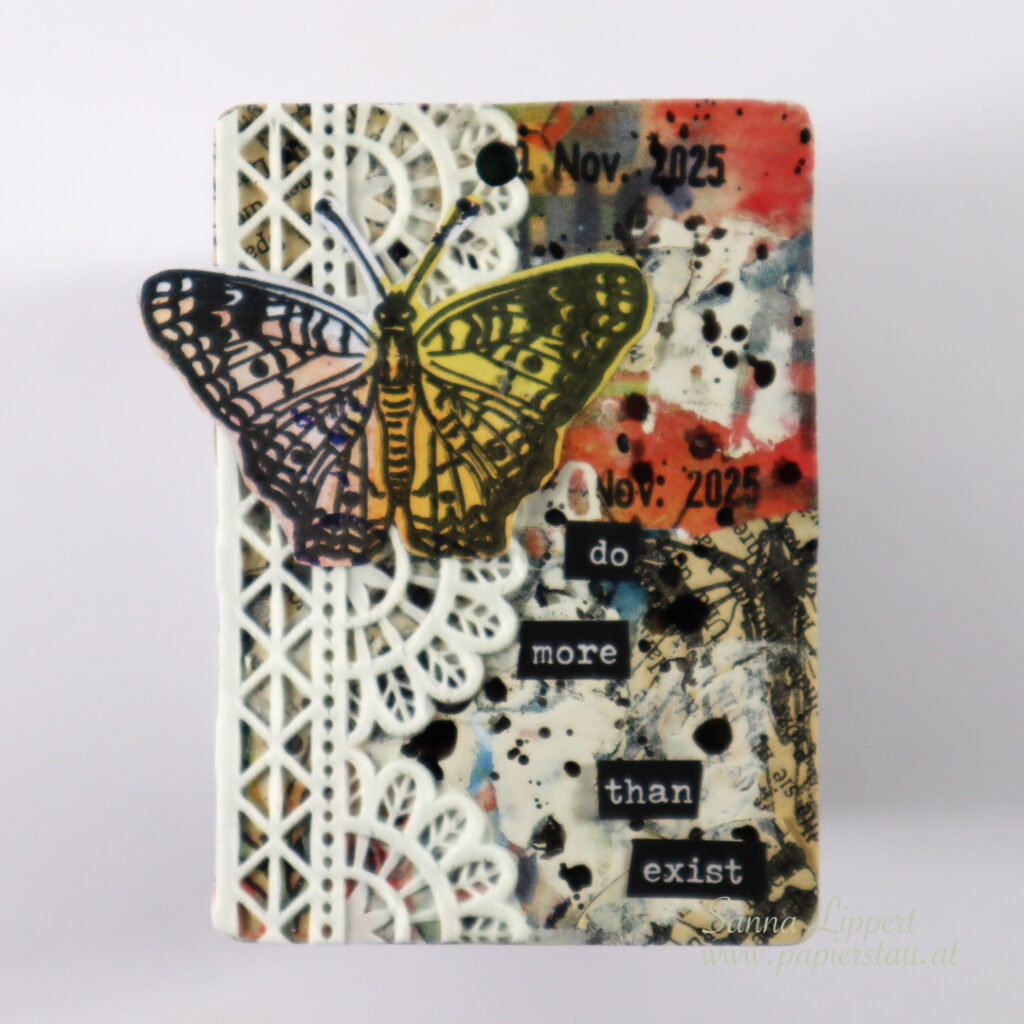
Hello! This is my take on the ShanoukiArt Full Deck Challenge 45/2025: lace.

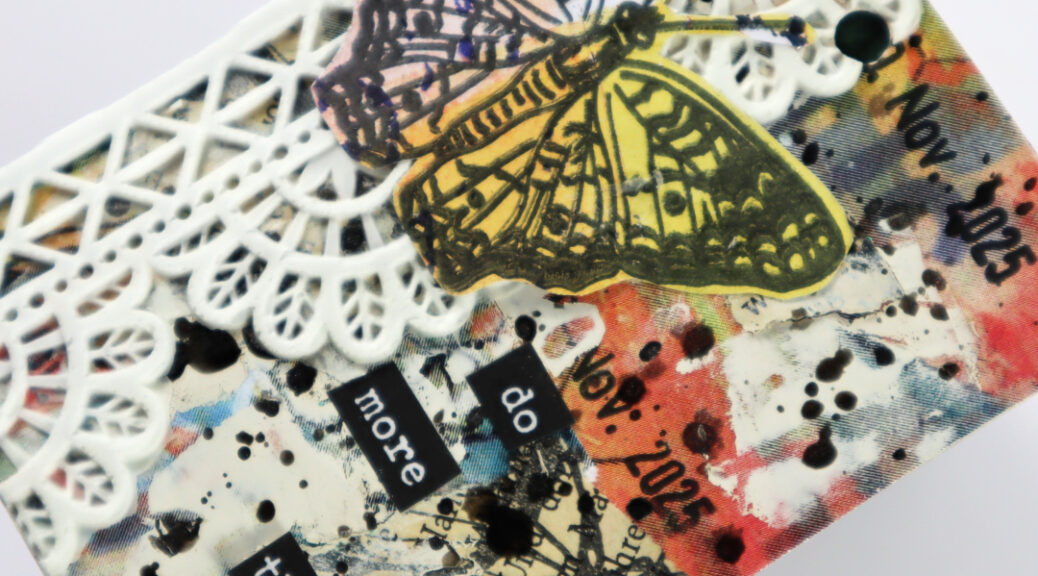
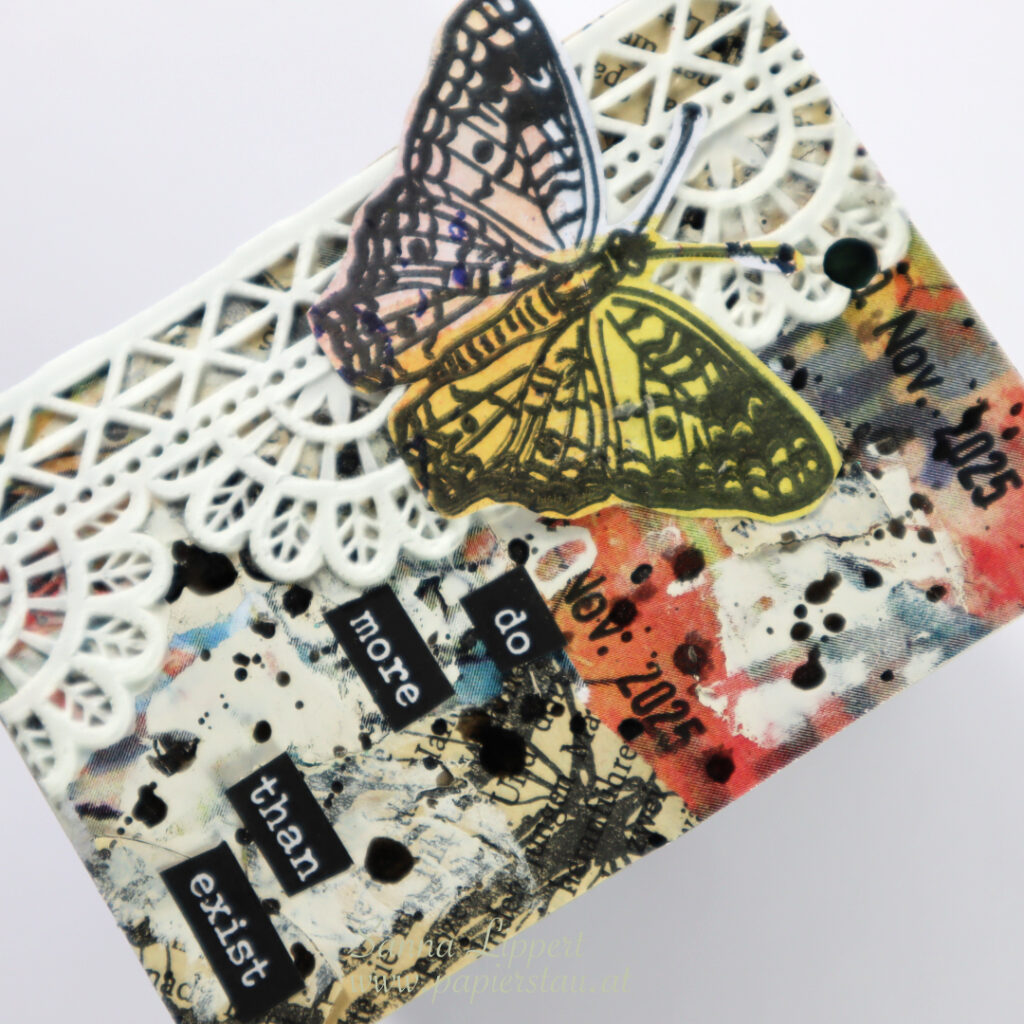
I used collage papers gifted to me by Yuna as my carry-over item. To those I added some old book paper bits, stamped with Rubber Dance butterfly stamps. On top of that I added some Dina Wakley heavy body paint with a palette knife. On top of that my constant, a date stamp.

Next I added Midnight Dina Wakley Gloss Spray droplets and the DIY lace. I made it with lace cream and a silicone mold. On top of it I adhered a collage butterfly (Rubber Dance). For finishing touches I added word stickers by Tim Holtz.

Here is the video step-by-step:

Come back next week for another FDC take!
xxx, Sanna

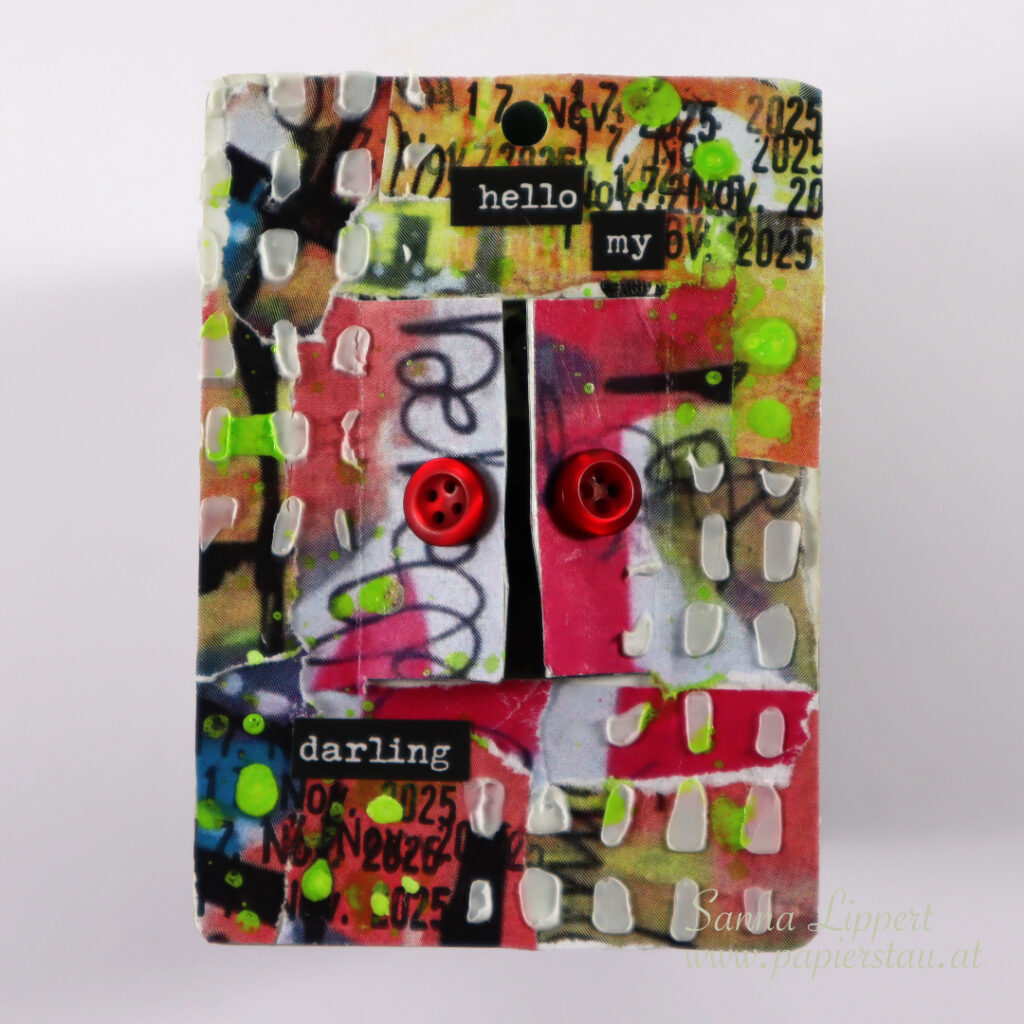
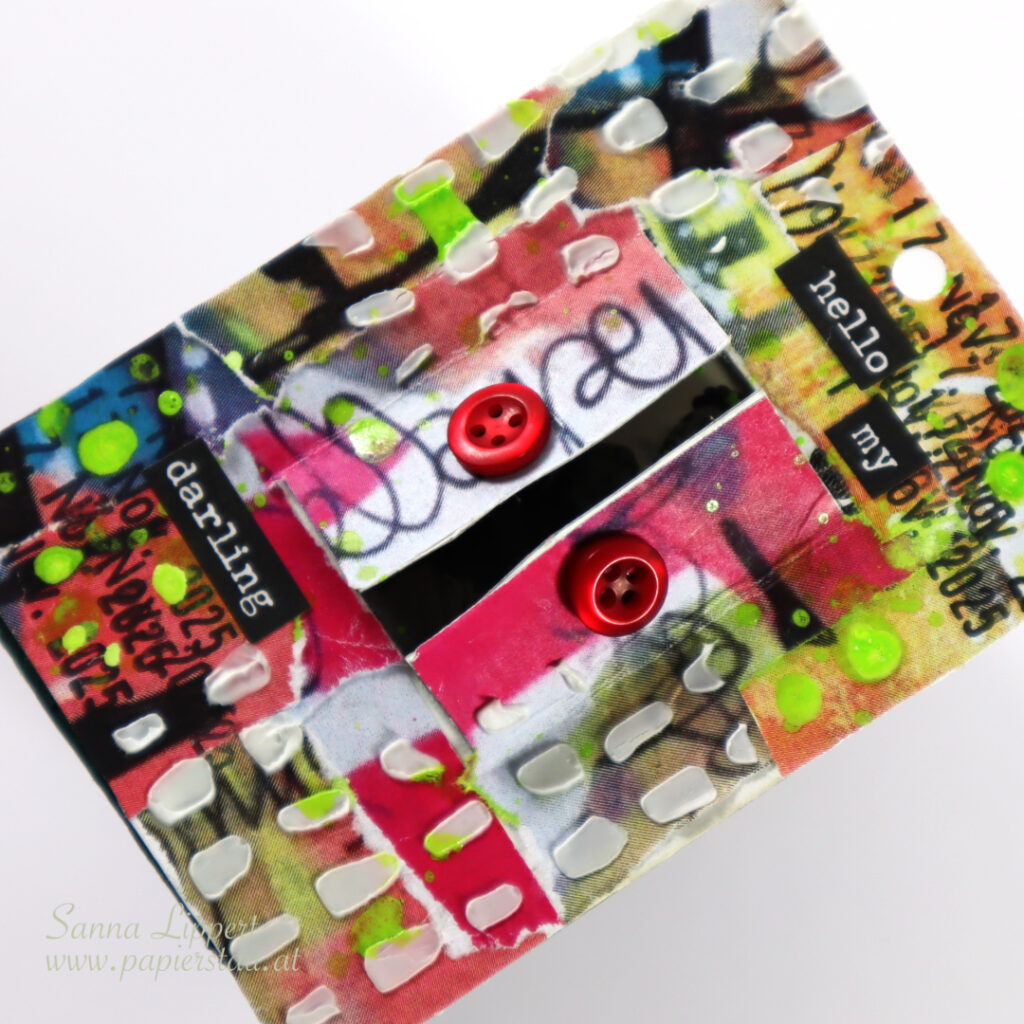
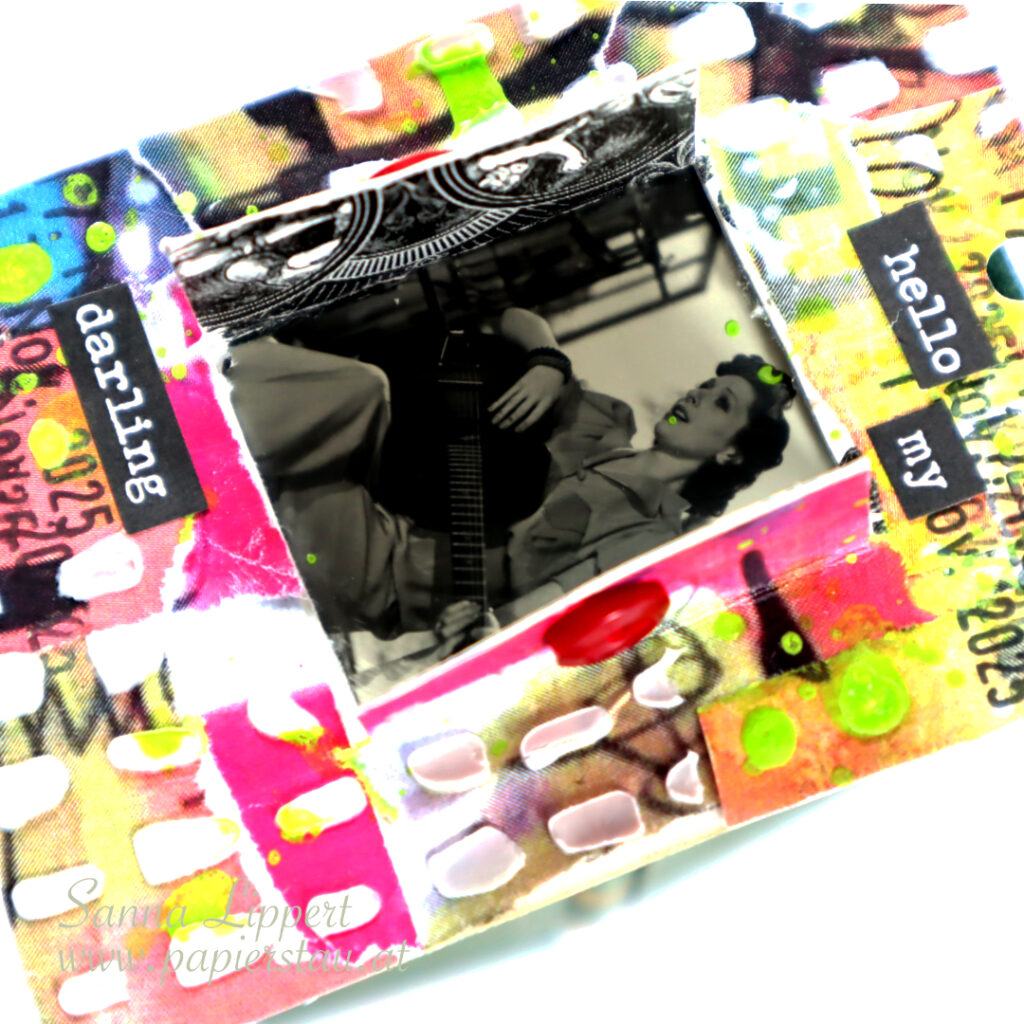
Full Deck Challenge 44/2025 – window

Hi there! This is my take on the ShanoukiArt Full Deck Challenge number 44: window.

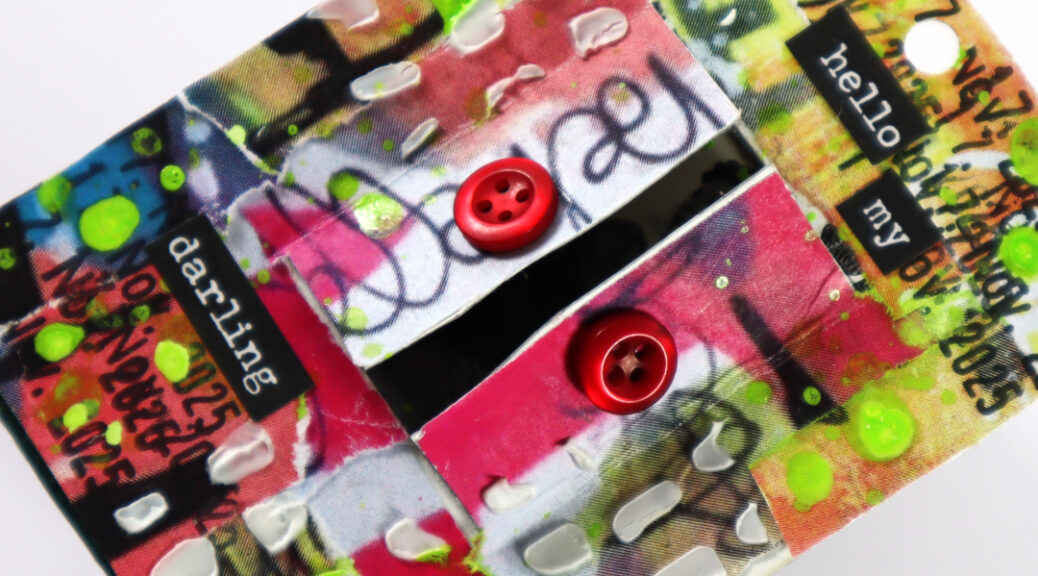
I used an exacto knife to cut a window onto the deck card. I then placed a vintage photo behind the window. After that I added some of the collage papers that I also used on my previous deck card (carry-over-item) and added some additional ones. All gifted to me by Yuna from Australia.

After adhering the collage papers on place, I added my constant, a date stamp here and there. After that some white modeling paste thru a Rubber Dance stencil. After that some Dina Wakley Gloss Spray as detail.

For finishing touches I added Tim Holtz word stickers and two red buttons for the window.

Here is the start-to-finish-video:

See you again next week with another FDC take!
xxx, Sanna

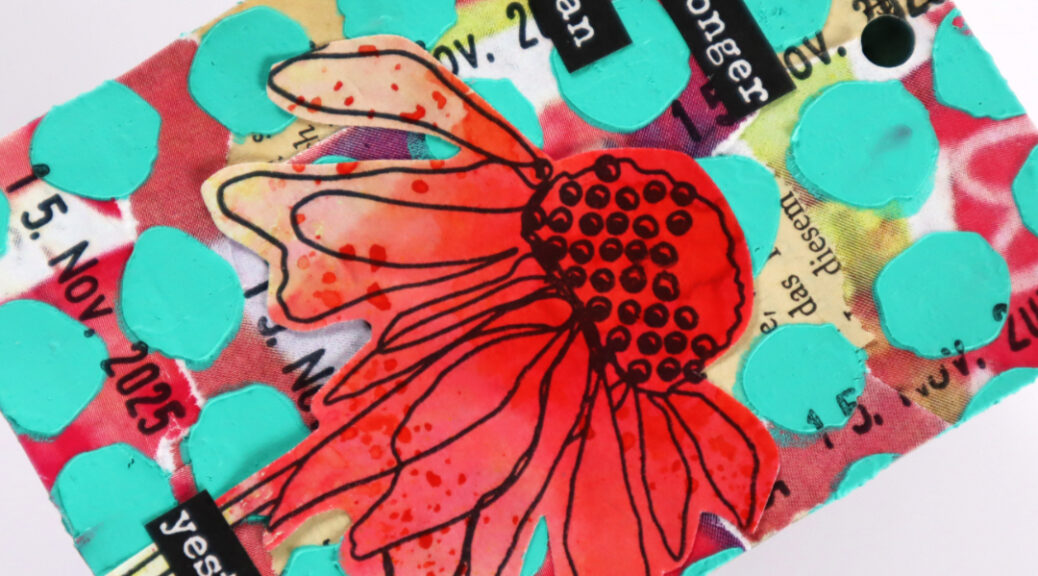
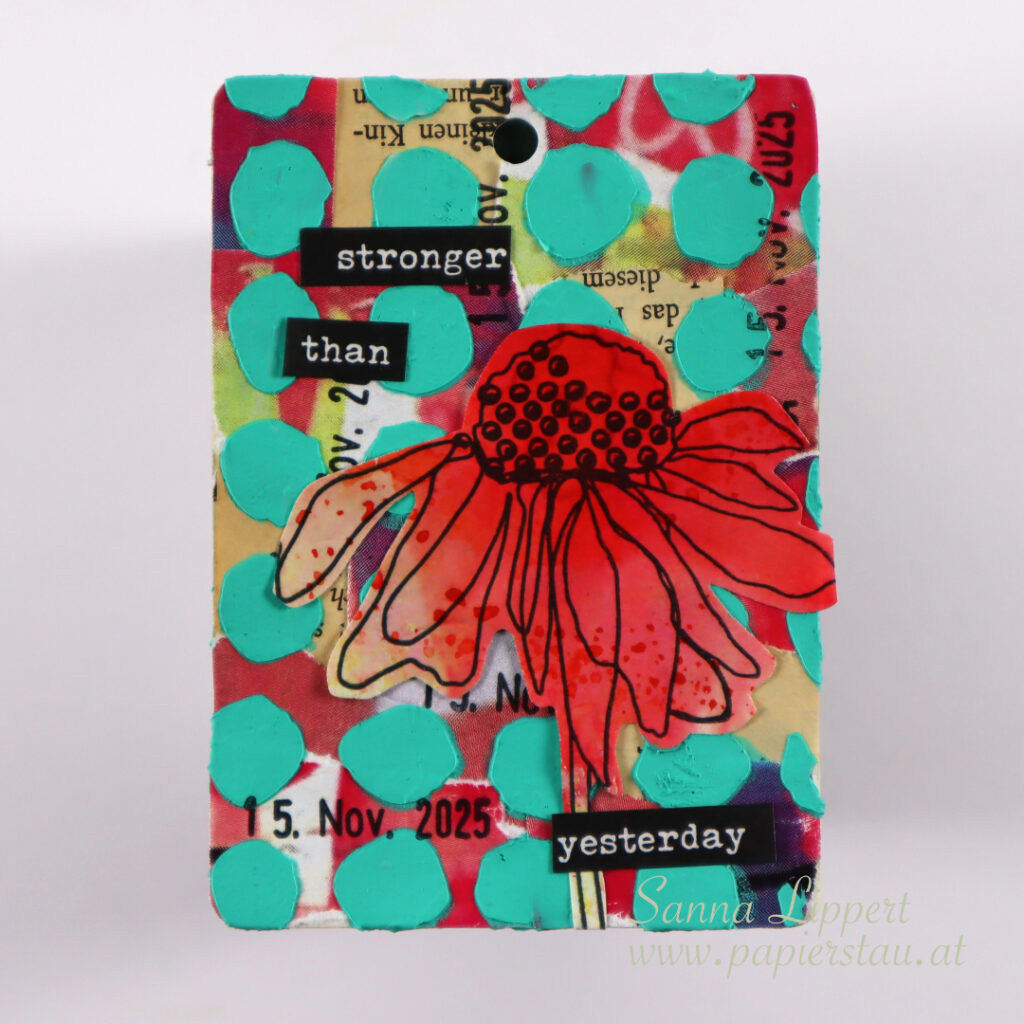
Full Deck Challenge 43/2025 – circles

Hello, this is my take on the ShanoukiArt Full Deck Challenge 2025, number 43: circles.

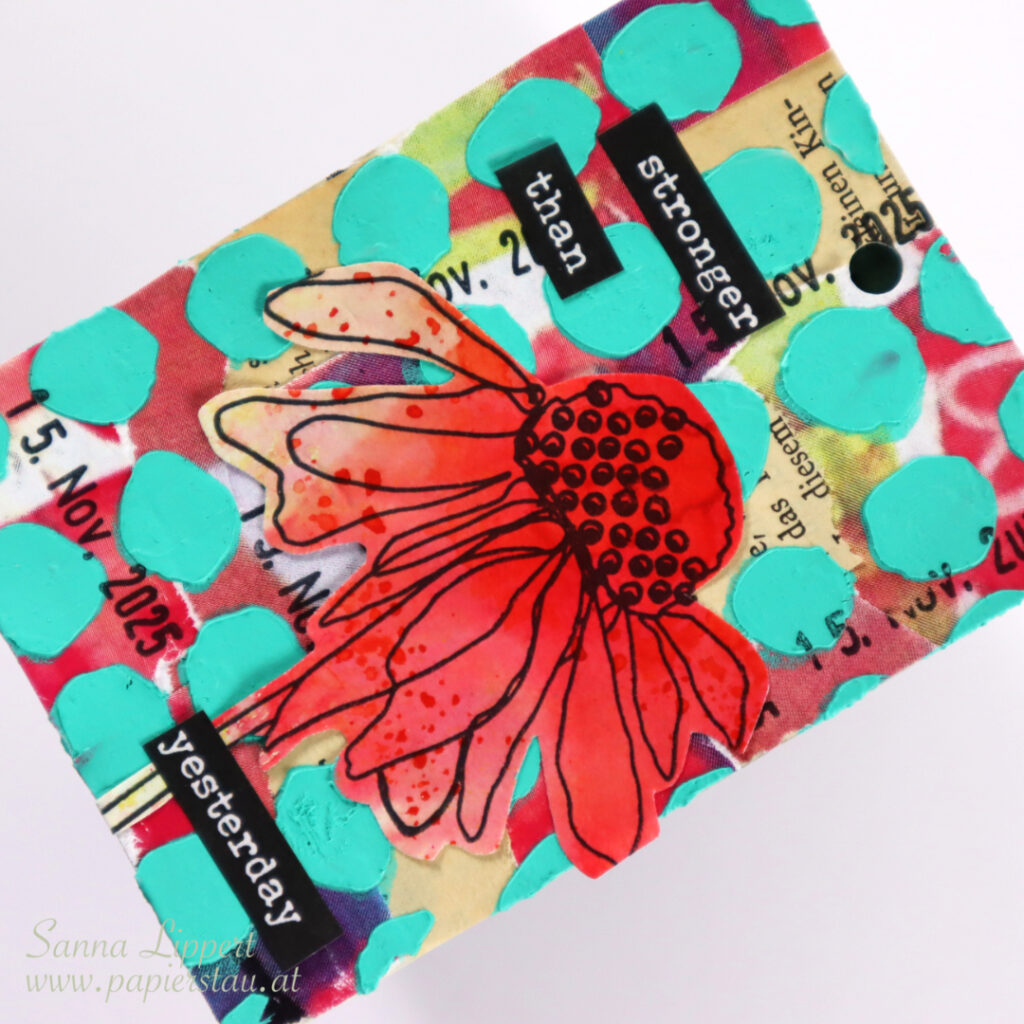
I again used Yuna´s collage papers and my carry over item – bits of old book paper – on the background. On top I mixed white modeling paste with Dina Wakley heavy body paint in turquoise and stenciled it thru a Rubber Dance circle stencil onto the deck card.

In between the stenciled pattern, I stamped my constant, the date stamp images. For decor I added a premade collage flower (stamp by Rubber Dance) and some word stickers (Tim Holtz).

Here is the start-to-finish-video:

See you again next week for another FDC take!
xx, Sanna

A set of mixed media cards with a process video

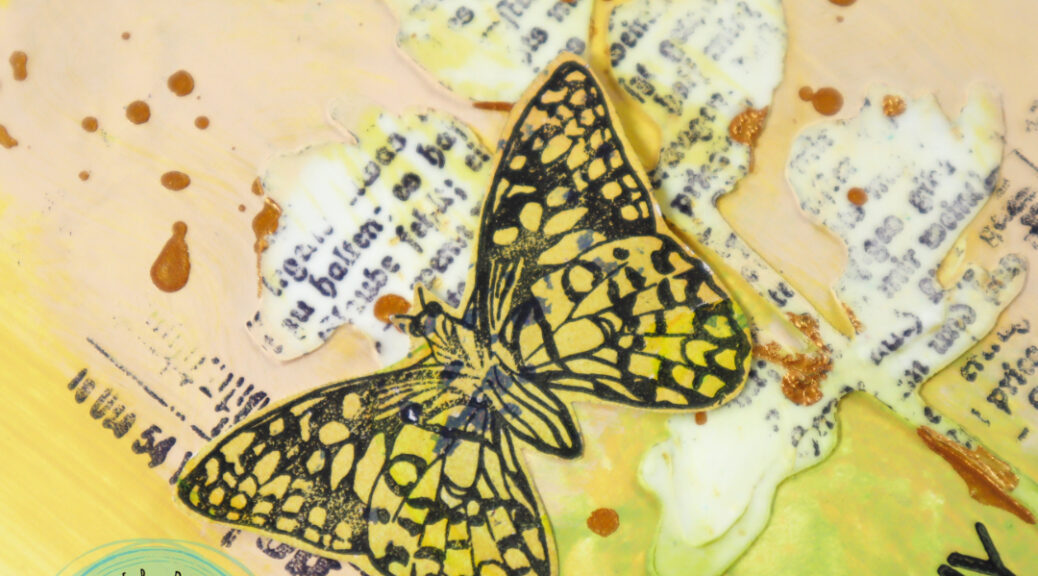
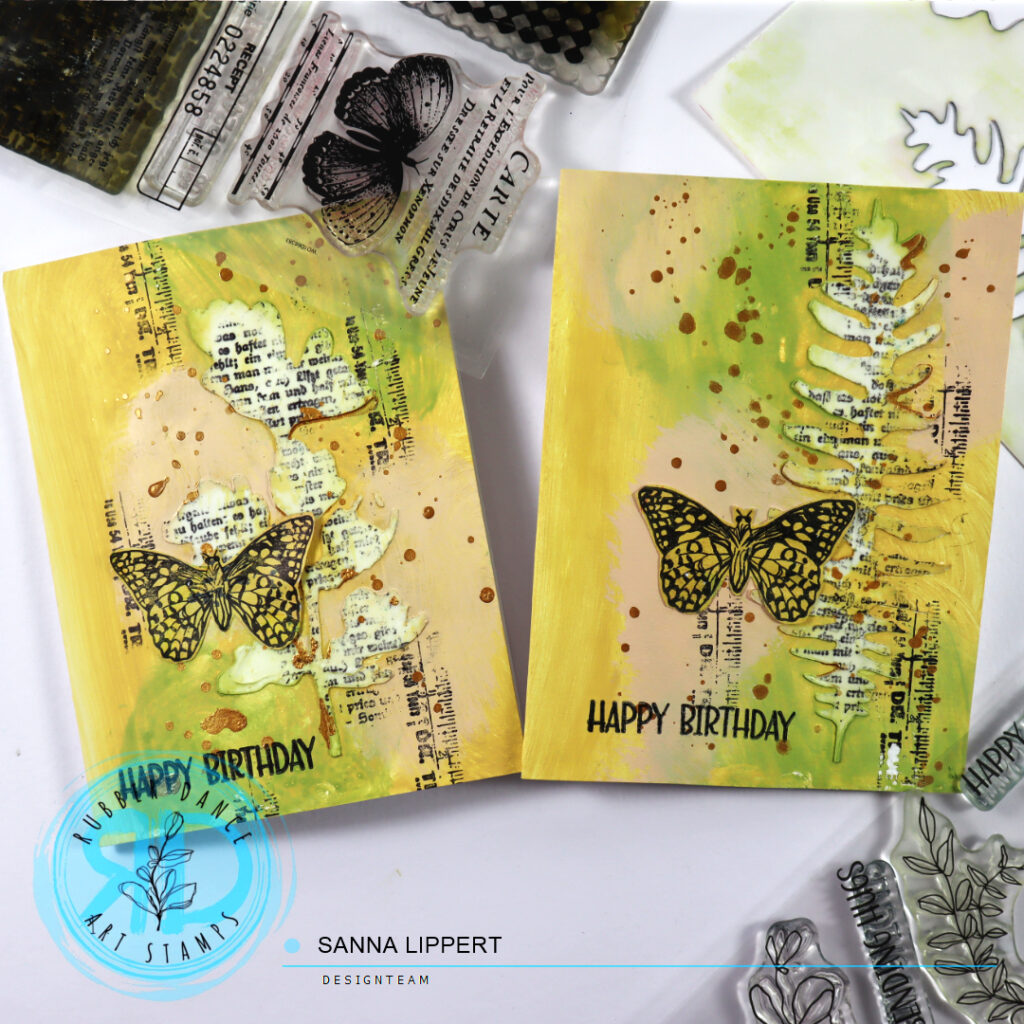
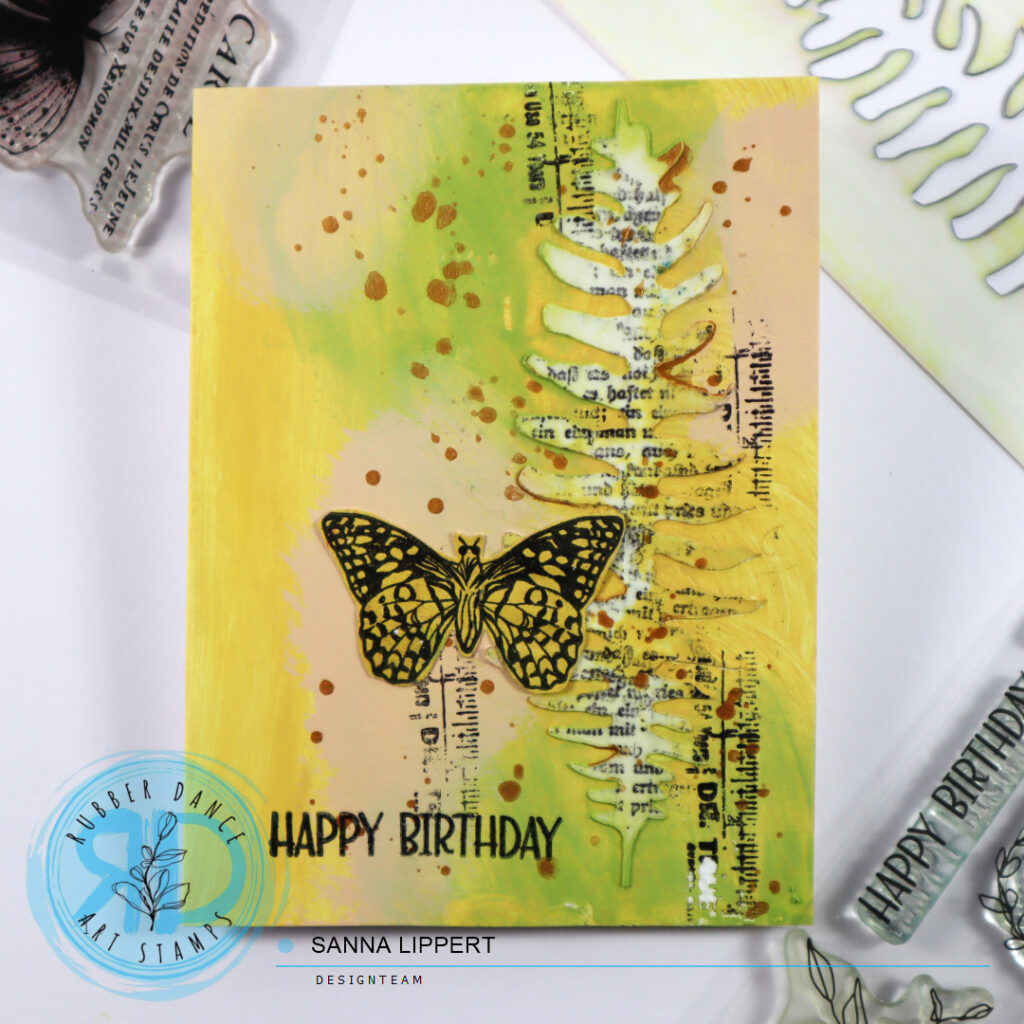
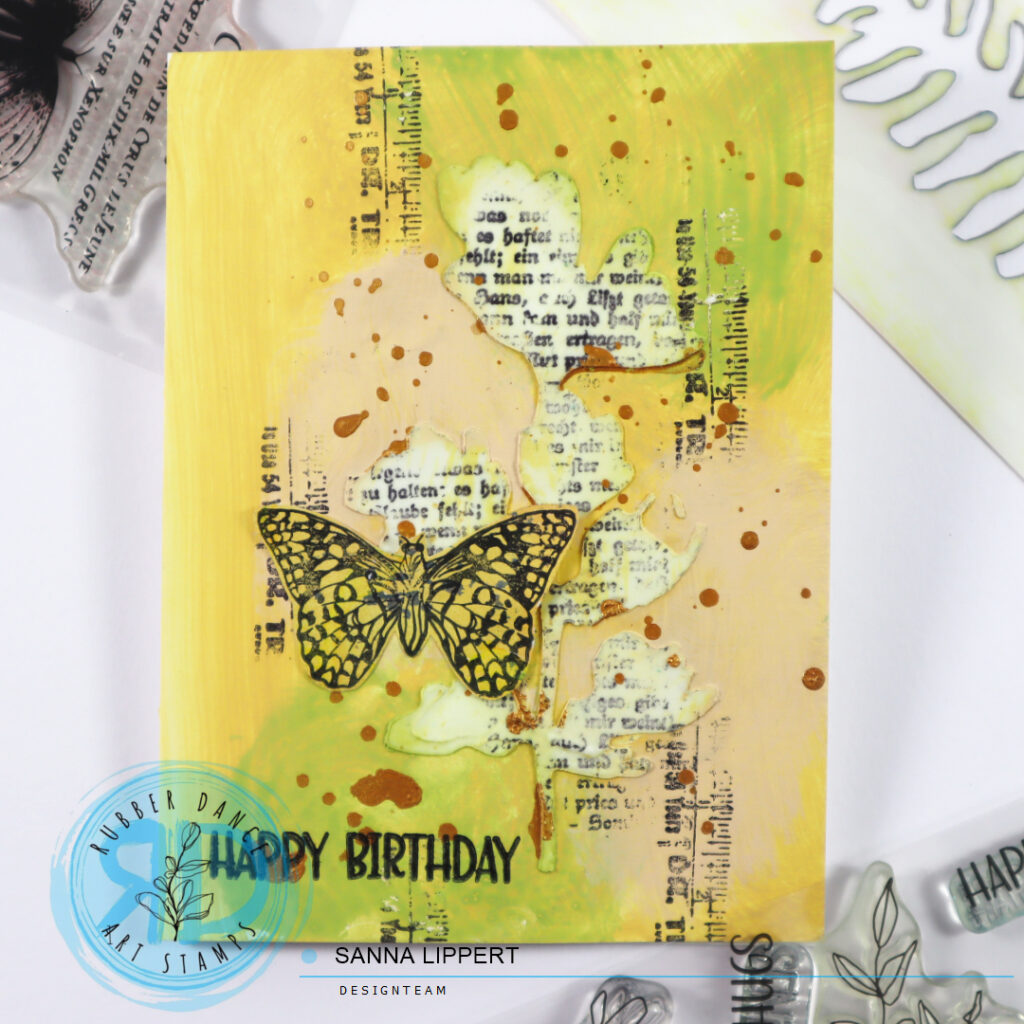
Hello, I have a mixed media card set share for you today. For these cards I used the Sketchy Leaves 5 stencil, Sketchy Flowers #3, Mix It Up 5 and Butterflies and Moths stamps.

I started off by applying modeling paste thru the Sketchy Leaves 5 stencil directly onto the card base. After that I used ocker and light green paints to add the first layer of paint to the card. I then wiped some of the paint off the stenciled areas with a baby wipe.

Next I added black stamping with the Mix It Up 5 stamp set. First onto the stenciled leaves, then slightly next to it. After that I added golden pigment splatters to the background. For finishing touches I added a stamped butterfly and sentiment.

Here is a process video for you to watch:

I hope to have inspired you with this card set tutorial! Have fun creating! Hop over to Rubber Dance store and purchase a stamp set of a stencil. It will support a small business to survive these crazy tax times!
xxx, Sanna
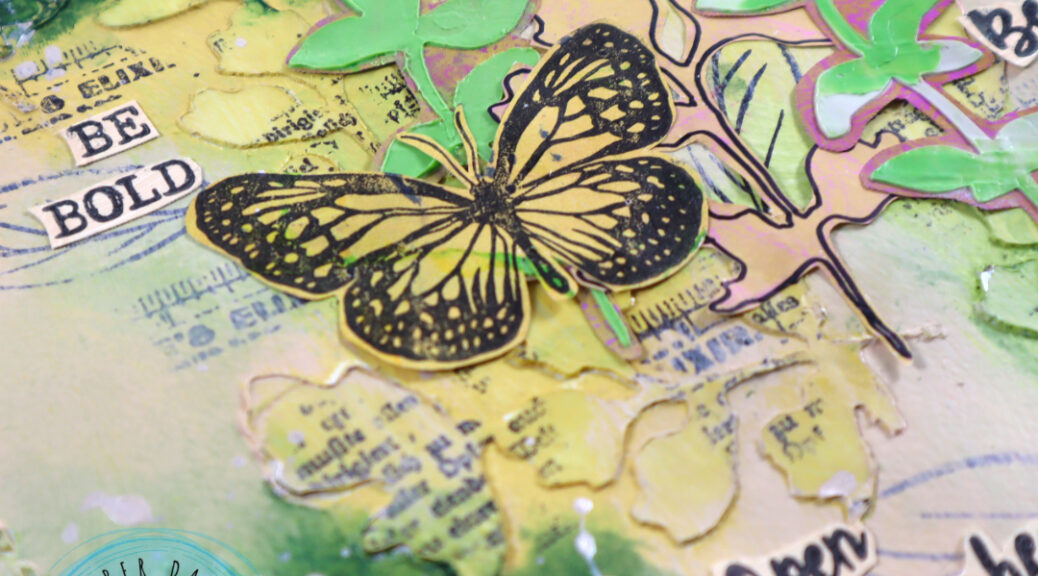
“Be You” Art Journal page and process video

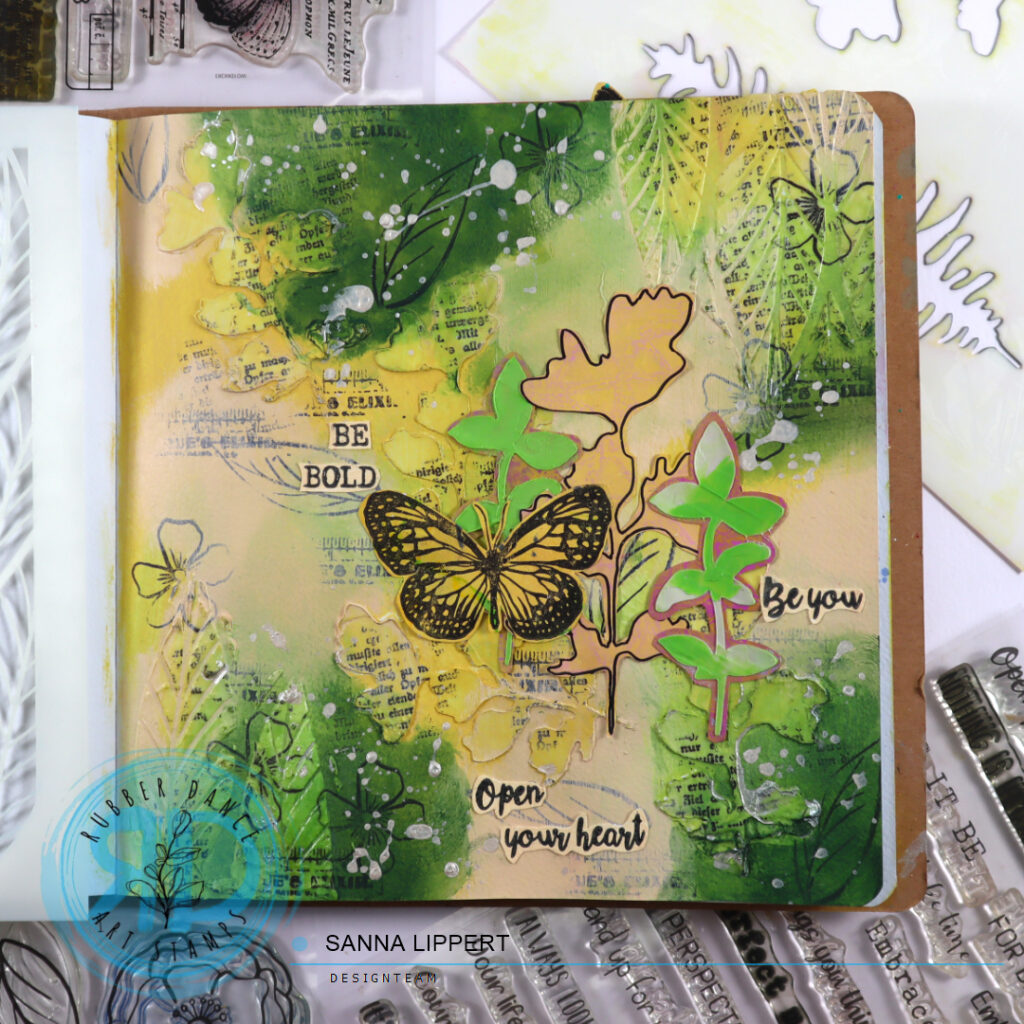
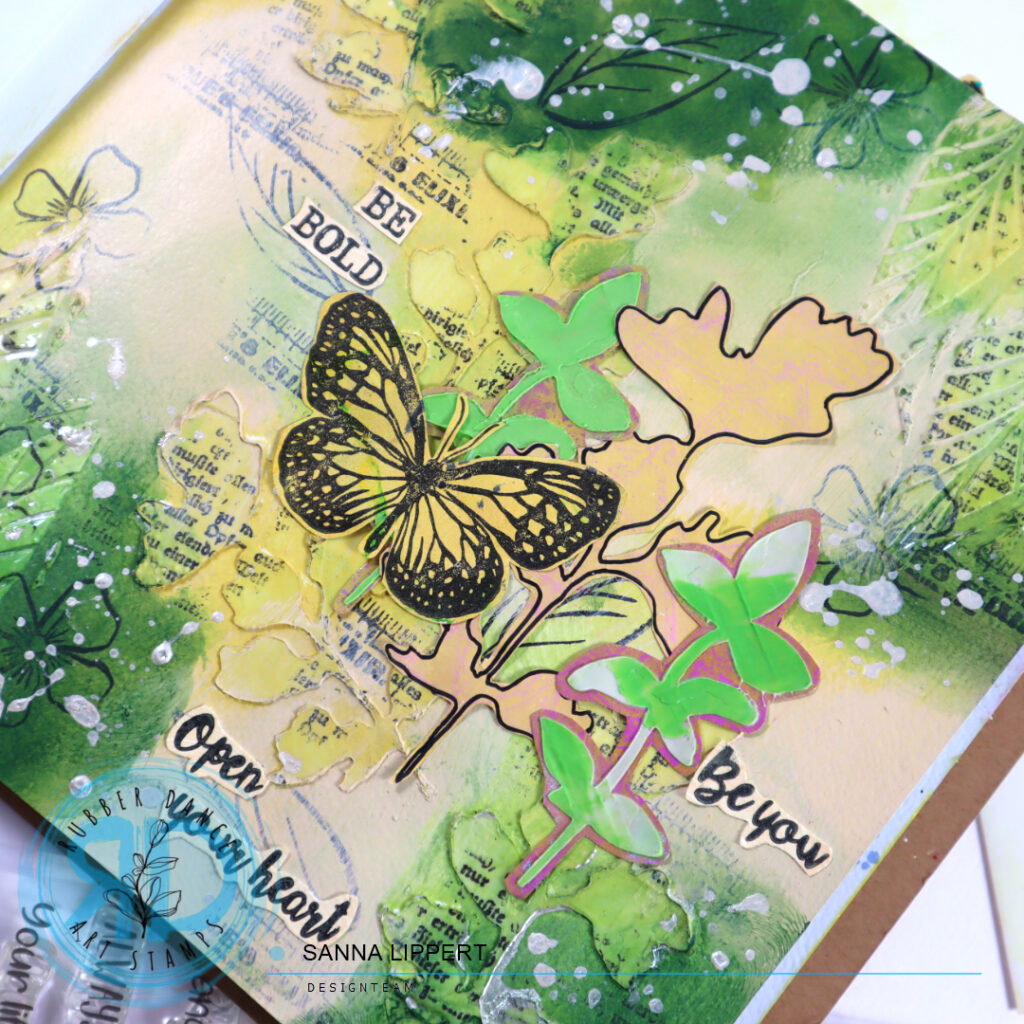
Hello, I am sharing an art journal page with a process video today. For this page I used the Sketchy Leaves 5 and Leaves 2 stencils and Loose Florals 2024, Mix It Up 5, Mixed Sentiments 1 and Butterflies and Moths stamp sets.

I started by stenciling modeling paste onto the page thru the Sketchy Leaves 5 stencil. I then used Texture Gems clear paste with the Leaves 2 stencil. After the pastes were dry, I applied ocker and light green paint on top. After that I stamped with the Mix It Up 5 stamp over the stenciled areas very randomly. After that I added some Loose Florals 2024 stamped leaves and flowers to the background.

Then I took a heavy body paint in apricot and added highlights with it. Next I used my fingers and a baby wipe to apply some dark green paint for contrast. I also removed some of the paint from the stenciled areas to make them stand out more.

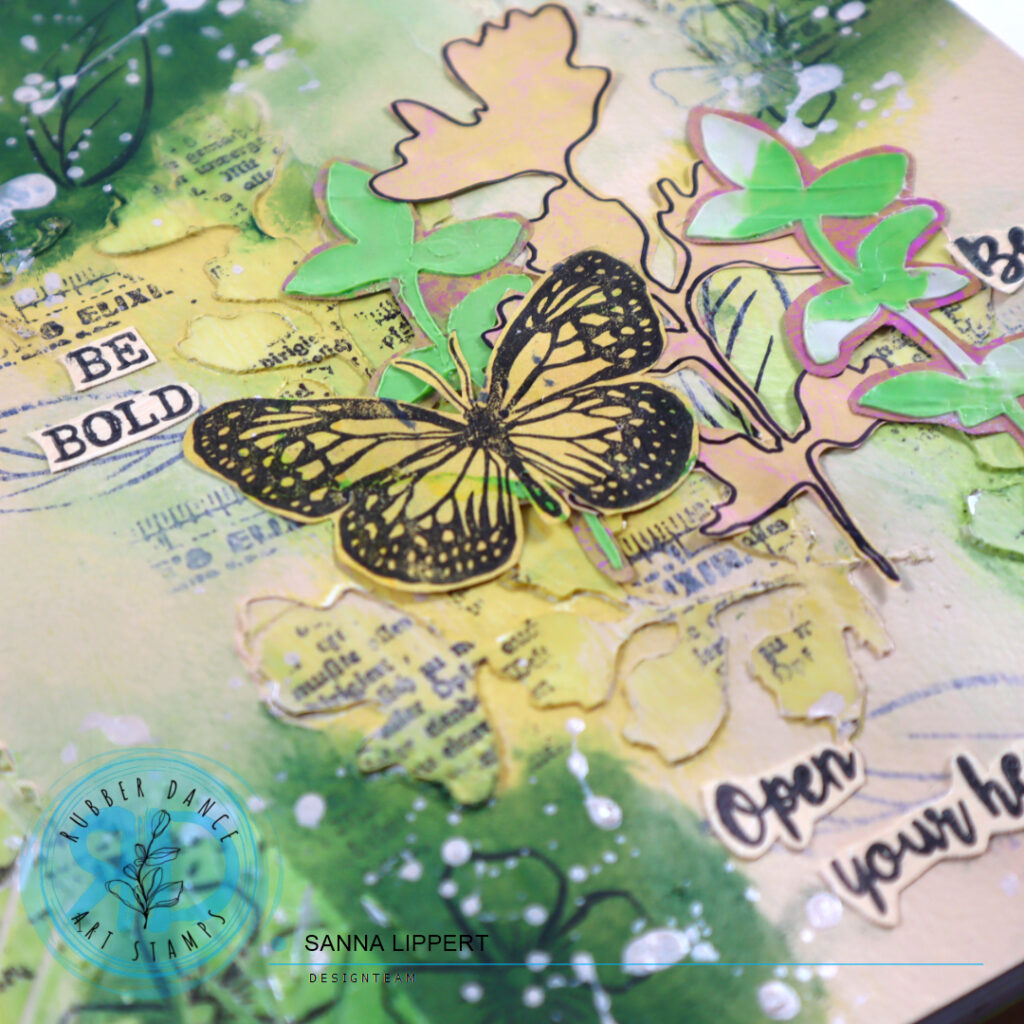
After applying the paint, I used golden pigments to add droplets to the darker areas. Finally, I created a cluster with stenciled and pasted fussy cut leaves and a Butterflies and Moths butterfly. For finishing touches I added some stamped words using the Mixed Sentiments 1 stamp set.

Here is the process video with all the steps:

I hope you enjoyed watching the video and got inspired! Do stop by the Rubber Dance store and purchase a product or two. These days with high taxes, every purchase goes towards keeping a small business alive!

Happy crafting,
xx, Sanna

Cards with fodder clusters and oval backgrounds – Rubber Dance

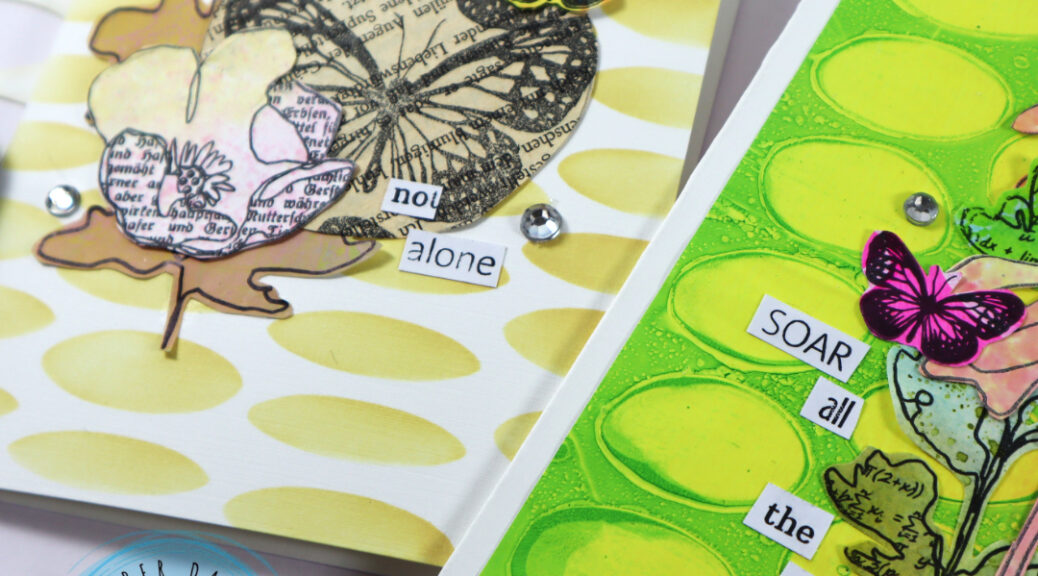
Hello, it´s my turn to share a project over at Rubber Dance blog today. I love the Rubber Dance ovals stencil line! So I played around with them (Big Ovals and Stacked Ovals) and created fun oval background cards with a big collage fodder cluster as a focal point.

For the bright colored card I used a gelli print created earlier this year. It creates a beautiful, happy and bright backdrop for the cluster of flowers, leaves and butterflies. I also added some rhinstones and a fussy cut sentiment to the card for finishing touches.

I always create collage fodder in bulk, so that I have plenty of options to add to my cards and other projects along the way. The tutorials to these fodder pieces can be found here, here and here.

For the second card in more muted colors. I used the new Stacked Ovals stencil directly on the background with “scattered straw” Distress Ink.

I again attached the stencil to the card and my working surface with washi tape. You can also use painters tape. This way the stencil will stay put while applying ink. I like washi, because it´s very easy and safe to remove afterwords – nothing tears while removing it.

For this cluster I again used collage fodder I had previously made in bulk. Except for the old book paper circle. That I created using the Butterflies and Moths stamp set and black ink just for this card. It adds a nice vintage feel to the cluster.

I really like using stencils on my cards. They can add so much to a project. Just imagine these fodder clusters without the backgrounds.

Hope you get inspired!
xx, Sanna

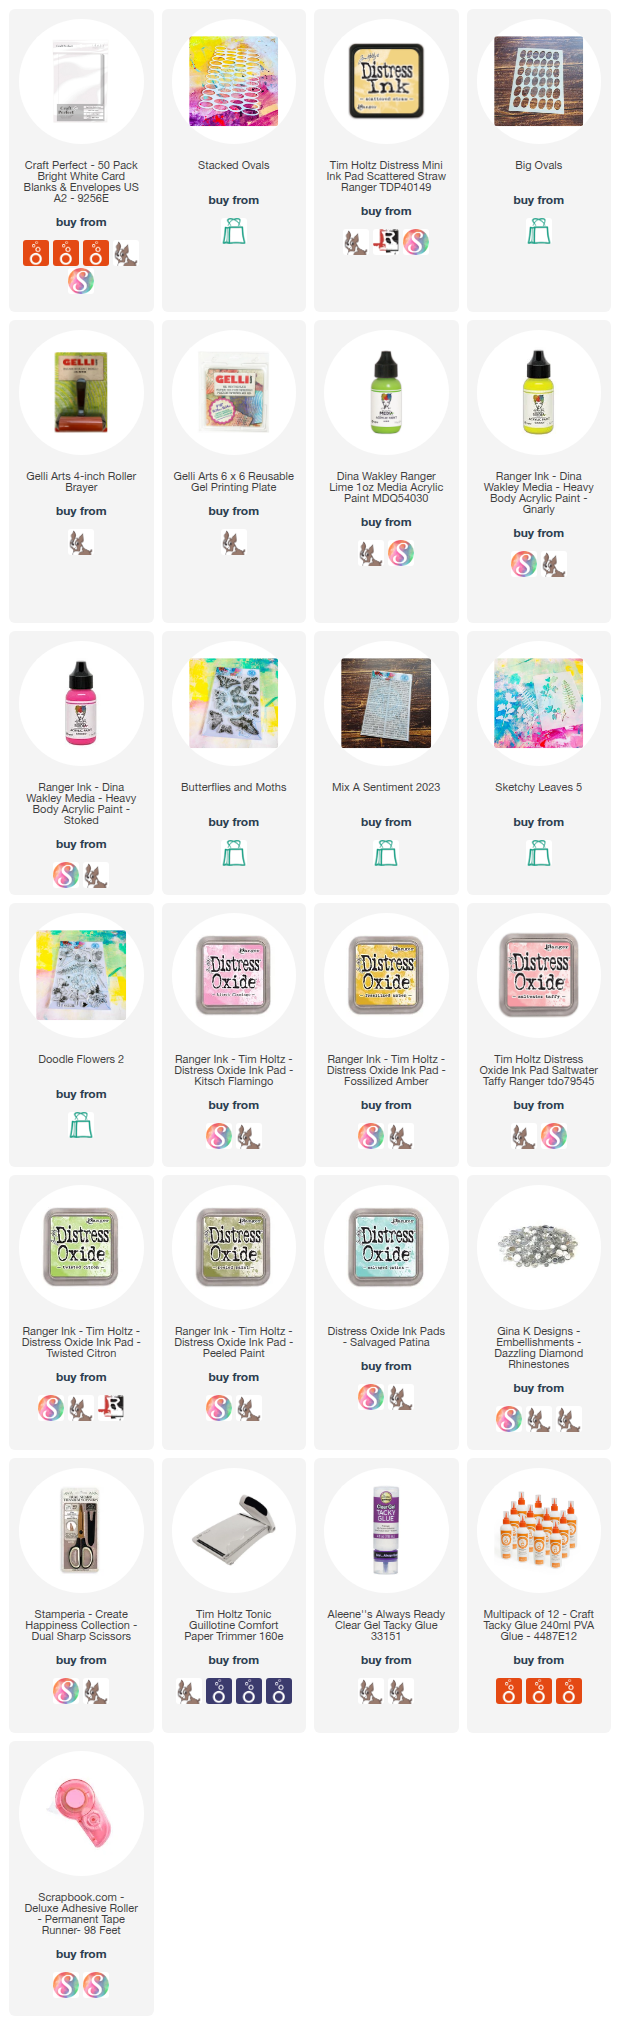
Supplies:

Full Deck Challenge 22/2025 – cut up

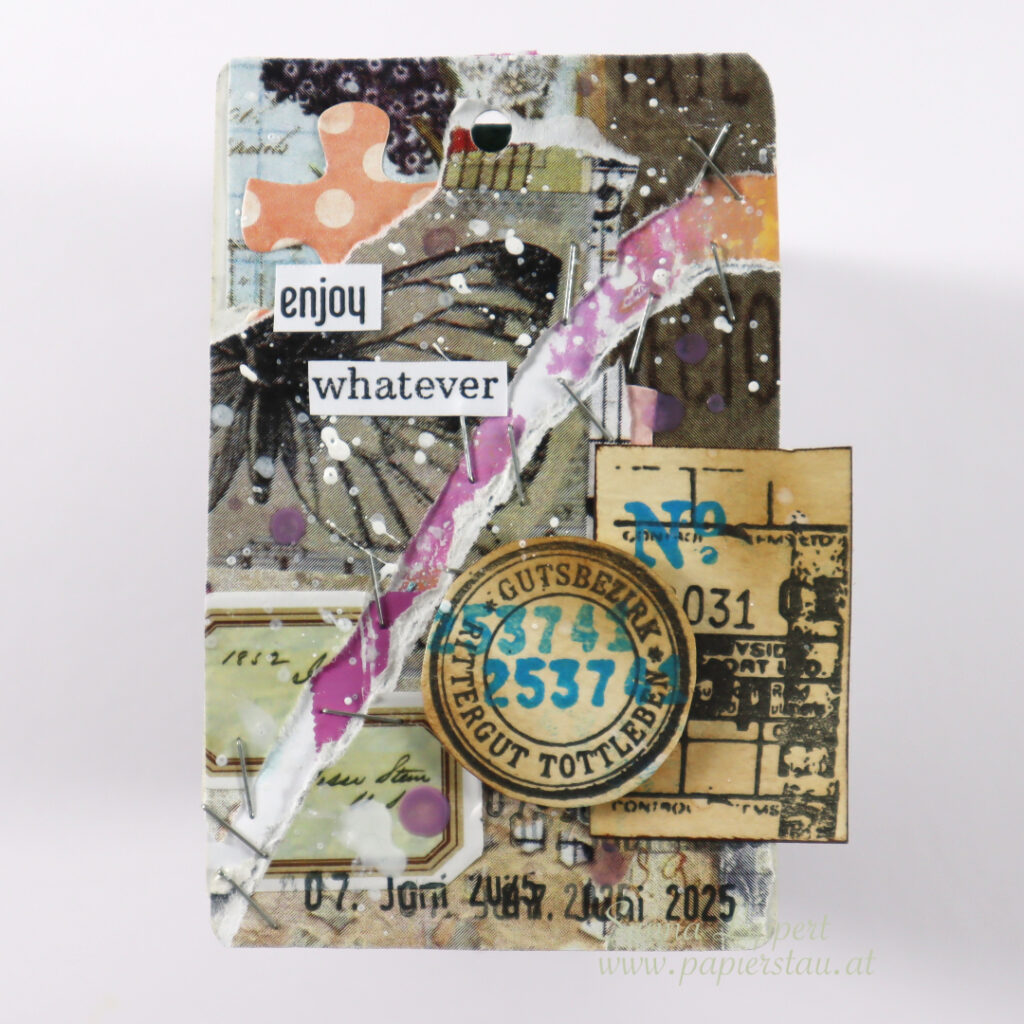
Hello everyone! This is my take on the ShanoukiArt Full Deck Challenge number 22: “cut up”. That meaning cutting up the actual deck card some way.

I started by adding collage papers (by Yuna) to the background, then incorporating some carry over items (puzzle pieces) from my last deck card. After that I used my constant; a date stamp. I also added a label sticker to the background.

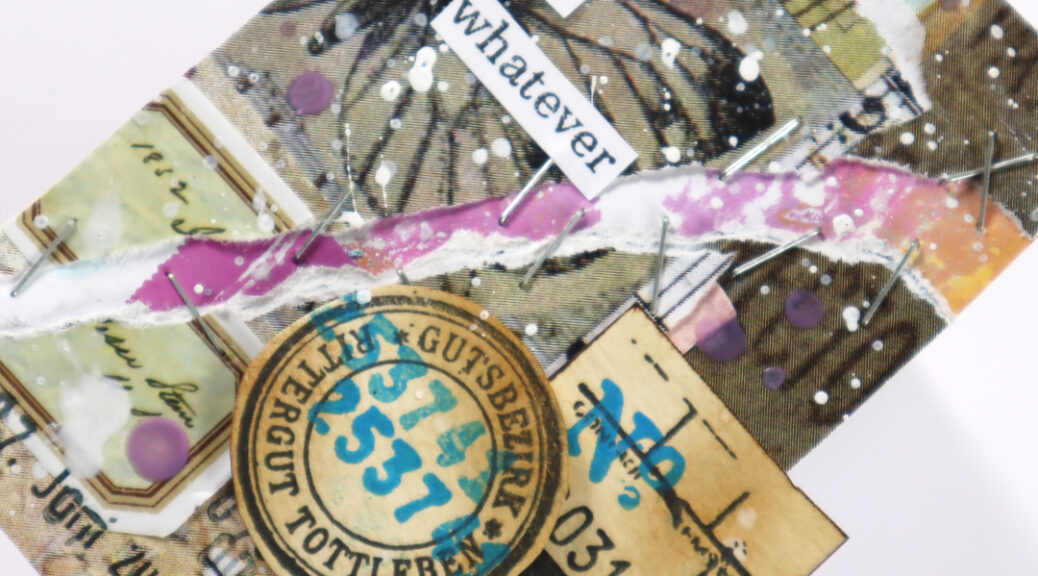
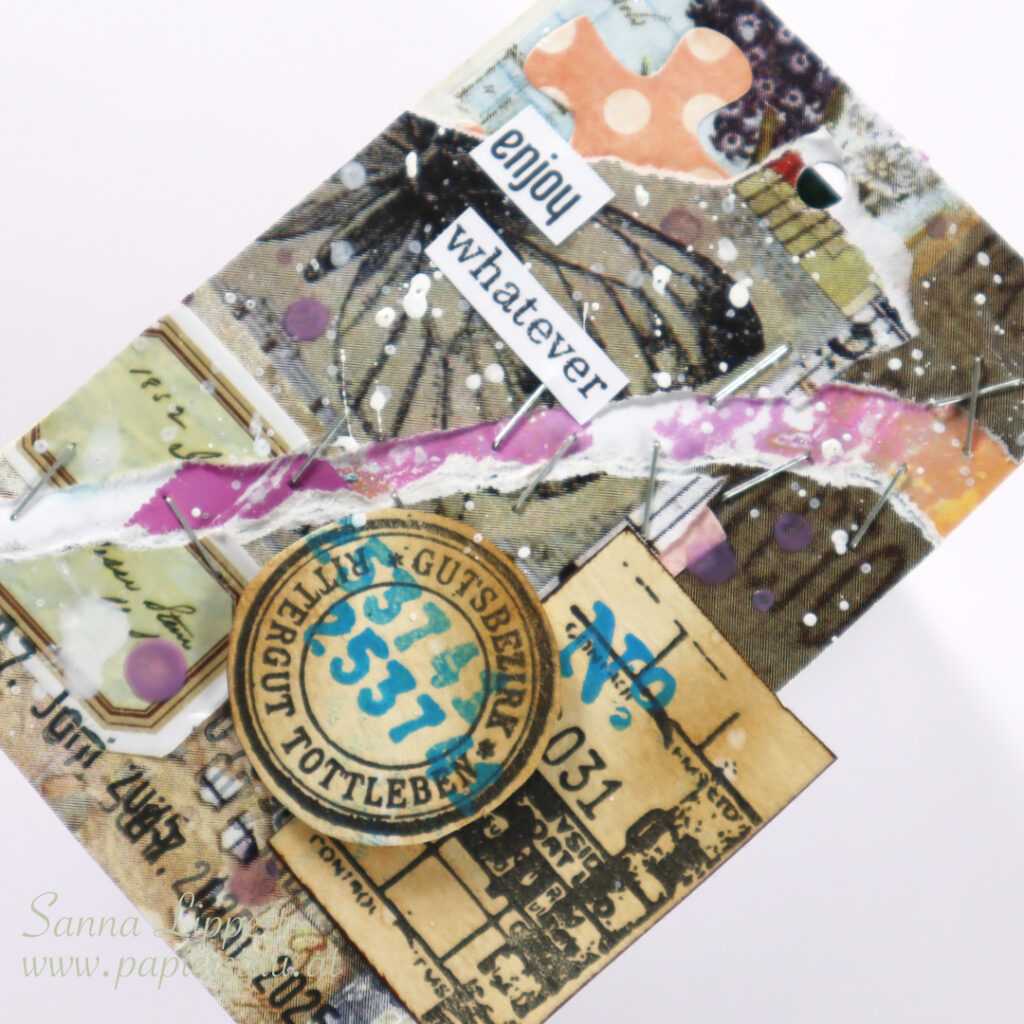
Next I wripped the card in two and adhered and stampled the pieces onto a residue paint paper. For decoration/finishing touches I added white and purple Gloss Sprays, some of my “DIY vintage tickets” and a stamped sentiment. Here is the process video:

I hope you enjoyed this one – see you next week with FCD take number 23. Happy crafting,
xxx, Sanna

Supplies:

Full Deck Challenge 21/2025 – puzzle

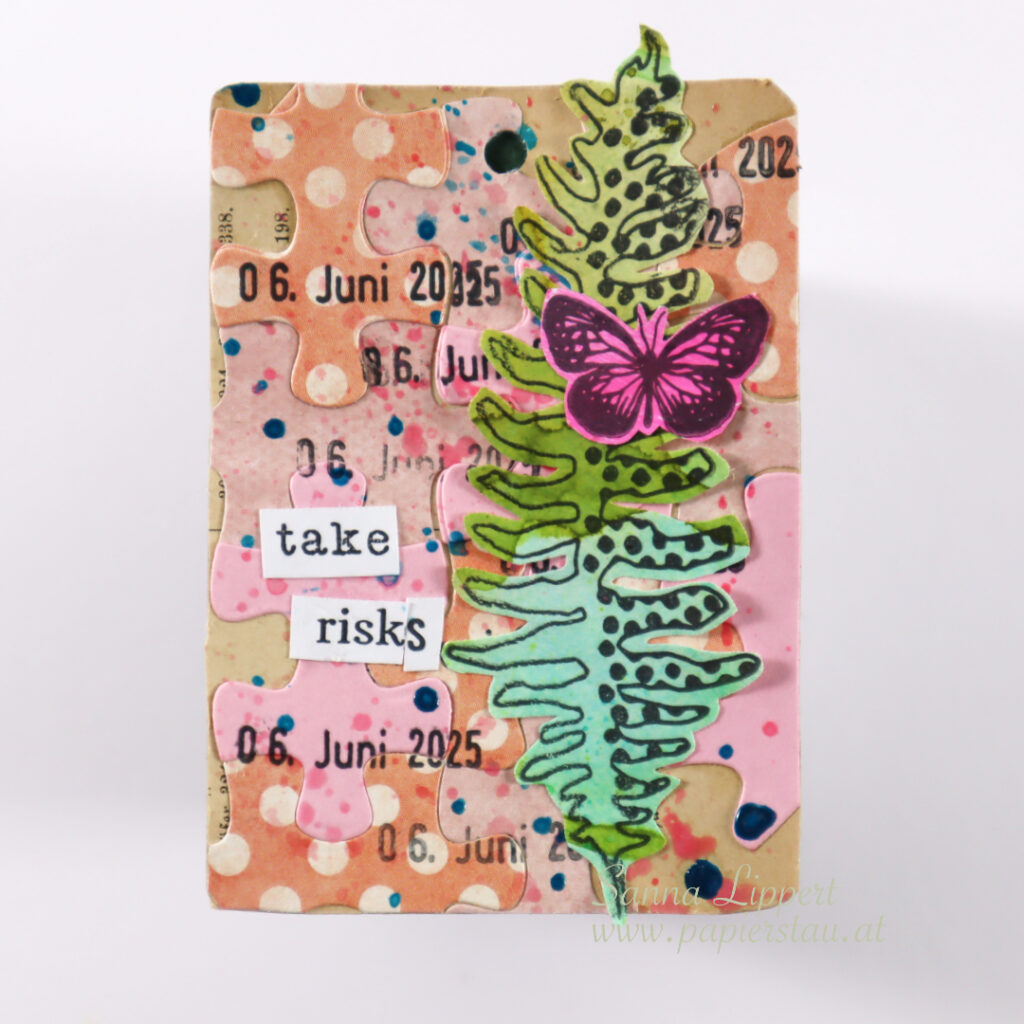
Hello everyone, here is my take on the 21st Full Deck Challenge by ShanooukiArt. The theme was “puzzle”.

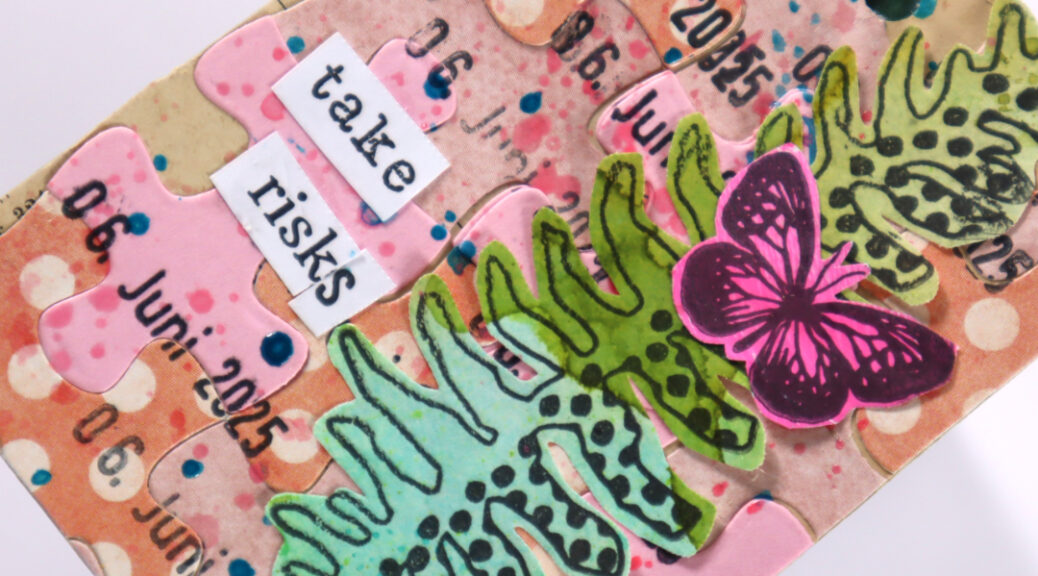
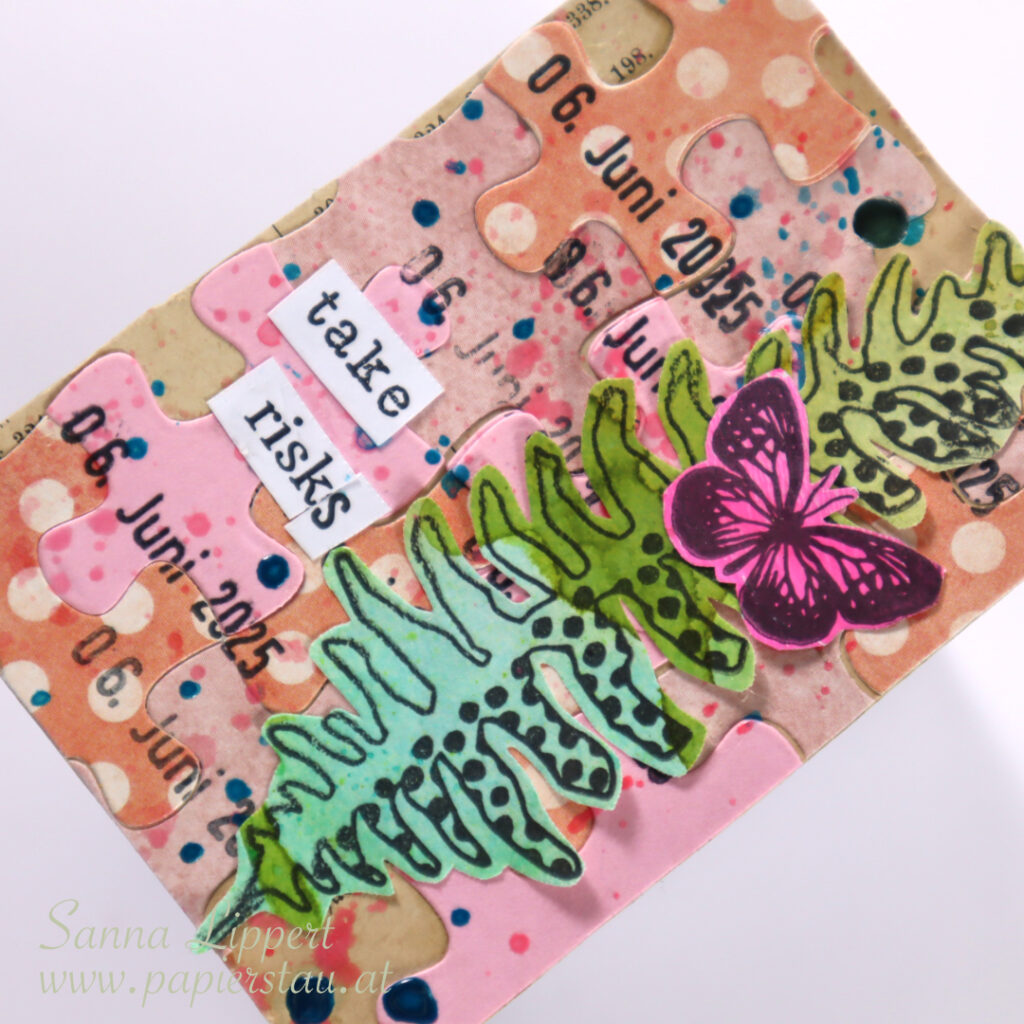
I used 3 different pink toned papers and a Elizabeth Craft Designs die cut die with puzzle elements to die cut puzzle parts. I then arranged them onto a piece of old book page (peeking thru on the background). After that I used my constant, the date stamp. I messed the month, so I had to do a quick fix by adding more puzzle pieces on top and stamping again.

I then added some Rubber Dance stamped fodder as a focal point, accompnied with a stamped sentiment. Which I also messed up. I then fixed it by cutting a part off and replacing it with a stamped letter. For additional detail I´ve added some Gloss Spray droplets. And here is the video:

https://youtu.be/hTzFYKpgTvk

See you next week with another FDC take.
Happy crafting!
xx, Sanna

Supplies: