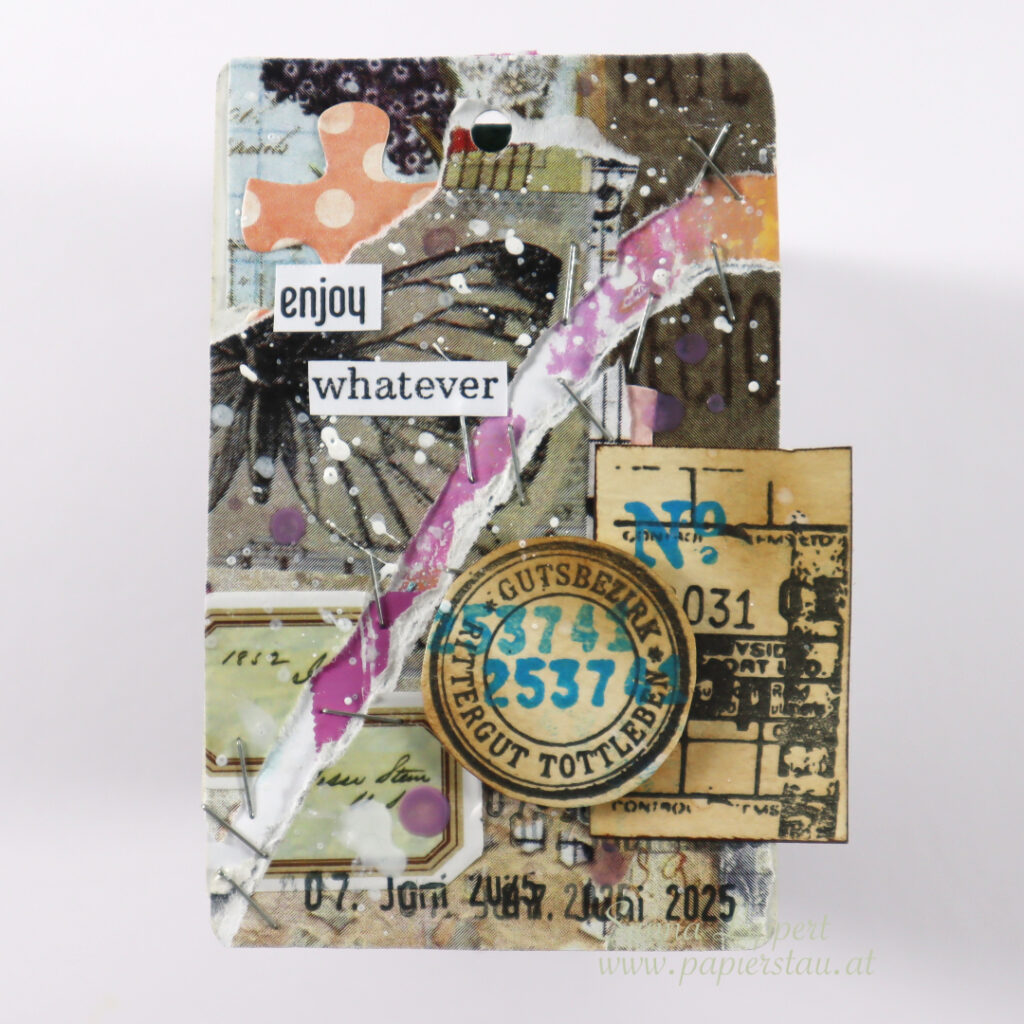
Hello everyone! This is my take on the ShanoukiArt Full Deck Challenge number 22: “cut up”. That meaning cutting up the actual deck card some way.
I started by adding collage papers (by Yuna) to the background, then incorporating some carry over items (puzzle pieces) from my last deck card. After that I used my constant; a date stamp. I also added a label sticker to the background.
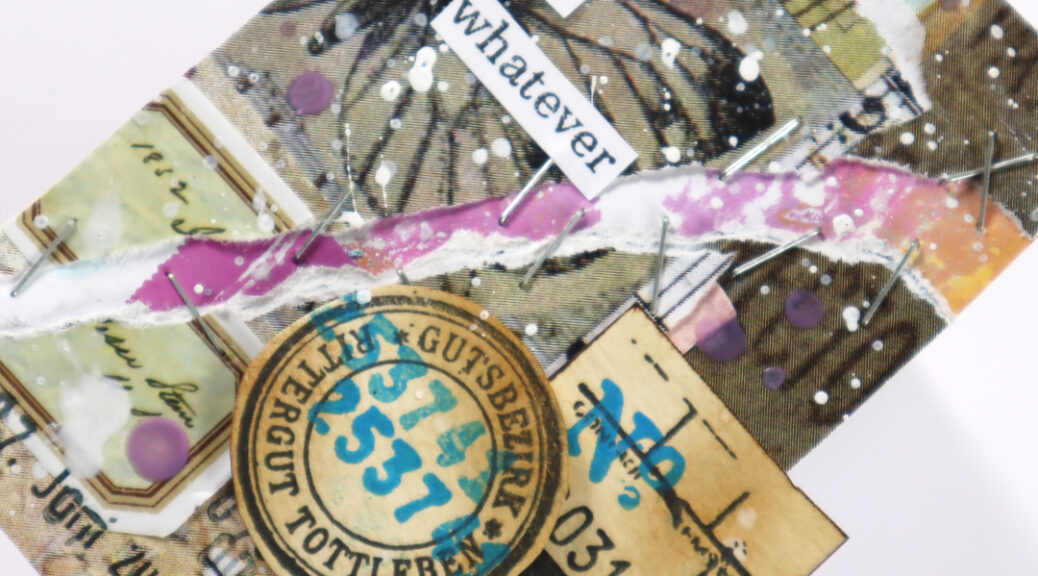
Next I wripped the card in two and adhered and stampled the pieces onto a residue paint paper. For decoration/finishing touches I added white and purple Gloss Sprays, some of my “DIY vintage tickets” and a stamped sentiment. Here is the process video:
I hope you enjoyed this one – see you next week with FCD take number 23. Happy crafting, xxx, Sanna
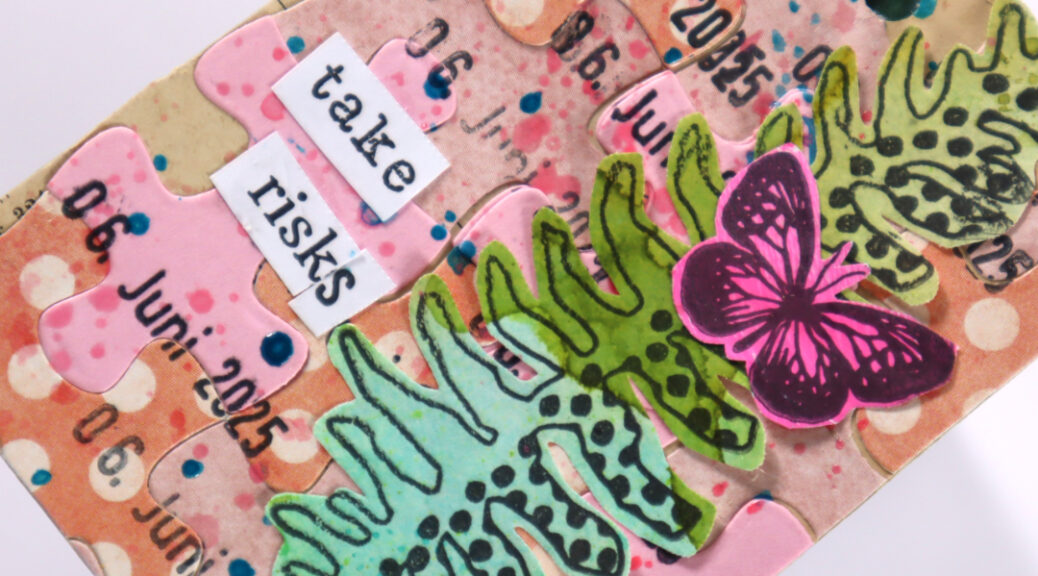
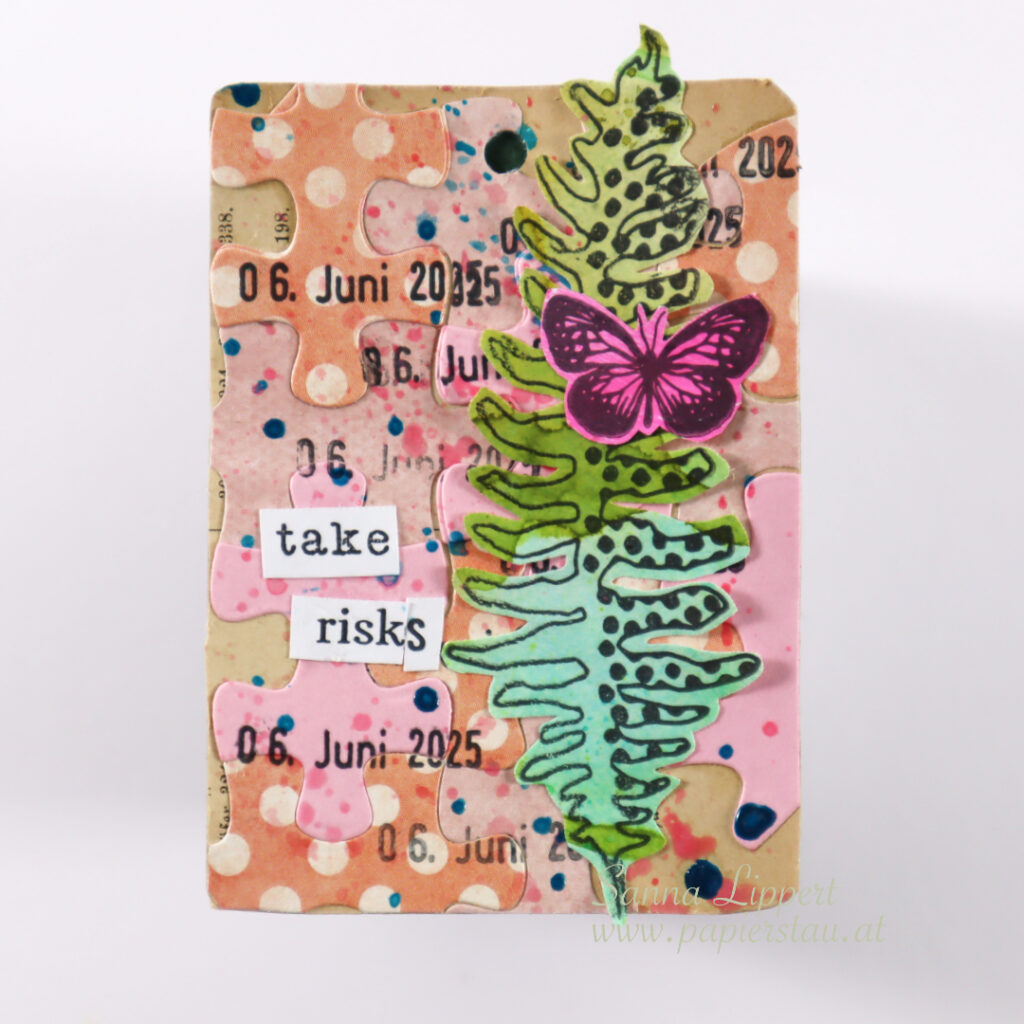
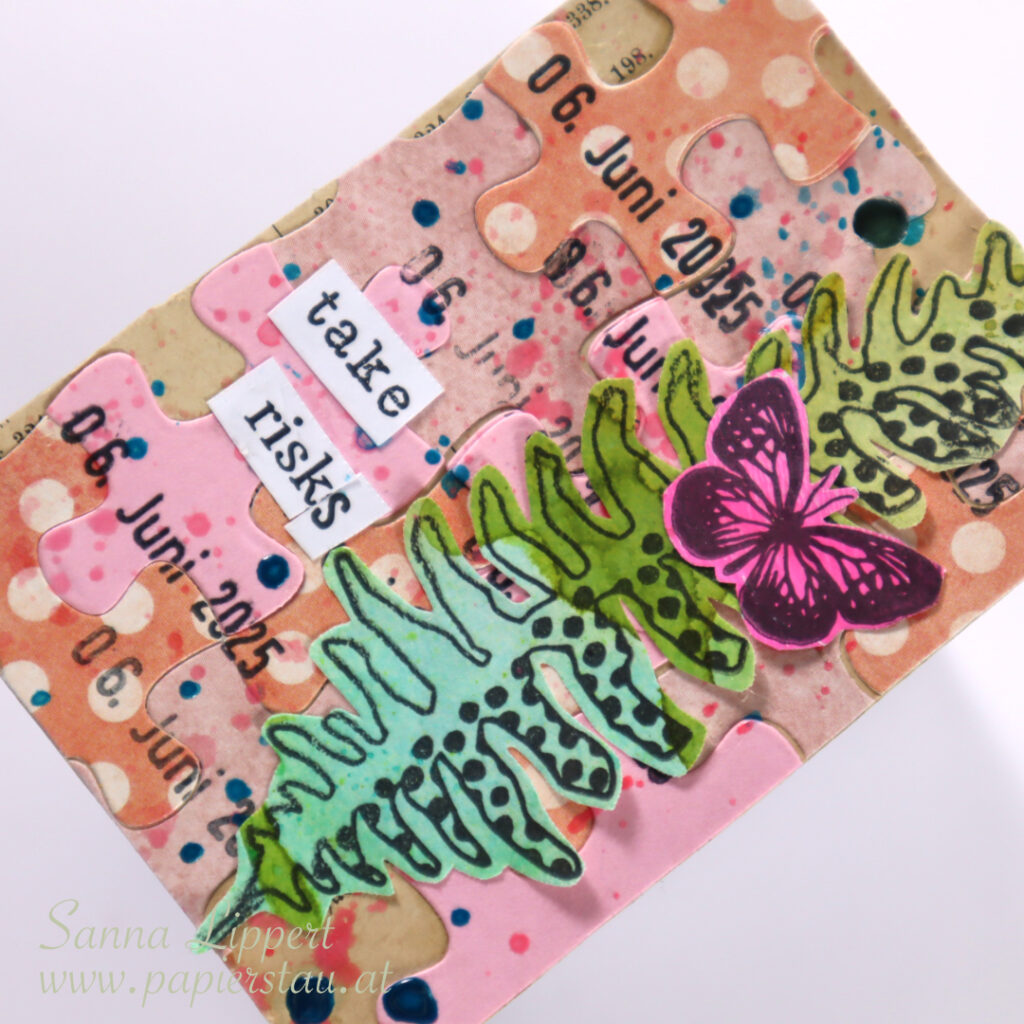
Hello everyone, here is my take on the 21st Full Deck Challenge by ShanooukiArt. The theme was “puzzle”.
I used 3 different pink toned papers and a Elizabeth Craft Designs die cut die with puzzle elements to die cut puzzle parts. I then arranged them onto a piece of old book page (peeking thru on the background). After that I used my constant, the date stamp. I messed the month, so I had to do a quick fix by adding more puzzle pieces on top and stamping again.
I then added some Rubber Dance stamped fodder as a focal point, accompnied with a stamped sentiment. Which I also messed up. I then fixed it by cutting a part off and replacing it with a stamped letter. For additional detail I´ve added some Gloss Spray droplets. And here is the video:
https://youtu.be/hTzFYKpgTvk
See you next week with another FDC take. Happy crafting! xx, Sanna
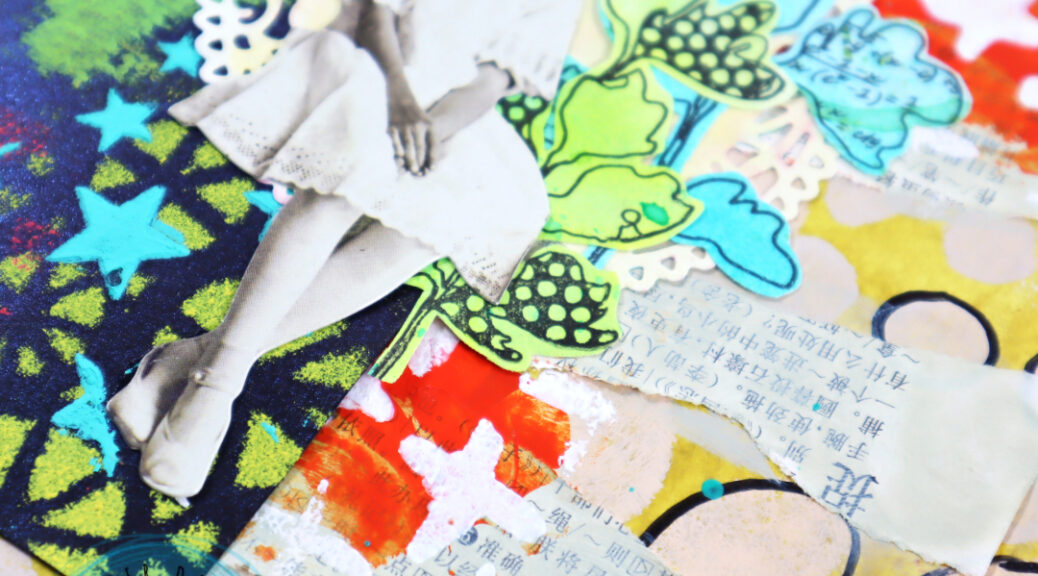
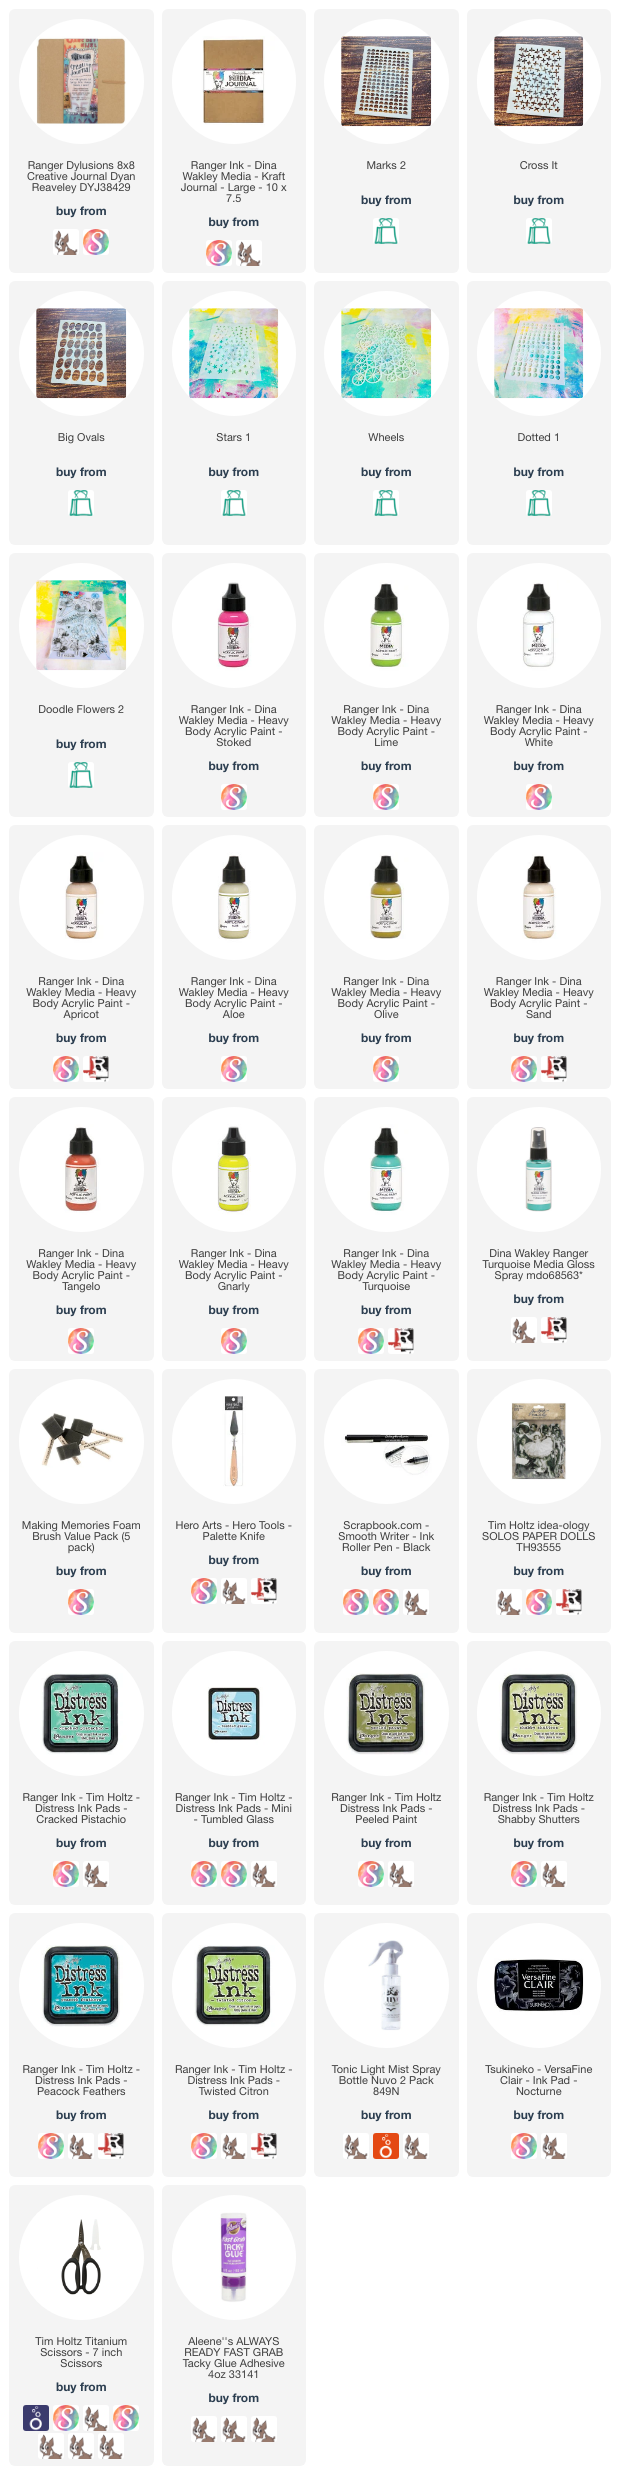
I started by applying heavy body paint in “olive” with a palette knife onto the background. On top of that I used a foam brush to dab “sand” and “apricot” tones thru Big Ovals and Dotted 1 stencils. After that I outlined some of the dabbed paint “circles” with a black pen. Next I took a piece of a old dictionary book and wripped and glued strips of paper onto the background.
Next I wiped some “aloe” tone with my fingers onto the wripped dictionary page pieces to blend them into the background. I then added a layer of “tangelo” with a palette knife onto the page. Next I took the Cross It stencil out and added some white paint thru it onto the orange areas for contrast.
After that I took a black with glimmer mist misted tag out and again dabbed the “lemon” paint onto the tag thru the Wheels stencil. After that I put some “lime” toned paint onto the palette knife and wiped some of it onto the tag. The next layer was done using “stoked” tone and the Marks 2 stencil. I then added the last bits of “turquoise” paint with a palette knife thru the Stars 1 stencil onto the tag.
I sprinkled some Gloss Spray in “turquoise” for interest onto the art journal page. I then glued the stenclied black tag onto the art journal page. After that I added a misted doilie for decoration and created a cluster of leaves with “Doodle Flowers 2″ leaves next to it. There is a video at the end of this post on how I created the leaves.
I finished the page with a paper doll by Tim Holtz and some black and white alphabet stickers. Here is the start-to-finish video for further information:
And this is the video on how I made the leaves fodder:
I hope I could inspire you today. Happy creating! Sanna
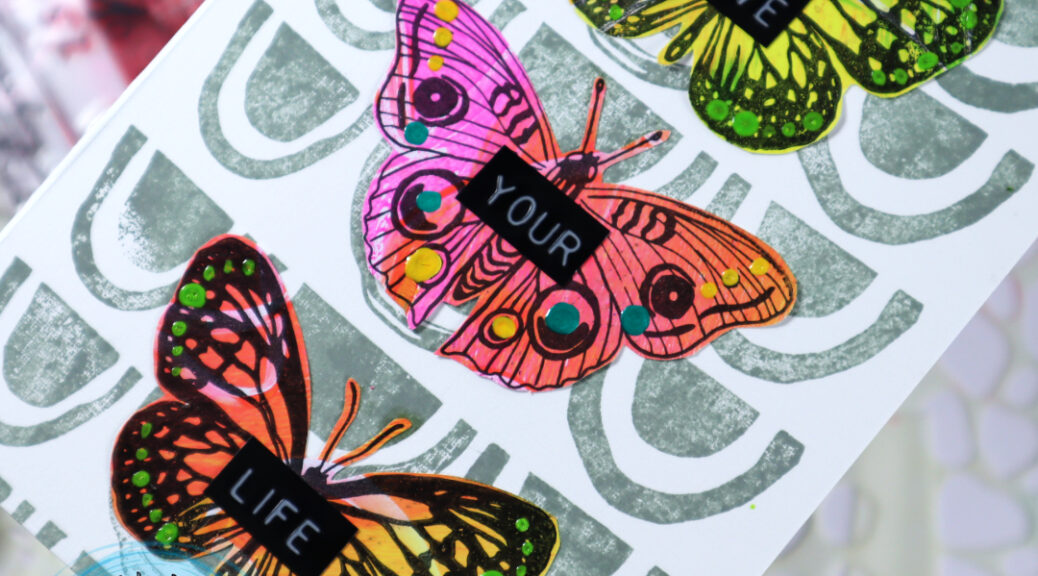
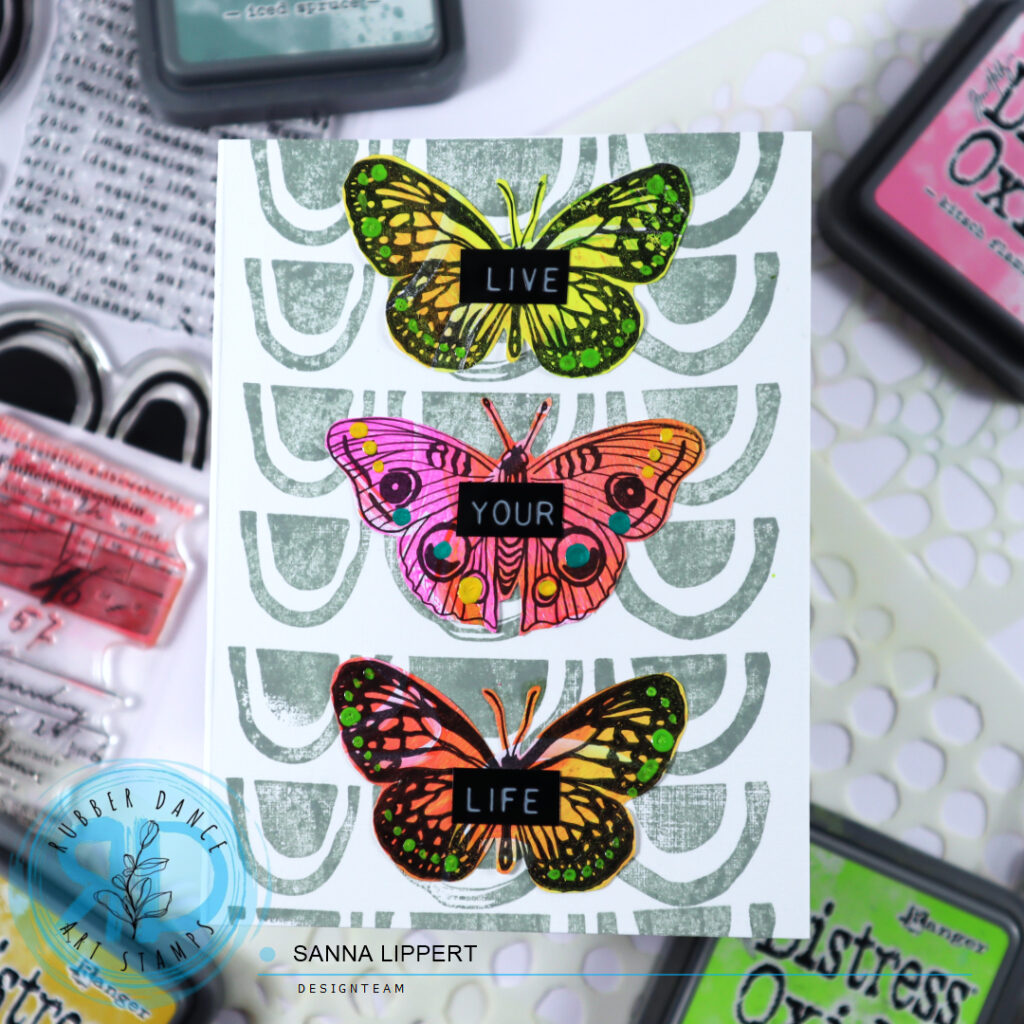
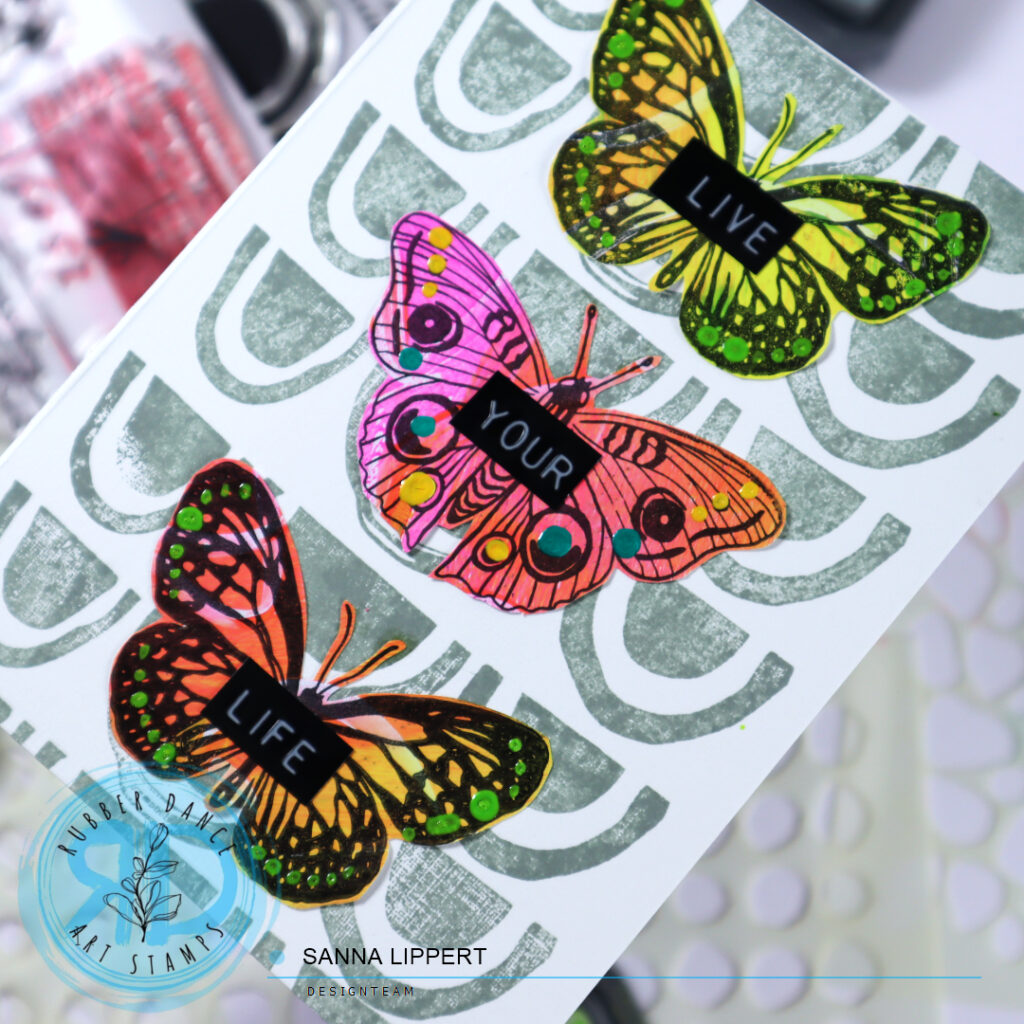
Happy Wednesday! Here is another card share, again created using Rubber Dance stamps. For this one I used the Butterflies and Moths fodder and the Mix It Up 4 stamp set.
I stamped the background pattern with Iced Spruce Distress Oxide ink and the Mix It Up 4 stamp set repeatedly. After that I grabbed the butterfly fodder I had previously created using a gelli printed paper and with black ink stamped and fussy cut butterflies.
You can find the how-to reel for the butterfly fodder on my Instagram under reels.
I adhered the butterflies directly onto the stamped card base, then added a Tim Holtz label sentiment and some Dina Wakley Gloss Spray droplets to the butterfly wings.
Hope this card gives you some spring “feelz”!!! Happy crafting, xxx, Sanna
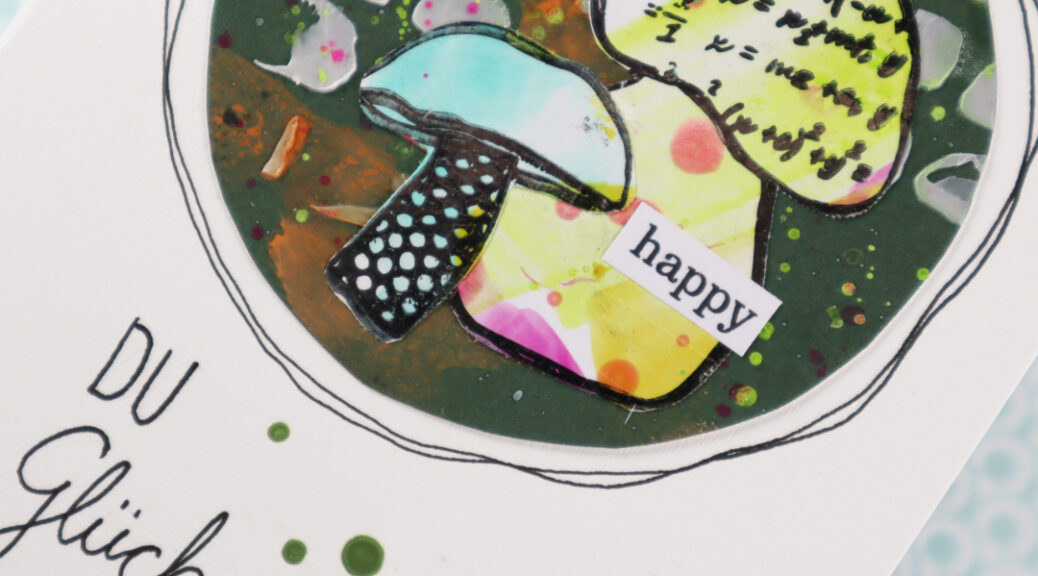
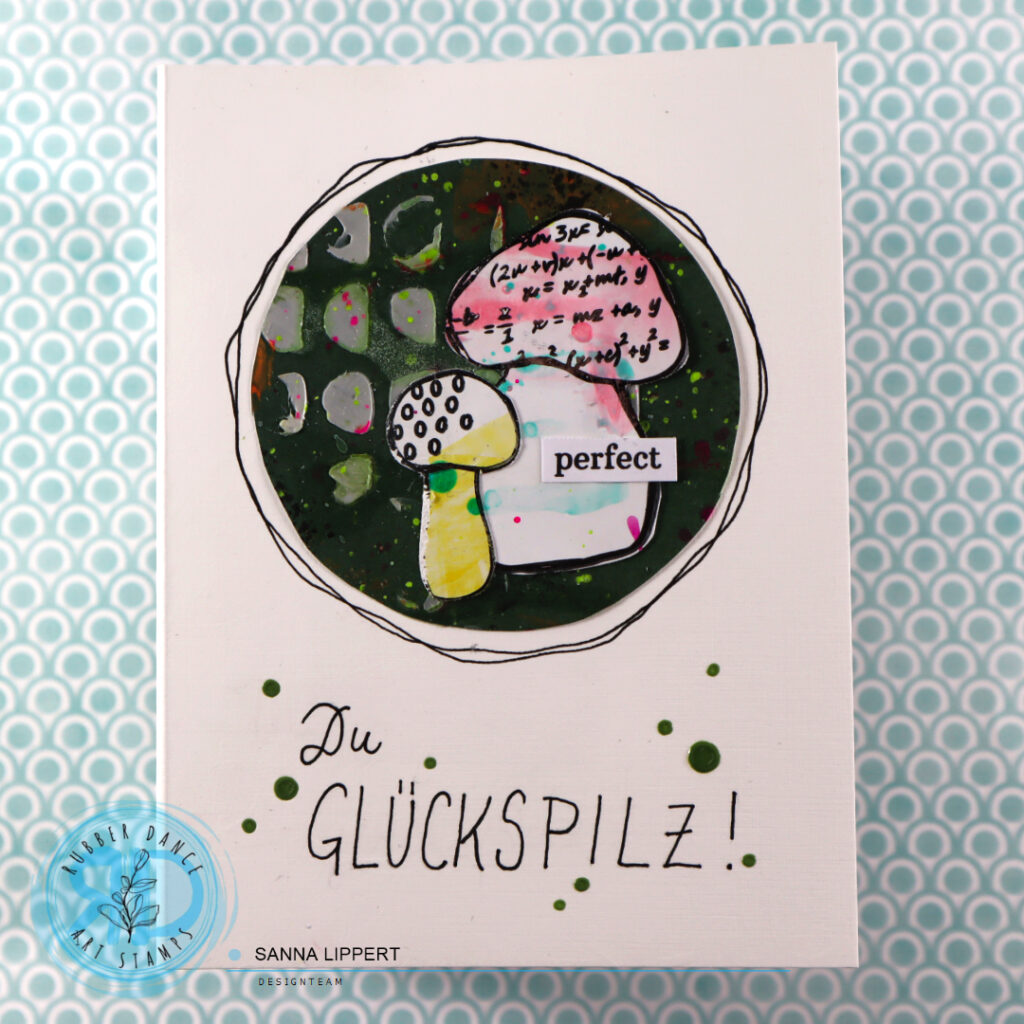
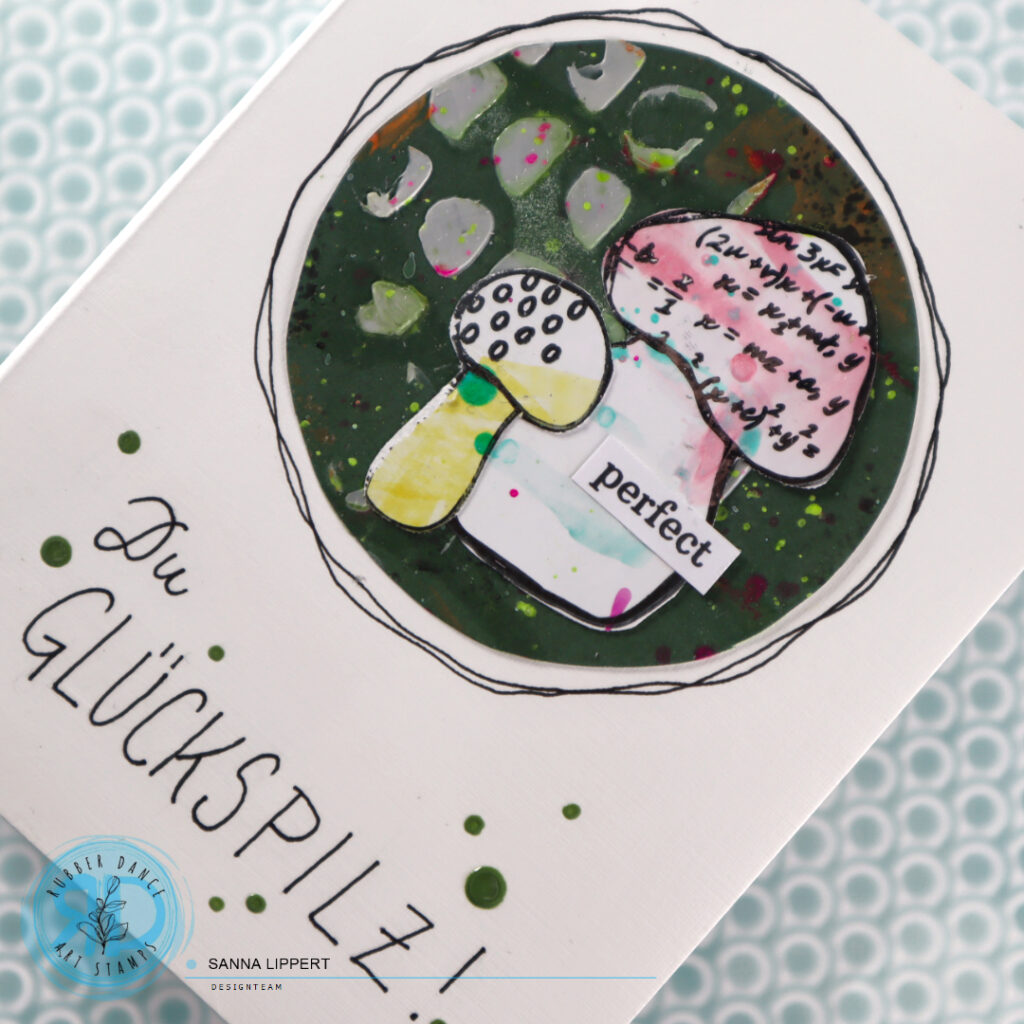
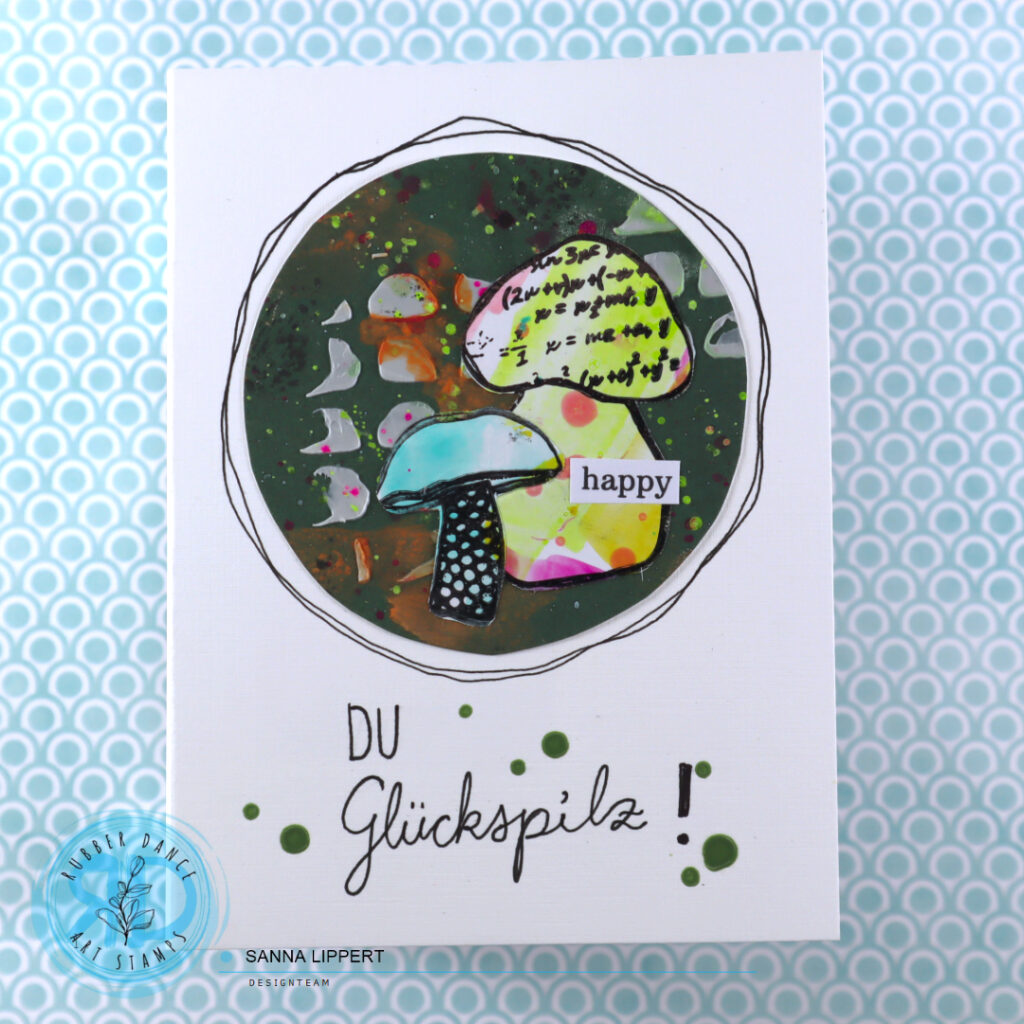
Hello, today I´m sharing the last cards of this year. Just two mushroom cards I created with my final bits of Gloss Sprays and the Textured Mushrooms 2 stamp set.
For these cards I just grabbed a green paper onto which I had applied some texture paste thru the Marks 2 Rubber Stamps stencil. On top some neon colored droplets and a cluster of mushrooms and a stamped sentiment. The “Lucky You” text in German is hand written and some gloss spray droplets accompany it.
I created two of these cards, using the same basic idea on both. Wishing you all a good last day of 2024!!! And all the best for the next year to come. Lot´s of health, happiness and creative fun!! See you on the other side! xxx, Sanna
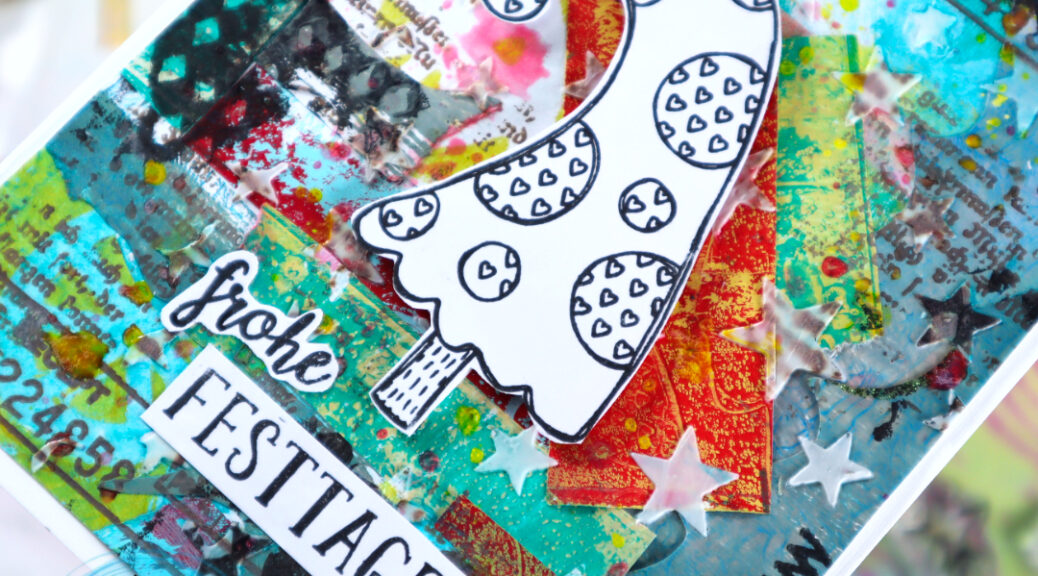
Hello, it´s my turn for a Rubber Dance project share today again. I am up with another Christmas card created with a mixed media background. For this card I used all the gelli printed paper bits I had left over from my previously shared Christmas cards. For details I used the Stars 1 stencil, the Mix It Up 5 stamp set and the Textured Xmas Trees 2 stamp set.
Here is how I created the card:
I took a piece of printing paper and adhered the leftover gelli prints onto it first. Next I took some white texture paste and applied it onto the background thru the Stars 1 stencil with a palette knife.
Then I wiped some turquoise dimensional pearls here and there onto the background with a palette knife. After that I took some Walnut Stain Distress Oxide Ink and stamped random text images onto the background. The stamp I used was the Mit It Up 5 set.
Next I changed to a black stamp ink and added other stamped imaged to the background from the same stamp set. Then I applied some Gloss Spray splatters in pink and yellow for contrast and let them dry. Finally, I took a piece of white cardstock and stamped a textured tree with black stamp ink onto it. I finished the card off with a stamped sentiment and adhered the tree with 3D foam onto the card.
This is not a typical Christmas card, but will be a perfect one for that one mixed media loving friend. Wishing you a lovely holiday season! Sanna
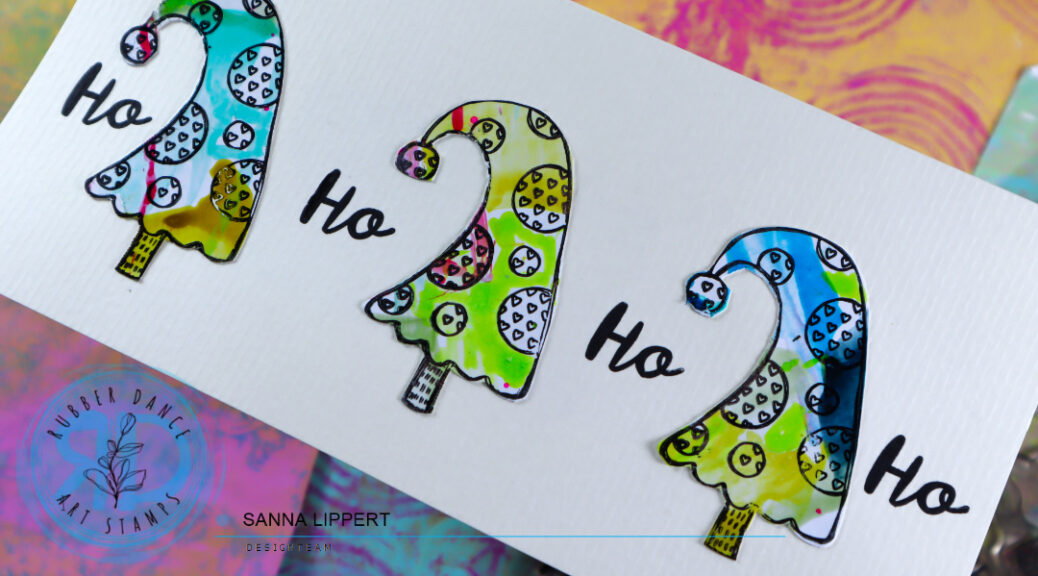
Hello and happy Thursday! Here is another slimline card I created with the Gloss Spray Xmas Trees I made in bulk.
For this one I just took the premade trees and arranged and adhered them onto a slimline card, then added some stamped stars from the same stamp set (see details on the supply list). I used Distress Oxide inks for stamping the stars.
After that I added some datails with Stickles and a stamped sentiment into the middle, adhered with 3D foam tape.
Have a great rest of the week! Happy crafting, xxx, Sanna
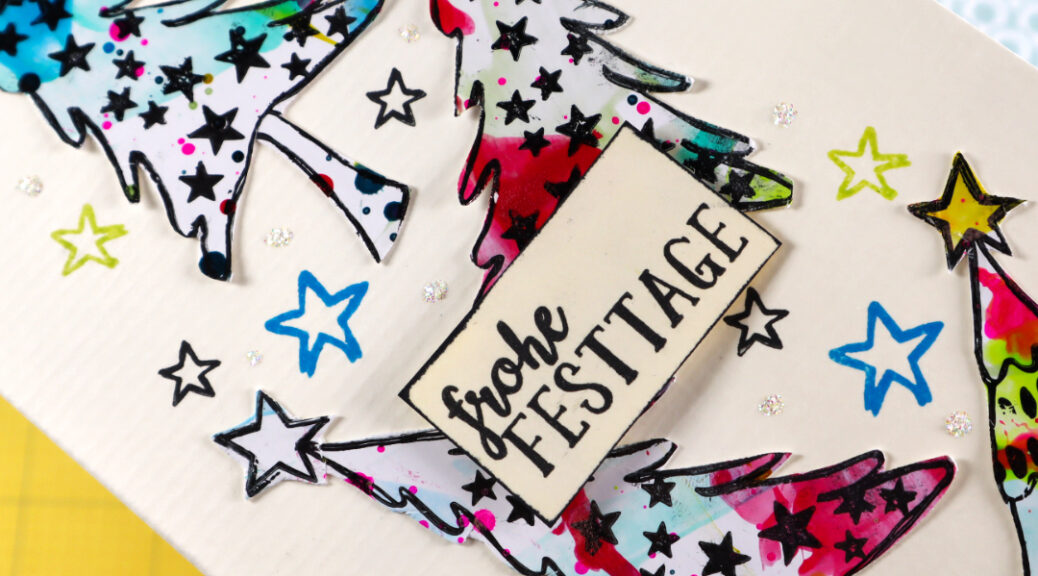
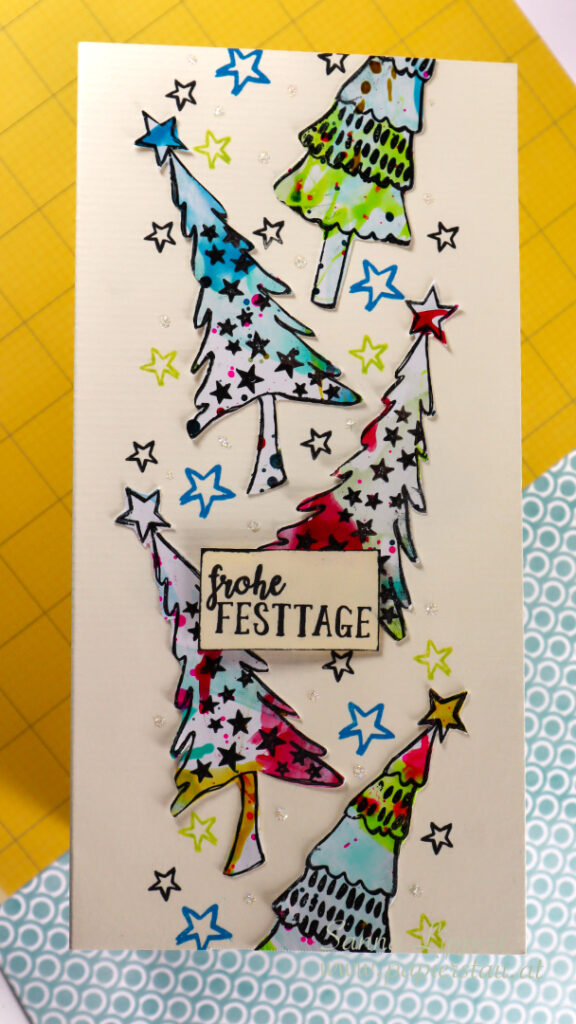
Hello, it´s again my turn to share a project over at Rubber Dance blog. Today I am up with a set of slimline Christmas cards. I used the Textured Xmas Trees 2 stamp set fo create these cards.
For these cards I used the same basic idea, like on the Textured Mushrooms cards I shared here. This time I took a little different Gloss Spray tones and colored all trees with the sprays instead of leaving some uncolored.
I then stamped onto the colored paper with black stamp ink, let the ink dry and fussy cut the images.
After that I arranged the images onto the slimline card bases and adhered them on place. For finishing touches I added some sentiments from the same stamp set. These cards are very fast an easy to do, so if you a looking for a Christmas card idea that is easy to make – this might be just the one.
Also, if you don´t own Gloss Sprays, you can use acrylic paints, stamp inks or other spray inks for the same idea, just instead of glossy paper, take a paper medium suitable for the ink you are using.
Hello everyone, it´s my turn to share another inspiration project over at Rubber Dance blog today again. This time I have a fun art journal page share with tutorial prepared for inspiration. I used Big Ovals, Textured Mushrooms 2 and Round in Circles on this page and I have a video tutorial up for steps and details.
For this art journal page I used the Gloss Spray painted mushrooms I had created for my previous post and hand plenty left over from. But first I started by creating a fun background with the Big Ovals stencil and Distress Oxide inks in orange and yellow tones. On top of that I have added Gloss Spray splatters in aloe, fuchsia and sand.
Next I´ve arranged the mushrooms in two circles into the middle of the page and added a Distress Oxide ink stamped circle image (from the Round In Circles set) into the very center of the page. Then I stamped some additional circles with brown stamp ink here and there to the background and finished the page off with some medieval Gloss Spray splatters and a fall themed quote.
Here is a video tutorial to give you a better idea of every step of the process – hope you like it!
I really like this stamp set so much – it was so much fun to create something in bright and happy fall colours into my art journal. I hope you get inspired to create too! xxx, Sanna
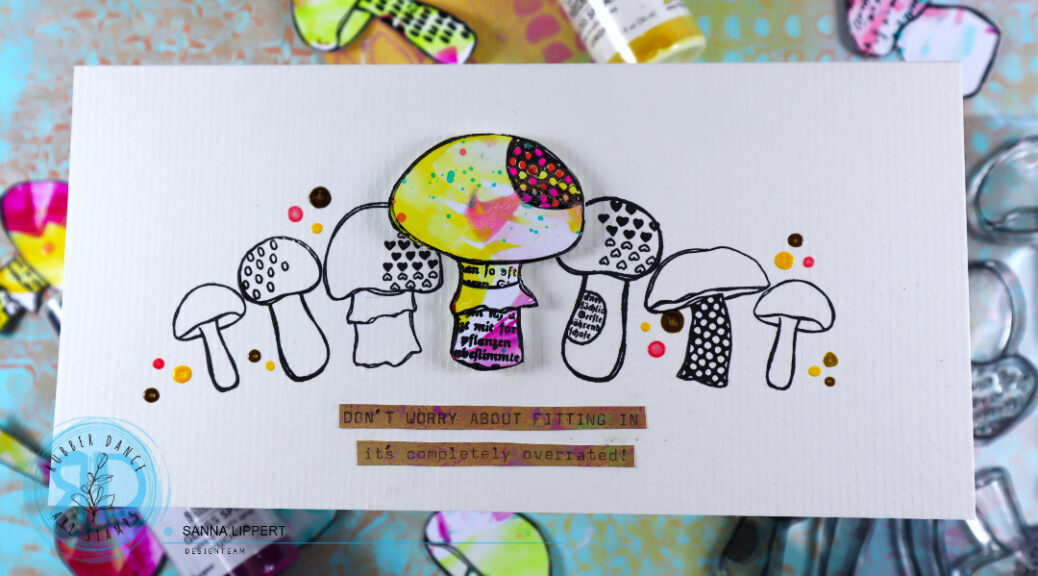
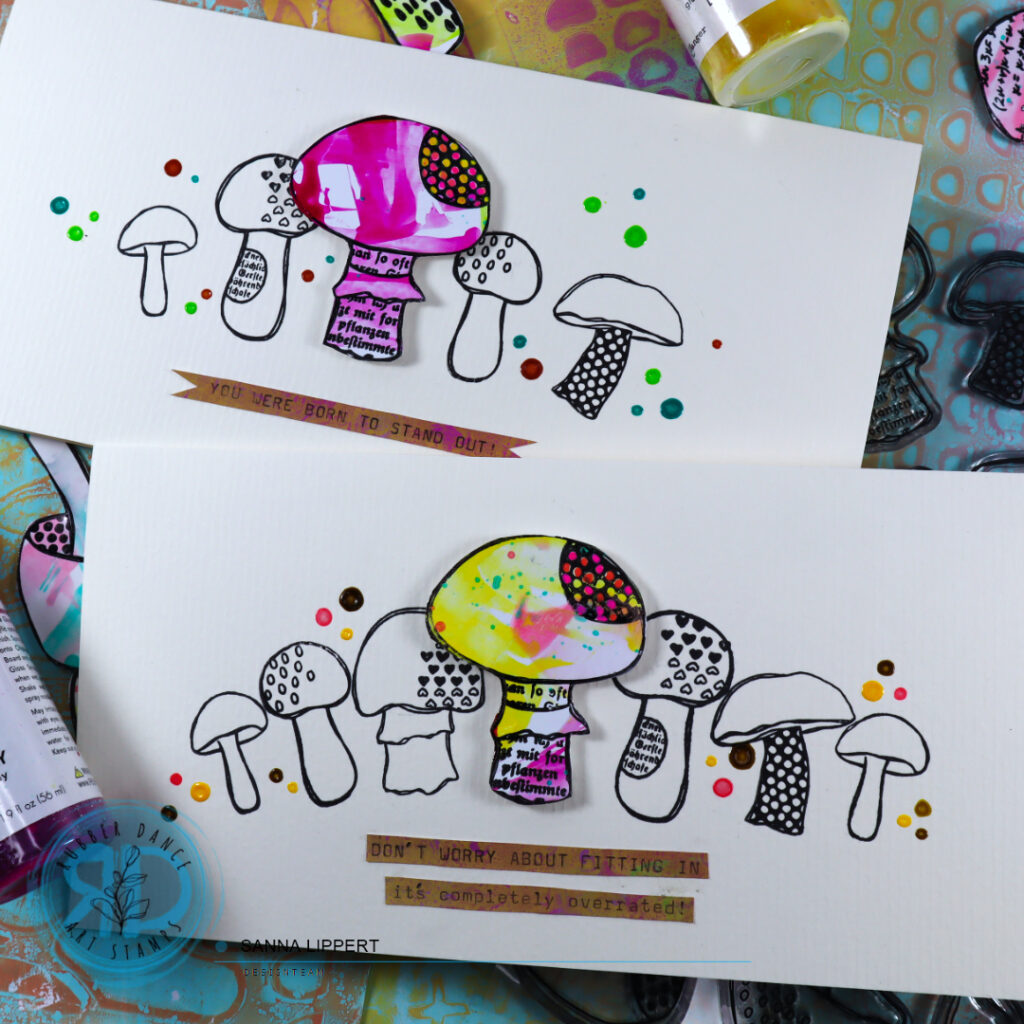
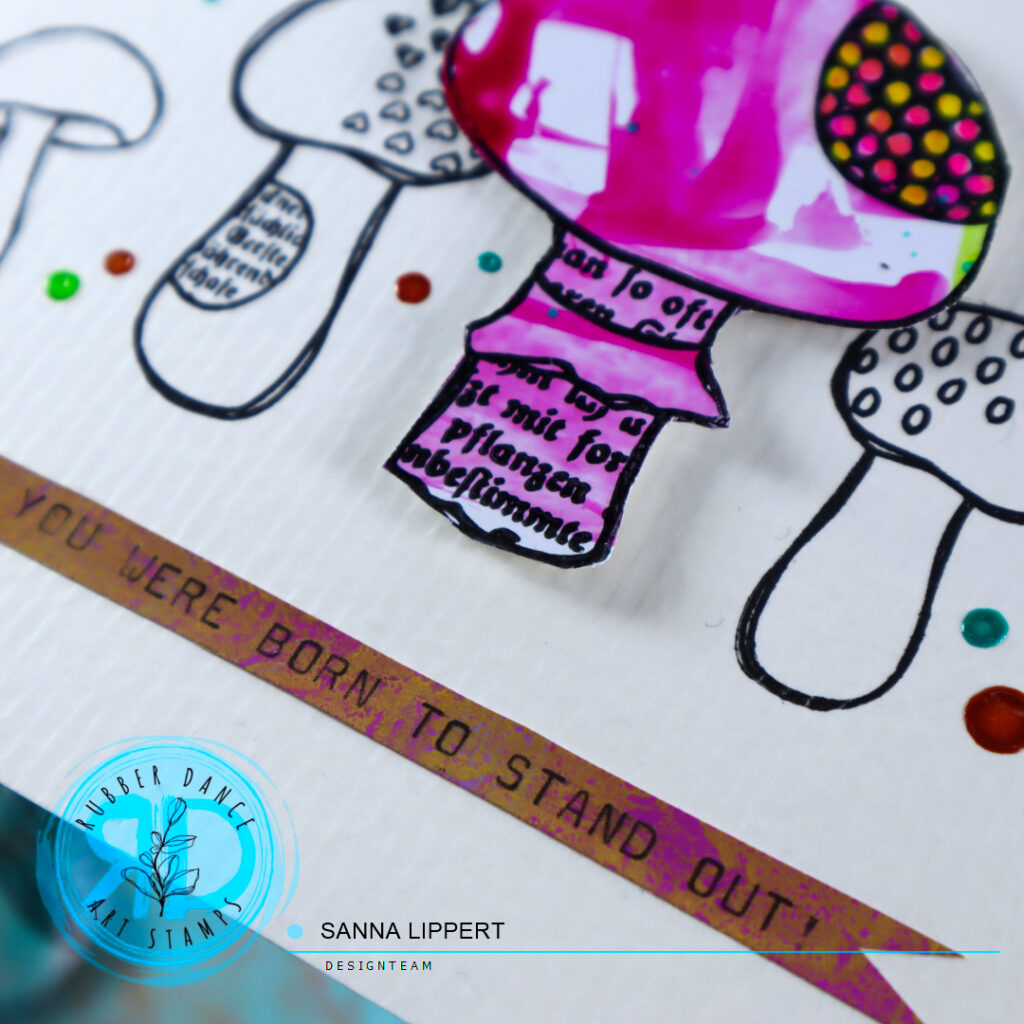
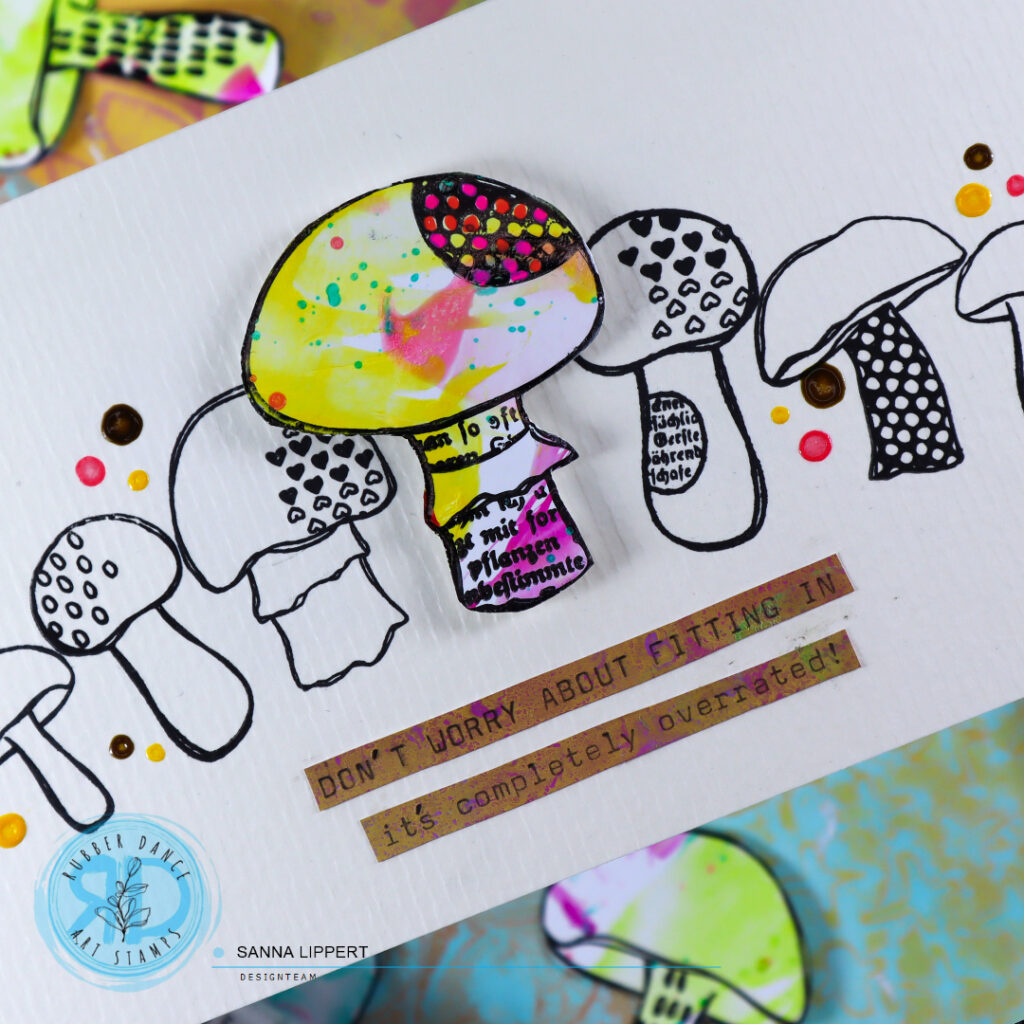
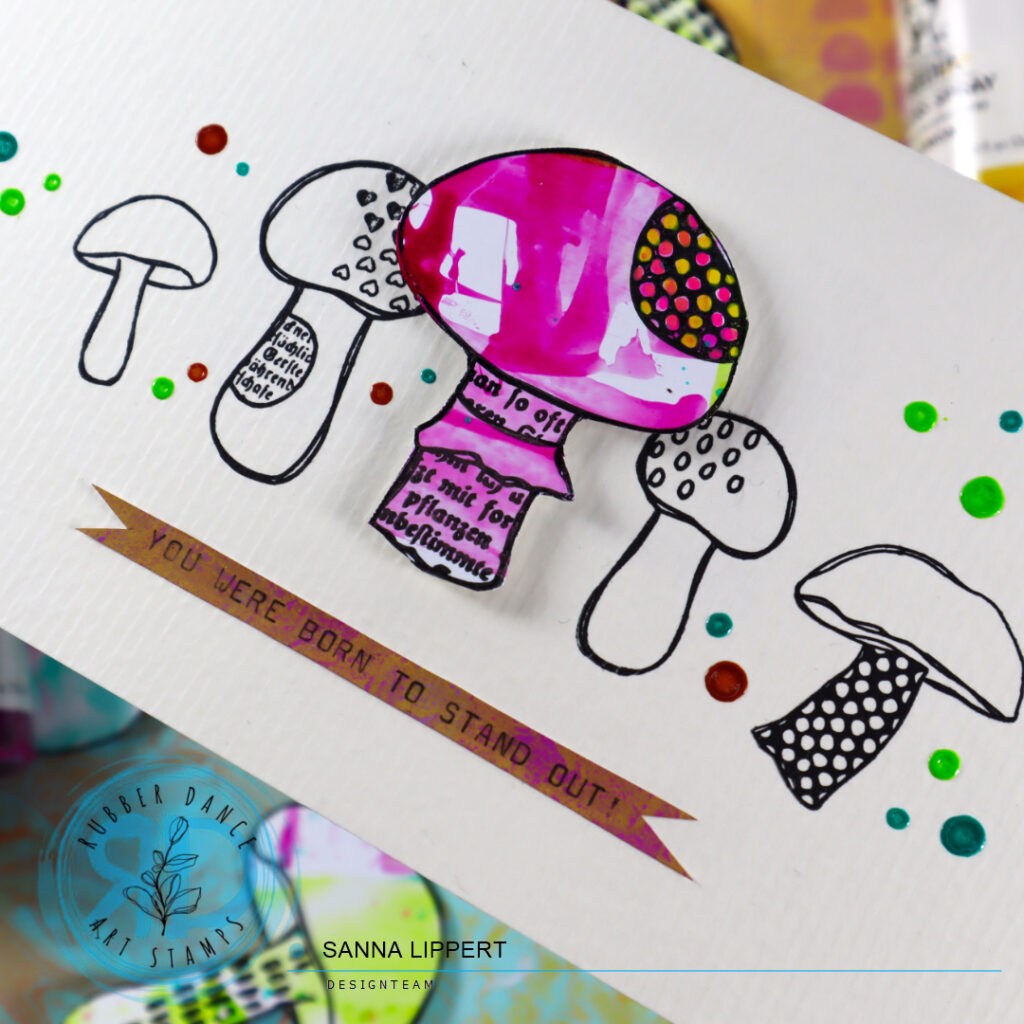
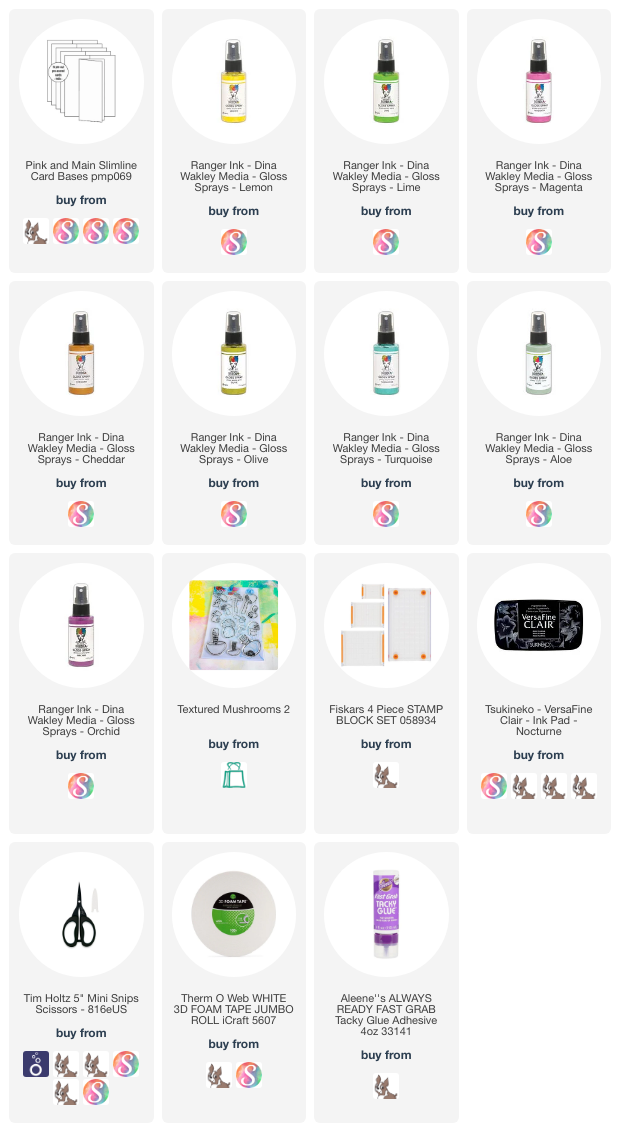
Hello! It´s project share day over at Rubber Dance blog today for me and I am up with a mushroom themed card set in clean and simple style and slimline format. I used my favorite fall stamp set (Textured Mushrooms 2) on these cards with Gloss Sprays and a typewriter written sentiment.
Here is how I created the cards:
First I took a piece of glossy cardstock and applied several tones of Gloss Spray onto the surface by wiping the color here and there and then adding some droplets on top.
Next I took the Textured Mushrooms 2 stamp set and stamped mushrooms onto the colored paper with black stamp ink. The ink needs to dry a while, because of the glossy surface, but once it is dry, you can continue with the next step.
After that I fussy cut the colorful mushrooms. For these cards I only needed two of them, so I have plenty still to use on future projects.
Then I stamped smaller mushrooms onto a plain slimline card base with black ink and added a colored, fussy cut mushroom as a centerpiece into th middle of the card (adhered with 3D foam tape). Now I just needed to decorate.
I then wrote a sentiment with my old typewriter onto a piece of leftover gelli printed paper, adhered that onto the card and added some Gloss Spray splatters around the mushrooms and the card was done. I did the same steps with both cards.
I hope you get inspired by this easy-to-do idea and make some fun fall-themed cards yourself! If you don´t own Gloss Sprays, try using other spray paints, spray inks or watercolors. They work just as well for this idea. Just replace the glossy paper with a different one. Have fun!