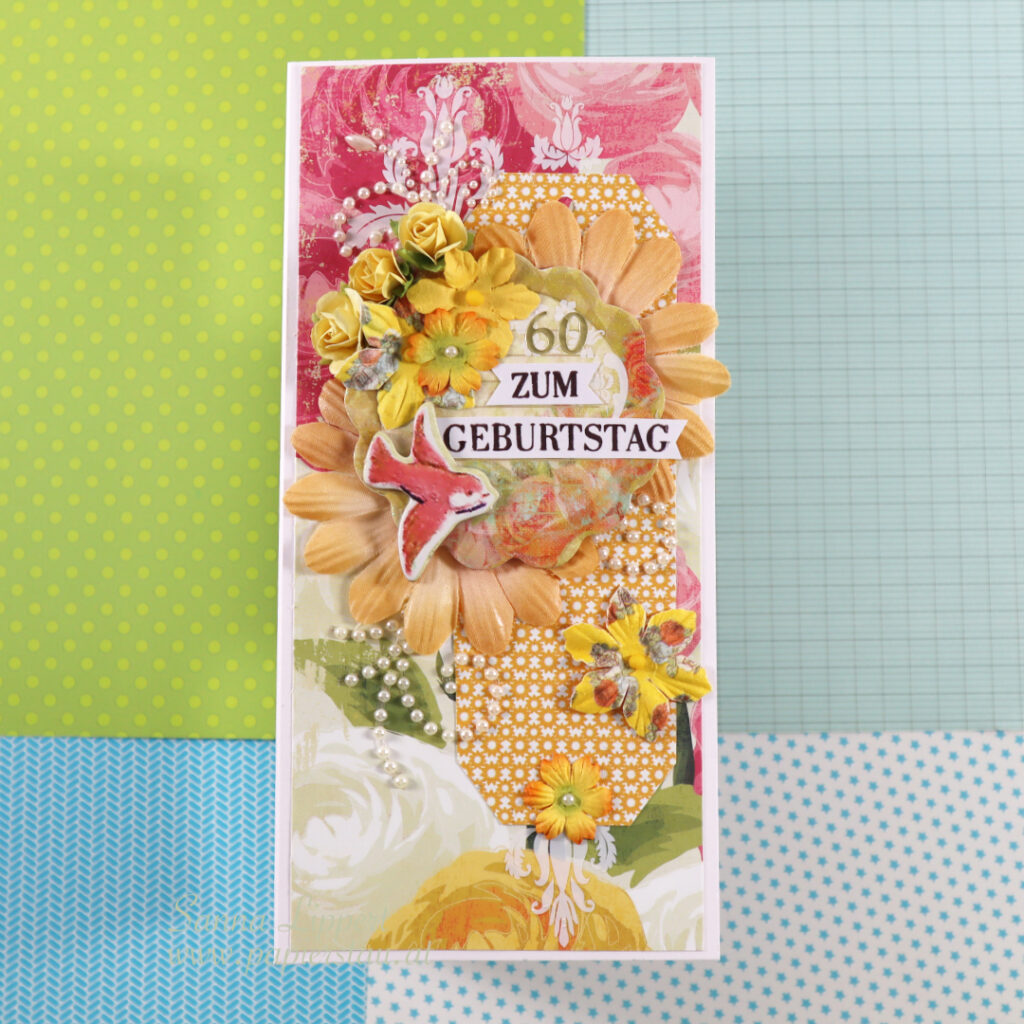
Hello and happy Saturday! Here is a slimline card I created for a 60th birthday.
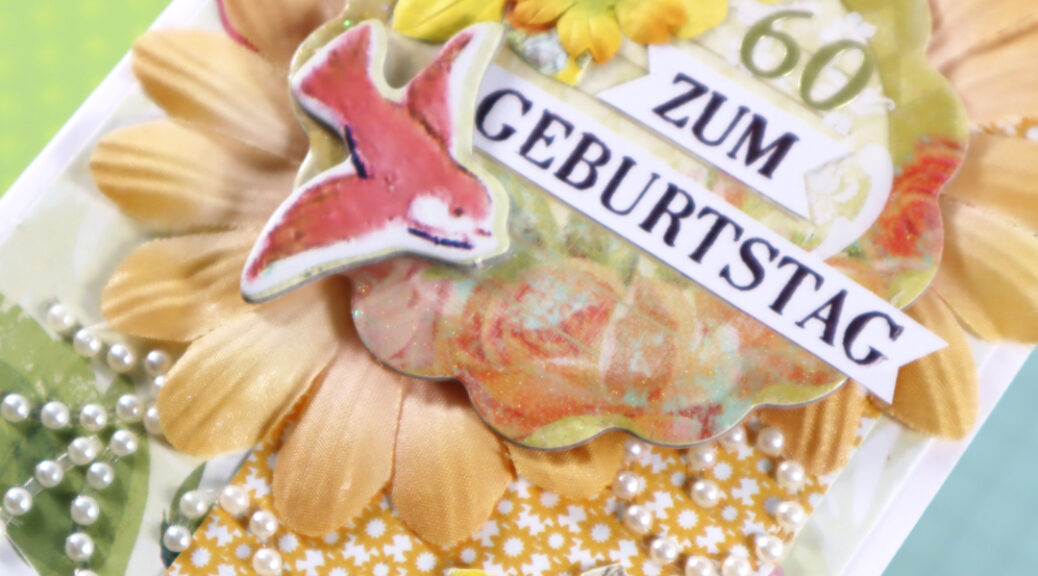
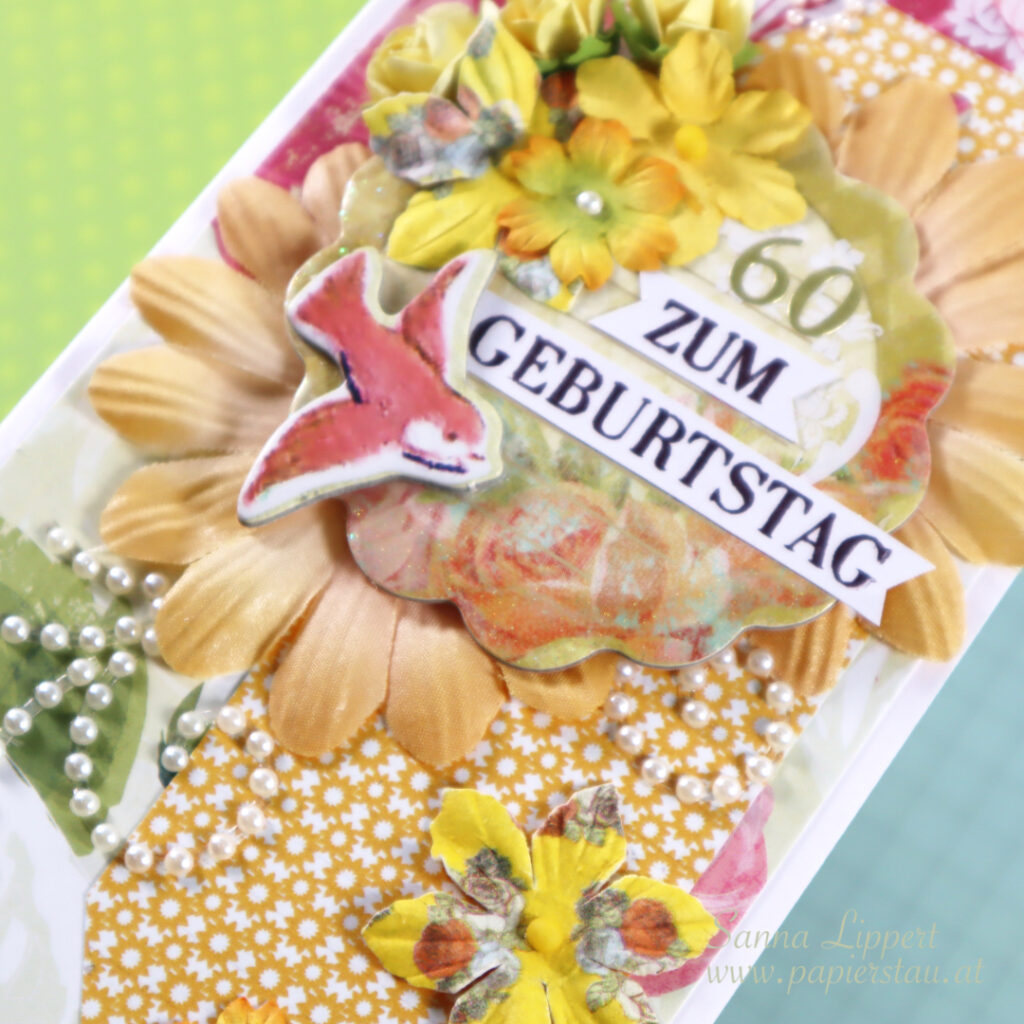
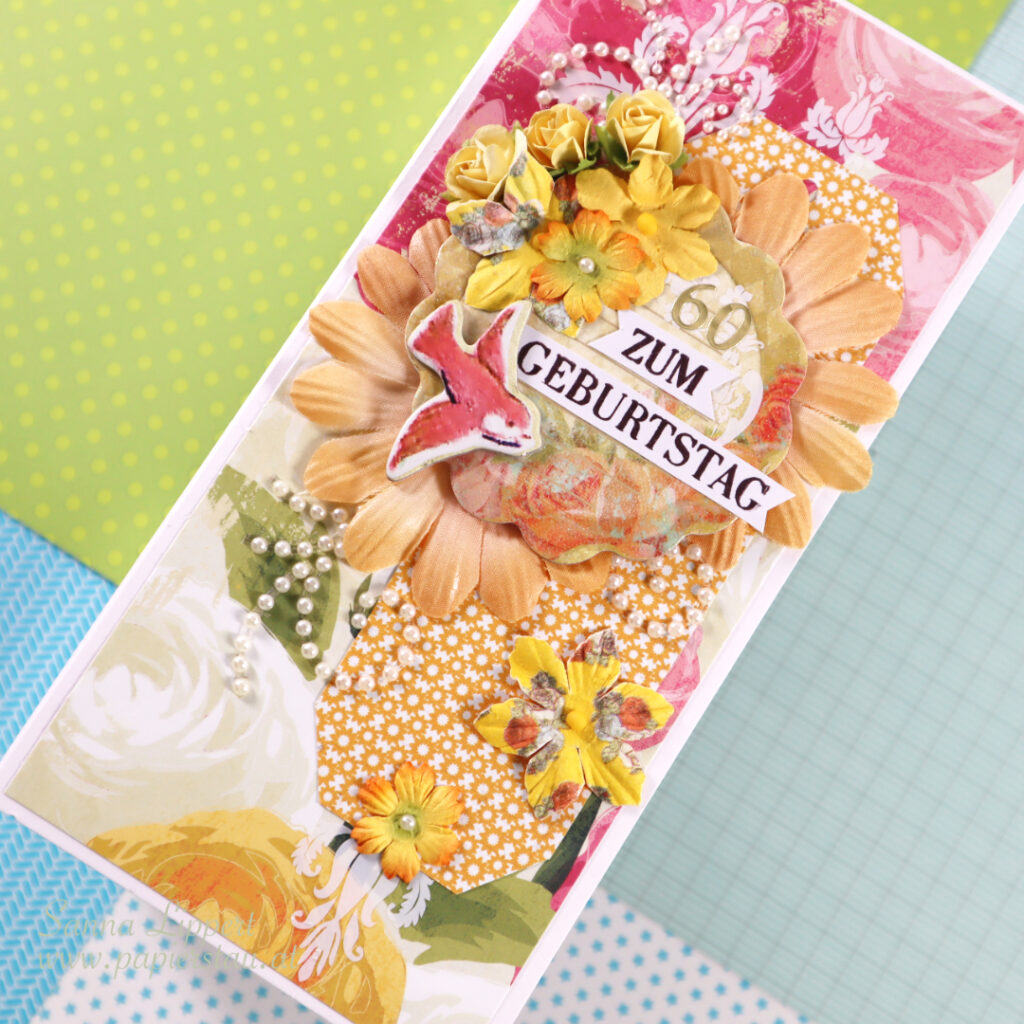
I´ve used patterned paper from my older stash with some older white rub-ons (still work fine!) from my stash. I then added a yellow die cut patterned paper tag onto the base. After that I added two fabric flowers and a chipboard ephemera as a centerpiece. I decorated it with several paper flowers, some half pearl swirls and a chipboard birdie. The card sentiment is stamped with a happy birthday sentiment by Rubber Dance (this set) and tiny golden sticker numbers.
I love the flower patterned paper on the background and have been saving it in my stash for years now :). I found that this was the perfect space to use it. Pink and yellow also make for a great color combination for a summer birthday, in my opinion.
Hello everyone! STAMPlorations has a new stamp series out called “Simple Expressions“. These stamps aren’t just regular sentiments to add at the end of a project. They are designed to become part of the artwork itself, inviting us to tell a story through both words and creativity.
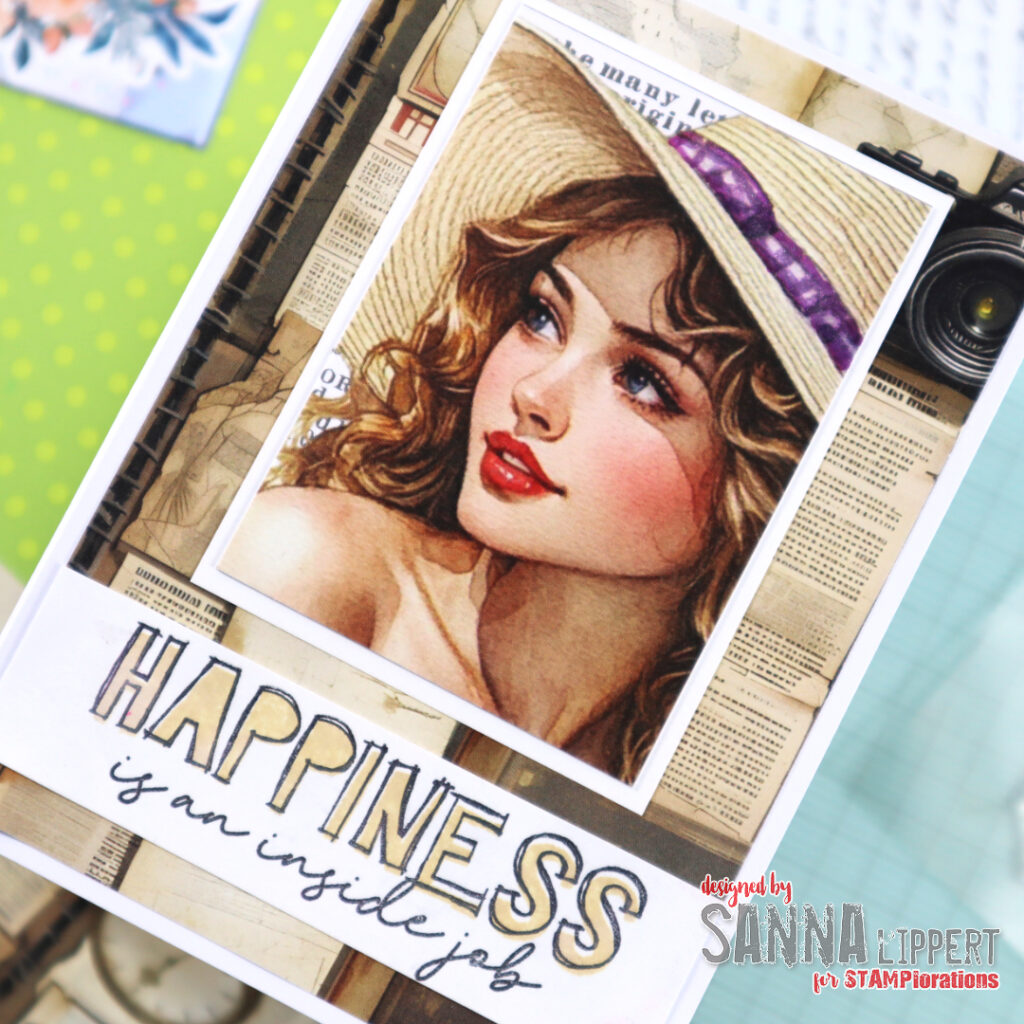
I got to play with the new “Happiness” set. Some words have a special meaning to us and lets us reflect and this word certainly is one of them. Everybody understands the word and defines it a little different. It´s versatile and can be used for all kinds of purposes – ATC´s, journal pages, cards, even with shrink foil as key chain decor.
For my first card I combined the vintage looking Retro-Femme ATC image and the gorgeous Analog Grunge paper with the Happiness Simple Expressions stamp. They work together so very well! I used Distress Oxide ink in “old paper” for the solid stamp image. then added black stamping with the outline stamp on top and in the process, also stamped the hand written sentiment. I also added some Edding glitter brush pen in silver and purple to the ribbon on the lady´s hat. Only when you tilt the card, it will show.
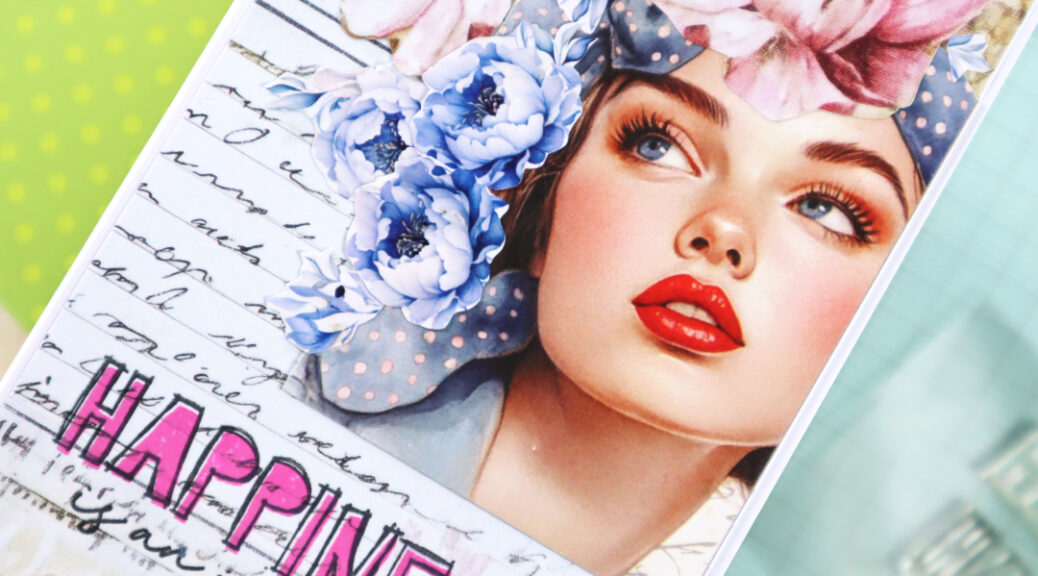
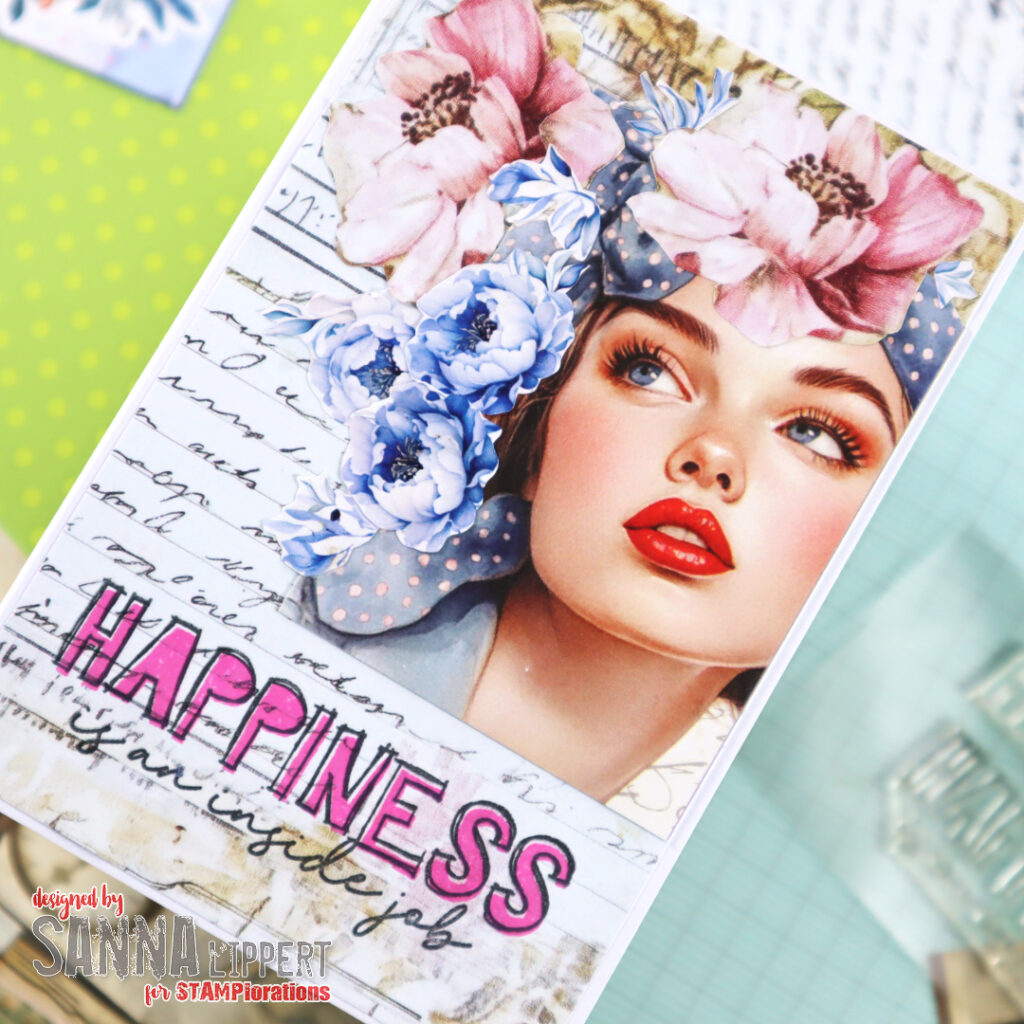
For the second card I used the Old Letter Pocket Backdrops paper as a background. Then i added the sweet and eerie Retro-Femme ATC image directly on top. I also fussy cut flowers from the Floral Parade Ephemera Cut-Outs and added those and another pink flower from the Old Letter Pocket paper to the ATC. I love how it creates a romantic head piece for her. For the Happiness stamp image I used Distress Oxide ink in pink and a black VersaFine ink. For some glitter details, again a silver Edding glitter brush pen.
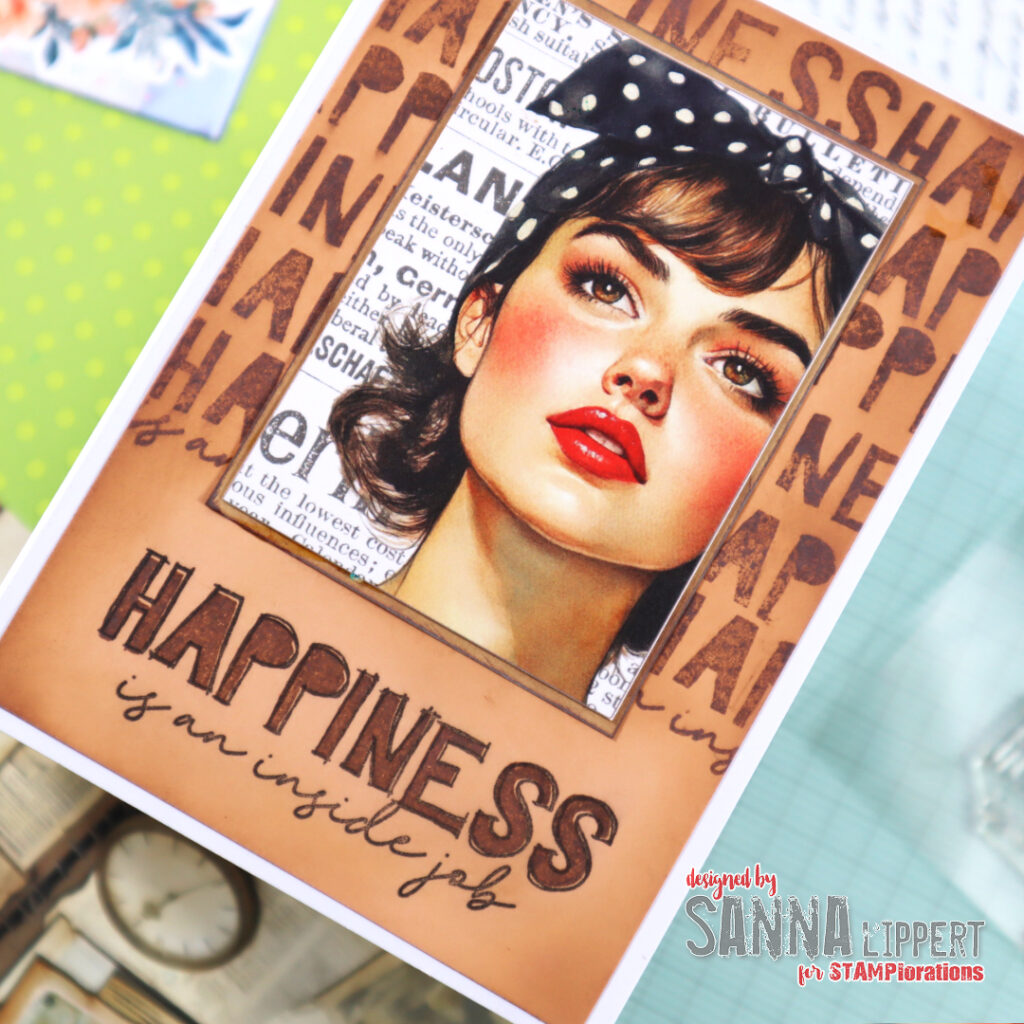
This brown card turned out to be my favorite. The design is actually really simple to do. I first inked a piece of white cardstock with brown Distress Oxide ink, then used the solid Happiness stamp with VersaFine brown stamp ink to create the background pattern. After that I outlined the Retro-Femme ATC image with another inked paper and finished the card off with some glitter brush pen details. For me, the bold ATC image and the warm brown background just work perfectly together.
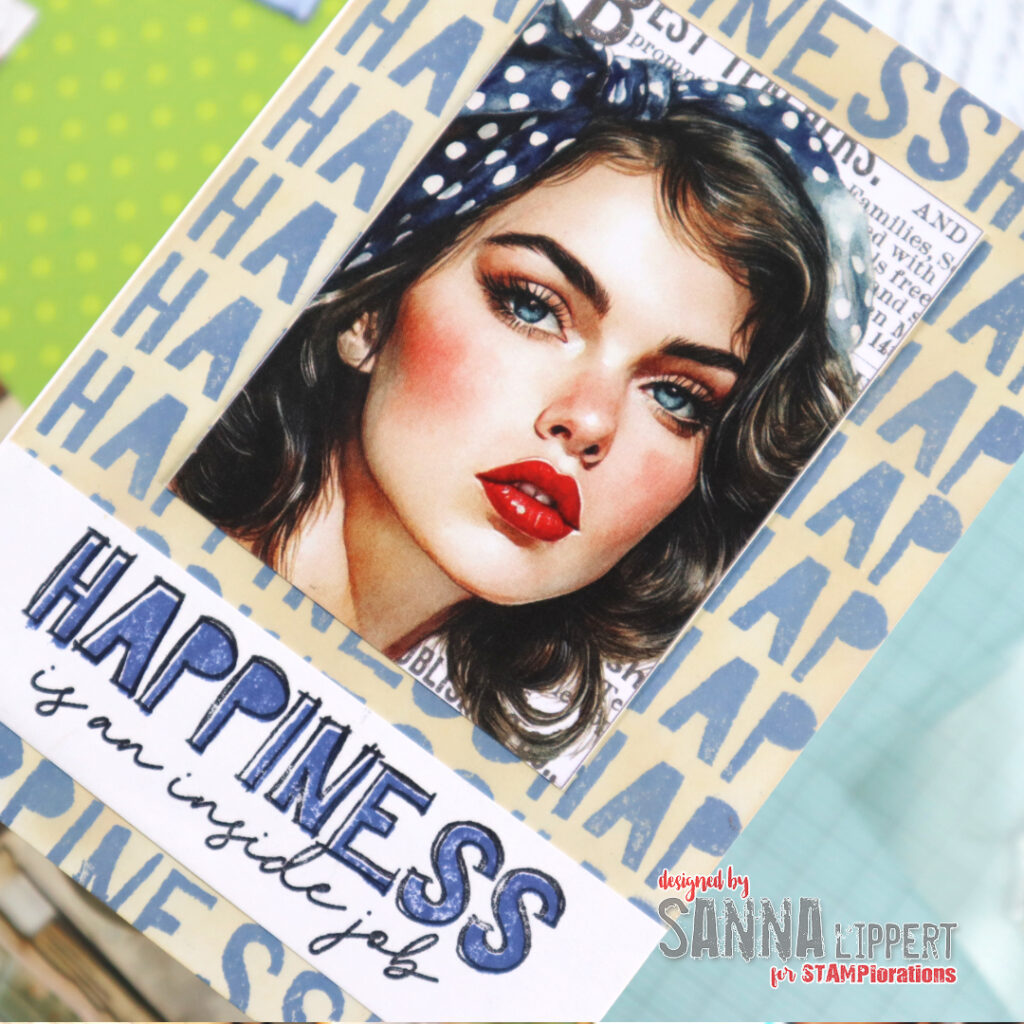
For my last take I used the same technique, like on the previous card. Except I started by stamping with solid Happiness words first with blue stamp ink. Next I blended some “old paper” Distress Oxide ink over the whole background. This created the softer look. Next I added the more unapproachable looking lady´s image from the Retro-Femme ATC set on top. The colder color choices work better with this image. I then simply stamped the Happiness stamp image on white cardstock with blue and black ink and mounted that onto the card base. And I again sneaked some Edding glitter brush pen details to the focal image for interest, too.
Happiness can mean so many things to us all. For me it´s spending time with my people, chatting and just enjoying each other´s company. It´s also creative time and travelling, smelling flowers, being happy with myself. Happiness is a good book, a cup of coffee. It´s all those things that come from the inside! I really like this sentiment ALOT!
When you purchase any Simple Expressions stamp set, you can add one Paper Goods pack to your order for 40% off. It’s a wonderful opportunity to discover just how effortlessly these collections work together – and perhaps even find your next favorite creative pairing.
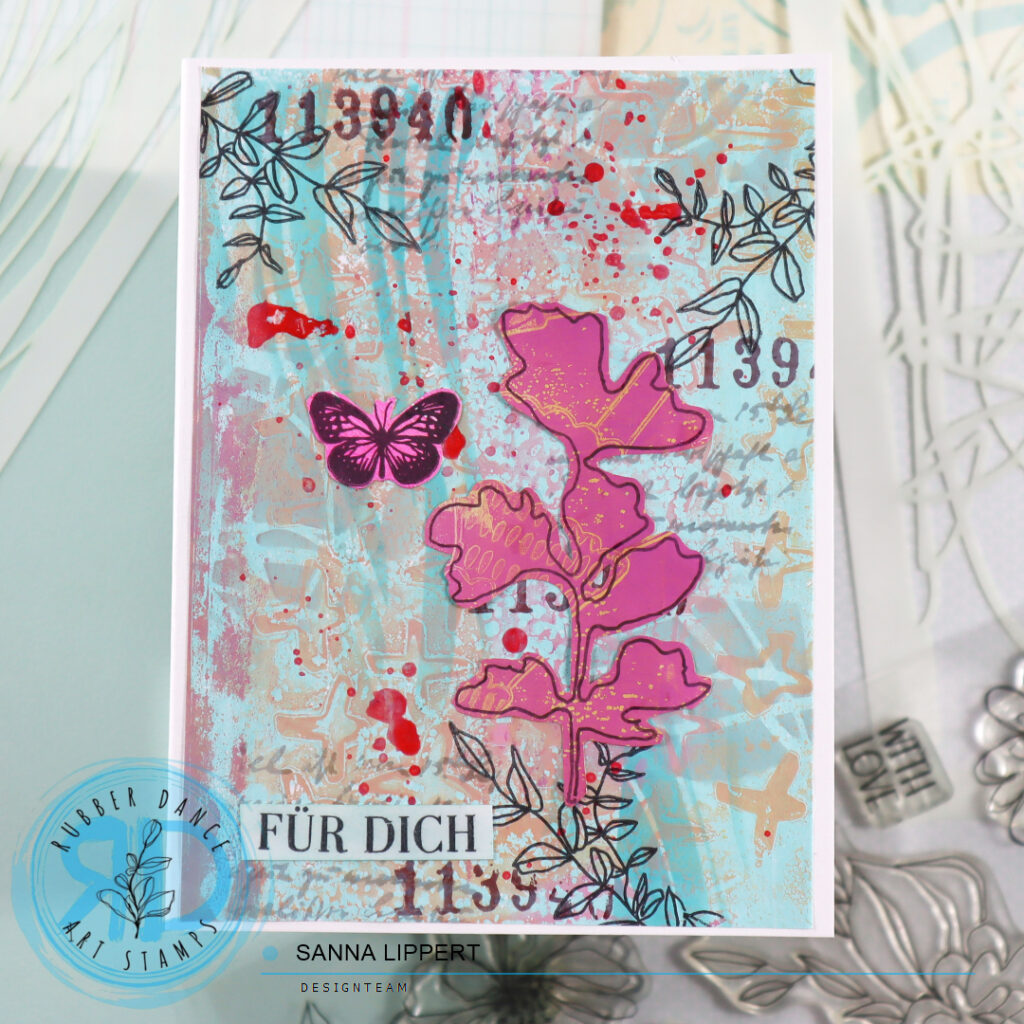
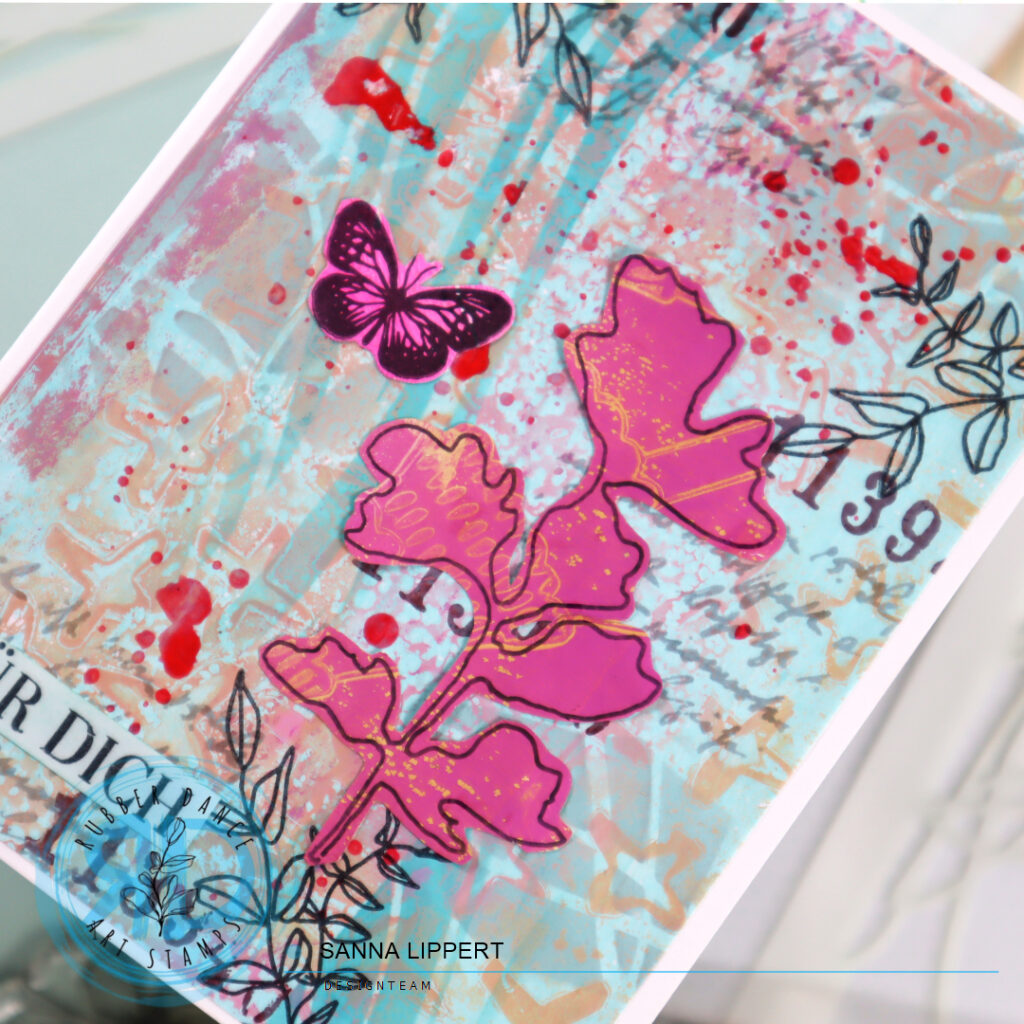
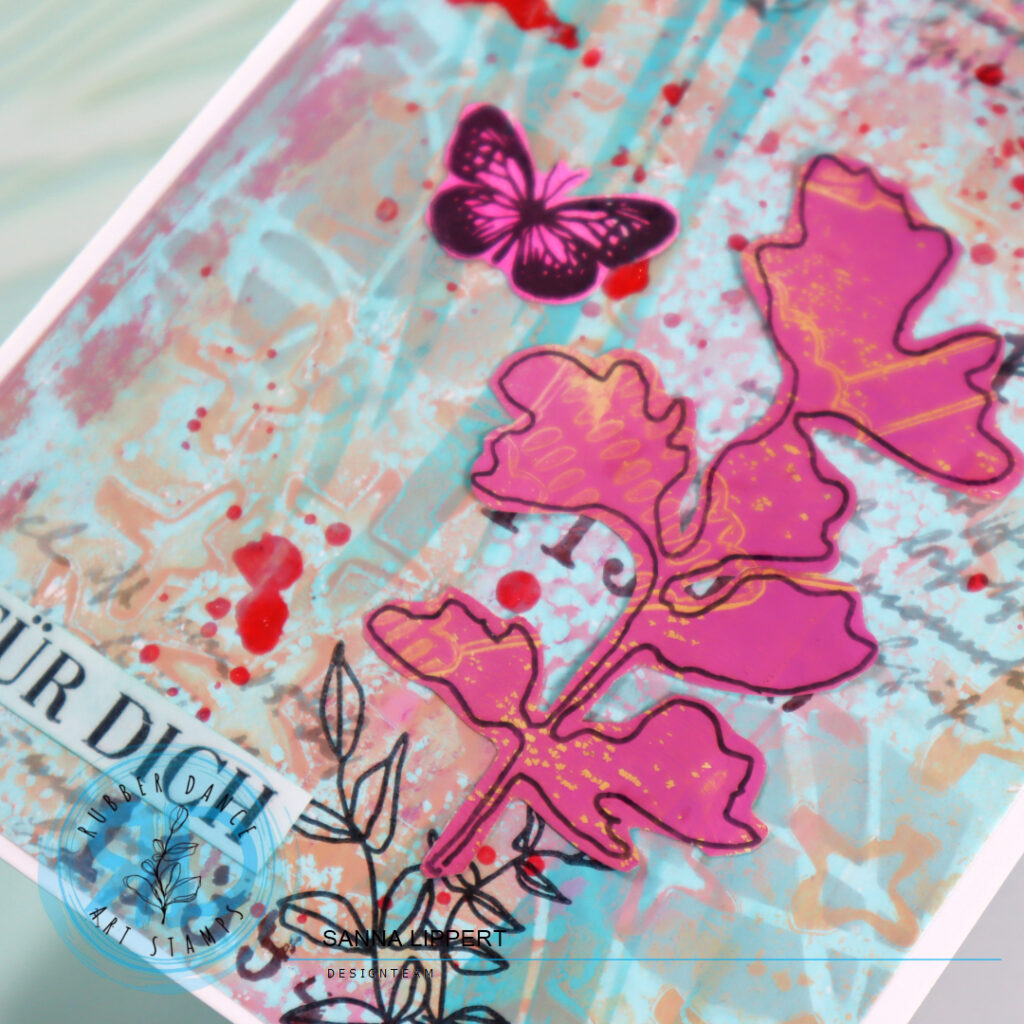
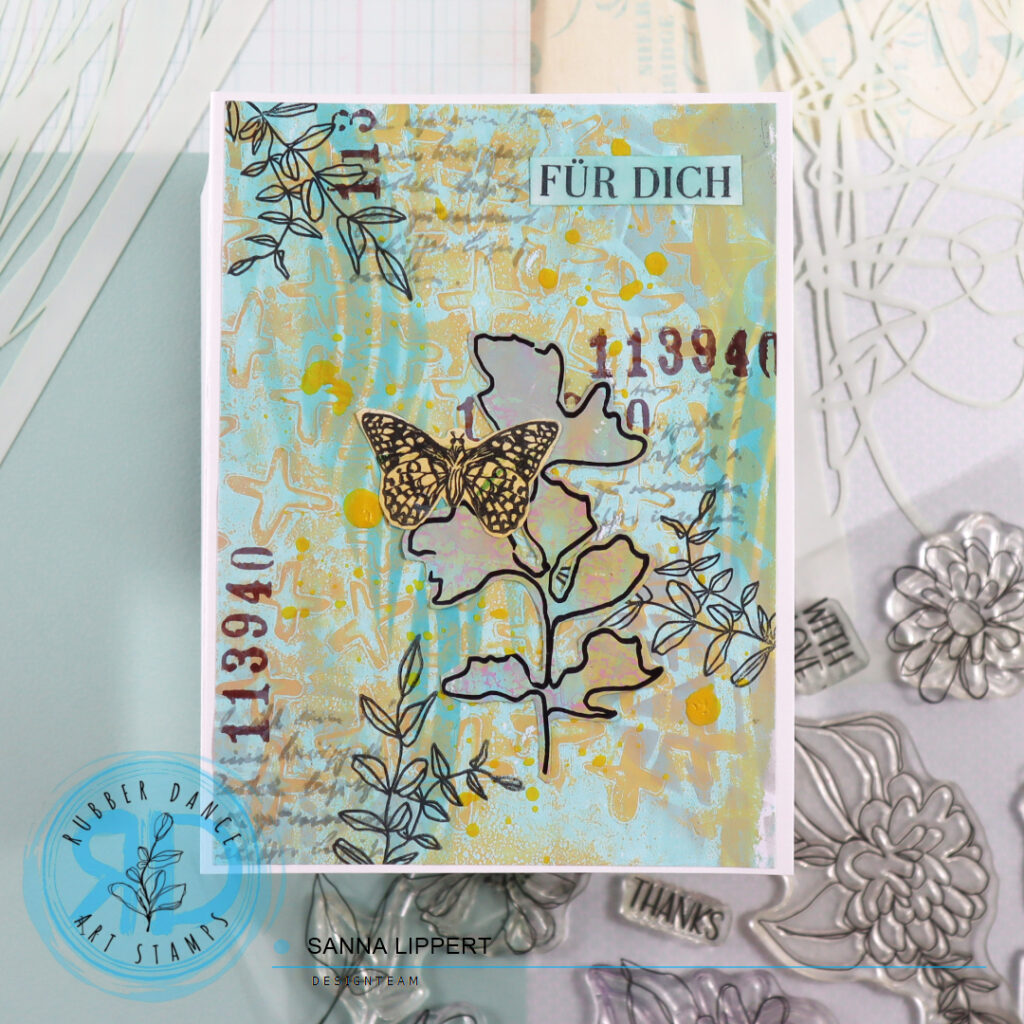
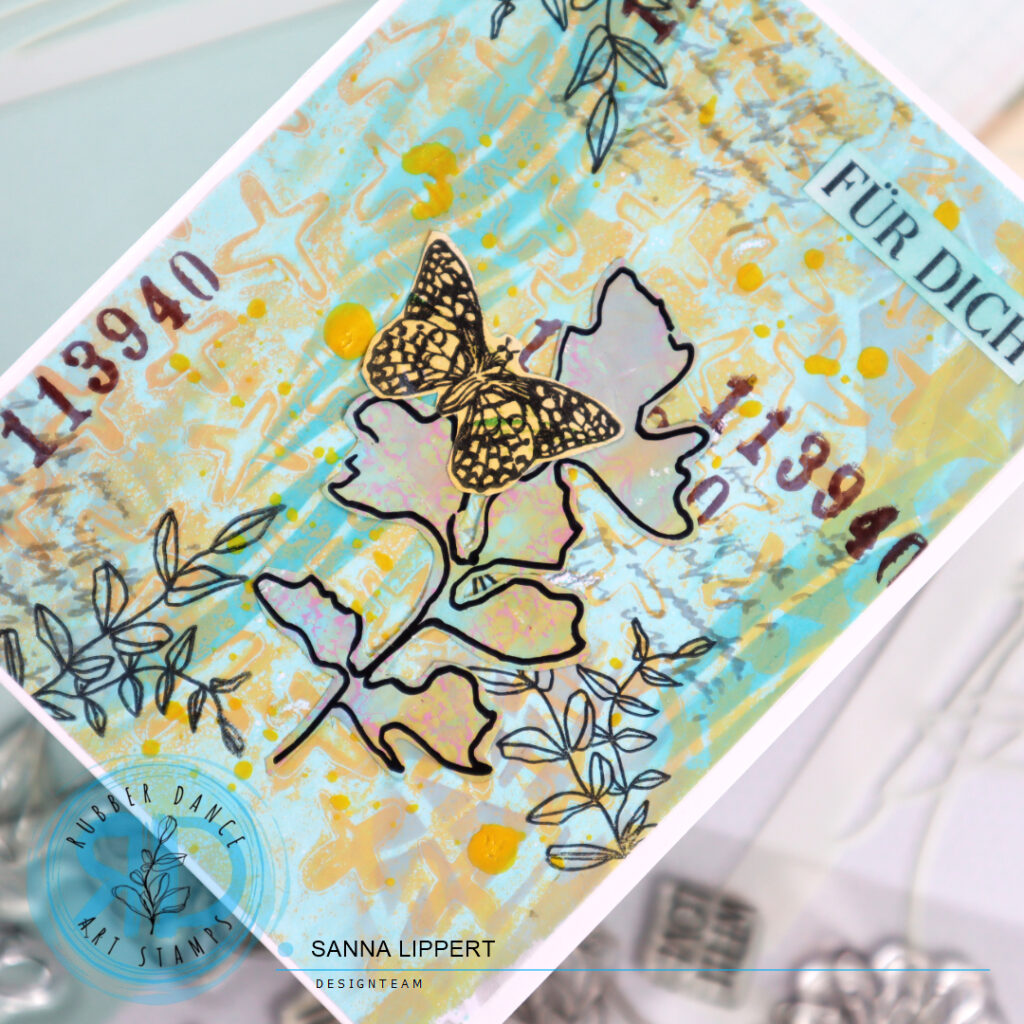
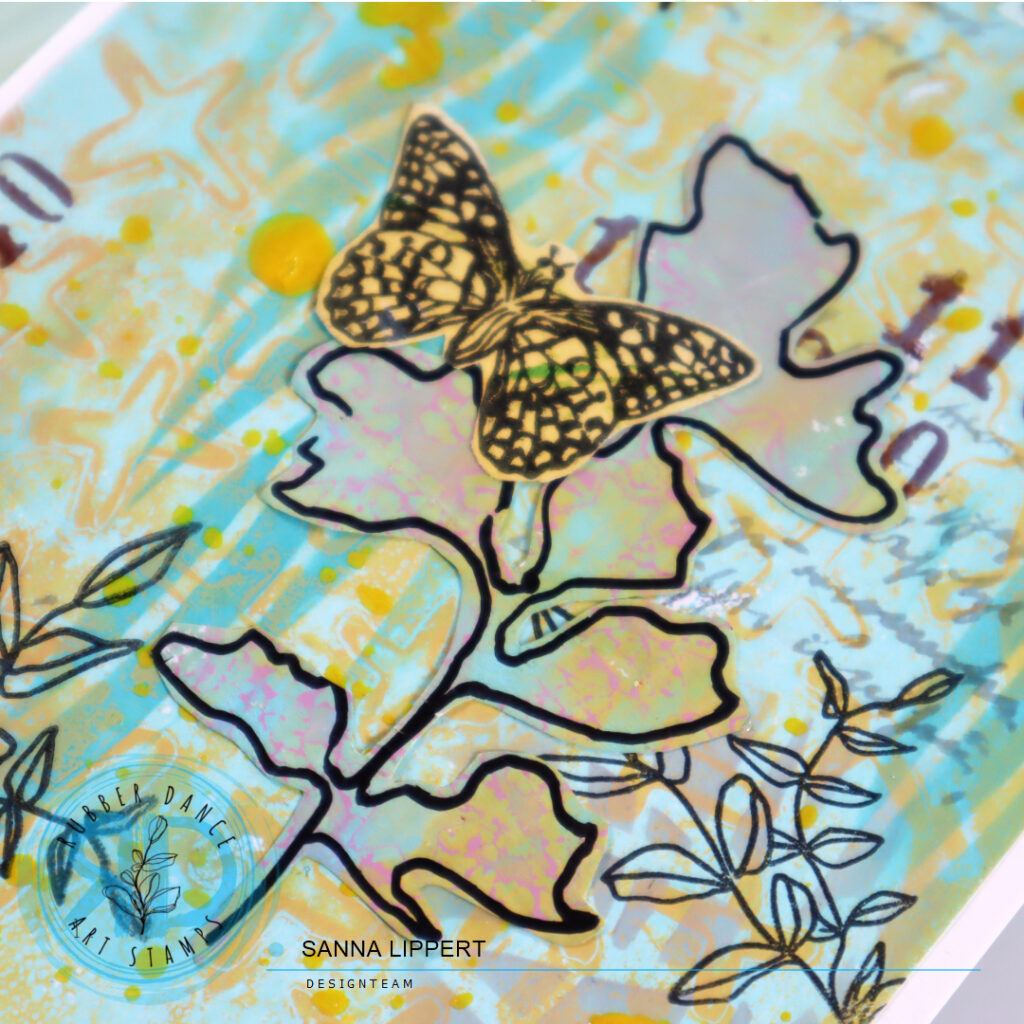
I started off with collage papers I had made using the Cross It stencil with my gelli plate and acrylic paints. I first cut the paper into a size to fit the card bases. After that I took Distress Oxide Inks in two grey tones as well as a turquoise tone and applied ink thru the Scribbles and Organic stencil patterns onto the collage papers. I didn´t fill the whole paper with these patterns, instead I applied bits here and there. That way the original pattern also still shows thru.
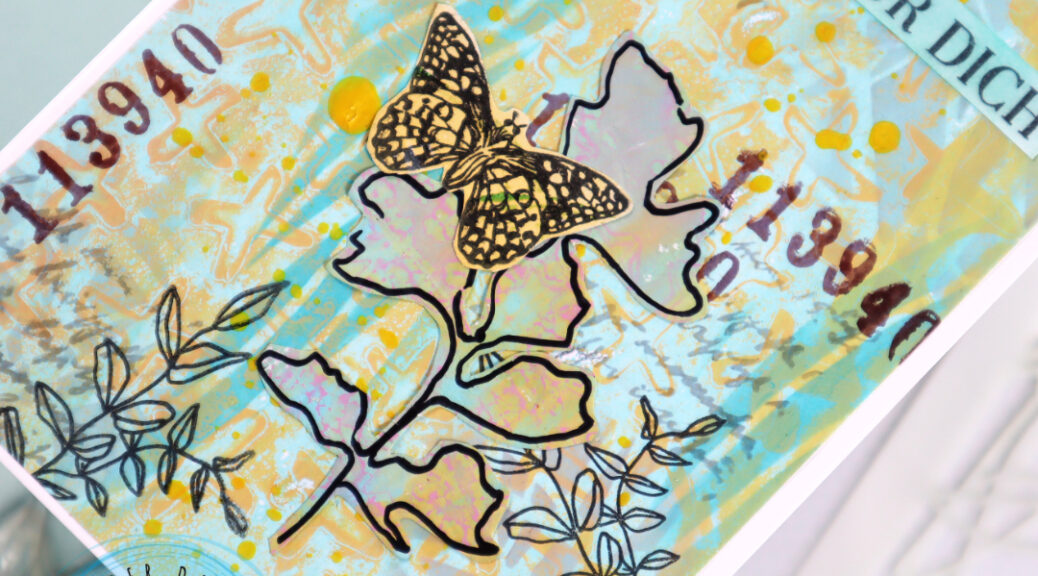
Next I stamped with grey VersaFine ink and the Mix It Up 6 text stamp some patterns to both pieces of paper. I then took the number stamp from the same set and stamped with dark brown ink (also VersaFine ink) next to the previous stamped areas. As the next layer I took the Sketchy Flowers #3 stamp set and stamped only the tiny leaf images with black stamp ink – again next to the previously stamped areas.
My next layer on the background was Gloss Spray droplets in “lemon” and “blushing”. At this point I let the paper dry a while until adding the focal point elements.
As a focal point I used some collage fodder I had made with the Sketchy Leaves 5 stencil from gelli printed collage papers (see video here). I also added some butterflies (Butterflies and Moths set) that I had created the same way. Finally I stamped a sentiment for each card using the Kartengrüße stamp set. I stamped on white paper first and then wiped light blue ink onto the paper to have a matching color with the card backgrounds.
I also recorded a step-by-step video – hope it inspires you!
I like creating this type of layered cards – what about you? I hope this inspires you to play with your Rubber Dance products!! xxx, Sanna
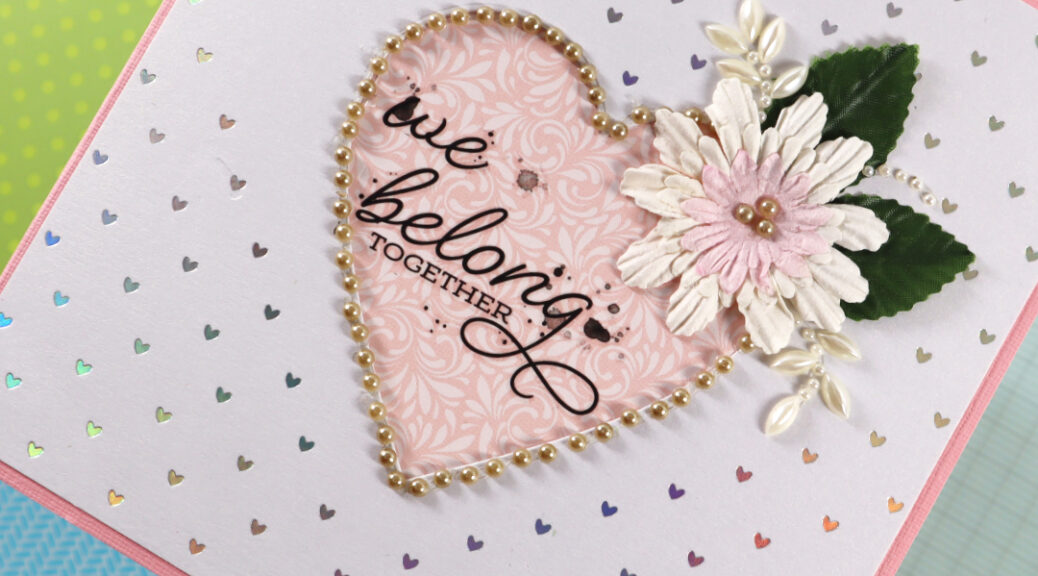
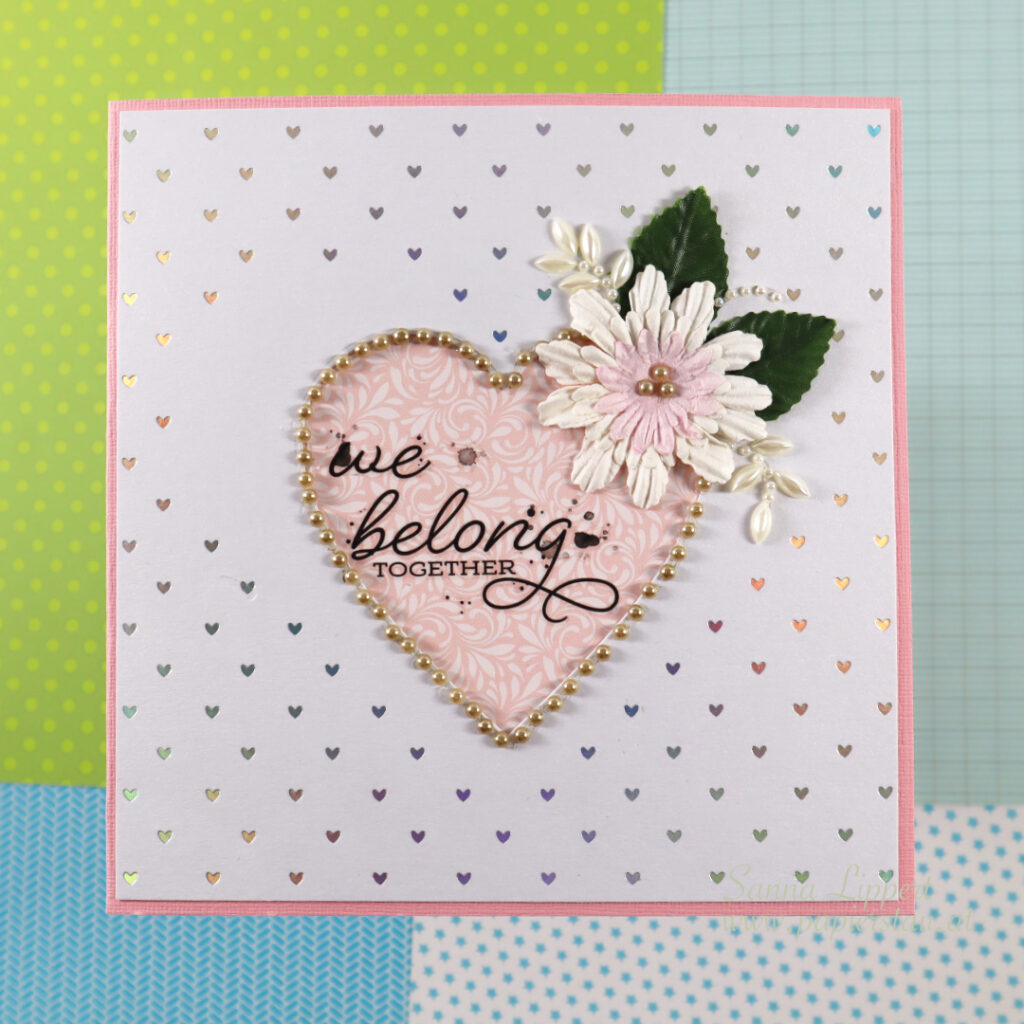
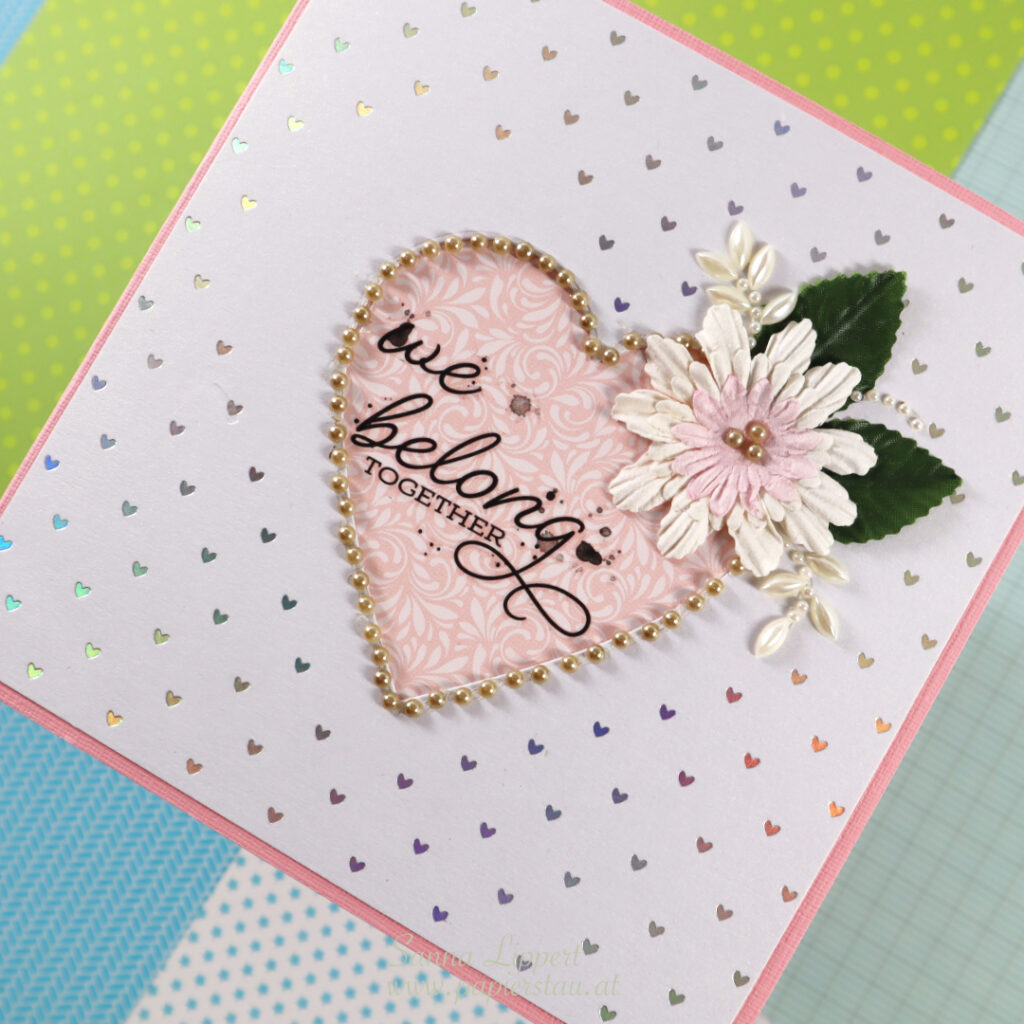
Hello everyone and happy Monday! I have a clean and simple wedding card share up for you today.
I mounted the heart foiled white cardstock piece onto a pink toned card base. But before doing that, I mounted a pink patterned paper behind the die cut heart area. I then added a 49andMarket rub-on sentiment to the pink heart area. Next I decorated the heart with half pearls and paper flowers in one corner. I also added some pearly leaves next to the paper flower for decor.
I really like the effect the foiled heart paper creates. And the focal point without any other details around makes the card look more elegant.
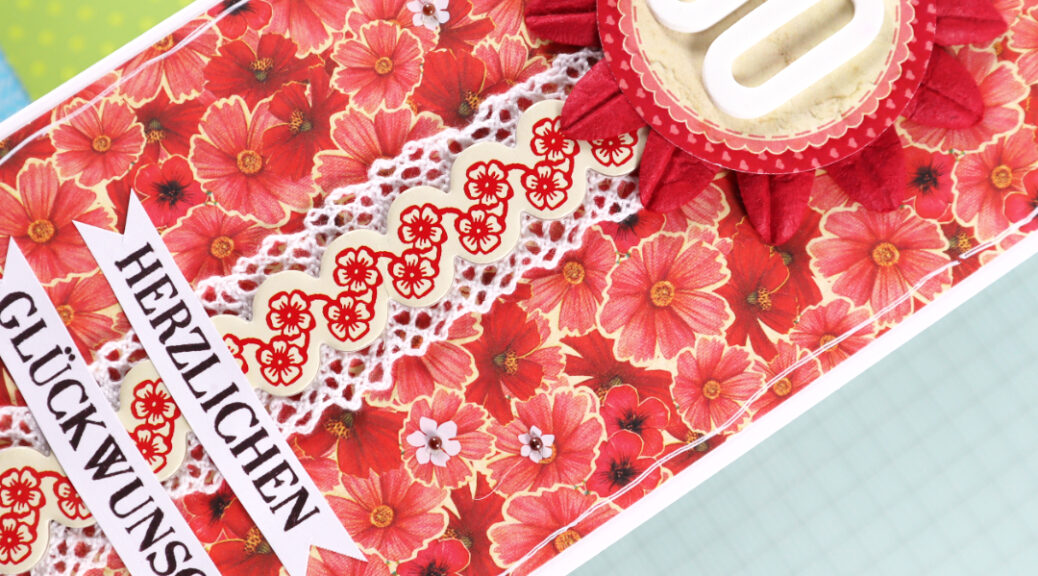
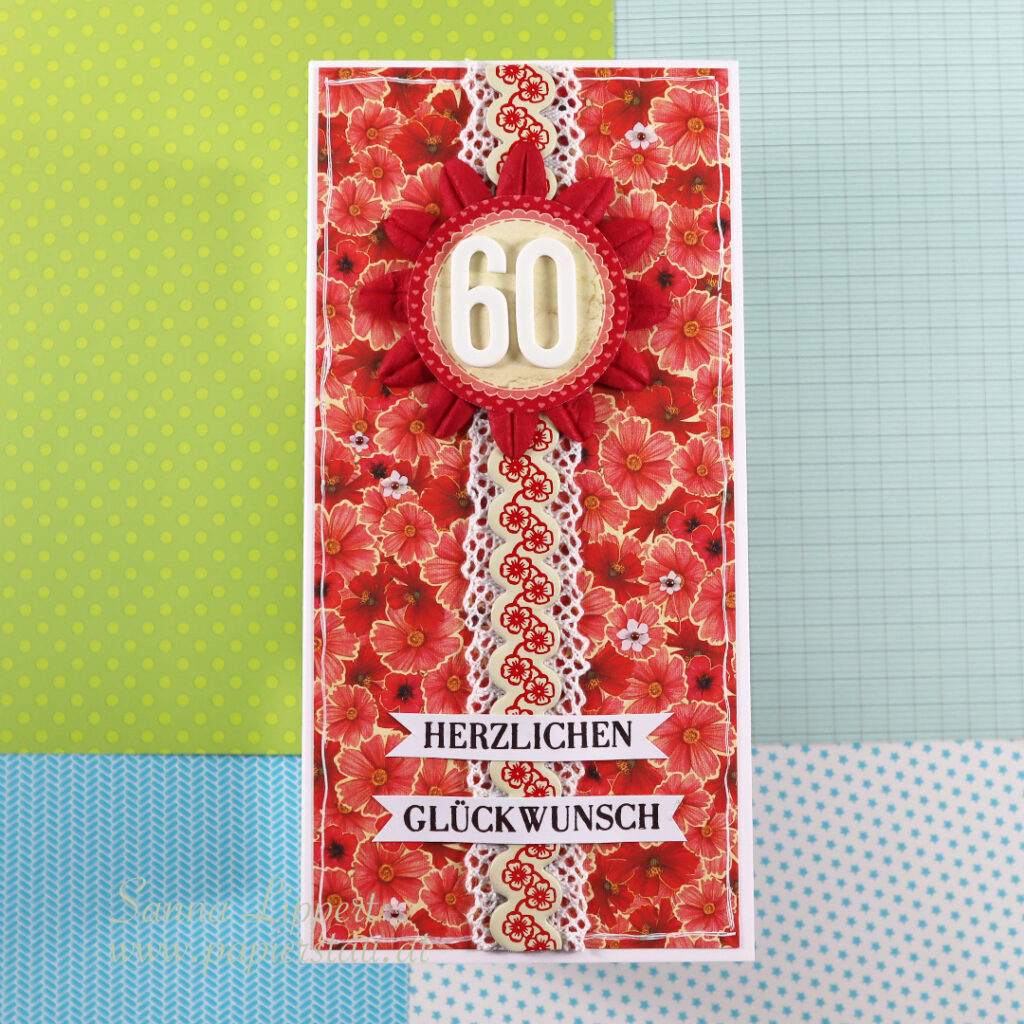
Hello and happy Sunday! Here is a slimline card I created for a 60th birthday.
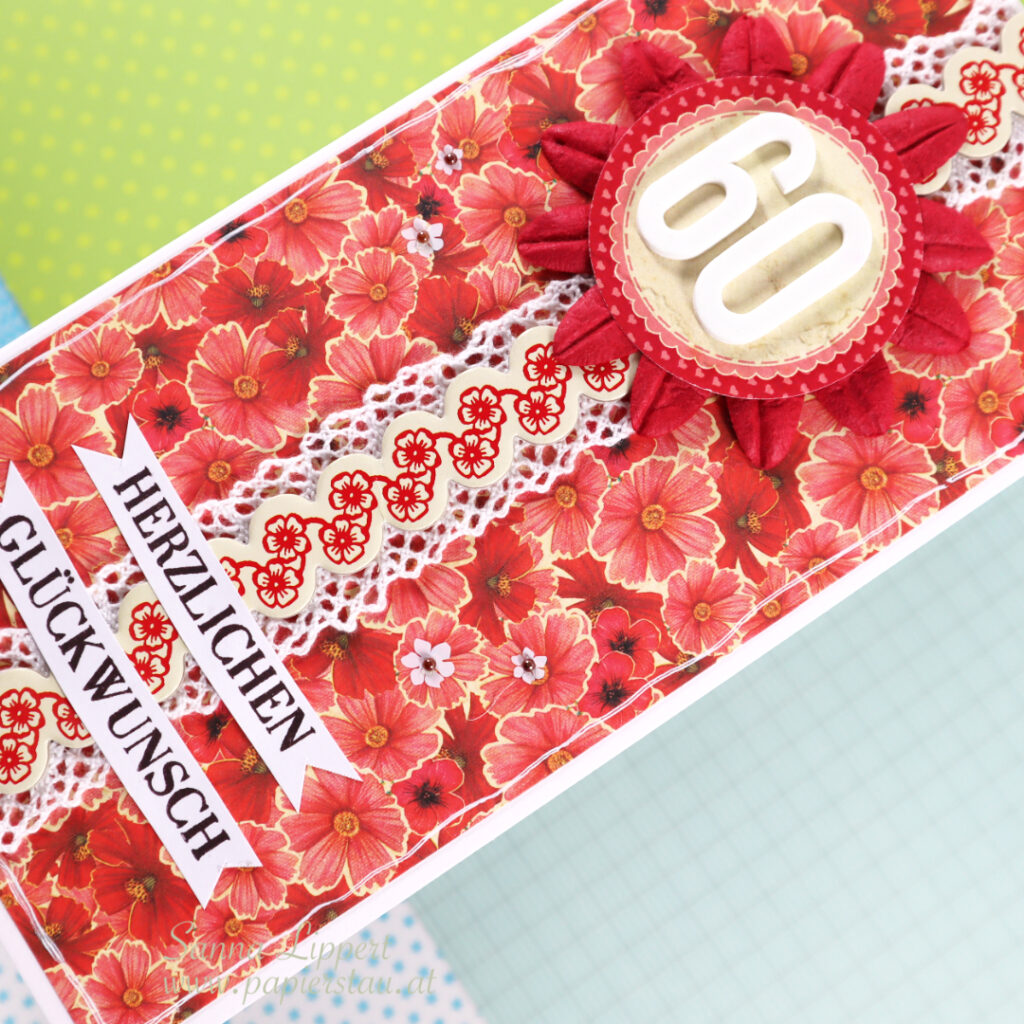
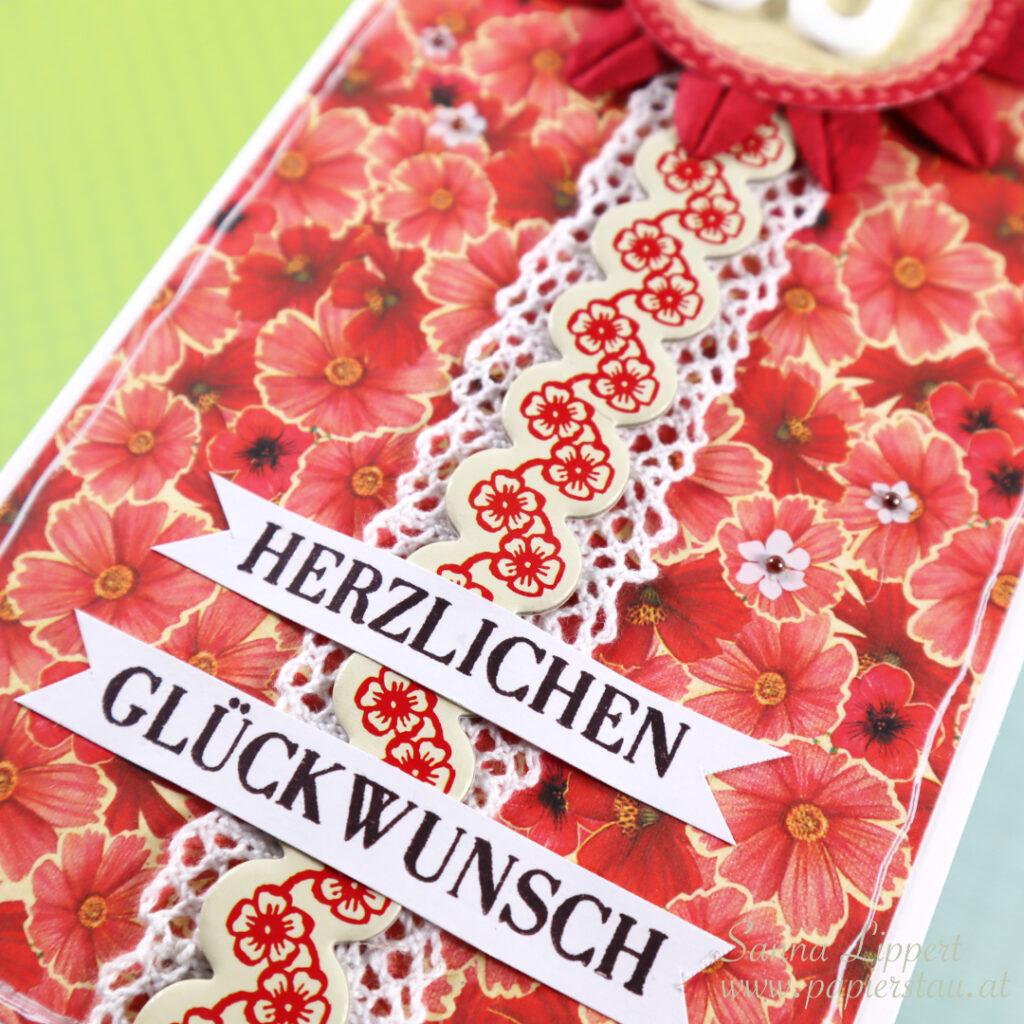
I´ve used patterned paper from my older stash with some lace ribbon and a chipboard border image from back in the day. Also added as a centerpiece is a paper flower in bright red and a ephemera piece to adhere the Thickers foam number onto. I´ve outlined the card with a white gel pen and finished the card off with a happy birthday sentiment by Rubber Dance (this set).
Also, on the close-up photos you can see some tiny white flowers here and there on the background. They are older rub-ons from my stash and I have added some half pearls into the middle for some extra texture.
I like how this turned out! Hope you get inspired! xxx, Sanna
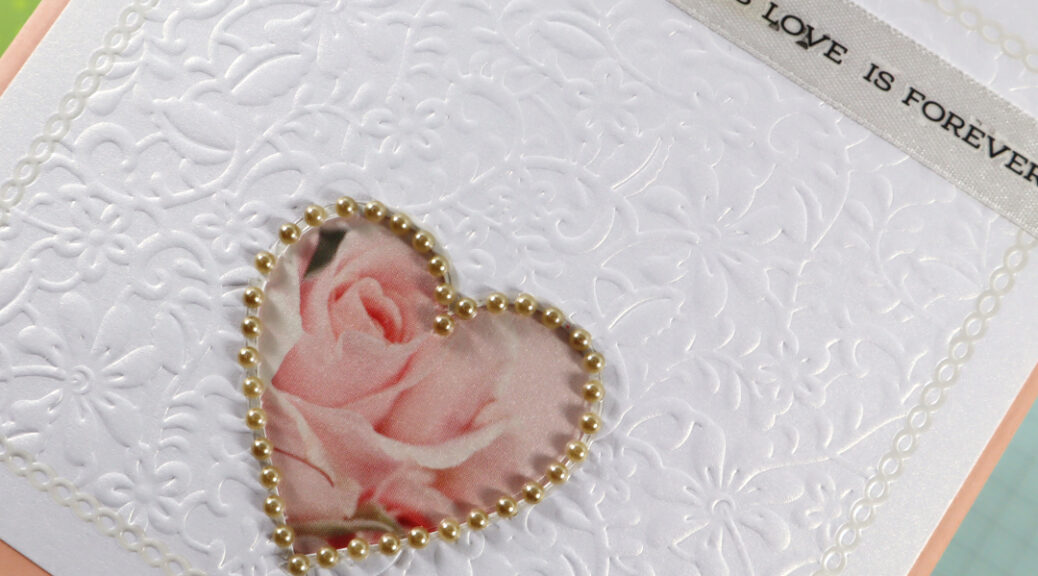
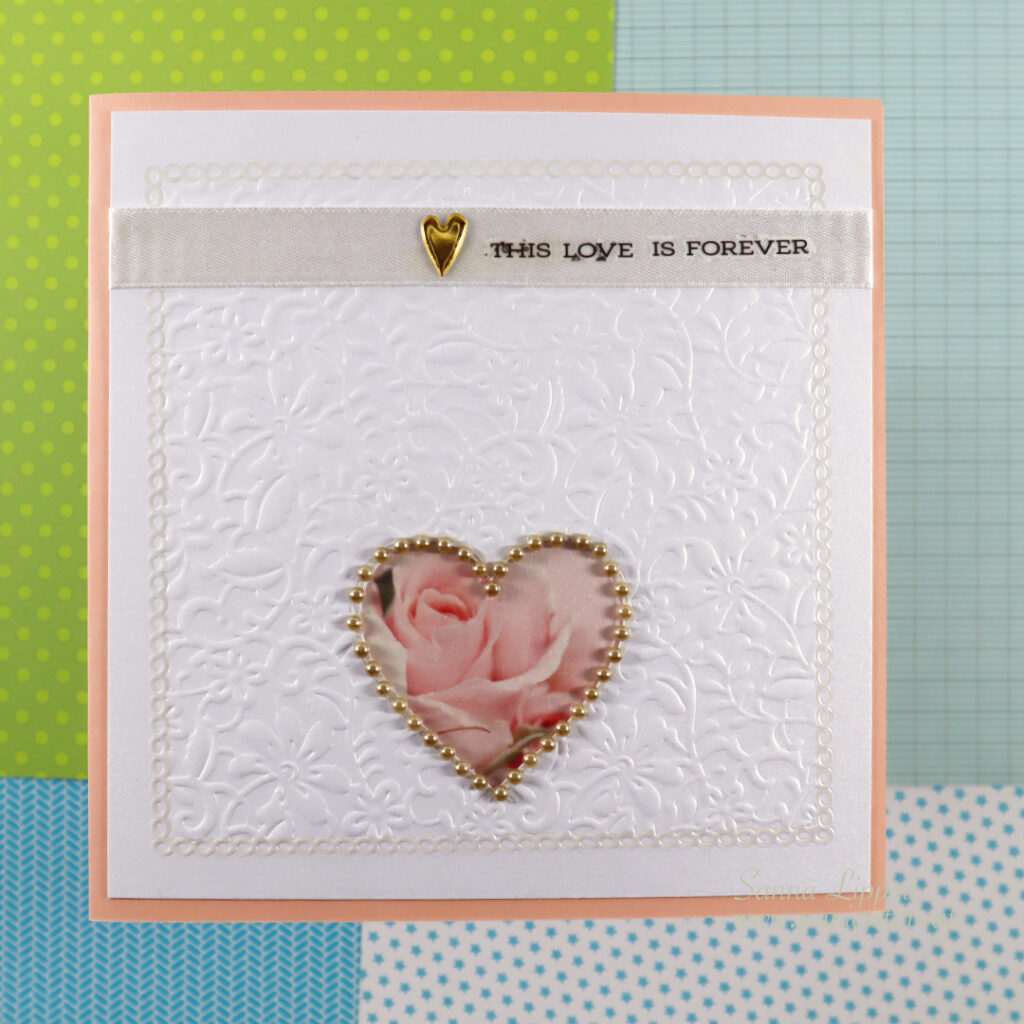
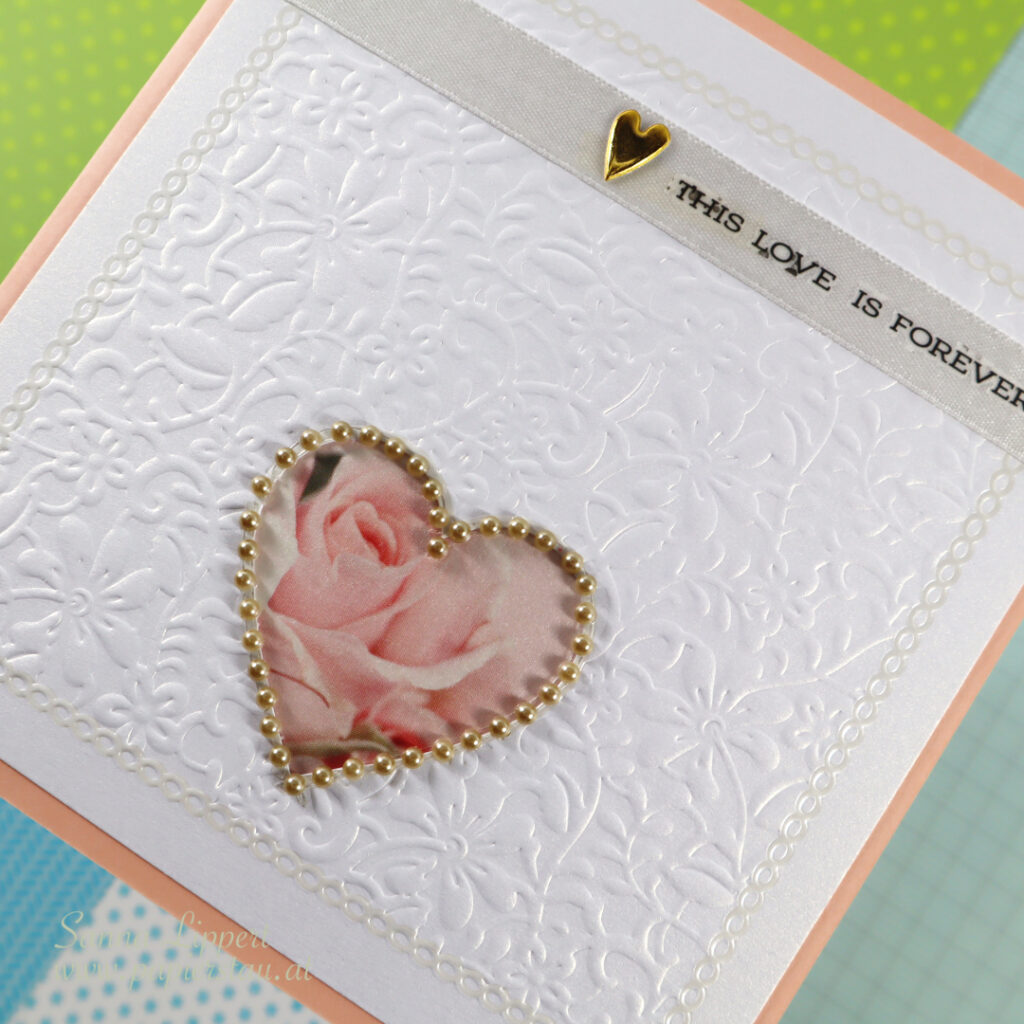
Hello everyone and happy Friday! I have a clean and simple wedding card share up for you today.
I mounted the dry embossed, glossy/shiny white paper onto a piece of peach toned cardstock. But before that, I mounted a rose image behind the die cut heart area. Before adhering the paper on place I took a piece of white ribbon and added a 49andMarket rub-on sentiment to the ribbon. I then decorated it with a golden enamel heart. To add some more golden details, I added some half pearls around the die cut area.
The card is very simple in design and has plenty of white space in it. I love how elegant the shimmery dry embossed paper makes the card look.
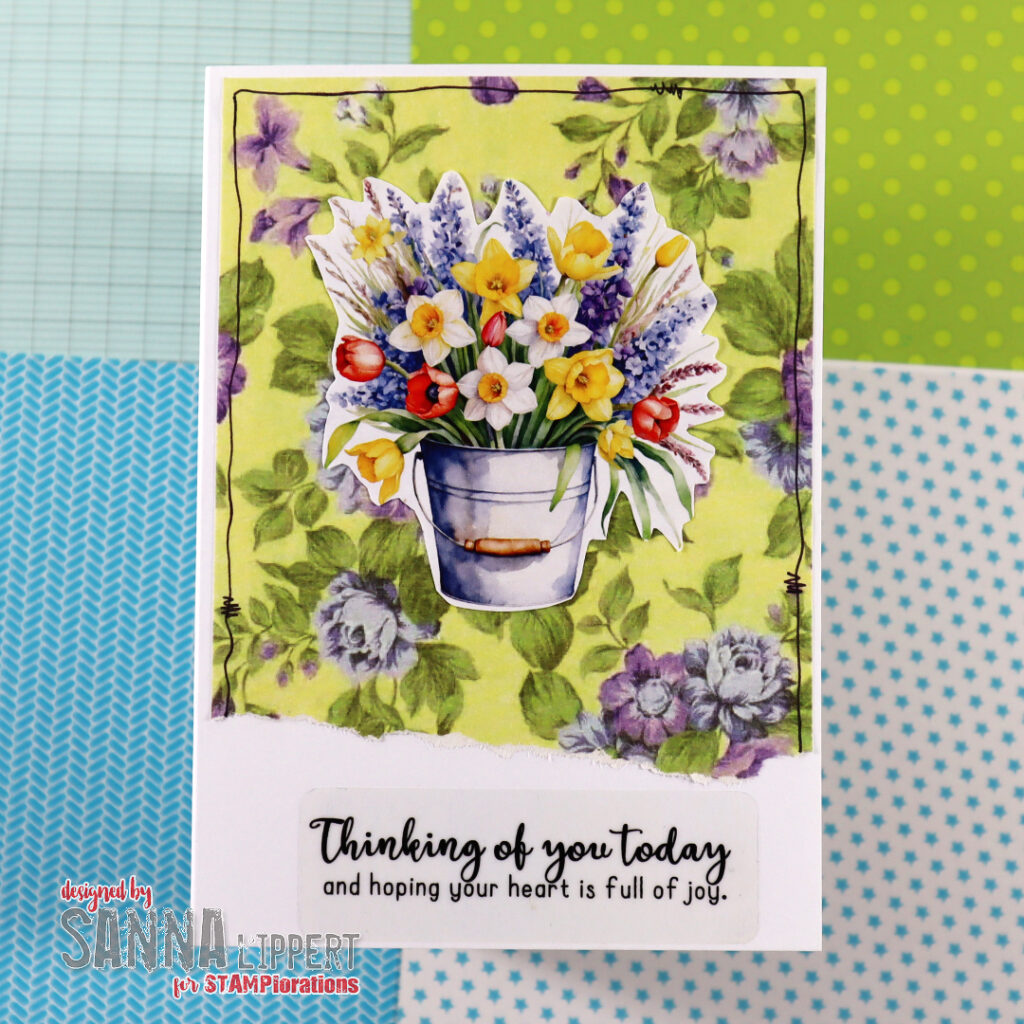
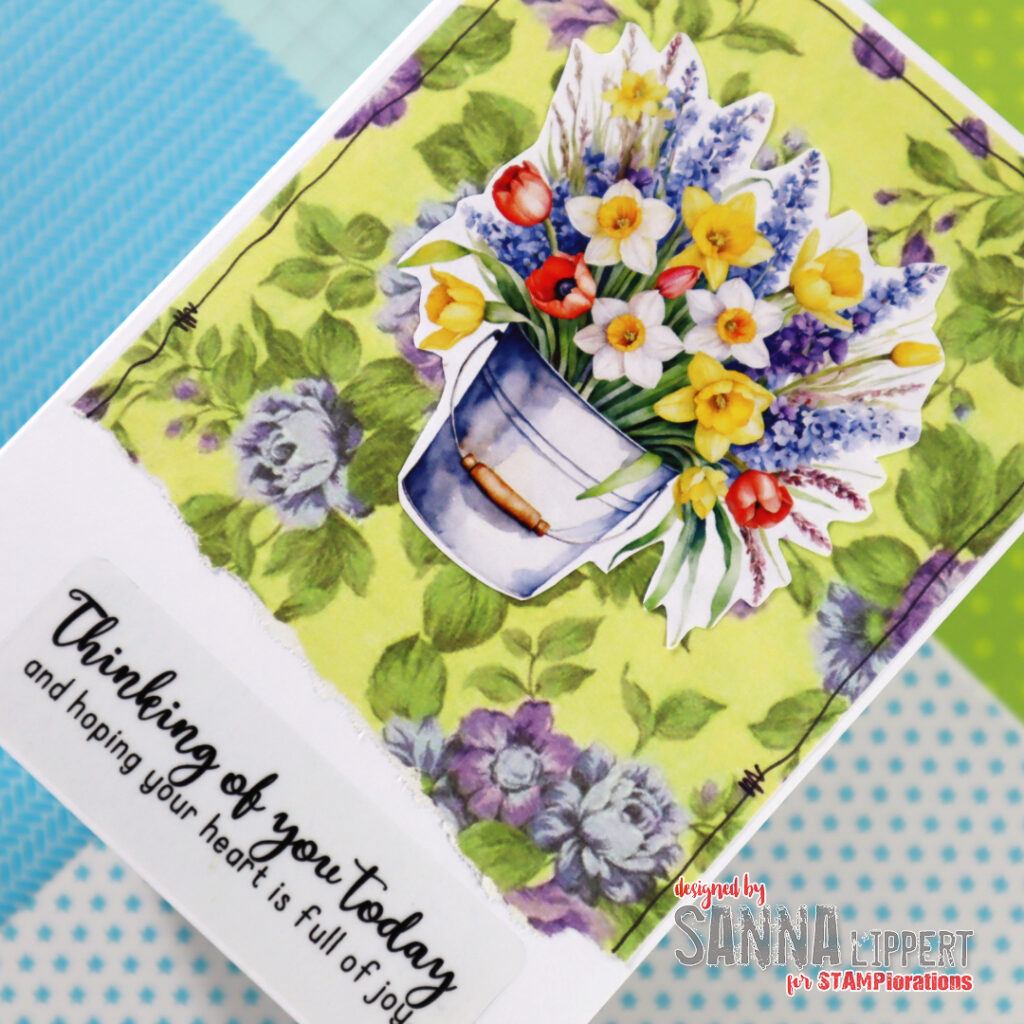
I stared by wripping the floral background paper quite randomly and adhering it to the card base. That way I had some white space left to adhere the Floral Magic clear sticker to the white space underneath. I then fussy cut and adhered the Floral Parade Ephemera Cut-Out on place and added some outlining with a black marker.
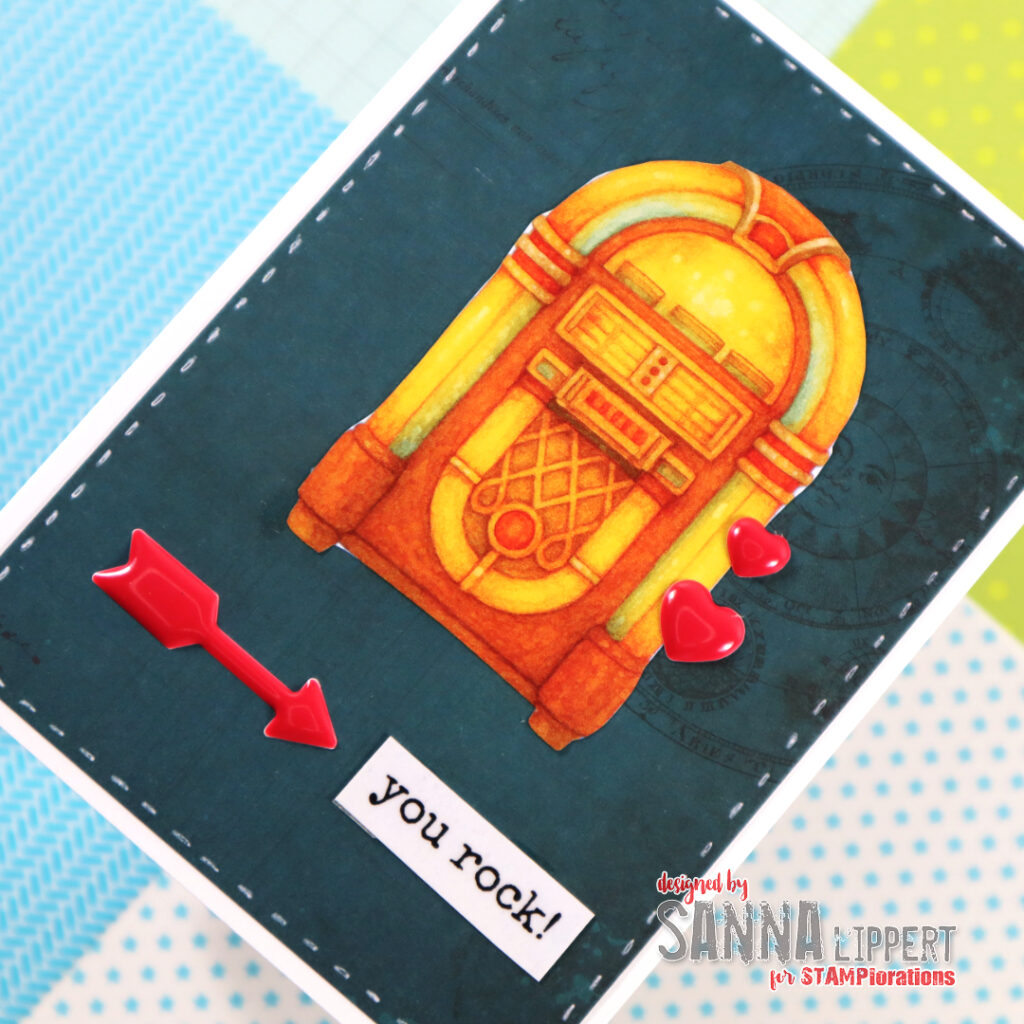
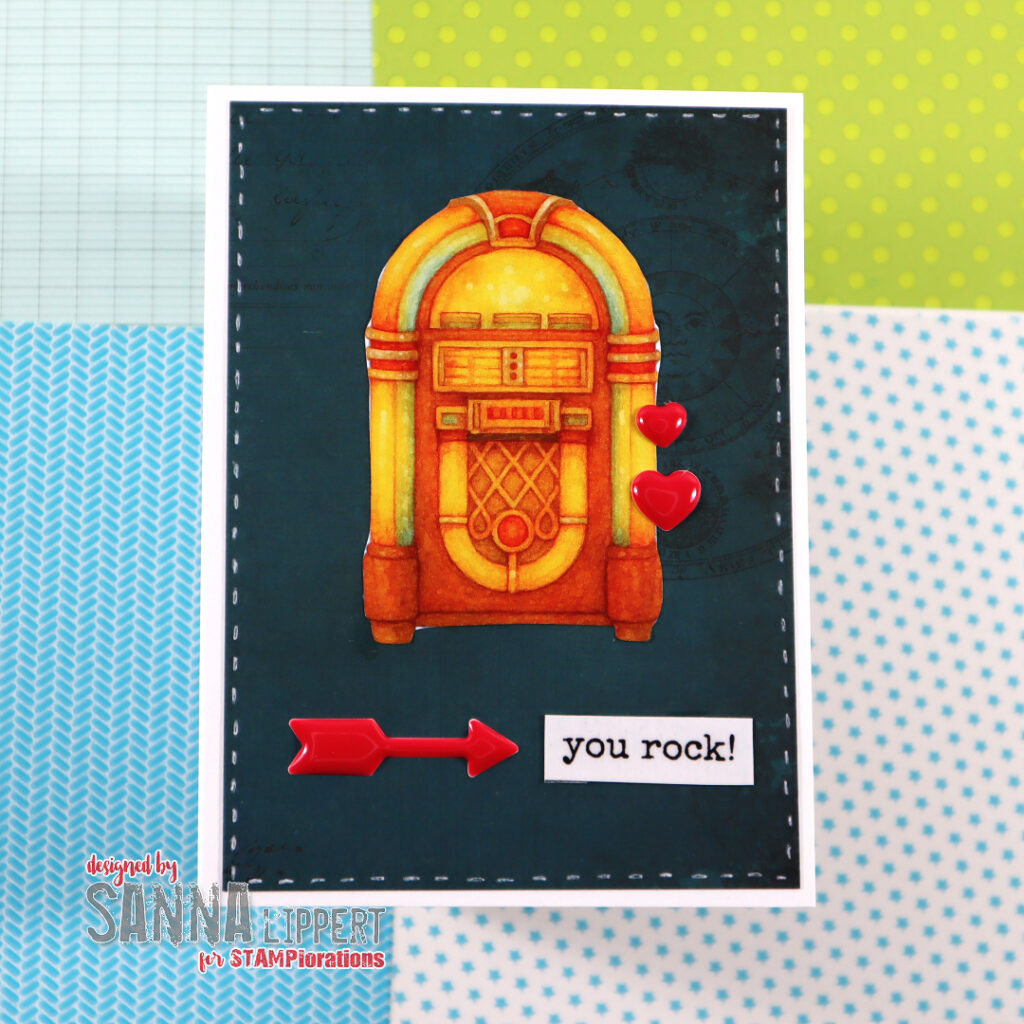
I first cut the dark green paper into size, then adhered it on place. After that I fussy cut and adhered the Nostalgia #1 Ephemera Cut-Out as a centerpiece. I then adhered the Nostalgic #1 clear sticker onto white cardstock, then cut that into size and adhered it onto the card base. I then decorated the card with a few enamel elements (arrow and hearts) and added faux stitching around the edges with a white gel pen.
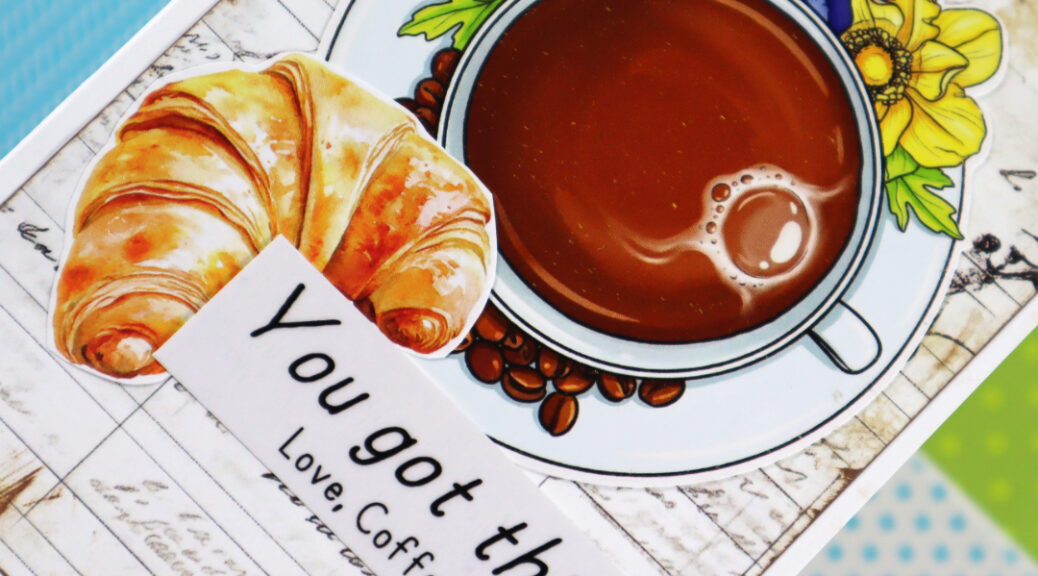
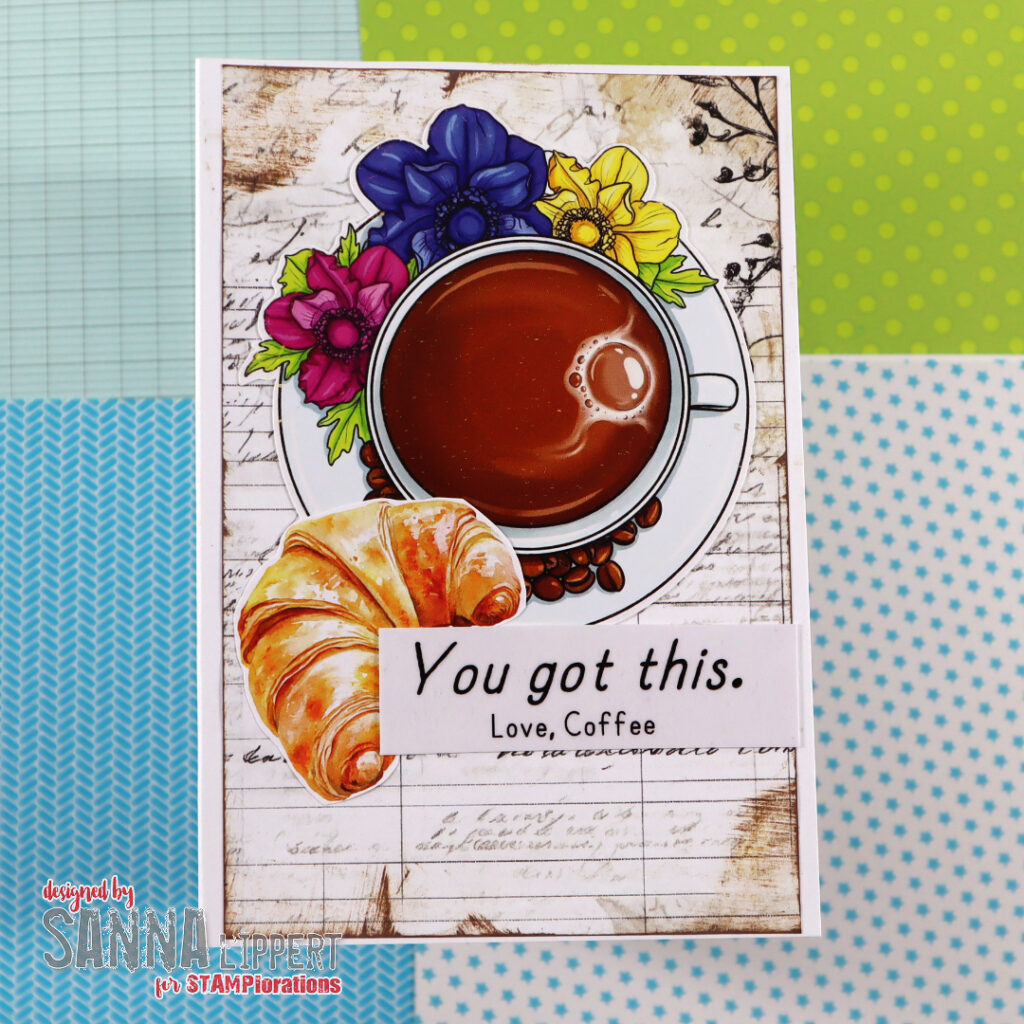
For this card I just adhered the Old Letters Pocket Backdrops paper onto the card base, then added the Flowers and Coffee Focal Front element. After that I fussy cut the croissant from the All Things Coffee Ephemera sheet and adhered it next to the coffee cup. The clear sticker is adhered on white cardstock, then cut into size and adhered to the card. The only “old” product added to this card is the brown Distress Oxide Ink around the edges of the paper.
Here is a quick peek into Flowers + Coffee Focal Fronts:
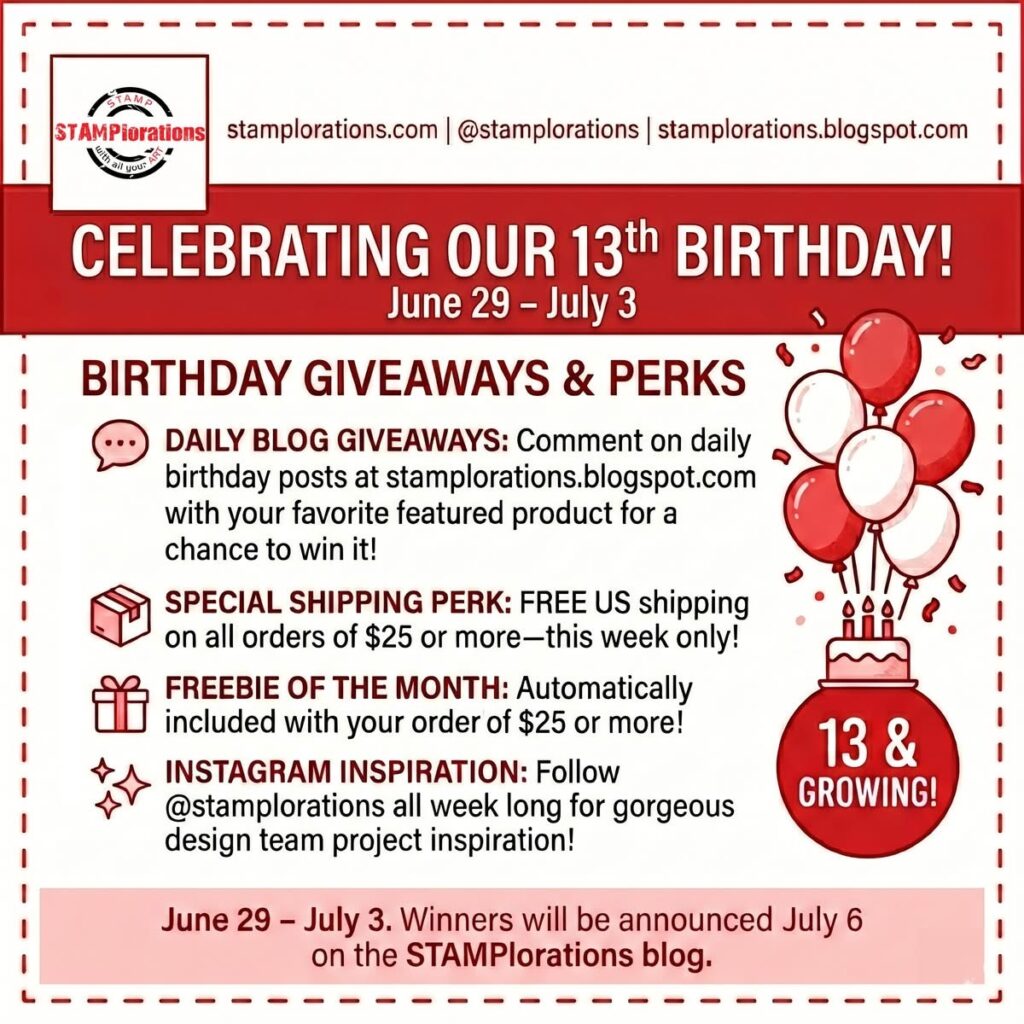
How to celebrate with us:
DAILY GIVEAWAY: you can enter this one by commenting on the STAMPlorations blog DAY 5 celebration post with your absolute favorite new product featured one of the projects of that day. One winner will be drawn from the daily post and will win the specific product of your choice.
SHOPPING PERK: For US participants there will be free shipping on orders of 25 USD or more, valid thru the celebration week only. Plus a freebie of the moth for orders.
The birthday celebration will go until 3rd of July. This will also be the day when the Wishlist party will officially close. The winners will be announced on Monday, the 6th of July.
Hope you will join in with us and celebrate 13 years of STAMPlorations!! xx, Sanna
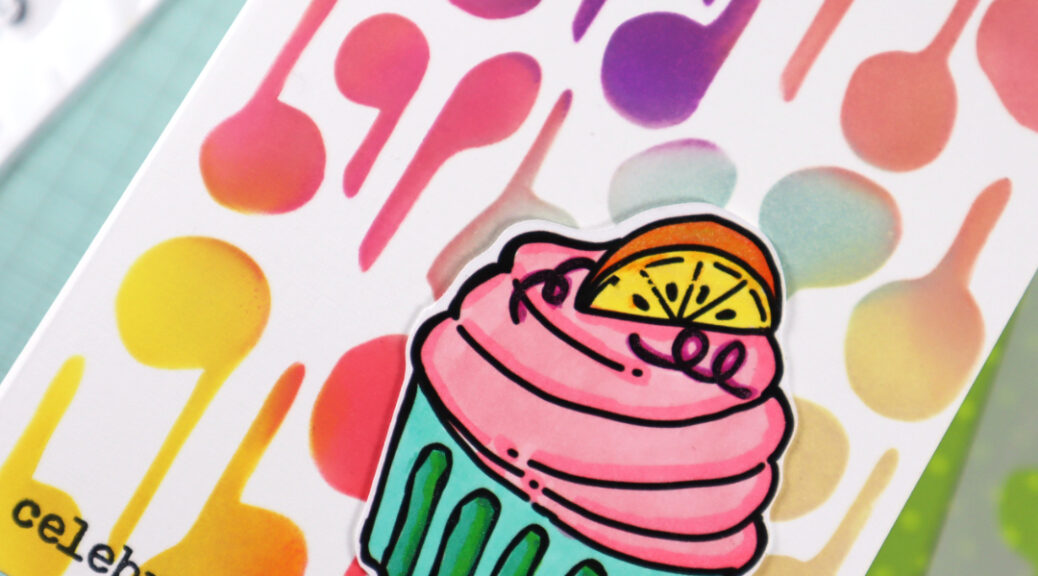
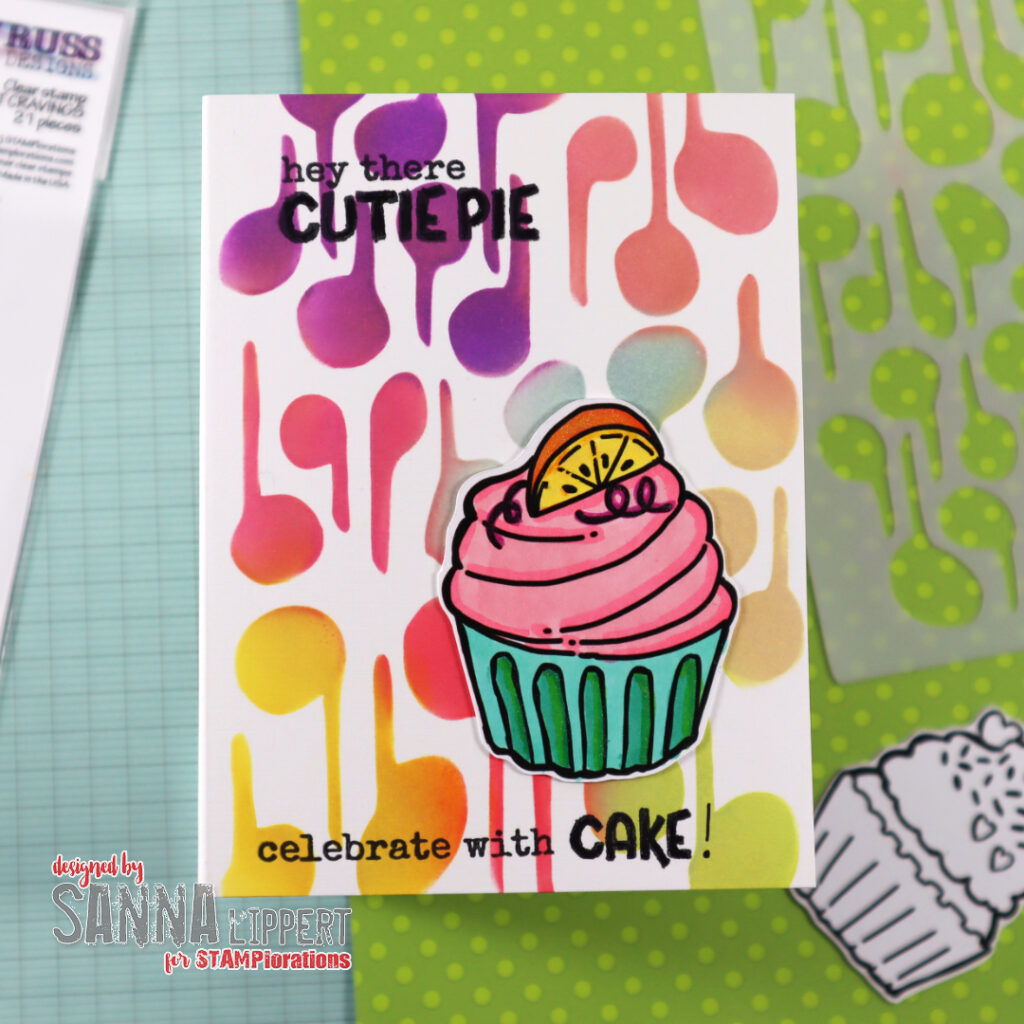
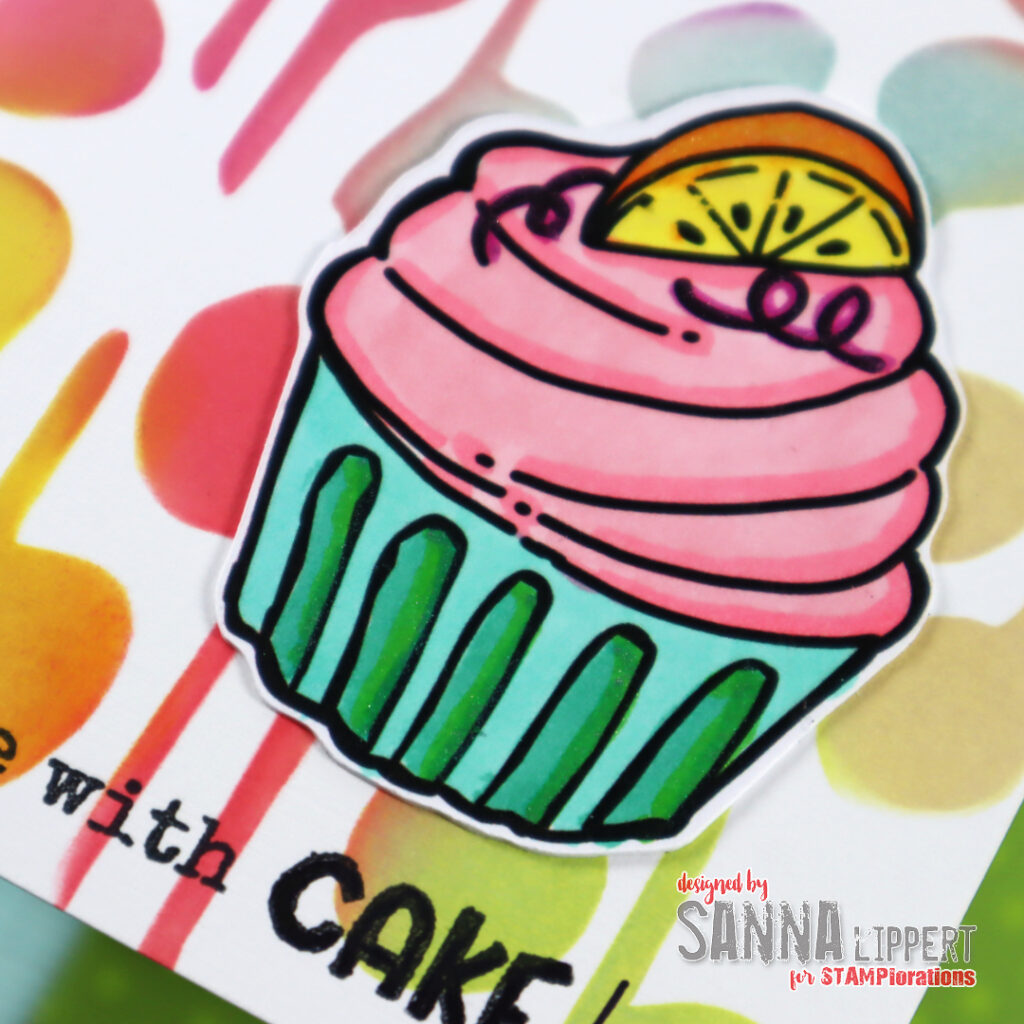
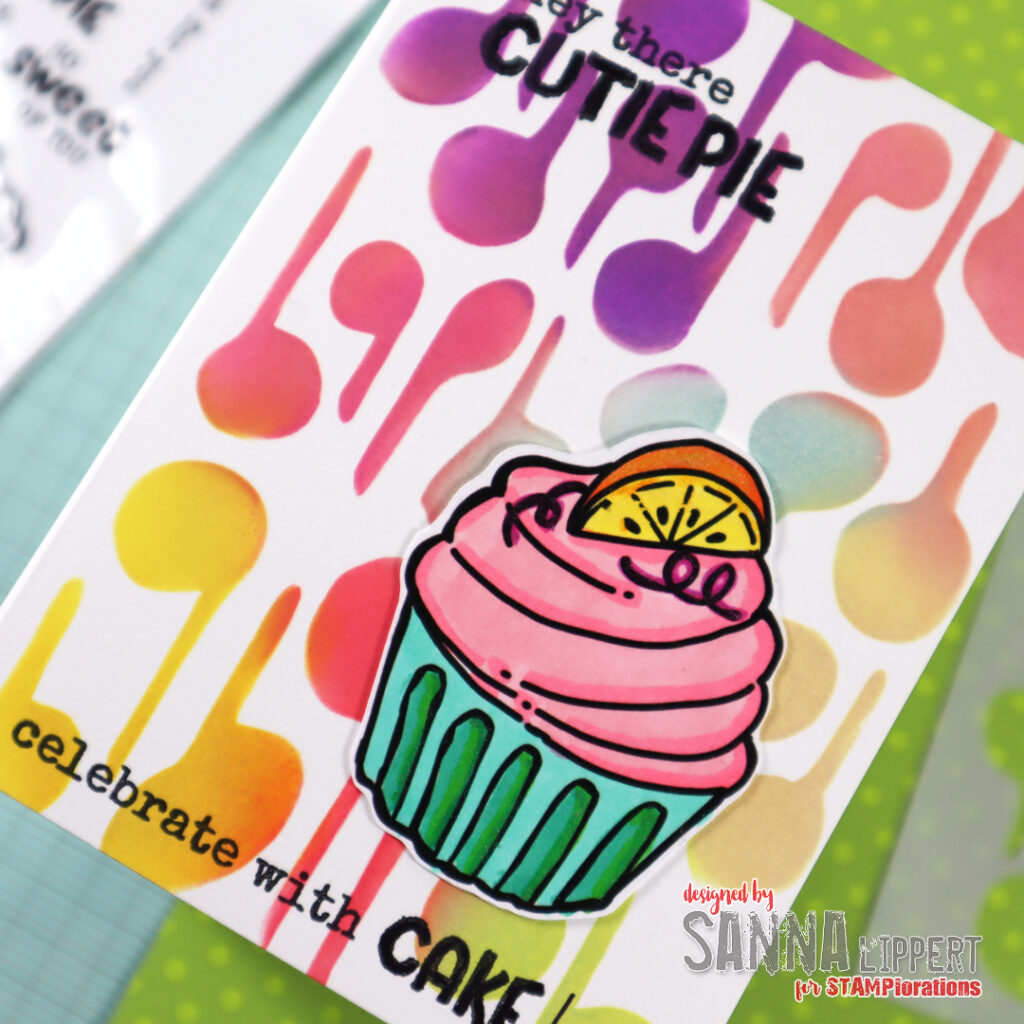
I placed the stencil directly onto the card base, applied various tones of Distress Oxide inks thru the stencil pattern to create a bold background. Next I colored the cupcake with alcohol markers and adhered it onto the card base. Finally, I stamped the Sweet Cravings set´s sentiments directly onto the card with black ink.
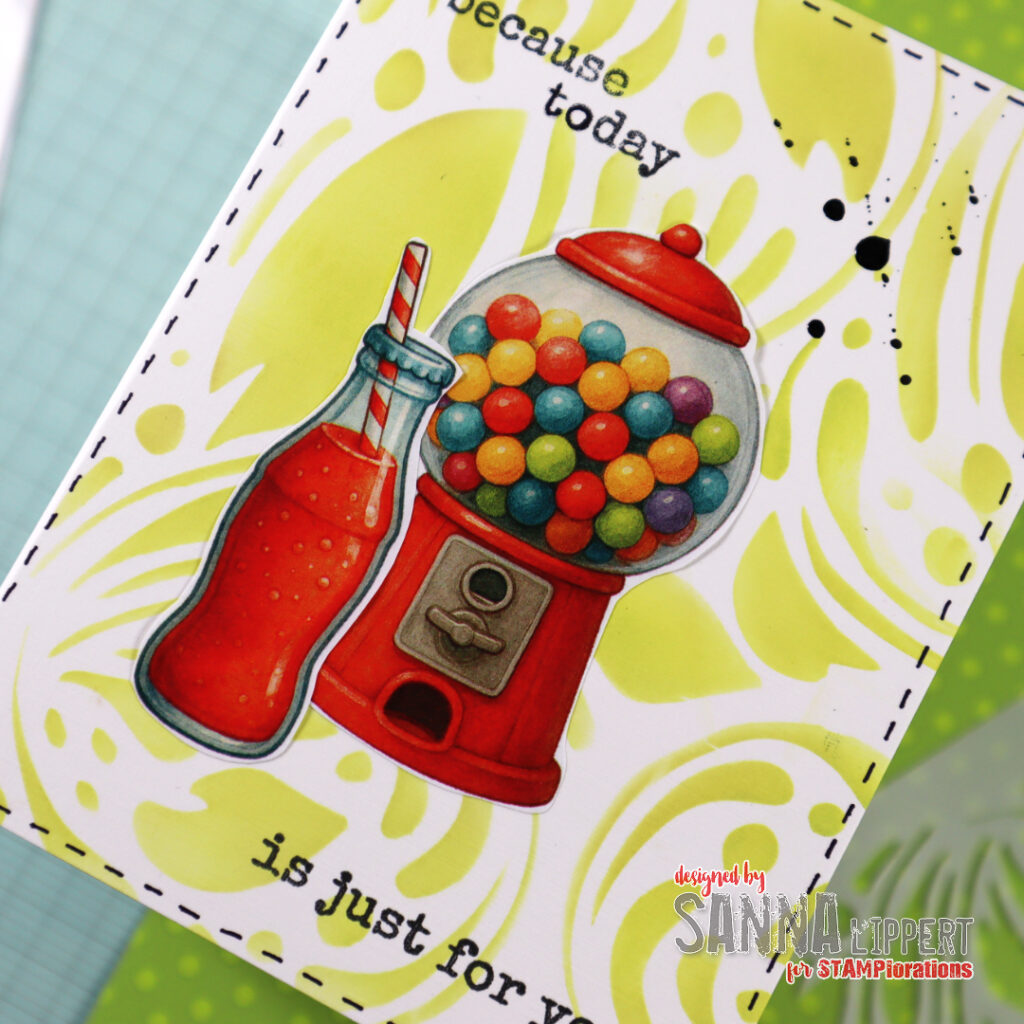
I simply stenciled the Henna Pattern directly onto the card base by moving it around and creating a full surface random pattern. Next I fussy cut the Nostalgia #1 Ephemera Cut-Outs and adhered the into a cluster onto the card. For finishing touches I added some stamping with Sweet Cravings stamp set and some black ink splatters. I also outlined the card base with a black pen (faux stitching).
Here is a quick peek into Big Cupcakes and Big Birthday Cakes Colorables:
How to celebrate with us:
DAILY GIVEAWAY: you can enter this one by commenting on the STAMPlorations blog DAY 4 celebration post with your absolute favorite new product featured one of the projects of that day. One winner will be drawn from the daily post and will win the specific product of your choice.
SHOPPING PERK: For US participants there will be free shipping on orders of 25 USD or more, valid thru the celebration week only. Plus a freebie of the moth for orders.
The birthday celebration will go until 3rd of July. This will also be the day when the Wishlist party will officially close. The winners will be announced on Monday, the 6th of July.
Hope you will join in with us and celebrate 13 years of STAMPlorations!! xx, Sanna
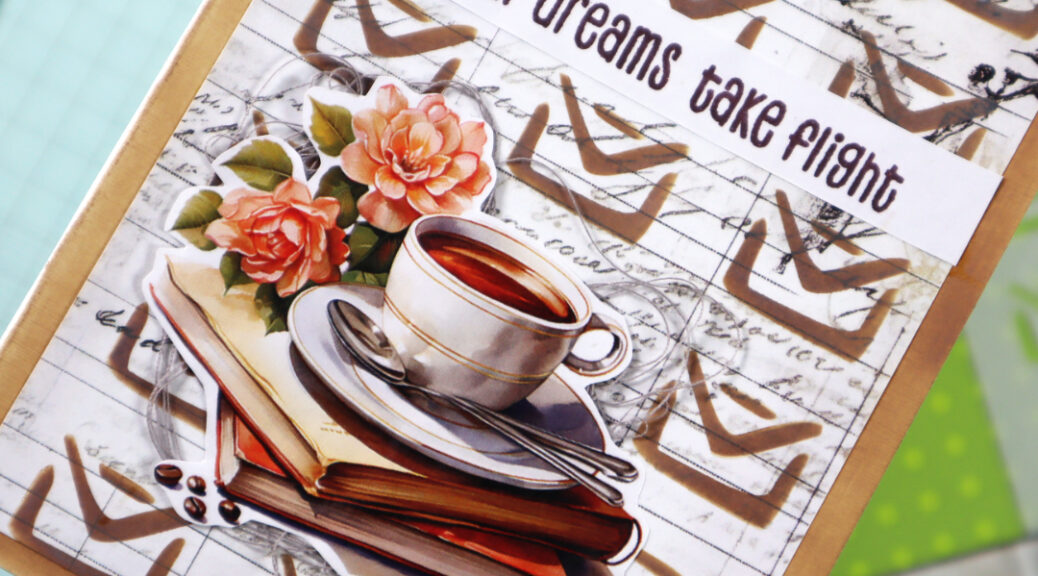
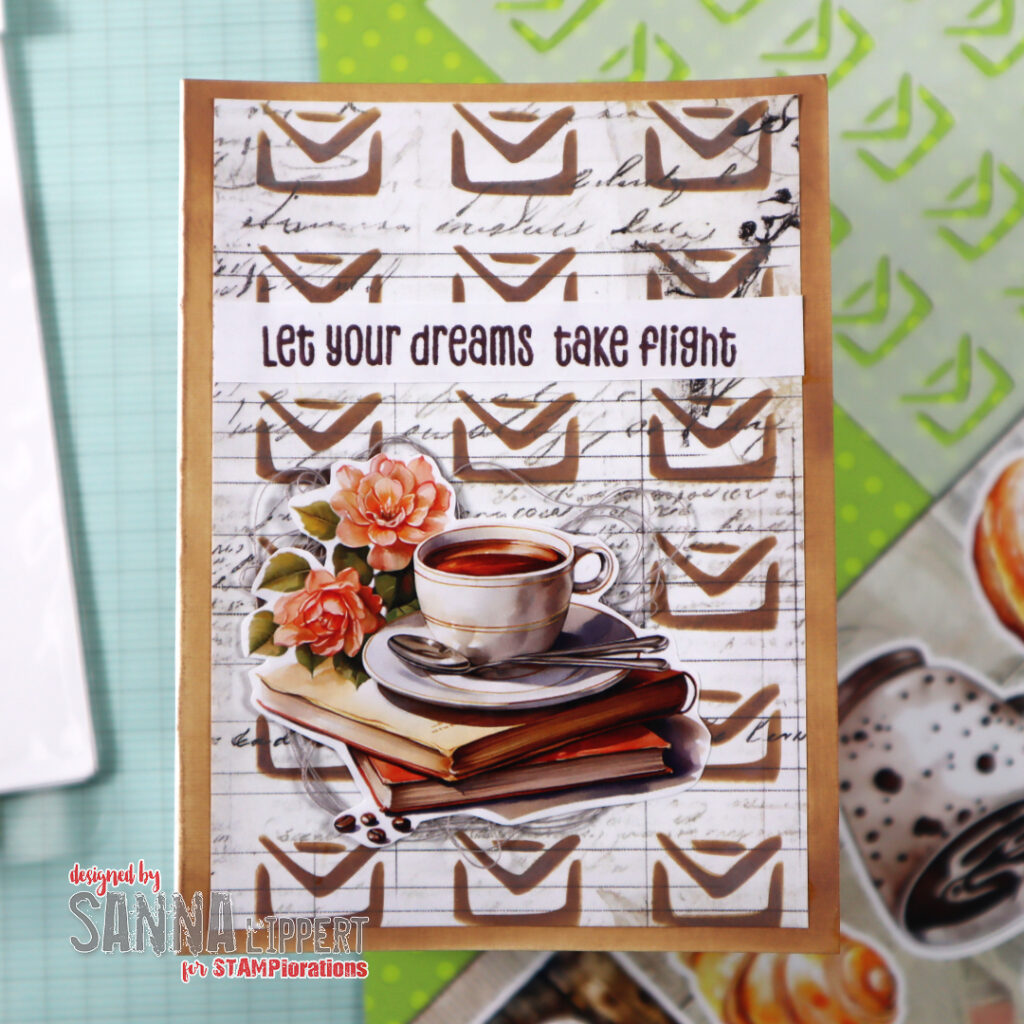
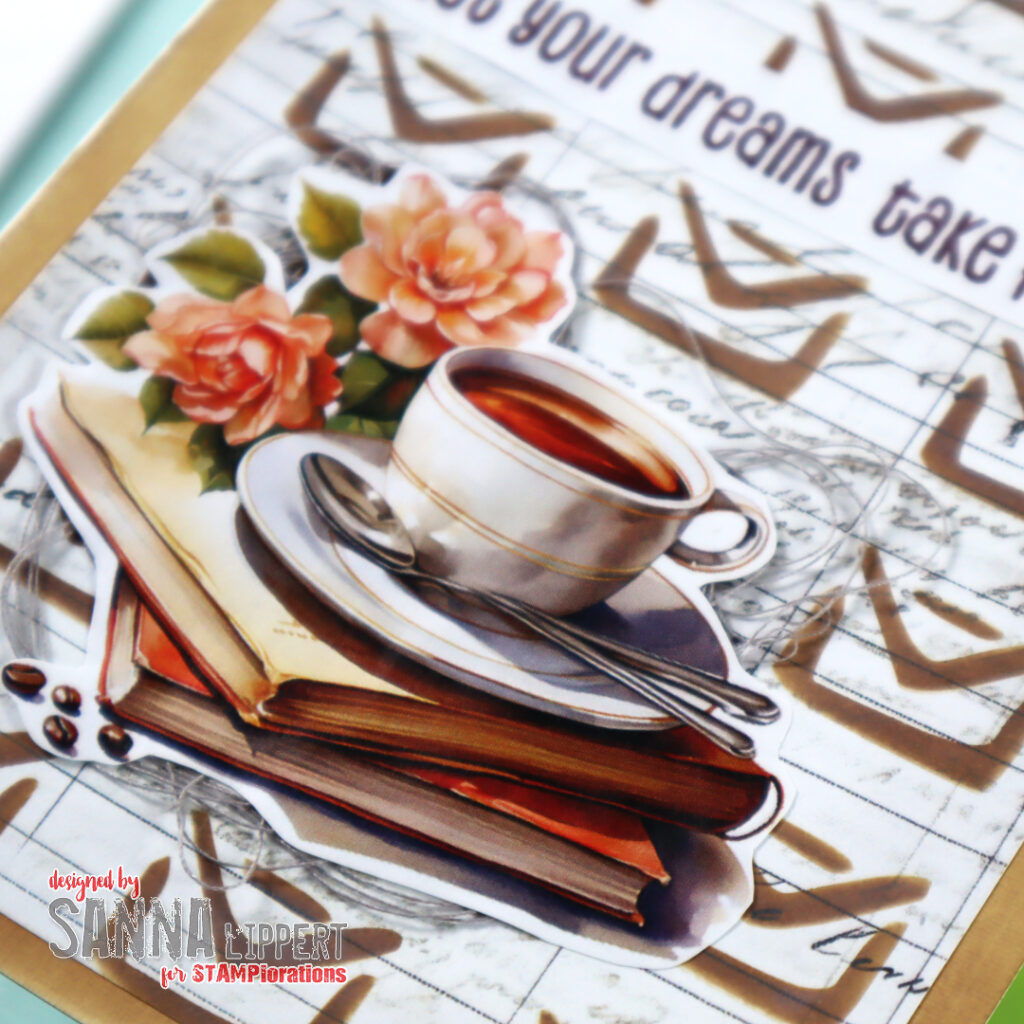
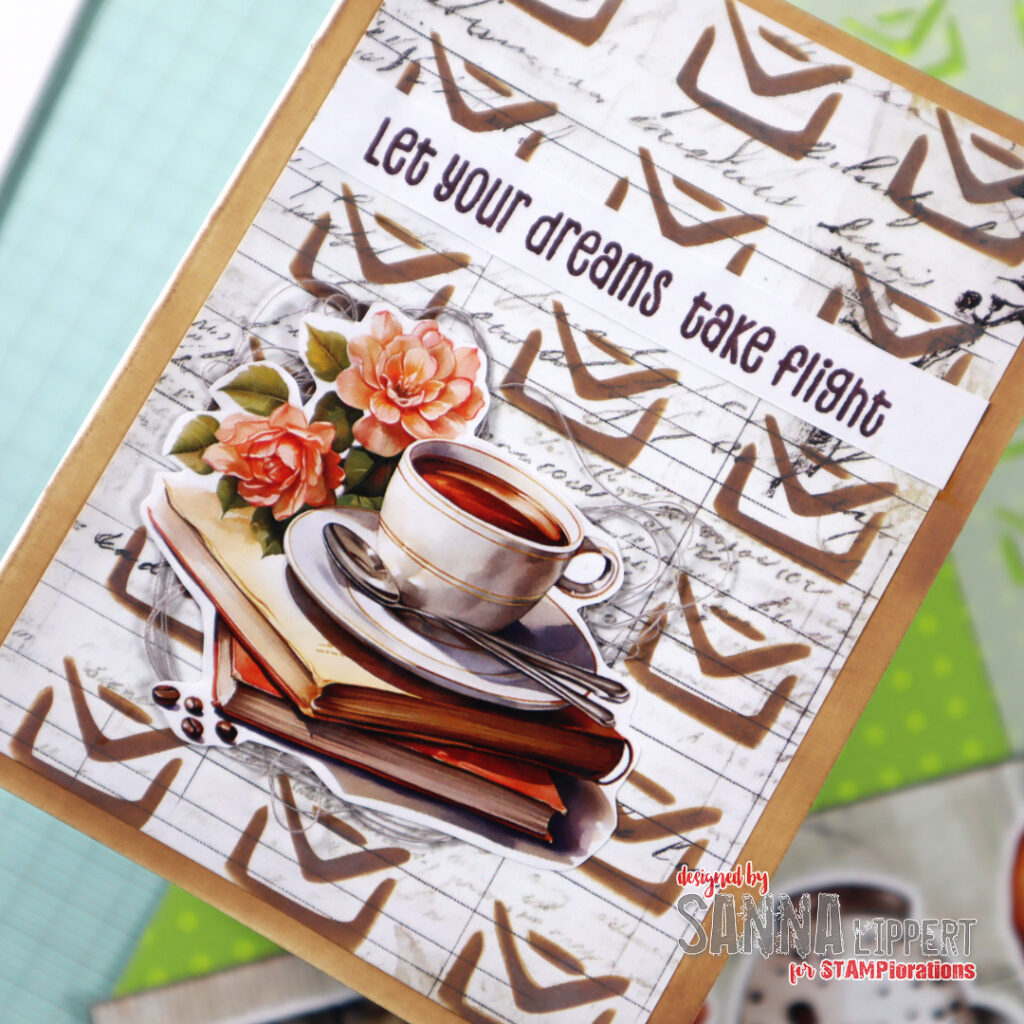
I started by placing the Modern Envelopes stencil onto the Old Letter Pocket Backdrop paper and stenciling with brown Distress Oxide Ink thru it. Next I fussy cut the All Things Coffee Ephemera Cut-Out image and adhered it to the background. In addition, I stamped a sentiment with the Feathery stamp set and brown ink and adhered it to the card. After that I took a white card base, inked the corners all around with brown ink and then adhered the paper on place.
Here is a quick peek into the new Old Letter Pocket Backdrop papers:
How to celebrate with us:
DAILY GIVEAWAY: you can enter this one by commenting on the STAMPlorations blog DAY 3 celebration post with your absolute favorite new product featured one of the projects of that day. One winner will be drawn from the daily post and will win the specific product of your choice.
SHOPPING PERK: For US participants there will be free shipping on orders of 25 USD or more, valid thru the celebration week only. Plus a freebie of the moth for orders.
The birthday celebration will go until 3rd of July. This will also be the day when the Wishlist party will officially close. The winners will be announced on Monday, the 6th of July.
Hope you will join in with us and celebrate 13 years of STAMPlorations!! xx, Sanna
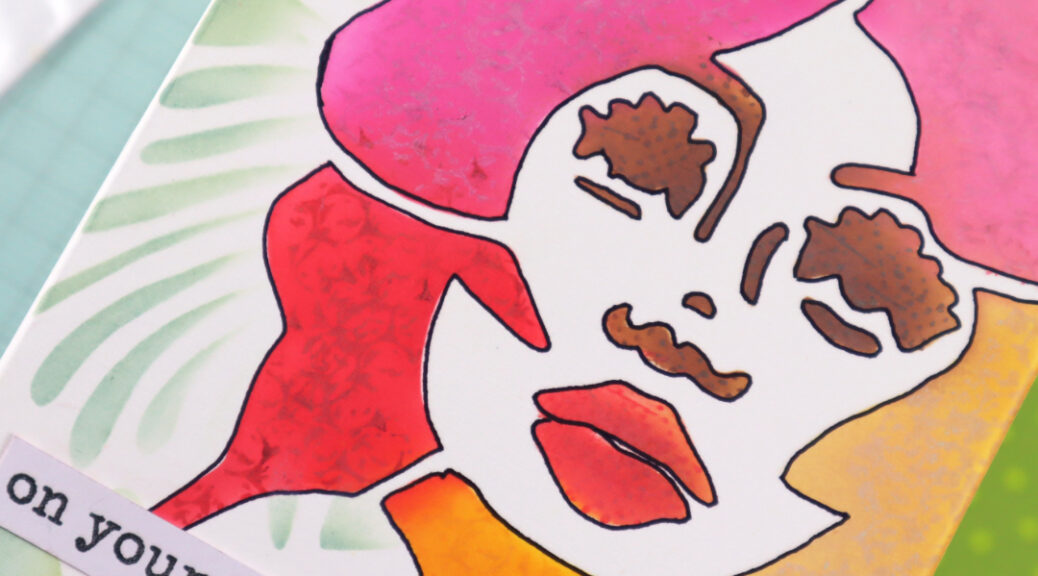
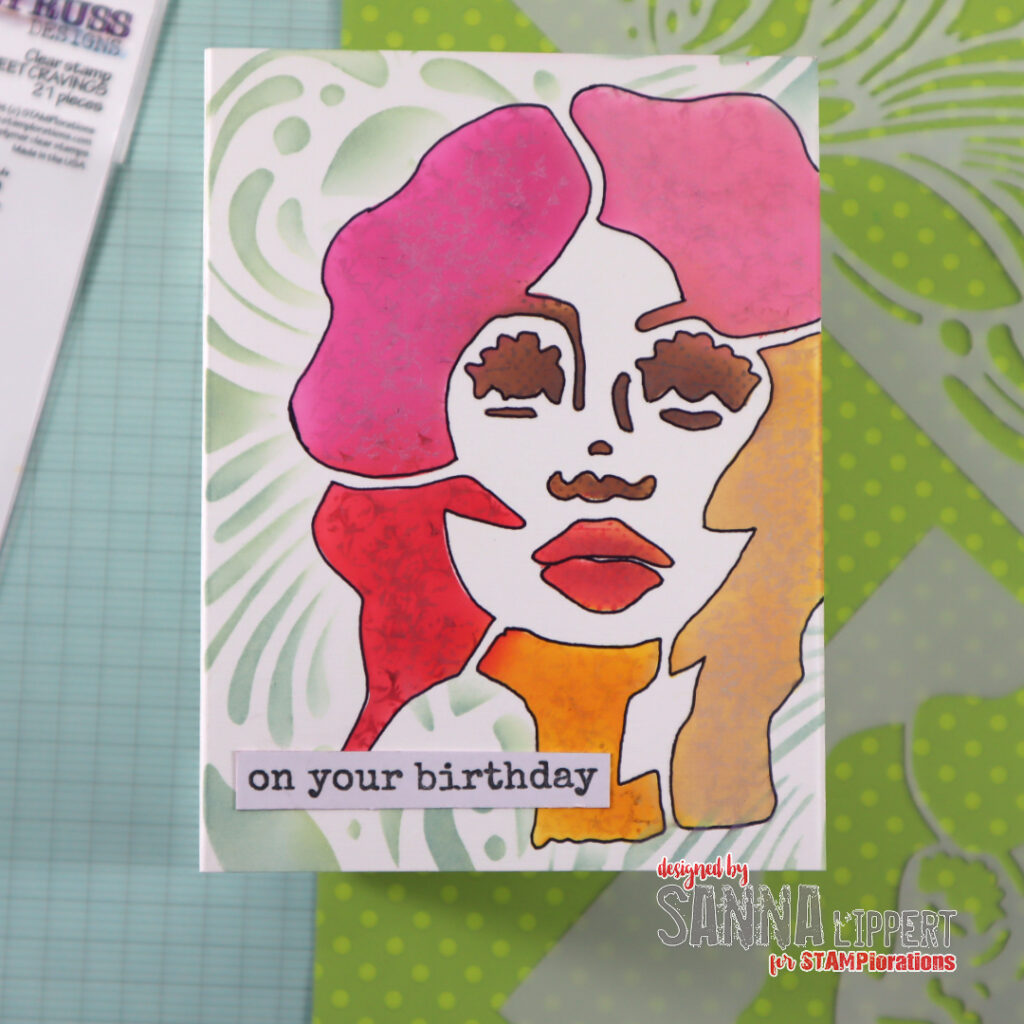
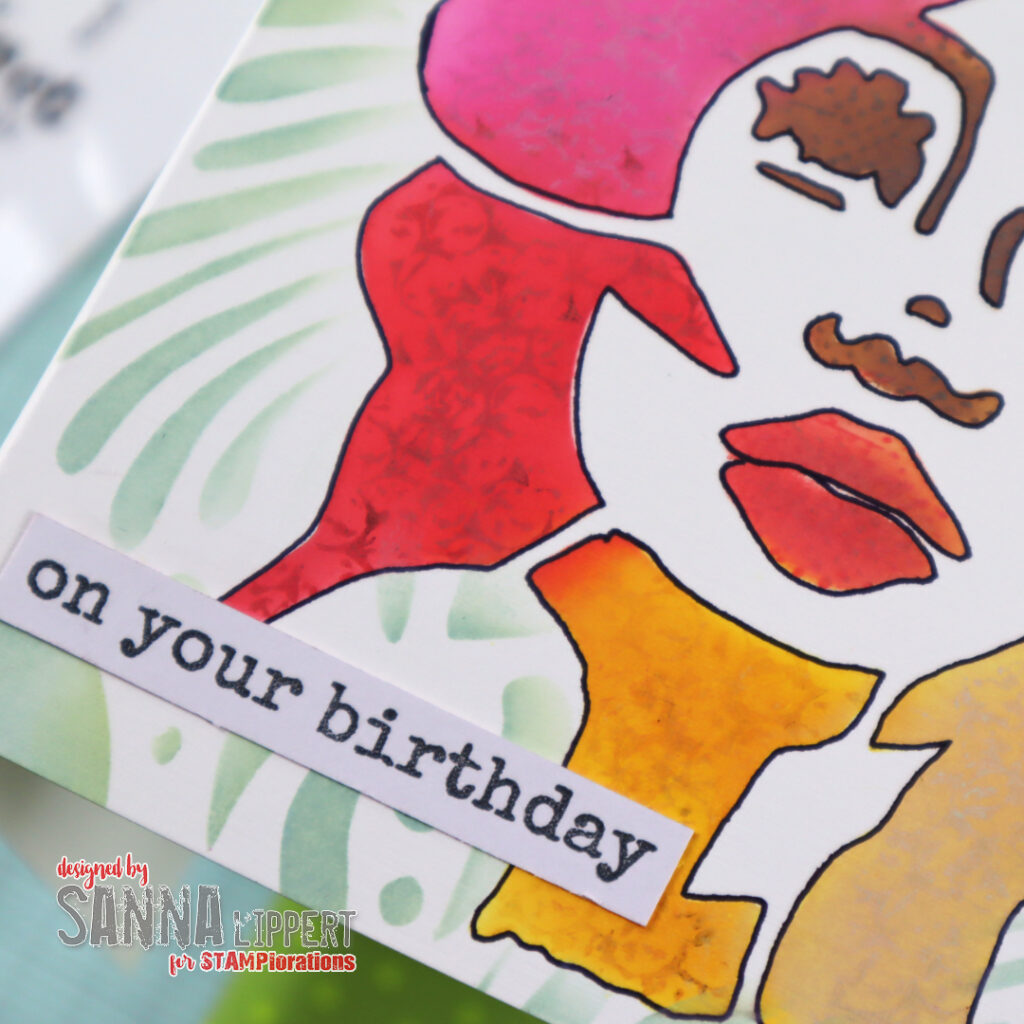
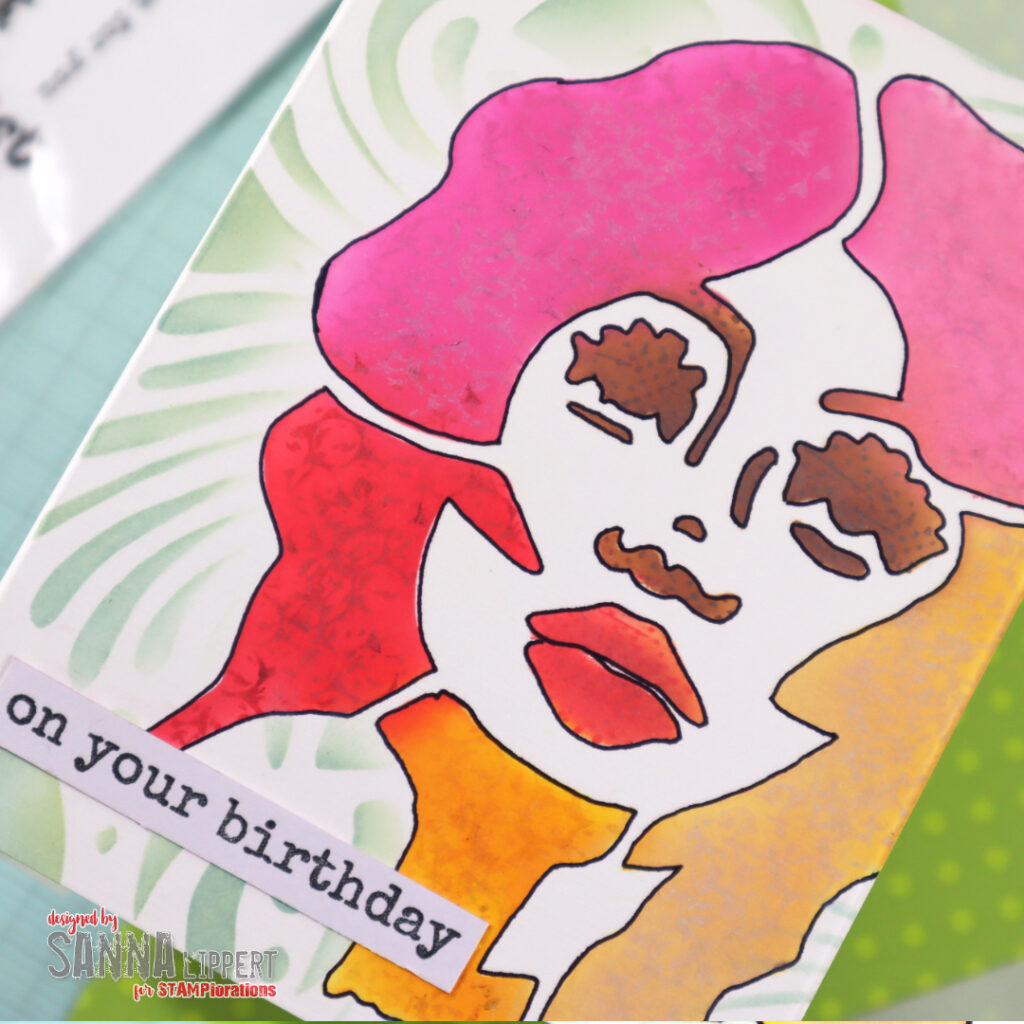
I first placed the Profile 2 stencil onto a white card base, then directly inked with various yellow and pink/red and brown toned Distress Oxide Inks thru the stencil creating a multi-colored face image. I also used the same ink tones to add some random stamping to the hair using the Mixed Media Grunge stamp set. I then went on to outline the image with a black pen along the stencil lines. After that I used a light green Distress Oxide Ink tone with the Henna Pattern stencil to add details to the background. Finally, I finished the card with a Sweet Cravings set stamped sentiment.
Here is peek into the new stencils:
How to celebrate with us:
DAILY GIVEAWAY: you can enter this one by commenting on the STAMPlorations blog DAY 2 celebration post with your absolute favorite new product featured one of the projects of that day. One winner will be drawn from the daily post and will win the specific product of your choice.
SHOPPING PERK: For US participants there will be free shipping on orders of 25 USD or more, valid thru the celebration week only. Plus a freebie of the moth for orders.
The birthday celebration will go until 3rd of July. This will also be the day when the Wishlist party will officially close. The winners will be announced on Monday, the 6th of July.
Hope you will join in with us and celebrate 13 years of STAMPlorations!! xx, Sanna