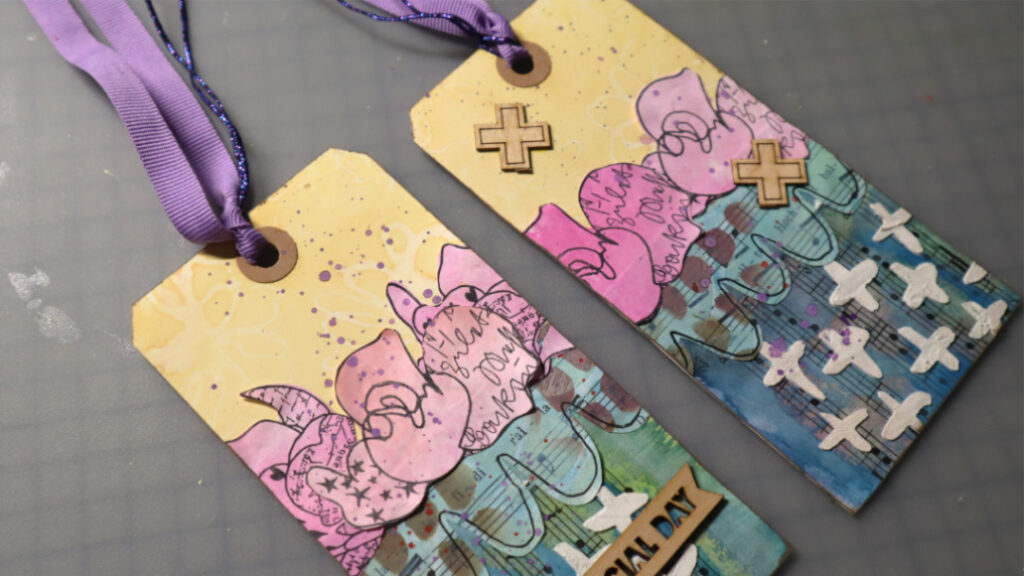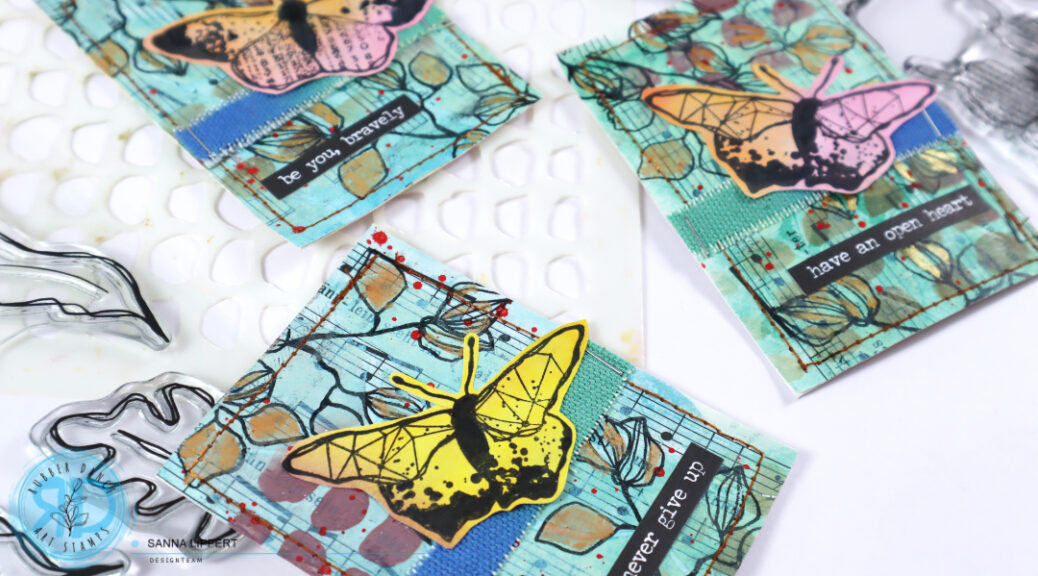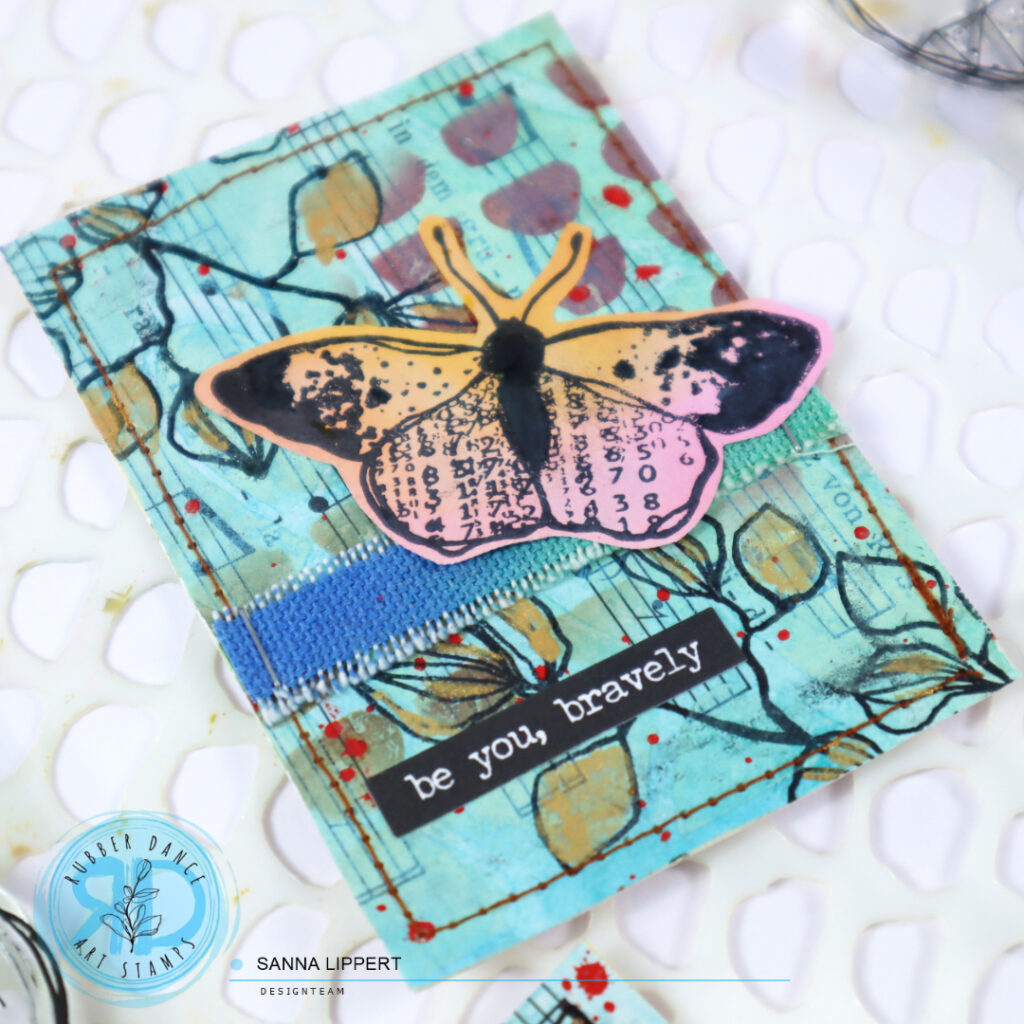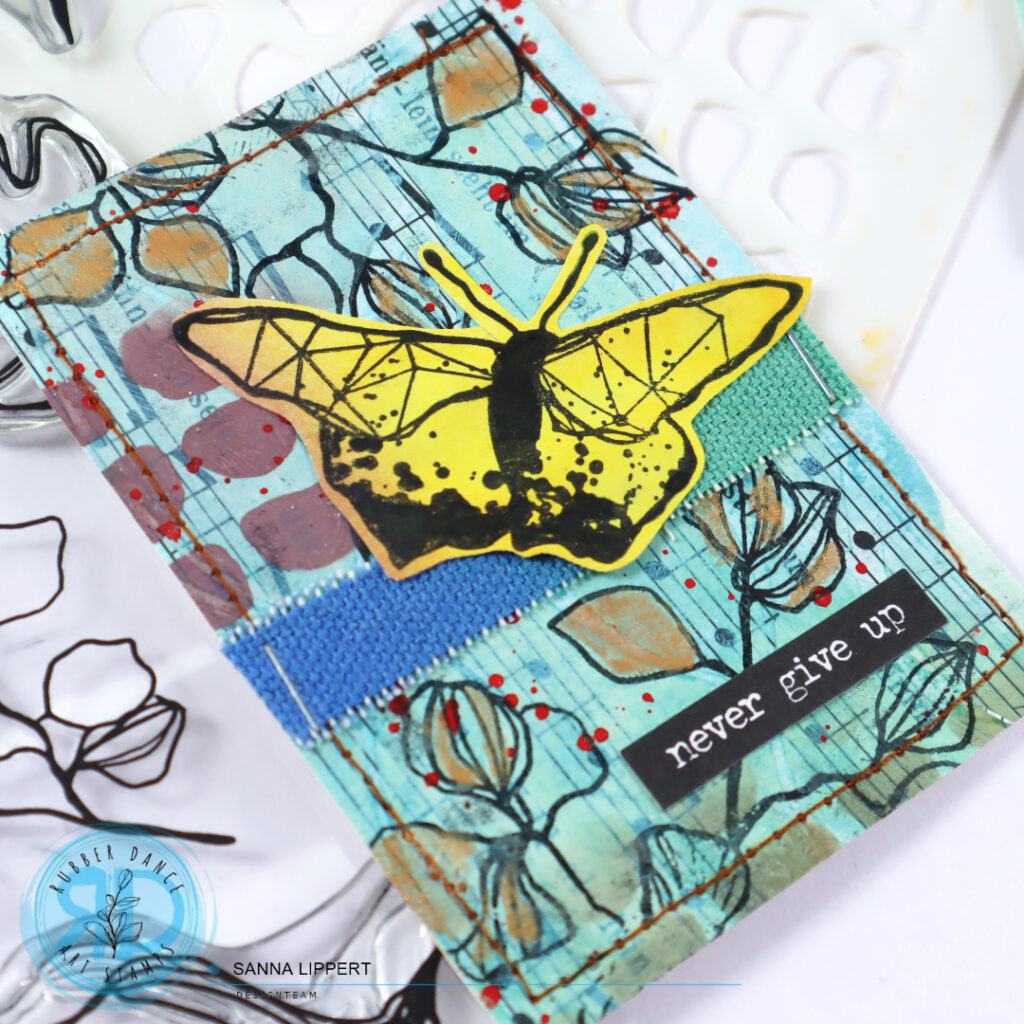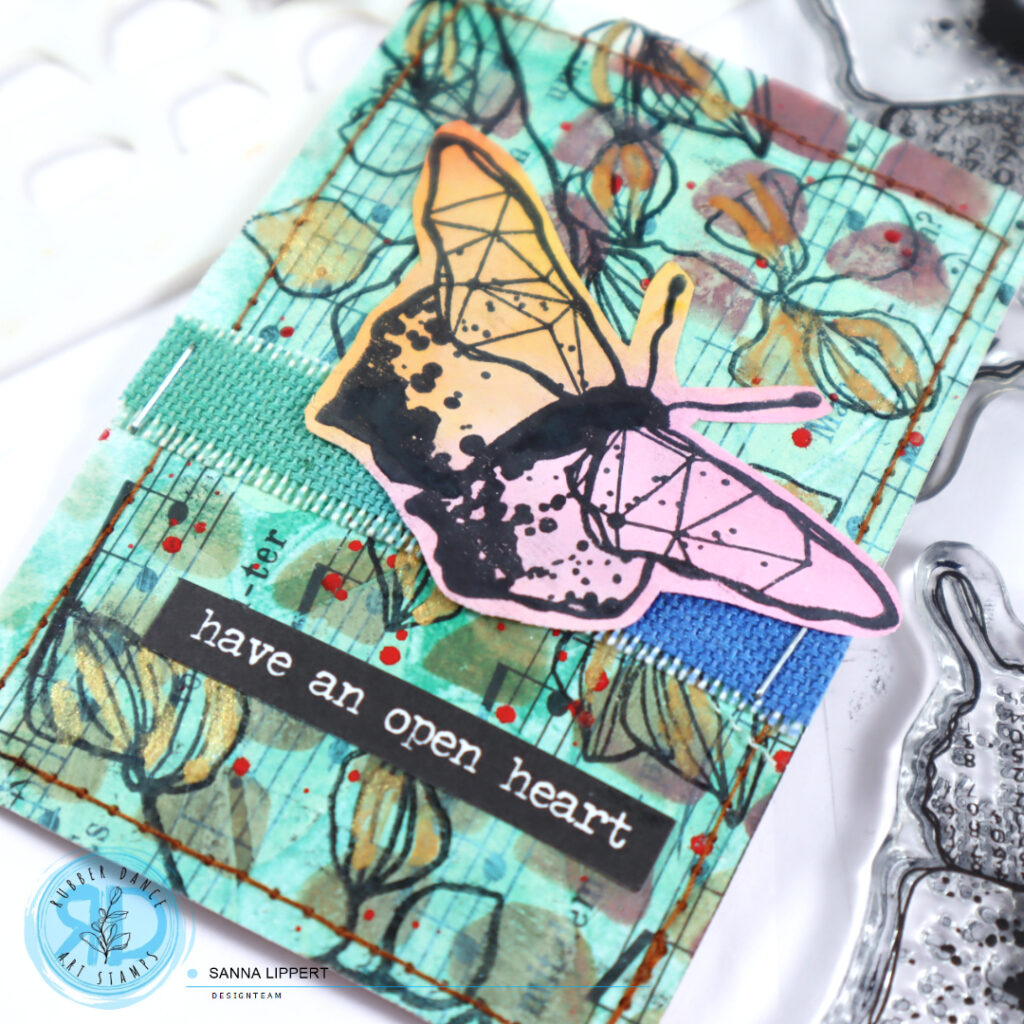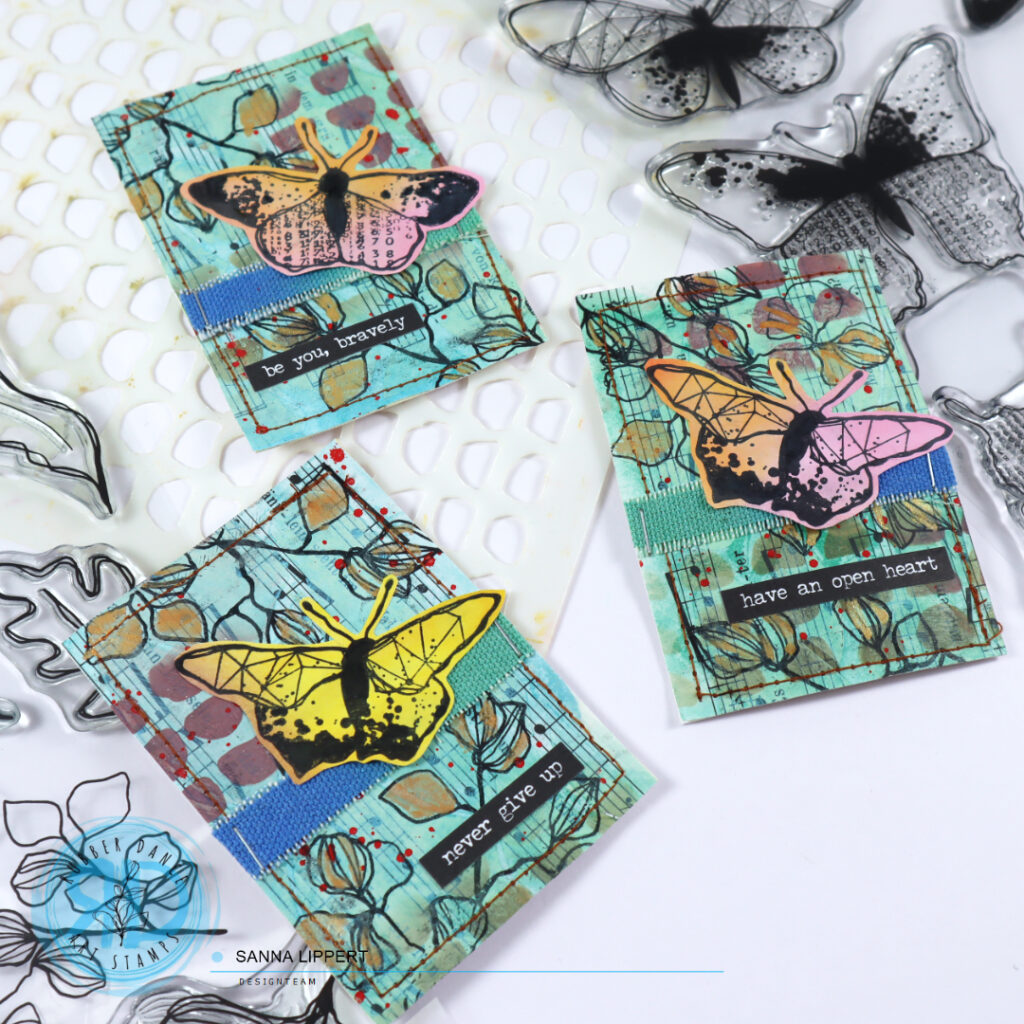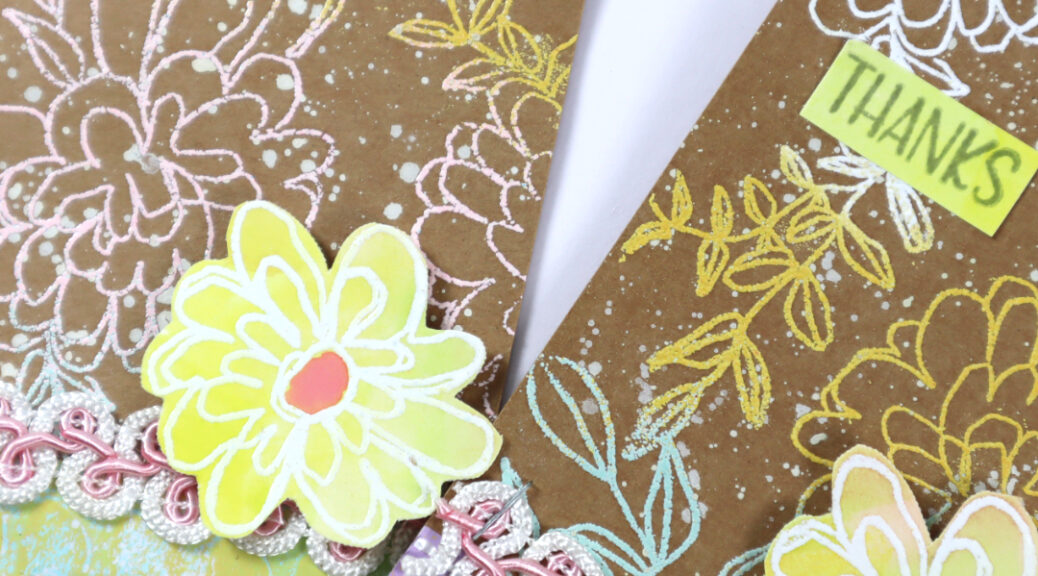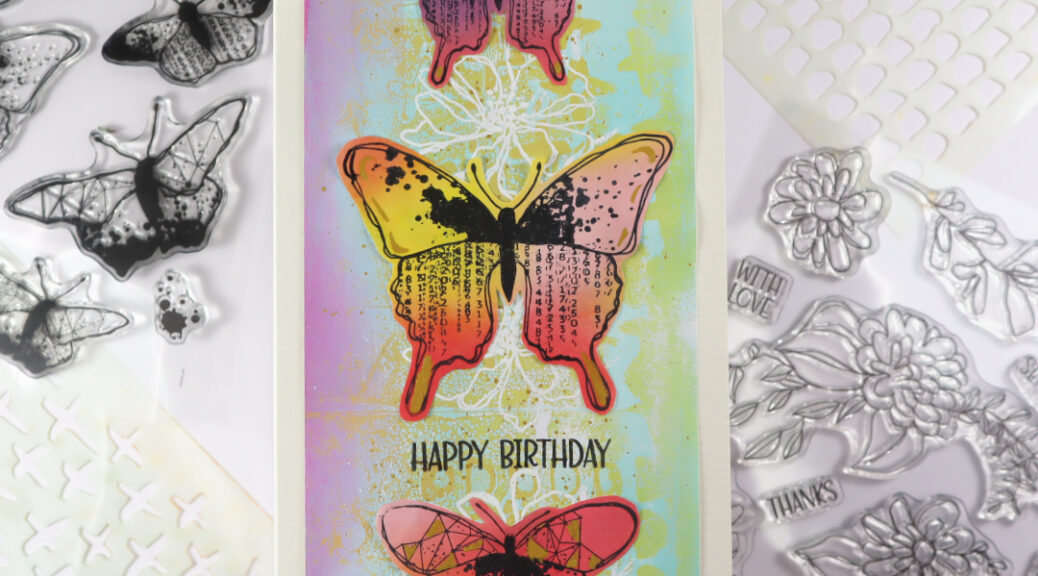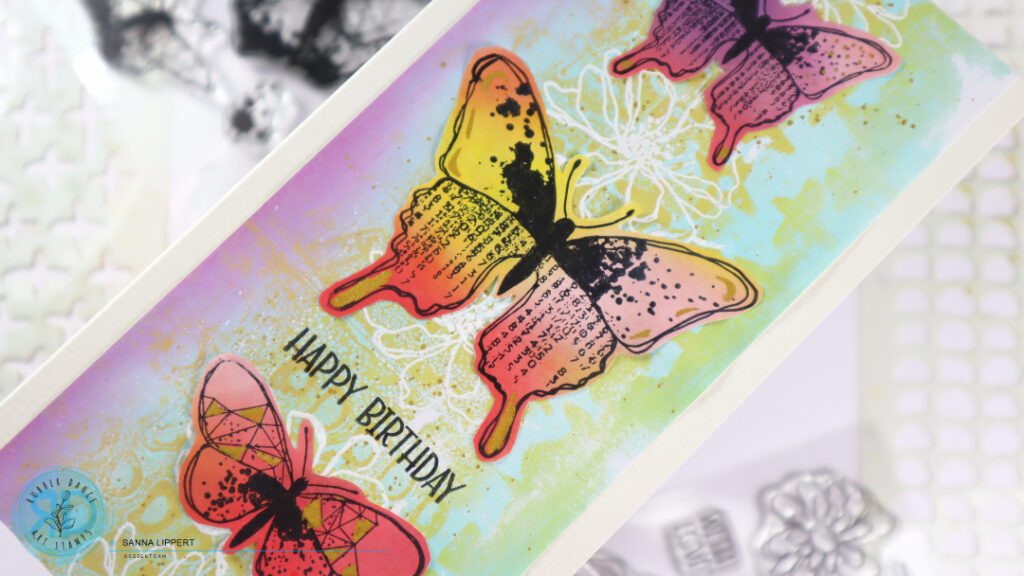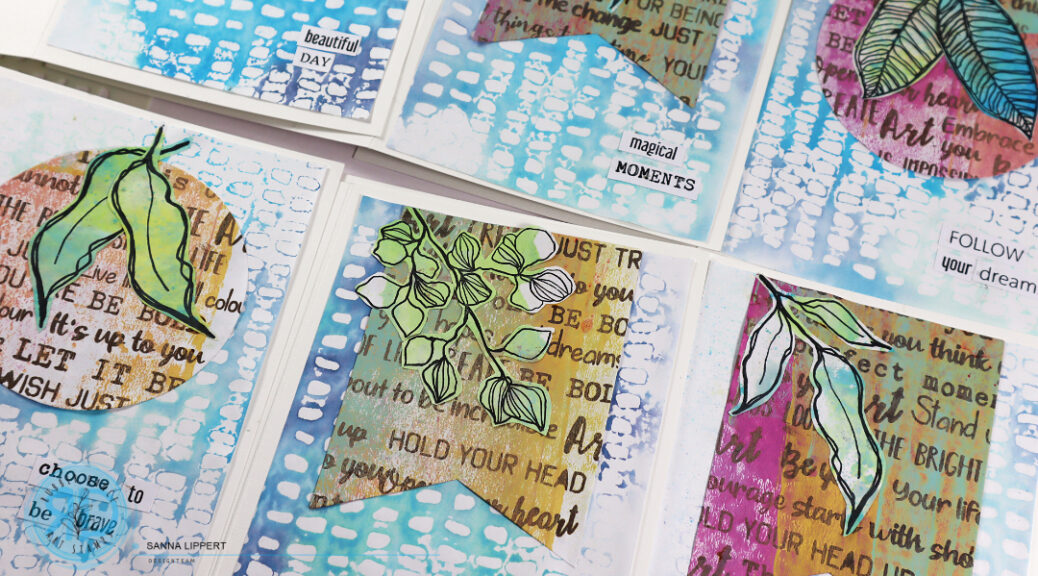
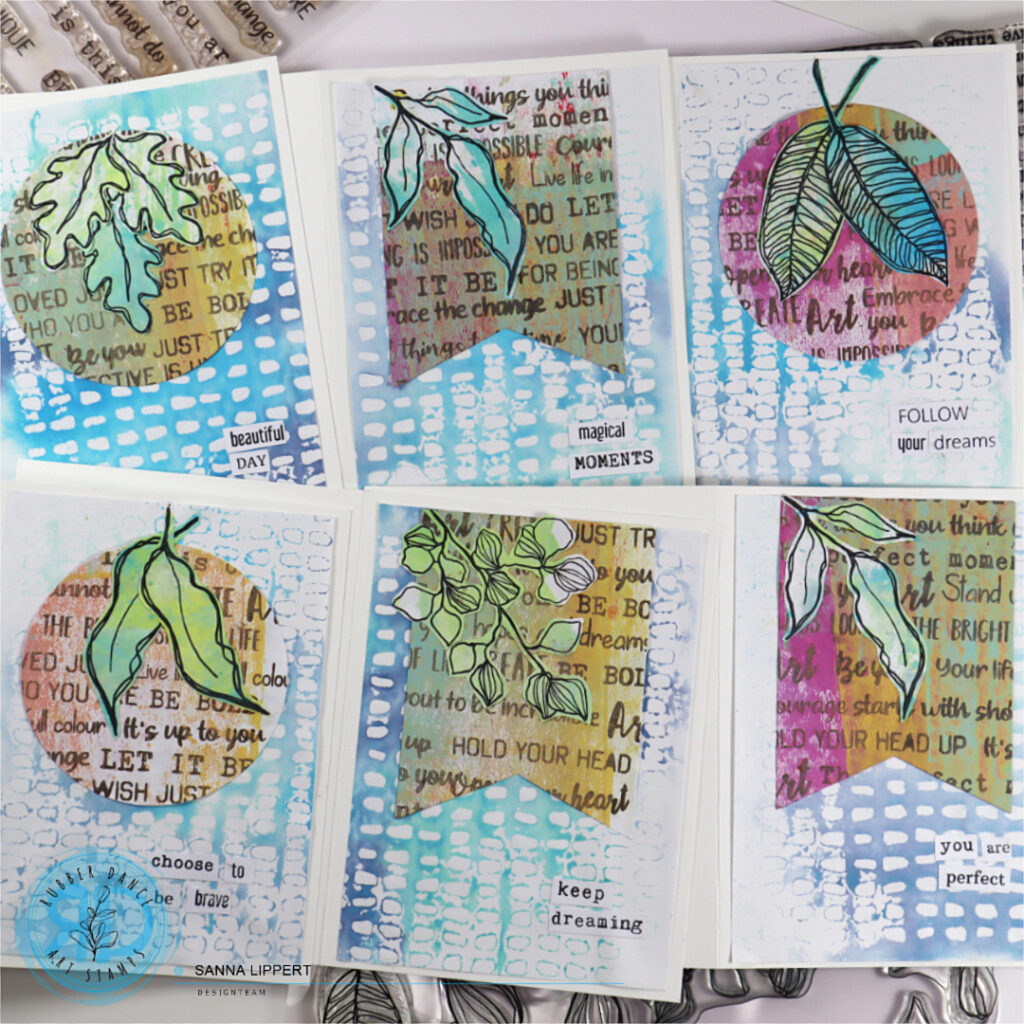
Hello, it´s my turn again to share a set of mixed media cards (and a video tutorial) over at Rubber Dance blog today. For these cards I used the Mixed Sentiments, Mix A Sentiment 2023 and Sketchy Leaves stamp sets and the new Marks 3 stencil and here is how I created the cards:
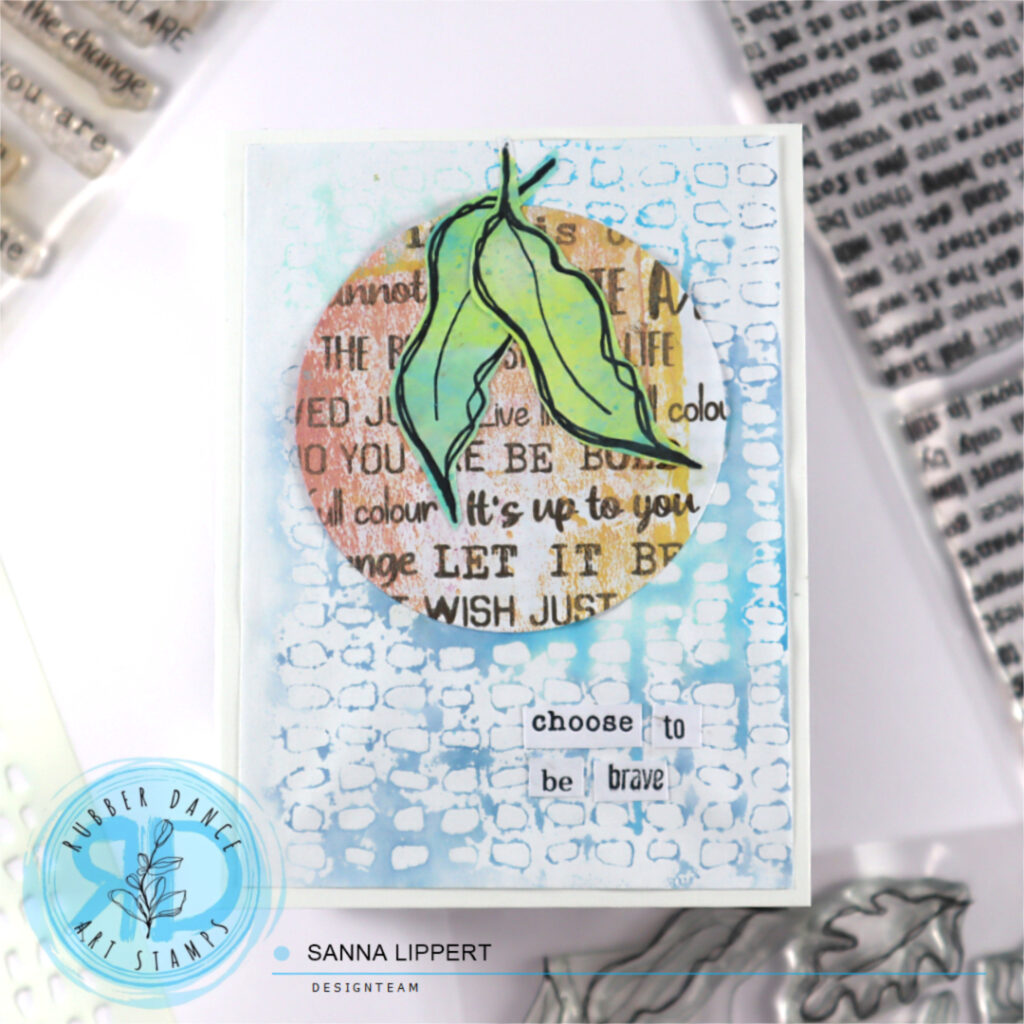
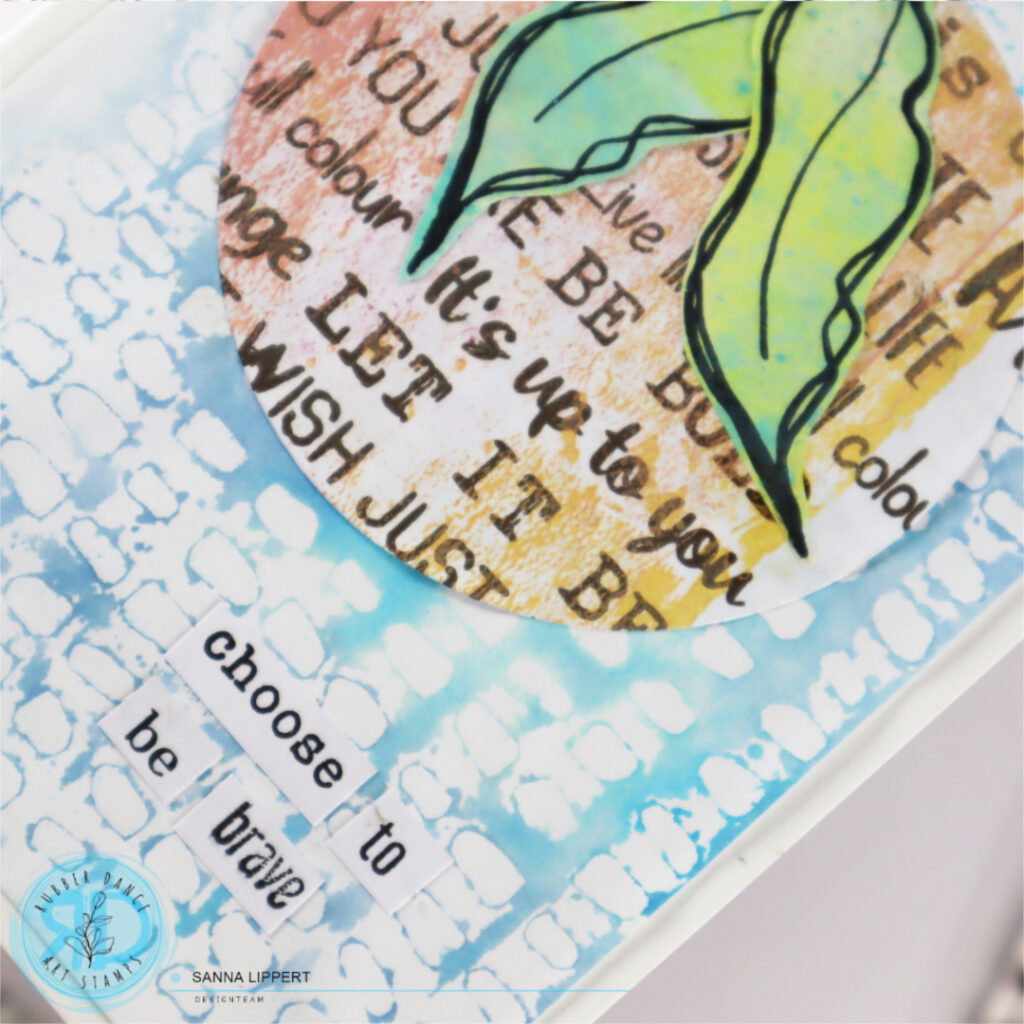
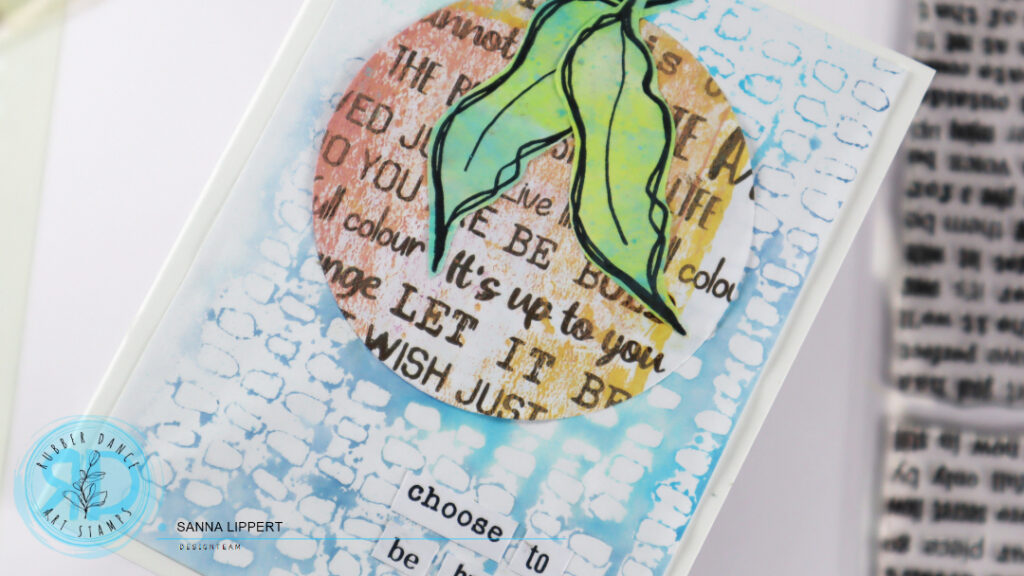
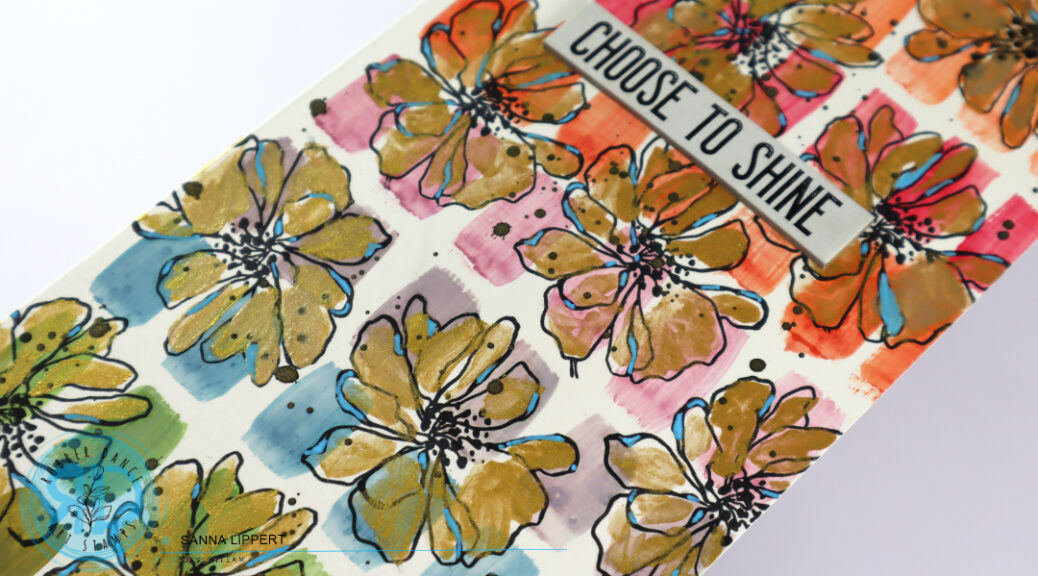
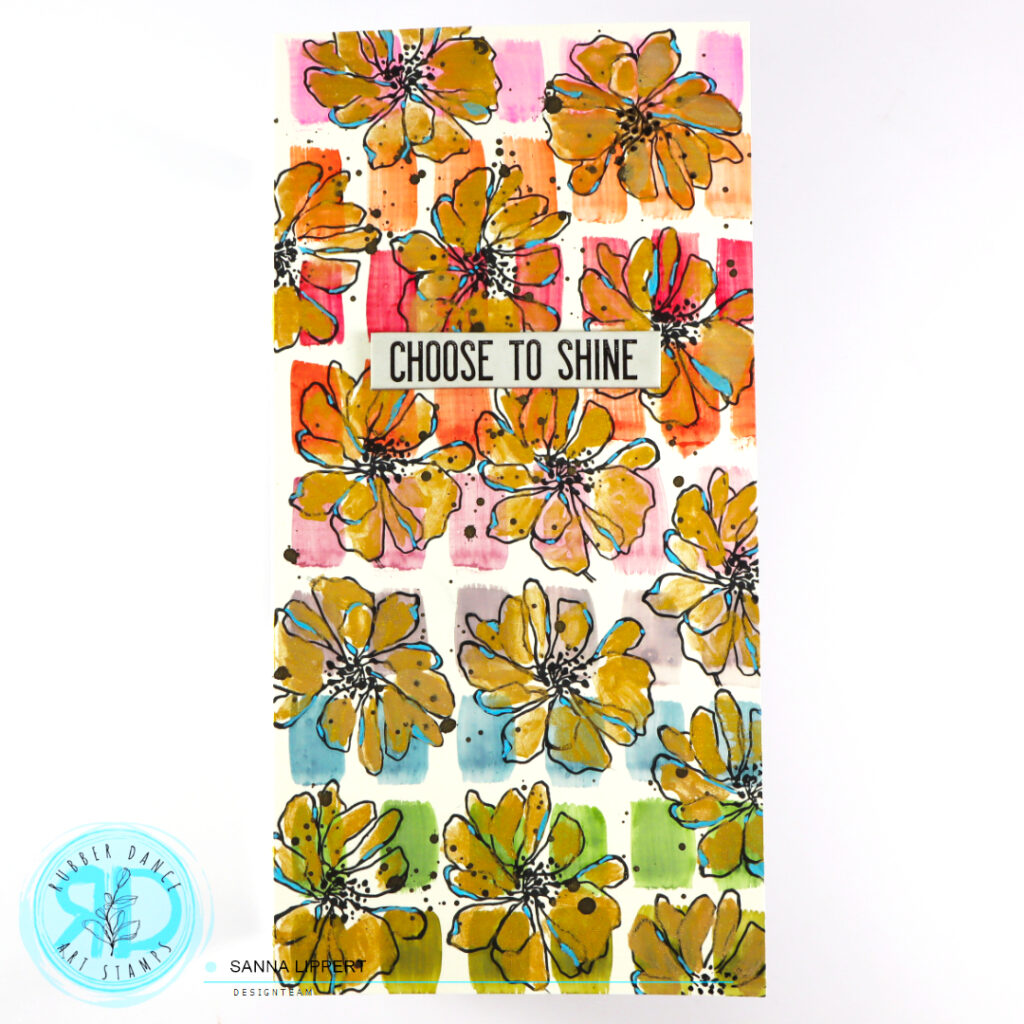
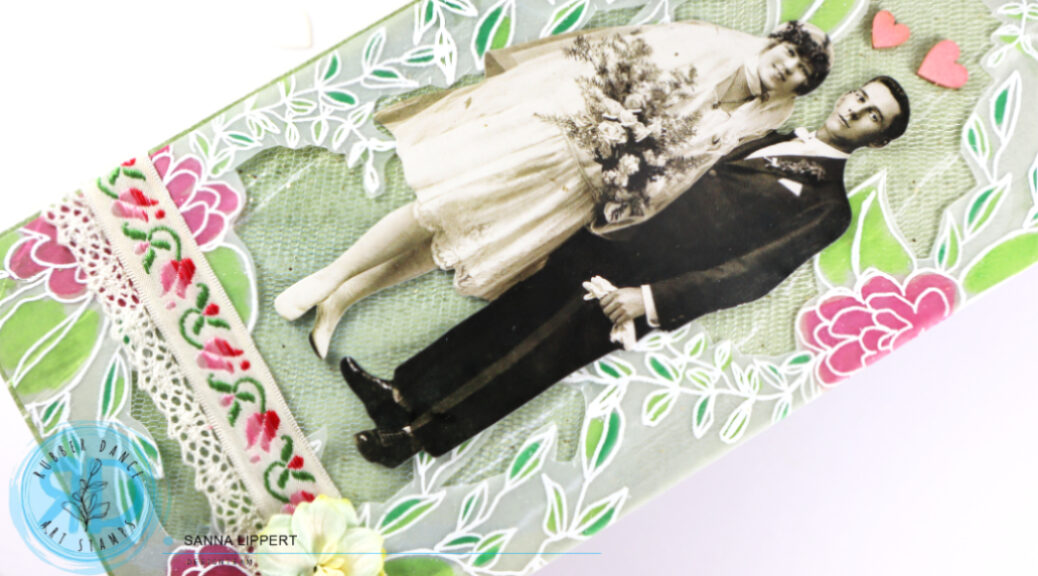
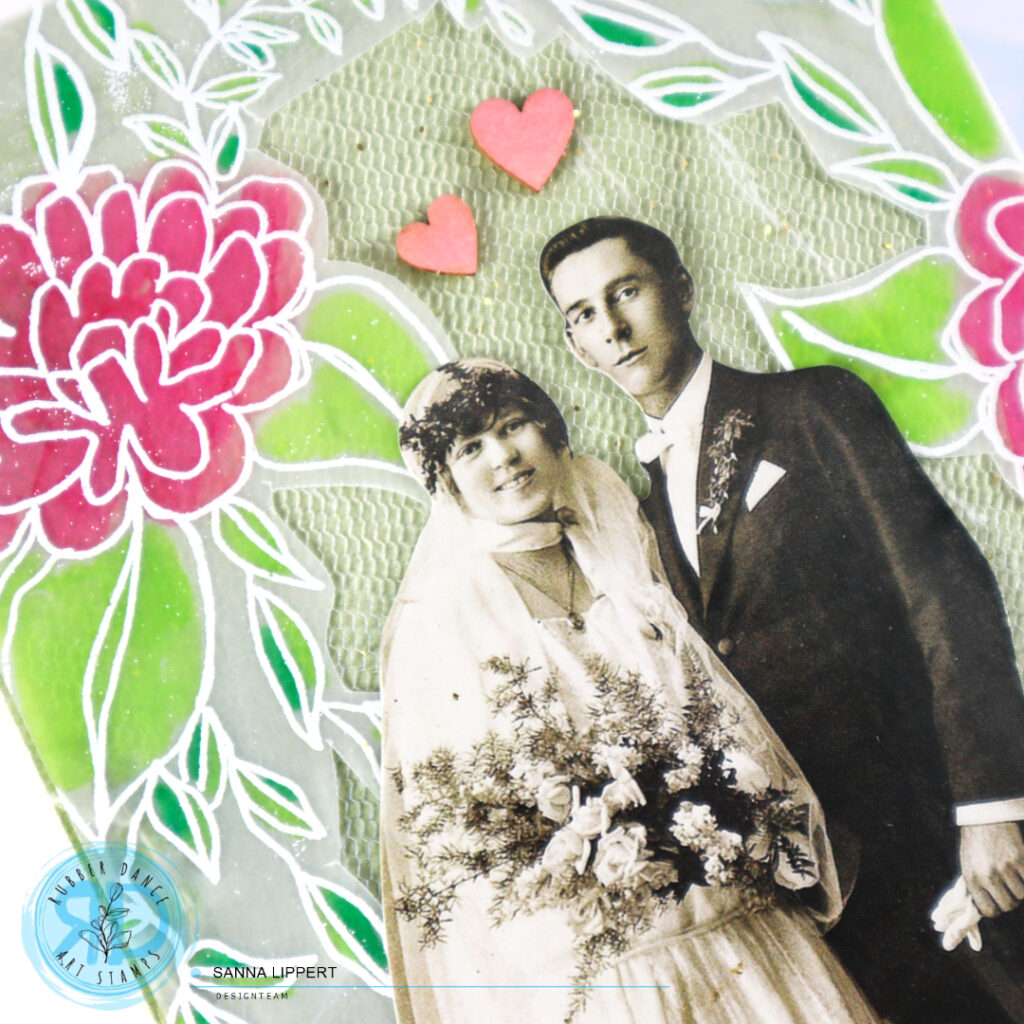
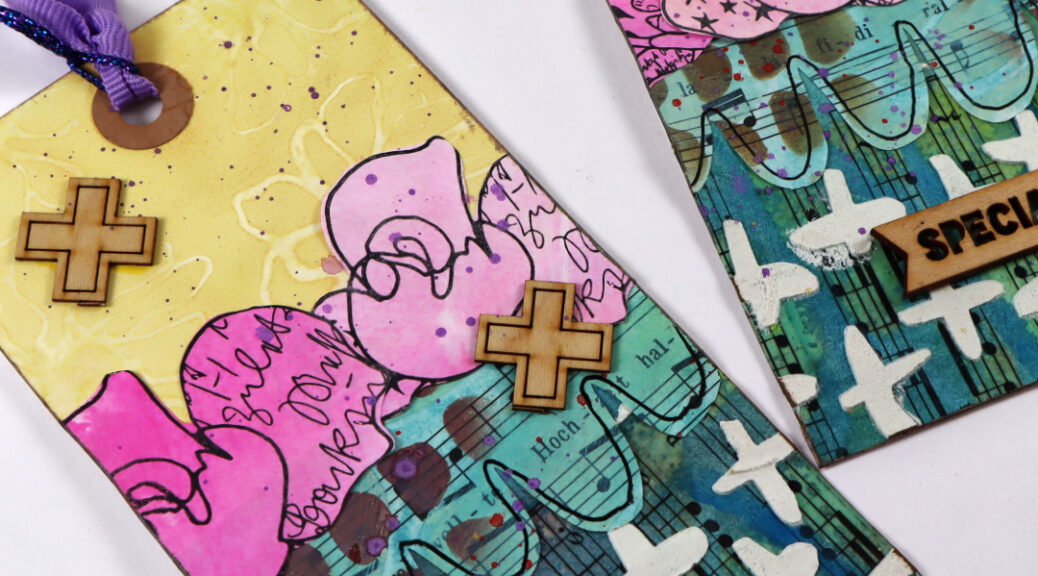
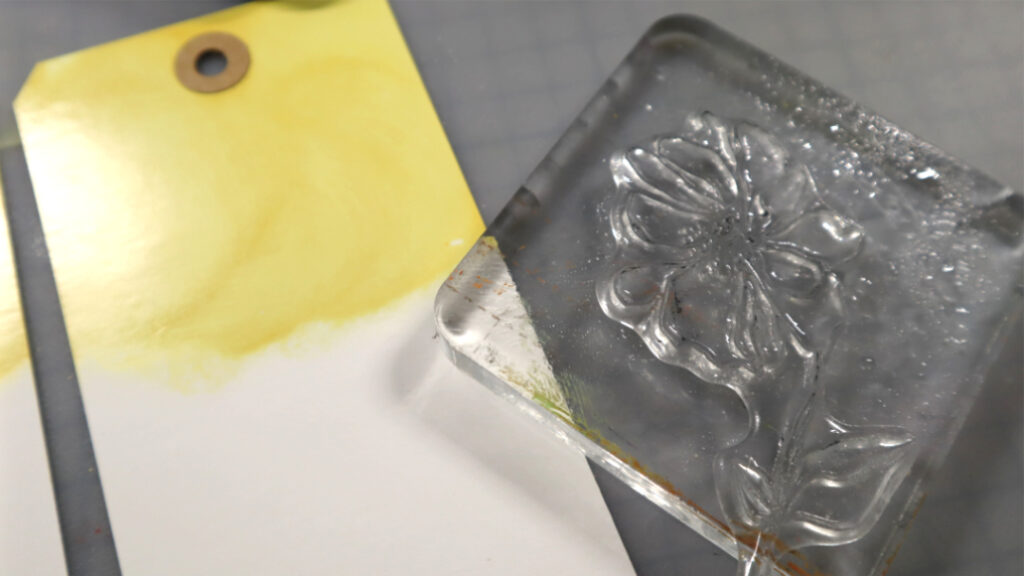
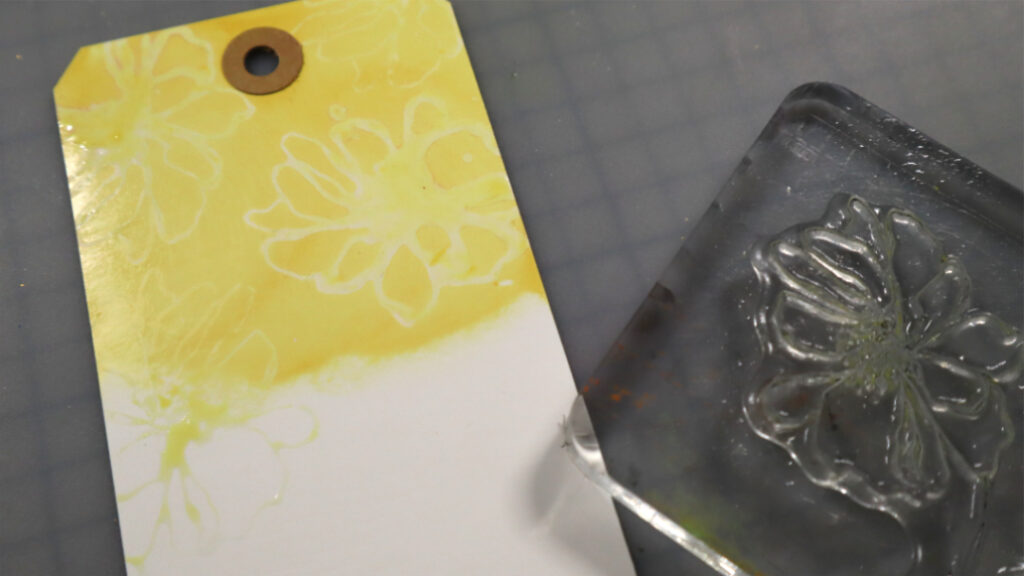
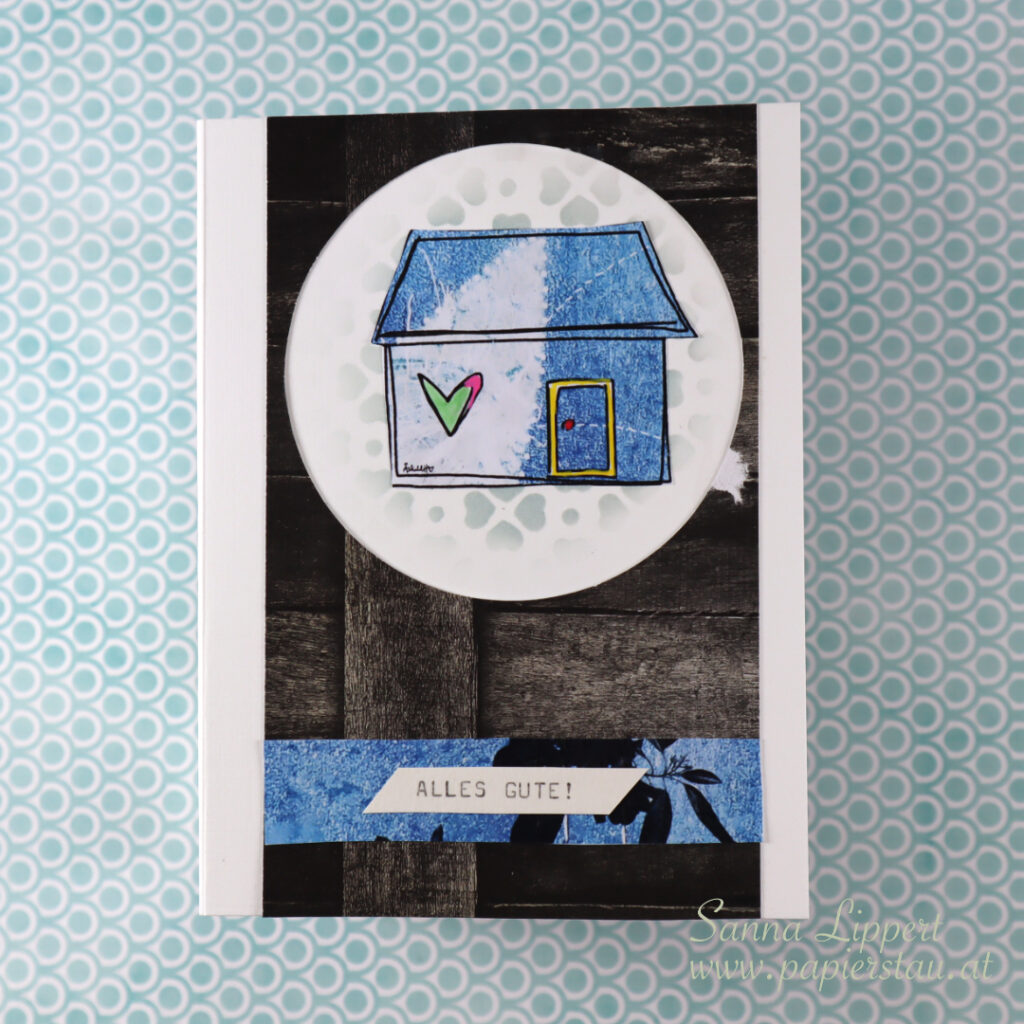
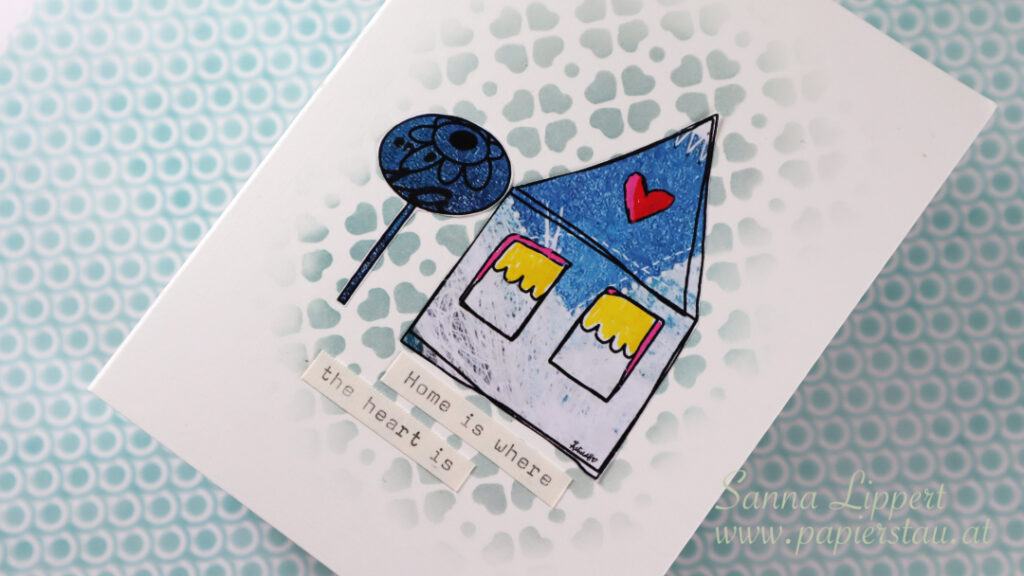
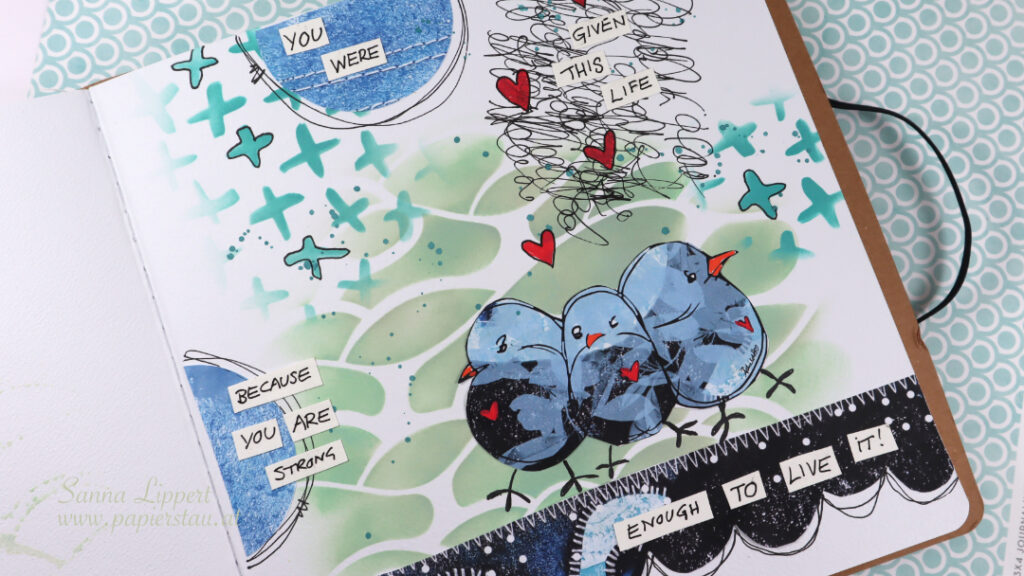
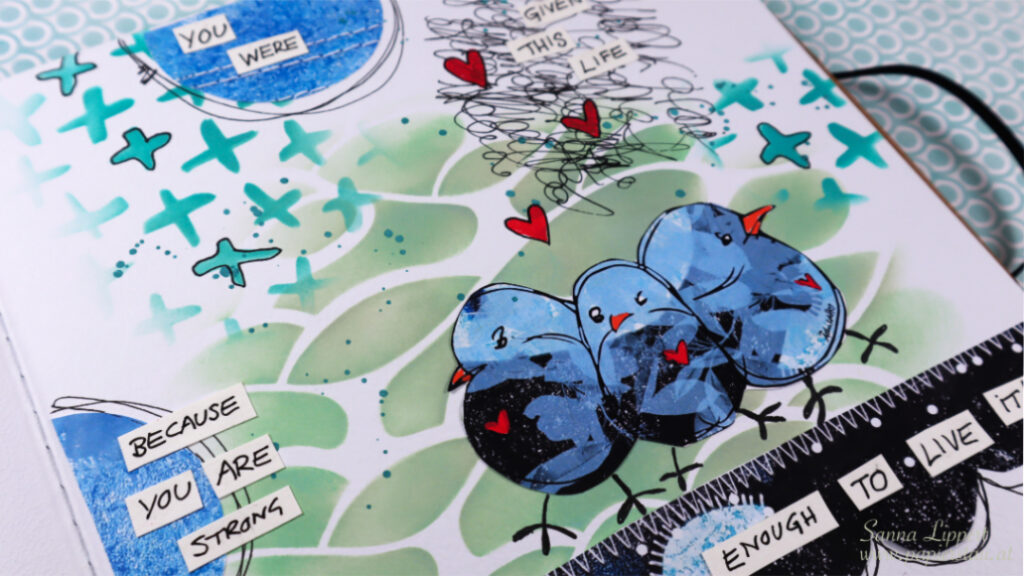
I started by creating the DIY paper featured in the die cut circles. I always take a spare paper to add my brayer paint residues onto, when I am gelli printing. So I took one of those papers stamped the Mixed Sentiments with a brown Distress Oxide Ink repeatedly in a random order onto the paper.
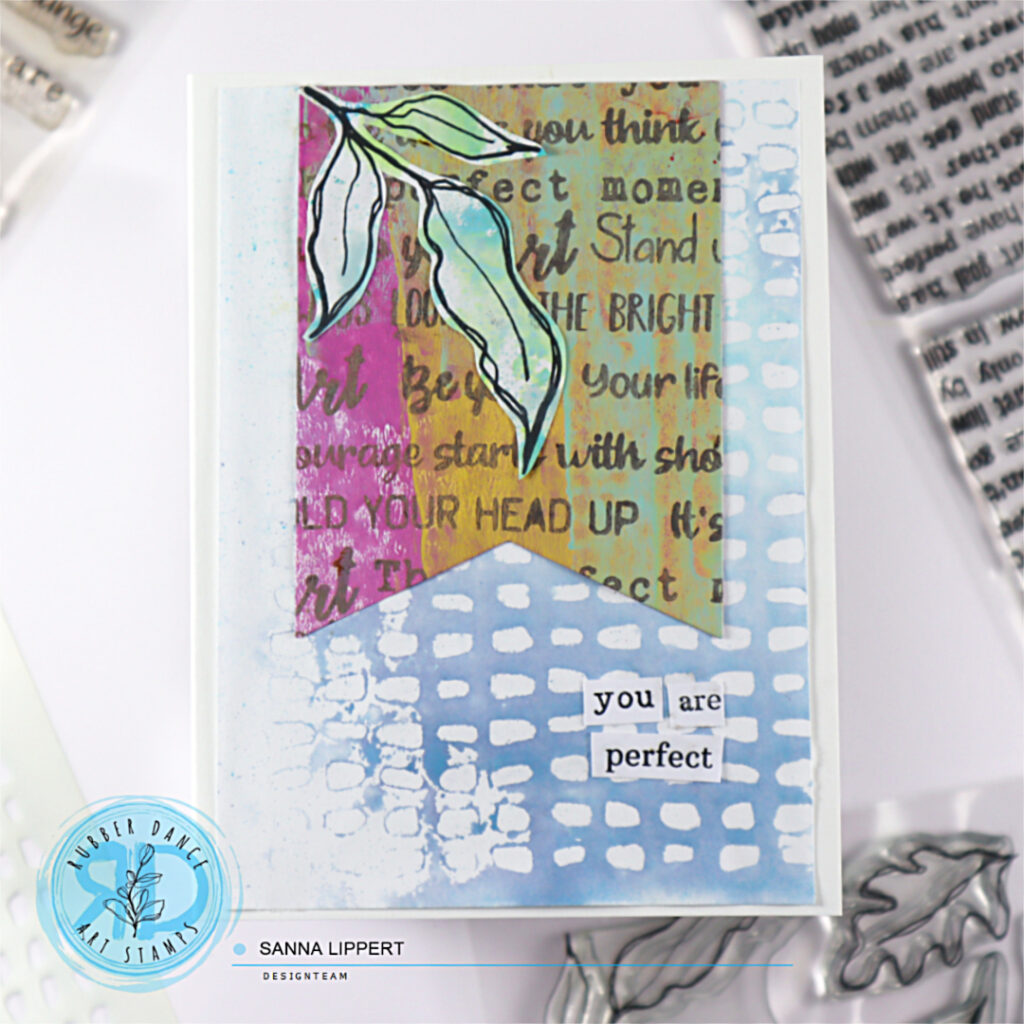
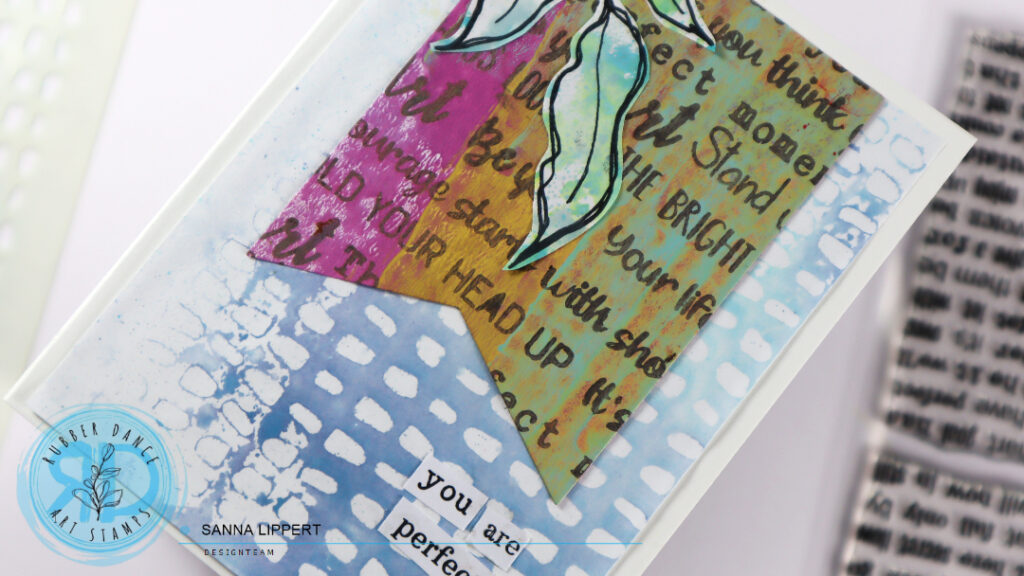
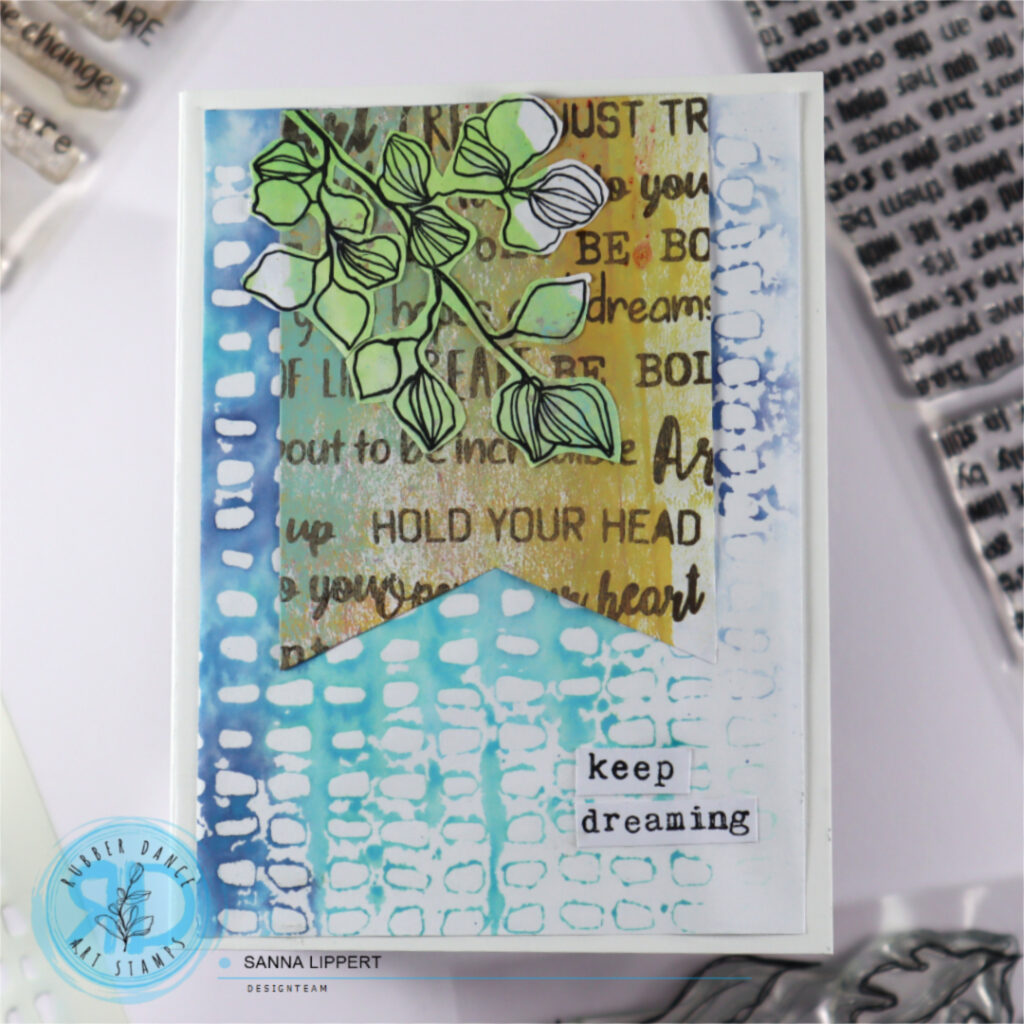
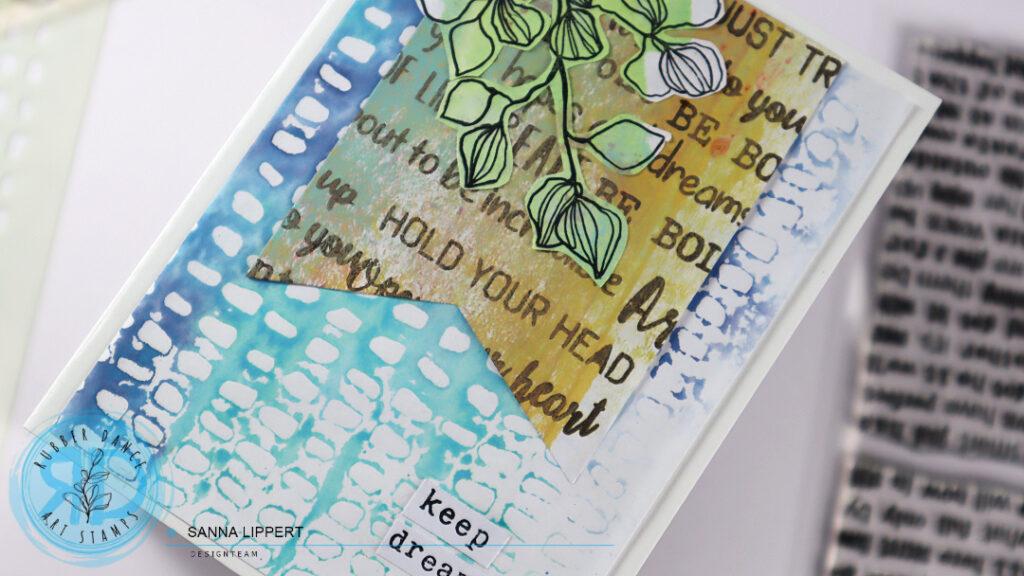
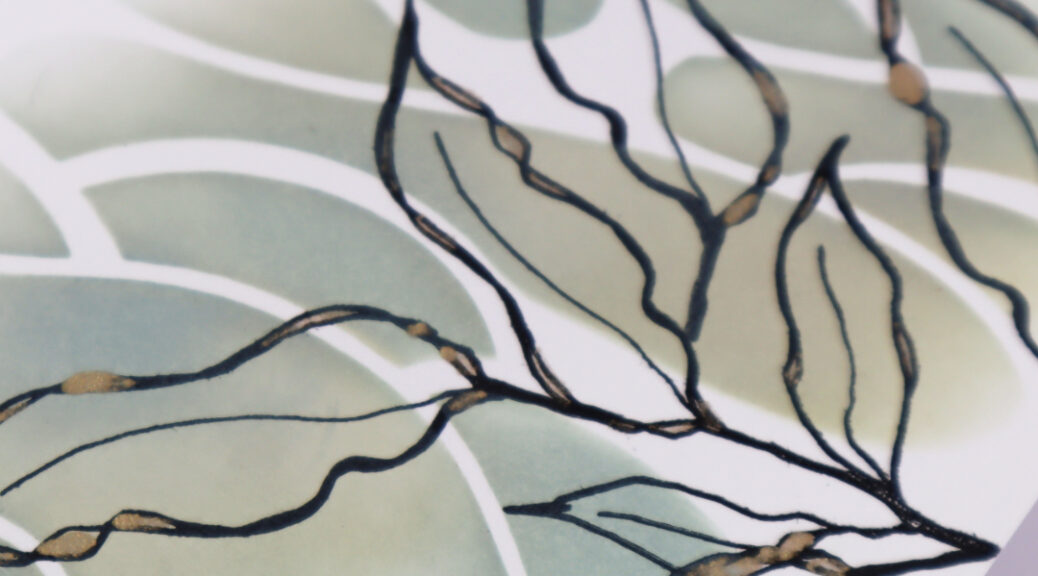
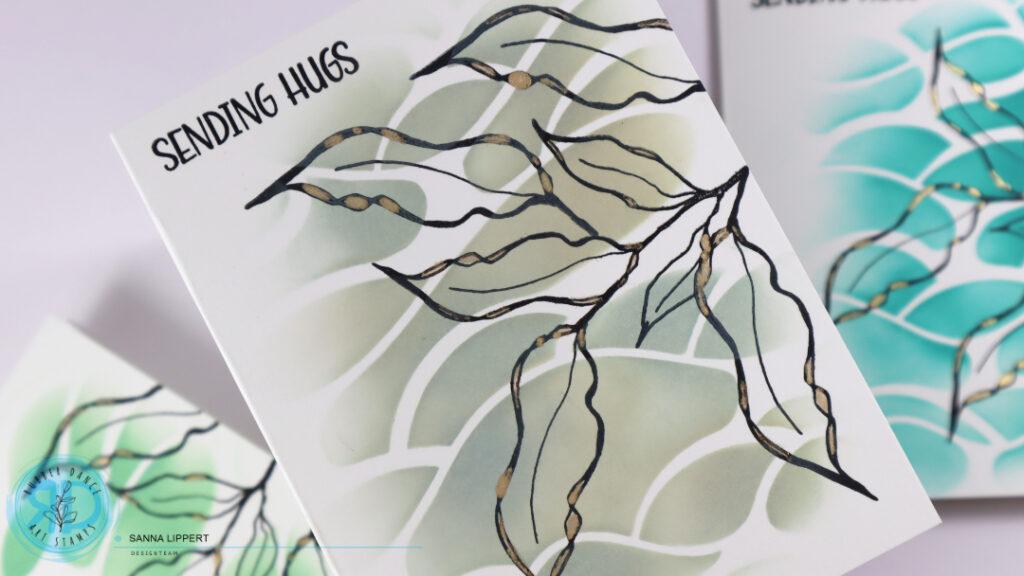
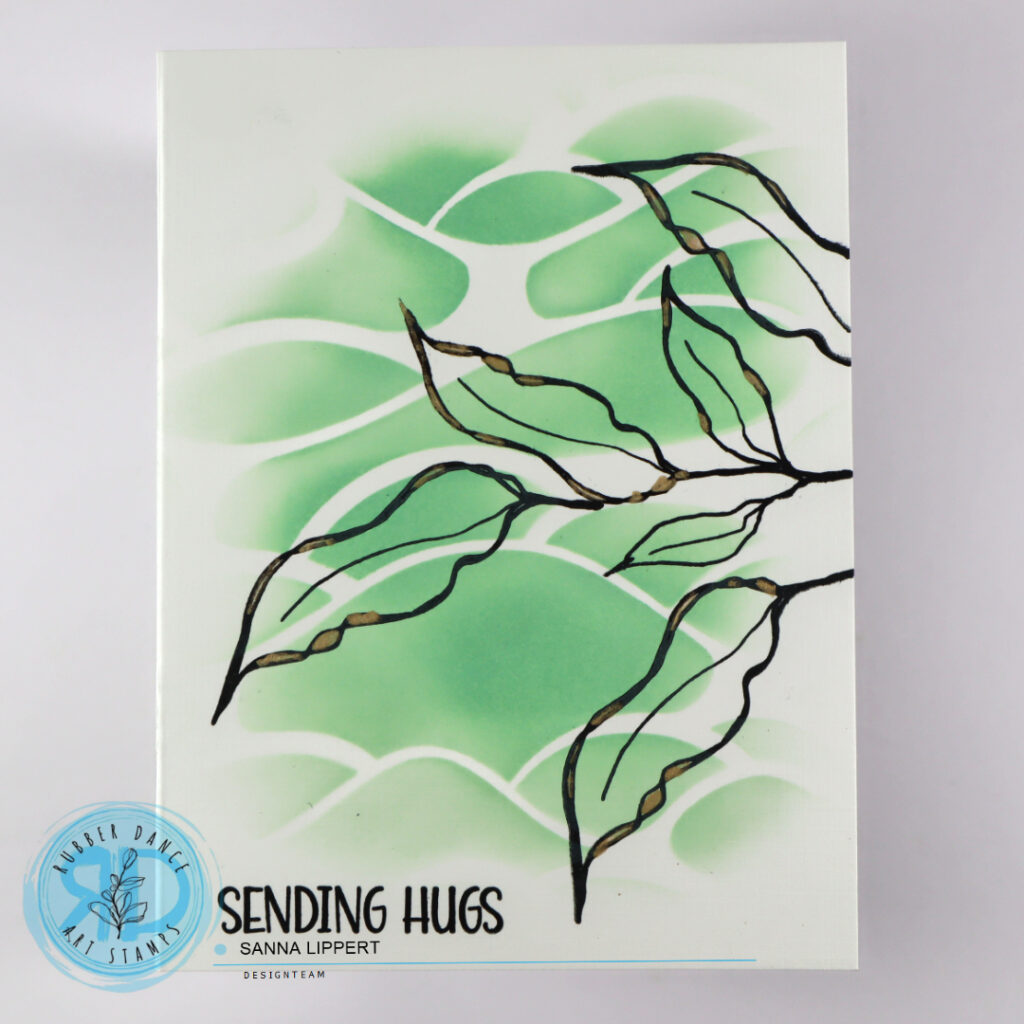
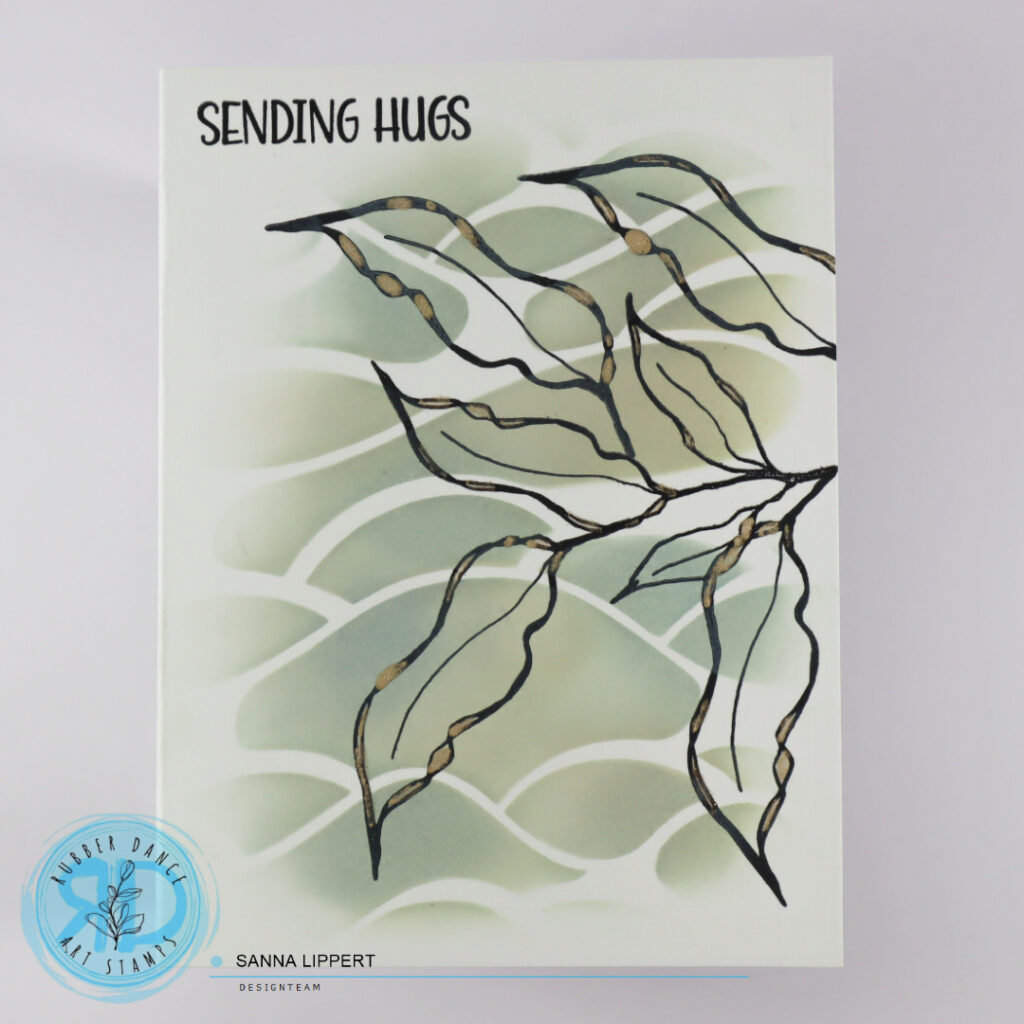
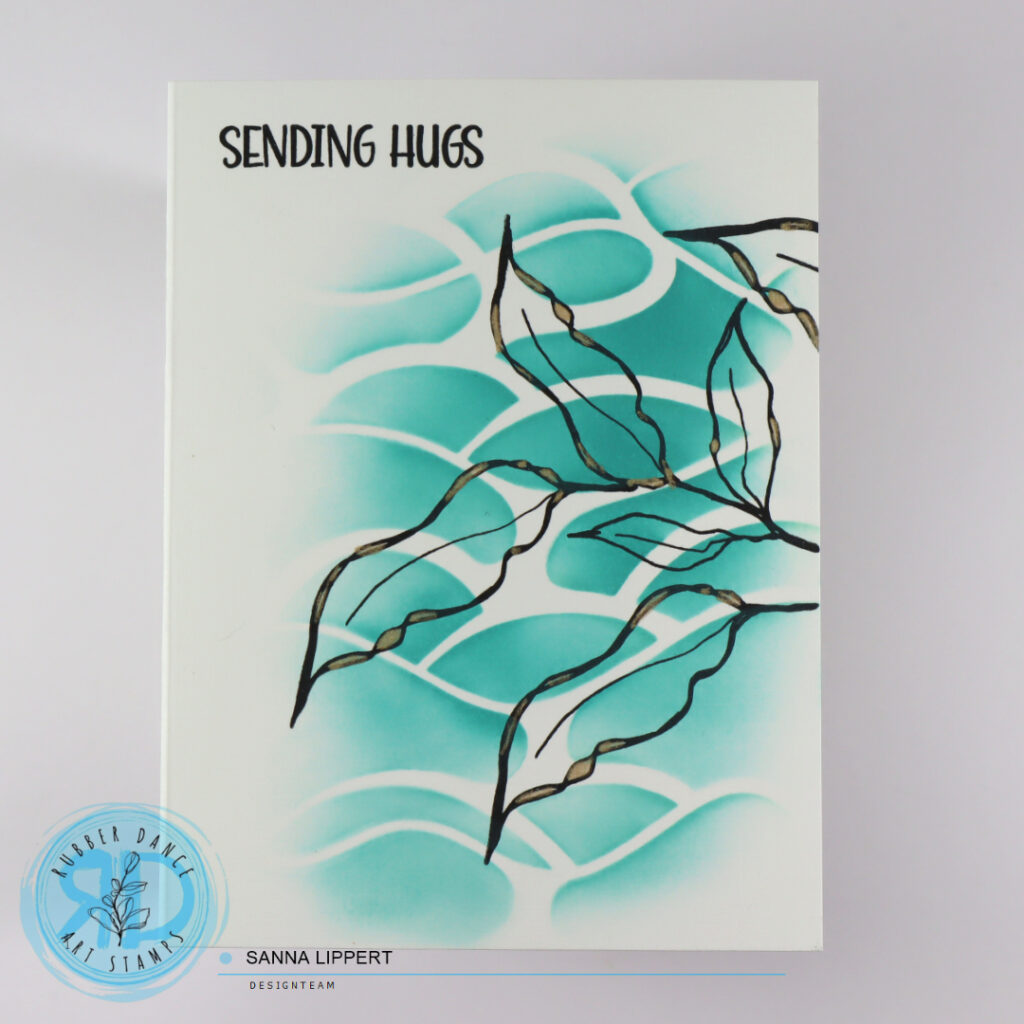
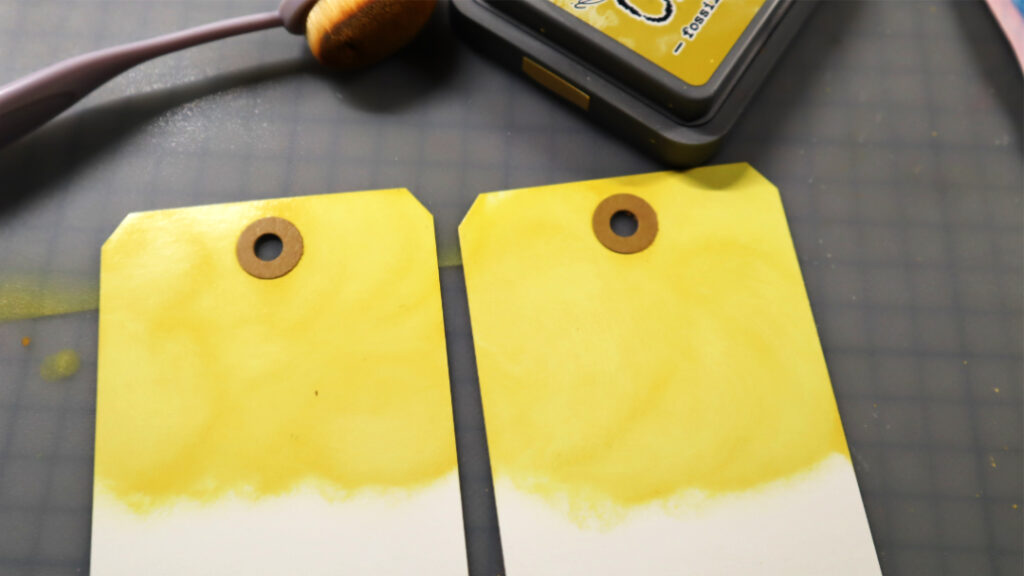
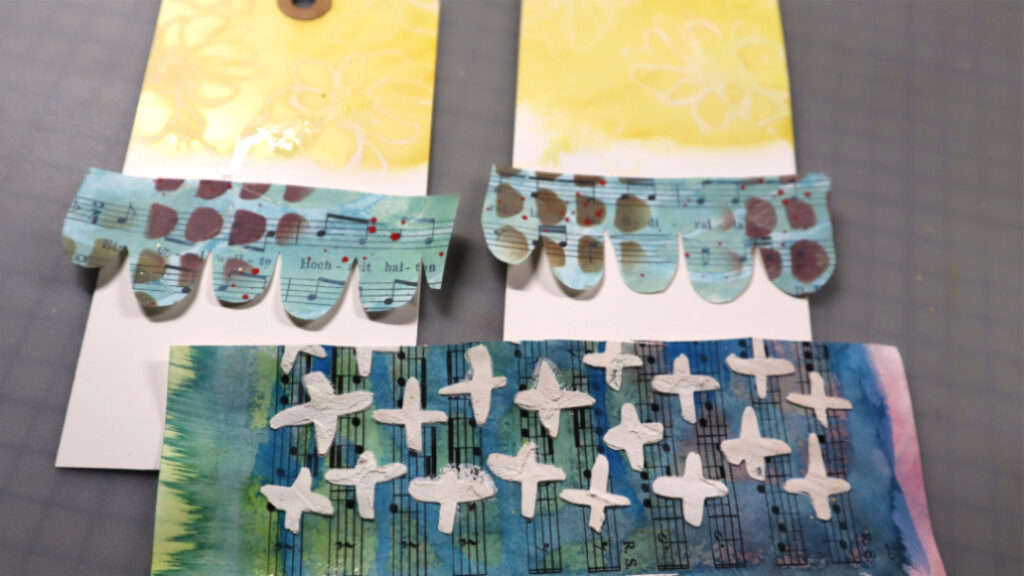
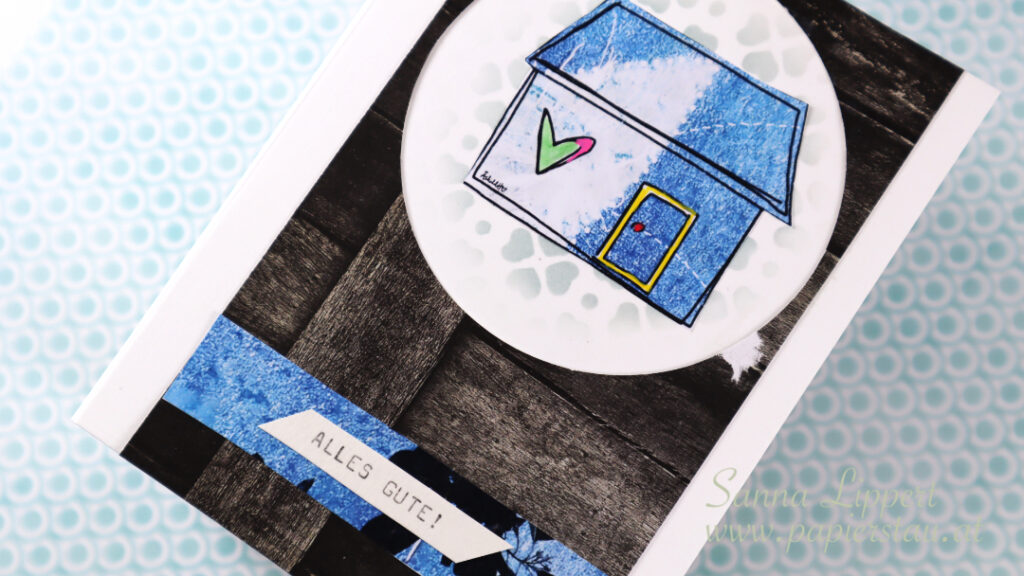
Next I inked the Marks 3 stencil with 3 tones of blue Distress Oxide inks and misted the layer with a water spray bottle. Then I pressed the stencil onto a piece of white paper to create the pattern. You can use the same inked stencil at least twice, just add water mist and press again onto another paper. There will be variations on pattern and color strength, but that makes the backgrounds even more interesting. No of them will be the same.

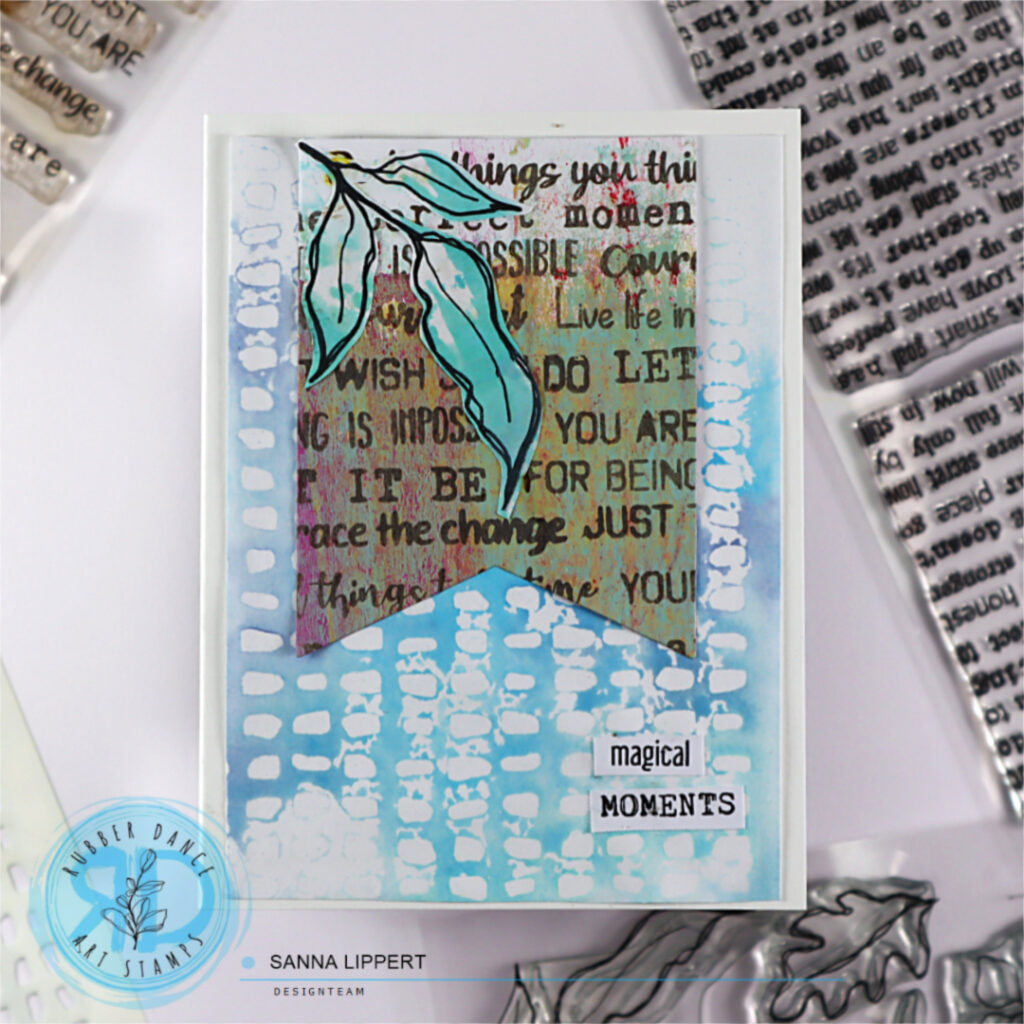
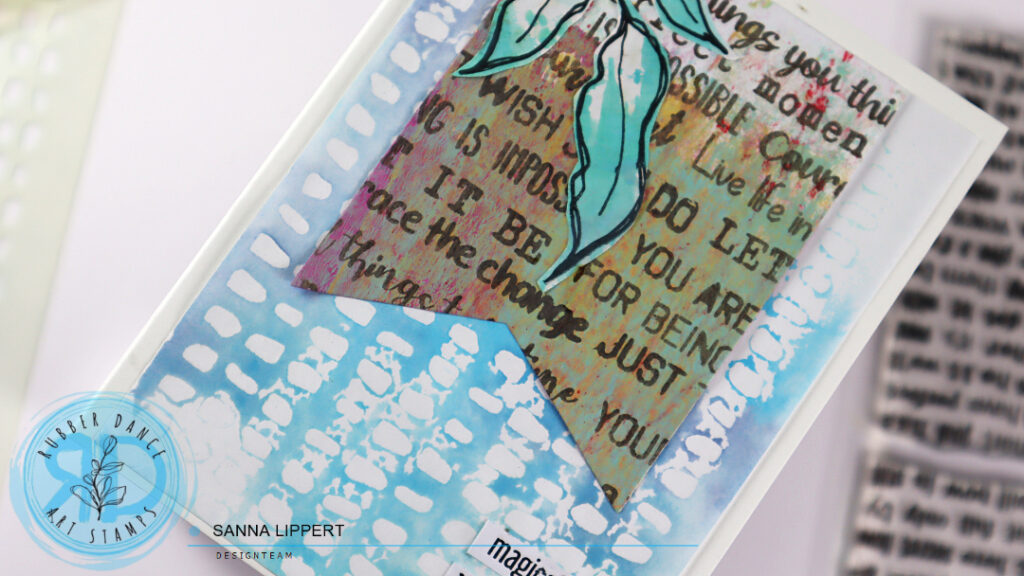
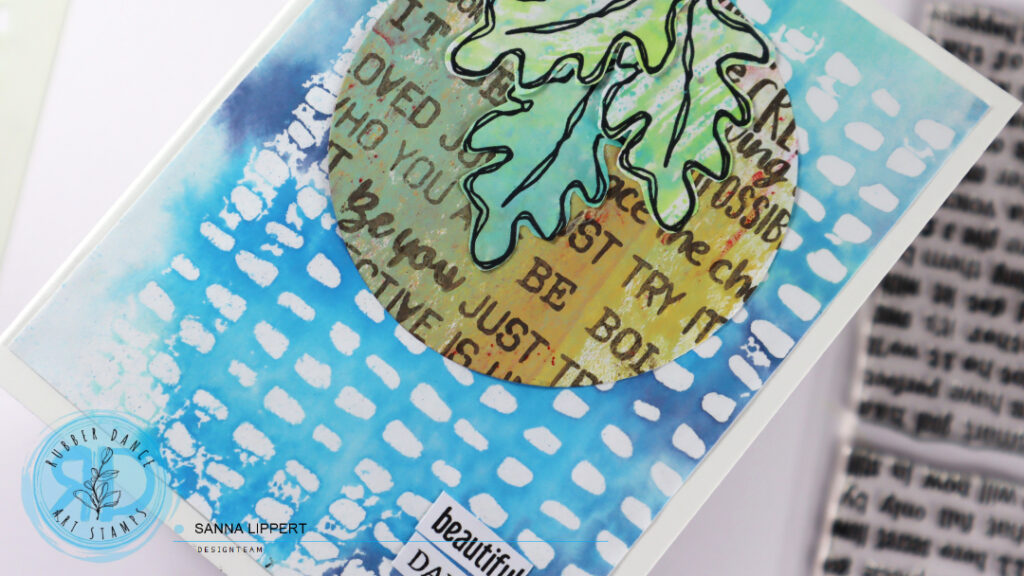
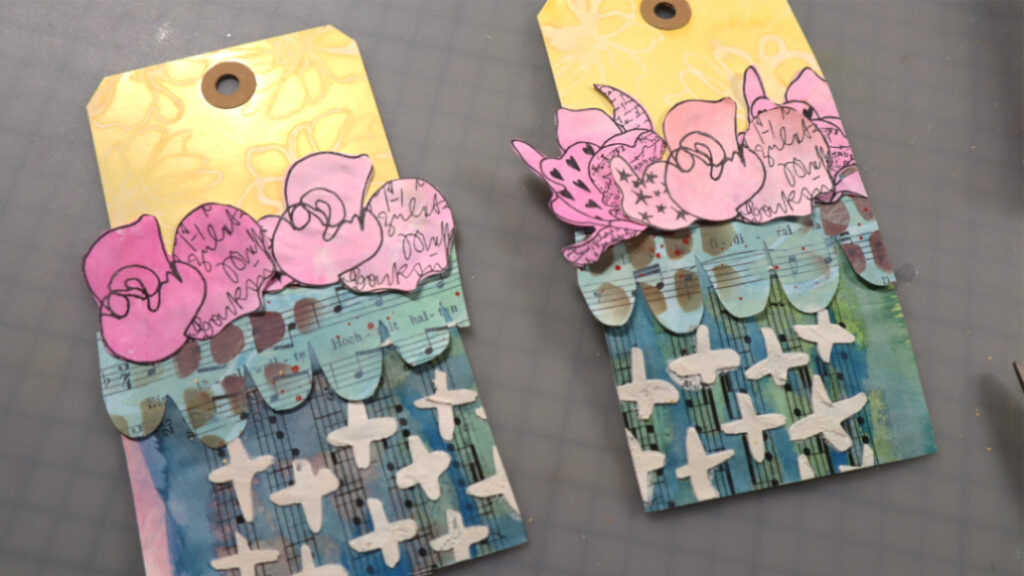
After creating both the background and the DIY collage paper, I die cut the collage paper one with circle and flag die cut dies. Then I adhered the stenciled background paper onto white card bases, added the die cut pieces on top and decorated the cards with fussy cut Sketchy Leaves and a bunch of Mix a Sentiment 2023 words. There are lots of layers, but still all of the cards are very flat, so they will be easy to mail.
Here are a few step-by-step videos for more details. This one is on how to make the collage paper yourself:
On this one I show how the cards come together:
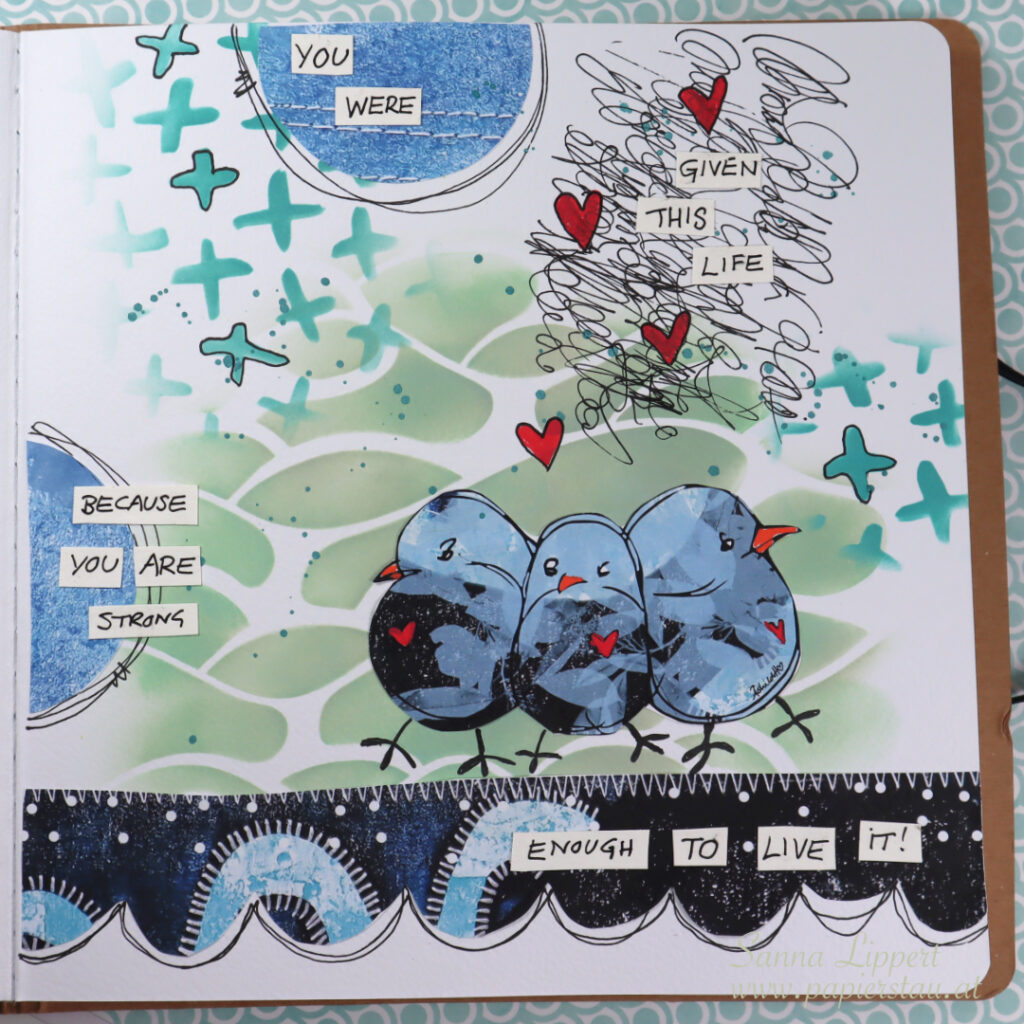
And this one I´ve shared earlier, but here is how I did the leaf images:
I hope I could inspire you a little with this card set idea. Have fun stamping and stenciling!!
xxx, Sanna
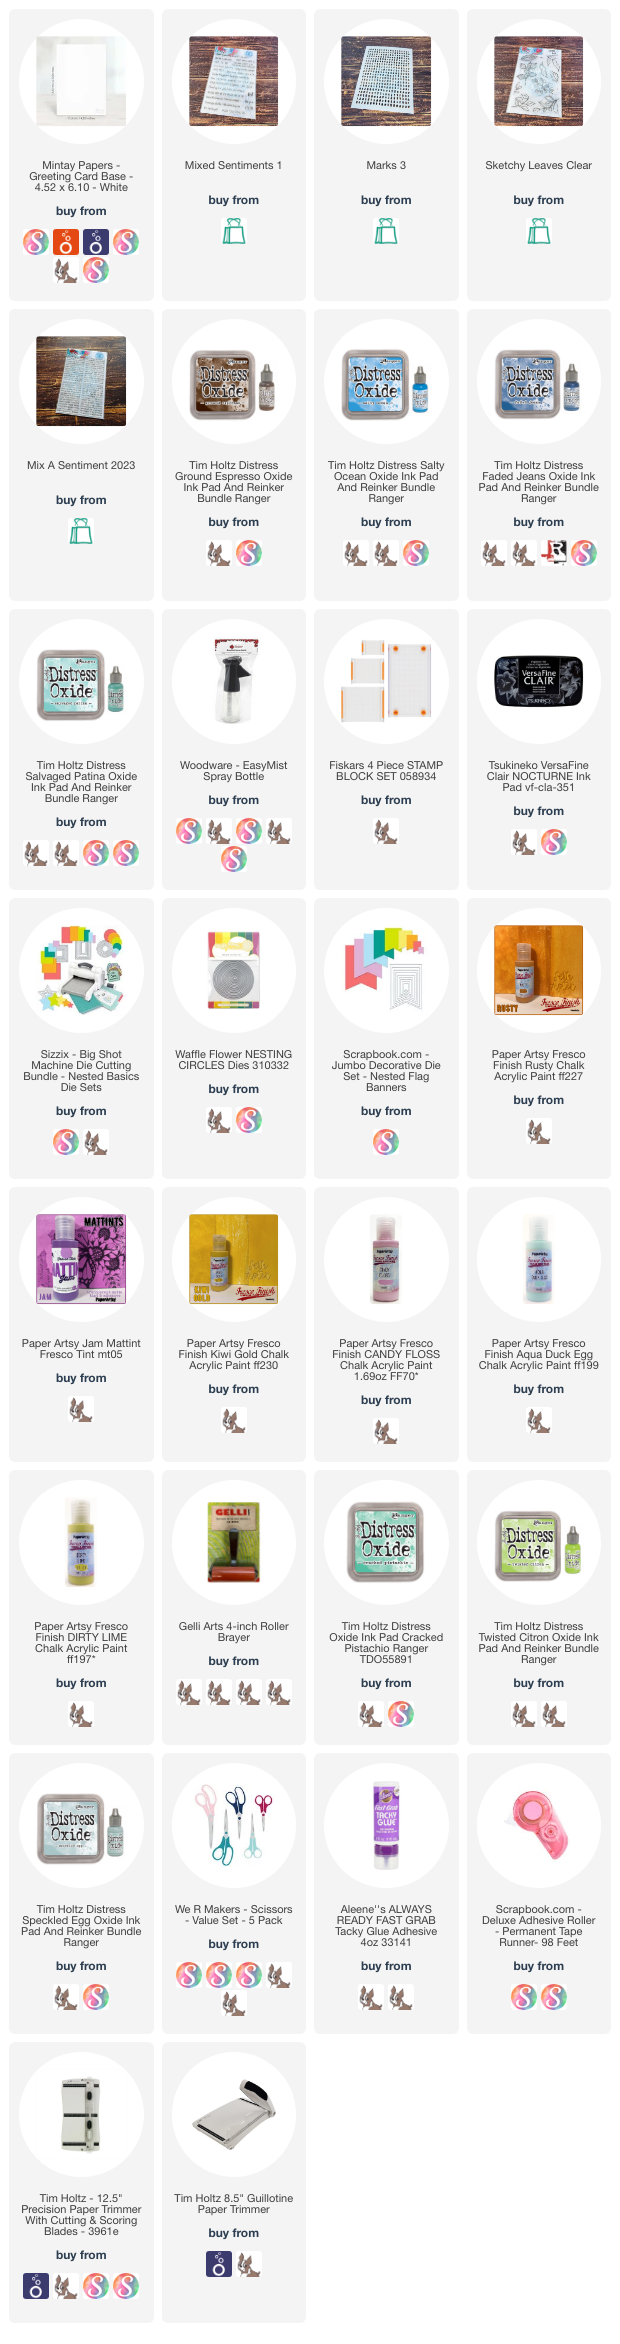
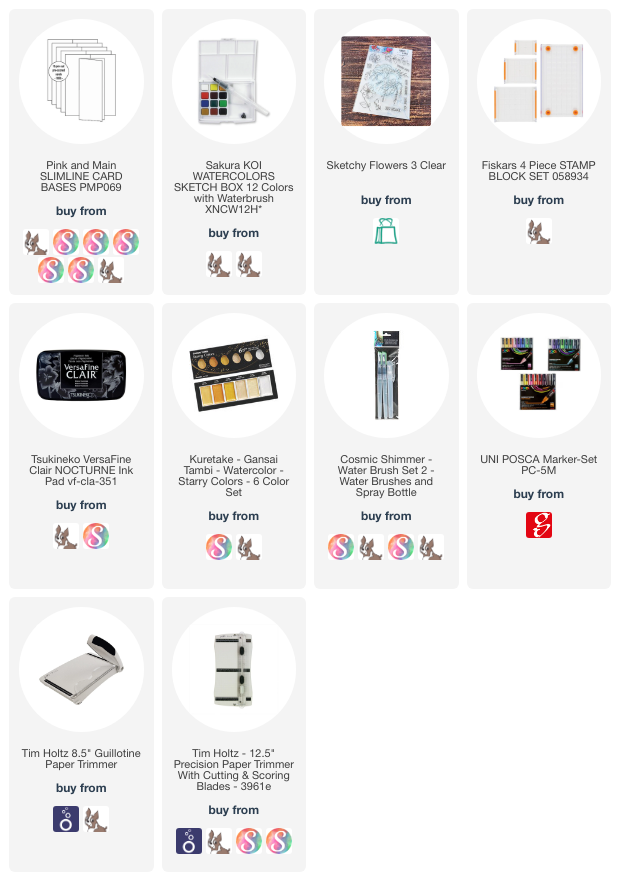
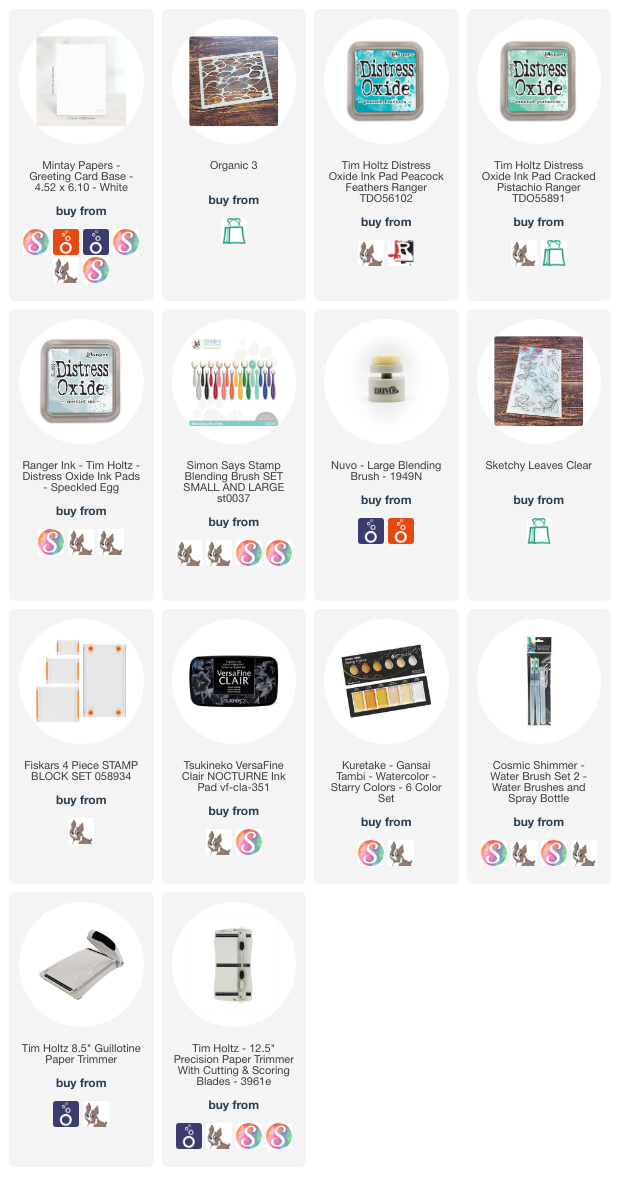
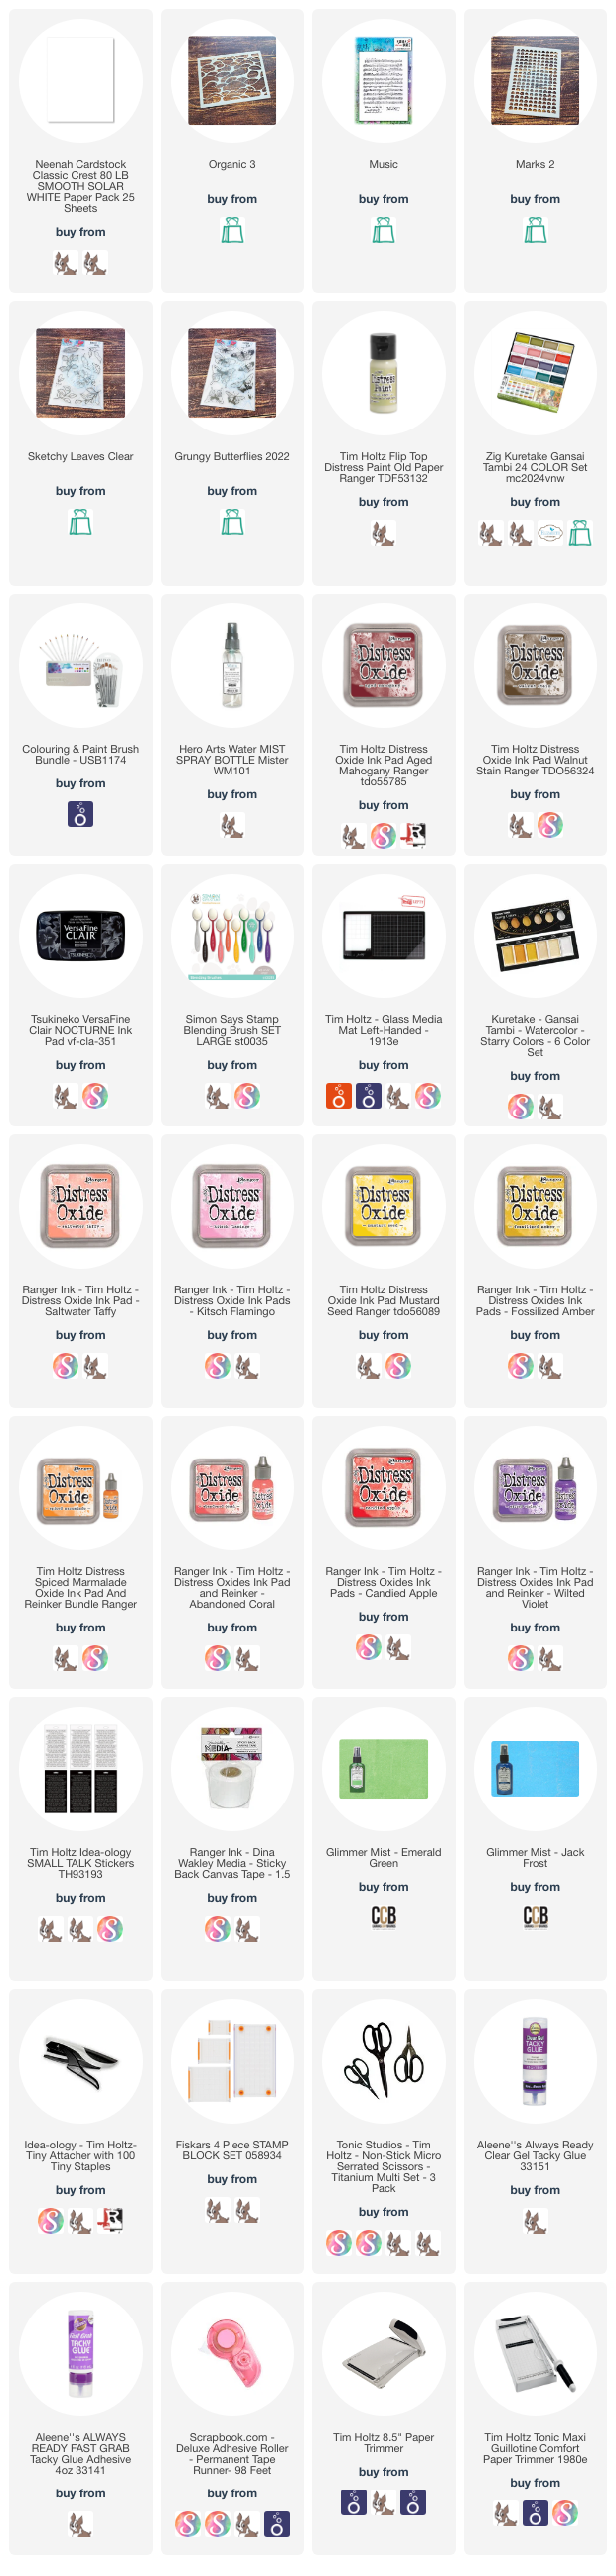
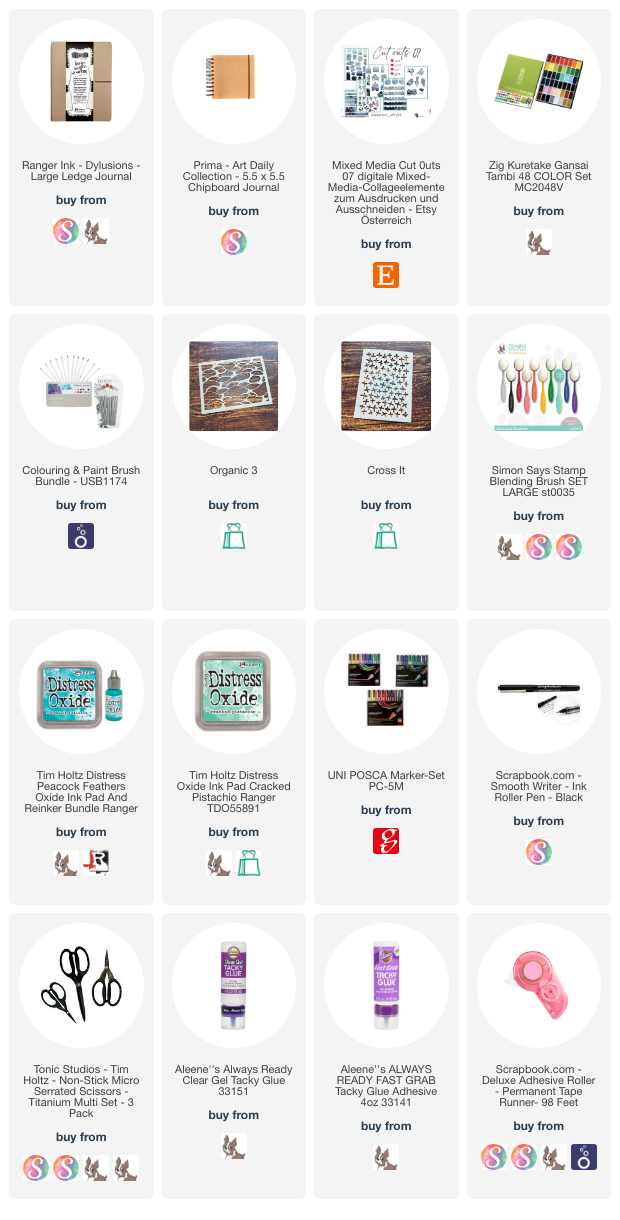
Supplies: