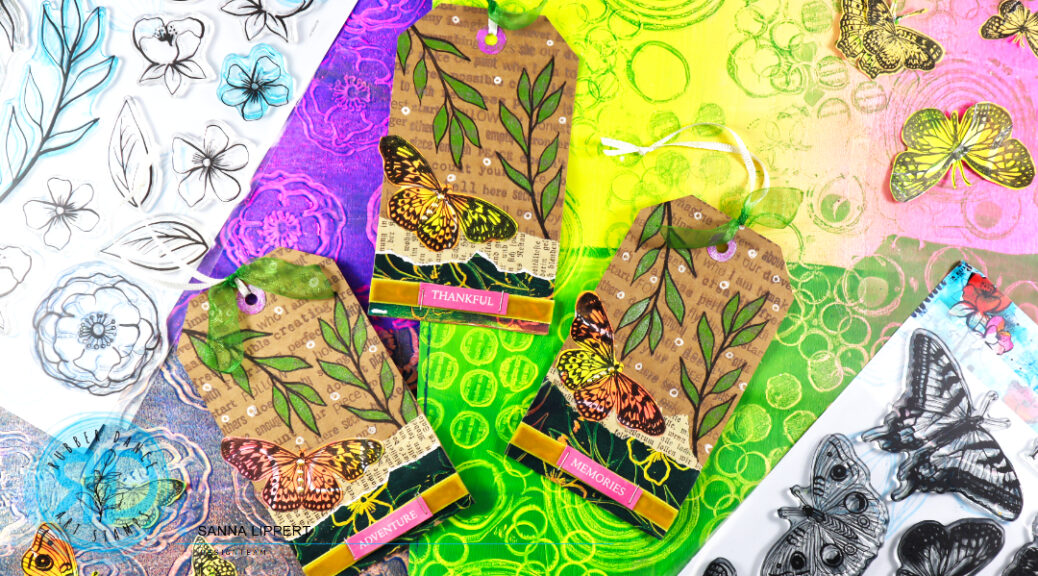
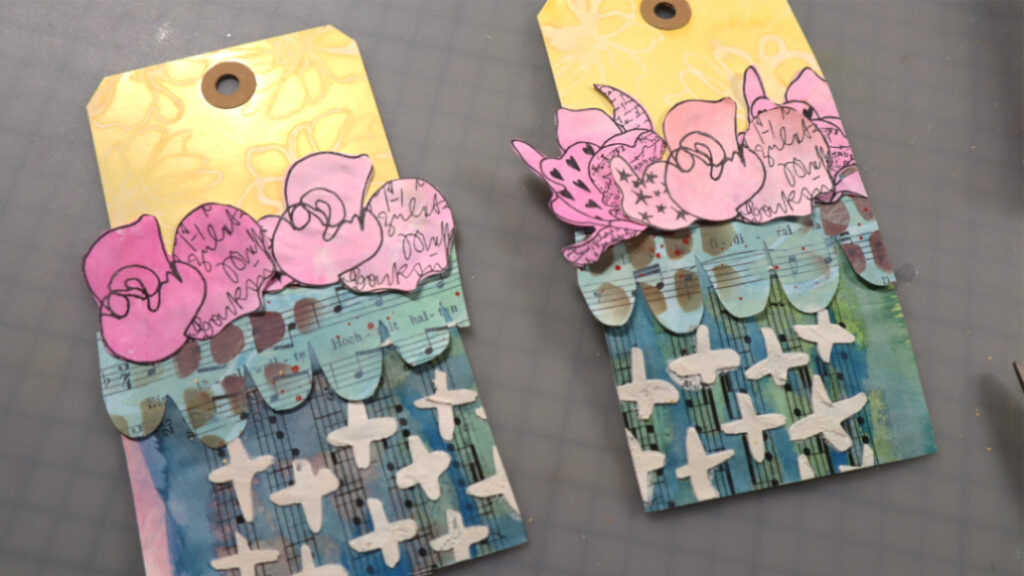
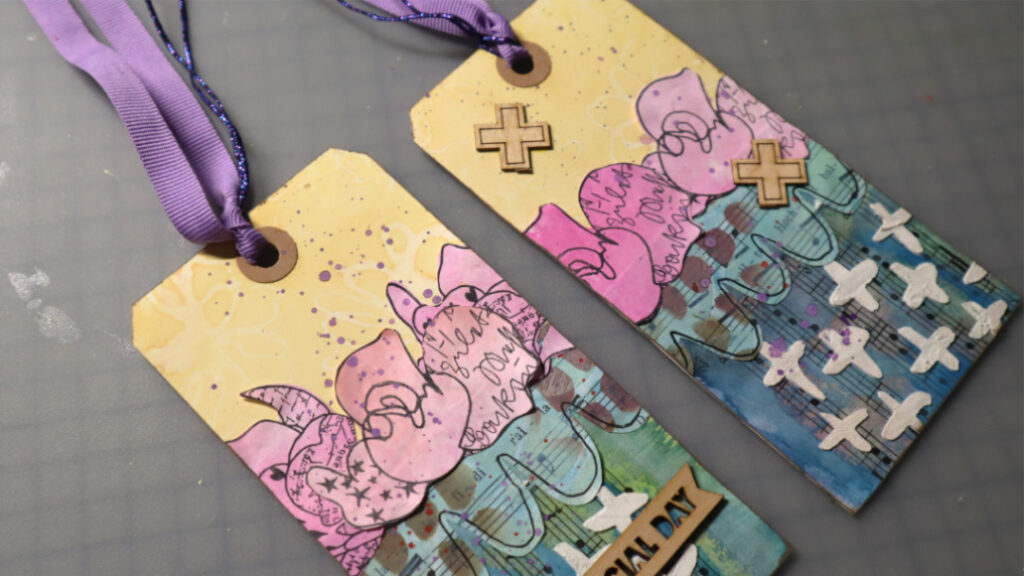
Hello everyone, I am up over at Rubber Dance blog today with a tag set featuring gelli printed fodder elements. For these tags I used the Butterflies and Moths, Mix A Sentiment 2023 and Loose Florals 2024 stamp sets.

Here is how I created the tags:


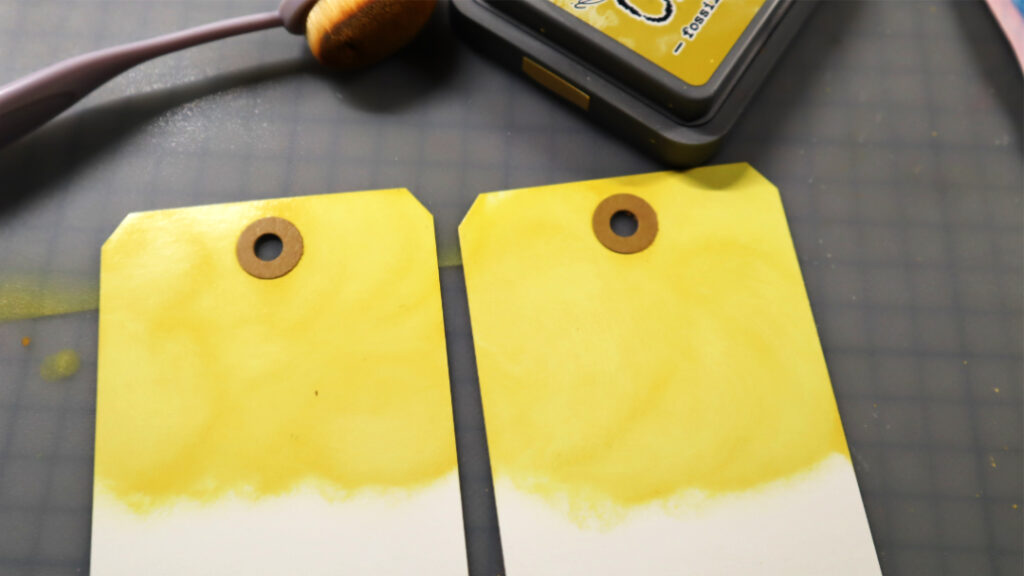
I first started by stamping brown Distress Oxide Ink with the Mix A Sentiment 2023 stamp set onto the kraft tags. Next I took black stamp ink and the leaves from the Loose Florals 2024 stamp set and stamped black leaf images onto the tags.


Then I colored the leaf images with glitter brush pens and added some gelli printed strips to the bottom of the tags with some old book page pieces. For the gelli print piece I used the same Loose Florals 2024 stamp set.


After that I added some white gel pen circles to the background for interest and adhered some butterfly fodder and ribbon to the tags.


For finishing touches I added some liquid pearls to the butterflies and attached sticker sentiments to each tag.
Here is also a quick step-by-step to how the butterfly fodder was done:


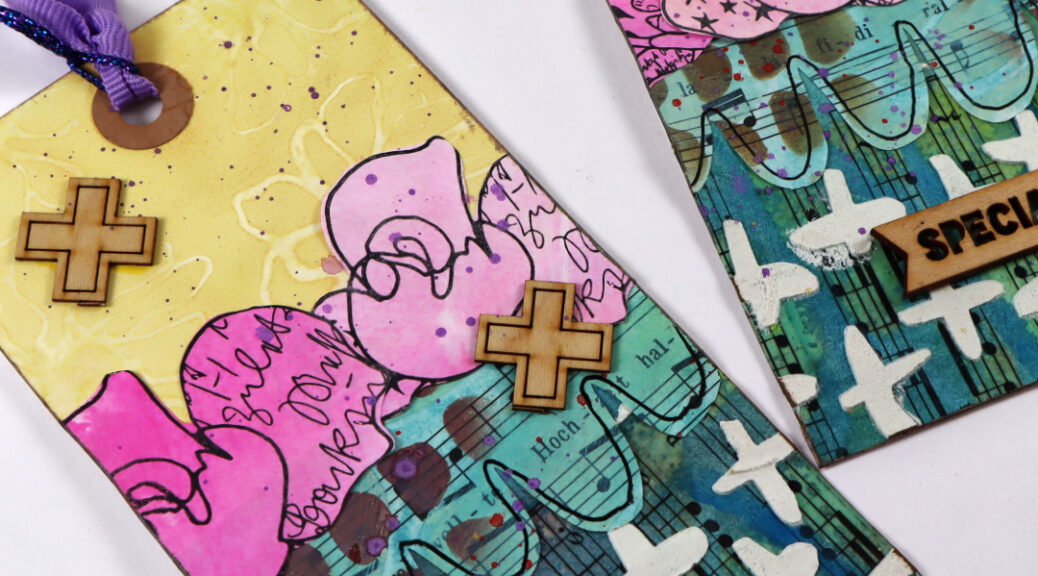
First create a colorful gelli print. I used three tones of paint and “drew” random scribbles to the paint. Next I stamped “Butterflies and Moths 2024” with black stamp ink onto the gelli print. After that I fussy cut all the images. This way I have plenty of fodder ready for my next projects.


Creating the fodder and tags was so much fun. I hope you give it a try! While at it, make sure to try out different color combinations and patterns. This way you have plenty of material to work with for future projects.
Happy crafting,
Sanna
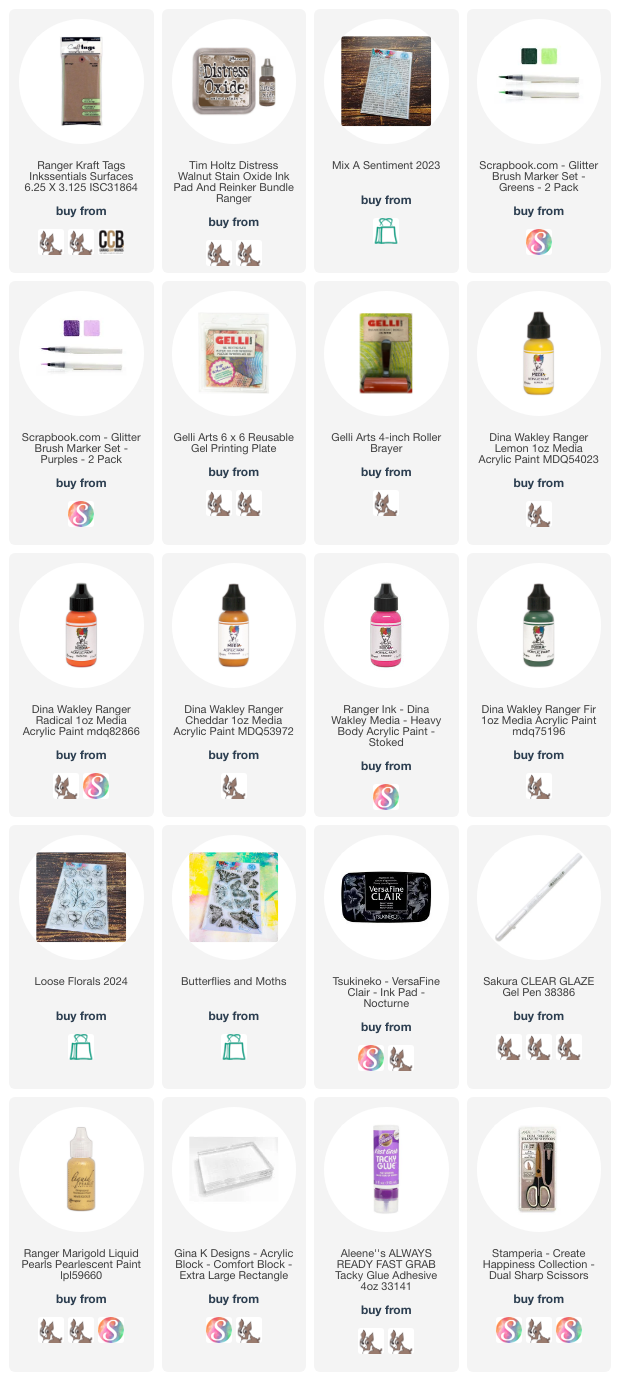
Supplies:
