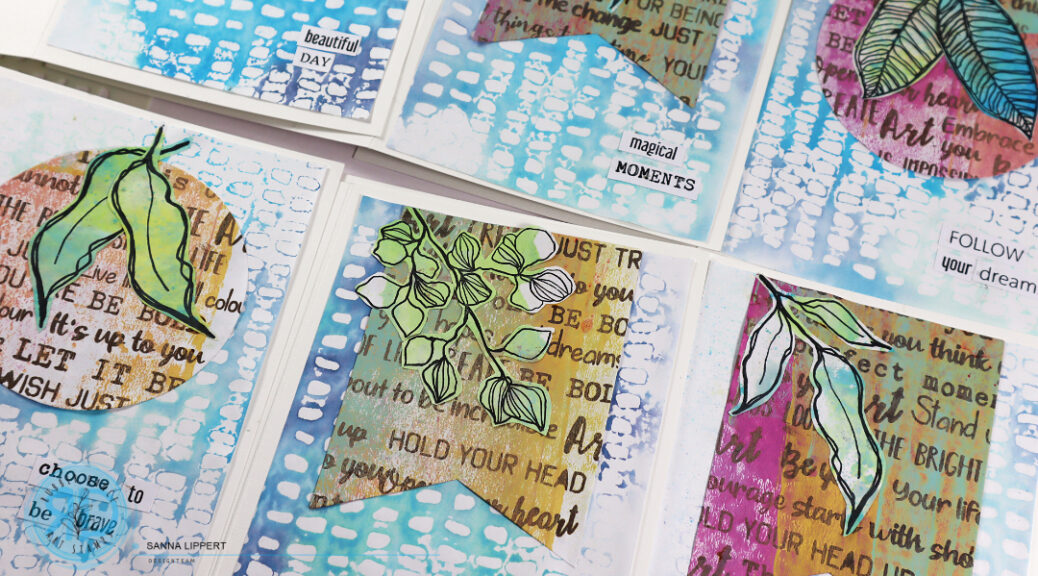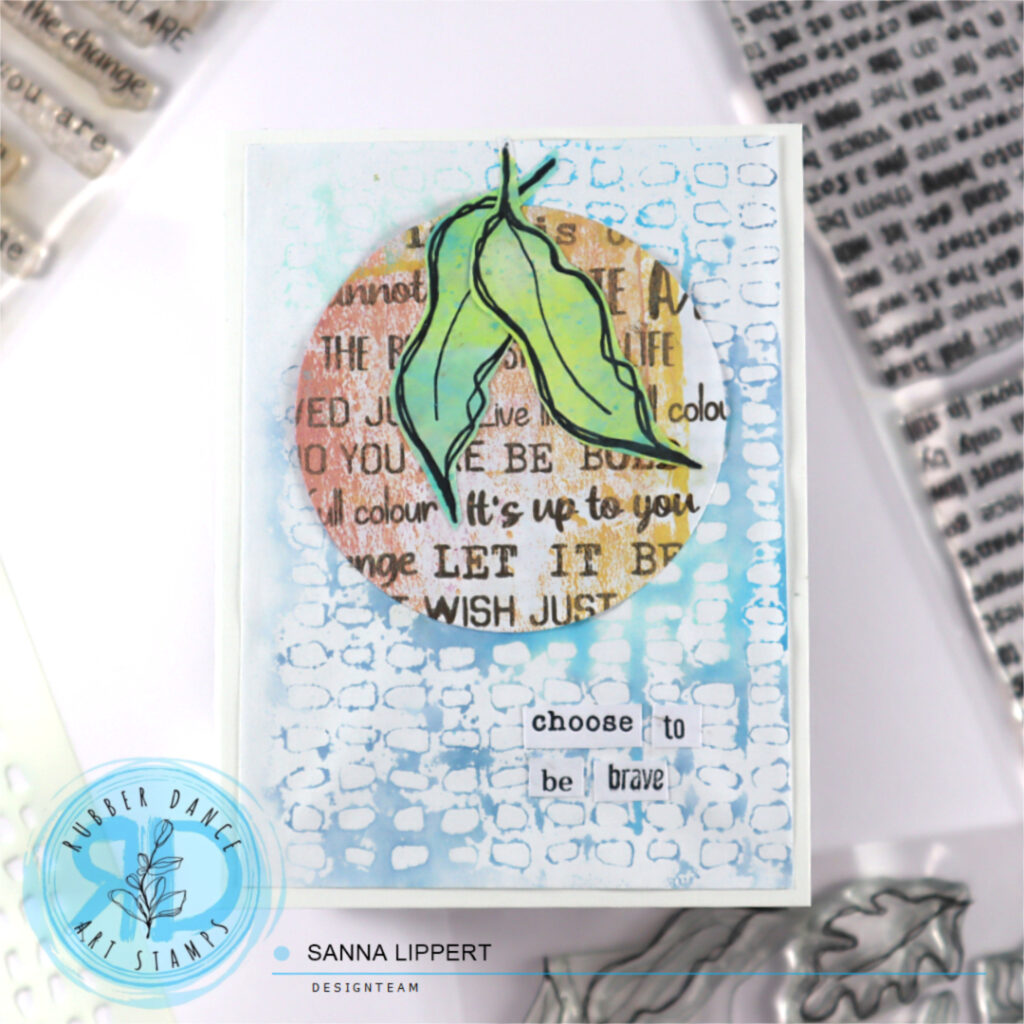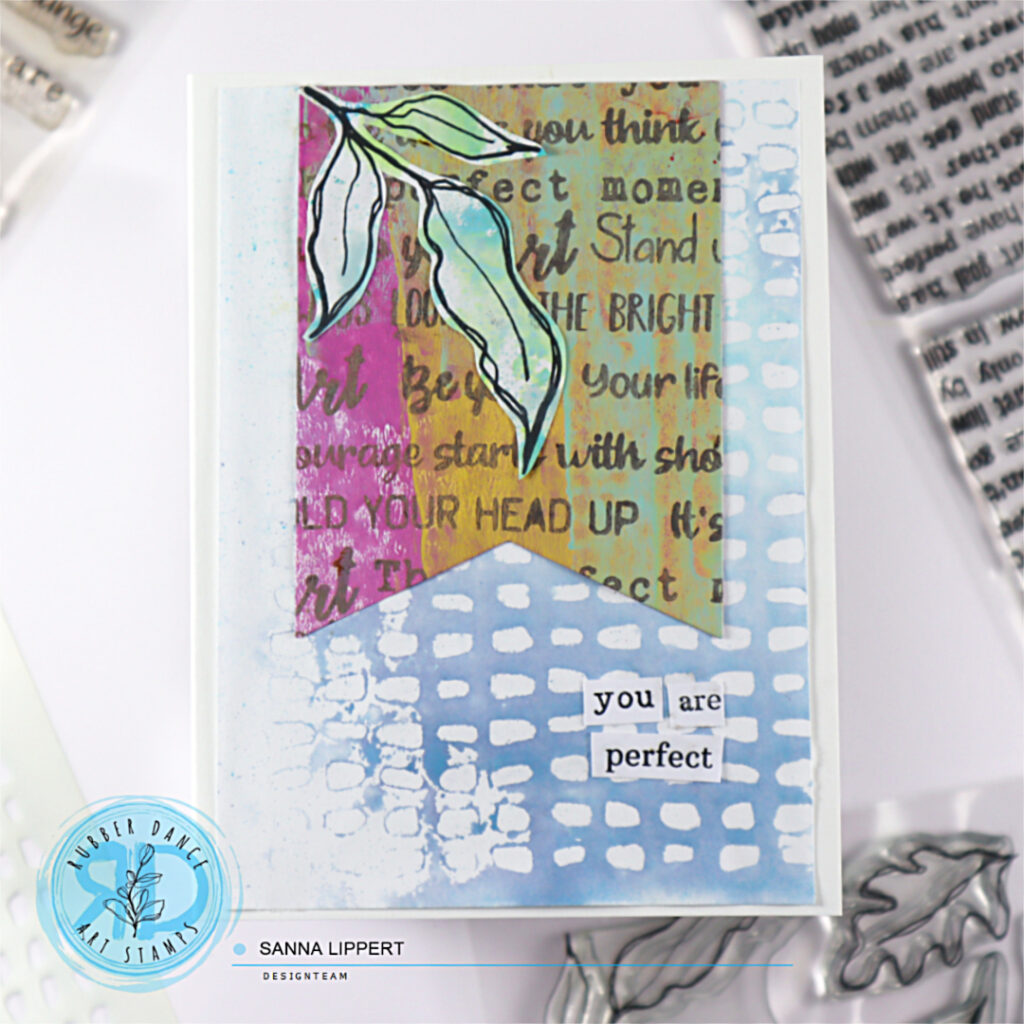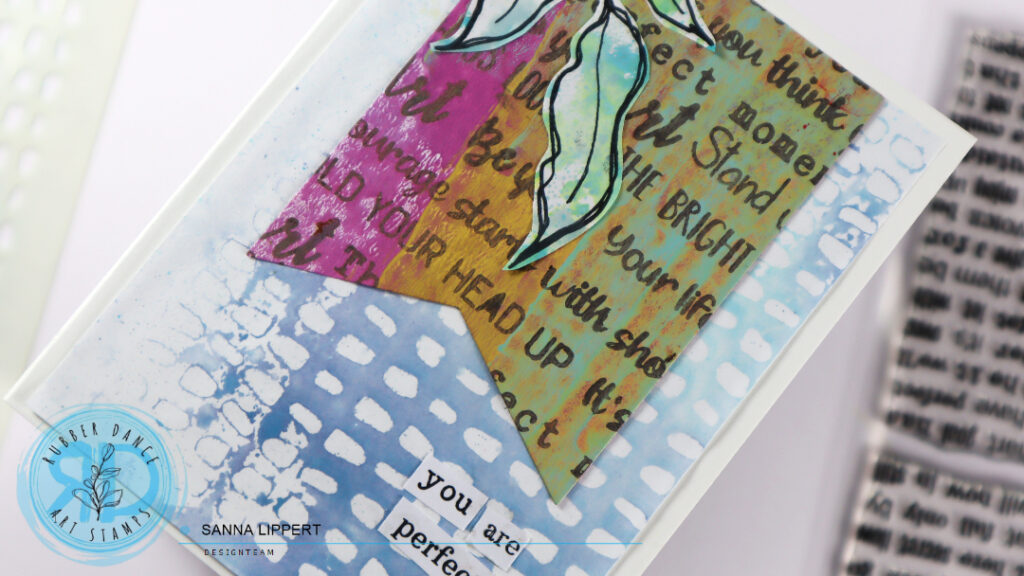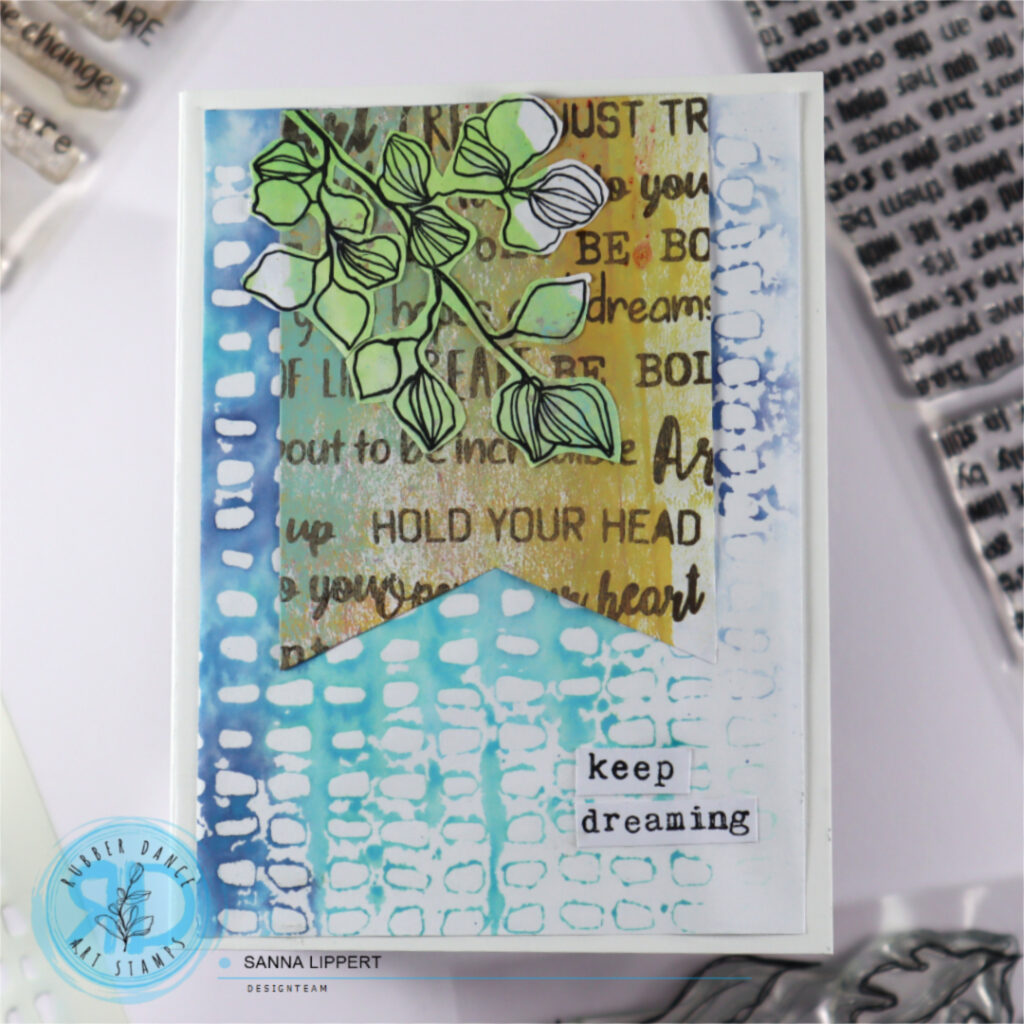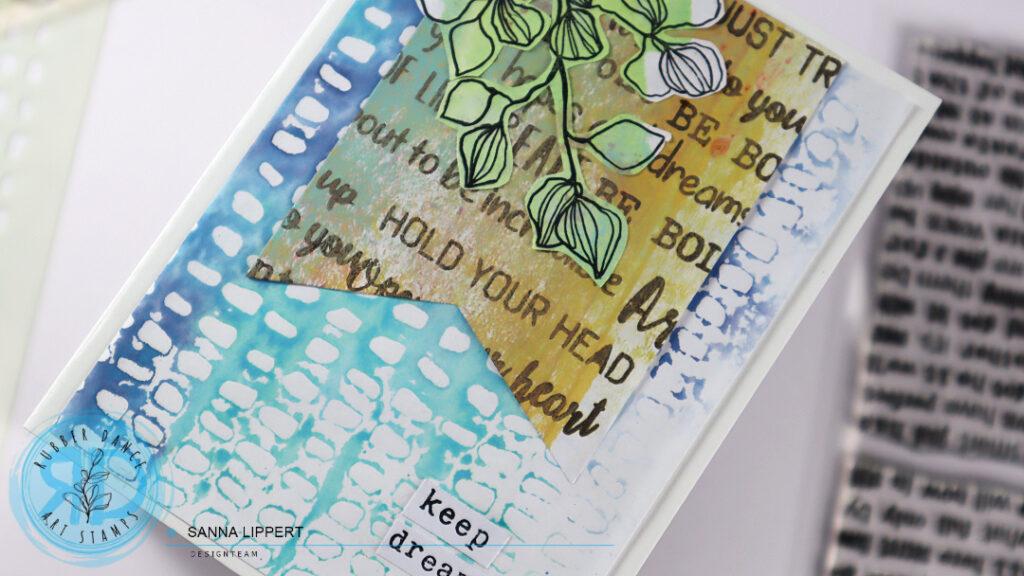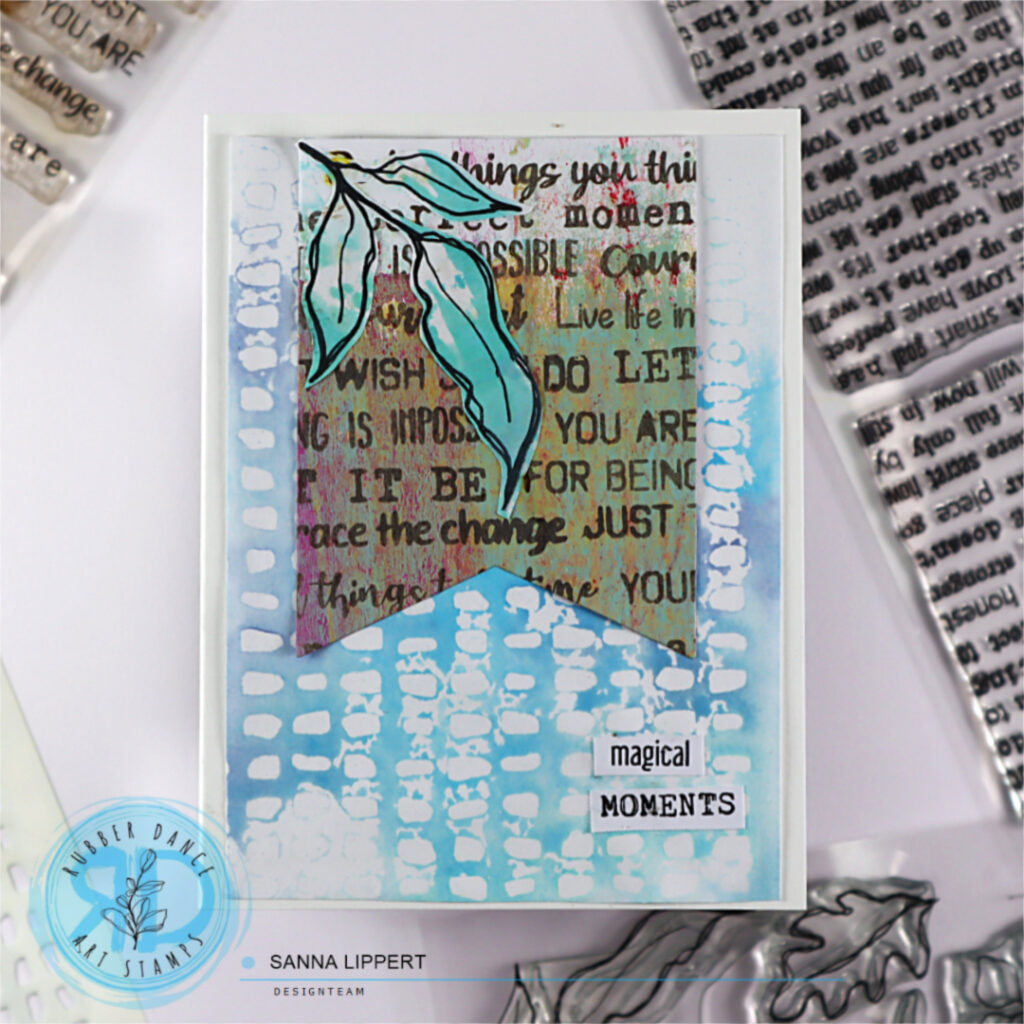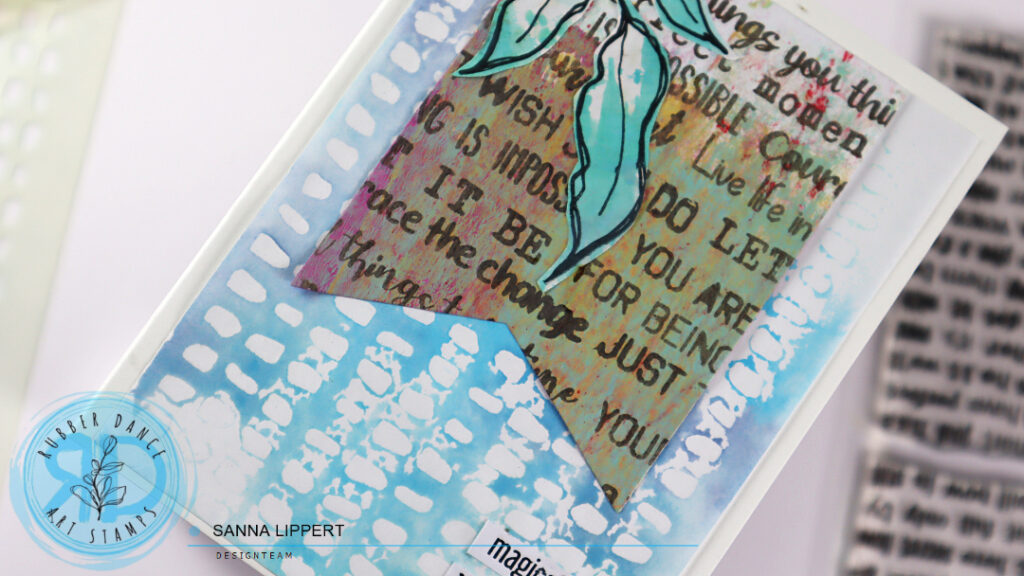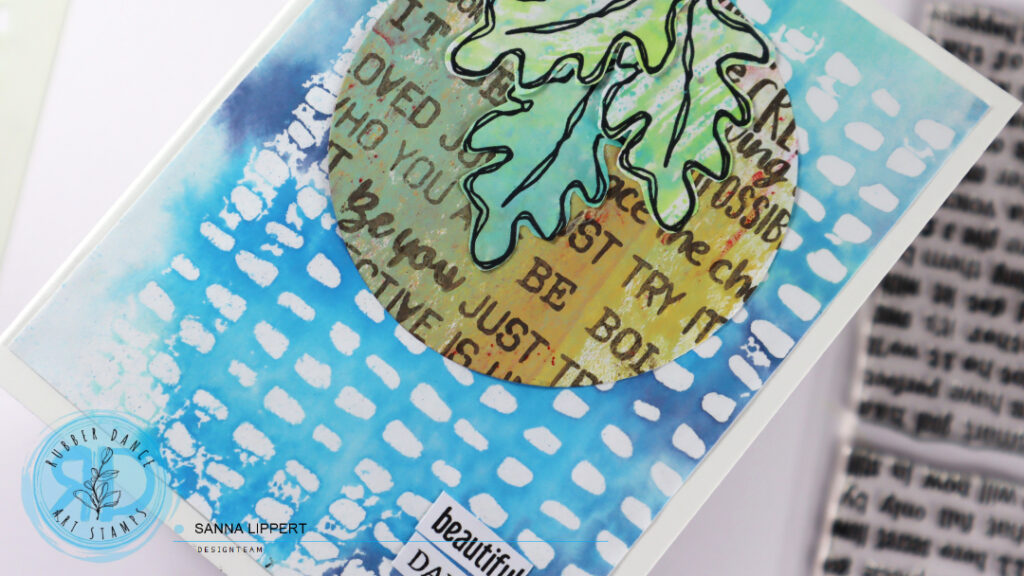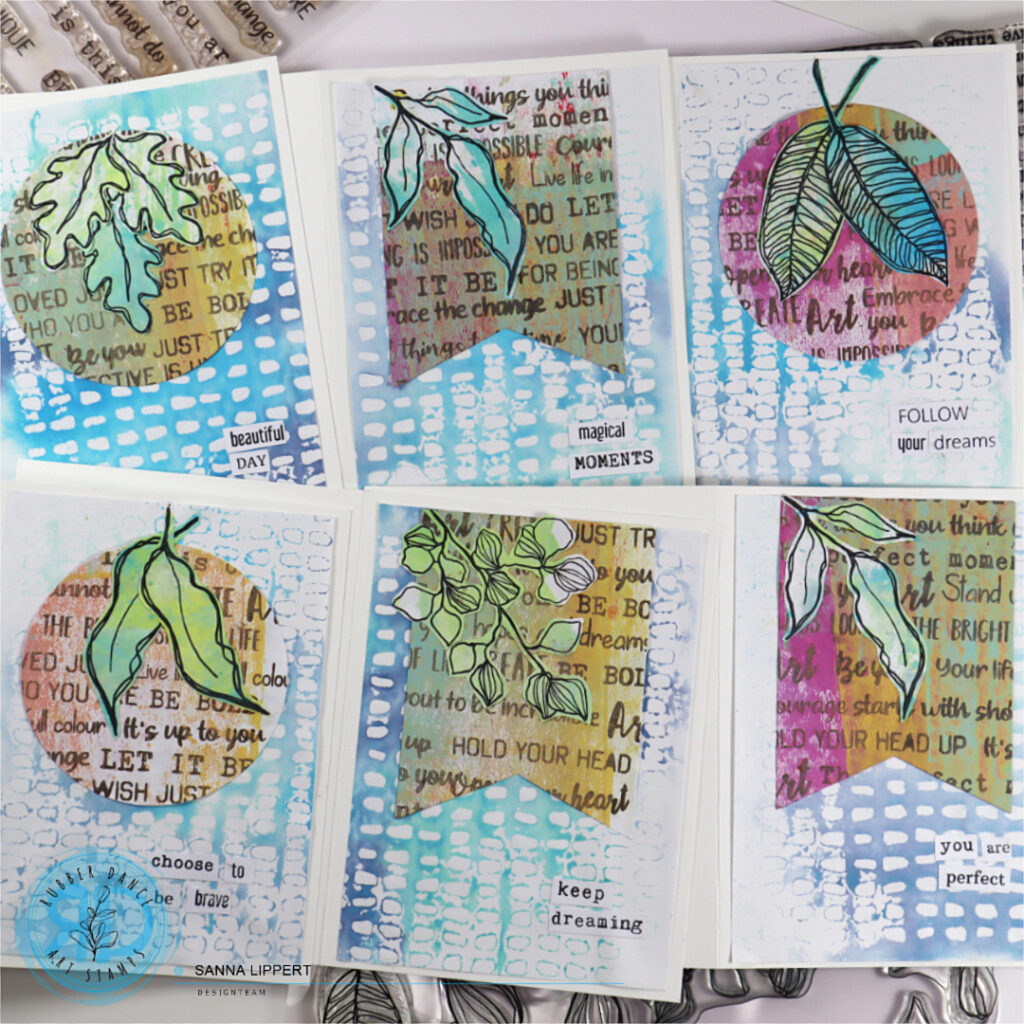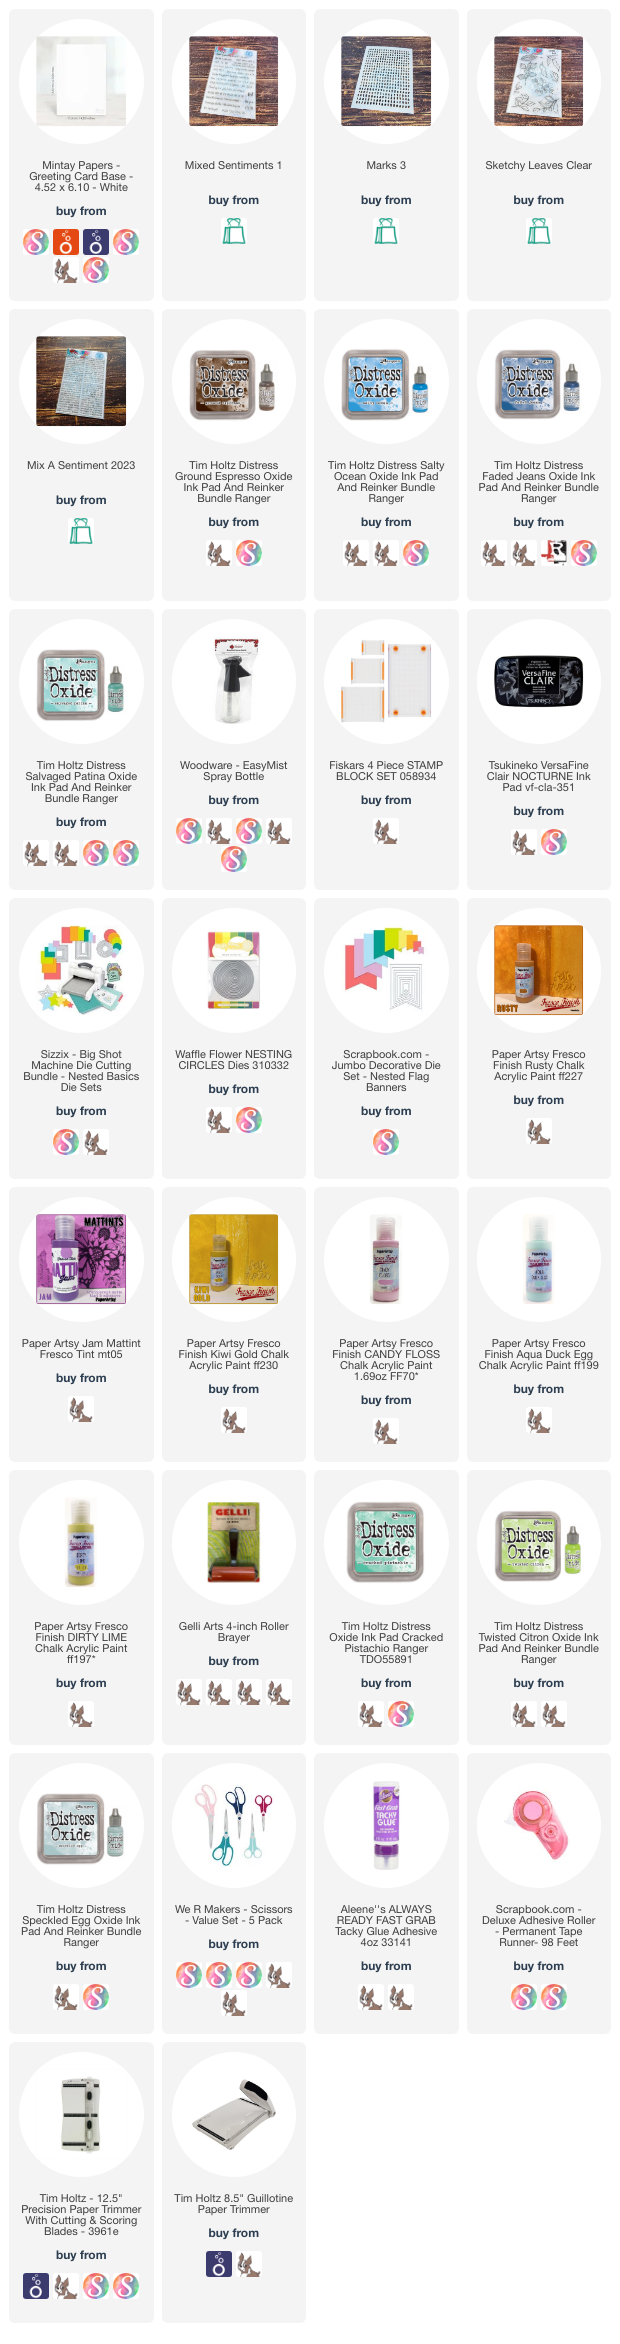
Hello, I have a mixed media card set share for you today. For these cards I used the Sketchy Leaves 5 stencil, Sketchy Flowers #3, Mix It Up 5 and Butterflies and Moths stamps.
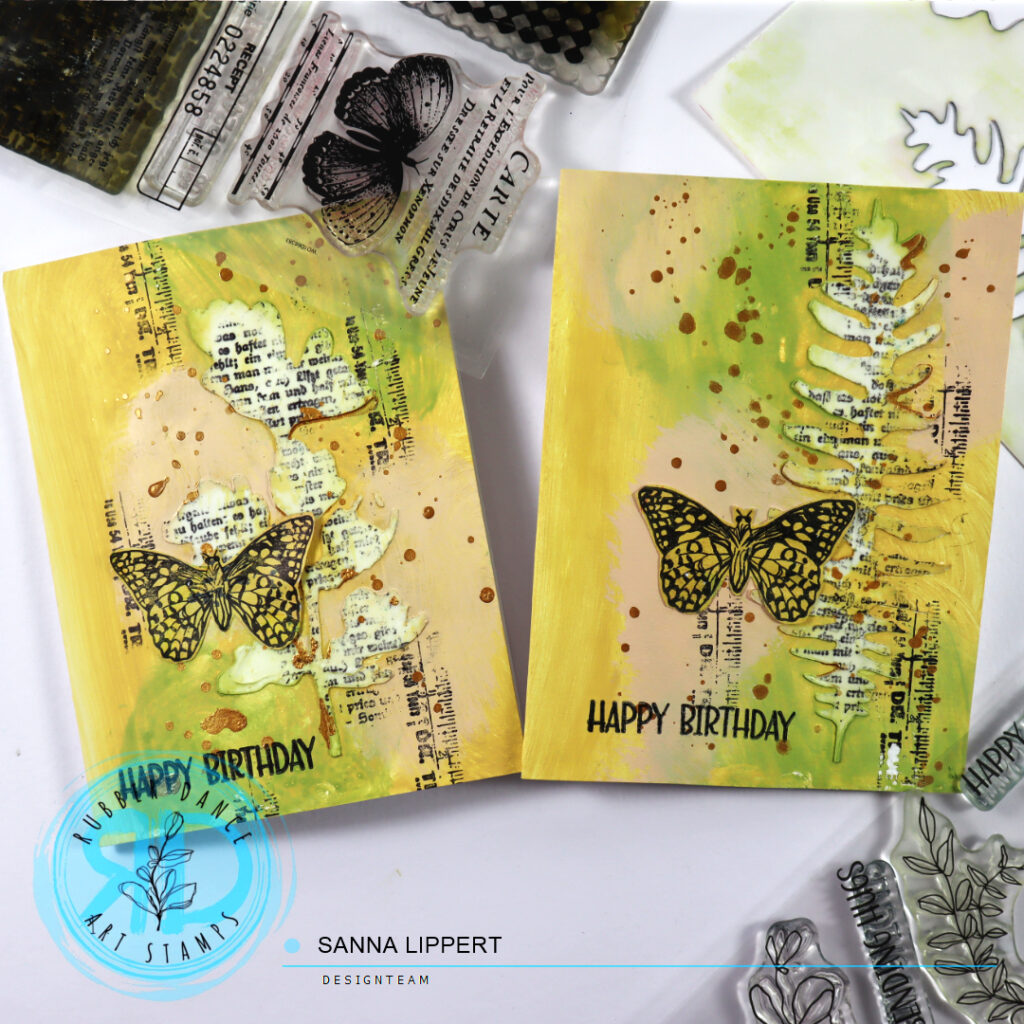
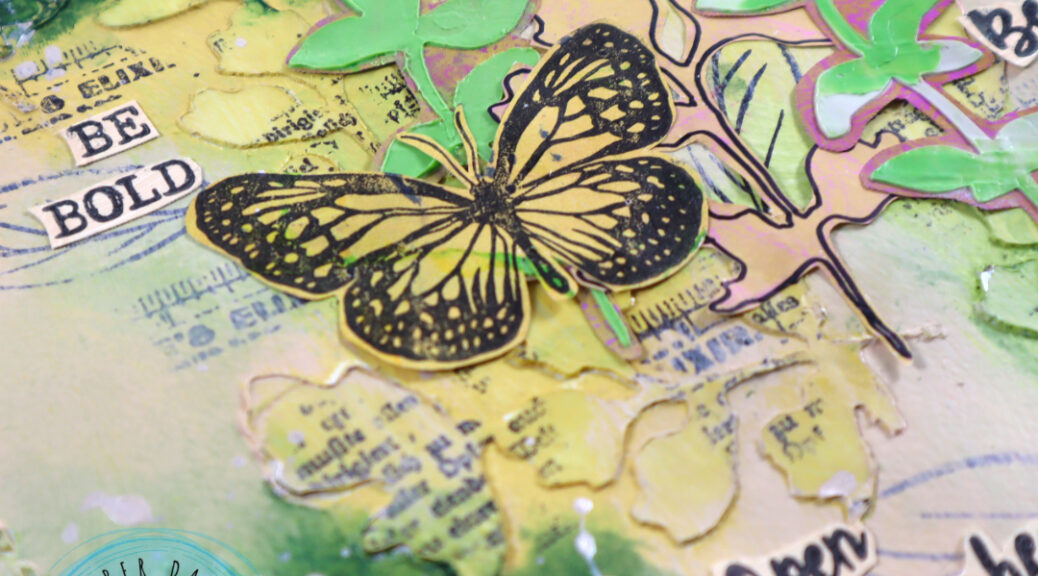
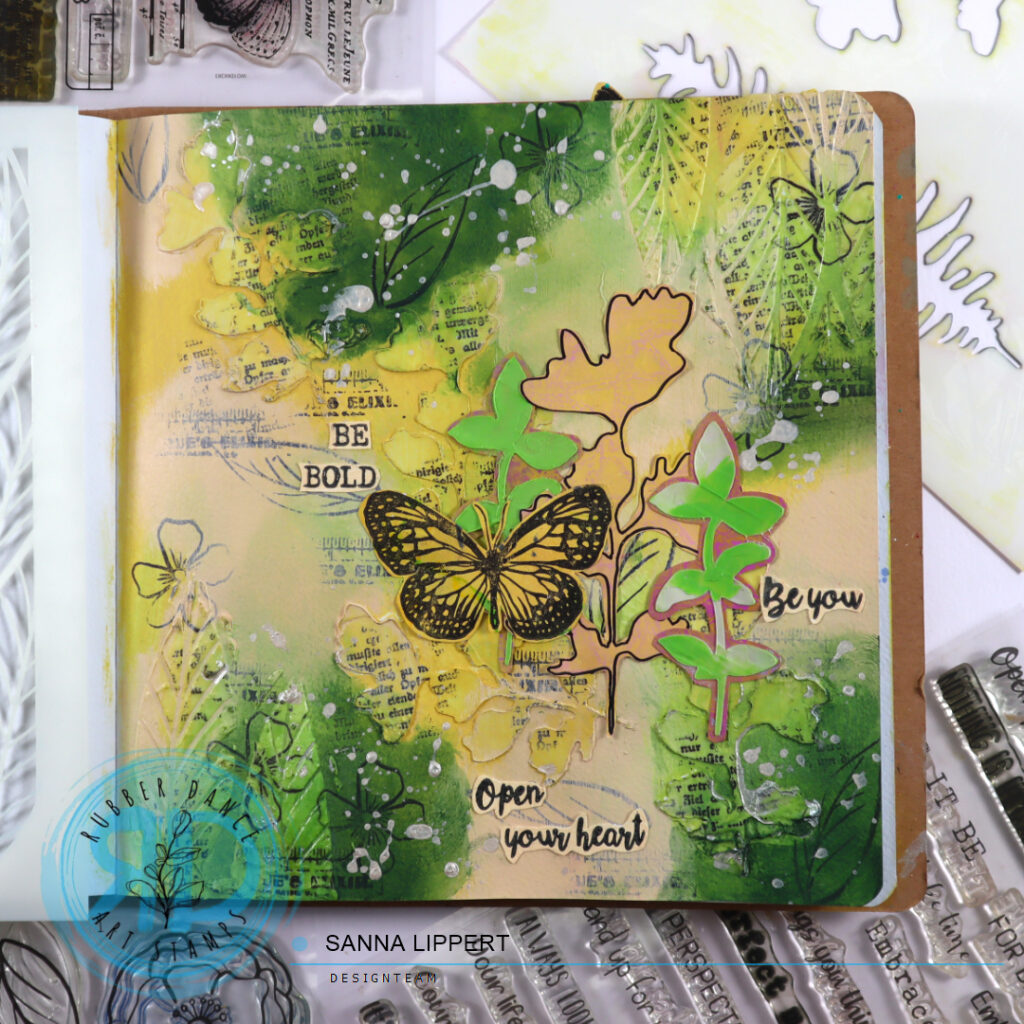
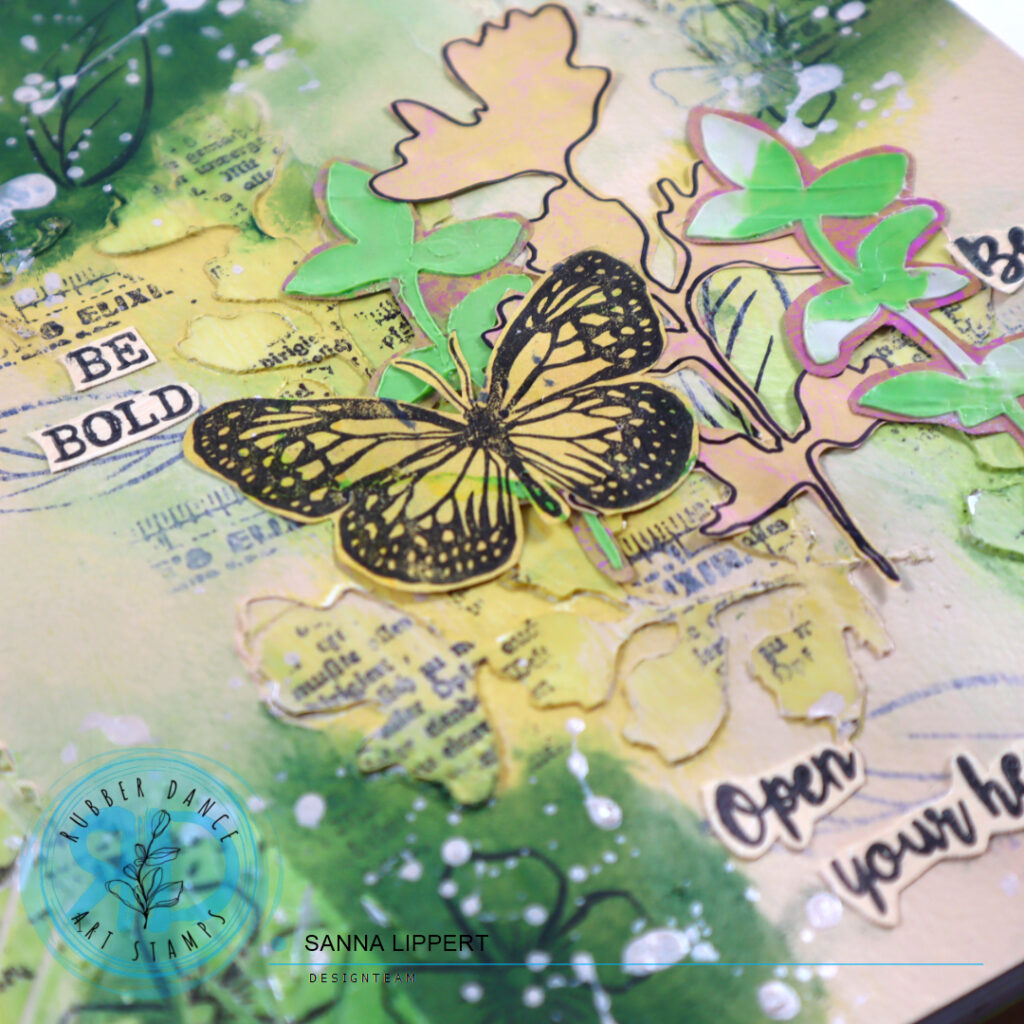
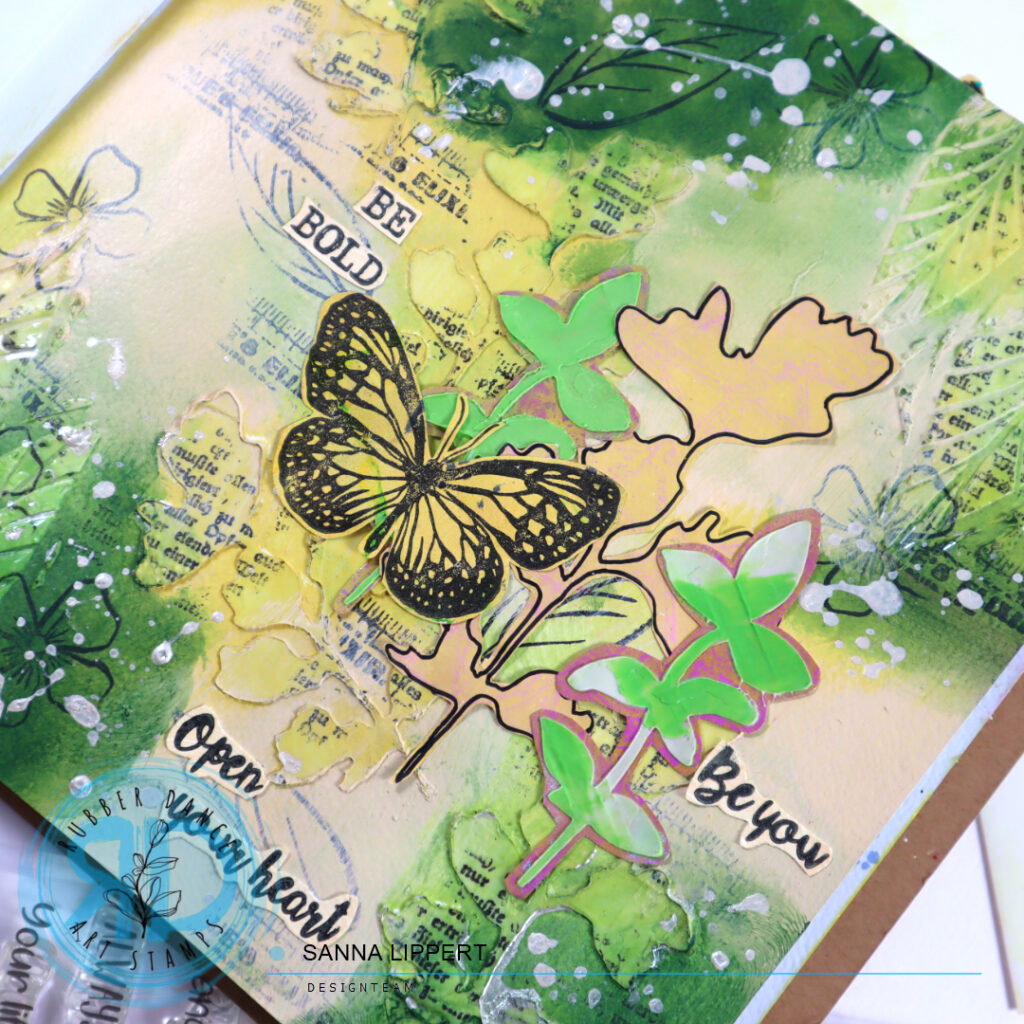
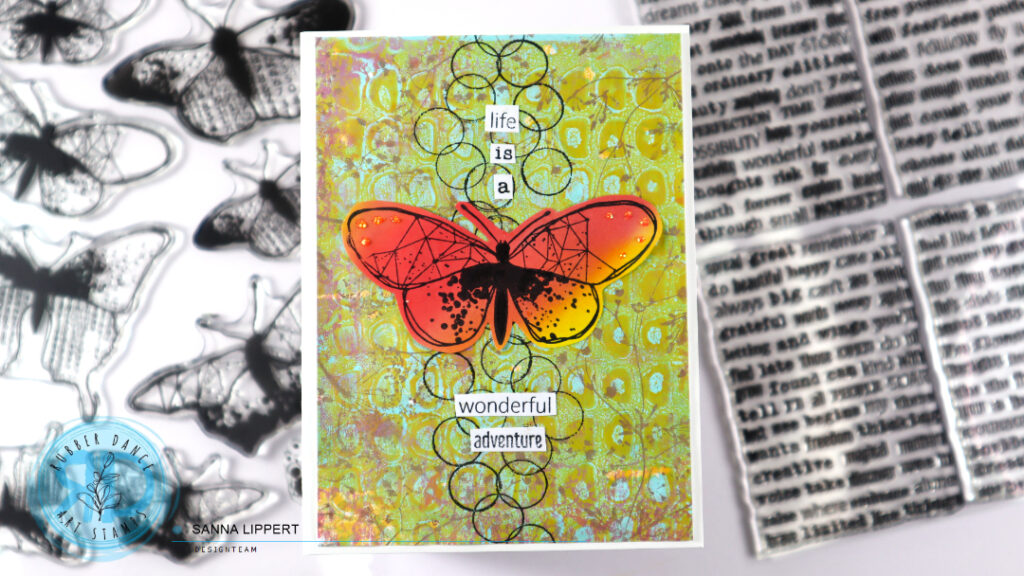
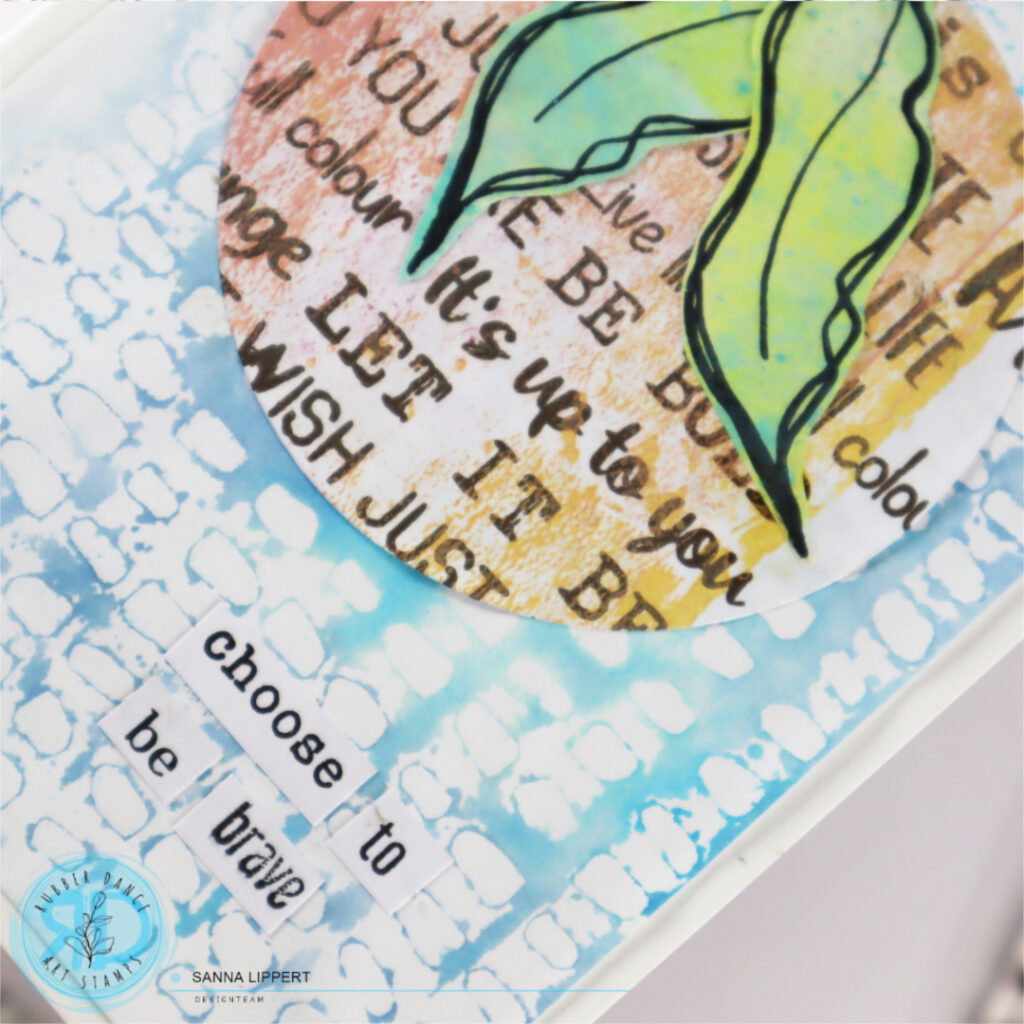
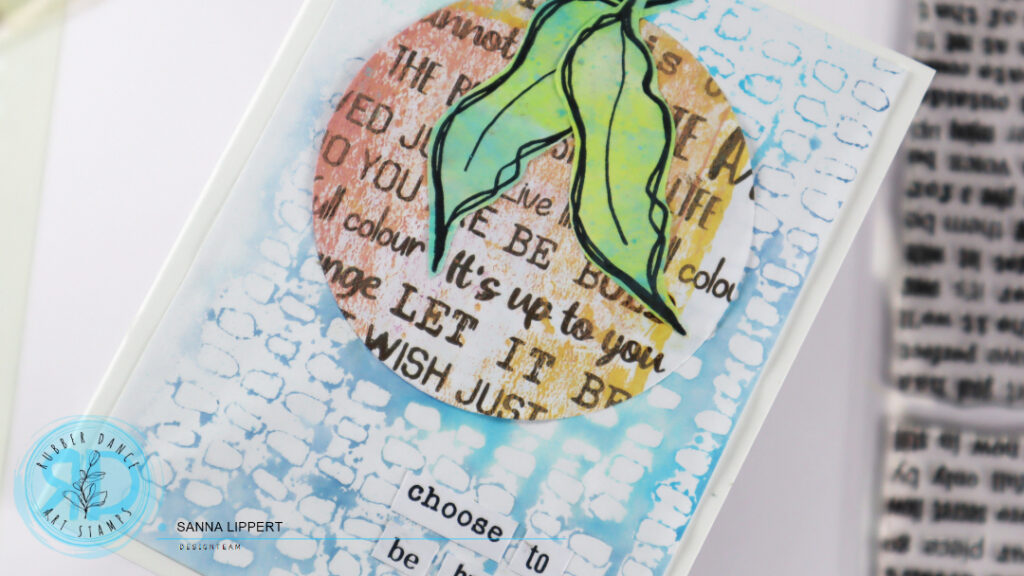
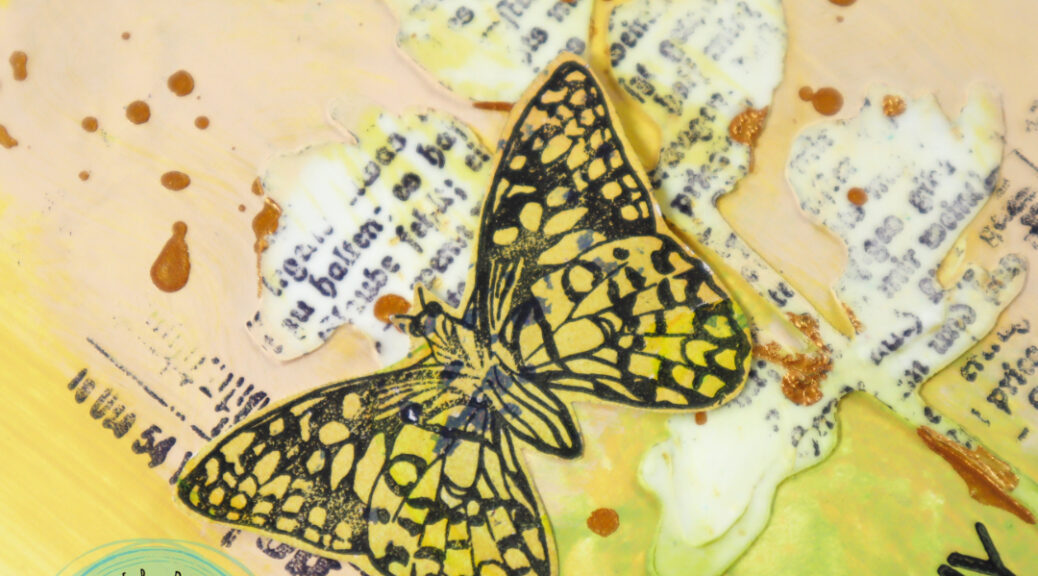
I started off by applying modeling paste thru the Sketchy Leaves 5 stencil directly onto the card base. After that I used ocker and light green paints to add the first layer of paint to the card. I then wiped some of the paint off the stenciled areas with a baby wipe.
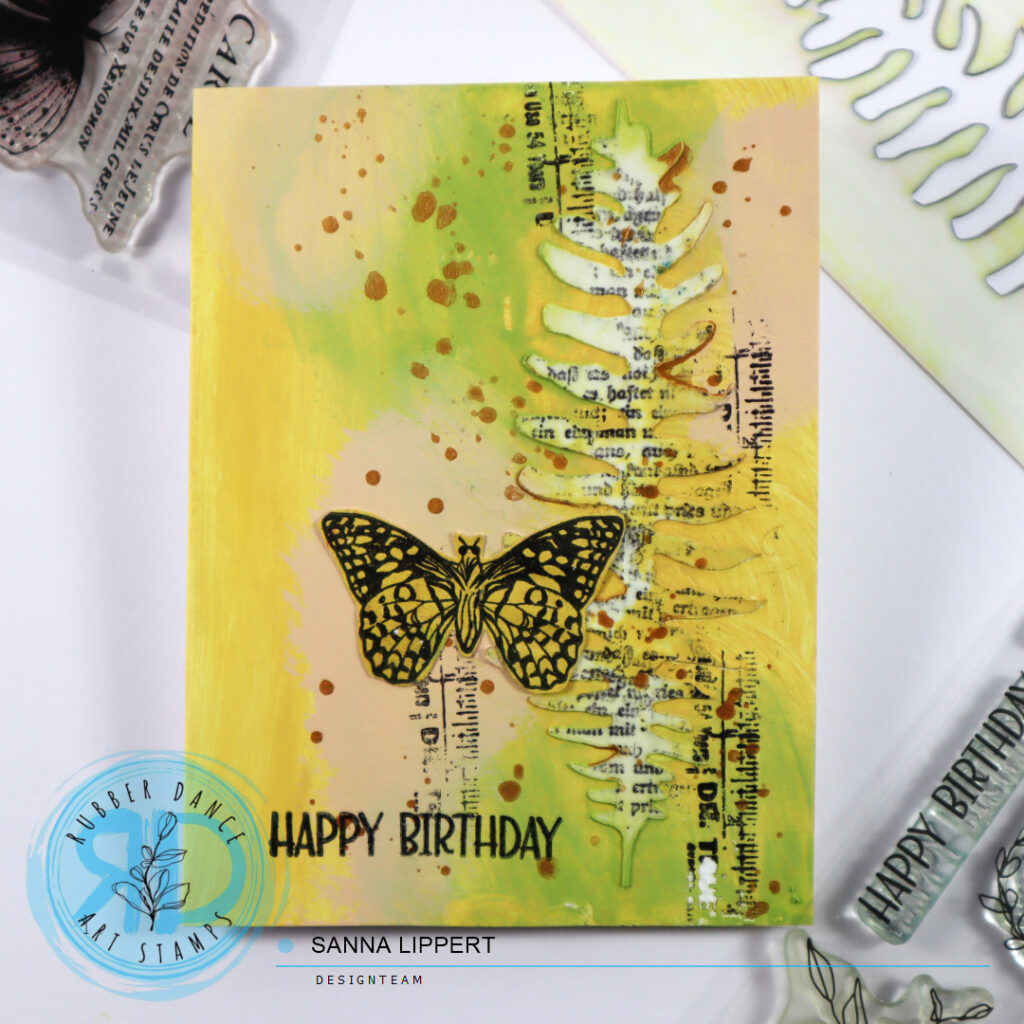
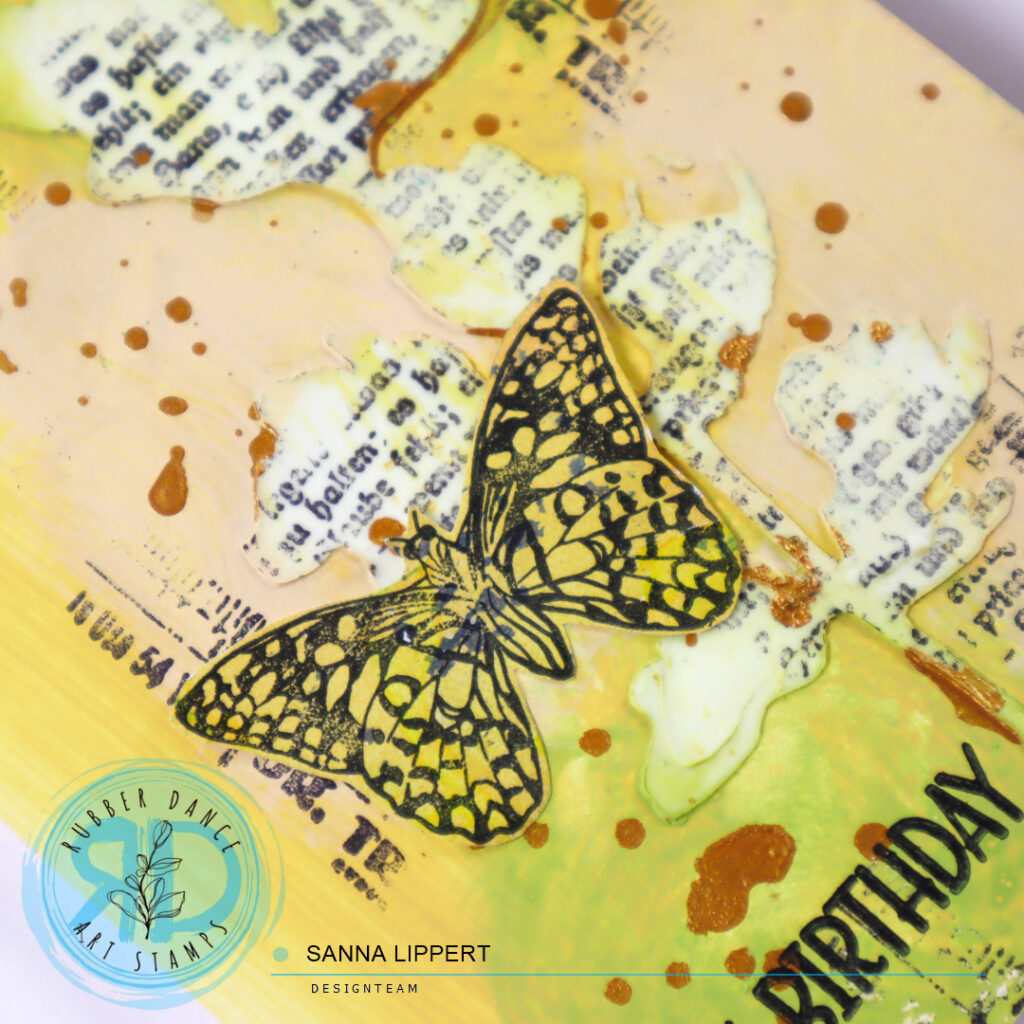
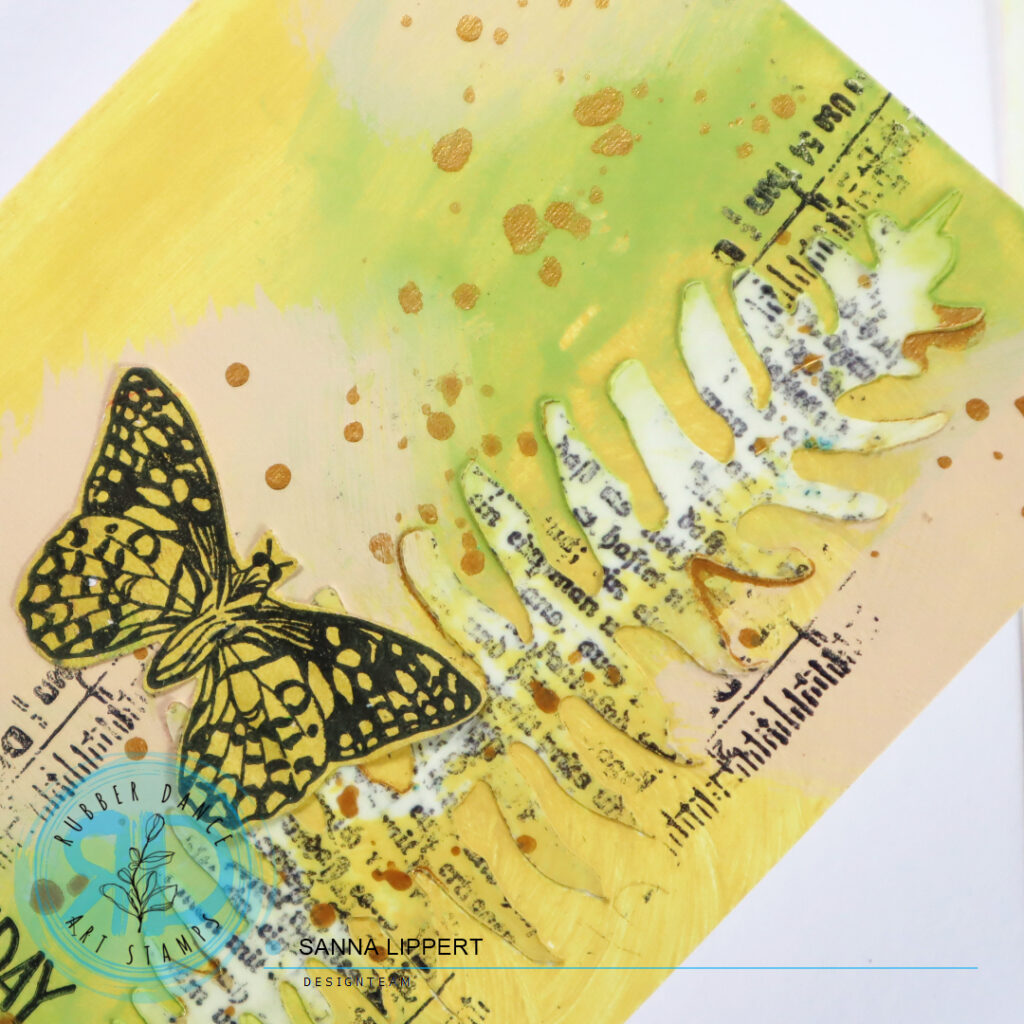
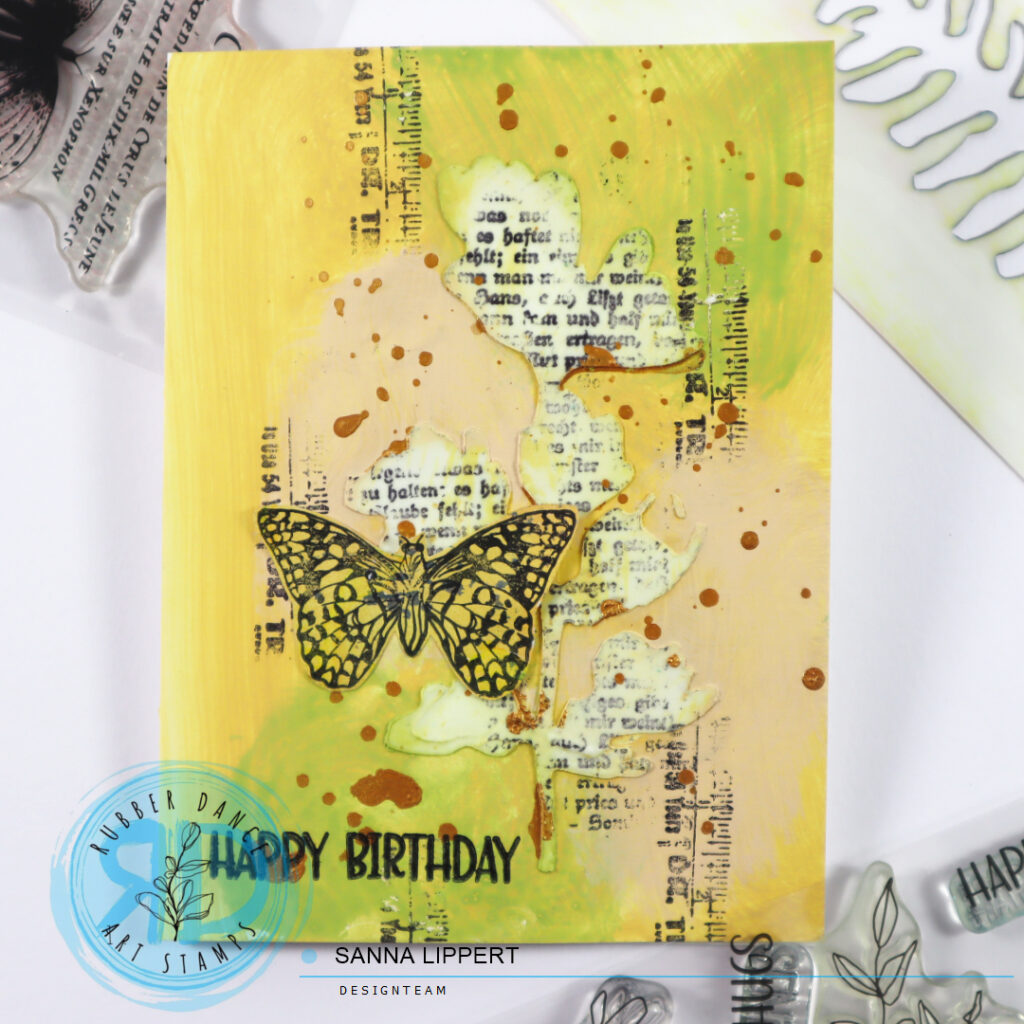
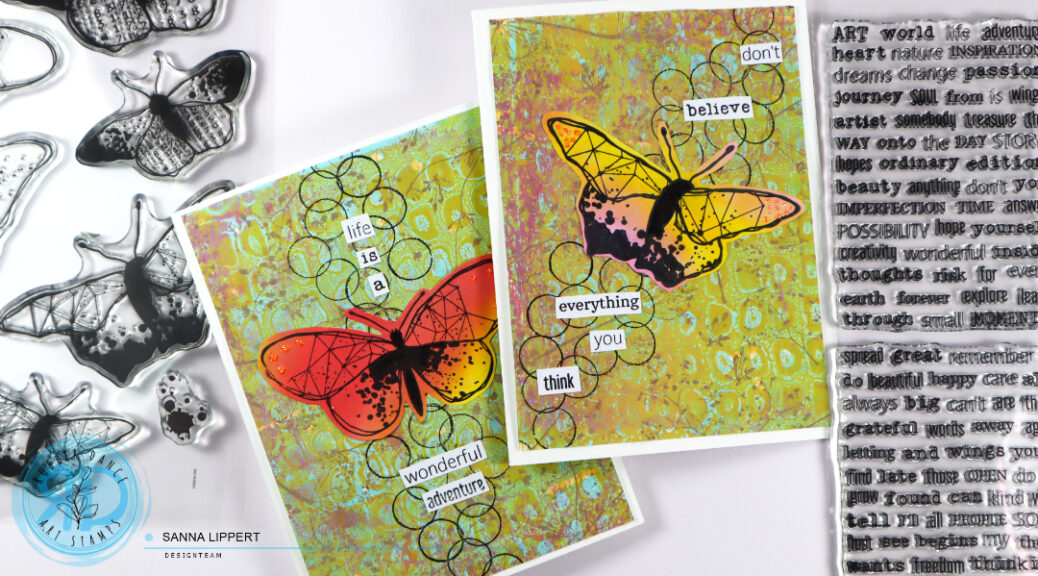
Next I added black stamping with the Mix It Up 5 stamp set. First onto the stenciled leaves, then slightly next to it. After that I added golden pigment splatters to the background. For finishing touches I added a stamped butterfly and sentiment.
Here is a process video for you to watch:
I hope to have inspired you with this card set tutorial! Have fun creating! Hop over to Rubber Dance store and purchase a stamp set of a stencil. It will support a small business to survive these crazy tax times!
xxx, Sanna