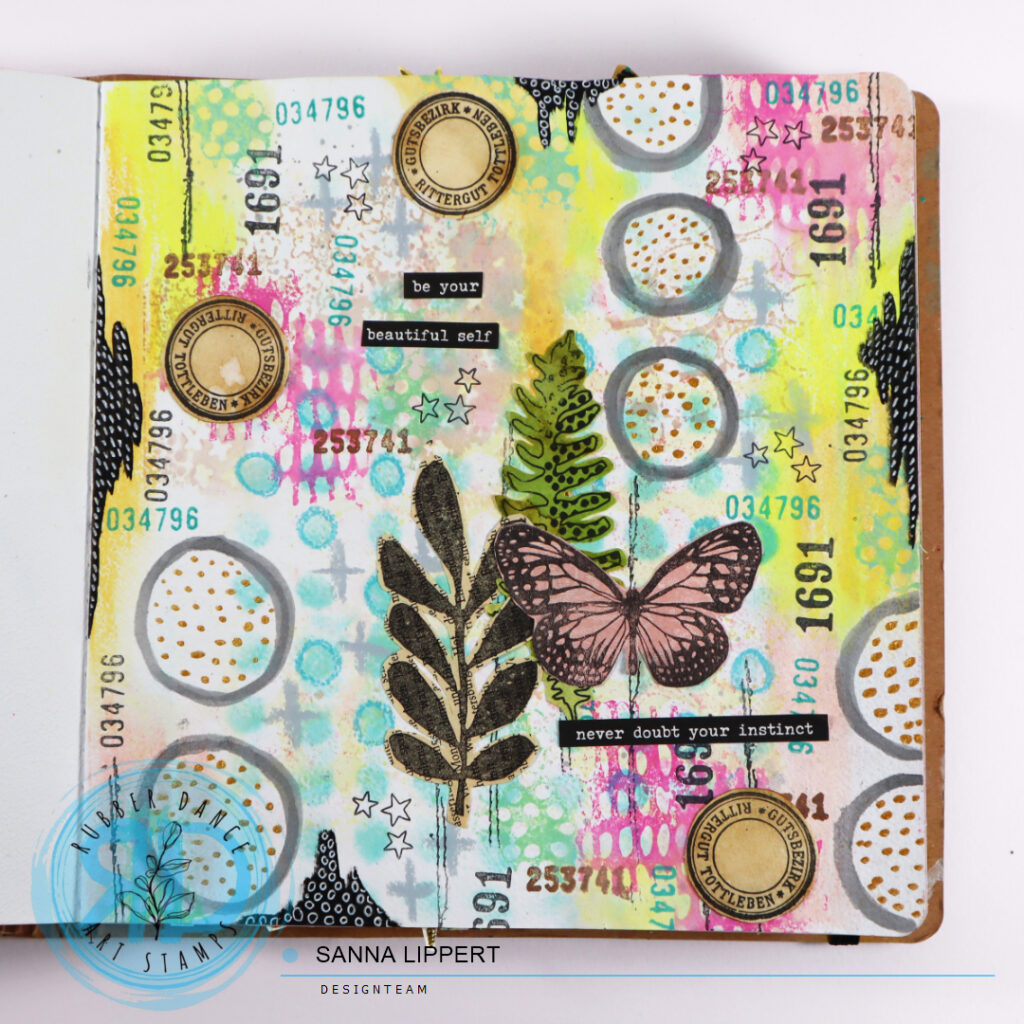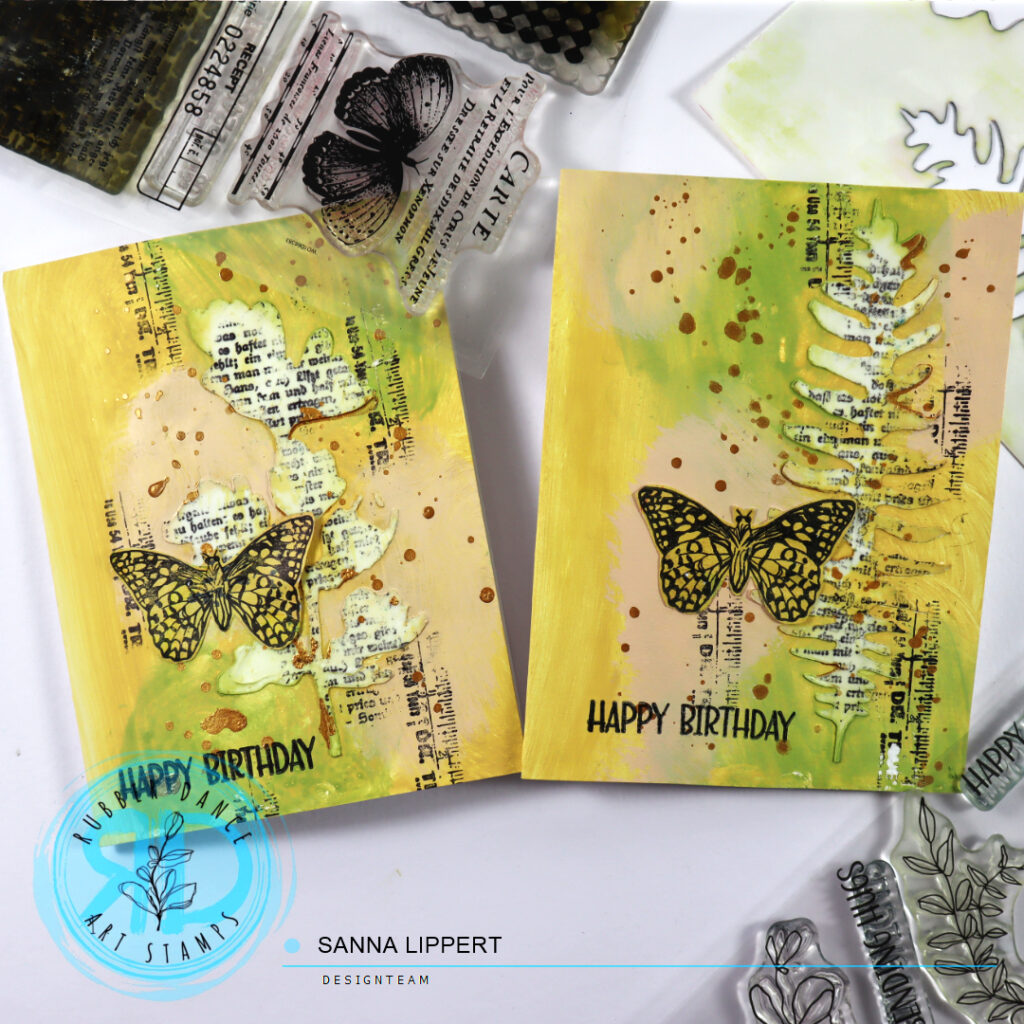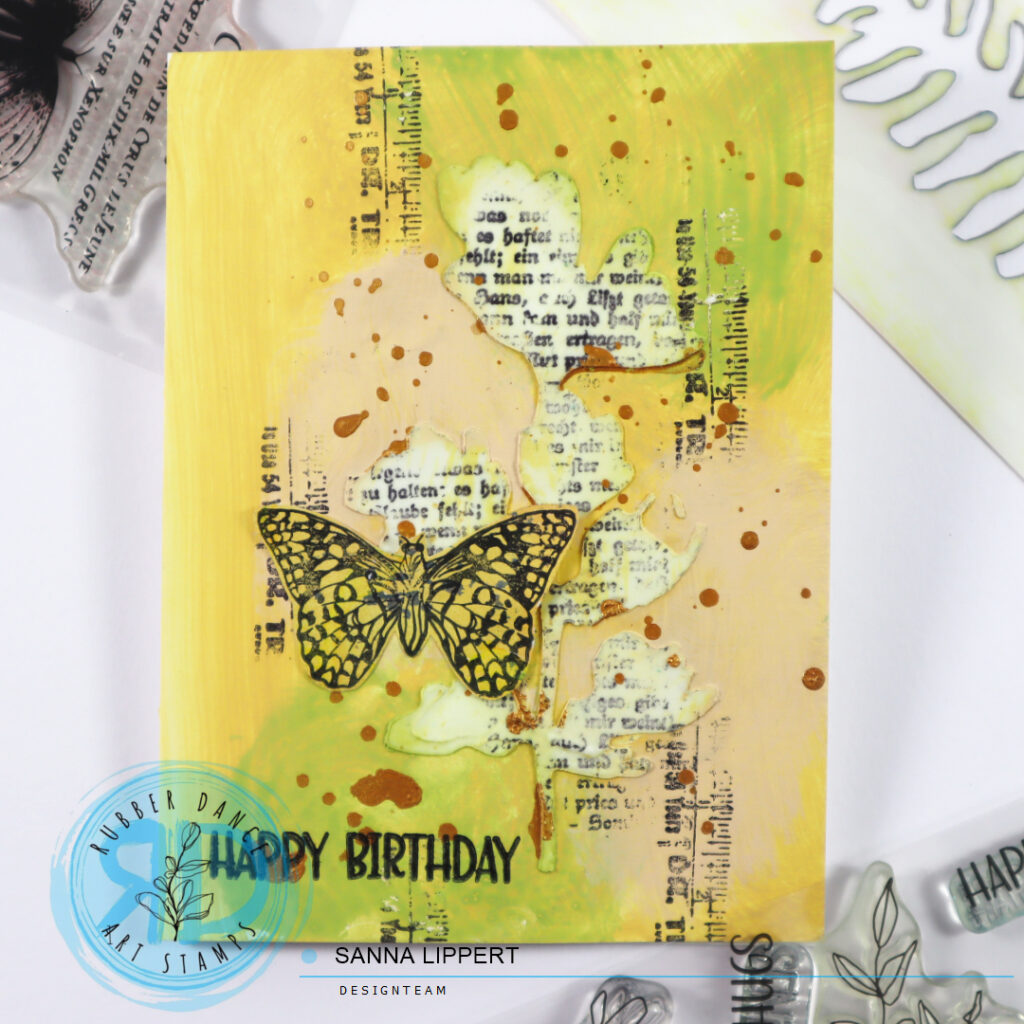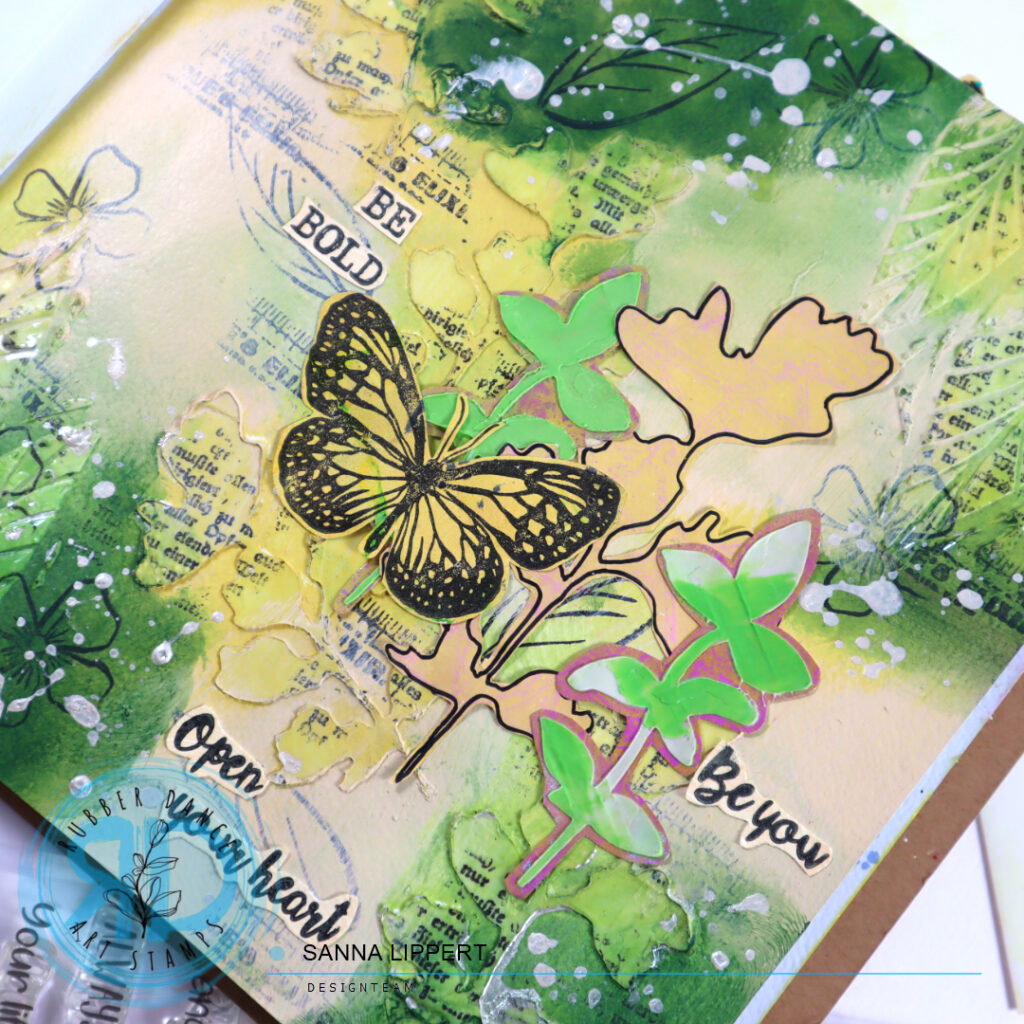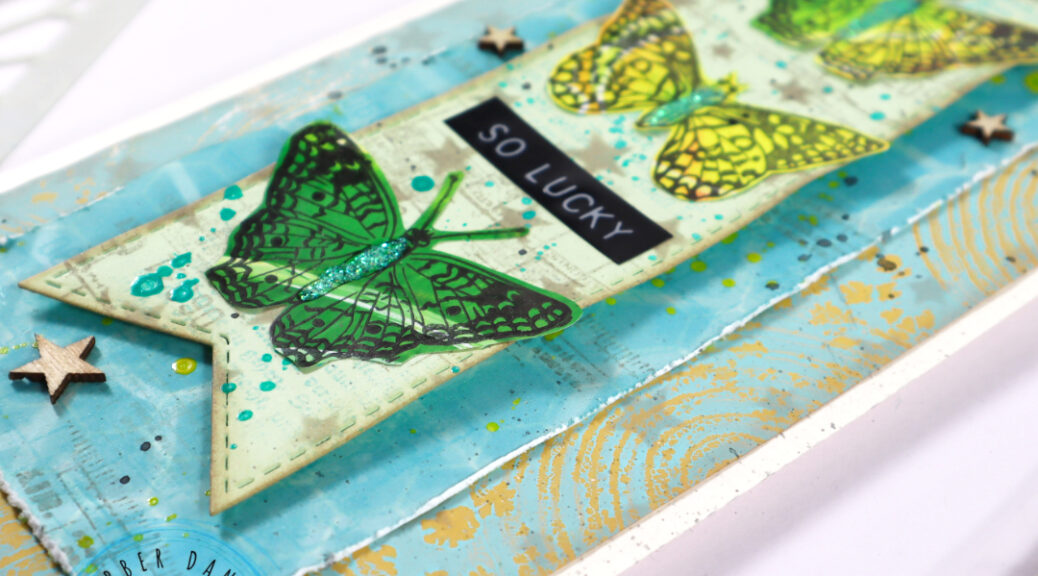
Hello, I´m here today with a really quick and easy card idea. I have quite a few gelli printed collage papers waiting to be used and here is one idea how to put those papers to good use. I used the Mix It Up 4 and Mix It Up 5 stamp sets as well as the Collage Leaves 3 stamp set on this card.
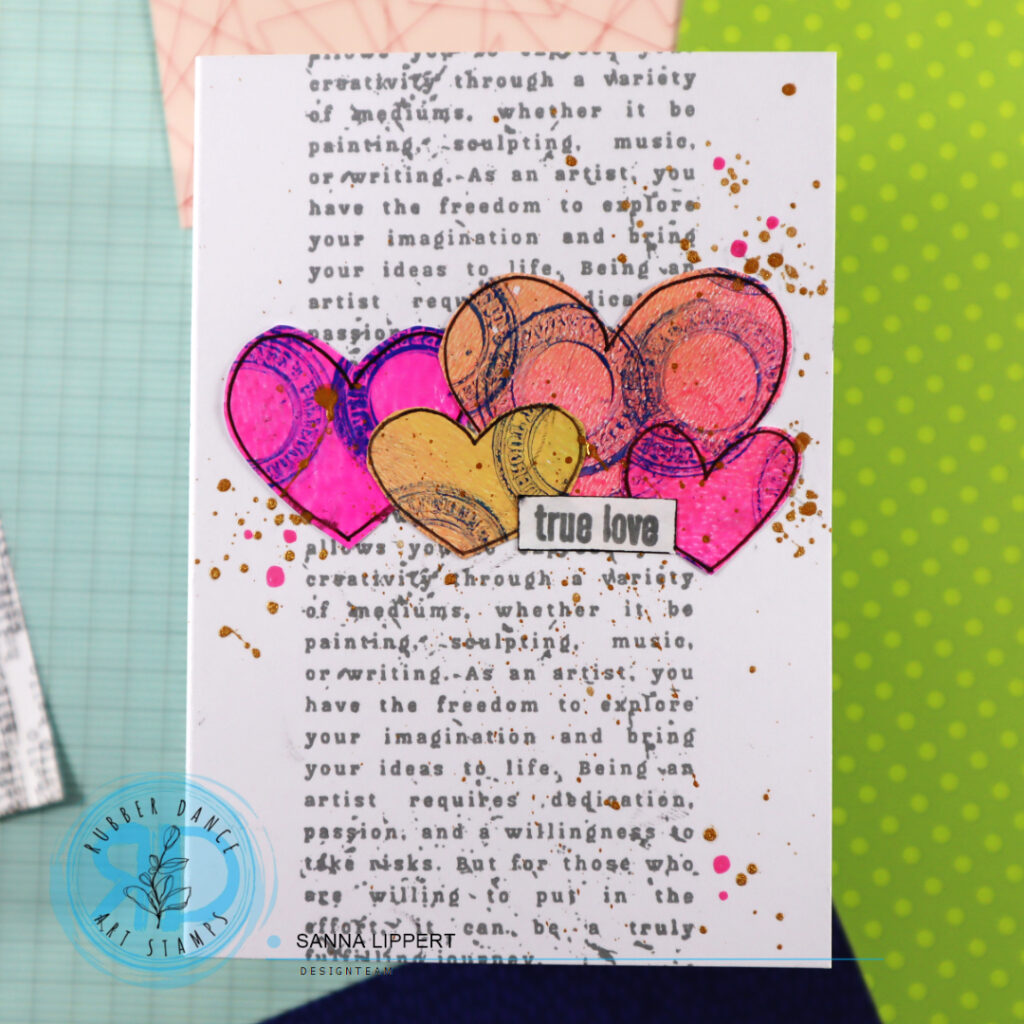
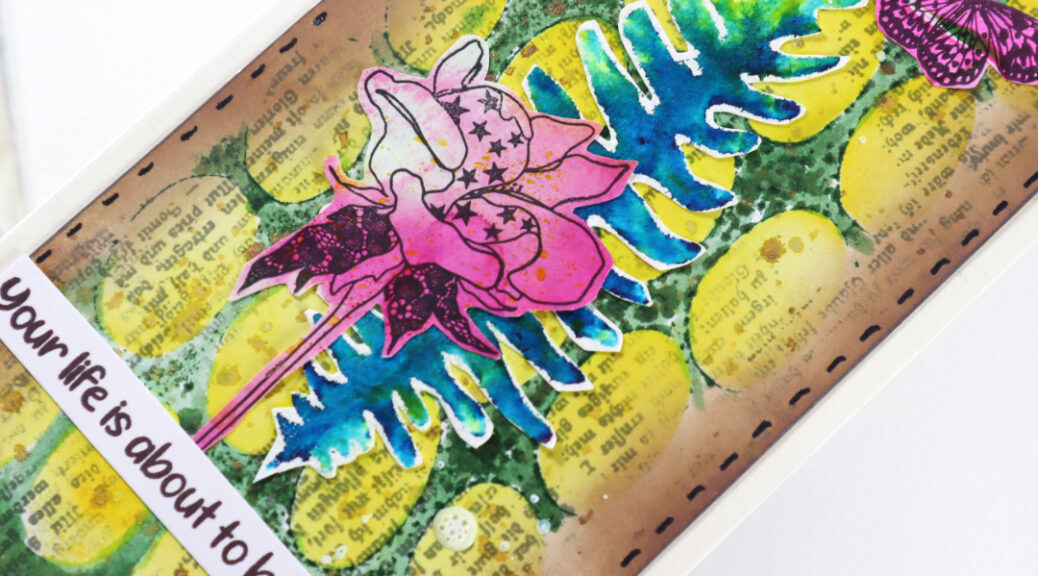
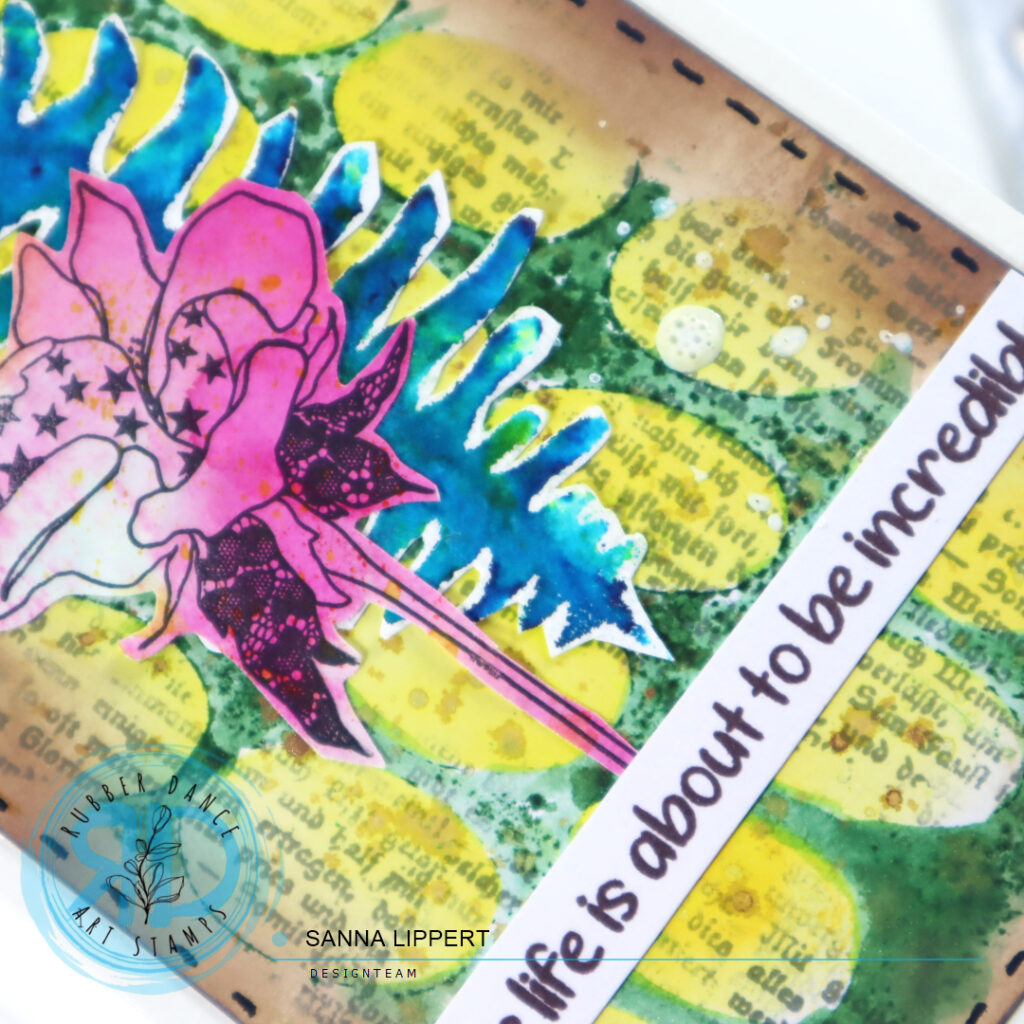
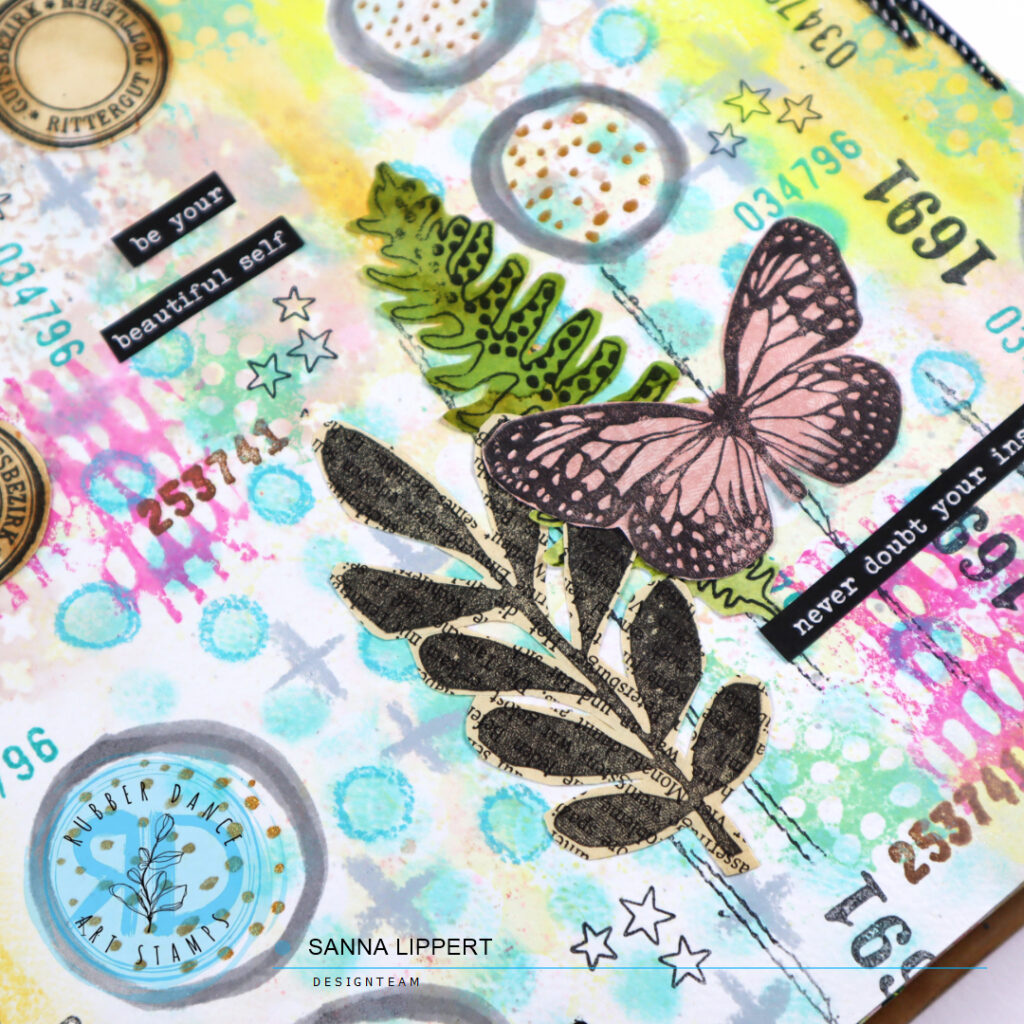
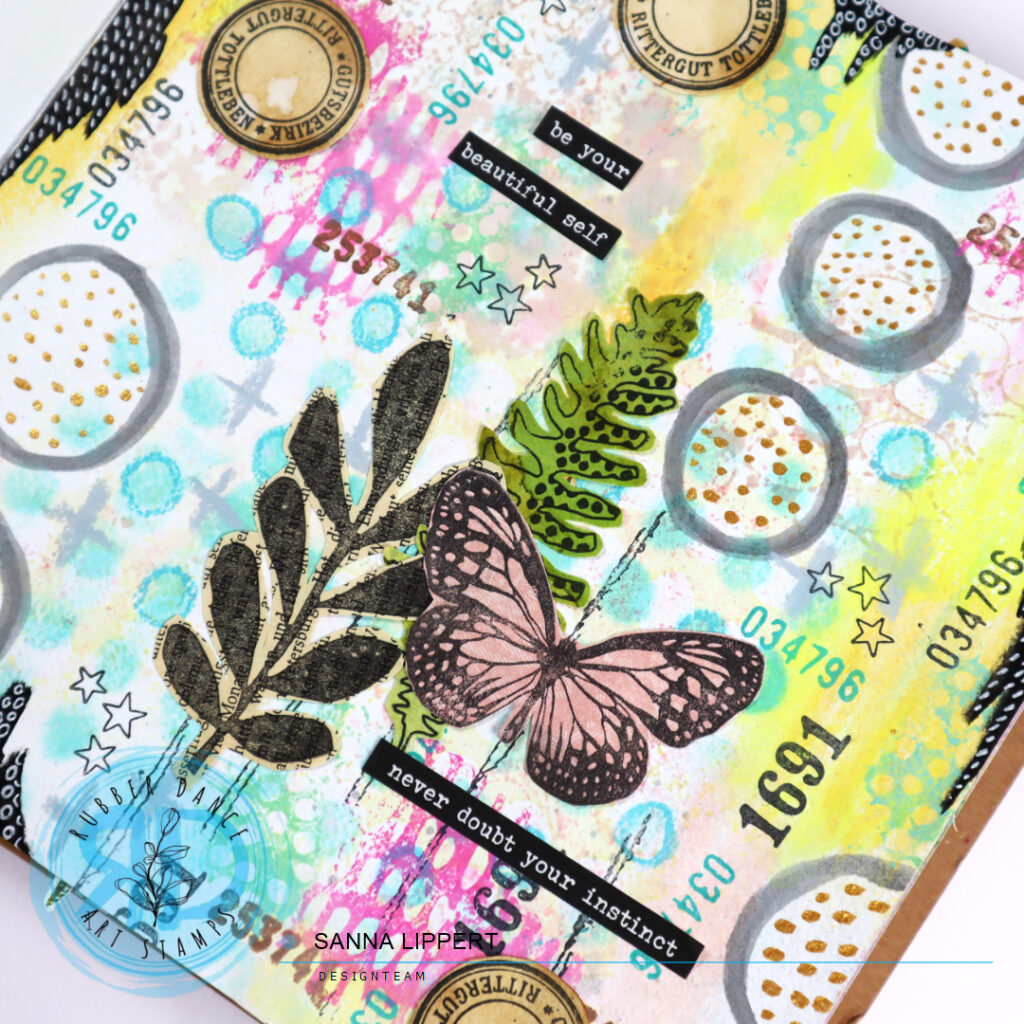
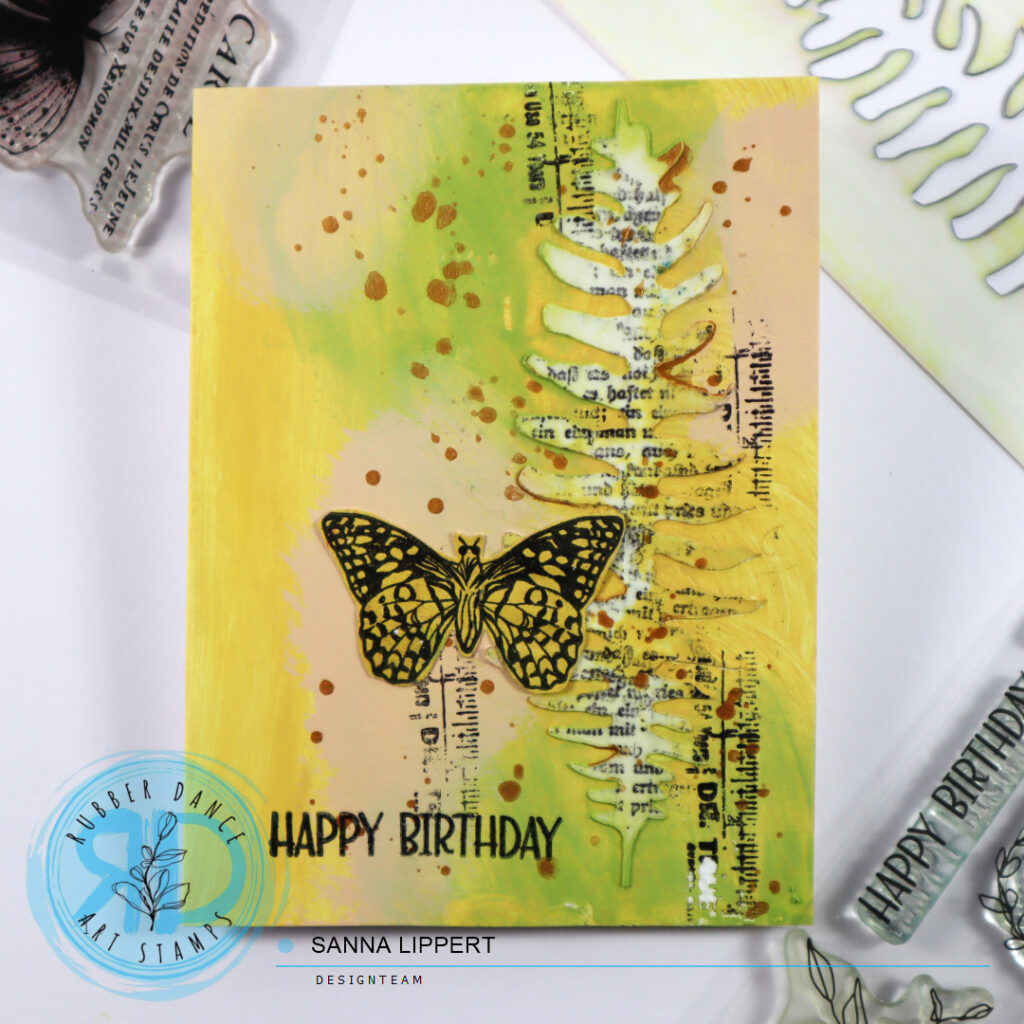
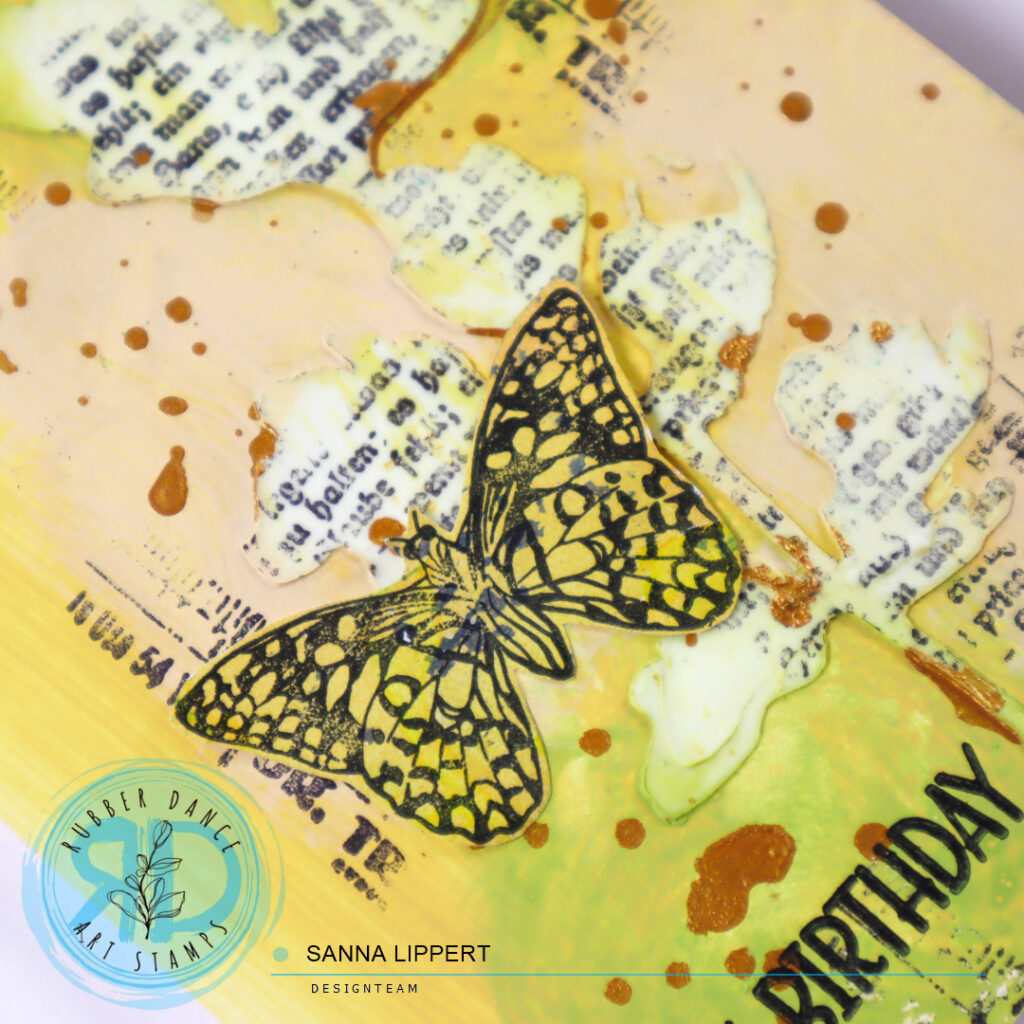
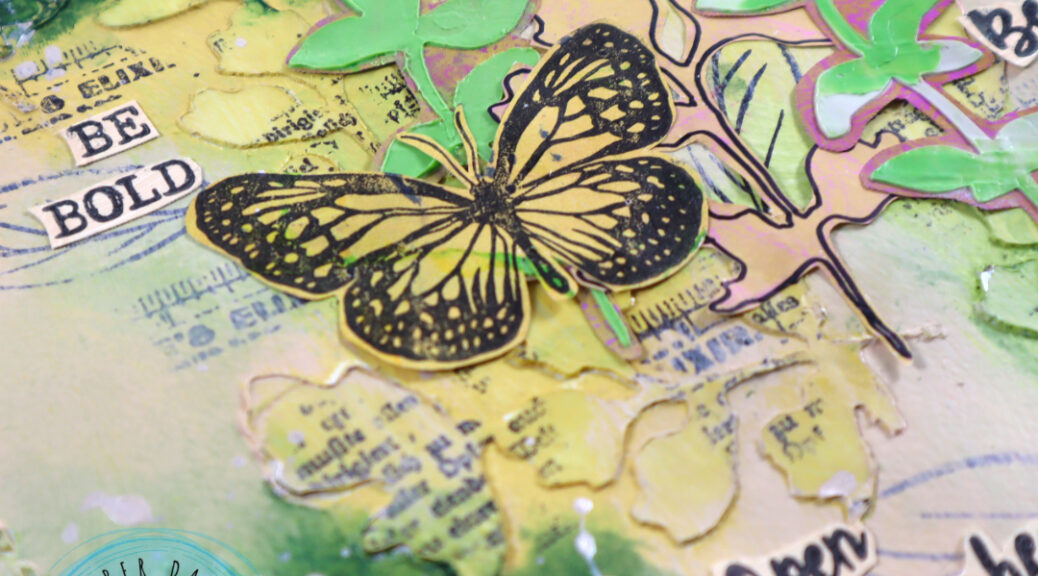
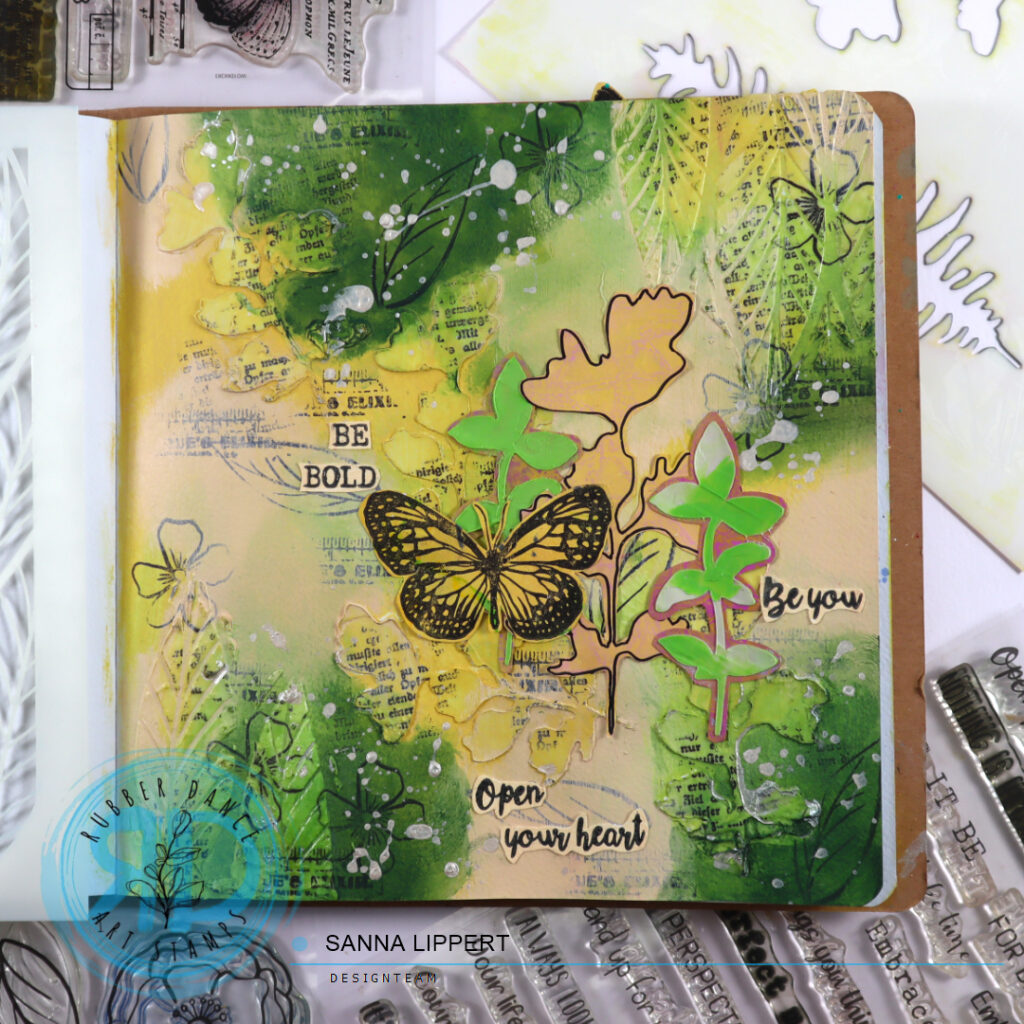
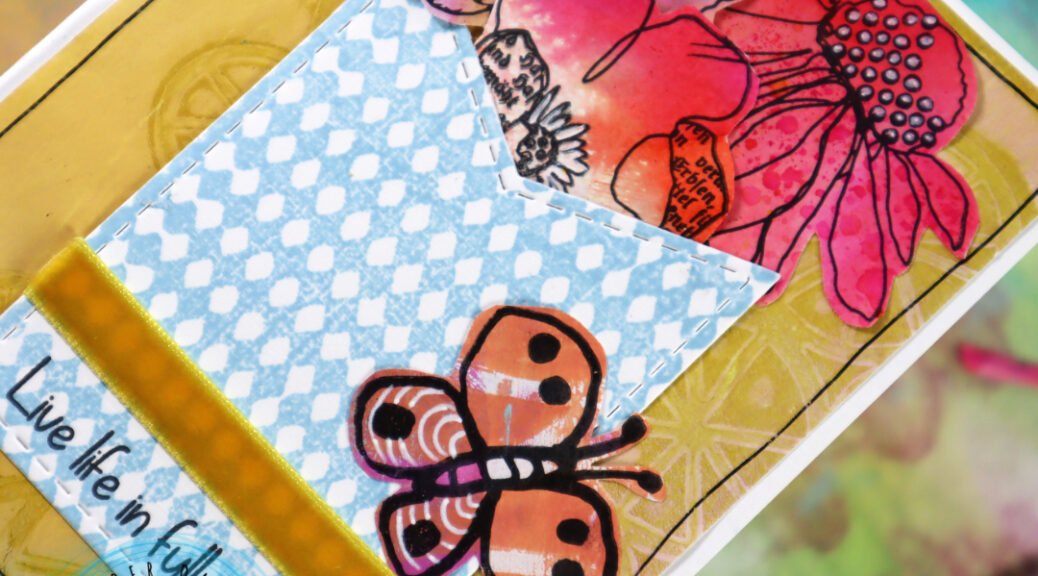
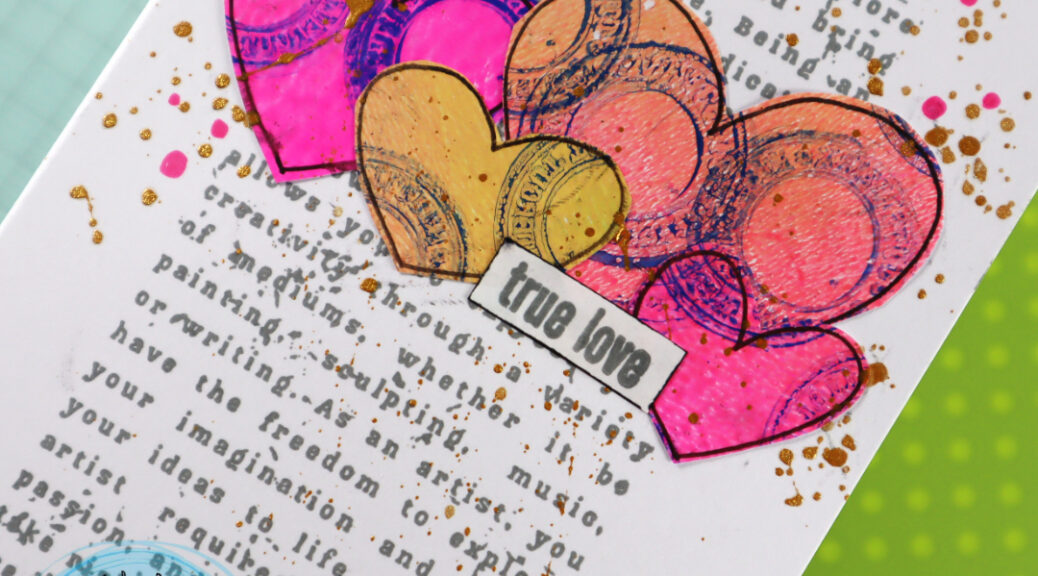
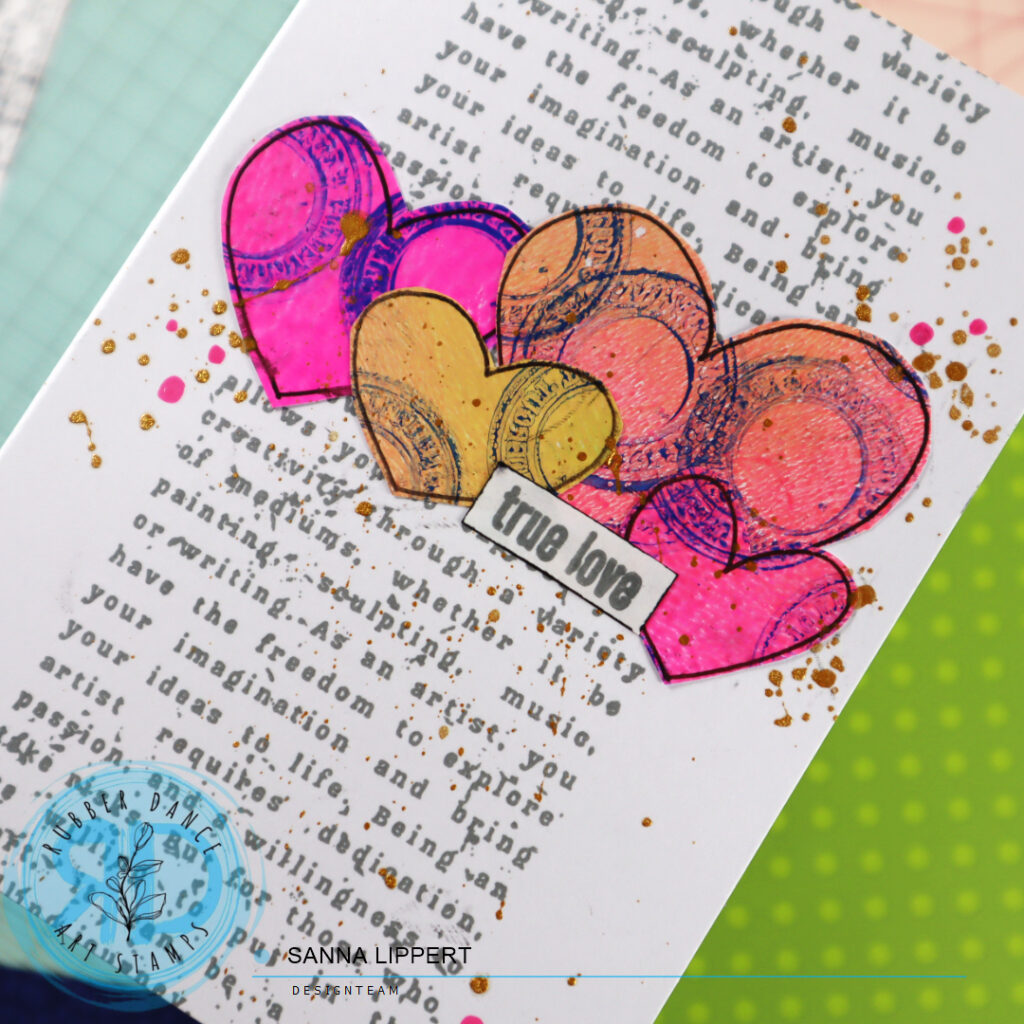
I started by pulling a bold colored gelli print from my collage paper pile – created with the Mix It Up 5 stamp set, acrylic paints and a gel plate. I drew some hearts onto that paper with a black gel pen, then fussy cut those hearts and took a white card base out. I then stamped with the Mix It Up 4 stamp set and a grey stamp ink onto the card base to create a background pattern.
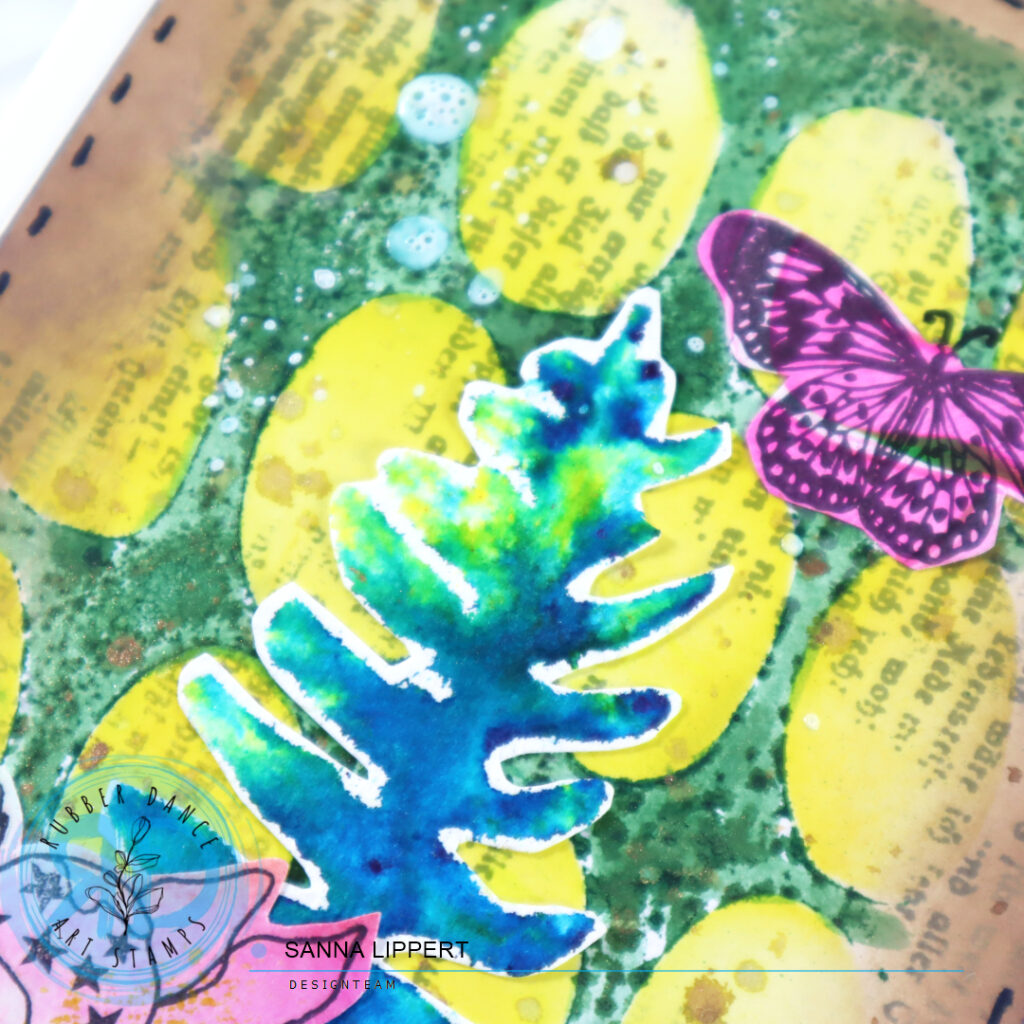
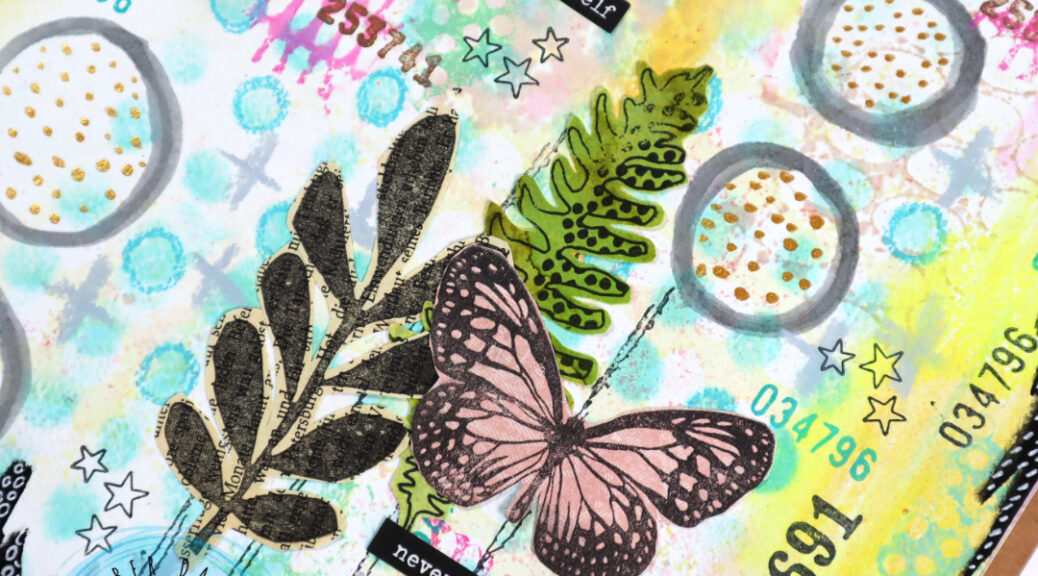
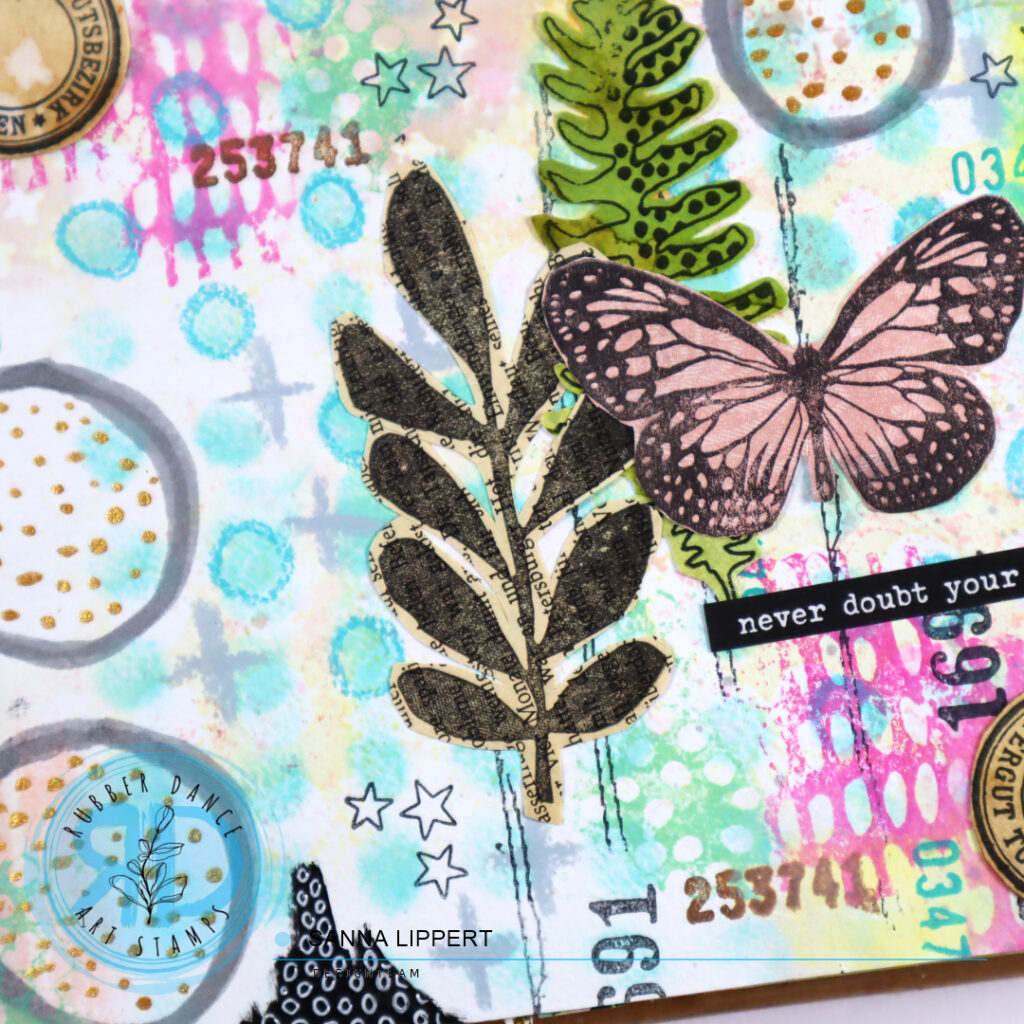
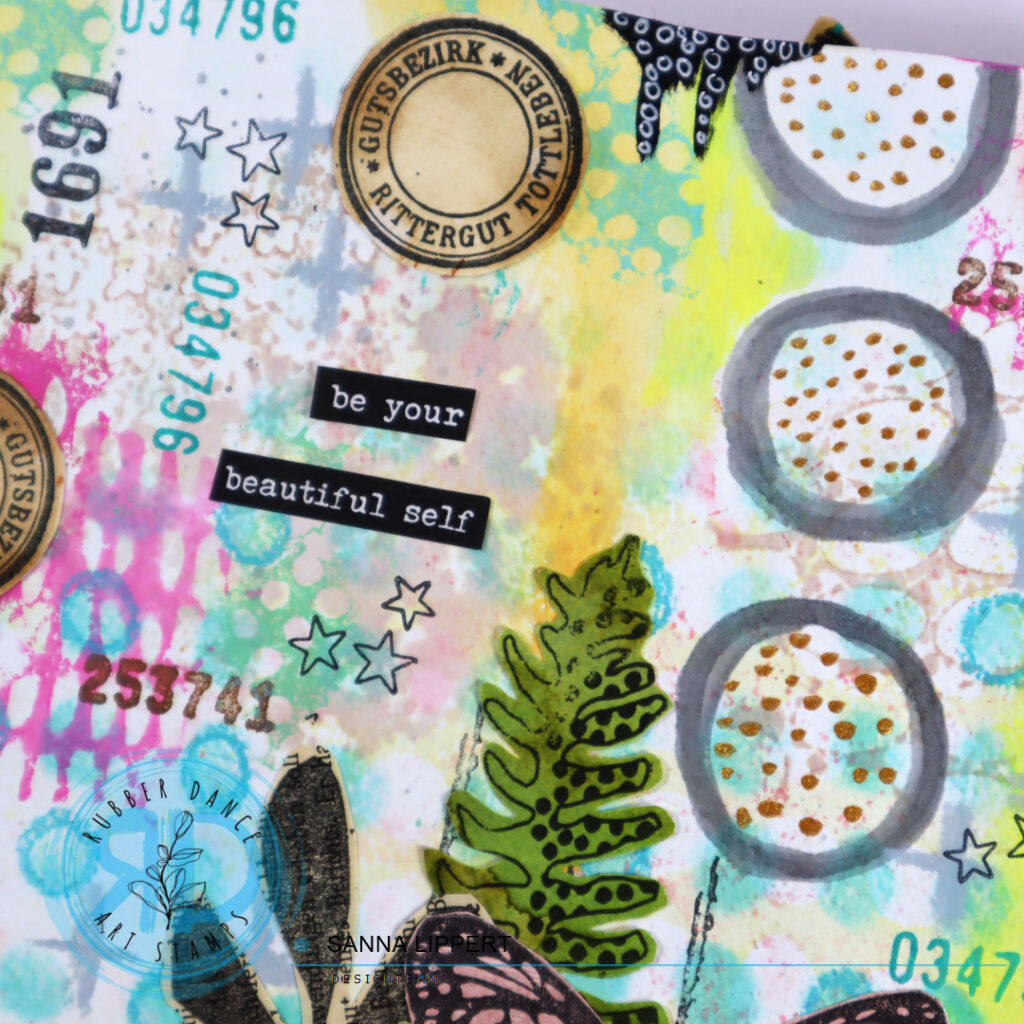
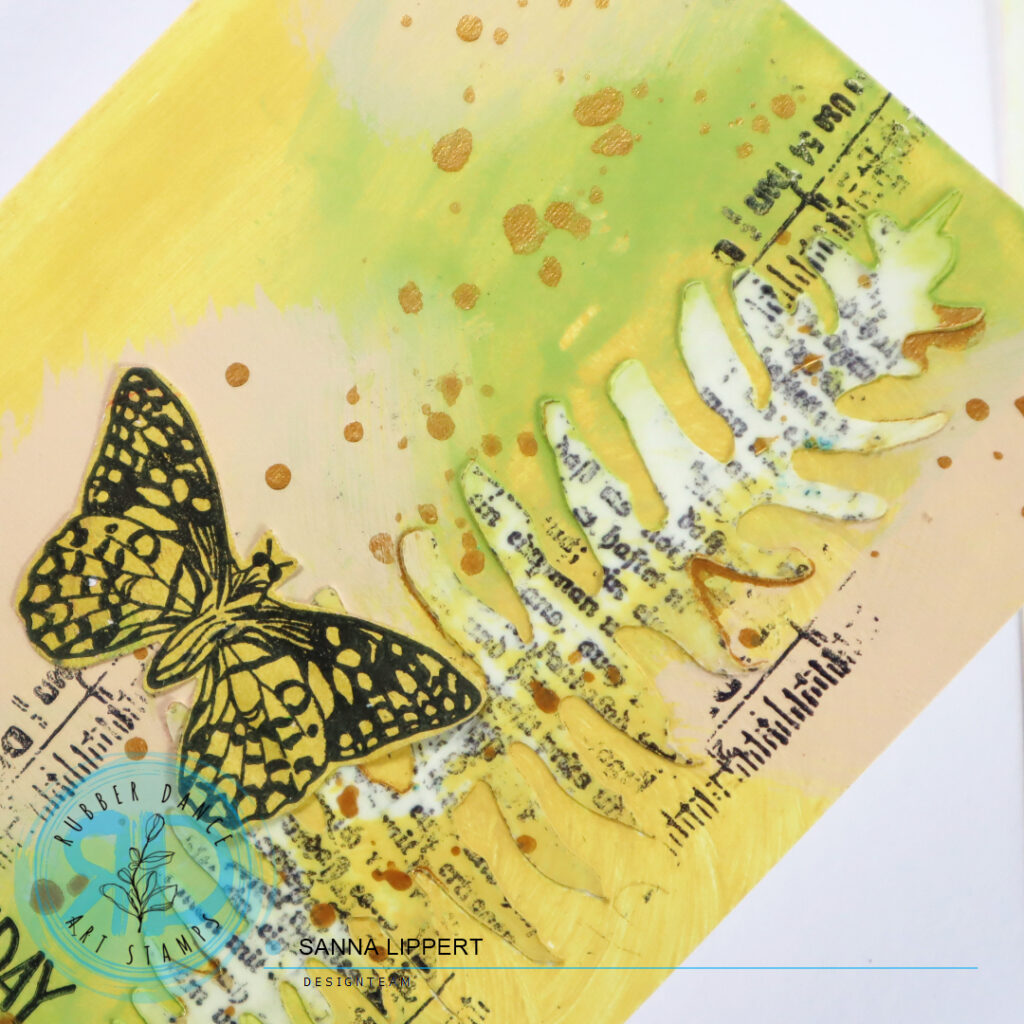
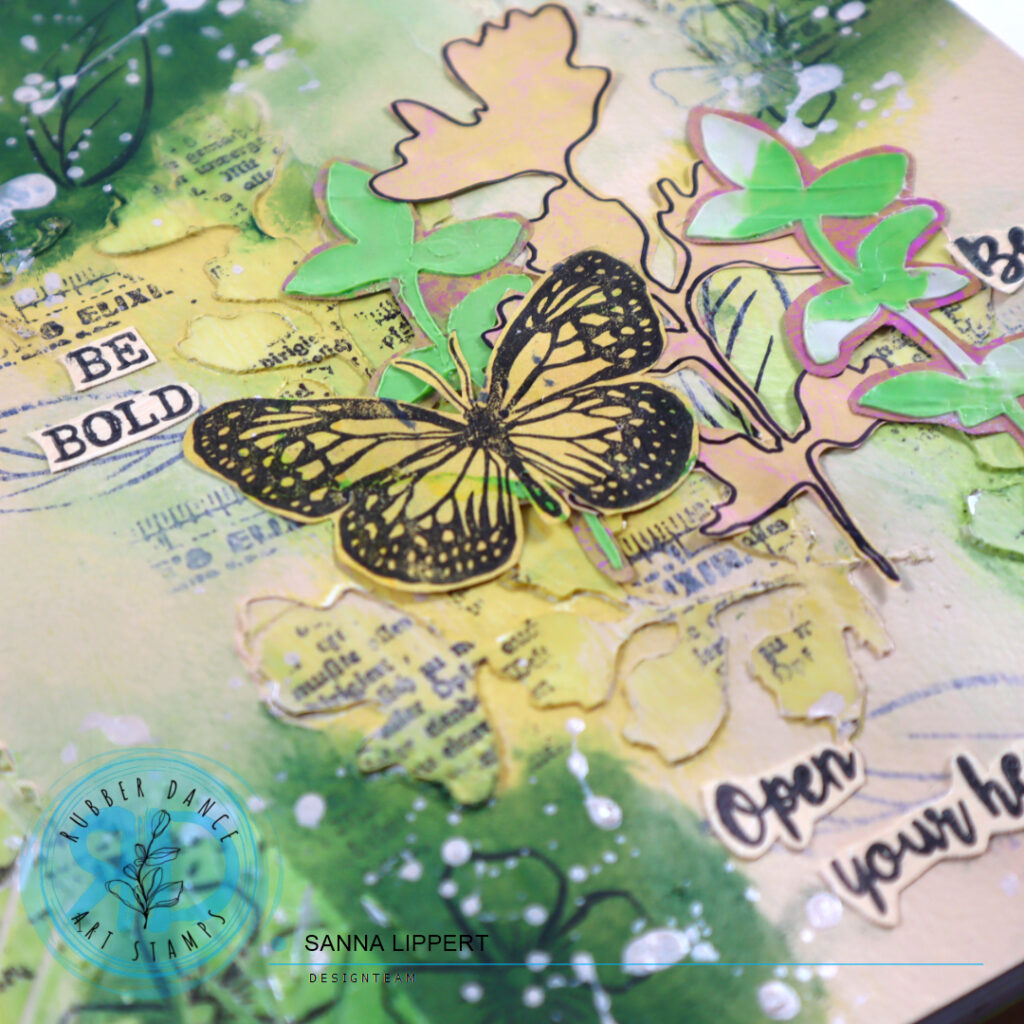
Next I added some golden ink splatters and drew some pink circles with a Posca pen here and there. After that I arranged the hearts into a cluster and finished the card off with the Collage Leaves 3 stamp set sentiment.
Some times the collage papers turn out really bold in color and might be hard to use as is. By adding just tiny bits of them onto a calmer base the colors don´t overwhelm.
Here is a video on how I made gelli printed collage papers:
Hope you get inspired to play!!! Happy crafting,
xx, Sanna