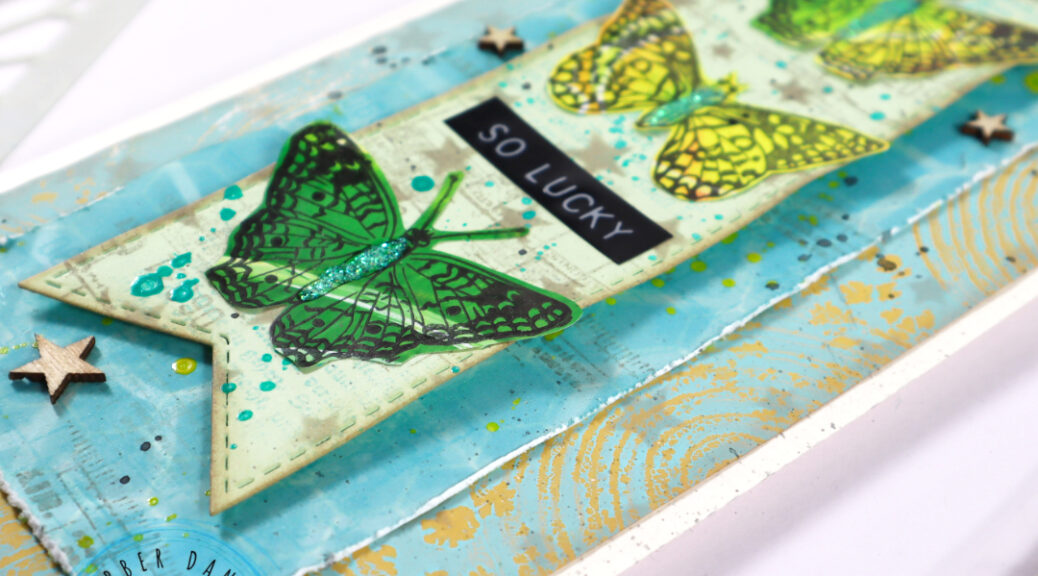
Hello everyone, it´s again my turn to share a project over at Rubber Dance blog today and I am up with a video tutorial to a heavily stenciled and lightly layered butterfly card. For this card I used the Stars 1 and Lattice stencils as well as the Mix It Up 5 stamp set. I also used the Butterflies and Moths fodder I had created for my last share.

I used a gelli printed background paper on the card. I created that one using the Mix It Up 4 stamp set with my gel plate. You can find videos around gelli prints with Rubber Dance stencils and stamps here.
I wanted to keep the colors on the card very light and matching. I therefore added stenciling with pumice stone & tumbled glas tones. They go very well with the background and don´t create a contrast too strong.


After stenciling, I added some stamping in same colors to the papers to create more interest and details. The edges of the paper are distressed and inked and the die cut flag is adhered to the paper with 3D foam for more depth.


I´ve also used Gloss Sprays to add splatters to the paper layers. I am a big fan of splatters. I think they add a fun element to projects. For finishing touches I added the gelli printed and stamped butterfly fodder (made using the Butterflies and Moths stamp set), a Tim Holtz sentiment sticker and some very old wood veneer stars. The black splatters are done with a wet brush and a watercolor crayon.
For more info, here is a full start-to-finish video for your to watch:
I also can not resist a little bit of glitter here and there sometimes. So the bodies of the butterflies got a little coat of Stickles in the end. I hope you like the idea and try it out yourself! Happy crafting,
xx, Sanna
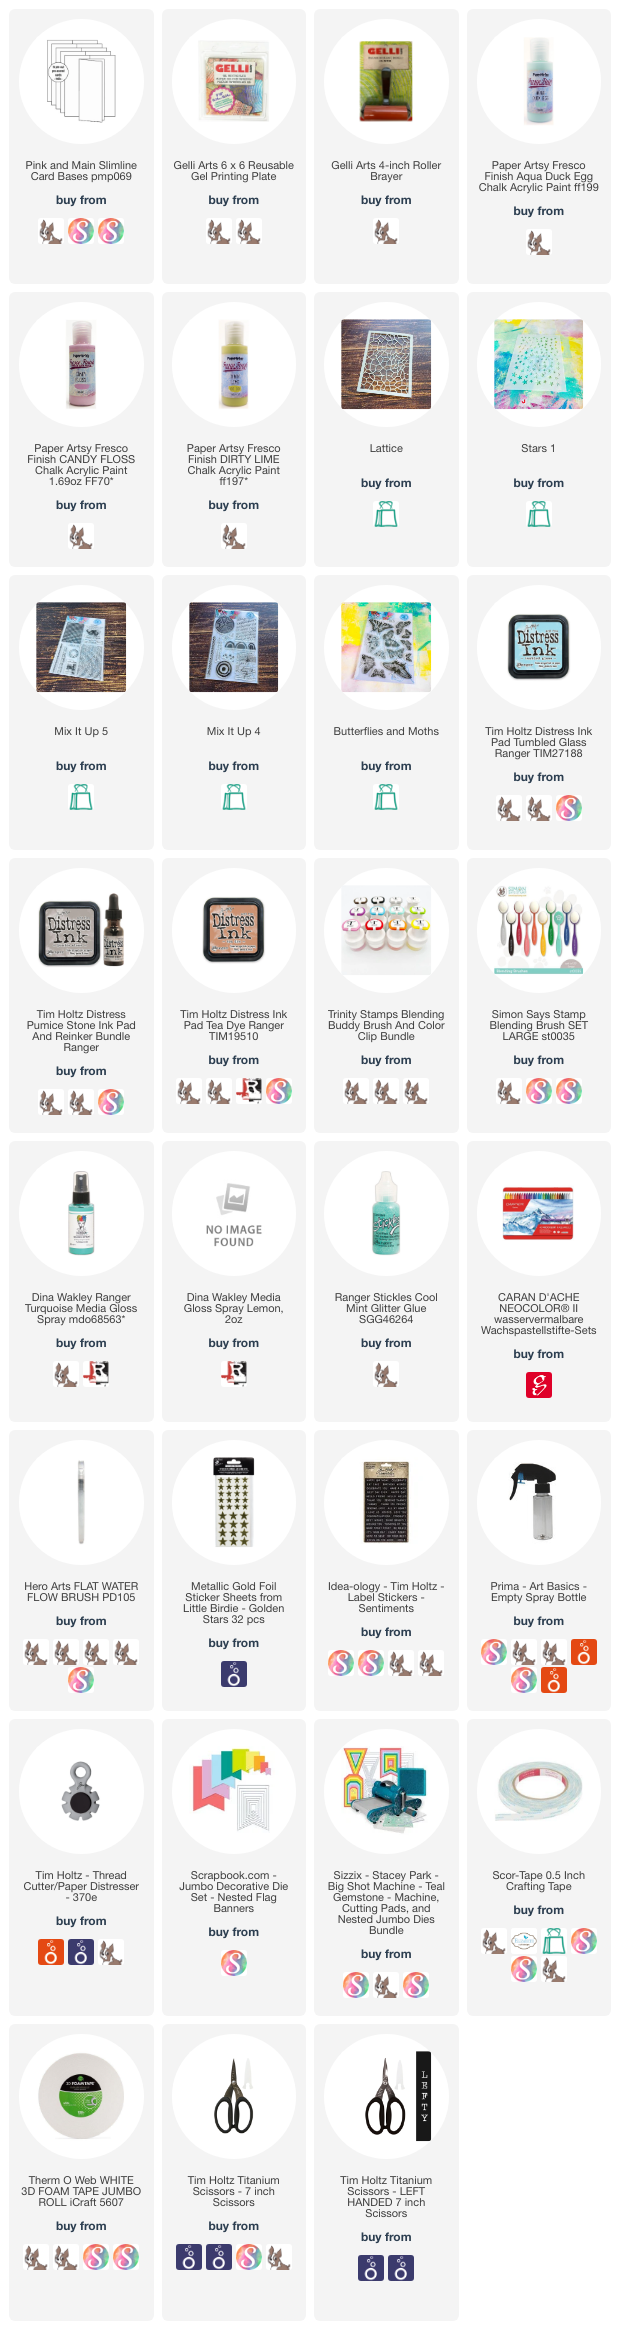
Supplies: