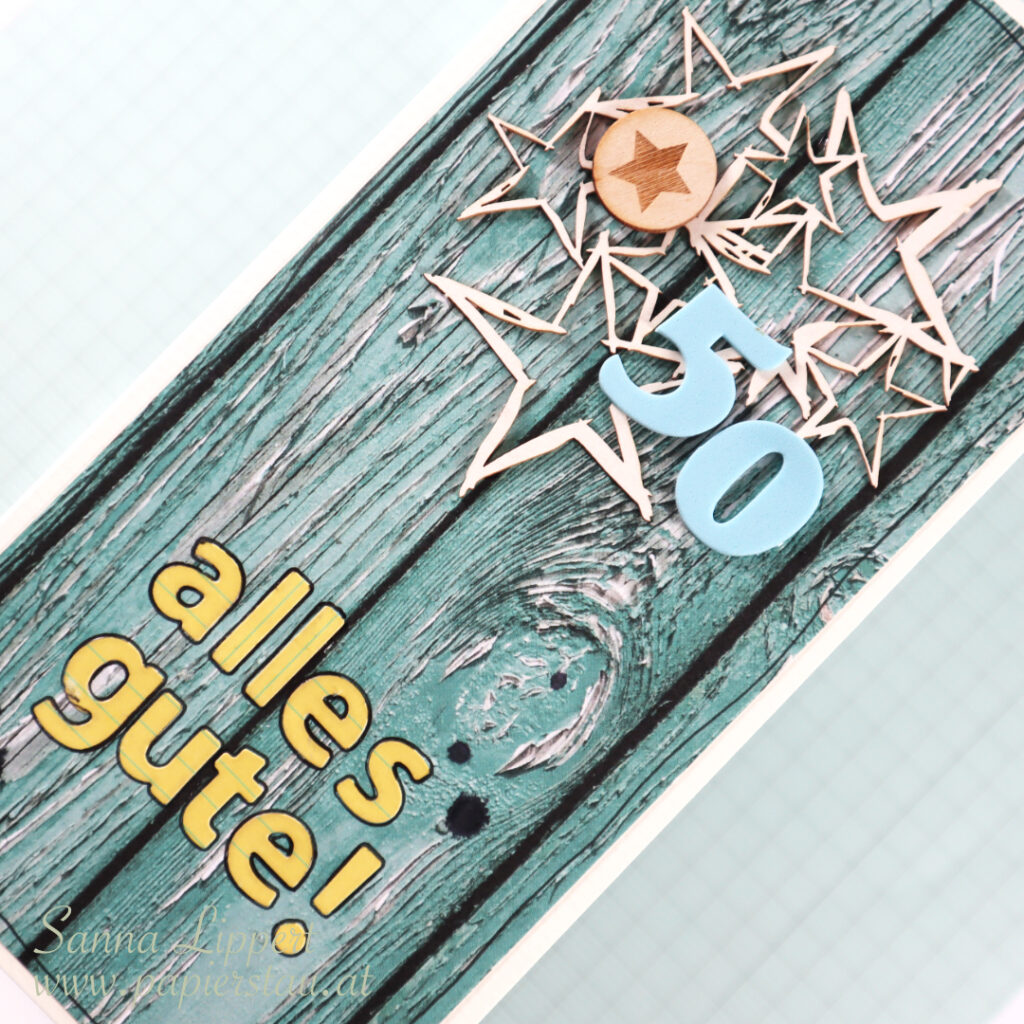
Hello and happy Wednesday! I recently created a set of 50th birthday cards. This is what I ended up creating:
Both of them are for a woman, but she is not a girly, pink, flower girl. Thus the more “cool” designs. On this card I´ve used Dani Peuss papers on the background and some older chipboard and stickers from my stash. Plus some spray ink in black and a black gel pen.

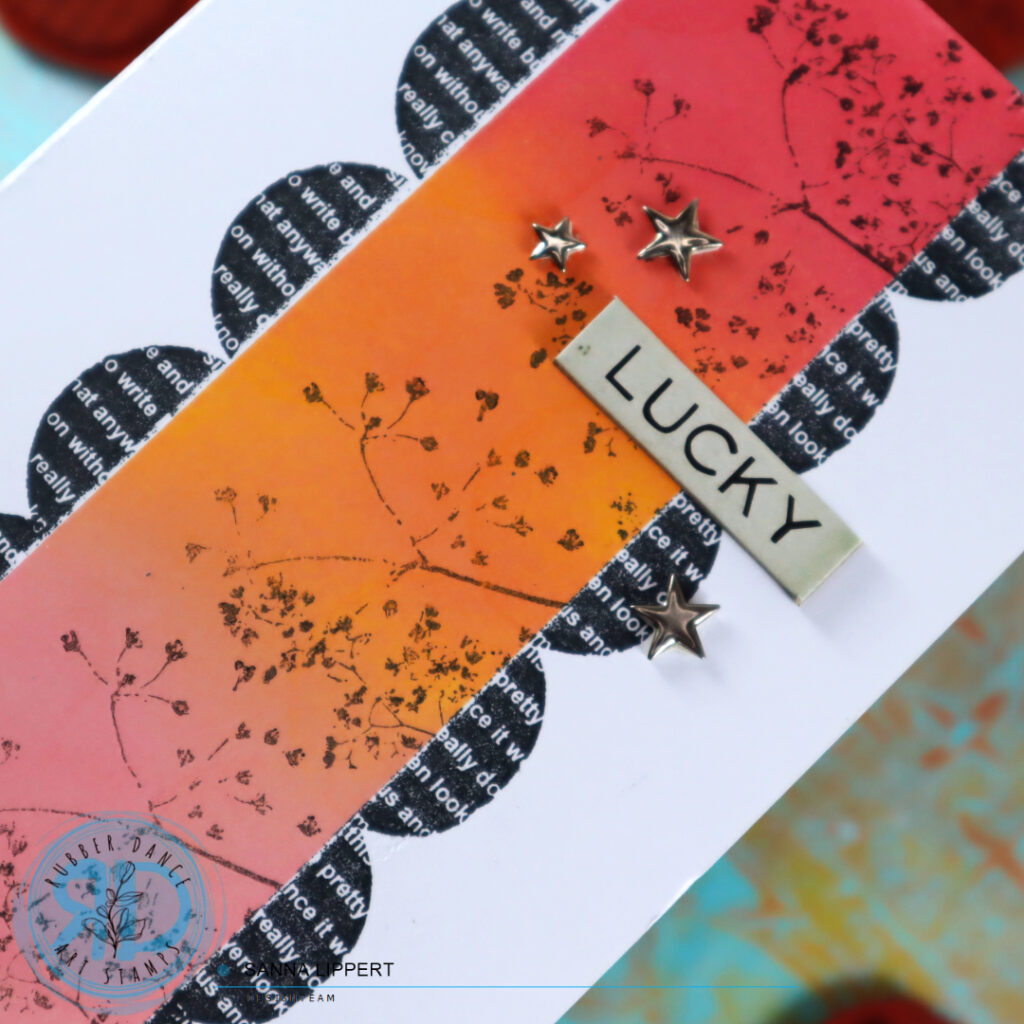
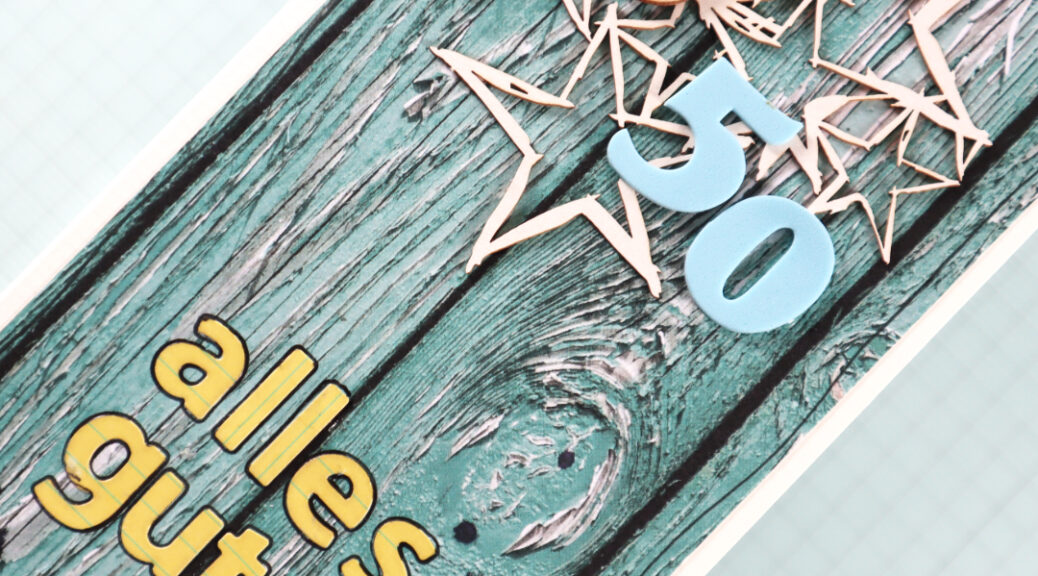
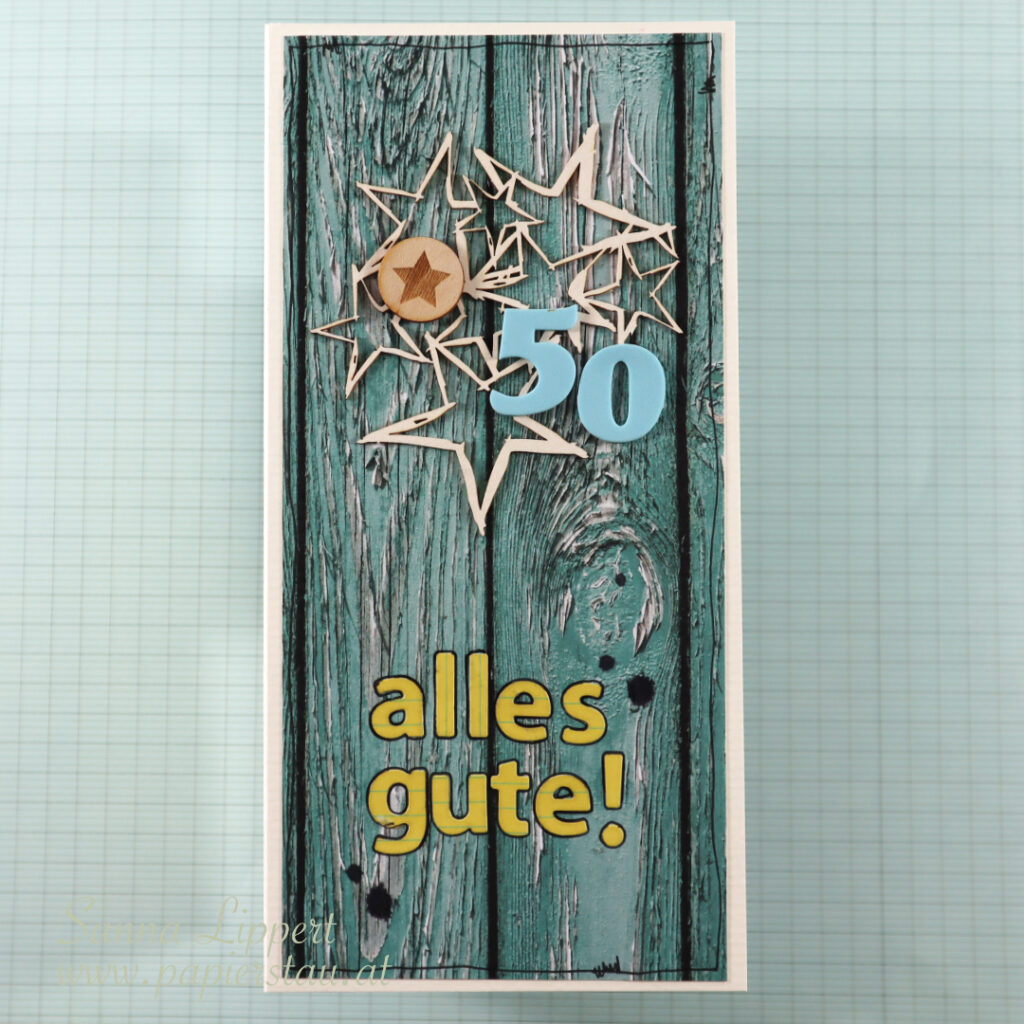
Like the first one, the second is also a slimline format card:
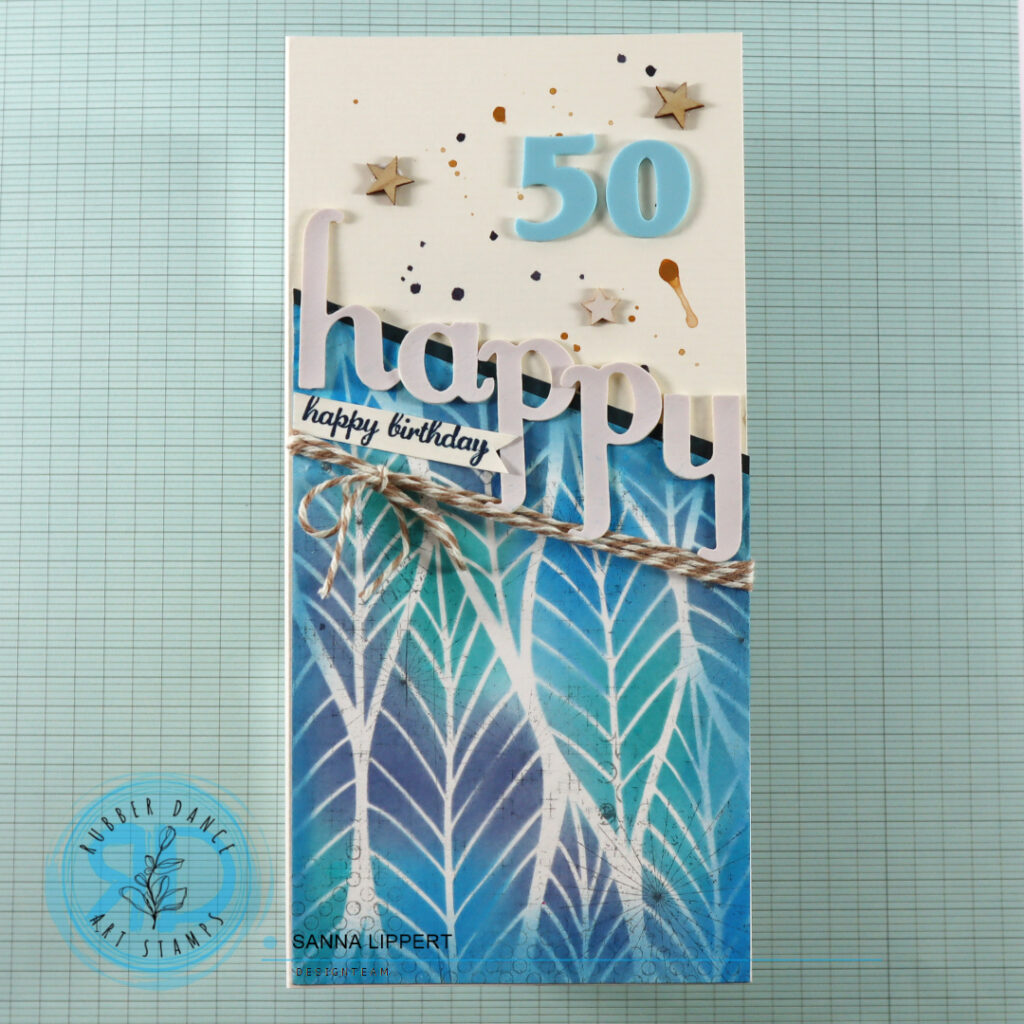
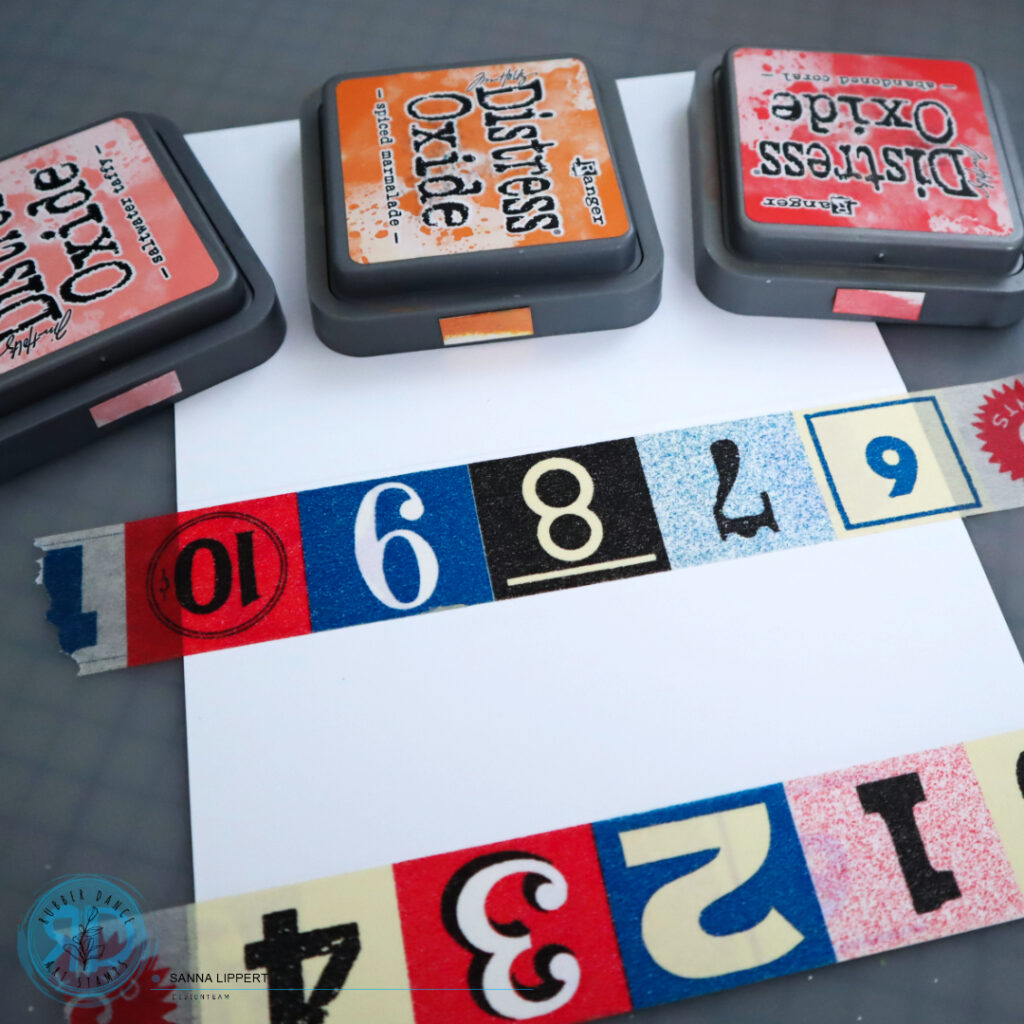
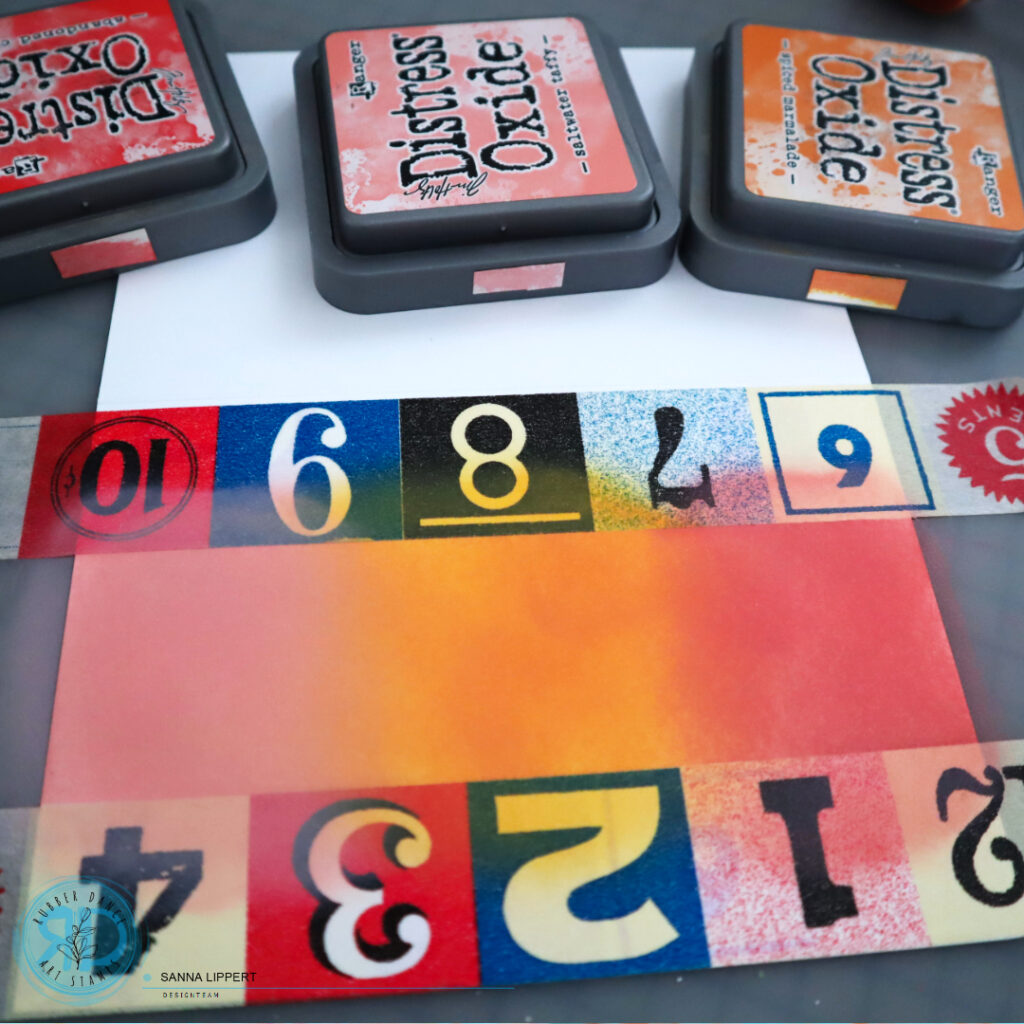
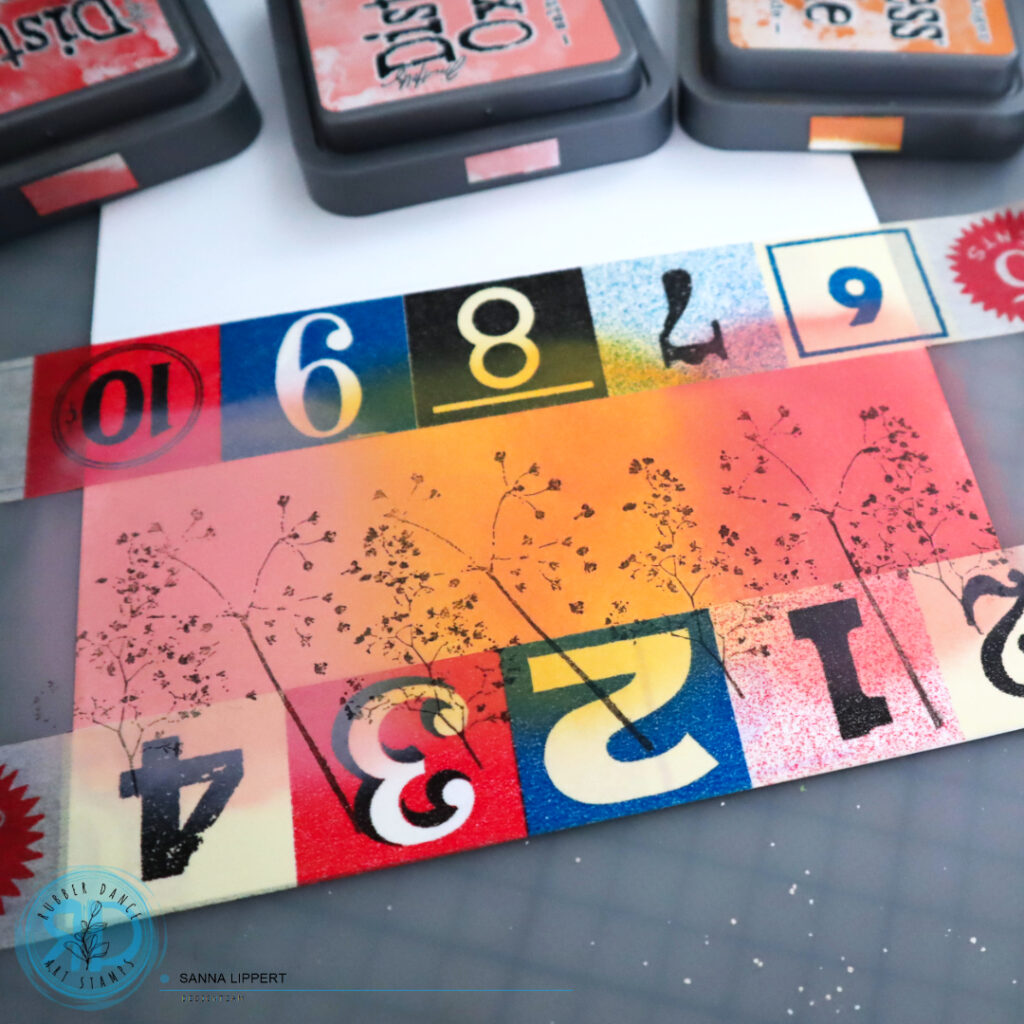
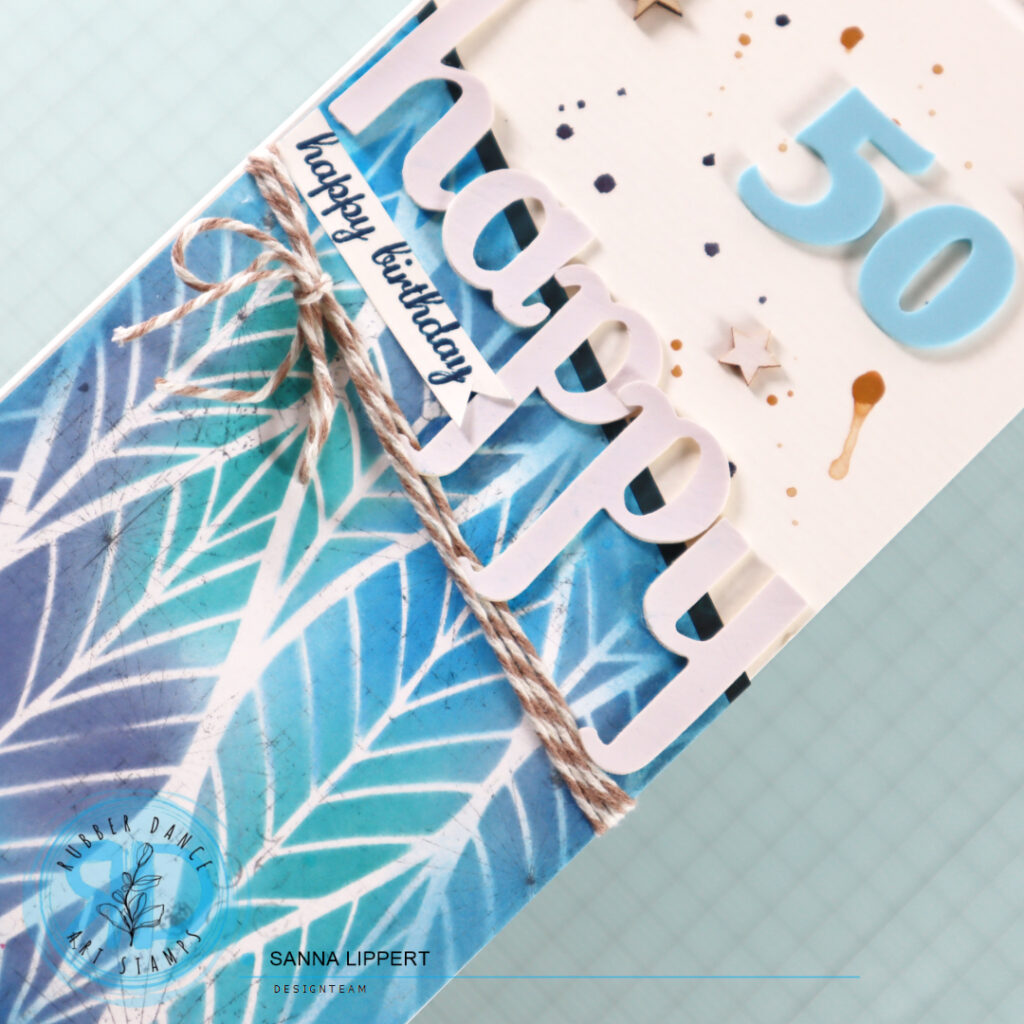
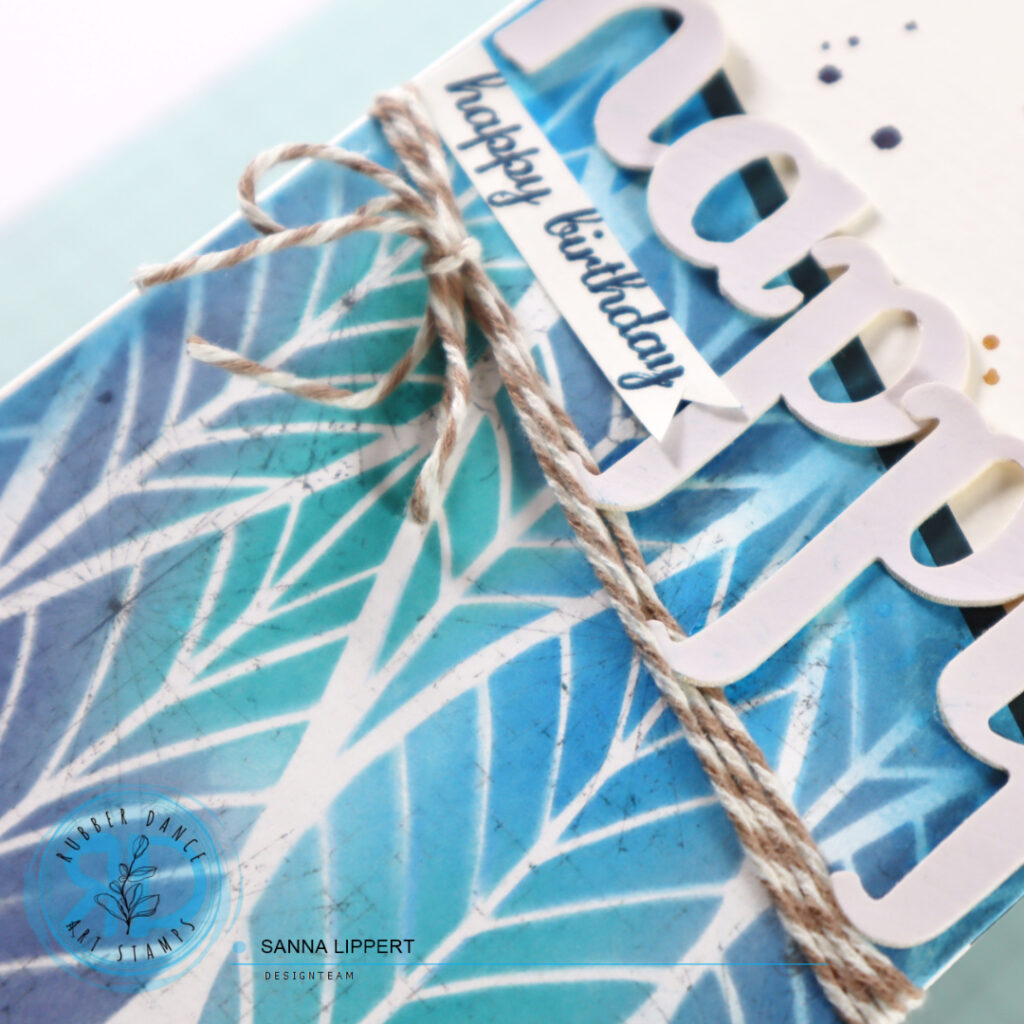
For this one I used a Rubber Dance stencil (Leaves 2) with Distress Oxide Inks in various blue shades. I also added two types of American Crafts alpha stickers (foam and vinyl). I also used some black and golden pigment droplets as well as a piece of twine and a some chipboard stars and a stamped Stampin´ Up! sentiment. Stamped with a blue VersaFine Clair stamp ink.
Inside one of the cards I created a pocket for a gift card. The other one is without one. These were fun to make! I hope the recipient will also appreciate them ;-).
Happy crafting,
xx, Sanna