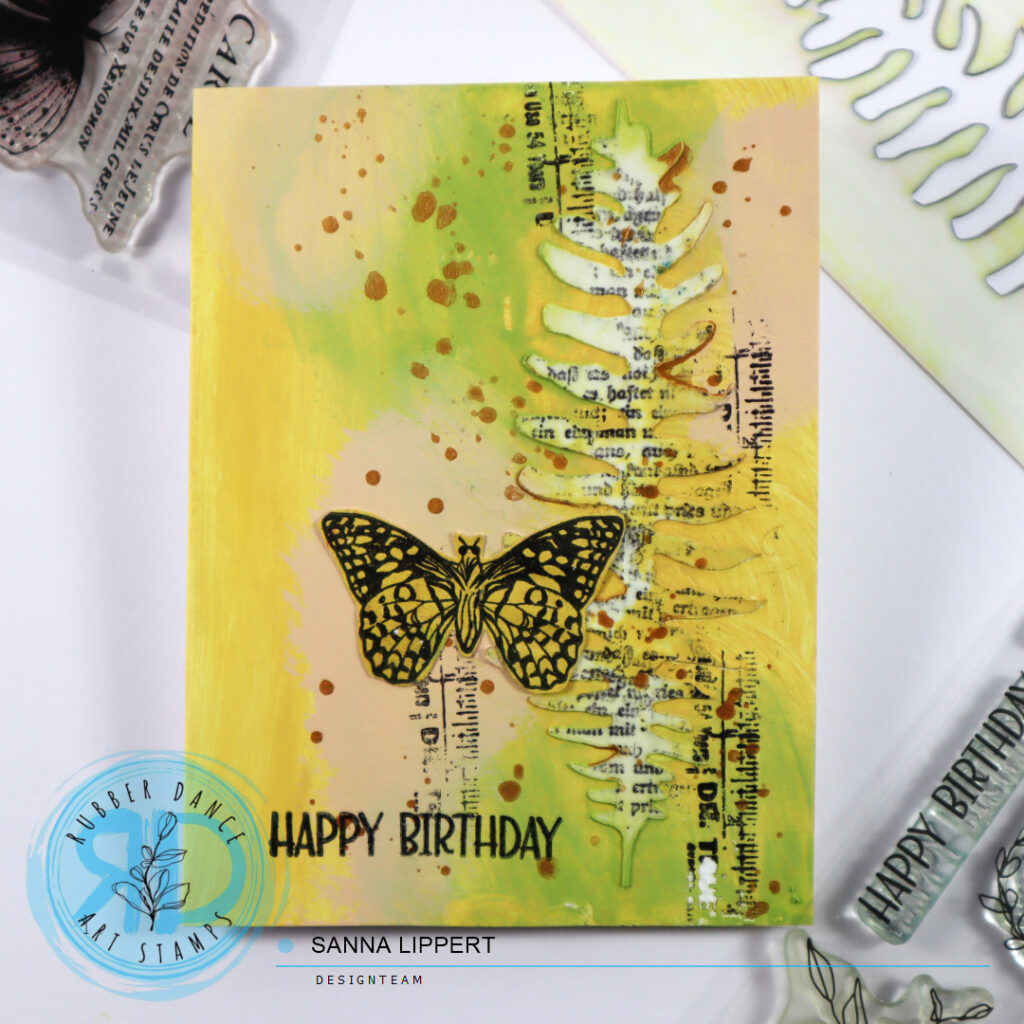
Hello, it´s Sanna here today with an art journal page process post and video. For this Art Journal page I used following products: Rainbows 2 stencil, Mix It Up 5, Textured Mushrooms 2 and Pencil Marks 8 stamp sets.
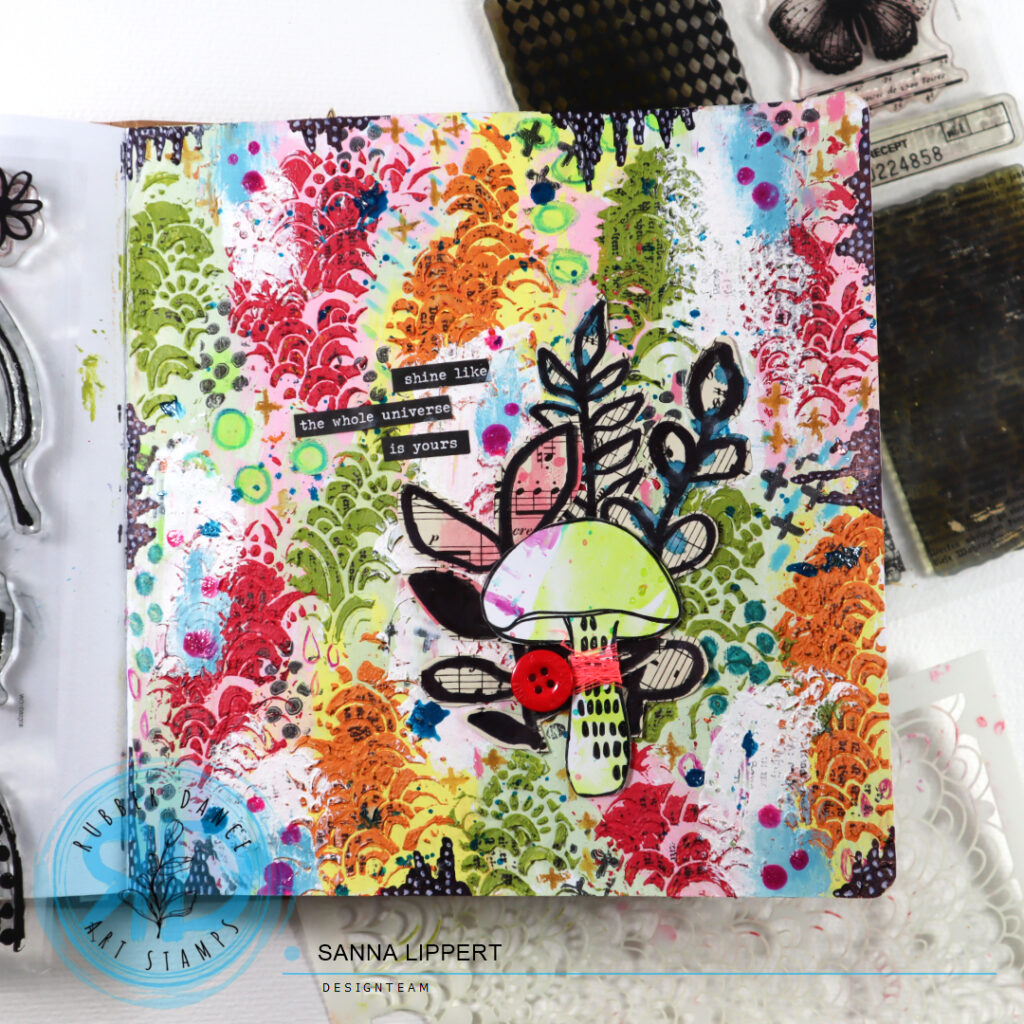
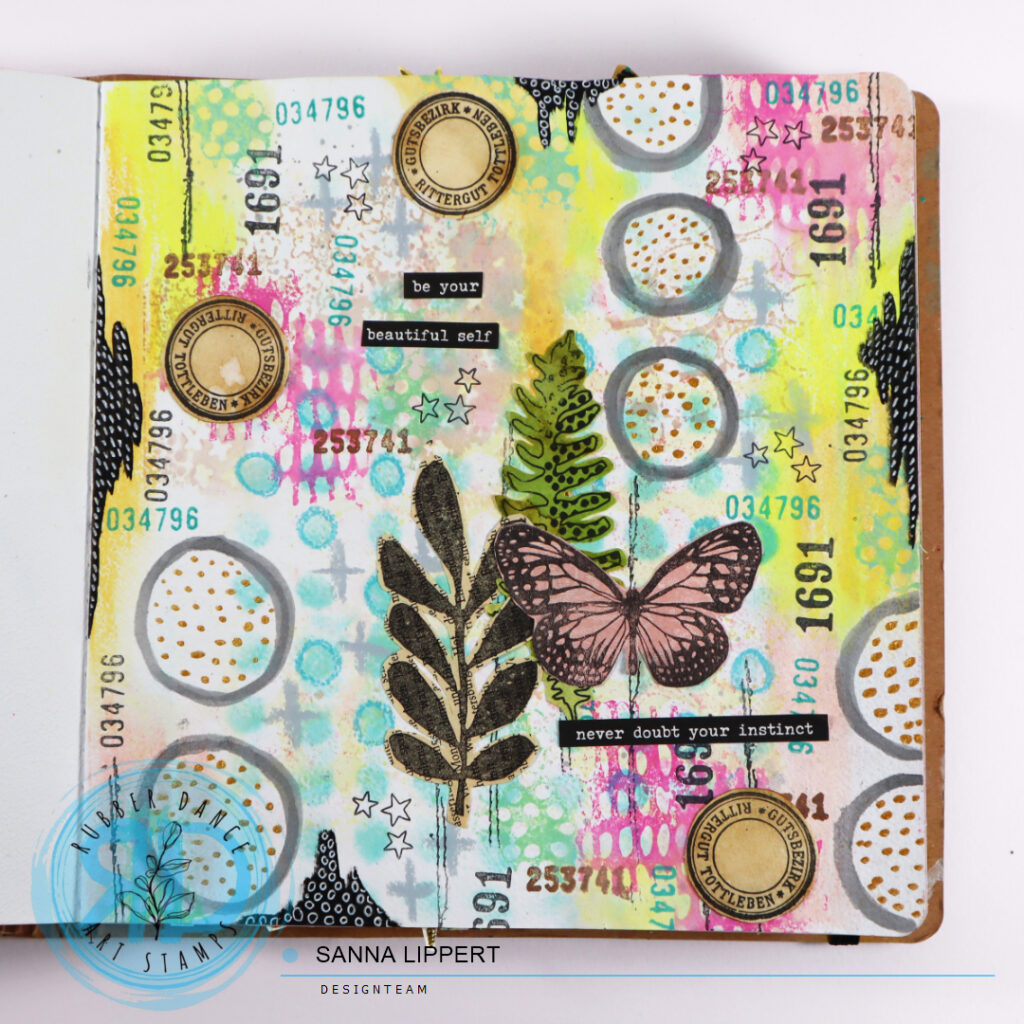
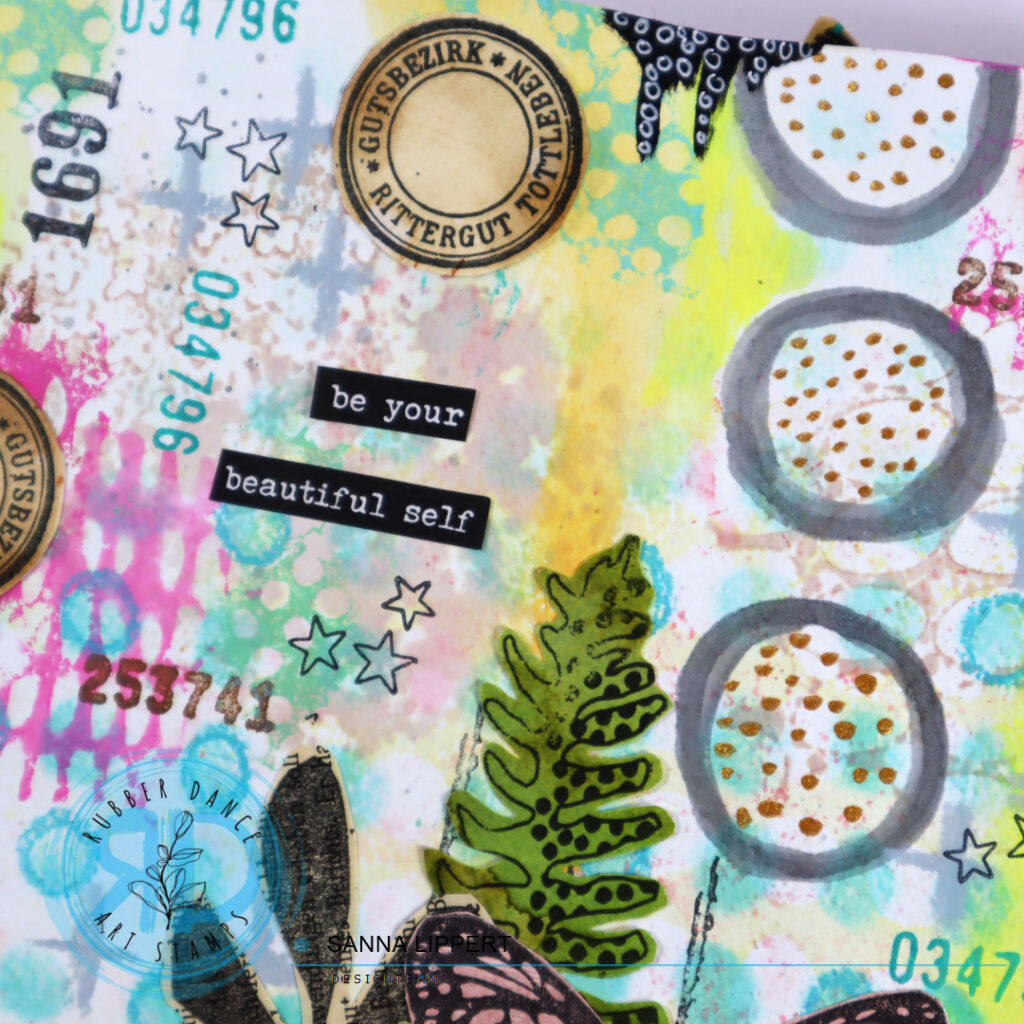
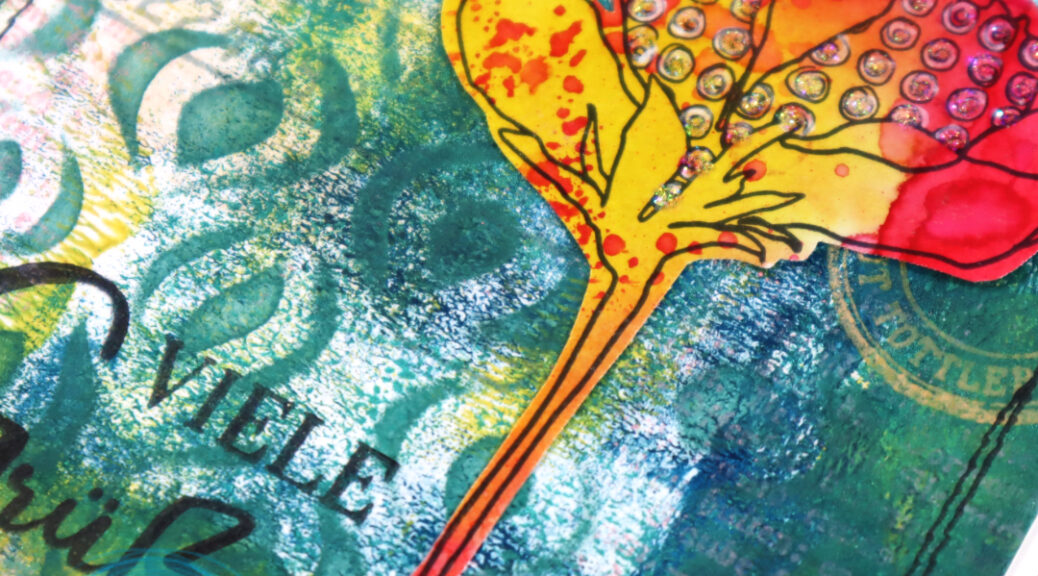
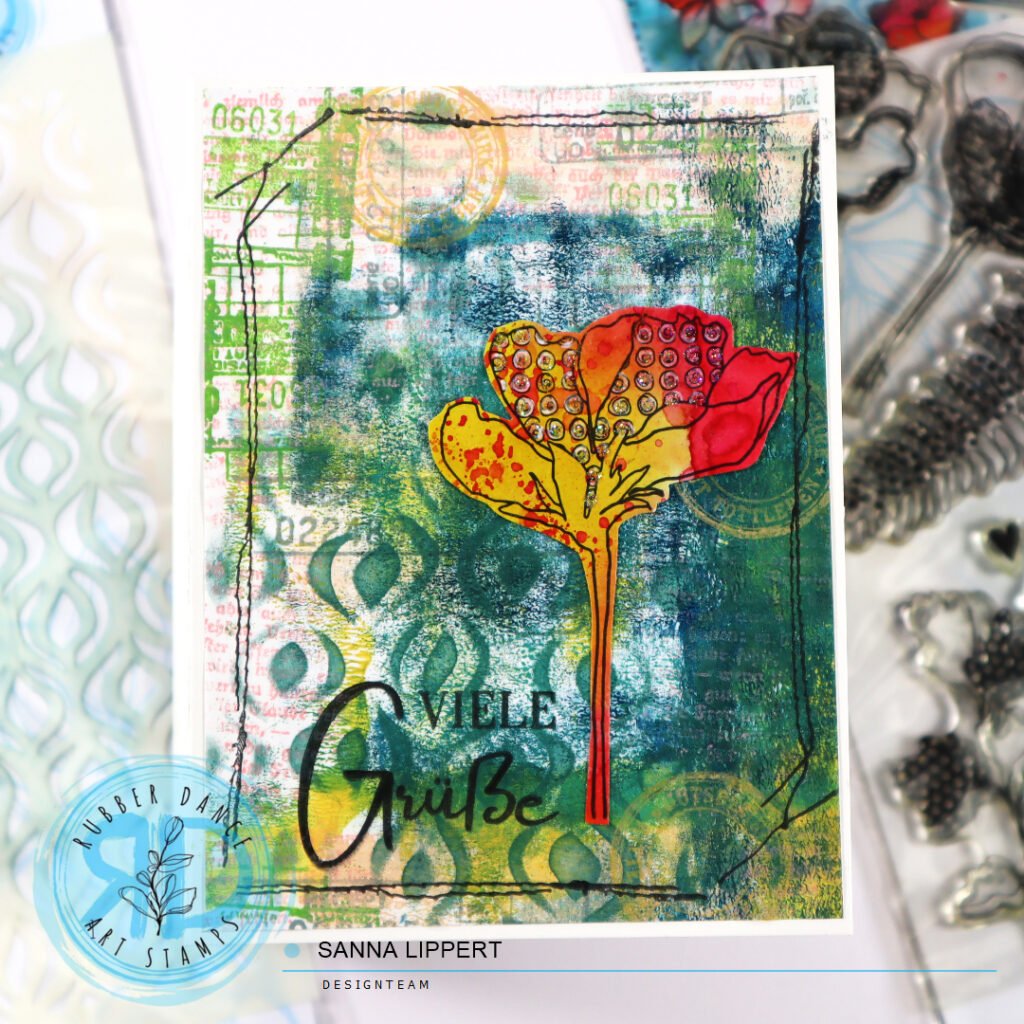
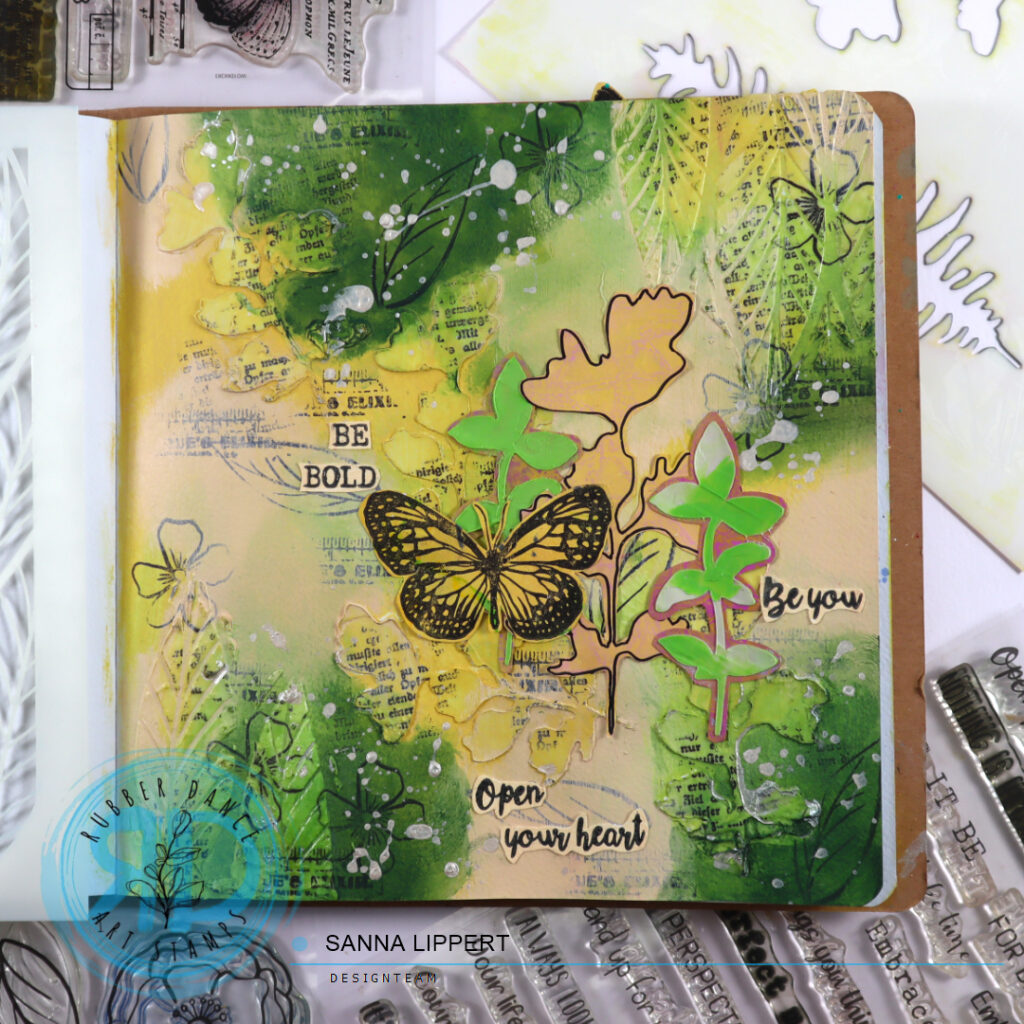
I started by adding light pastel Distress Paint tones onto the background and covering the page with them first. Next I took some texture paste and darker red, green and orange Distress Paint and mixed those together. Then I took the Rainbows 2 stencil and applied the tinted pastes onto the journal page thru the stencil.
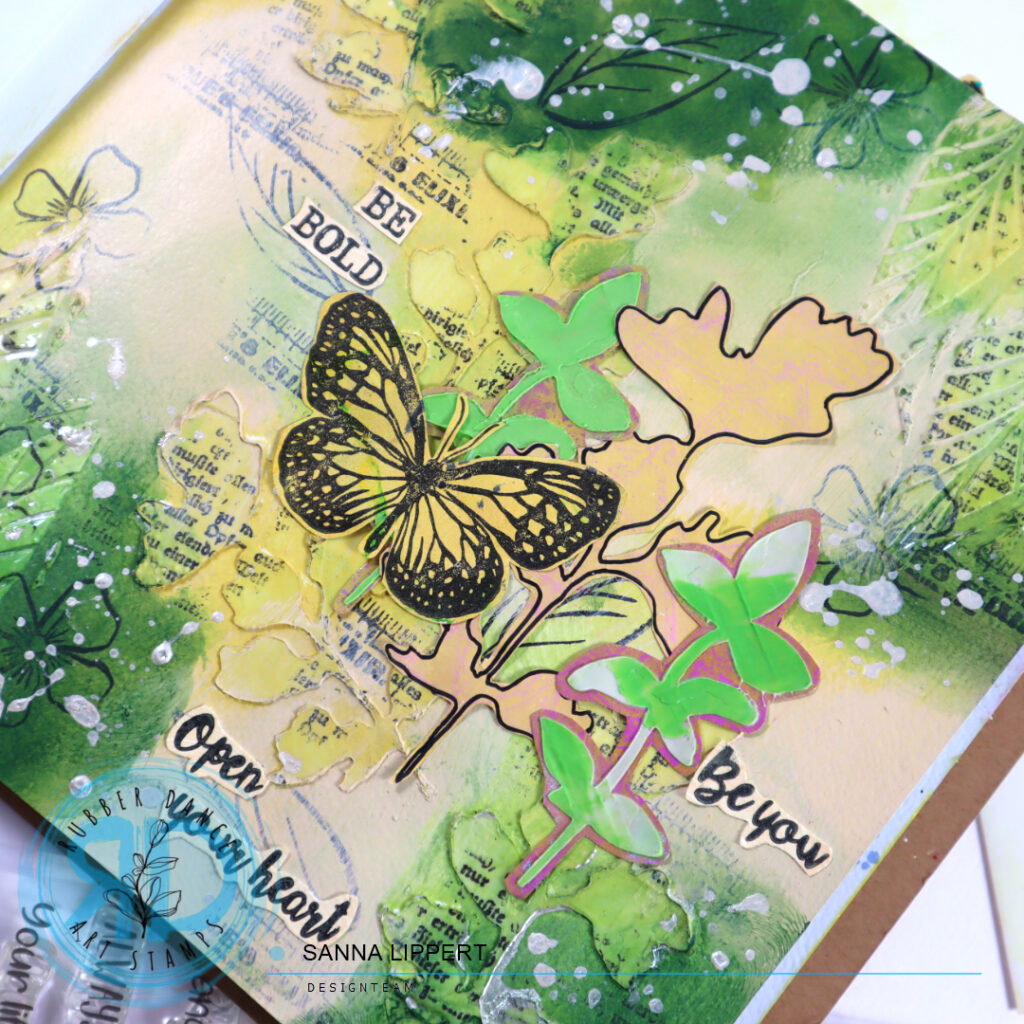
Next I added some marks with Neocolor II´s onto the empty areas. I drew random patterns here and there. After that I took black stamp ink and made marks with Pencil Marks 8 stamp here and there. I then wiped some white Distress Paint over some areas with a palette knife.
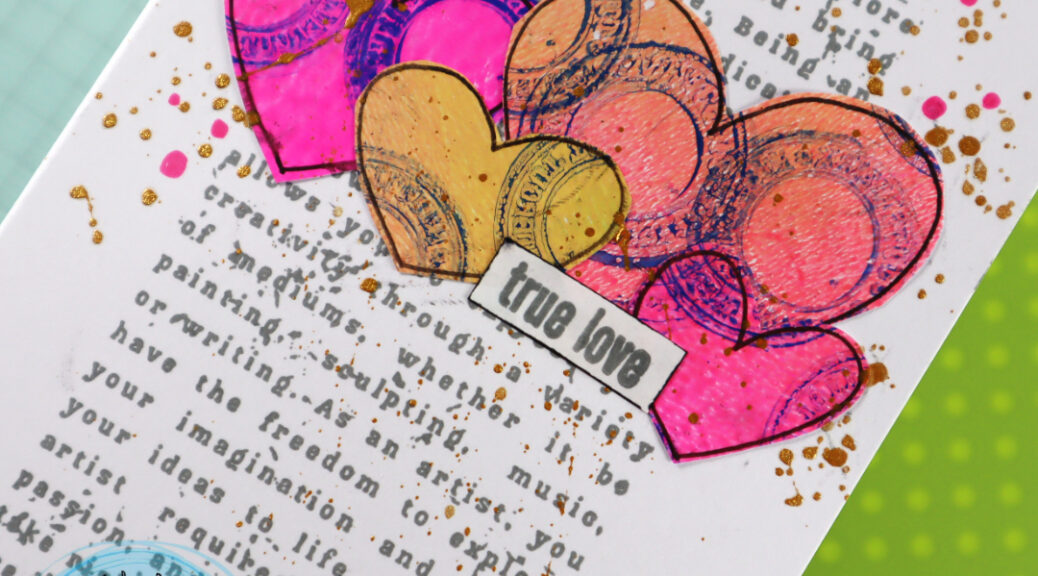
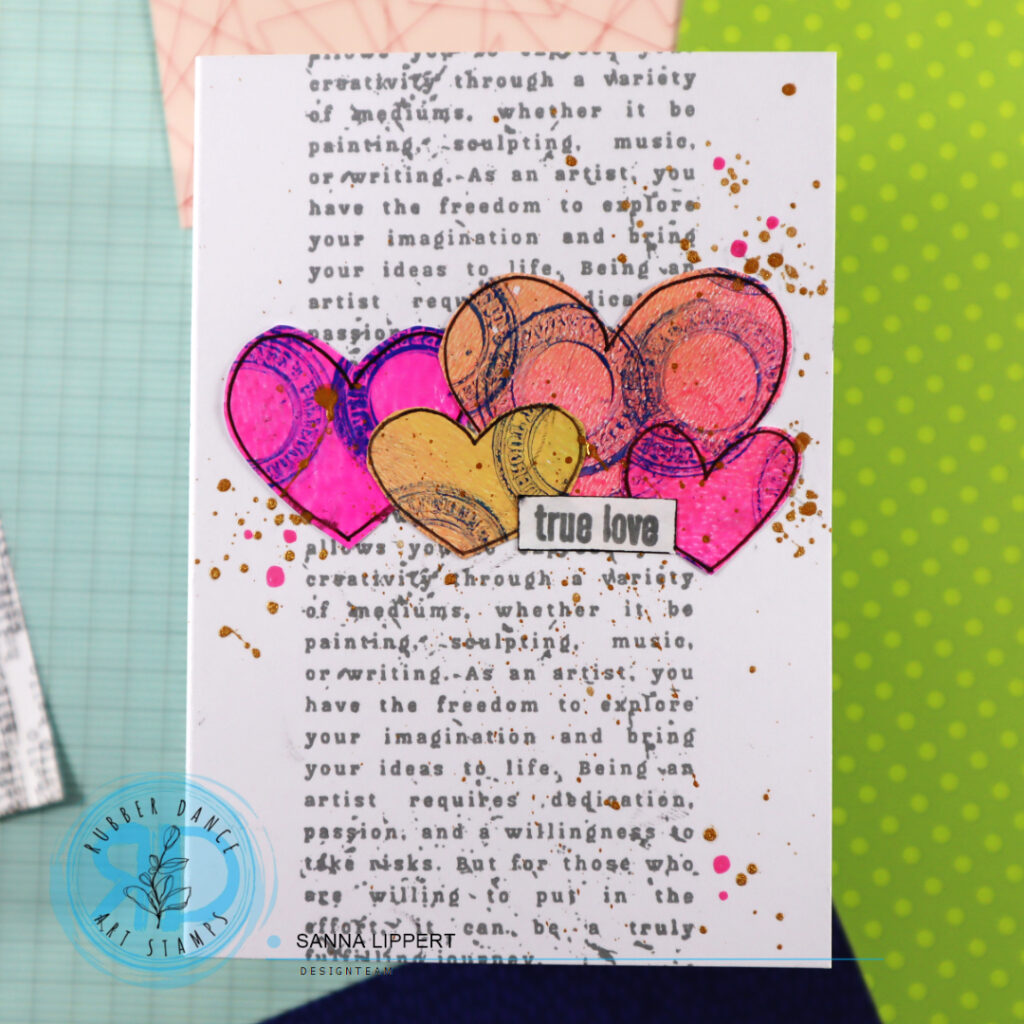
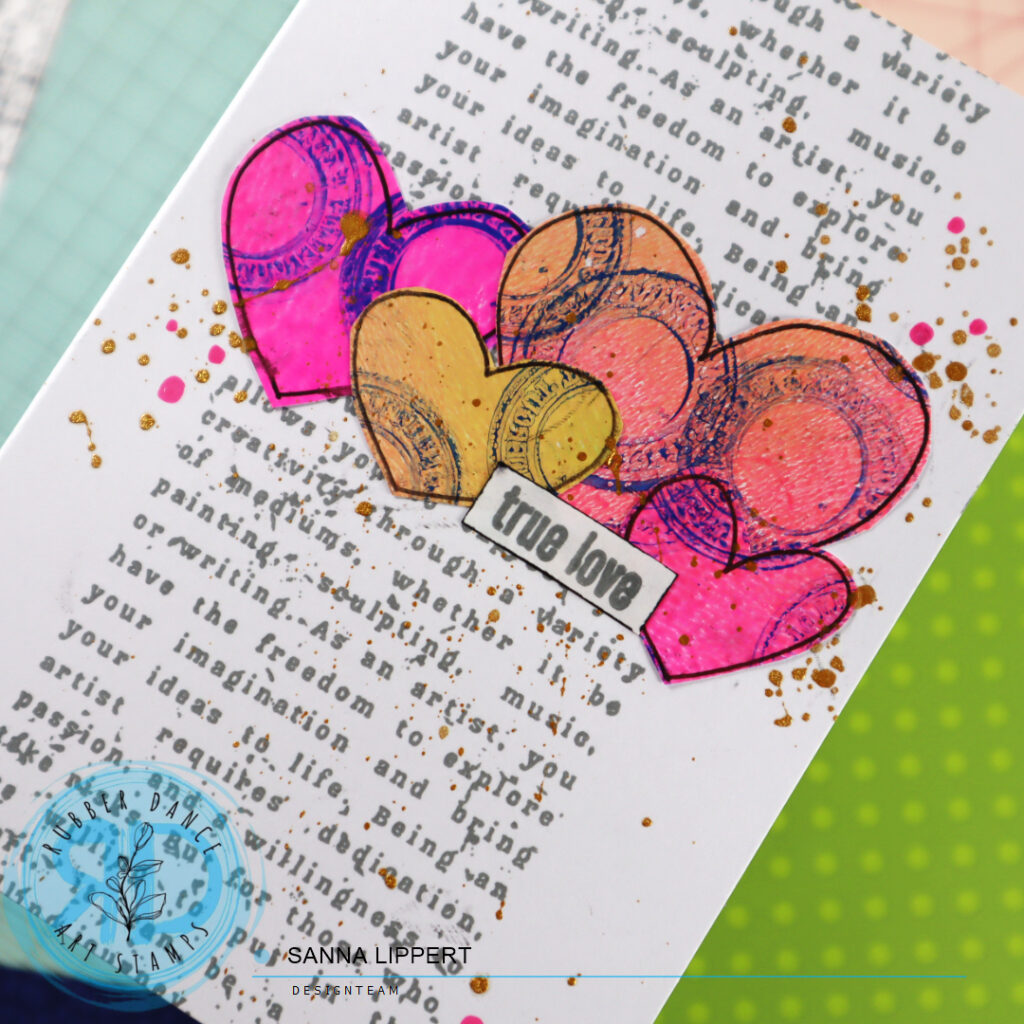
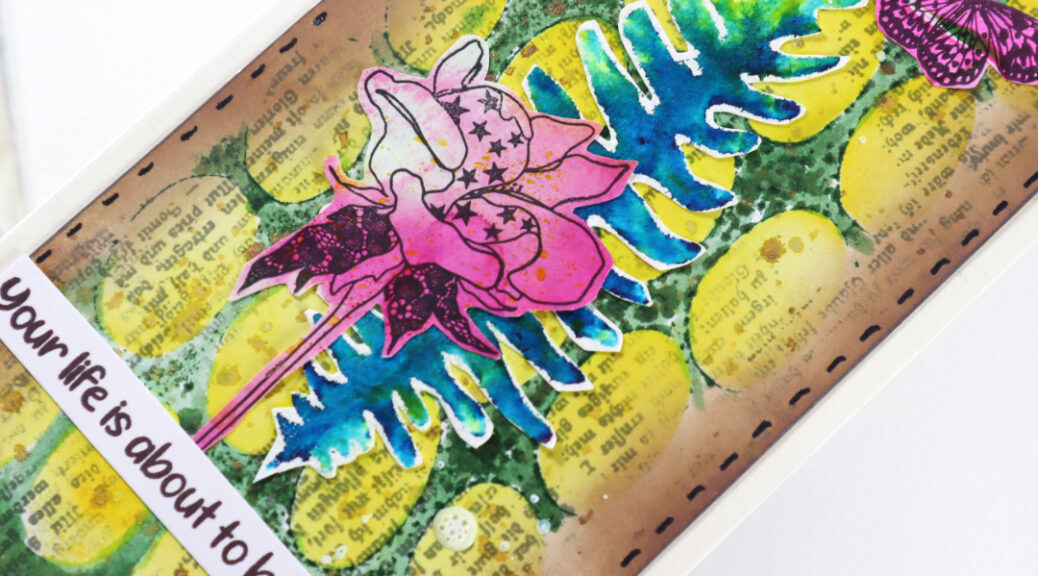
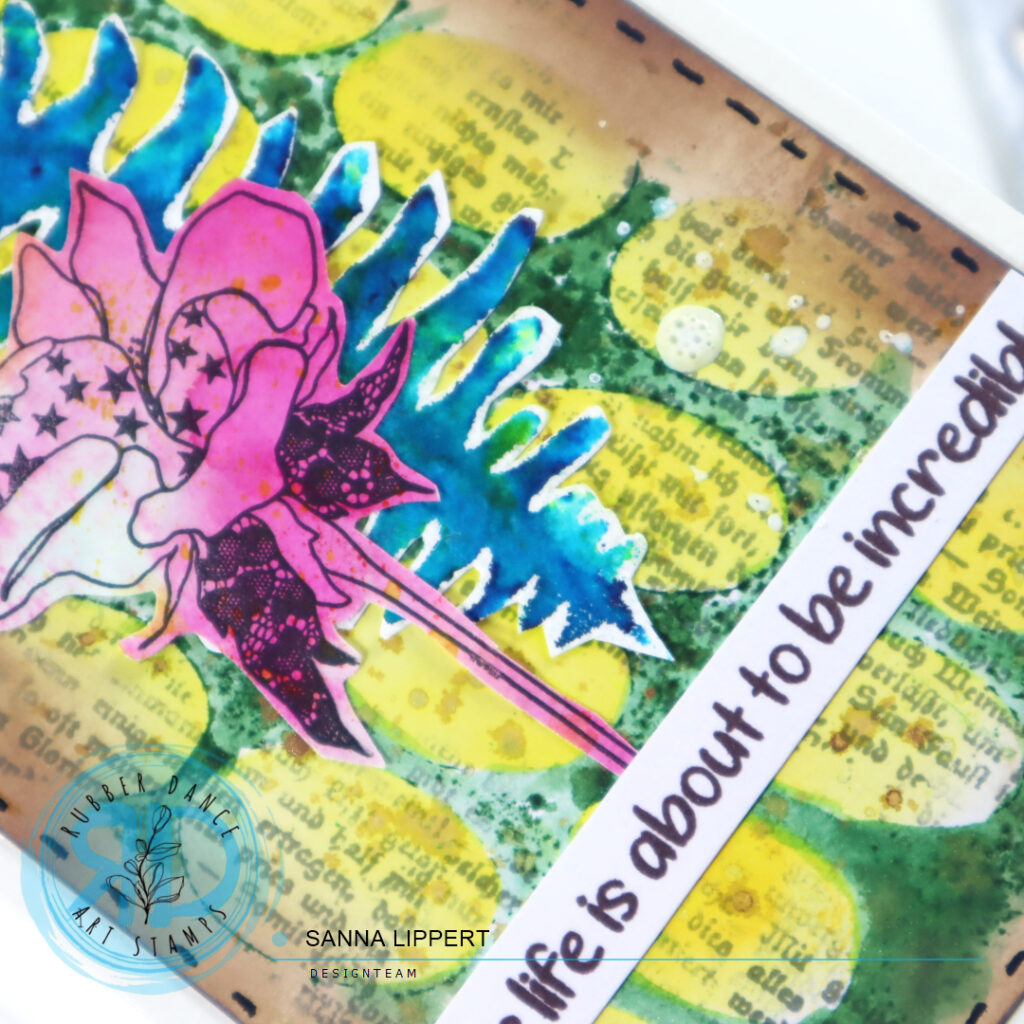
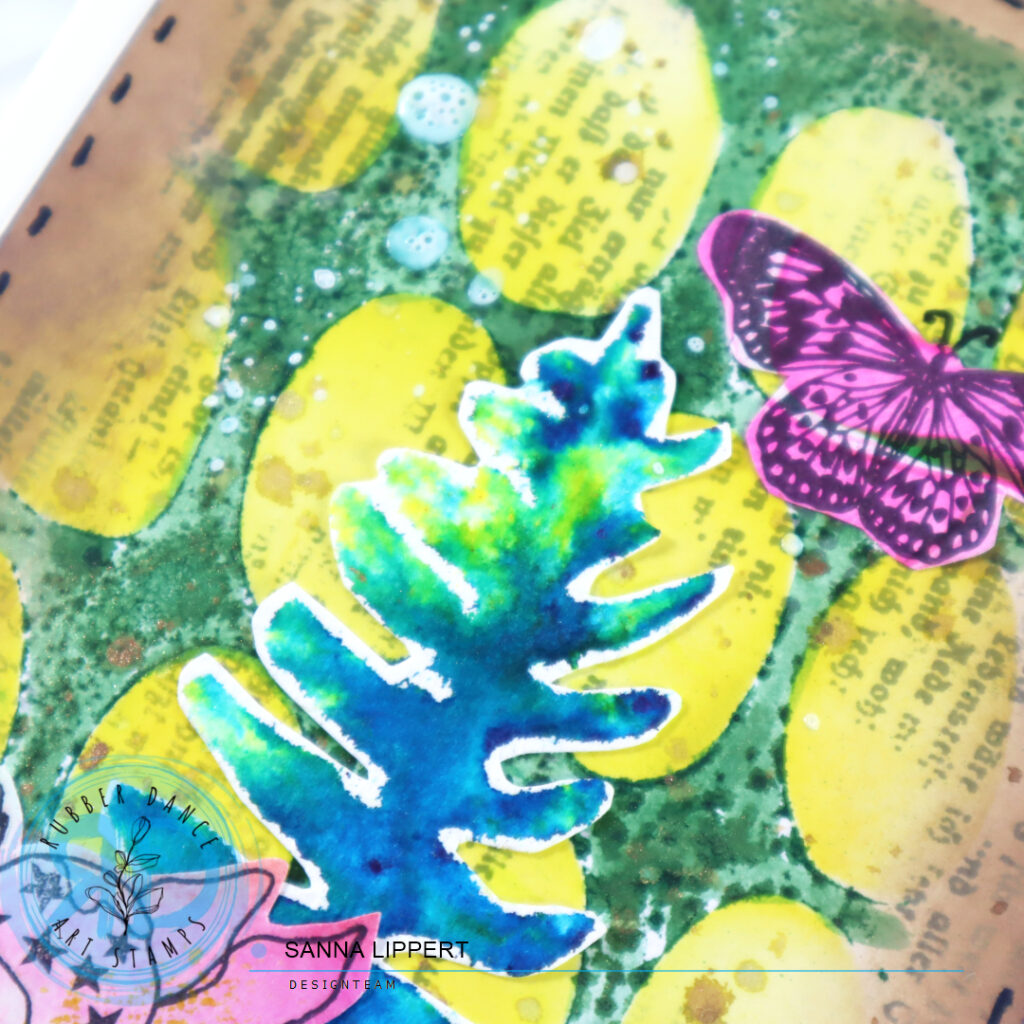
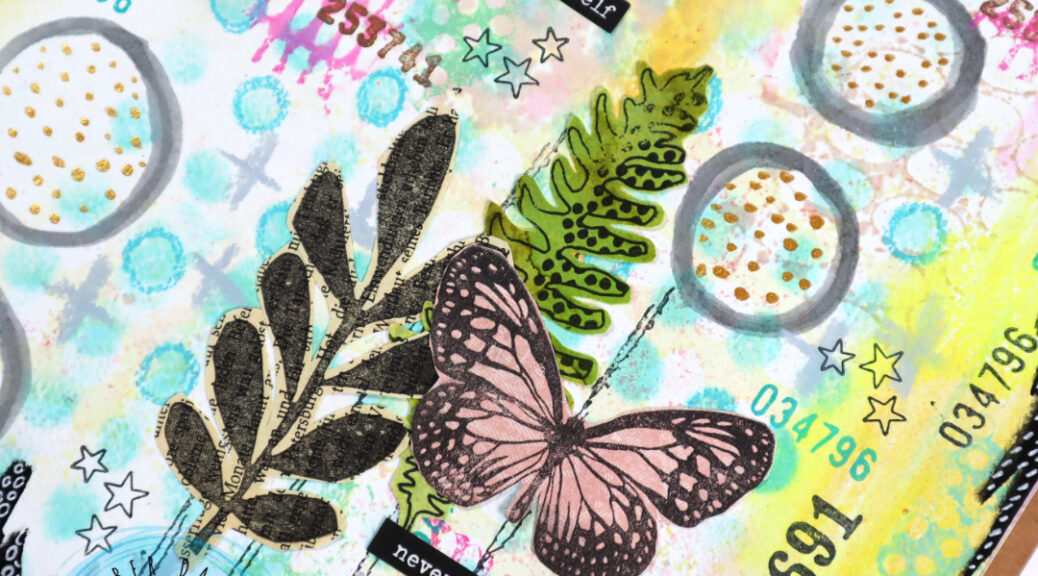
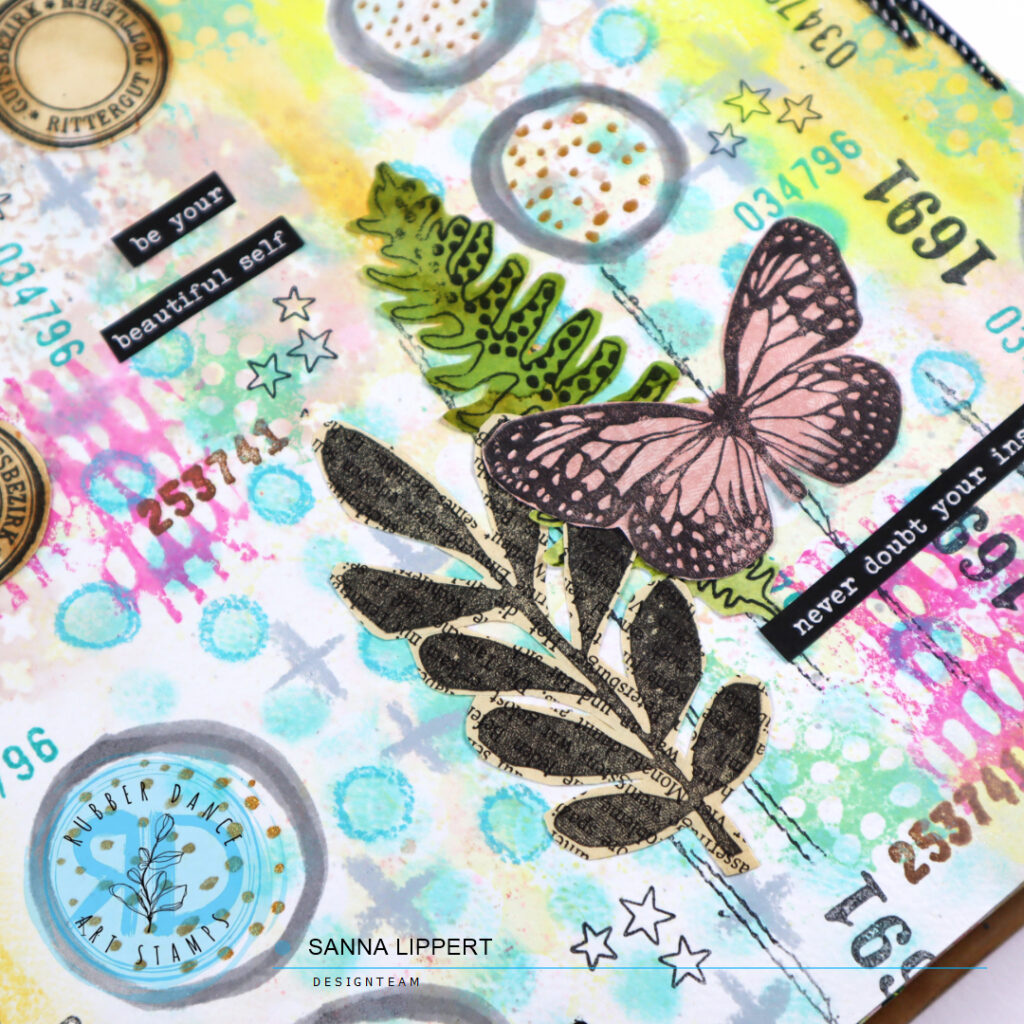
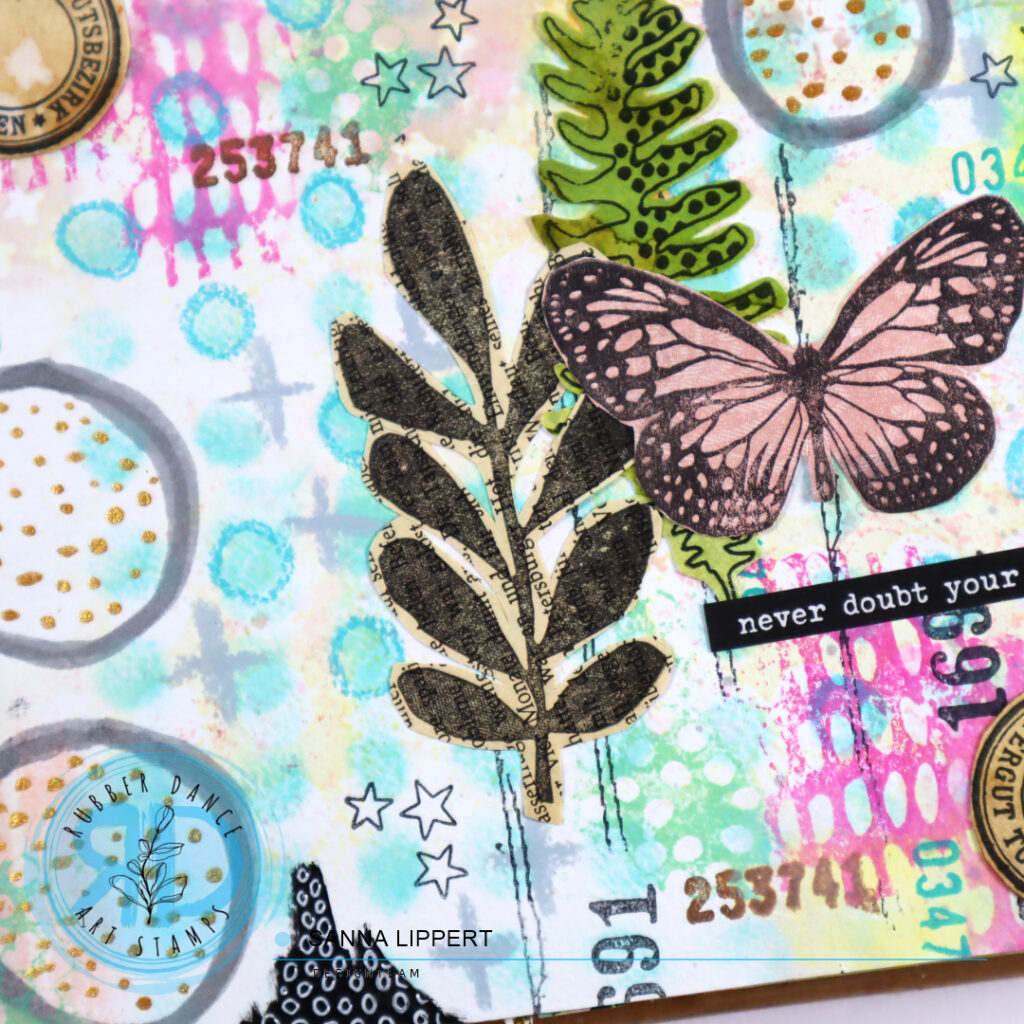
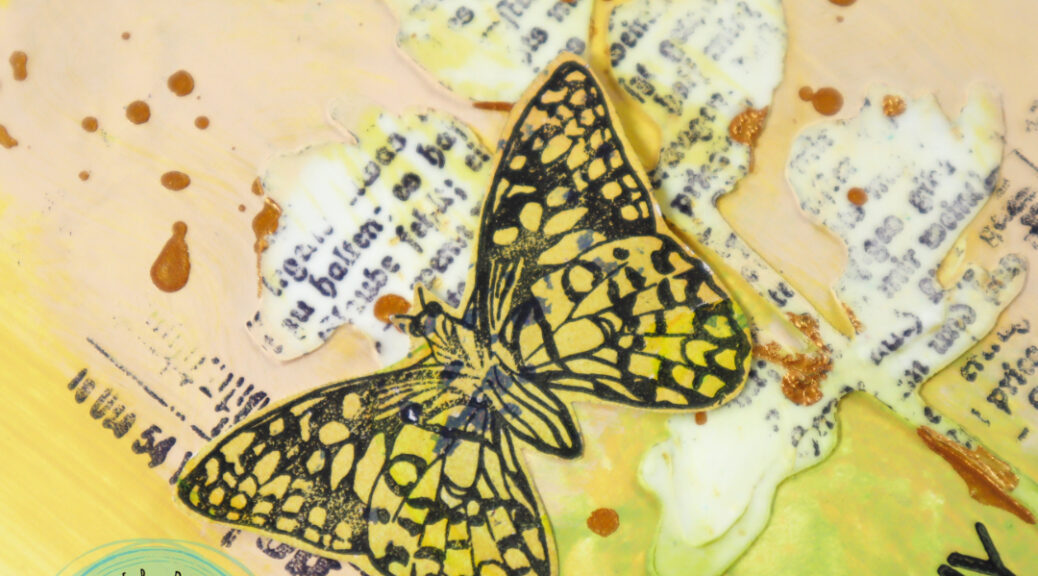
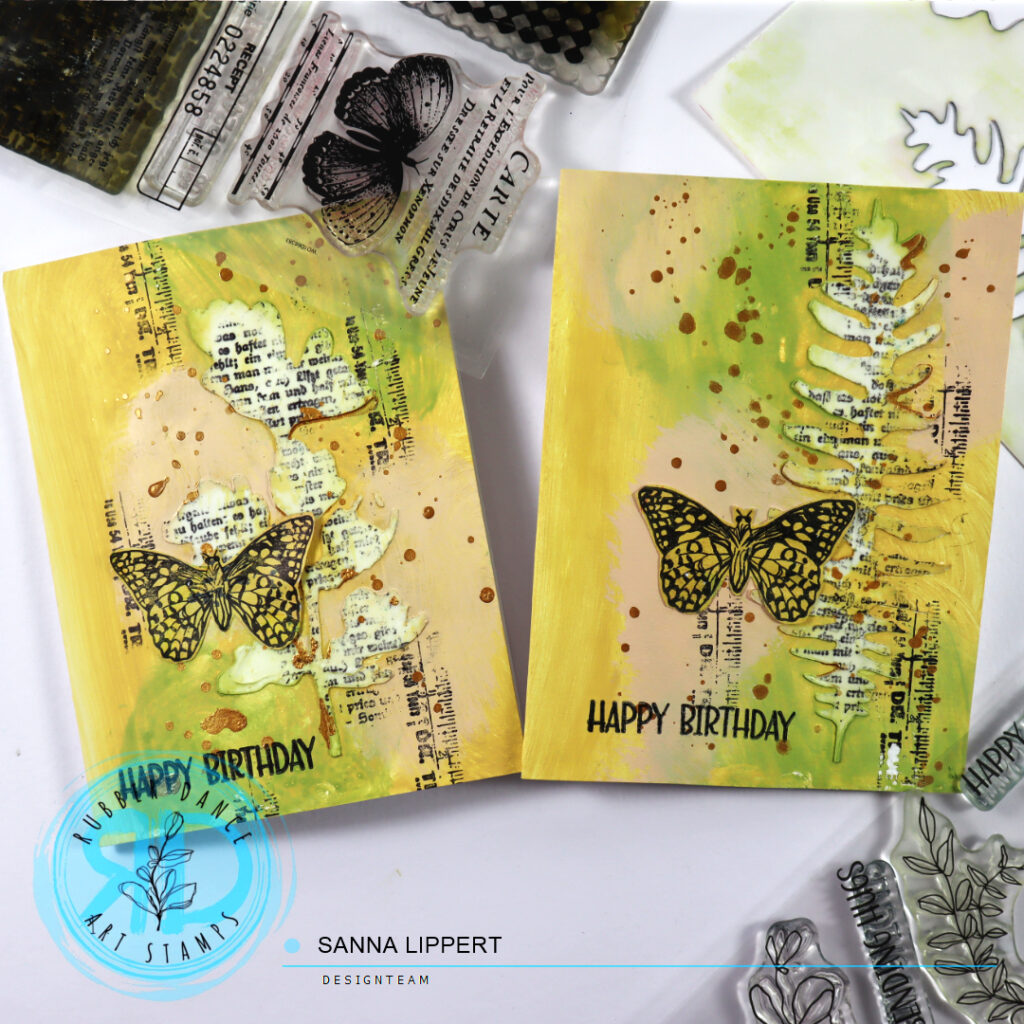
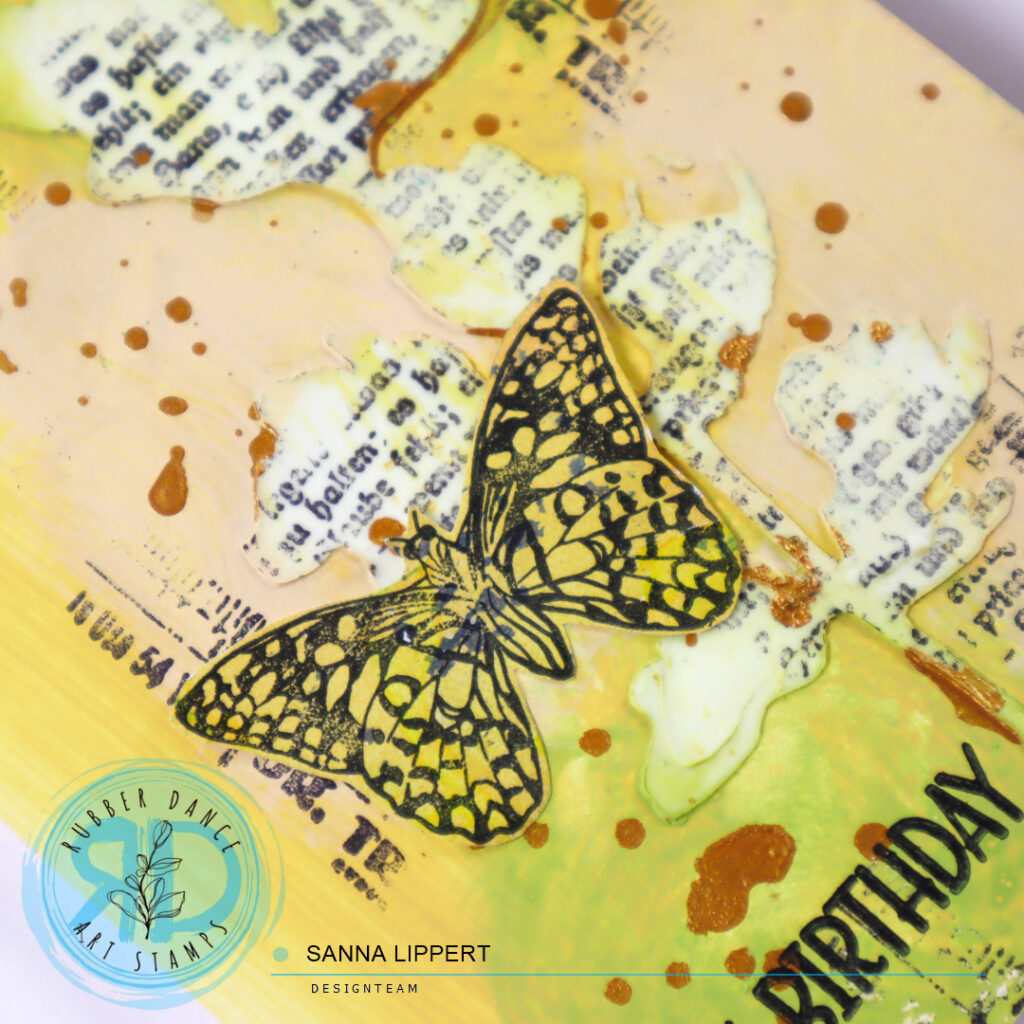
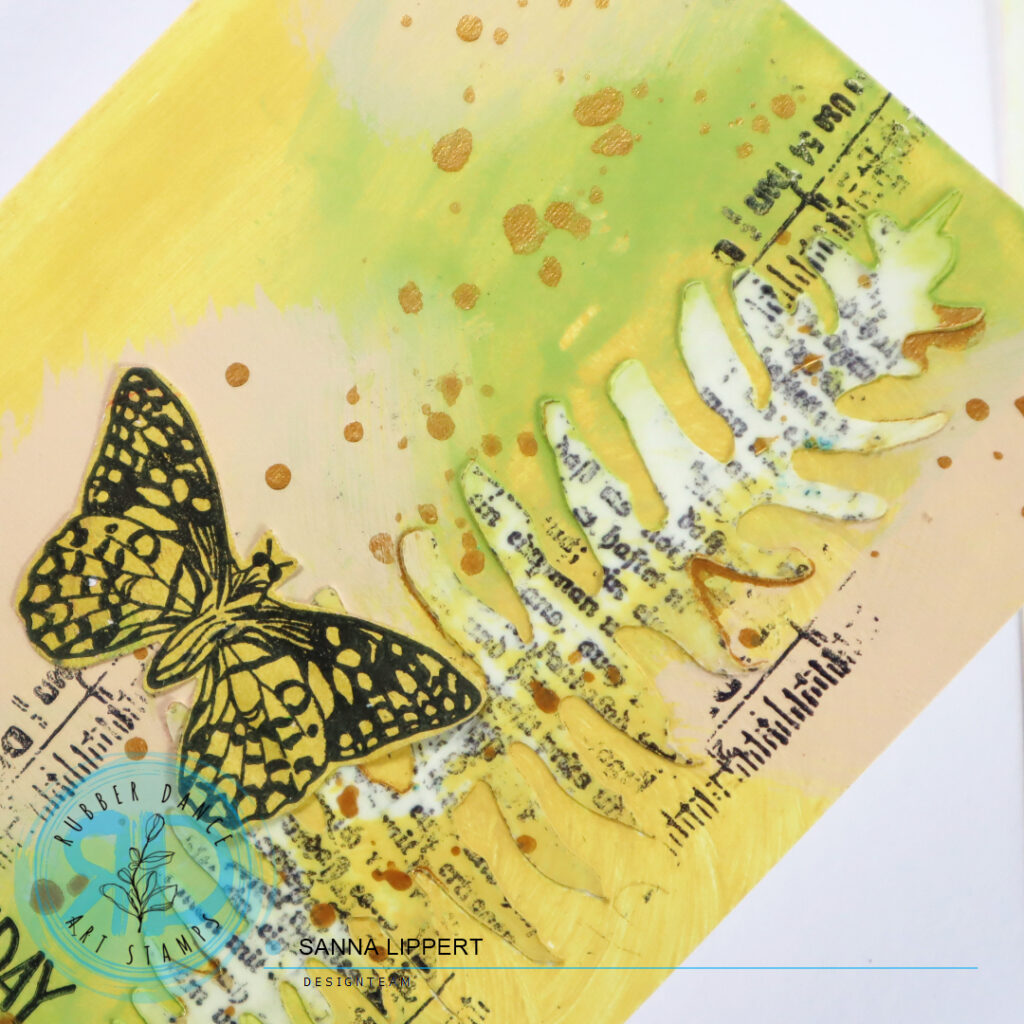
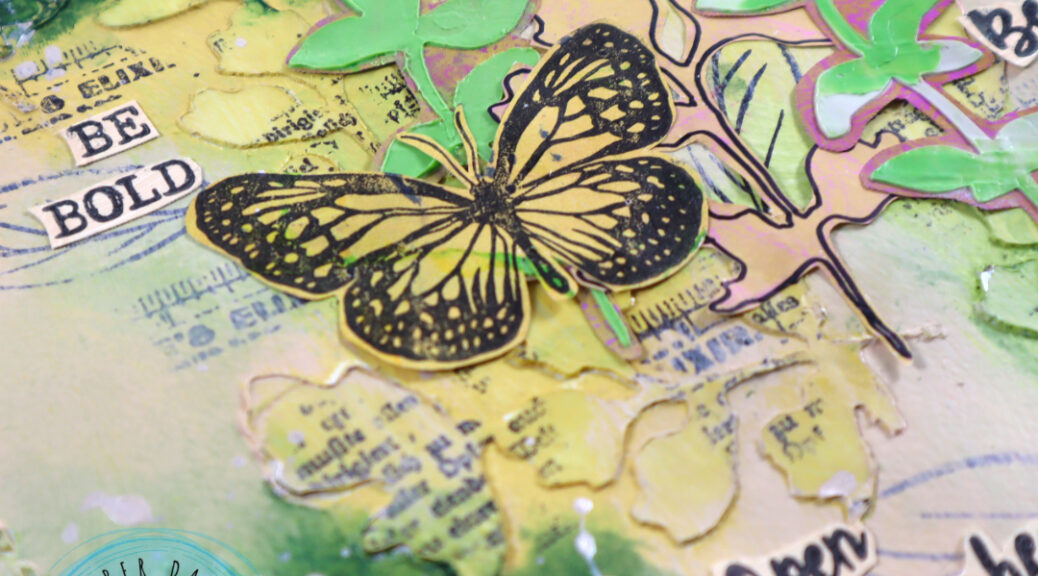
Next I took a piece of old music paper out, stamped leaves from Pencil Marks 8 stamp set onto it with black ink and fussy cut the images. After that texture pasted areas were dry, I stamped some text with black ink onto those areas using the Mix It Up 5 stamp.
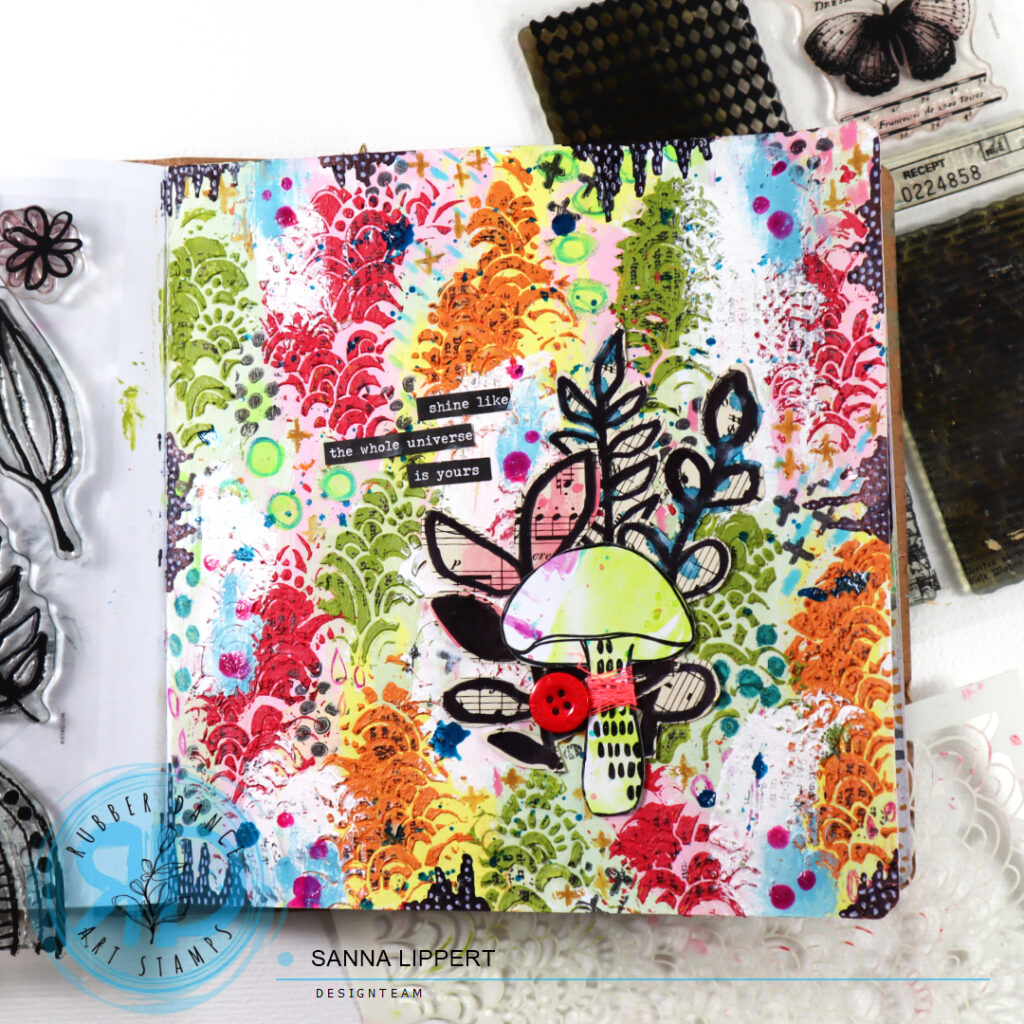
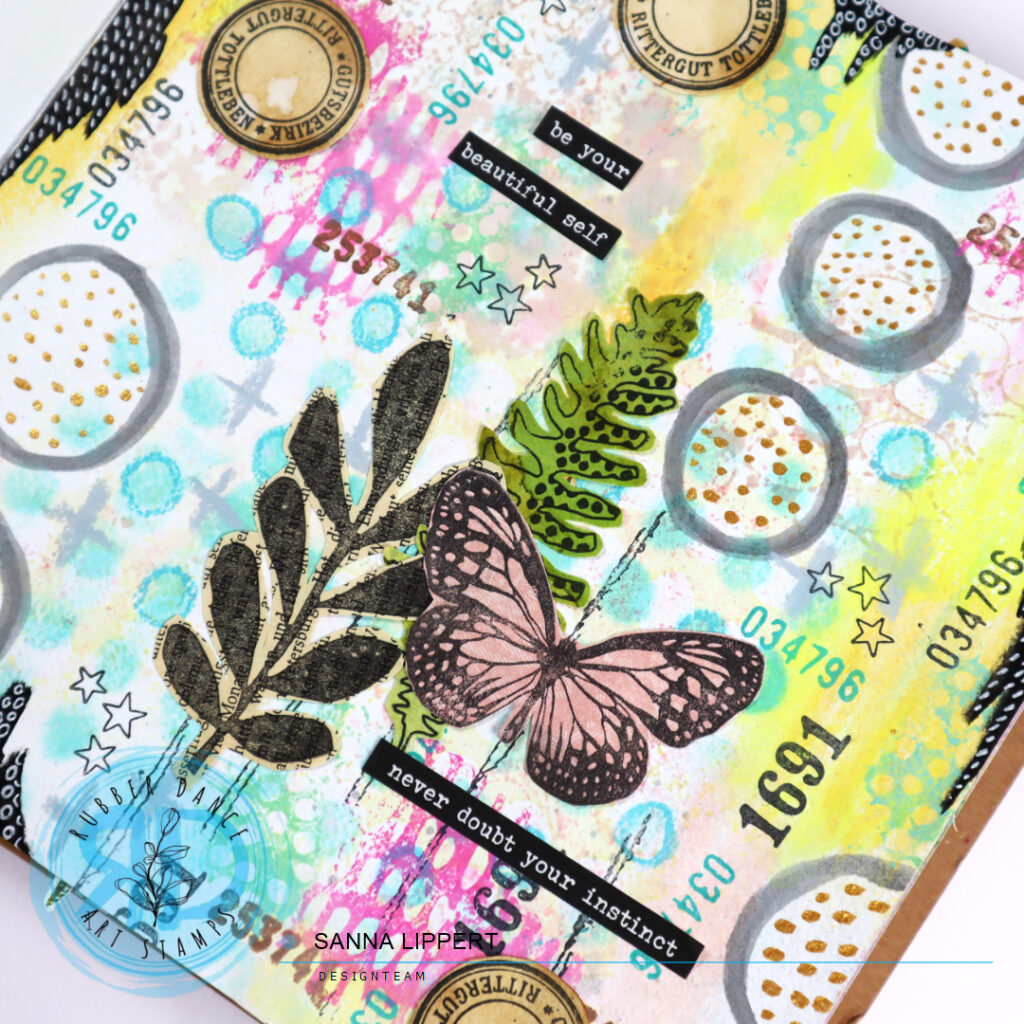
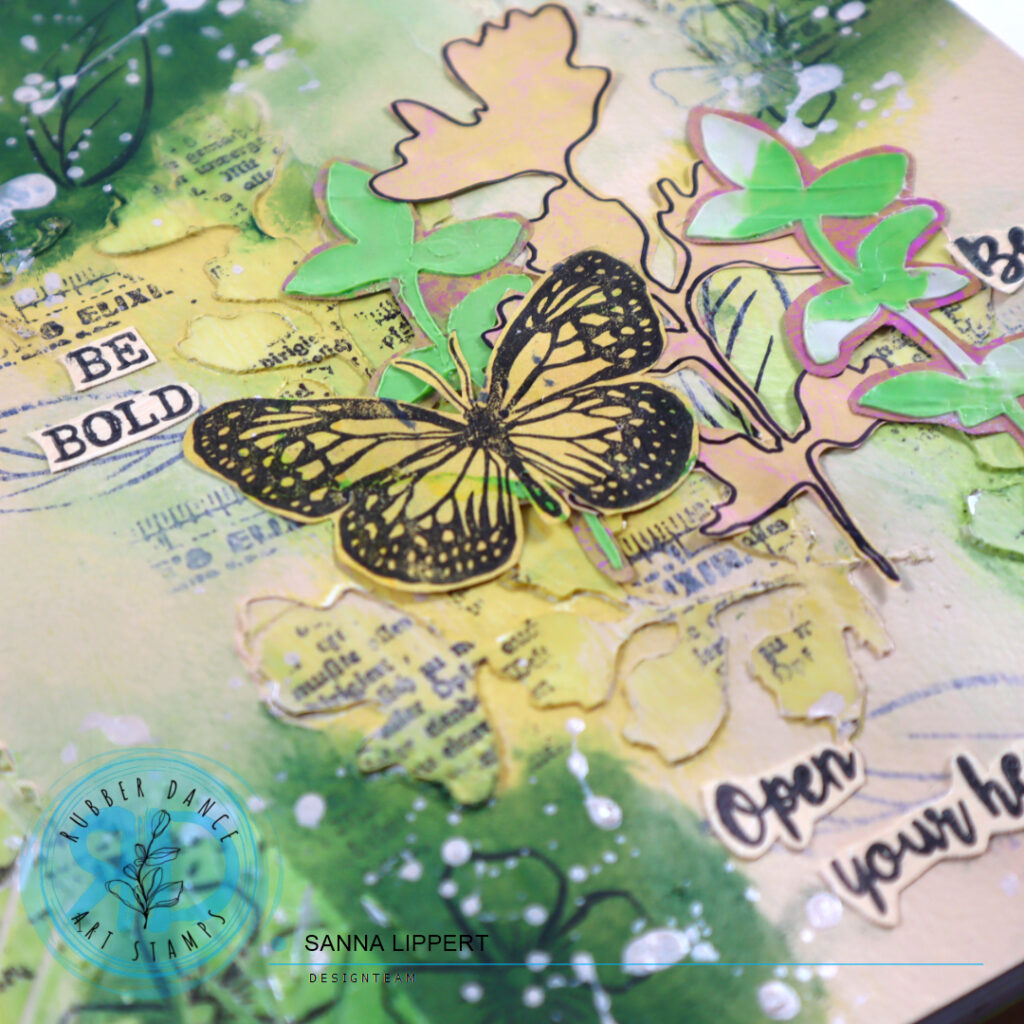
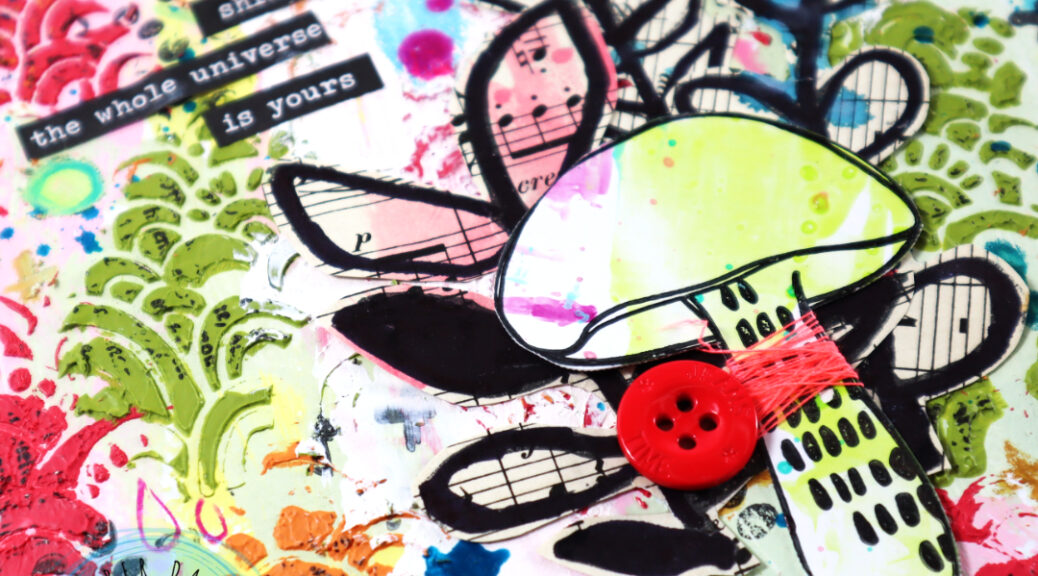
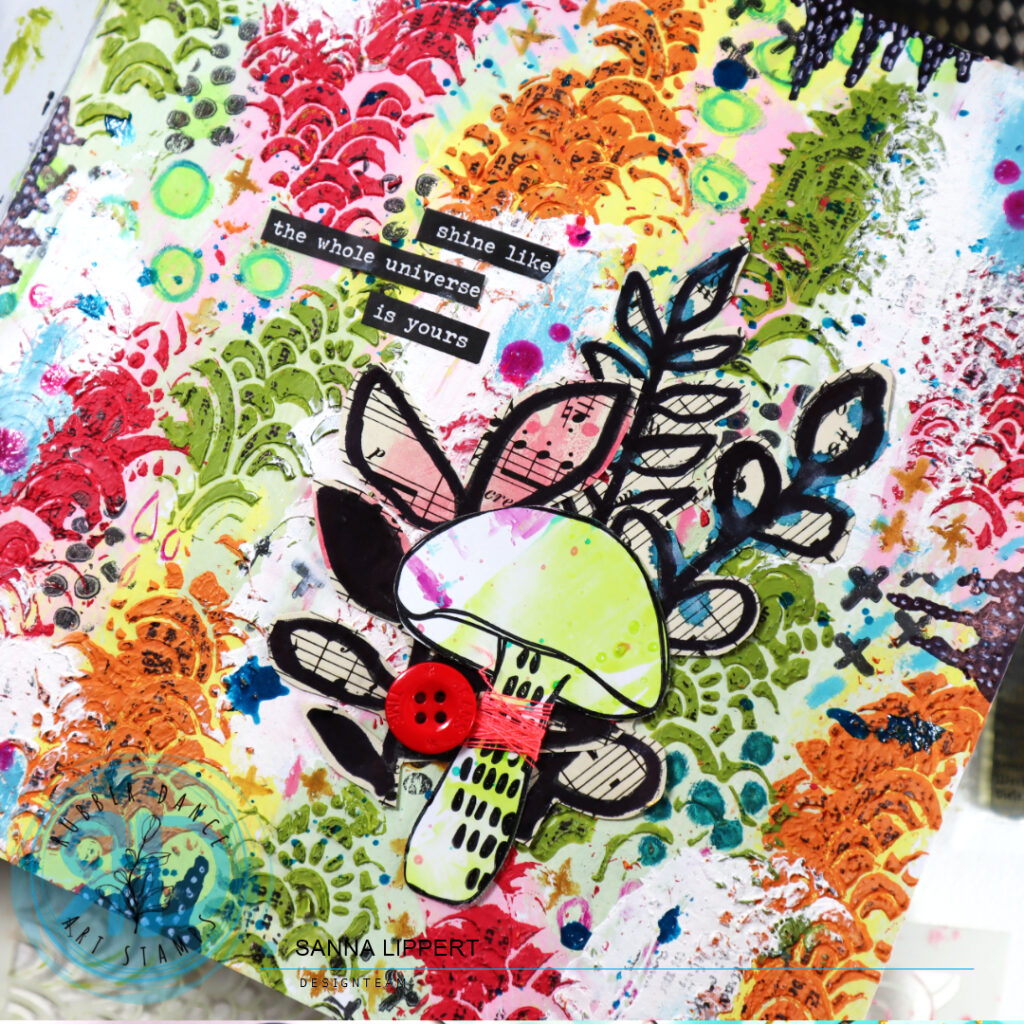
And of course I again had to add some ink splatters (I love using those!). I used Gloss Sprays for this purpose. Then I arranged the stamped, and fussy cut leaves into a cluster and took a previously made mushroom image to accompany them. I added some neon yarn around the mushroom and adhered a bright red button next to it.
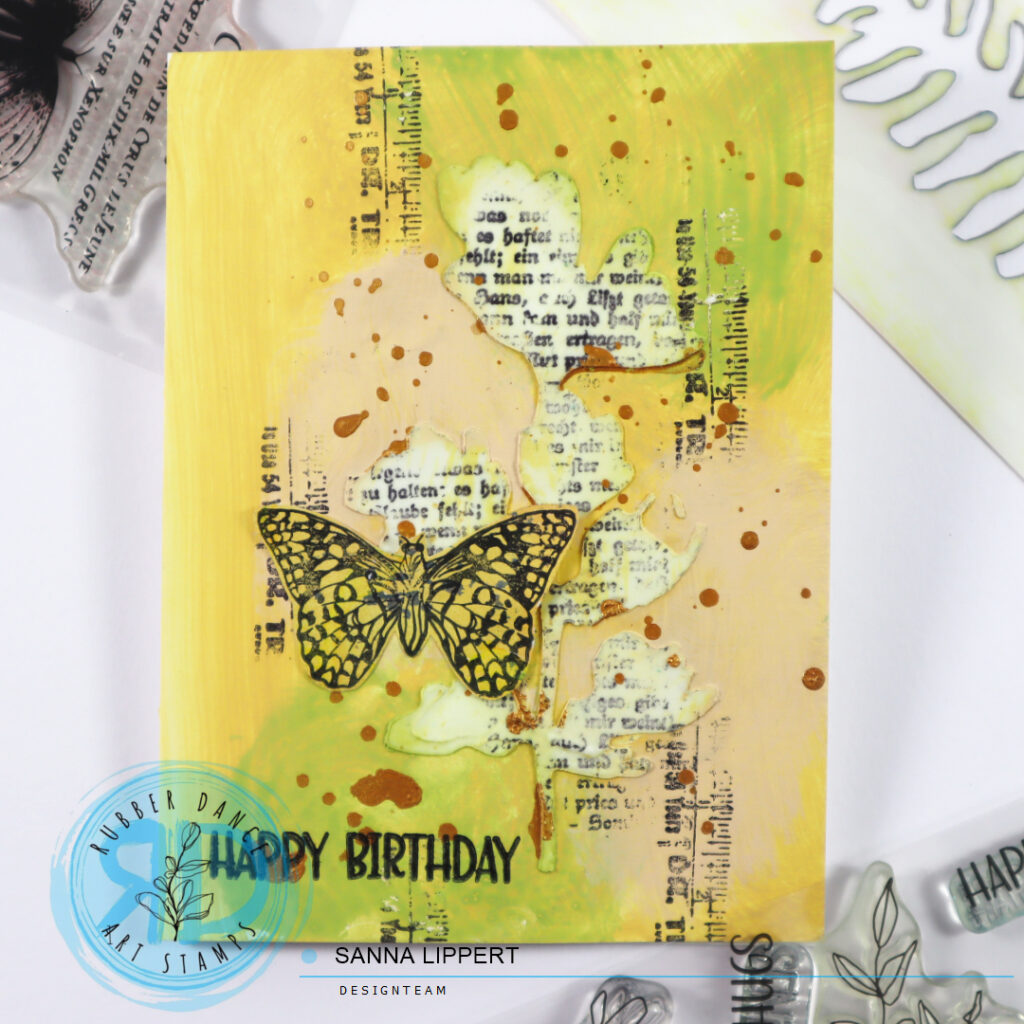
Now that the focal point was done, I colored some areas around the edges with a black marker to add more contrast to the page. After that I did some mark making with a white gel pen onto them for additonal interest.

For finishing touches I added a sticker sentiment as a title. Some more Neocolor here and there, as well as pink Gloss Spray splatters, and the page was done.
Here is the full process video for you to watch:
I hope you like the ideas incorporated into this page. Have fun creating!
xx, Sanna