Tag Archives: heat embossing

From residue gelli prints to card focal points – Rubber Dance

Hello, it´s my turn again over at the Rubber Dance blog today and I am up sharing another take on residue gelli prints turned into card focal points. Like on my last post, I created another set of die cut focal points out of residue gelli printing papers. This time using different color combinations and stenciling the card backgrounds, instead of stamping.

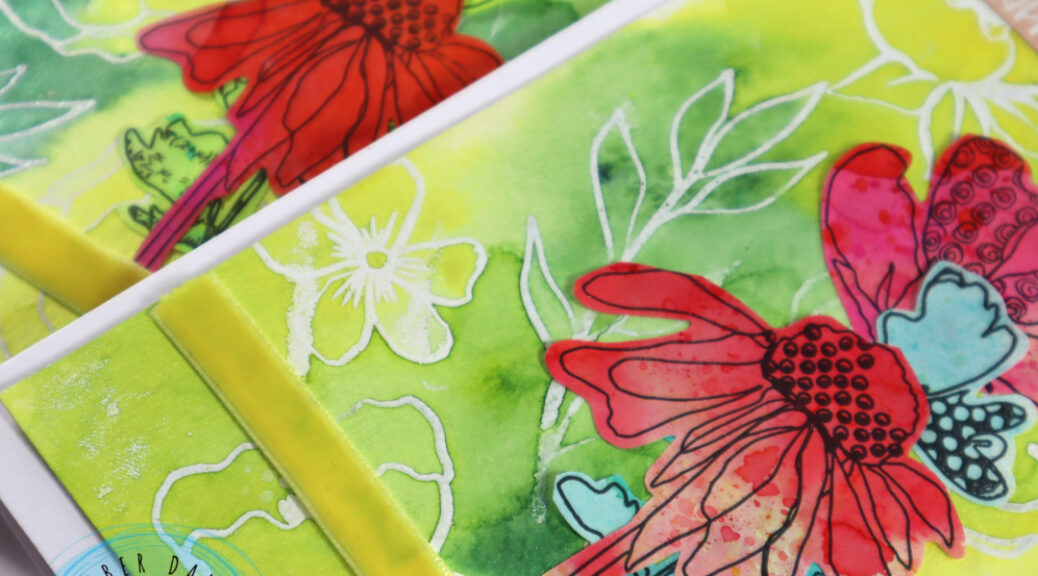
I first die cut the residue gelli printing paper with die cut dies into different forms and sizes (banners, circles and squares). I then added some stamping with black stamp ink and some heat embossed details with red embossing ink and the Pencil Marks 8 stamp set.

After that I took the Ornament 1 stencil and added brown Distress Oxide Ink thru it onto the die cut pieces. Then I took the Mix It Up 4 stamp set and added some stamping with blue StazOn ink here and there onto the background.

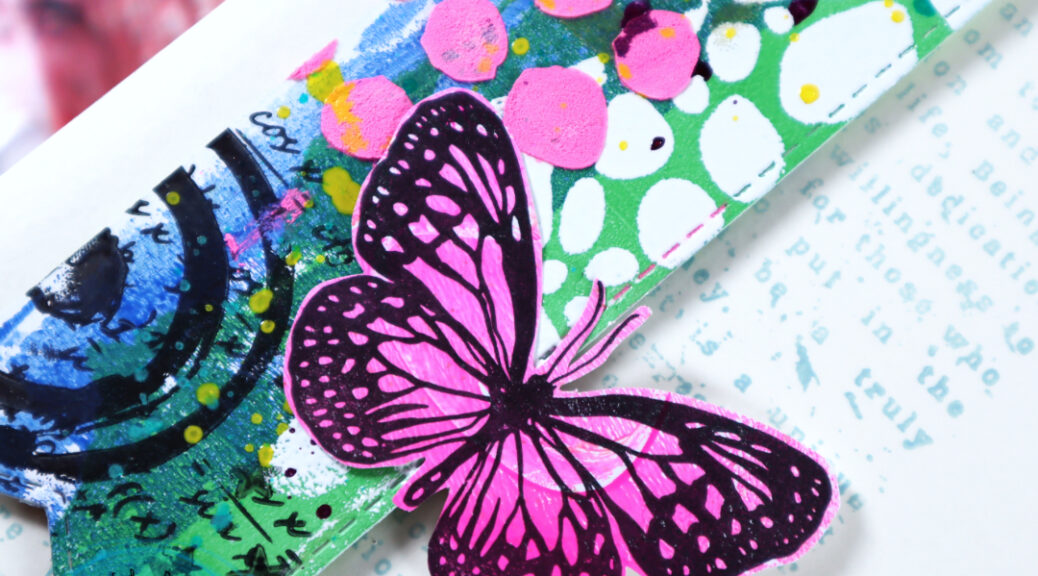
Next I took out some premade Sketchy Leaves 5 stencil fodder and adhered them onto the die cut pieces. On top of those I added some yarn and a fodder butterfly, created with a gel plate and Butterflies and Moths stamp set.

I also wanted to add a stamped word onto the focal point elements and took out the Mixed Sentiments 1 stamp set. I just used one word from each sentiment, instead of the whole quote.

Instead of adding a stamped background, I chose to stencil Distress Oxide Inks thru the Ornament 1, Dotted 1 and Organic 4 stencils onto the card bases and then adhered the die cut pieces with fodder onto the cards.

I also wanted to add a stamped sentiment to every card, so I used an older German birthday sentiment stamp set from my own stash for stamping them.

After finishing the cards, I added some Gloss Spray droplets to the butterflies wings here and there for additional color and interest.

Here is a video on how I created the Sketchy Leaves 5 stencil fodder that I used on some of the focal point elements:

And here is a short video on the focal point elements and how I put the cards together:

I hope I could inspire you to play with your Rubber Dance stamps and stencils and create colorful cards.

Happy crafting
xxx, Sanna

Supplies:

Residue gelli printing paper as card focal point – Rubber Dance

Hello, it´s my turn for a project share over at Rubber Dance blog today. I am up with a fun card project, created using residue gelli printing paper that I turned into card focal points. For this project I used the Dotted 1 and Organic 4 stencils and Mix It Up 4 as well as Butterflies and Moths stamp sets.

When gelli printing, I always take a sheet or two of paper to brayer the residue paint and/or lift paint from the gel plate on to. So sometimes these paper sheets are full of paint layers and I figured, I could upcycle them and make something fun of them.

I first took some die cut dies out and die cut the paper sheets into smaller pieces (circles, banners etc.). Next I took out the Dotted 1 and Organic 4 stencils and added some white and golden heat embossing powder areas to the die cut papers. Next I mixed white modeling paste with magenta acrylic paint together and applied the paste thru the Dotted 1 stencil onto the die cut pieces.

After that I took the Mix It Up 4 stamp set and added stamped details with black and light grey stamping ink to the pieces. After that ink and tinted modeling paste was dry, I added some Gloss Spray details in yellow, turquoise and fuchsia on top.

Now all I needed to do, was to stamp some details to the white card bases with Distress Oxide Inks and the Mix It Up 4 stamp set. I chose lighter colors as a contrast to the bold focal point pieces here. I then adhered the die cut focal point pieces with 3D foam tape onto the card bases, added some Butterflies and Moths fodder to go with them and chose a sticker sentiment to each card. For finishing touches I added a few Gloss Spray droplets alongside the card sentiments for additional interest.

Here is a video on the creating process for you to watch. I hope you get inspired by it!

Happy crafting,
xxx, Sanna

Supplies:

Blue Brusho Xmas cards in bulk – Rubber Dance

Hello, it´s my turn today again again at the Rubber Dance blog and I am up with another set of Christmas cards. This time with a strong blue background. For the cards I again used the Textured Xmas Trees 2 stamp set and the Stars 1 stencil.

I created quite a big piece of background paper at once, so I could create a big batch of cards. Here is how I made the background:

First I took the Stars 1 stencil and transparent texture paste. I applied the paste with a palette knife onto the surface thru the stencil. Some areas are fully covered with stars, some only have bits here and there. Next I took out a white mixed media paper (a thicker one that takes wet medium well), applied water onto it and then dabbed some white and turquoise Brusho powder onto the wet paper. Then I just let the powder do it´s magic on the wet surface. If needed, I added some more blue / white on top to make sure all areas got treated.

After the surface was dry, I sprinkled some speckled embossing powder onto the surface and heated it first from under the paper (this prevents the powder from flying away/moving) and then applied heat from the top, until the powder had melted. Now all I needed to do, was to cut the paper into right size for my white card bases and I had several card backgrounds ready.

To these cards I added the stenciled and inked Xmas Trees 1 stencil outlined trees. Before outlining and fussy cutting the images, I treated the paper with Distress Oxide Inks and stamped patterns with Mix It Up 5 stamp set on top. then I only added a stamped and fussy cut sentiment (from Textured Xmas Trees 2 set) onto the card.

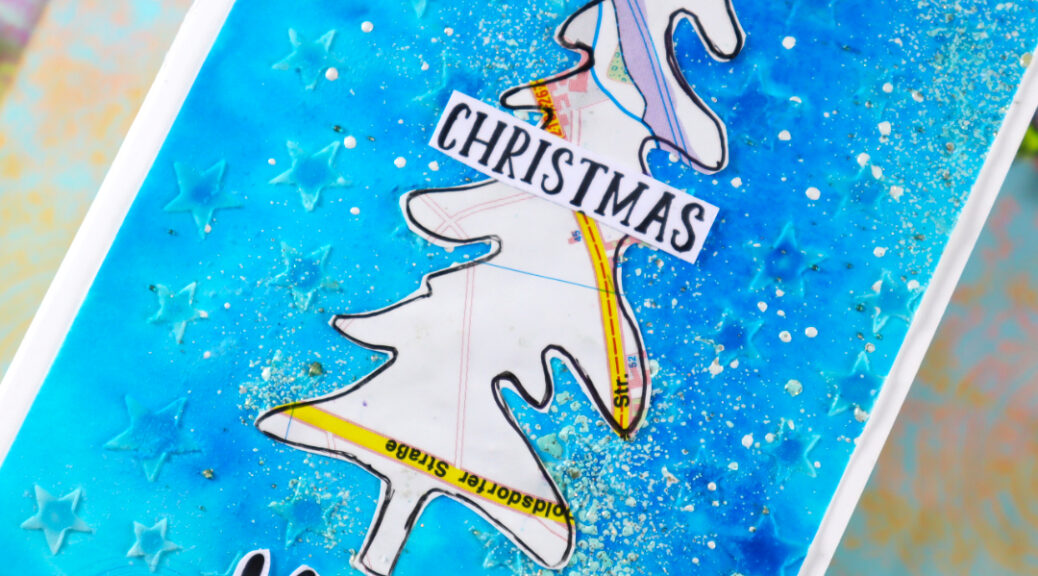
On this card I used the same stencil and stamps, but this time, outlined a piece of an old map book page to create a fun Christmas tree centerpiece. Also the first card is done in the same manner.

On this card the centerpiece is again stamped with the Textured Xmas Trees 2 stamp set, but onto a piece of paper I brayered paint that was left over from a gelli printing session. The random stripes of color make the trees look really interesting.

On this card I´ve used the same basic idea, but the tree is stamped onto a gelli printed paper and then fussy cut.

This card is also done with the same basic idea, but mixing both gelli printed and brayered papers together for the centerpiece trees.

I love how the blue background is so strong in color and the embossing powder creates an illusion of falling snow. I hope my idea inspired you. Wishing you a lovely holiday season and many happy creative hours!
xxx, Sanna

Supplies:

Slimline wedding card with Sketchy Flowers vellum background – Rubber Dance

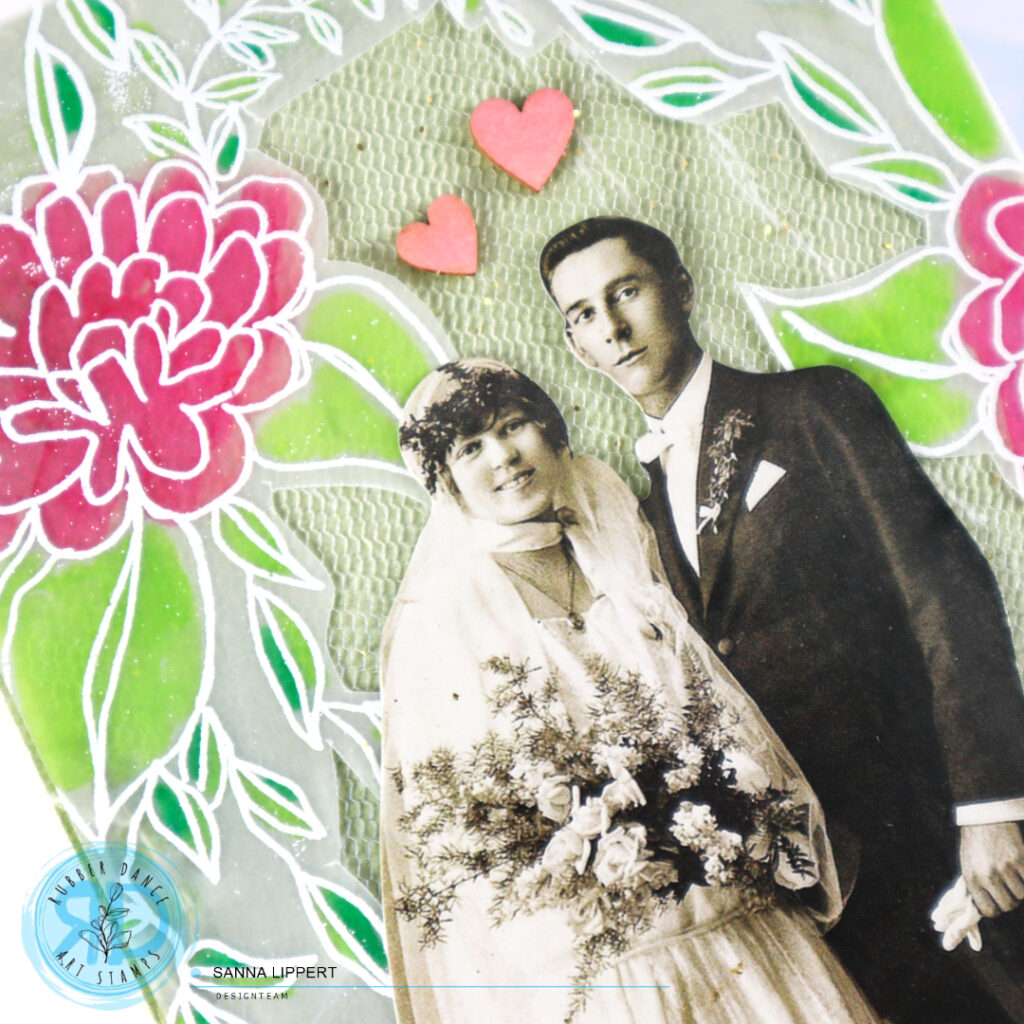
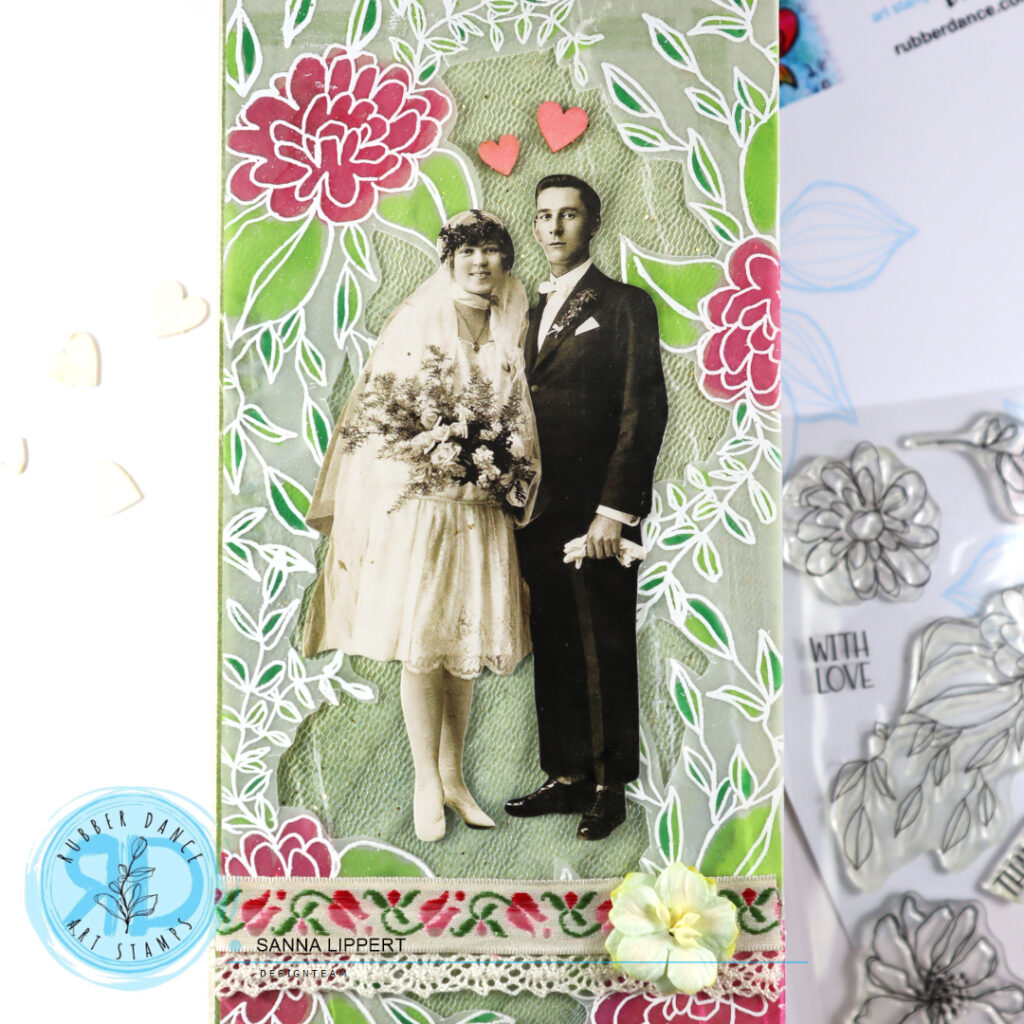
Hello everyone, it´s my turn to share a project over at the Rubber Dance blog today again and I am up with another card idea share. I needed a wedding card for a green colour themed wedding and came up with this idea. I used Sketchy Flowers #3 stamp for this slimline card´s vellum part.

Here is how I created the card:

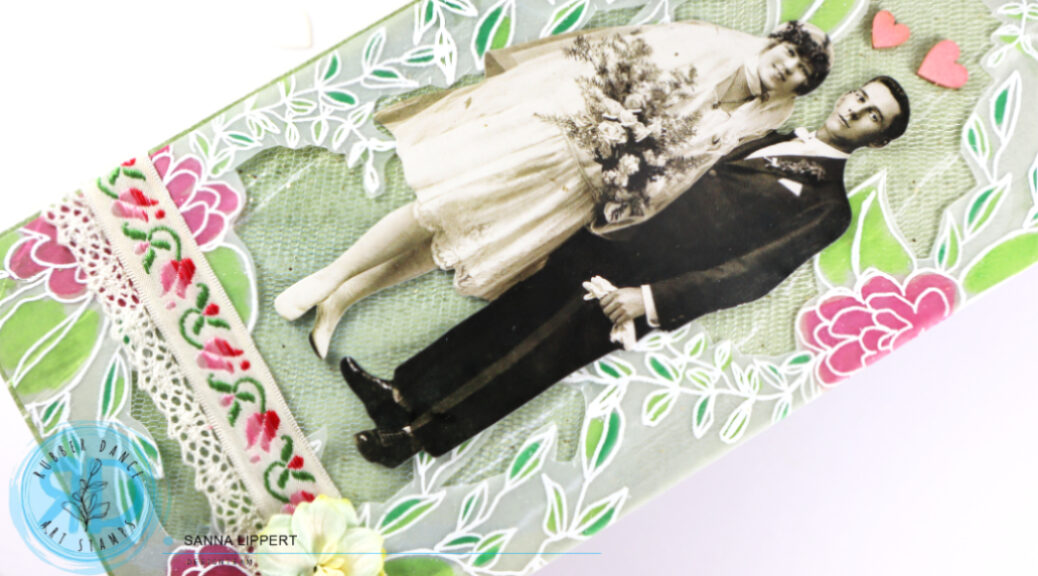
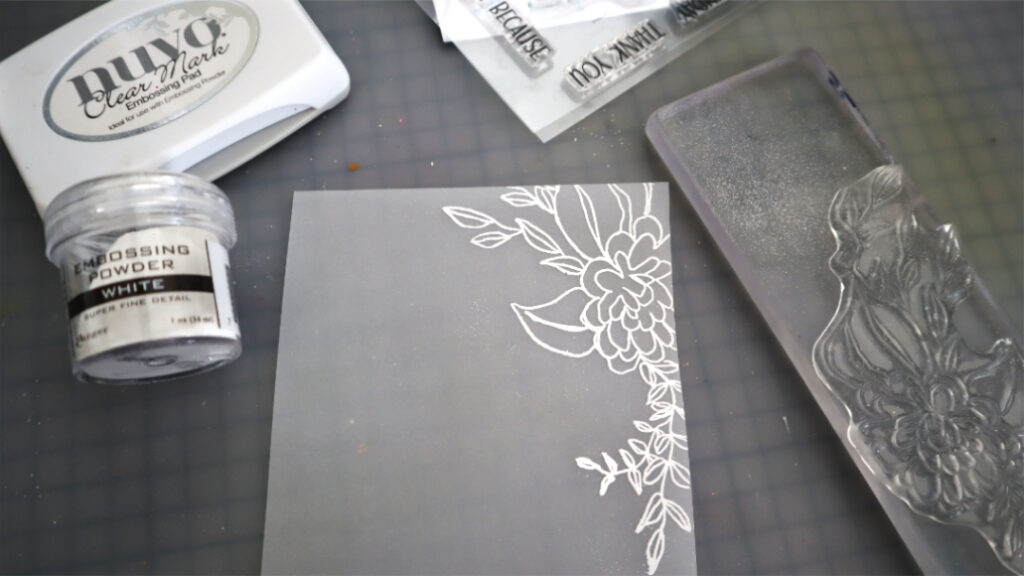
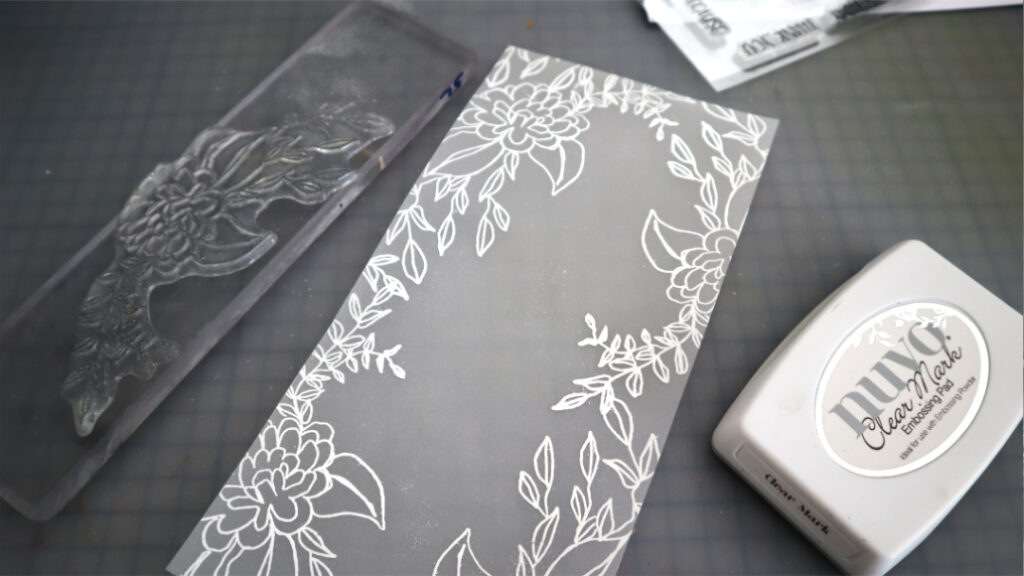
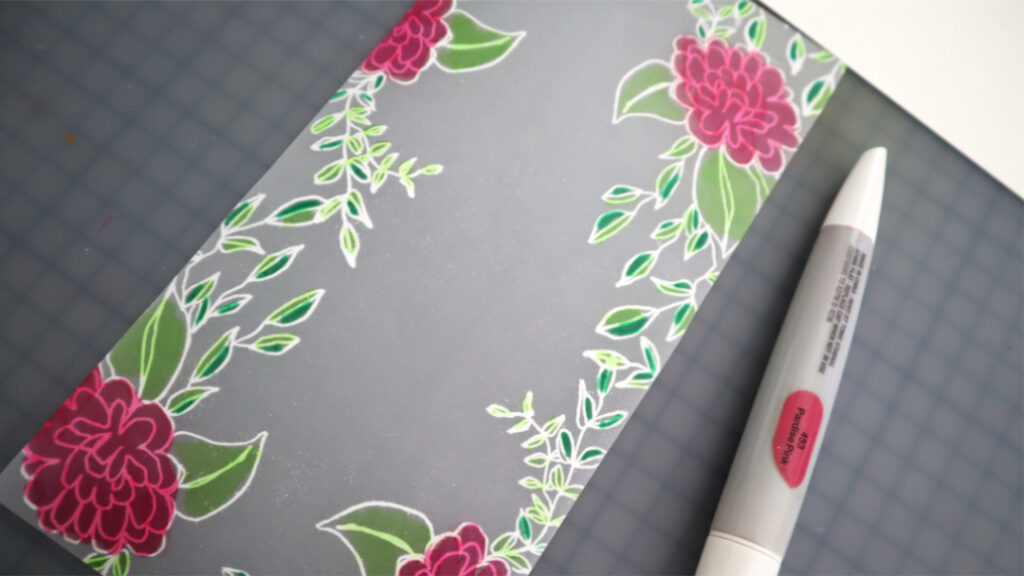
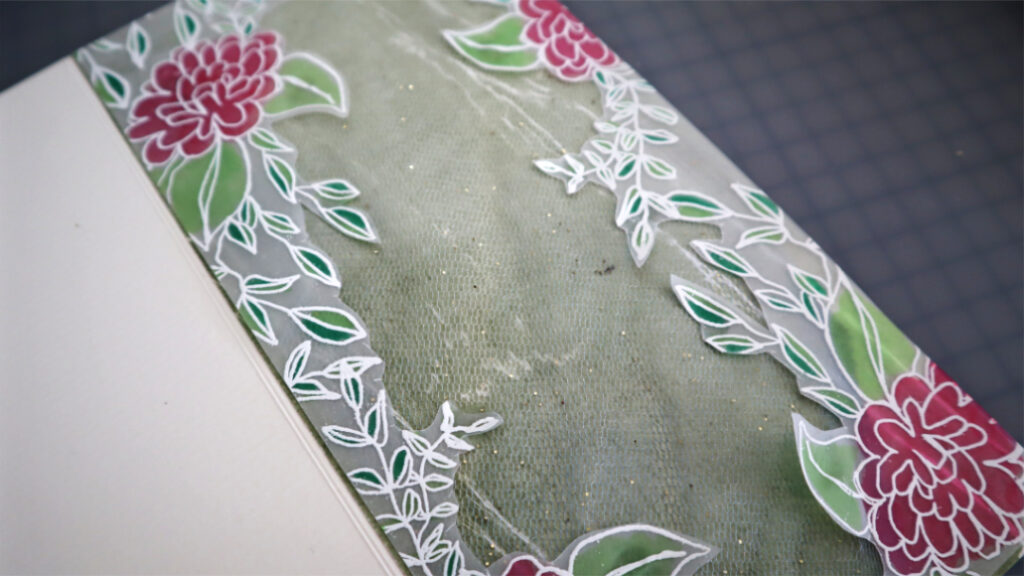
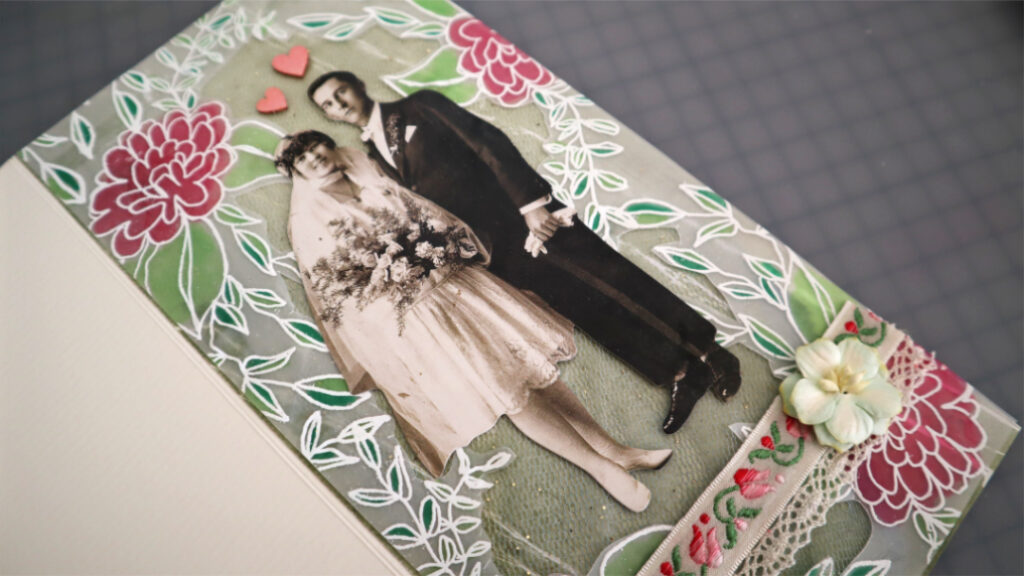
I first cut the vellum into the size of my slimline card base with a paper trimmer, then stamped the images with embossing ink and white embossing powder around the edges of the vellum piece. Next I flipped the embossed vellum upside down and used alcohol markers to color the flowers and the leaves.

Then I took a green patterned paper, cut that into size and adhered it onto the card base. After that I added a layer of tulle on top of the green patterned paper and fussy cut the vellum piece so, that I could place a paper doll in the middle. For finishing touches I added some chipboard hears and vintage ribbons and a paper flower to go with the vintage wedding couple image.

I hope this card inspired you to try out the embossed and colored vellum idea on your art projects. It is lots of fun!
Happy crafting,
Sanna

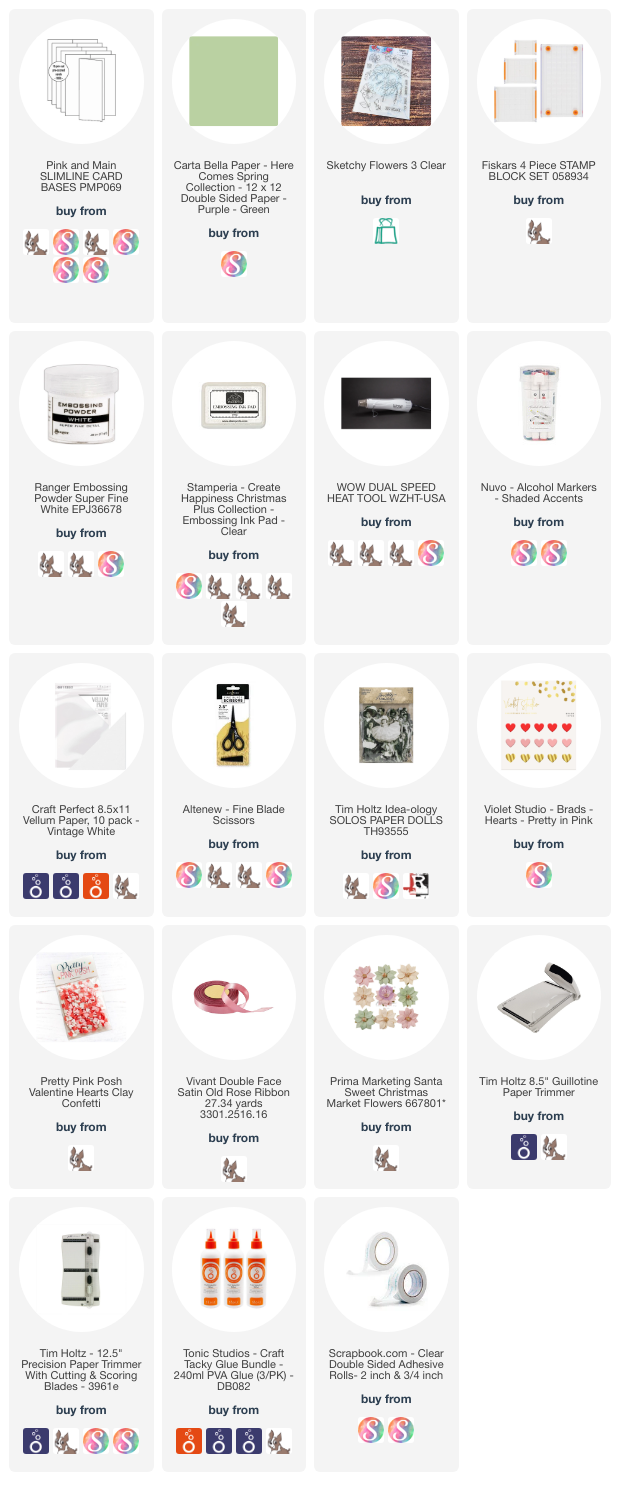
Supplies:

Present tags with Sketchy Flowers #3 using embossing powders and watercolors

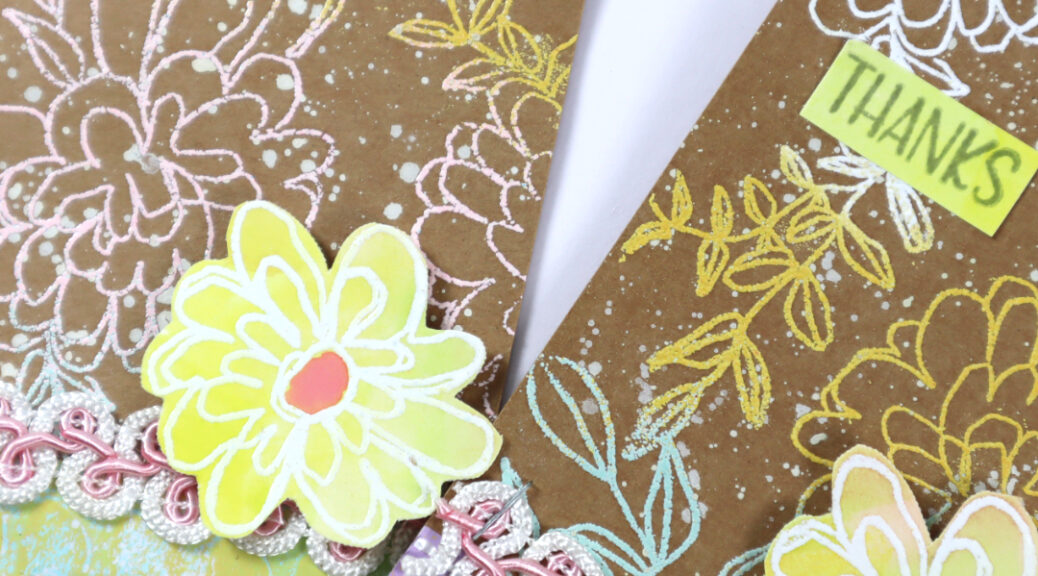
Hello everyone, it´s Sanna here with two present tags using the Sketchy Flowers #3 stamp set with embossing powders and watercolors. I wanted to create cute present tags with kraft cardstock and pastel tones for springtime.

I first stamped the big flower image from the Sketchy Flowers #3 stamp set onto one side of the tag with embossing ink and applied three tones of embossing ink onto the image (see the full video tutorial at the end of this post). I used light blue, yellow and white on the first tag and light pink, light blue and yellow on the second. To add more interest to the background, I took white watercolor and a wet paint brush to add splatters.

Next I fussy cut a piece of gelli printed paper (see my previous posts for the tutorial) as a border and combined it with a cute ribbon. After that I painted a piece of watercolor paper with similar colors like the previously used embossing powders. I added a heat embossed flower image onto the paper, fussy cut them and then assemblied the tags. For finishing touches I used sentiments from the said stamp set with grey stamp ink on the residue watercolor paper left over from the flowers and adhered them onto place. And here is the video step-by-step tutorial:

I hope I could inspire you to create some fun tags!! You don´t have to use them for presents, you could create a few in bulk and use them in art journals, on cards as a focal point or add them into a frame as wall art for example.

Happy crafting,
xxx, Sanna

Supplies:

Slimline Birthday Card with a gelli printed background and Distress Ink fodder butterflies

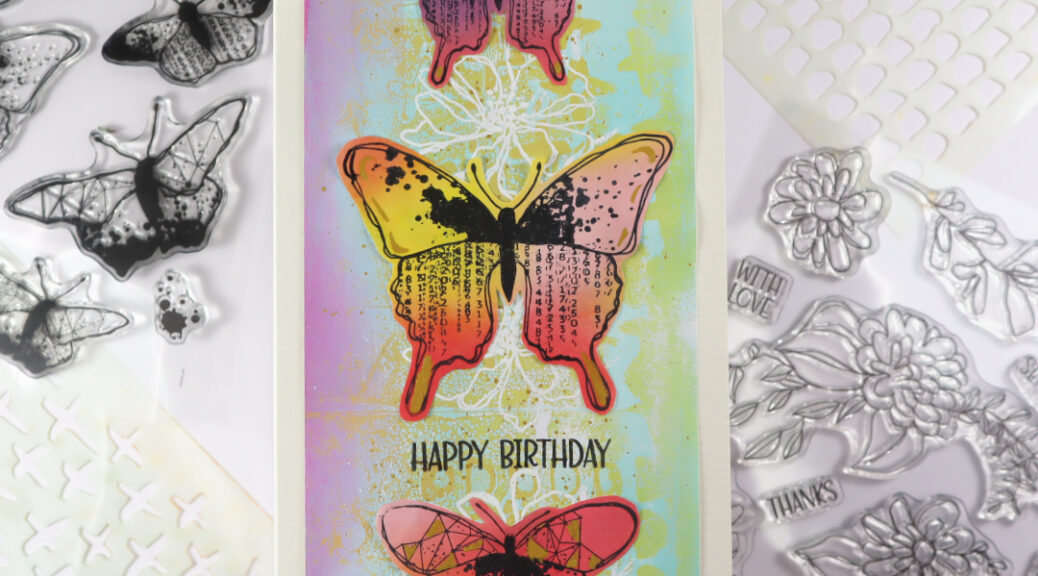
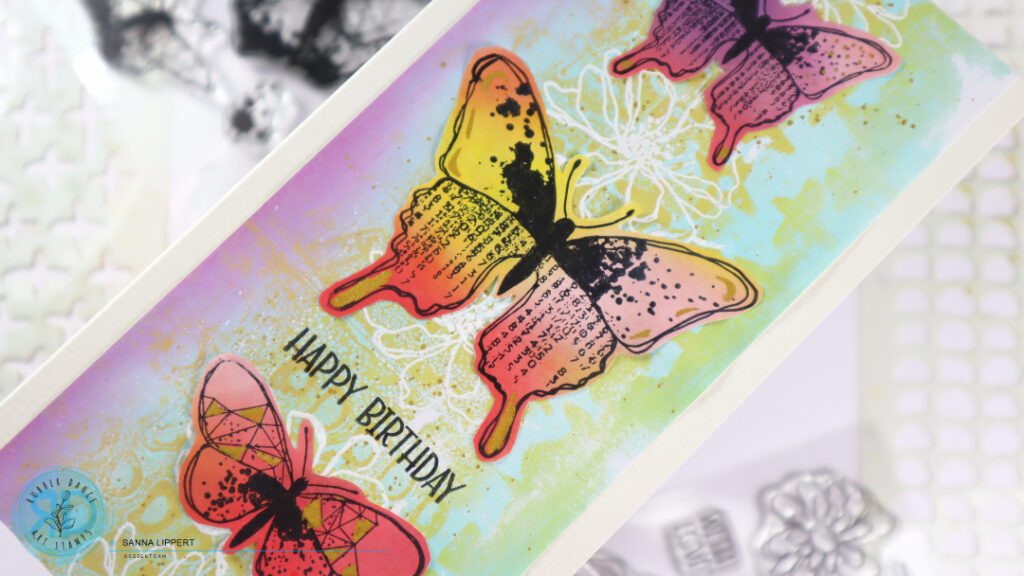
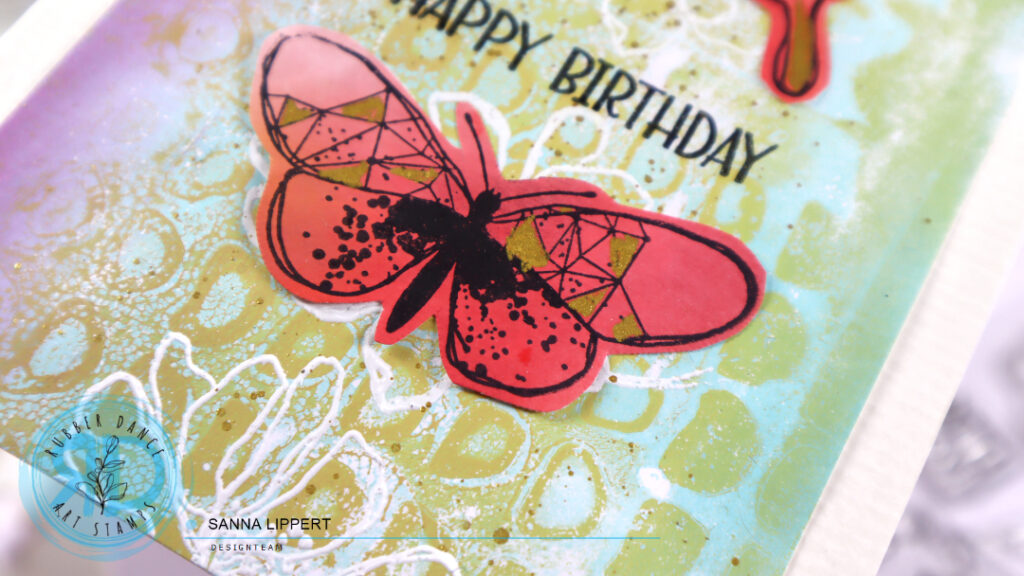
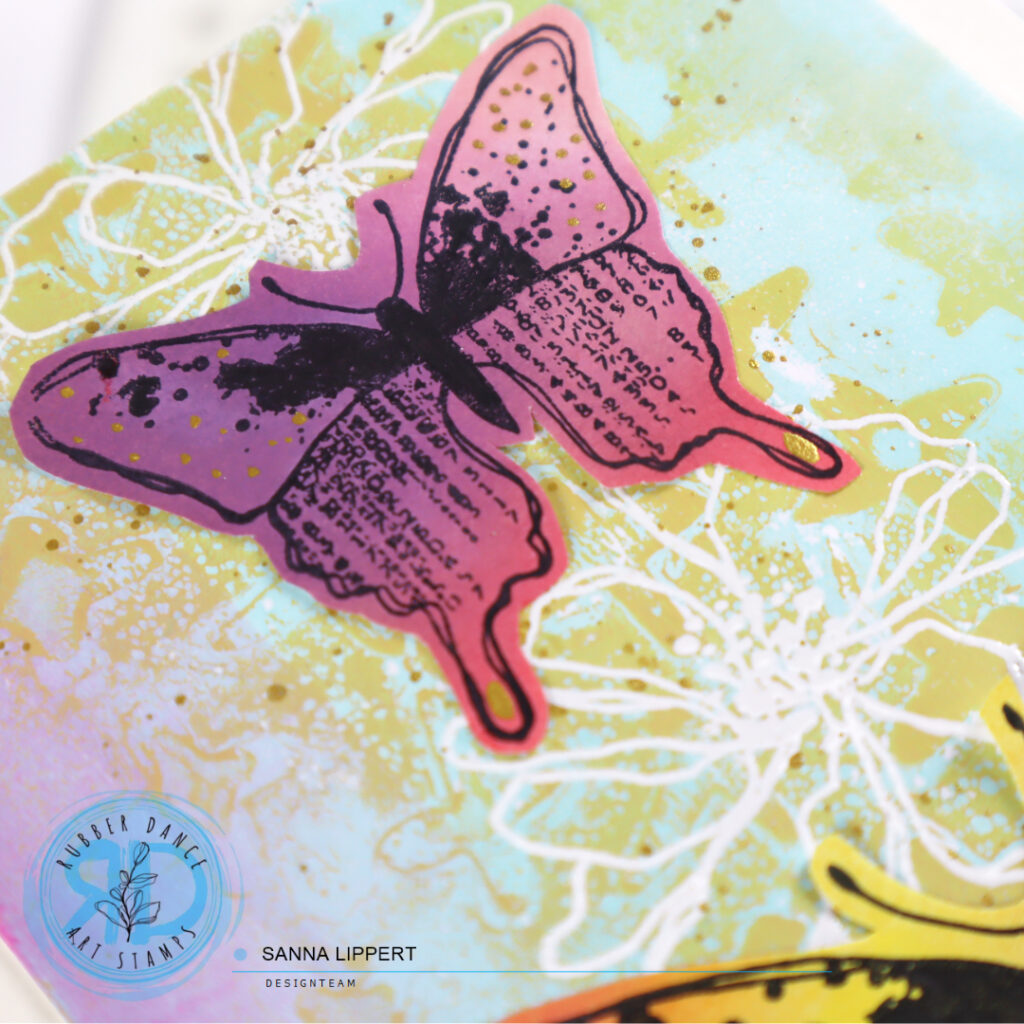
Hello everyone, I am again up with a slimline birthday card over at the Rubber Dance blog today. I created this card with Grungy Butterflies fodder, a gelli printed background and heat embossed Sketchy Flowers #3 as background details. For the DIY gelli print paper I used the Cross It and Marks 2 stencils with pastel toned acrylic paints.

For the background I used one of the gelli prints I created previously in bulk with a gelli plate. I took a slimline card base in cream to add the diy paper onto as a background, but before adhering that piece onto place I added some stamping with the Sketchy Flowers #3 set with embossing ink and heat embossed the flower images with white embossing ink. On top of that I added some golden pigment splatters for additional interest and then arranged a row of Grungy Butterflies on top. The video on how I created this fodder, is added to the end of this post.

I also decorated the butterflies with some golden details before adhering them into place. For the sentiment I used black stamp ink and one of the stamp sentiments from the Sketchy Flowers set.

Here is the video on how I created the butterfly fodder and a start-to-finish video about the card creating process as well as a peek into the gelli print papers I created in bulk:

I hope I could inspire you to play with your stamps and stencils and create fun mixed media cards!!
xxx, Sanna

Supplies: