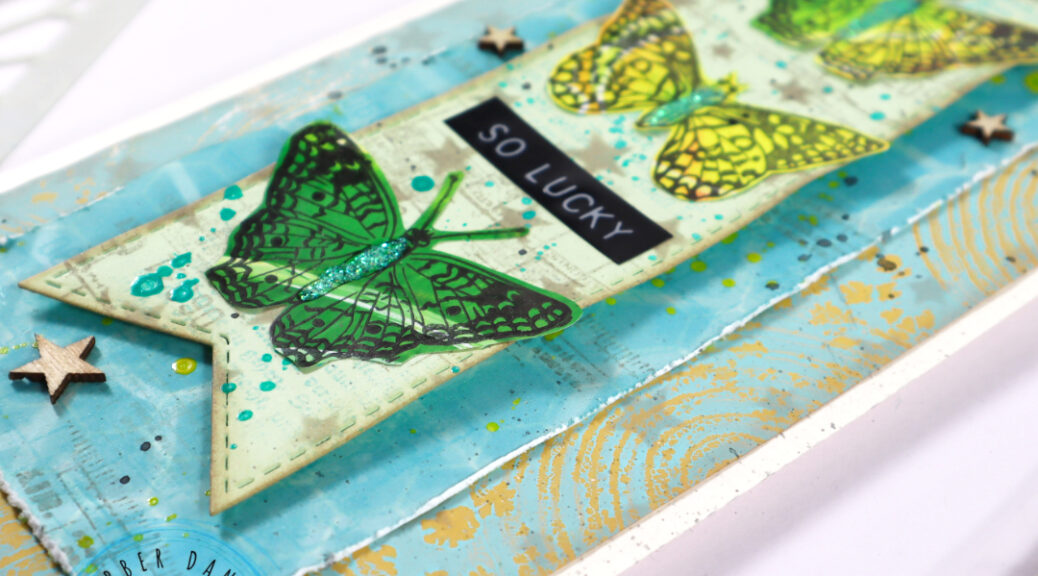
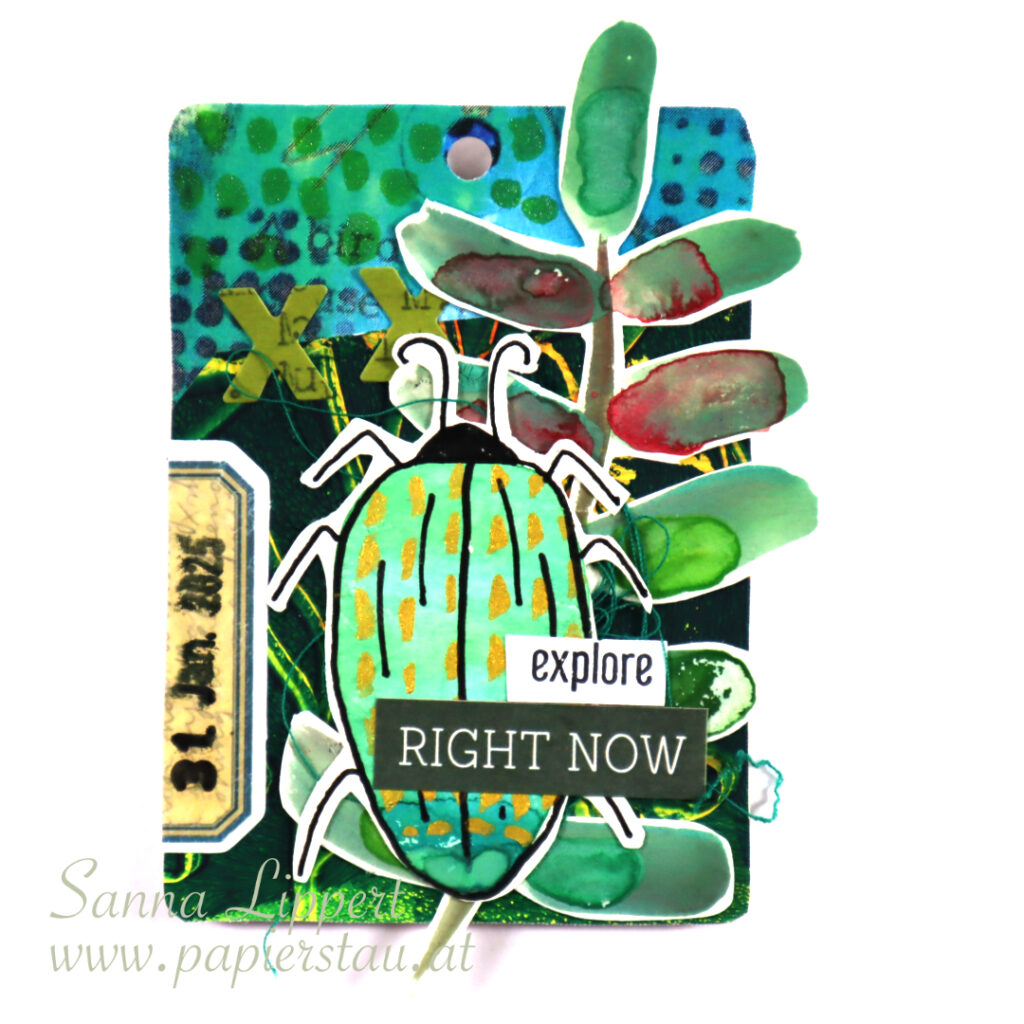
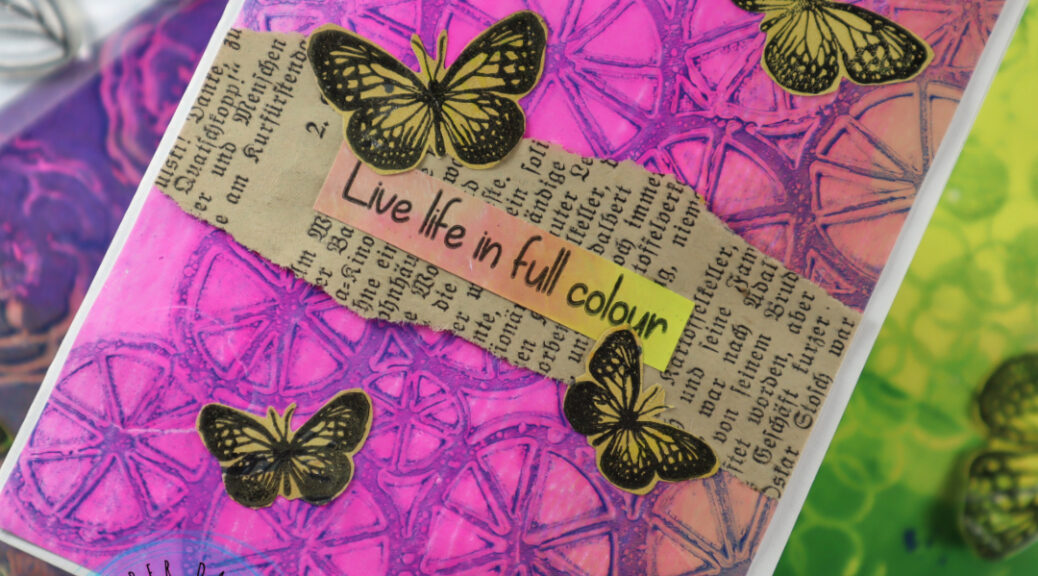
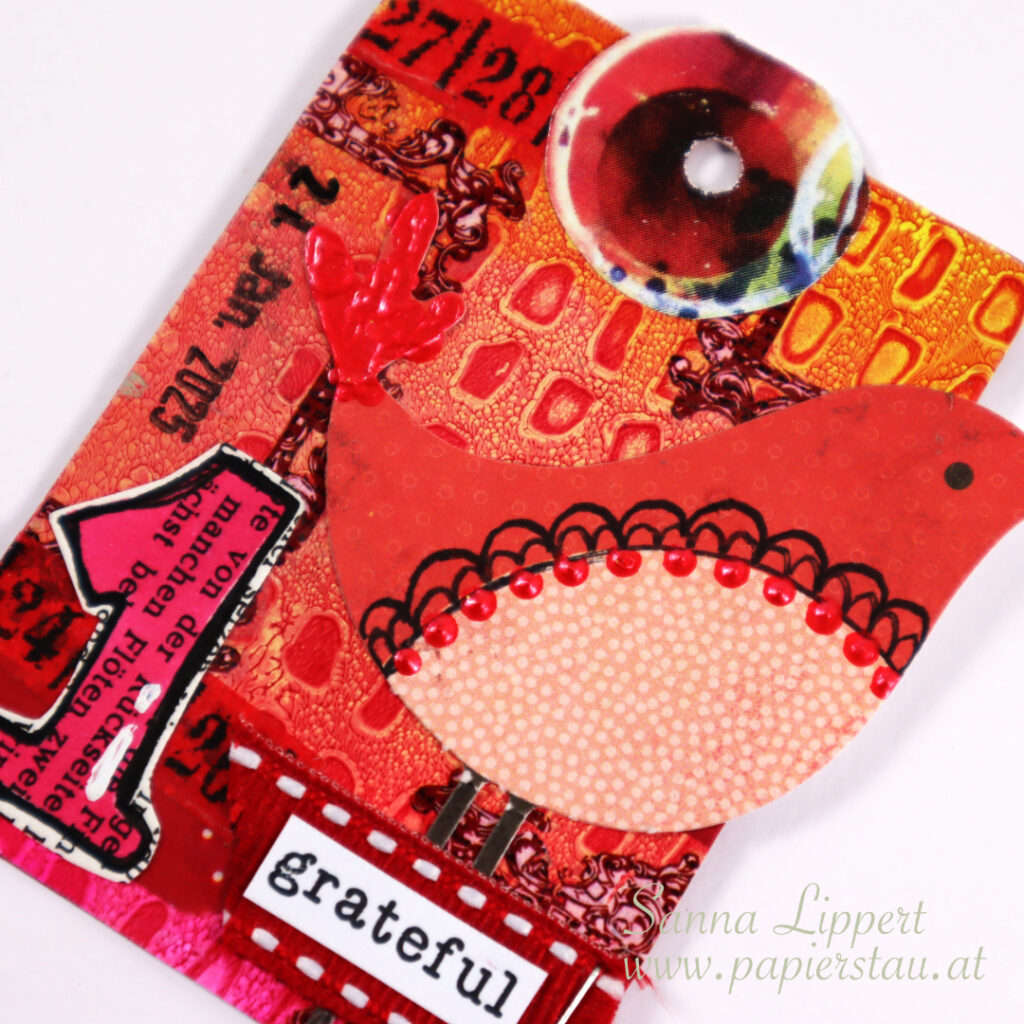
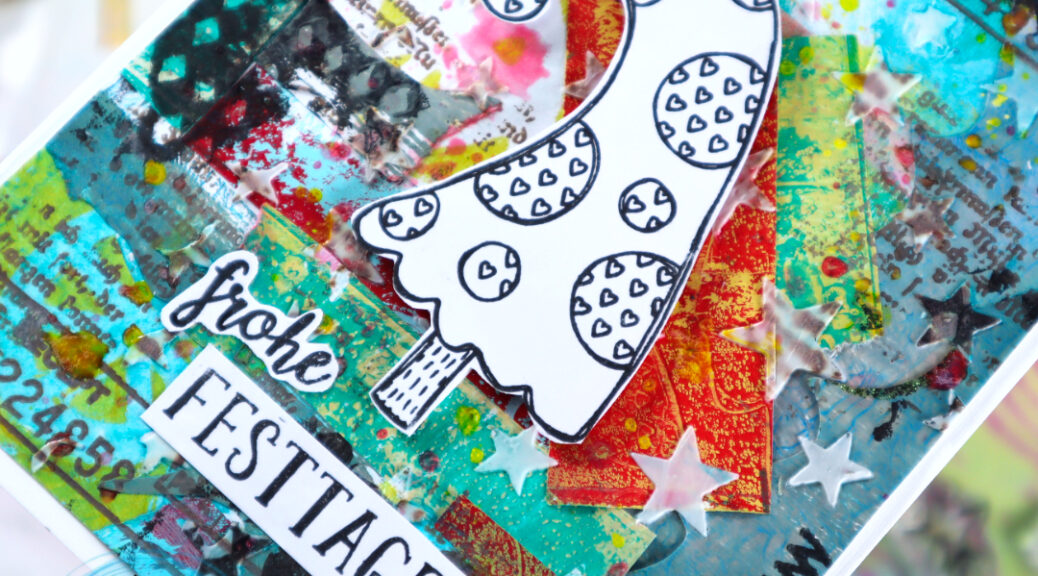
Hello, it´s my turn again over at the Rubber Dance blog today and I am up sharing another take on residue gelli prints turned into card focal points. Like on my last post, I created another set of die cut focal points out of residue gelli printing papers. This time using different color combinations and stenciling the card backgrounds, instead of stamping.

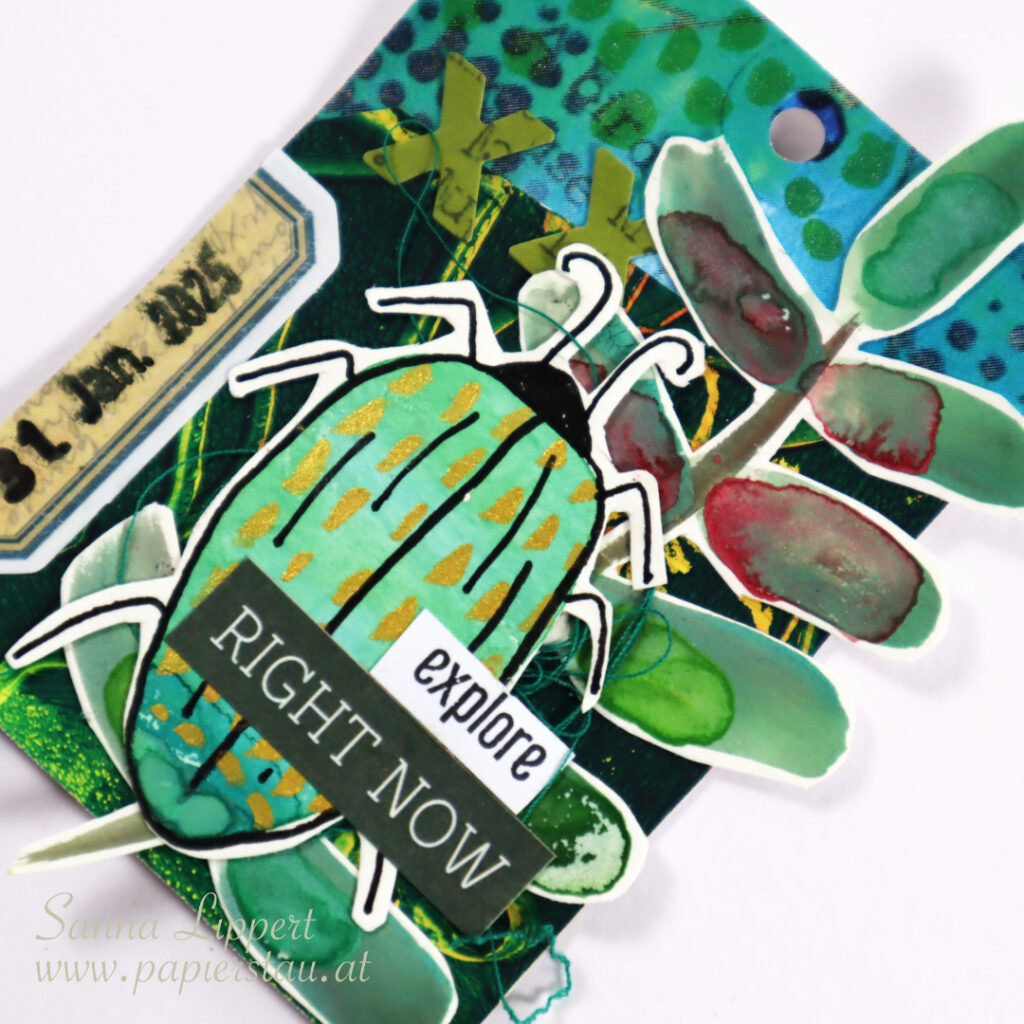
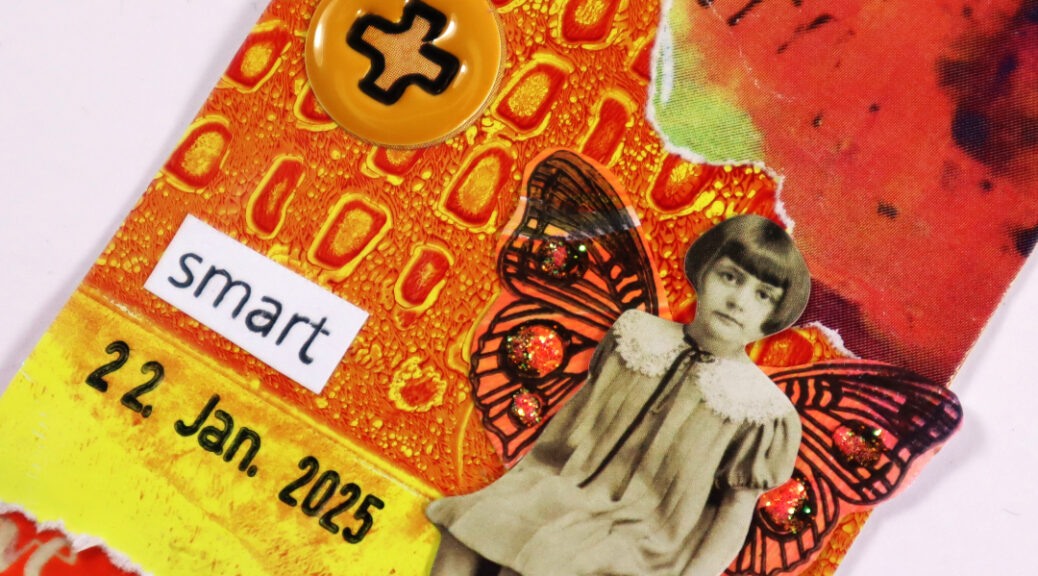
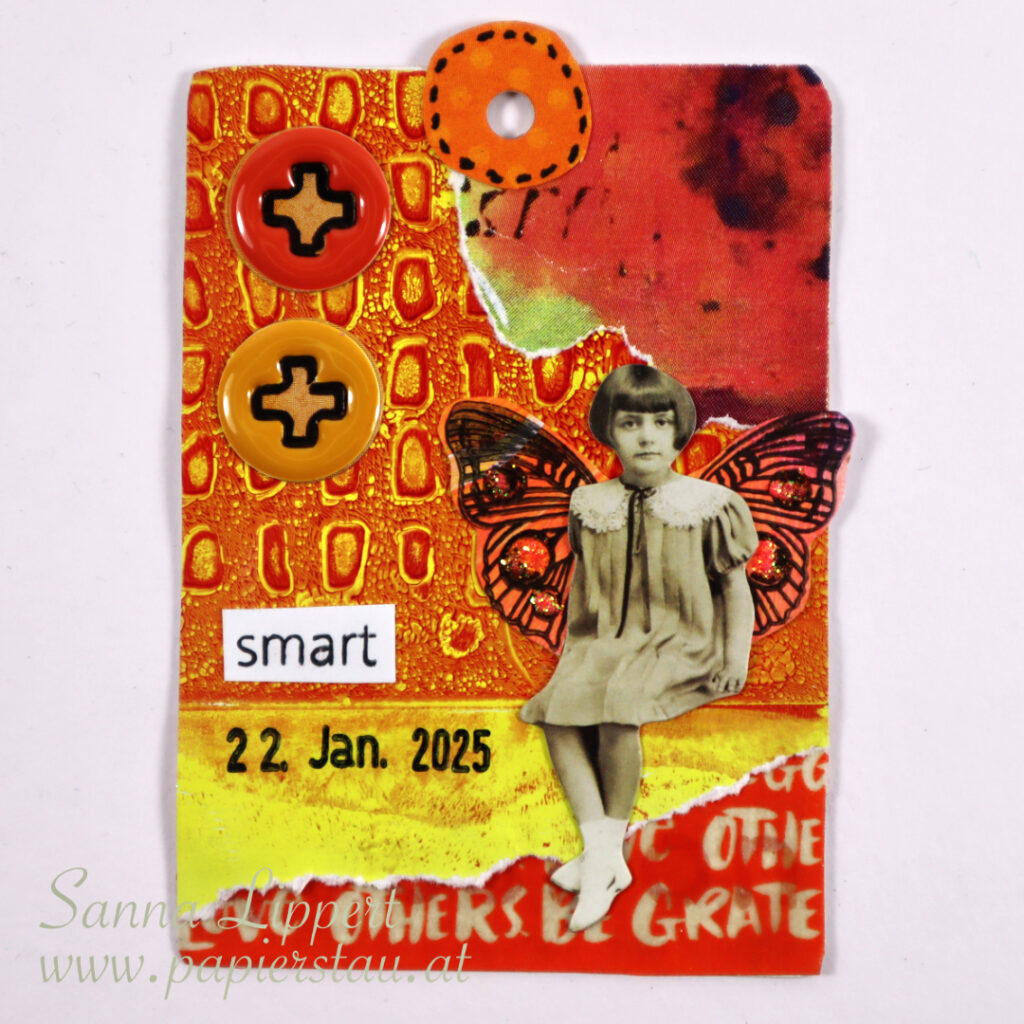
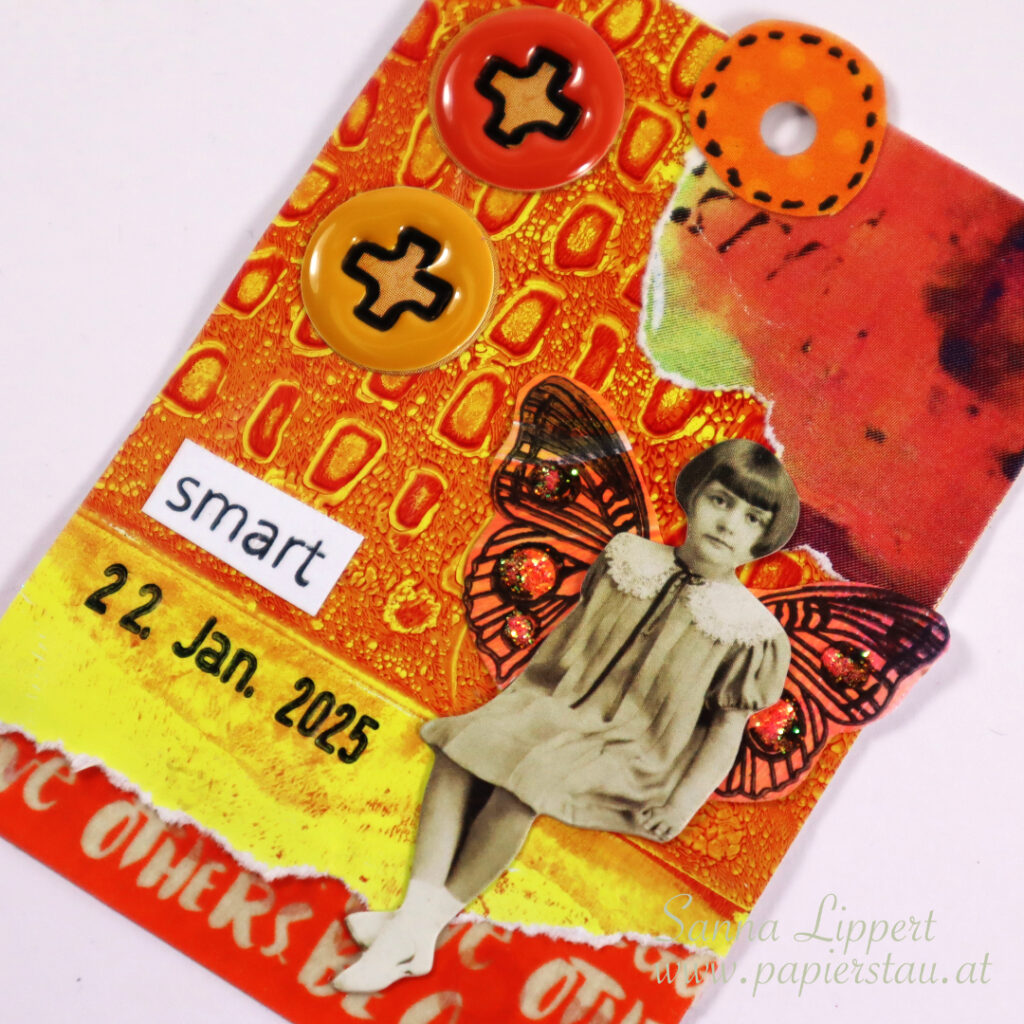
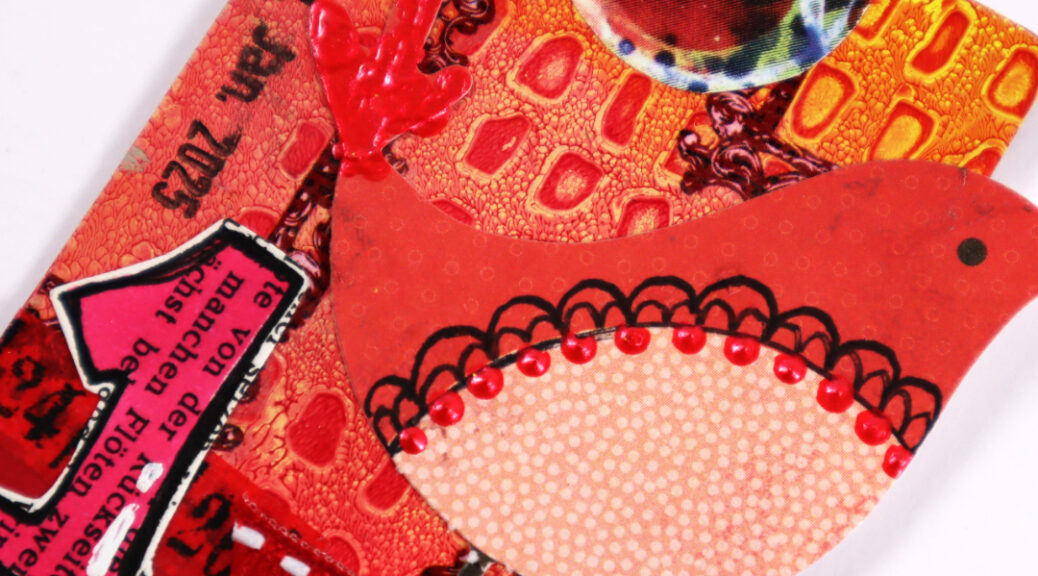
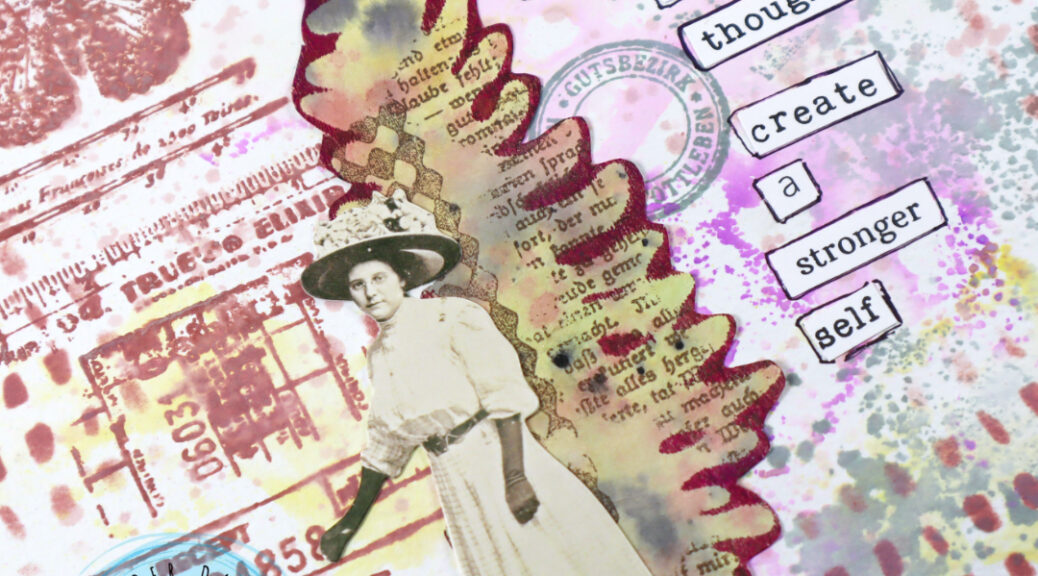
I first die cut the residue gelli printing paper with die cut dies into different forms and sizes (banners, circles and squares). I then added some stamping with black stamp ink and some heat embossed details with red embossing ink and the Pencil Marks 8 stamp set.


After that I took the Ornament 1 stencil and added brown Distress Oxide Ink thru it onto the die cut pieces. Then I took the Mix It Up 4 stamp set and added some stamping with blue StazOn ink here and there onto the background.


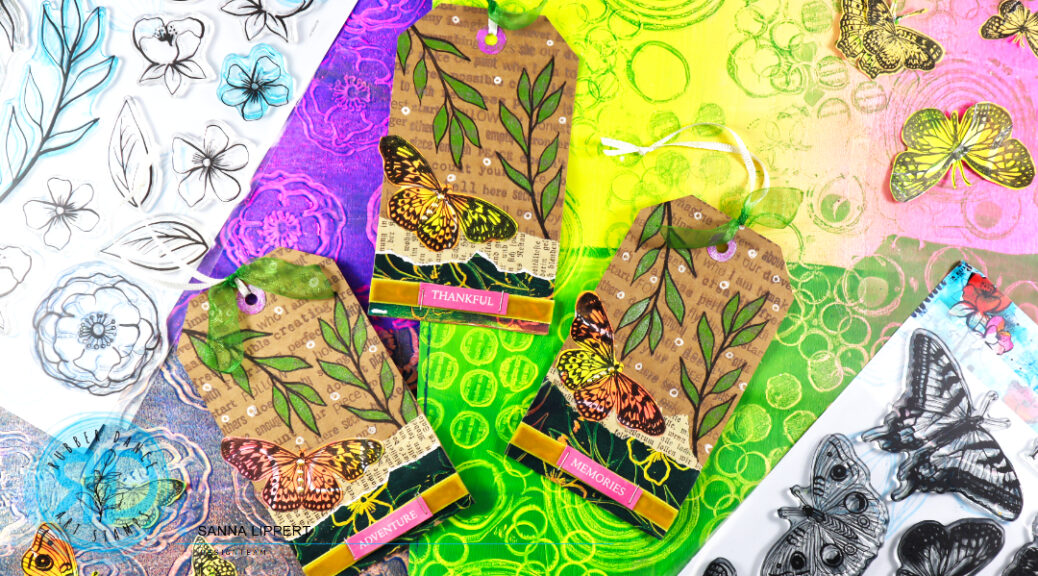
Next I took out some premade Sketchy Leaves 5 stencil fodder and adhered them onto the die cut pieces. On top of those I added some yarn and a fodder butterfly, created with a gel plate and Butterflies and Moths stamp set.


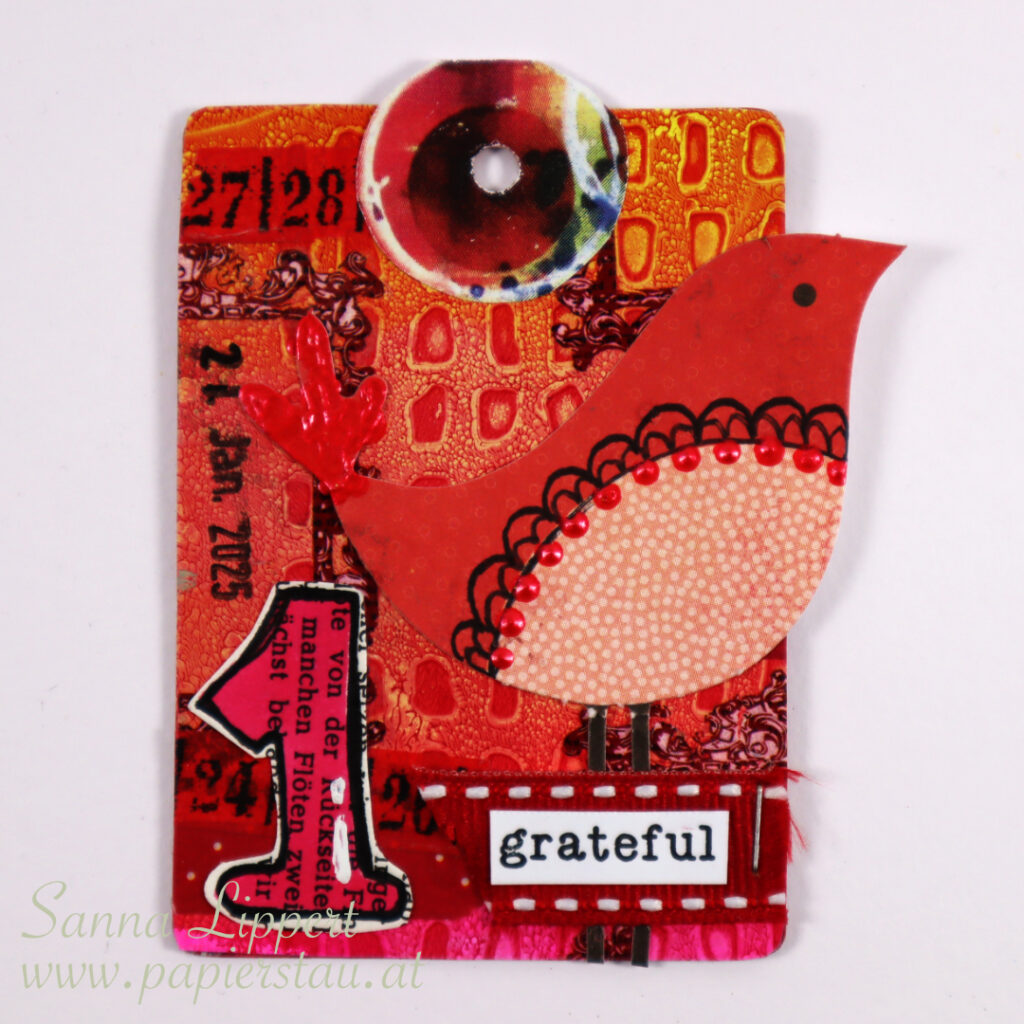
I also wanted to add a stamped word onto the focal point elements and took out the Mixed Sentiments 1 stamp set. I just used one word from each sentiment, instead of the whole quote.


Instead of adding a stamped background, I chose to stencil Distress Oxide Inks thru the Ornament 1, Dotted 1 and Organic 4 stencils onto the card bases and then adhered the die cut pieces with fodder onto the cards.


I also wanted to add a stamped sentiment to every card, so I used an older German birthday sentiment stamp set from my own stash for stamping them.


After finishing the cards, I added some Gloss Spray droplets to the butterflies wings here and there for additional color and interest.
Here is a video on how I created the Sketchy Leaves 5 stencil fodder that I used on some of the focal point elements:
And here is a short video on the focal point elements and how I put the cards together:
I hope I could inspire you to play with your Rubber Dance stamps and stencils and create colorful cards.
Happy crafting
xxx, Sanna
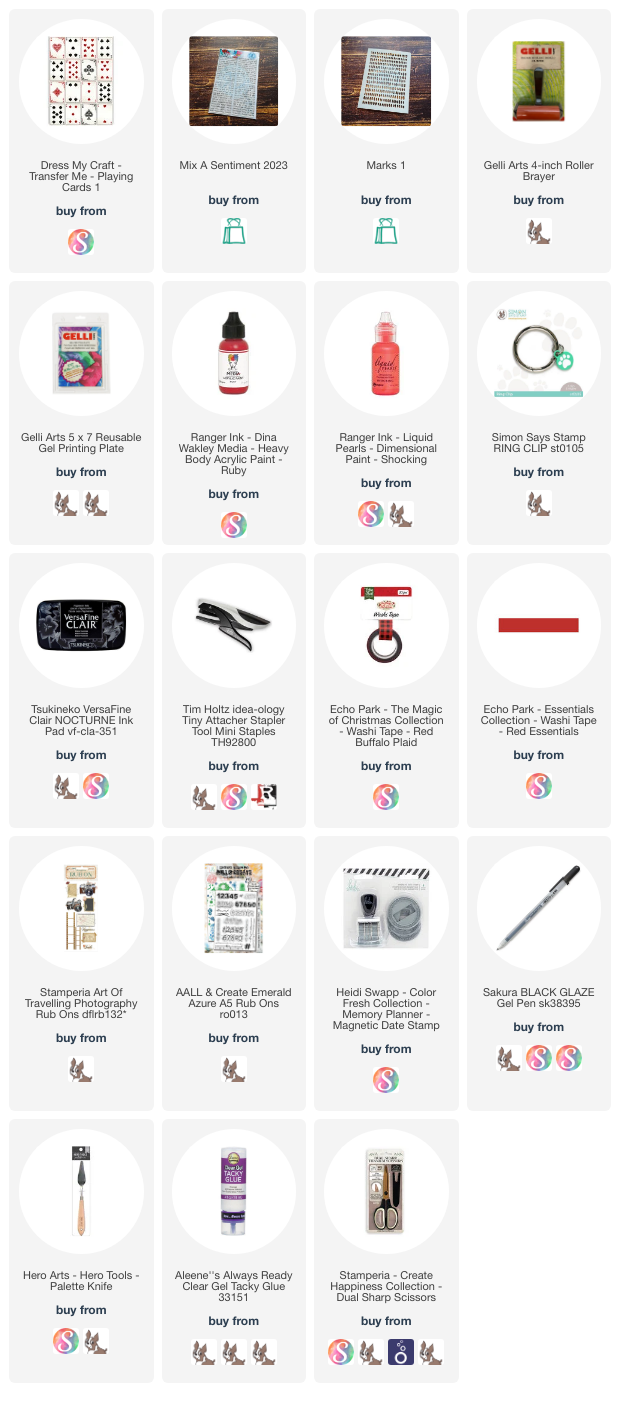
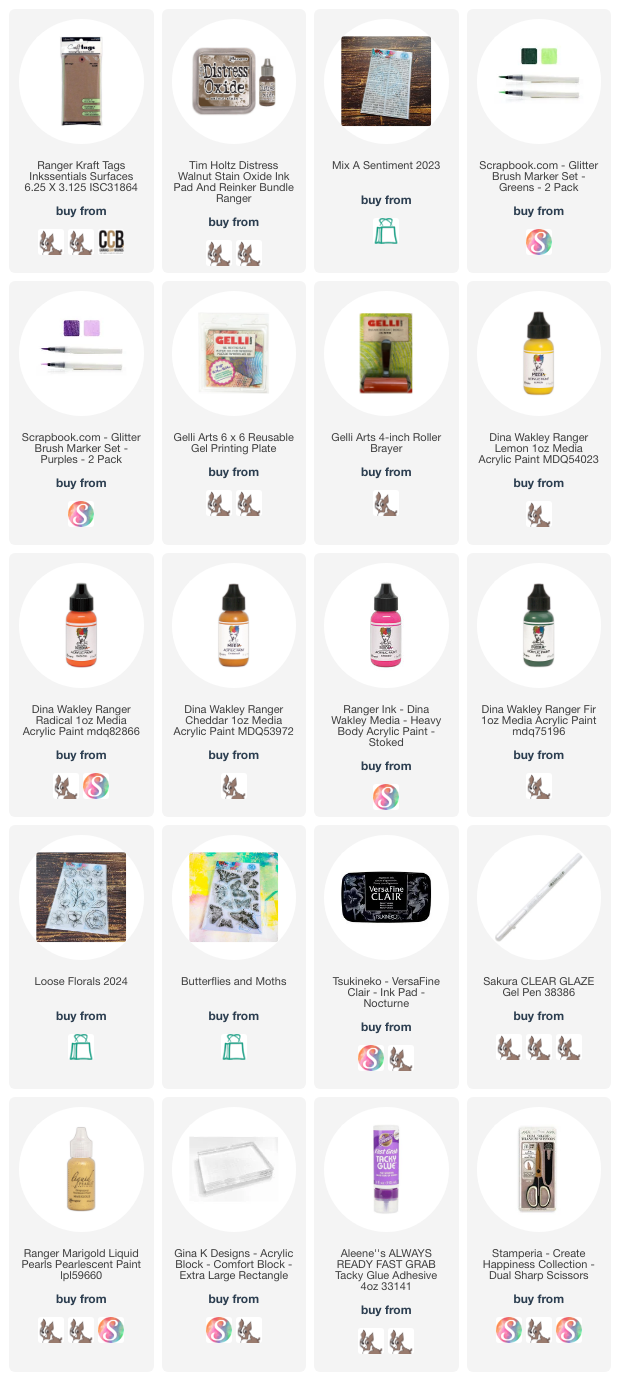
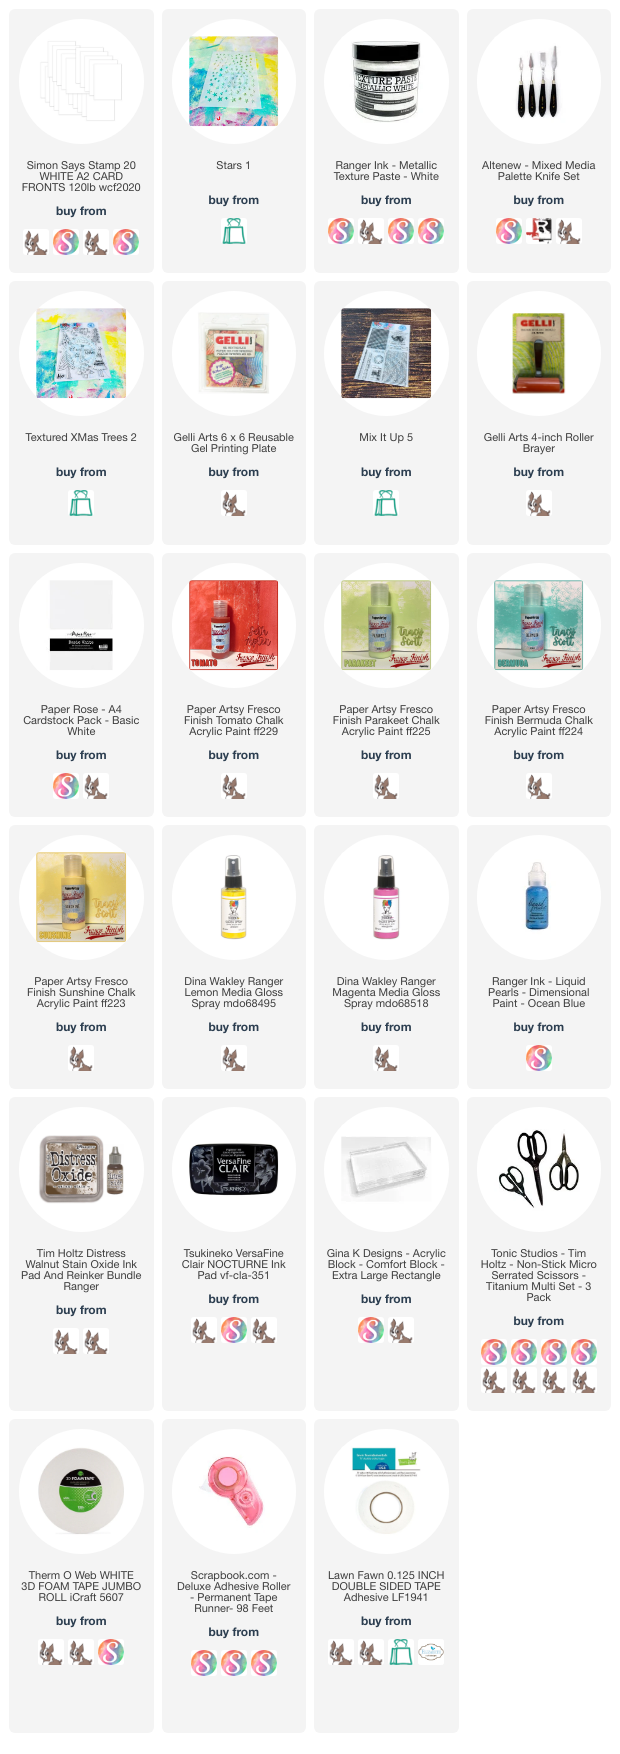
Supplies: