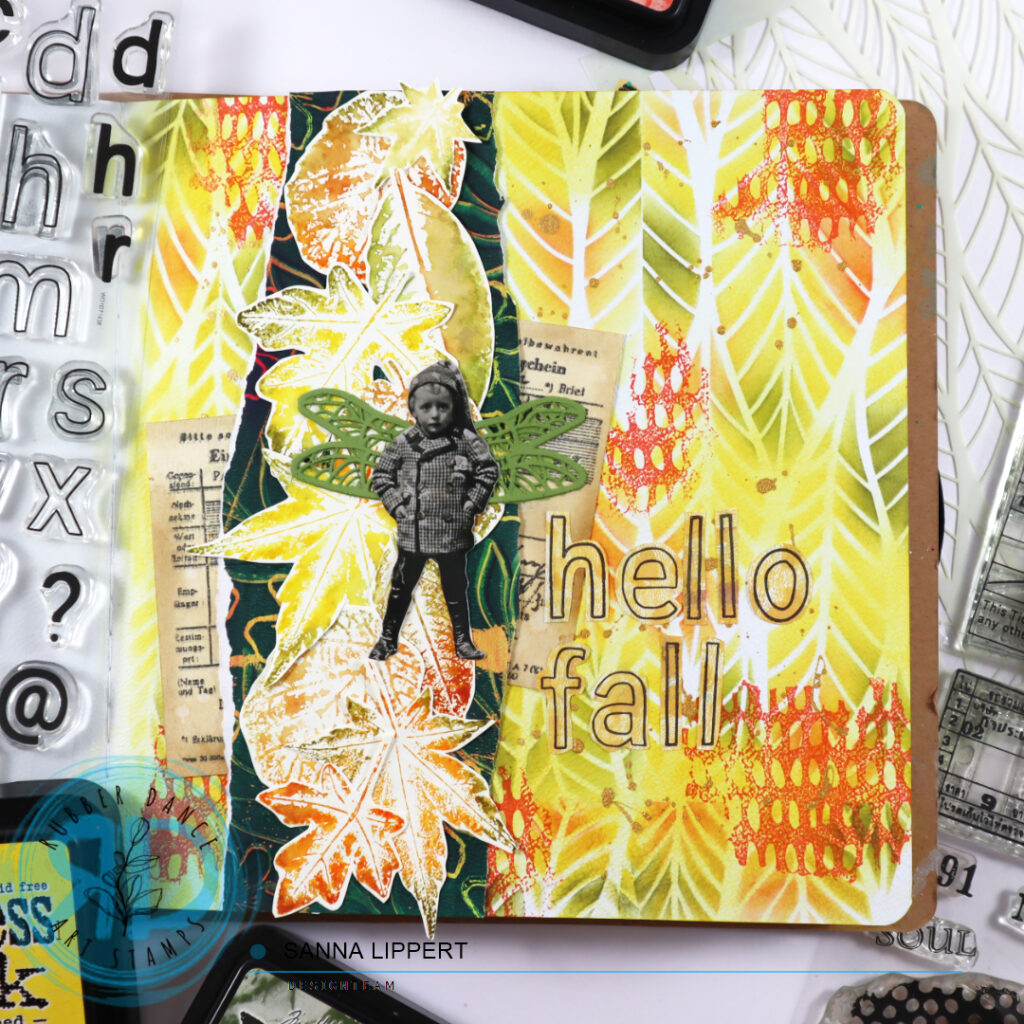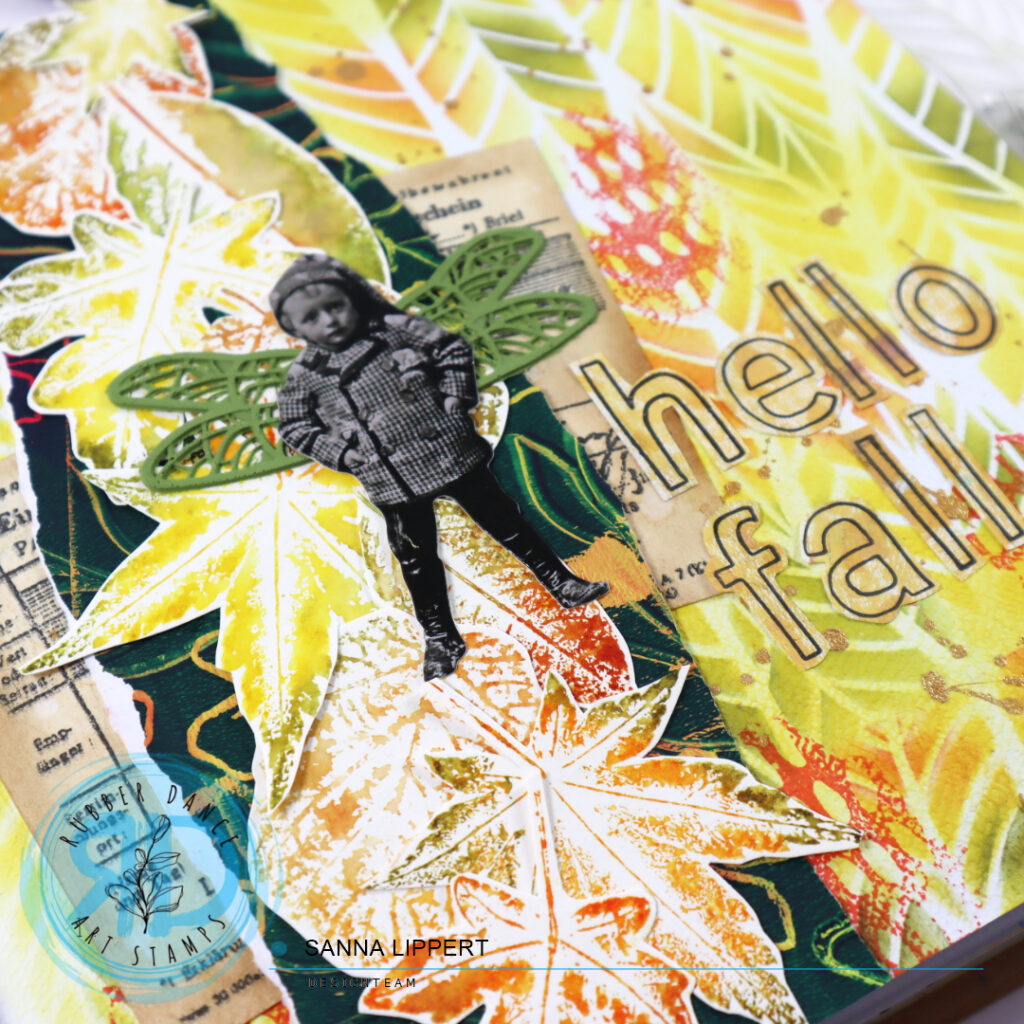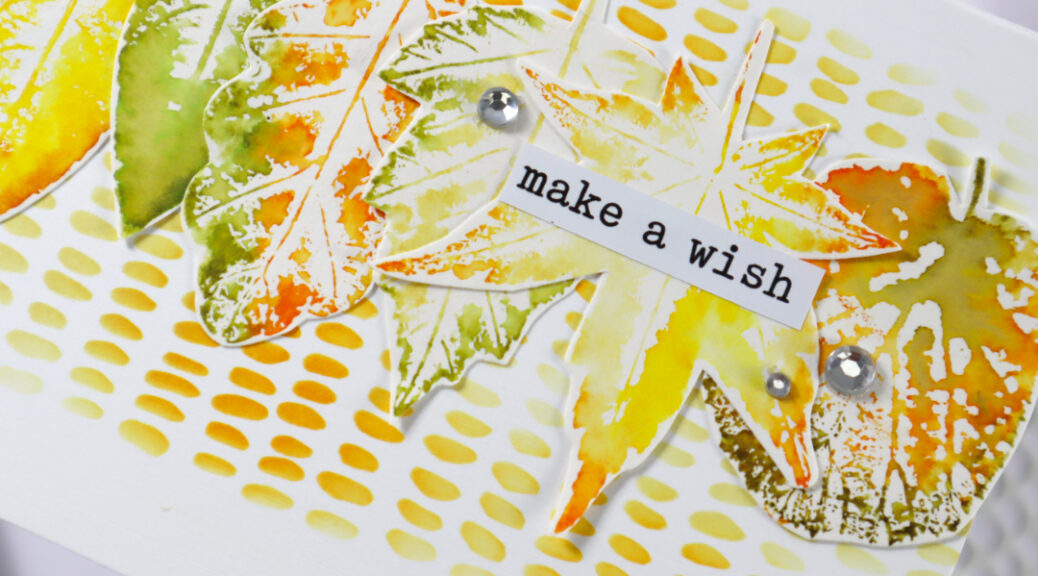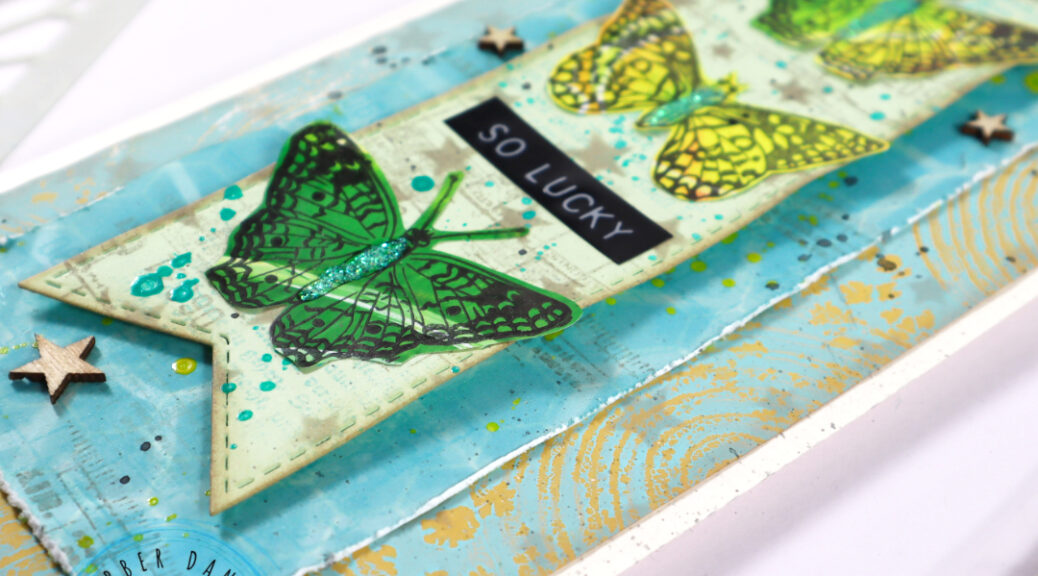
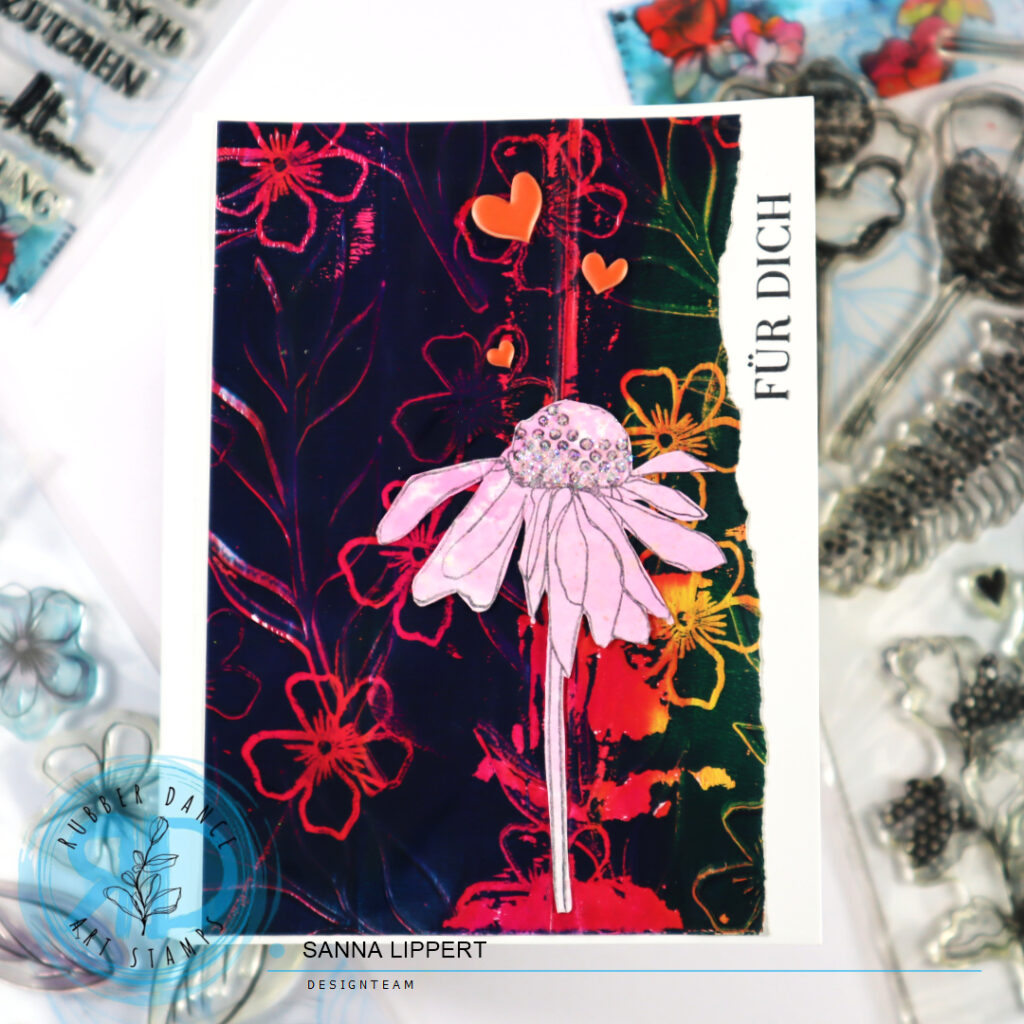
Hello, today I have a card set share up that feature very bold backgrounds. They don´t need much on top as they really stand out on their own. For these cards I used the Loose Florals 2024 and the Doodle Flowers 2 stamp sets as well as the Kartengrüße set for stamped sentiments.
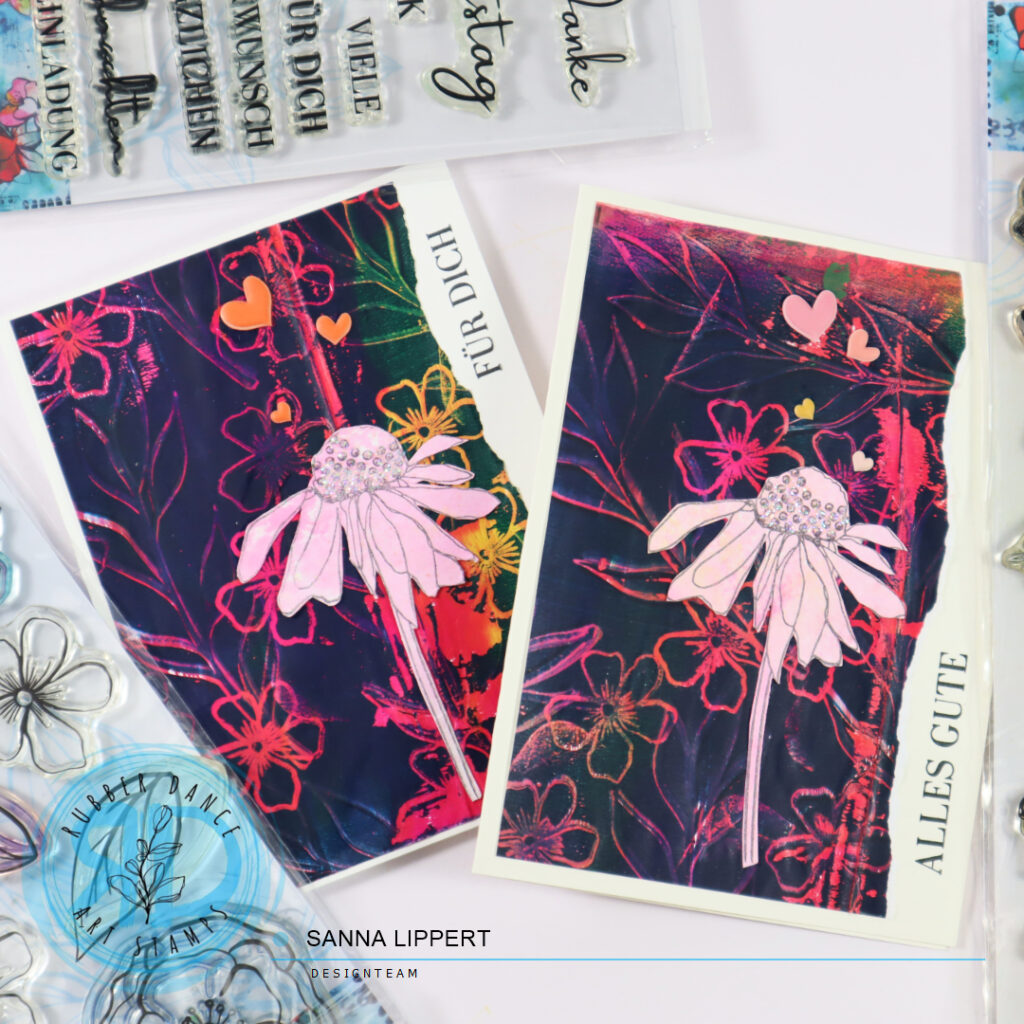
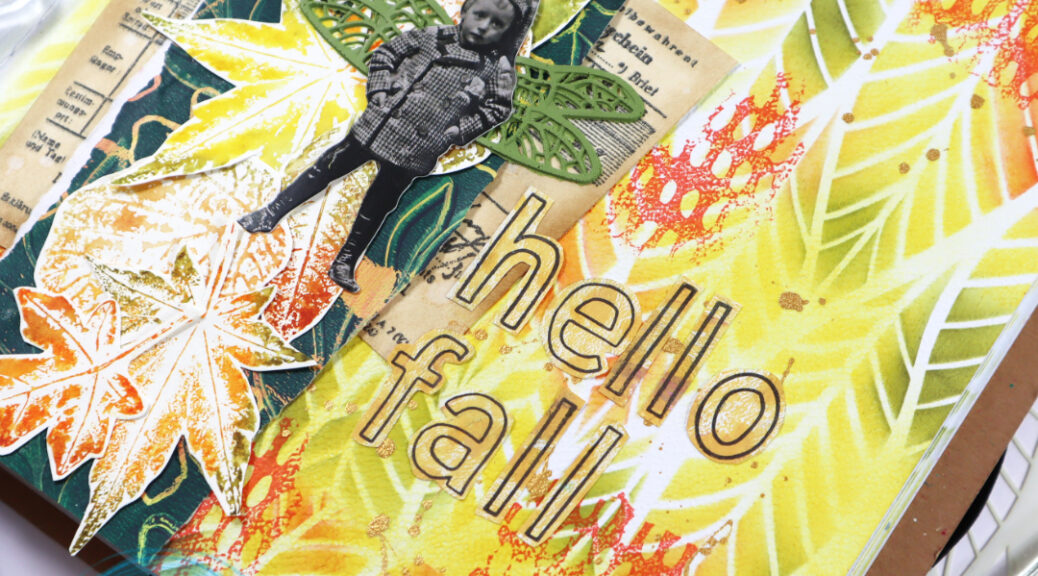
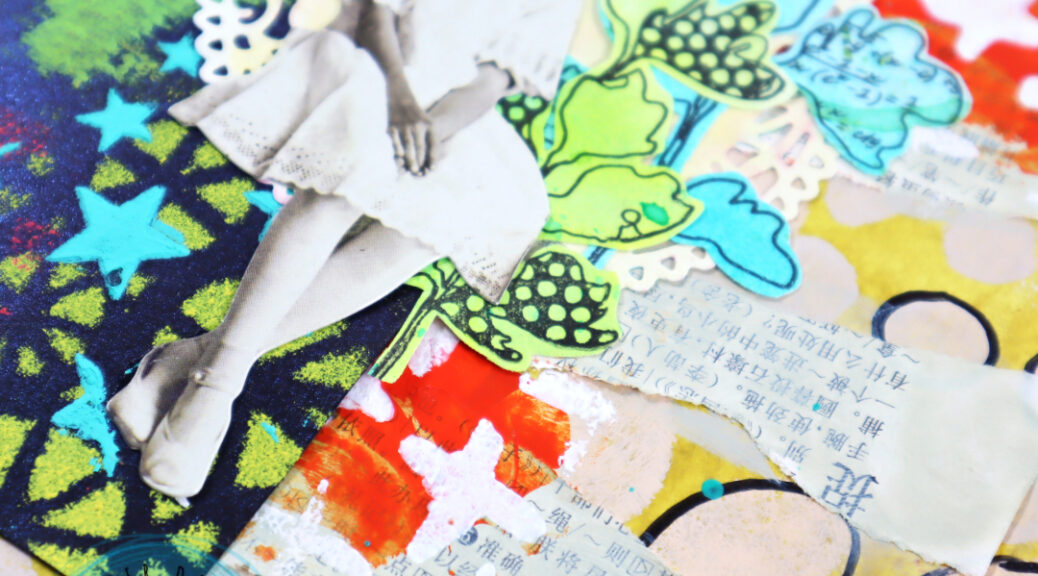
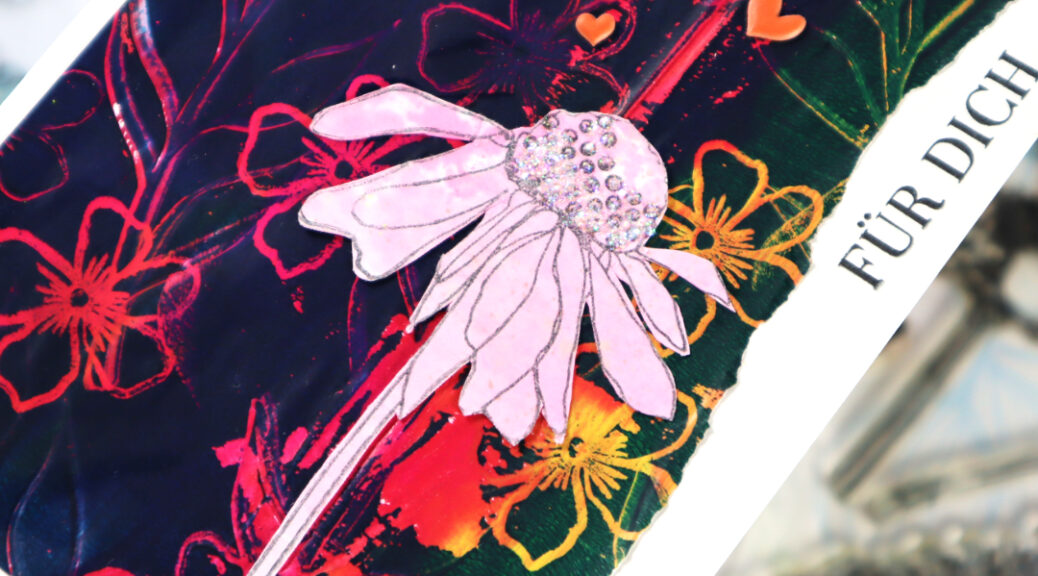
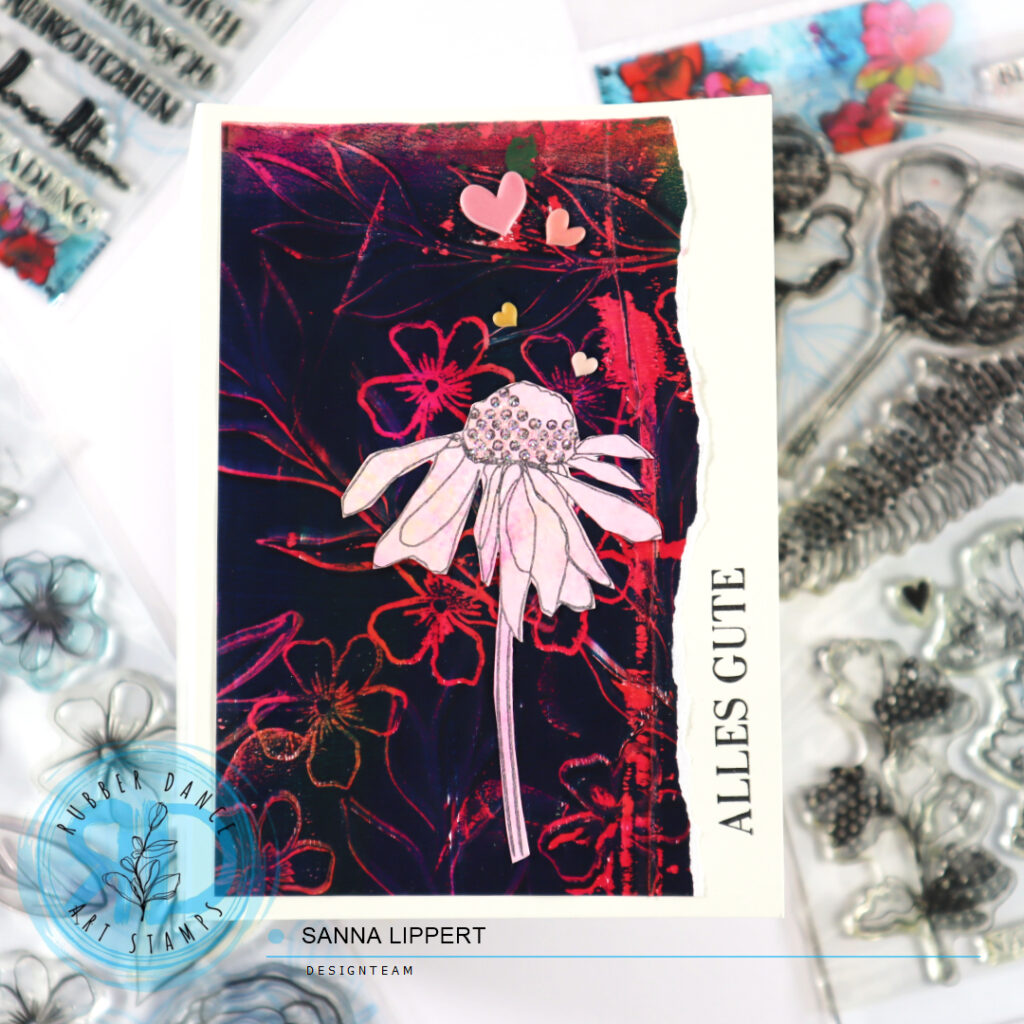
The background papers are from a gelli printing session where I made my own collage papers using strong colors and the Loose Florals 2024 stamp set. For this set I wripped the paper on one side to create an irregular border and adhered the paper onto a card base. On top I added something light – a lightly inked collage fodder flower in pink. To go with it, I added a few enamel hearts and a stamped sentiment along the cards edge.
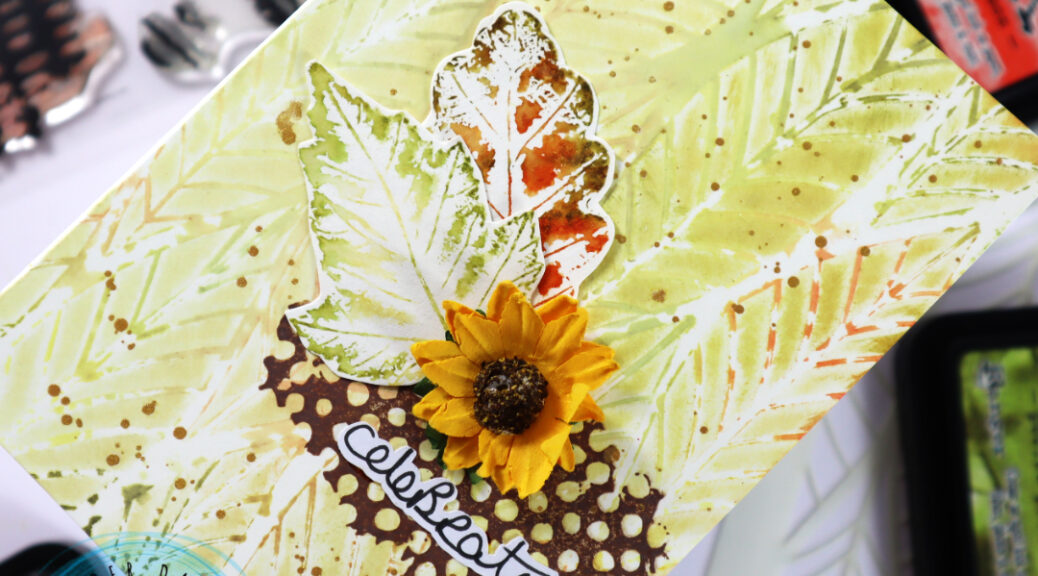
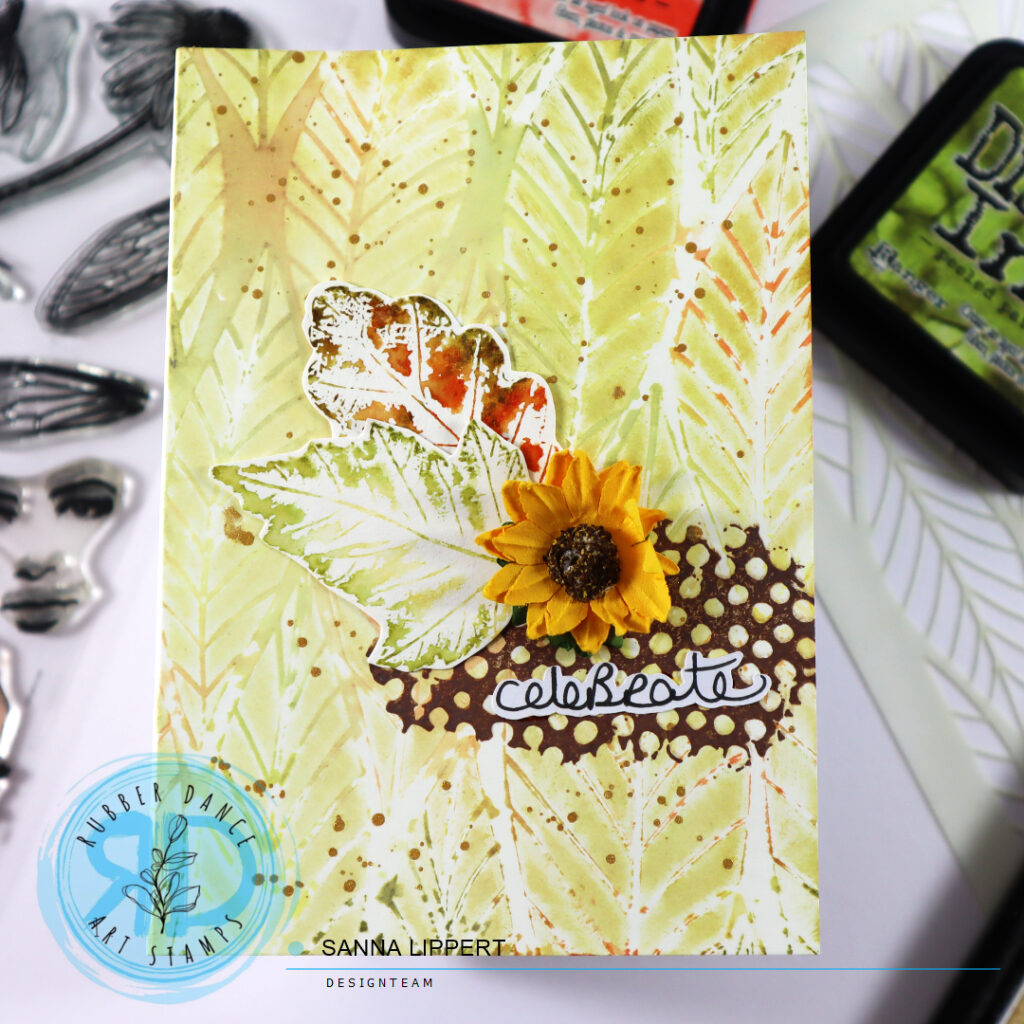
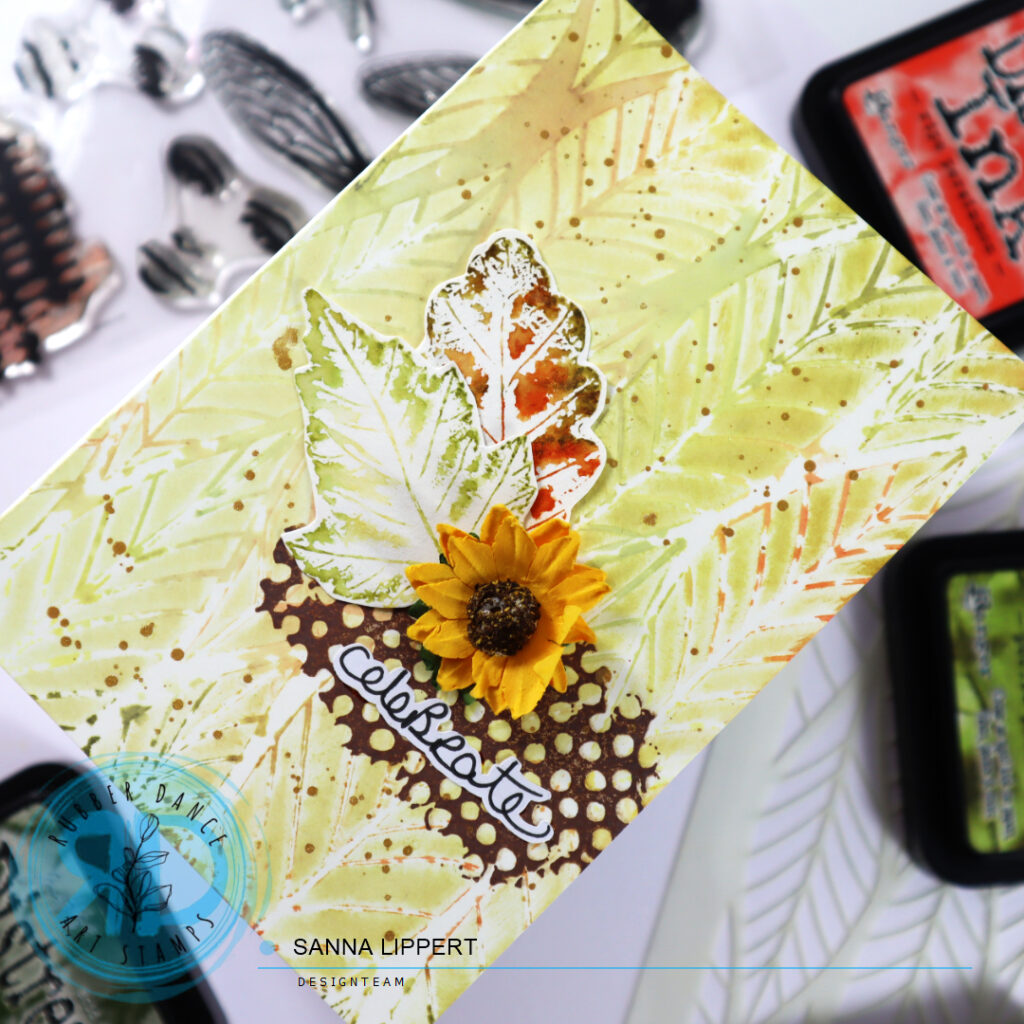
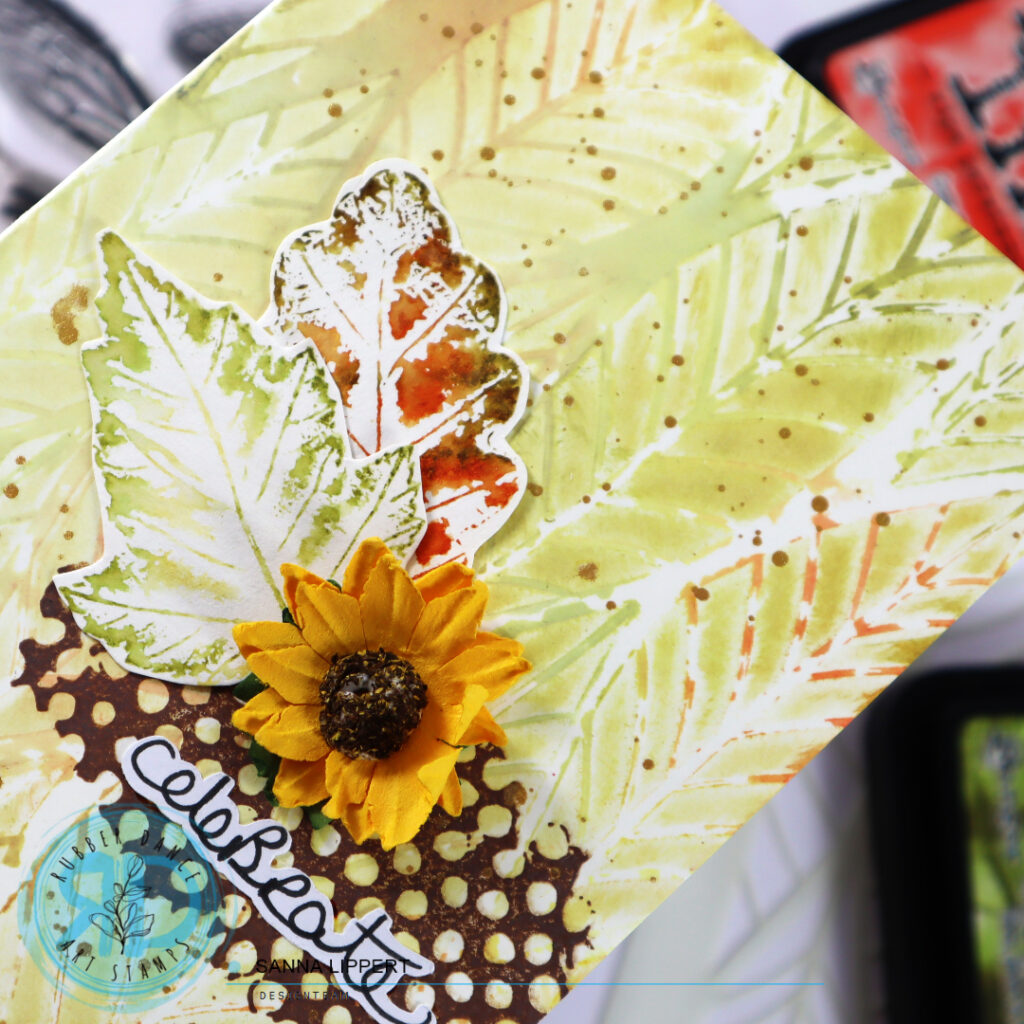
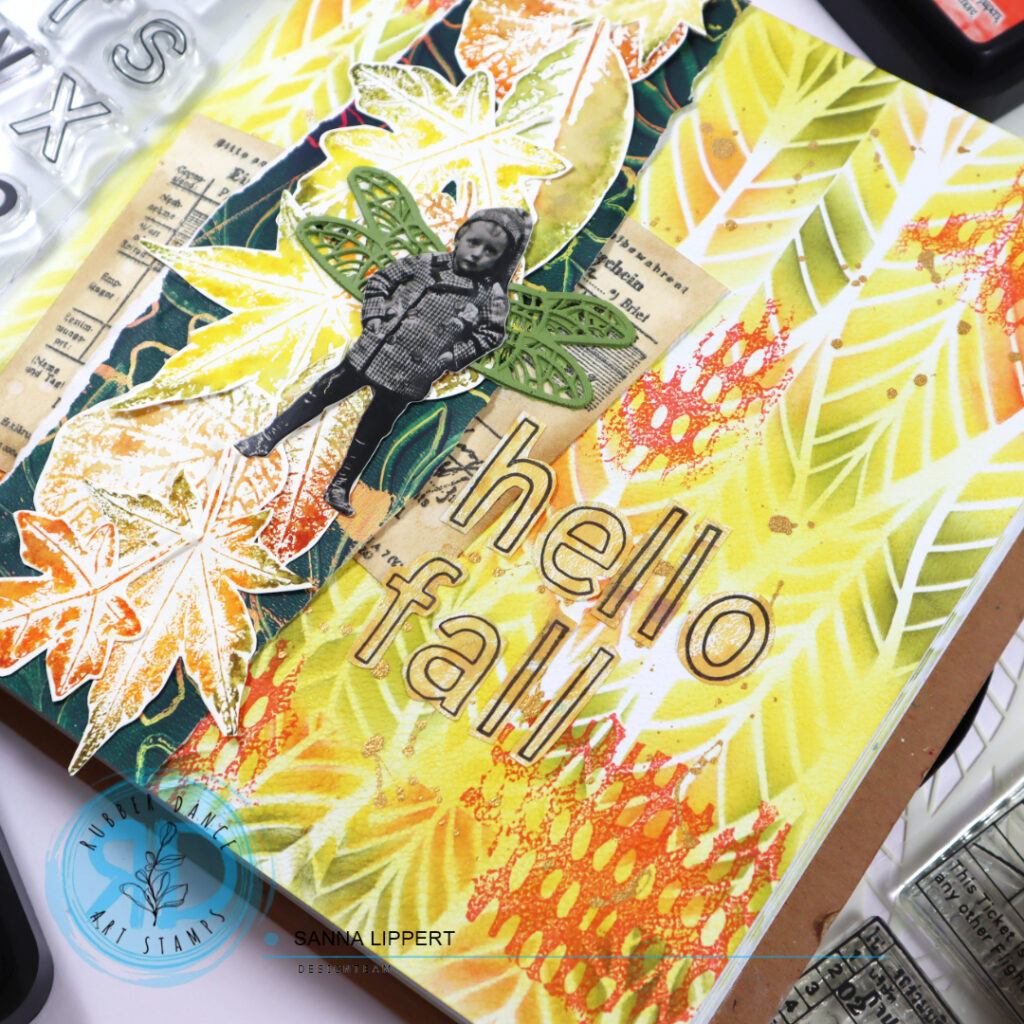
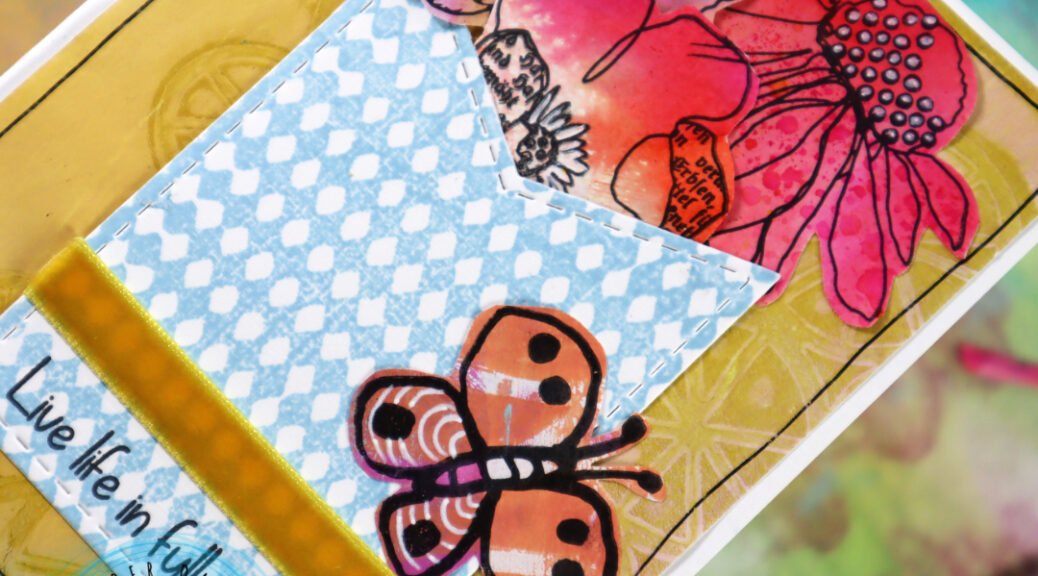
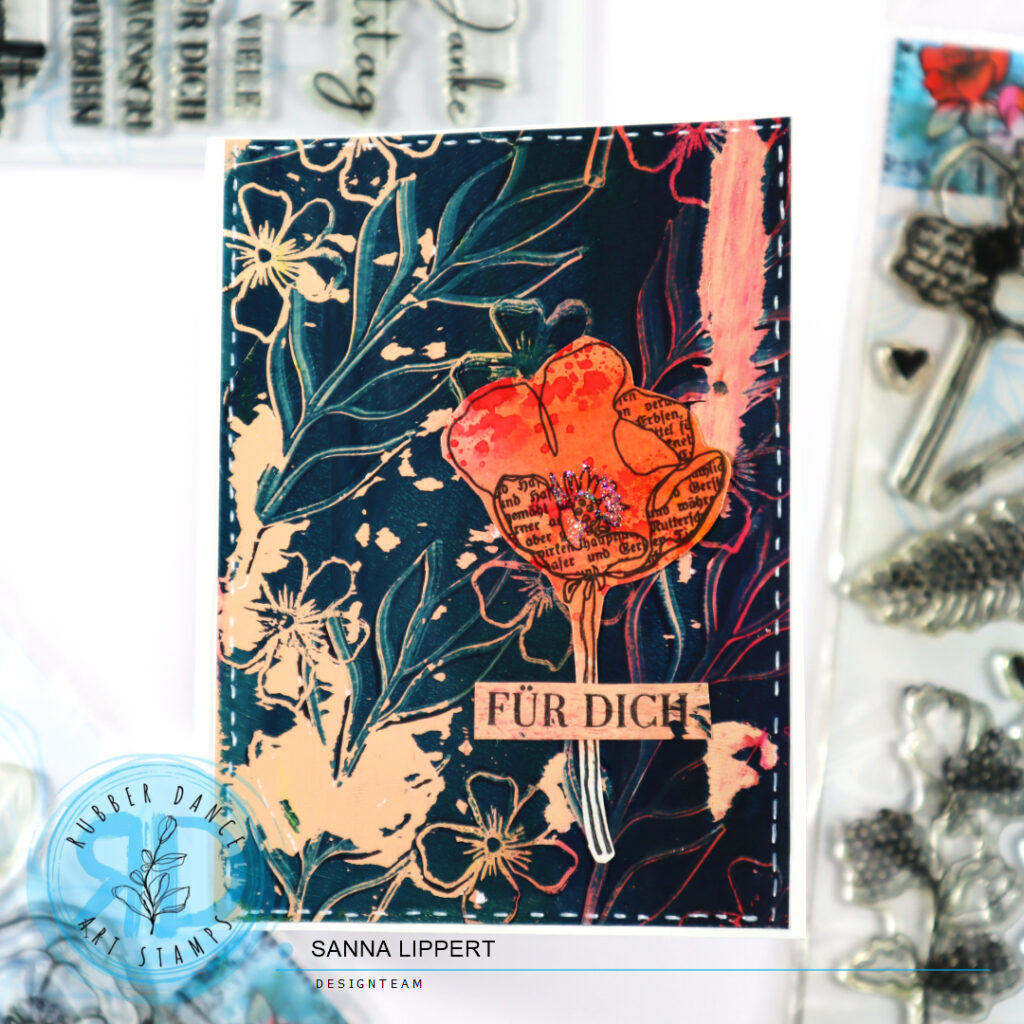
On the second set I have a even more distressed look going on on the background. Thus I left the backgorunds full and didn´t wrip the paper. I love the peeled paint look of the paper. It makes it seem like vintage wallpaper in layers. For these cards I again used the same principle. A bold background paper paired with a single flower as a focal point.
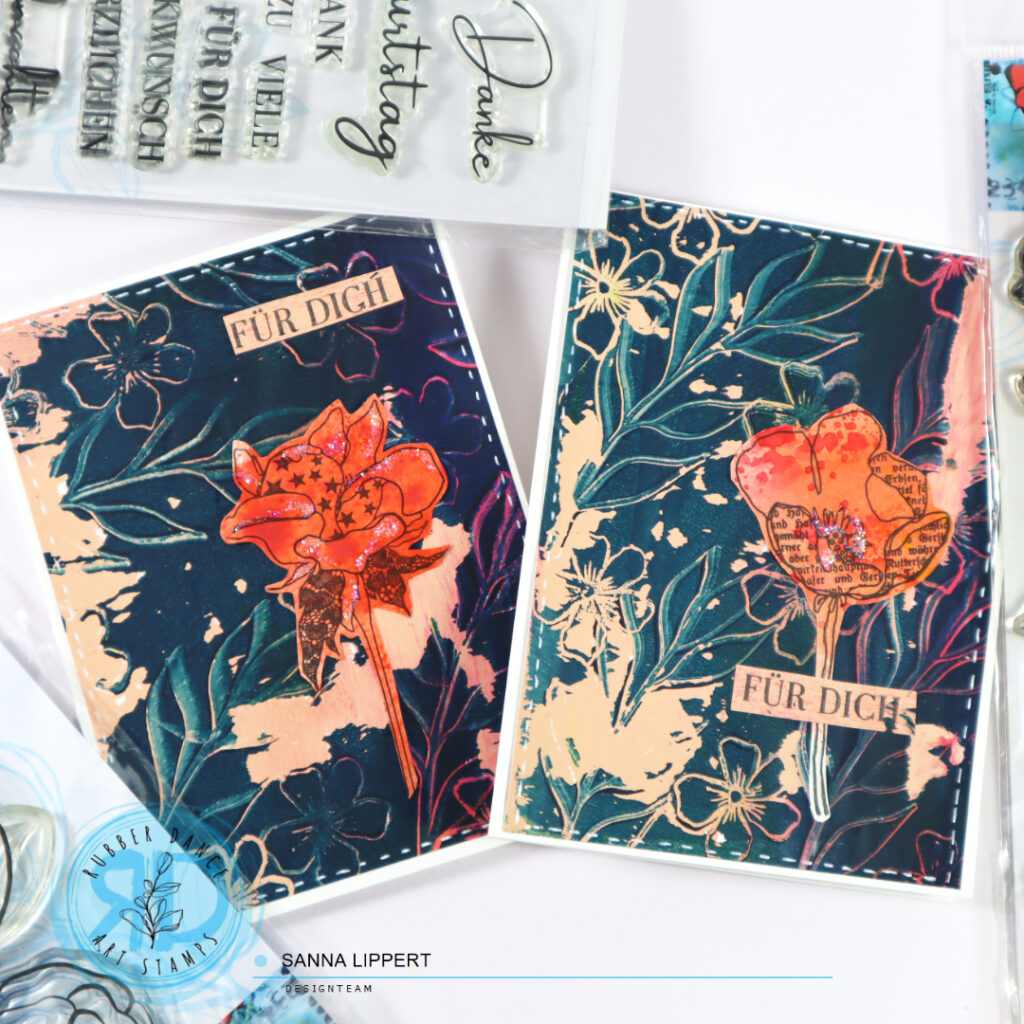
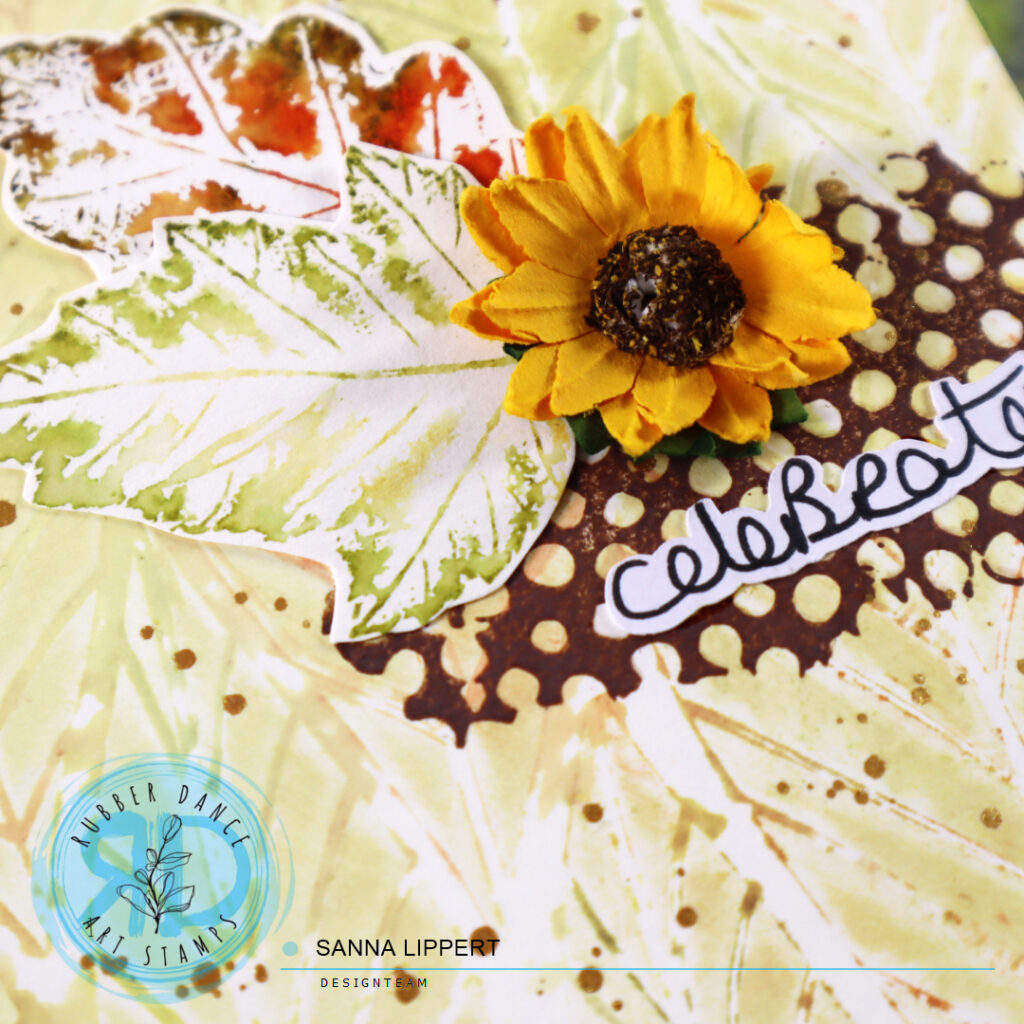
Here I added some faux stitching around the edges with a white gel pen. Some glitter glue for detail onto the flowers and a stamped sentiment on a residue piece that has the same tone like some areas on the background piece.
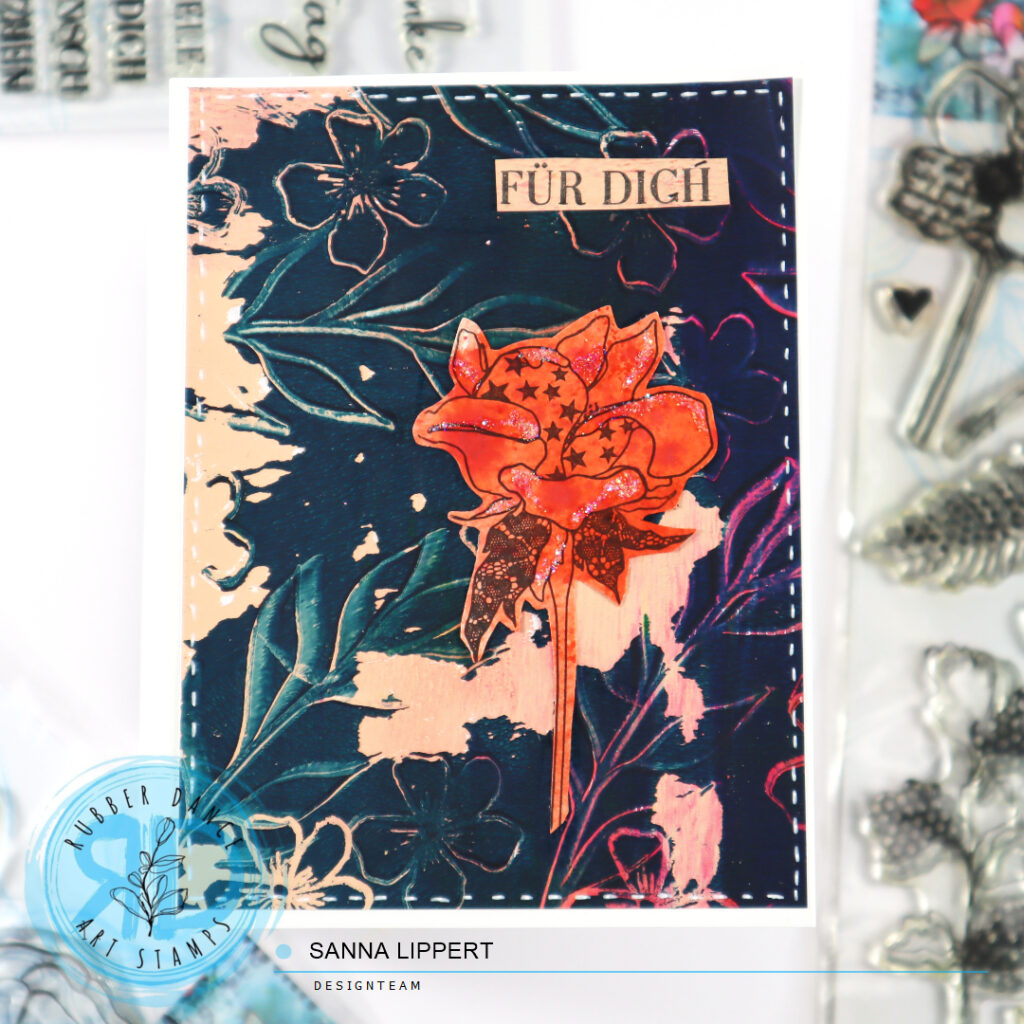
And all these cards are flat and thus very easy to put into mail. Who else loves creating collage papers with stamps and a gelli plate?
xx, Sanna