Hello everyone! It´s again time to share the STAMPlorations April “Anything Goes” challenge with you!

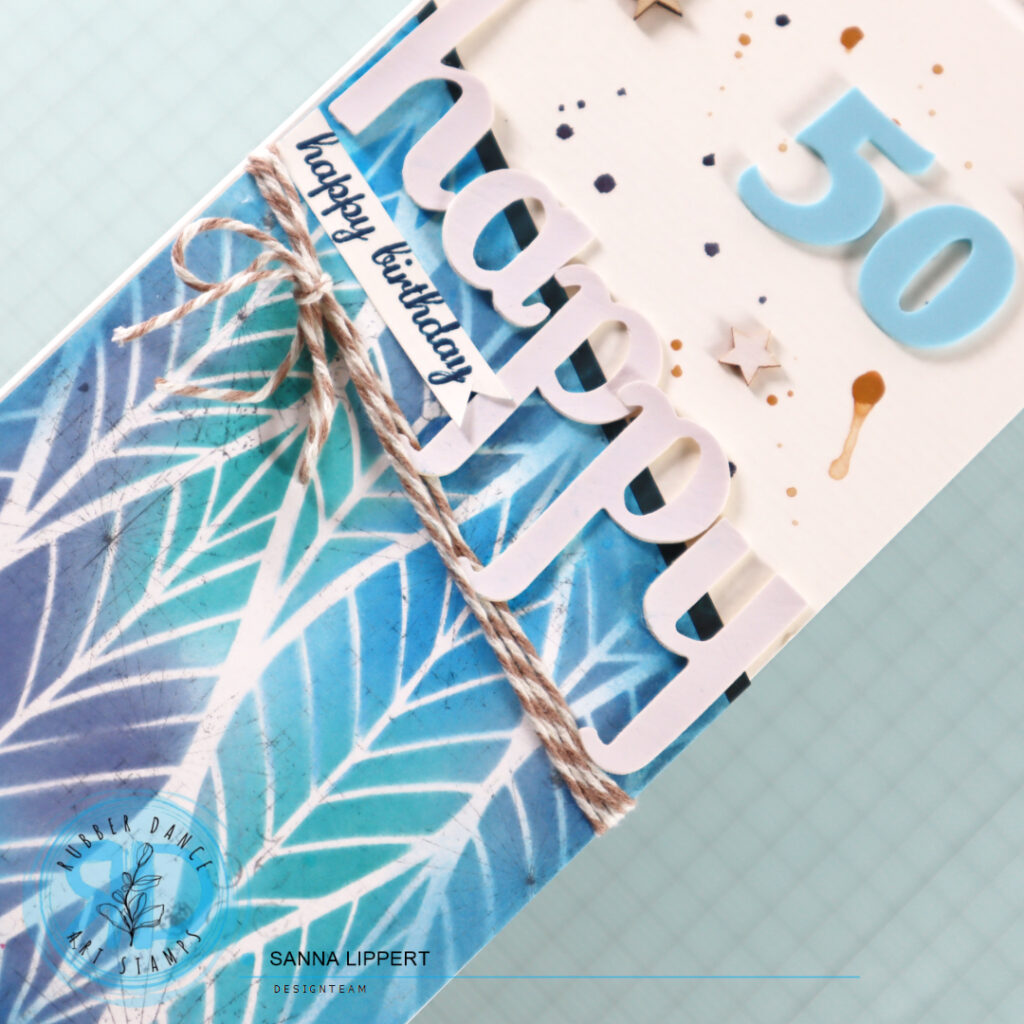
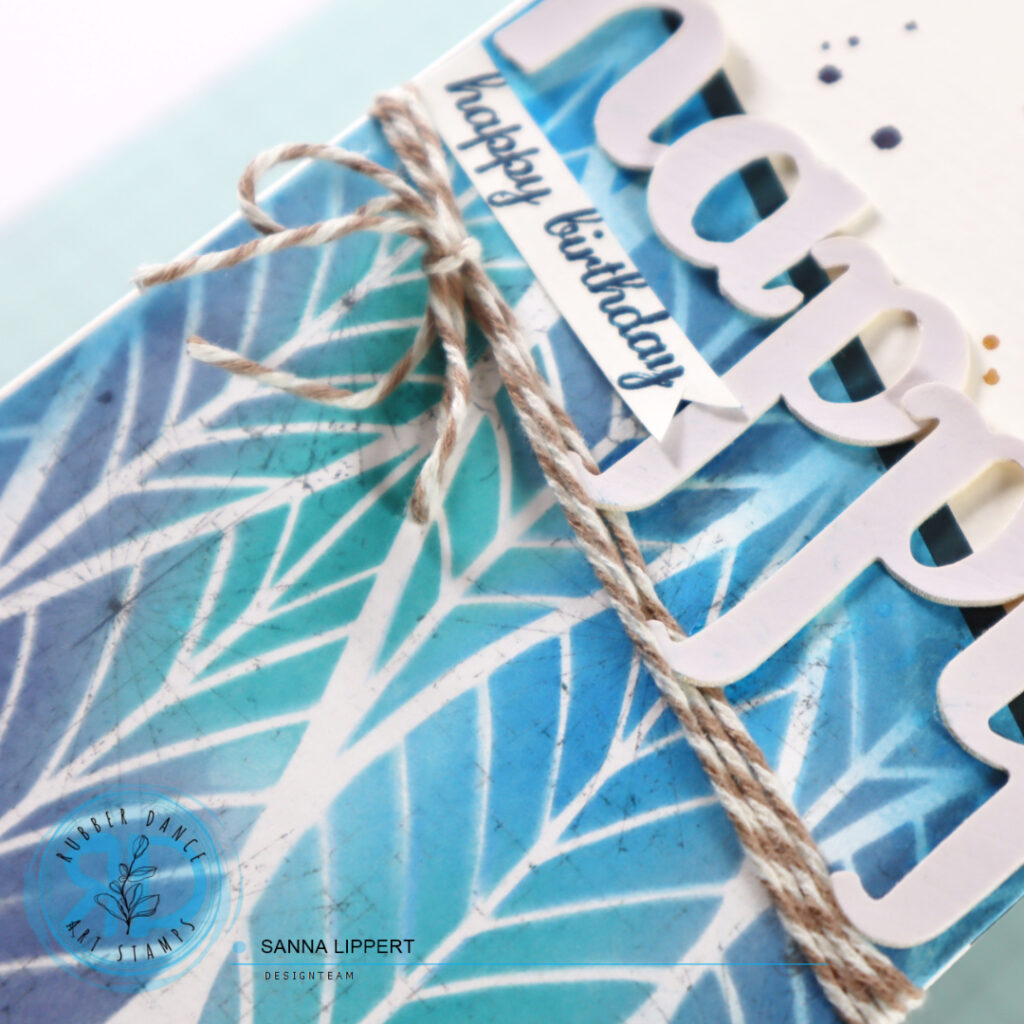
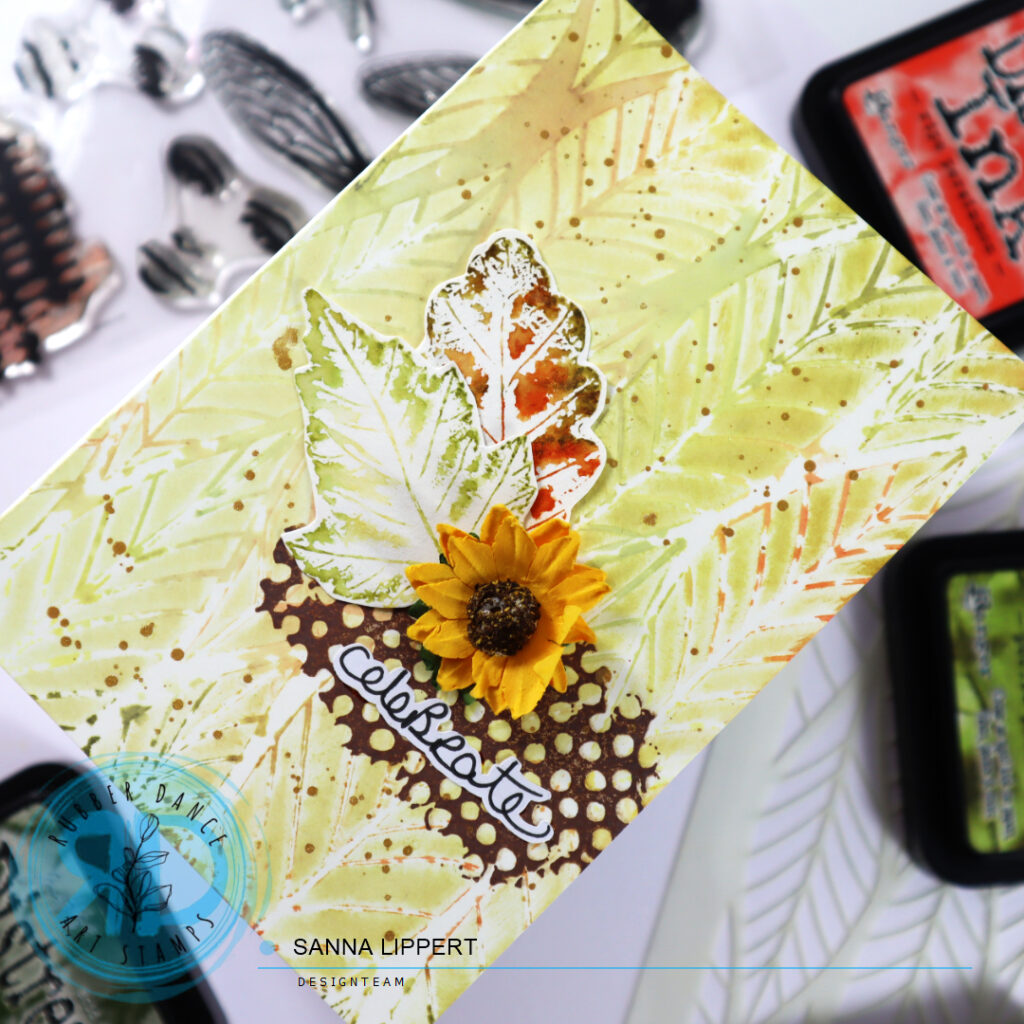
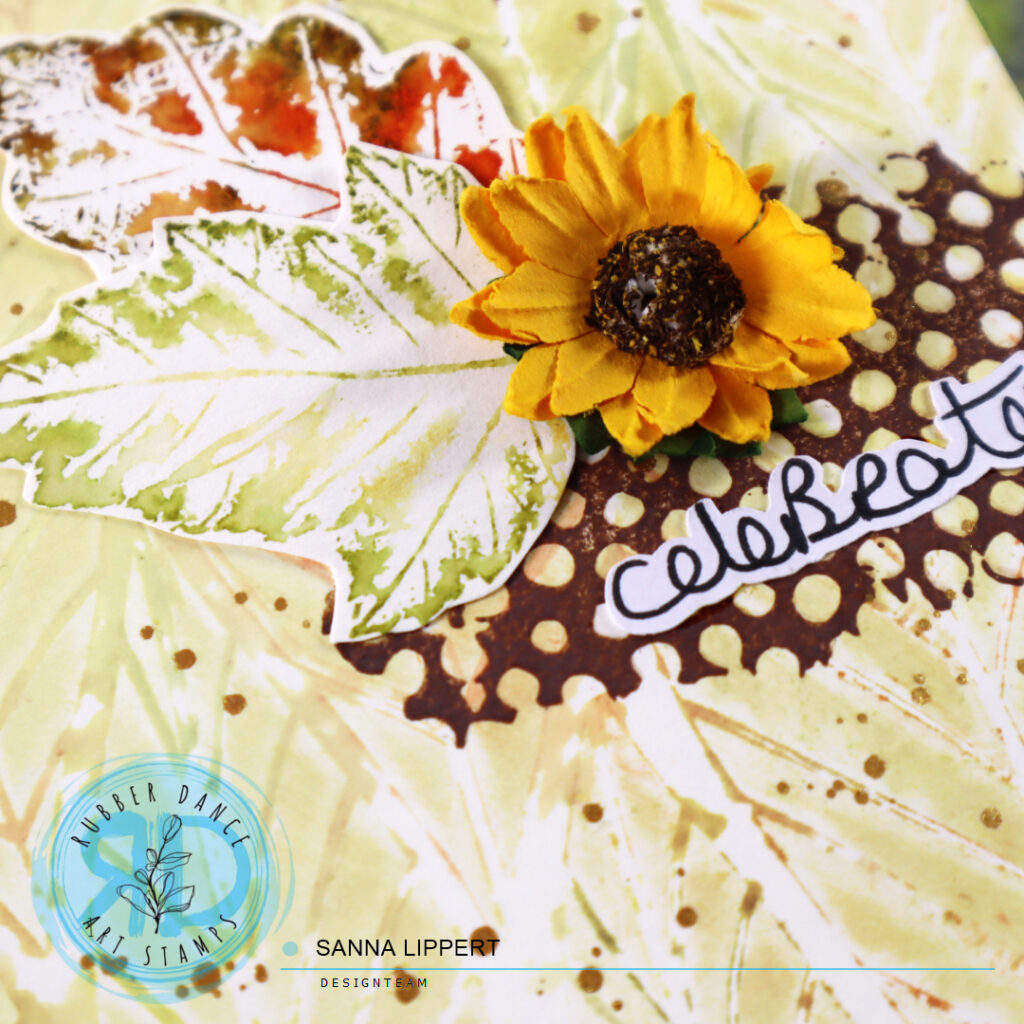
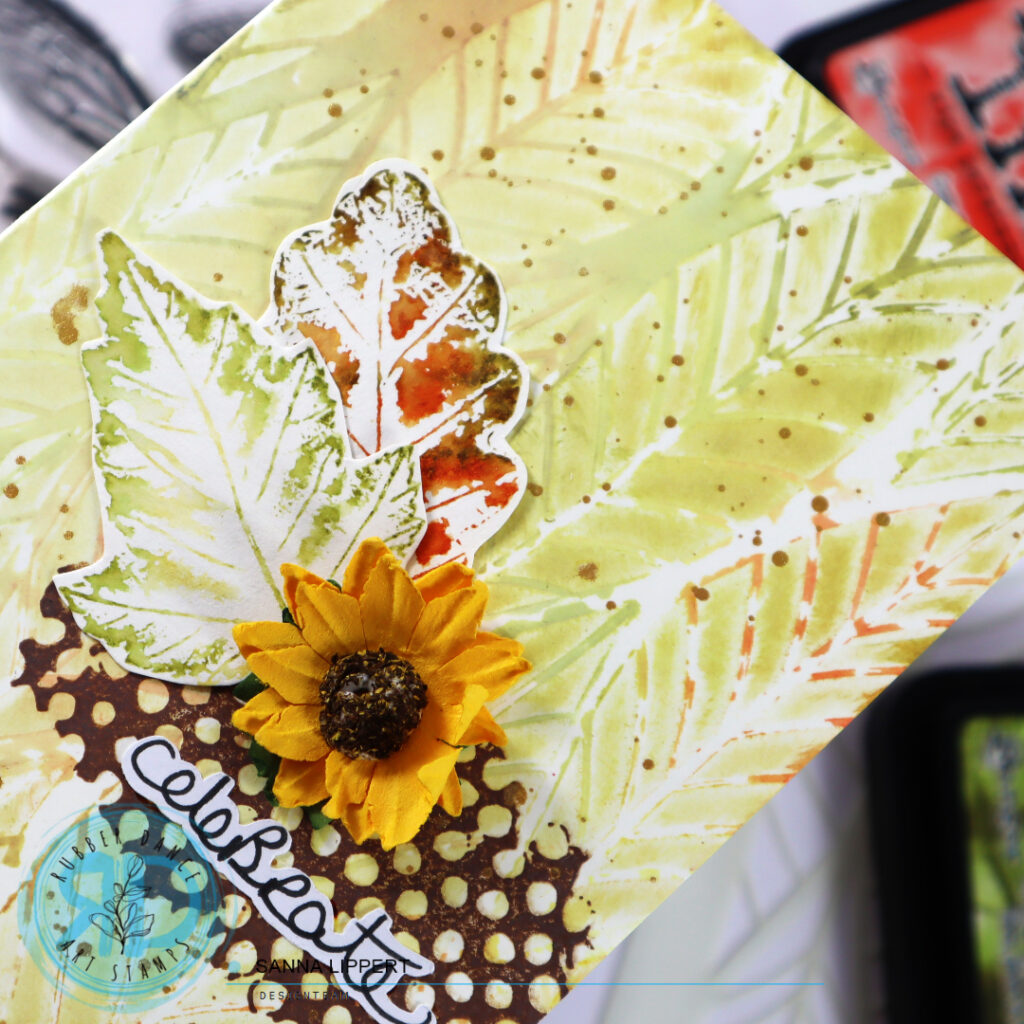
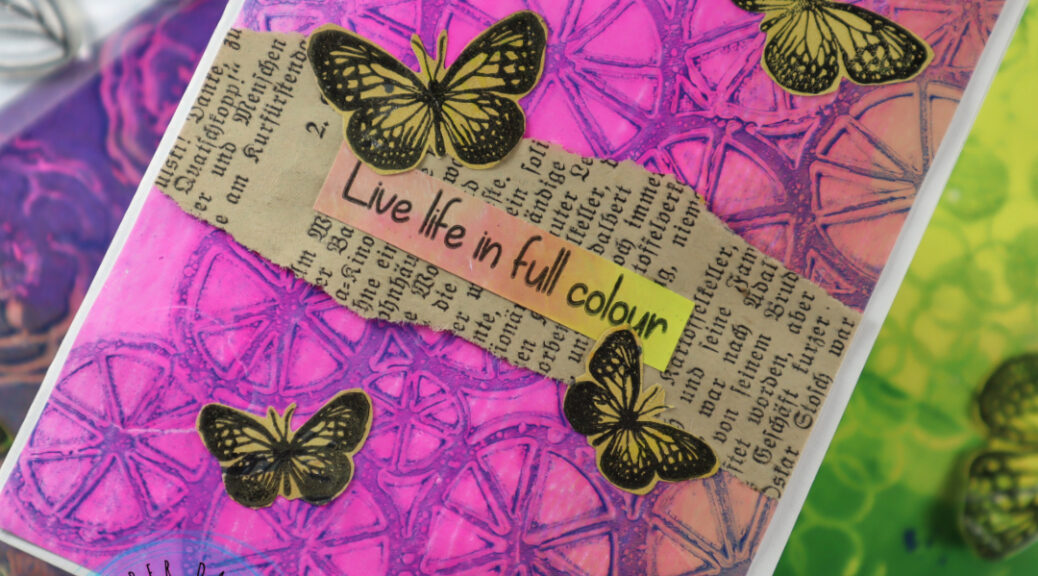
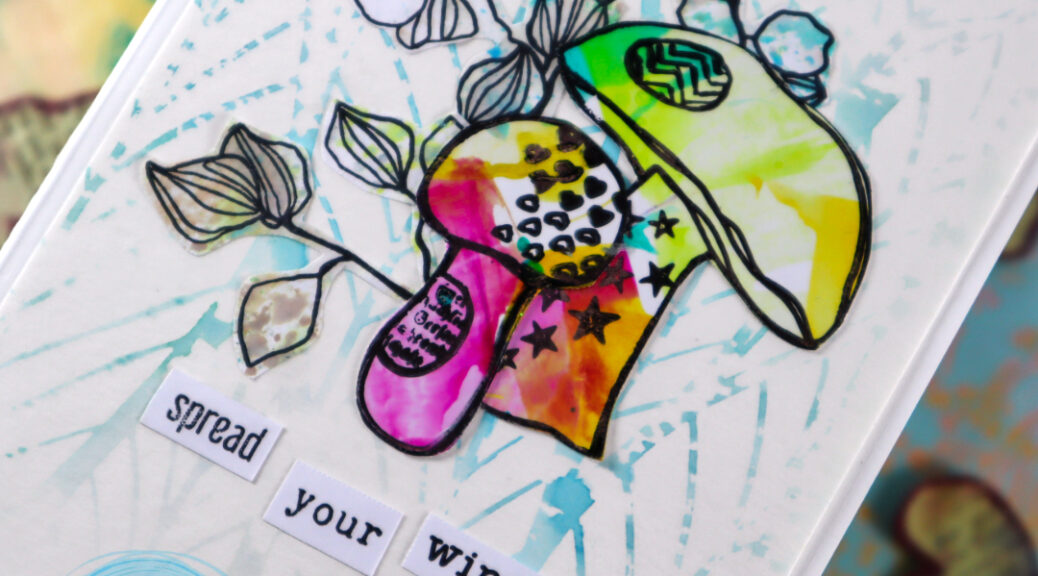
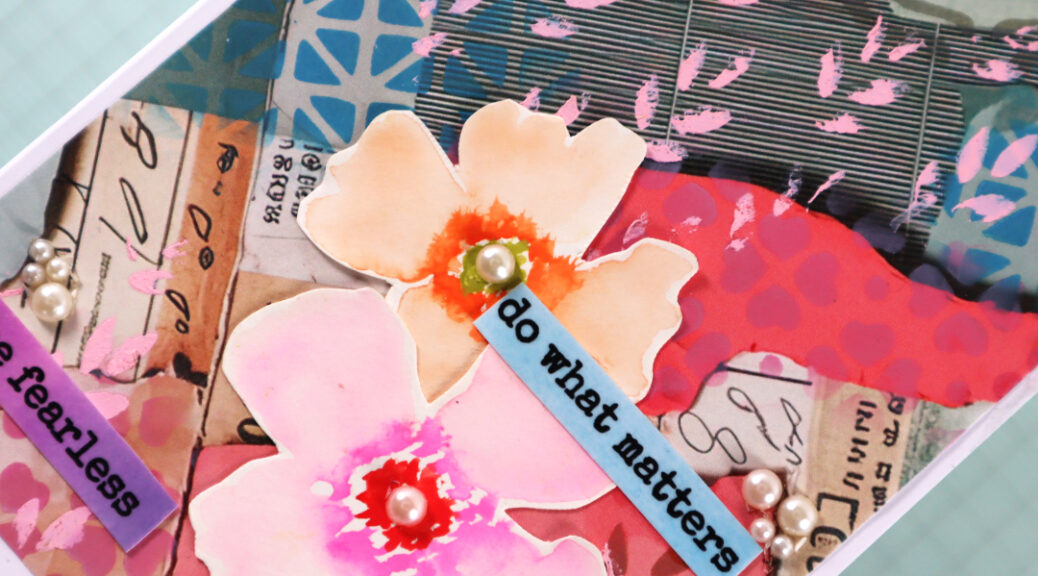
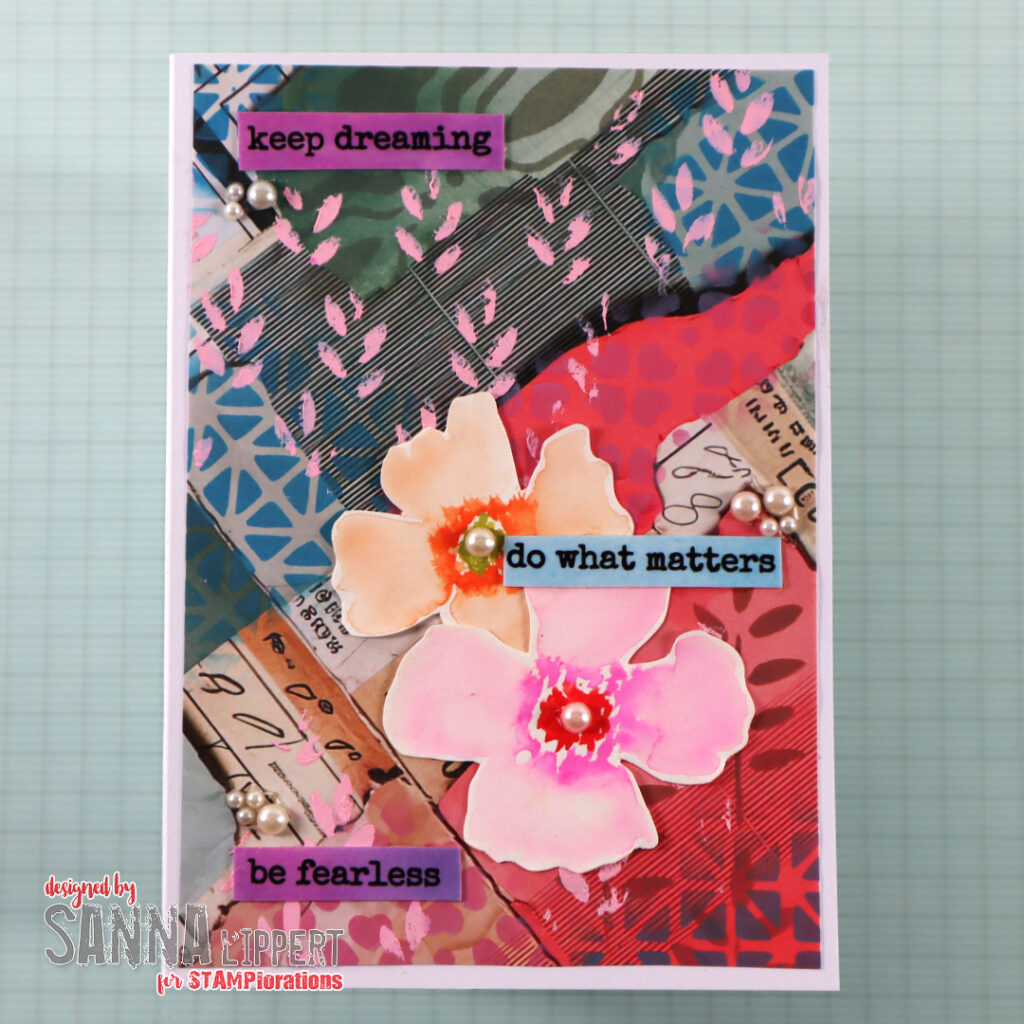
For this months challenge I´ve created a card using the Ephemera Edges Collage paper as my card background paper. On top of that I´ve added plenty of stenciling thru various STAMPlorations stencils from my line there ( Lattice, Leaves 2, Clustered Hearts and Tapestry). On top of the stenciled ink layers I´ve also added a light pink texture paste layer thru one more stencil (Leaves 1).
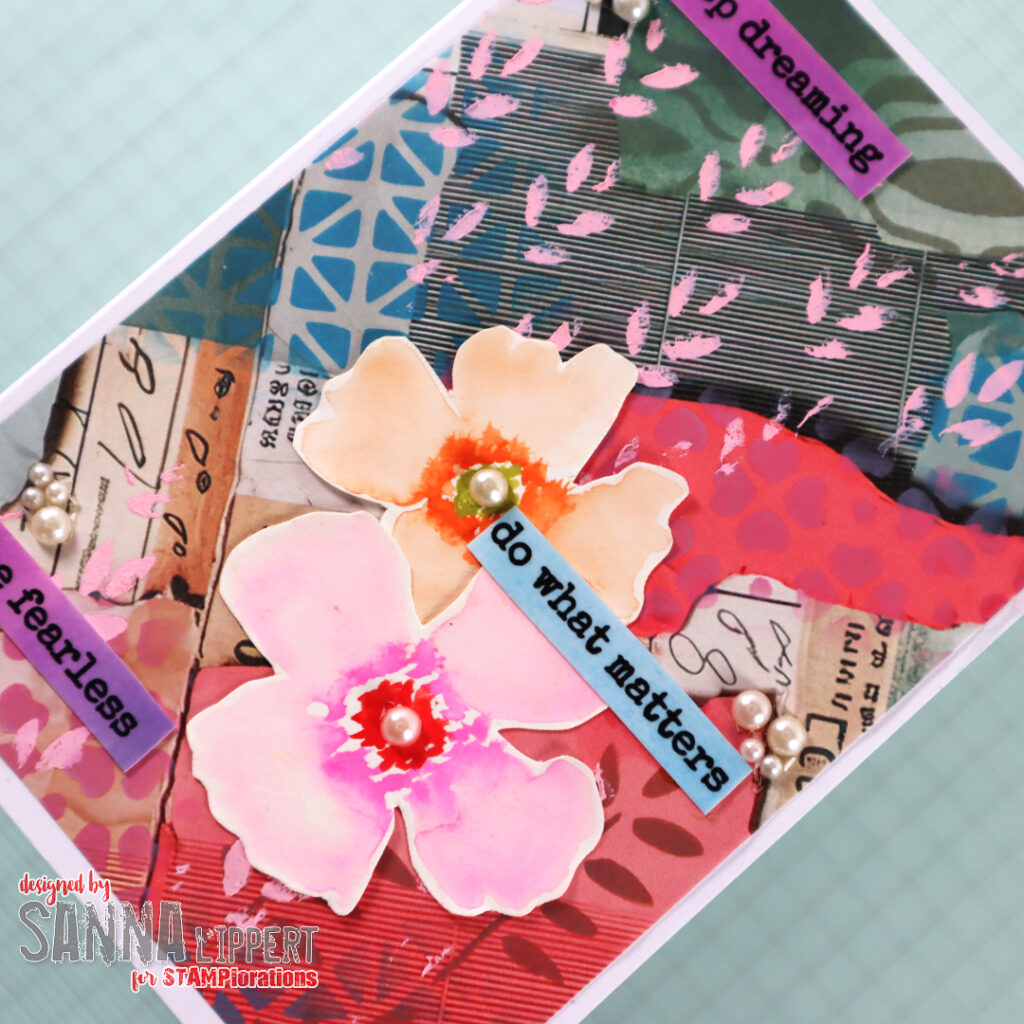
The sentiments are “Hey Sunshine” clear stickers from the STAMPlorations collection and I´ve matted them onto inked paper strips to make them stand out more from the background. The flowers are hand drawn from my 100 day project back in 2024 (watch the video here).
As always, you can use my discount code for your puchases at the STAMPlorations store:
I hope you join in with us on this months challenge! You can read about how to play along over here and the challenge rules are listed here. Happy crafting and see you at STAMPlorations challenges!!!
xx, Sanna