Hello! Here is another Pop Art Unicorns STAMPlorations paper pack project share.

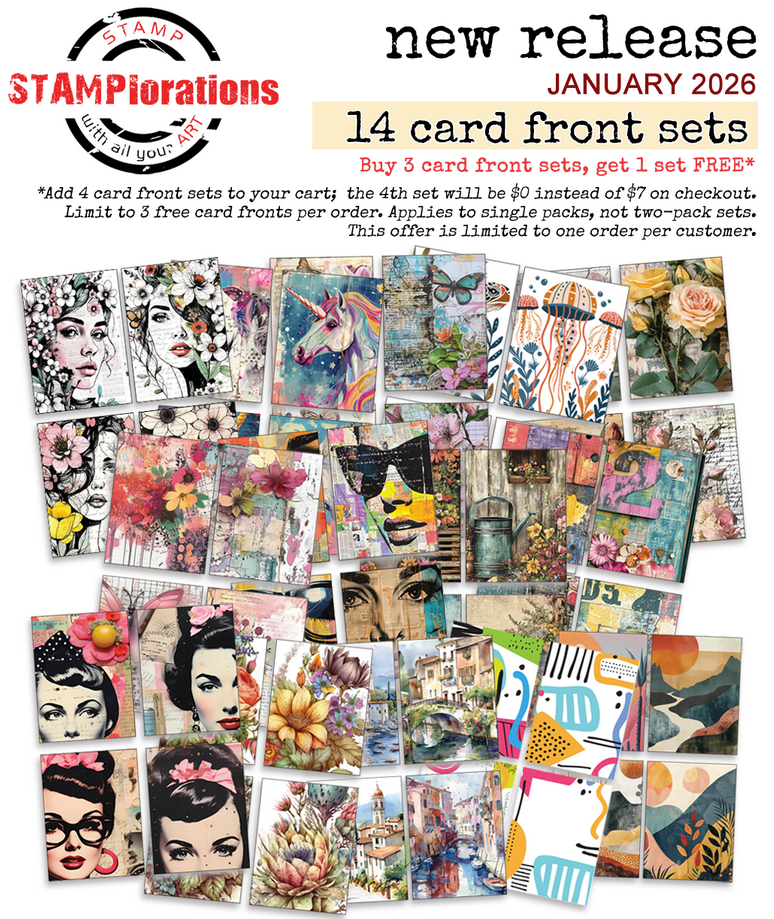
This is the set I worked with:
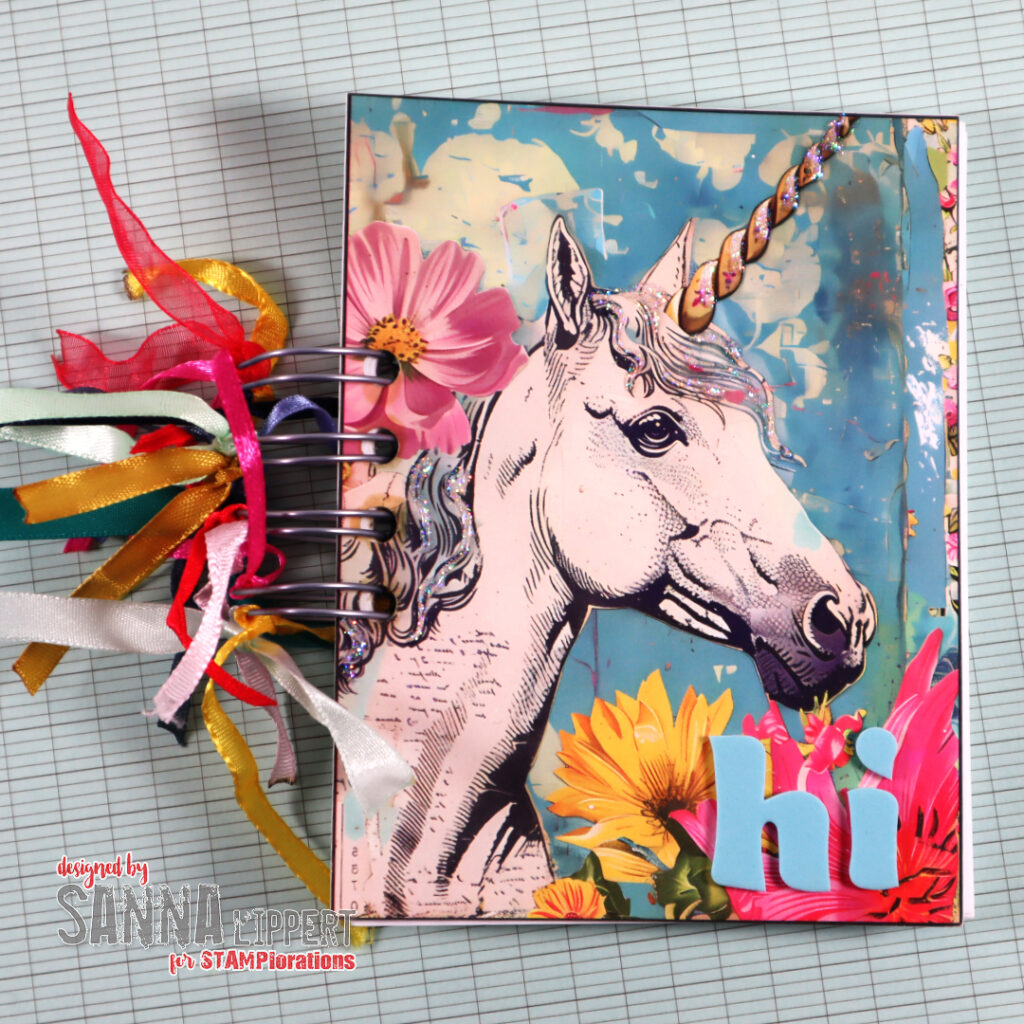
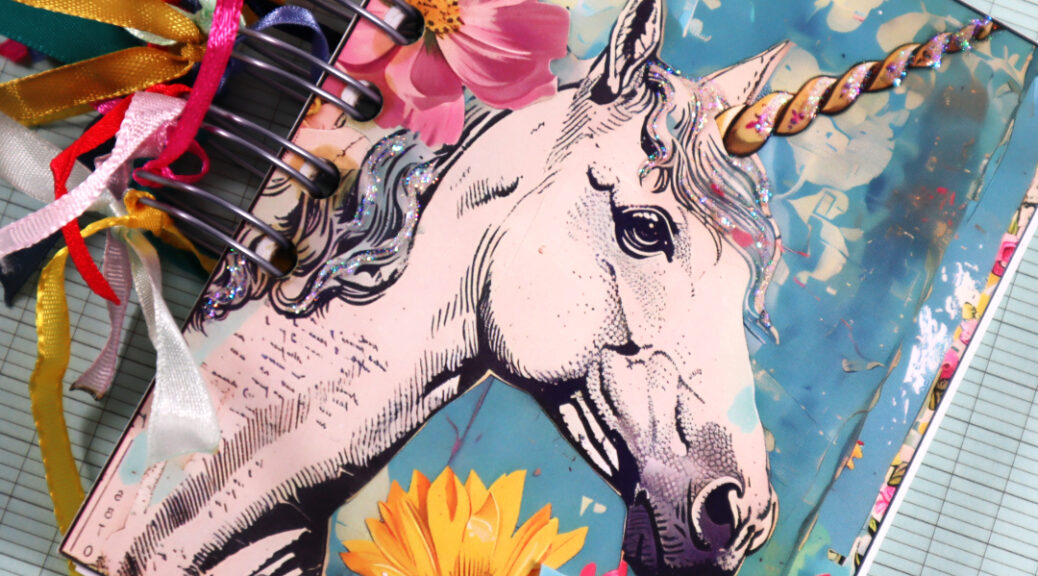
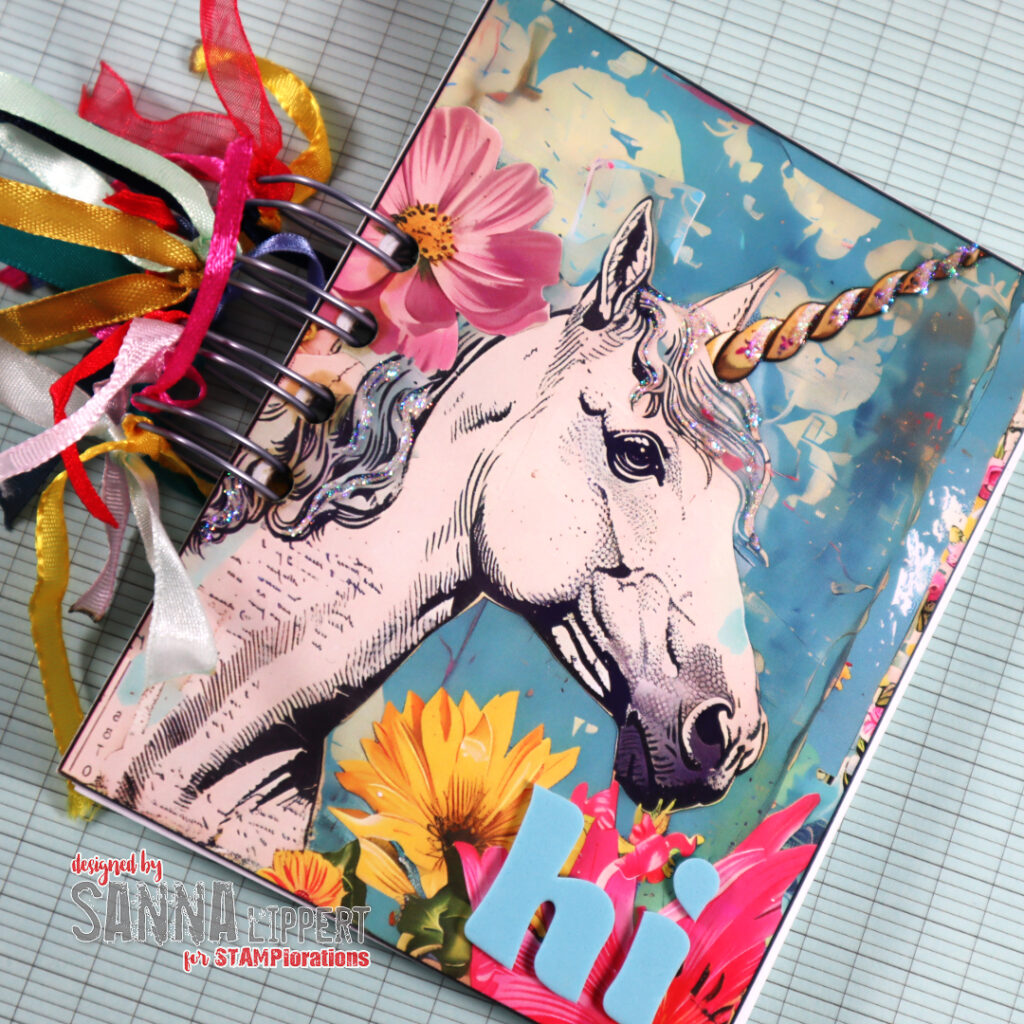
The first one is a quick and easy to make minibook. Binded with a Cinch and the cover is from the unicorn paper pack. They are thick cardstock, so they work great as book covers too. I´ve added some Stickles for sparkle and foam alphas for a fun sentiment. The binding is decorated with colorful ribbons to add a fun detail to the minibook.
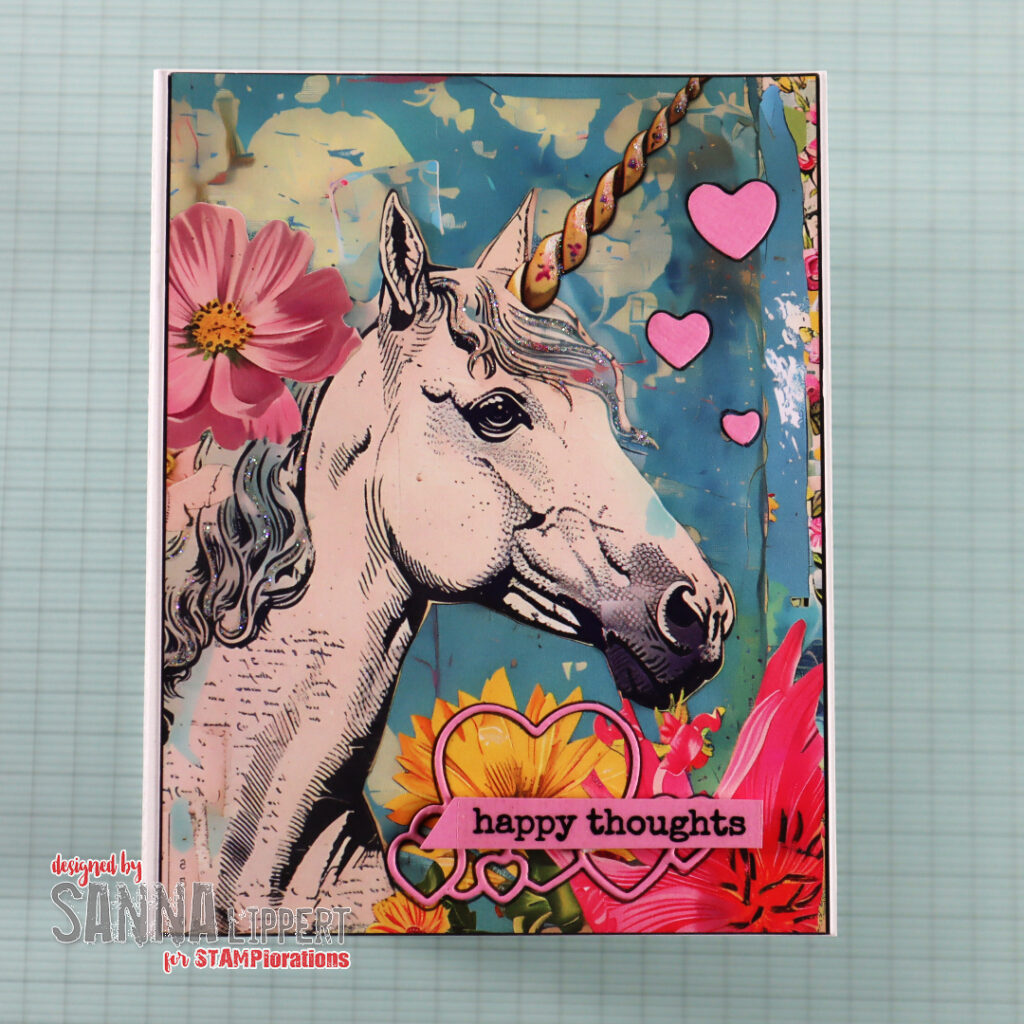
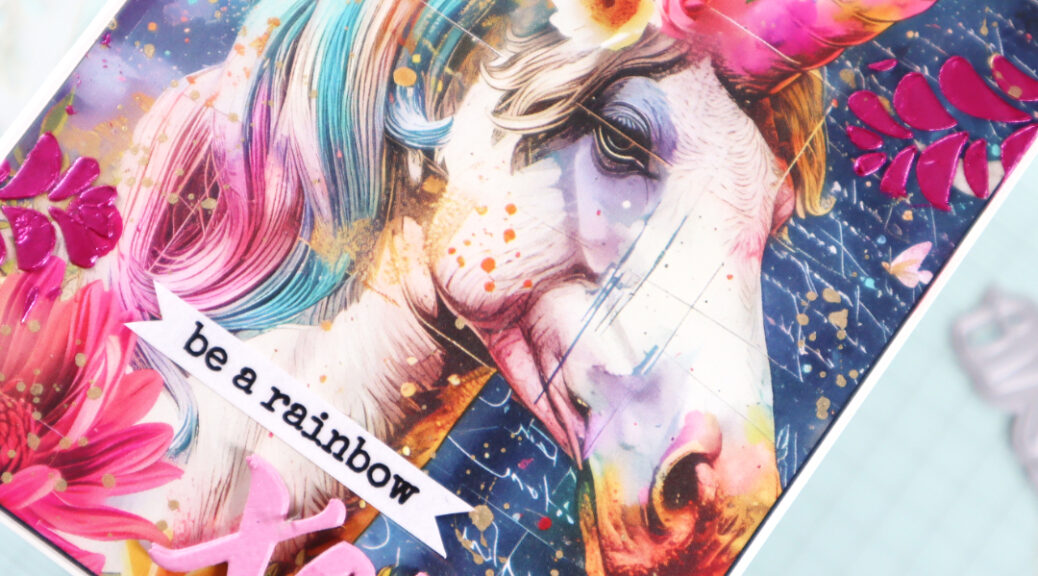
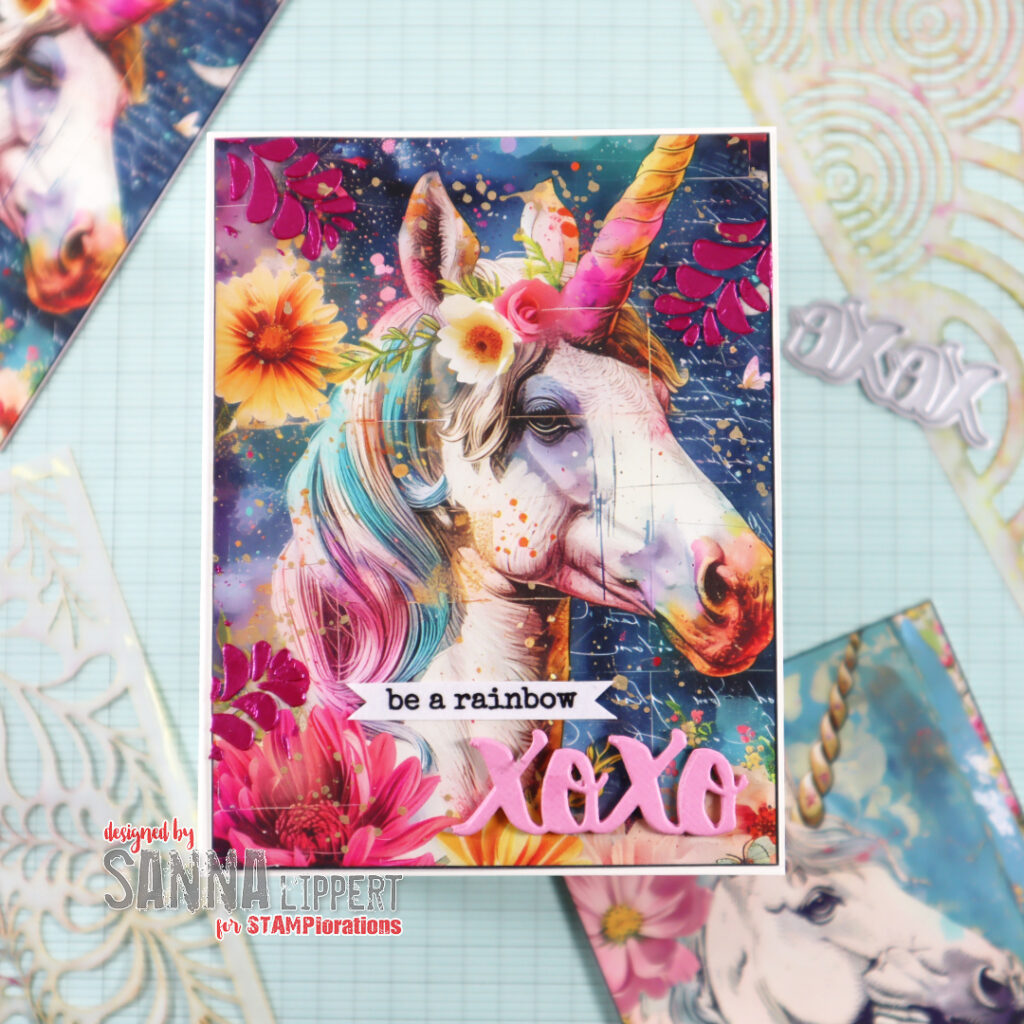
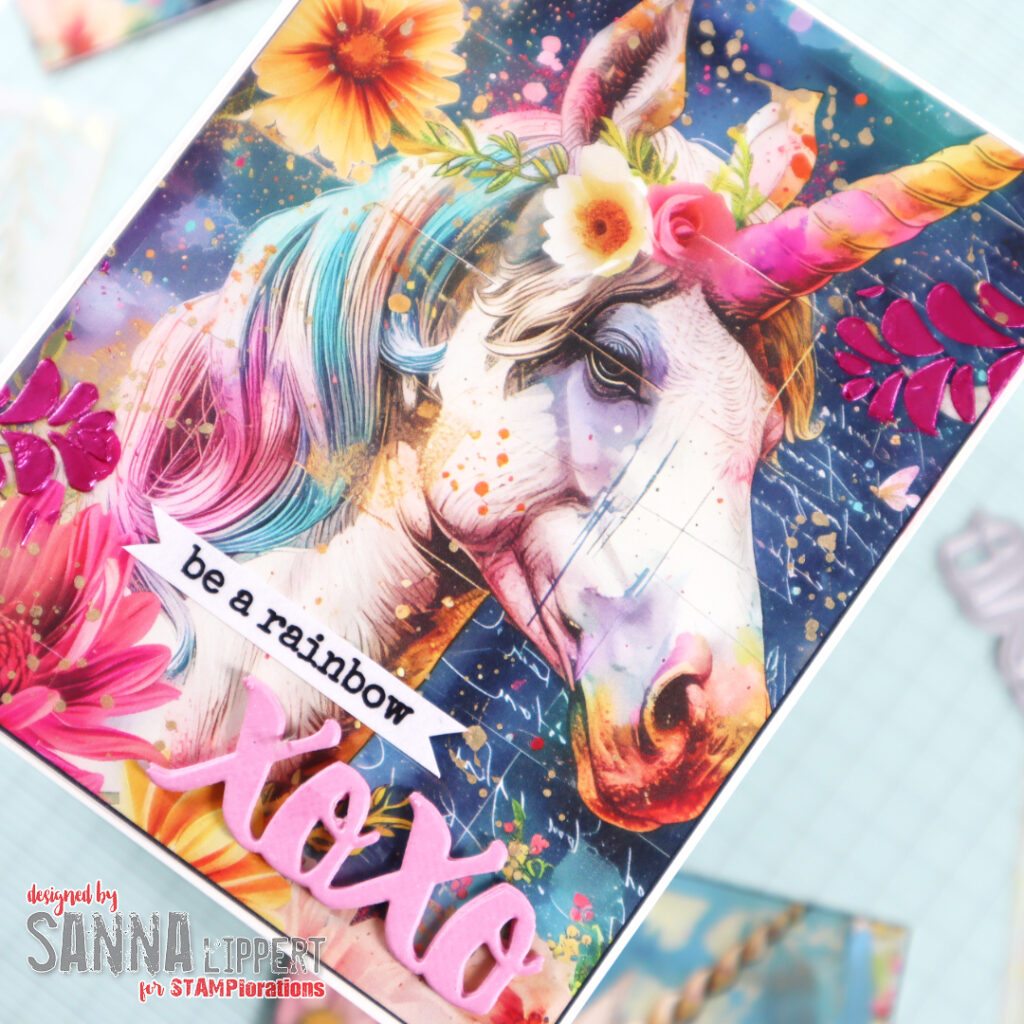
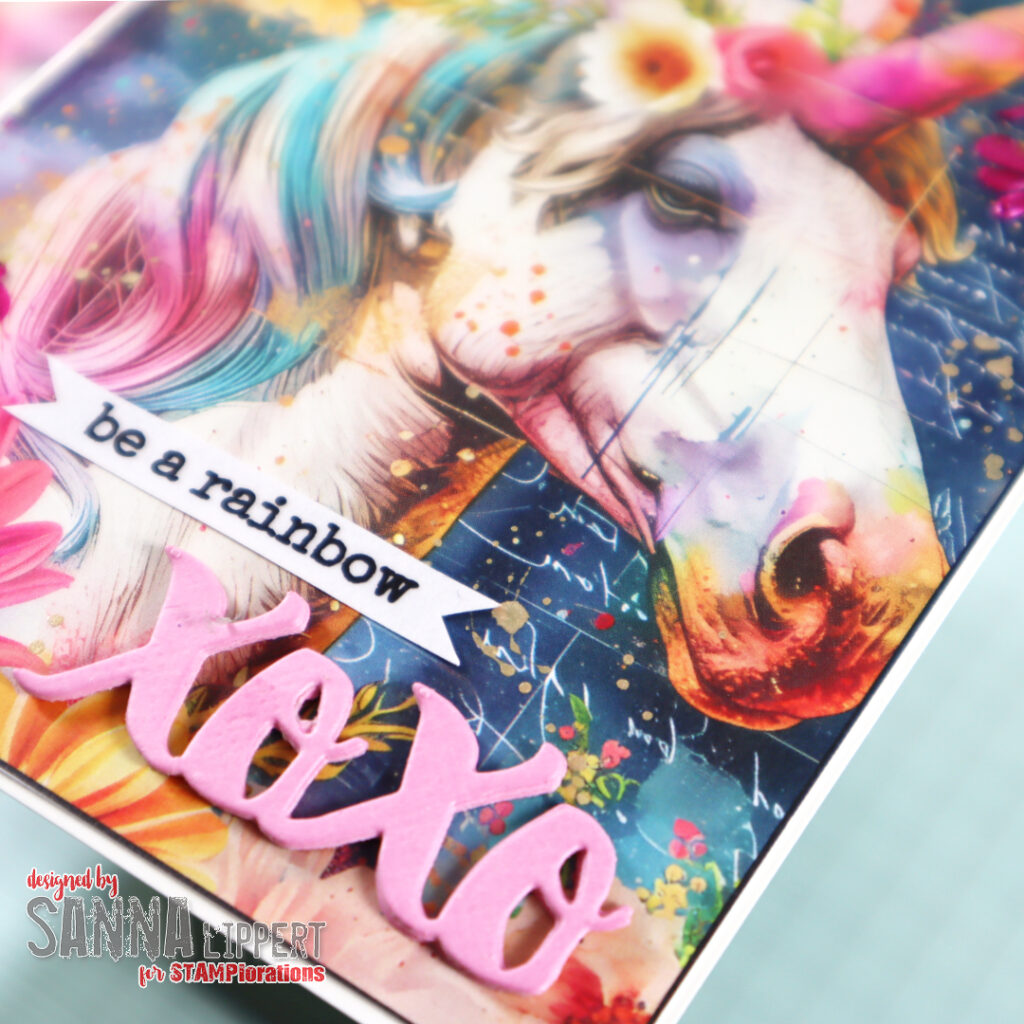
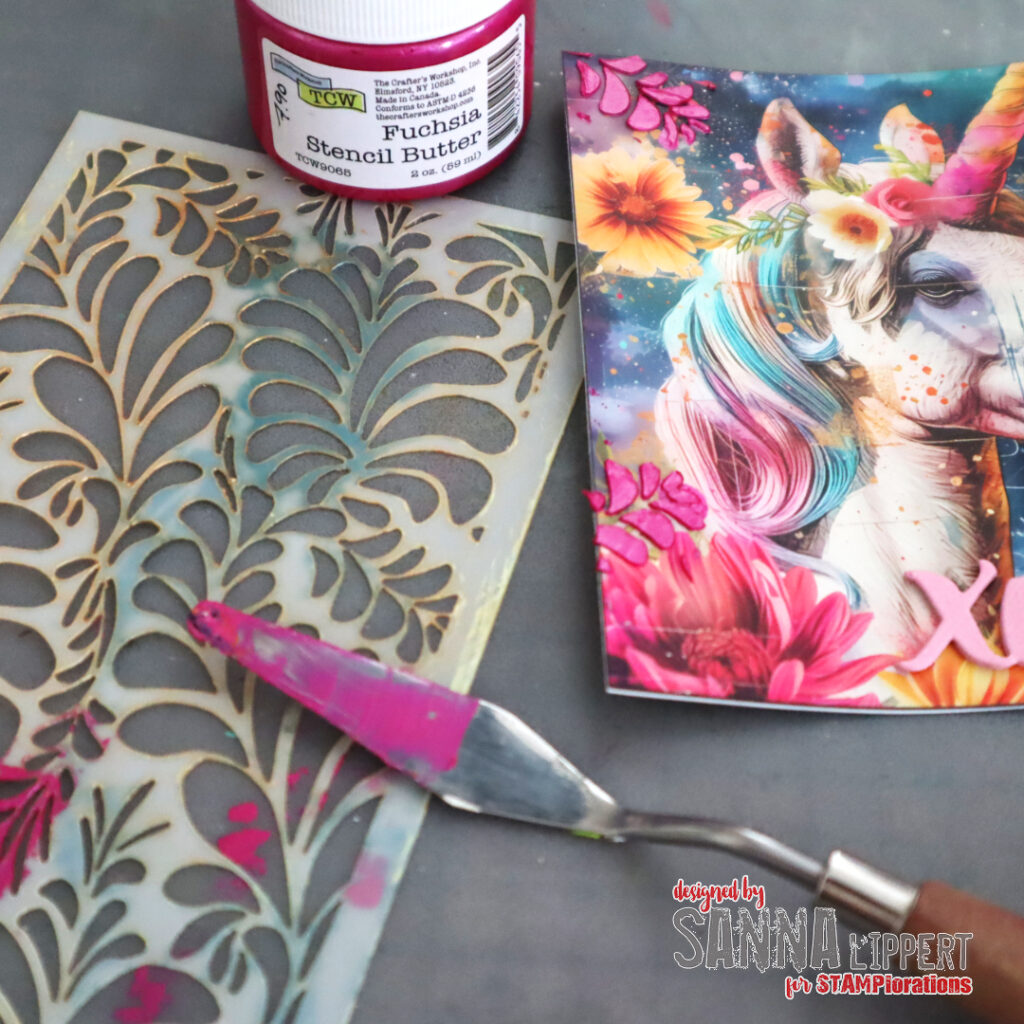
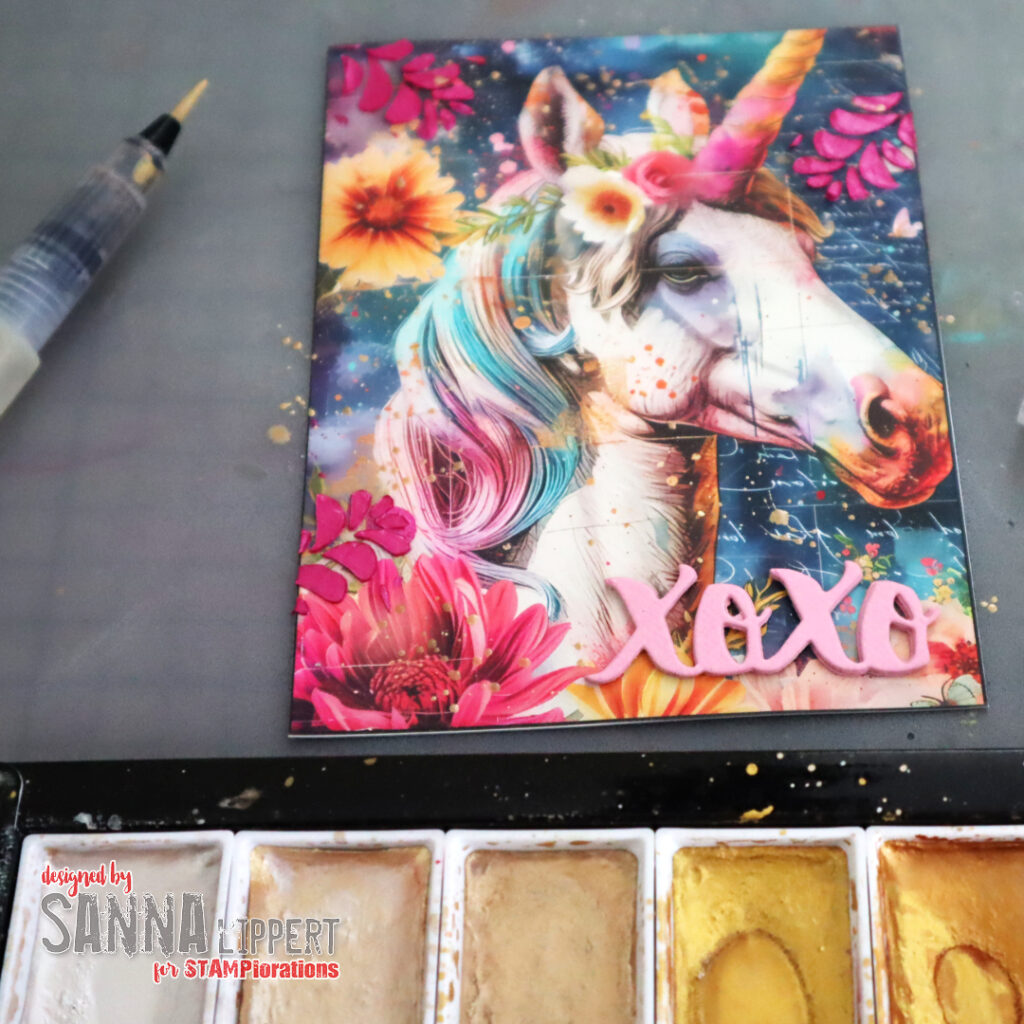
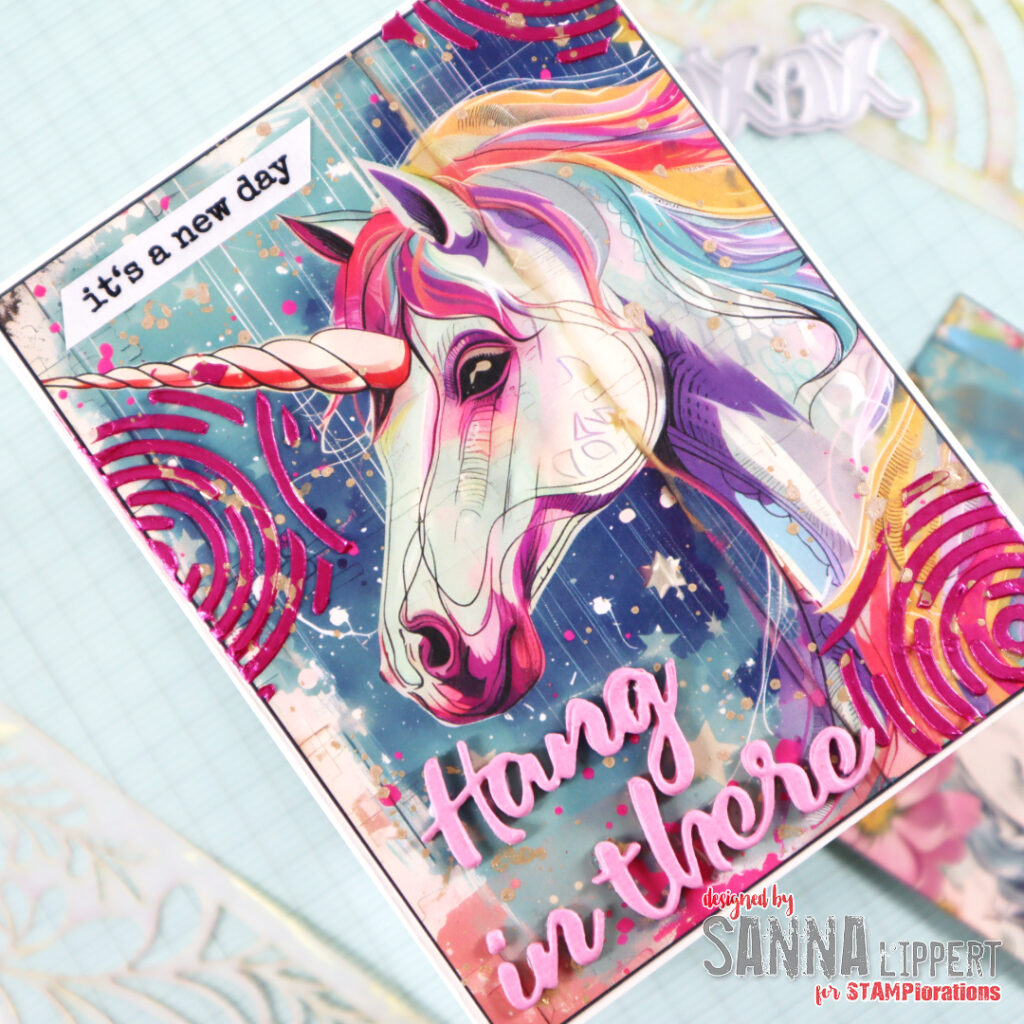
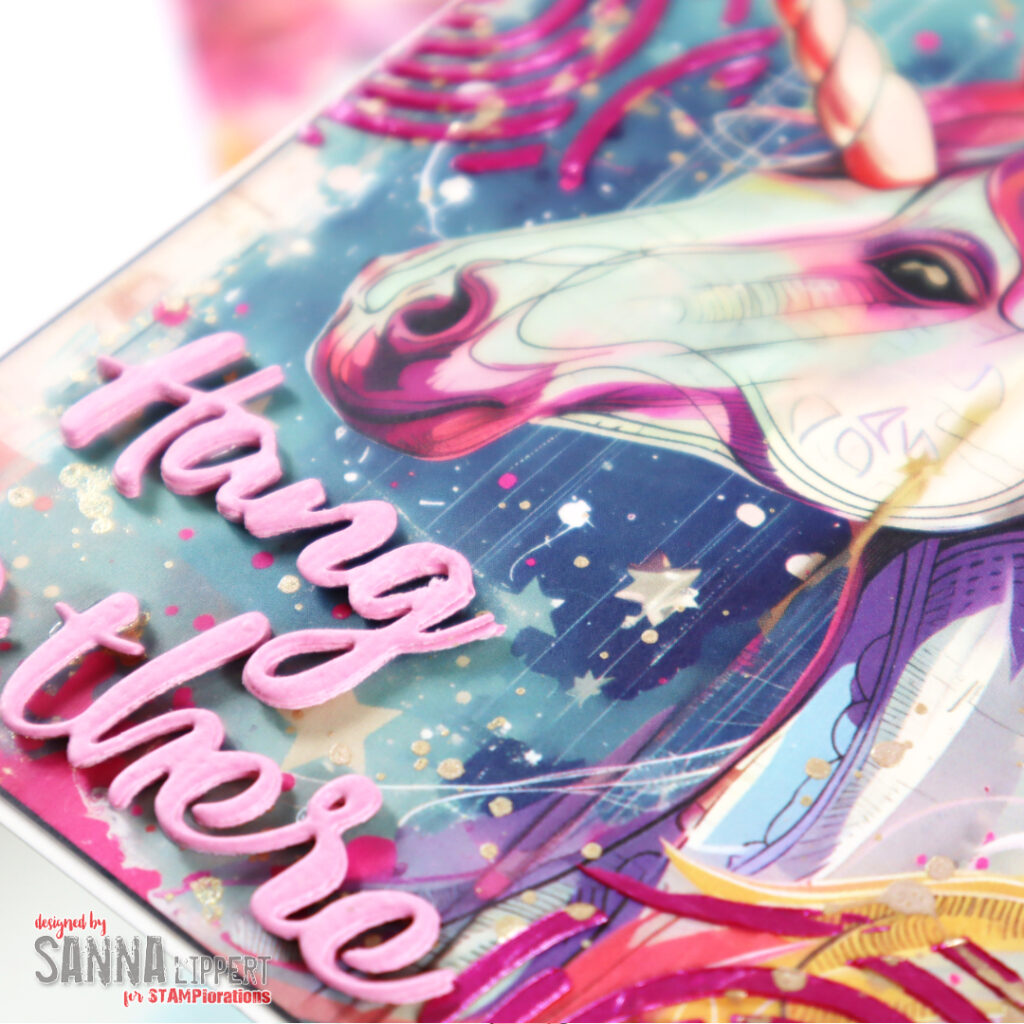
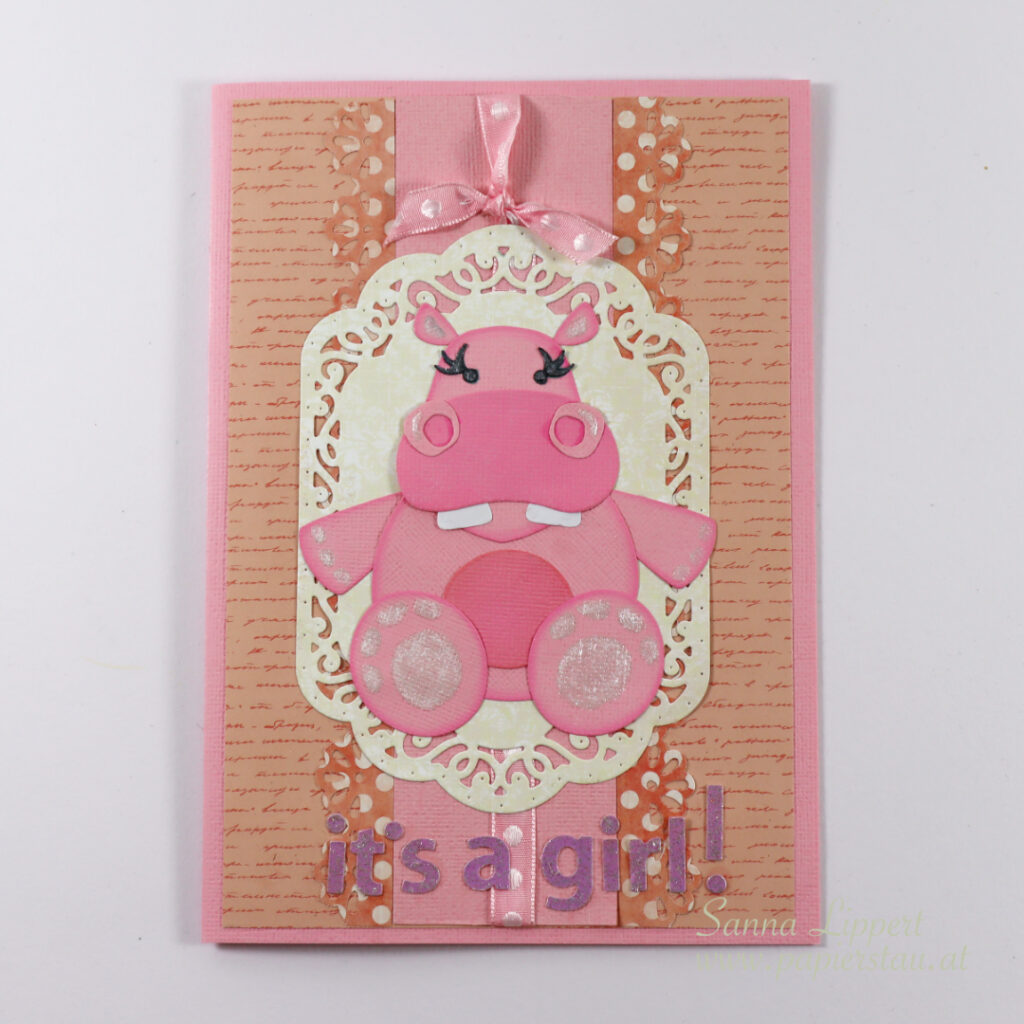
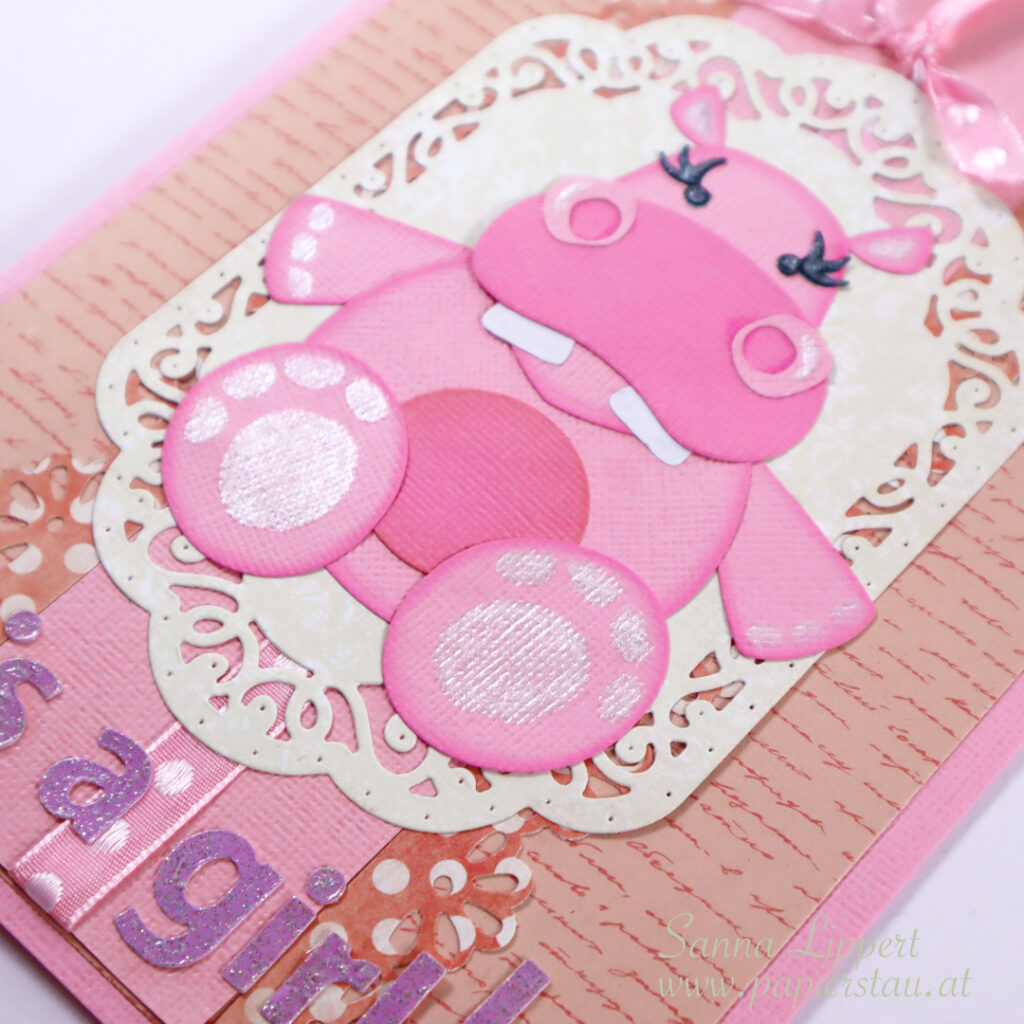
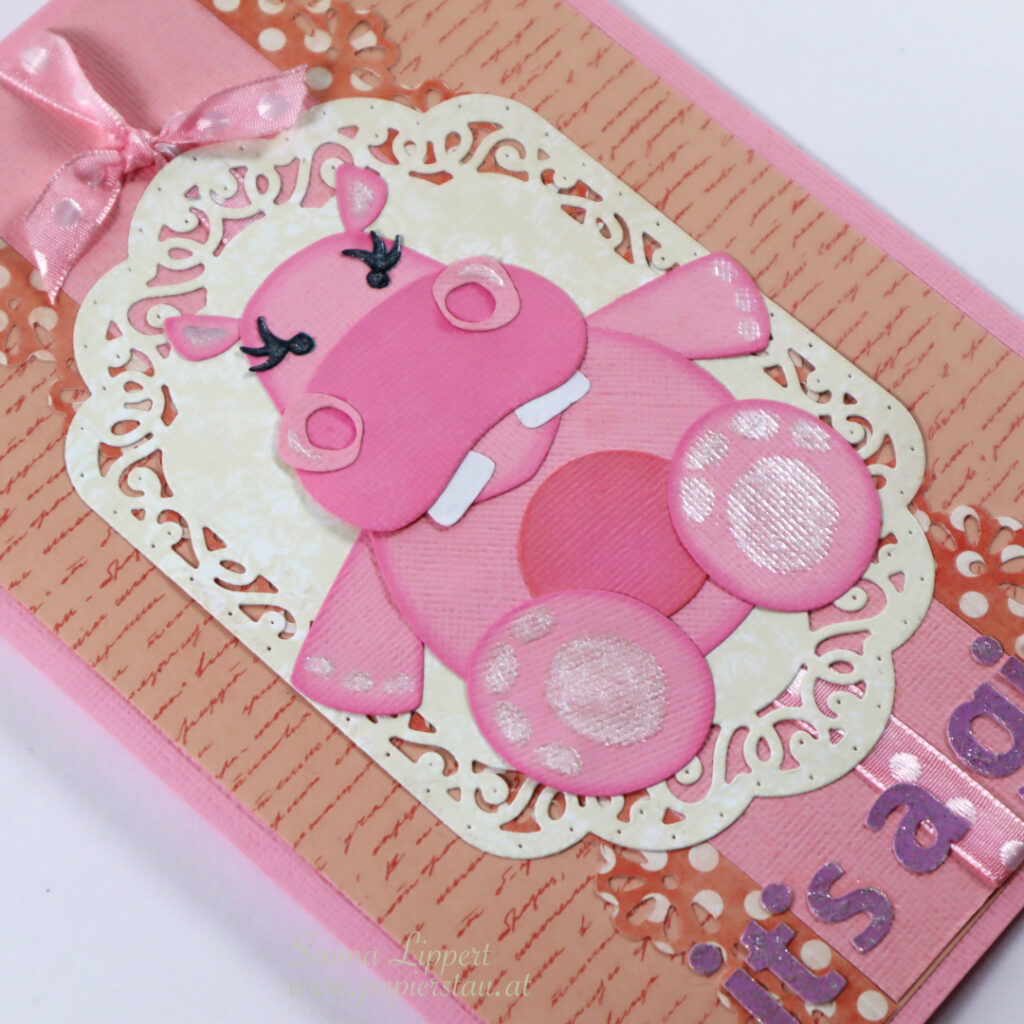
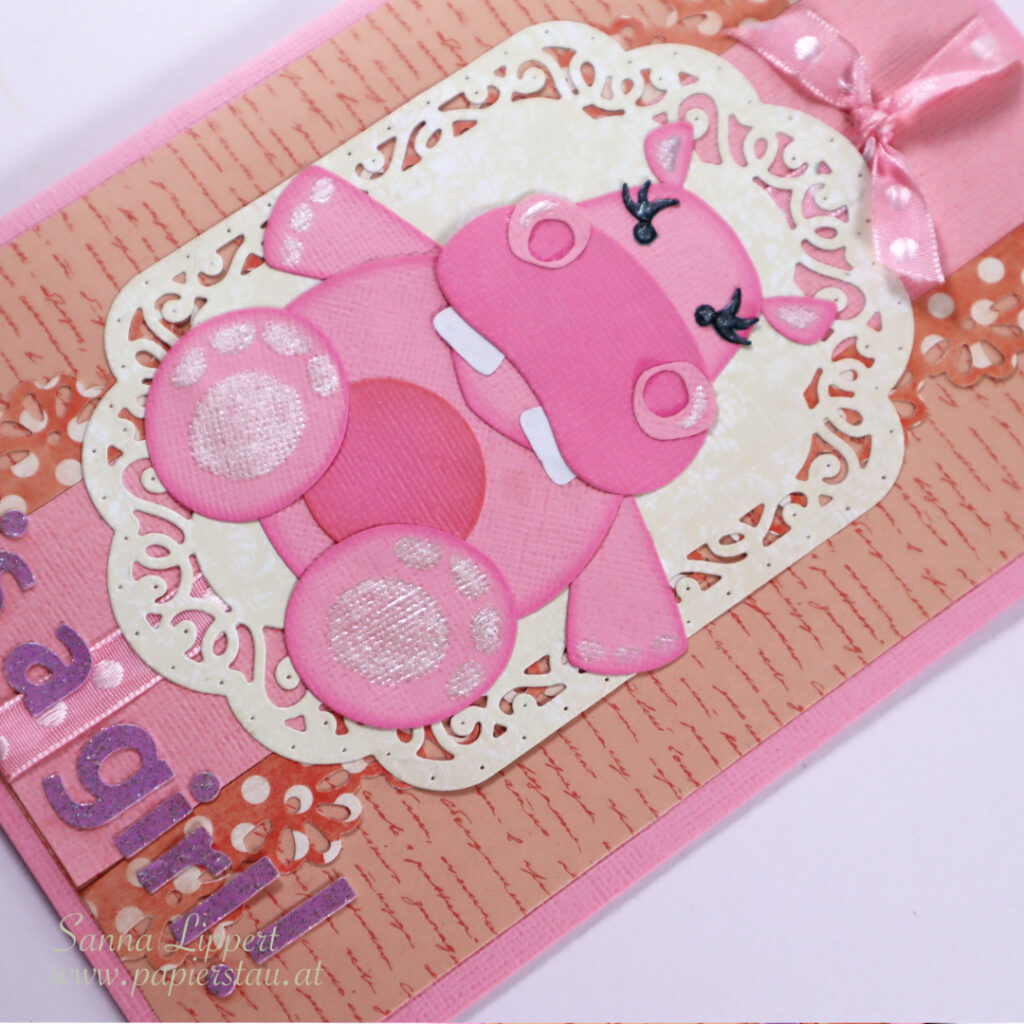
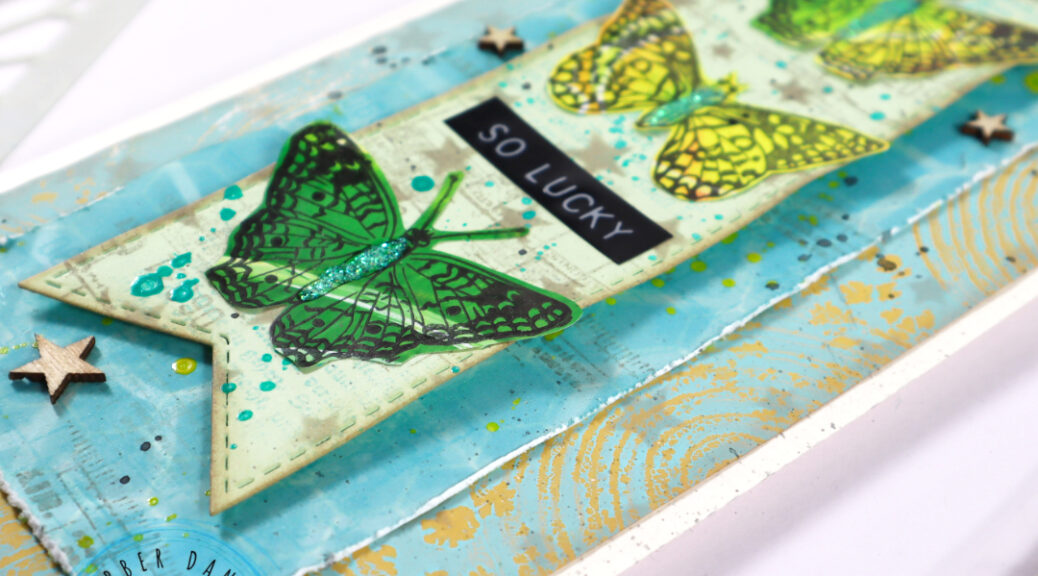
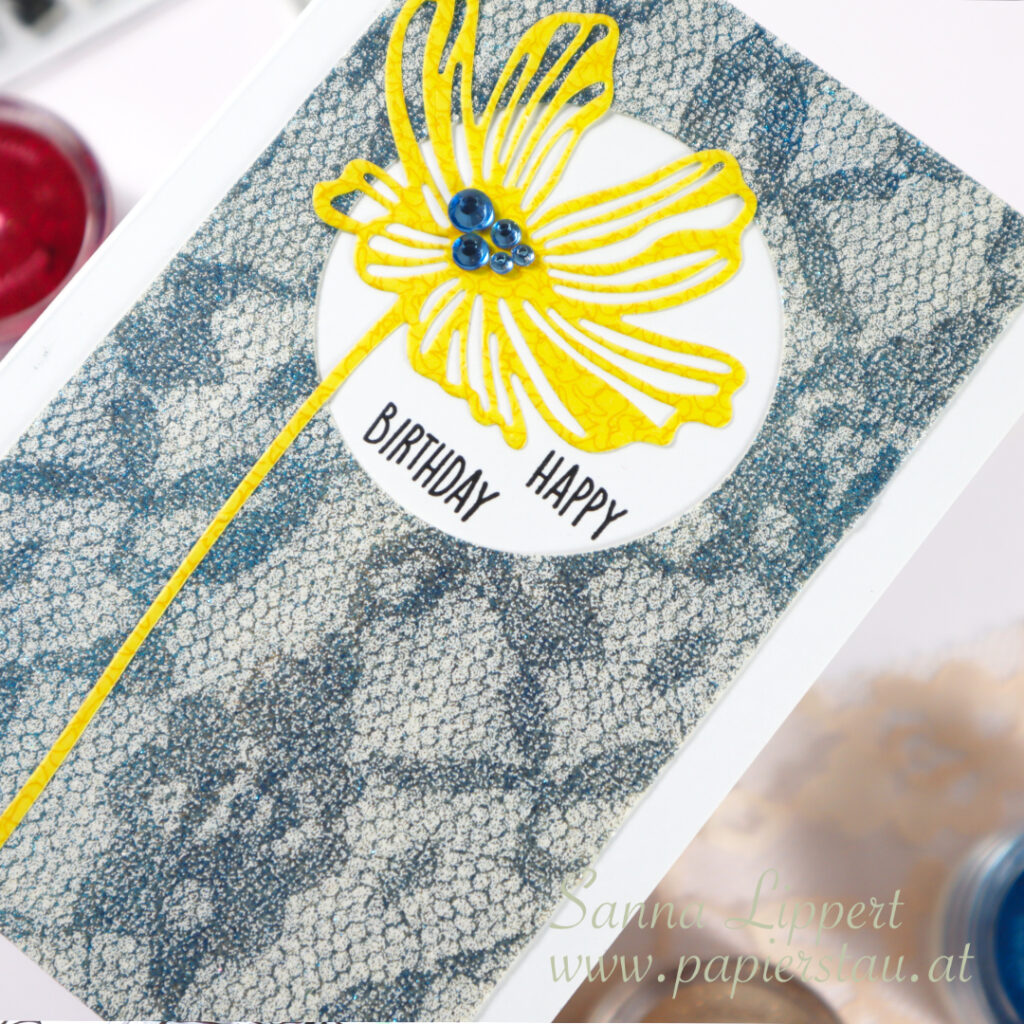
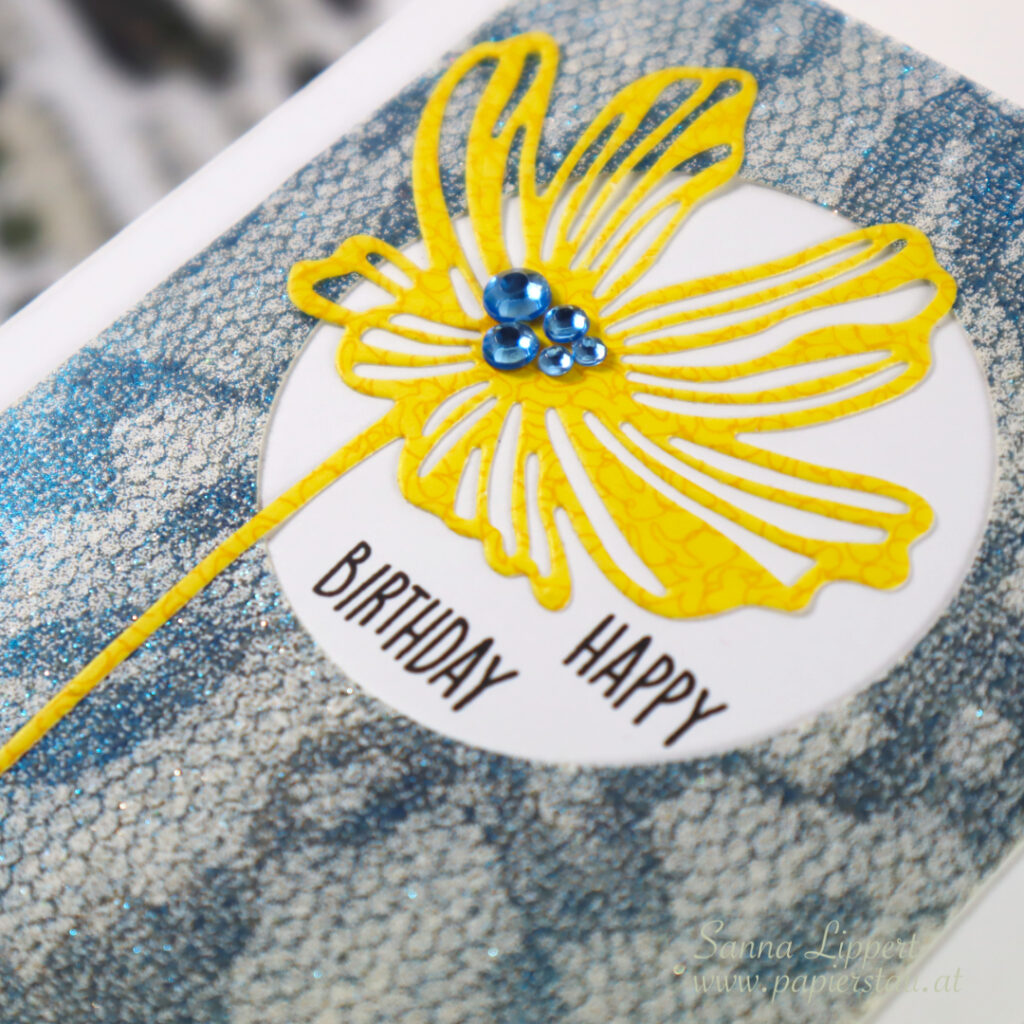
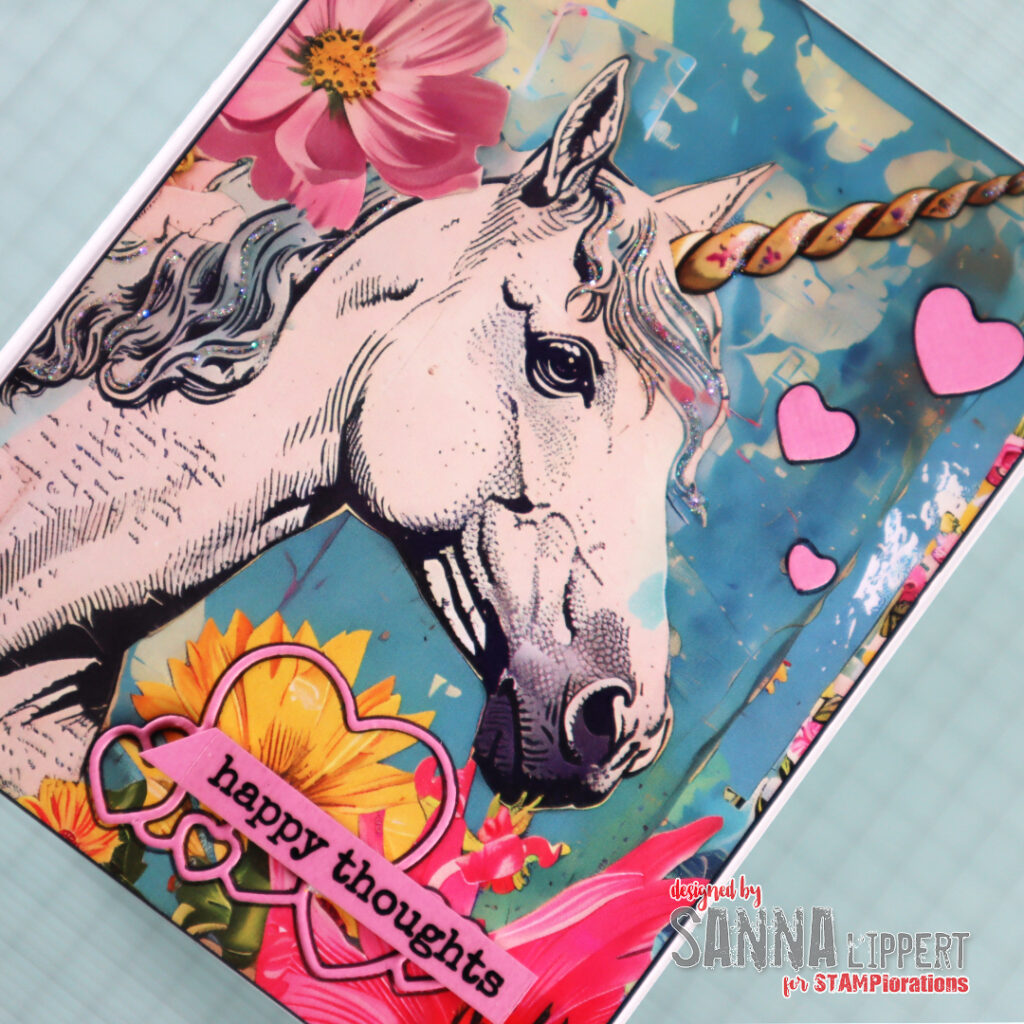
For the above card I´ve used the “Clustered Hearts” die cut die. I´ve saved the smaller hearts and adhered those to the right upper corner of the card. The sentiments is from a clear sticker set called “Shine Bright”. I outlined the hearts to lift them from the background. Also the unicorn has some Stickle details here and there for sparkle.
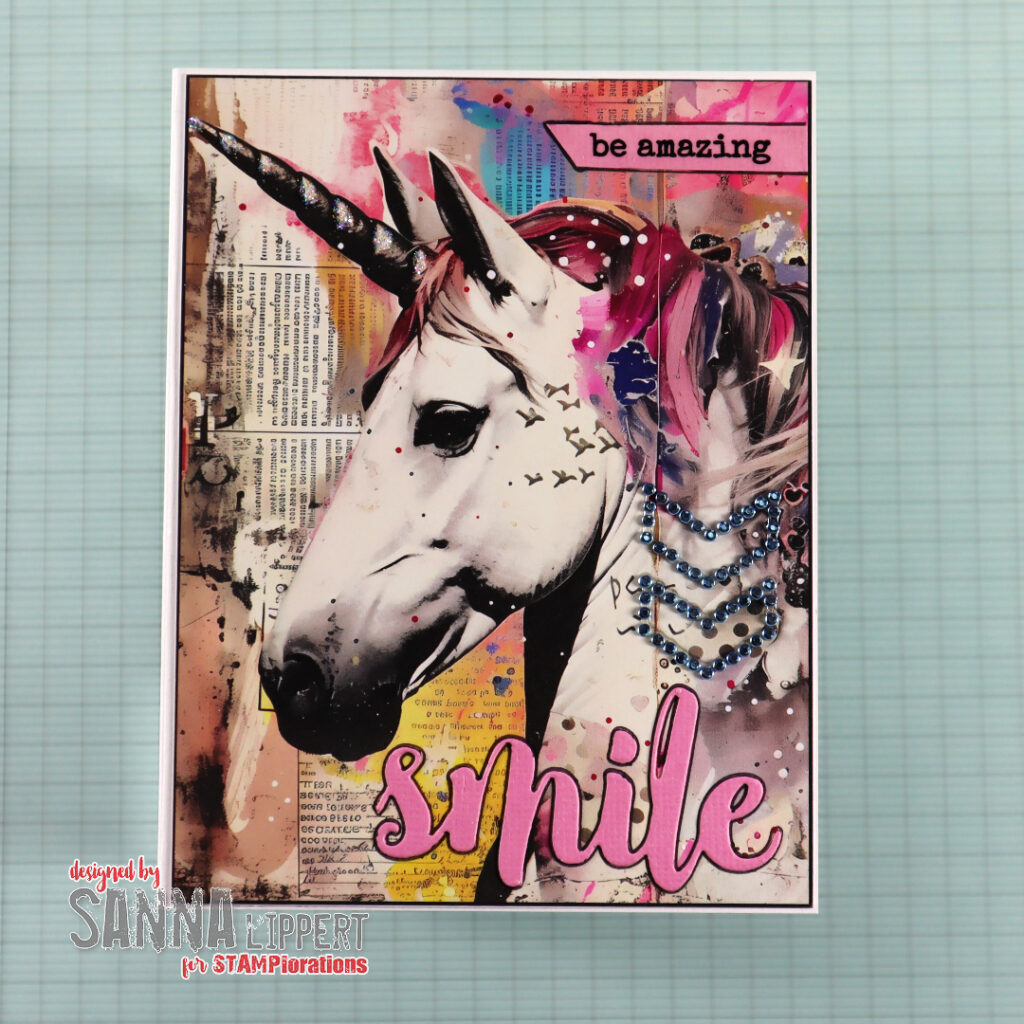
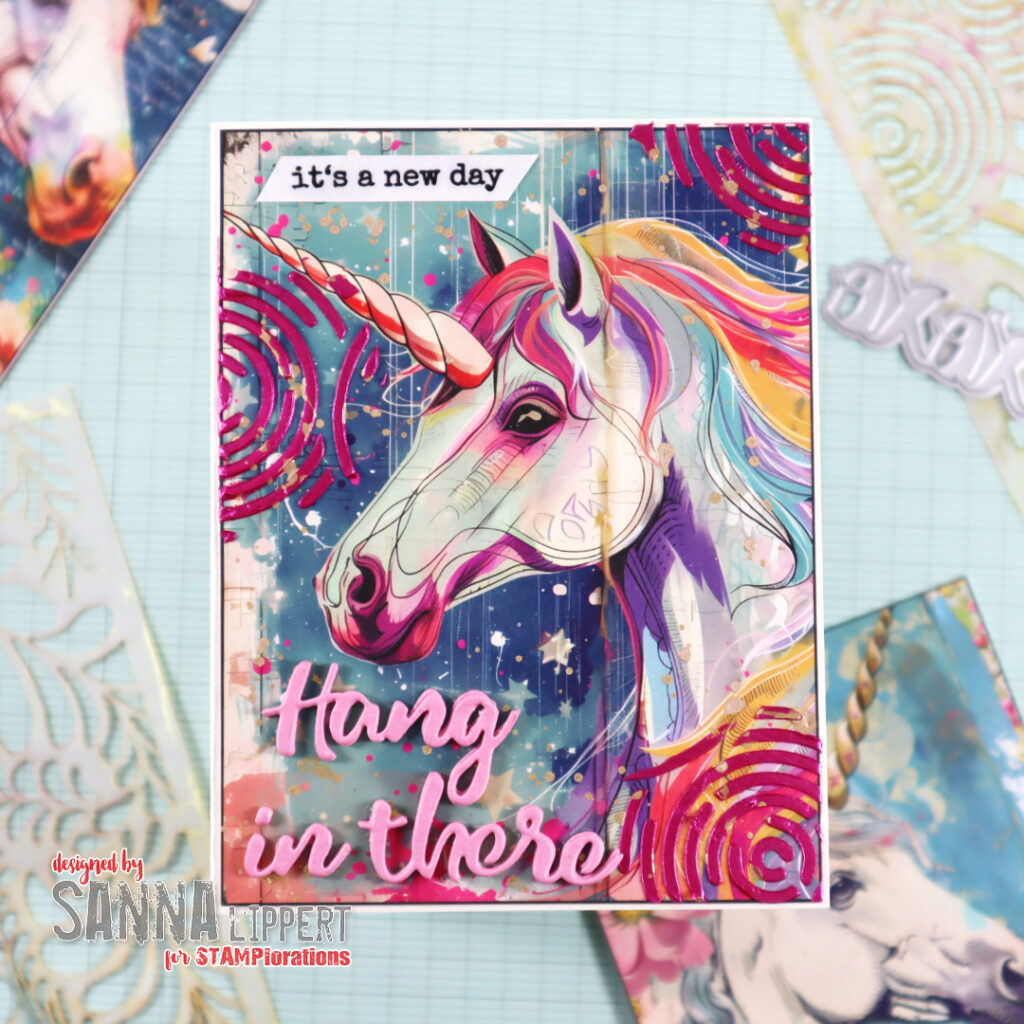
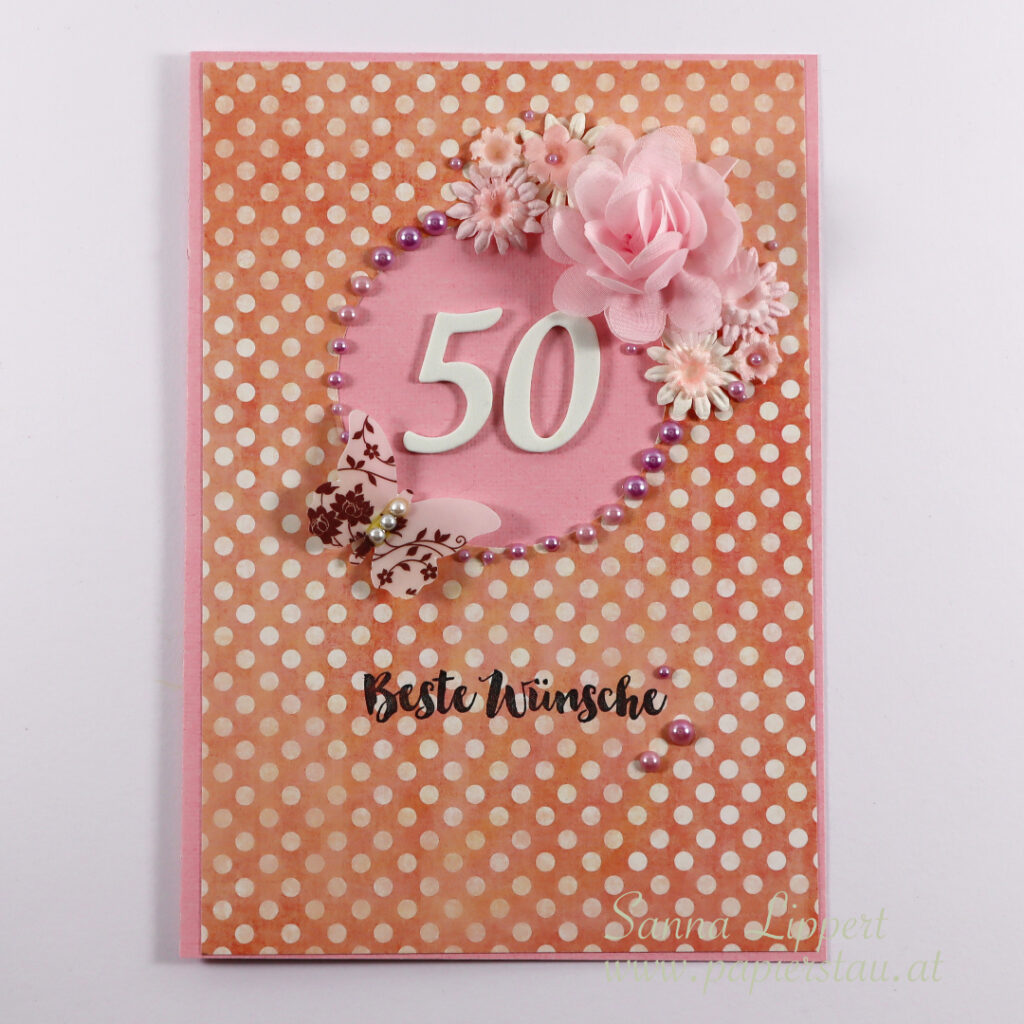
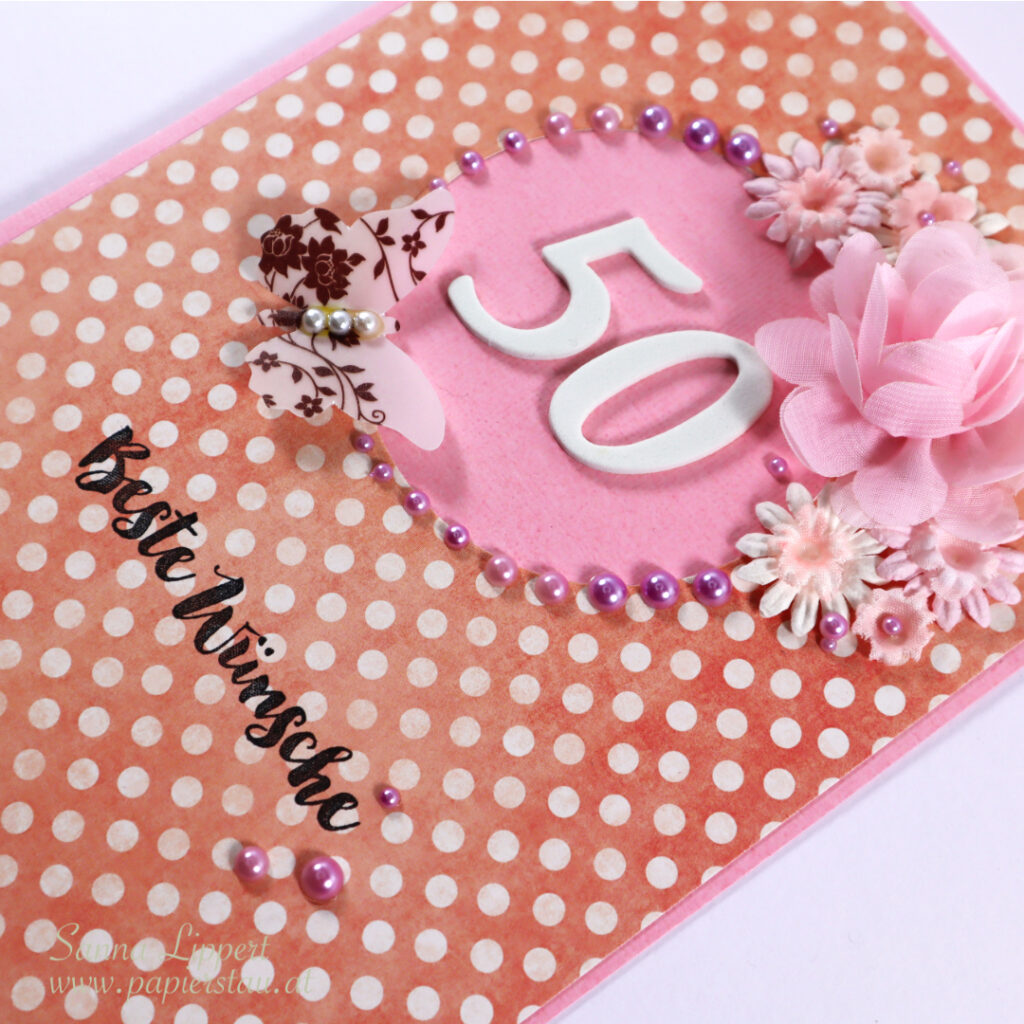
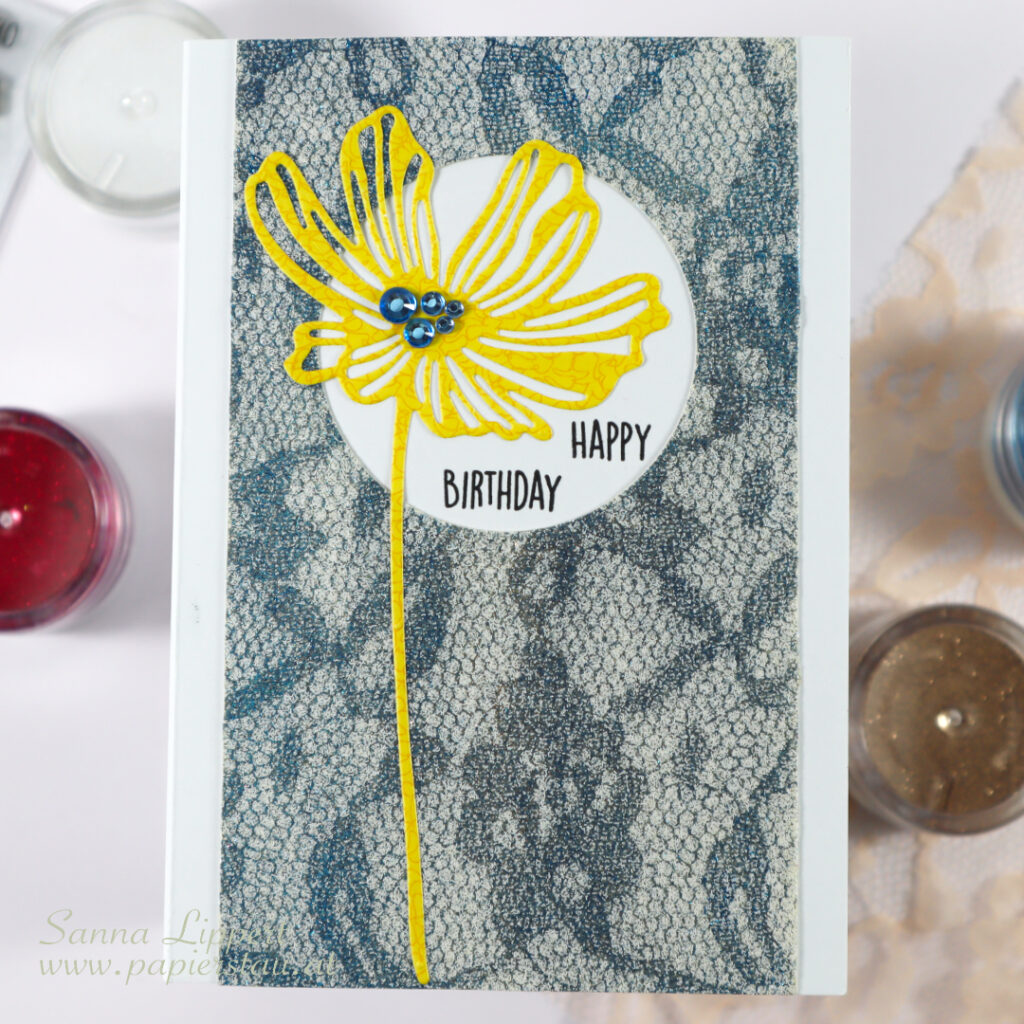
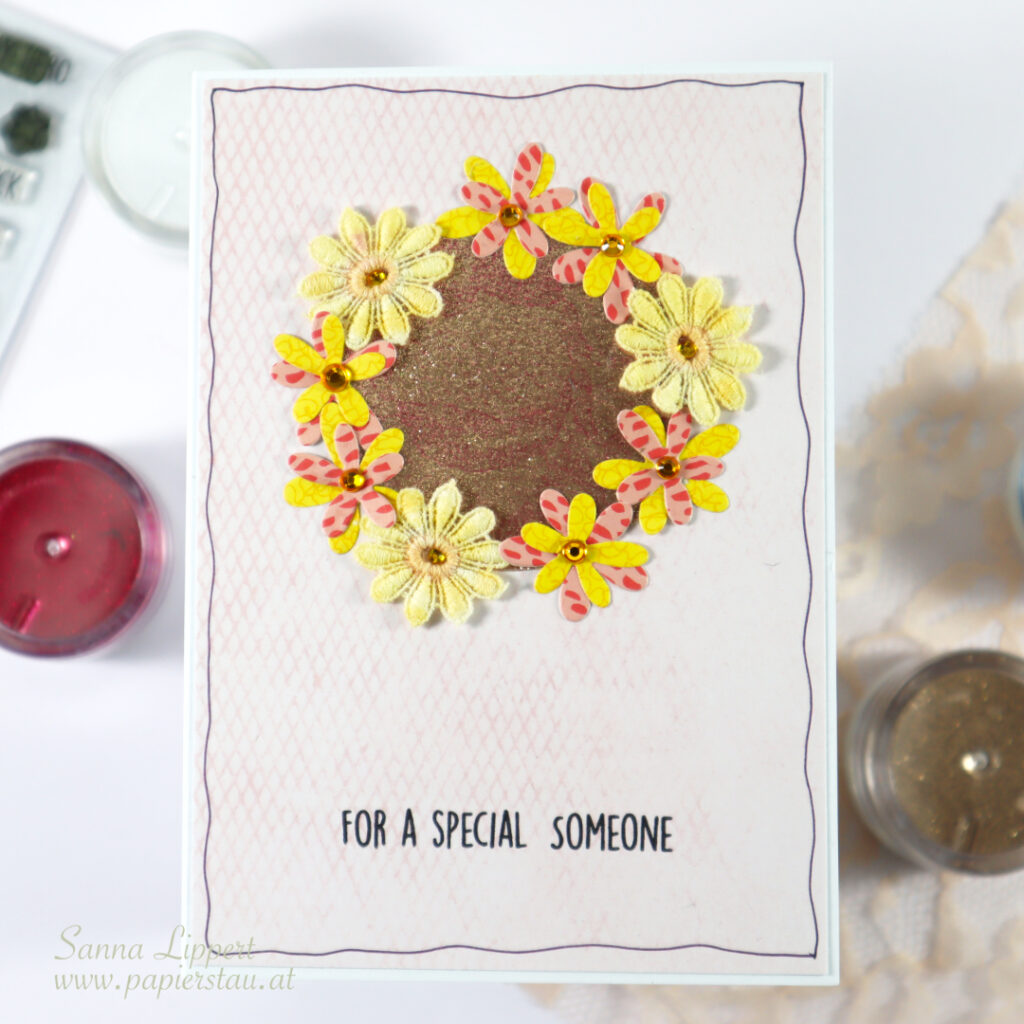
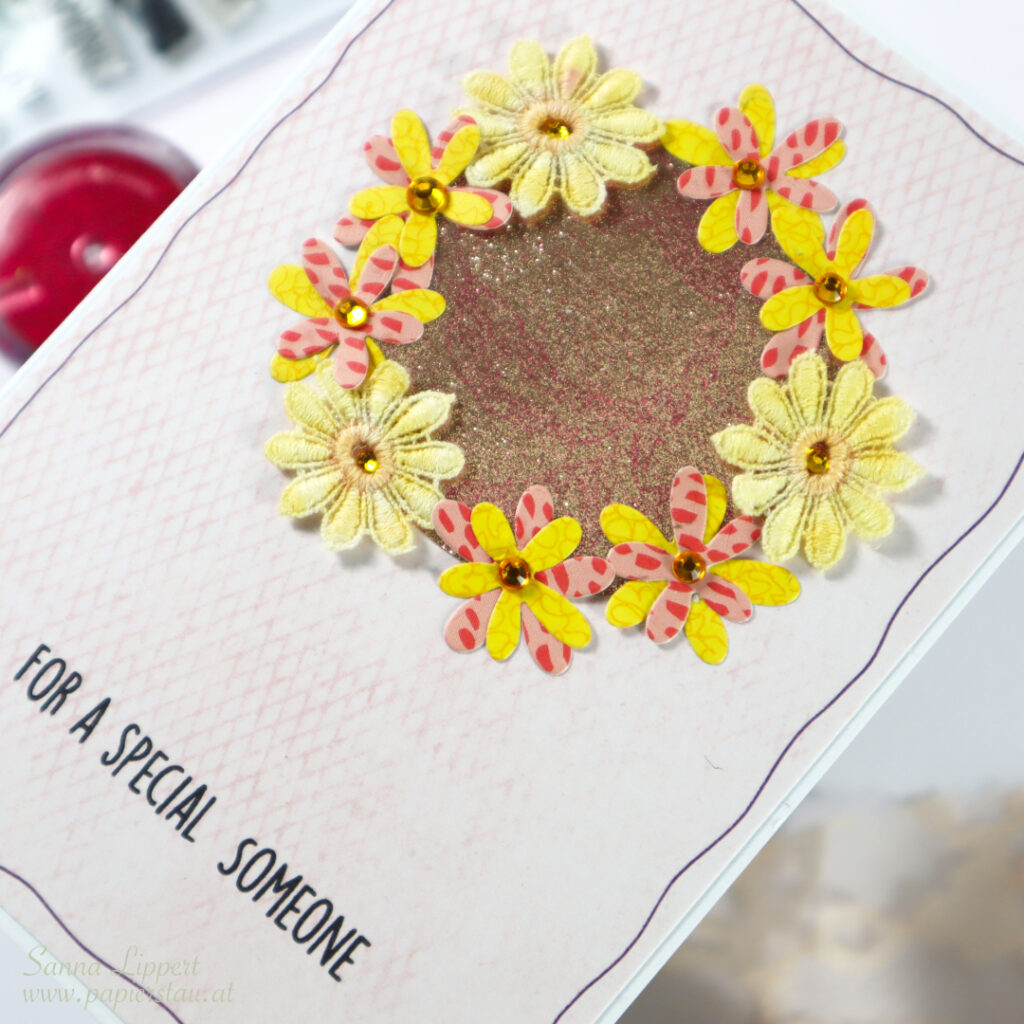
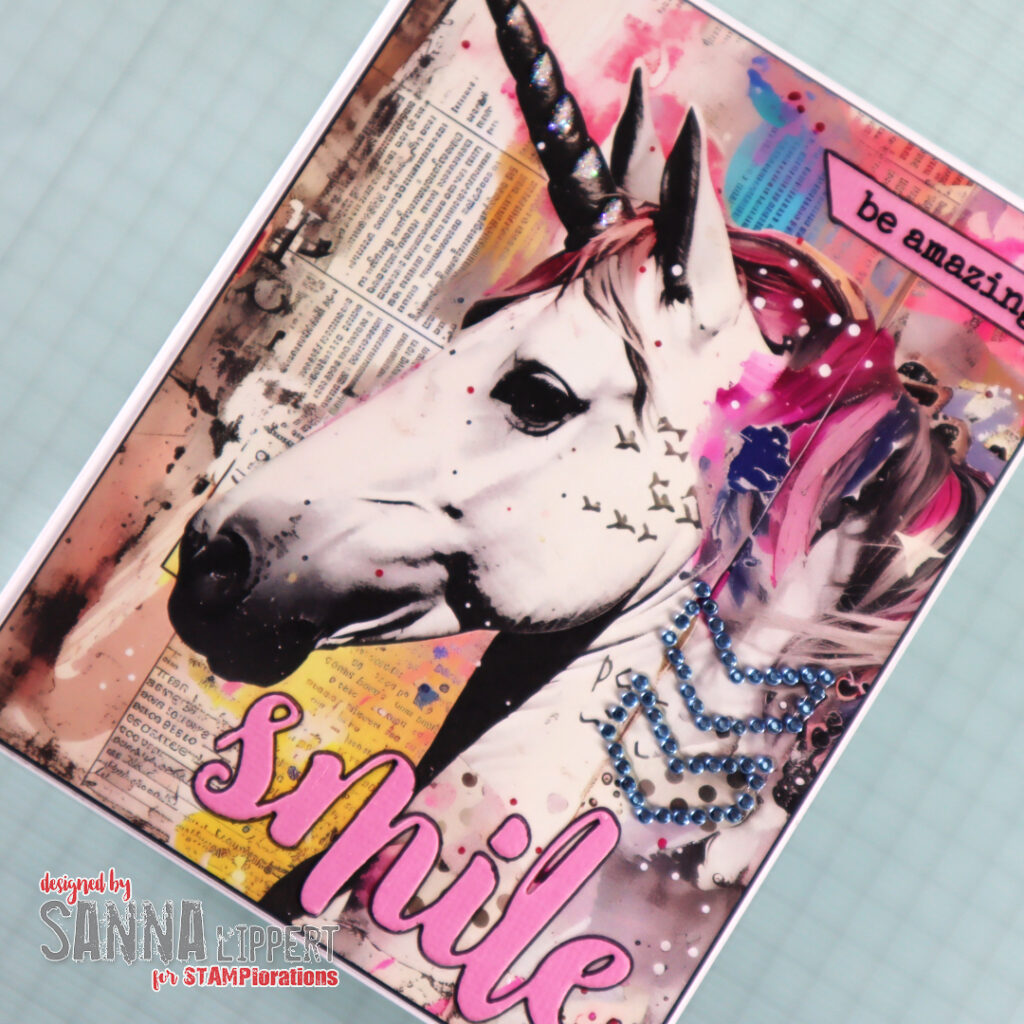
For the last card I´ve also used a clear sticker on a pink cardstock piece as part of the sentiment. The word die cut die I´ve used is called “Smile“. I outlined the word with a black pen to lift it more from the background. Additionally I adhered a few rhinestone arrows for sparkle.
If you are interested in the paper goods, there are 3 different subscription types available at their site: Paper Goods (US), Paper Goods card fronts (Worldwide) and ATC (worldwide). Pick the one you like! The worldwide subscriptions work this way: a choice of 1 set (card fronts or ATC) every month.
Prices: $7 for US, $8 for Canada, and $9 for UK and all other countries. Subscription price is inclusive of shipping.
As always, my DT Discount Code at the store is valid, so feel free to use it 🙂 !!! Just note that discount is only available for one-off purchases at the store directly. The subscriptions are handled outside of the store, thus the discount is not valid there!
That´s all for now! Be sure to check out the varios product categories in the STAMPlorations store. Also check out the blog – always good to know what is happening (hint, don´t miss any new offers, challenges and new product!!).
Happy creating!
xx, Sanna