Category Archives: MIXED MEDIA

New ATC spring projects – STAMPlorations

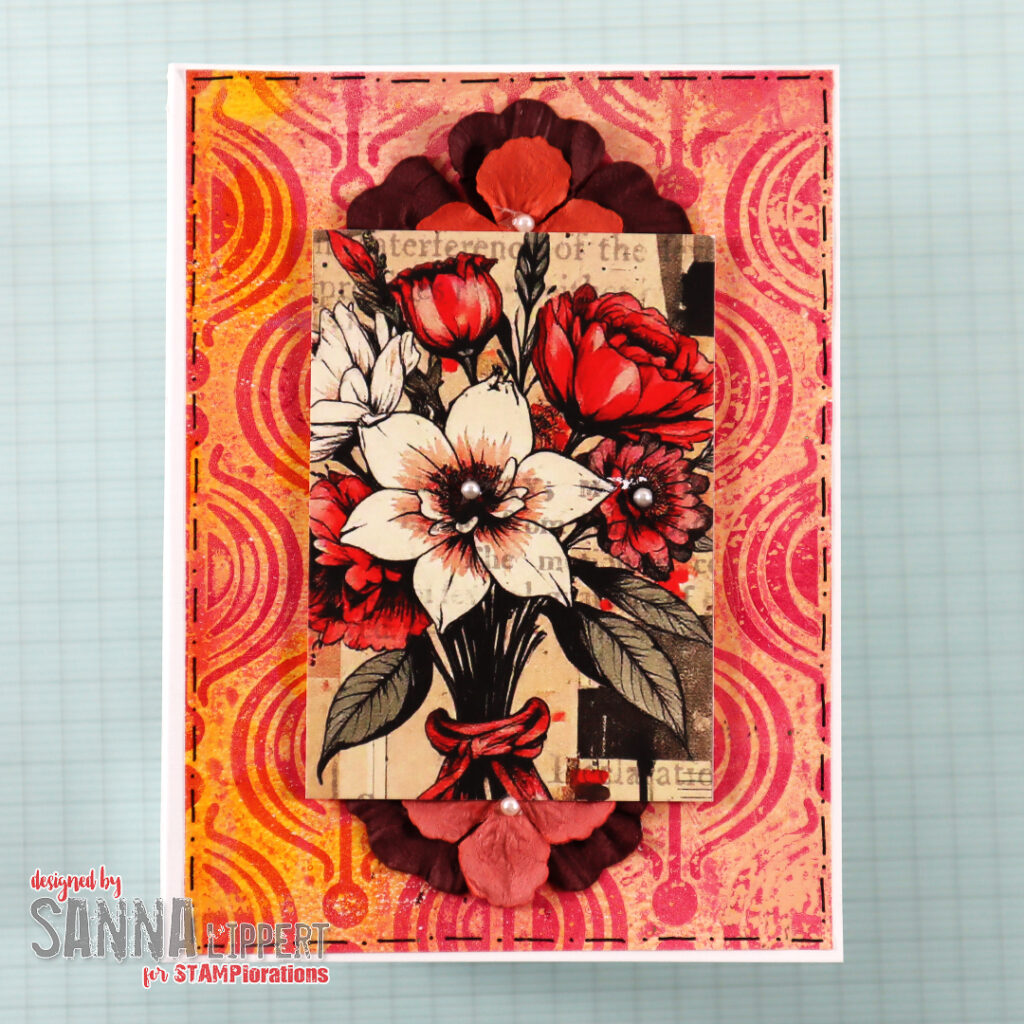
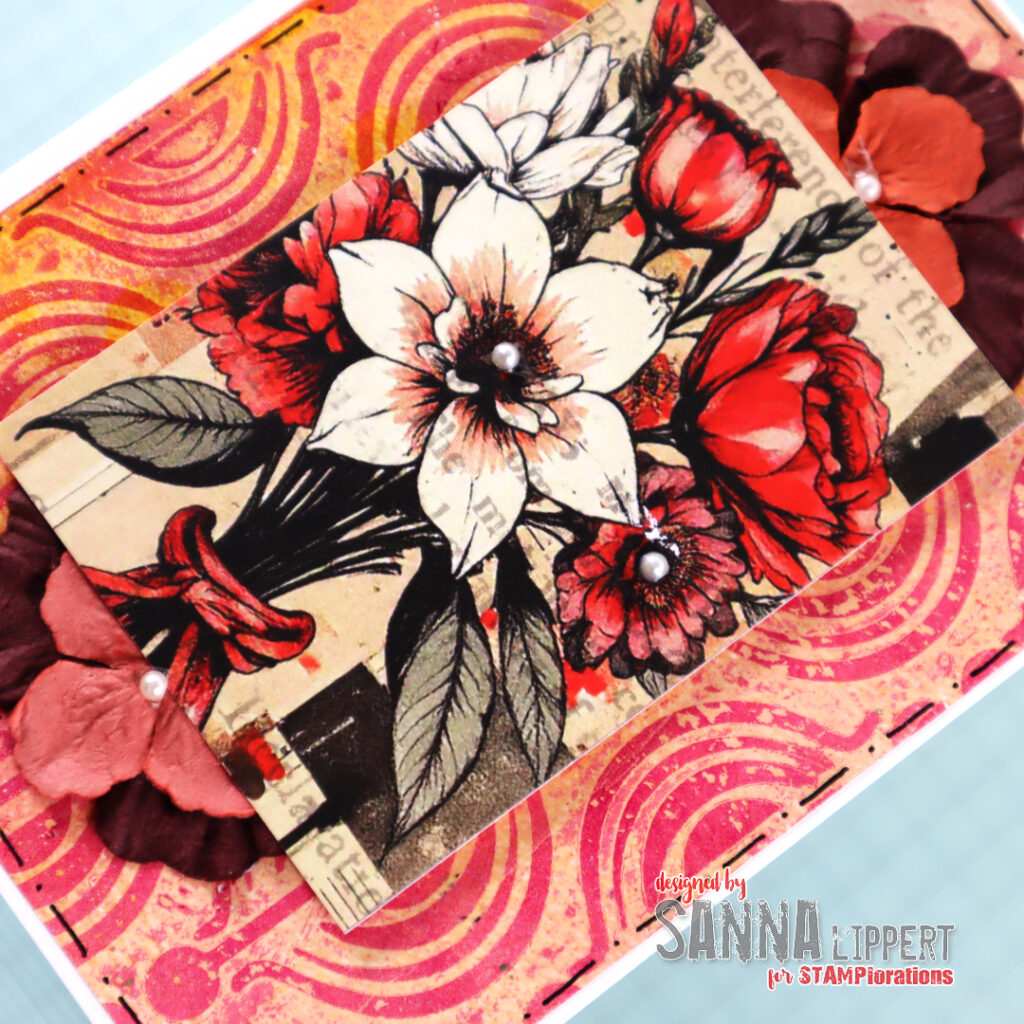
Hello everyone! STAMPlorations has some gorgeous new ATC fronts out. I´ve created some cards with the new ATCs:

I started by creating gelli prints with ARTplorations stencils “Molecules”, “Evolution” and “Art Flowers 2” and my Gelli Arts gel plate. I used those collage papers as card backgrounds.

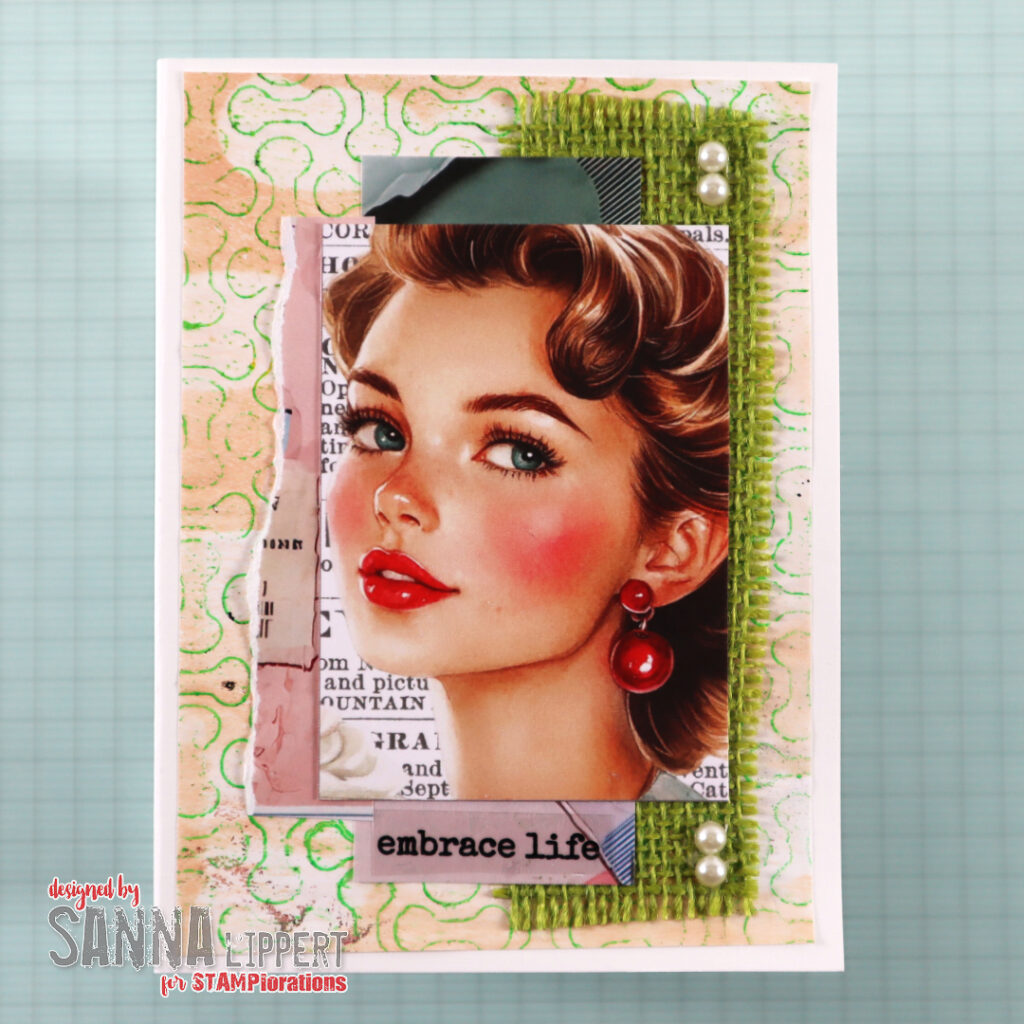
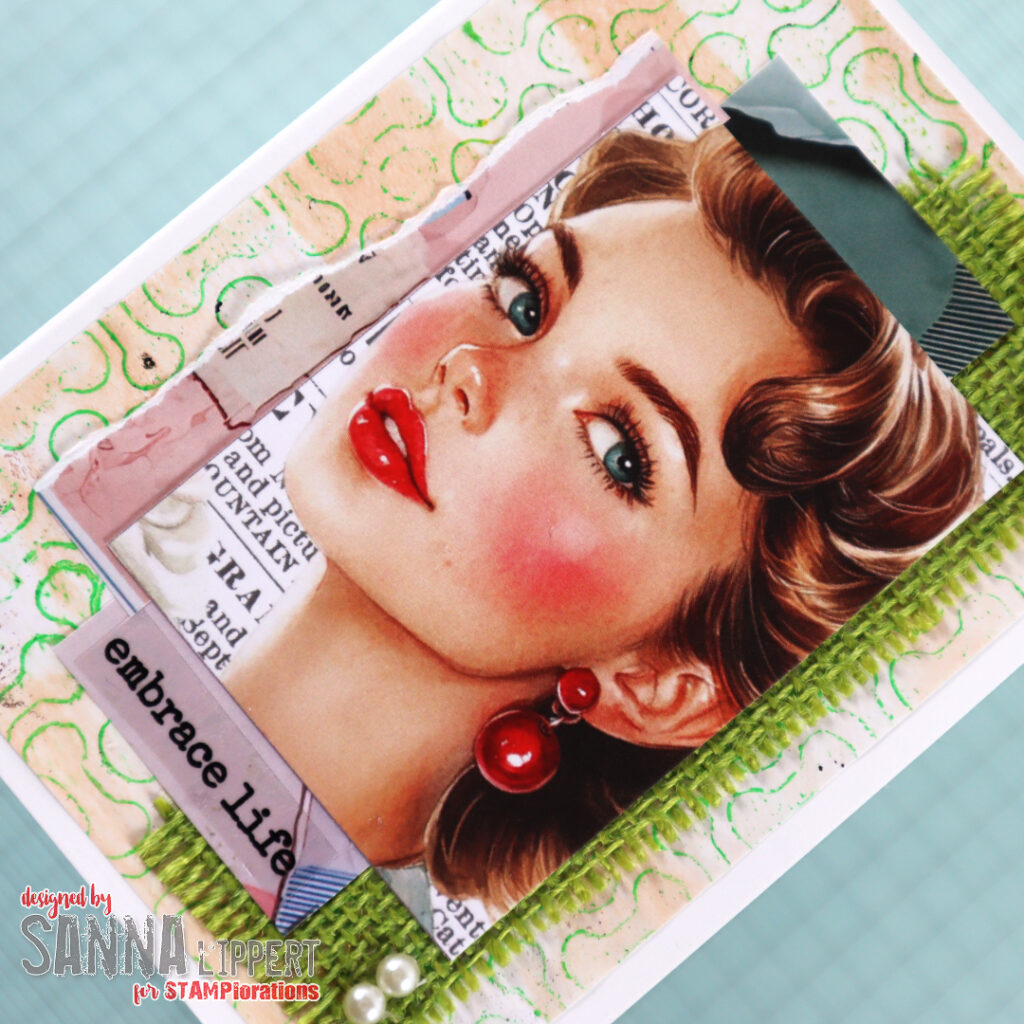
For the first card I created a cluster with Ephemeral Edges collage paper, a Retro Femme ATC and some green burlap. For additional decor I used white half pearls and STAMPlorations clear stickers.

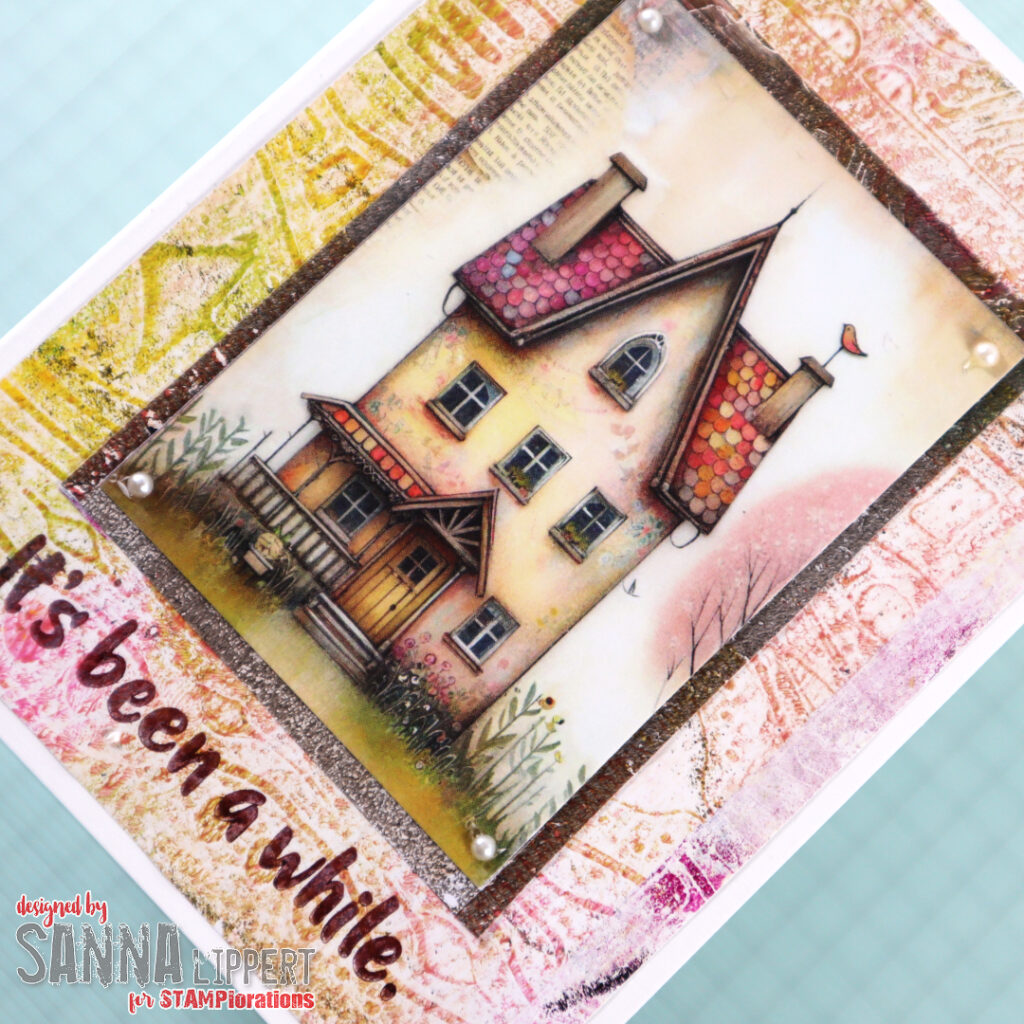
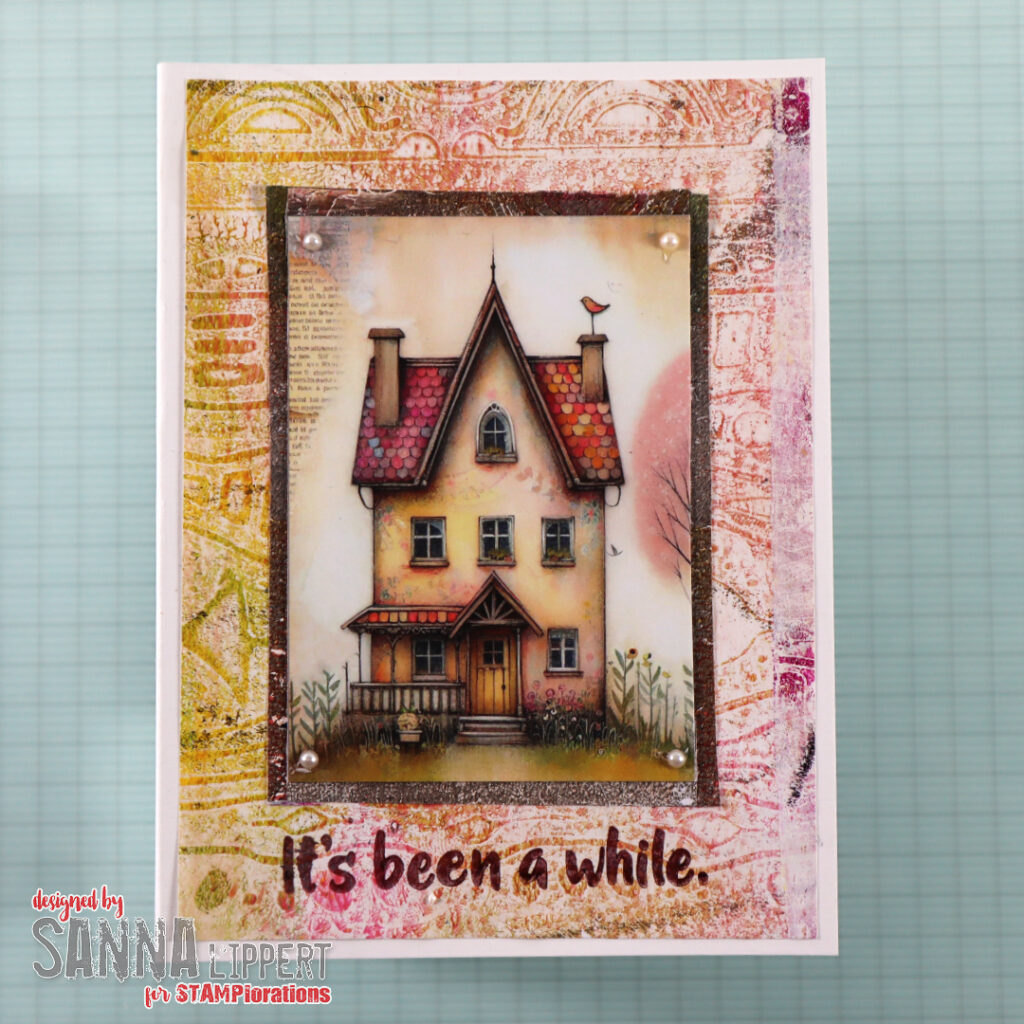
The second card also has a gelli printed collage paper background and a stamped sentiment (Hello You stamp set). As a centerpiece I used the gorgeous Whimsical Homes ATC card. Decorated with small white half pearls on each edge.

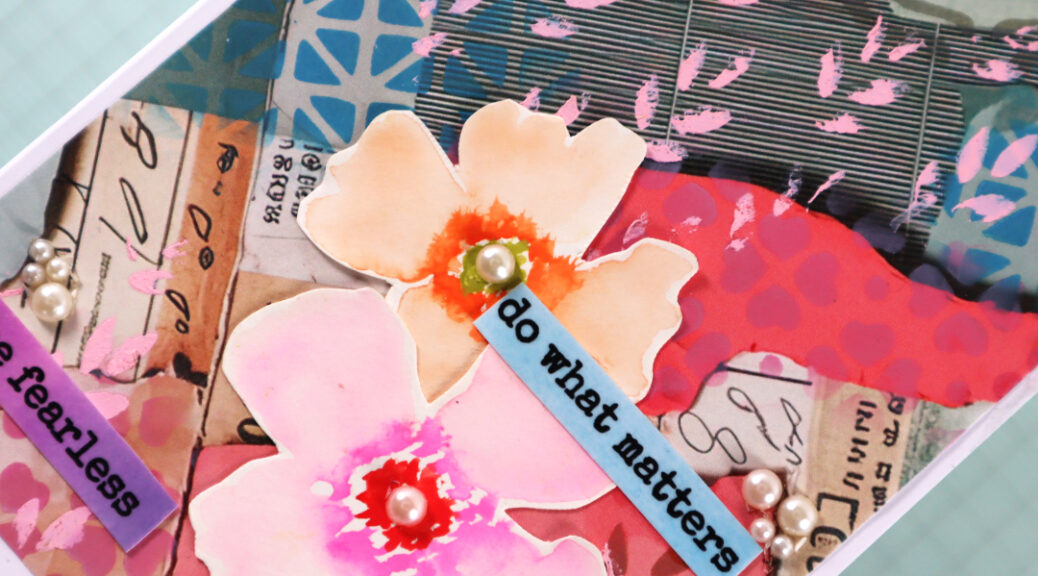
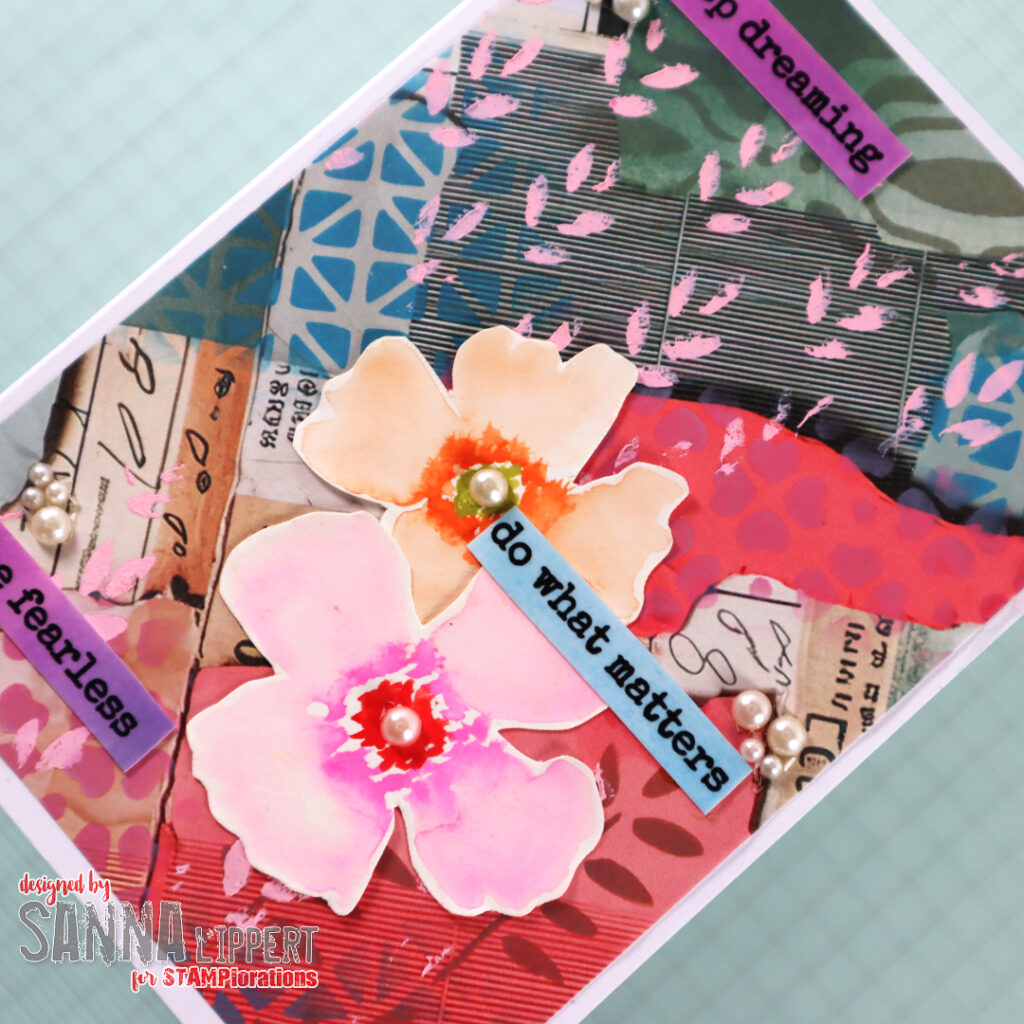
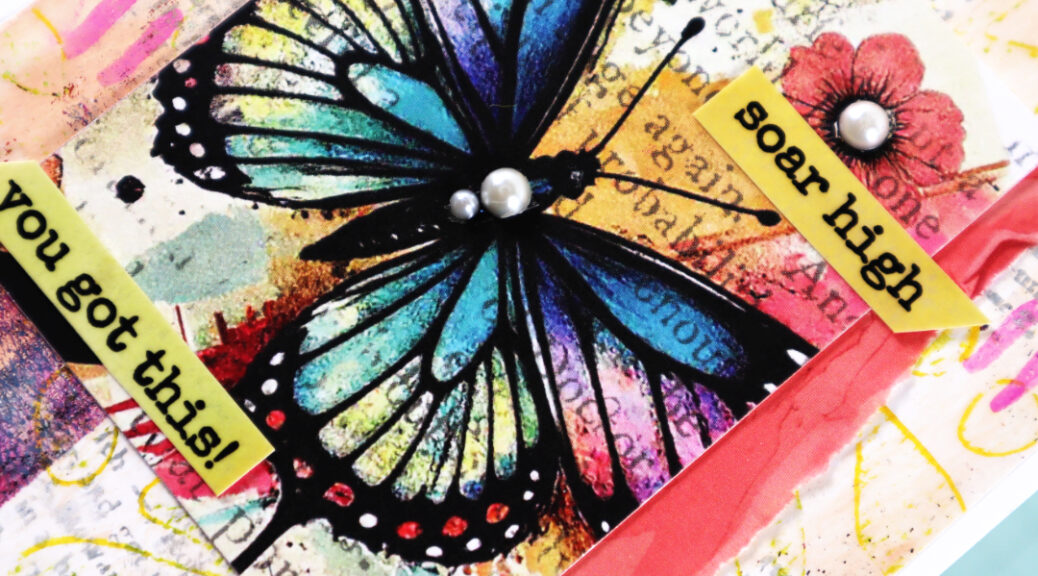
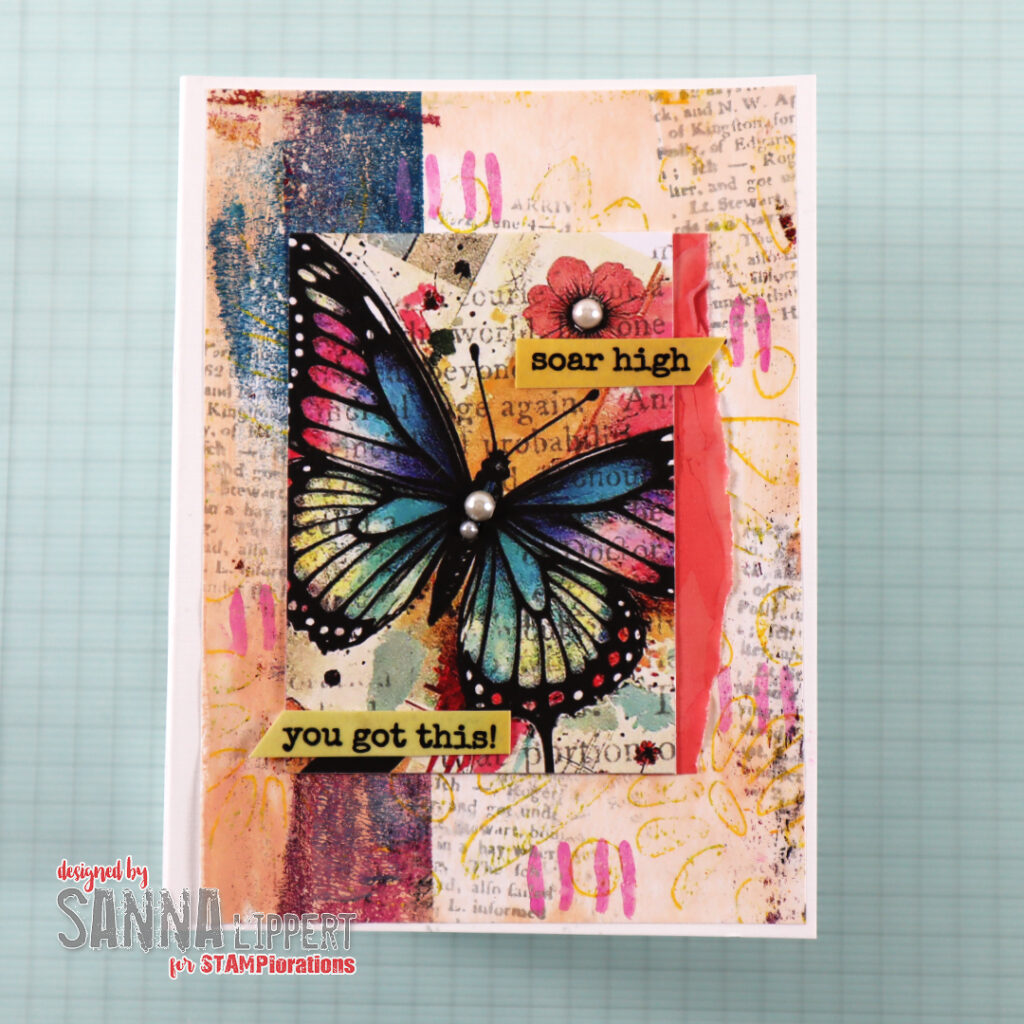
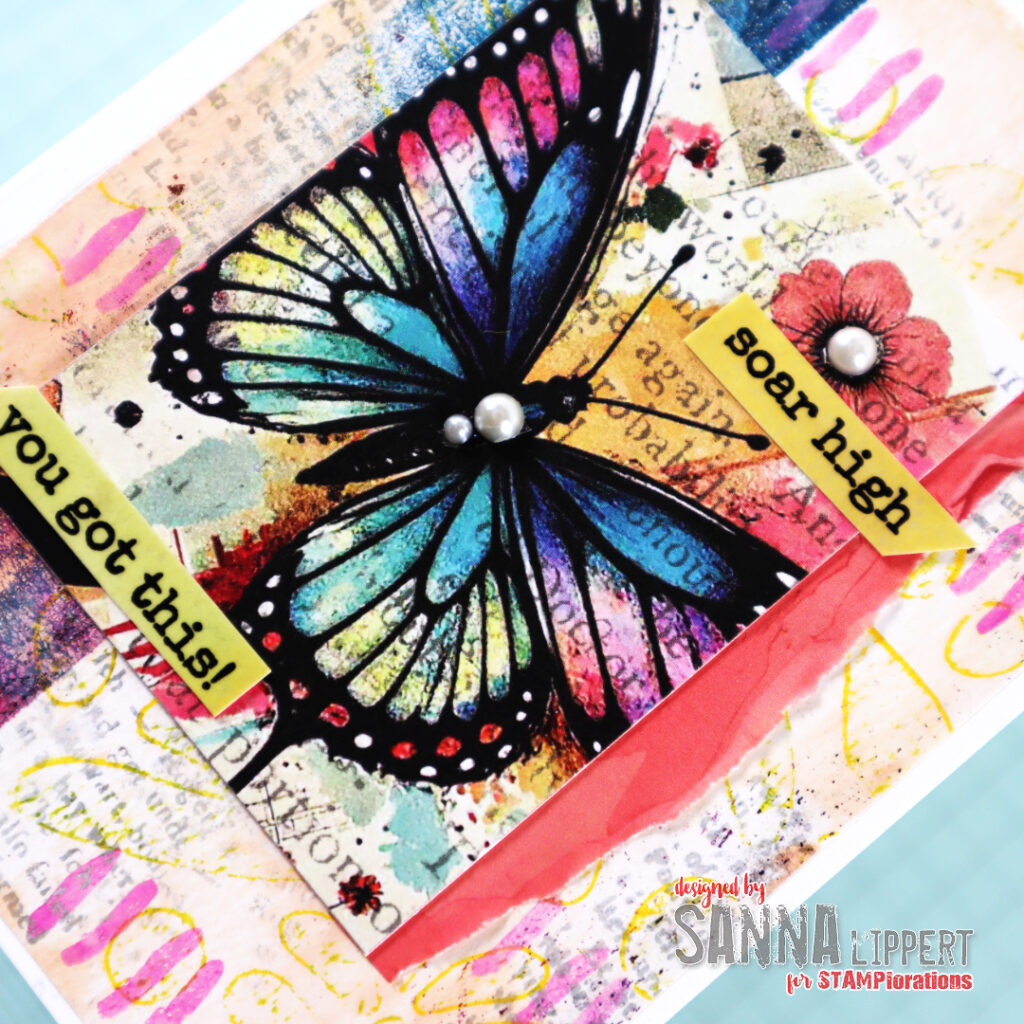
For the last card I´ve used another gelli printed collage paper as a background. As a centerpiece a Color Me Spring ATC butterfly card. I´ve also added a strip of Ephemeral Edges collage paper to the ATC and some clear stickers. As a decor element, again some white half pearls here and there. I also added some stamping to the collage paper with Distress Oxide Inks and Art Marks 3 stamp set.

I loved creating cards with these ATCs! They are sturdy 325 gr paper, so you could use them various purposes. And the designs and colors are just dreamy!!

Like always, you can use my discount code at the store:

Happy crafting, shopping and happy Spring!!!!
xxx, Sanna
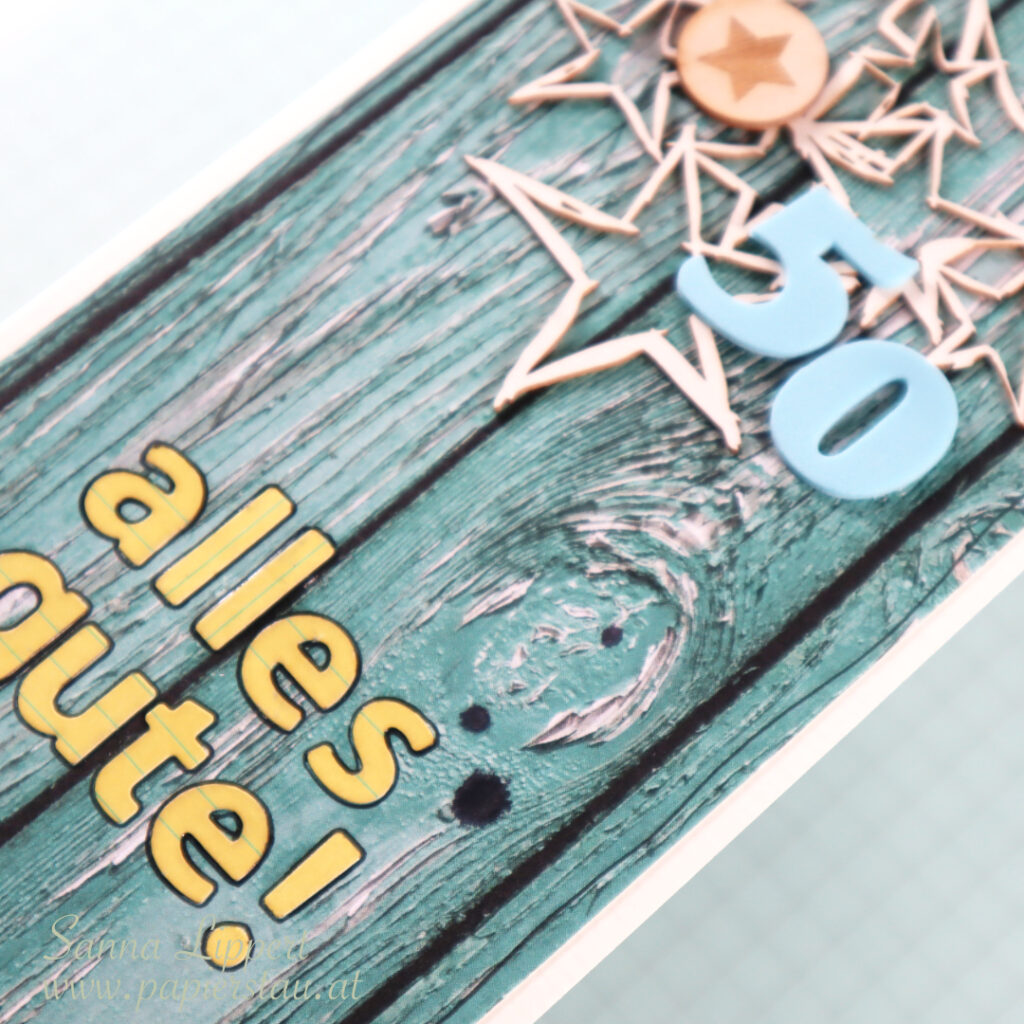
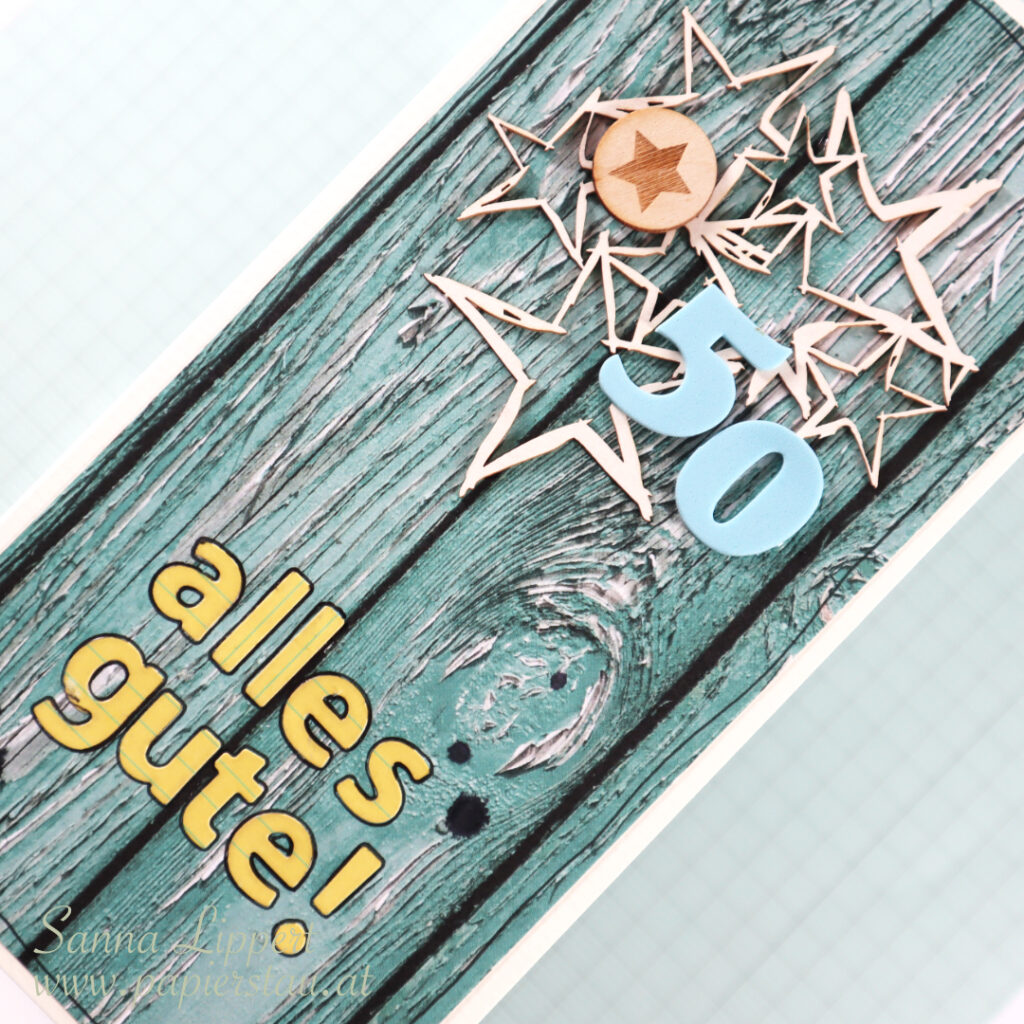
50th birthday card set

Hello and happy Wednesday! I recently created a set of 50th birthday cards. This is what I ended up creating:

Both of them are for a woman, but she is not a girly, pink, flower girl. Thus the more “cool” designs. On this card I´ve used Dani Peuss papers on the background and some older chipboard and stickers from my stash. Plus some spray ink in black and a black gel pen.

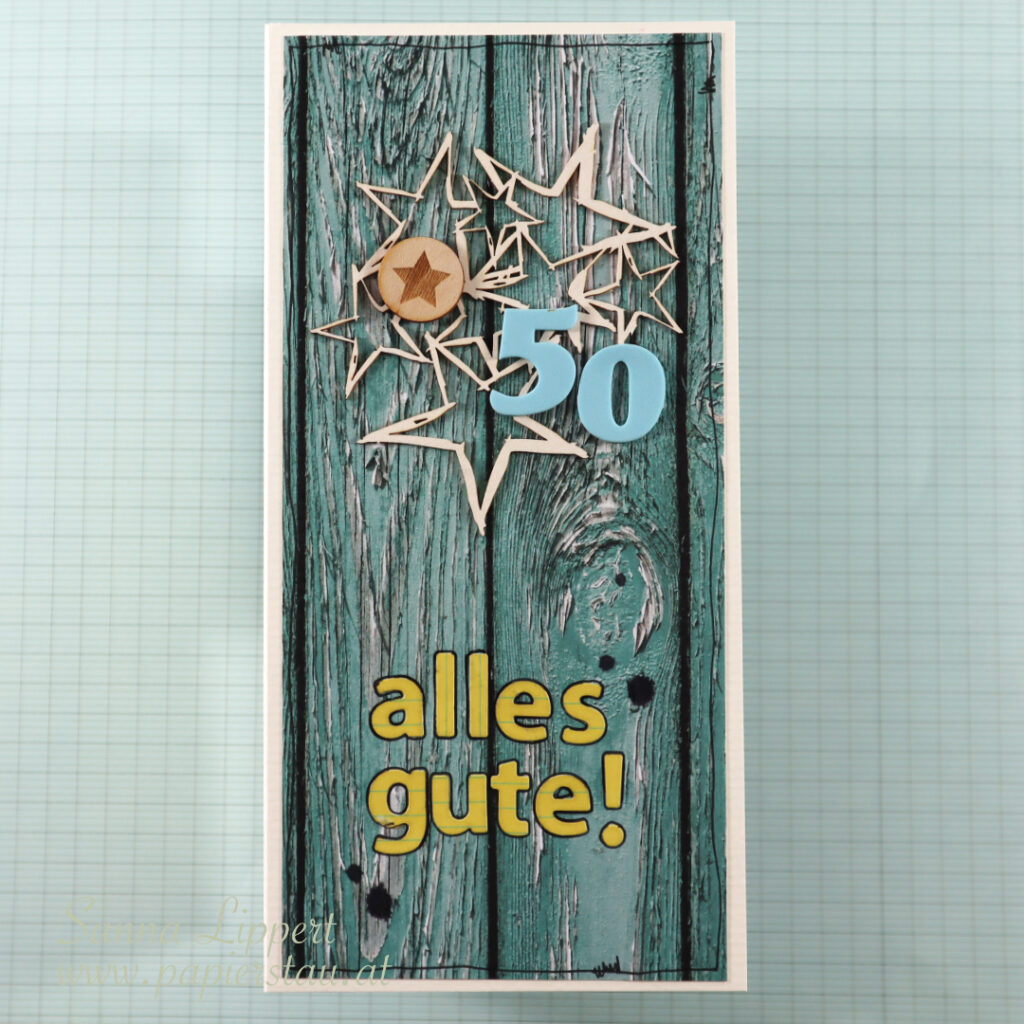
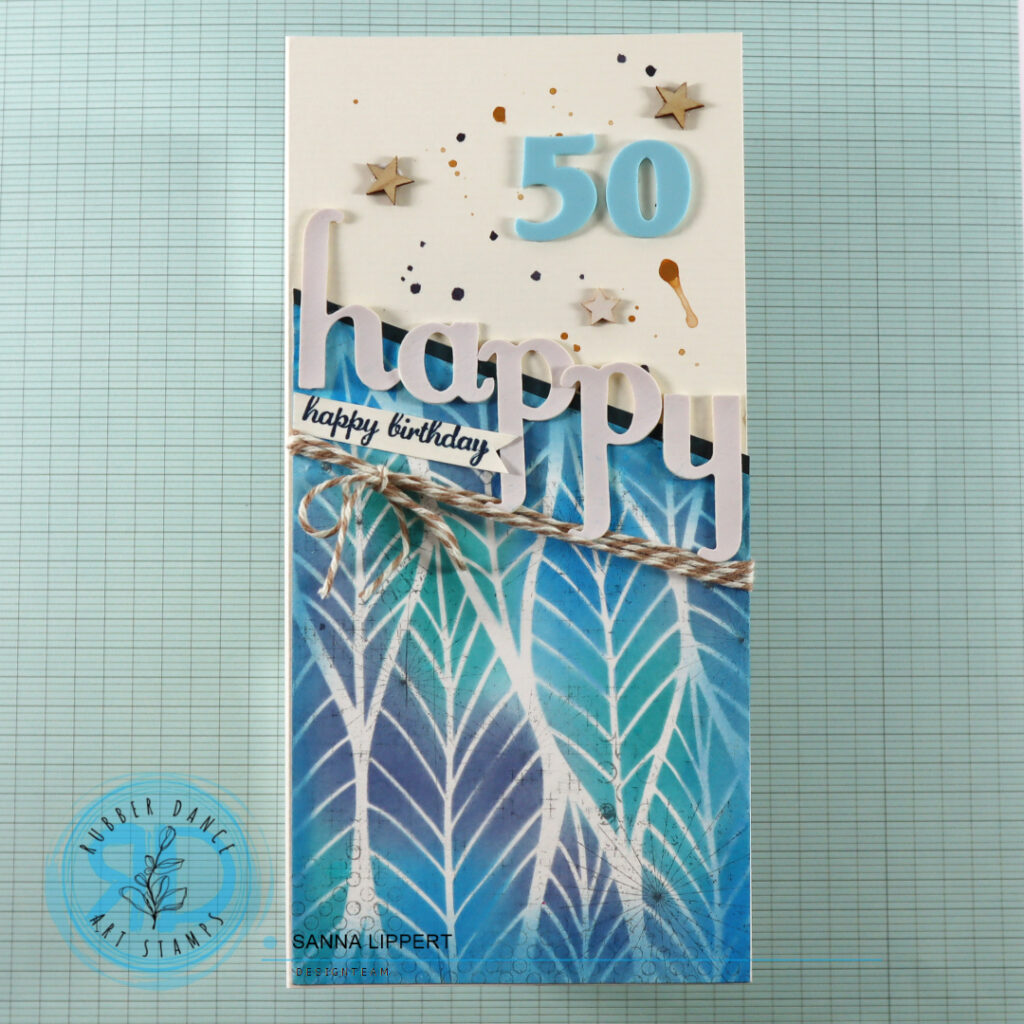
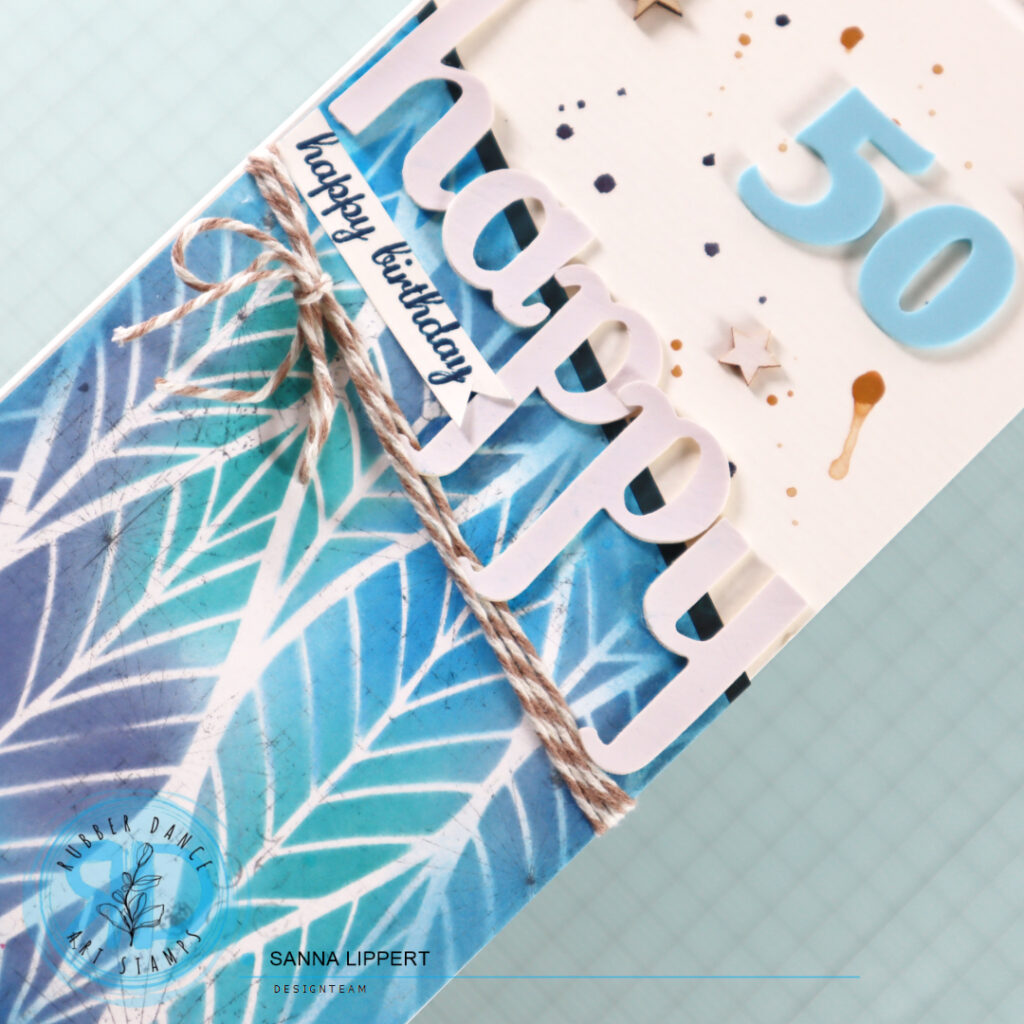
Like the first one, the second is also a slimline format card:

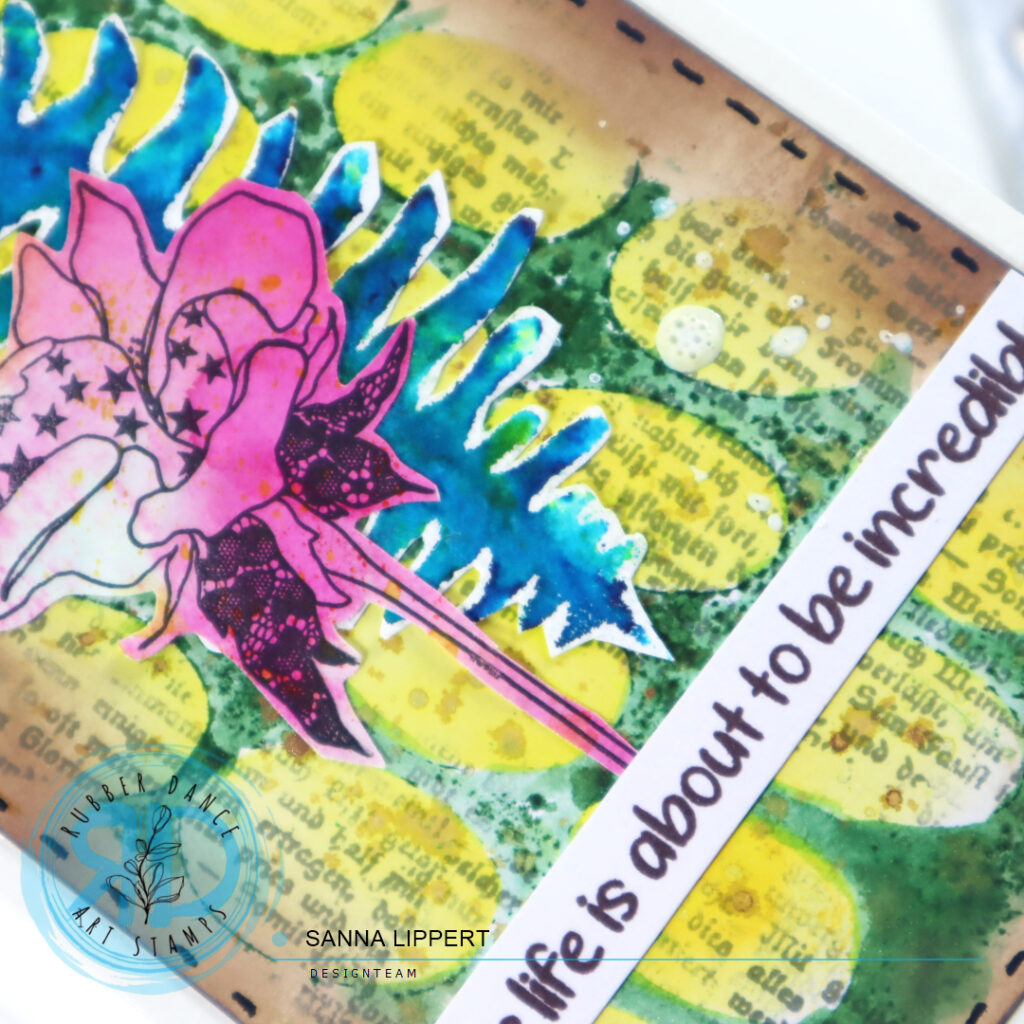
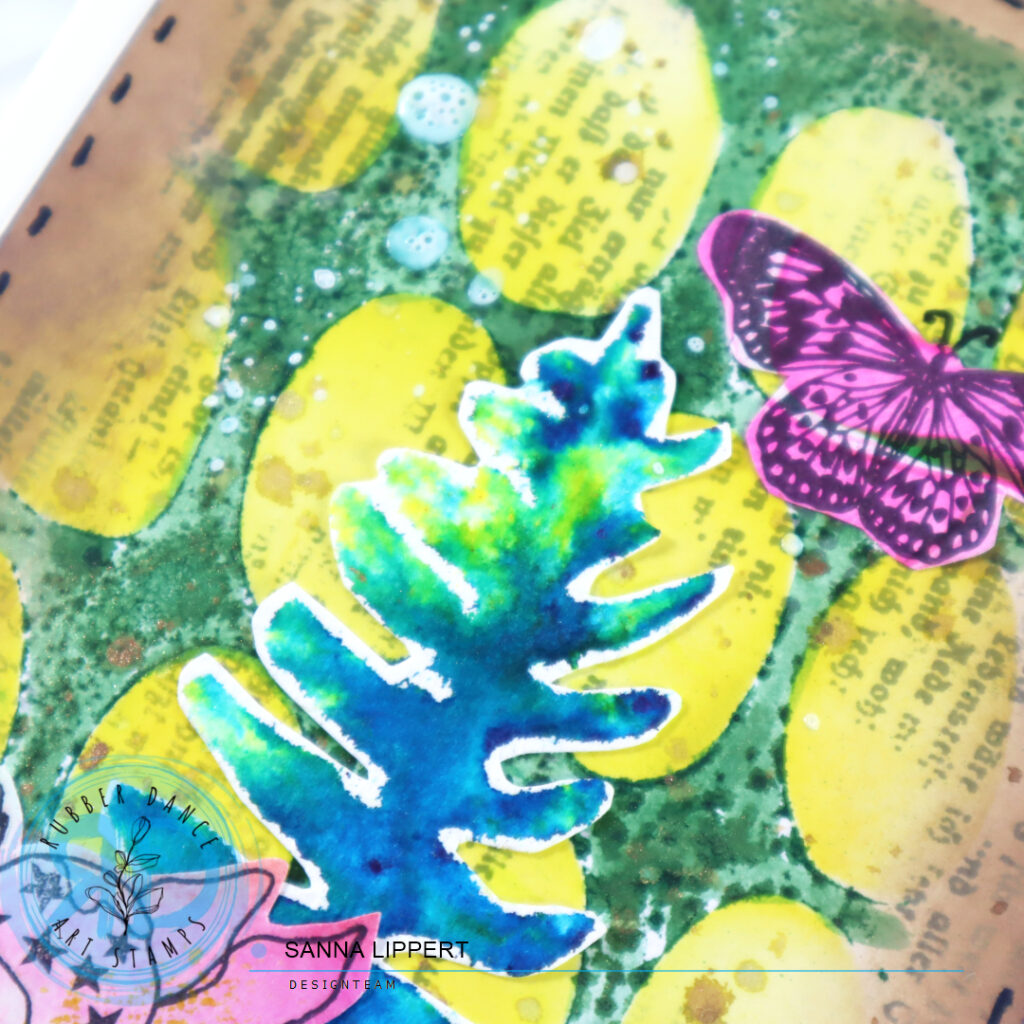
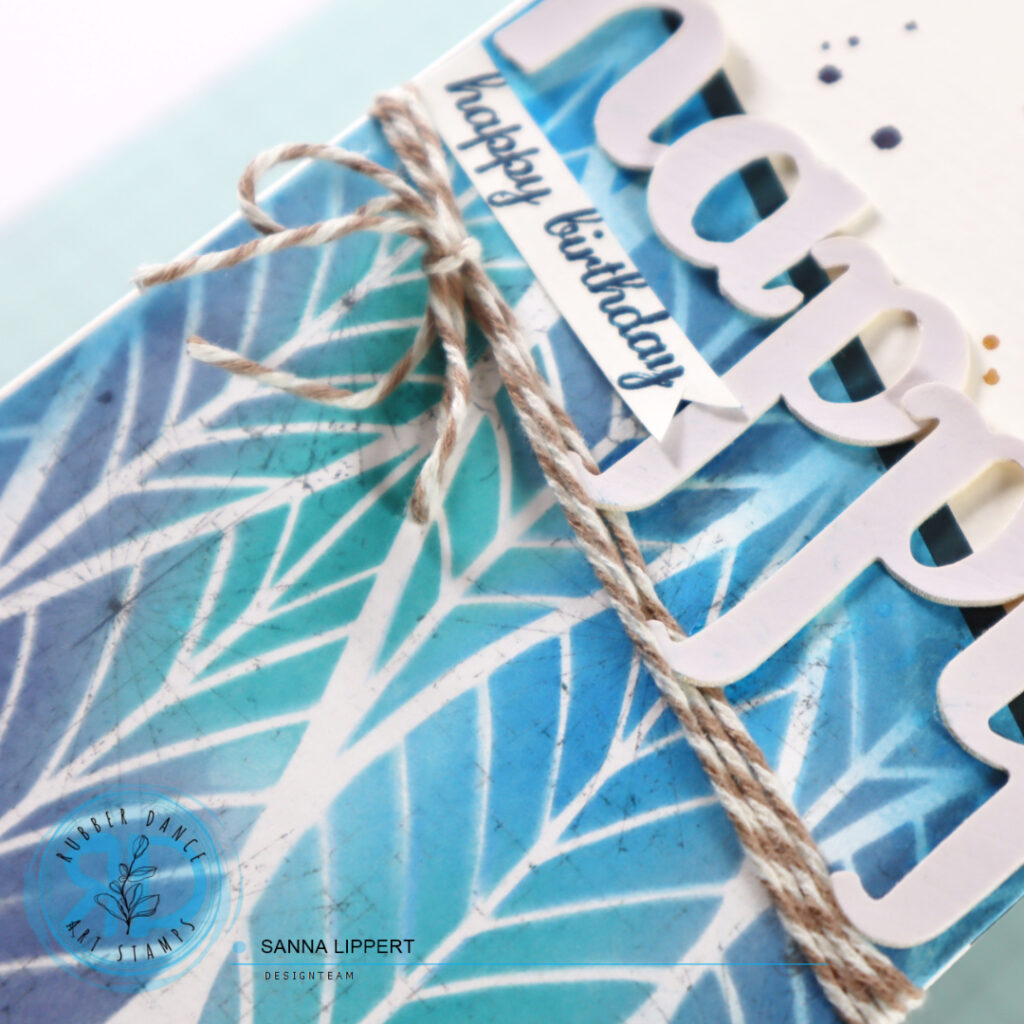
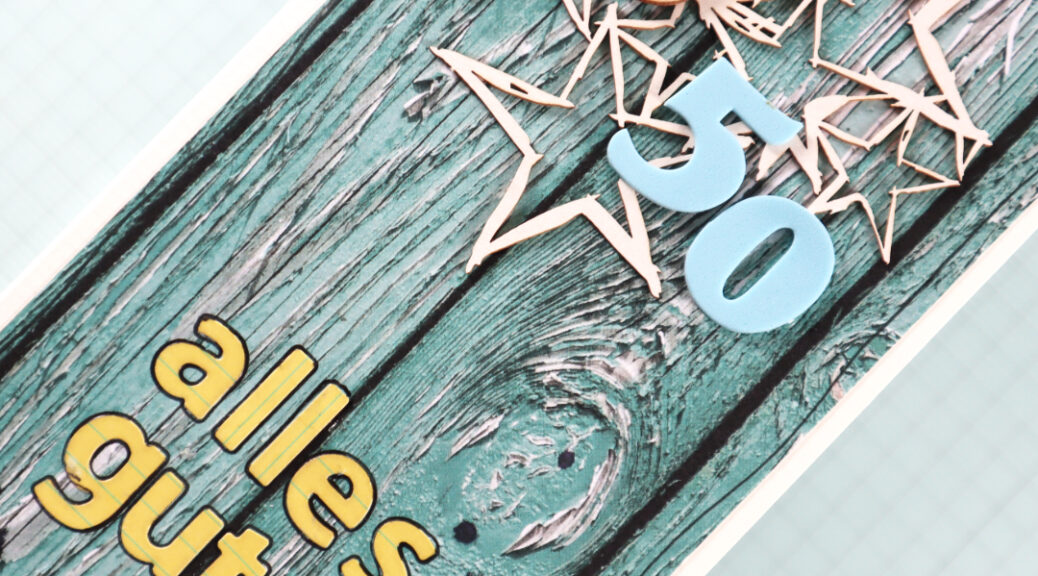
For this one I used a Rubber Dance stencil (Leaves 2) with Distress Oxide Inks in various blue shades. I also added two types of American Crafts alpha stickers (foam and vinyl). I also used some black and golden pigment droplets as well as a piece of twine and a some chipboard stars and a stamped Stampin´ Up! sentiment. Stamped with a blue VersaFine Clair stamp ink.

Inside one of the cards I created a pocket for a gift card. The other one is without one. These were fun to make! I hope the recipient will also appreciate them ;-).

Happy crafting,
xx, Sanna

Mixed media birthday card – Rubber Dance

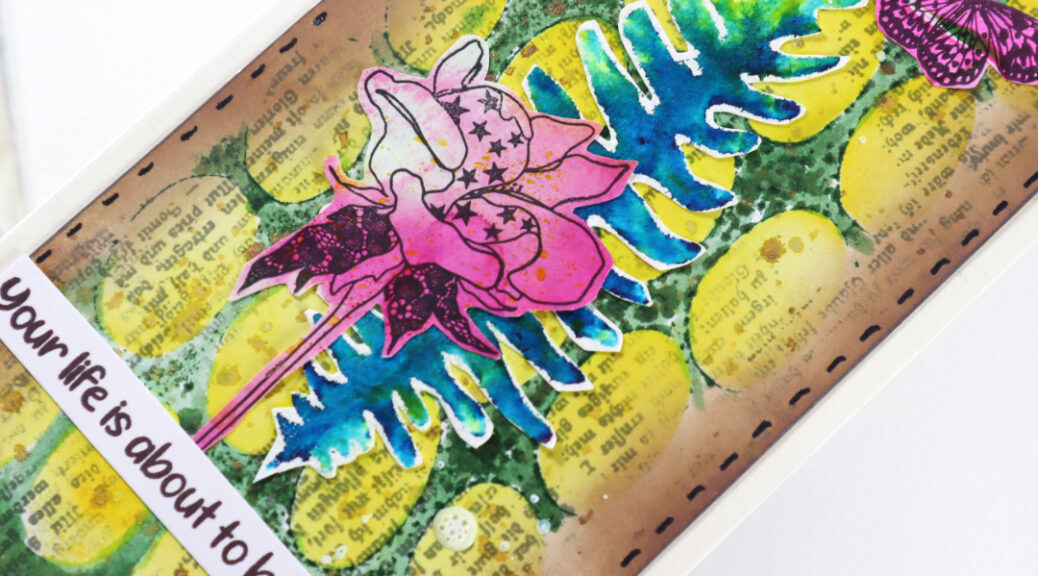
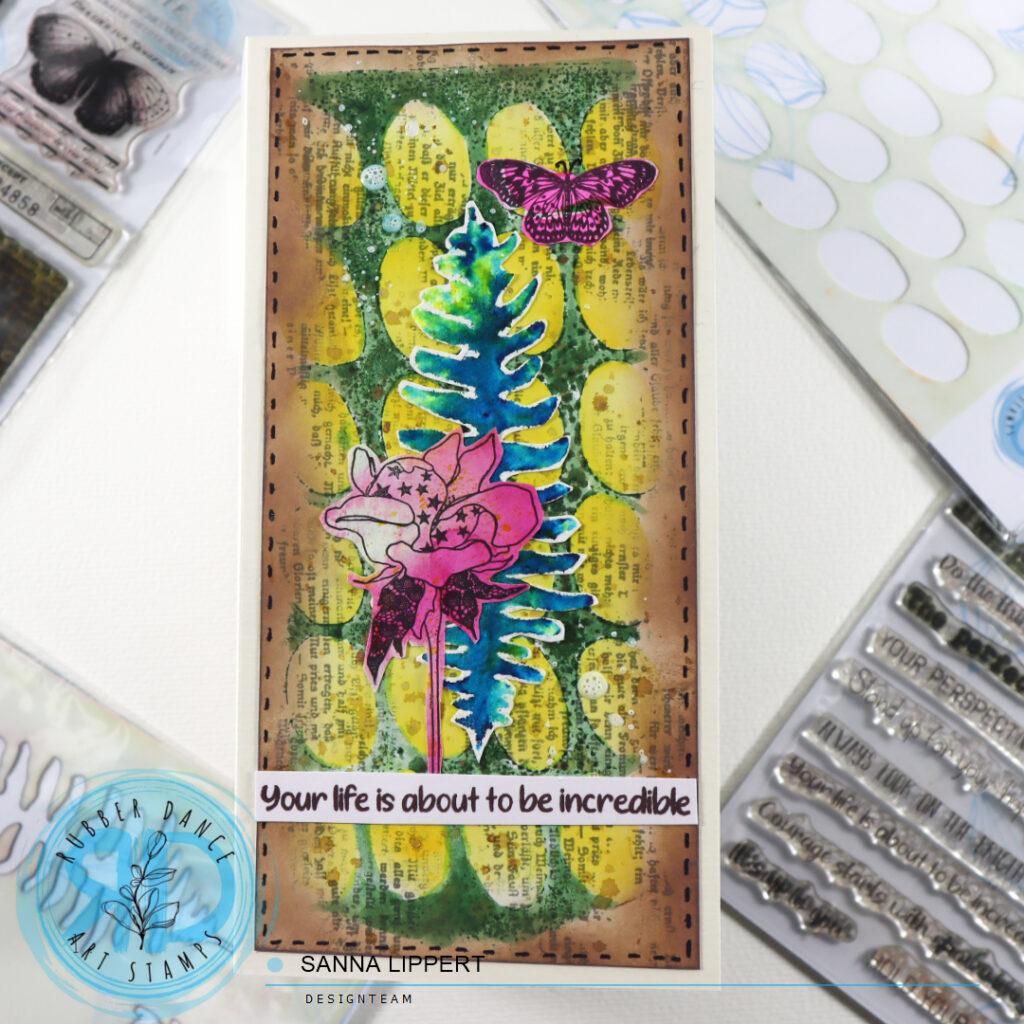
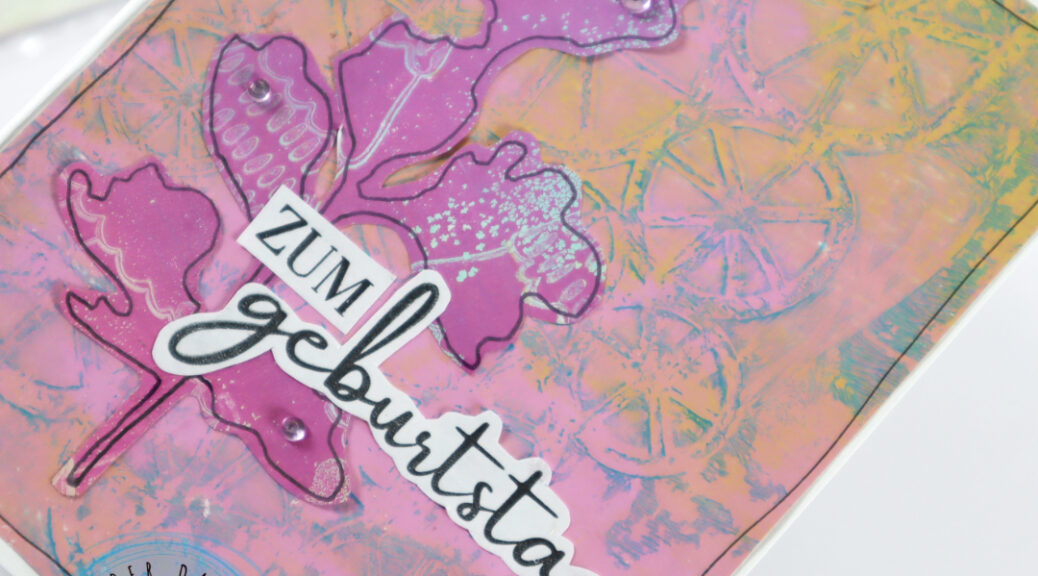
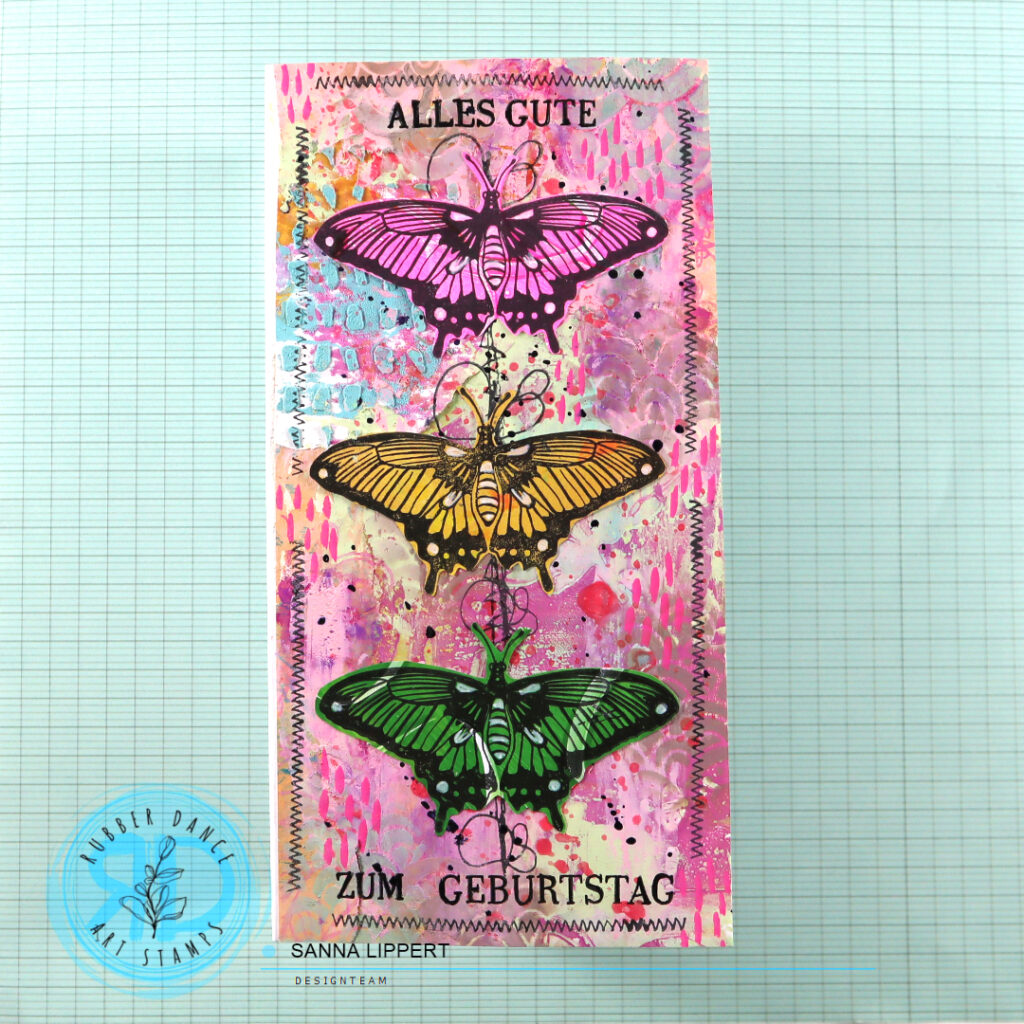
Hello everyone! It´s Sanna here today with another birthday card share. For this card I´ve used Marks 3 and Rainbows 2 stencils with Butterflies and Moths, Kartengrüße and Stitching Borders stamps.

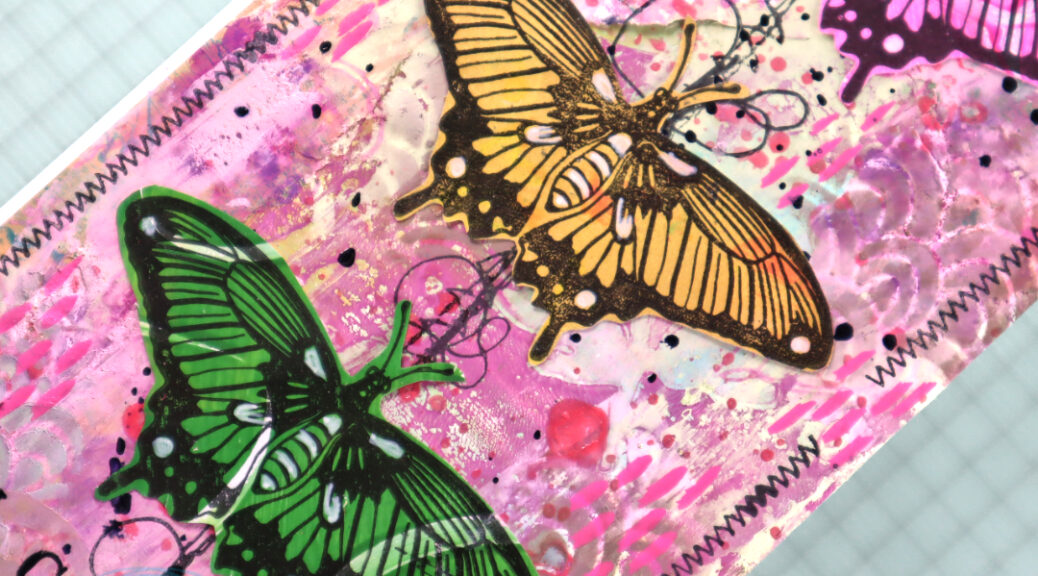
I started off with 3 different papers – some of them were gelli printed collage papers and others had texture paste stenciling on them. I adhered them onto the slimline card base and started adding Distress Paints in “spun sugar” and “antique linen” here and there. After the paint layers had dried, I placed the Rainbows 2 stencil onto the paper and added some Distress Oxide Inks thru the stencil onto the background. I used greys, browns and light greens here. I also added some black and pink ink splatters to the background as well as some Posca pen marks in bright pink.

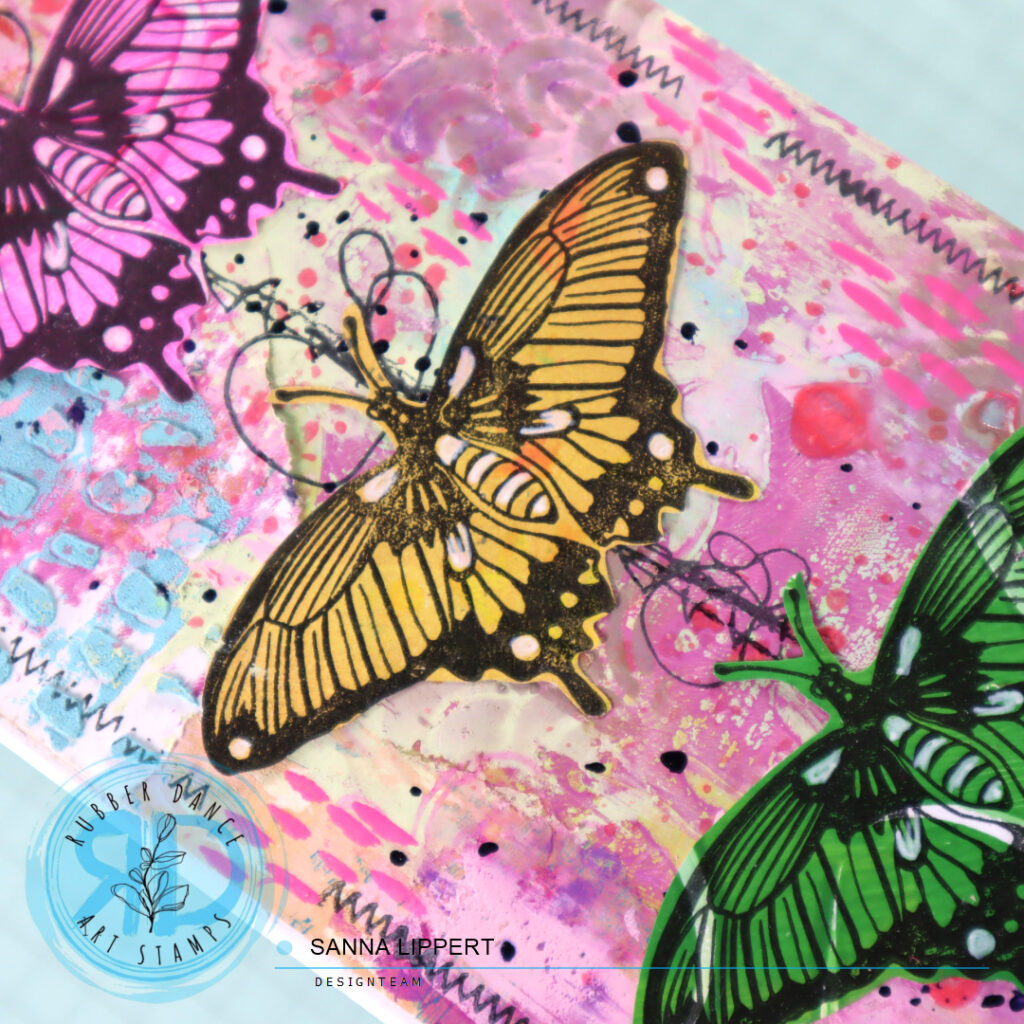
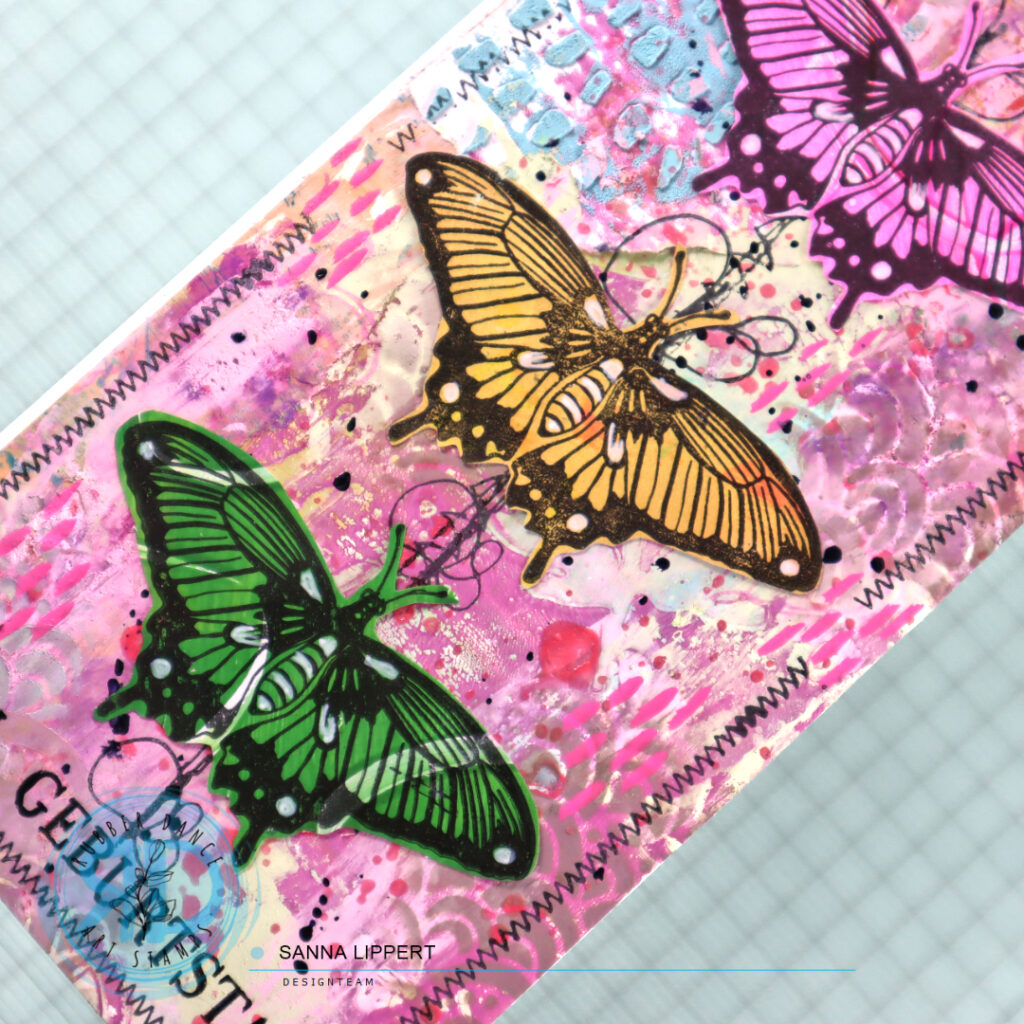
After that I stamped outlining with the Stitching Borders stamp set and a line into the middle with black ink. Then I took some collage butterflies I had made previously and adhered those to the card as a centerpiece. I added some white gel pen details to them and finished the card off with a stamped birthday wish.

Who else is in love with the butterfly stamps? I could add them to almost every project I make.

Happy crafting,
xxx, Sanna

Ephemeral Edges collage papers – STAMPlorations, Vol. 3

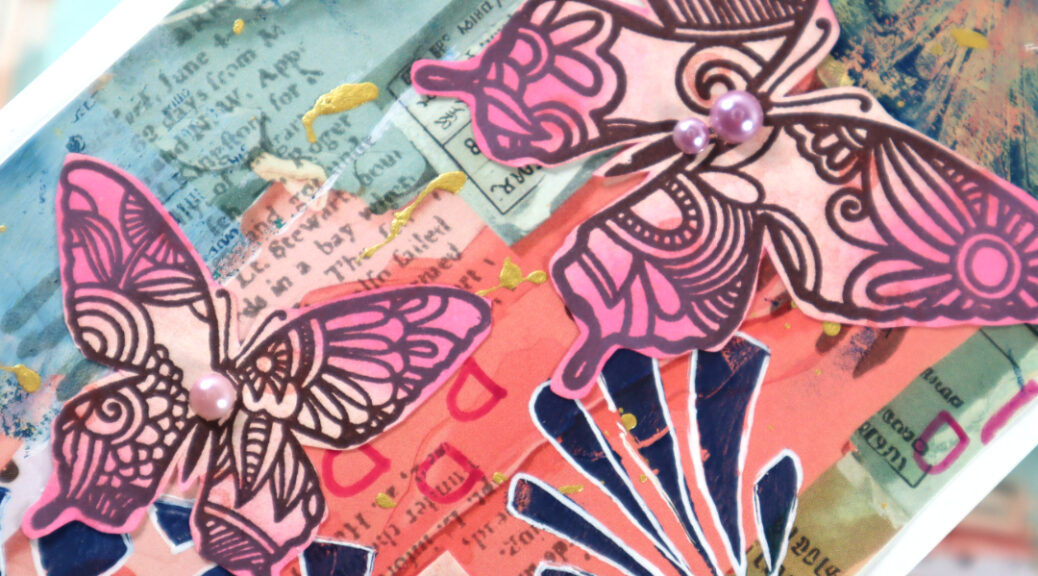
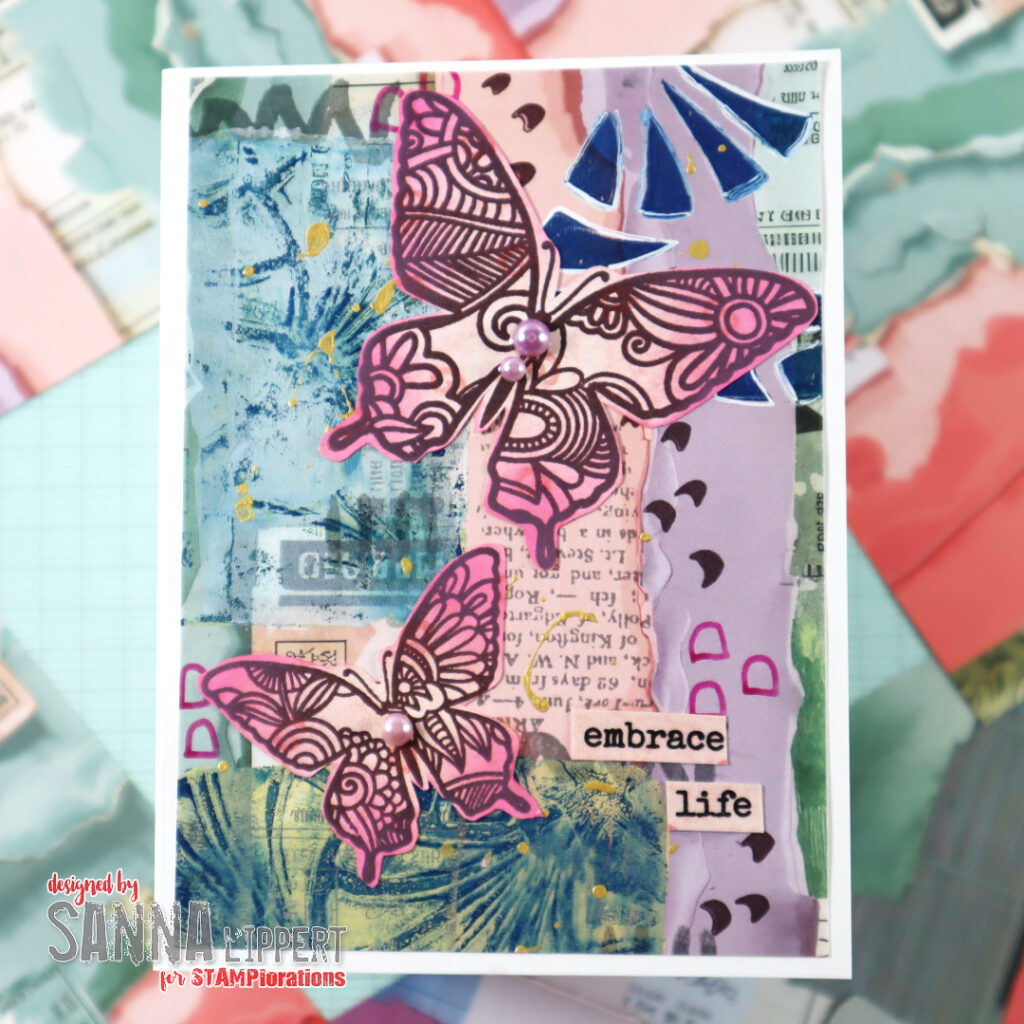
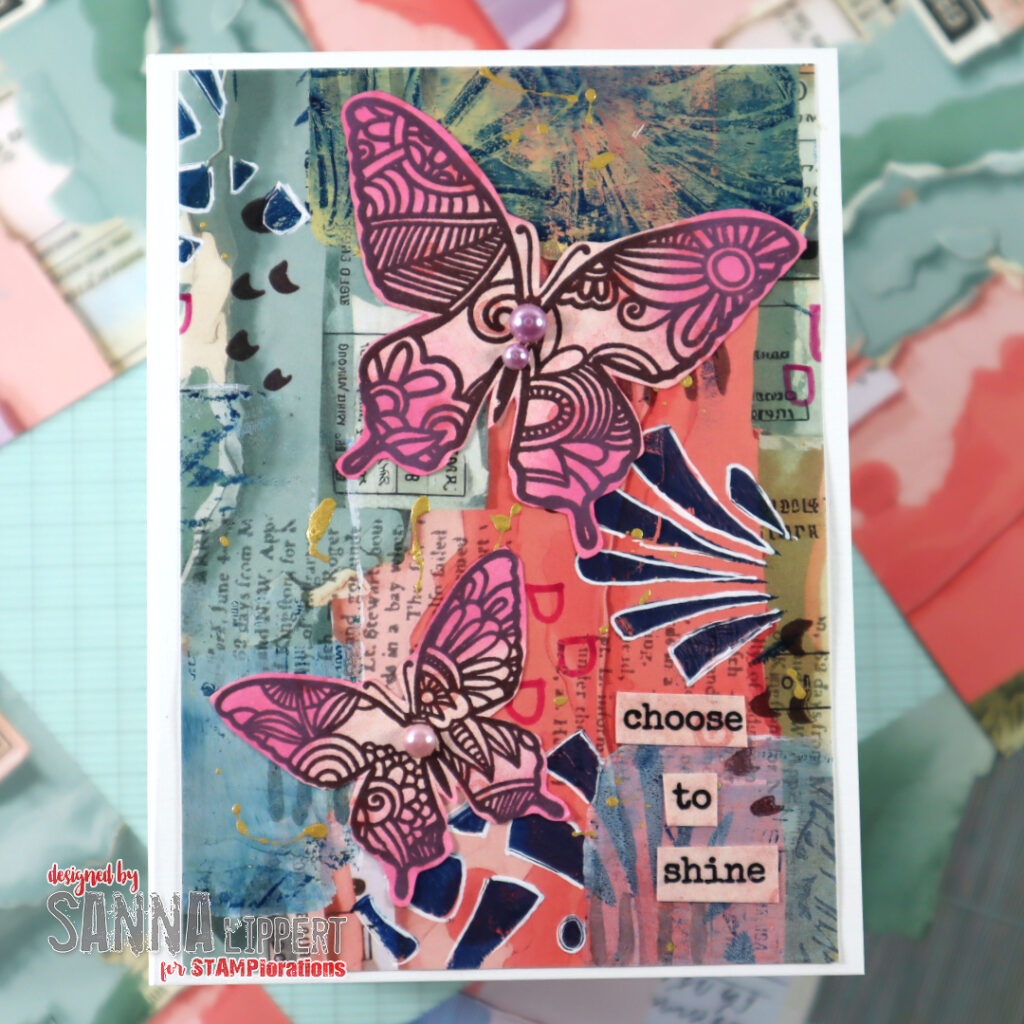
Hello everyone! Here is one more set of projects, created with the new STAMPlorations collage papers. I used the gorgeous Ephemeral Edges set and love the papers!

I started by adding gelli printing onto the collage papers. I first used blue paint with the Fanned Artplorations stencil, then added some yellow and white paint to create a second print and added those to the papers.

Next I added stamping with Distress Oxide Inks and the Art Marks 3 stamp set and some hand painted half oval with a Posca pen. Also some Gansai Tambi golden splatter took part on the background play.

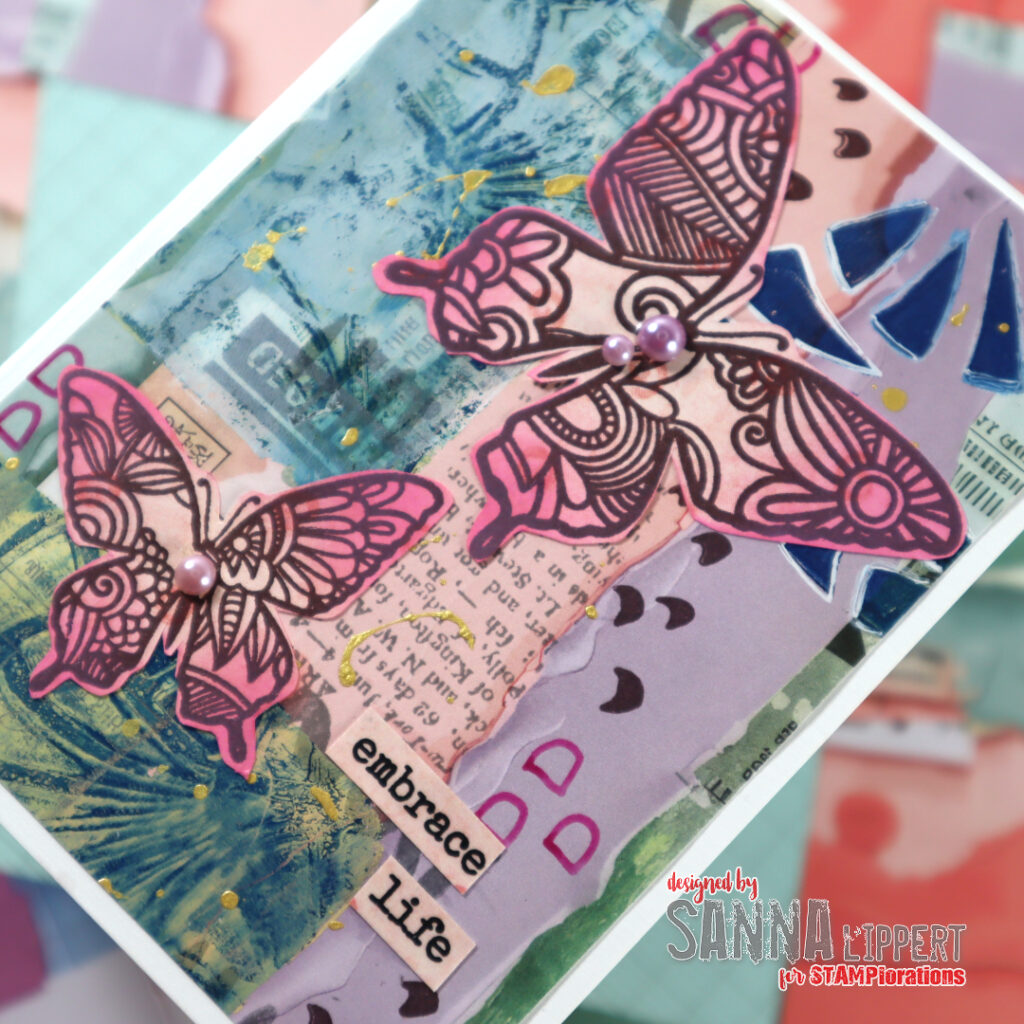
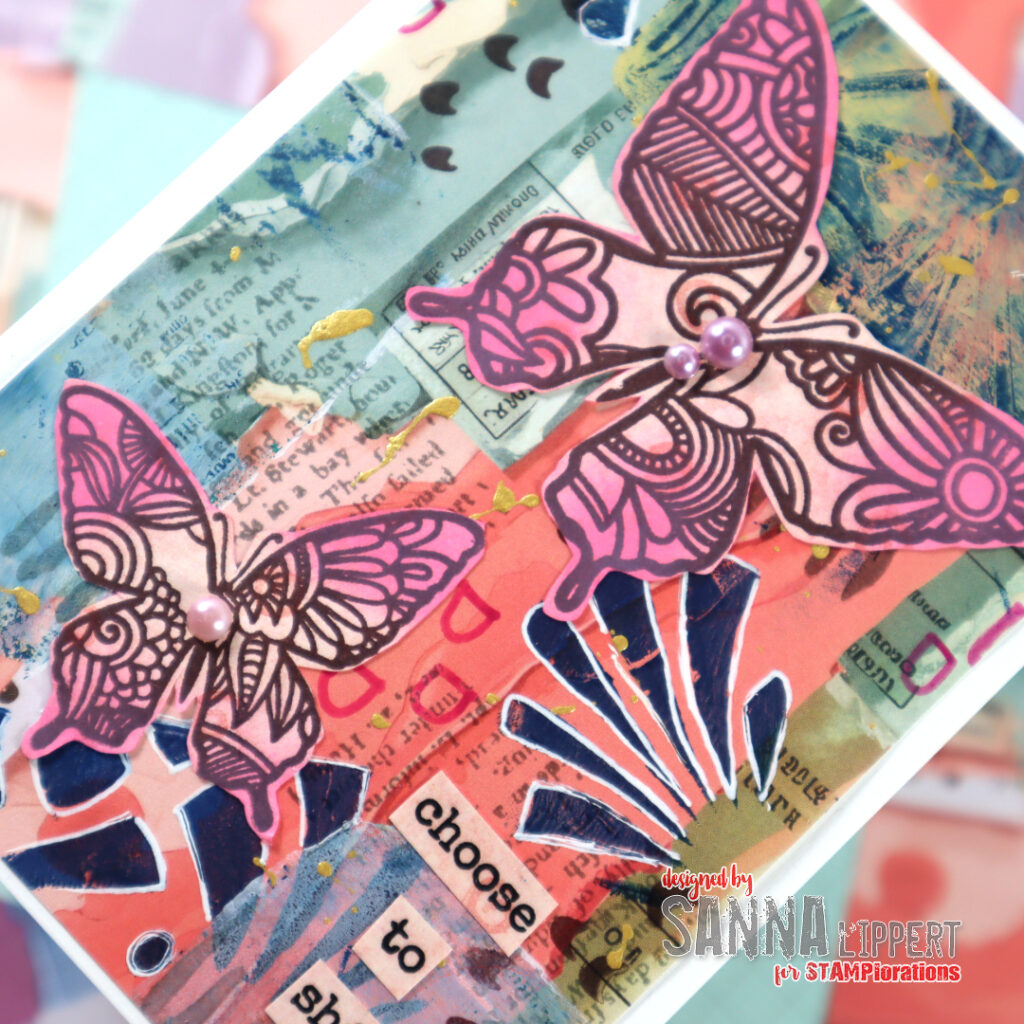
On top I added some stamped and fussy cut butterflies (Trendy Butterflies 2 stamp set). I stamped them on a pink patterned paper with brown ink and added some pink Distress Oxide Ink to the edges of their wings. For finishing touches I added some pink half pearls and a clear sticker sentiment from the New Day sticker set.

The collage papers come as a pack of 3 different designs, but you can also buy the collage papers in bundles, where you get more 3 different sets of designs in a bundle and for less money. Take a look at your options here.

And here is a short flip-thru video of the Ephemeral Edges collage paper pack:

Happy crafting,
xx, Sanna

Leaf and tree collage fodder cards with Brusho´s – Rubber Dance

Hello, today I am sharing a video and a set of cards. For these cards I´ve used the Xmas Trees 2, Sketchy Leaves 7 and Sketchy Leaves 5 stencils as well as Kartengrüße and Mix A Sentiment 2023 stamp sets.

I started with a watercolor paper and places the stencil onto it. Next I misted the leaf and tree areas of the stencils with a water spray bottle. After that I removed the stencils from the paper and dabbed some Brusho powders onto the wet areas. The color particles immediately start to spread on the wet areas and create interesting looking leaf patterns.

I let the water dry on it´s own and after all the areas were completely dry, I dabbed any residue powder off the paper and fussy cut the leaves. I mixed various colors together to create interesting looking images.

After finishing the Brusho collage fodder, I used the Mix A Sentiment 2023 stamp set to stamp a background pattern to white card bases. I used grey, brown and blue ink tones for stamping. Then I added some golden pigment droplets here and there and added the fodder leaf as a focal point. I finished the cards with a stamped sentiment in the same color like the text on the background.

Here is a video of the steps for you to watch:

I have been wanting to try this technique out fo a while and I must say,
it´s a lot of fun to watch the powders create depth and lightness to the leaves on their own. Not a single leaf turns out the same.

Happy crafting,
Sanna

STAMPlorations March “Anything Goes”-Challenge

Hello everyone! It´s again time for another STAMPlorations monthly challenge. March theme is “Anything Goes“.

I made a set of Artist Trading cards for this challenge. My bases are from the Watercolor ATC Ephemera pack. On top I added some clear stickers from the Newsprint Background Bits #1 set. On top of that layer I used the Art Marks 3 clear stamps with black stamp ink as well as Distress Oxide Inks in greens and red tones.

On top of those stamped images I added some stenciling with brown Distress Oxide Ink thru a STAMPlorations stencil. As a focal point I stamped some leaves (Art Marks 3 stamp set) with Distress Oxide Ink and fussy cut them. Adhered as a focal point to each ATC I then decorated them with some half pearls and a stamped sentiment from the Shine Bright stamp set.

Challenge start is March 6th and it runs until 31st of March.

As always, there are prices to be won, too:

a) a winner of $25 credit to the STAMPlorations store chosen from the entries that use STAMPlorations products

b) a winner of $10 credit to the STAMPlorations store randomly chosen from all entries (you don´t need to feature a STAMPloration product for this category, so everyone can join and win this and this way, maybe also start their own STAMPlorations collection of awesome goodies).

Here are the rules to play by:

– Anything goes, any type of project, any style
– use of STAMPlorations products not a requirement
link back to the particular challenge post (if blog entry) or tag @stamplorations if joining via IG
– multiple entries per crafter allowed
– pls. note: AI generated and free-off-the-internet images/designs are NOT allowed in projects
– be sure to read and understand the challenge rules listed on the STAMPlorations blog before linking up projects to avoid being disqualified and your entry from being removed

ps. as always, my DT Discount Code at the store is valid, so feel free to use it 🙂 !!!

That´s all for now! Be sure to check out the varios product categories in the STAMPlorations store. Also check out the blog – always good to know what is happening (hint, don´t miss any new offers, challenges and new product!!).

Hope to see you join in and play!!
xxx, Sanna
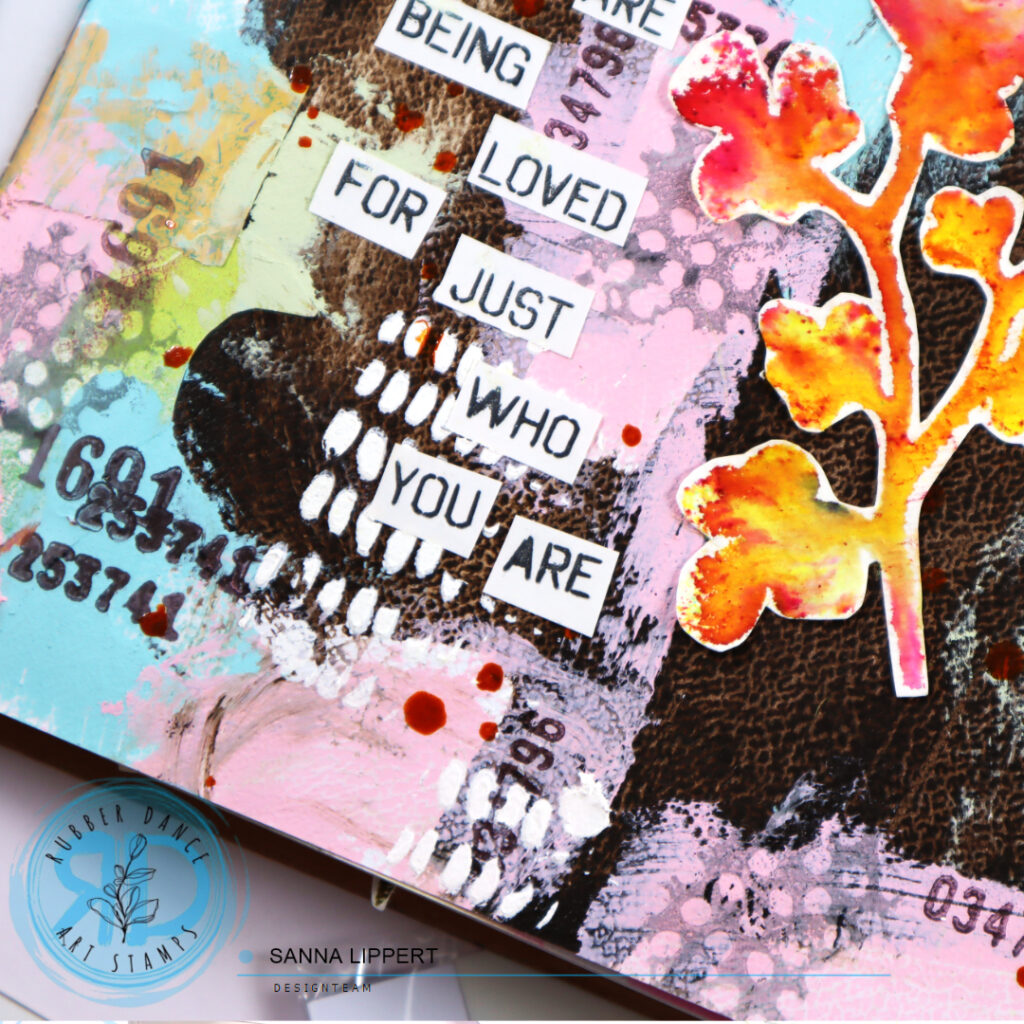
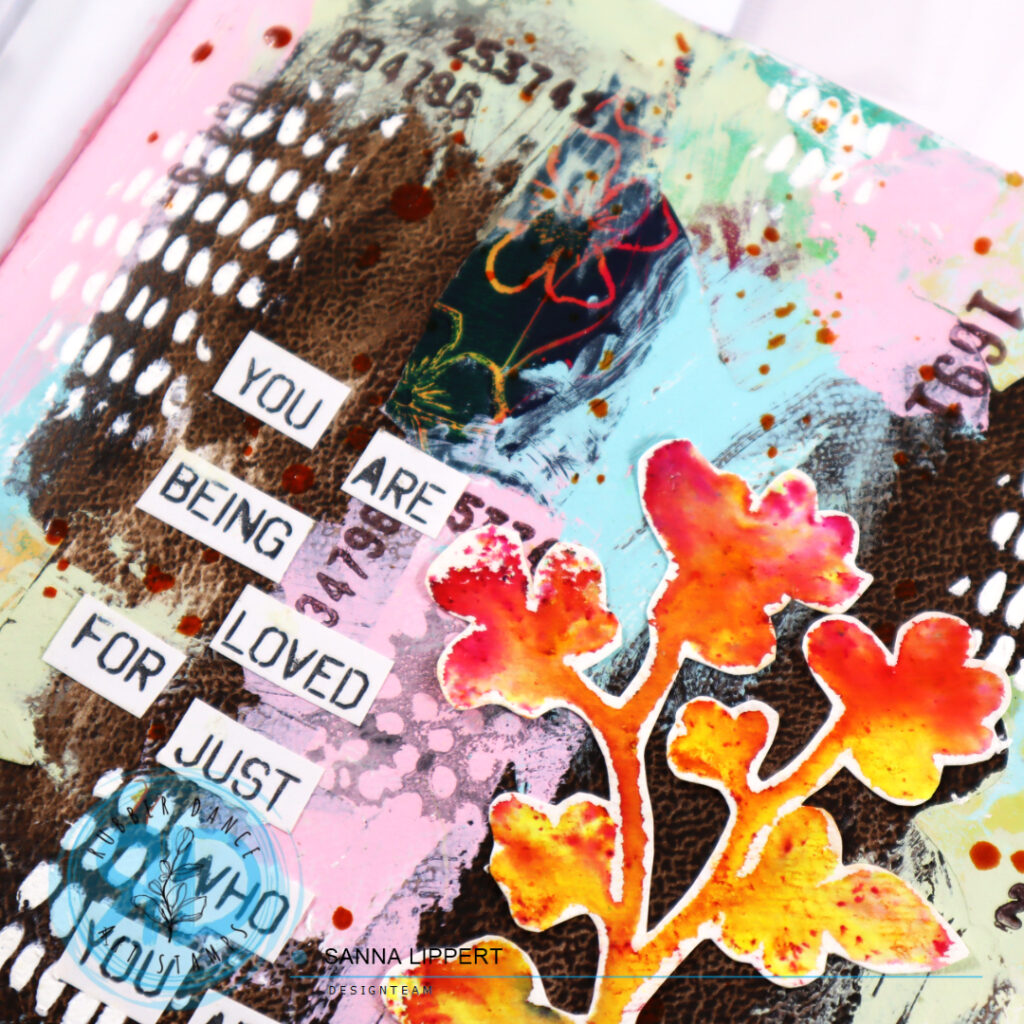
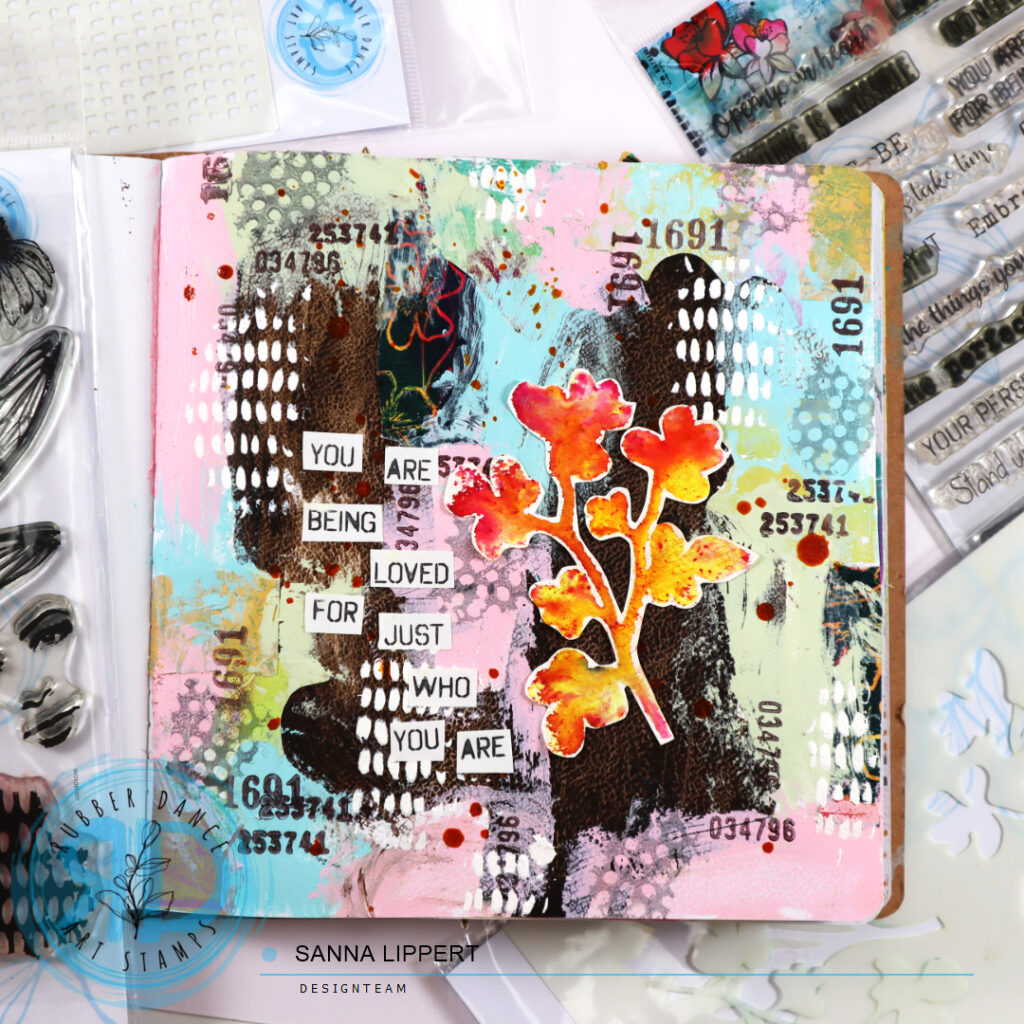
Layered art journal page – Rubber Dance

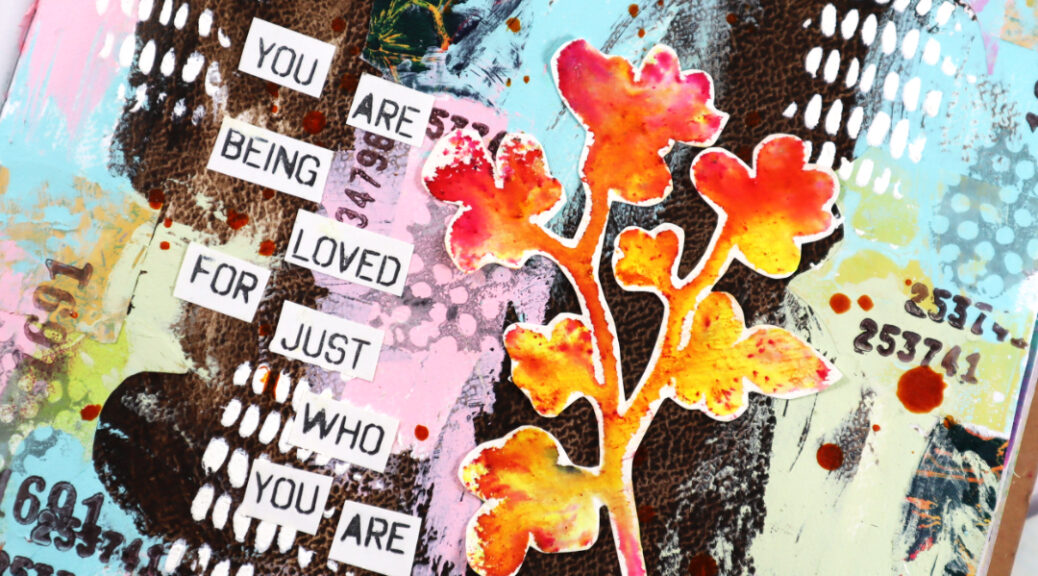
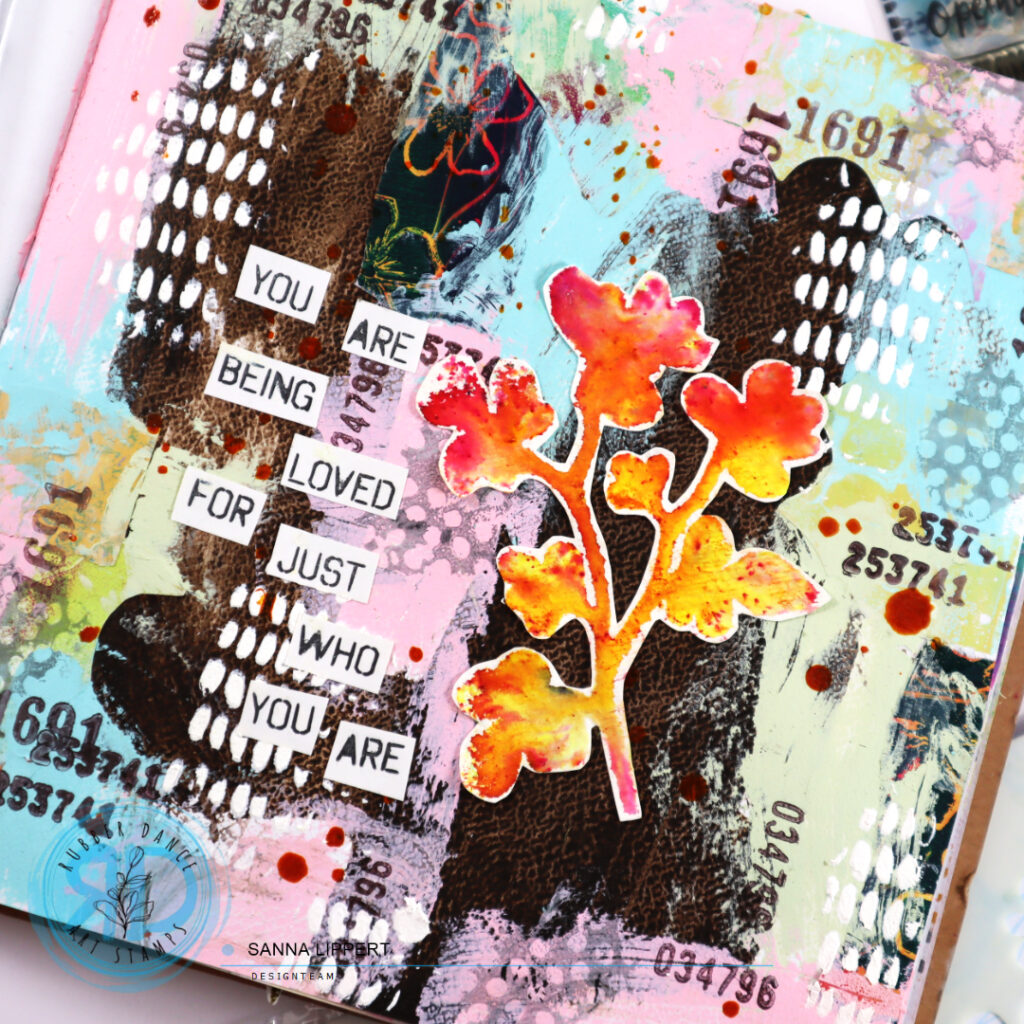
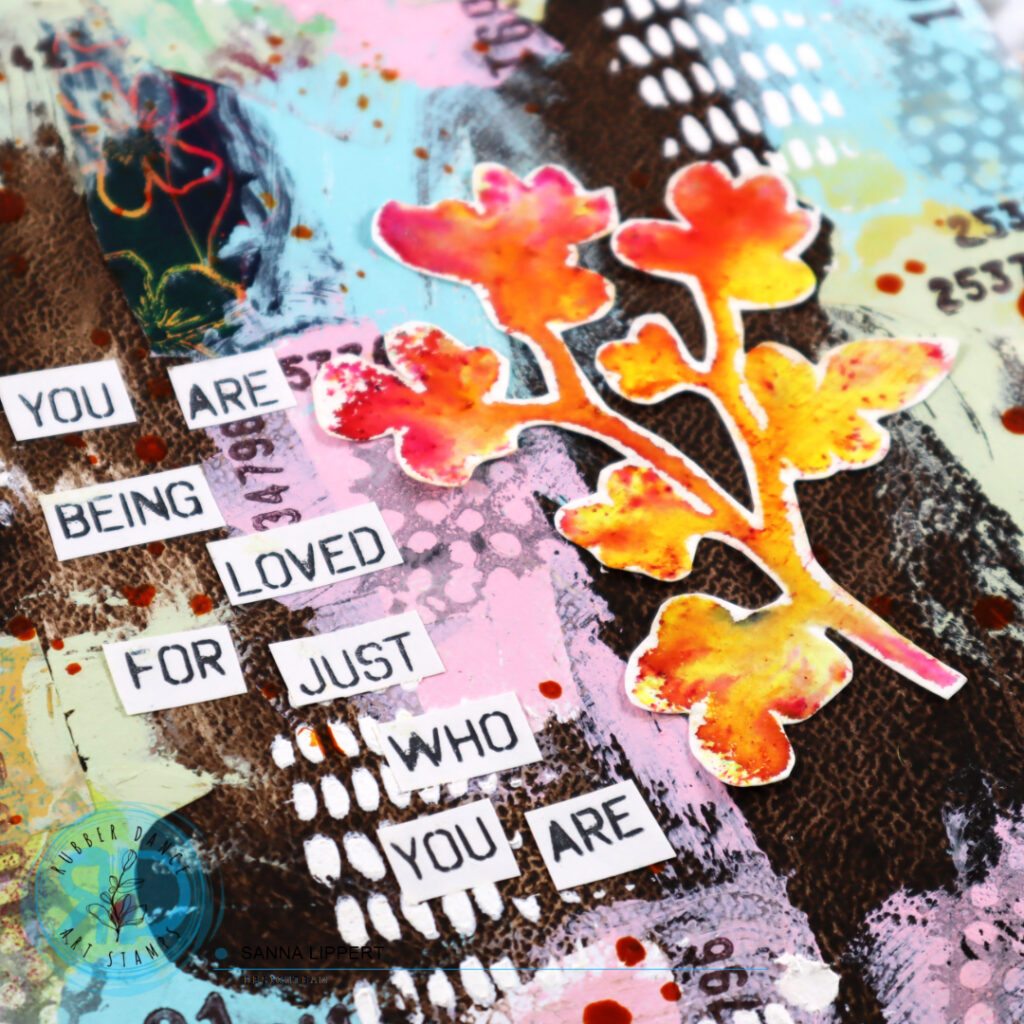
Hello, today I have an art journal page share for you. For this page I used the Doodle Flowers 2, Butterflies and Moths, Mix It Up 5, Mix It Up 7, Carved Collection 6, Stitching Borders and Mix It Up 4 stamp sets as well as Dotted 1 and Mini Textures 1 stencils.

I started by wiping residue ink from the Dotted 1 stencil onto the background and pressing another layer of residue brown ink from the Mini Textures 1 stencil around the first pattern. Next I grabbed some Neocolor II crayons and applied various yellow and light pink tones to the page. After that I grabbed a selection of pink, green, brown and turquoise Distress Oxide Inks and used the various stamps to add details and layers to the background.

I also painted some circles onto the page and filled those with golden pigment dots. Next I added contrast with a black stamp ink by adding stamped stars and numbers as well as stitching. I then clustered a few collage fodder pieces together (leaves and butterfly) and adhered those on place. I also had a few “diy vintage labels” left over, so I adhered a few onto the page. For finishing touches I added two sentiment stickers and created black areas with an acrylic marker and detailed those with a white gel pen.

This was a really fun one to make! Have you tried this idea of freely adding plenty of layers and seeing where the page takes you?
xxx, Sanna
Rubber Dance – gelli printed collage paper tags

Hello everyone, I´m here today with a set of gelli printed collage paper tags. I´ve used the Leaves #2, Ornament 1, Dotted 1 and Organic 4 stencils to make the gelli printed collage papers. For the stamping and fodder I used the Stitching Borders, Collage Leaves 3 and Doodle Flowers 2 stamp sets.

I started by using a Gelli Arts mini printing square plate for creating the stenciled images as well as the stenciled and transfer image ones. After creating plenty of collage paper squares, I chose the ones that worked the best together and adhered those to tags. On top I then added a some stamping with black ink and the Stitching Border set. On top I then added some collage fodder leaves (made with Doodle Flowers 2 set). For finishing touches I added some stamped sentiments from the Collage Leaves 3 stamp set.

For dimension and interest I also adhered a few wood veneer pieces from my stash and added some ribbon to the tags.

On how to make those gelli printed papers, there are plenty of videos available on the interned. I made a few here too. Hope you get inspired to try out making your own collage papers with Rubber Dance stencils and a gel plate. Have fun!
xx, Sanna
Cards with bold backgrounds – Rubber Dance

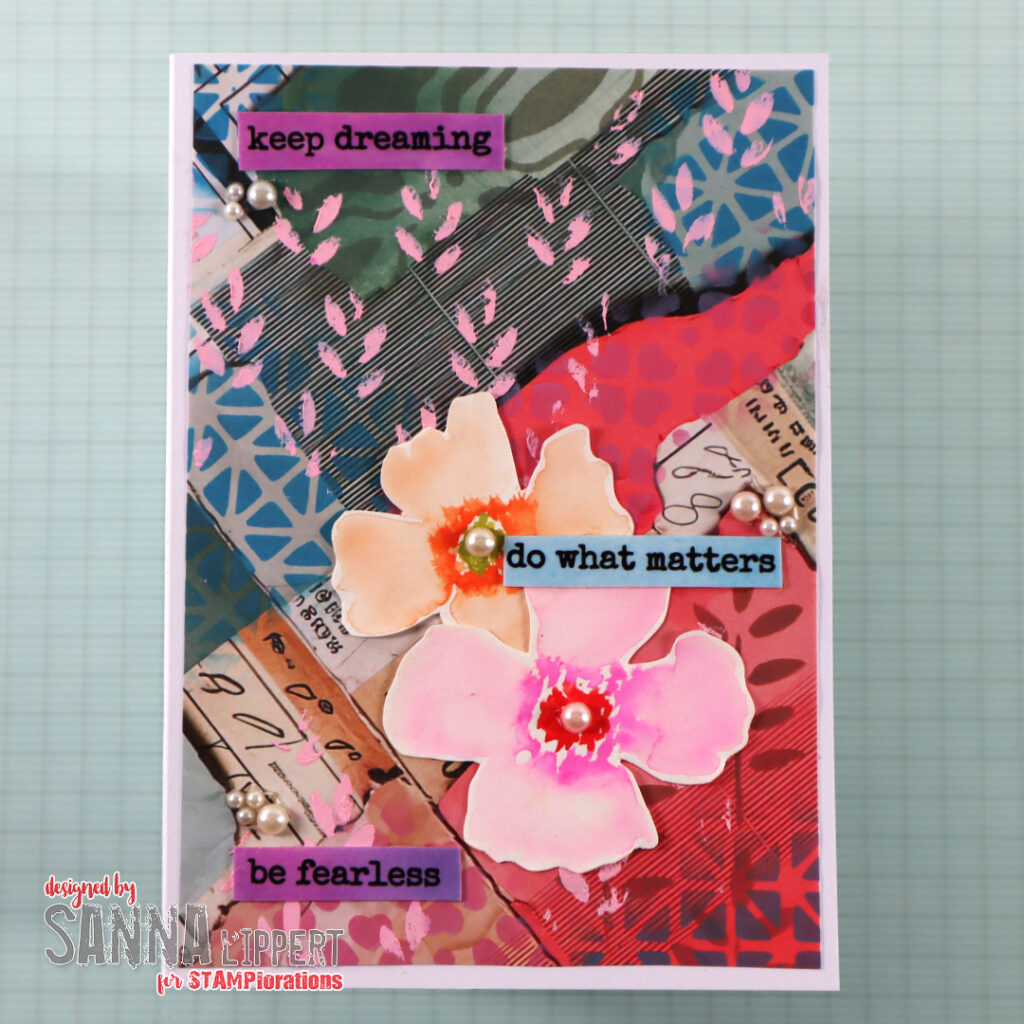
Hello, today I have a card set share up that feature very bold backgrounds. They don´t need much on top as they really stand out on their own. For these cards I used the Loose Florals 2024 and the Doodle Flowers 2 stamp sets as well as the Kartengrüße set for stamped sentiments.

The background papers are from a gelli printing session where I made my own collage papers using strong colors and the Loose Florals 2024 stamp set. For this set I wripped the paper on one side to create an irregular border and adhered the paper onto a card base. On top I added something light – a lightly inked collage fodder flower in pink. To go with it, I added a few enamel hearts and a stamped sentiment along the cards edge.

On the second set I have a even more distressed look going on on the background. Thus I left the backgorunds full and didn´t wrip the paper. I love the peeled paint look of the paper. It makes it seem like vintage wallpaper in layers. For these cards I again used the same principle. A bold background paper paired with a single flower as a focal point.

Here I added some faux stitching around the edges with a white gel pen. Some glitter glue for detail onto the flowers and a stamped sentiment on a residue piece that has the same tone like some areas on the background piece.

And all these cards are flat and thus very easy to put into mail. Who else loves creating collage papers with stamps and a gelli plate?
xx, Sanna
Working with residue papers – Rubber Dance

Hello, today I´m sharing a card idea that started off from a piece of “waste” paper. I used the Doodle Flowers 2 and the Stitching Borders stamp sets with the Ornament 1 stencil to create this card.
I´ve also “hidden” some light stamping with Distress Oxide Inks and Mix It Up 7 and Mix It Up 5 stamp sets onto the background. This card started with a “waste paper” I brayered gelli printing residue ink onto. I also cleaned my used stencil with a baby wipe thru the Ornament 1 stencil onto this piece of paper. That way the beginning for this backgroud had started by accident in a way.

After cleaning my table I noticed how nice the paper looked like and decided to use it as a card background. I then went and used the Mix It Up 5 stamp set iwth various light Distress Oxide Ink colours to add details to the white areas. After that I grabbed some collage fodder flowers from my stash, added one to the card as a focal point and stamped the sentiment with Kartengrüße stamp set. For finishing touches I added the faux stitching with black ink and some glitter glue to the flower for detail.

I love to use this type of papers as a starting point and give them a new life as a card background, for example. I think this one turned out pretty nice. Have you tried this idea?
xx, Sanna