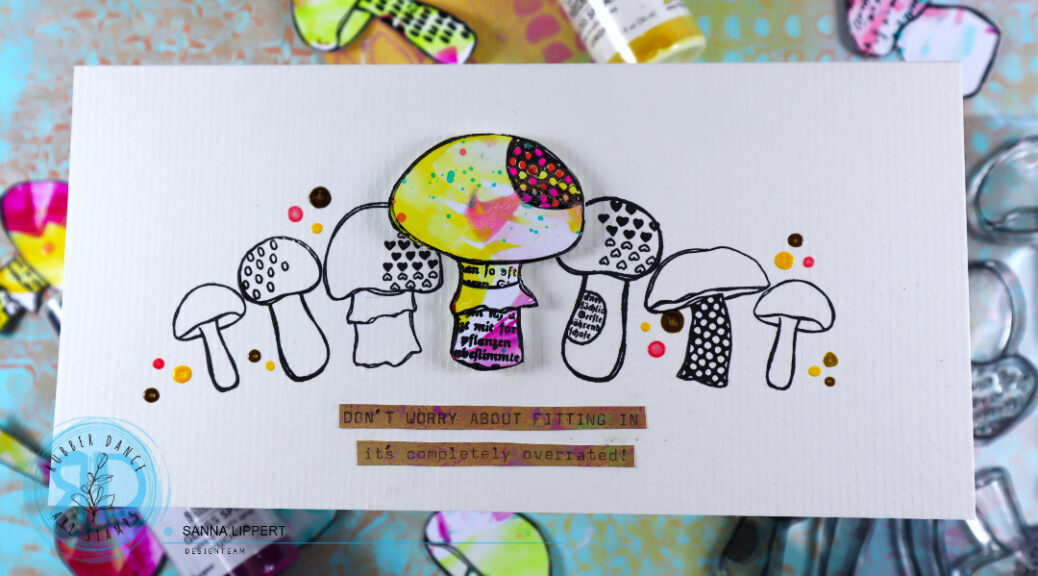
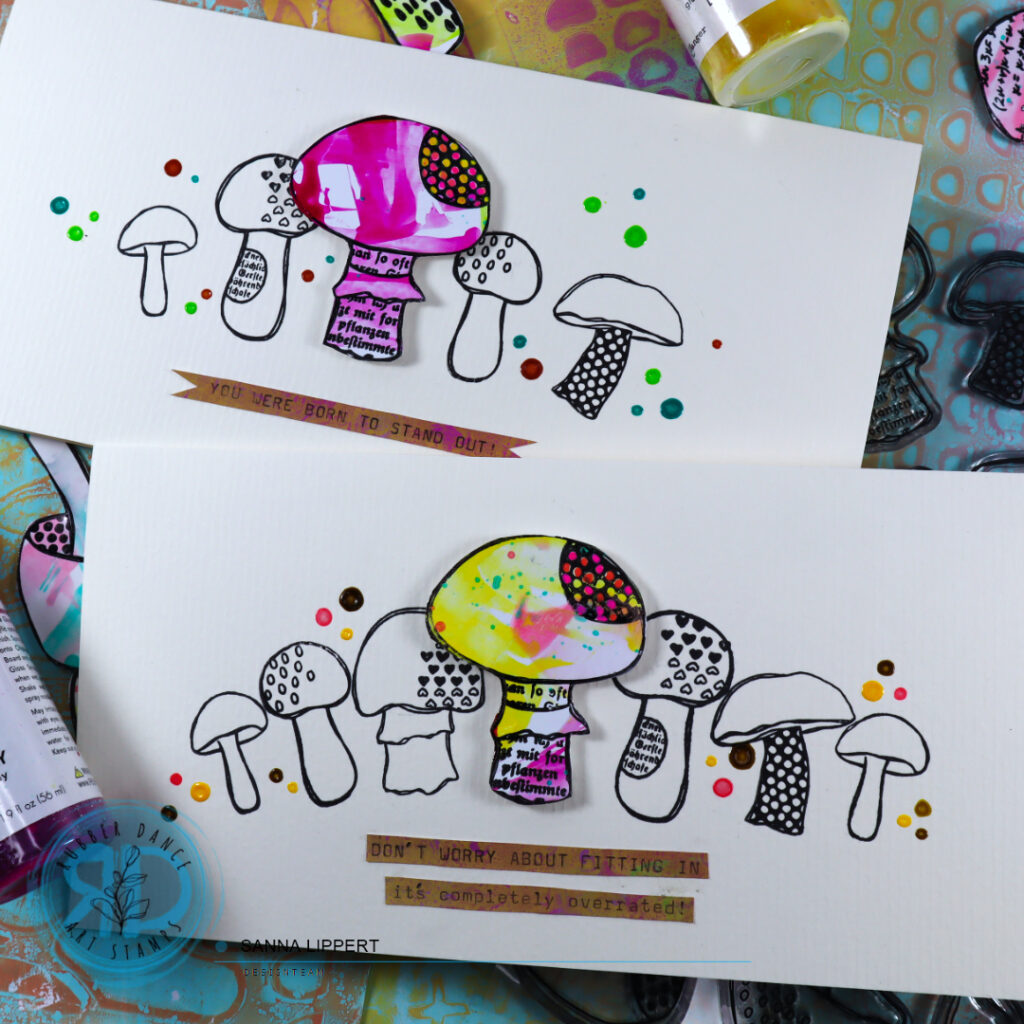
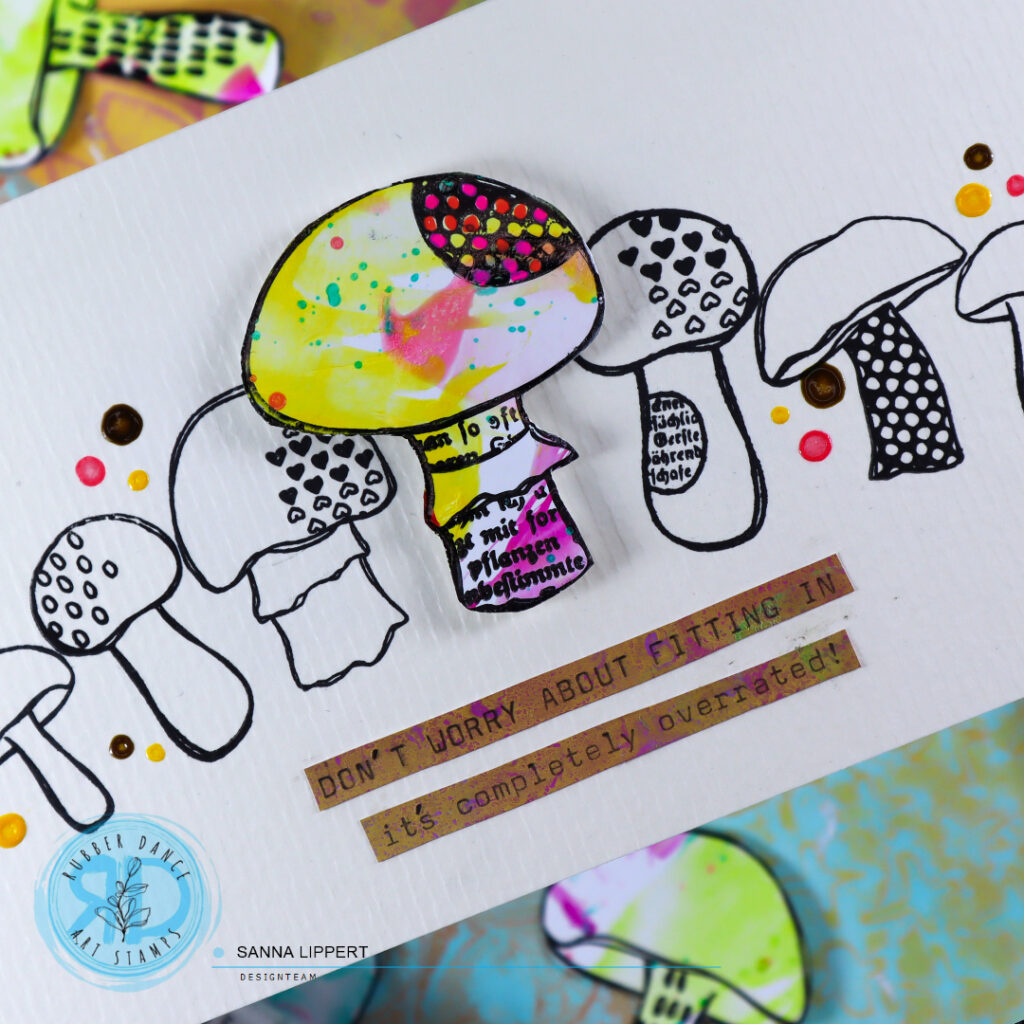
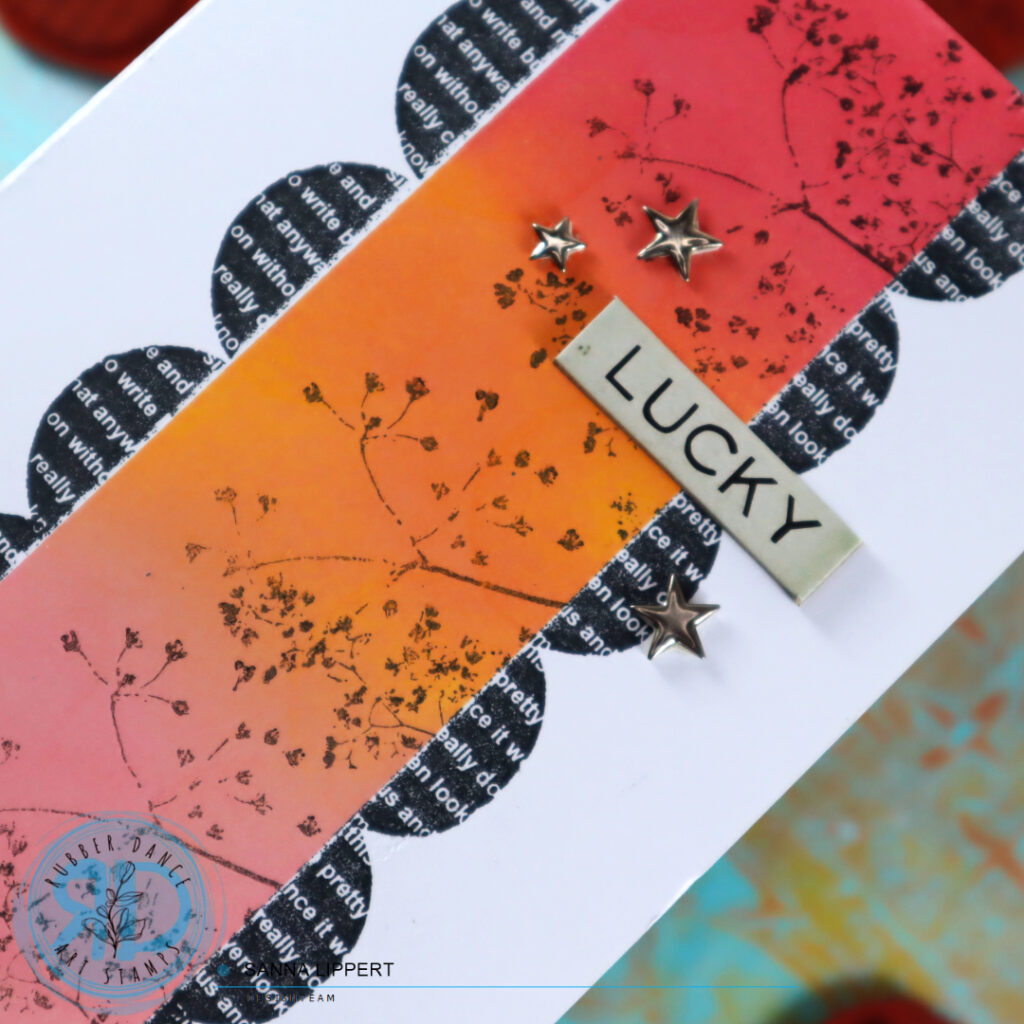
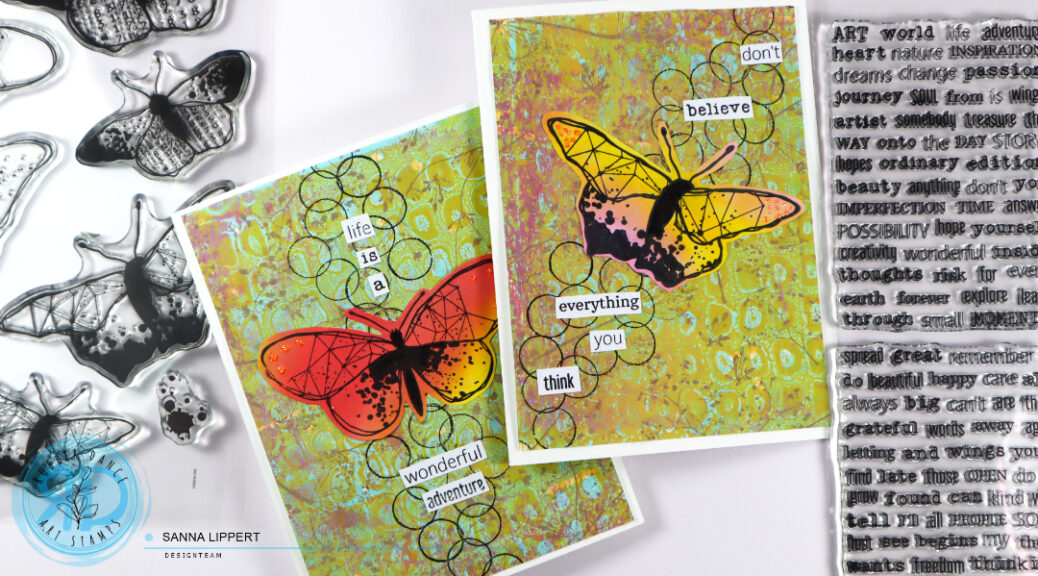
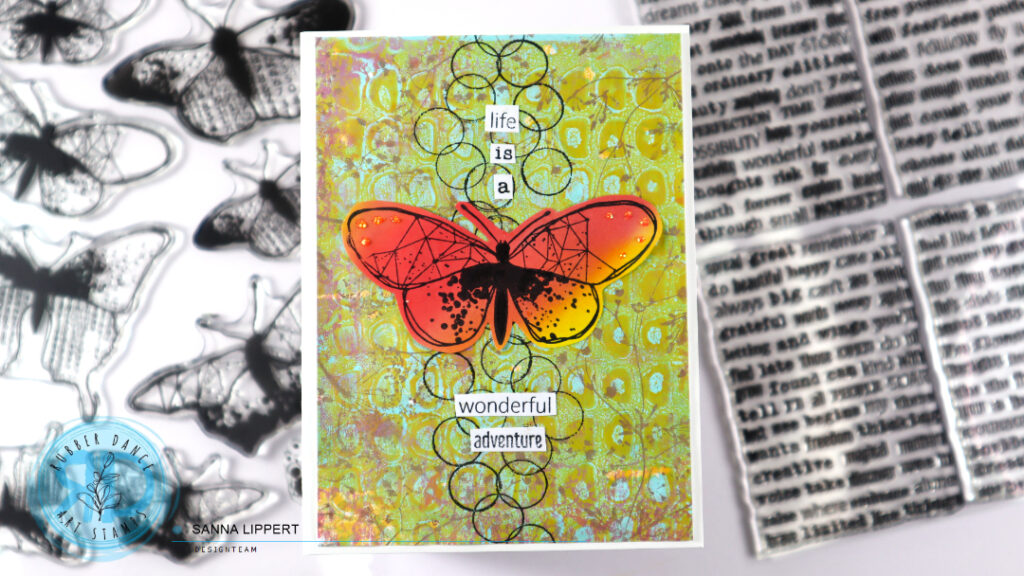
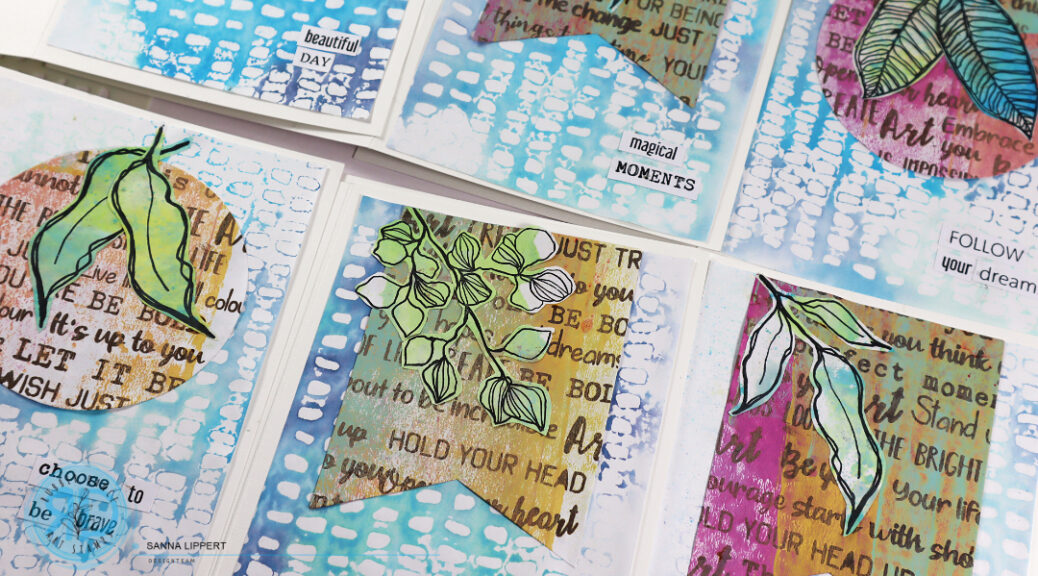
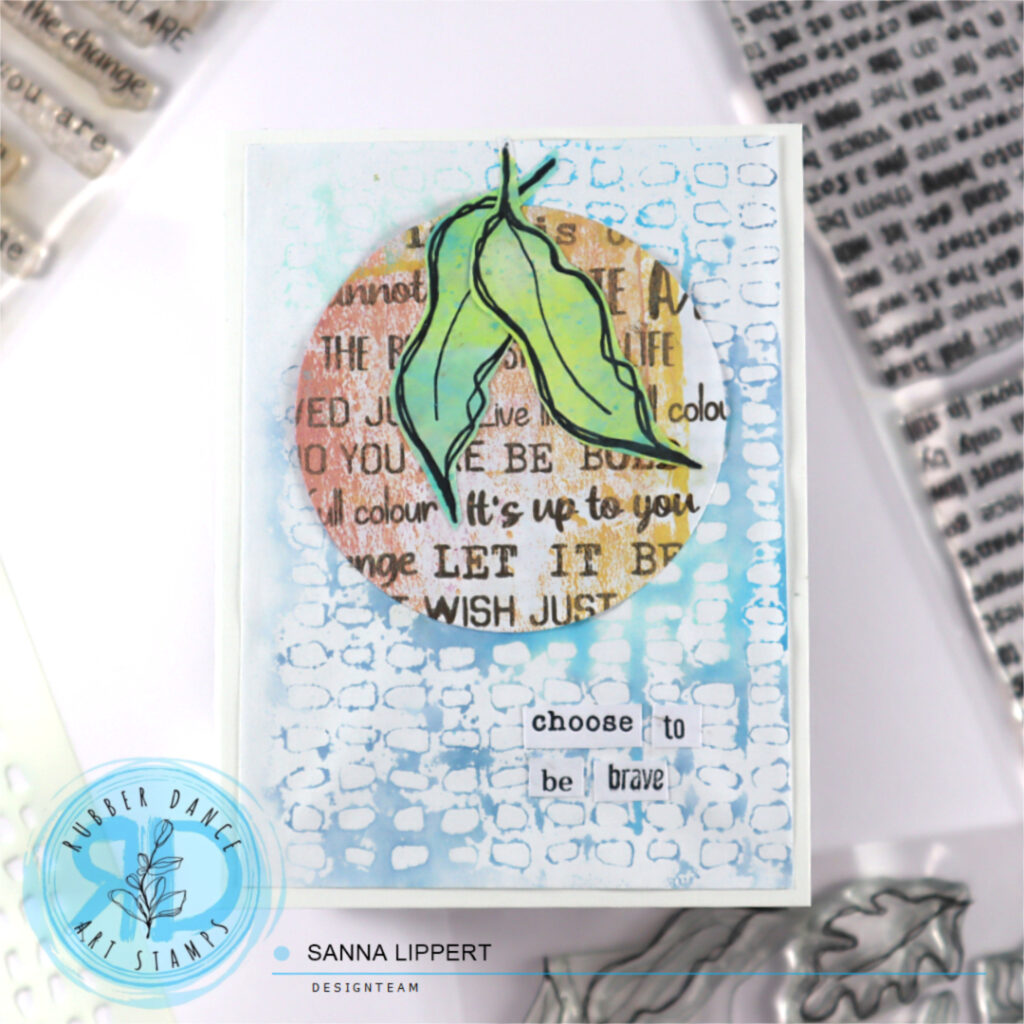
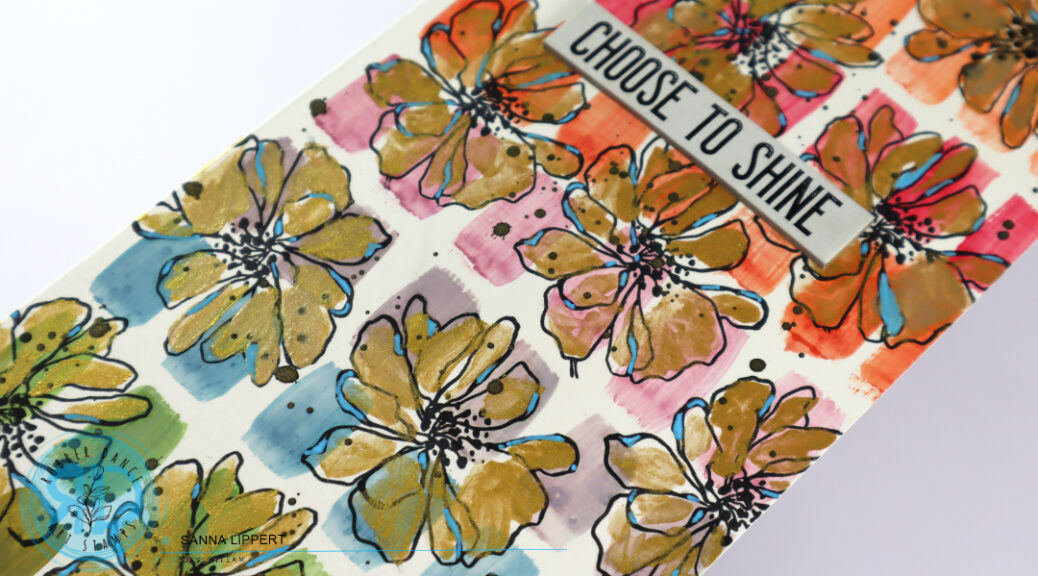
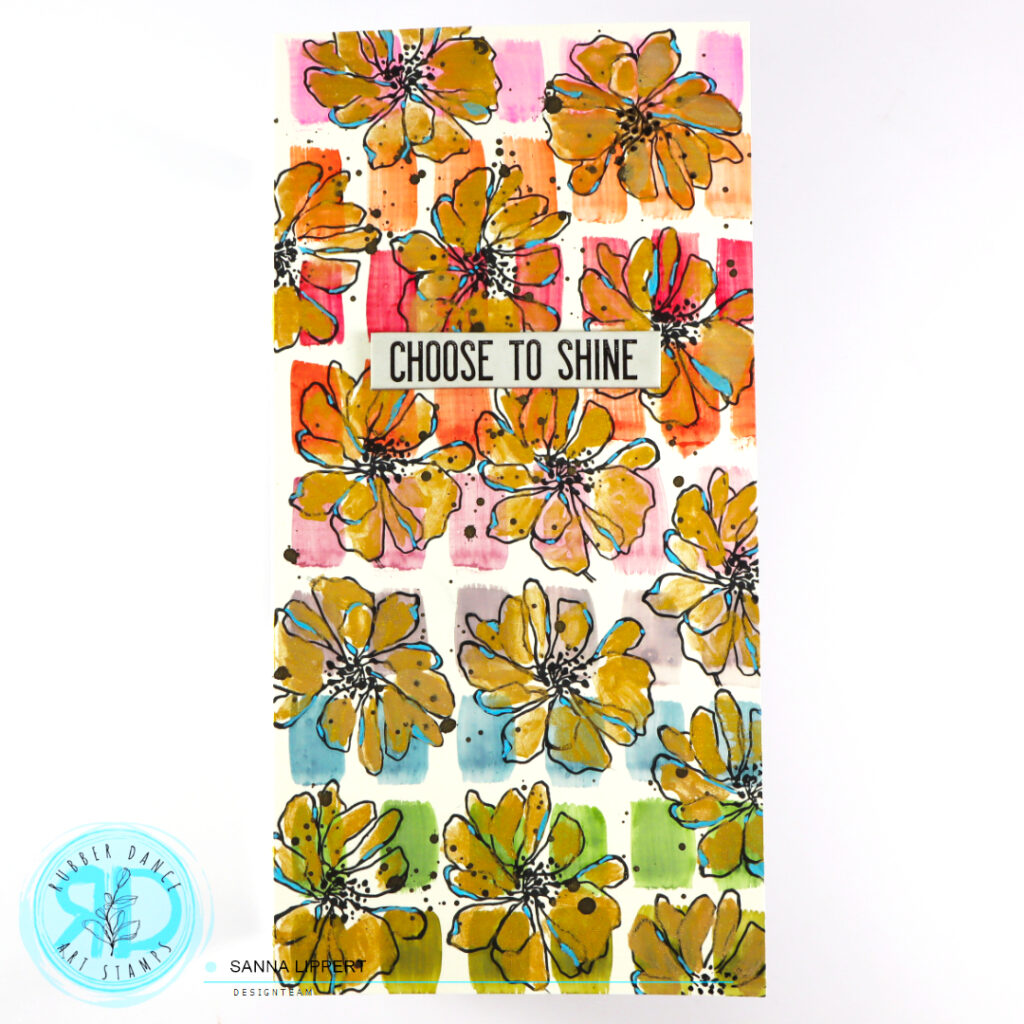
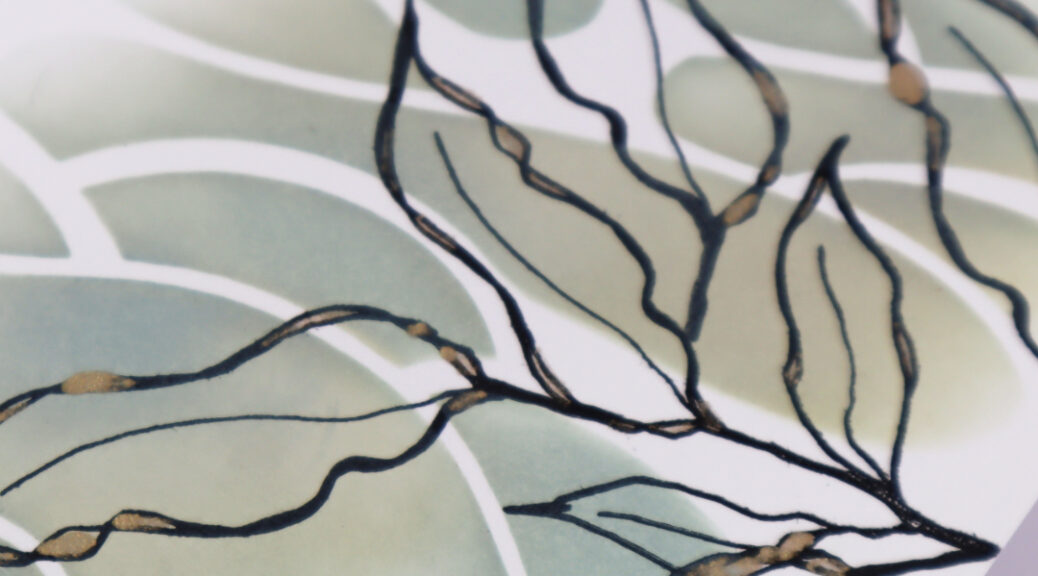
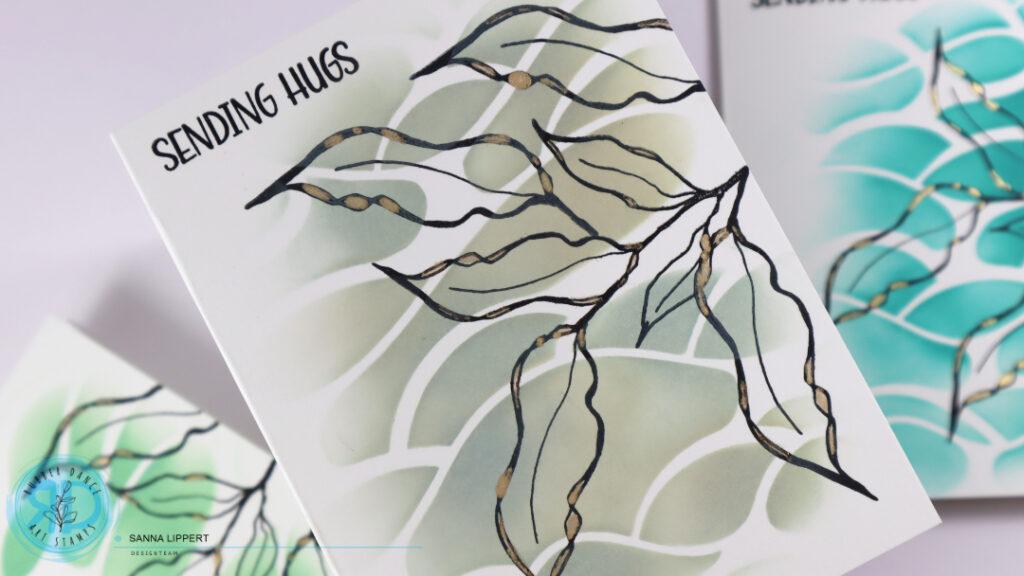
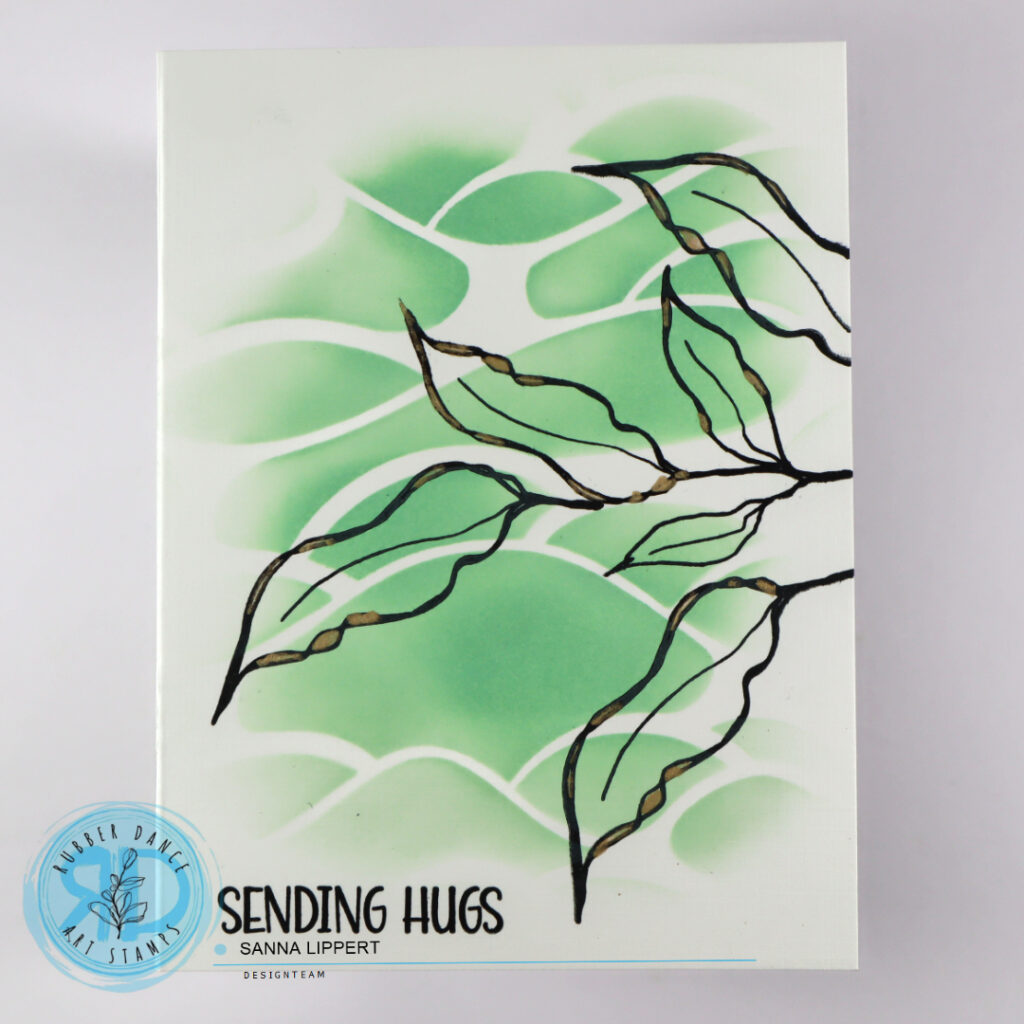
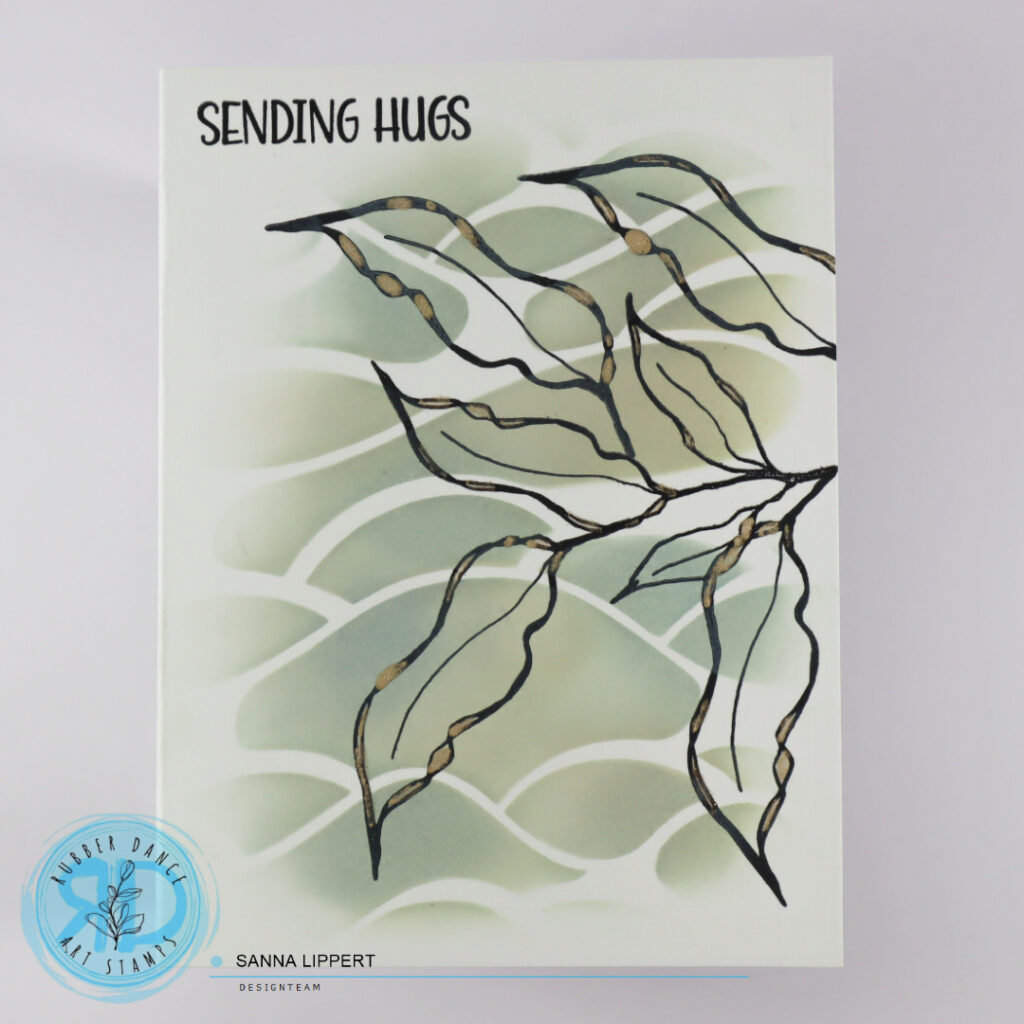
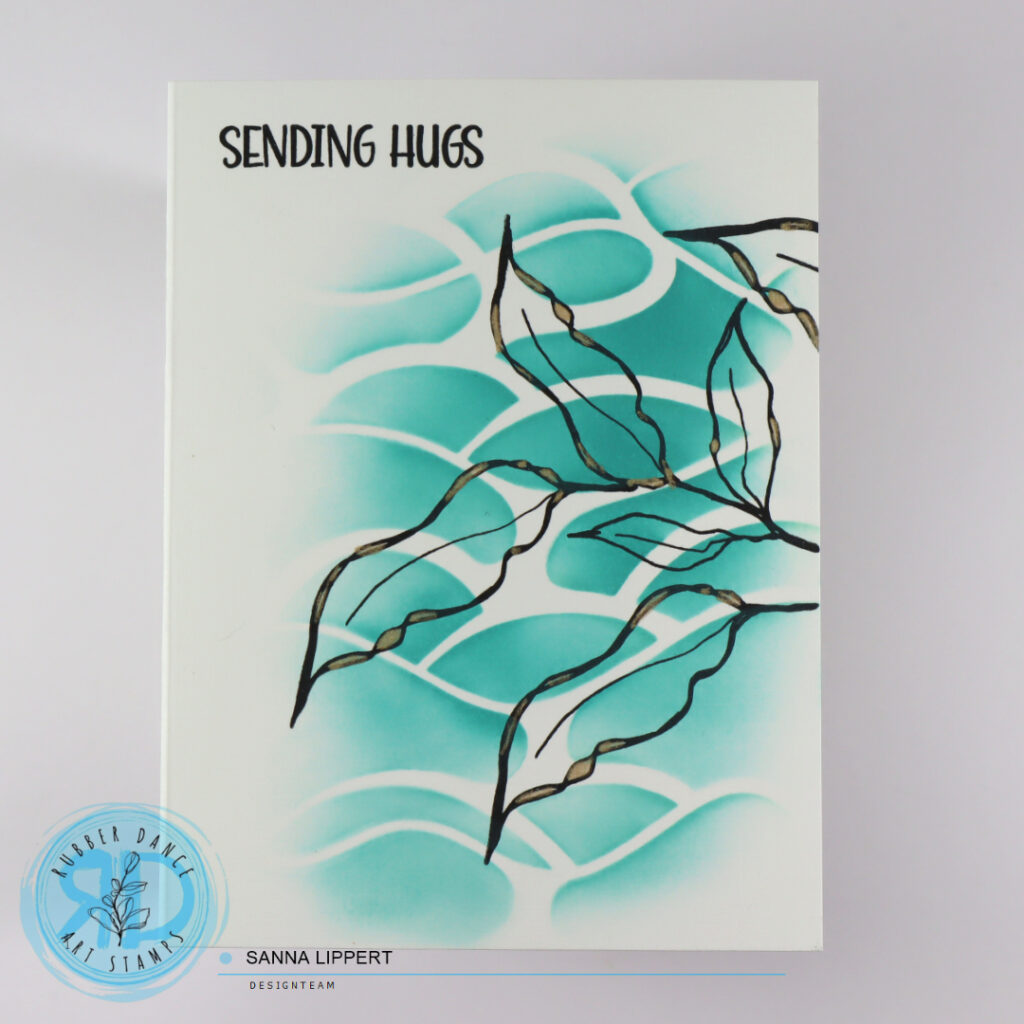
Hello everyone, it´s again my turn to share a project over at the Rubber Dance blog today and I am up with a stenciled Christmas card idea share this time. For this card I used the Xmas Trees 1 stencil and the Mix It Up 5 stamp set with some Distress Oxide ink. I also added some recycled material a a focal point for this card.

Here is how I created this card:


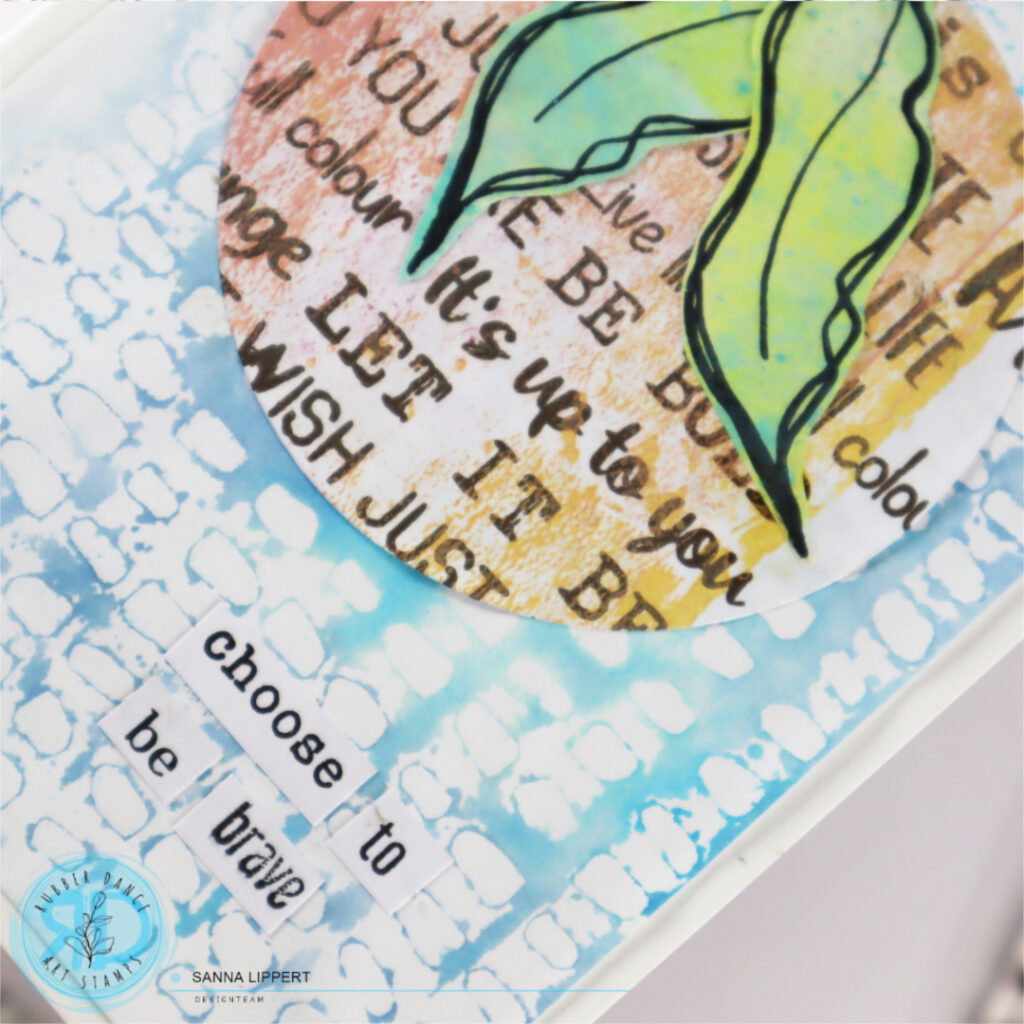
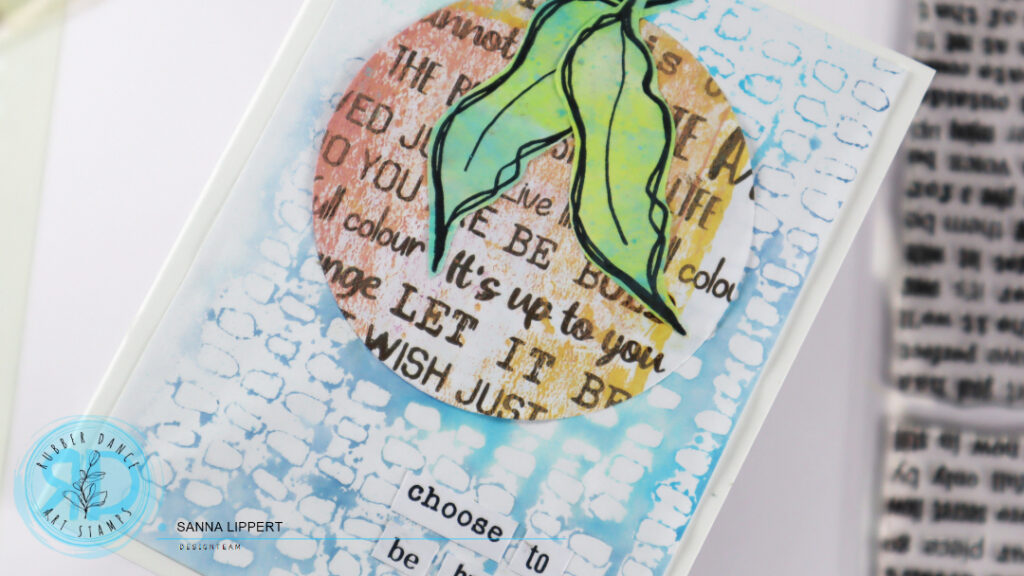
First I took an old map page and placed the Xmas Trees 1 stencil on it. Then I outlined the tree images with a waterproof black pencil onto the map page. Next I took a premade card base and applied some “speckled egg” Distress Oxide Ink onto a stamping block, misted that with water and pressed the ink very randomly onto the card base.


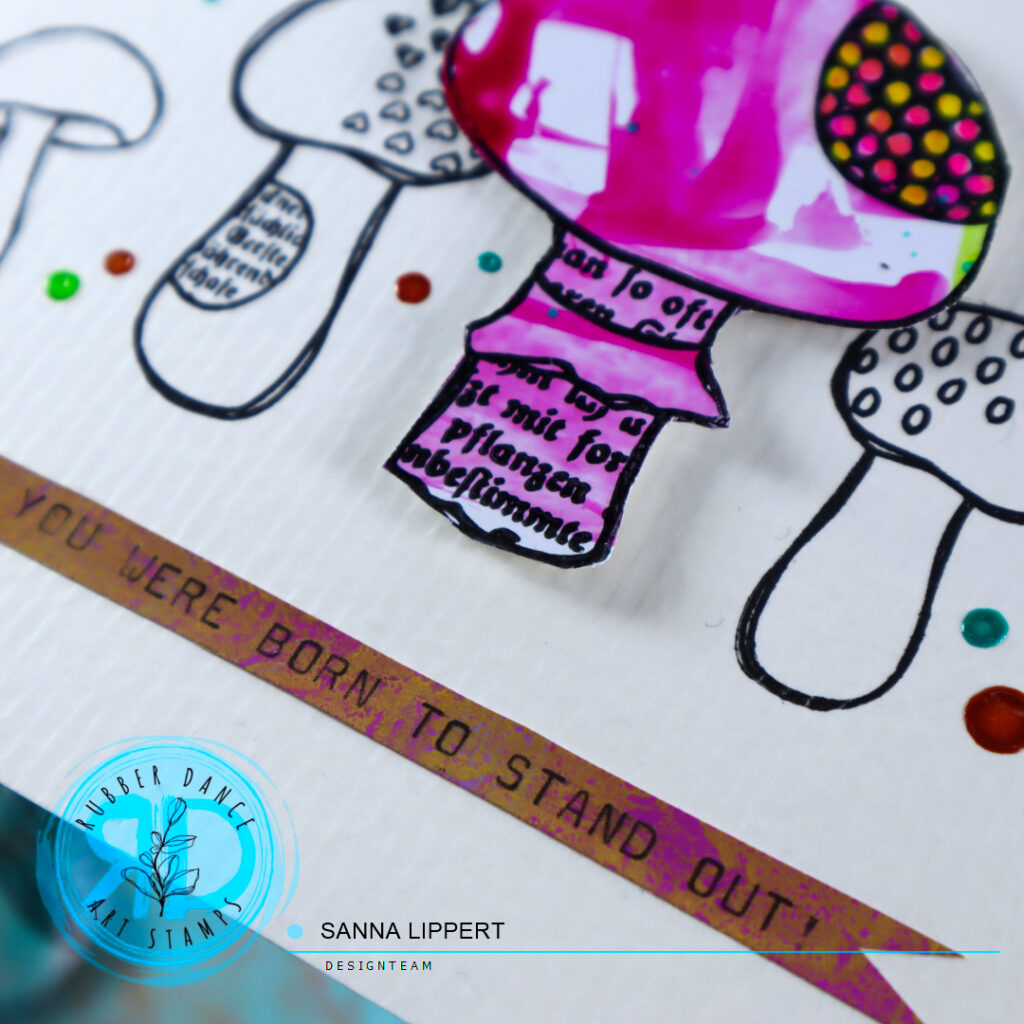
After that I took the Mix It Up 5 stamp set and stamped random text images with the same stamp ink onto the background. After that I fussy cut the “map trees” and adhered them slightly overlappingly onto the card base.


For finishing touches I added a stamped sentiment with “walnut stain” Distress Oxide ink and a sentiment from the Textured Xmas Trees 2 stamp set. I really like how the card turned out with the “map trees” as a focal point.

I hope this stenciling idea inspires you to create fun, stenciled Christmas cards yourself too!
Have fun creating!!
Sanna
Supplies: