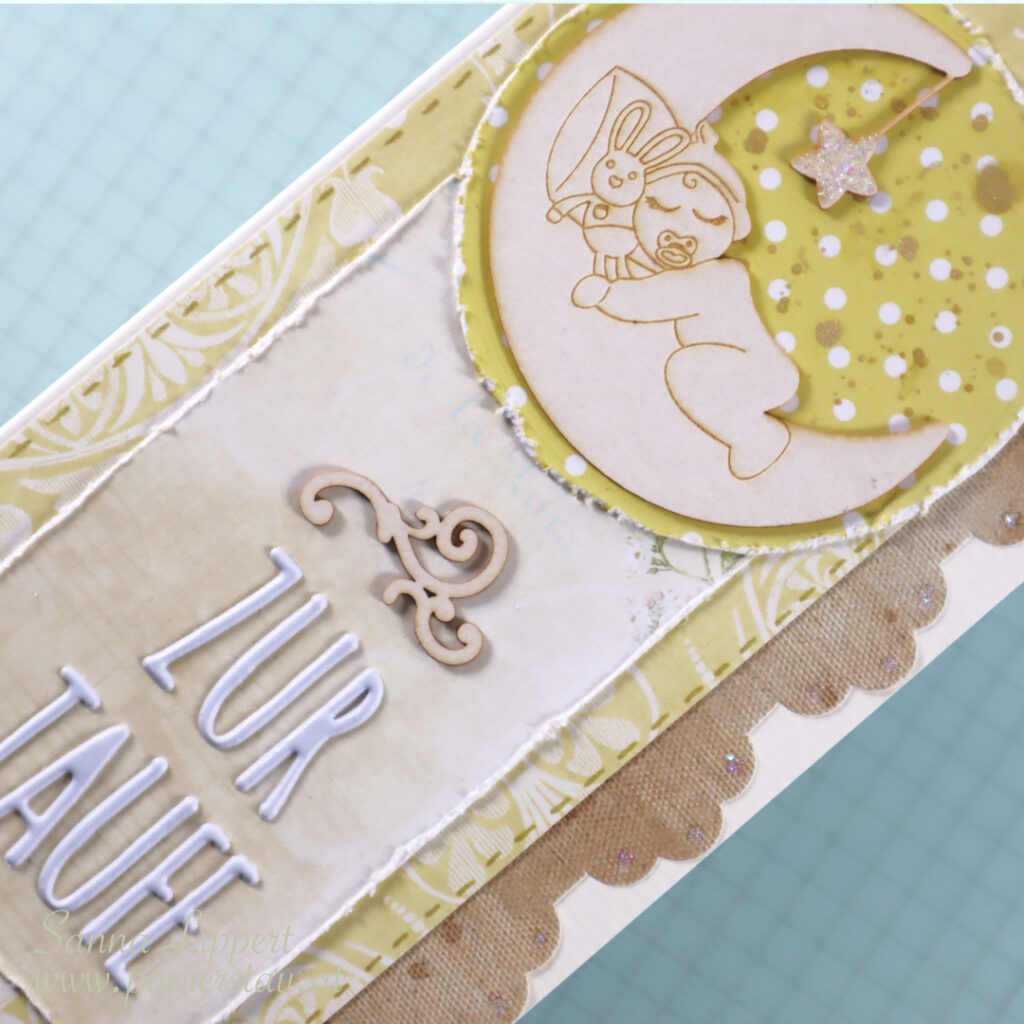
Hello everyone and happy March! I have a card share up with a slimline sized Christening card today.
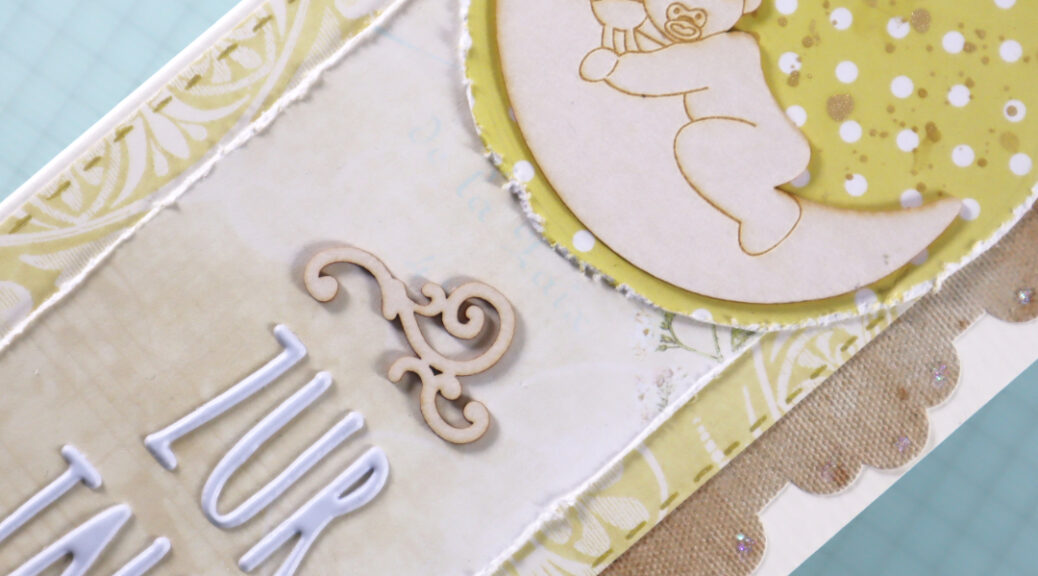
I´ve used various papers in yellow and beige tones from my paper stash. The card is for a baby girl, but it´s not supposed to be pink, thus the light yellow and beige tones.
The chipboard pieces are by Wycinanka and the alpha stickers are American Crafts. I´ve added some golden gel pen faux stitching around the edges and some Gansai Tambi golden pigment droplets to the focal point circle and some Stickles for the chipboard star to add a little twinkle. On the inside there is a little pocket for a gift card etc.
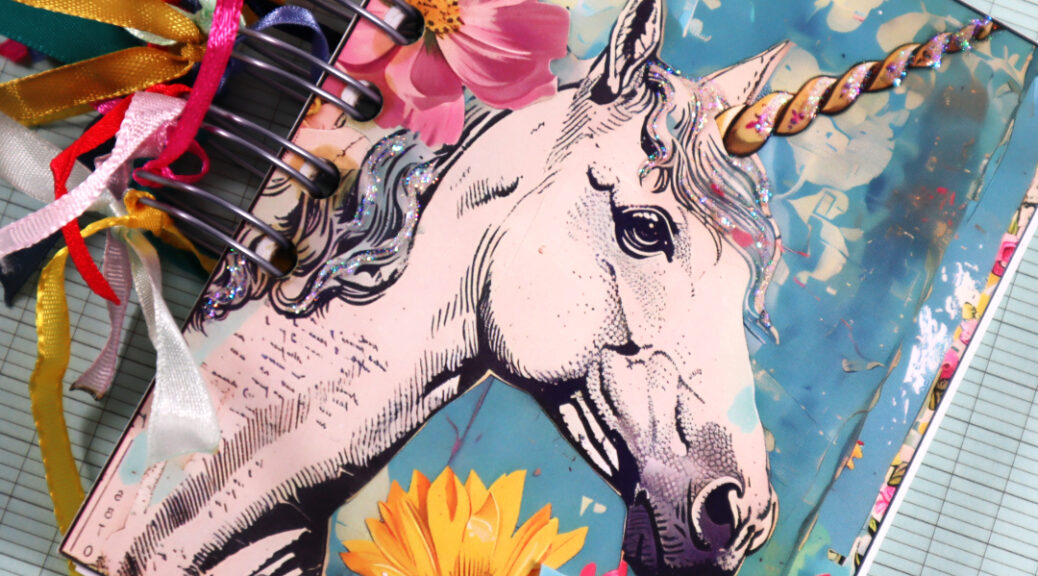
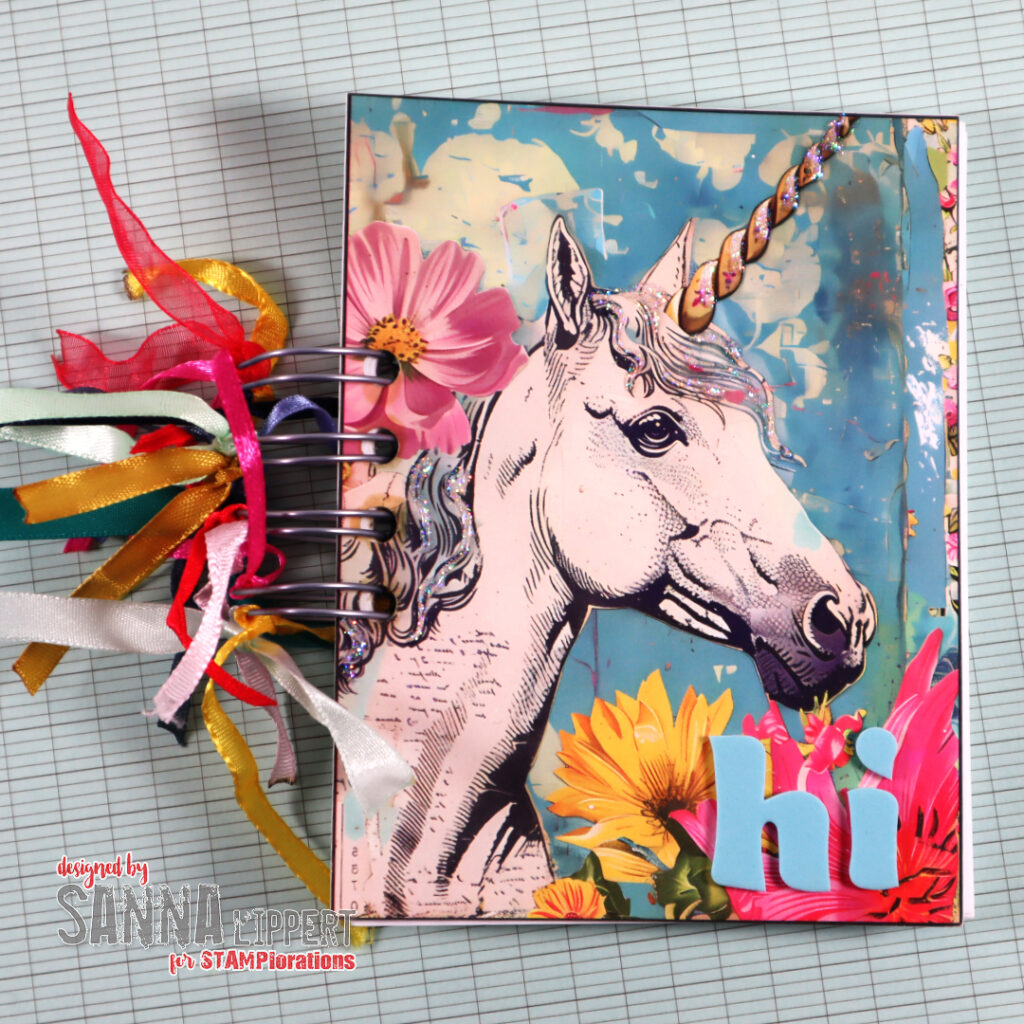
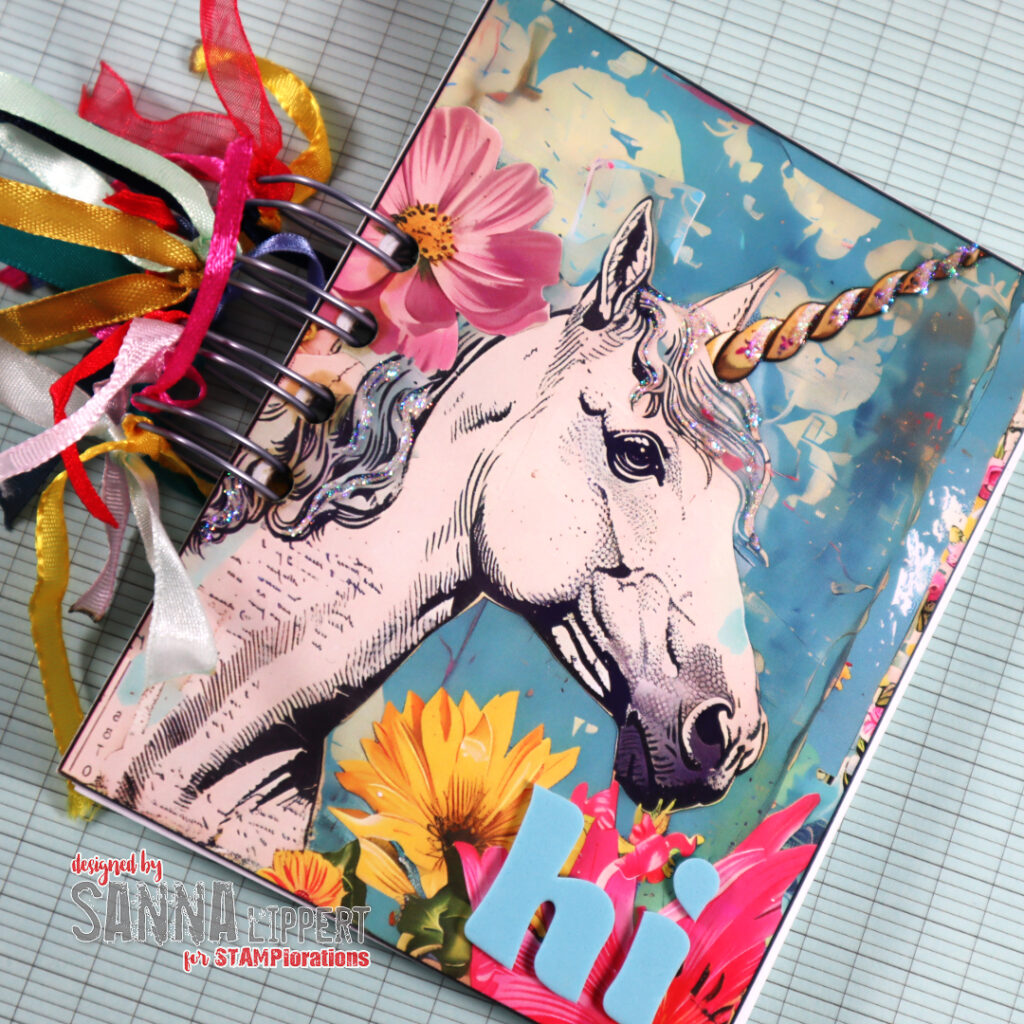
The first one is a quick and easy to make minibook. Binded with a Cinch and the cover is from the unicorn paper pack. They are thick cardstock, so they work great as book covers too. I´ve added some Stickles for sparkle and foam alphas for a fun sentiment. The binding is decorated with colorful ribbons to add a fun detail to the minibook.
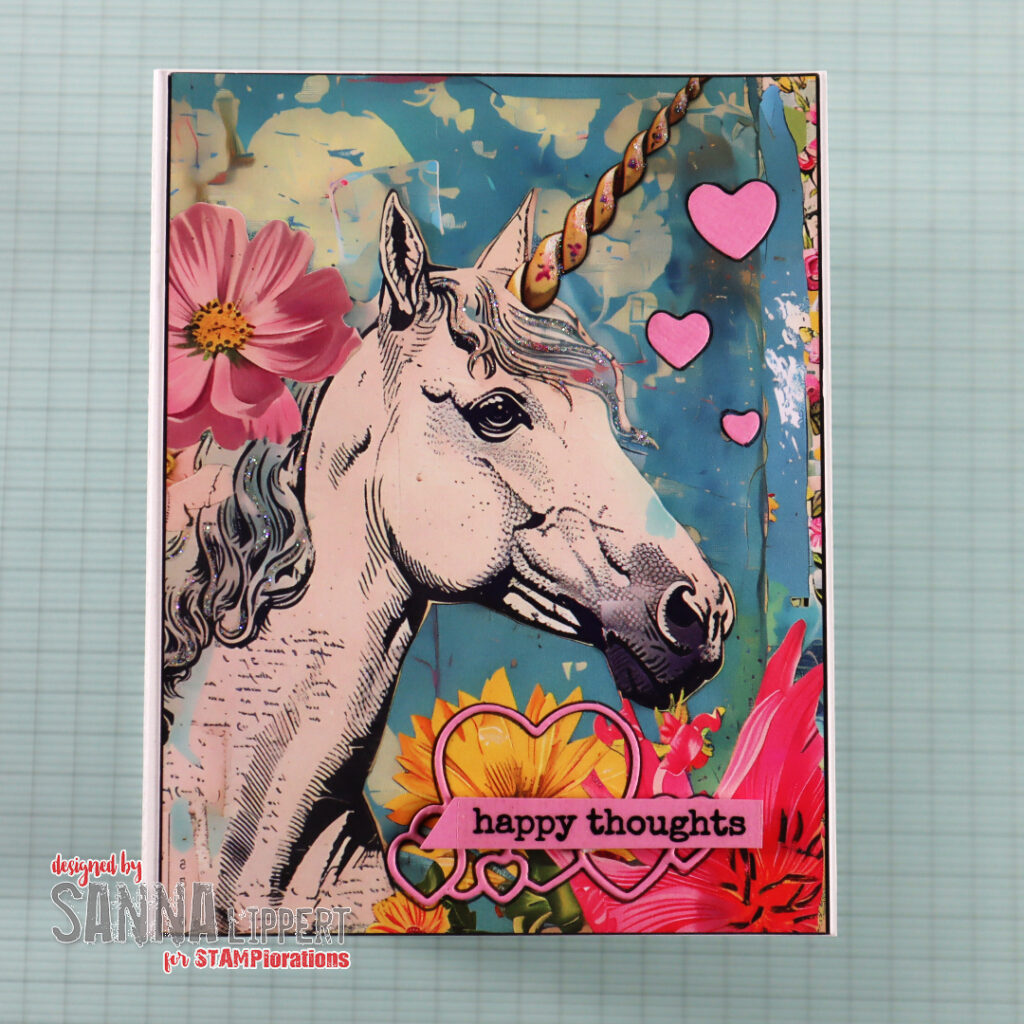
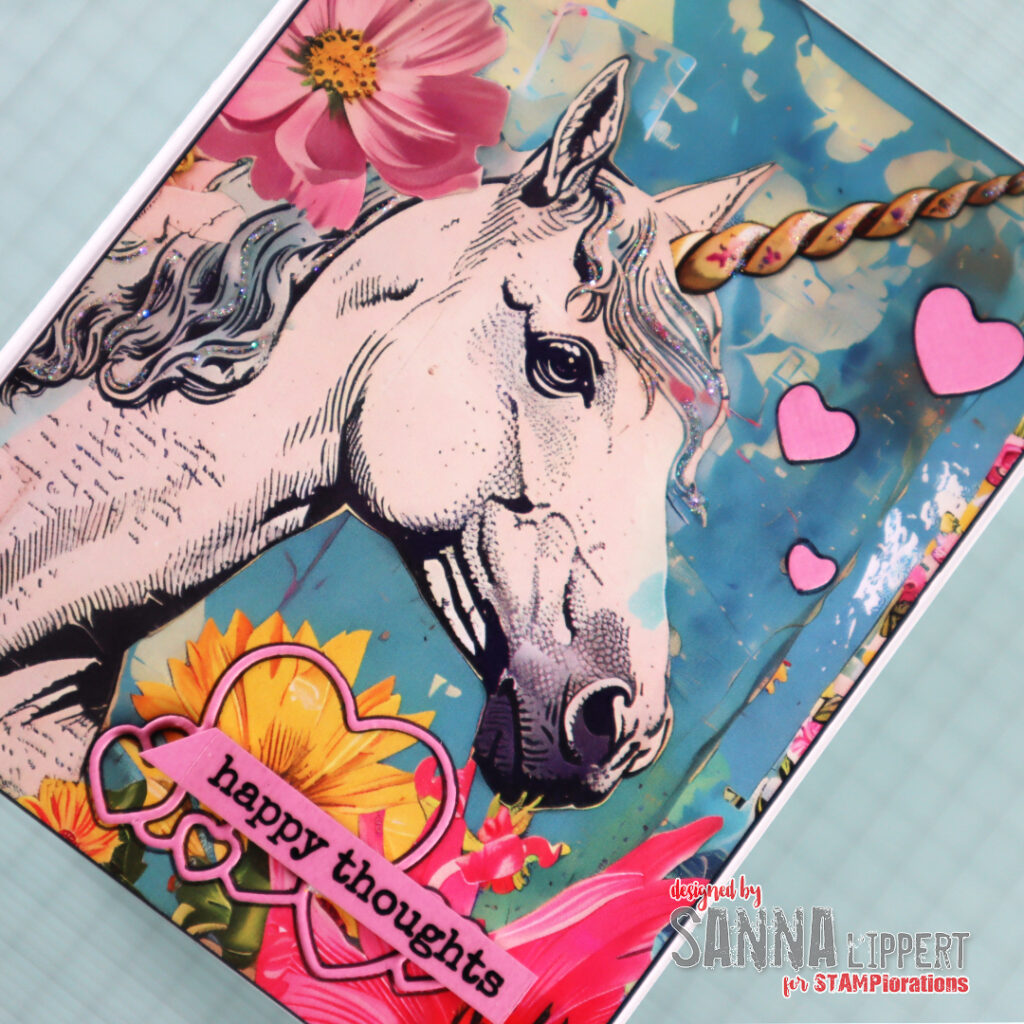
For the above card I´ve used the “Clustered Hearts” die cut die. I´ve saved the smaller hearts and adhered those to the right upper corner of the card. The sentiments is from a clear sticker set called “Shine Bright”. I outlined the hearts to lift them from the background. Also the unicorn has some Stickle details here and there for sparkle.
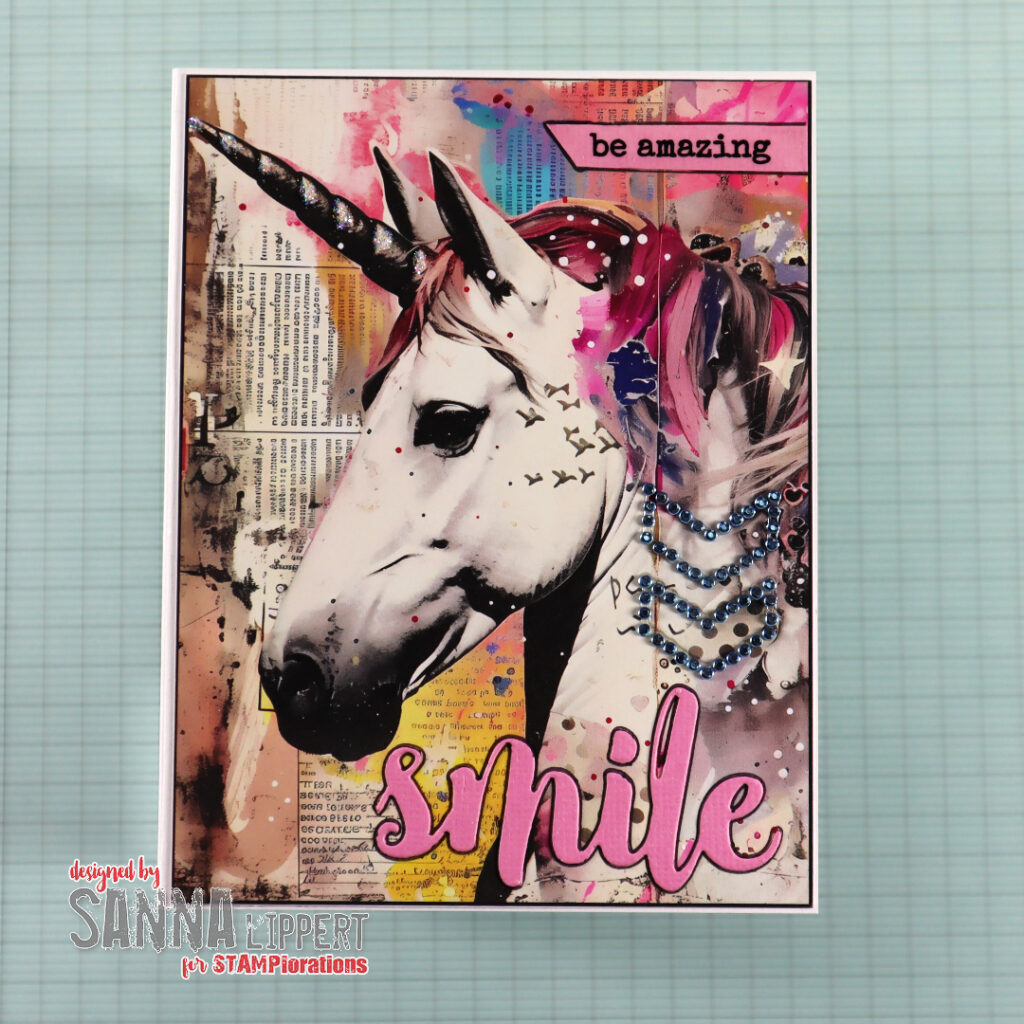
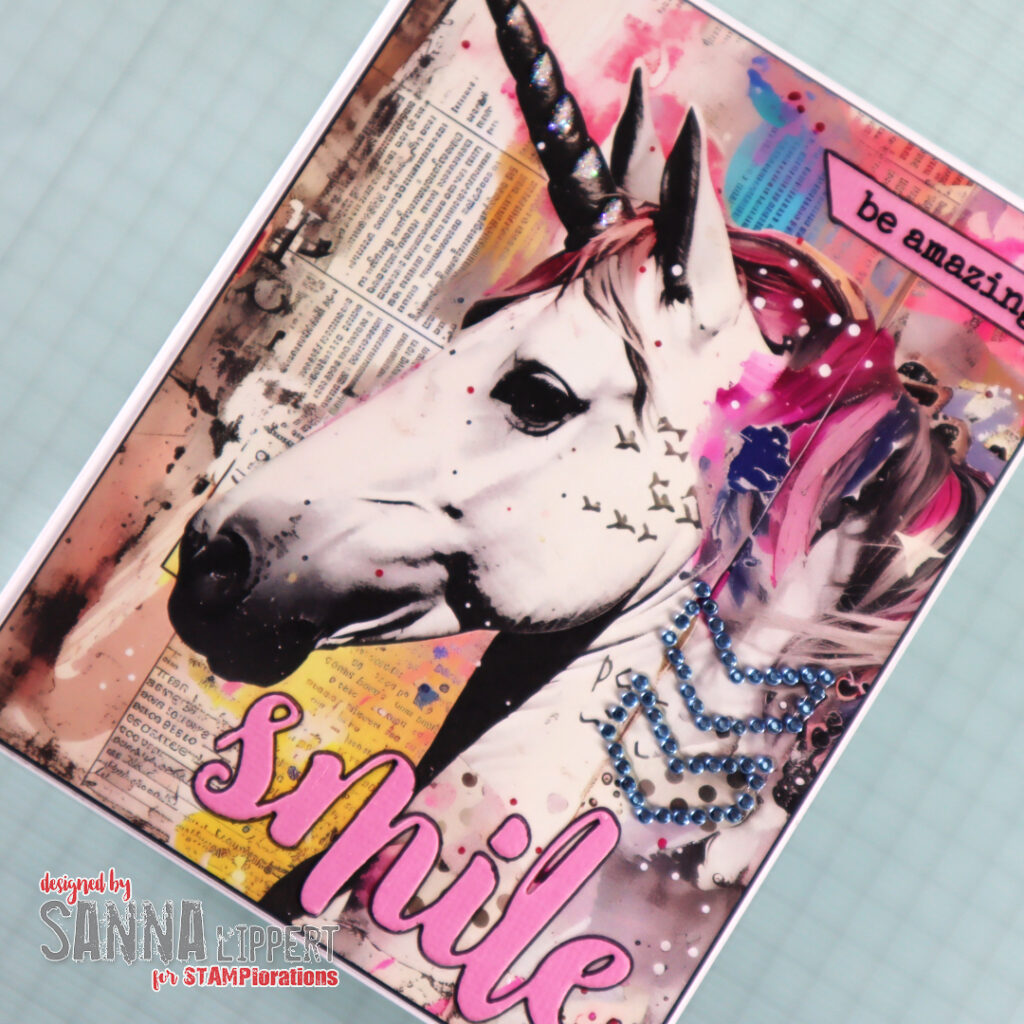
For the last card I´ve also used a clear sticker on a pink cardstock piece as part of the sentiment. The word die cut die I´ve used is called “Smile“. I outlined the word with a black pen to lift it more from the background. Additionally I adhered a few rhinestone arrows for sparkle.
If you are interested in the paper goods, there are 3 different subscription types available at their site: Paper Goods (US), Paper Goods card fronts (Worldwide) and ATC (worldwide). Pick the one you like! The worldwide subscriptions work this way: a choice of 1 set (card fronts or ATC) every month. Prices: $7 for US, $8 for Canada, and $9 for UK and all other countries. Subscription price is inclusive of shipping.
As always, my DT Discount Code at the store is valid, so feel free to use it 🙂 !!! Just note that discount is only available for one-off purchases at the store directly. The subscriptions are handled outside of the store, thus the discount is not valid there!
That´s all for now! Be sure to check out the varios product categories in the STAMPlorations store. Also check out the blog – always good to know what is happening (hint, don´t miss any new offers, challenges and new product!!).
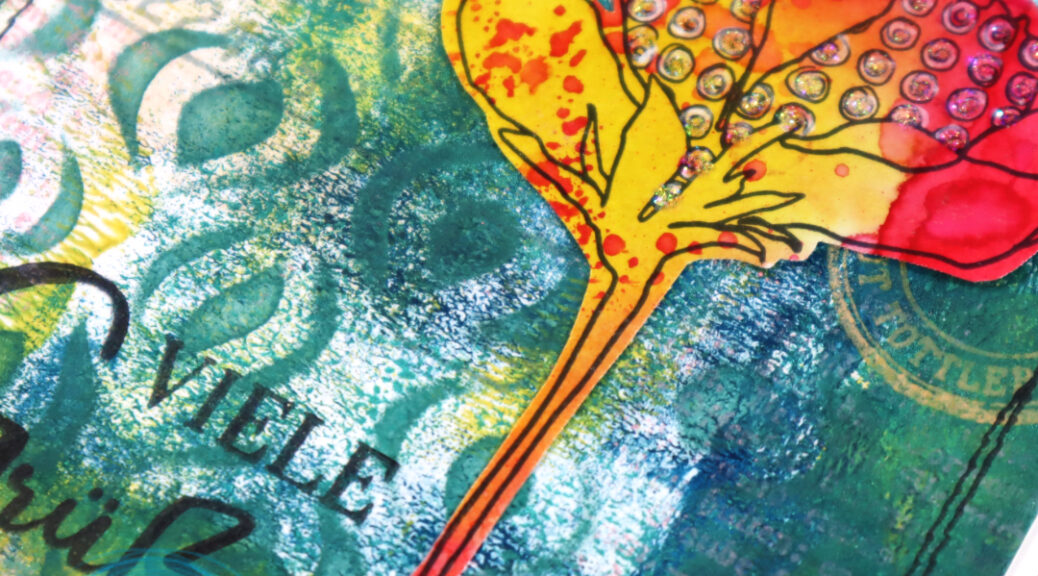
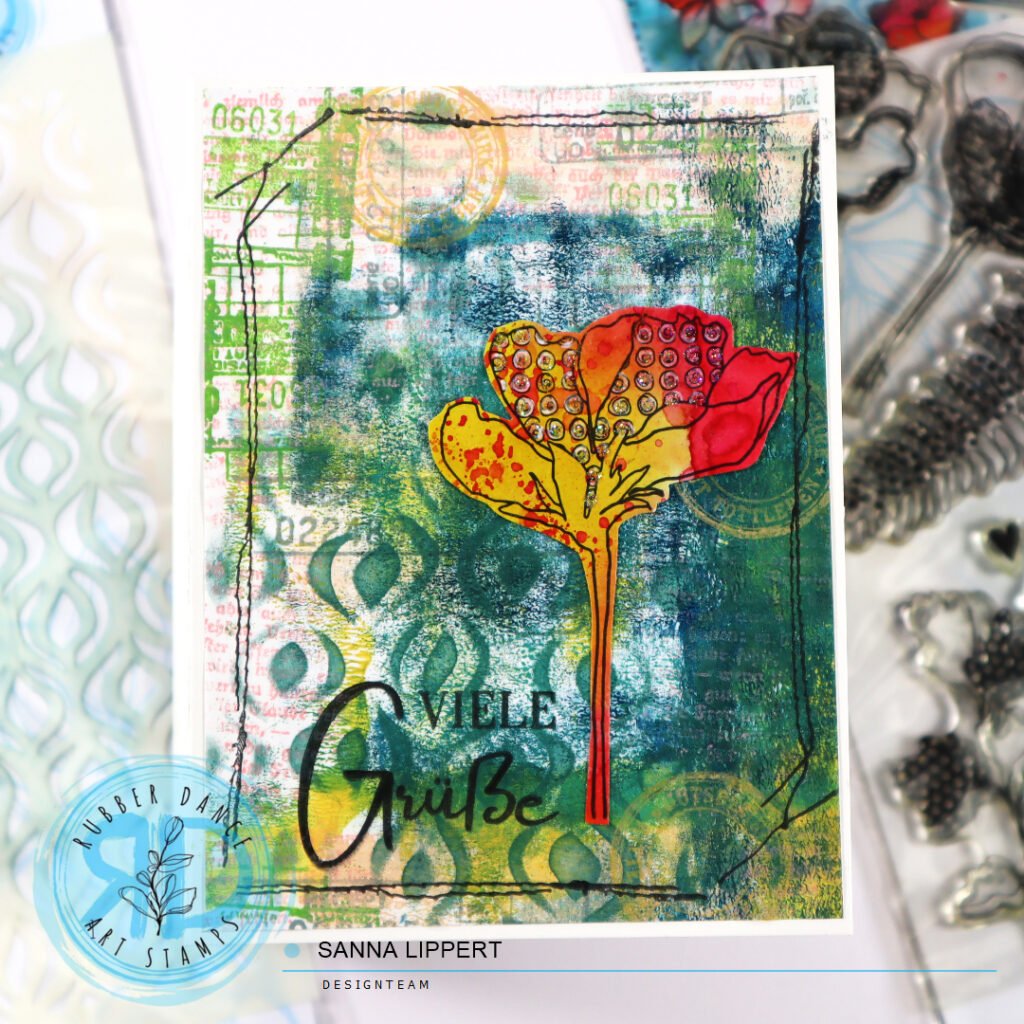
Hello, today I´m sharing a card idea that started off from a piece of “waste” paper. I used the Doodle Flowers 2 and the Stitching Borders stamp sets with the Ornament 1 stencil to create this card.
I´ve also “hidden” some light stamping with Distress Oxide Inks and Mix It Up 7 and Mix It Up 5 stamp sets onto the background. This card started with a “waste paper” I brayered gelli printing residue ink onto. I also cleaned my used stencil with a baby wipe thru the Ornament 1 stencil onto this piece of paper. That way the beginning for this backgroud had started by accident in a way.
After cleaning my table I noticed how nice the paper looked like and decided to use it as a card background. I then went and used the Mix It Up 5 stamp set iwth various light Distress Oxide Ink colours to add details to the white areas. After that I grabbed some collage fodder flowers from my stash, added one to the card as a focal point and stamped the sentiment with Kartengrüße stamp set. For finishing touches I added the faux stitching with black ink and some glitter glue to the flower for detail.
I love to use this type of papers as a starting point and give them a new life as a card background, for example. I think this one turned out pretty nice. Have you tried this idea? xx, Sanna
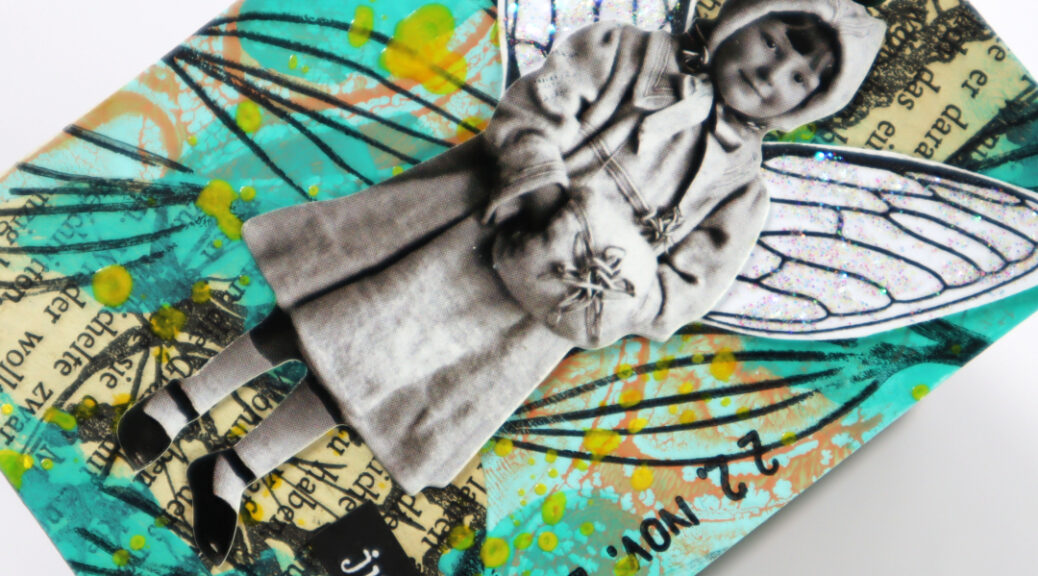
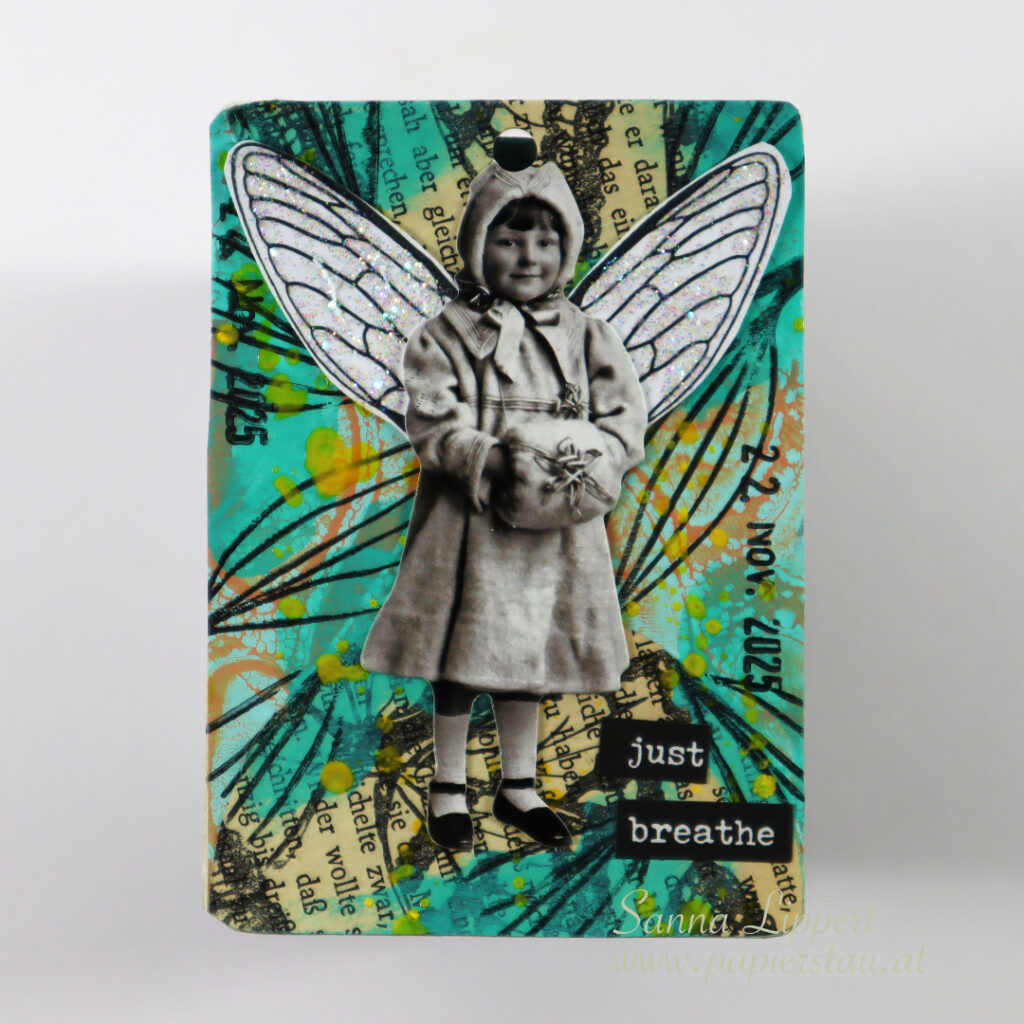
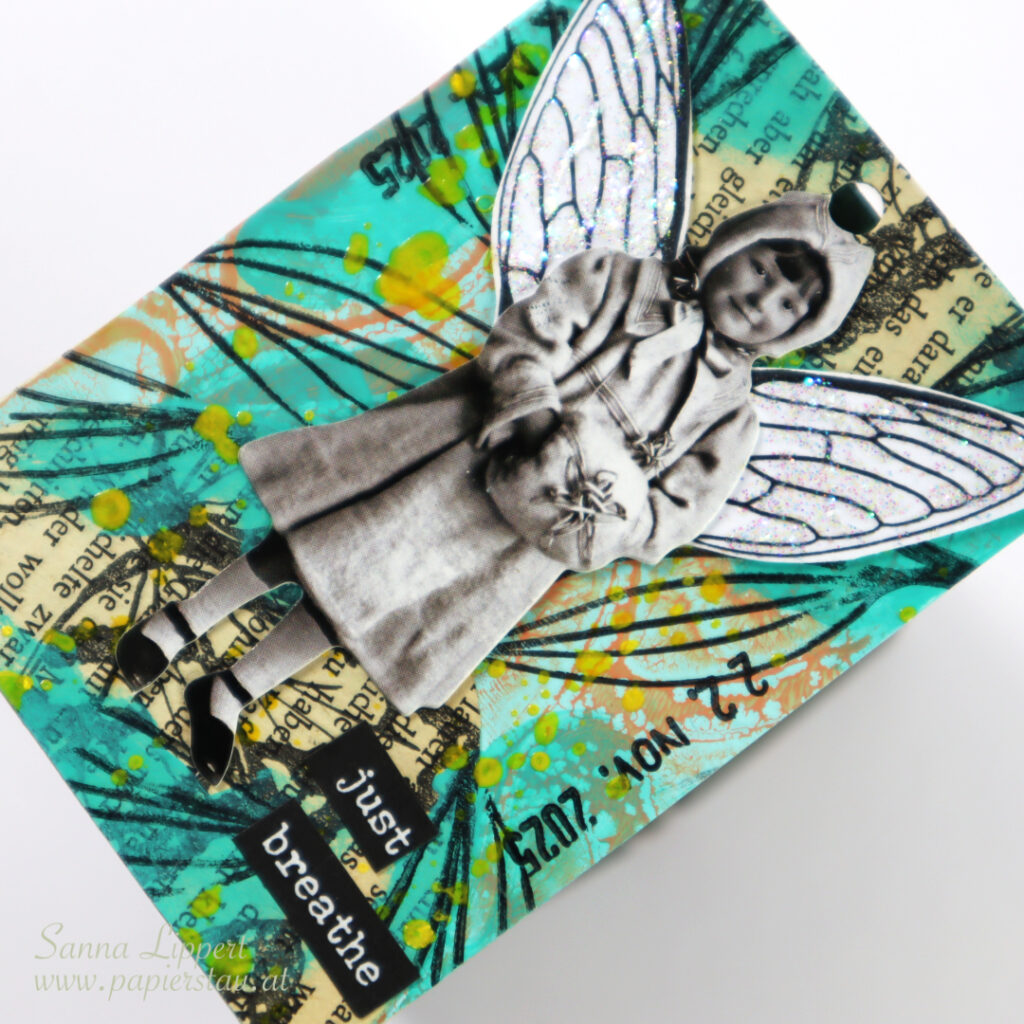
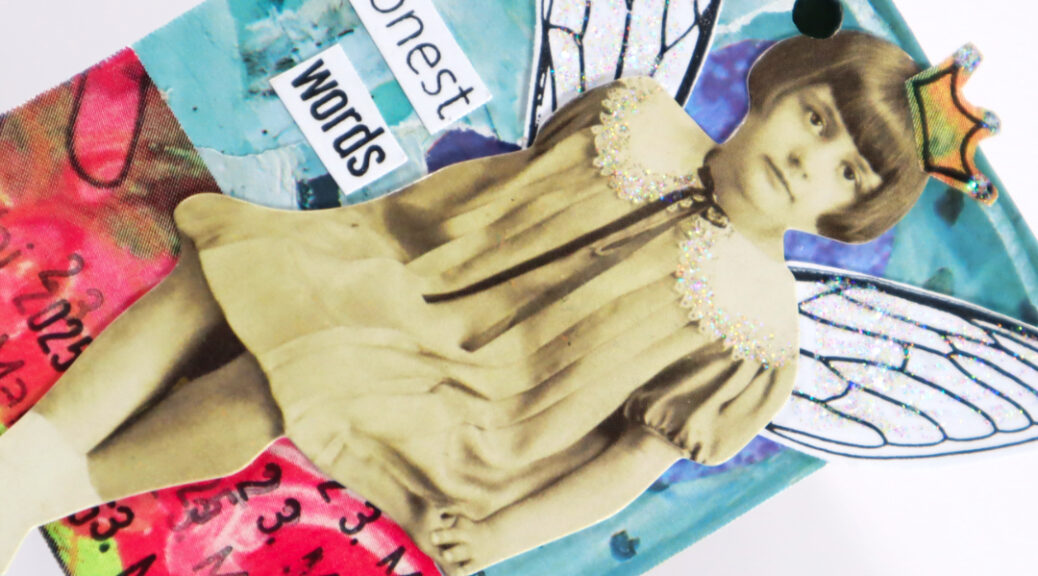
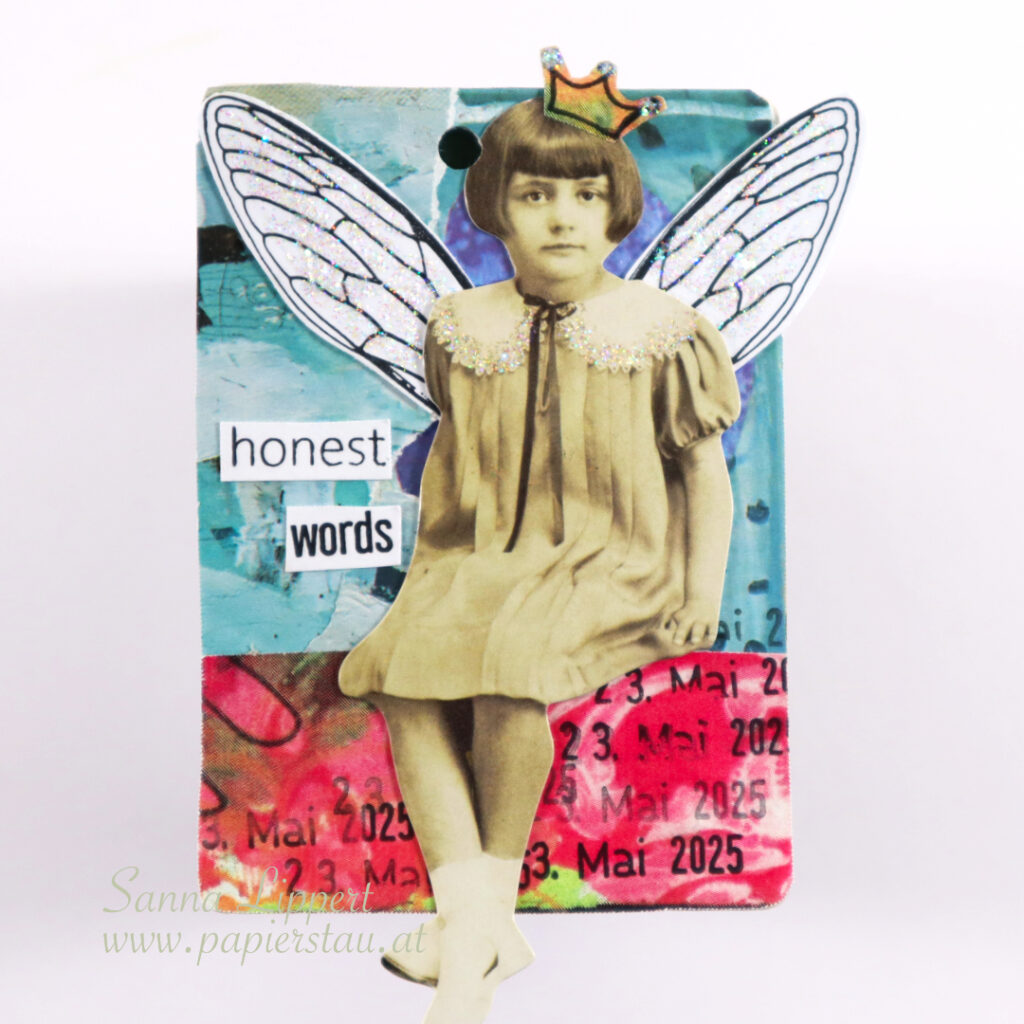
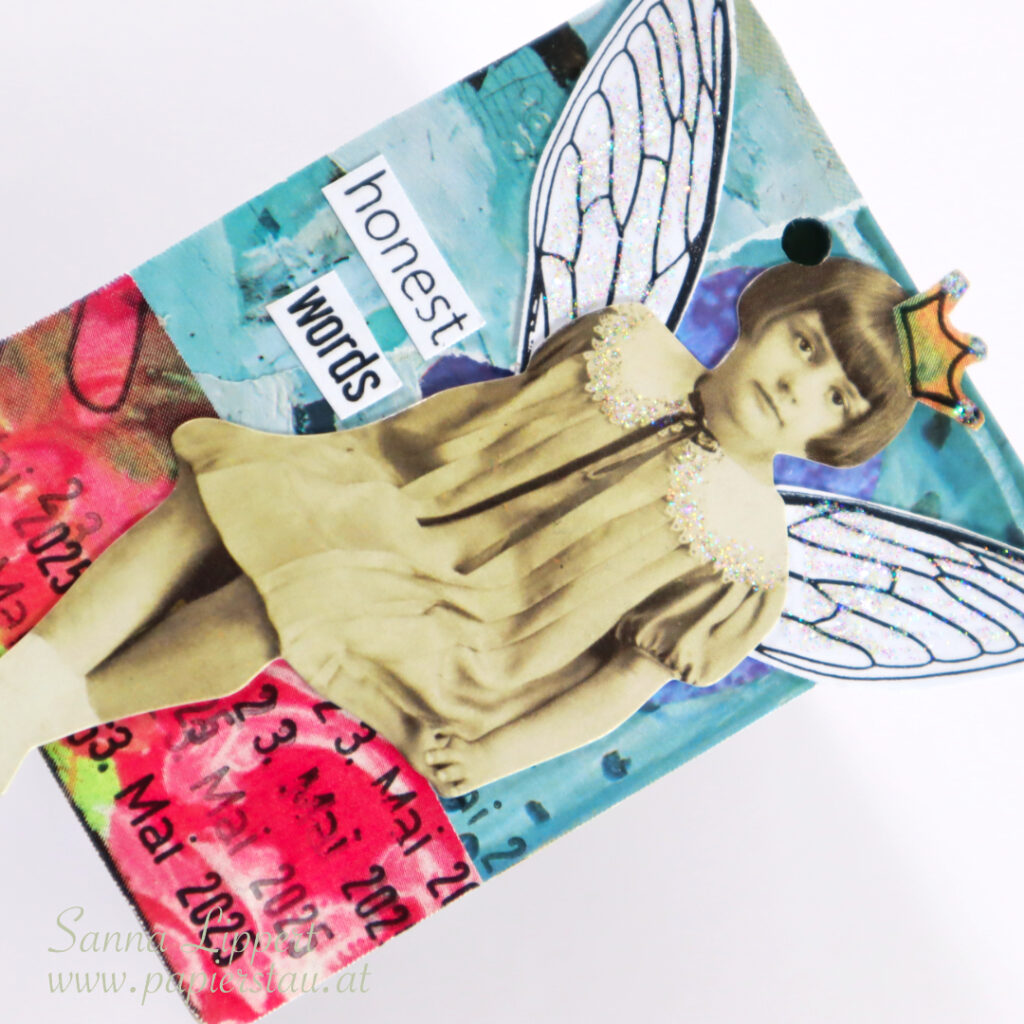
Hello! Here is my take on the ShanoukiArt Full Deck Challenge number 46: fairy.
For this one I used the butterfly stamped old book paper bits as a carry-over-item. To those I added some gelli printed collage papers in turquoise and some Dina Wakley heavy body paint in turquoise. After that I added my constant – the date stamp.
After that I added some yellow Dina Wakley Gloss Spray and stamped leaves with this Rubber Dance stamp to the background. As a focal point I added a Tim Holtz paper doll and fairy wings from a Rubber Dance stamp set. I added some Stickles for shine to them, too. The sticker words are by Tim Holtz.
Here is the step-by-step video:
See you again next week with another take! xx, Sanna
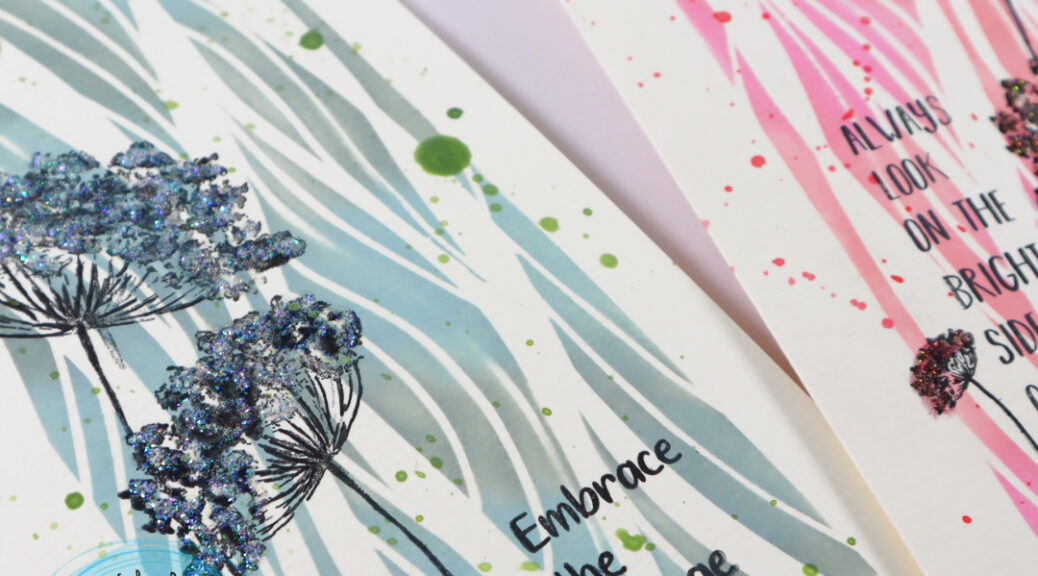
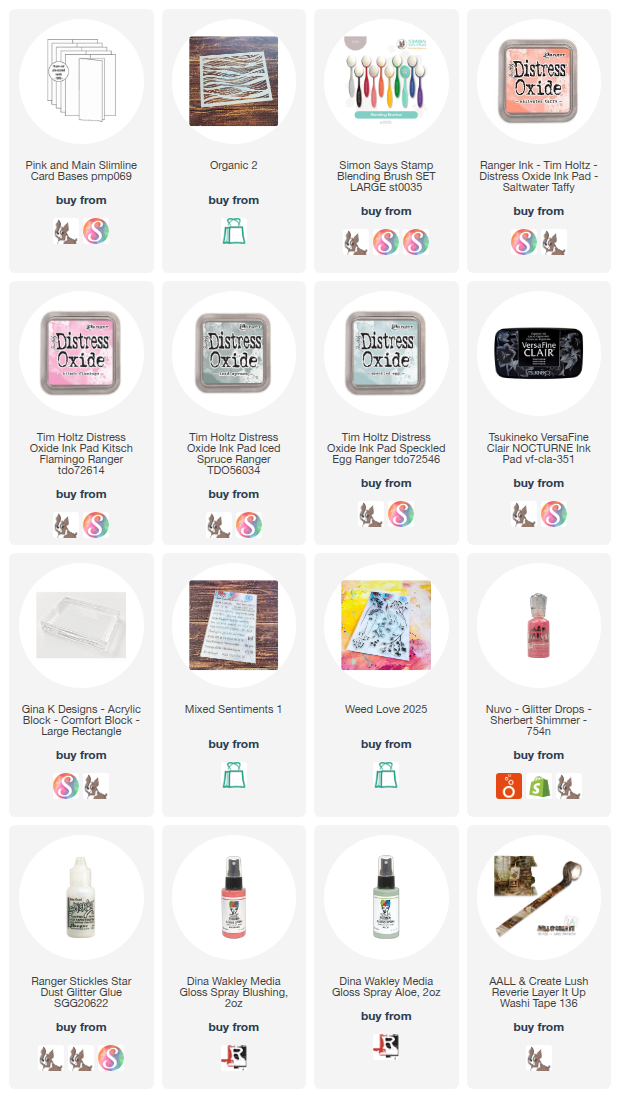
Hello, it´s my turn for a Rubber Dance project share again. I created a set of clean and simple styled cards using the Organic 2 stencil, Distress Oxide Inks and the new Weed Love stamp set.
These are the steps to the finished cards:
I started by placing the stencil onto a white slimline card base. I always use washi tape or painters tape to attach the stencil and to keep it from moving while inking. On this card I used “saltwater taffy” and “kitsch flamingo” and blended them together with a blending brush. On the grey toned card I used “iced spruce ” and “speckled egg” tones.
After that I added Weed Love stamp images using black stamp ink onto the card base.
Then I added some glitter glue onto the stamped “weeds” for texture and detail. I used Nuvo “Sherbert Shimmer” for the pink card and Stickles “Star Dust” for the grey toned card.
For stamping the sentence I used the Mixed Sentiments 1 stamp set and stamped a word a line in a vertical manner. On the photo you can see how I covered the rest of the sentiment with washi tape to get a clean stamping result of the single word each time.
For a more “artsy” finish, I added some Gloss Spray splatters in a matching tone to the rest of the card (Blushing and Aloe). If you prefer a cleaner look, you can leave this step out.
I really like how the Organic 2 stencil creates such an elegant backdrop for the Weed Love images. I hope I could inspire you with this card idea. Have fun stenciling! xx, Sanna
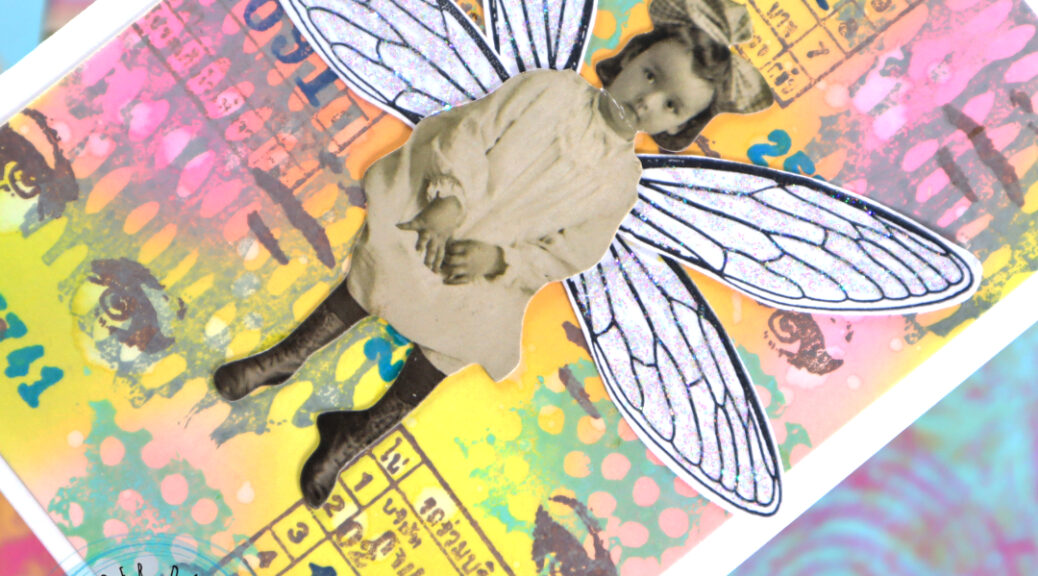
Hello! I am a bit late with sharing these, but here is my take on the 20th Full Deck Challenge; “paper doll”.
I used Tim Holtz paper dolls for this deck card challenge (by ShanoukiArt), added some collage paper gifted me by Yuna on the background. Some paper from the Artist Almanac 2023 got used too. My constant is a date stamp.
In addition I used Rubber Dance stamps (wings and words) to decorate my deck card and added some Stickles for sparckle.
And here is the video:
See you soon with another FDC take share! xxx, Sanna
Hello, it´s my turn to hare some Rubber Dance inspiration today. I created another card set and tutorial share. For this card I used only one stamp set – the Mix It Up 7.
I started by applying Distress Oxide Inks in yellow, pink and light green tones with a blending brush onto a piece of white cardstock.
After that I chose stronger Distress Oxide Ink colors for my second layer (blues, greys, browns and greens). I randomly stamped with various images from the same stamp set onto the background. I also changed the ink color every time I changed to another stamp image.
Next I took the wings and flowers from the same stamp set and stamped with black stamp ink onto a piece of white cardstock. Then I fussy cut the images.
Finally I glued everything onto a white card base. The black and white images formed the focal point. For finishing touches I also added some Stickles to glimmer, like seen on this photo.
Here is a video on the full process for you to watch:
I had so much fun making these card backgrounds. I hope I could inspire you to grab a stamp set and make some fun backgrounds! Have fun! xx, Sanna
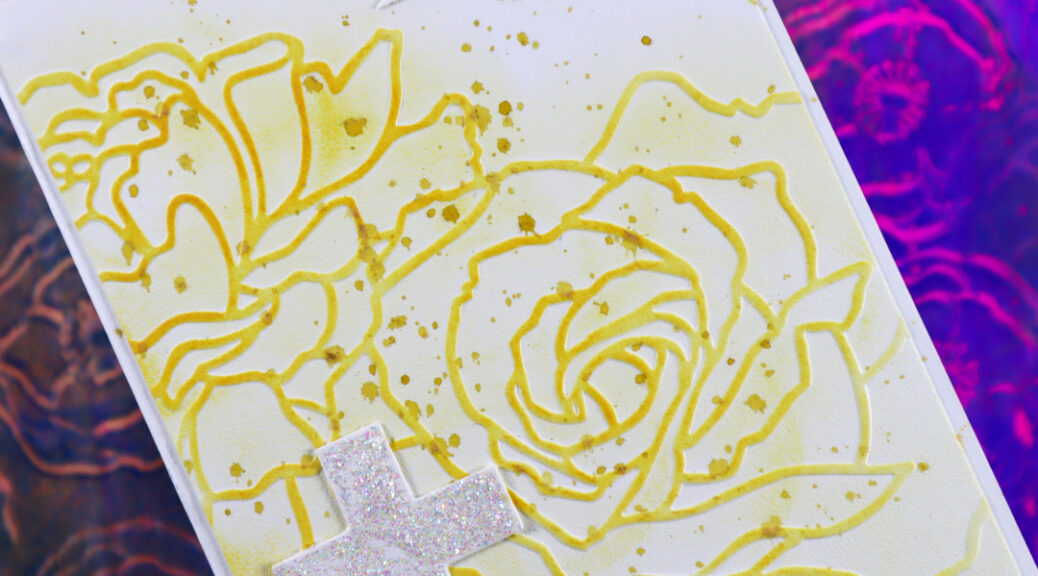
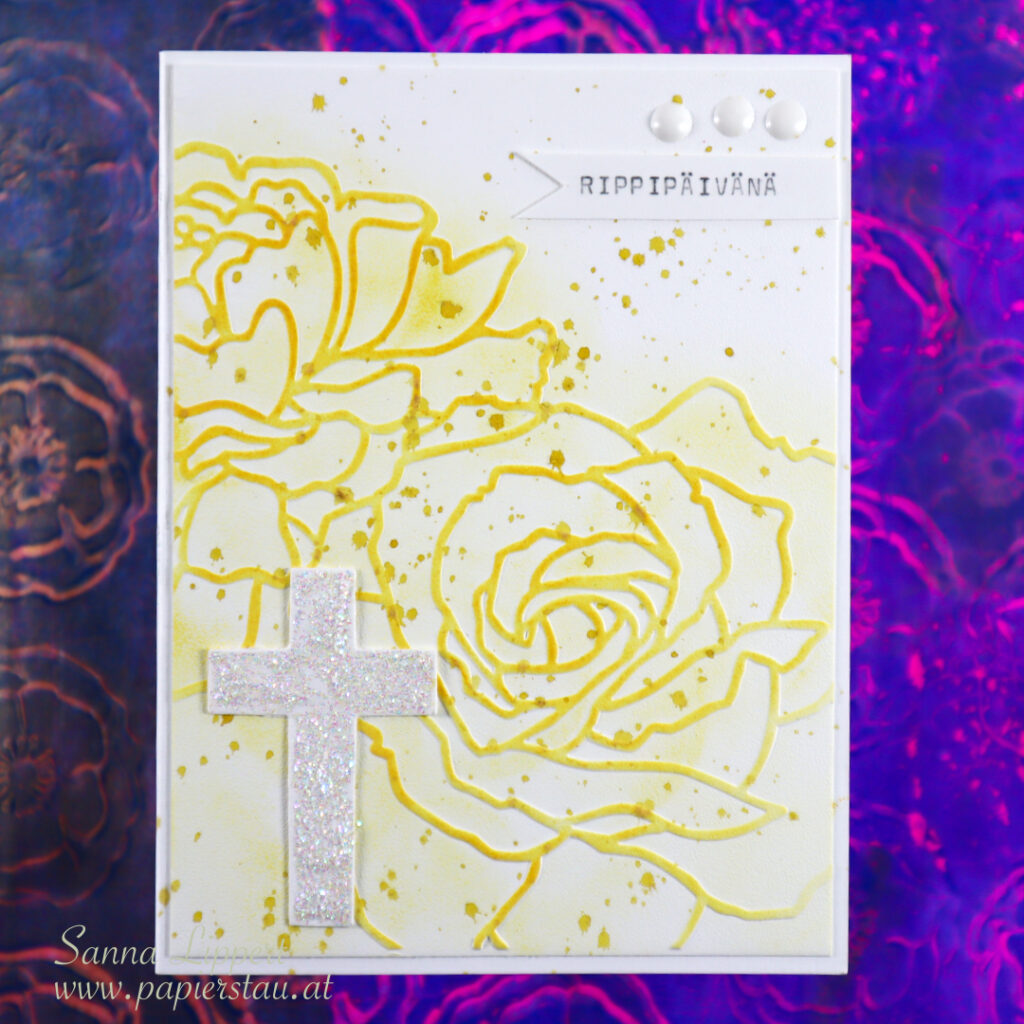
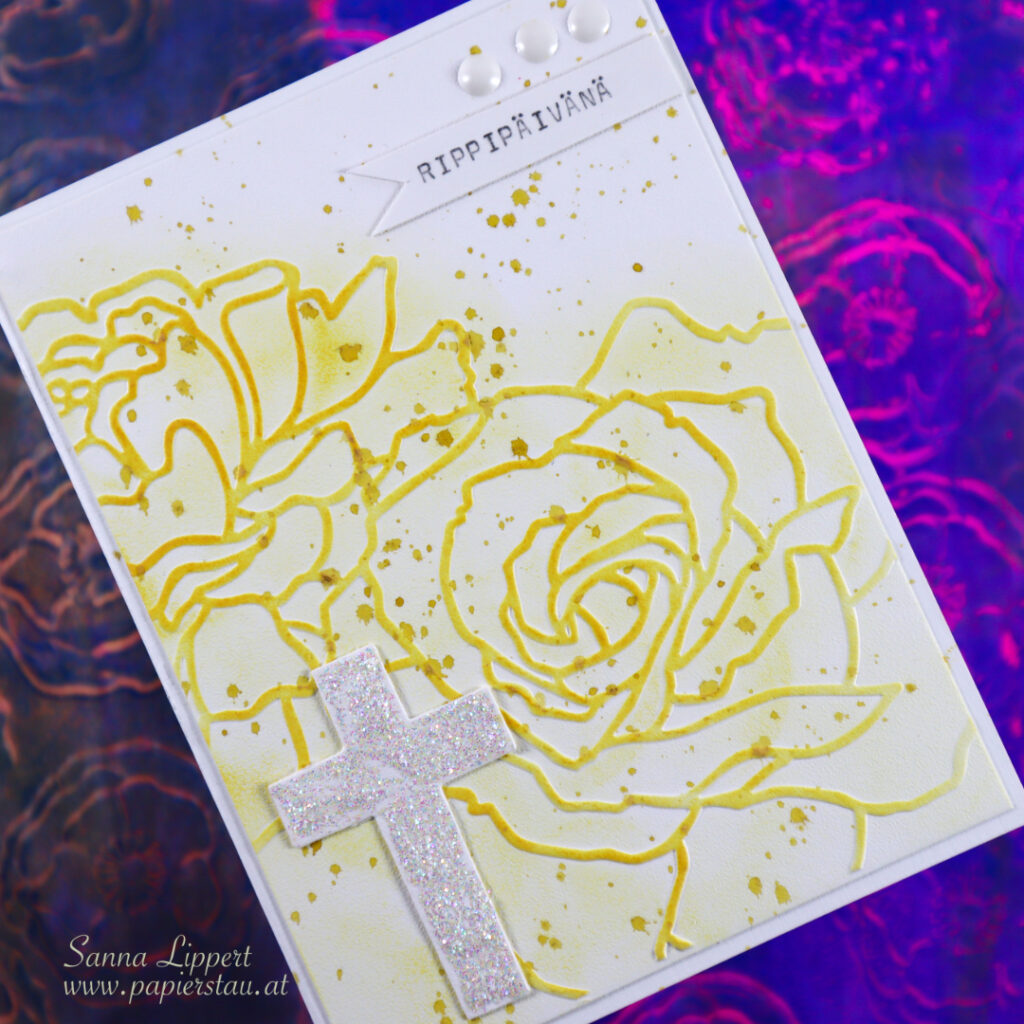
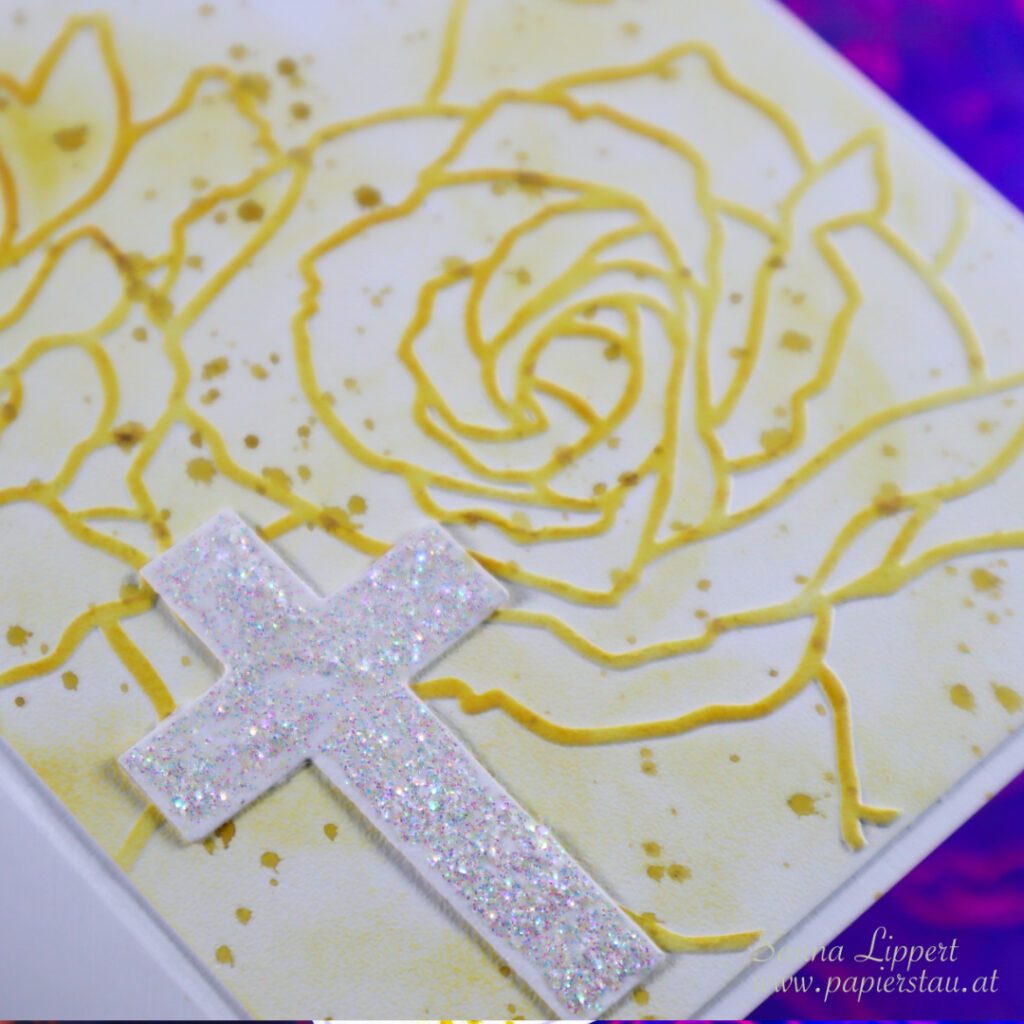
Hello! I have a card share today. It´s a card I made for a family member´s confirmation day celebration.
I used a Sizzix embossing folder on the background with white cardstock and then added some yellow Distress Ink with a blending brush on top. After that I added a layer of Glimmer Mist droplets in yellow.
The white dots on top right corner are Nuvo Drops. The sentiment is written with my old typewriter.
The cross is a very old Sizzix die cut die. Die cut with white cardstock and has a layer of Stickles on top. I hope the recipient loved her card.
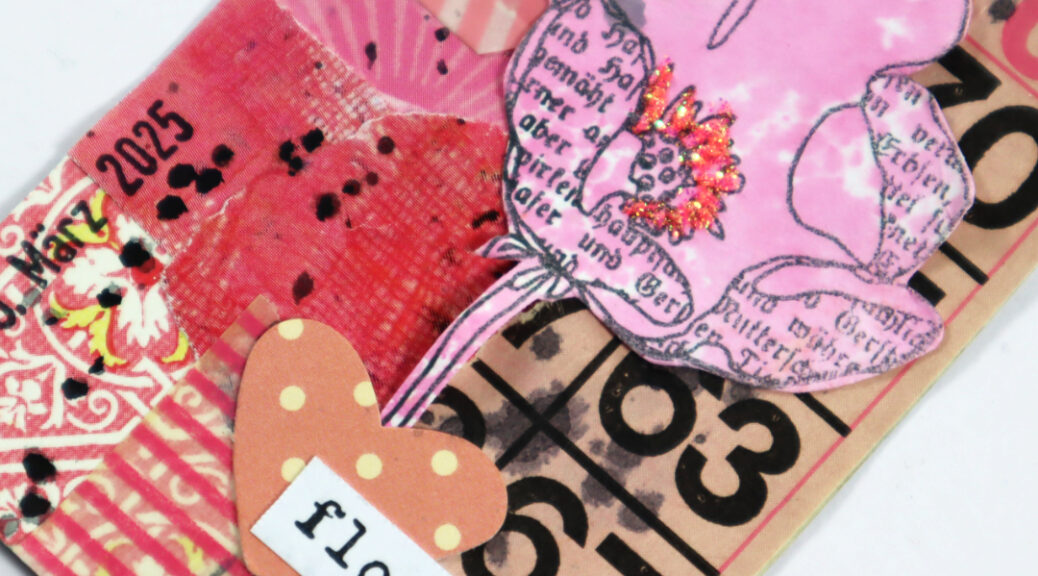
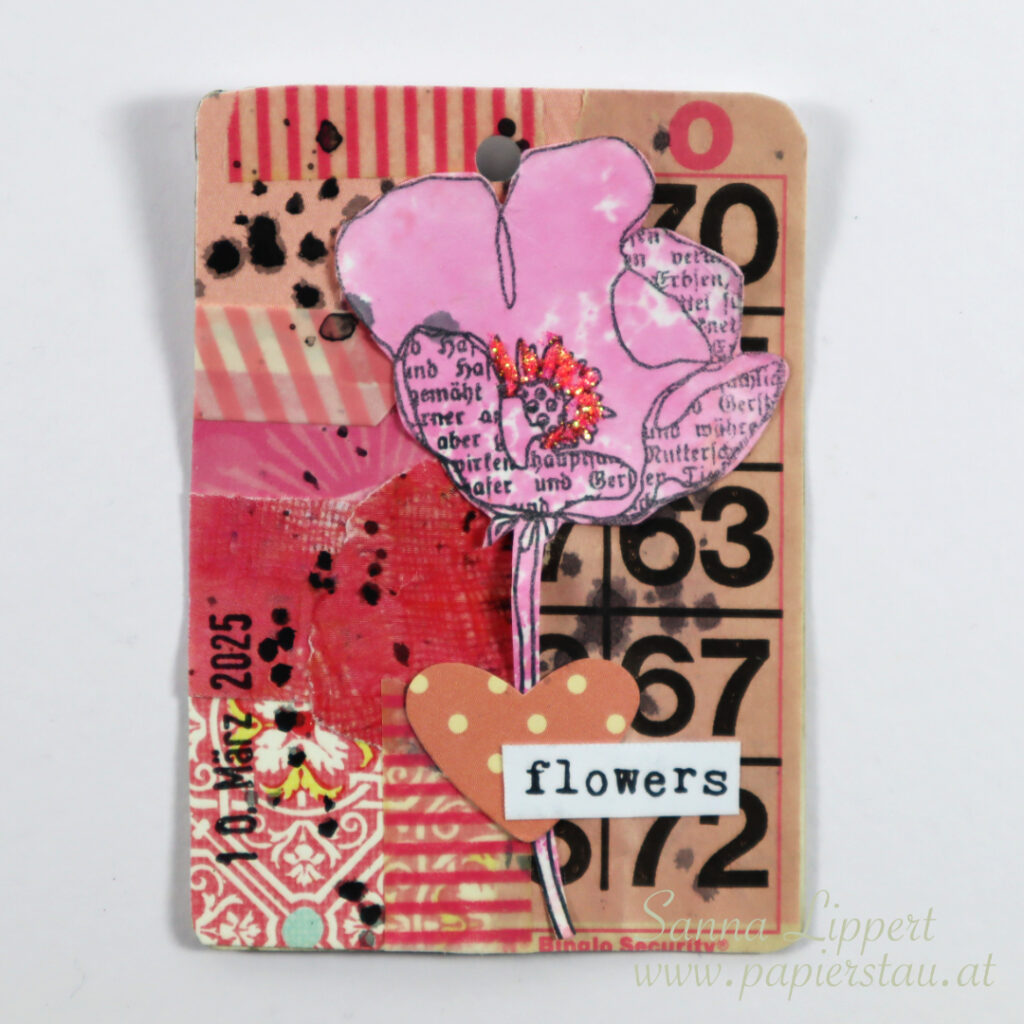
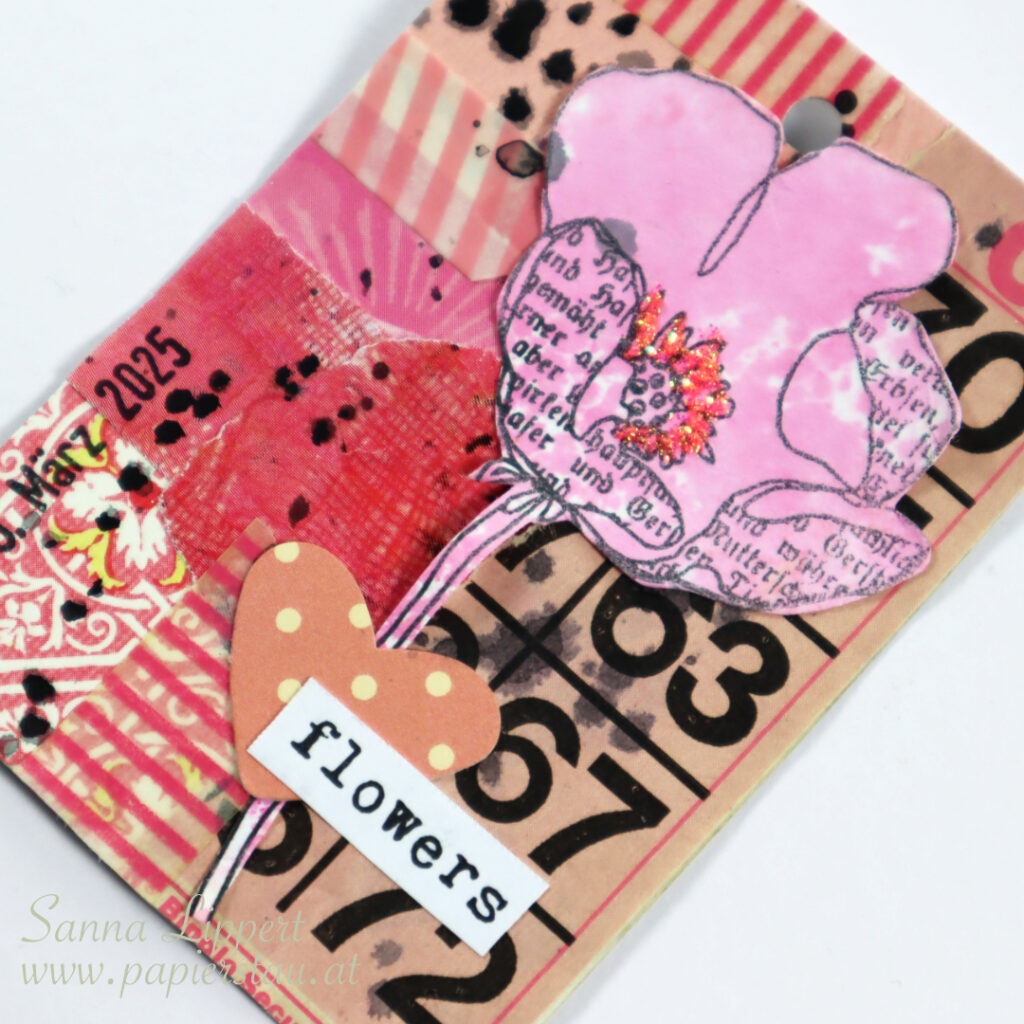
Hello there! I am a bit late posting this, as I was quite under the weather the past week or so. But better late than never, here is my take on the FDC challenge number 9 “pink with black splatter”.
For this one I gathered all kinds of paper bits and bobs (also vintage ones) and wripped them in smaller pieces to create the background collage.
On top of that I added my constant: a date stamp. And I again used washi tape as my continous – but different colors here. I hope you enjoy the start-to-finish video:
For finishing touches I added some older ephemera, a stamped and colored Rubber Dance flower and sentiment and some Stickles for sparkle. The black splatters are done with Neocolor II black and plenty of water.
Hello! I decided to join the 2025 Full Deck Challenge. It´s been called to life by ShanoukiArt and this years theme is a collage on a deck of playing cards (or similar). A deck card a week with a different “theme”.
Here are some “rules”: one should do a continuous thing, like for example adding postal stamps (like she does) to every deck card to have something on them that binds them together. I choose to add a date stamp on every deck card. In addition one should take a bit of something from the previously done deck card material and use that on the next one too.
There is a Facebook group (look for Full Deck Challenge Group) to join for sharing one´s creations and also her YouTube channel to the weekly challenge.
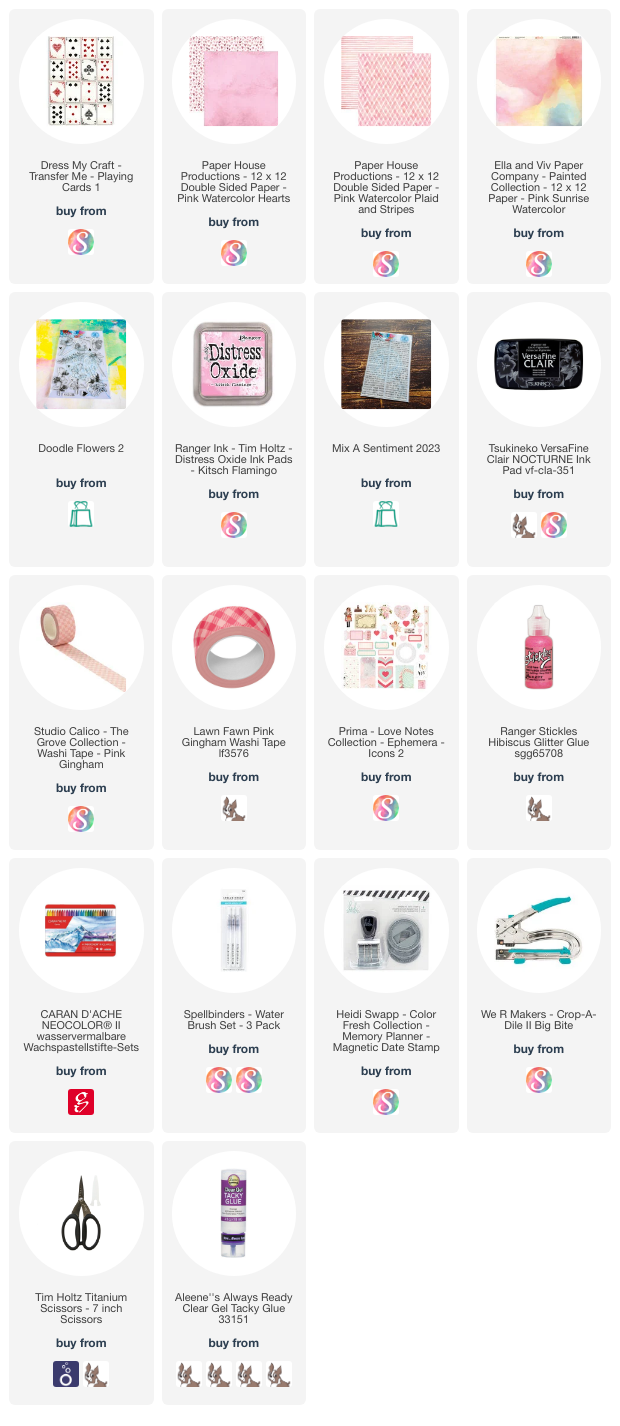
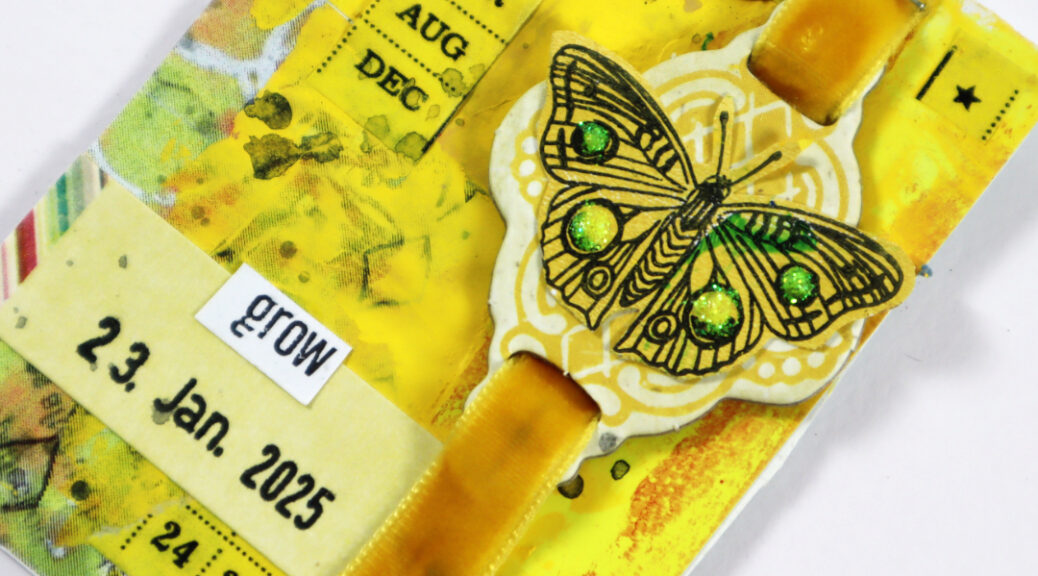
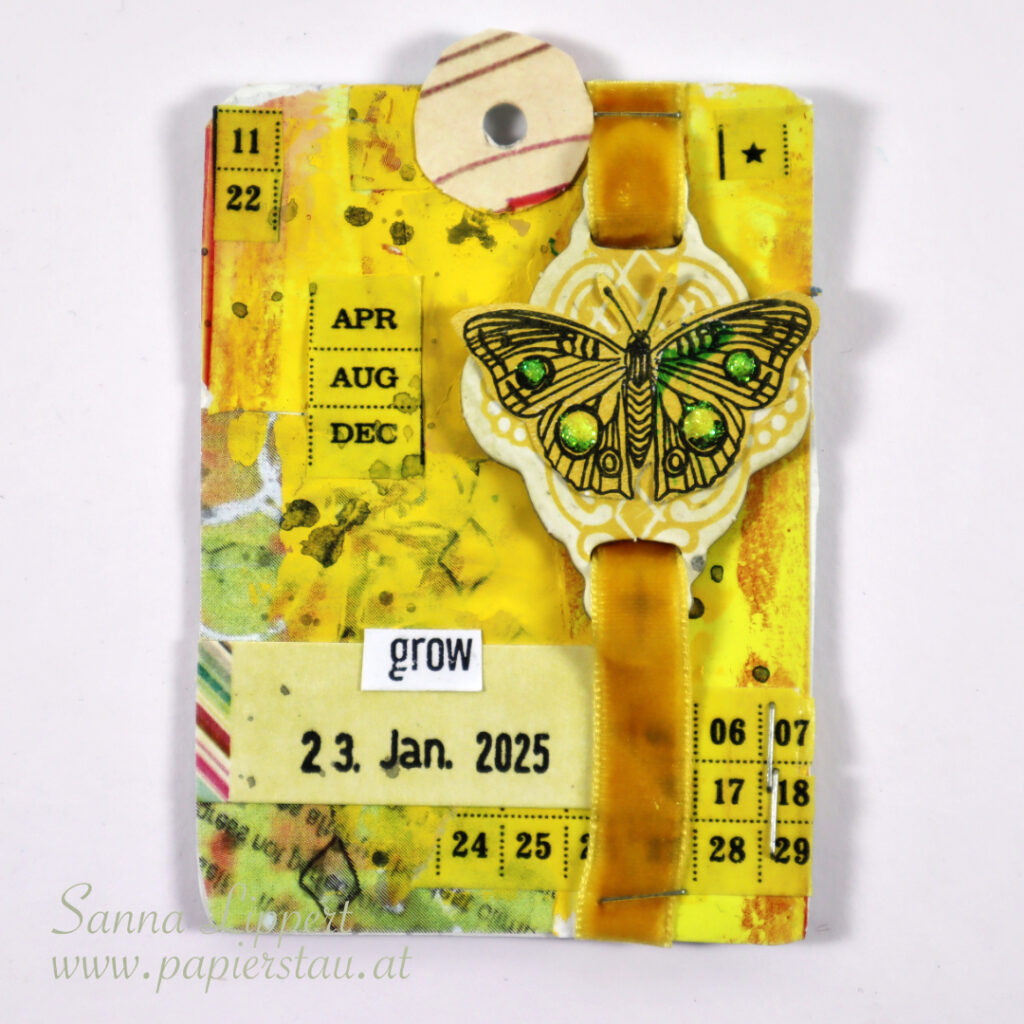
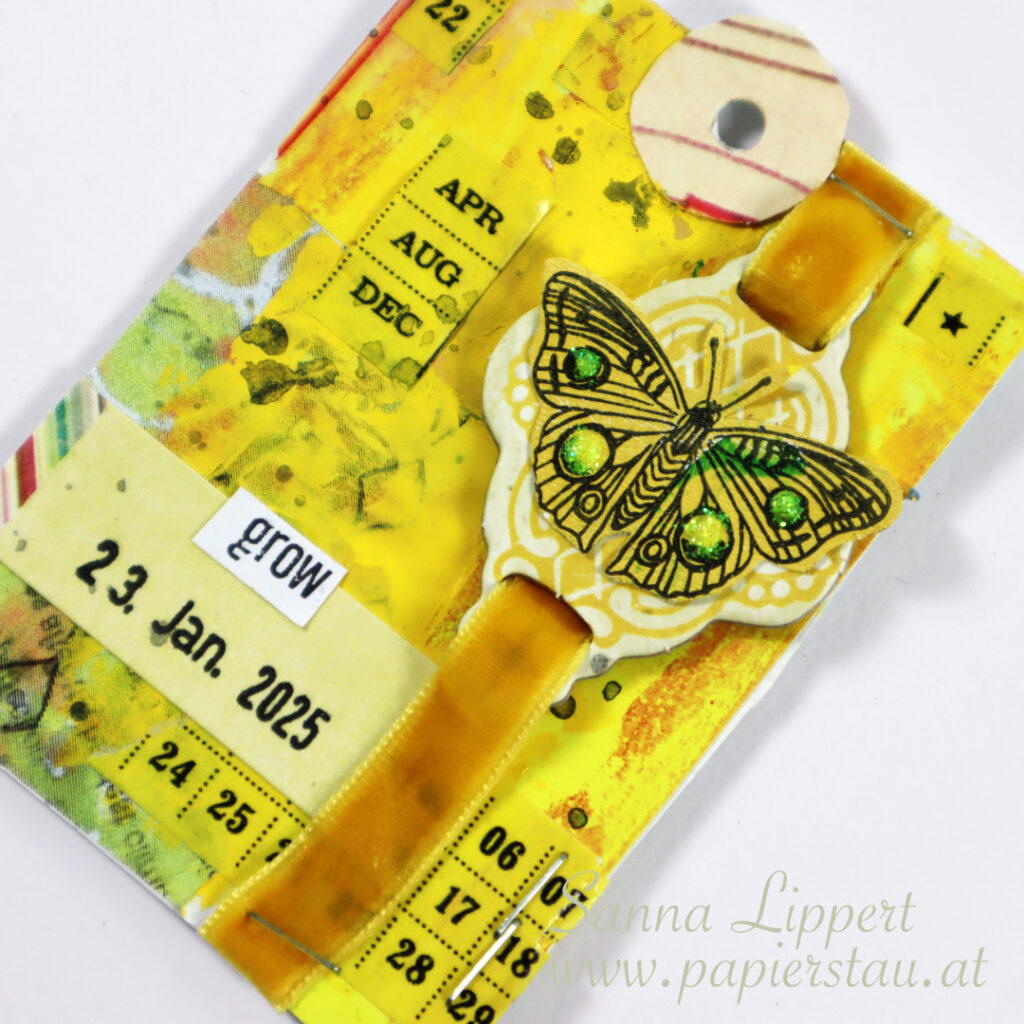
It sounded so much fun that I decided to join. At least I´ll try. Here is my take for deck card 3 with the theme “YELLOW”:
Yellow is one of my favorite colors! I used the yellow parts from the gelli printed paper I used on the previous deck cards, then added again some paper bits gifted me by Yuna again. Some yellow washi tape, some Dina Wakley heavy body paint in yellow and velvet ribbon, a chipboard piece, a date stamp and a stamped butterfly (like on the previous deck card). And some glitter glue. Oh, and the Rubber Dance stamp stamped word again, too.
and here is the video:
So far I am really enjoying this! Happy crafting! xxx, Sanna