Tag Archives: distress oxide inks

Layered art journal page – Rubber Dance

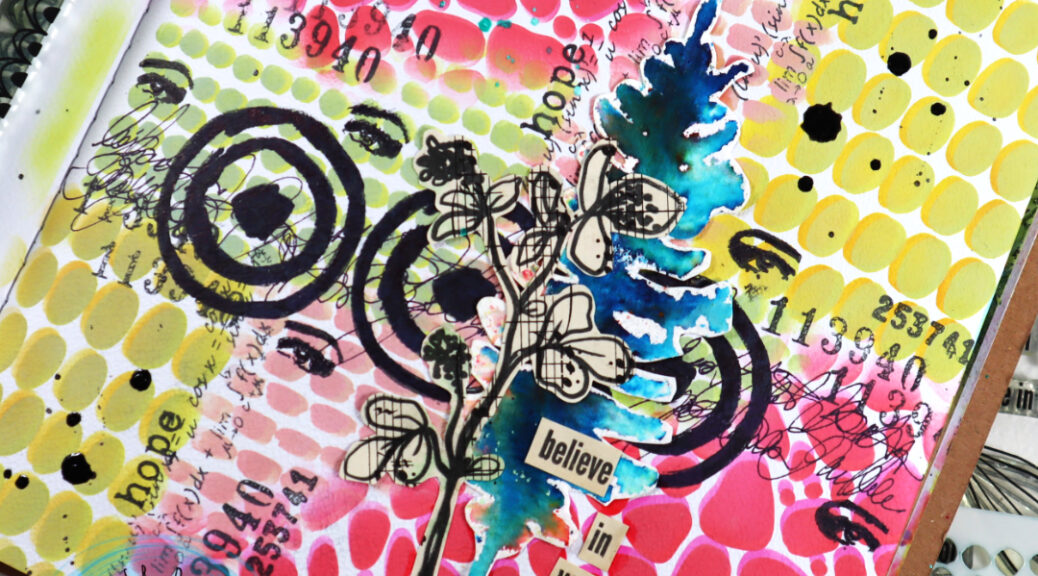
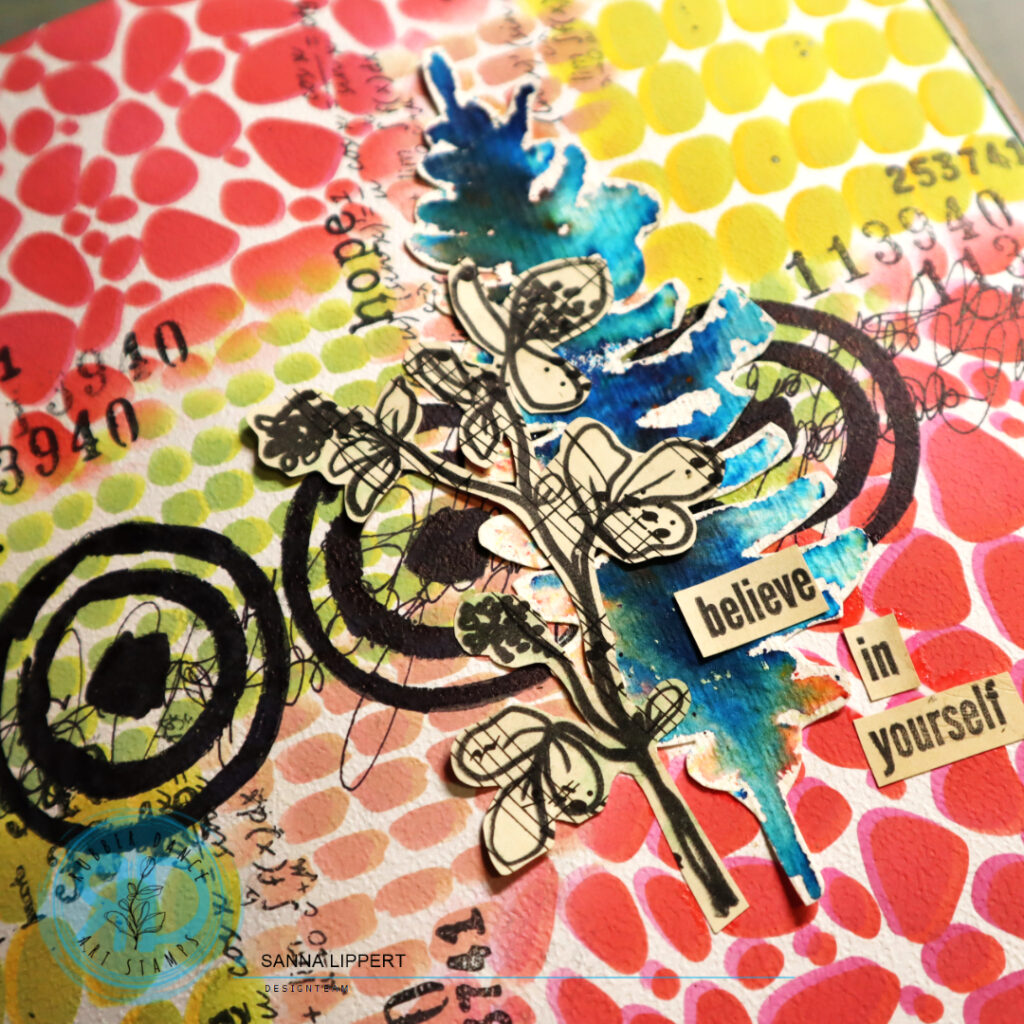
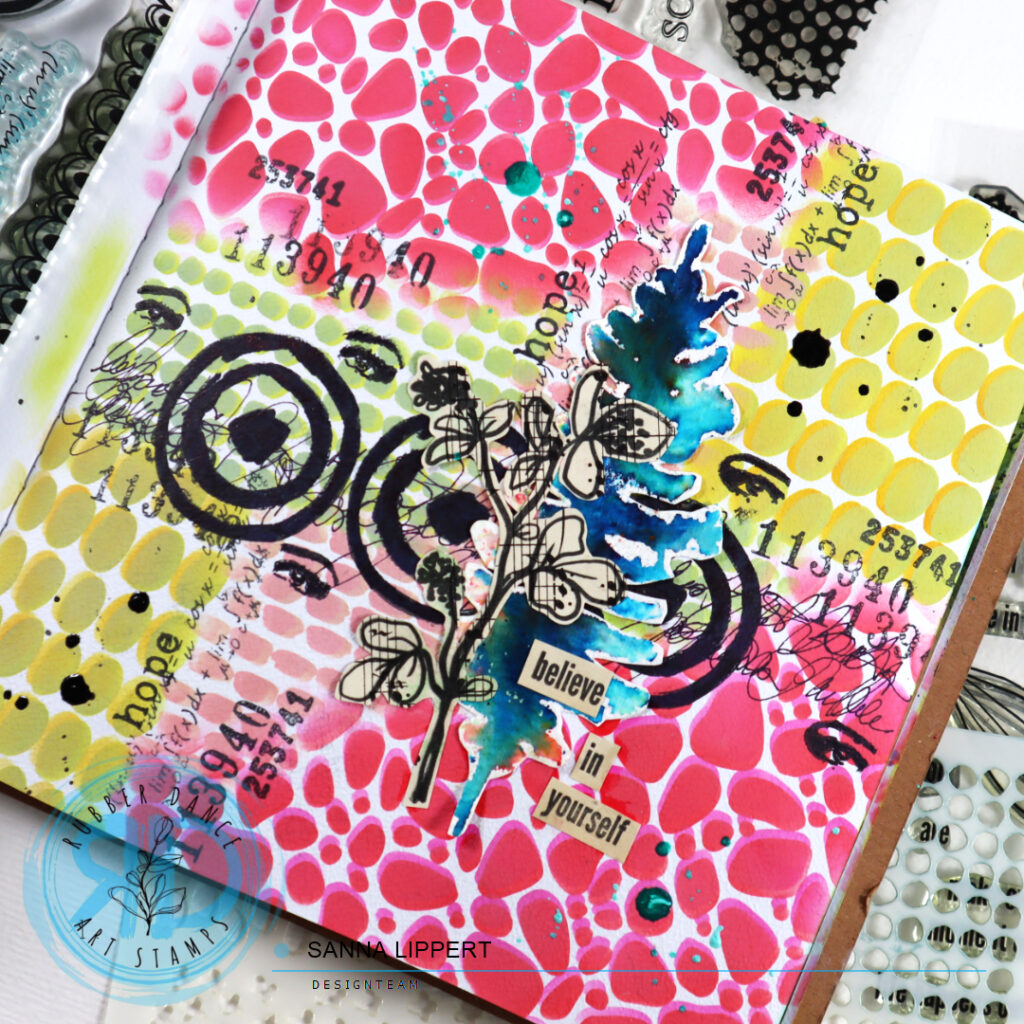
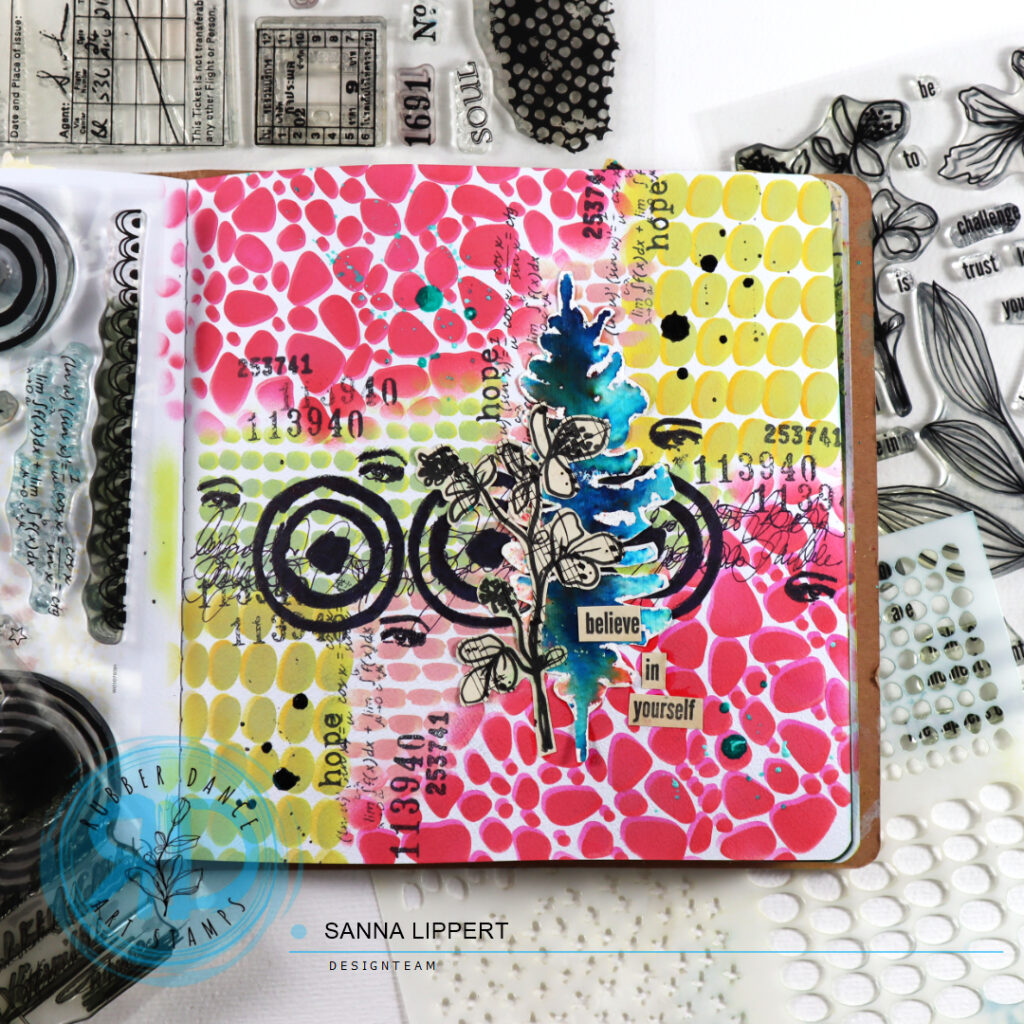
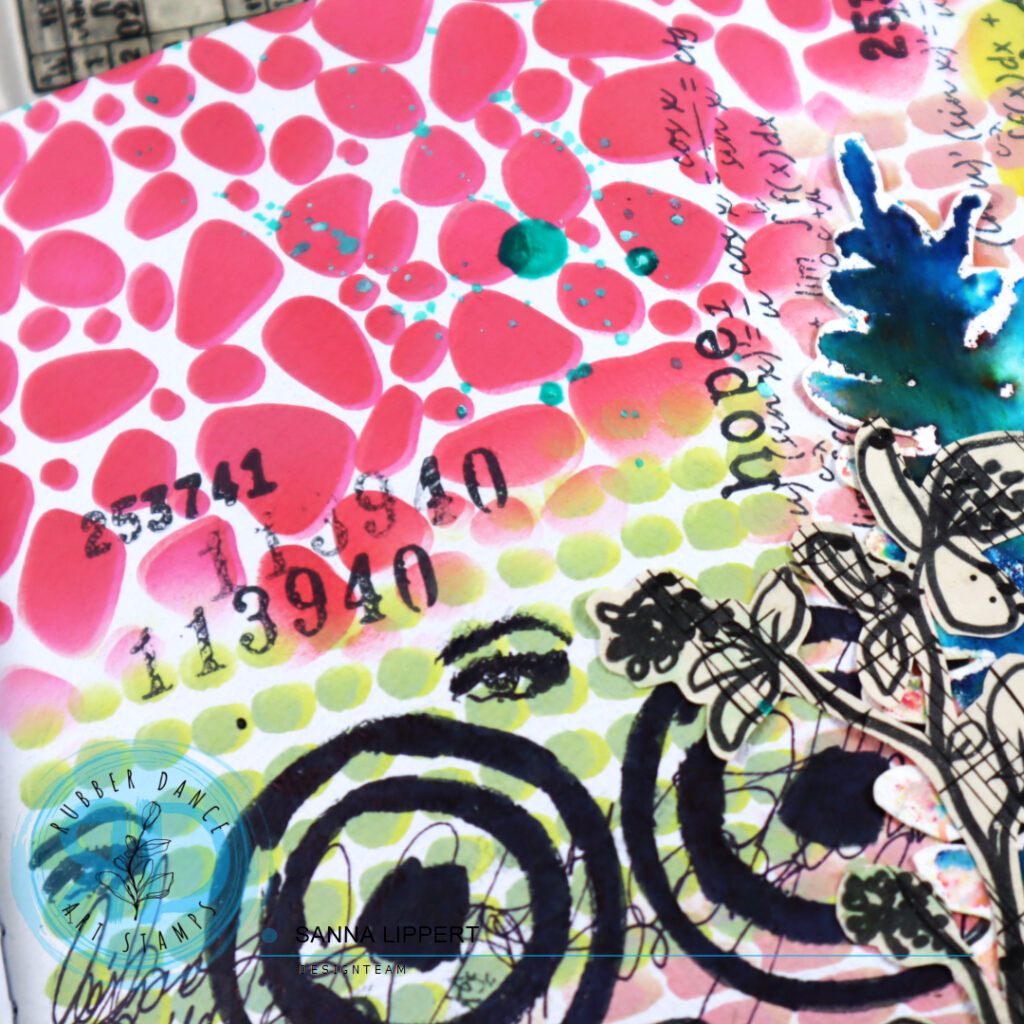
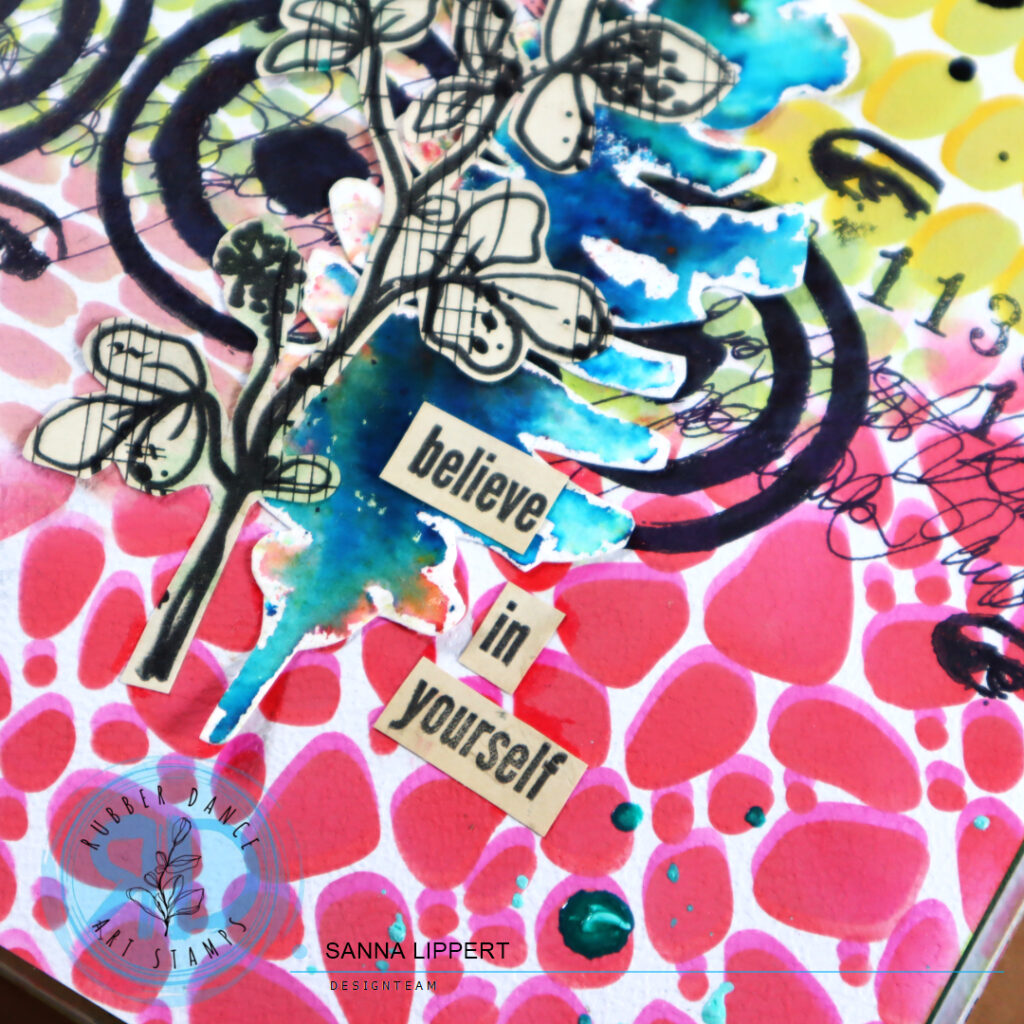
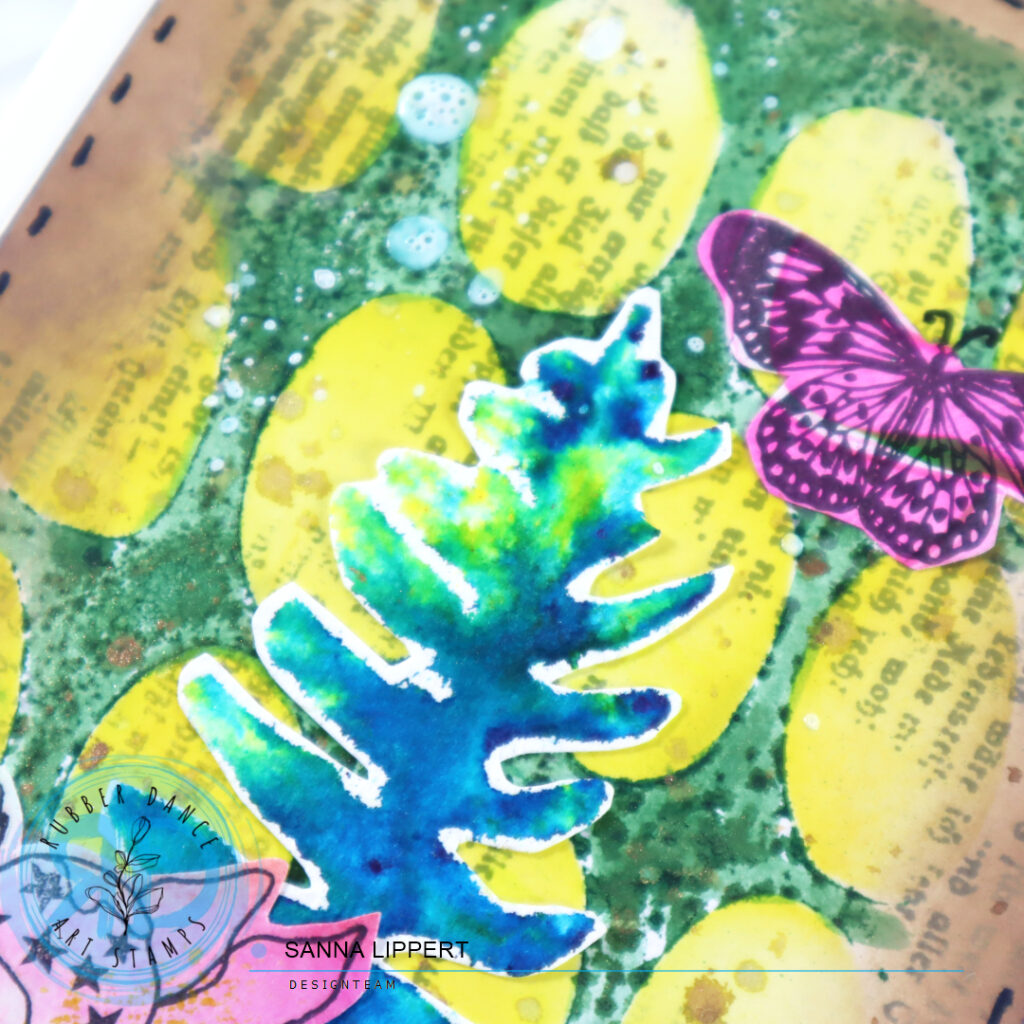
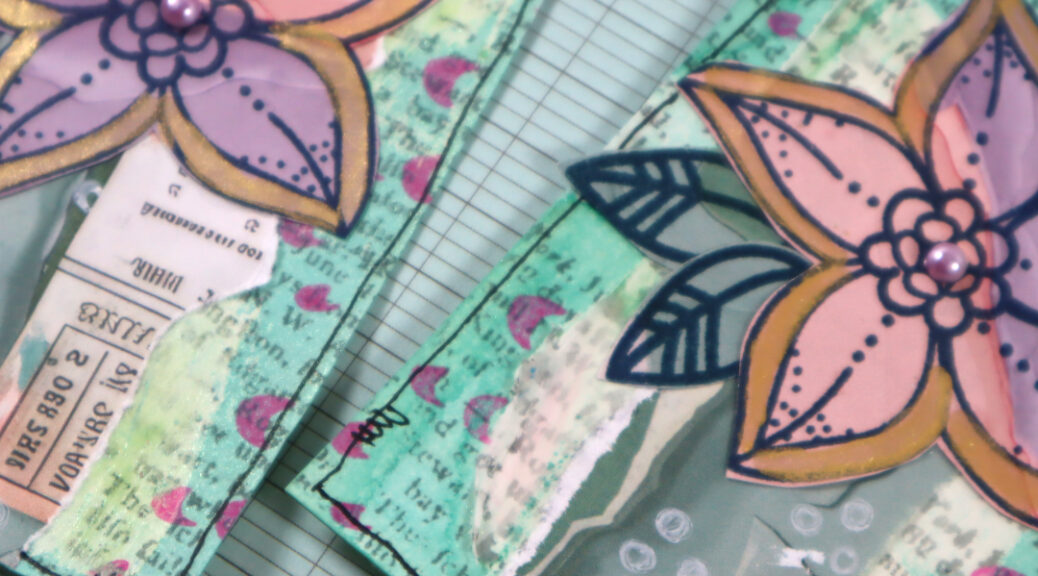
Hello, today I have an art journal page share for you. For this page I used the Doodle Flowers 2, Butterflies and Moths, Mix It Up 5, Mix It Up 7, Carved Collection 6, Stitching Borders and Mix It Up 4 stamp sets as well as Dotted 1 and Mini Textures 1 stencils.

I started by wiping residue ink from the Dotted 1 stencil onto the background and pressing another layer of residue brown ink from the Mini Textures 1 stencil around the first pattern. Next I grabbed some Neocolor II crayons and applied various yellow and light pink tones to the page. After that I grabbed a selection of pink, green, brown and turquoise Distress Oxide Inks and used the various stamps to add details and layers to the background.

I also painted some circles onto the page and filled those with golden pigment dots. Next I added contrast with a black stamp ink by adding stamped stars and numbers as well as stitching. I then clustered a few collage fodder pieces together (leaves and butterfly) and adhered those on place. I also had a few “diy vintage labels” left over, so I adhered a few onto the page. For finishing touches I added two sentiment stickers and created black areas with an acrylic marker and detailed those with a white gel pen.

This was a really fun one to make! Have you tried this idea of freely adding plenty of layers and seeing where the page takes you?
xxx, Sanna

Working with residue papers – Rubber Dance

Hello, today I´m sharing a card idea that started off from a piece of “waste” paper. I used the Doodle Flowers 2 and the Stitching Borders stamp sets with the Ornament 1 stencil to create this card.

I´ve also “hidden” some light stamping with Distress Oxide Inks and Mix It Up 7 and Mix It Up 5 stamp sets onto the background. This card started with a “waste paper” I brayered gelli printing residue ink onto. I also cleaned my used stencil with a baby wipe thru the Ornament 1 stencil onto this piece of paper. That way the beginning for this backgroud had started by accident in a way.

After cleaning my table I noticed how nice the paper looked like and decided to use it as a card background. I then went and used the Mix It Up 5 stamp set iwth various light Distress Oxide Ink colours to add details to the white areas. After that I grabbed some collage fodder flowers from my stash, added one to the card as a focal point and stamped the sentiment with Kartengrüße stamp set. For finishing touches I added the faux stitching with black ink and some glitter glue to the flower for detail.

I love to use this type of papers as a starting point and give them a new life as a card background, for example. I think this one turned out pretty nice. Have you tried this idea?
xx, Sanna

Rubber Dance – stamped mixed media birthday cards

Hello, it´s my turn to share a project over at Rubber Dance today. I am up with a set of cards, created using some of the new Rubber Dance stamps. For this card set I used the: Collage Leaves 3, Stitching Borders and Kartengrüße stamp sets. My starting point was a previously made, gelli printed collage paper. For that I had used the Sketchy Leaves 5 stencil.

I started by cutting the previously made collage paper (gelli print with Sketchy Leaves 5 stencil) in two halves. After that I took an additional residue collage paper piece and stamped with black ink and Collage Leaves 3 onto it. Next I fussy cut the images.

After that I arranged a German birthday sentiment onto an acrylic block and stamped with orange and green Distress Oxide inks onto the background collage paper. Then I added some golden pigment splatters to the backgrounds. Next I took the fussy cut leaves and adhered them onto the card bases. For finishing touches I added a stamped birthday sentiment in black and some stitching around the edges with brown Distress Oxide Ink.

Here is the process video for you to watch:

I hope you get inspired and create fun, stamped cards with the new Rubber Dance stamps!

Happy crafting,
Sanna

“Note to self” Art Journal Page process – Rubber Dance

Hello, it´s my turn to share a project over at Rubber Dance blog today. I am up with an art journal page share. For this page I used the Ornament 1 and Mini Textures 1 stencils. For stamping I used Doodle Flowers 2, Collage Leaves 3 and A to Z stamp sets. I wanted to create an inspirational page and this is what I came up with:

My starting point was the inked Ornament 1 stencil which I sprayed with water mist and then pressed onto the journal page. Next I blended two tones of pink Distress Oxide Ink around the edges and white areas. After that I took the darker pink tone and stamped some leaf patterns onto the inked area, followed with light grey stamping.

I had a green toned collage paper ready and stamped with Collage Leaves 3 stamp set and black ink some leaves onto it. After that I fussy cut them and was ready to adhere them to my journal page. On top of the leaves I added a few Doodle Flowers 2 collage fodder images that I had previously made.

Then I decorated with leaves with golden pigment details. Next I stamped some inspirational words into the middle with the Collage Leaves 3 stamp set. For finishing touches I added a hand stamped title using the rest of my collage paper and the A to Z stamp set.

I also recorded a process video for you to watch – hope you enjoy!

Have fun creating!!
xx, Sanna

Stenciled Xmas cards – Rubber Dance

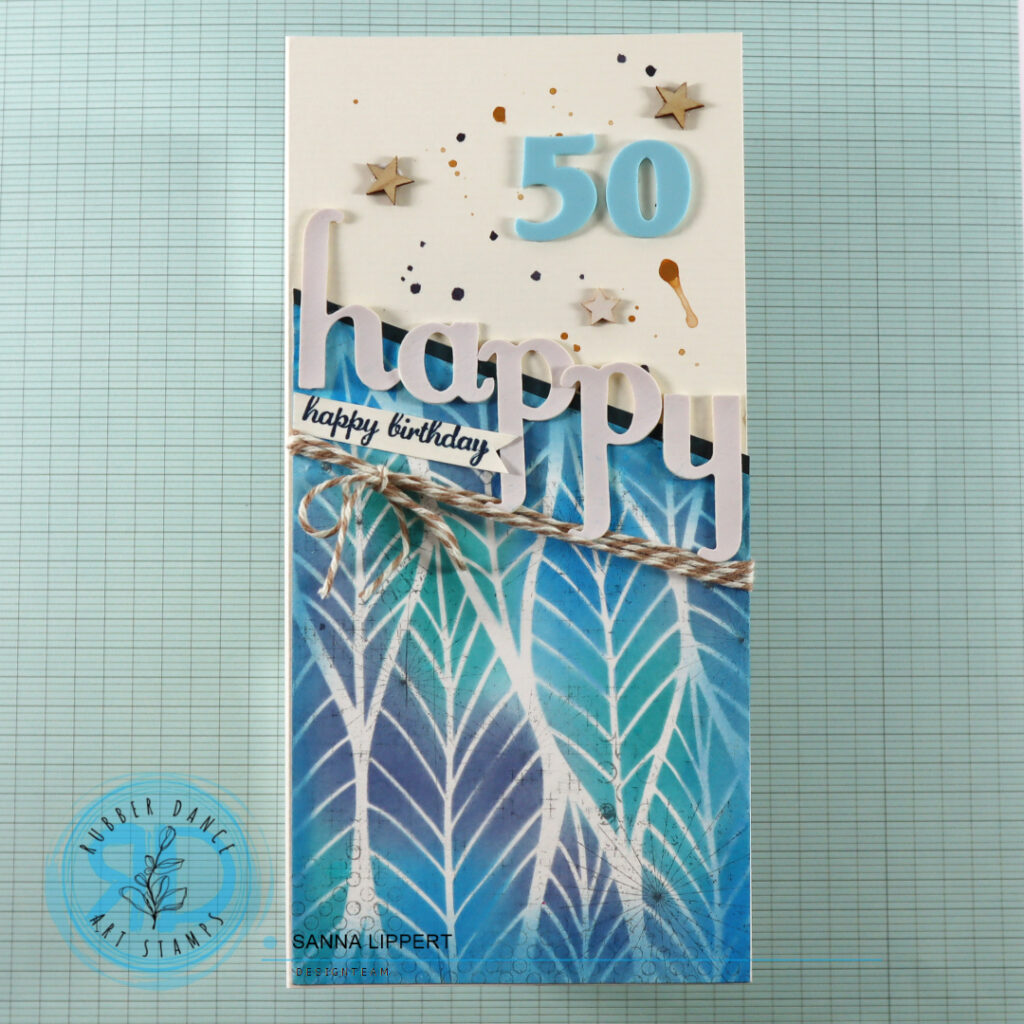
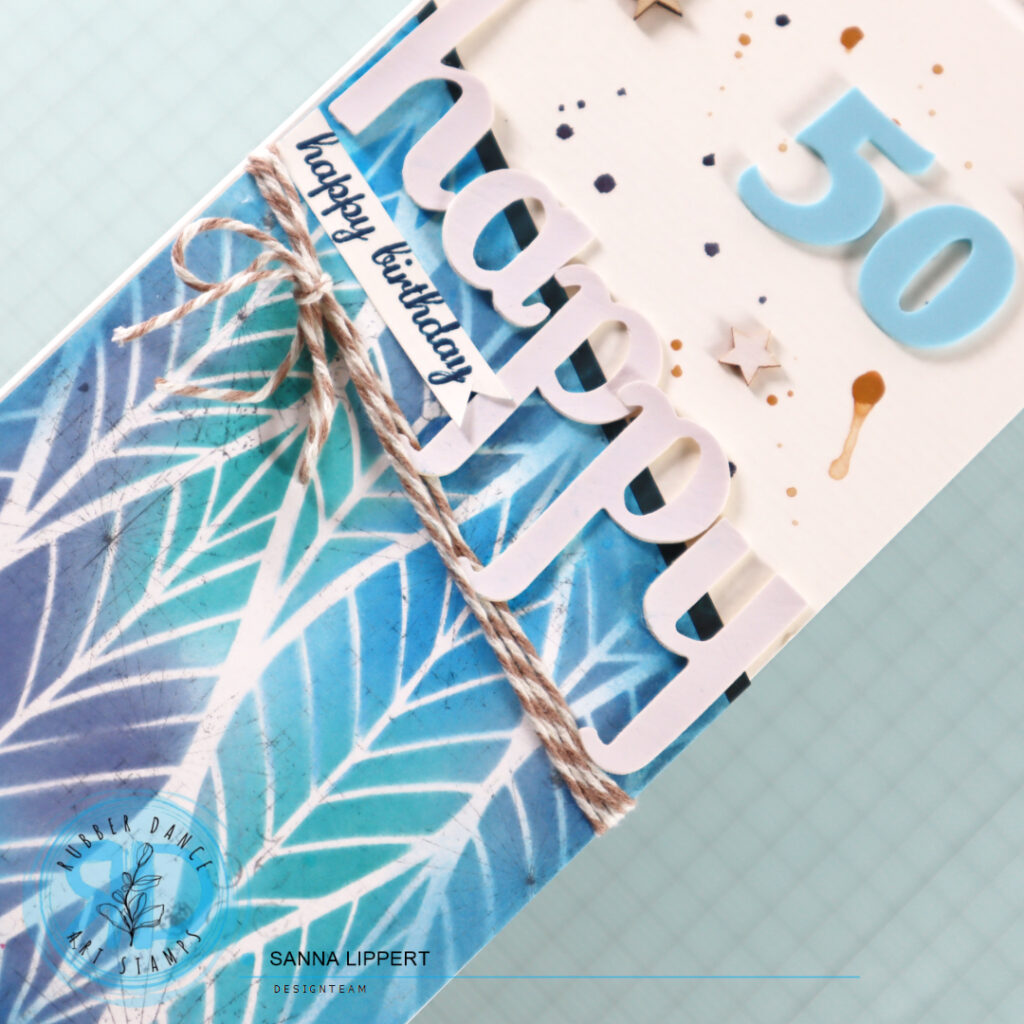
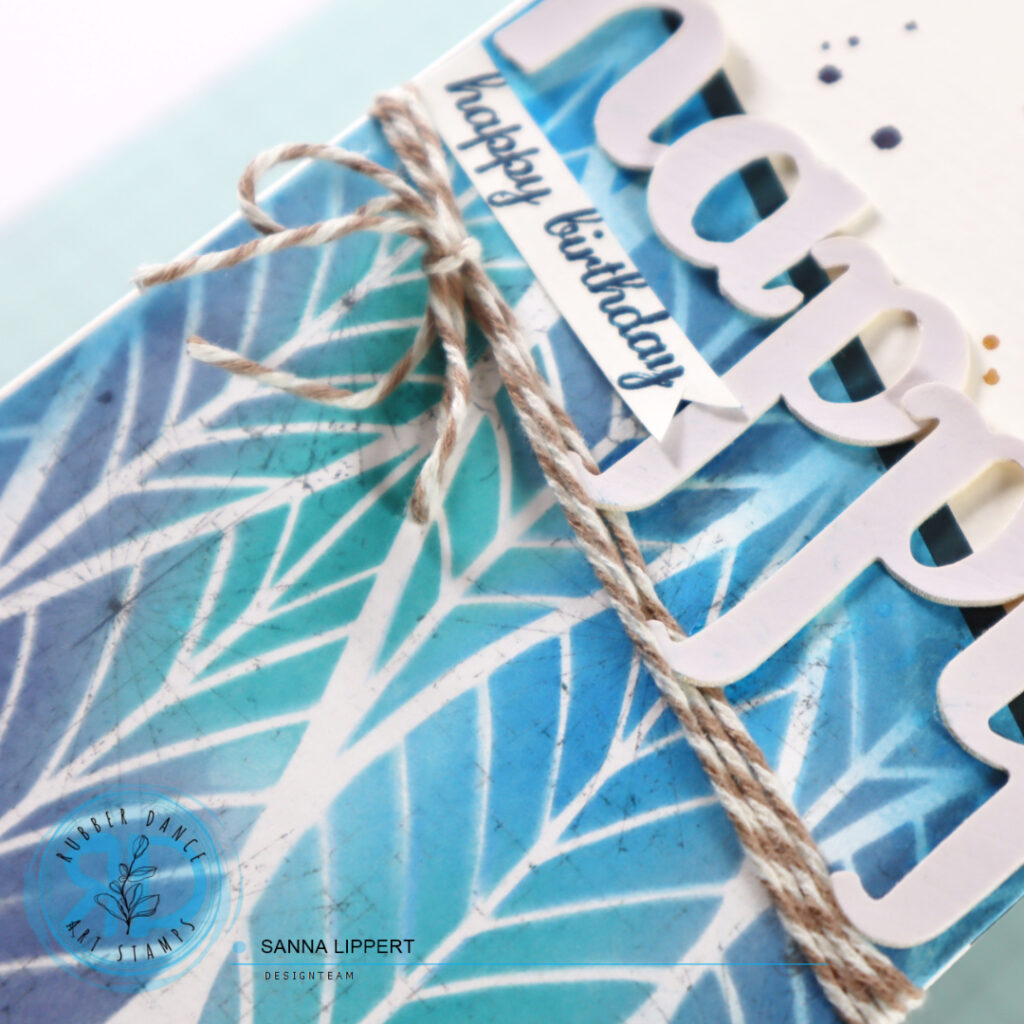
Hello, here is a set of stenciled Xmas cards I created using Rubber Dance products: Dotted stencil, Kartengrüße stamp set and Xmas Trees 2 stencil.

I used Distress Oxide in two tones for the background with the Dotted stencil. I started by inking the whole background with the first ink layer. After that I placed the Dotted stencil on top and added the second blue tone thru the stencil.

Next I took some Gansai Tambi Starry Colors golden pigment and added droplets to the background. After that I grabbed some Graphic45 Christmas papers and drew along the stencil tree patterns of the Xmas Trees 2 stencil with a black pen. Then I fussy cut the images and adhered them to the card.

For the sentiment I used the Kartengrüße stamp set with black ink. Next I stamped some stars to the treetops (Textured Xmas Trees 2 stamp set) and colored the stars with golden pigment. For finishing touches I also added some golden dots to the blue toned, fussy cut, trees. The ink tones I used for the backgrounds are: peacock feathers, speckled egg and salvaged patina.

Here is the video step-by-step:

I hope you like the card idea and create some fun stenciled Xmas cards too! Happy crafting,
xx, Sanna

Full Deck Challenge 42/2025 – feathers

Hello and happy Wednesday! Here is my take on the ShanoukiArt Full Deck Challenge 42/2025 – feathers.

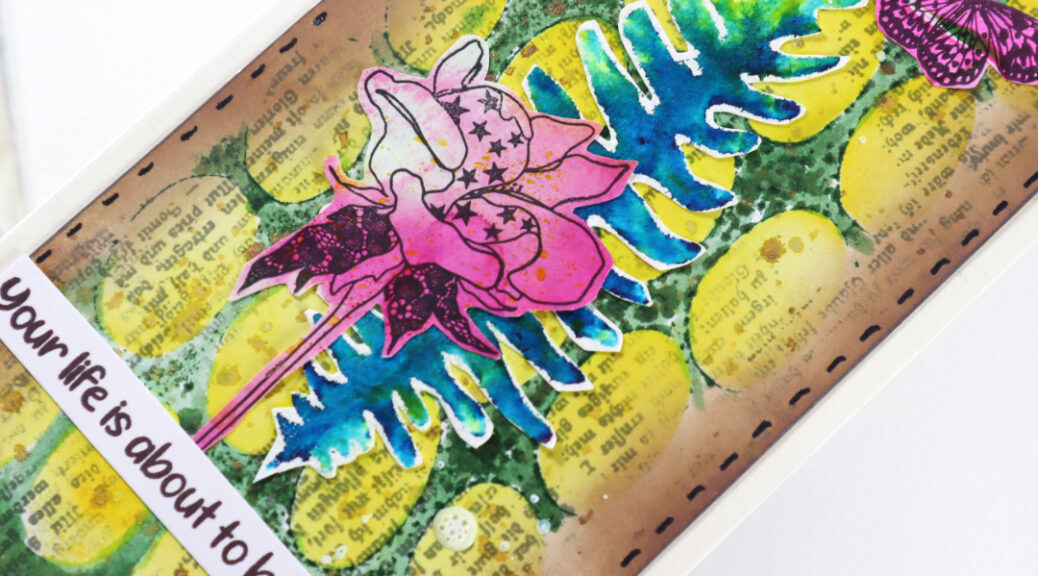
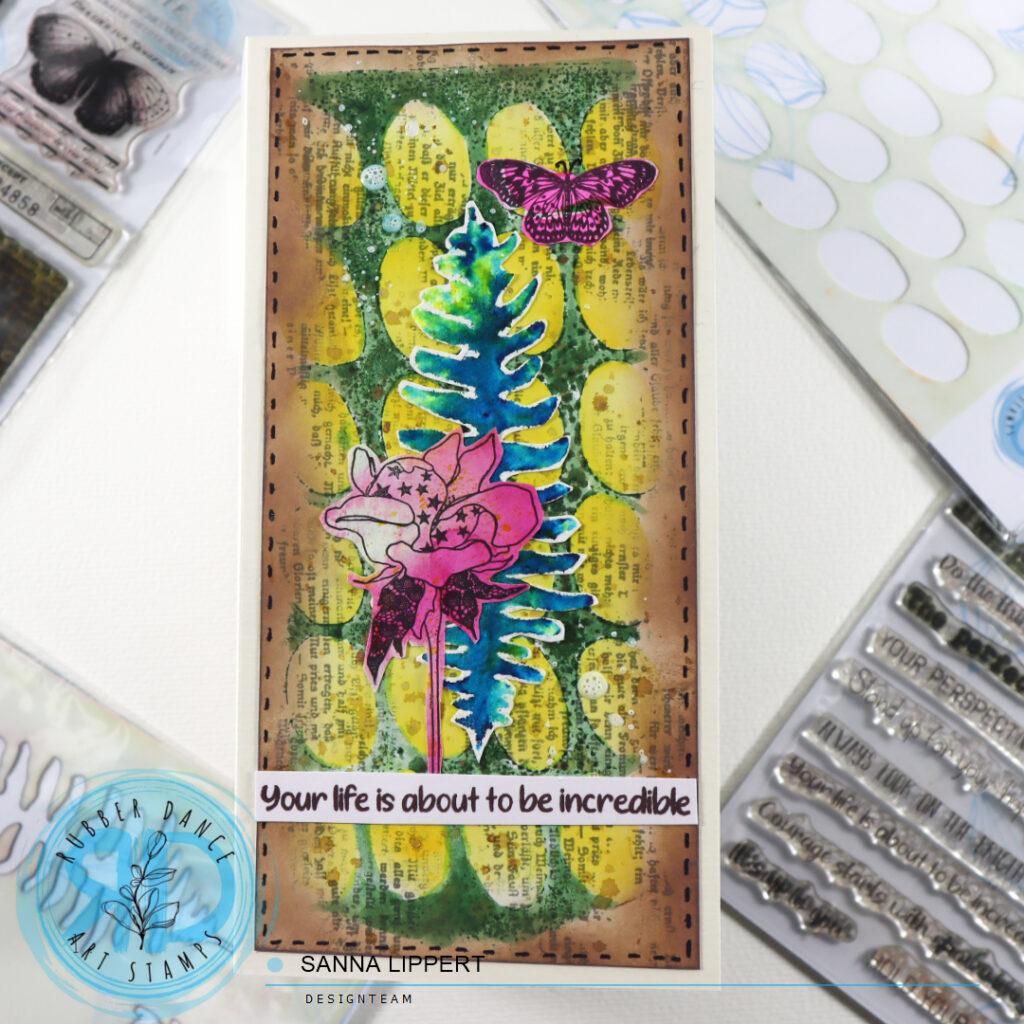
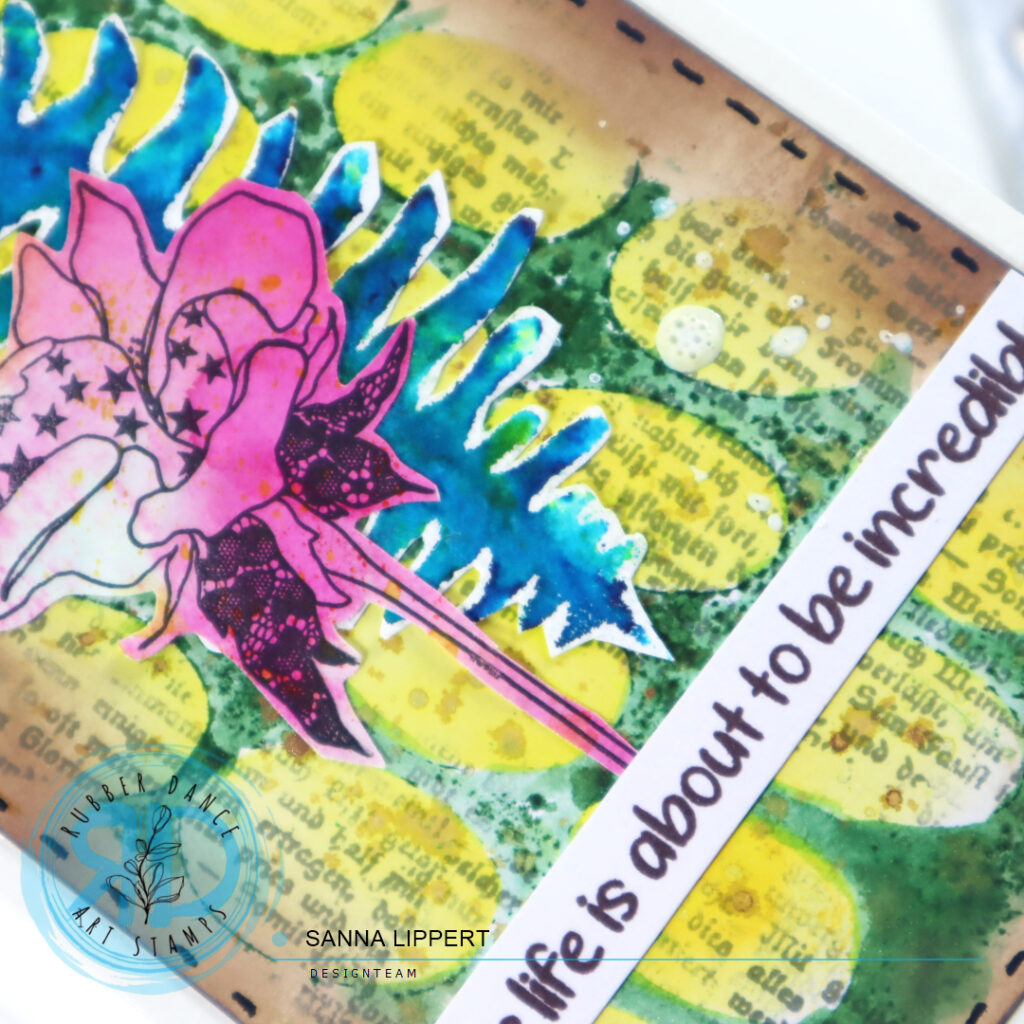
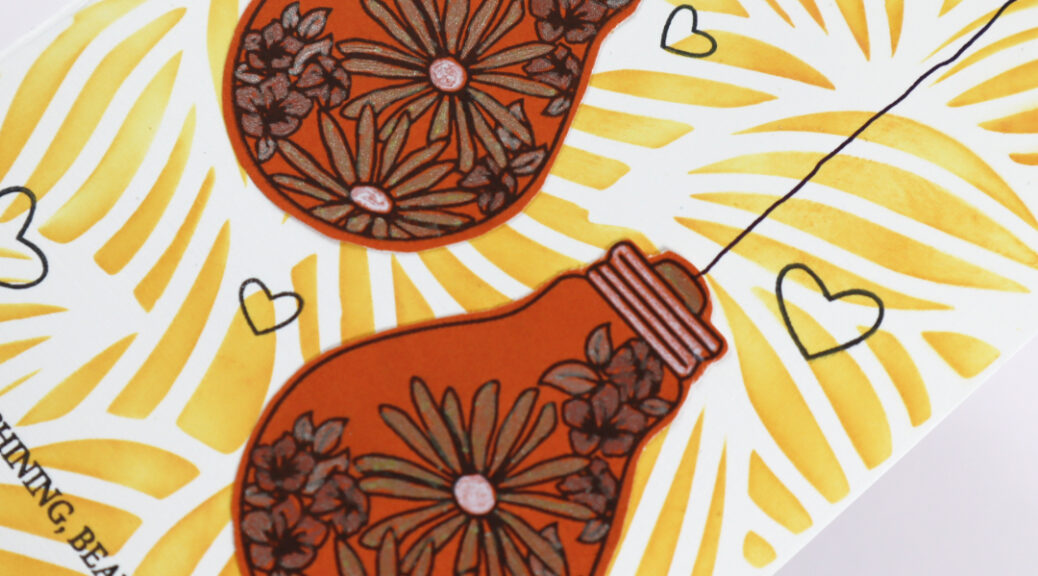
I started by using the plain orange paper (used it on my previous deck card too) on the background with an old book paper scrap. On top of that I added some Distress Oxide ink in walnut stain thru the new Rubber Dance stencil “Mini Textures 1“. Next I added a layer of Dina Wakley Gloss Spray in “marine”.

The feathers that I used as a focal point are from the previous deck cards collage paper bit. So in a way the feathers are also a carry over item. My constant is a date stamp. I also again added some stamped words and a button to finish the deck card. Here is the process video:

See you again next week with another take!
xx, Sanna

Masked card background with Rubber Dance products and Distress Oxide Inks

Hello, it´s my time to share a project over at Rubber Dance today. I am up with a masked card background idea and step-by-step tutorial. I used the new Sketchy Leaves 7 and Collage Leaves 3 for this card project.

I had a pile of previously made collage papers and I chose one of those as my starting point. The Sketchy Leaves 7 stencil pack has these lovely leaf masks in it and I wanted to use them to create some more depth to the background paper.

I started by placing the masks onto the paper and dabbing Distress Oxide Ink aged mahogany ink over them. After finishing this step, I removed the masks and added some water droplets to the paper. This lifted some of the ink off and created more interest. I also wanted the leaf patterns to stand out more from the background, so I outlined them with a black pen.

After finishing this step, I added droplets of golden pigment to the paper for additional shine. Then I just adhered the paper to a card base, added a collage fodder butterfly as a focal point. Next I stamped some sentiments to the leftover collage paper I had started the process with with black ink. This way I have the same colors going on the sentiments as well as the masked leaf patterns.

Here is a video step-by-step for more insight:

I hope you enjoy the inspiration and play a little! Have fun!
xx

Turn ink residue on a stencil into a fun card background!

Hello, I am up with a card project over at Rubber Dance blog today again. For this card I used the Leaves 2 stencil and Autumn Leaves and Mix It Up 7 stamp sets. I got this idea while creating the “Hello Fall” art journal page. I was left with a stencil that had ink residue on both sides of it. I didn´t want to waste the ink, so I used it for this card background.

I like the soft look of it. Remember, the Distress Inks I used were ripe persimmon, forest moss, peeled paint and mustard seed. Those are quite strong colors on their own. But the “second image” of them turned out very soft.

I again added some golden pigments onto the surface. Then stamped the brown image with Distress Oxide walnut stain tone for contrast. I had some watercolor style stamped Autumn Leaves left, so I created a focal point with them and a paper sunflower. A handwritten word added for sentiment and the card was done in no time.

Here is the full step-by-step for you to watch. Enjoy!

I hope you get inspired to play a little with Rubber Dance stencils!
Happy creating!
xx, Sanna

Fast and easy-to-do bird cards – Rubber Dance

Hello! It´s my turn to share a project over at Rubber Dance blog today. I have an easy-to-do set of cards up. I used the Mini Marks 1 stencil, the Textured Birds 2 and Weed Love stamp sets for these cards.

I started by stamping the birds onto a gelli printed paper and then fussy cutting them. After that I used the Mini Marks 1 stencil on the card backgrounds with Distress Oxide Inks (twisted citron and salvaged patina) and a blending tool. Next I stamped a “branch” to the card for the birds to sit on using the Weed Love stamp set. After adhering the birds onto place I added the stamped sentiments and a few hearts and stars to the cards.

Here is a short start-to-finish video for you to watch. Hope you like the idea!

If you have leftover gelli printed papers, try using them for creating coloful bird images next time. Then grab a stencil and you have a finished card created in no time!
Happy crafting,
xxx, Sanna
My soul is painted – Art journal page – Rubber Dance

Hello, it´s Sanna here today with a art journal process video. For this page I used the Stacked Ovals, Mini Marks 1 and Organic 2 stencils as well as Mix It Up 7, Round In Circles and Butterflies and Moths stamps.
I used plenty of Distress Oxide Inks on the background. First I inked the backround with “mustard seed”, then added “faded jeans” and “peacock feathers” thru the Stacked Ovals stencil. On top of that I applied some Marabu Metallic Liner thru the Mini Marks 1 stencil. I used the same stencil on a different area with Faber Castell Texture Gems media. When these layers were dry, I applied some “salvaged patina” with a blending tool onto the page.

Then I placed the Organic 2 stencil onto the page and applied “iced spruce” thru the stencil onto the background. After that I stamped some faces (Mix It Up 7 stamp set) with “abandoned coral” onto the background. Then using the same stamp set I added some black stamping on top. After that I added white Gloss Spray droplets all over the page.

I had some previously made gelli printed collage papers (made with Round in Circles stamp set) which I cut into circles and adhered them onto the page. Next to the circles, I adhered collage fodder made with Butterflies and Moths stamp set. I finished the page off with typewrite typed song lyrics.

I hope you liked watching the process and got inspired to create in your own journal. Happy crafting,
xxx, Sanna