Category Archives: RUBBER DANCE ART STAMPS

Full Deck Challenge 44/2025 – window

Hi there! This is my take on the ShanoukiArt Full Deck Challenge number 44: window.

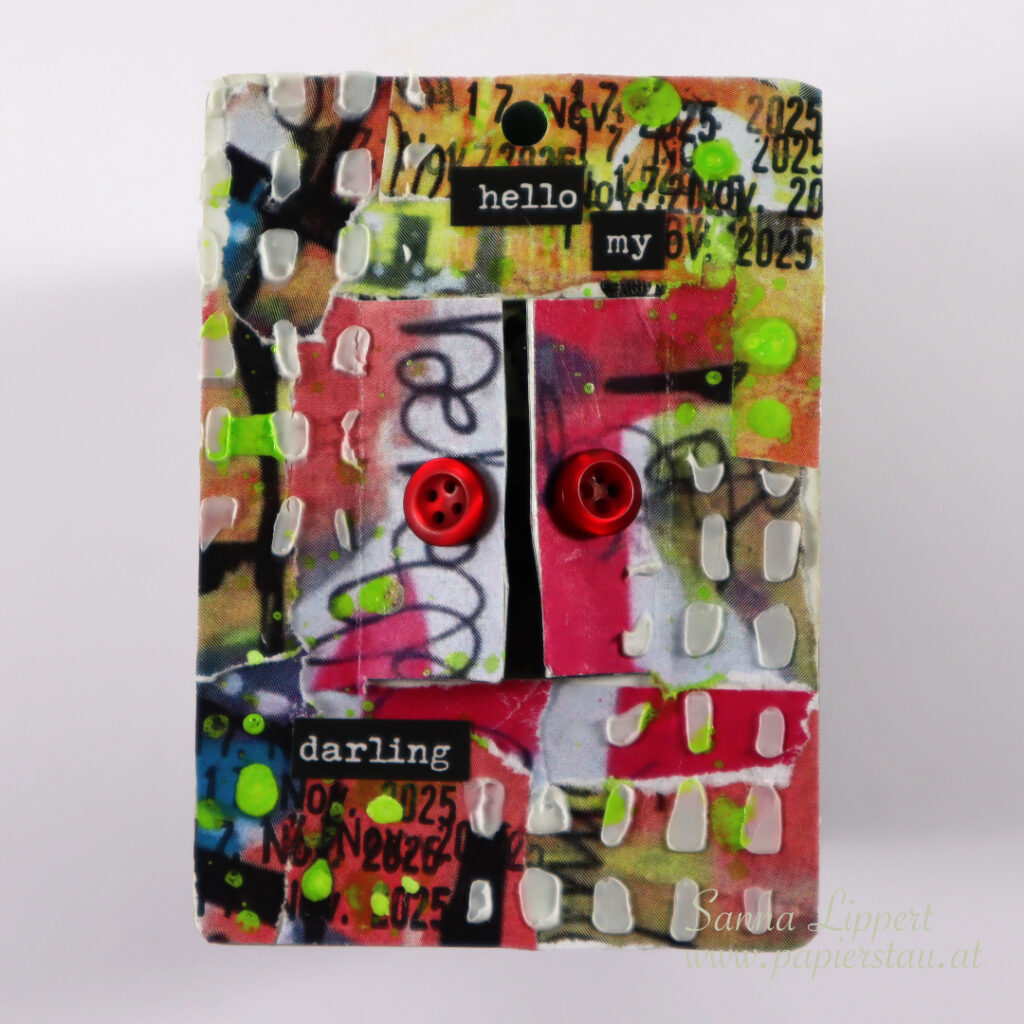
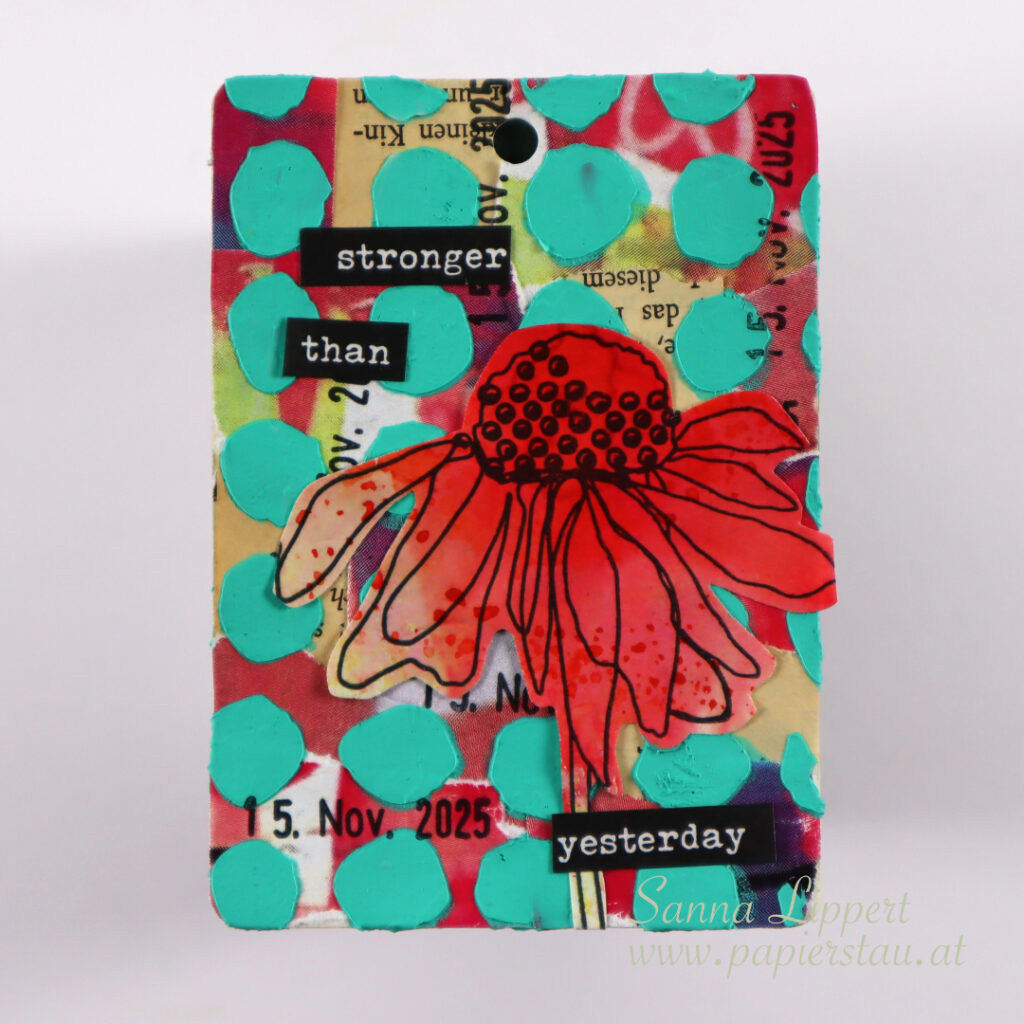
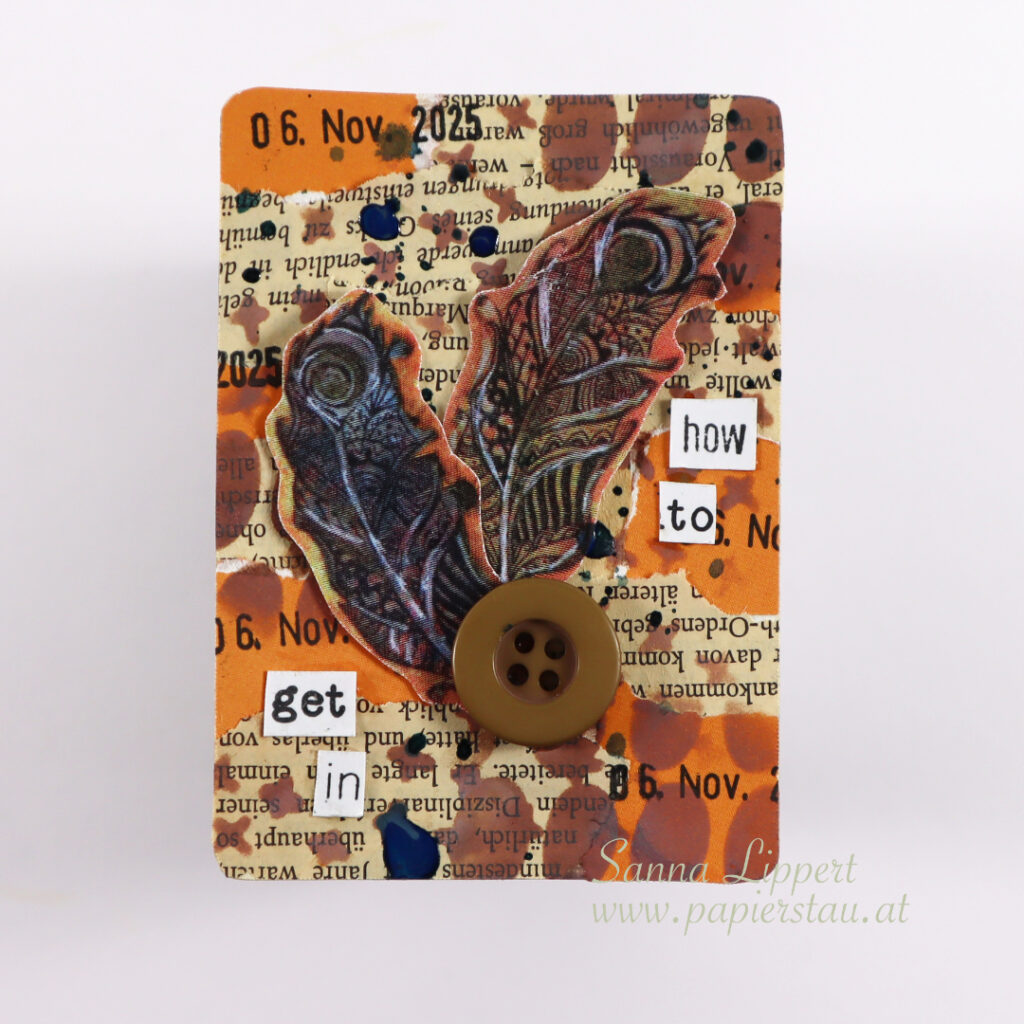
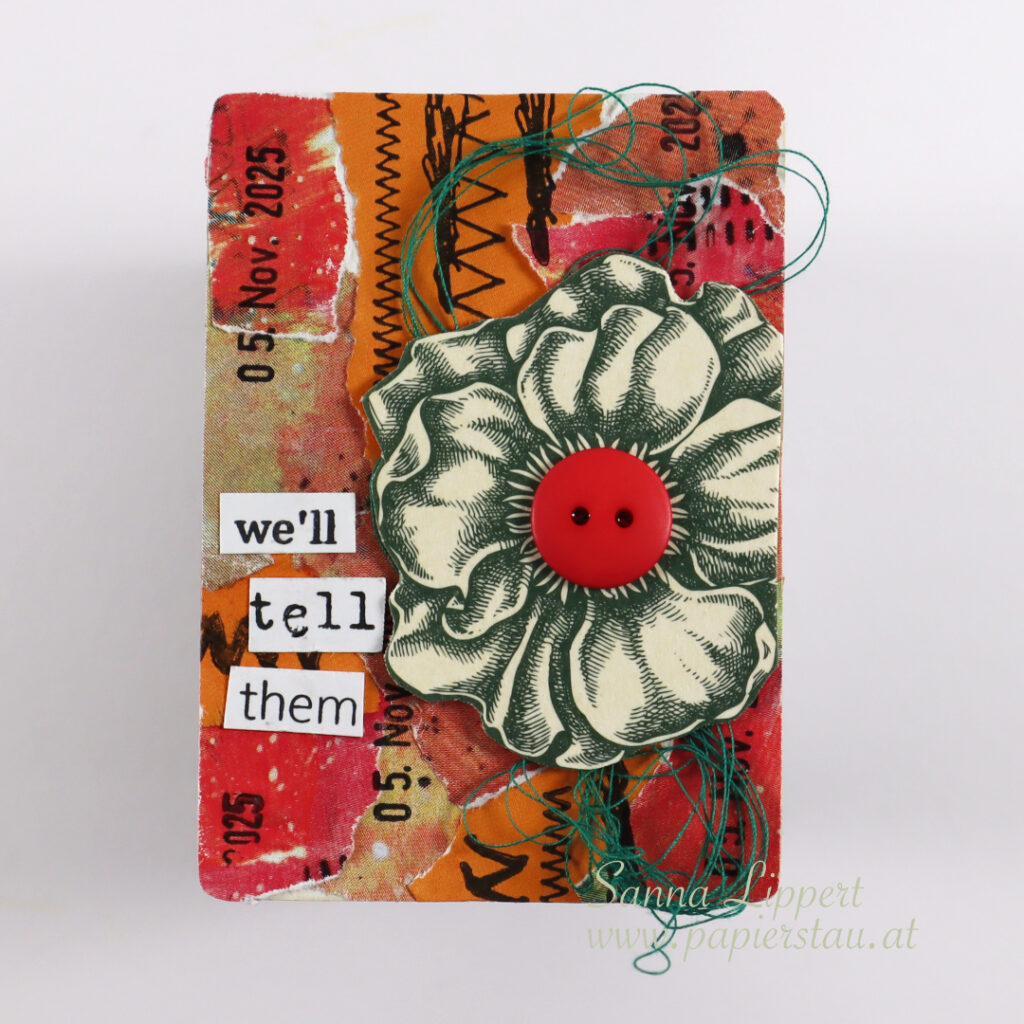
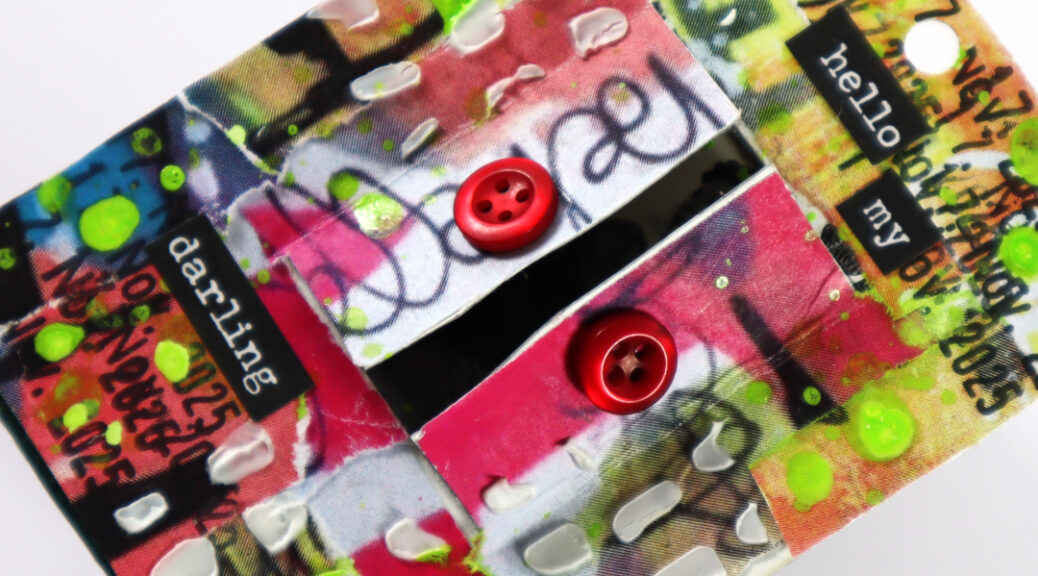
I used an exacto knife to cut a window onto the deck card. I then placed a vintage photo behind the window. After that I added some of the collage papers that I also used on my previous deck card (carry-over-item) and added some additional ones. All gifted to me by Yuna from Australia.

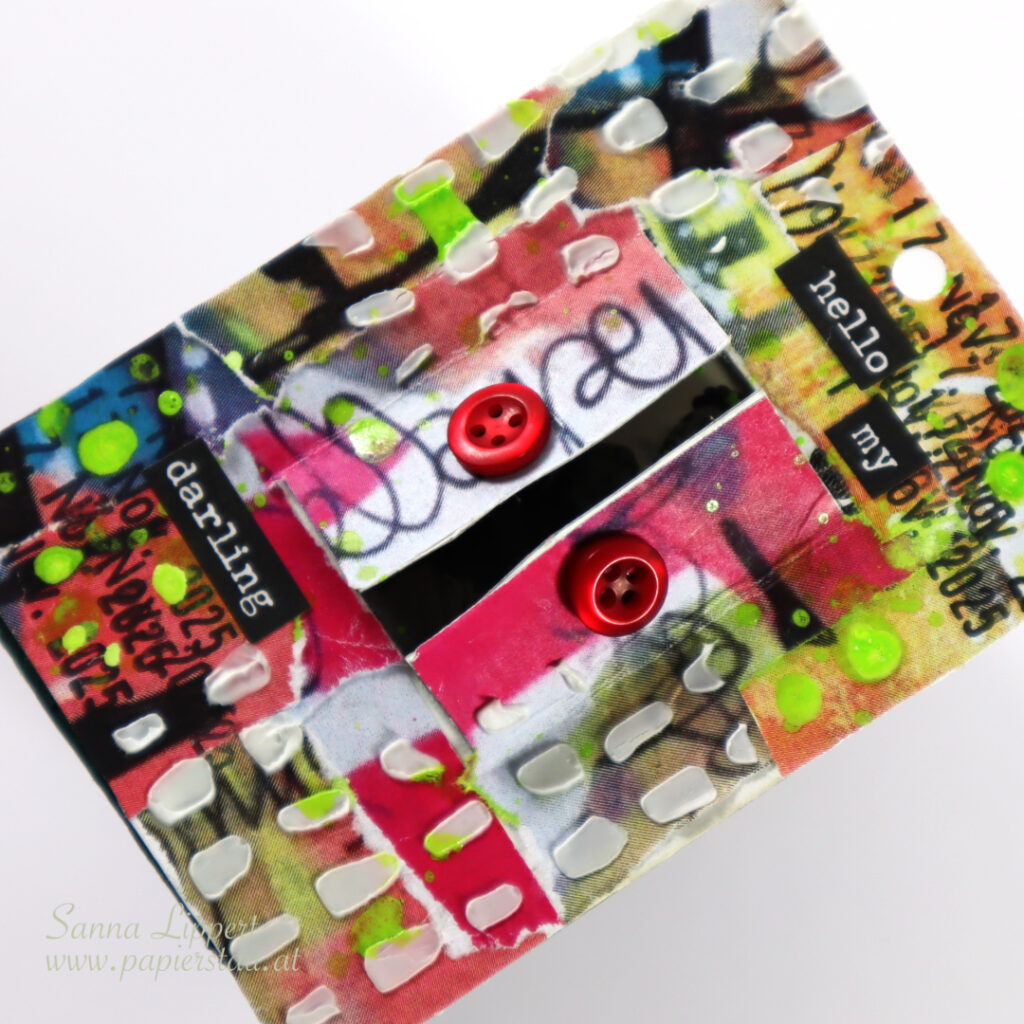
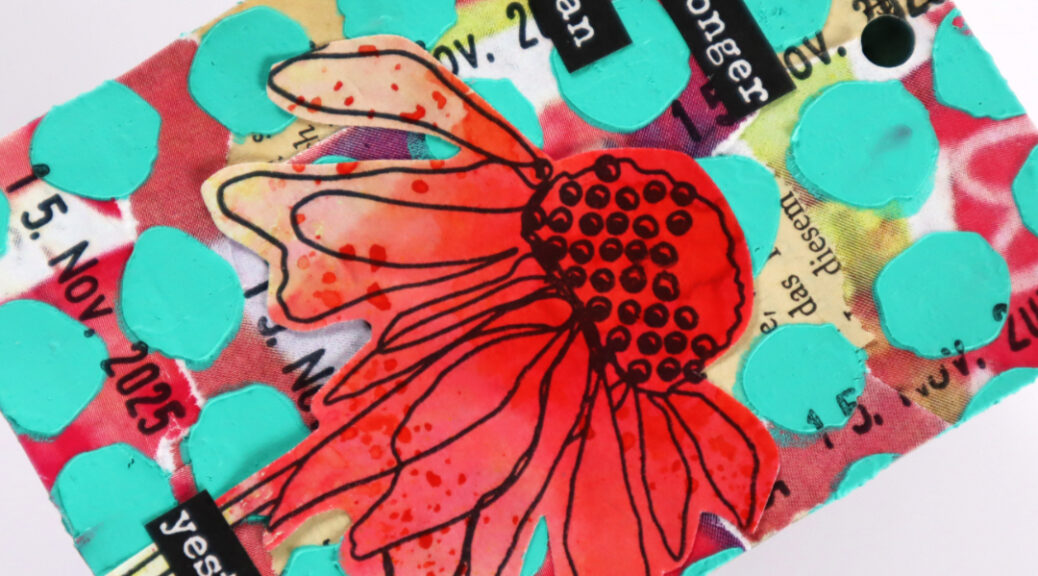
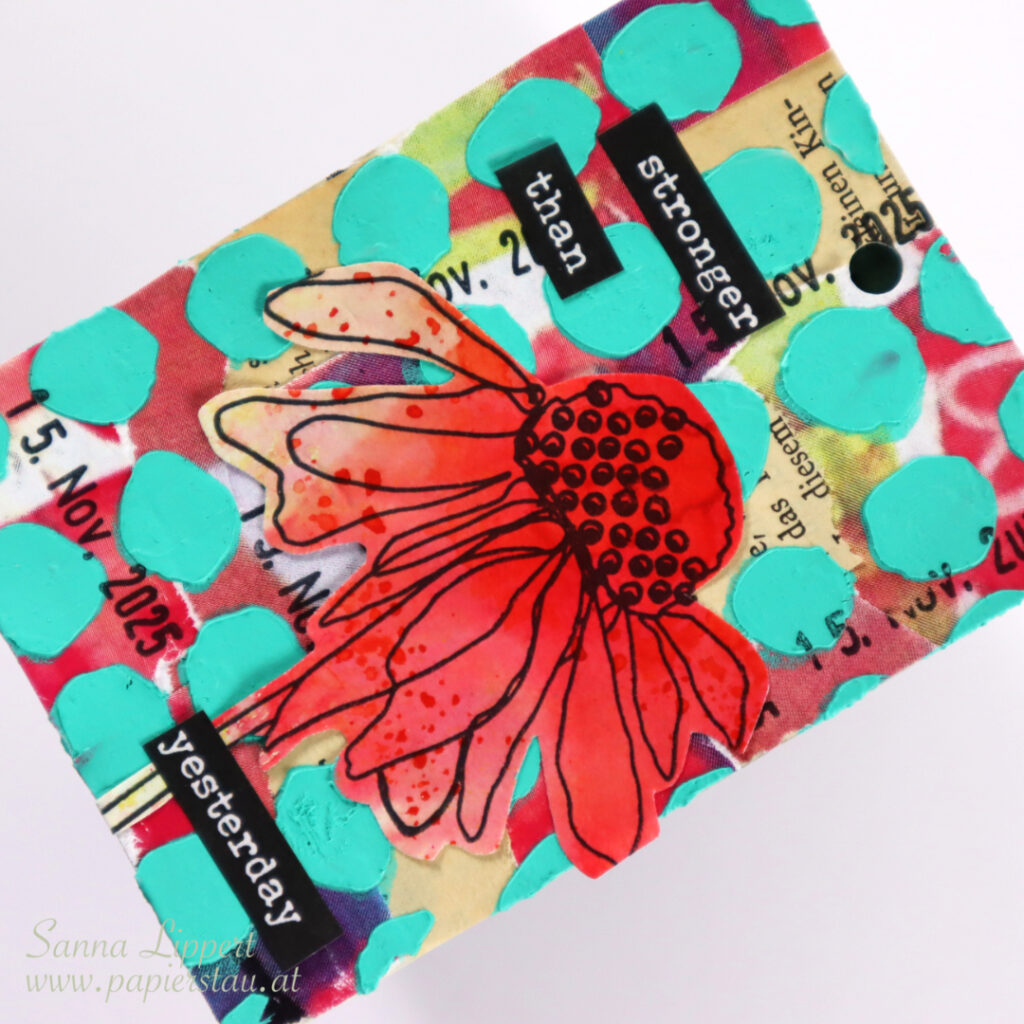
After adhering the collage papers on place, I added my constant, a date stamp here and there. After that some white modeling paste thru a Rubber Dance stencil. After that some Dina Wakley Gloss Spray as detail.

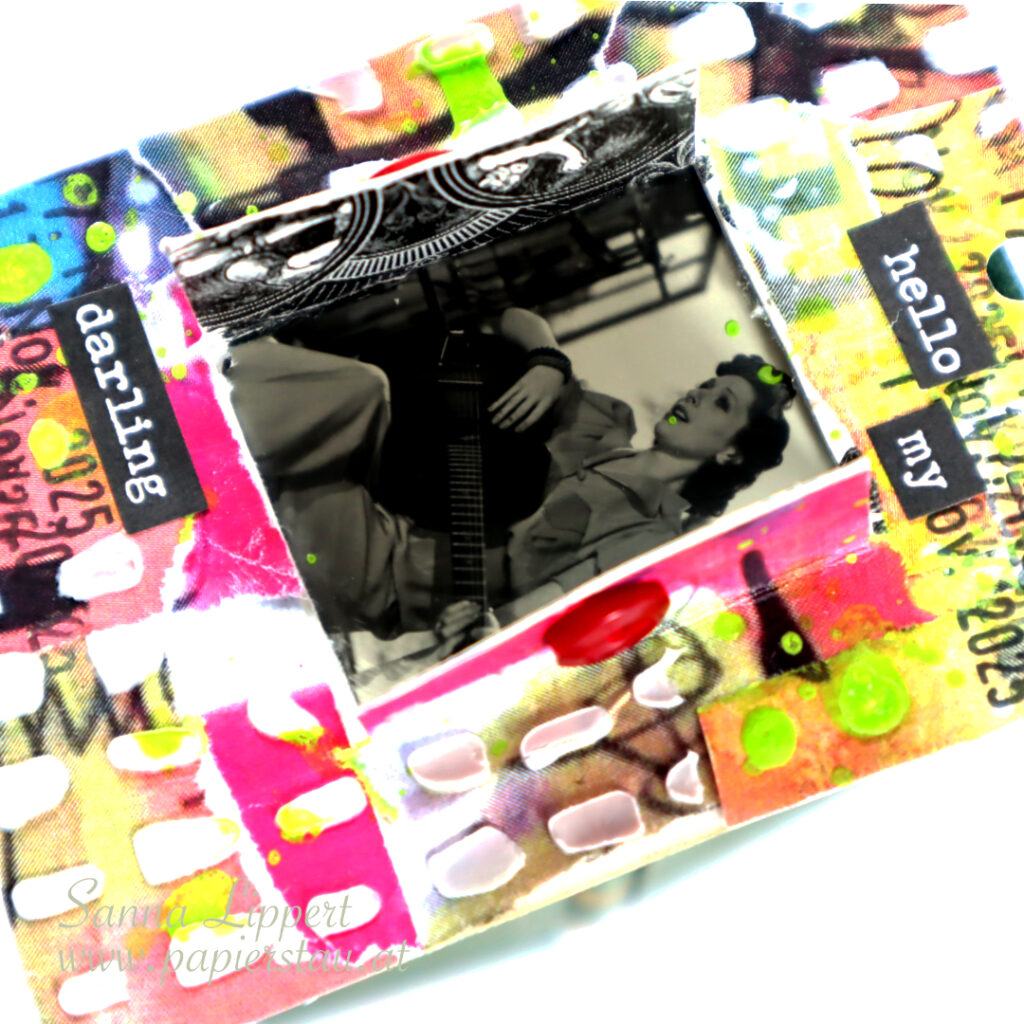
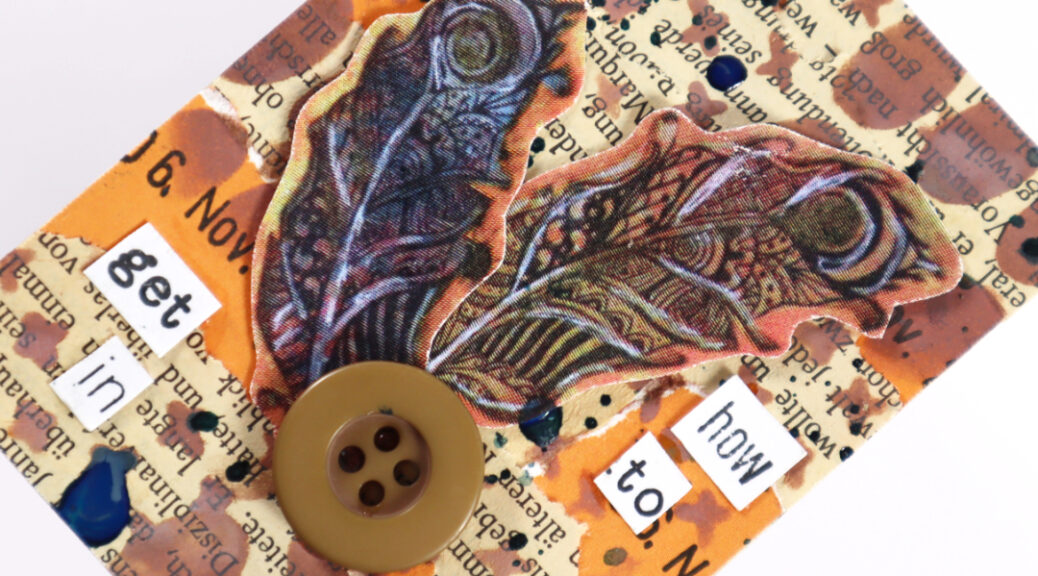
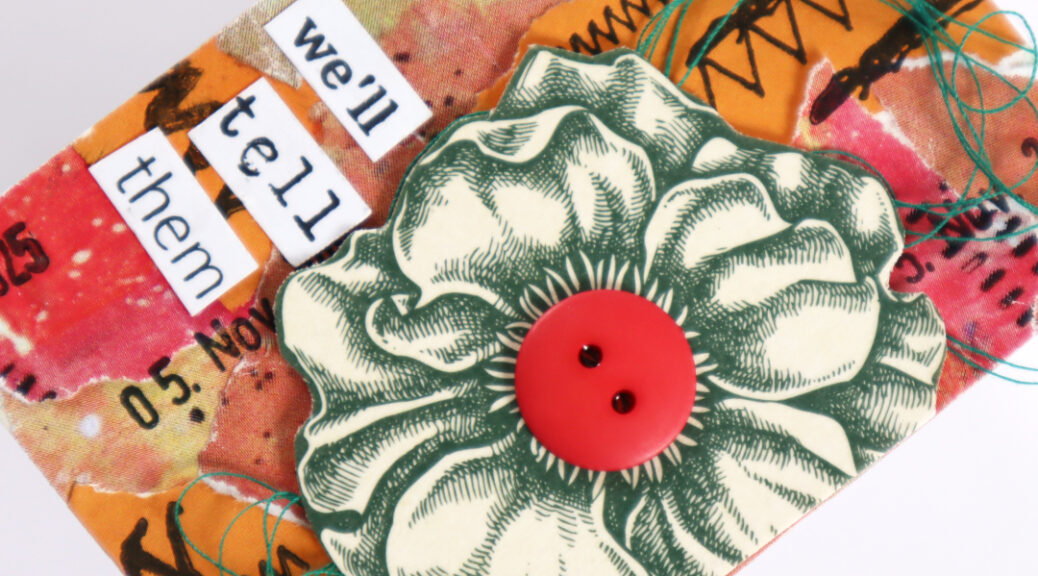
For finishing touches I added Tim Holtz word stickers and two red buttons for the window.

Here is the start-to-finish-video:

See you again next week with another FDC take!
xxx, Sanna

Quick stenciled Xmas card idea – Rubber Dance

Hello, it´s my turn to share a Rubber Dance project again. I am sharing a set of Christmas cards this time. I used the Xmas Trees 2 and the Stars 1 stencil for these cards. The idea is very simple, you just need some gelli printed collage papers as a starting point.

I have quite a pile of collage papers that I´ve created with Rubber Dance stamps and stencils during the past year. This pile is a great starting point to any kind of project, basically. Here I´ve used gelli printed images that I created using the Textured Xmas Trees 2 stamp set. Next I took a glitter paste and applied it thru the Stars 1 stencil onto the paper.

After cutting the paper into size, I wripped the bottom part of the paper. The “unclean” line add more interest to the card.

After that I took another collage paper (created with Marks 2 and Marks 3 stencils and bold colors) and placed the Xmas Trees 2 stencil on top. I then traced the tree patterns with a black pen onto the paper and fussy cut the trees.

I then took a piece of white paper and stamped Christmas wishes with black ink and Kartengrüße stamp set. Cut into size and adhered to the card and the card set was done in no time.
Here is step-by-step video, too:

Have fun creating with collage papers and adding details with stencils!
xx, Sanna

Full Deck Challenge 43/2025 – circles

Hello, this is my take on the ShanoukiArt Full Deck Challenge 2025, number 43: circles.

I again used Yuna´s collage papers and my carry over item – bits of old book paper – on the background. On top I mixed white modeling paste with Dina Wakley heavy body paint in turquoise and stenciled it thru a Rubber Dance circle stencil onto the deck card.

In between the stenciled pattern, I stamped my constant, the date stamp images. For decor I added a premade collage flower (stamp by Rubber Dance) and some word stickers (Tim Holtz).

Here is the start-to-finish-video:

See you again next week for another FDC take!
xx, Sanna

Full Deck Challenge 42/2025 – feathers

Hello and happy Wednesday! Here is my take on the ShanoukiArt Full Deck Challenge 42/2025 – feathers.

I started by using the plain orange paper (used it on my previous deck card too) on the background with an old book paper scrap. On top of that I added some Distress Oxide ink in walnut stain thru the new Rubber Dance stencil “Mini Textures 1“. Next I added a layer of Dina Wakley Gloss Spray in “marine”.

The feathers that I used as a focal point are from the previous deck cards collage paper bit. So in a way the feathers are also a carry over item. My constant is a date stamp. I also again added some stamped words and a button to finish the deck card. Here is the process video:

See you again next week with another take!
xx, Sanna

Full Deck Challenge 41/2025 – zig zag

Hello and happy Sunday! I am a bit late posting this one, but we had been on a lovely vacation and then work got the best of me.. Anyways, here is my take on the 41/2025 FDC for “zig zag”.

I got really lucky for this theme, because I had just received my Rubber Dance order in the mail and it had this new stamp set, full of zig zag patterns!! So I immediately wanted to use this for the deck card. I started with some of the paper from my previous deck card (but only used the plain orange bits and saved the feathers). To that I added some additional collage paper in red (gifted to me by Yuna) and some plain orange paper. After adhering them to the deck card – which I by the way always sand – I then added some black stamping with the Rubber Dance Stitching Borders stamp set. After that I grabbed my constant – the date stamp for more detail.

I had saved some tea bag packaging (looove the inside of it!!!) and fussy cut the flower as a centerpiece. Added some yarn to go with the flower and a button into the middle. Then some Rubber Dance stamped words and the deck card was done. Here is also the video for you to watch. Enjoy!

See you next week with another FDC deck card take!
xx, Sanna

Masked card background with Rubber Dance products and Distress Oxide Inks

Hello, it´s my time to share a project over at Rubber Dance today. I am up with a masked card background idea and step-by-step tutorial. I used the new Sketchy Leaves 7 and Collage Leaves 3 for this card project.

I had a pile of previously made collage papers and I chose one of those as my starting point. The Sketchy Leaves 7 stencil pack has these lovely leaf masks in it and I wanted to use them to create some more depth to the background paper.

I started by placing the masks onto the paper and dabbing Distress Oxide Ink aged mahogany ink over them. After finishing this step, I removed the masks and added some water droplets to the paper. This lifted some of the ink off and created more interest. I also wanted the leaf patterns to stand out more from the background, so I outlined them with a black pen.

After finishing this step, I added droplets of golden pigment to the paper for additional shine. Then I just adhered the paper to a card base, added a collage fodder butterfly as a focal point. Next I stamped some sentiments to the leftover collage paper I had started the process with with black ink. This way I have the same colors going on the sentiments as well as the masked leaf patterns.

Here is a video step-by-step for more insight:

I hope you enjoy the inspiration and play a little! Have fun!
xx

A set of mixed media cards with a process video

Hello, I have a mixed media card set share for you today. For these cards I used the Sketchy Leaves 5 stencil, Sketchy Flowers #3, Mix It Up 5 and Butterflies and Moths stamps.

I started off by applying modeling paste thru the Sketchy Leaves 5 stencil directly onto the card base. After that I used ocker and light green paints to add the first layer of paint to the card. I then wiped some of the paint off the stenciled areas with a baby wipe.

Next I added black stamping with the Mix It Up 5 stamp set. First onto the stenciled leaves, then slightly next to it. After that I added golden pigment splatters to the background. For finishing touches I added a stamped butterfly and sentiment.

Here is a process video for you to watch:

I hope to have inspired you with this card set tutorial! Have fun creating! Hop over to Rubber Dance store and purchase a stamp set of a stencil. It will support a small business to survive these crazy tax times!
xxx, Sanna

“Be You” Art Journal page and process video

Hello, I am sharing an art journal page with a process video today. For this page I used the Sketchy Leaves 5 and Leaves 2 stencils and Loose Florals 2024, Mix It Up 5, Mixed Sentiments 1 and Butterflies and Moths stamp sets.

I started by stenciling modeling paste onto the page thru the Sketchy Leaves 5 stencil. I then used Texture Gems clear paste with the Leaves 2 stencil. After the pastes were dry, I applied ocker and light green paint on top. After that I stamped with the Mix It Up 5 stamp over the stenciled areas very randomly. After that I added some Loose Florals 2024 stamped leaves and flowers to the background.

Then I took a heavy body paint in apricot and added highlights with it. Next I used my fingers and a baby wipe to apply some dark green paint for contrast. I also removed some of the paint from the stenciled areas to make them stand out more.

After applying the paint, I used golden pigments to add droplets to the darker areas. Finally, I created a cluster with stenciled and pasted fussy cut leaves and a Butterflies and Moths butterfly. For finishing touches I added some stamped words using the Mixed Sentiments 1 stamp set.

Here is the process video with all the steps:

I hope you enjoyed watching the video and got inspired! Do stop by the Rubber Dance store and purchase a product or two. These days with high taxes, every purchase goes towards keeping a small business alive!

Happy crafting,
xx, Sanna

Turn ink residue on a stencil into a fun card background!

Hello, I am up with a card project over at Rubber Dance blog today again. For this card I used the Leaves 2 stencil and Autumn Leaves and Mix It Up 7 stamp sets. I got this idea while creating the “Hello Fall” art journal page. I was left with a stencil that had ink residue on both sides of it. I didn´t want to waste the ink, so I used it for this card background.

I like the soft look of it. Remember, the Distress Inks I used were ripe persimmon, forest moss, peeled paint and mustard seed. Those are quite strong colors on their own. But the “second image” of them turned out very soft.

I again added some golden pigments onto the surface. Then stamped the brown image with Distress Oxide walnut stain tone for contrast. I had some watercolor style stamped Autumn Leaves left, so I created a focal point with them and a paper sunflower. A handwritten word added for sentiment and the card was done in no time.

Here is the full step-by-step for you to watch. Enjoy!

I hope you get inspired to play a little with Rubber Dance stencils!
Happy creating!
xx, Sanna