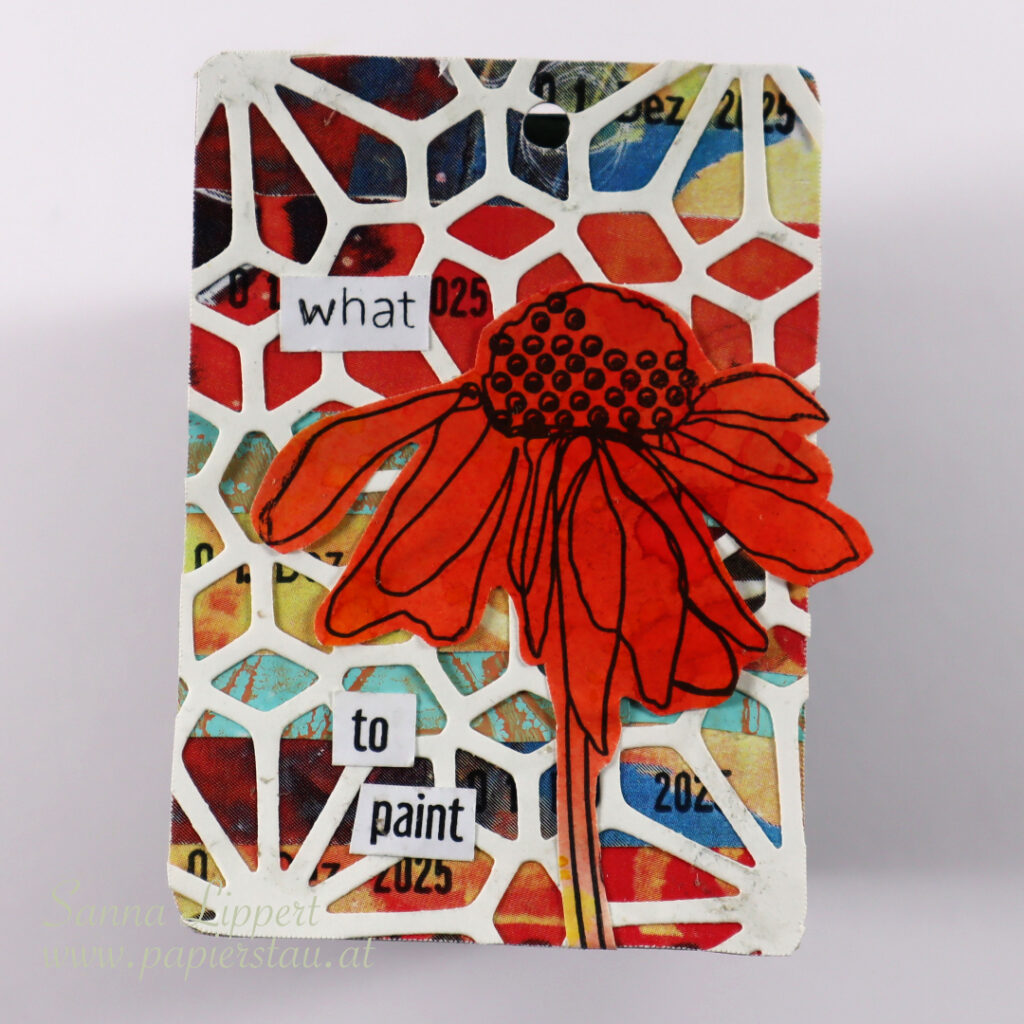
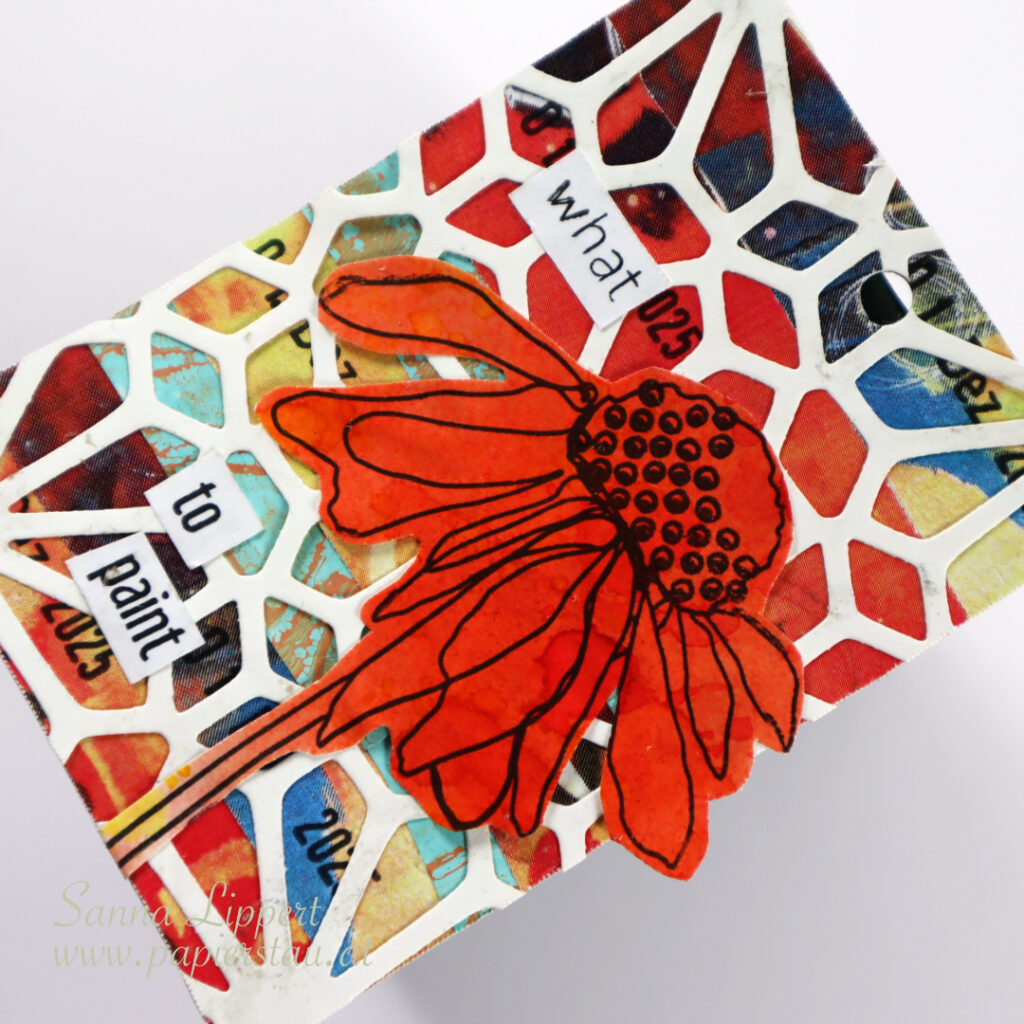
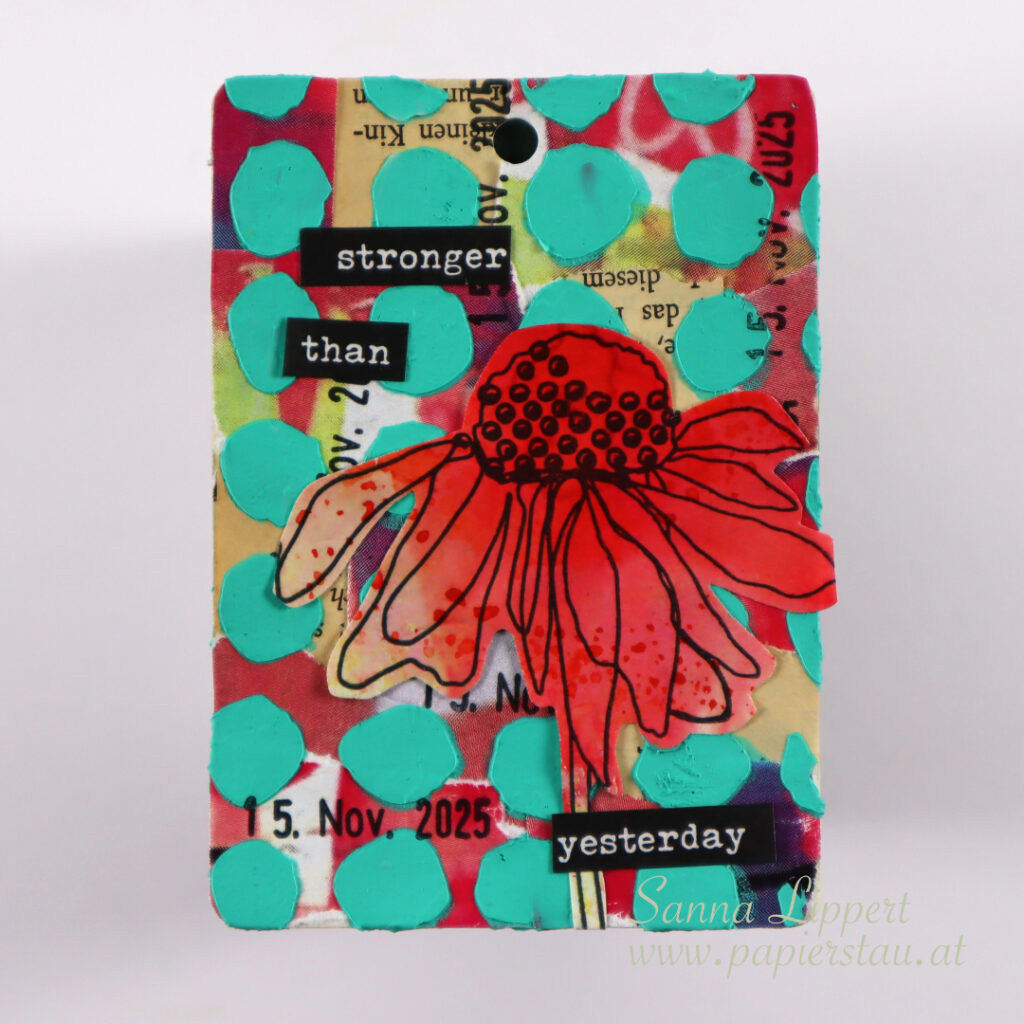
Tag Archives: Doodle Flowers 2 stamp set

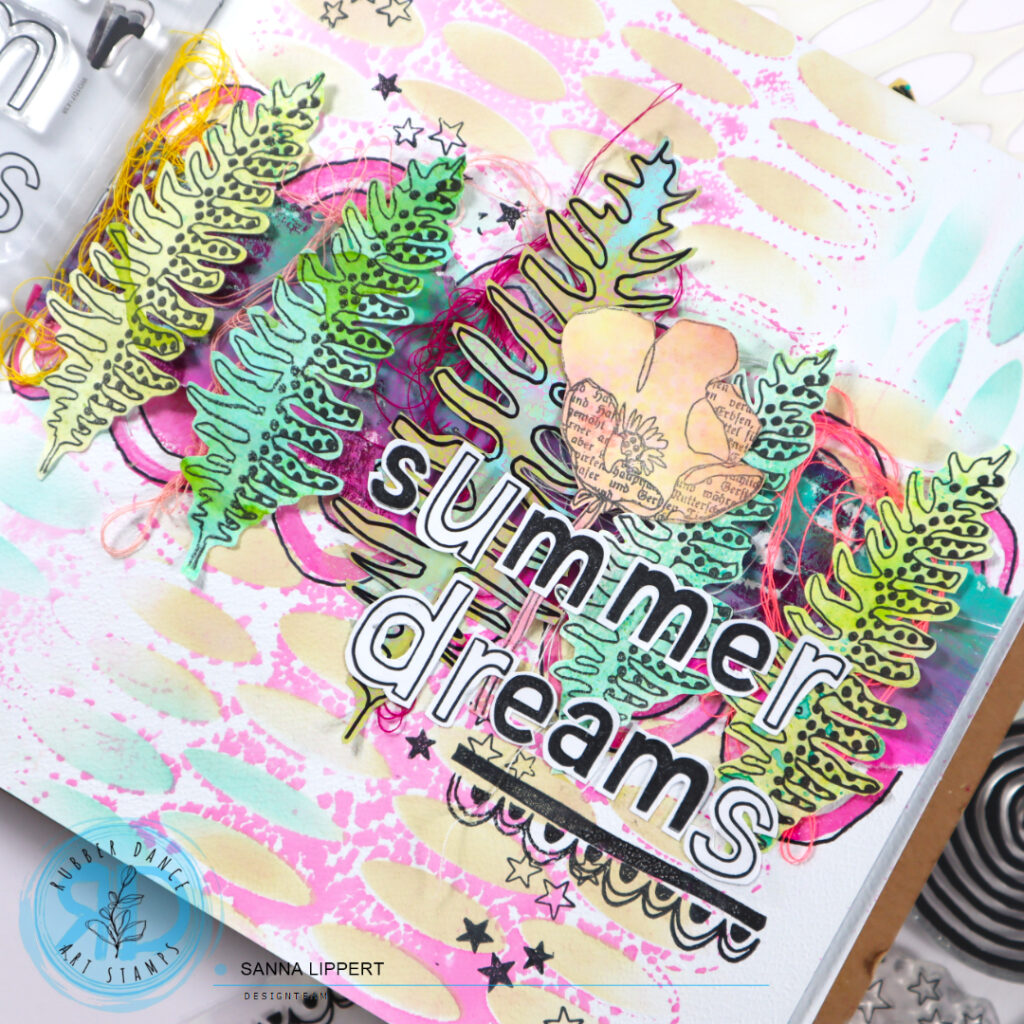
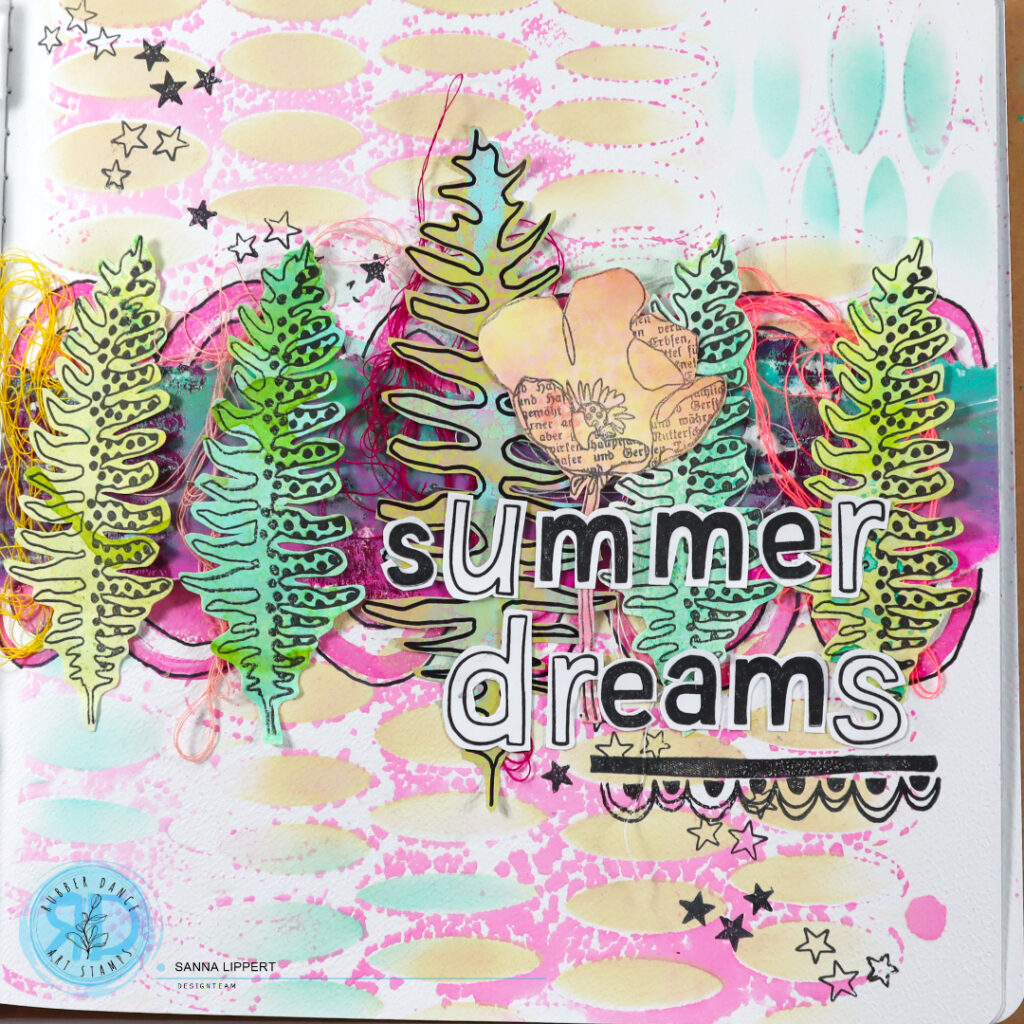
Summer Dreams Art Journal page – Rubber Dance

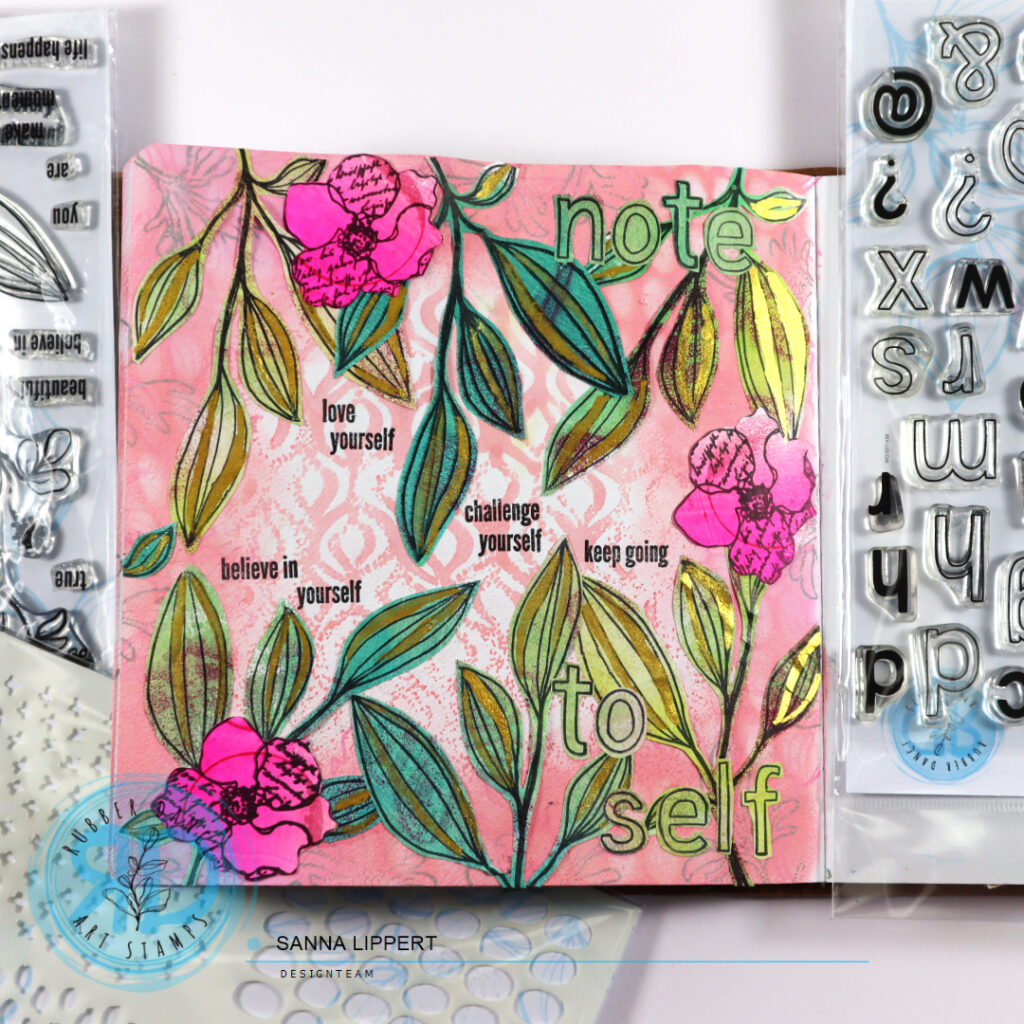
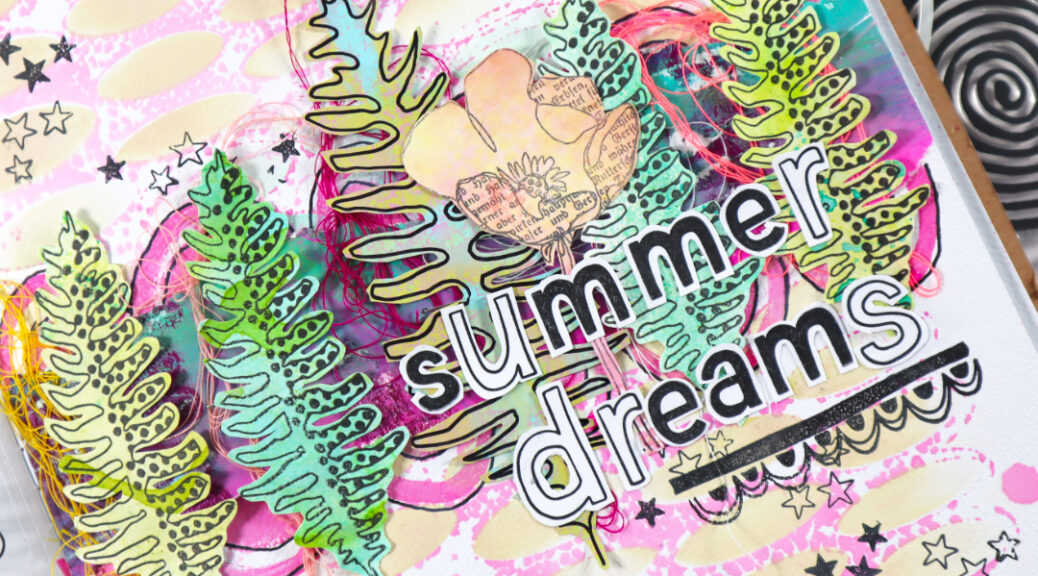
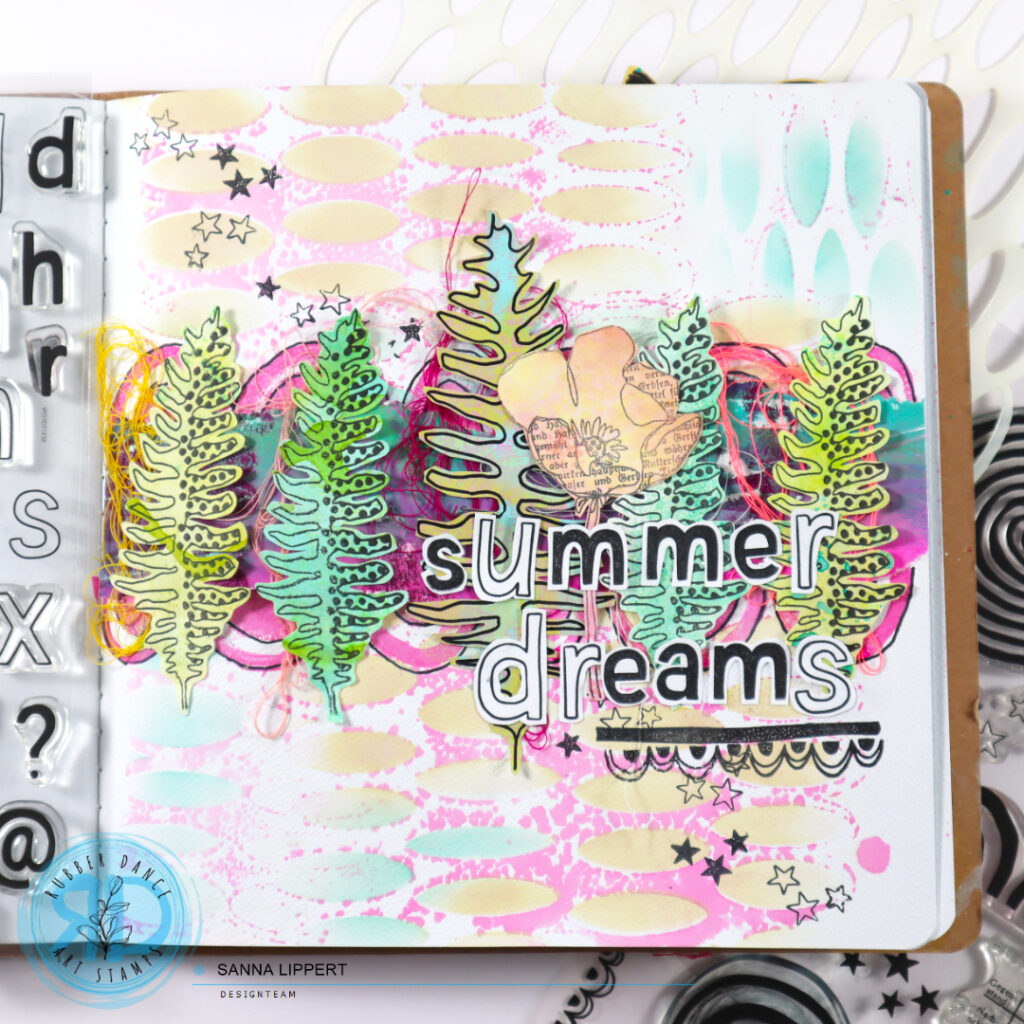
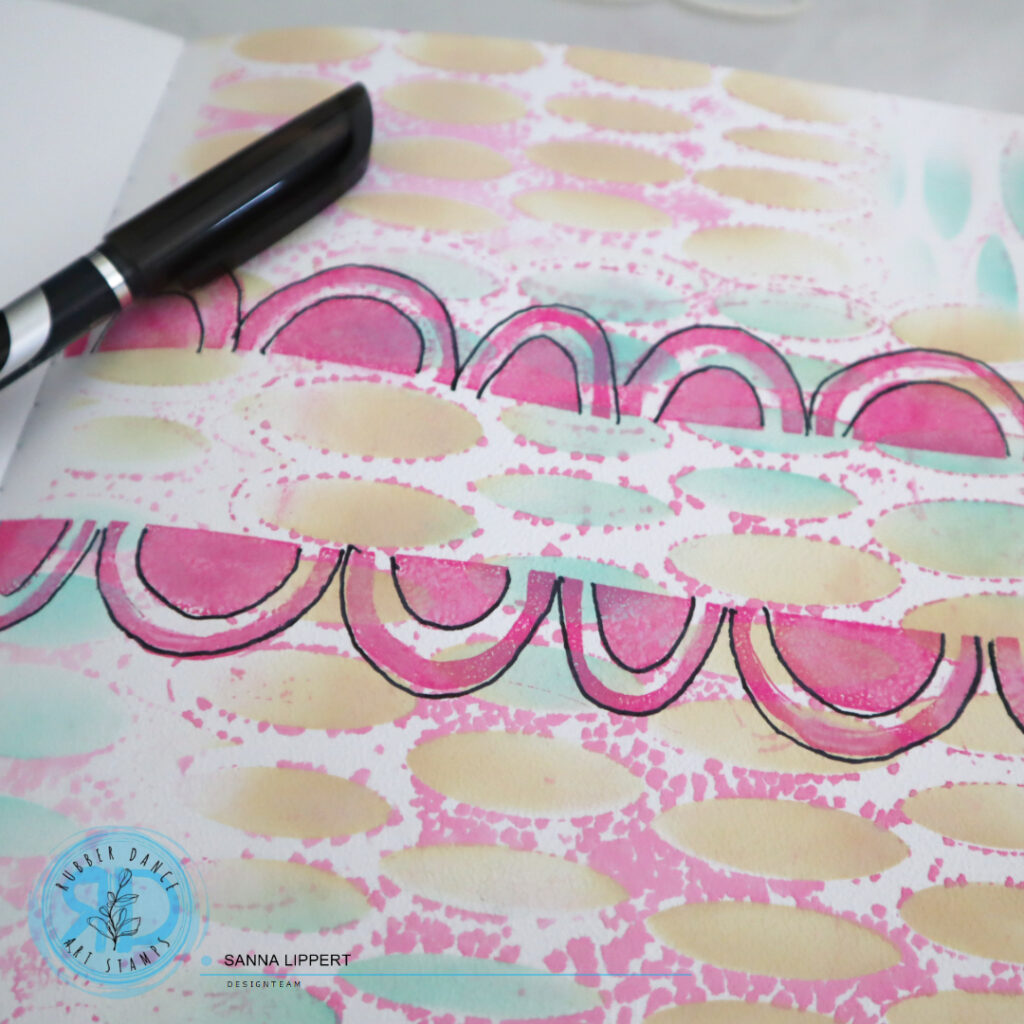
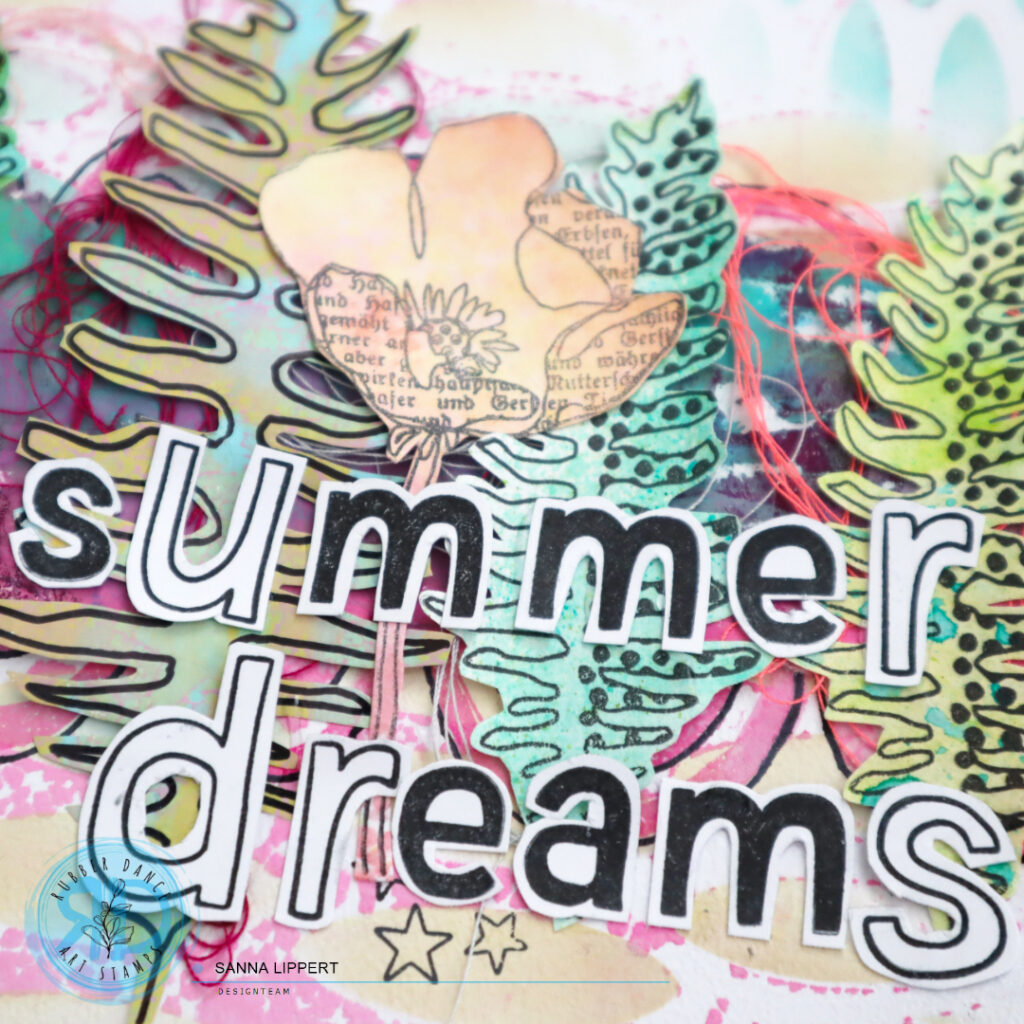
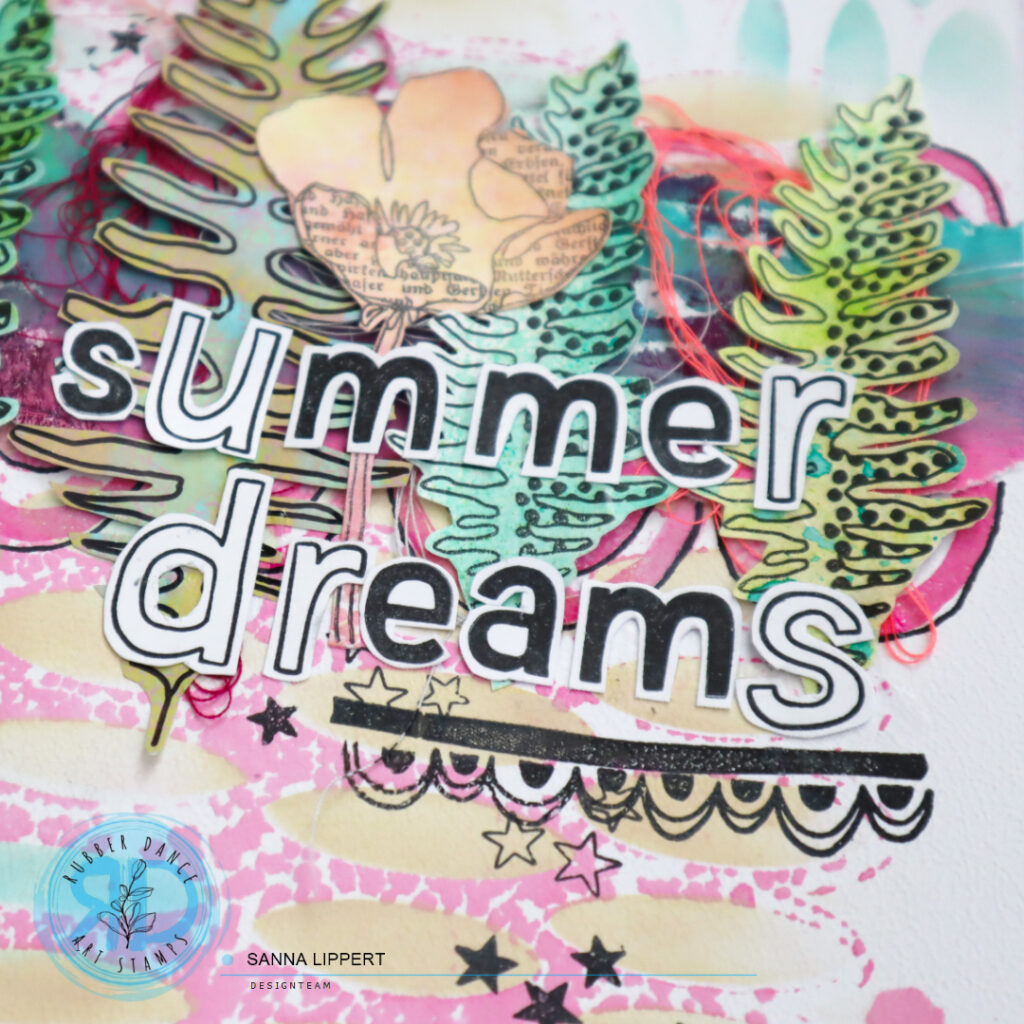
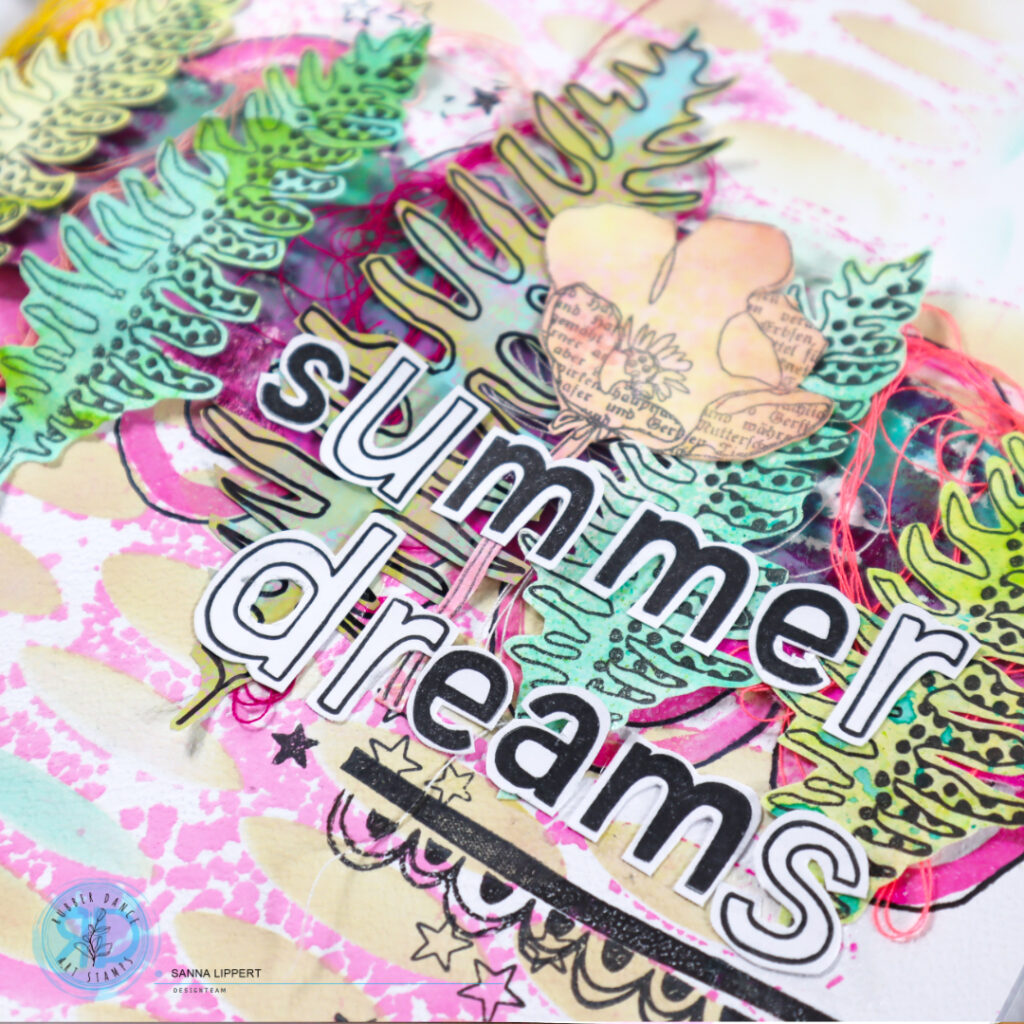
Hello everyone! I am up over at the Rubber Dance blog today with this art journal page share. I used the Stacked Ovals stencil, the Carved Collection 6, the A to Z and the Mix It up 4 stamp sets for this journal page. I also incorporated collage fodder bits made with Doodle Flowers 2 stamp set and Sketchy Leaves 5 stencil.

Here is how I created the page:

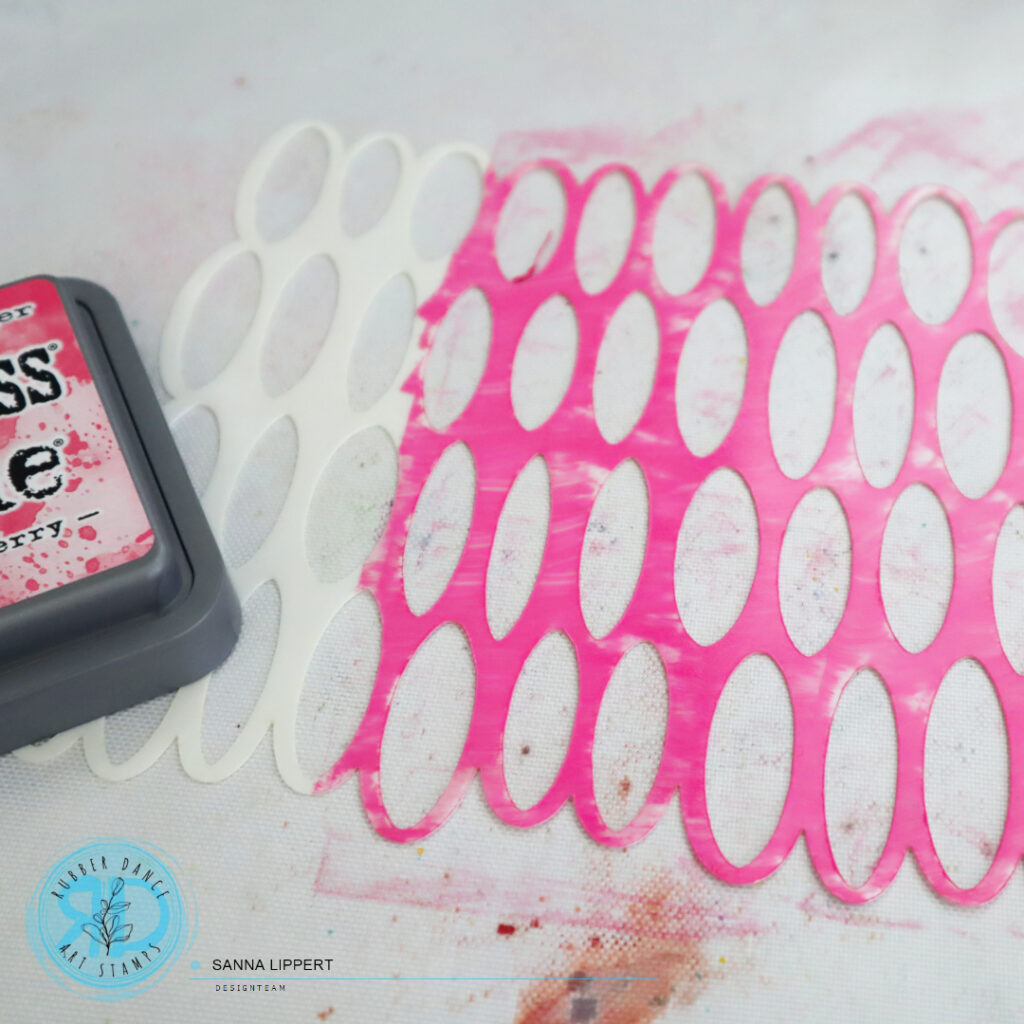
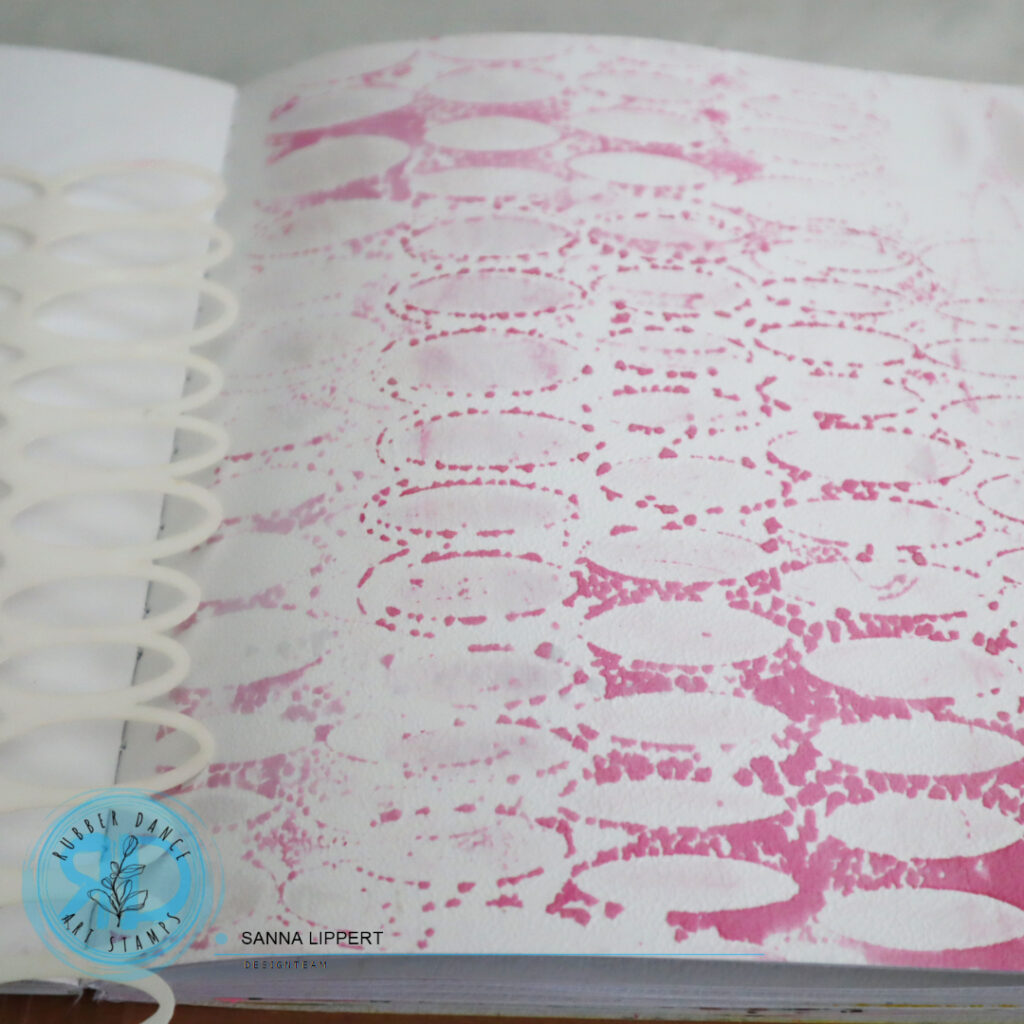
I started with Stacked Ovals ad Distress Oxide Ink in picked raspberry. I inked the stencil with the ink pad and then misted it with water. After that I pressed the stencil onto the journal page. I repeated this step until the page was fully covered.

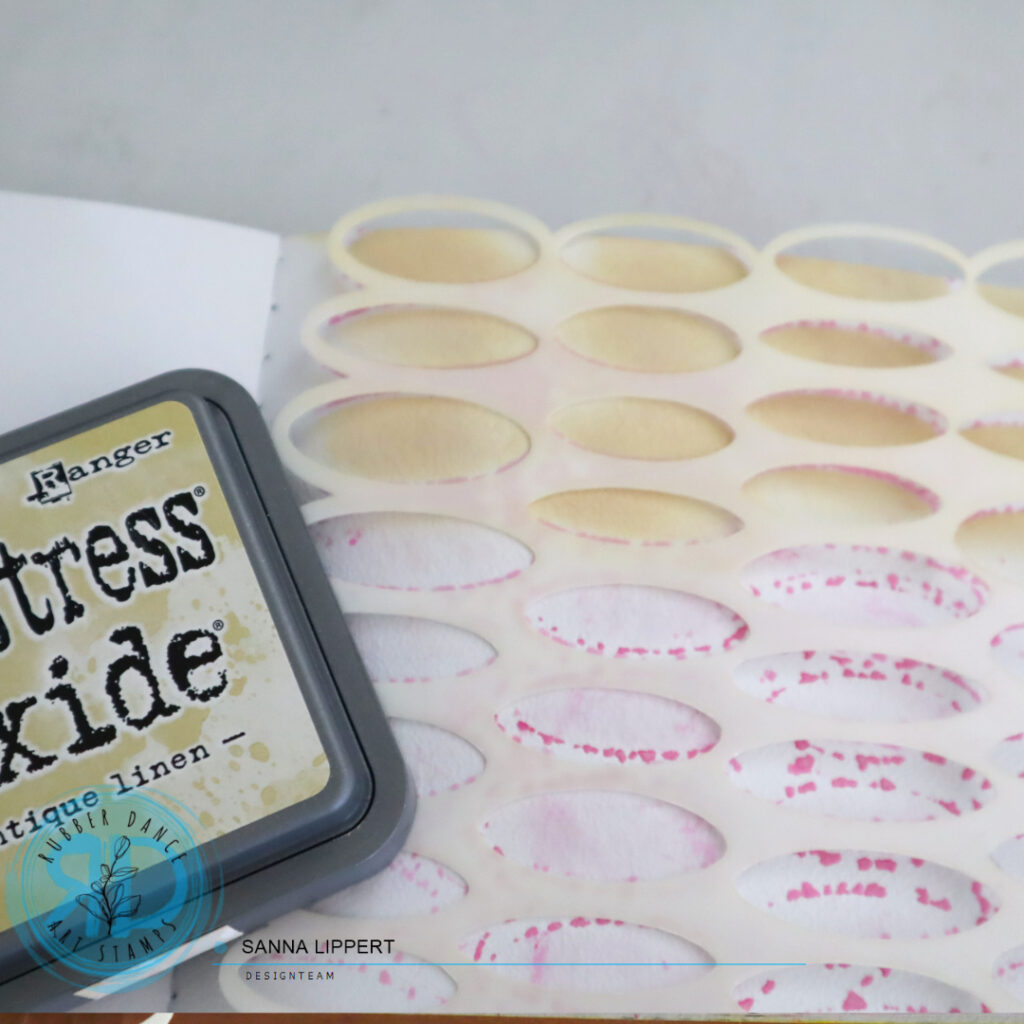
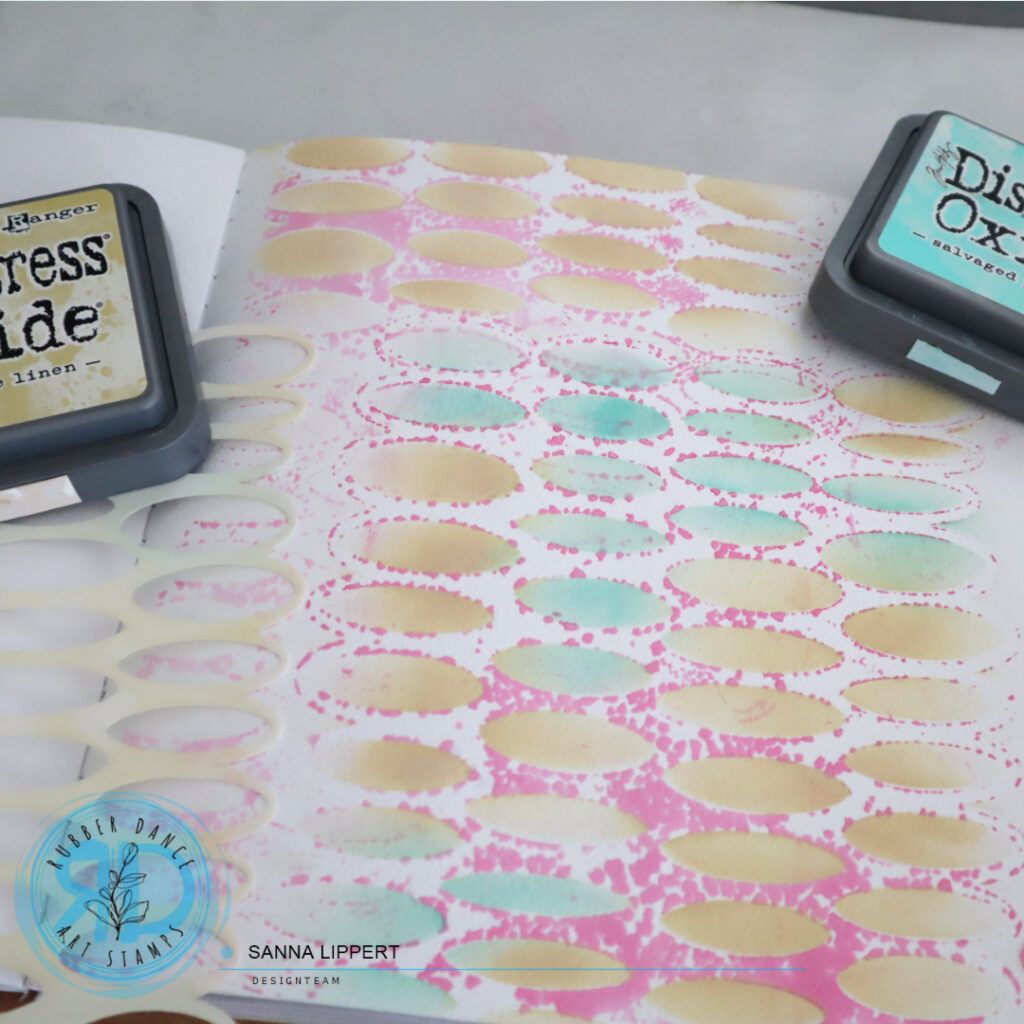
Then I took Distress Oxide Ink in antique linen and salvaged patina, placed the stencil on top of the previously created image and inked the empty areas with both inks. This created a very interesting background to start with.

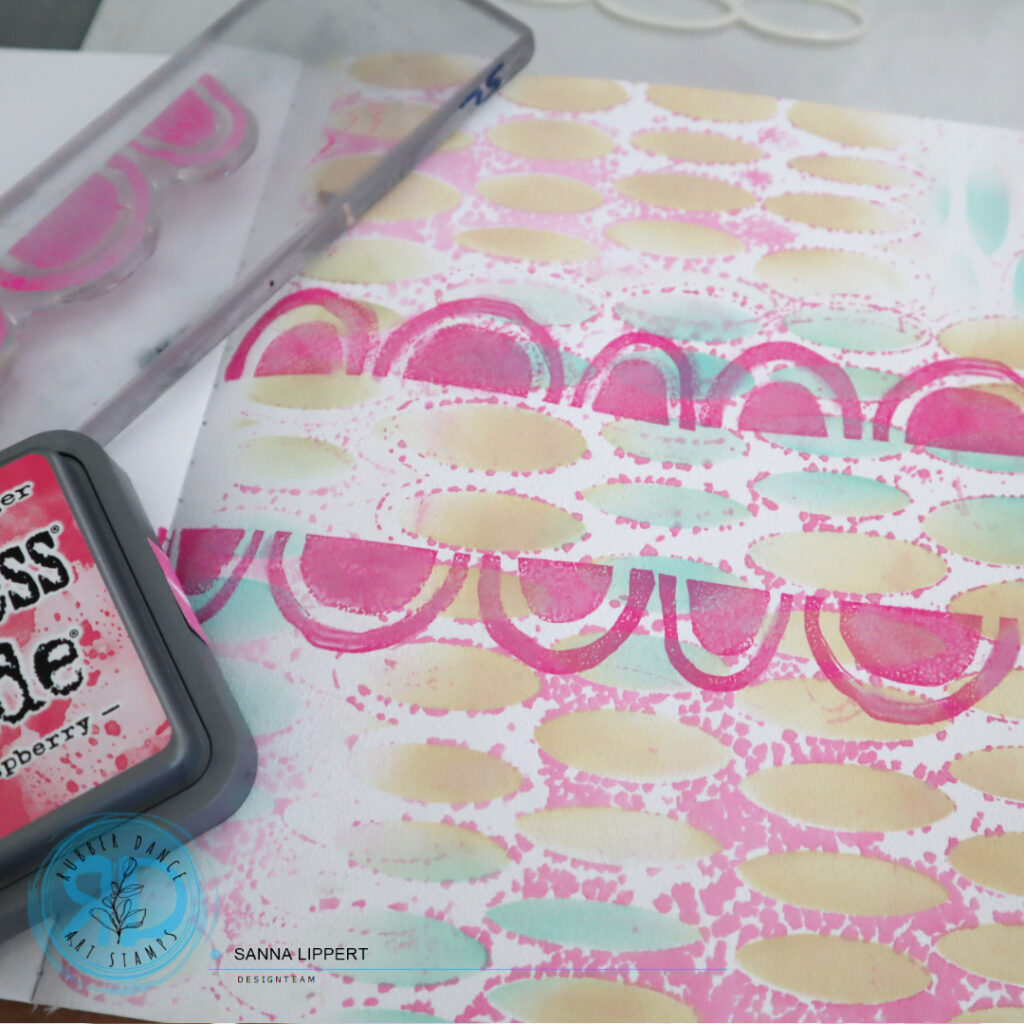
After that I grabbed the Mix It Up 4 stamp set and the scallop border stamp and stamped the border along the center of the page. Next I used a black pen to outline the scallops and add a little contrast.

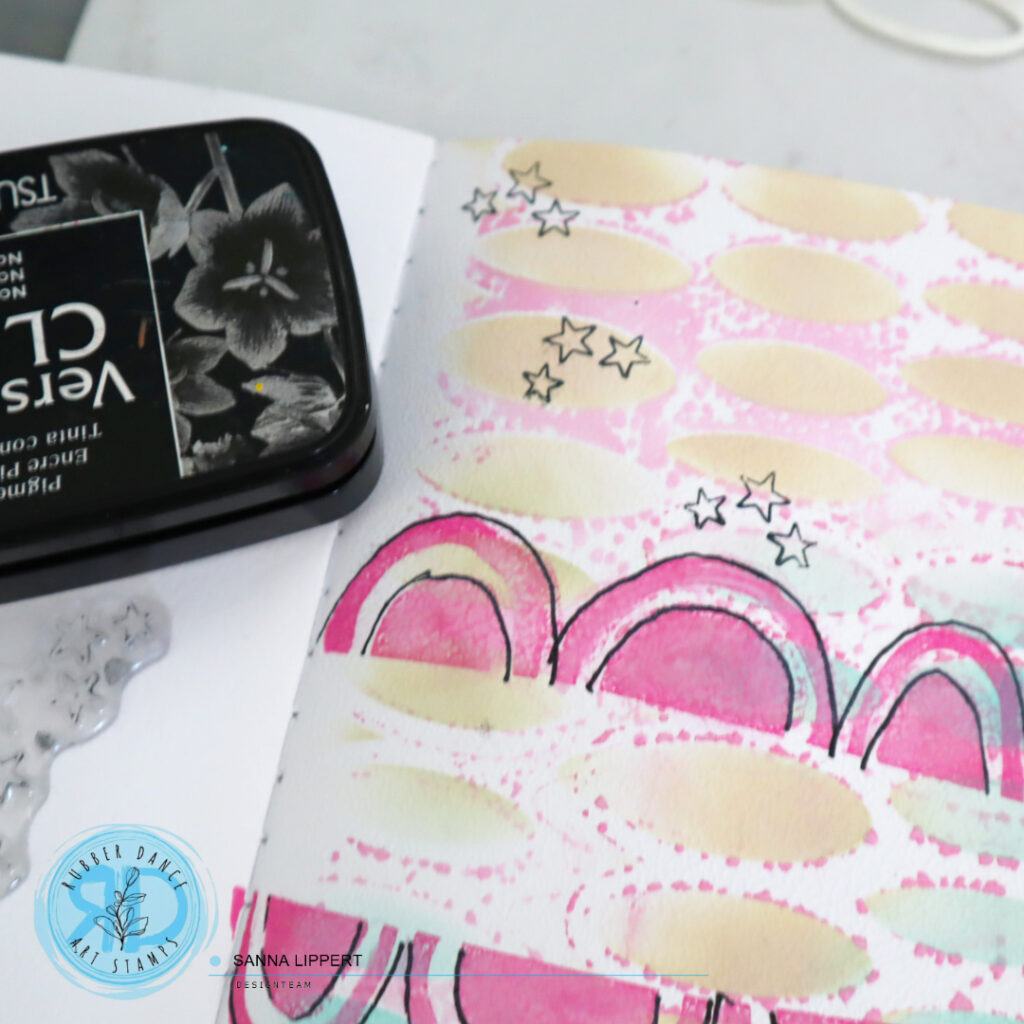
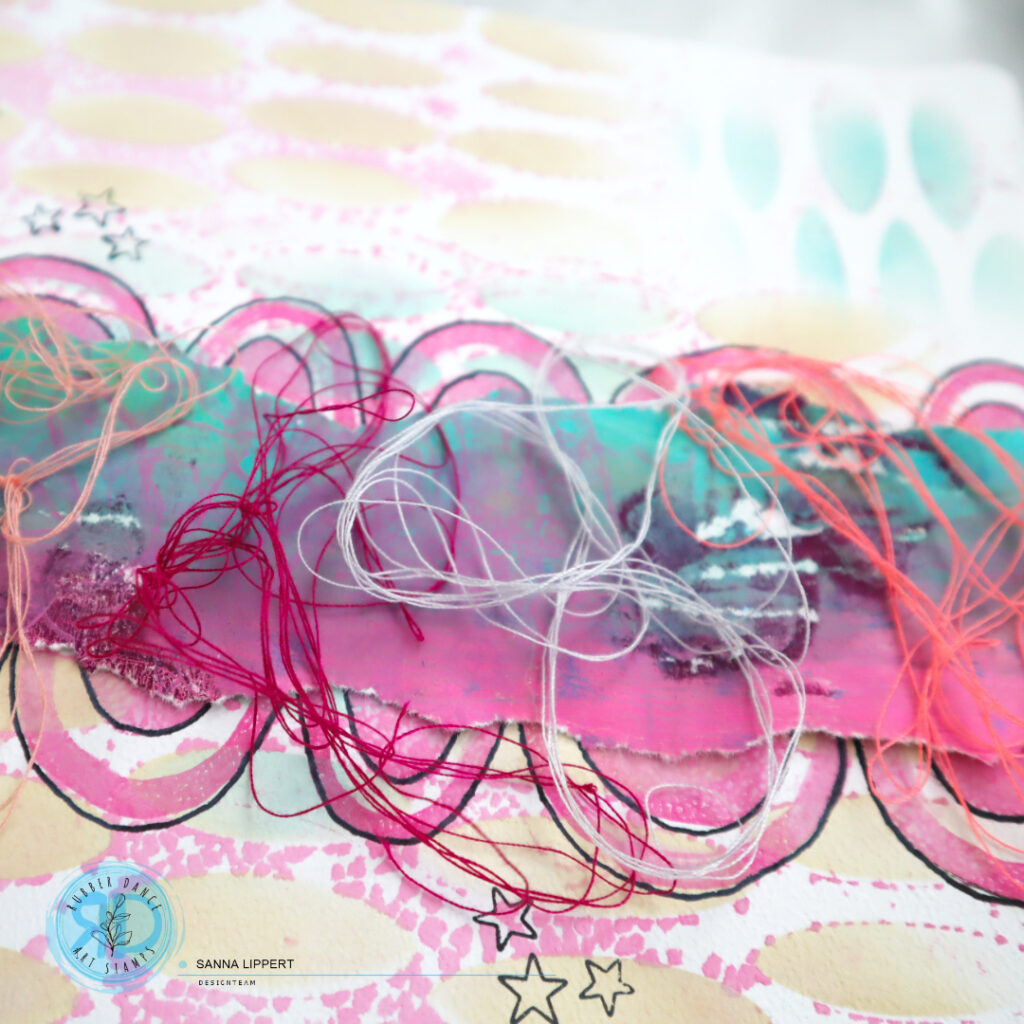
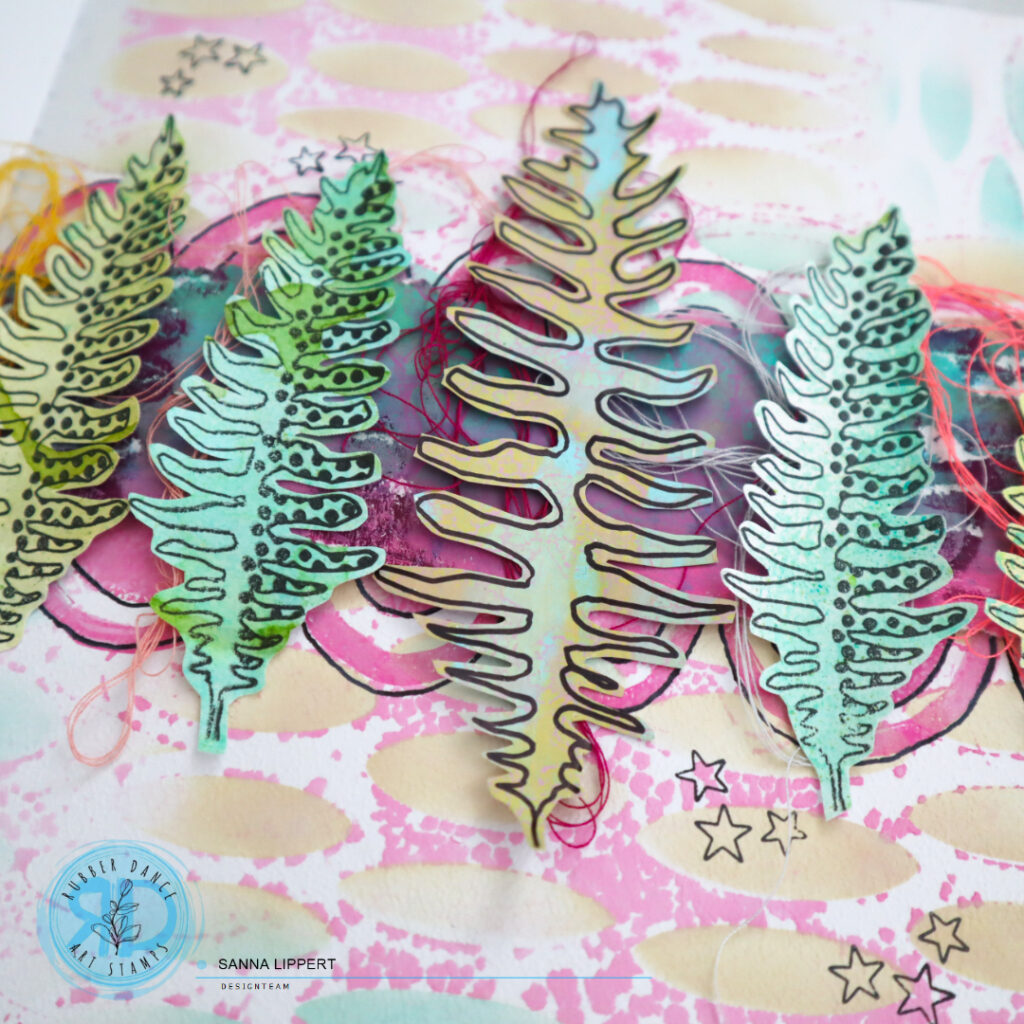
Then I stamped some stars with black ink onto the page, added a collage paper piece and various colors of yarn on top. Next I decorated the paper strip with collage fodder I had made using the Sketchy Leaves 5 stencil and Doodle Flowers 2 stamp set (see video here and here).

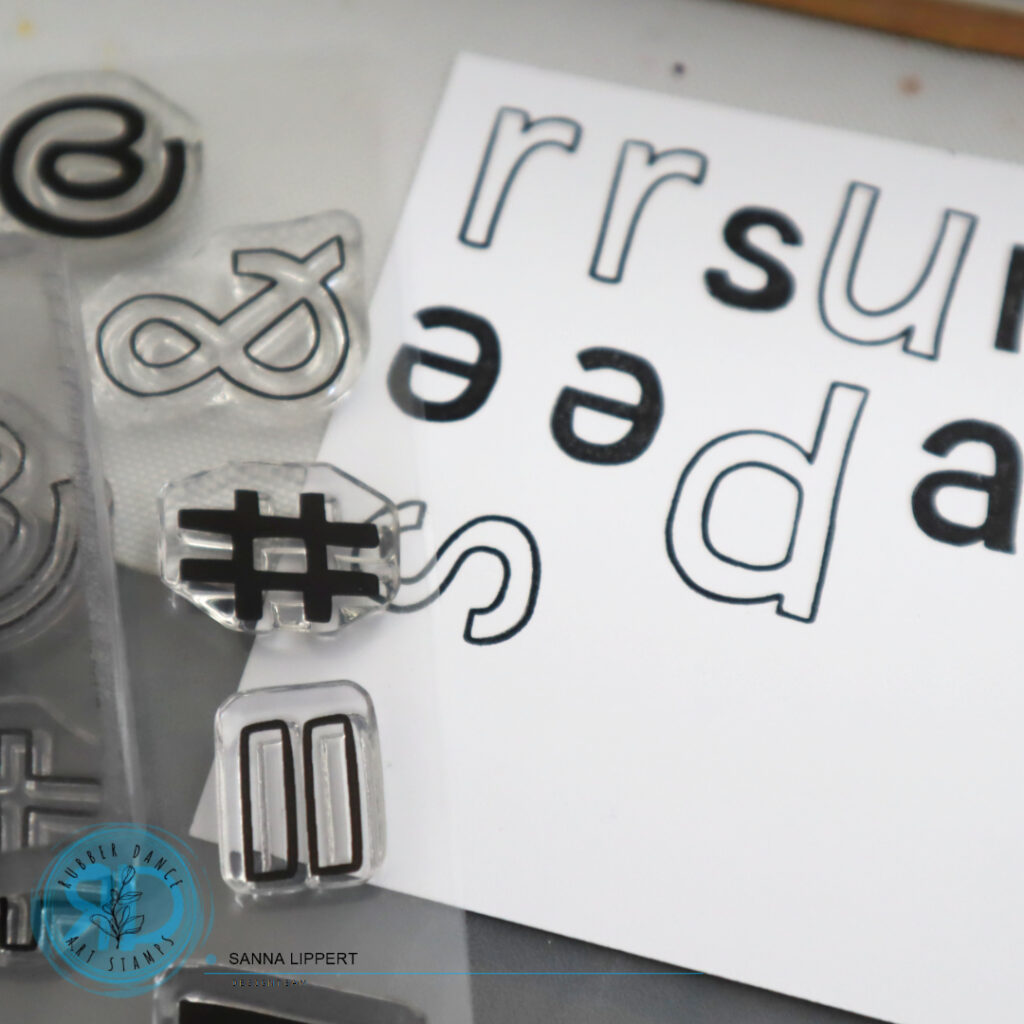
After that I took a piece of white cardstock and stamped letters with A to Z stamp set onto it. I then fussy cut the letters and adhered those to the journal as my title. I also sneaked a flower onto the paper (see the video how to make those here). I felt like the page needed some more structure, so I stamped the black line with a flower stemp stamp from the Carved Collection 6 stamp set and added a scallop border underneath (from the Mix It Up 4 set).

I am totally in love with the Stecked Ovals stencil – the backgroud was so much fun to make! I hope you give this idea a try.

Happy creating,
xx, Sanna

Full Deck Challenge 33/2025 – song lyrics

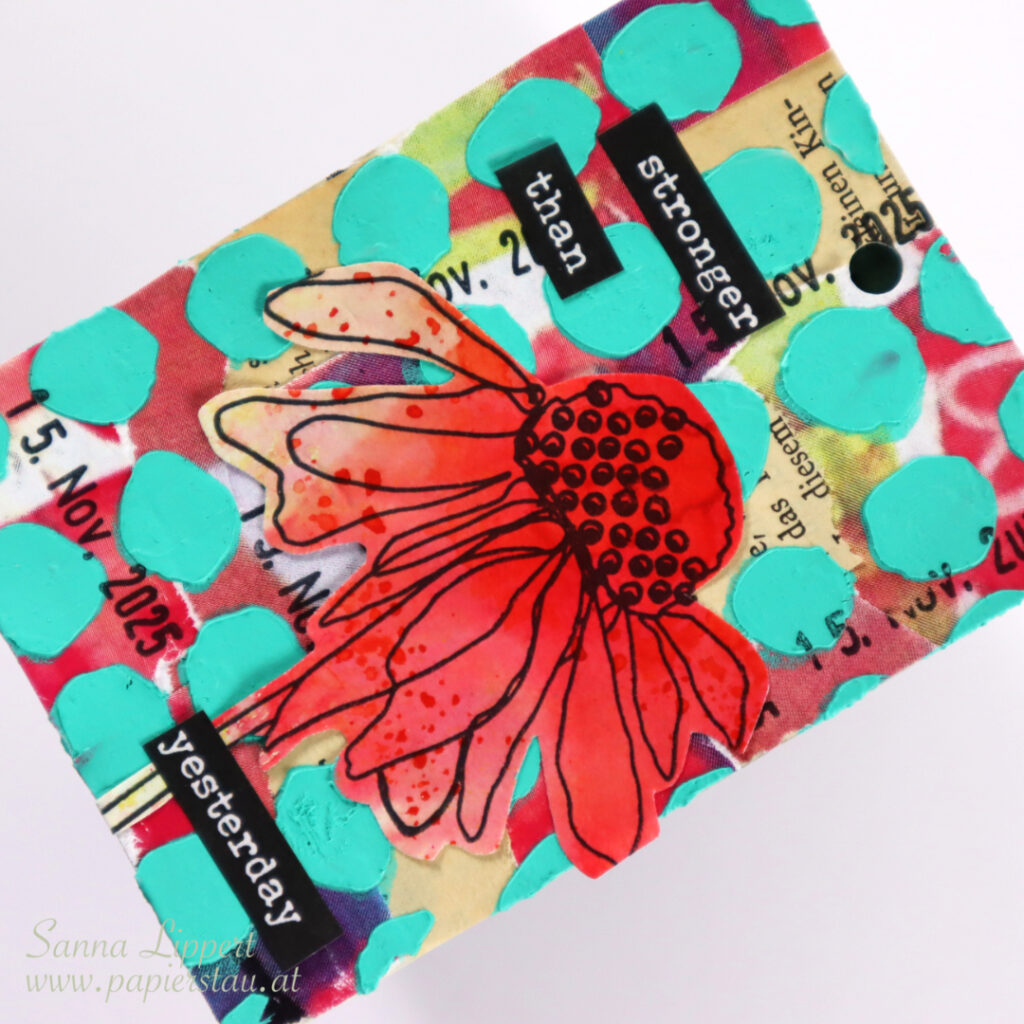
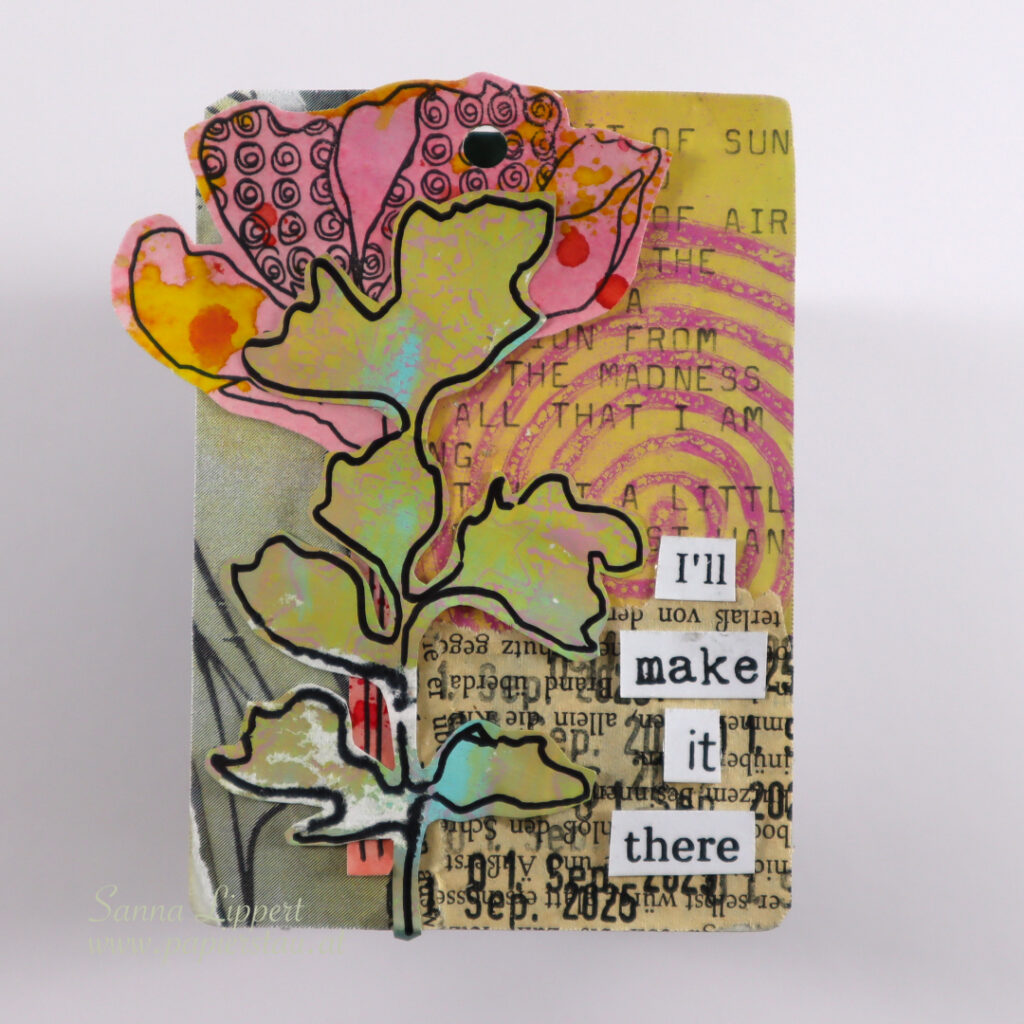
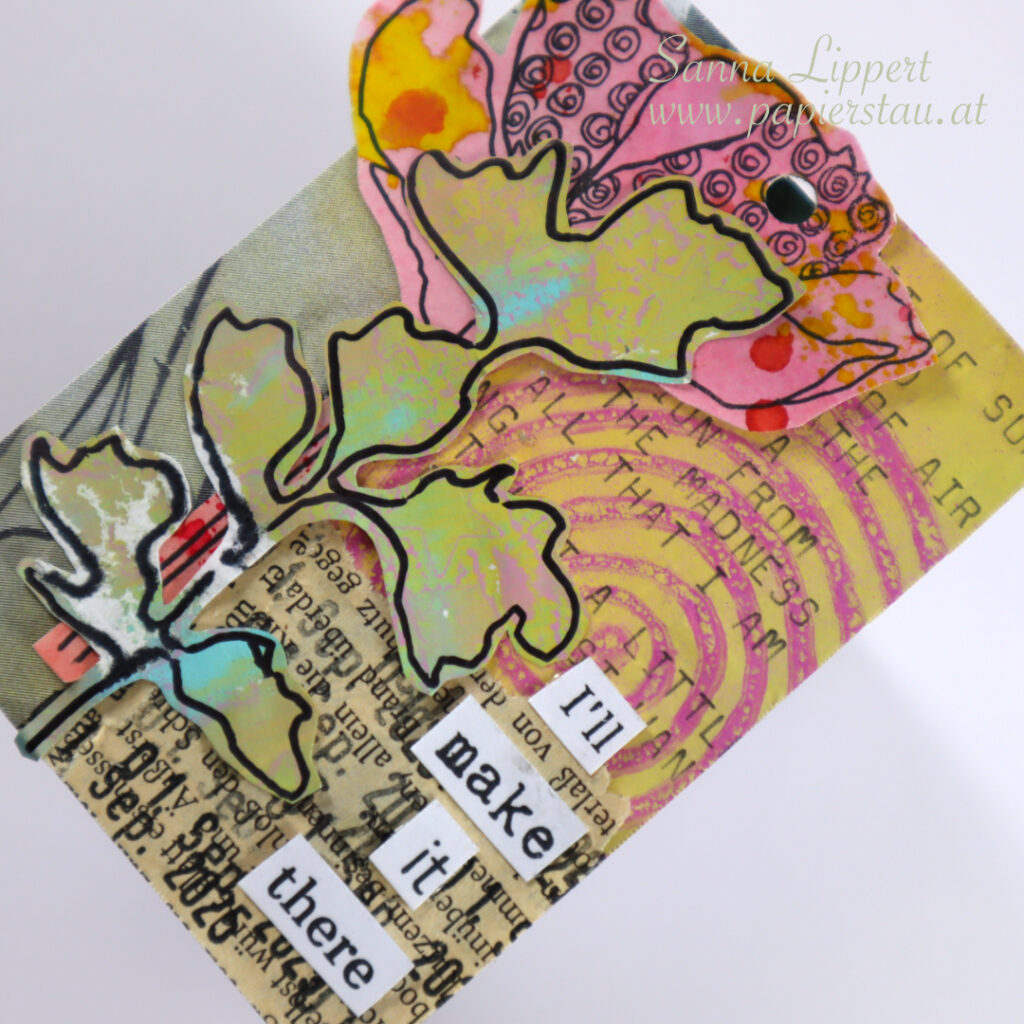
Hello, this is my take on the ShanoukiArt Full Deck Challenge 33/2025 – song lyrics.

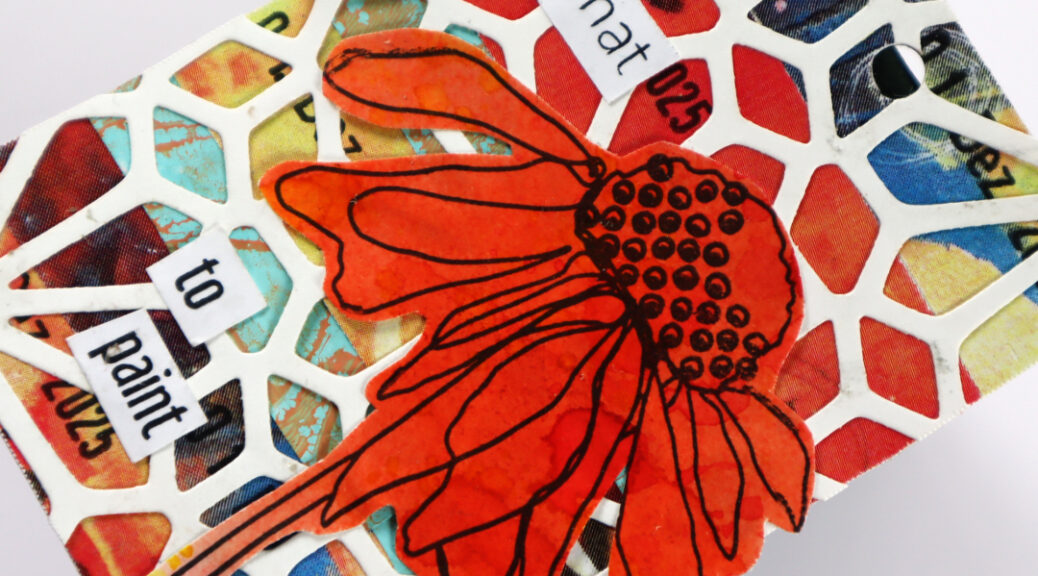
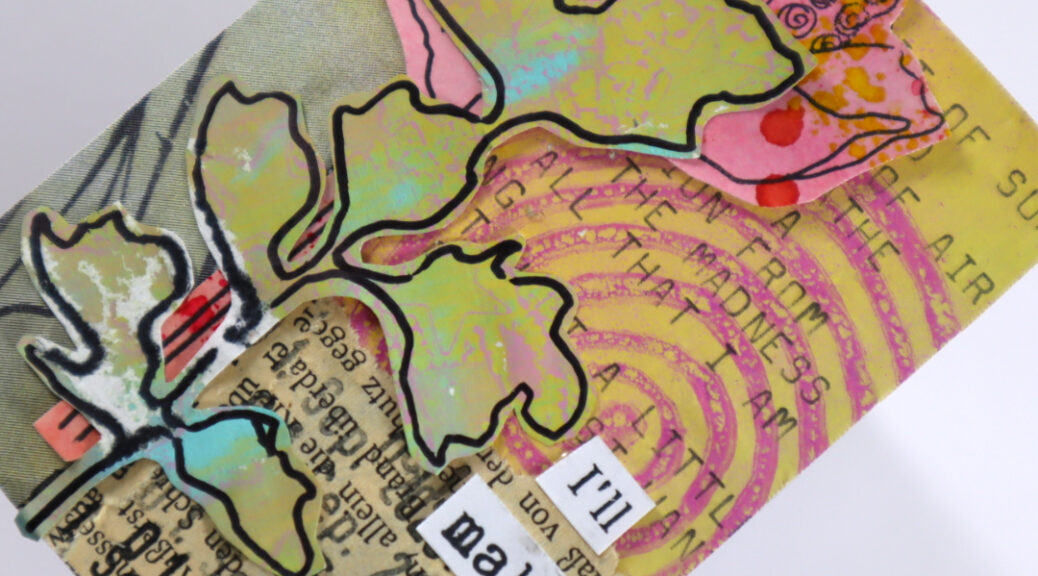
I started by taking a gelli printed paper (used this Rubber Dance stamp for it) and wrote some lines from Derik Fein´s “Sun” onto paper with my old typewriter.

I then adhered the paper onto the lightly sanded playing card and added a carry-over-item from my previous deck card to it: a piece of old book paper. Next to that I adhered a piece of collage paper gifted to me by Yuna from Australia. After that I added my constant – the date stamp – onto the book paper part. I didn´t want to cover all the song lyrics, therefore I kept the background simple and just added some collage fodder and a sentiment on top this time. The collage fodder is made with this Rubber Dance stamp and this stencil. The sentiment was done using this stamp set. You can see how I go about creating these collage pieces, if you watch my Rubber Dance playlist on YouTube :).

See you next week with another FDC take! Until then, happy crafting,
xxx, Sanna

Monochromatic card set with Distress Inks and Rainbows #2 stencil – Rubber Dance

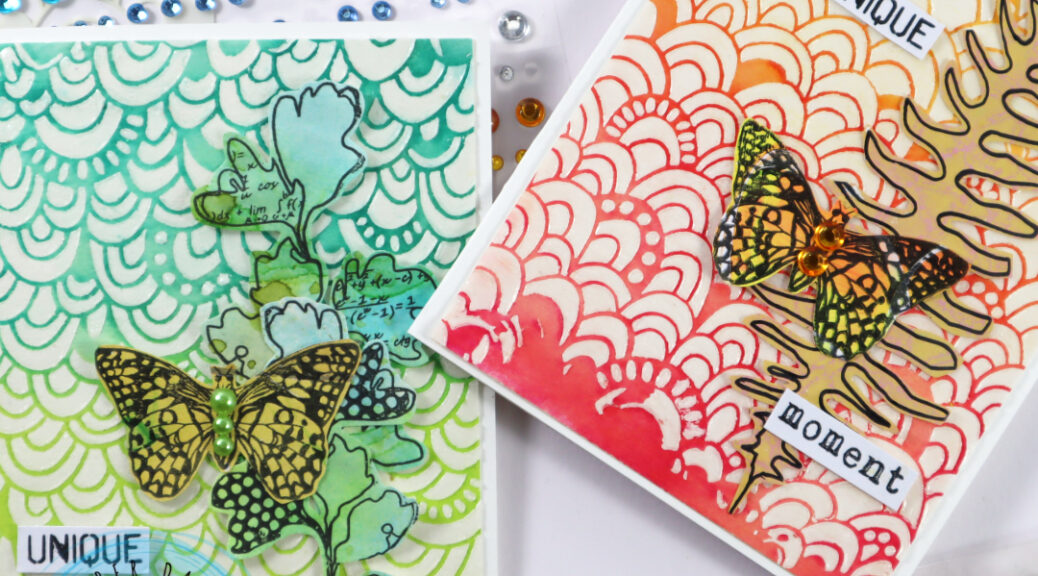
Hello everyone! It´s my turn to share an inspirational project over at Rubber Dance blog today. I am up with a monochromatic card set. I wanted to create a card background using the Rainbows #2 stencil and that is how this idea started. In addition I used the Mixed Sentiments #1 and added collage fodder elements I had previously created with Sketchy Leaves 5 stencil and Butterflies and Moths, as well as Doodle Flowers 2 stamp sets.

I started by taking a mixed media paper and cutting it into smaller sizes. Then I placed the Rainbows #2 stencil on top of the paper and applied Crystal Gel with a palette knife thru the stencil onto the surface. I did two surfaces and let them dry properly – make sure they are really dry – before moving to the next step.

Next I took a blue and green Distress Ink (twisted citron & peacock feathers) and applied those onto the stenciled surface. After that I took a baby wipe and wiped any residue ink off from the crystal gel-treated areas. After that I took double sided adhesive tape and adhered the inked and stenciled paper onto a white card base. I then decorated the card with collage fodder leaves and butterflies and stamped and fussy cut a sentiment from Mixed Sentiments #1 stamp set. For finishing touches I added some green adhesive half pearls to the butterfly.

I did the exact same steps on the pink and orange toned card, but I used spiced marmalade and picked raspberry Distress Inks on the background. The collage fodder is done using the Butterflies and Moths stamp set and the Sketchy Leaves 5 stencil. You can find tutorials to the collage fodder bits here, here and here.

And here is the full start-to-finish video for more details. Hope you like it!

I hope I could inspire you to try out Rubber Dance stencils with clear texture paste and inks. It´s a lot of fun!

Happy crafting,
xxx, Sanna

Supplies:

Spring Art Journal page with tinted modeling paste and stencils – Rubber Dance

Hello, it´s my turn to share a. project over at Rubber Dance blog again. Today I am sharing a page from my art journal that started from a mark making play and ended up being a bright spring themed page. I used the Dotted 1, Organic 4 and Marks 3 stencils and the Mix It Up 5 stamp set to create the page. I also added previously made collage fodder bits done with Doodle Flowers 2 and Butterflies and Moths stamp sets.

This is how my creating process went. I always have a journal close to me, when creating on other projects. That way I can wipe and add random layers to my journal with residue paints, inks and pastes. In the first photo you can see I added some residue pink paint, then some black mark making to the journal page. Next I mixed some modeling paste with neon pink and yellow paint and sky blue paint together and applied those onto the background thru the previously mentioned stencils. I love to tint my white modeling paste with acrylic paints to create different colors.

While the paste was drying, I took a pink tag and stamped some Distress Oxide Ink (kitsch flamingo) with one of the Mix It Up 5 stamp set stamps. Then I grabbed a small piece of residue gelli printed paper, stamped with the same set and black ink some images onto the piece and adhered it onto the tag. After that I arranged a cluster of leaves and flowers to the tag and cut off any residue along the edges.

After that I adhered the tag onto the journal page, created a sentiment with sticker and paper alphas and added some Gloss Spray splatters for finishing touches (Medieval).

Have you tried creating your own tinted modeling pastes? It´s a fun way to add some interest to any project (journal, wall art, card background). It also adds a nice texture and depth to a project. Wishing you a fun time playing with stencils and modeling paste!! If you missed how the fodder was done, you can watch the videos and the photo tutorial here, here and here.

Happy creating!
xxx, Sanna

Supplies:

“Flower bouquet” fodder card set – Rubber Dance

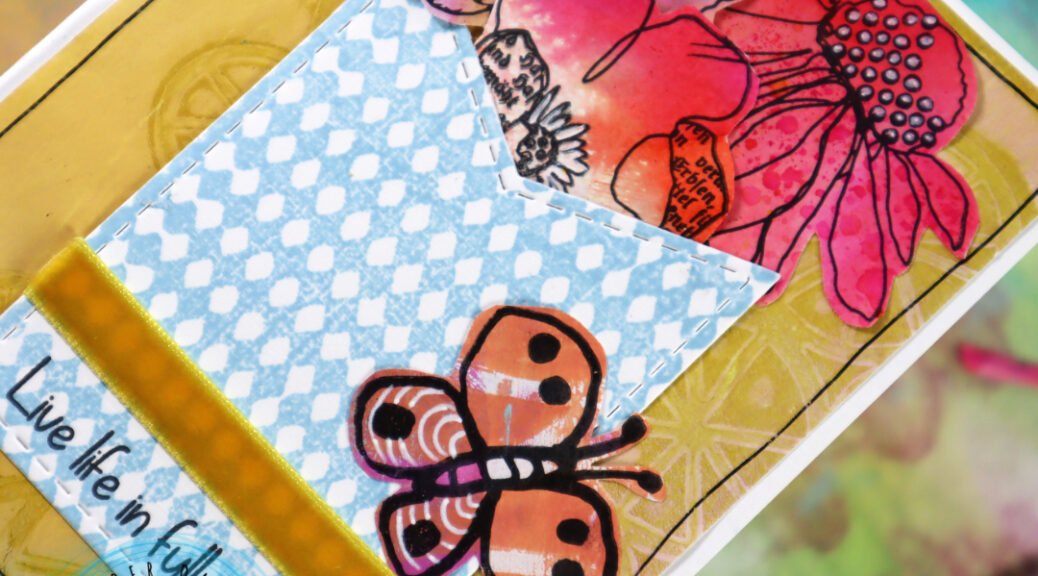
Hello, it´s my turn to share a project over at the Rubber Dance blog and I am up with a fodder bouquet card set. I have made piles and piles of fodder and gelli prints recently and what for? For projects like this. I used the Mix It Up 5, Mixed Sentiments 1, Pencil Marks 8 and the Doodle Flowers 2 stamp set with the Wheels stencil on this project.

I love making leaf and flower fodder. Creating random colored backgrounds and stamping onto them and only when fussy cutting the images, to discover the beauty of every single piece on it´s own, is something very exciting.

So for these cards I used some recently made flower and butterfly fodder as well as gelli printed backgrounds. Have you tried making some yourself? It is a very inspiring process, so I truly recommend, you try it out.

Here is a video on how I built the cards together:

And I´ve prepared 2 different short videos on some fodder making, just for fun:

I hope you enjoy this card idea and the videos and that they inspire you to play with Rubber Dance products!! Have fun!
xxx, Sanna

Supplies:

Stenciled Art Journal Page – Rubber Dance

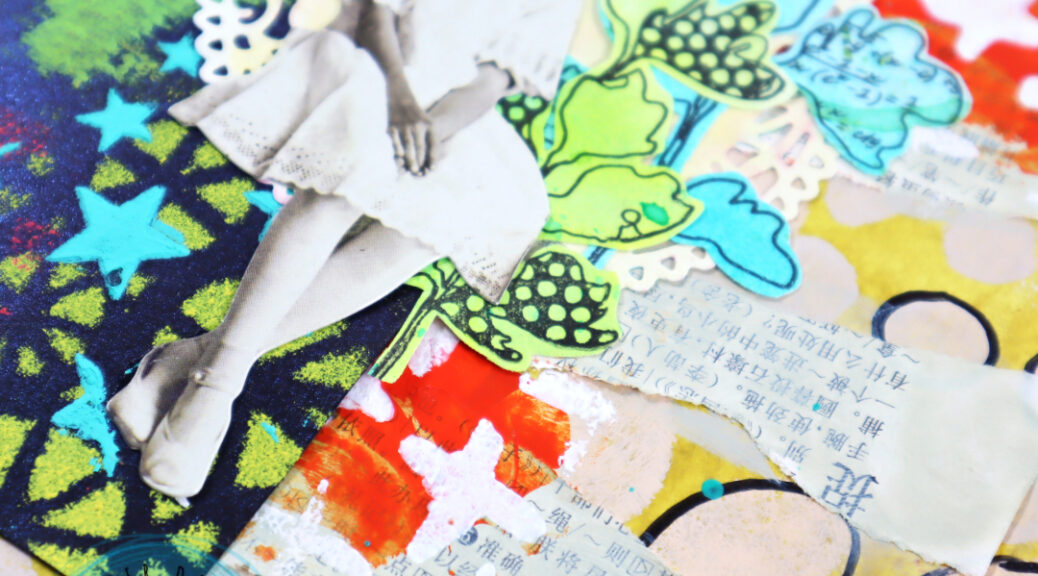
Hello! It´s my turn today over at Rubber Dance blog and I am up with a heavily layered, stenciled art journal page share today. For this page I used the Dotted 1, Big Ovals, Cross It, Wheels, Stars 1 and Marks 2 stencils. There are also some details added with the Doodle Flowers 2 stamp set.

I started by applying heavy body paint in “olive” with a palette knife onto the background. On top of that I used a foam brush to dab “sand” and “apricot” tones thru Big Ovals and Dotted 1 stencils. After that I outlined some of the dabbed paint “circles” with a black pen. Next I took a piece of a old dictionary book and wripped and glued strips of paper onto the background.

Next I wiped some “aloe” tone with my fingers onto the wripped dictionary page pieces to blend them into the background. I then added a layer of “tangelo” with a palette knife onto the page. Next I took the Cross It stencil out and added some white paint thru it onto the orange areas for contrast.

After that I took a black with glimmer mist misted tag out and again dabbed the “lemon” paint onto the tag thru the Wheels stencil. After that I put some “lime” toned paint onto the palette knife and wiped some of it onto the tag. The next layer was done using “stoked” tone and the Marks 2 stencil. I then added the last bits of “turquoise” paint with a palette knife thru the Stars 1 stencil onto the tag.

I sprinkled some Gloss Spray in “turquoise” for interest onto the art journal page. I then glued the stenclied black tag onto the art journal page. After that I added a misted doilie for decoration and created a cluster of leaves with “Doodle Flowers 2″ leaves next to it. There is a video at the end of this post on how I created the leaves.

I finished the page with a paper doll by Tim Holtz and some black and white alphabet stickers. Here is the start-to-finish video for further information:

And this is the video on how I made the leaves fodder:

I hope I could inspire you today. Happy creating!
Sanna

Supplies: