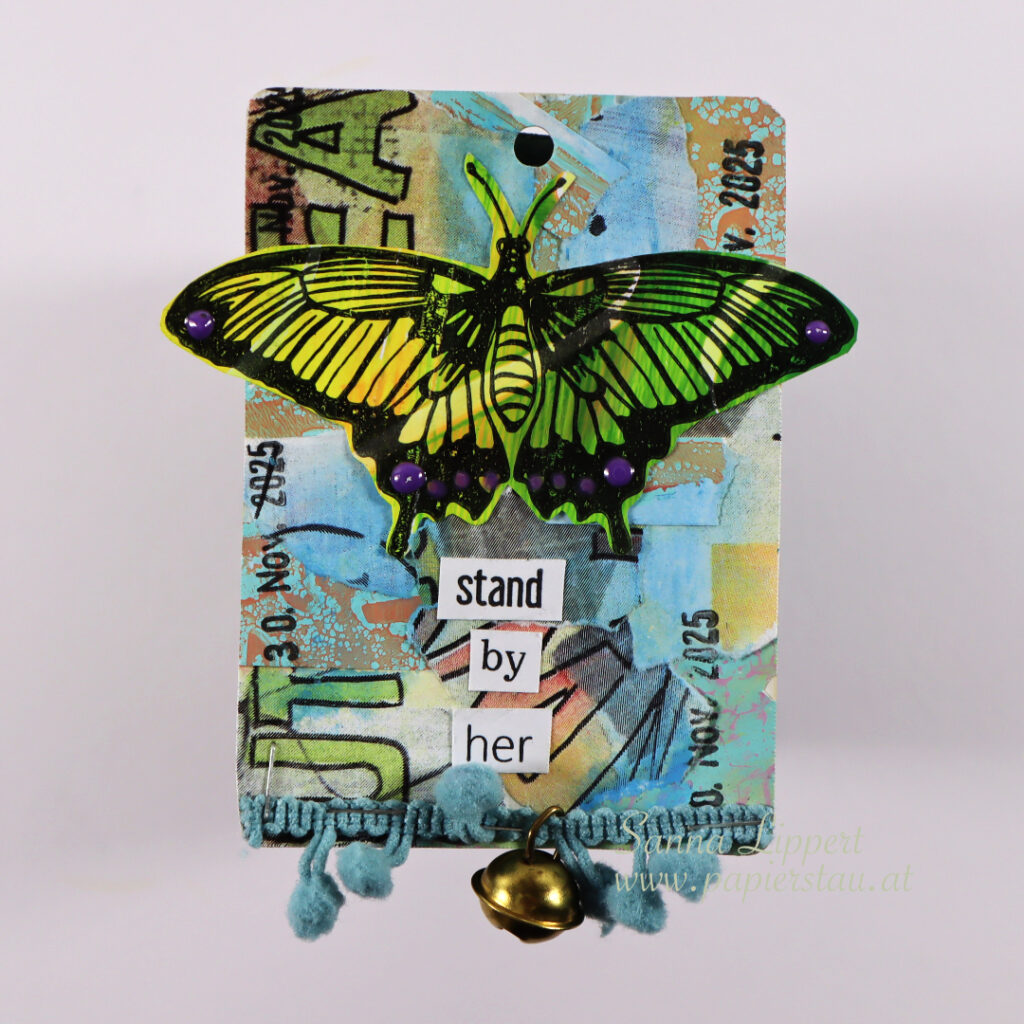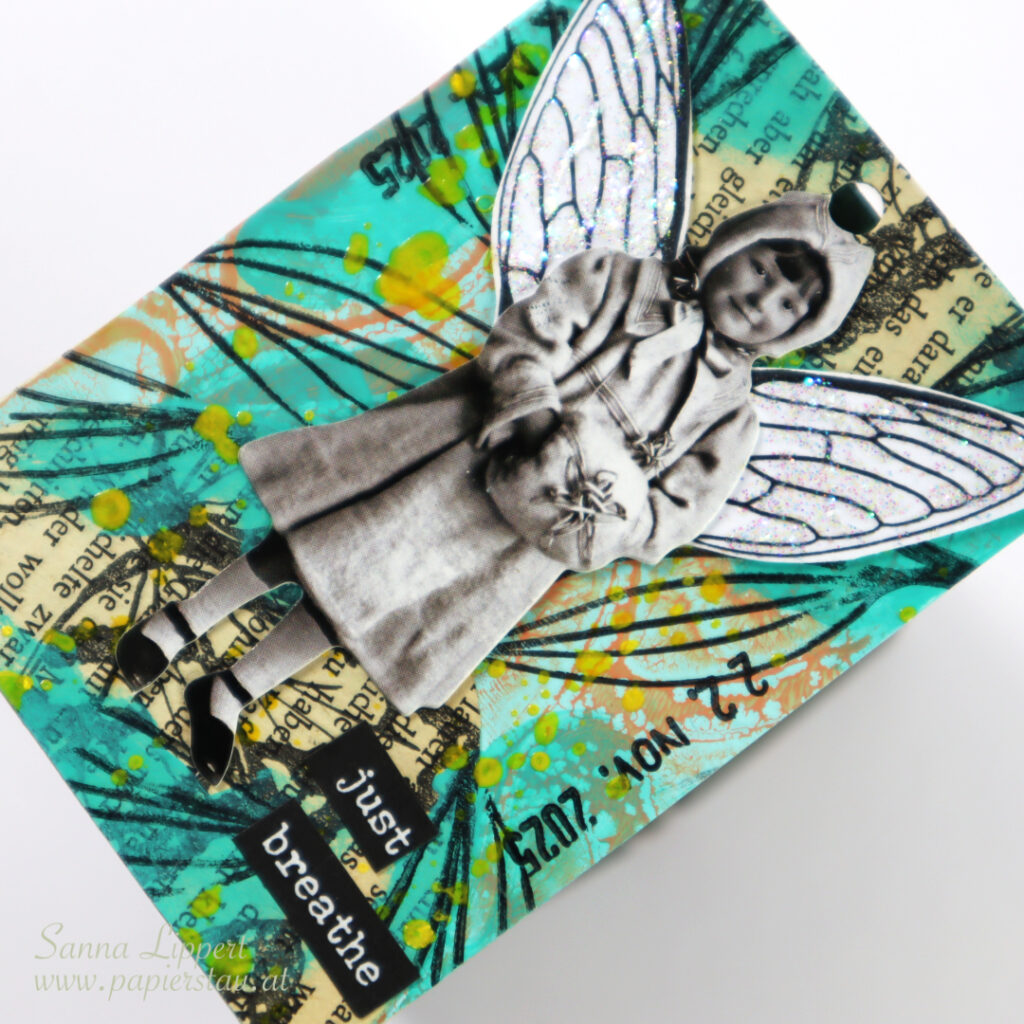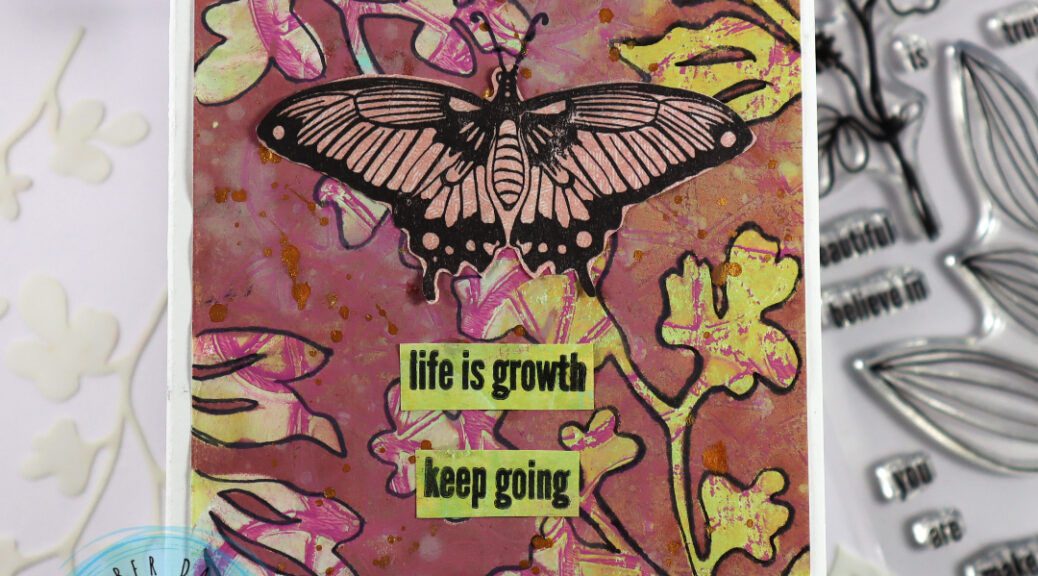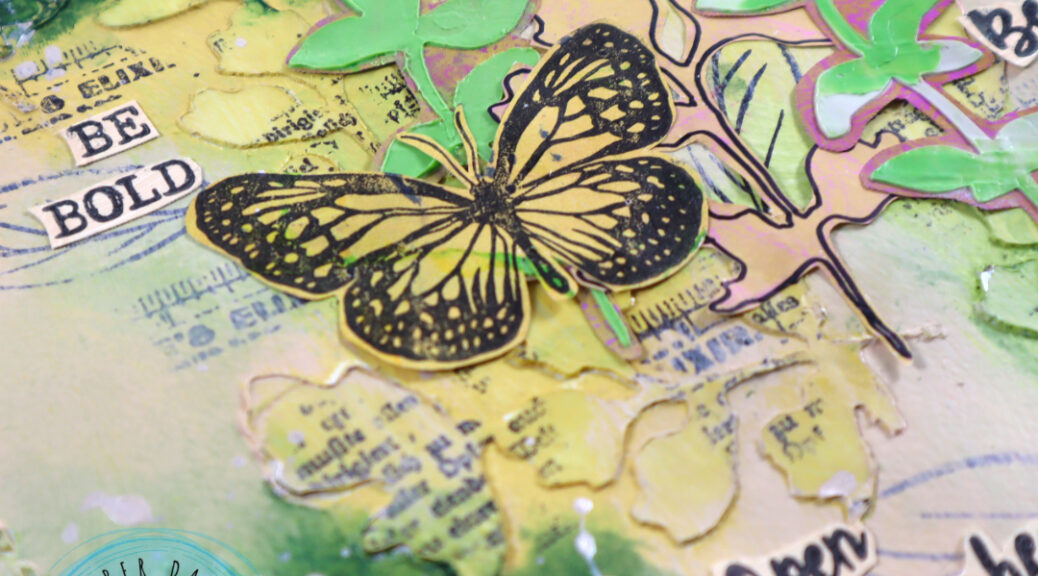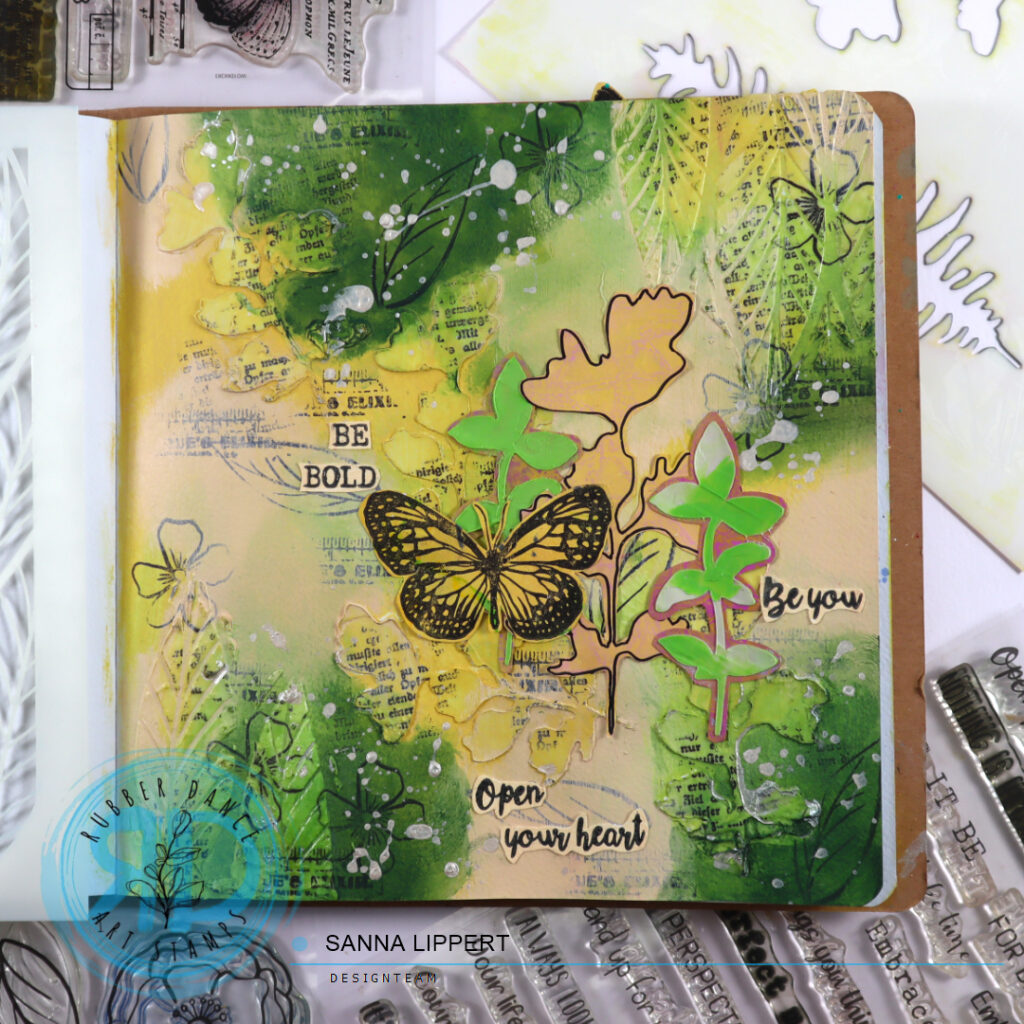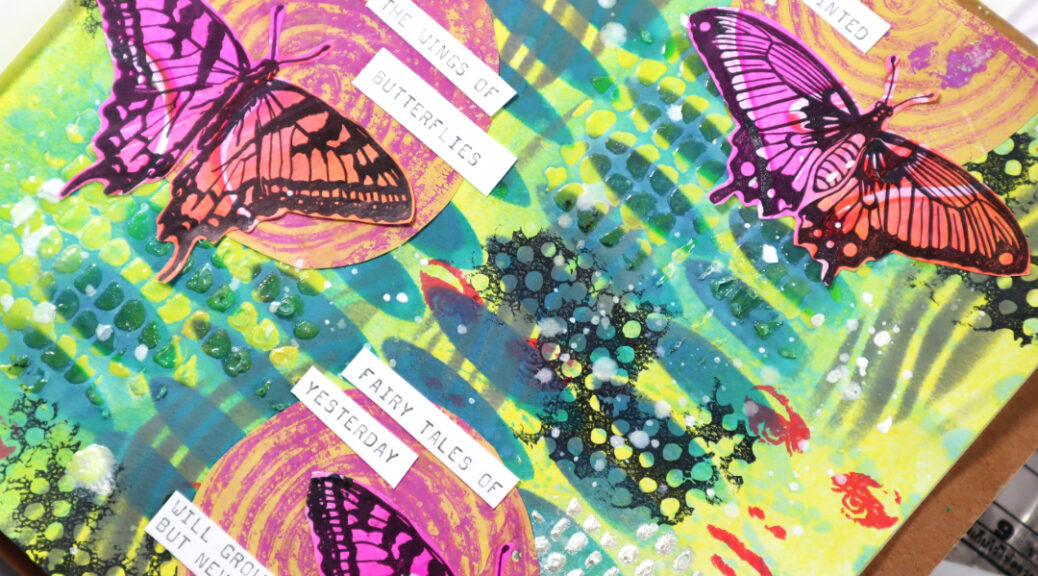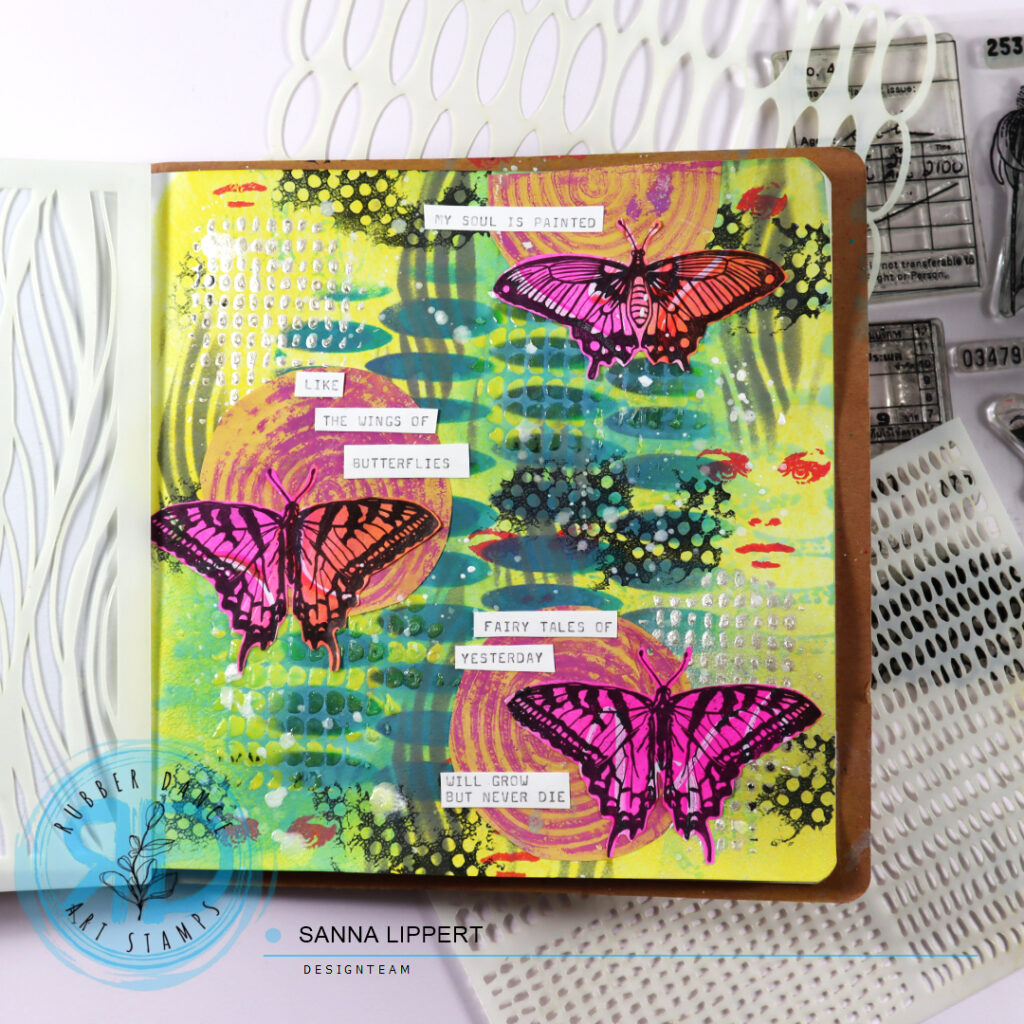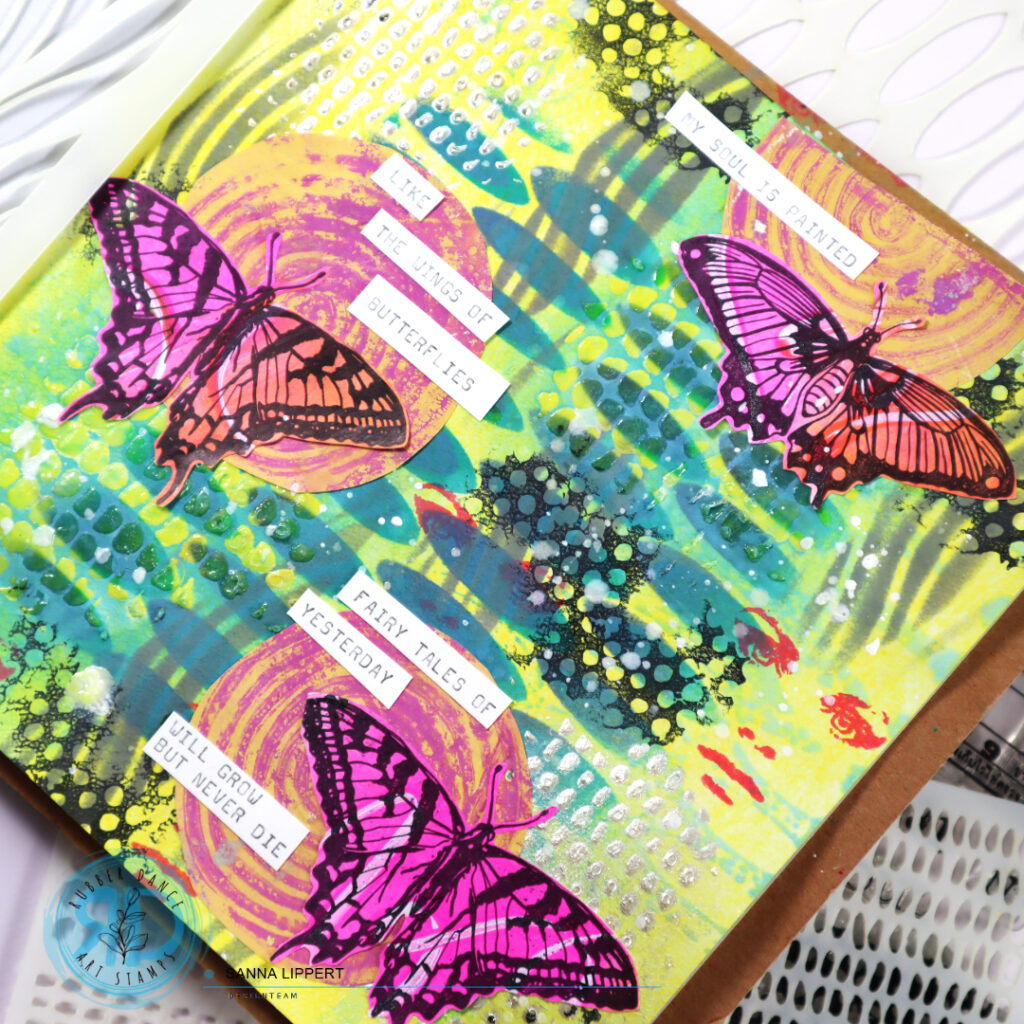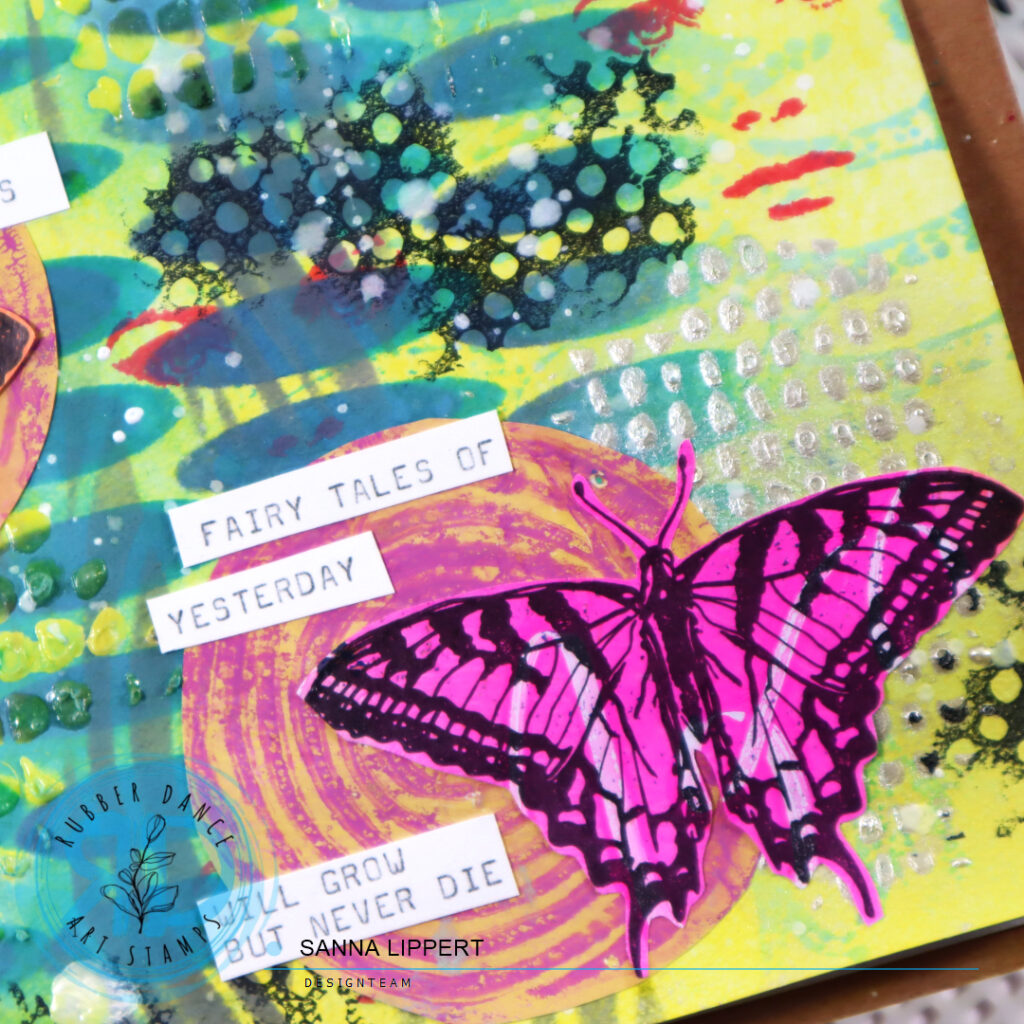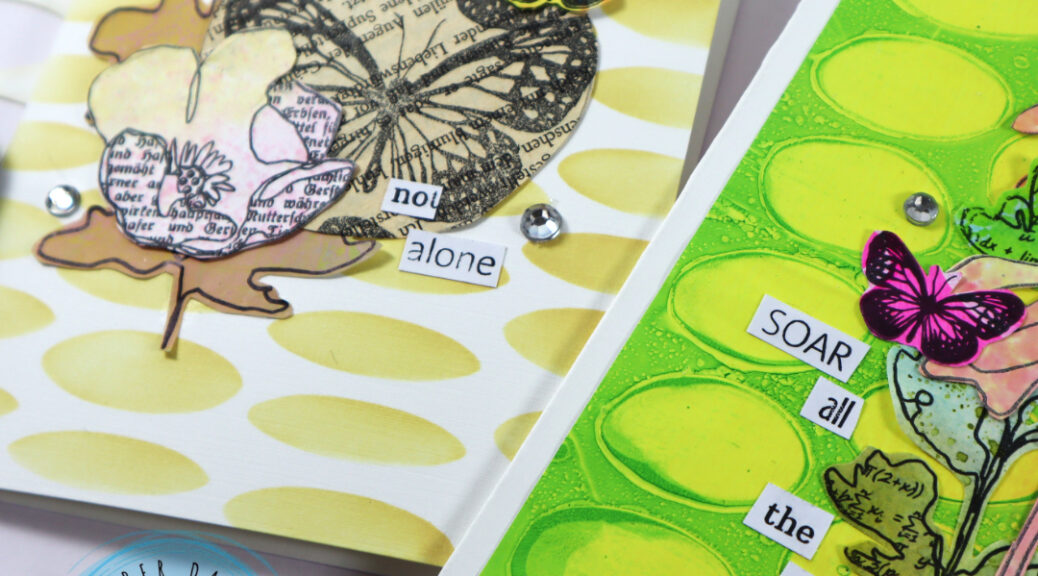
Hello, today I have an art journal page share for you. For this page I used the Doodle Flowers 2, Butterflies and Moths, Mix It Up 5, Mix It Up 7, Carved Collection 6, Stitching Borders and Mix It Up 4 stamp sets as well as Dotted 1 and Mini Textures 1 stencils.
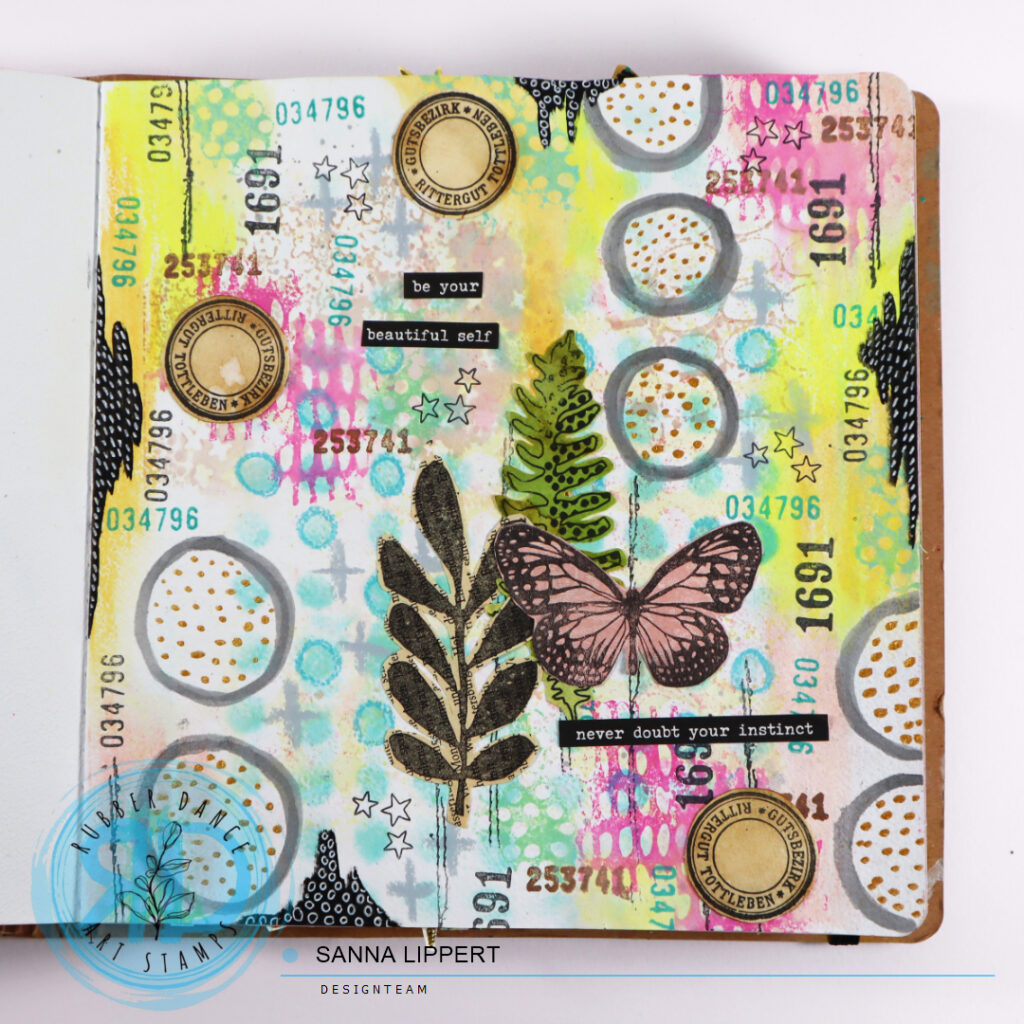
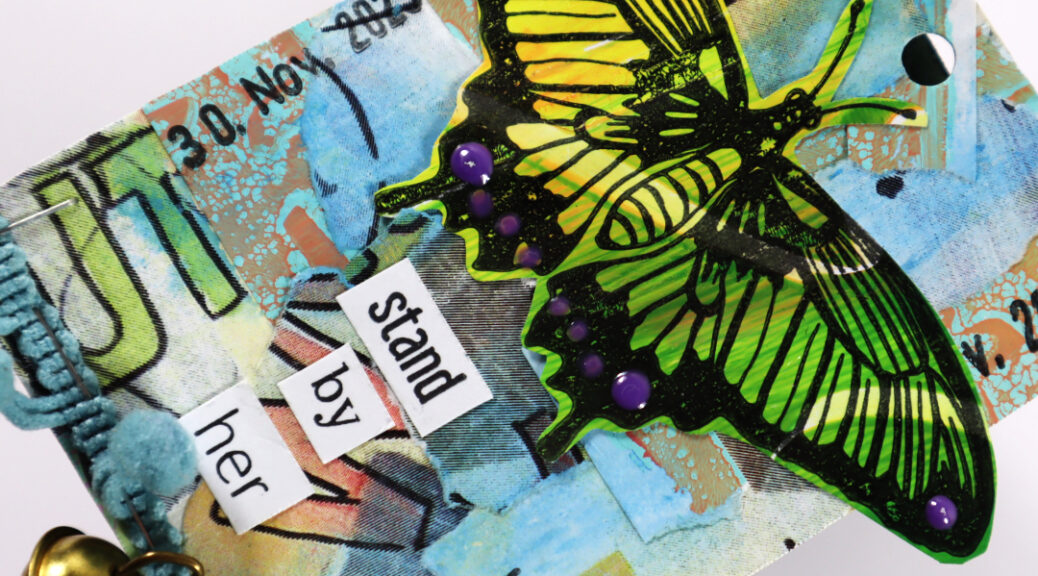
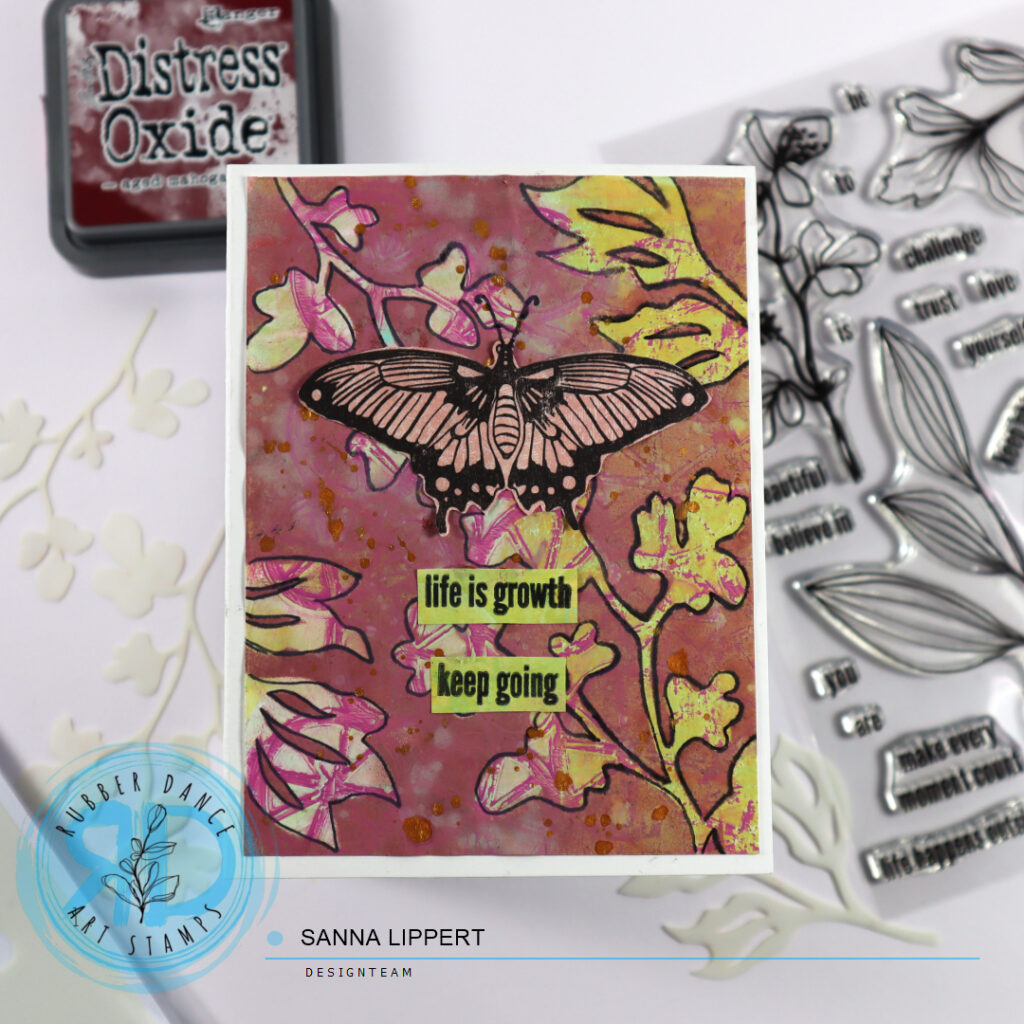
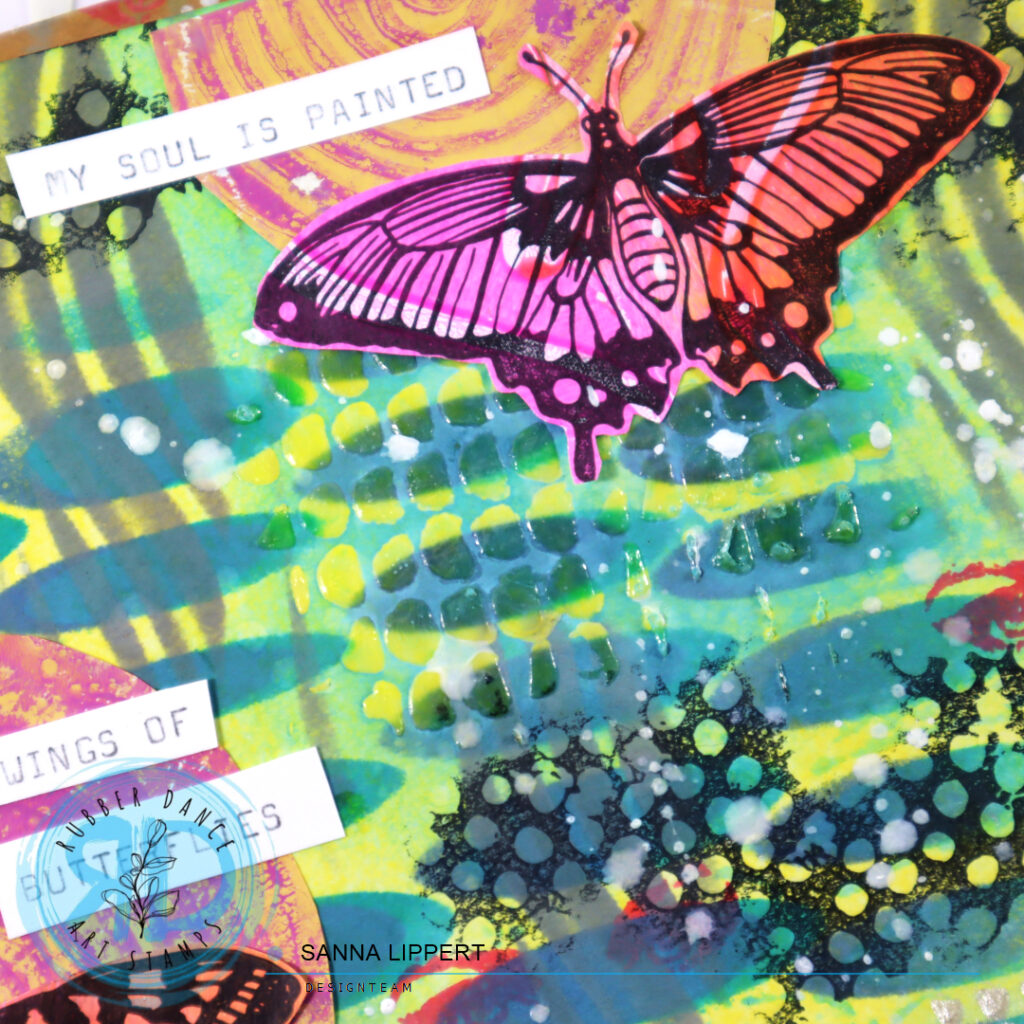
I started by wiping residue ink from the Dotted 1 stencil onto the background and pressing another layer of residue brown ink from the Mini Textures 1 stencil around the first pattern. Next I grabbed some Neocolor II crayons and applied various yellow and light pink tones to the page. After that I grabbed a selection of pink, green, brown and turquoise Distress Oxide Inks and used the various stamps to add details and layers to the background.
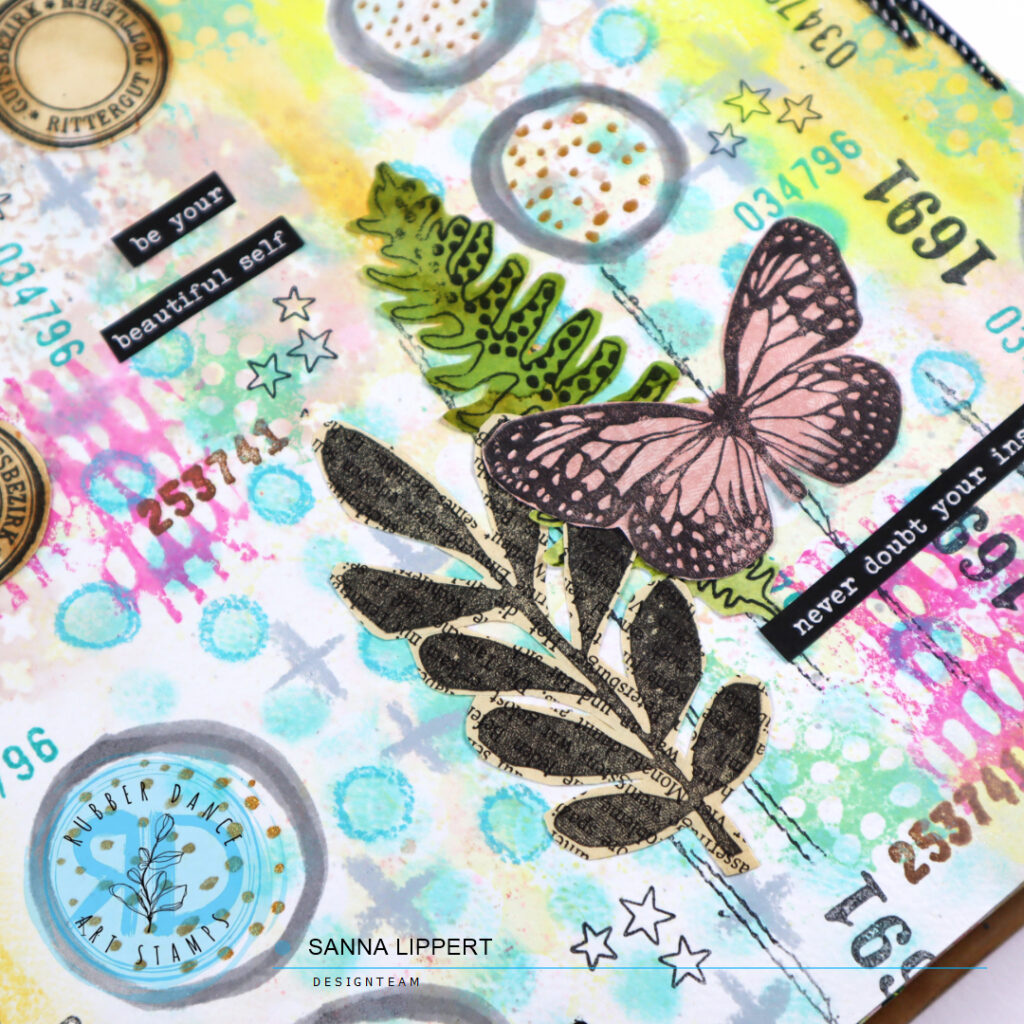
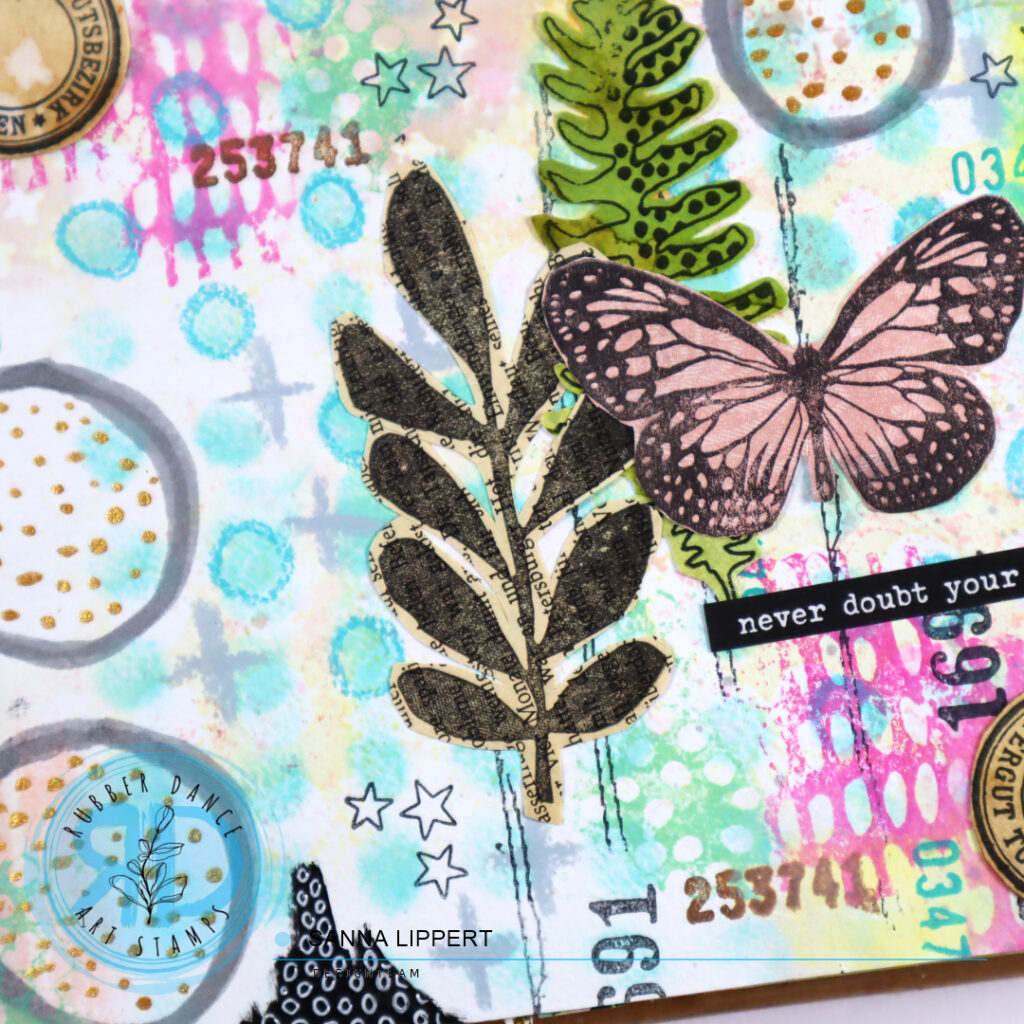
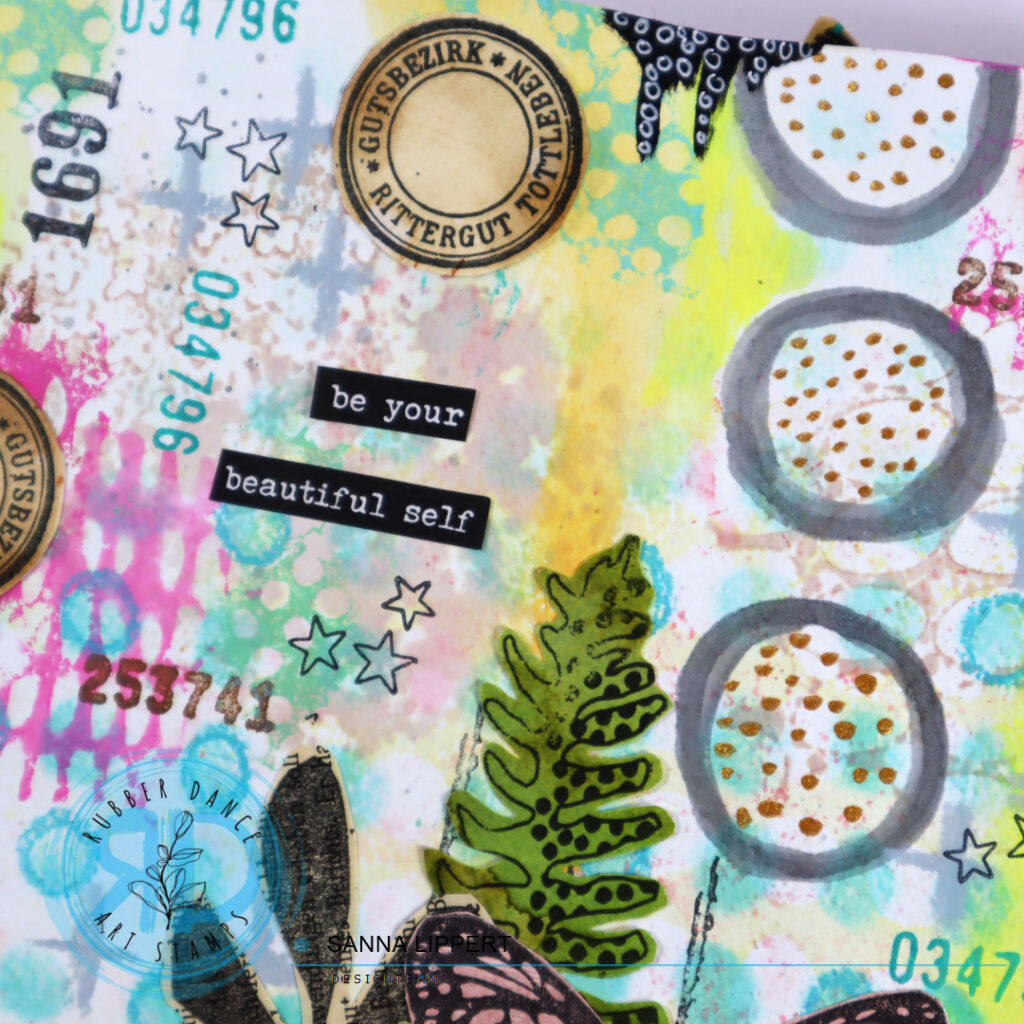
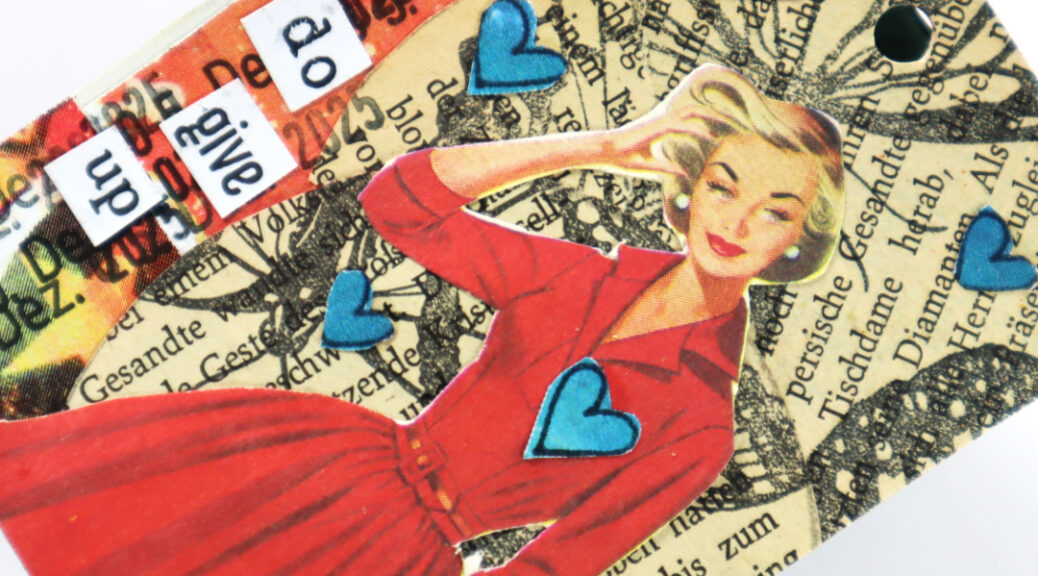
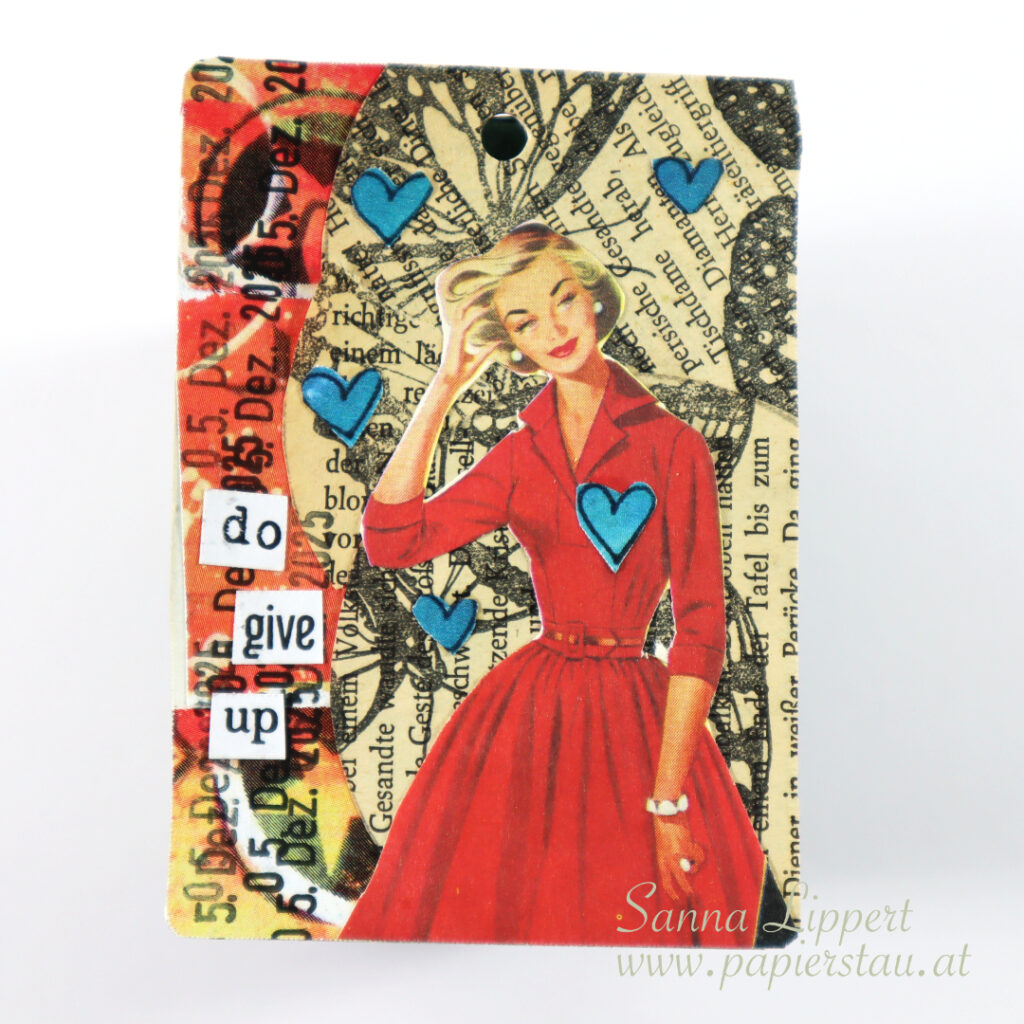
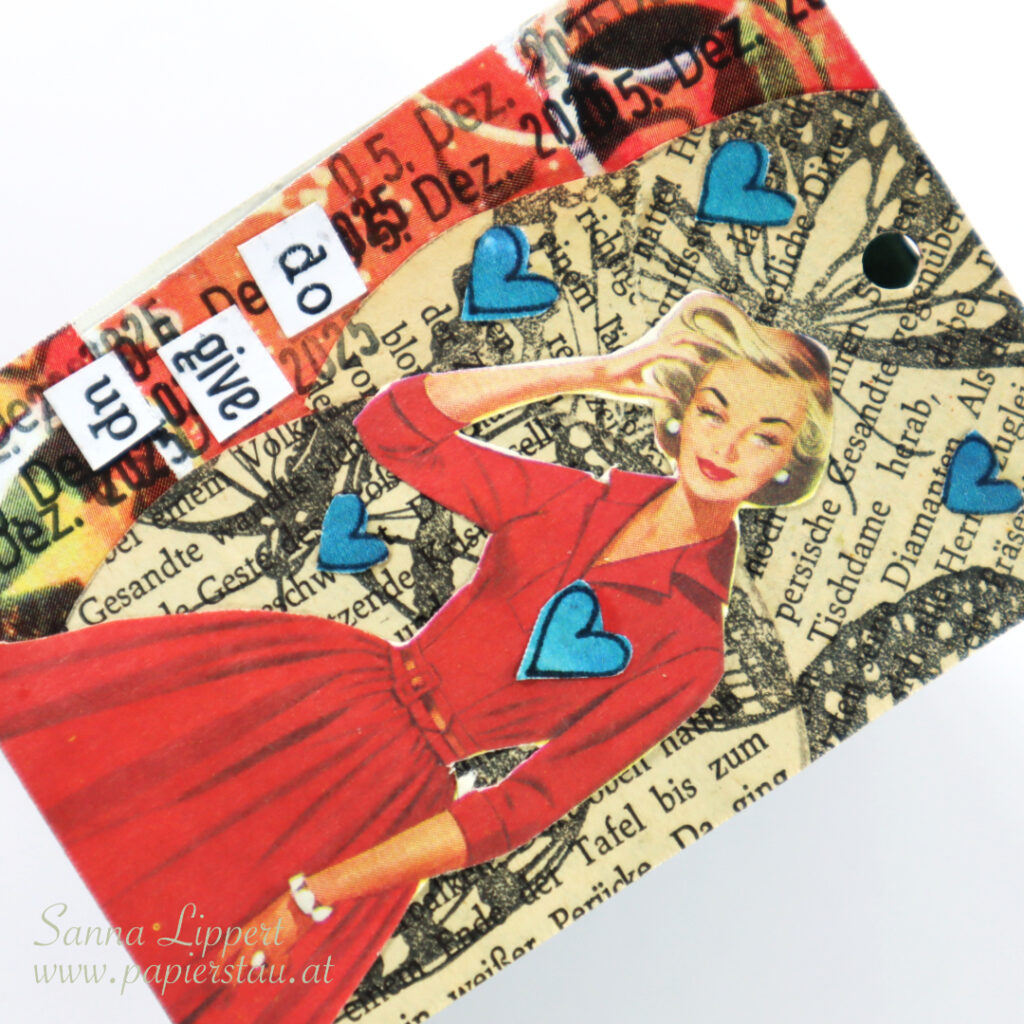
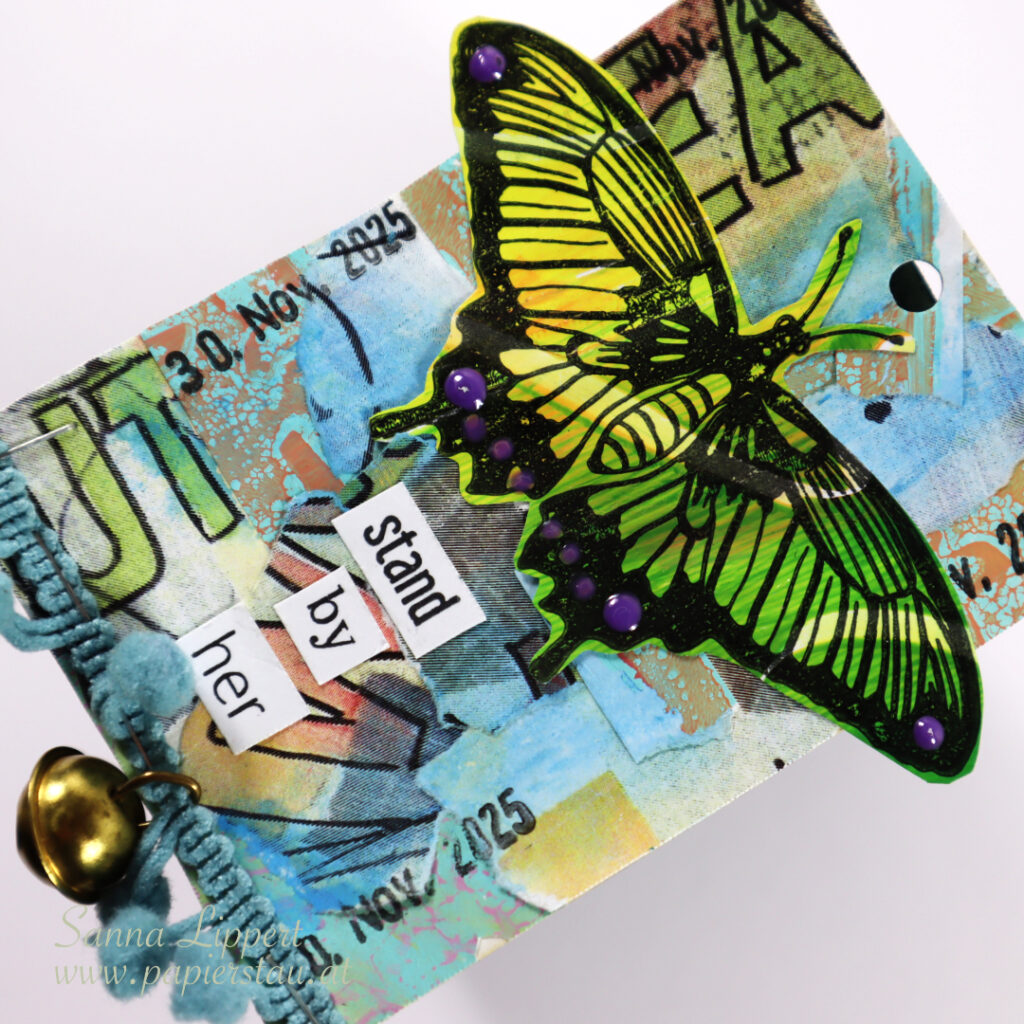
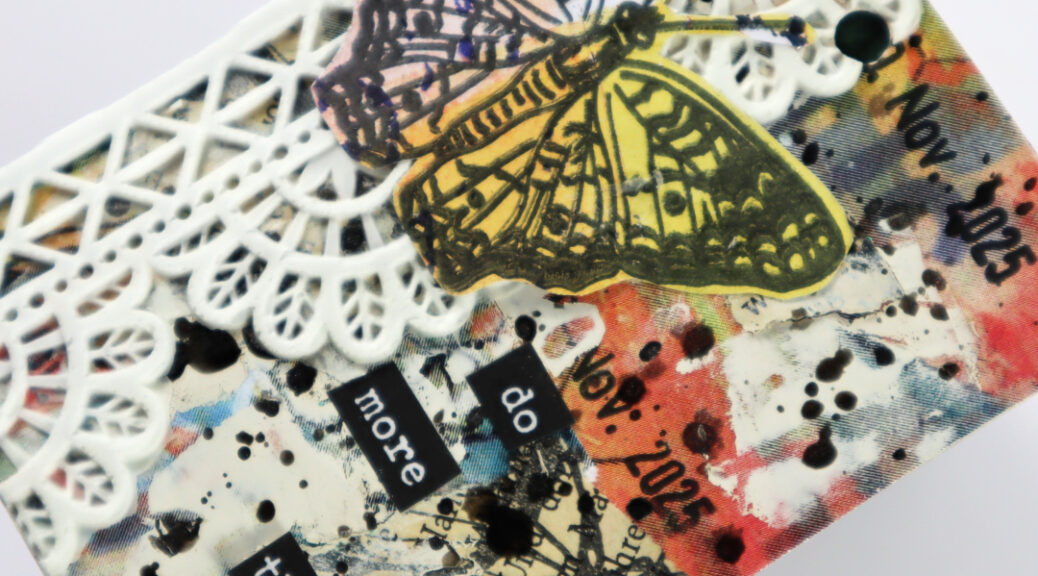
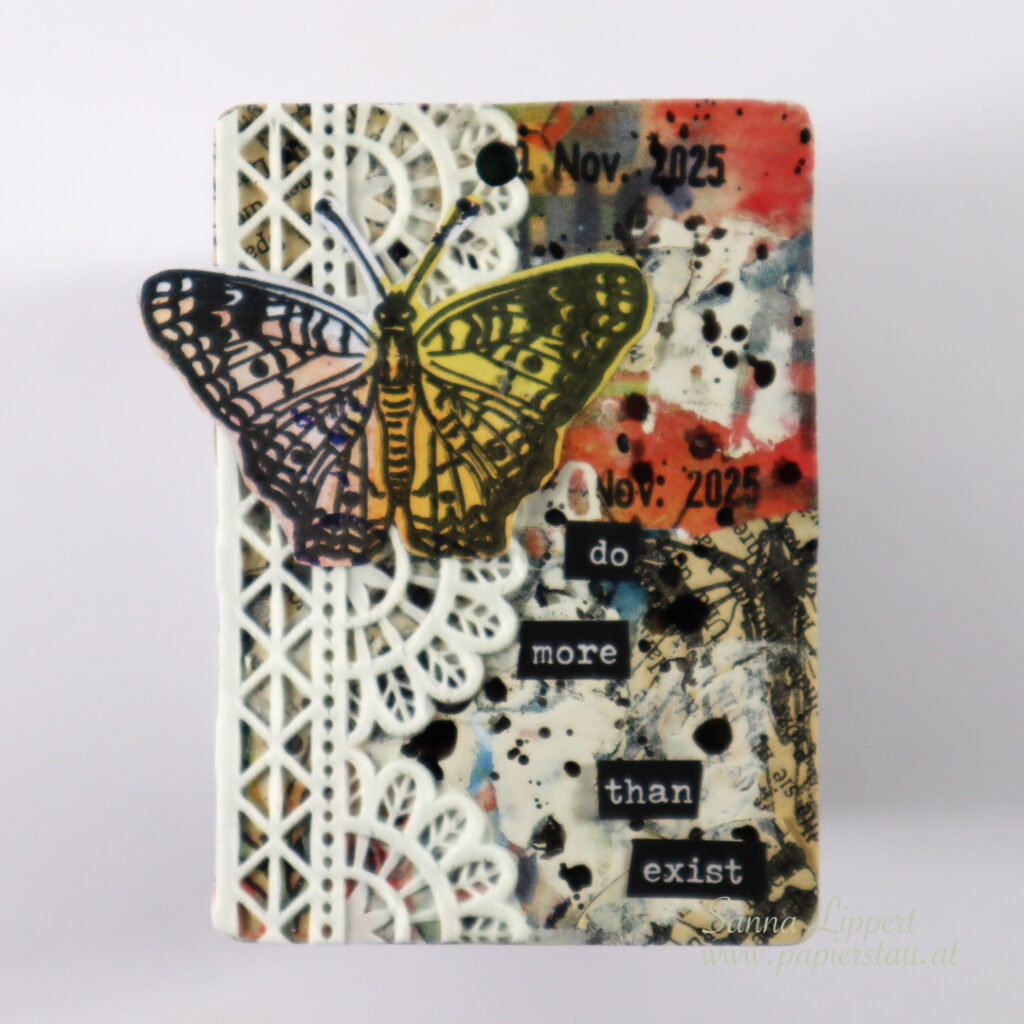
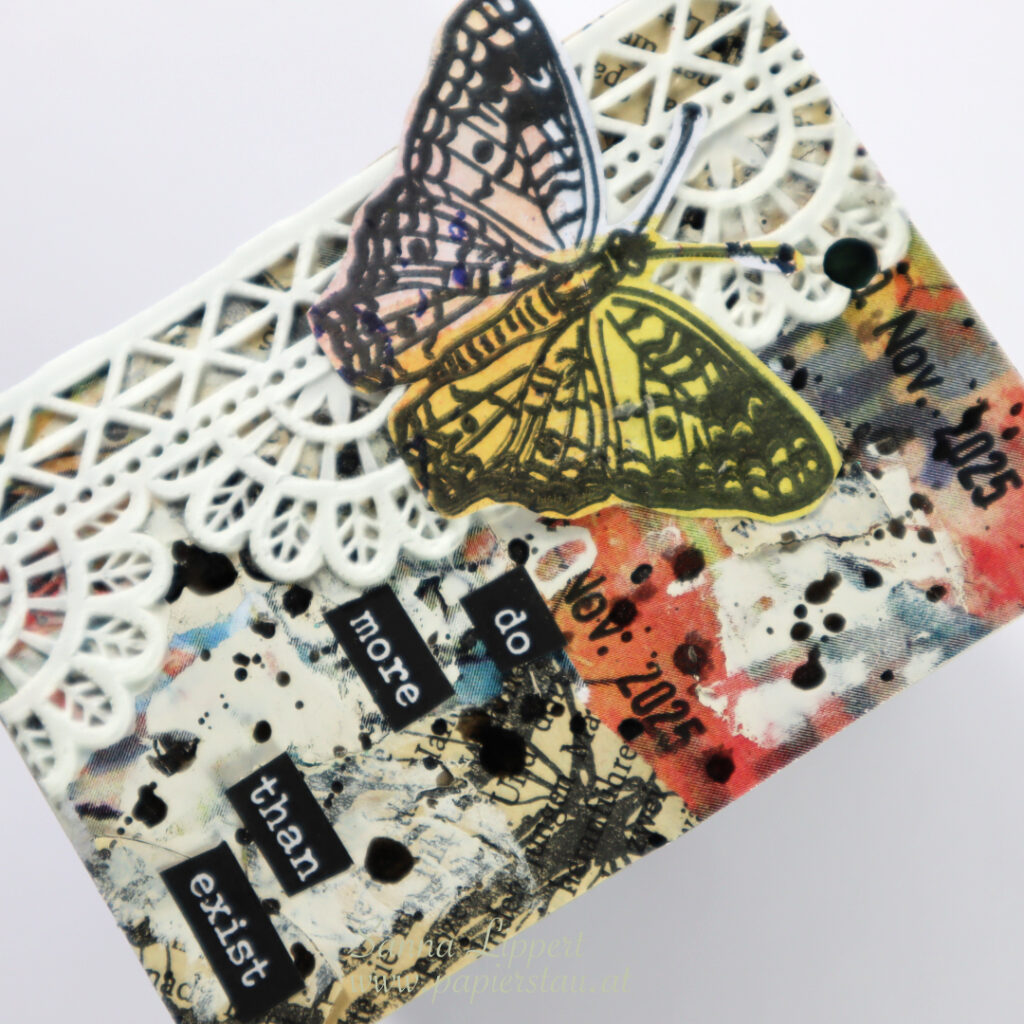
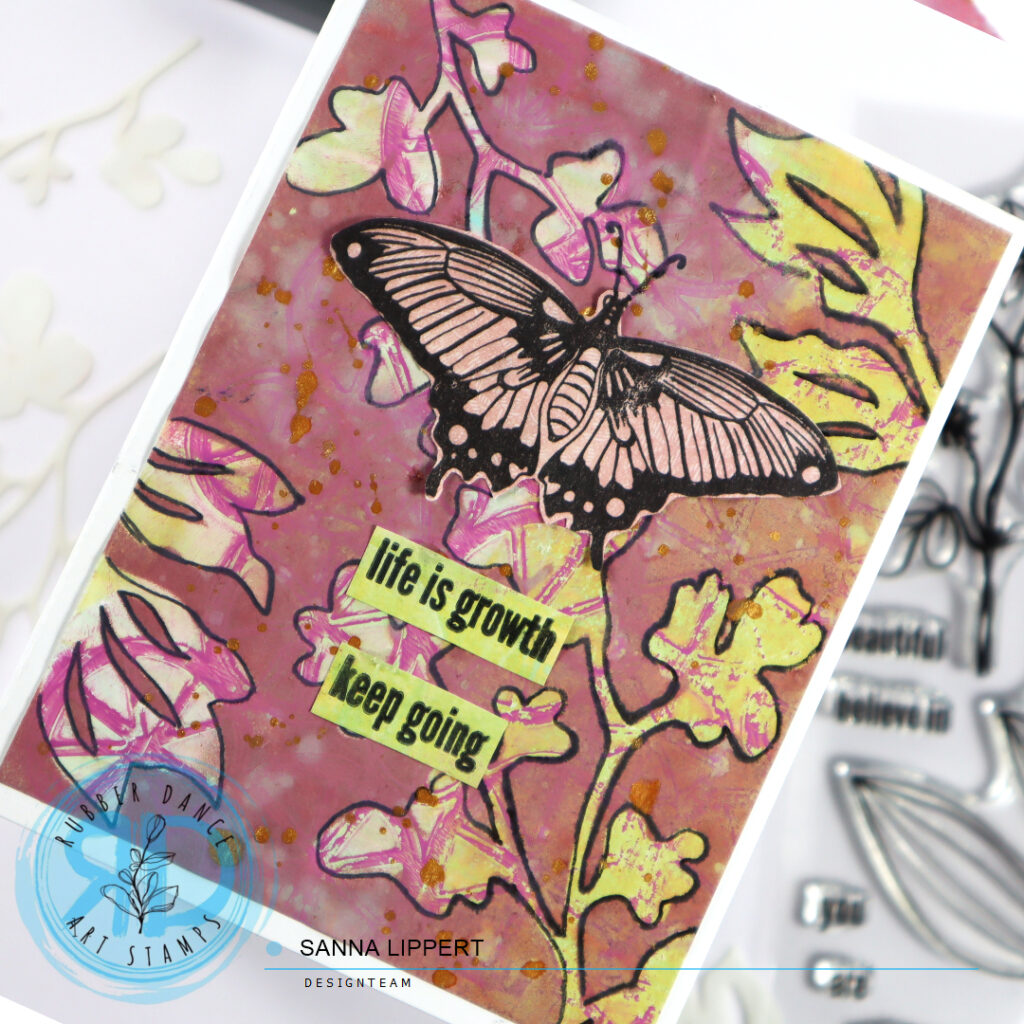
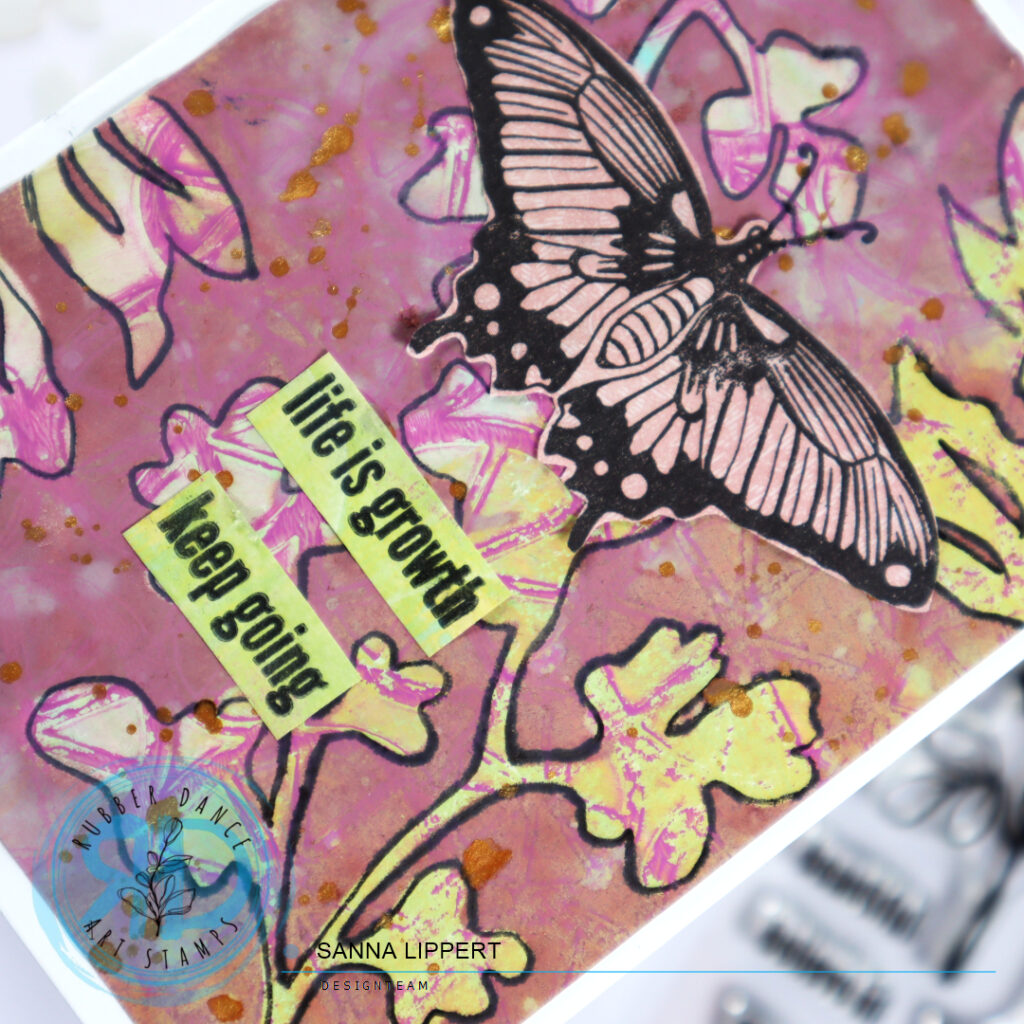
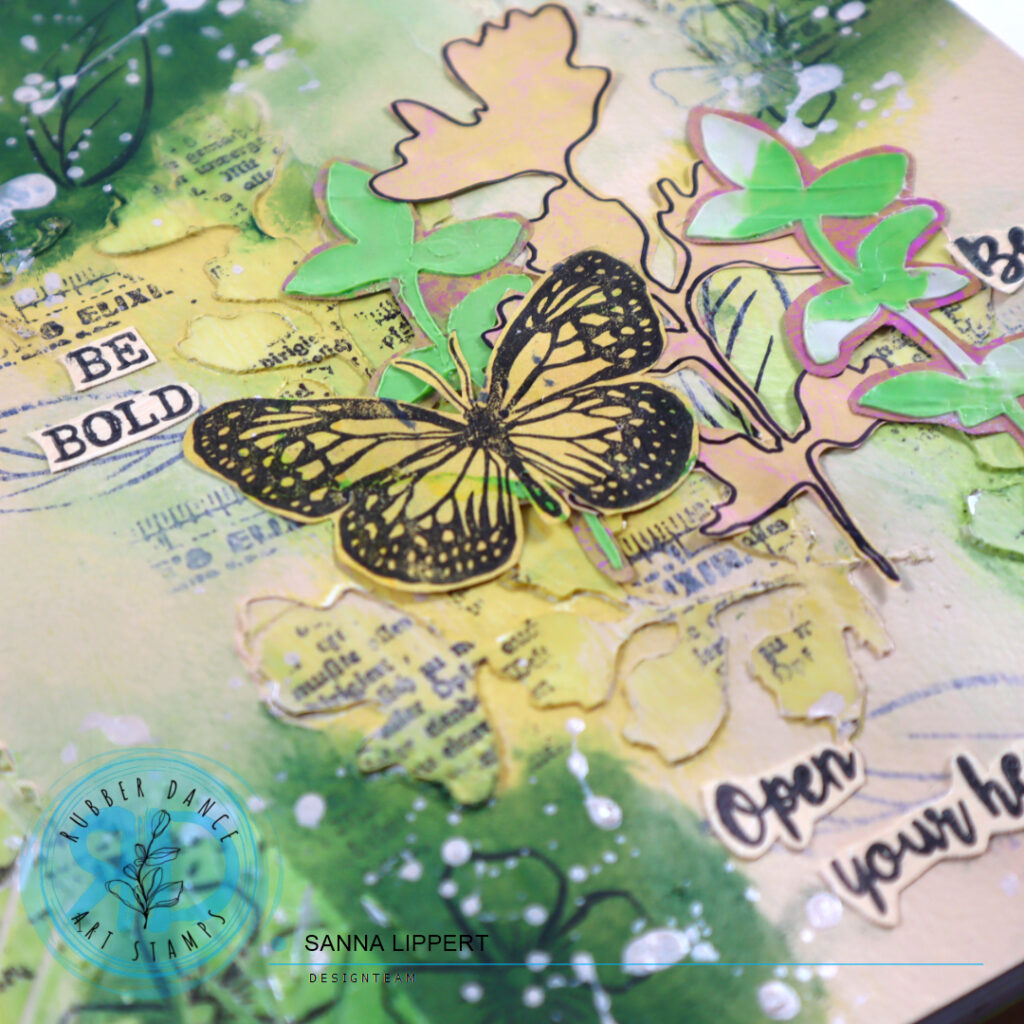
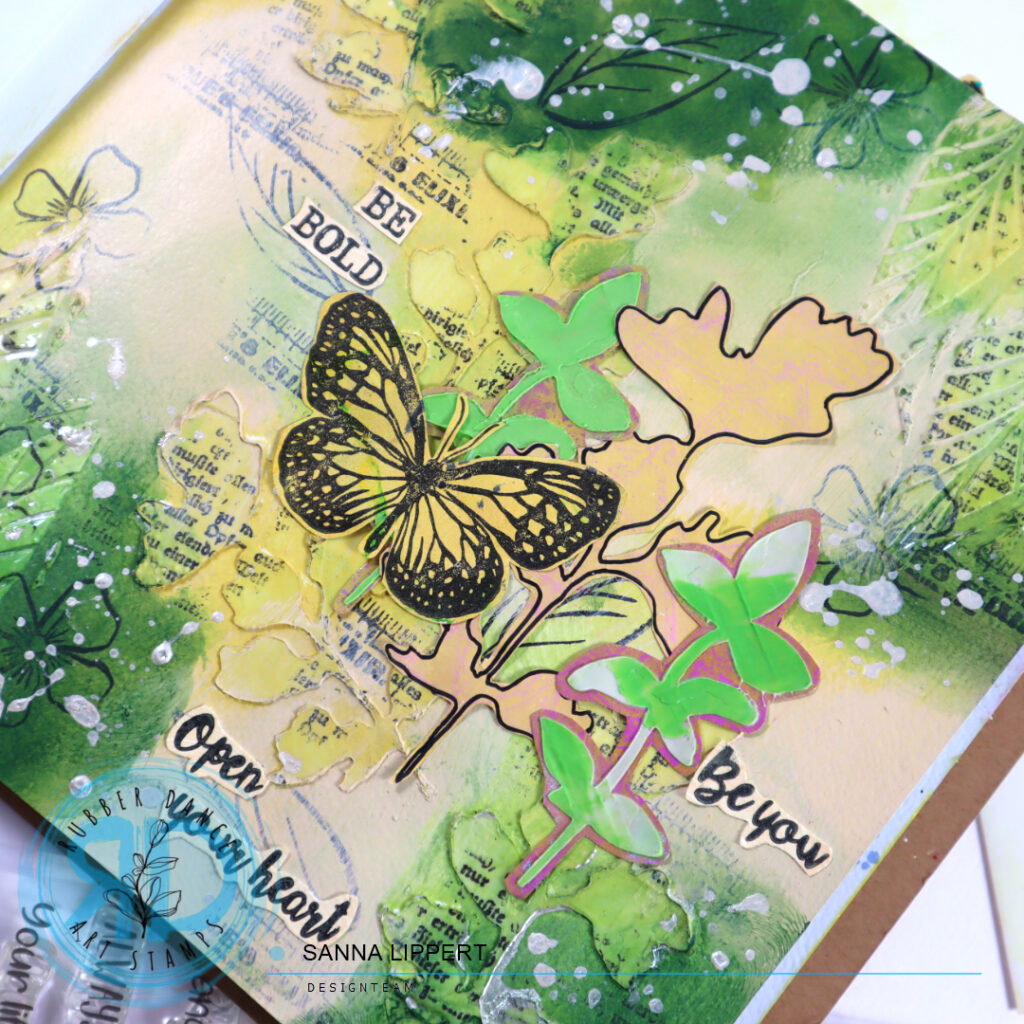
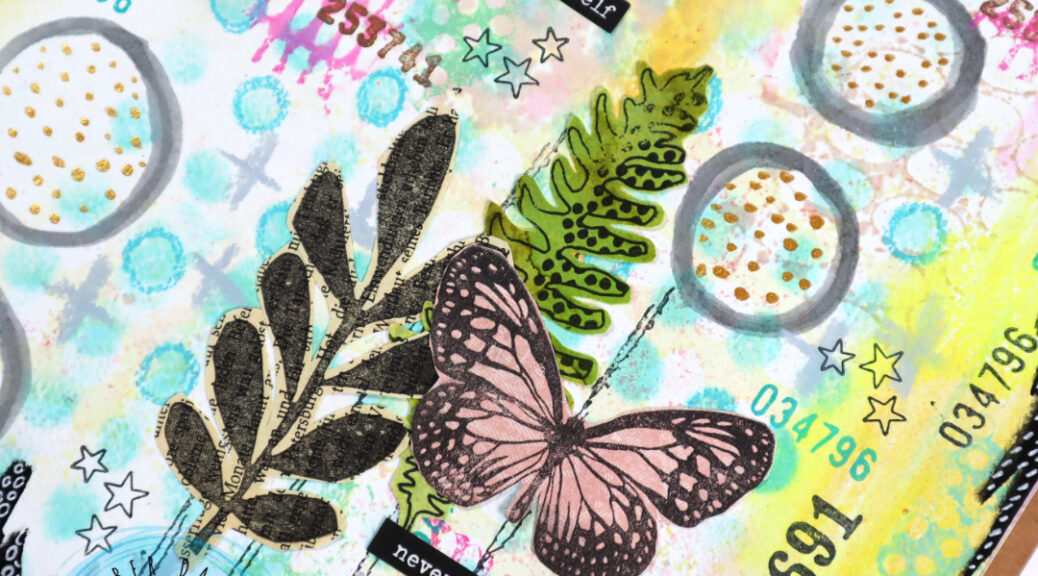
I also painted some circles onto the page and filled those with golden pigment dots. Next I added contrast with a black stamp ink by adding stamped stars and numbers as well as stitching. I then clustered a few collage fodder pieces together (leaves and butterfly) and adhered those on place. I also had a few “diy vintage labels” left over, so I adhered a few onto the page. For finishing touches I added two sentiment stickers and created black areas with an acrylic marker and detailed those with a white gel pen.
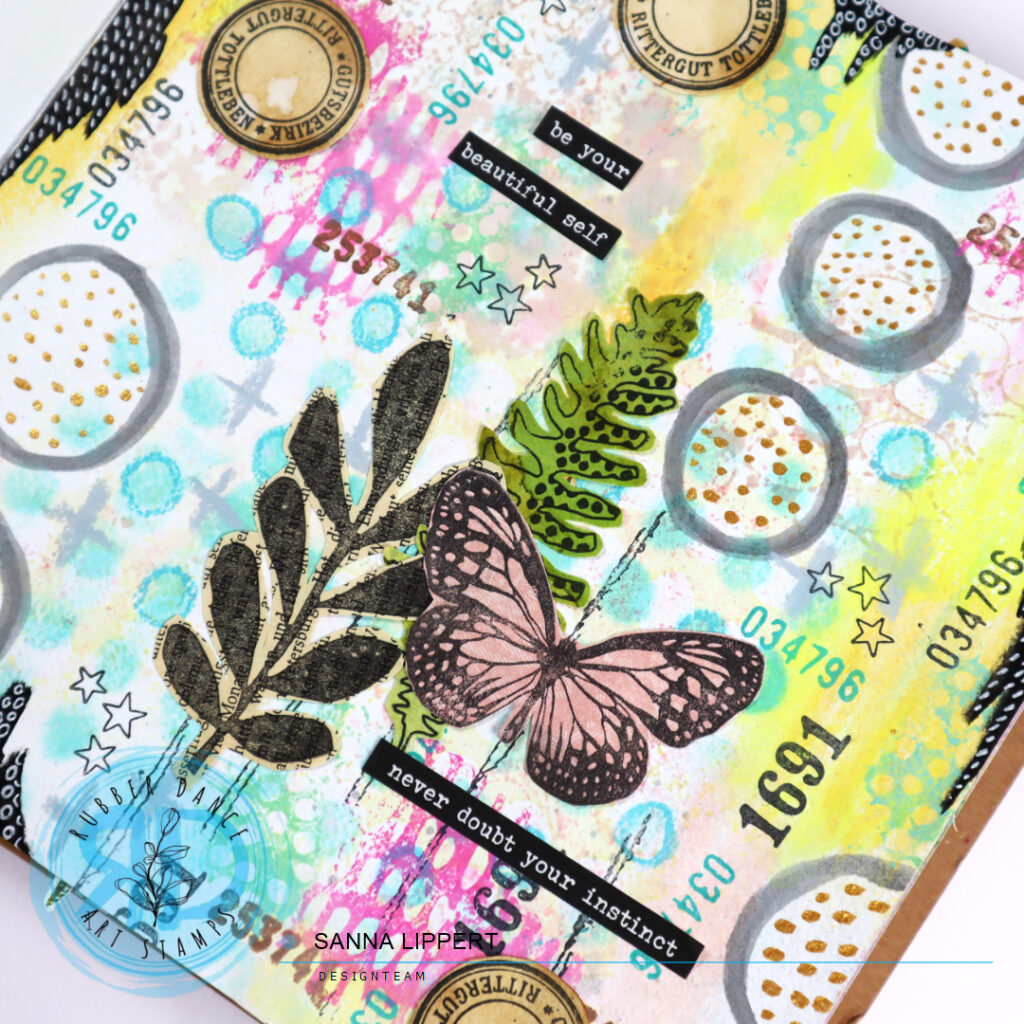
This was a really fun one to make! Have you tried this idea of freely adding plenty of layers and seeing where the page takes you?
xxx, Sanna