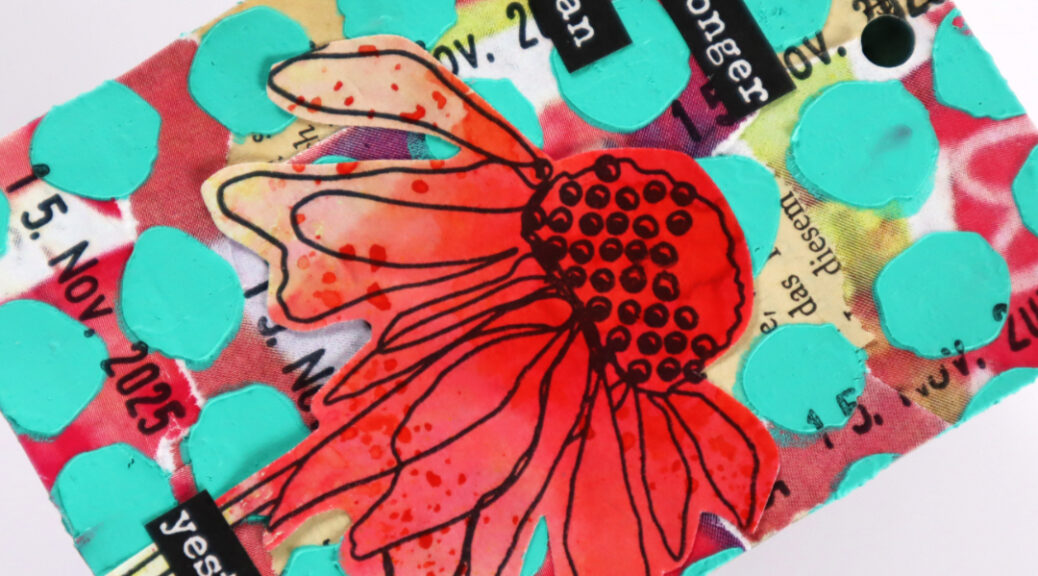
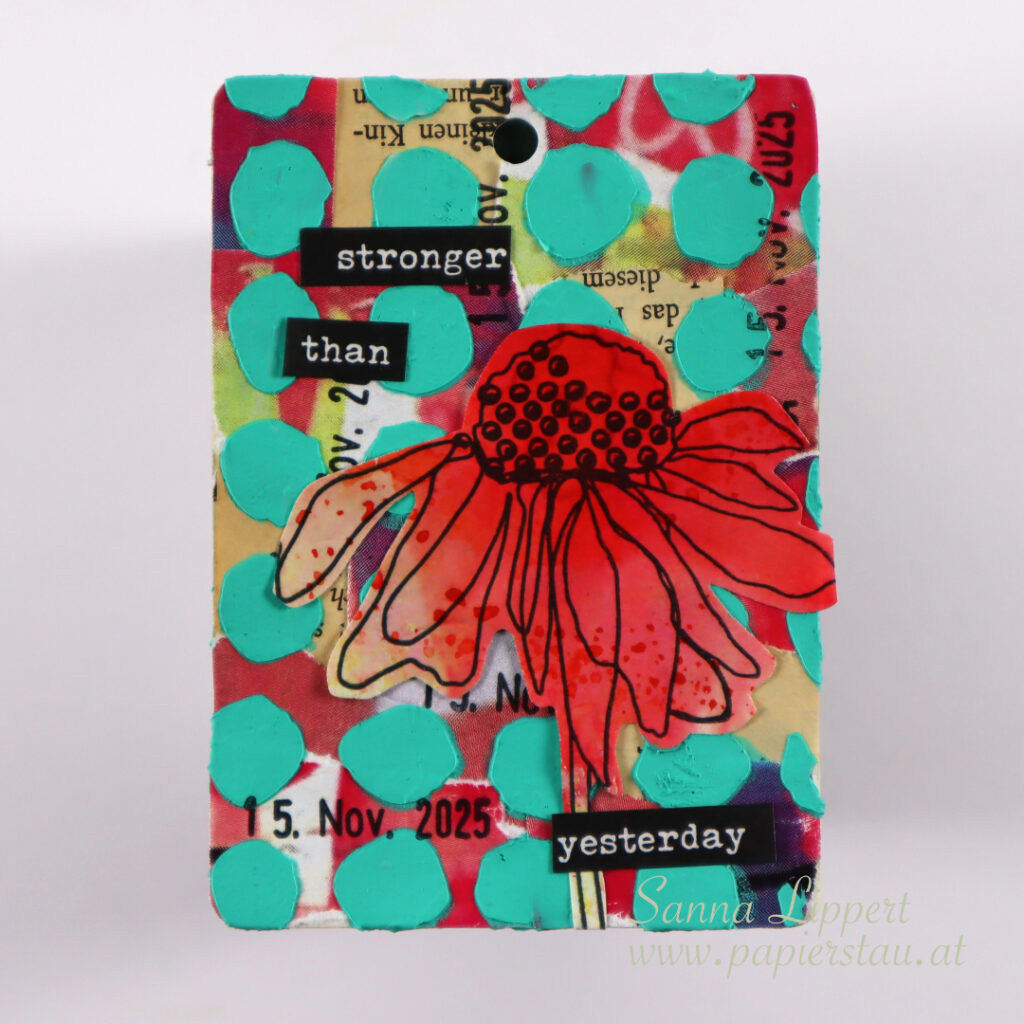
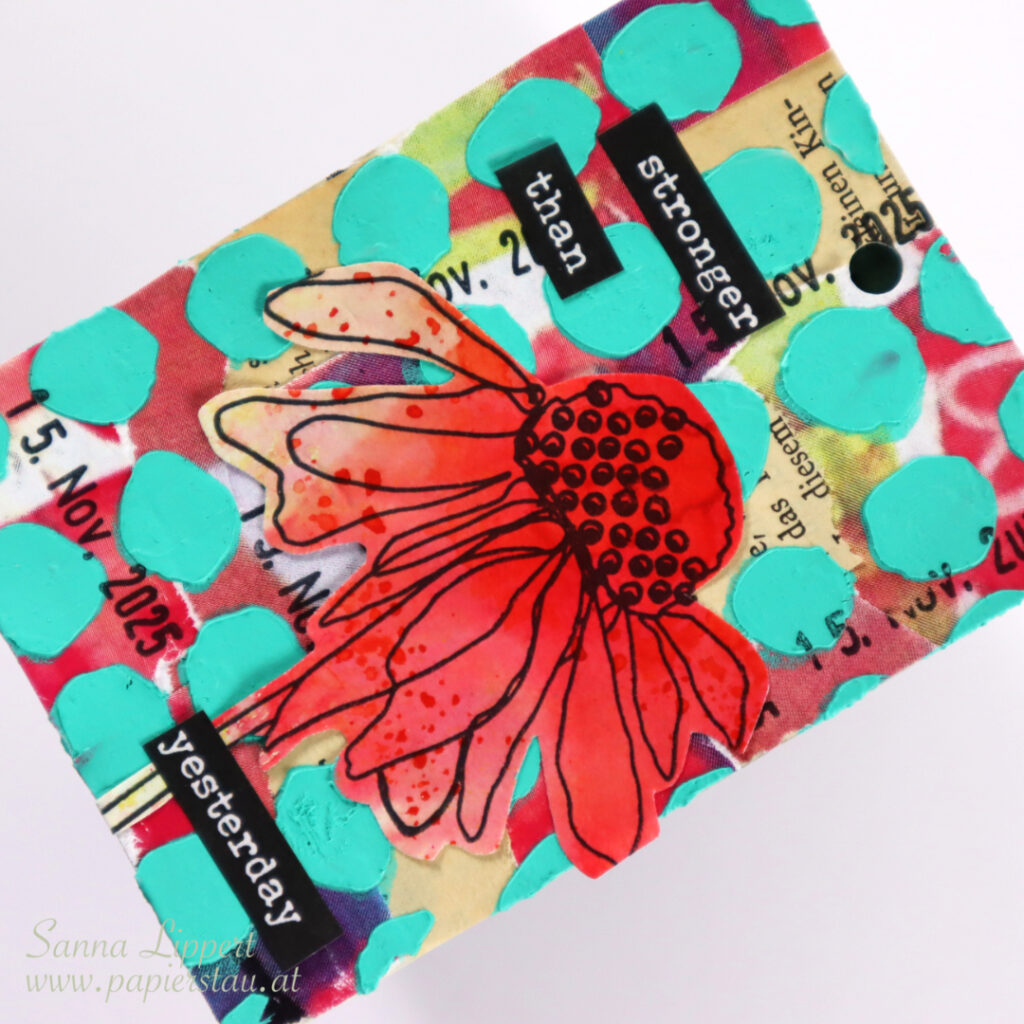
Hello, this is my take on the ShanoukiArt Full Deck Challenge 2025, number 43: circles.
I again used Yuna´s collage papers and my carry over item – bits of old book paper – on the background. On top I mixed white modeling paste with Dina Wakley heavy body paint in turquoise and stenciled it thru a Rubber Dance circle stencil onto the deck card.
In between the stenciled pattern, I stamped my constant, the date stamp images. For decor I added a premade collage flower (stamp by Rubber Dance) and some word stickers (Tim Holtz).
Here is the start-to-finish-video:
See you again next week for another FDC take! xx, Sanna
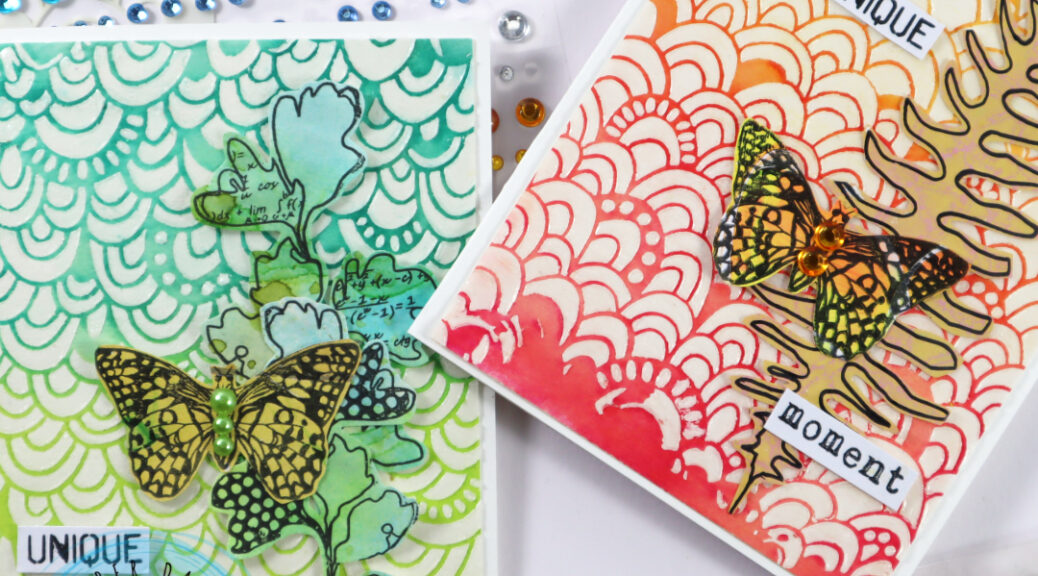
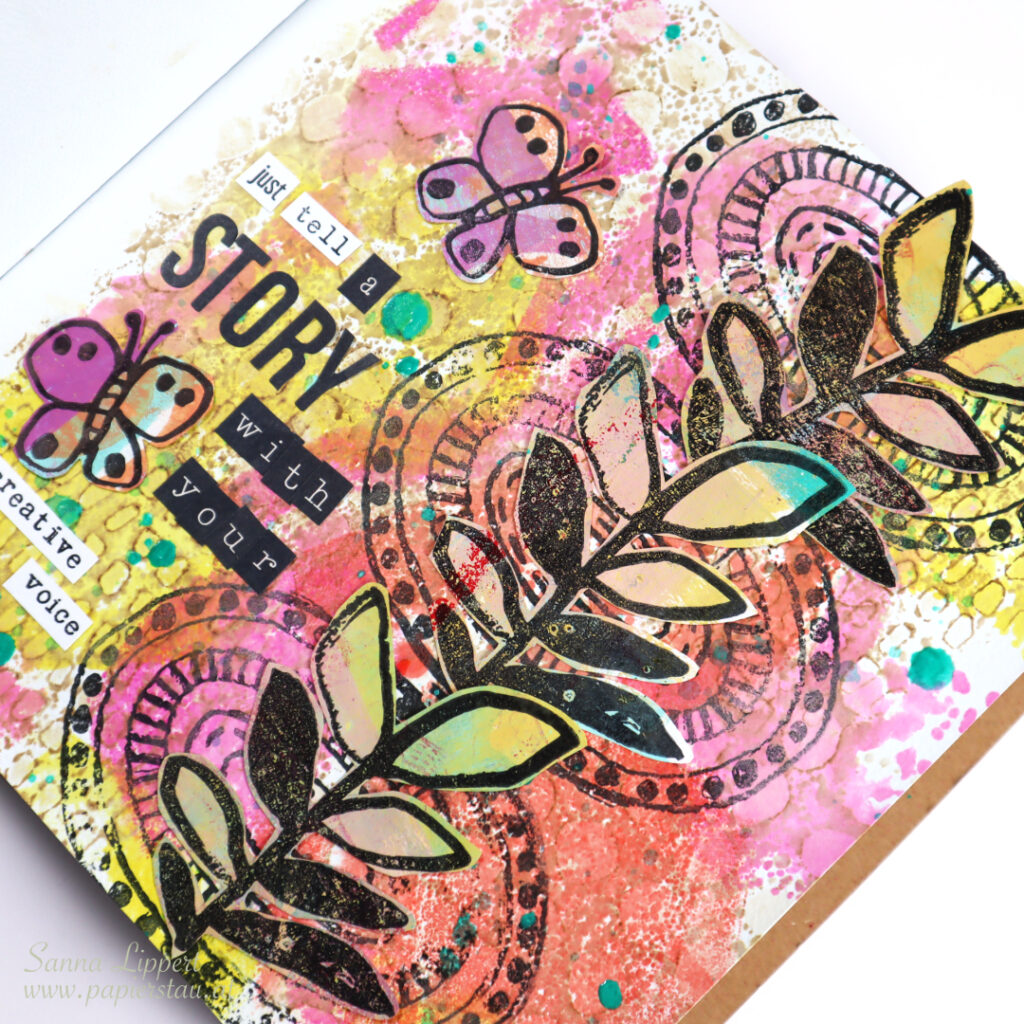
Hello everyone! It´s my turn to share an inspirational project over at Rubber Dance blog today. I am up with a monochromatic card set. I wanted to create a card background using the Rainbows #2 stencil and that is how this idea started. In addition I used the Mixed Sentiments #1 and added collage fodder elements I had previously created with Sketchy Leaves 5 stencil and Butterflies and Moths, as well as Doodle Flowers 2 stamp sets.
I started by taking a mixed media paper and cutting it into smaller sizes. Then I placed the Rainbows #2 stencil on top of the paper and applied Crystal Gel with a palette knife thru the stencil onto the surface. I did two surfaces and let them dry properly – make sure they are really dry – before moving to the next step.
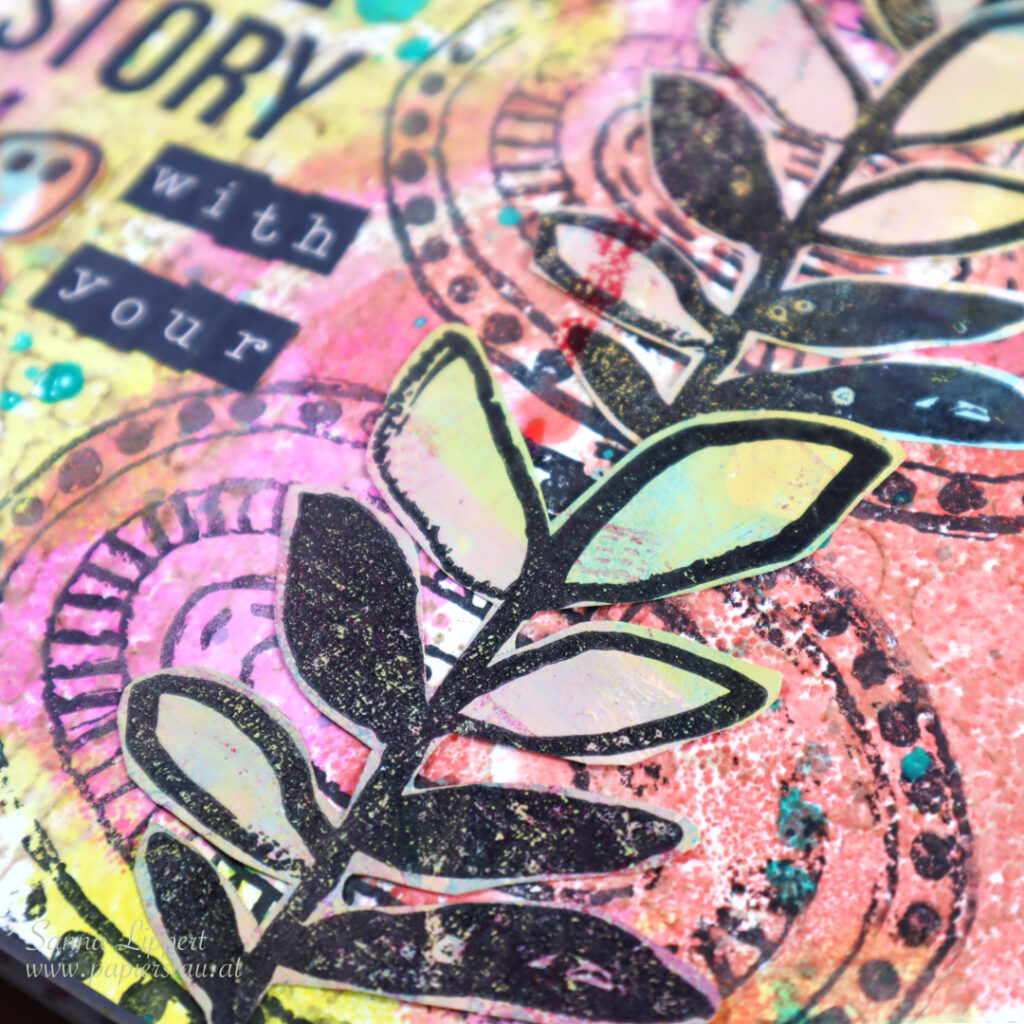
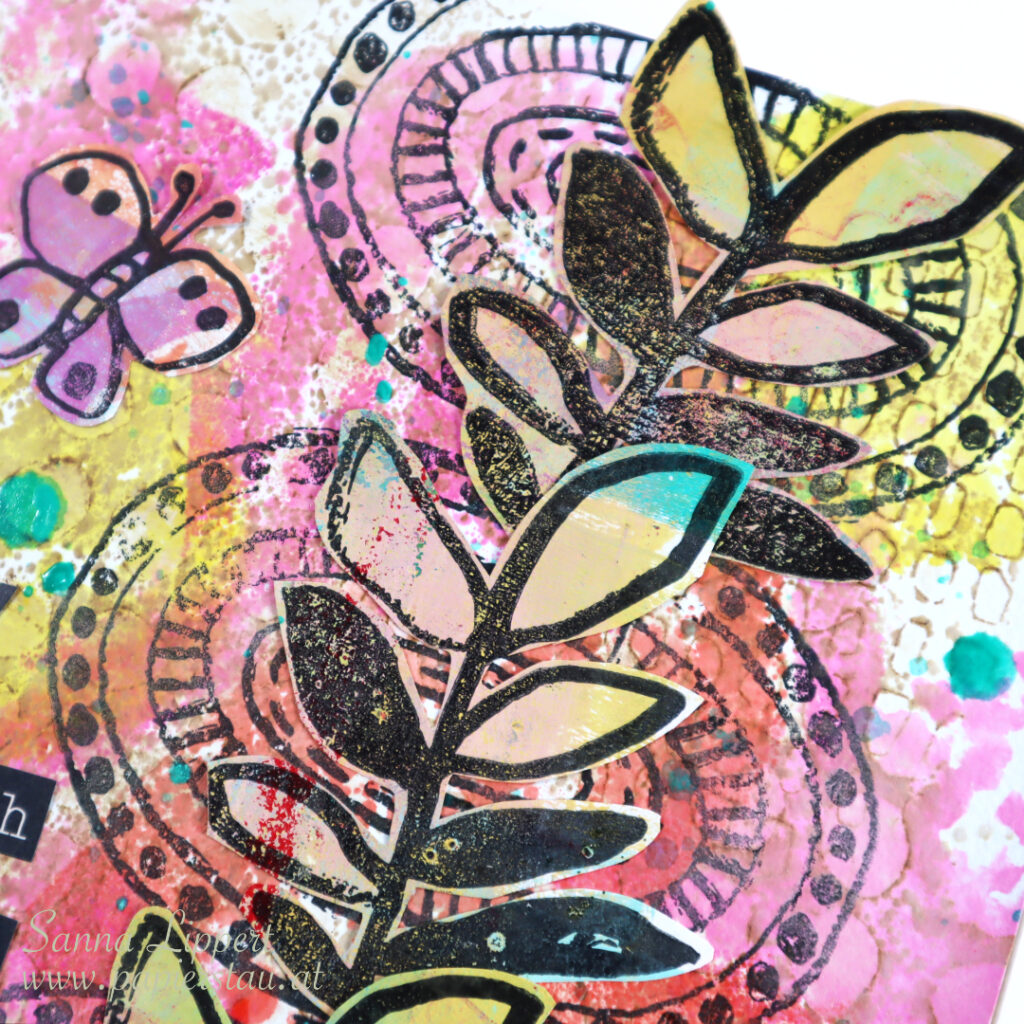
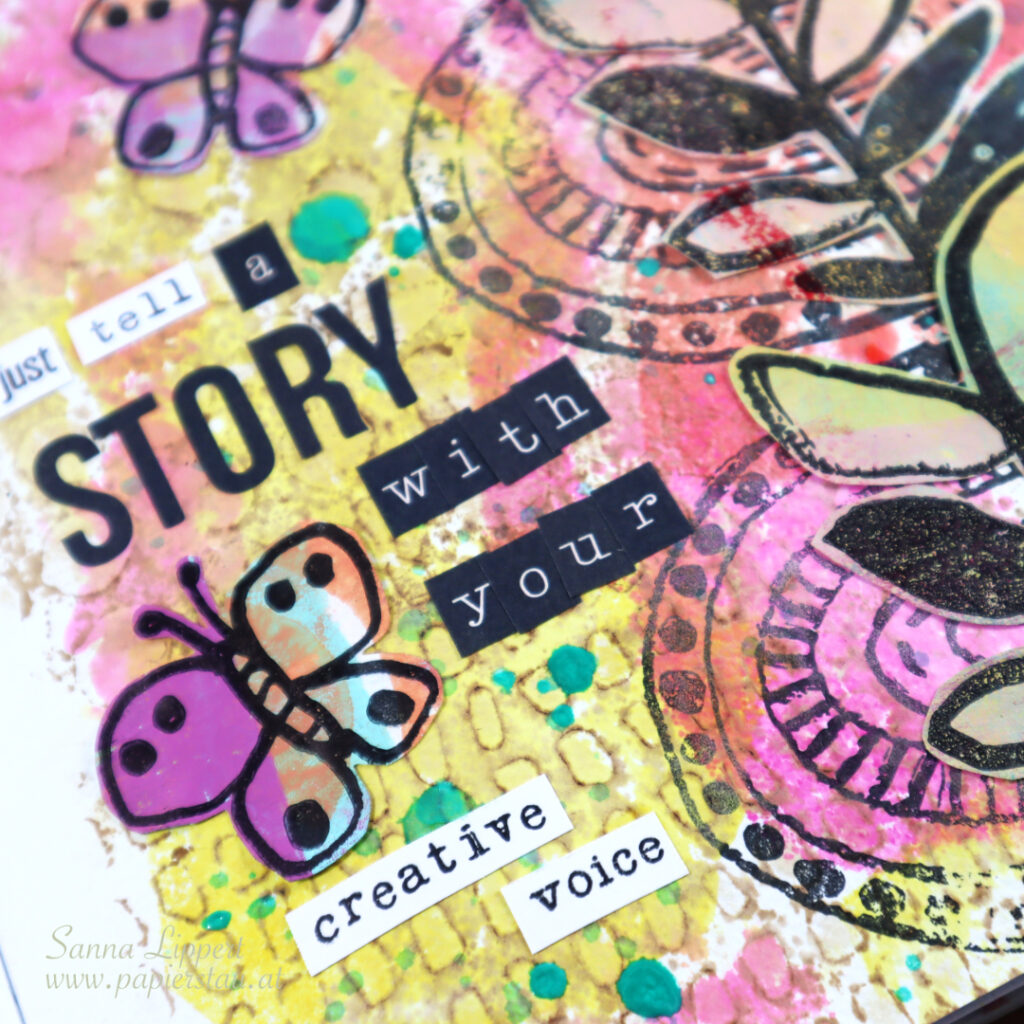
Next I took a blue and green Distress Ink (twisted citron & peacock feathers) and applied those onto the stenciled surface. After that I took a baby wipe and wiped any residue ink off from the crystal gel-treated areas. After that I took double sided adhesive tape and adhered the inked and stenciled paper onto a white card base. I then decorated the card with collage fodder leaves and butterflies and stamped and fussy cut a sentiment from Mixed Sentiments #1 stamp set. For finishing touches I added some green adhesive half pearls to the butterfly.
I did the exact same steps on the pink and orange toned card, but I used spiced marmalade and picked raspberry Distress Inks on the background. The collage fodder is done using the Butterflies and Moths stamp set and the Sketchy Leaves 5 stencil. You can find tutorials to the collage fodder bits here, here and here.
And here is the full start-to-finish video for more details. Hope you like it!
I hope I could inspire you to try out Rubber Dance stencils with clear texture paste and inks. It´s a lot of fun!
Hello, I am up over at Rubber Dance with another project. I have a DIY ticket tutorial up for grabs this time. I used the “Mix It Up 4″, “Mix It Up 5” and “Mix It Up 7” stamp sets to create the tickets.
I started by applying 3 different Distress Ink brown tones (vintage photo, tea dye & gathered twigs) with a blending brush onto a white, smooth, mixed media paper. This blending result does not have to be meticulous. The more random and irregular it turns out, the better! You can even add lines and leave areas almost white during this step. This only adds to the vintage/used feel of the end result.
Next add water splatters onto the inked paper. Let sit for a while and dab any residue water off with a cloth or a paper towel. Then take all the ticket looking stamps from the stamp sets out and stamp onto paper repeatedly. After that cut into size with a paper trimmer / scissors. For finishing touches, go around the edges of each ticket with brown ink. Now you have yourself a pile of cool tickets you can use in future projects.
Here is a video of the ticket making process:
I hope you get inspired by this idea and make some tickets of your own with Rubber Dance stamps and Distress Inks! Have fun! xx, Sanna
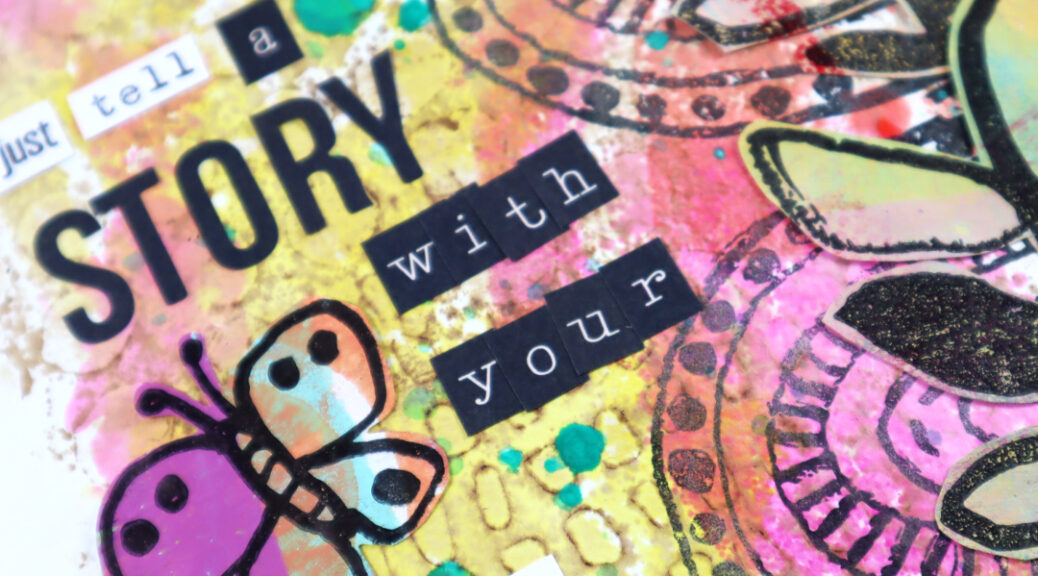
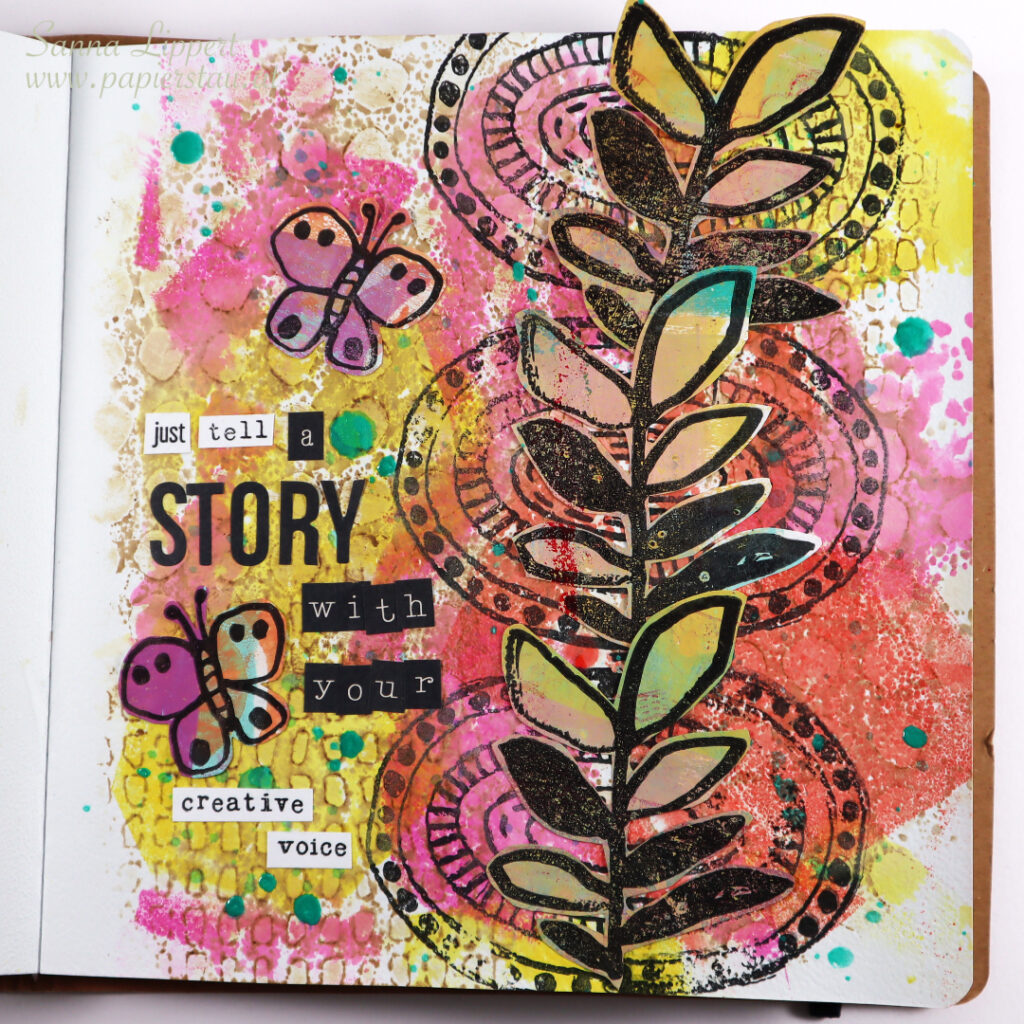
Hello everyone, here is a little share from when I was randomly playing in my art journal with recently made collage fodder pieces and Rubber Dance stamps and stencils.
I started with Distress Ink tones “ripe persimmon”, “picked raspberry”, “mustard seed” and “vintage photo”. I first applied the pink, yellow and orange tones with a misted gelli plate onto the background and created the random color areas. Next I pressed some “vintage photo” onto “Dotted 1” and “Marks 3” stencils, misted them and pressed the inked areas directly onto the paper. This created a hint of a pattern.
Next I used the “Pencil Marks 8” stamp set to create the oval shapes onto the page using black stamp ink. After that I grabbed some premade collage fodder pieces (leaves and butterflies) and adhered them to the page. After that I added some turquoise ink splatters (Dina Wakley Gloss Spray). For finishing touches I created a sentiment with stamped words (Mix a Sentiment 2023) and some stickers from my stash.
Here is the start-to-finish video:
I had a fun time playing in my art journal. Hope you enjoyed watching the process!
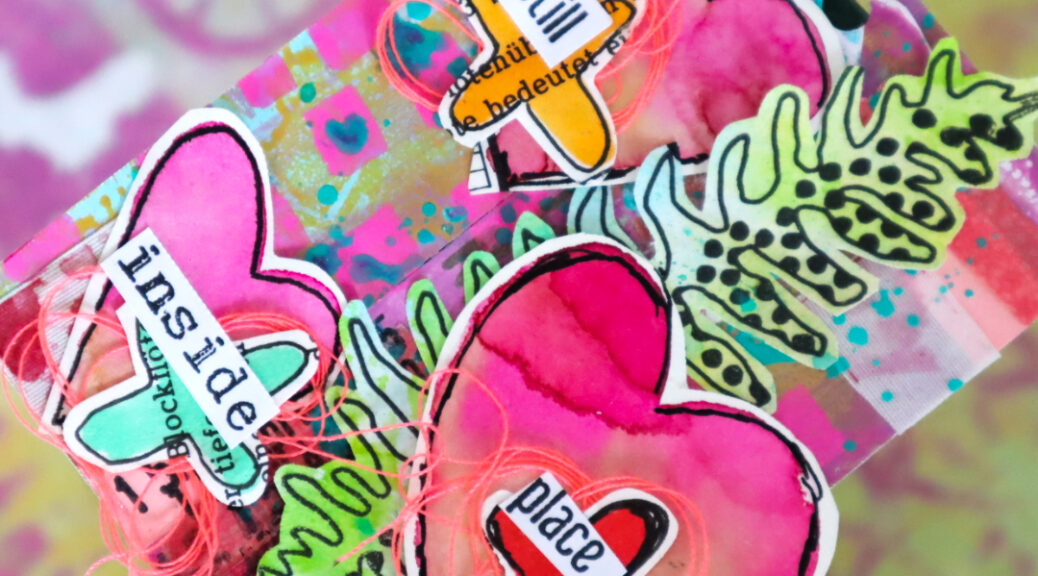
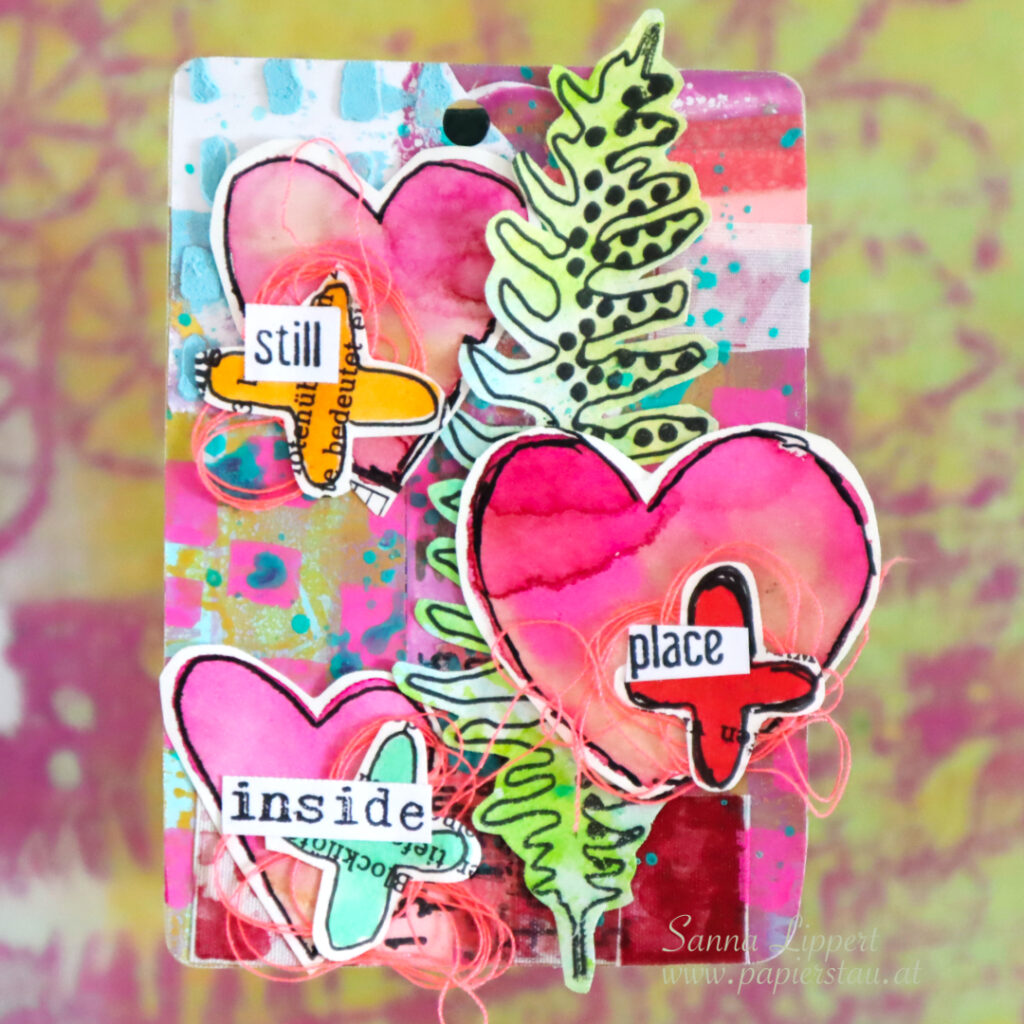
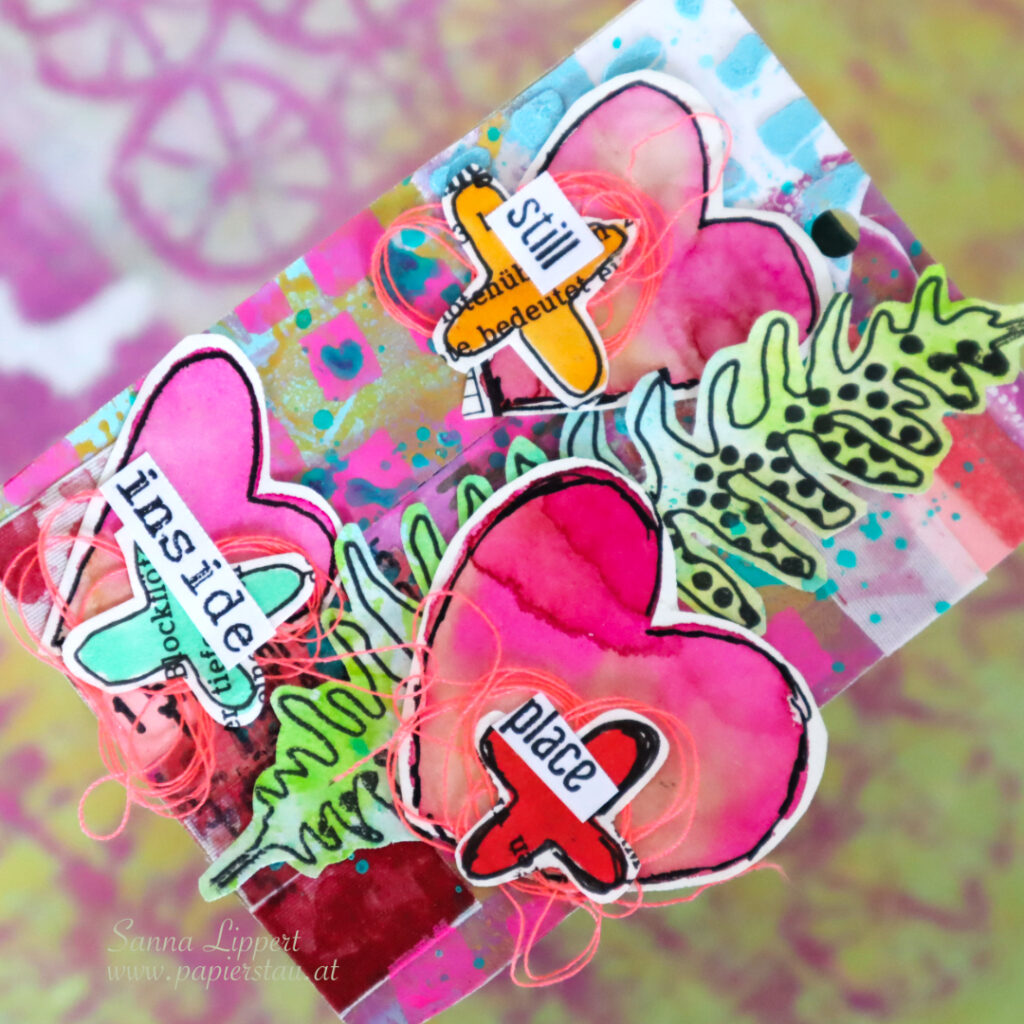
Hello and happy Wednesday! Here is another share from my take on the ShanoukiArt “Full Deck Challenge 2025”. This weeks theme is: “Stack it up!”.
I used layers over layers (as much as I could). Starting with gelli printed leftover paper bits, then adding some texture paste treated paper bits on top. Then some washi tapes. After that some fabric tape bits. Next some pink Posca pen marks and turqouoise Gloss Spray splatter. After that a collage fodder leaf (Rubber Dance) and some hand drawn ephemera (hearts and crosses). In between some yarn and on top some stamped words. I love how this one turned out. The happy colors on top of each other. Pure joy!
The hand drawn bits are from last years 100 day challenge. I am so glad I can incorporate those bits on this challenge. And now to the video:
Hope you liked it and got inspired! See you next week with another one.
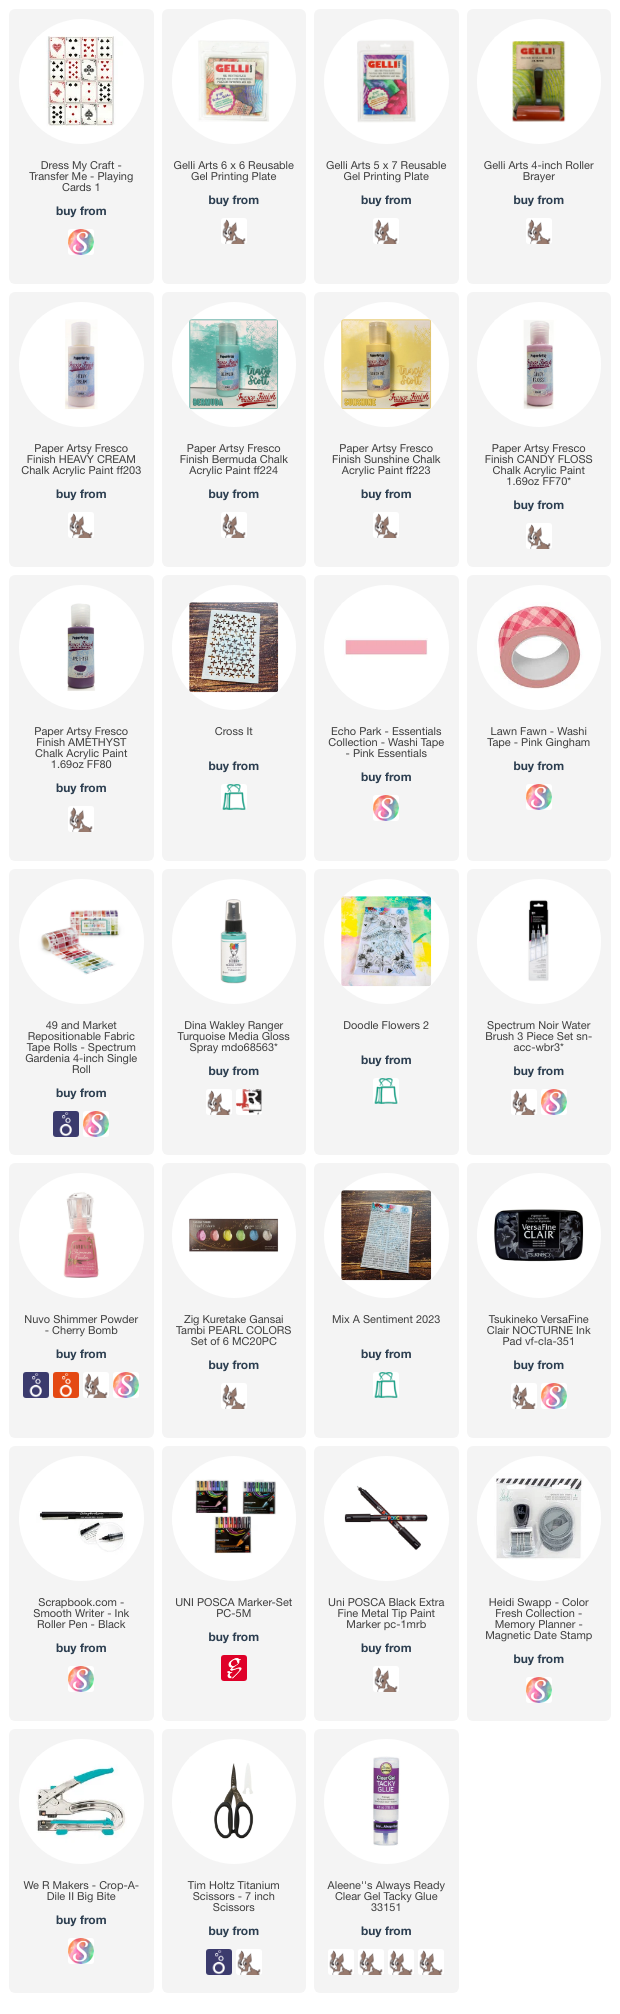
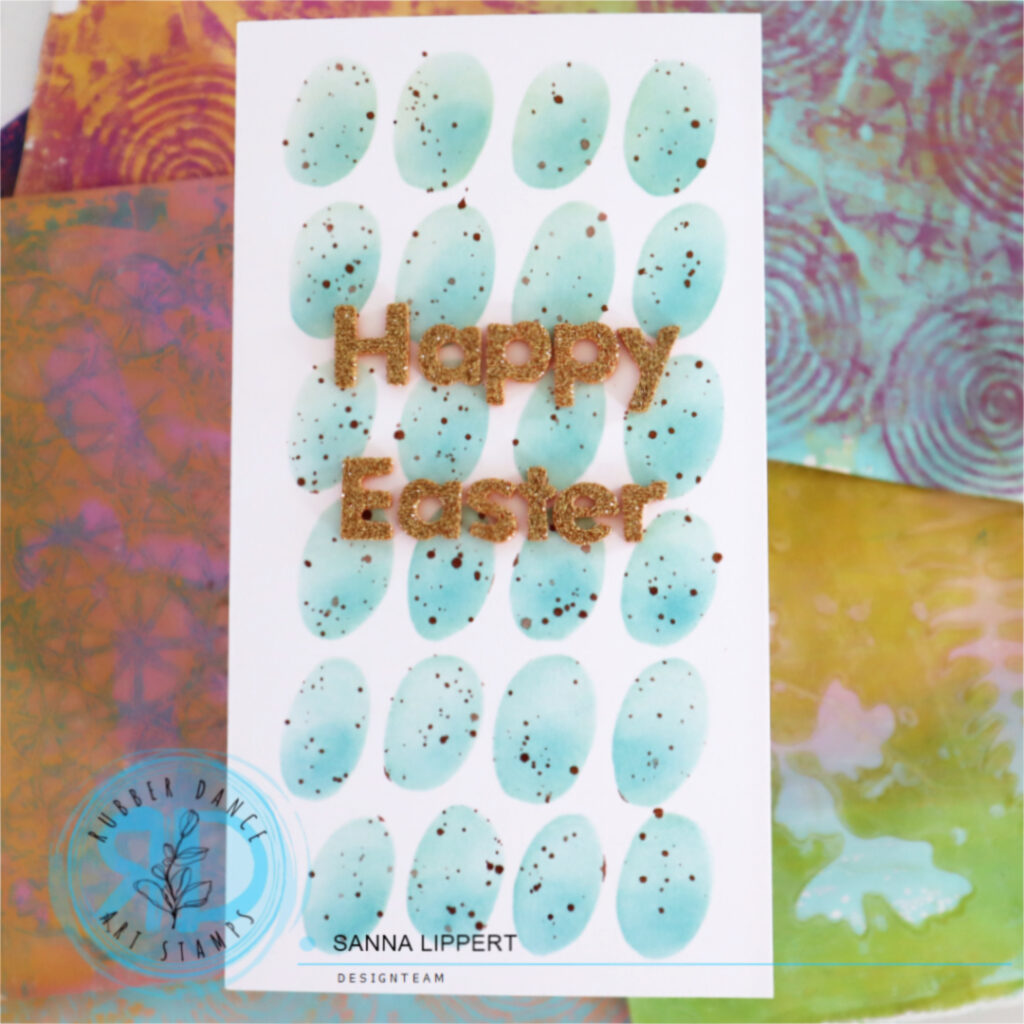
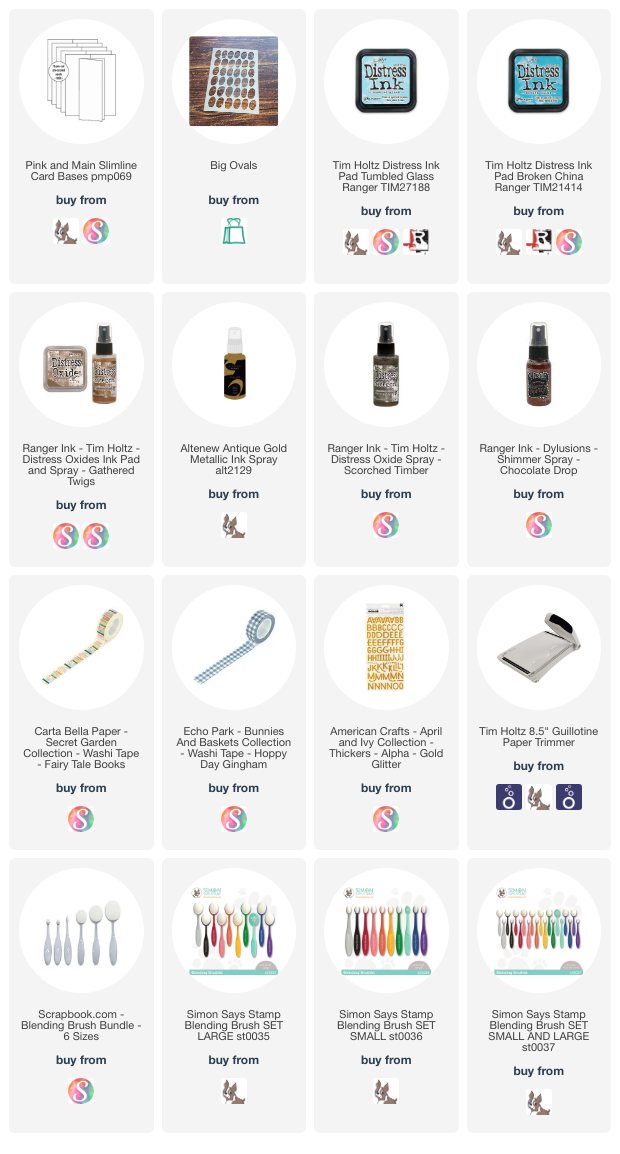
Hello everyone, I am up over at the Rubber Dance blog today again. This time with a really simple, but awesome, stenciled Easter card tutorial. You will need the Big Ovals stencil (one of my faves!), two tones of blue Distress Inks, a brown spray ink of some sort, washi tape and a white card base.
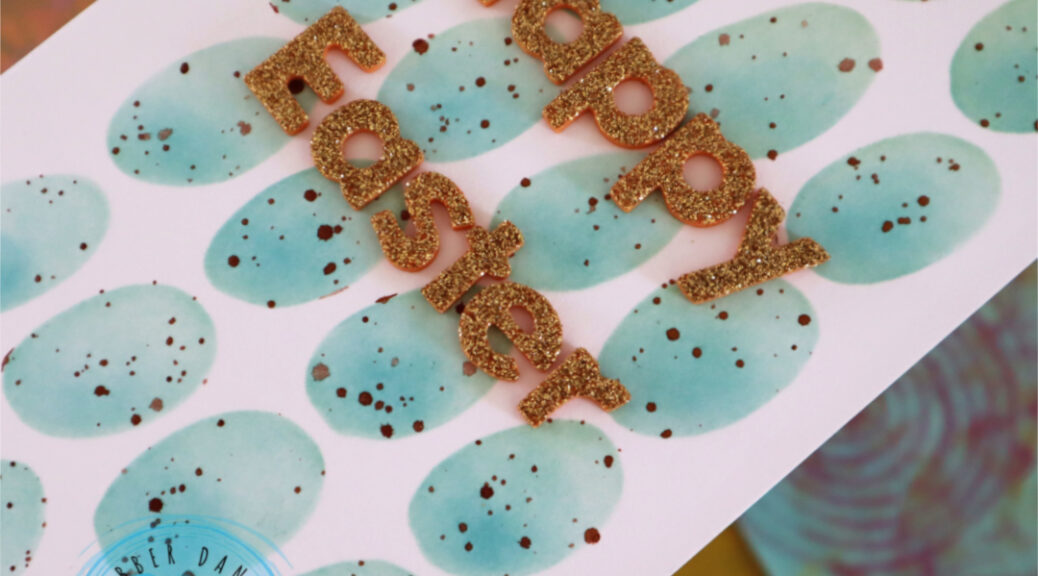
This was the kind of idea that when it hit me, I just immediately had to run to my craft room and try it out. And it worked out so great! I have this simple stenciled egg background for my Easter card and it is so easy to make.
First you need a slimline card base in white. Next take two tones of blue Distress Inks (I used tumbled glass and broken china). Start by adhering the card base with washi tape onto your working surface, next adhere the stencil on top and cover all unnecessary circle areas with washi too.
Now apply the lighter blue tone with a blending brush, then go over the lower circle areas with a darker blue tone. After that leave the stencil as is and splatter brown spray ink thru the stencil. Let shortly dry and carefully remove the stencil and the washi tape. Decorate with a “Happy Easter” sentiment, created with golden glitter alpha stickers. How´s that for a fast and easy-to-do Easter card idea with “Robins eggs!? Here is a video for you to watch – hope you like this idea.
You could also make yellow, light pink or light brown eggs. Whatever colors you prefer. I am going to make a few more in different colors for sure.
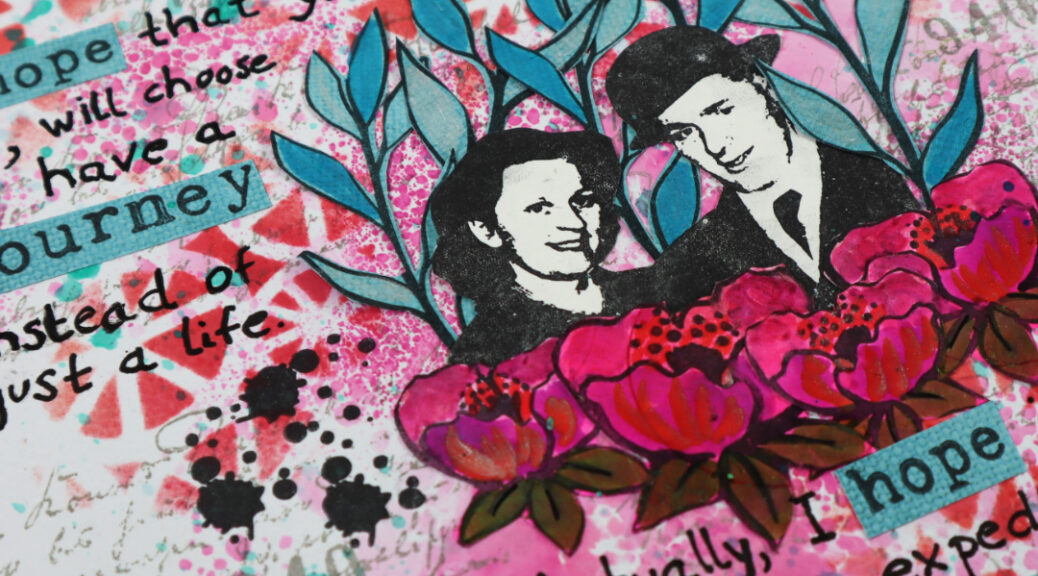
Hello everyone! It´s again time for another Rubber Dance project share. I am up with a life quote themed art journal page share today. For this page I used the Wheels stencil, Loose Florals 2024, Mix It Up 6 and Mixed Sentiments 1 stamp sets.
I started by pressing misted Distress Ink (picked raspberry) with an acrylic block directly onto the background. Next I took the Wheels stencil and applied candied apple Distress Ink thru the stencil onto the background. I then grabbed the Mix It Up 6 stamp set script stamp and added stamping to the background with a light gray stamp ink.
After that I stamped the flowers with the Loose Florals 2024 stamp set onto white paper and colored them with alcohol markers and glitter pens. Then I stamped the leaves, using the same stamp set, onto blue paper and added some glitter pen details onto them. I also added some Gloss Spray splatters in turquoise onto the background for interest. I then adhered the leaves, the black and white stamped couple and the flowers onto the page.
After that I wanted to add a quote to the page and found a suitable one. I partly stamped the words – using the stamps from the Mix It Up 6 set – and wrote the rest by hand. I finished the quote with a stamped sentiment from Mixed Sentiments 1 set at the very bottom. I still felt like the page needed some more details, so I stamped the black splodges using the Grungy Butterflies stamp set and also added some stamped grey numbers here and there. This stamp is part of the Mix It Up 6 stamp set.
Do you use quotes in your art journals? I love adding them to my pages. I hope I could inspire you to play in your journal today! Have fun! xxx, Sanna
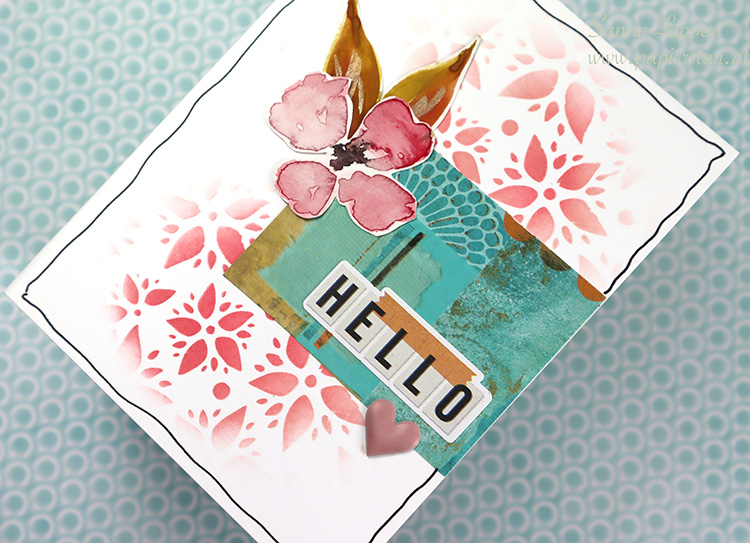
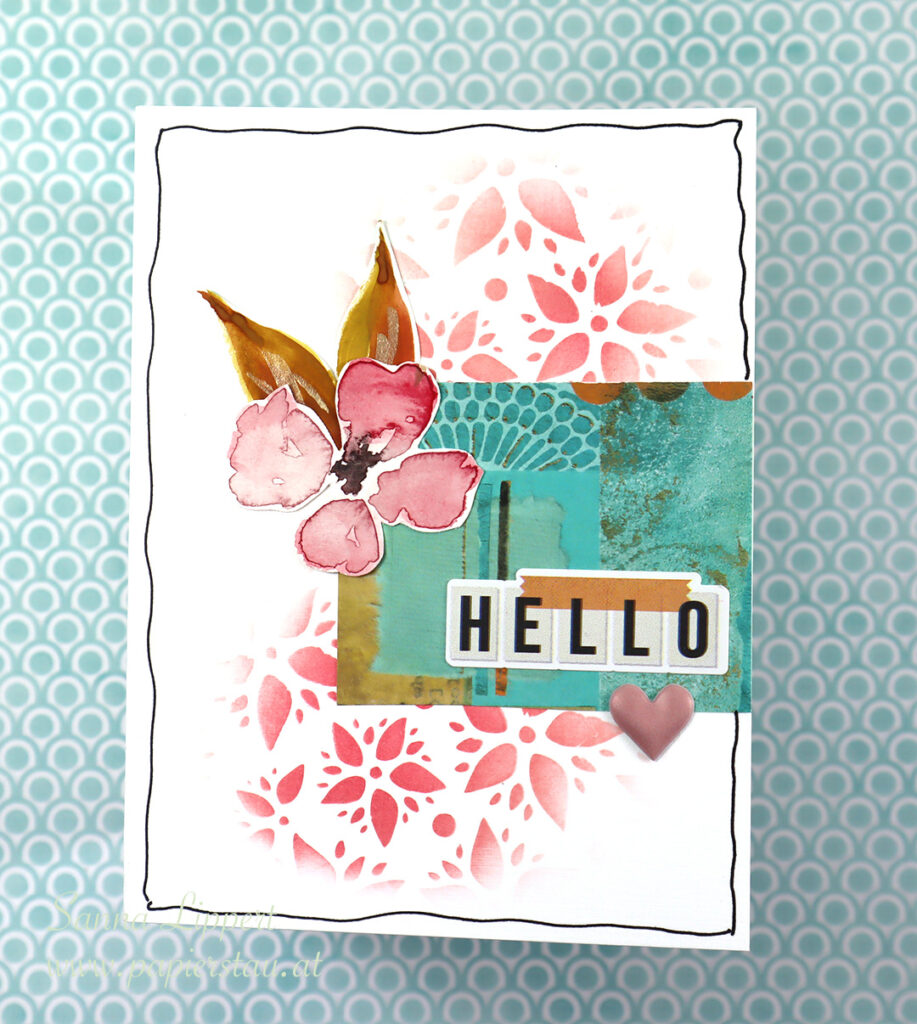
Hello and happy Friday! Here is another card share – this time in clean and simple style with some stenciling on it.
The stenciling is done with a STAMPlorations stencil – from my line there and red Distress Ink. On top of that I have added a page from 2023 Artist Almanac and a hand drawn watercolor flower and two leaves. The sticker is by Simple Stories and the puff heart is from my older stash.
Thanks for stopping by and taking a look! If you are interested in seeing more of my hand drawn embellishments/fodder, go to my YouTube channel. I am posting my #the100dayproject2024 there every day with something hand drawn.