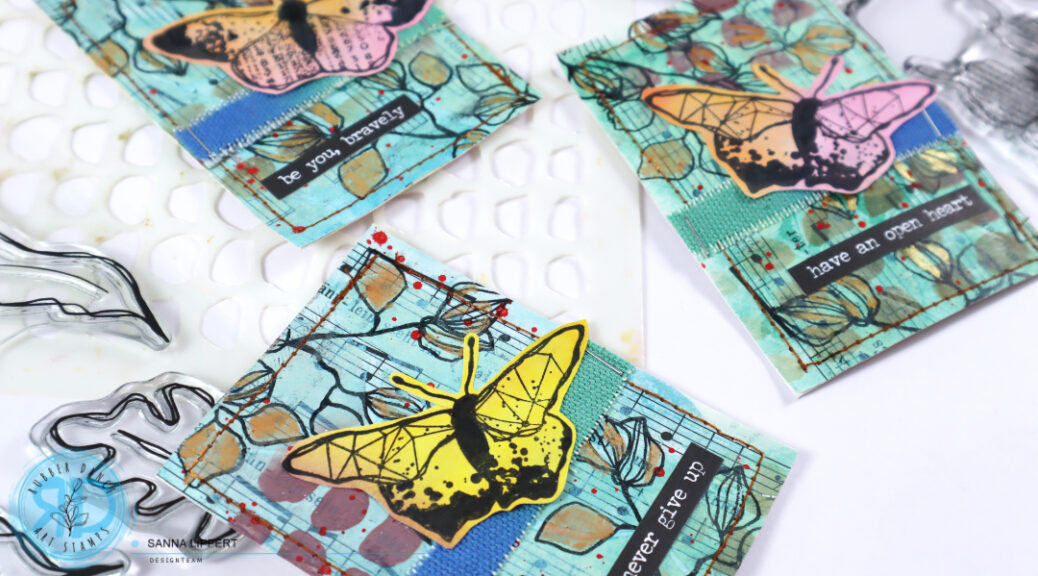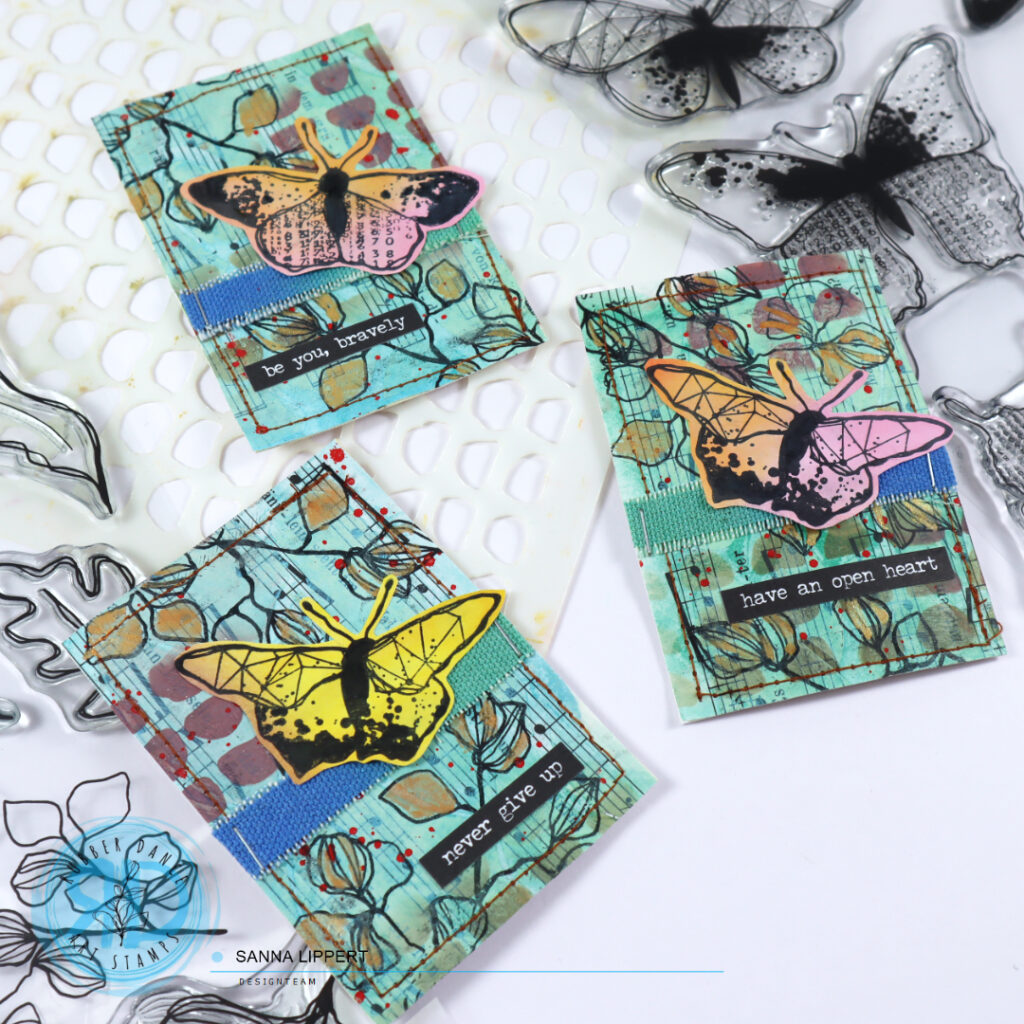
Hello everyone, it´s again my turn ot share a project over at the Rubber Dance blog and I am up with a set of clean and simple cards and a photo tutorial today.
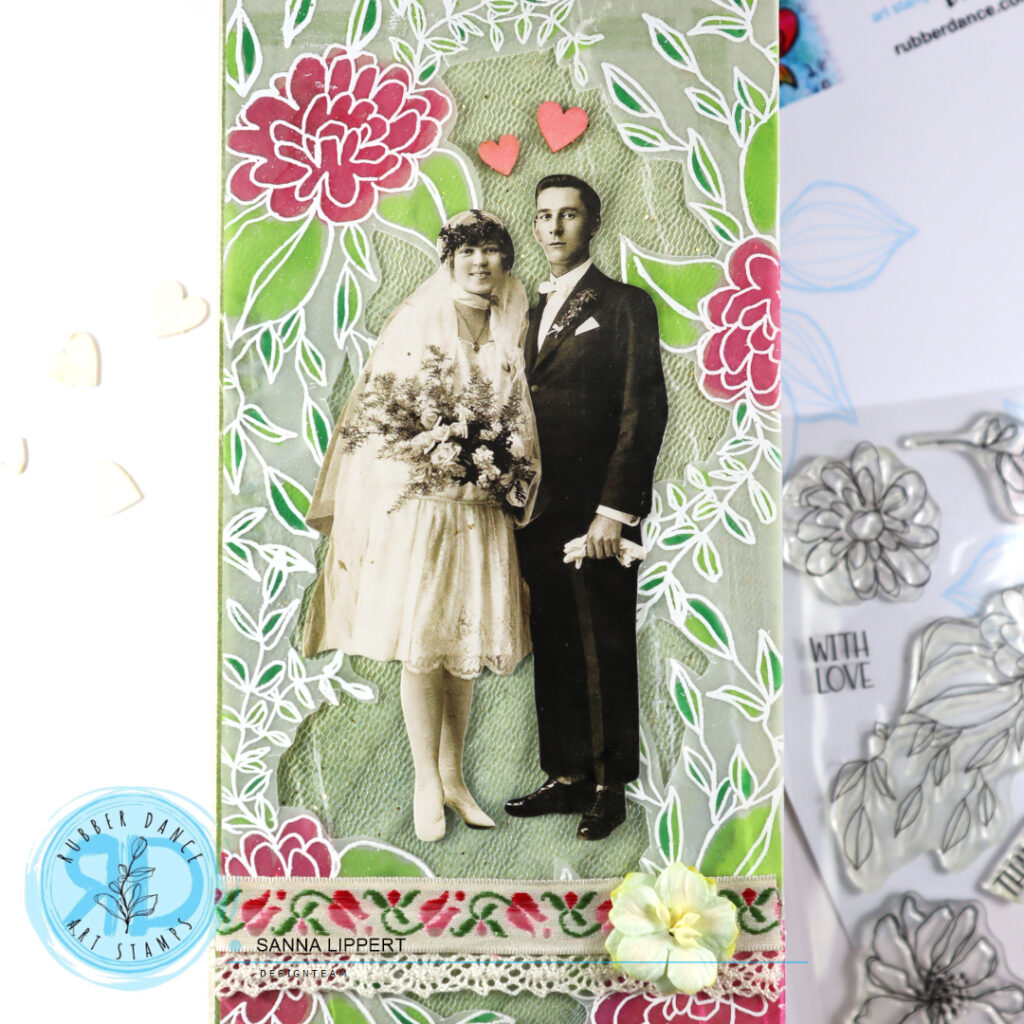
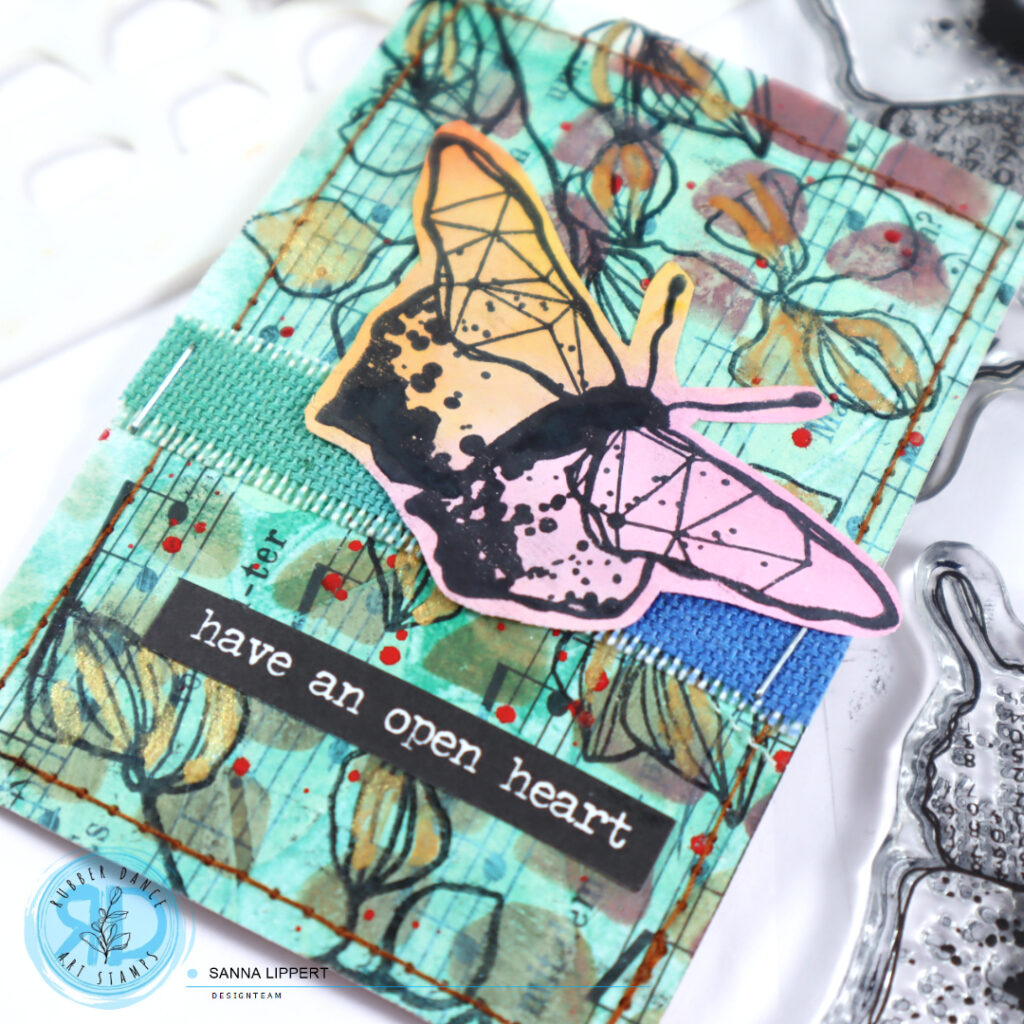
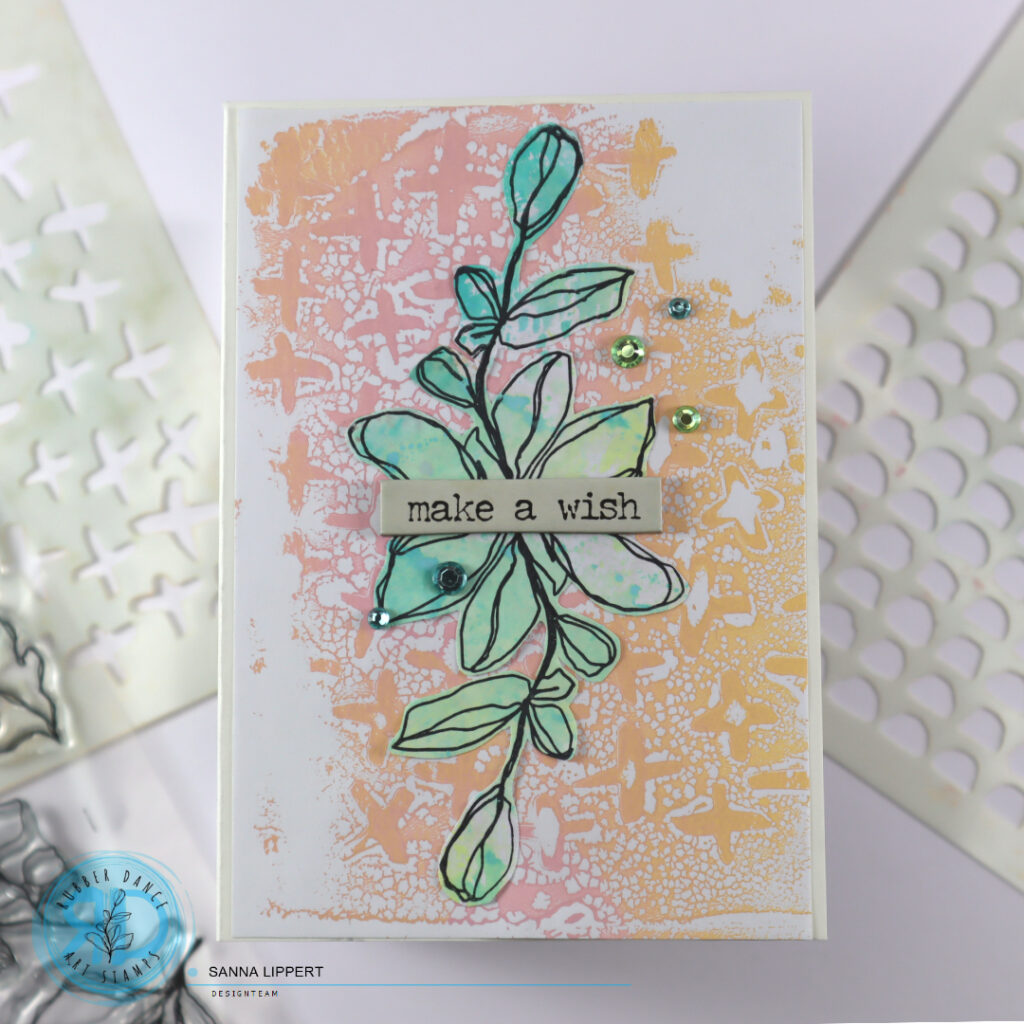
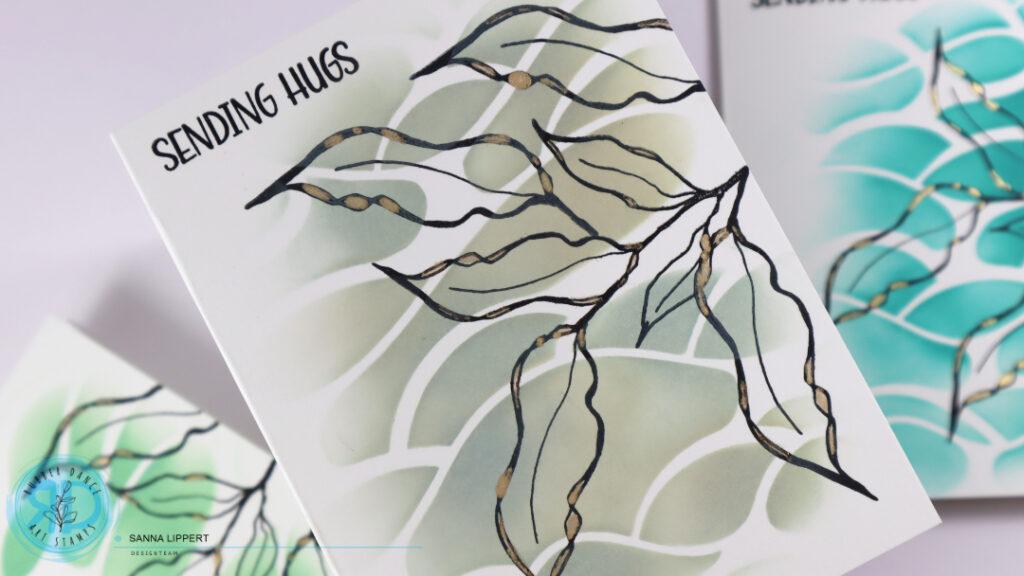
For these cards I used the Sketchy Leaves stamp set – which I absolutely adore – and the gorgeous Organic 3 stencil with Distress Oxide Inks.
Here is how I created these cards:

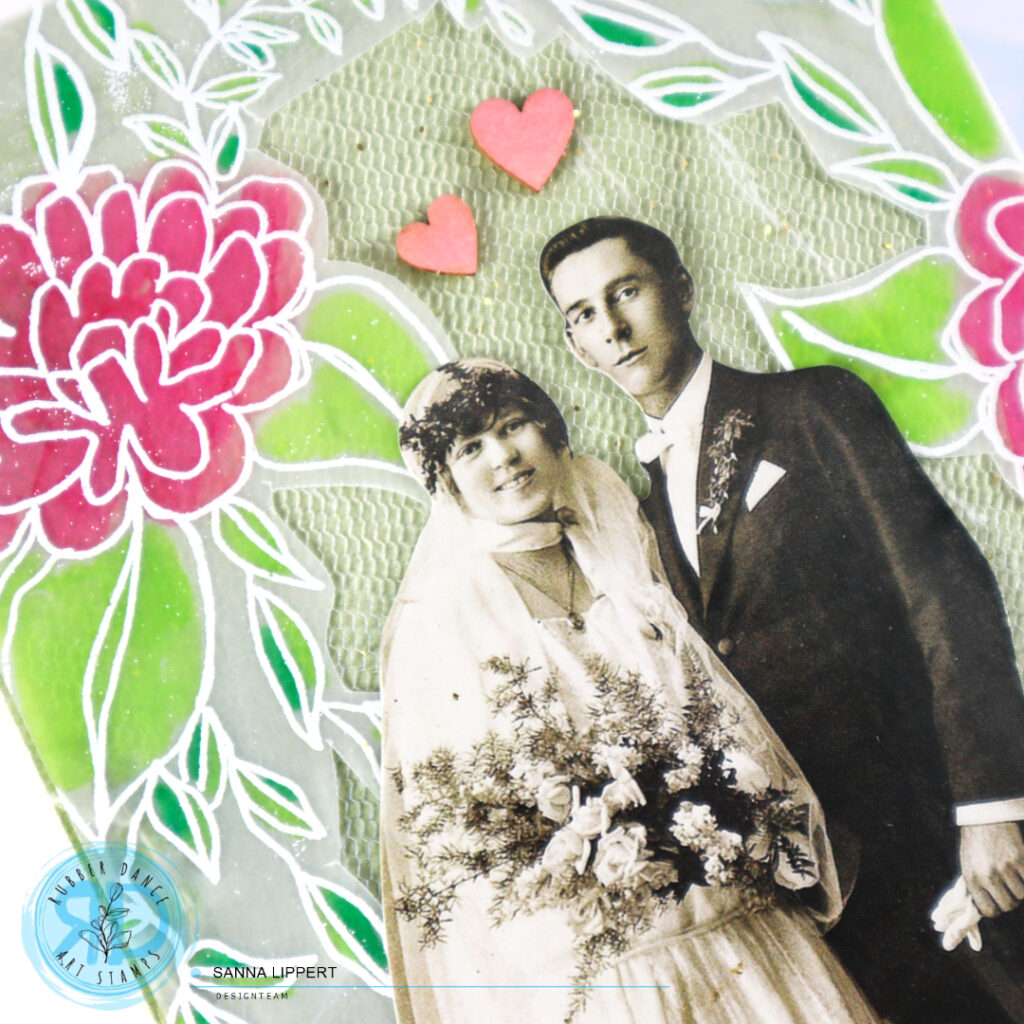
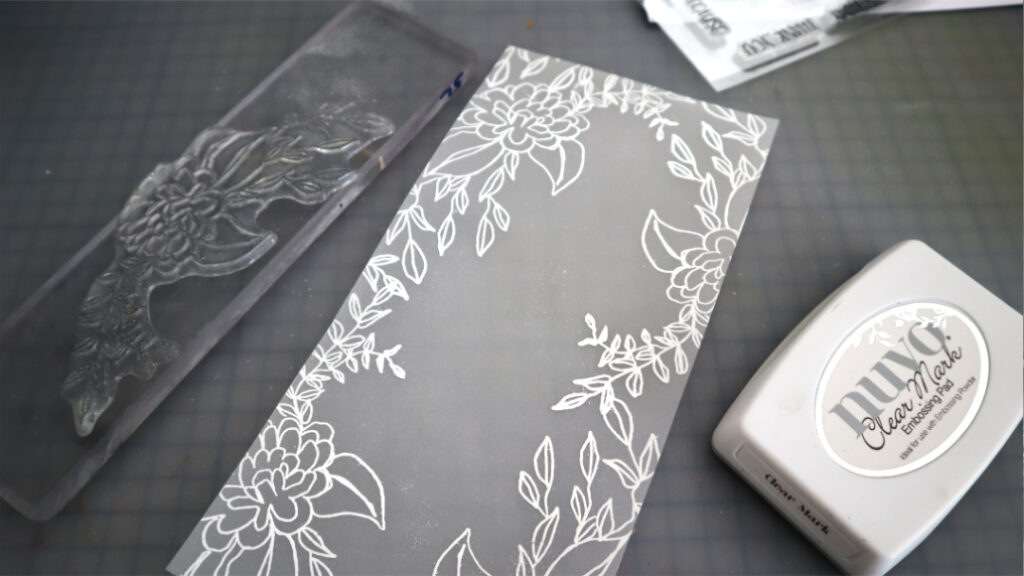
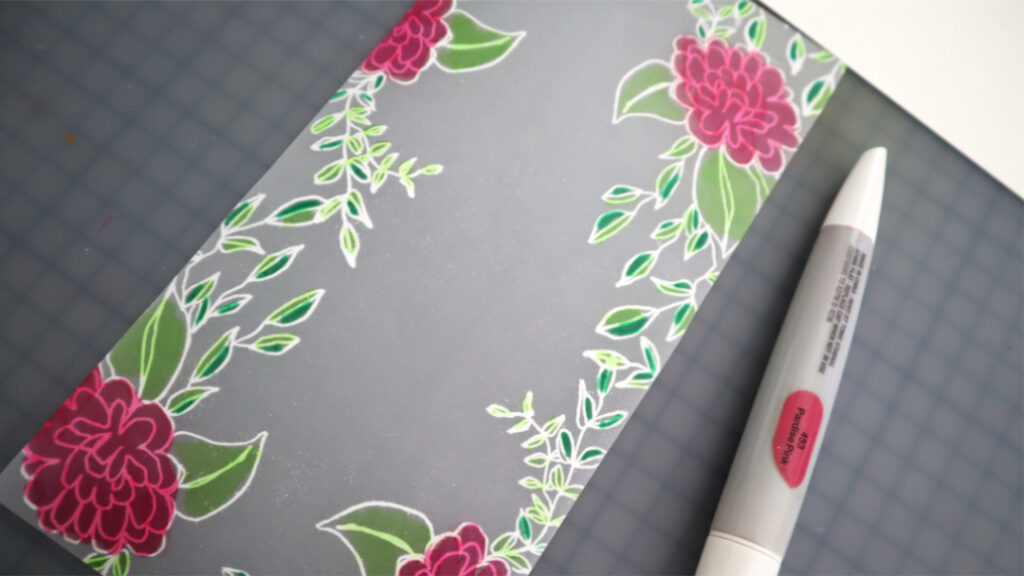
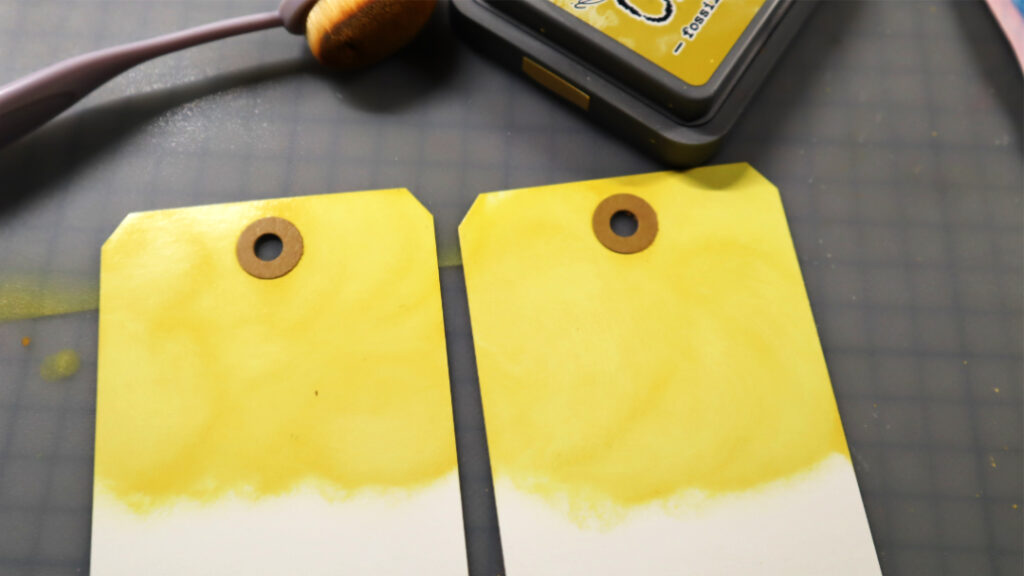
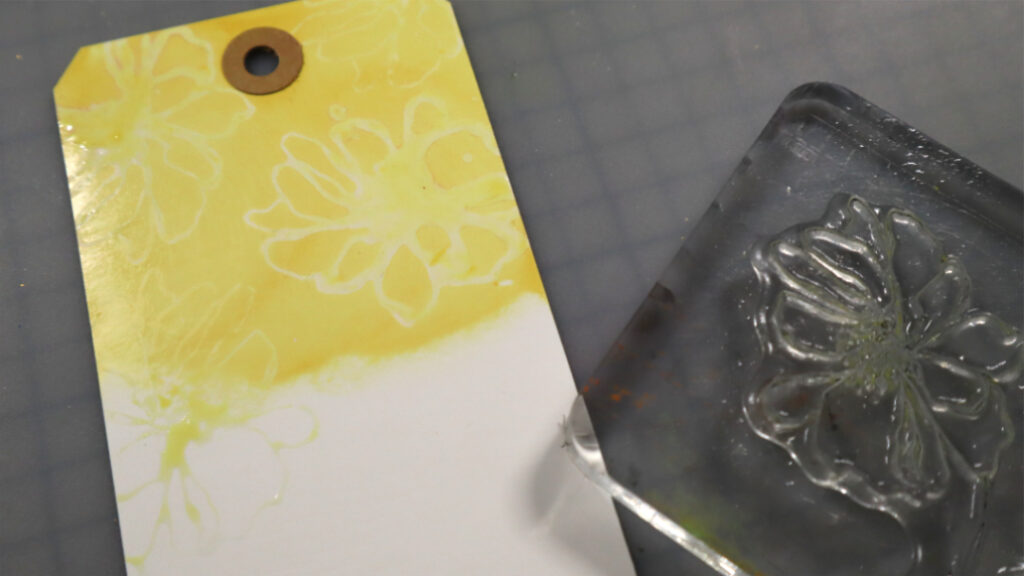
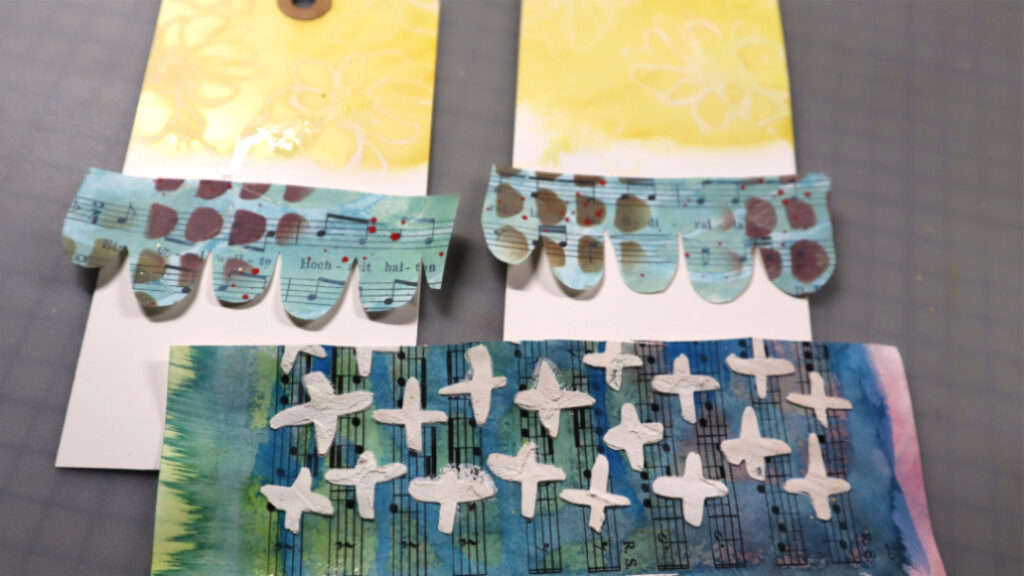
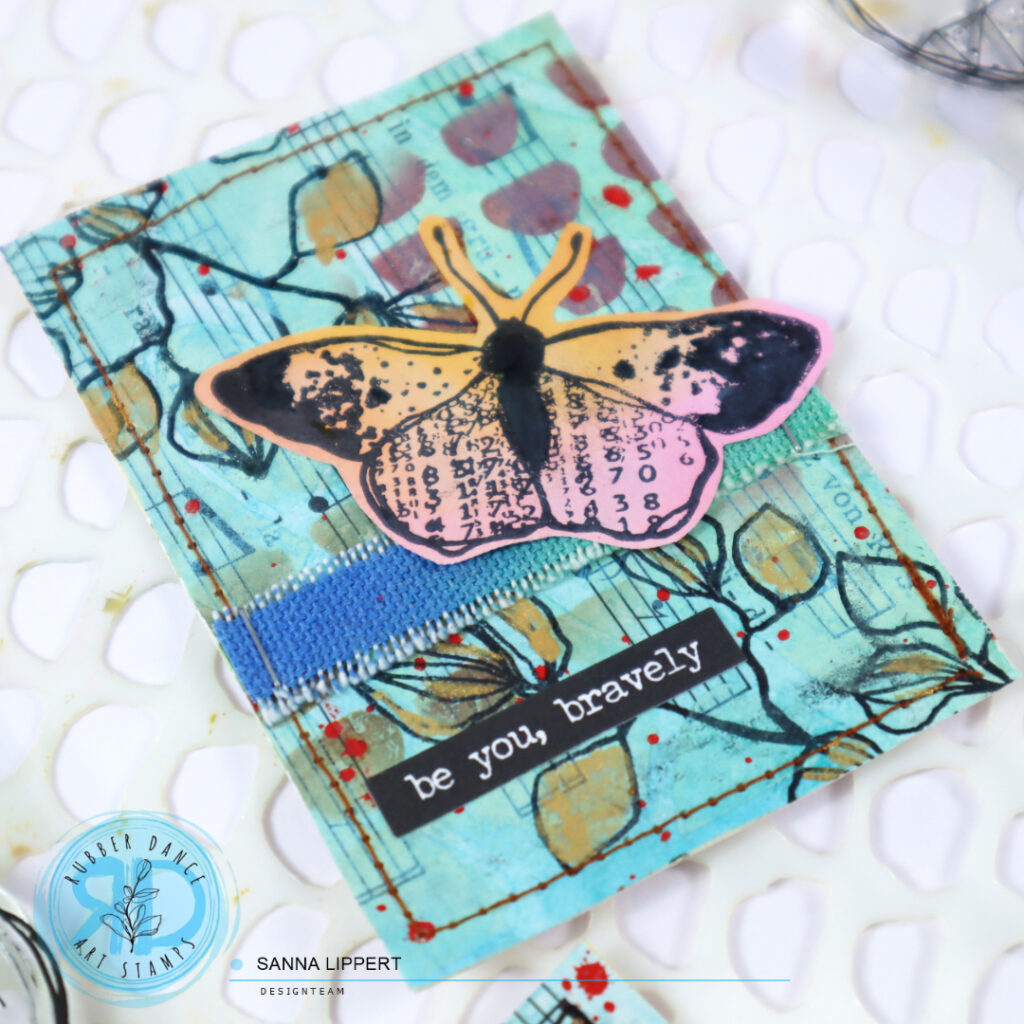
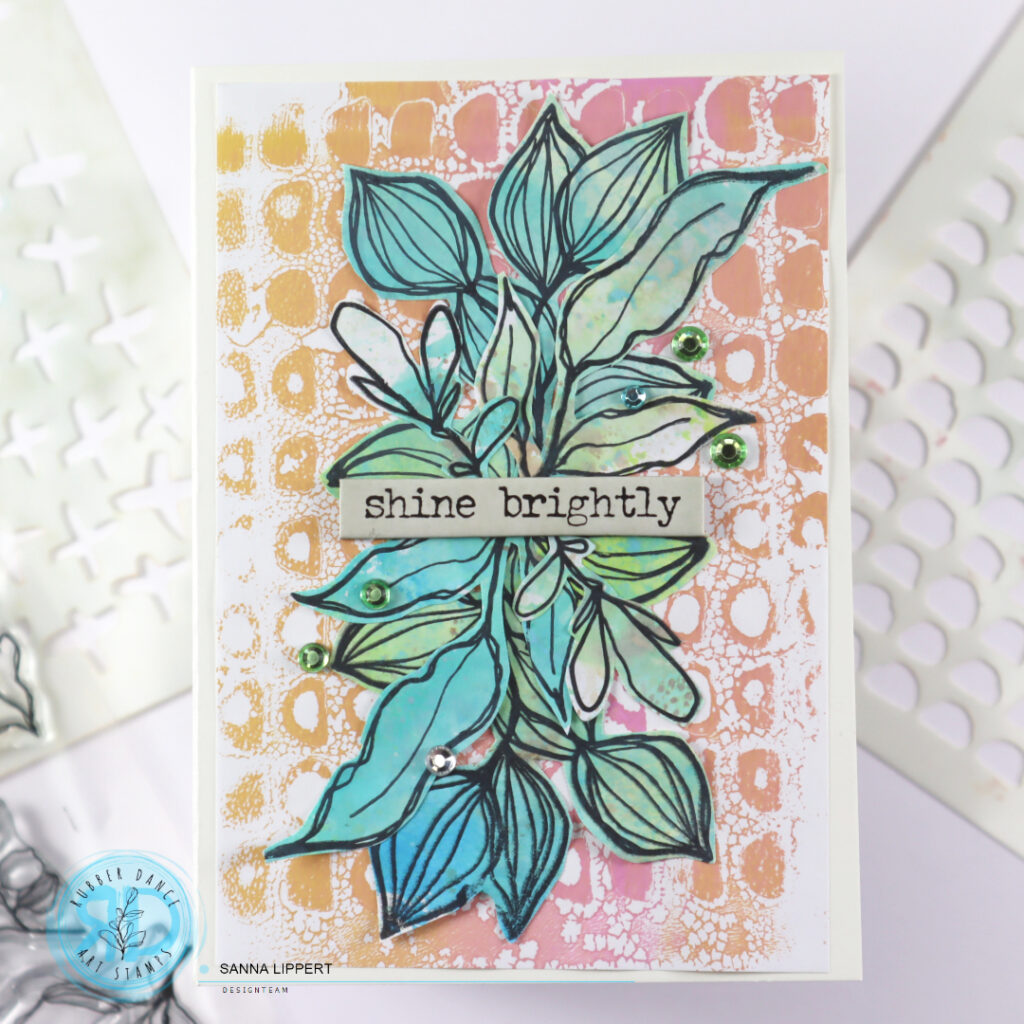
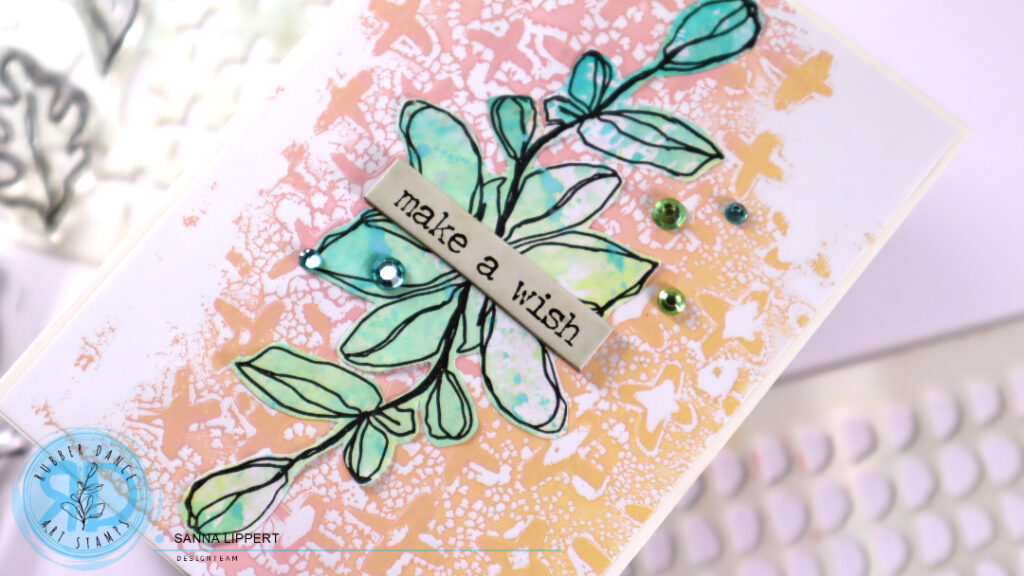
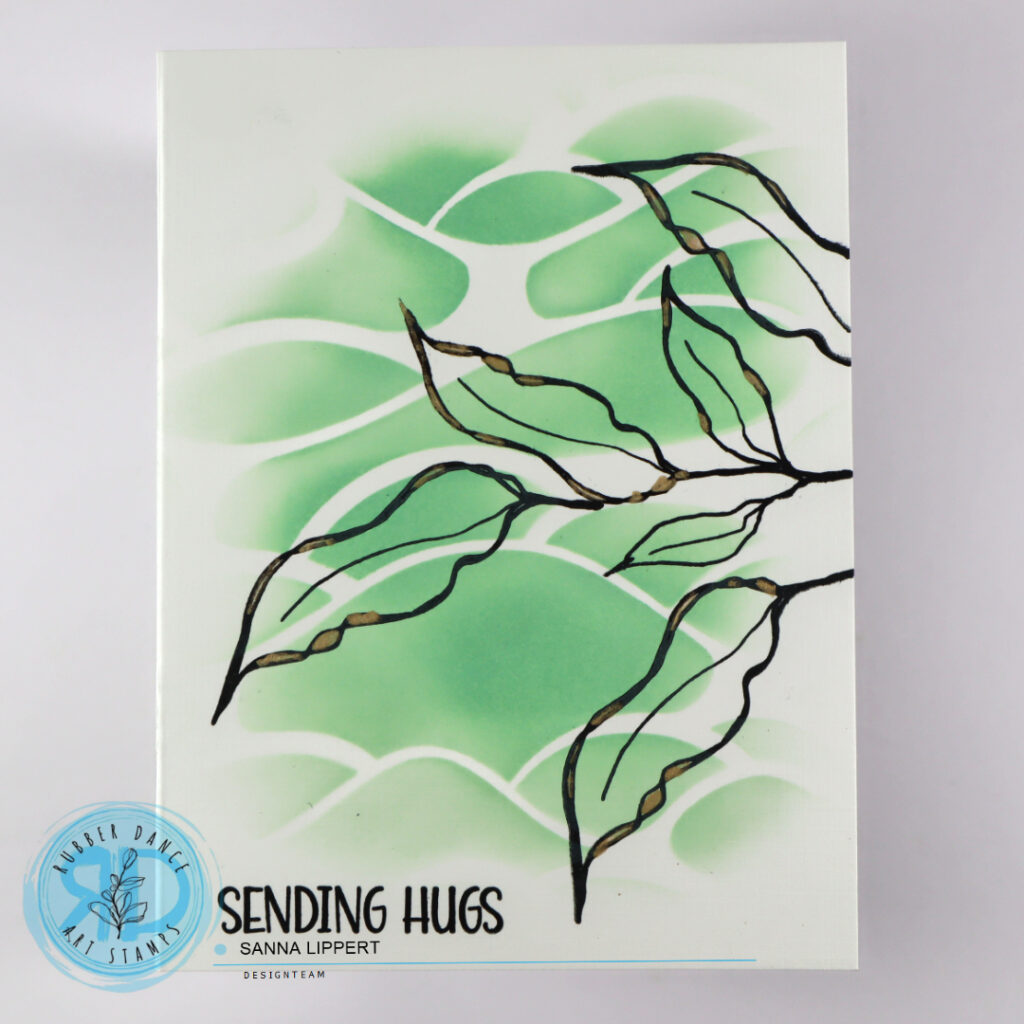
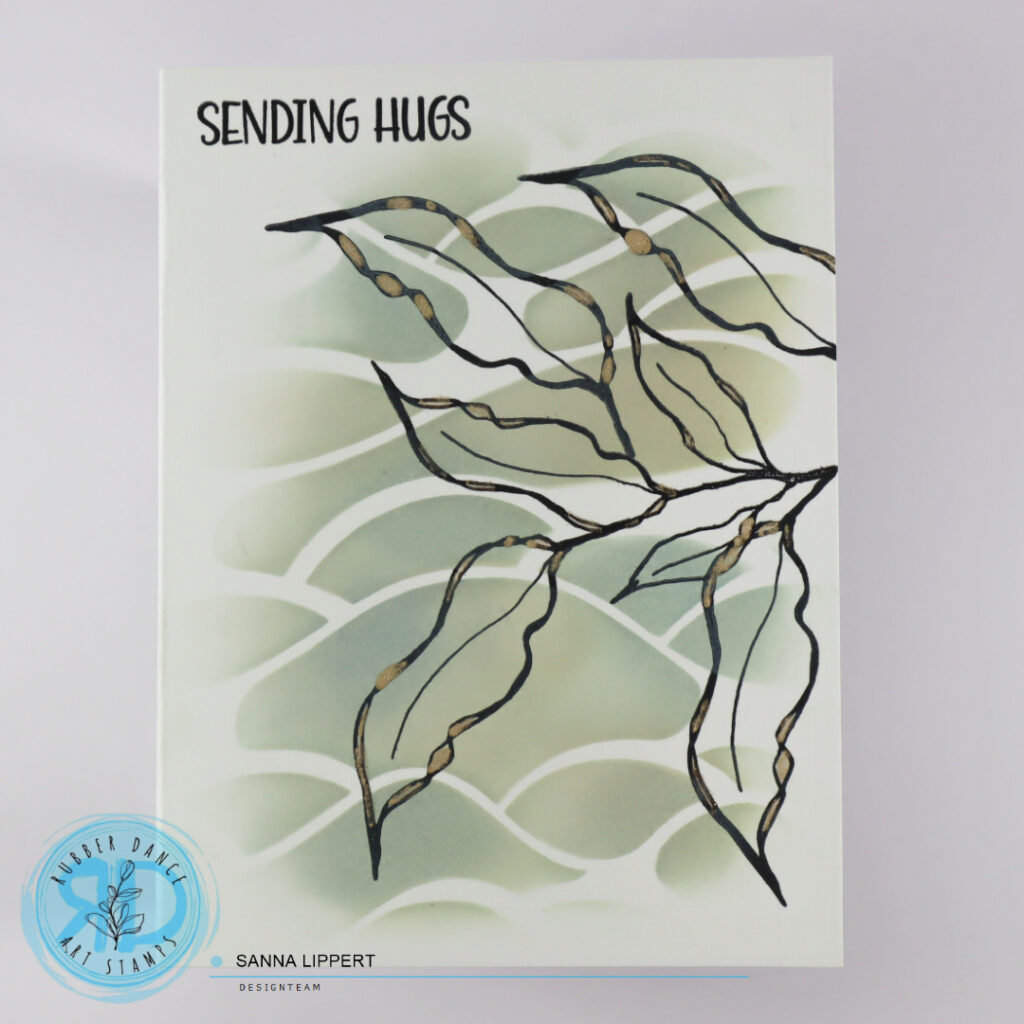
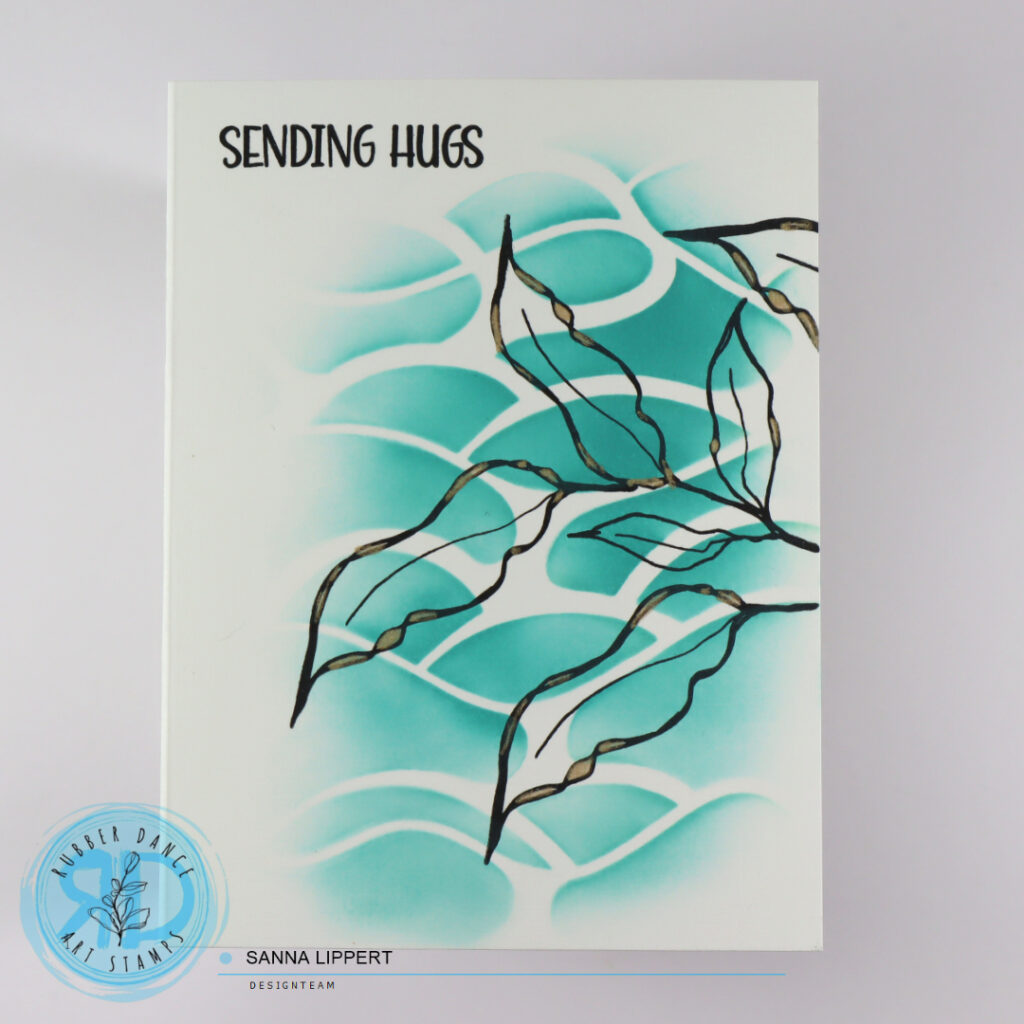
First I took a white card base, then placed the Organic 3 stencil on top and applied Distress Oxide Ink with a blending brush thru the stencil onto the card base. I used cracked pistachio, speckled egg and peacock feathers tones for my cards.

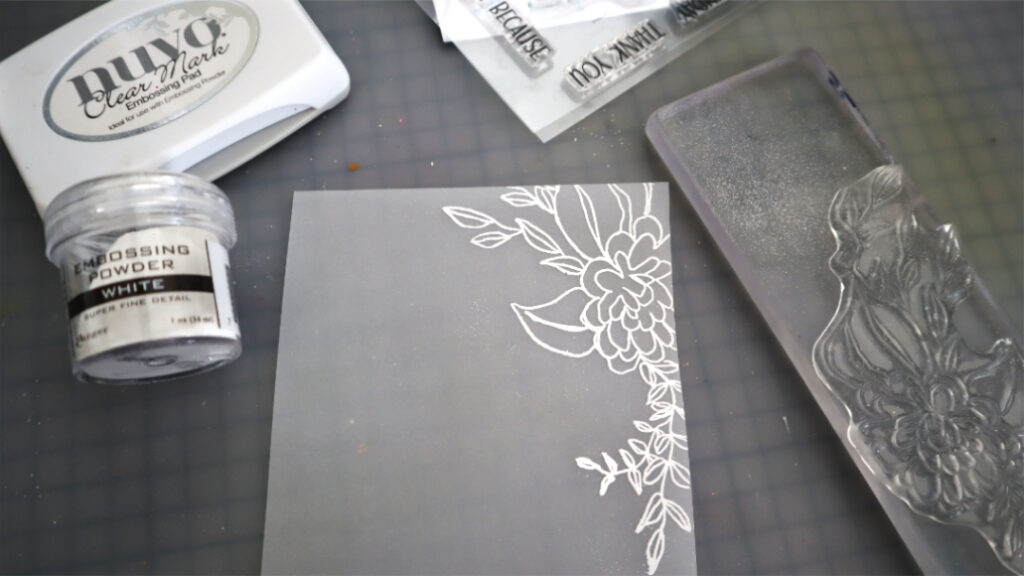
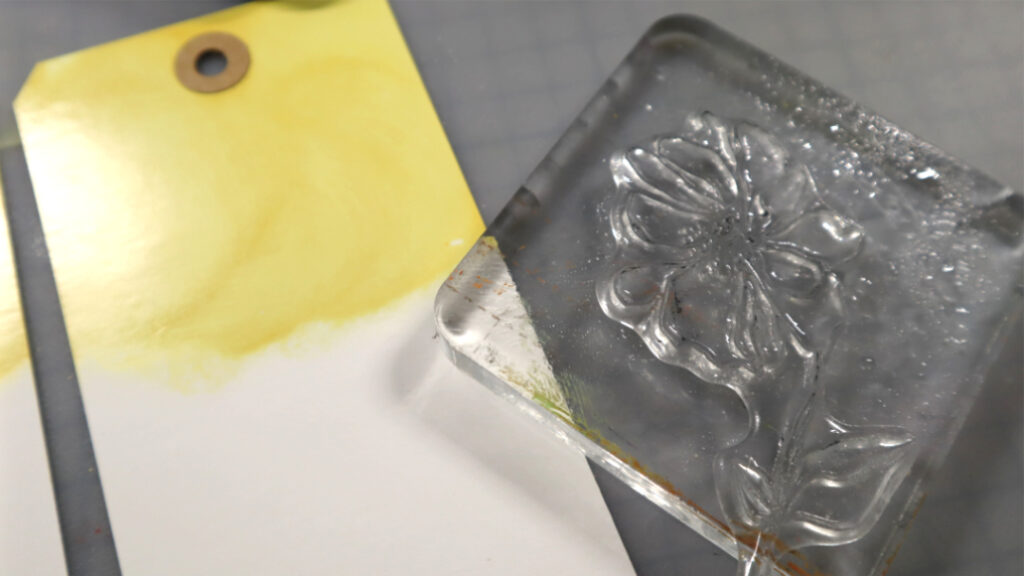
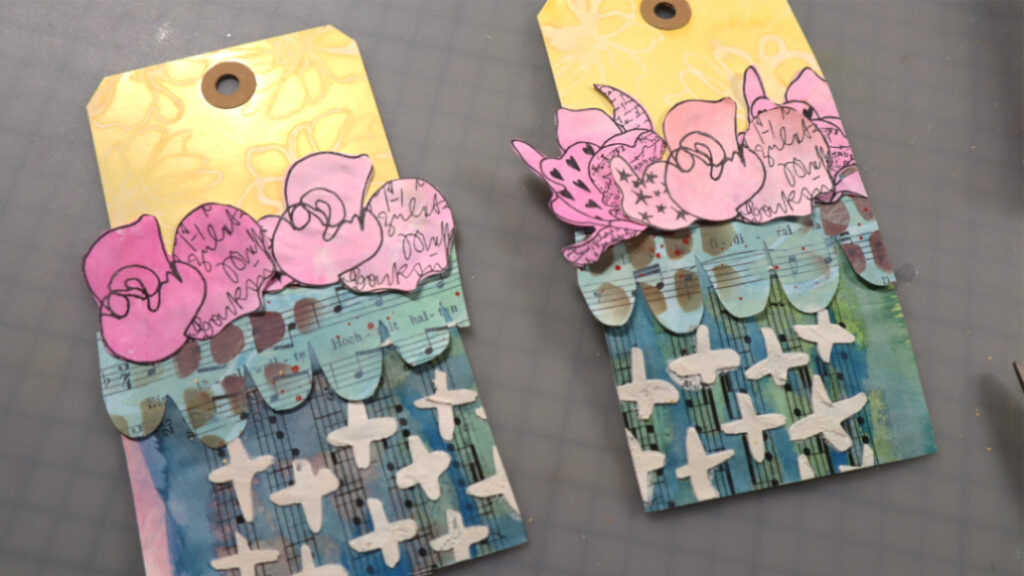
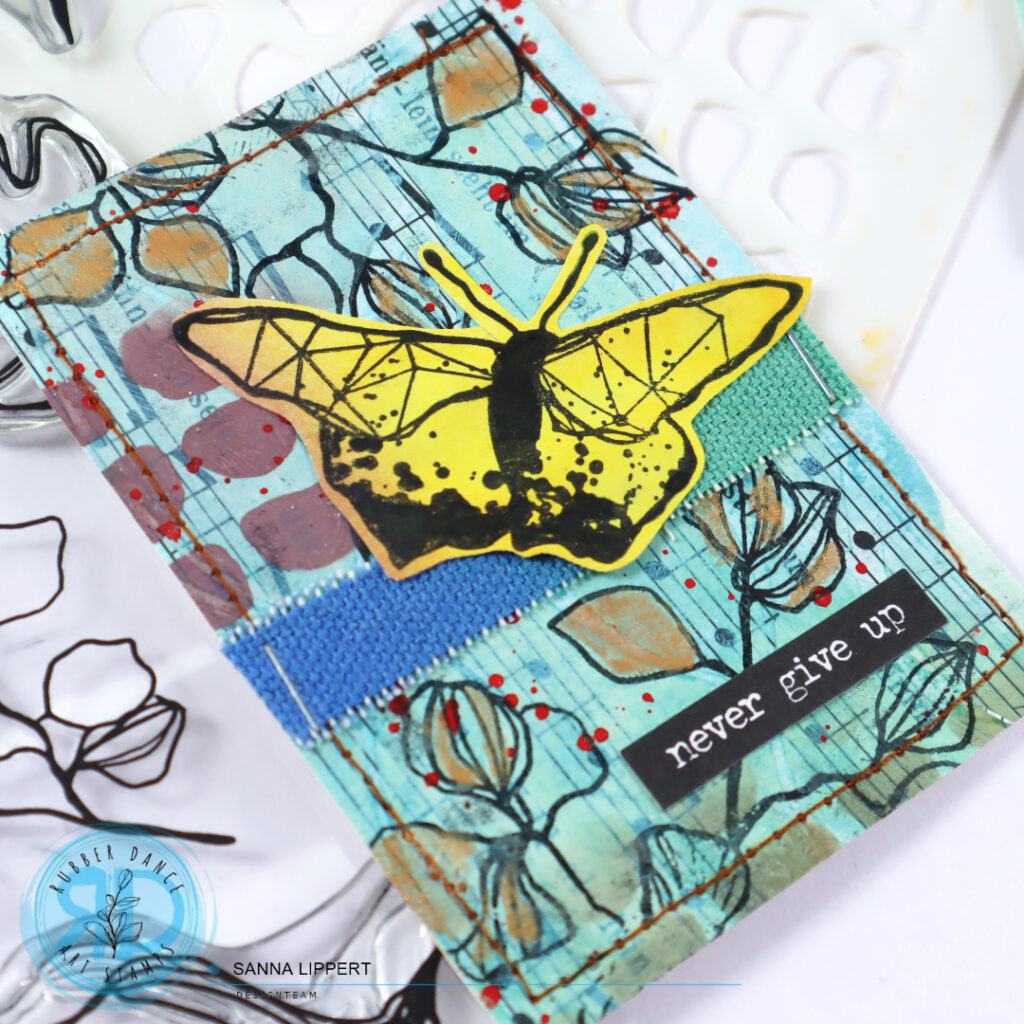
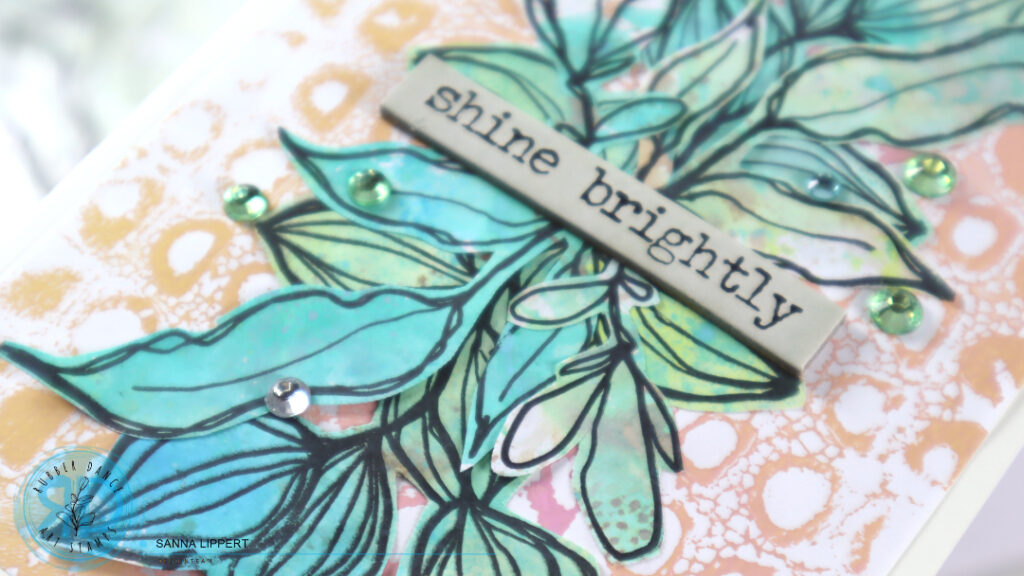
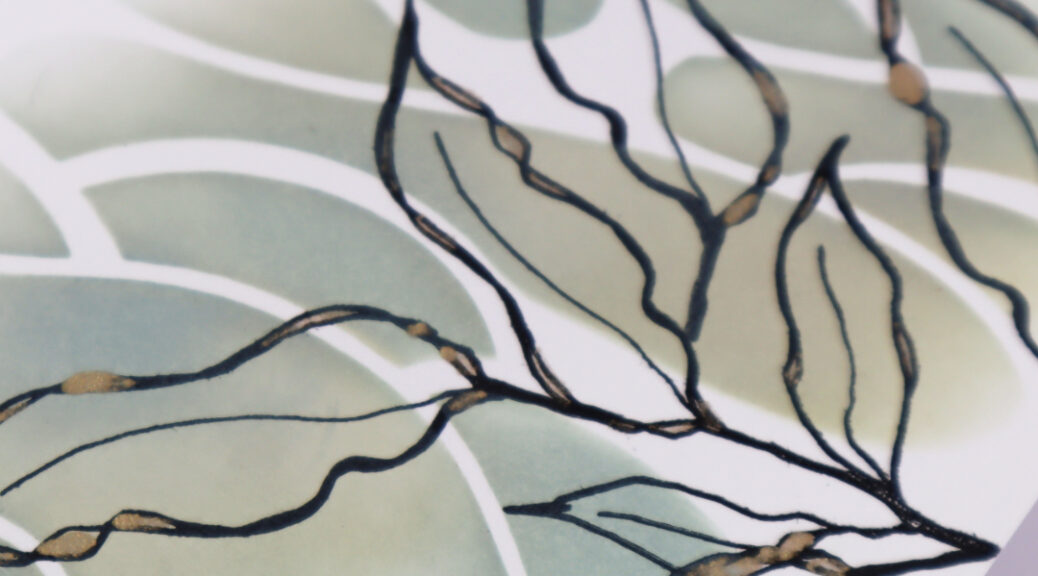
After finishing the stenciled background, I took the Sketchy Leaves stamp set out and stamped leaf images on top of the stenciling. I combined two of the leaf images to create a leaf branch like piece.


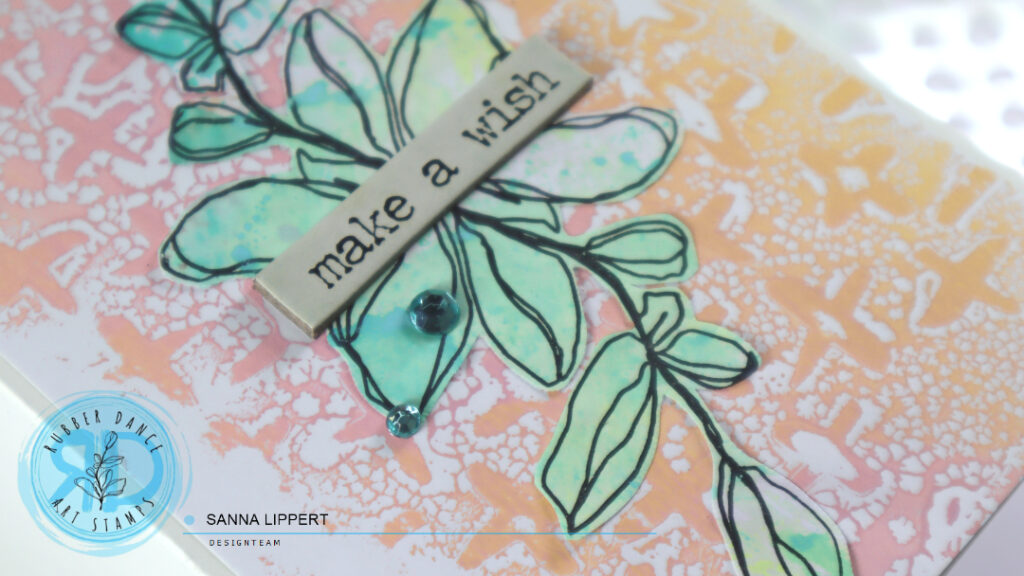
Next I stamped sentiments from the Sketchy Flowers 3 stamp set onto the card base with the same black stamp ink.
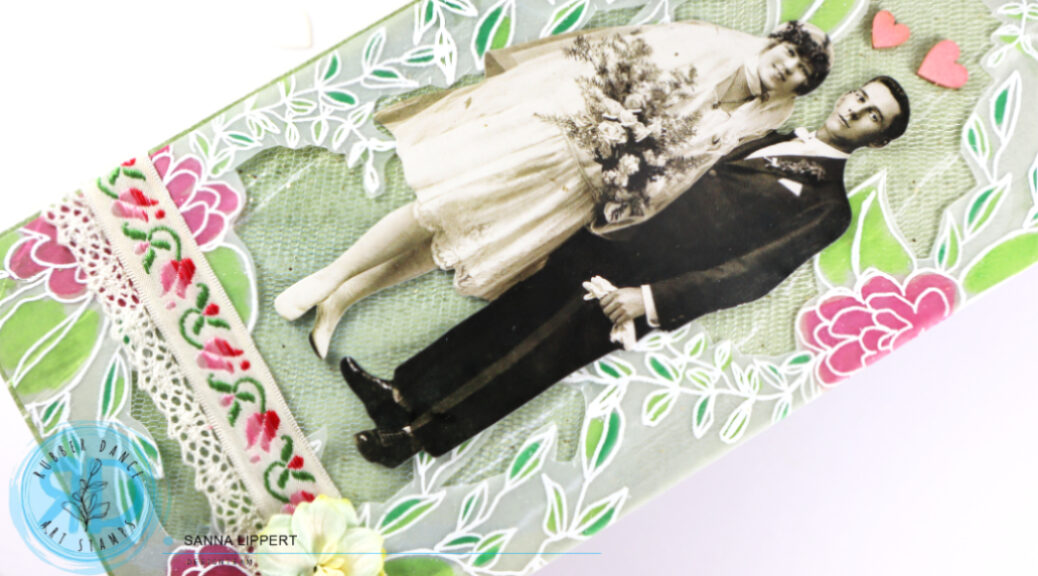
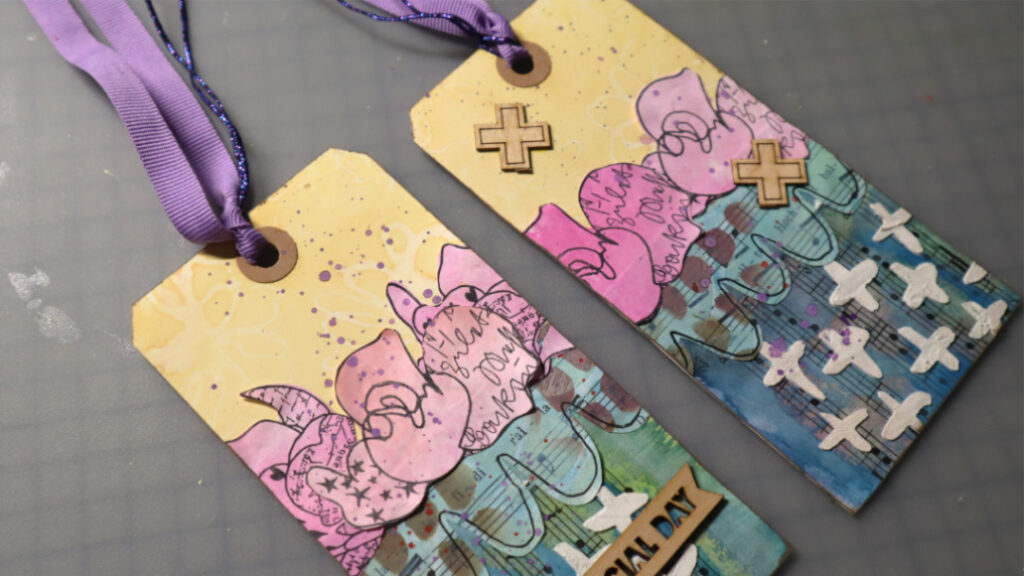
After stamping the sentiments, I wanted to add a tiny bit of additional detail, so I painted some of the areas on the leaves with golden pigments.


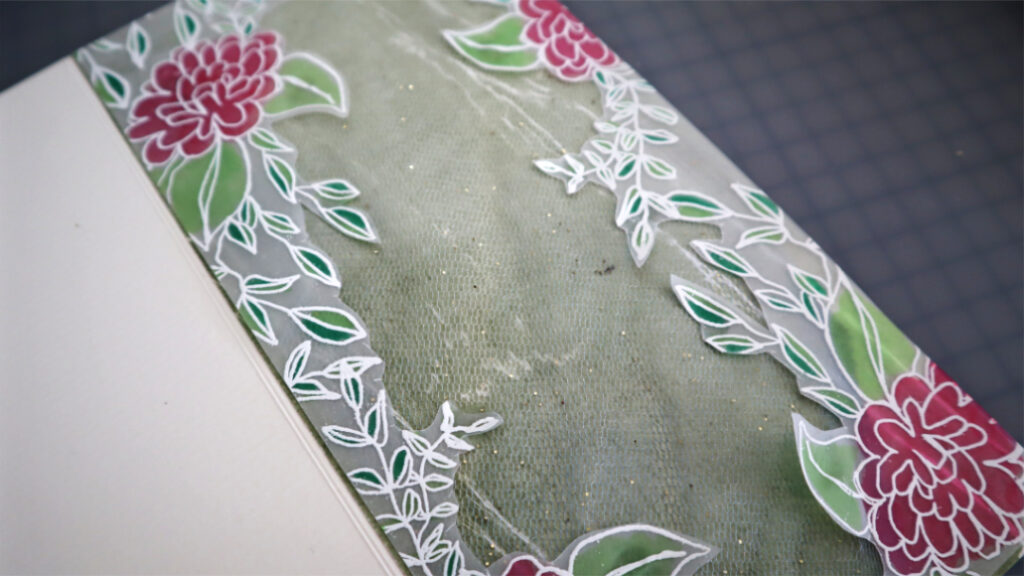
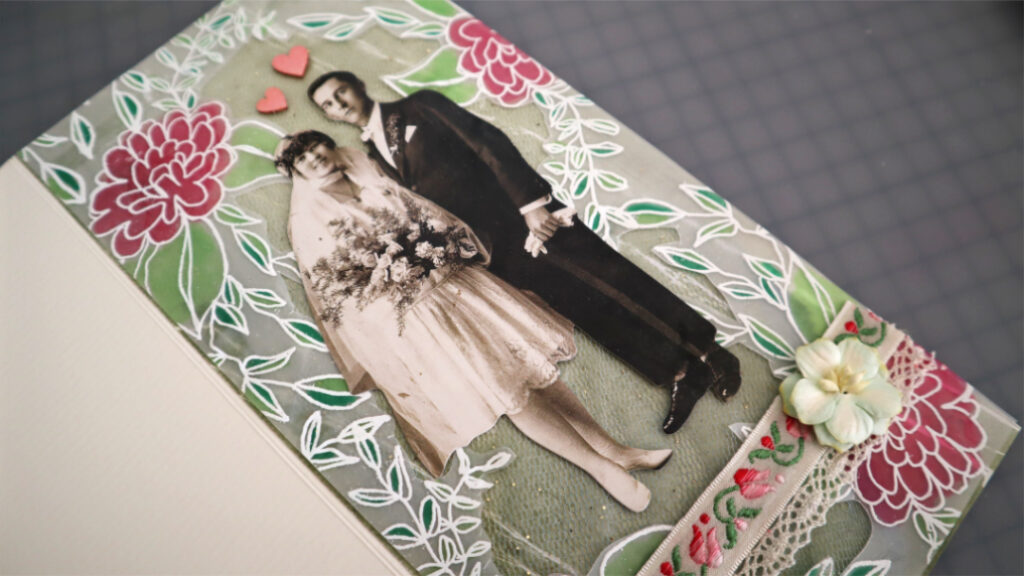
That´s all there is to these cards. Did you notice that all the layers are built directly onto the card base? That way these cards are not very heavy and easy to sent off in an envelope.
I hope I could inspire you to create some clean and simple cards with Rubber Dance products !
Happy crafting,
xx, Sanna
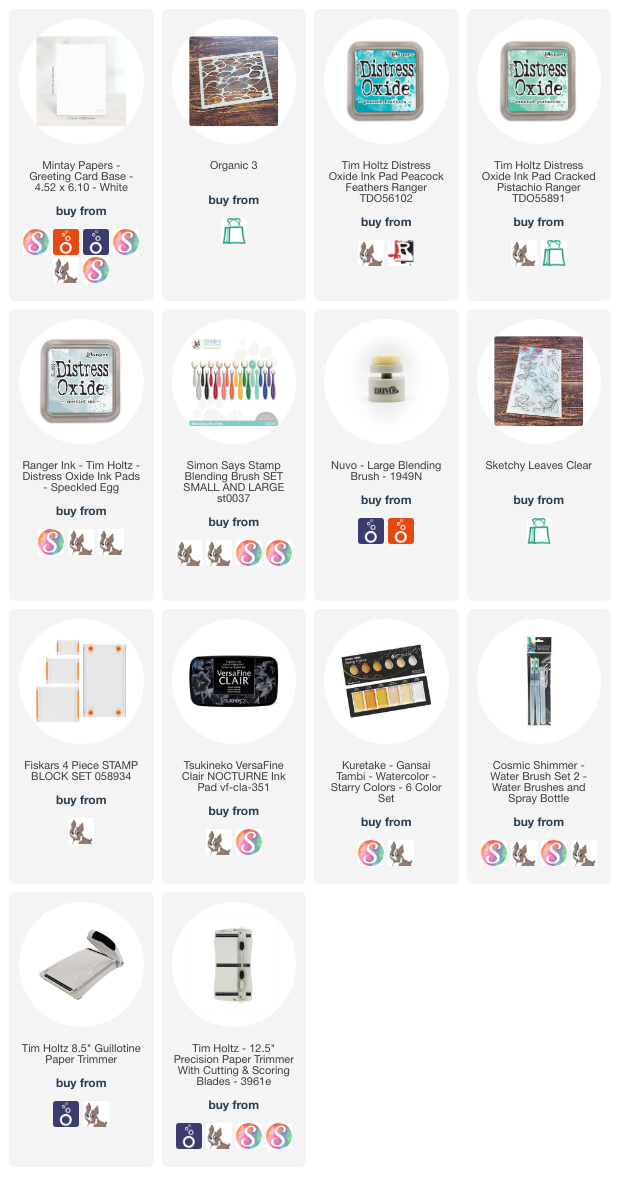
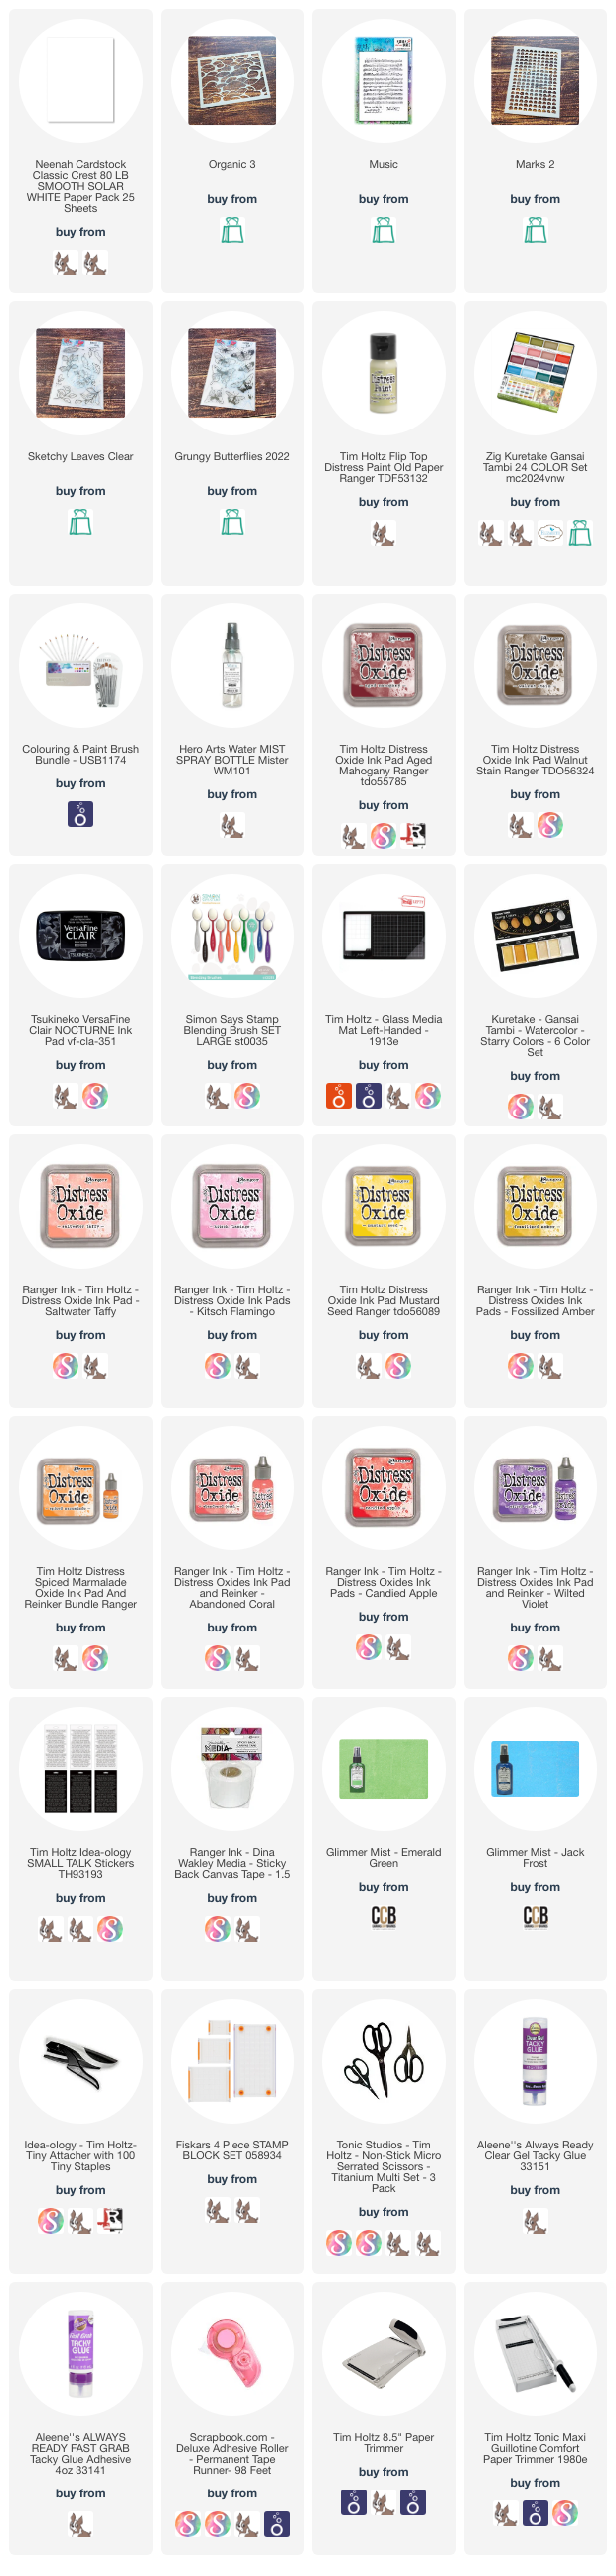
Supplies: