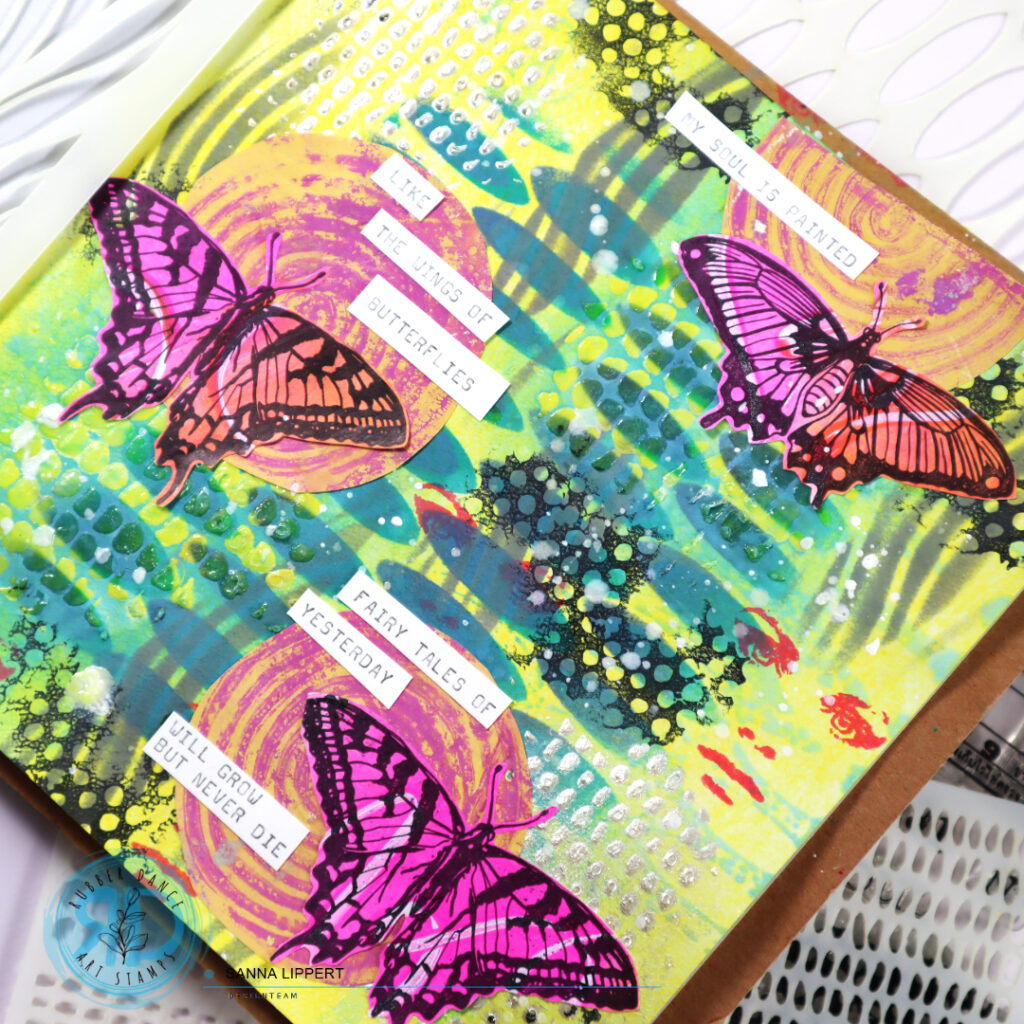
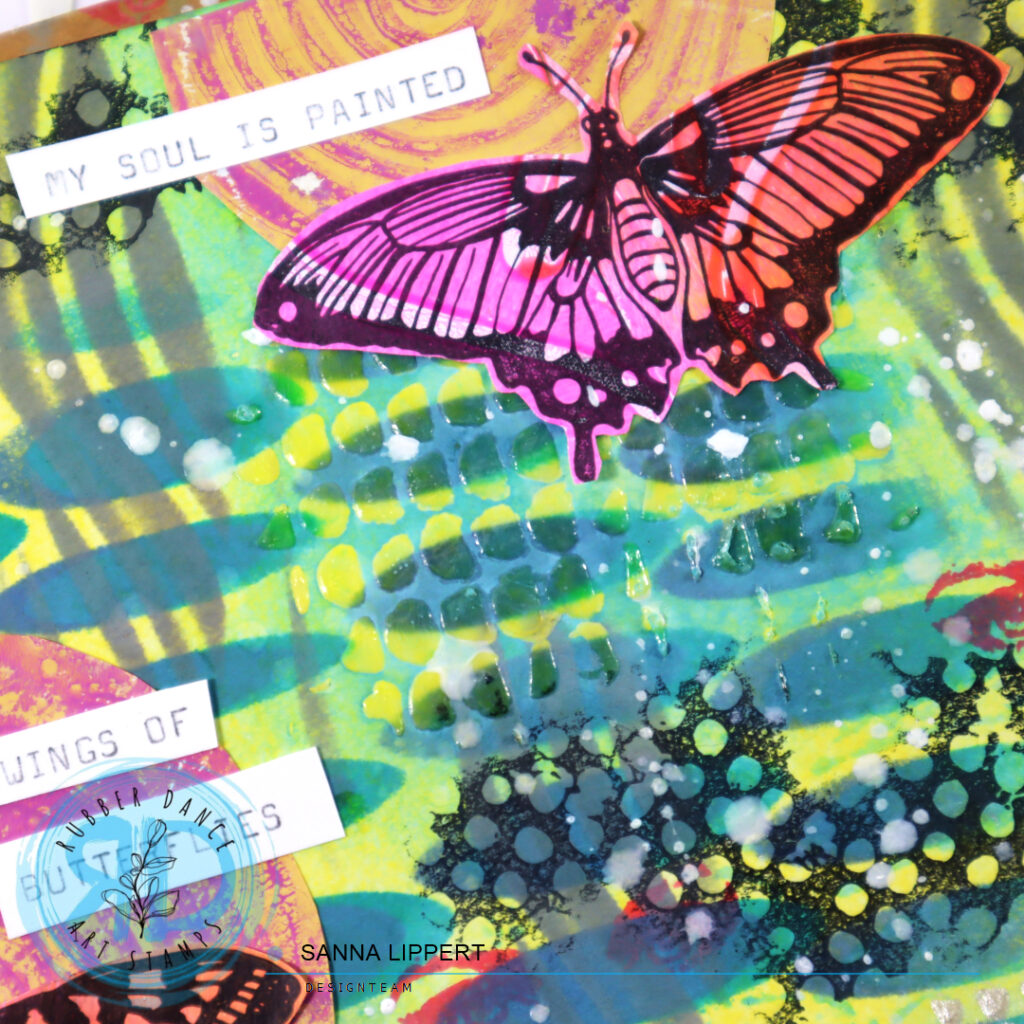
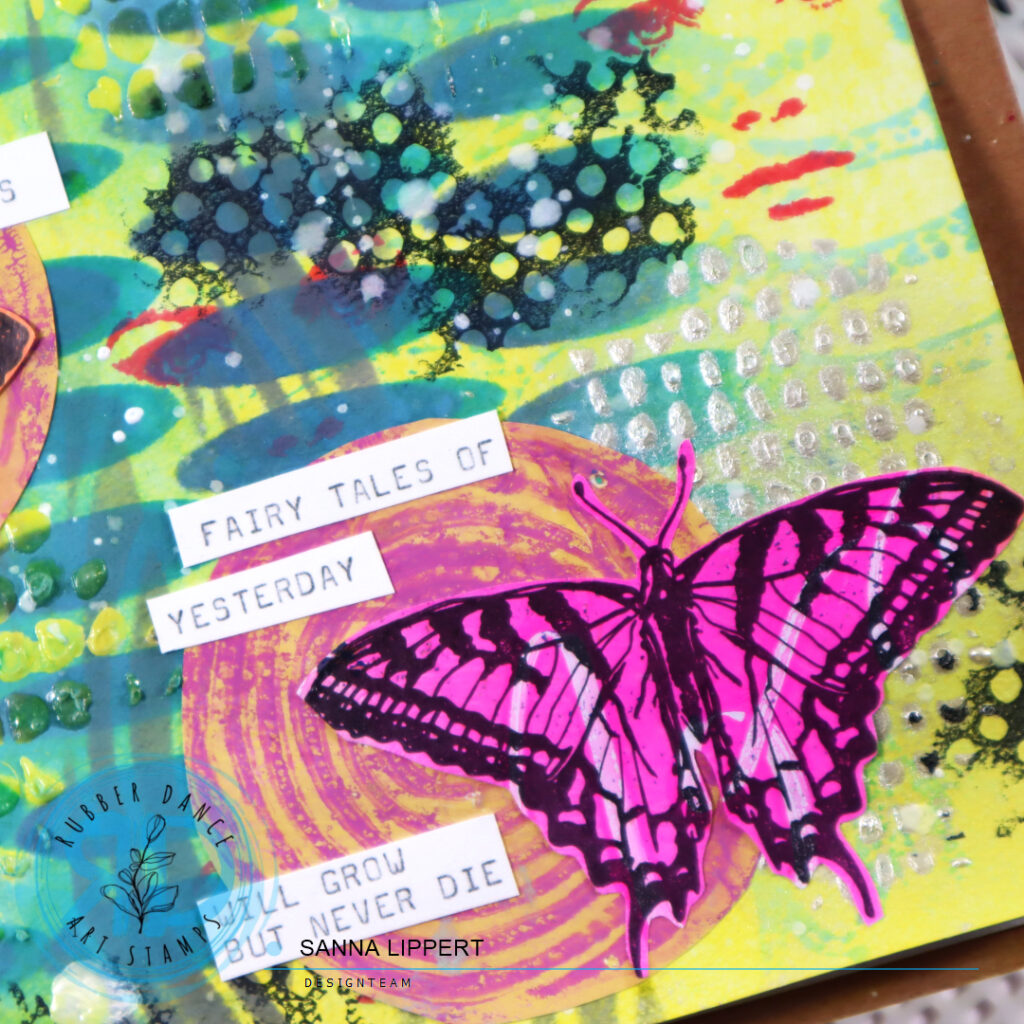
Category Archives: MIXED MEDIA

Monochromatic card set with Distress Inks and Rainbows #2 stencil – Rubber Dance

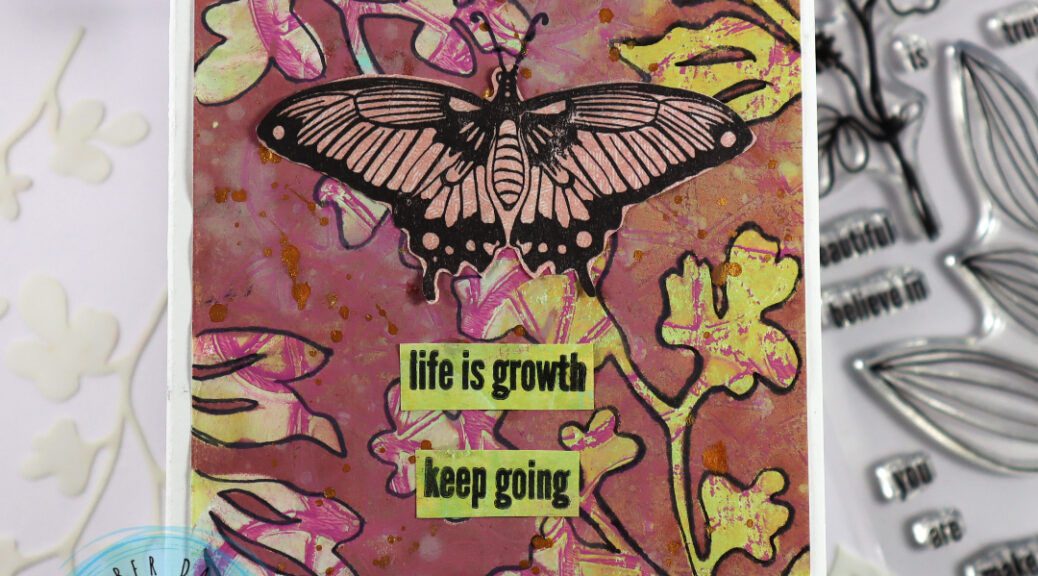
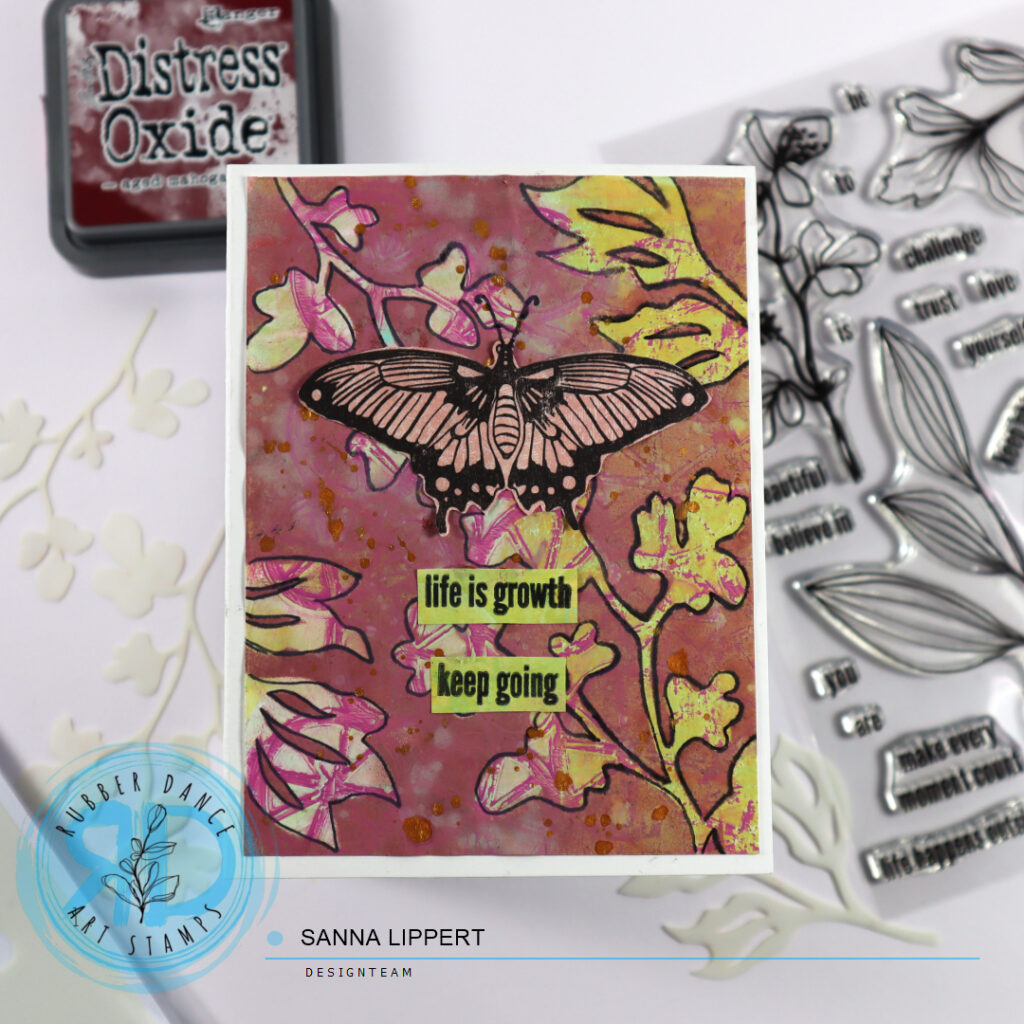
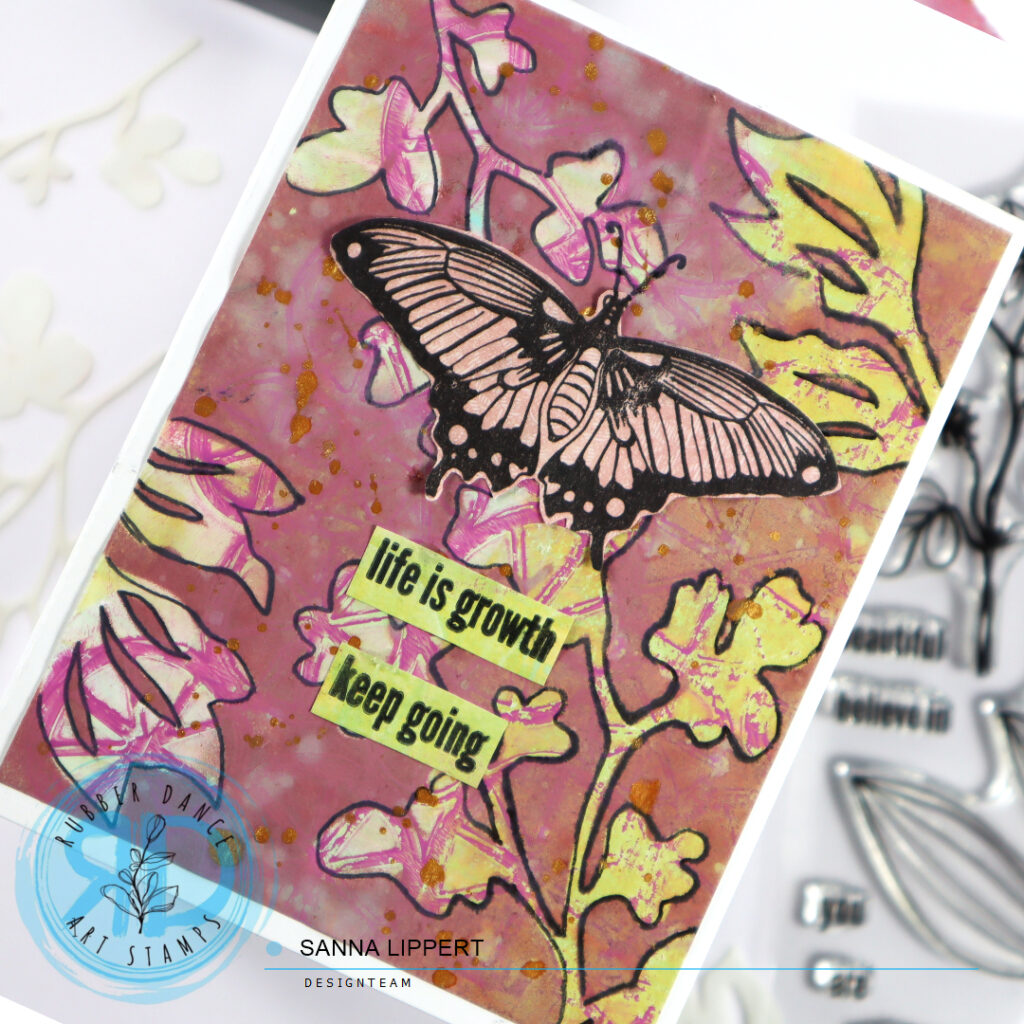
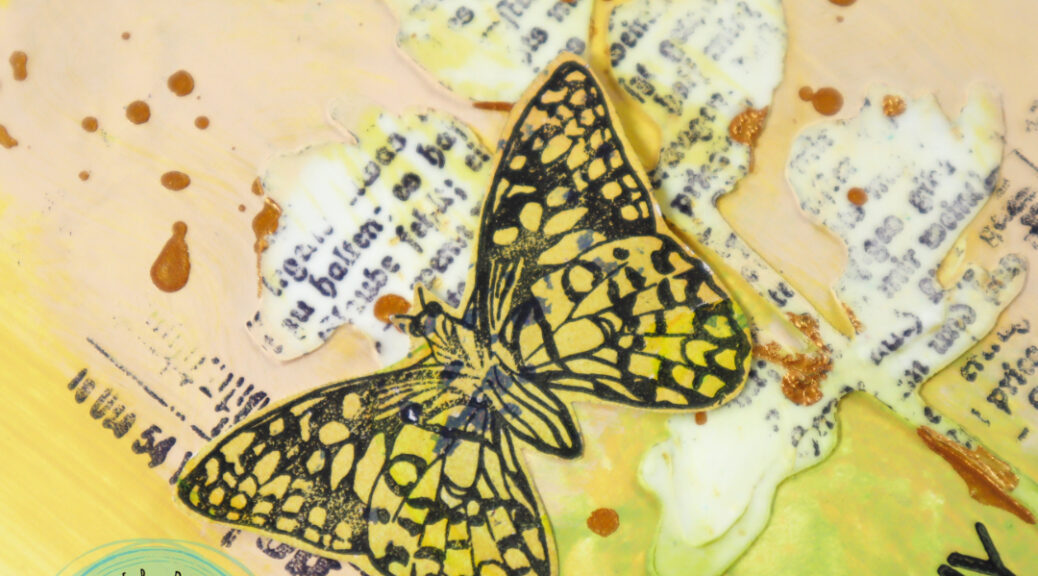
Hello everyone! It´s my turn to share an inspirational project over at Rubber Dance blog today. I am up with a monochromatic card set. I wanted to create a card background using the Rainbows #2 stencil and that is how this idea started. In addition I used the Mixed Sentiments #1 and added collage fodder elements I had previously created with Sketchy Leaves 5 stencil and Butterflies and Moths, as well as Doodle Flowers 2 stamp sets.

I started by taking a mixed media paper and cutting it into smaller sizes. Then I placed the Rainbows #2 stencil on top of the paper and applied Crystal Gel with a palette knife thru the stencil onto the surface. I did two surfaces and let them dry properly – make sure they are really dry – before moving to the next step.

Next I took a blue and green Distress Ink (twisted citron & peacock feathers) and applied those onto the stenciled surface. After that I took a baby wipe and wiped any residue ink off from the crystal gel-treated areas. After that I took double sided adhesive tape and adhered the inked and stenciled paper onto a white card base. I then decorated the card with collage fodder leaves and butterflies and stamped and fussy cut a sentiment from Mixed Sentiments #1 stamp set. For finishing touches I added some green adhesive half pearls to the butterfly.

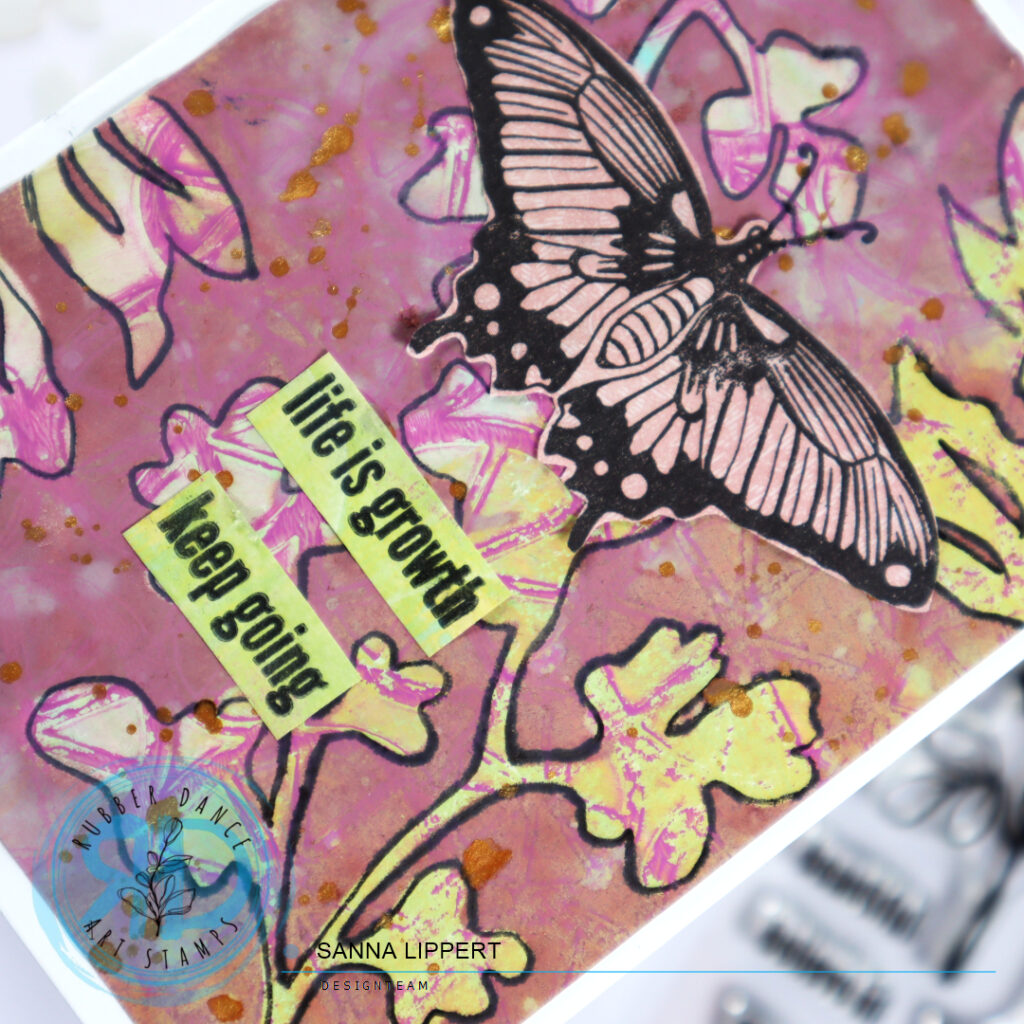
I did the exact same steps on the pink and orange toned card, but I used spiced marmalade and picked raspberry Distress Inks on the background. The collage fodder is done using the Butterflies and Moths stamp set and the Sketchy Leaves 5 stencil. You can find tutorials to the collage fodder bits here, here and here.

And here is the full start-to-finish video for more details. Hope you like it!

I hope I could inspire you to try out Rubber Dance stencils with clear texture paste and inks. It´s a lot of fun!

Happy crafting,
xxx, Sanna

Supplies:

DIY vintage tickets with stamps and Distress Inks – Rubber Dance

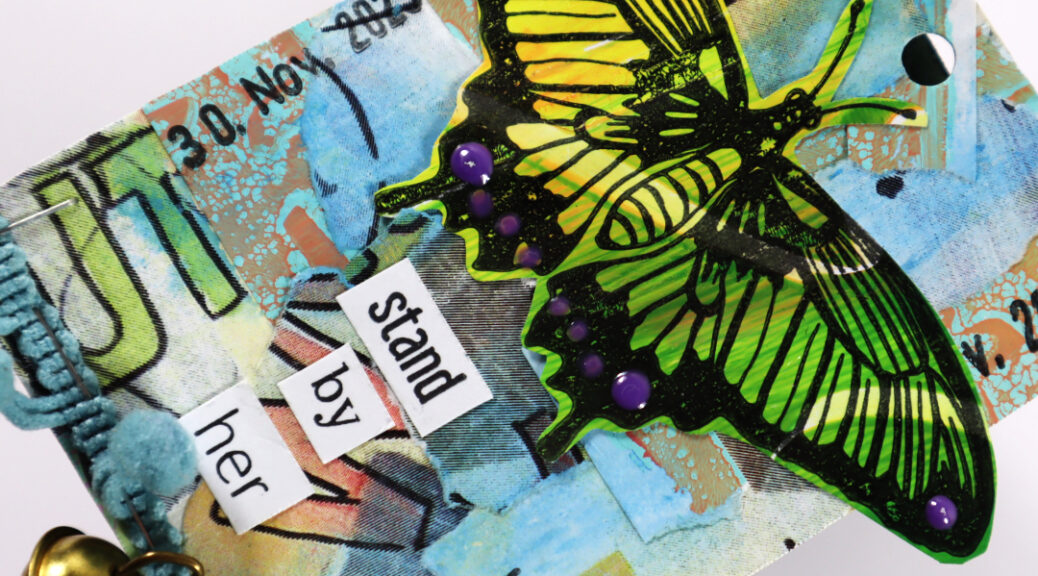
Hello, I am up over at Rubber Dance with another project. I have a DIY ticket tutorial up for grabs this time. I used the “Mix It Up 4″, “Mix It Up 5” and “Mix It Up 7” stamp sets to create the tickets.

I started by applying 3 different Distress Ink brown tones (vintage photo, tea dye & gathered twigs) with a blending brush onto a white, smooth, mixed media paper. This blending result does not have to be meticulous. The more random and irregular it turns out, the better! You can even add lines and leave areas almost white during this step. This only adds to the vintage/used feel of the end result.

Next add water splatters onto the inked paper. Let sit for a while and dab any residue water off with a cloth or a paper towel. Then take all the ticket looking stamps from the stamp sets out and stamp onto paper repeatedly. After that cut into size with a paper trimmer / scissors. For finishing touches, go around the edges of each ticket with brown ink. Now you have yourself a pile of cool tickets you can use in future projects.

Here is a video of the ticket making process:

I hope you get inspired by this idea and make some tickets of your own with Rubber Dance stamps and Distress Inks! Have fun!
xx, Sanna
Supplies:

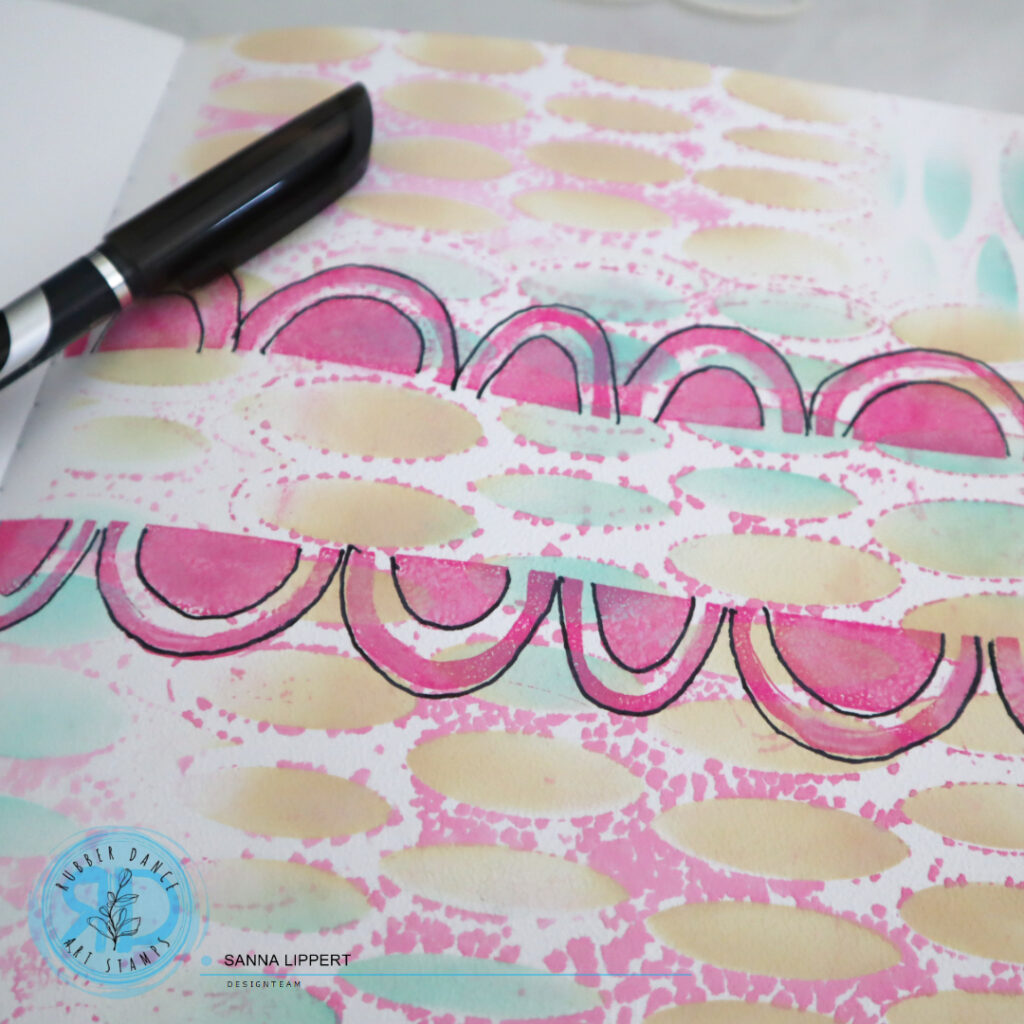
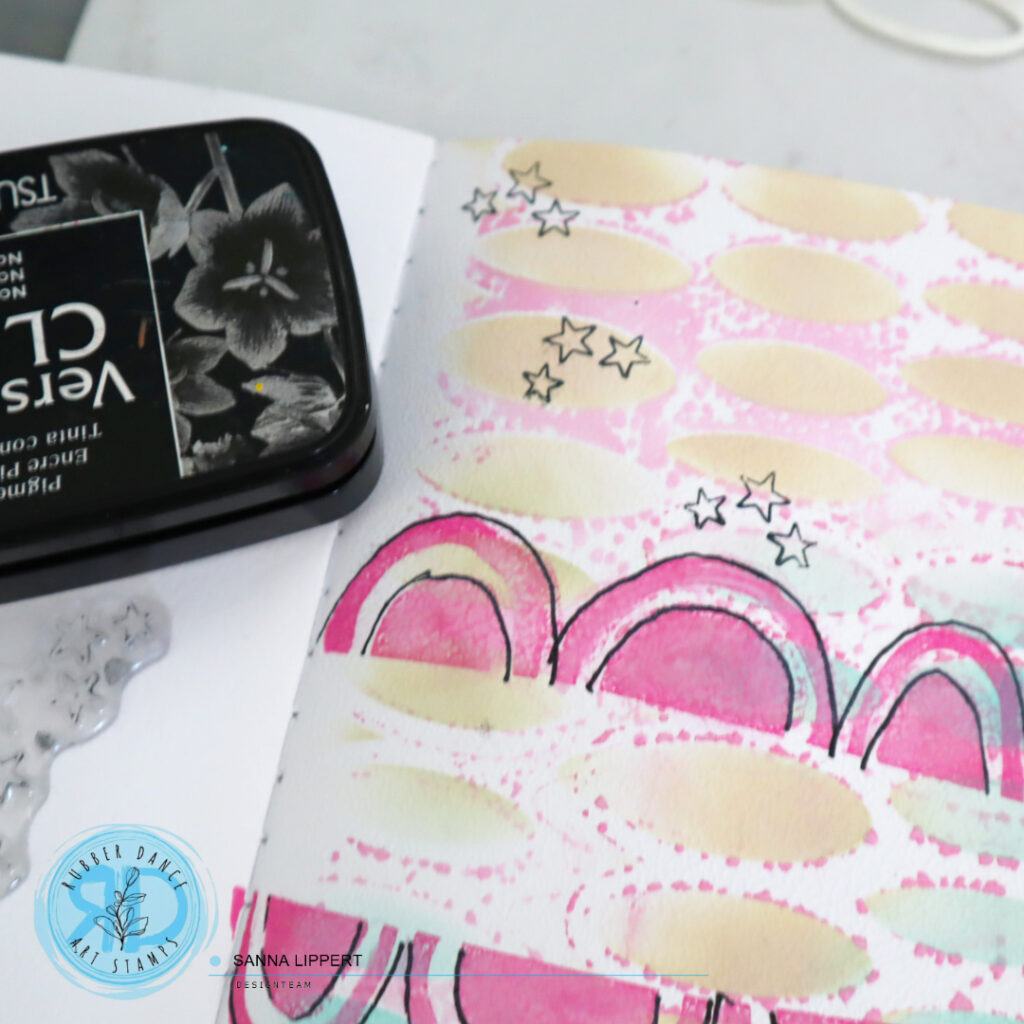
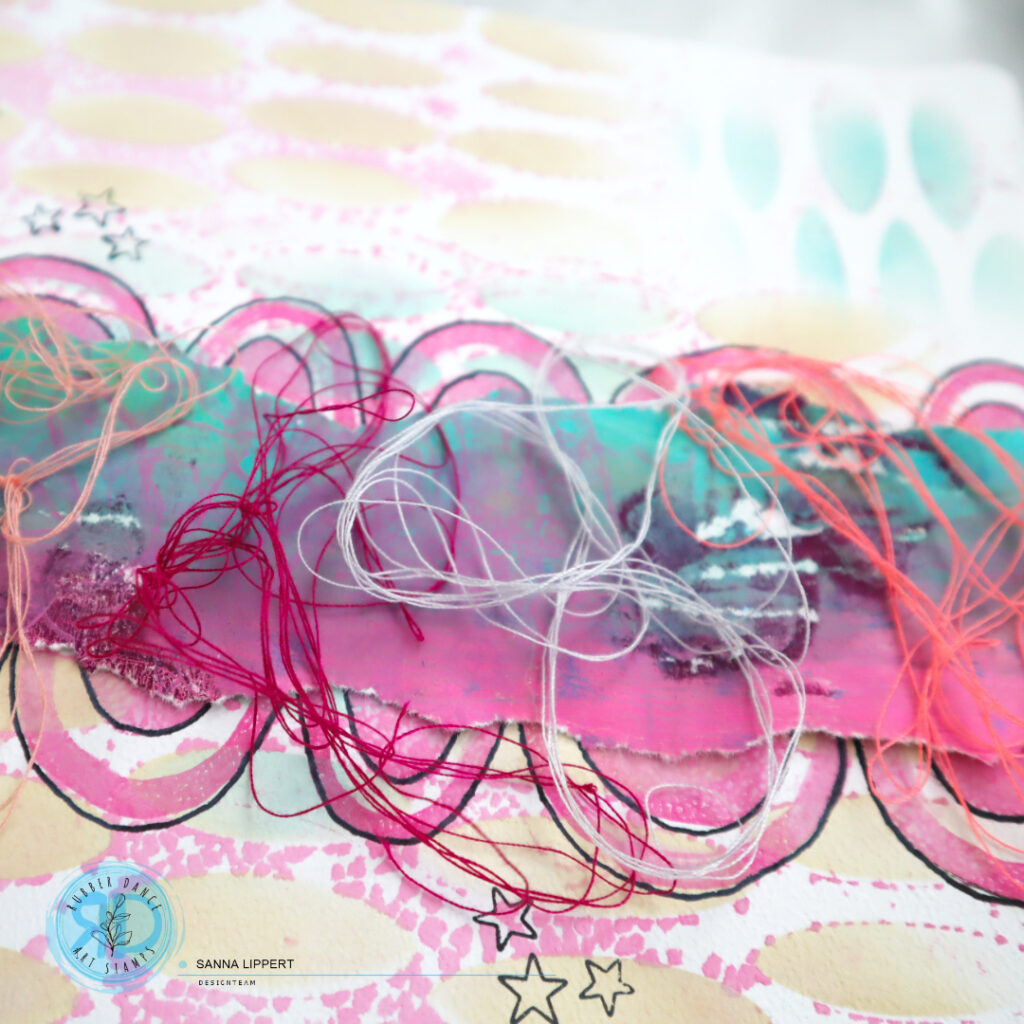
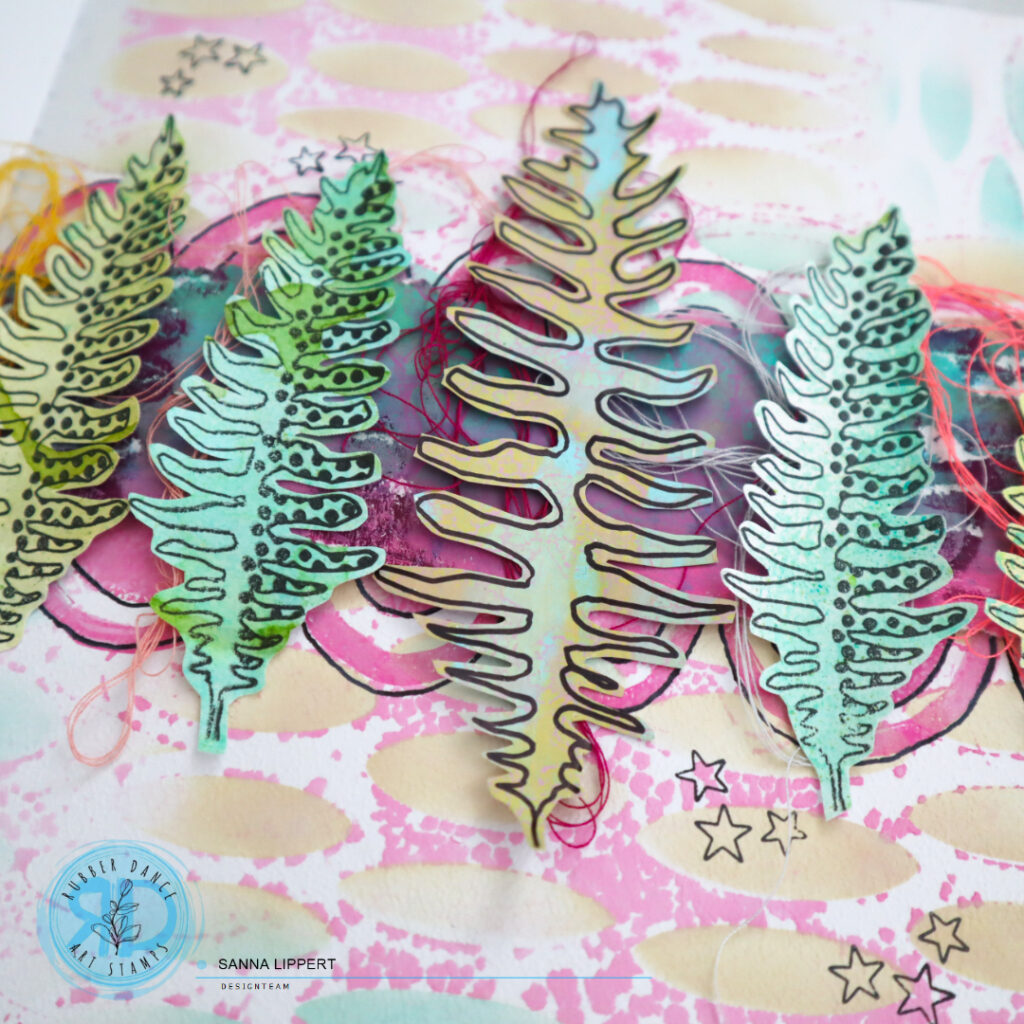
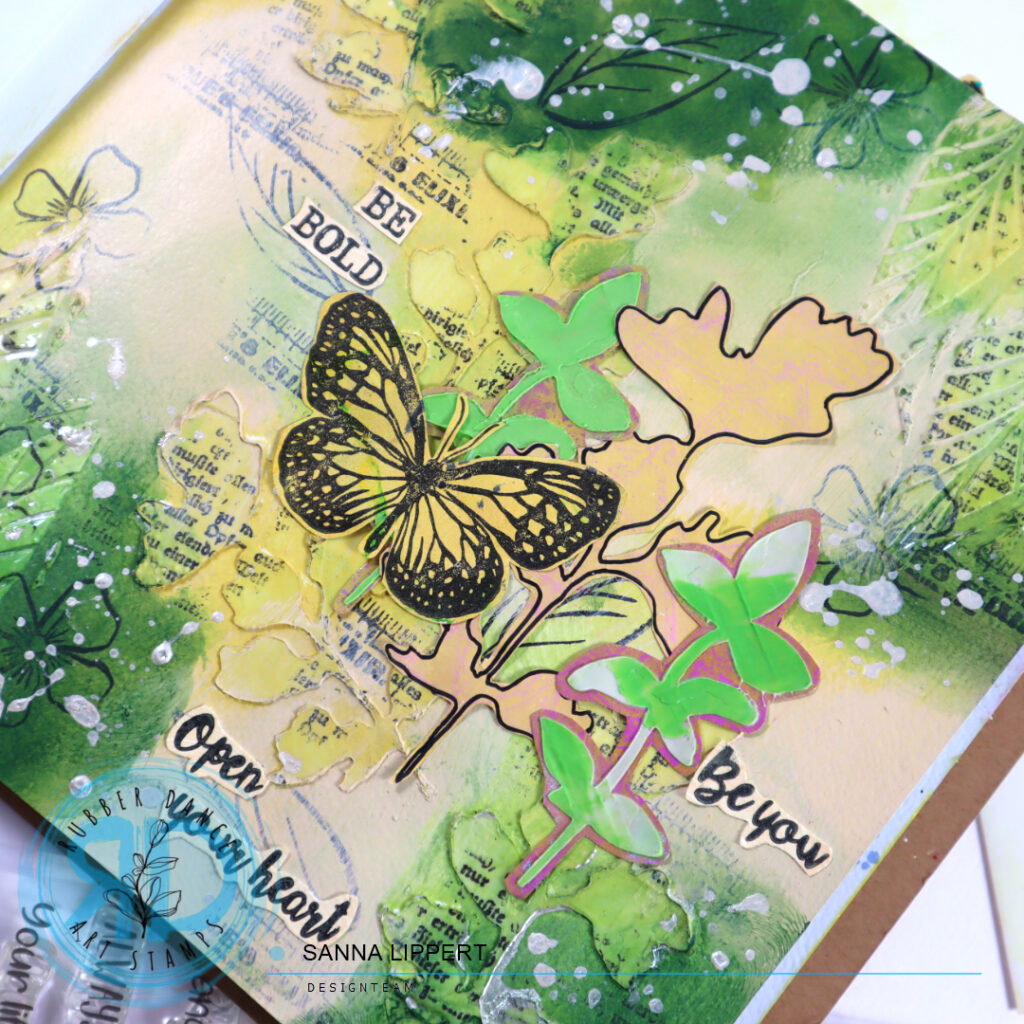
Art journal page with Distress Inks and Rubber Dance stamps & stencils

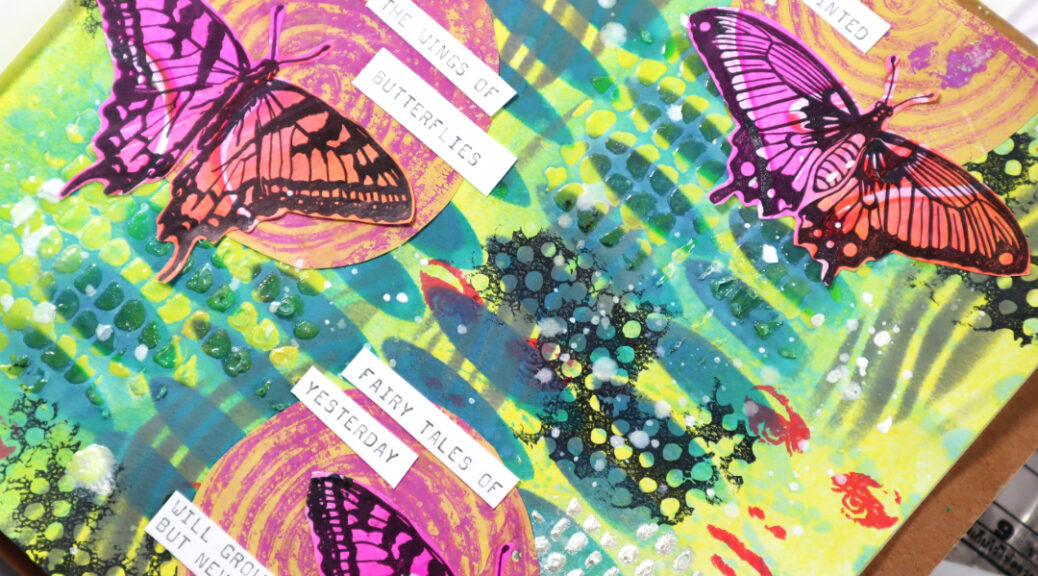
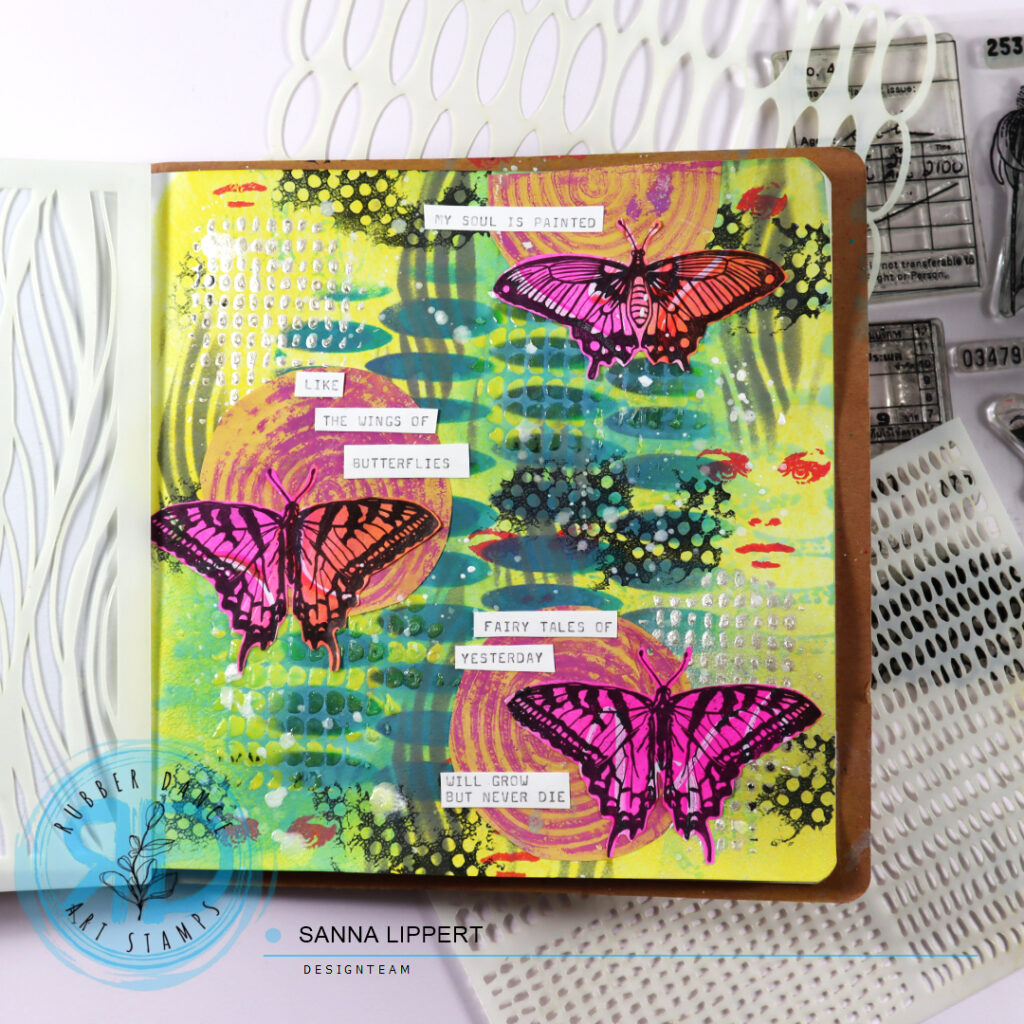
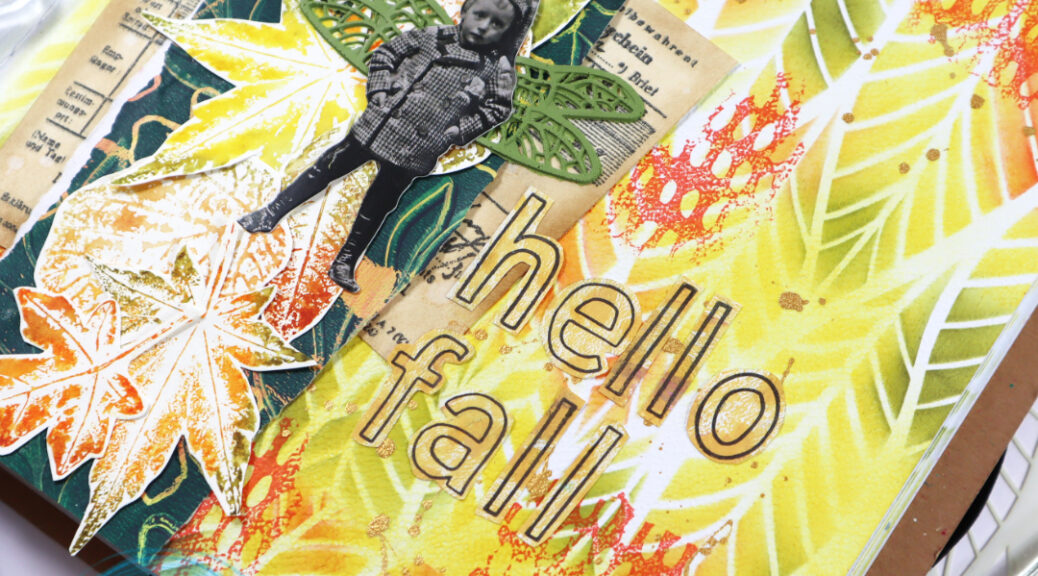
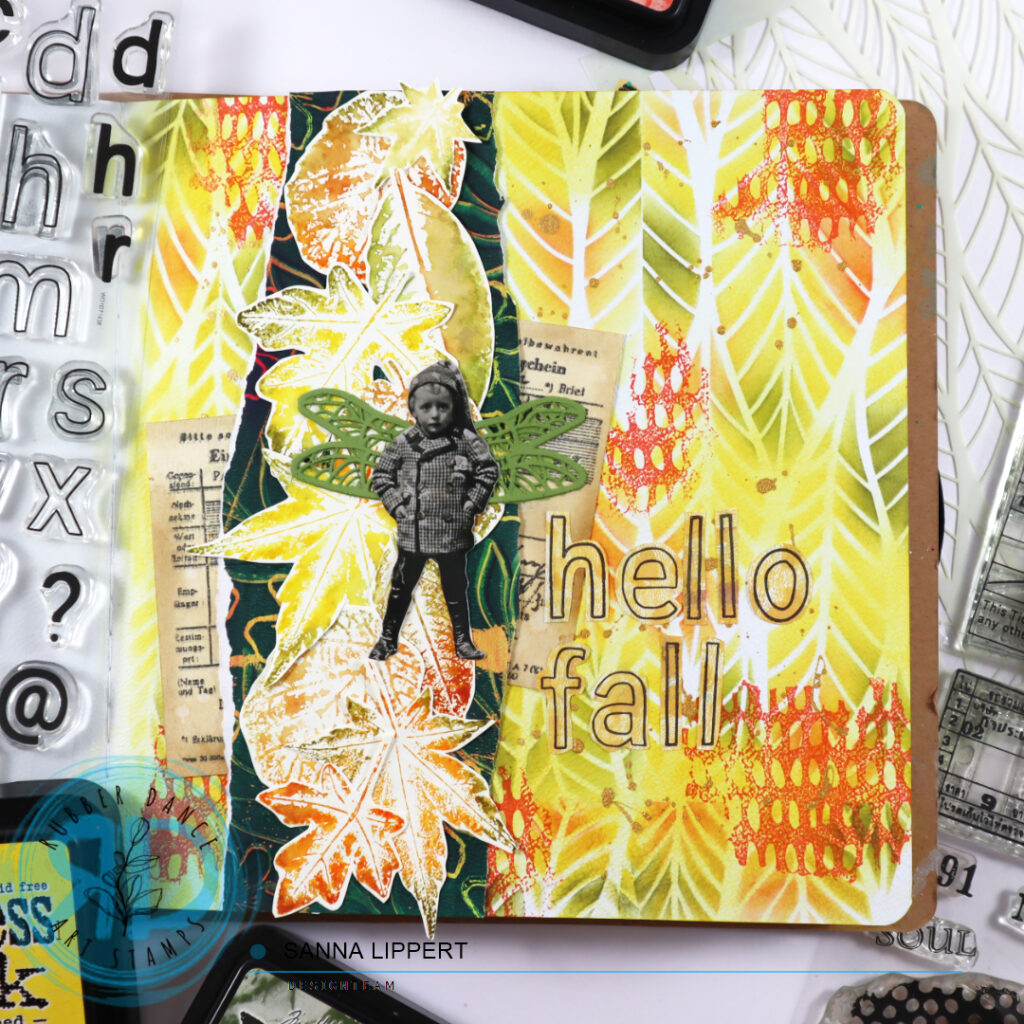
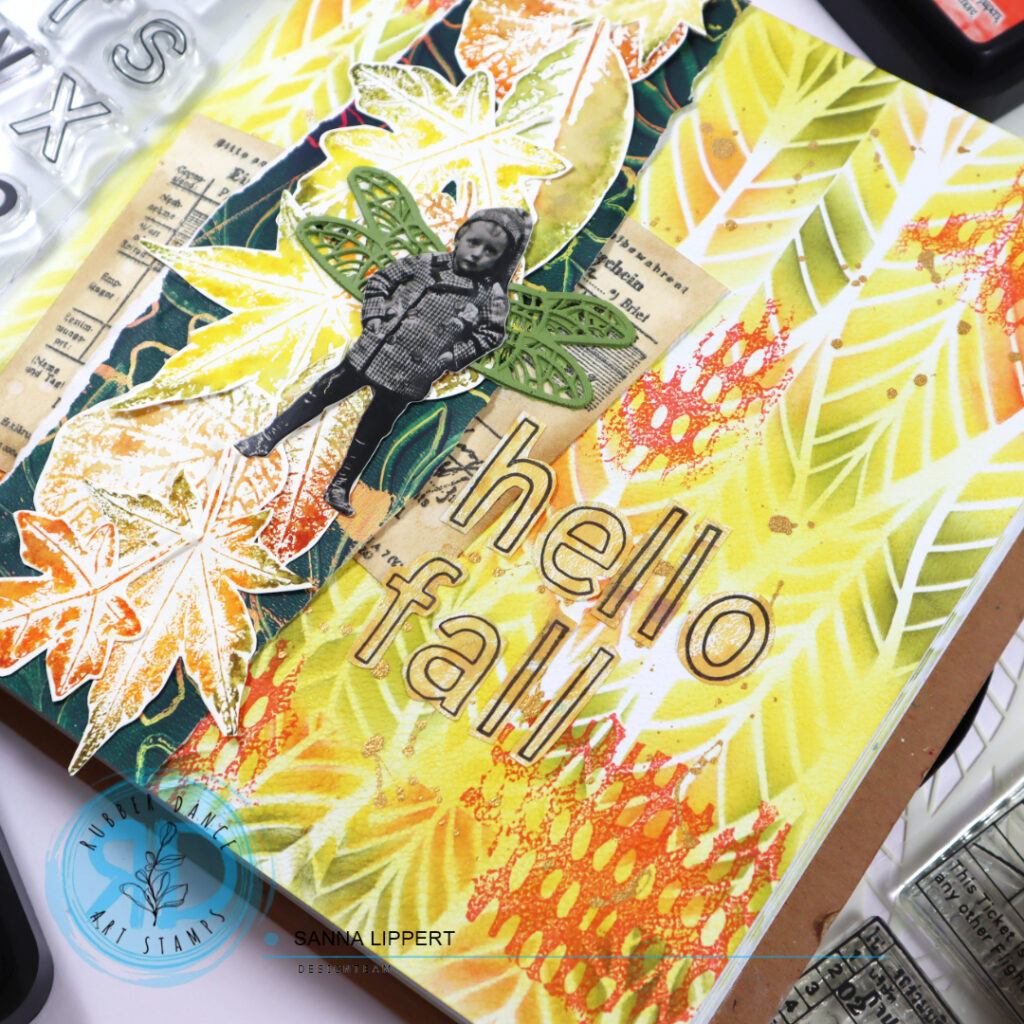
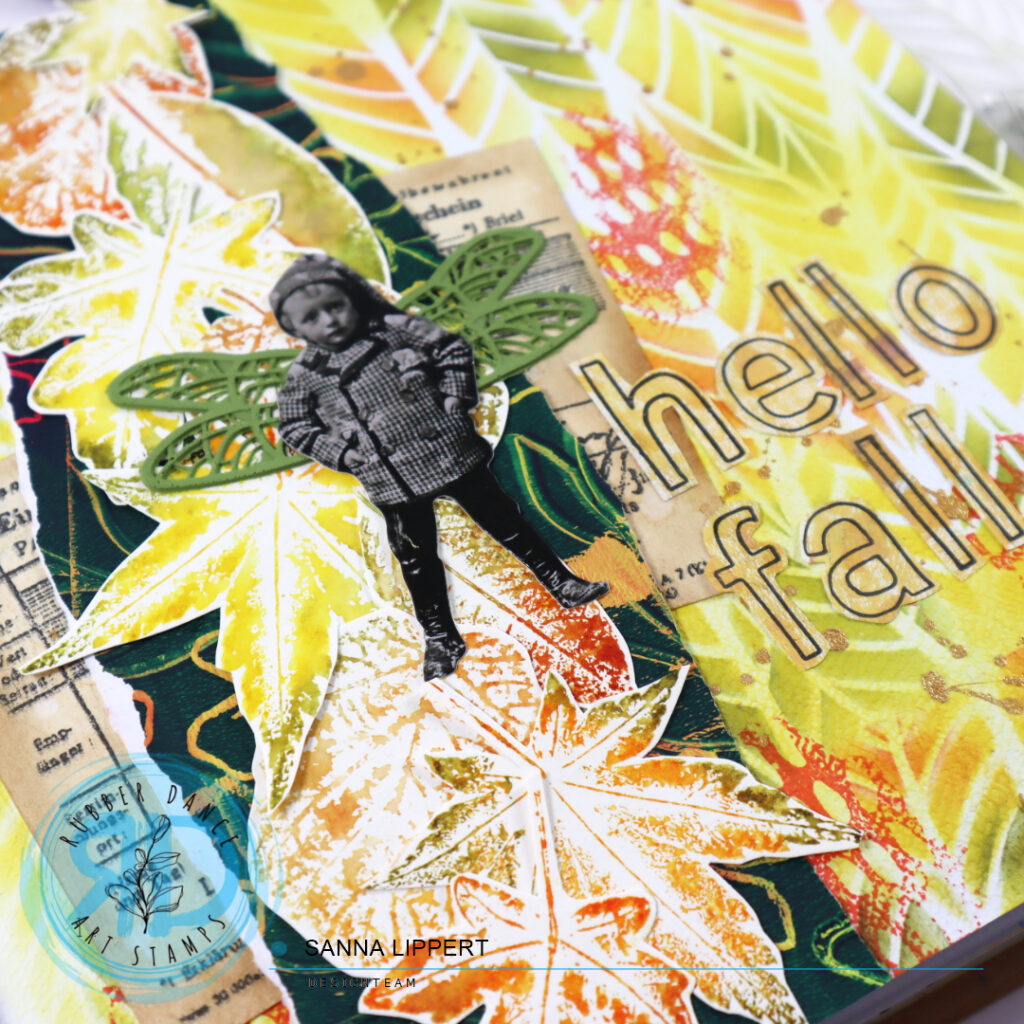
Hello everyone, here is a little share from when I was randomly playing in my art journal with recently made collage fodder pieces and Rubber Dance stamps and stencils.

I started with Distress Ink tones “ripe persimmon”, “picked raspberry”, “mustard seed” and “vintage photo”. I first applied the pink, yellow and orange tones with a misted gelli plate onto the background and created the random color areas. Next I pressed some “vintage photo” onto “Dotted 1” and “Marks 3” stencils, misted them and pressed the inked areas directly onto the paper. This created a hint of a pattern.

Next I used the “Pencil Marks 8” stamp set to create the oval shapes onto the page using black stamp ink. After that I grabbed some premade collage fodder pieces (leaves and butterflies) and adhered them to the page. After that I added some turquoise ink splatters (Dina Wakley Gloss Spray). For finishing touches I created a sentiment with stamped words (Mix a Sentiment 2023) and some stickers from my stash.

Here is the start-to-finish video:

I had a fun time playing in my art journal. Hope you enjoyed watching the process!

Happy crafting,
xxx, Sanna
Supplies:

Shimmer Powder Background with Loose Florals 2024 card set – Rubber Dance

Hello everyone, I am up over at Rubber Dance blog today with a set of cards created using the Loose Florals 2024 stamp set with embossing powder and Shimmer Powders. I created a fun background with those for the collage fodder cluster decorated cards.

I love creating my own “patterned paper” backgrounds for cards and other projects. This is one way of doing that: getting a stamp set out, some white embossing powder and two tones of Shimmer Powder. Letting the color spread on it´s own on paper creates interesting color concentrations and shades and makes every background unique.

After creating the background, I cut it into a right size and adhered it onto a white card base. For decoration I didn´t want to add too much, so I went with a flower cluster from DIY collage fodder pieces I made recently. You can watch the videos on those here, here and here. And here is the video on how I created the card background and finished the cards. Hope you like it!

I hope you´ll give this technique a try!! Happy crafting,
xxx, Sanna
Supplies:

Spring Art Journal page with tinted modeling paste and stencils – Rubber Dance

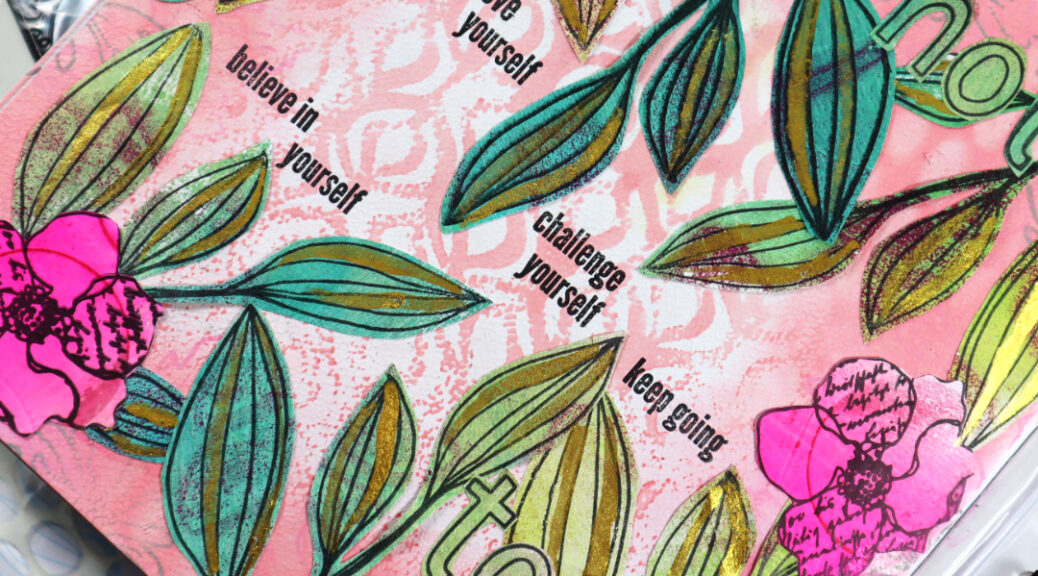
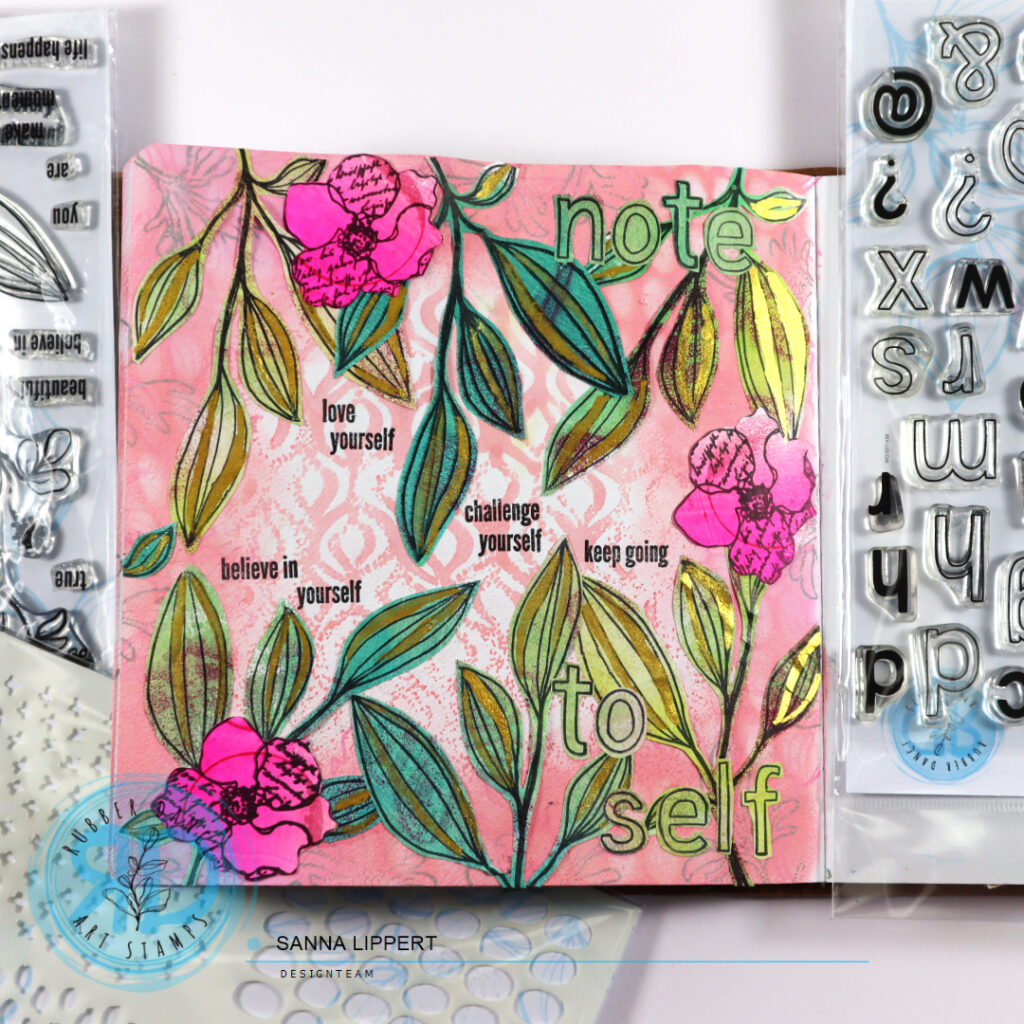
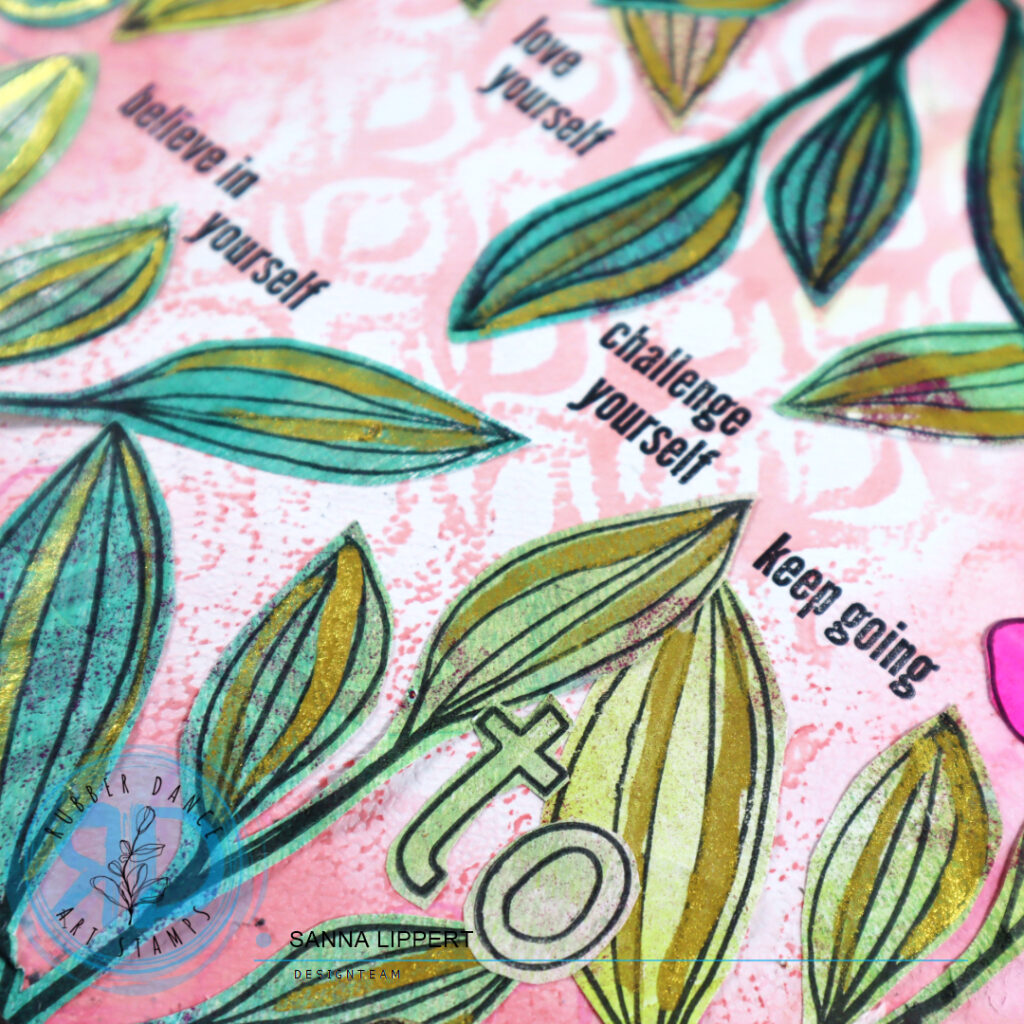
Hello, it´s my turn to share a. project over at Rubber Dance blog again. Today I am sharing a page from my art journal that started from a mark making play and ended up being a bright spring themed page. I used the Dotted 1, Organic 4 and Marks 3 stencils and the Mix It Up 5 stamp set to create the page. I also added previously made collage fodder bits done with Doodle Flowers 2 and Butterflies and Moths stamp sets.

This is how my creating process went. I always have a journal close to me, when creating on other projects. That way I can wipe and add random layers to my journal with residue paints, inks and pastes. In the first photo you can see I added some residue pink paint, then some black mark making to the journal page. Next I mixed some modeling paste with neon pink and yellow paint and sky blue paint together and applied those onto the background thru the previously mentioned stencils. I love to tint my white modeling paste with acrylic paints to create different colors.

While the paste was drying, I took a pink tag and stamped some Distress Oxide Ink (kitsch flamingo) with one of the Mix It Up 5 stamp set stamps. Then I grabbed a small piece of residue gelli printed paper, stamped with the same set and black ink some images onto the piece and adhered it onto the tag. After that I arranged a cluster of leaves and flowers to the tag and cut off any residue along the edges.

After that I adhered the tag onto the journal page, created a sentiment with sticker and paper alphas and added some Gloss Spray splatters for finishing touches (Medieval).

Have you tried creating your own tinted modeling pastes? It´s a fun way to add some interest to any project (journal, wall art, card background). It also adds a nice texture and depth to a project. Wishing you a fun time playing with stencils and modeling paste!! If you missed how the fodder was done, you can watch the videos and the photo tutorial here, here and here.

Happy creating!
xxx, Sanna
Supplies:

“Flower bouquet” fodder card set – Rubber Dance

Hello, it´s my turn to share a project over at the Rubber Dance blog and I am up with a fodder bouquet card set. I have made piles and piles of fodder and gelli prints recently and what for? For projects like this. I used the Mix It Up 5, Mixed Sentiments 1, Pencil Marks 8 and the Doodle Flowers 2 stamp set with the Wheels stencil on this project.

I love making leaf and flower fodder. Creating random colored backgrounds and stamping onto them and only when fussy cutting the images, to discover the beauty of every single piece on it´s own, is something very exciting.

So for these cards I used some recently made flower and butterfly fodder as well as gelli printed backgrounds. Have you tried making some yourself? It is a very inspiring process, so I truly recommend, you try it out.

Here is a video on how I built the cards together:

And I´ve prepared 2 different short videos on some fodder making, just for fun:

I hope you enjoy this card idea and the videos and that they inspire you to play with Rubber Dance products!! Have fun!
xxx, Sanna
Supplies:

Stenciled Art Journal Page – Rubber Dance

Hello! It´s my turn today over at Rubber Dance blog and I am up with a heavily layered, stenciled art journal page share today. For this page I used the Dotted 1, Big Ovals, Cross It, Wheels, Stars 1 and Marks 2 stencils. There are also some details added with the Doodle Flowers 2 stamp set.

I started by applying heavy body paint in “olive” with a palette knife onto the background. On top of that I used a foam brush to dab “sand” and “apricot” tones thru Big Ovals and Dotted 1 stencils. After that I outlined some of the dabbed paint “circles” with a black pen. Next I took a piece of a old dictionary book and wripped and glued strips of paper onto the background.

Next I wiped some “aloe” tone with my fingers onto the wripped dictionary page pieces to blend them into the background. I then added a layer of “tangelo” with a palette knife onto the page. Next I took the Cross It stencil out and added some white paint thru it onto the orange areas for contrast.

After that I took a black with glimmer mist misted tag out and again dabbed the “lemon” paint onto the tag thru the Wheels stencil. After that I put some “lime” toned paint onto the palette knife and wiped some of it onto the tag. The next layer was done using “stoked” tone and the Marks 2 stencil. I then added the last bits of “turquoise” paint with a palette knife thru the Stars 1 stencil onto the tag.

I sprinkled some Gloss Spray in “turquoise” for interest onto the art journal page. I then glued the stenclied black tag onto the art journal page. After that I added a misted doilie for decoration and created a cluster of leaves with “Doodle Flowers 2″ leaves next to it. There is a video at the end of this post on how I created the leaves.

I finished the page with a paper doll by Tim Holtz and some black and white alphabet stickers. Here is the start-to-finish video for further information:

And this is the video on how I made the leaves fodder:

I hope I could inspire you today. Happy creating!
Sanna
Supplies:

DAP-journal / December 29th, 2022

Hello and happy Tuesday! Here is yet another DAP-journal share:

For this one I used Neocolor 2´s, Stabilo Woody´s and Stabilo all black pencil with the original almanac page cut into smaller bits and added to the rest. Lots of earth tones here. I didn´t want to add any words or journaling this time, so I just kept the page very simple.

Happy crafting, 
xxx, Sanna
Supplies:

DAP-journal / December 28th, 2022

Hello there! Here is another share from my DAP-journal:

For this page I used a premade gelli printed background piece (done with a STAMPlorations stencil – my line there) and some Glimmer Mist on top. In addition to that layer, I added strips of washi, some white gesso, Stabilo all black pencil and Neocolor 2´s. On top of those layers I added the original almanac page and it fits the color sheme very well.

Have a good start into the new week!

xxx, Sanna
Supplies:

DAP-journal / December 31st, 2022

Hello! This is the very last page share from my 2022 DAP-journal:

I gessoed the page first, then I added spray inks on top and some Neocolors. On top of that I grabbed some washi tape and stickers from my stash and added the original almanac page to go with them. I then wrote “better times ahead” onto yellow paper scraps and adhered them to the page.


This is the FULL 365 days of journal. As you can see, they did fit into the journal. BUT it is very, very thick. I might need to change the binding to a bigger one and then figure out, what kind of covers I want to add to it.

Here is the “top view”. Very thick indeed ;-).

This is it, when helt together with a hand. If I change the ring binding to a huge one, it might work with covers too. Still need to do that. But it is such a cool journal! Lots to look at and some parts are even interactive, so it makes it more interesting. I had fun doing it. Some pages were hard to do, some came easier. And at some point I thought I´d never finish it. But here it finally is. I am very proud of being able to finish it.
I will share a full flip-thru in near future. Just have to make a video of it first. So stay tuned :). Thanks for sticking with me thru this project! I had a good time – hope you enjoyed watching it!?
And now to other stuff – Christmas card sharing time is just around the corner again ;-). So bare with me for the next days (and maybe weeks), when I share a motherload of Christmas cards here.

Take care!

xxx, Sanna

Supplies: