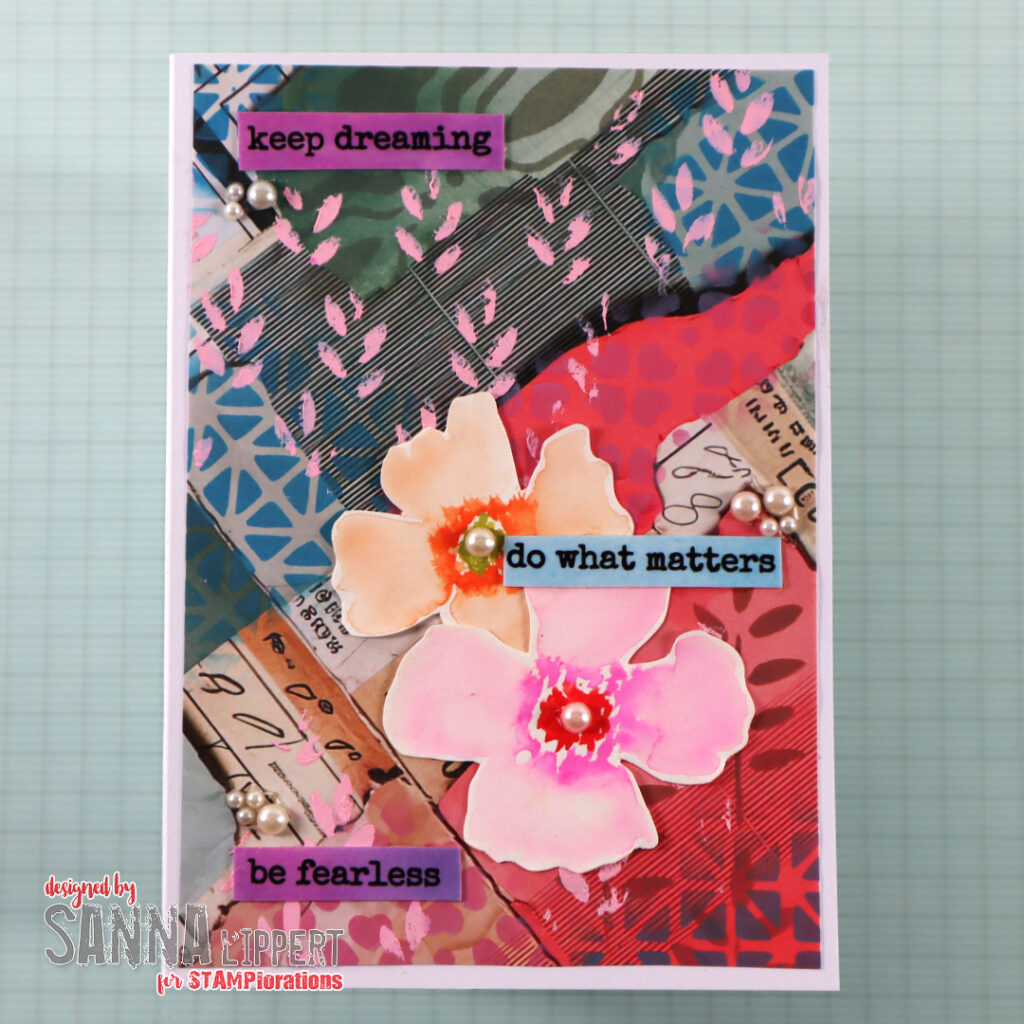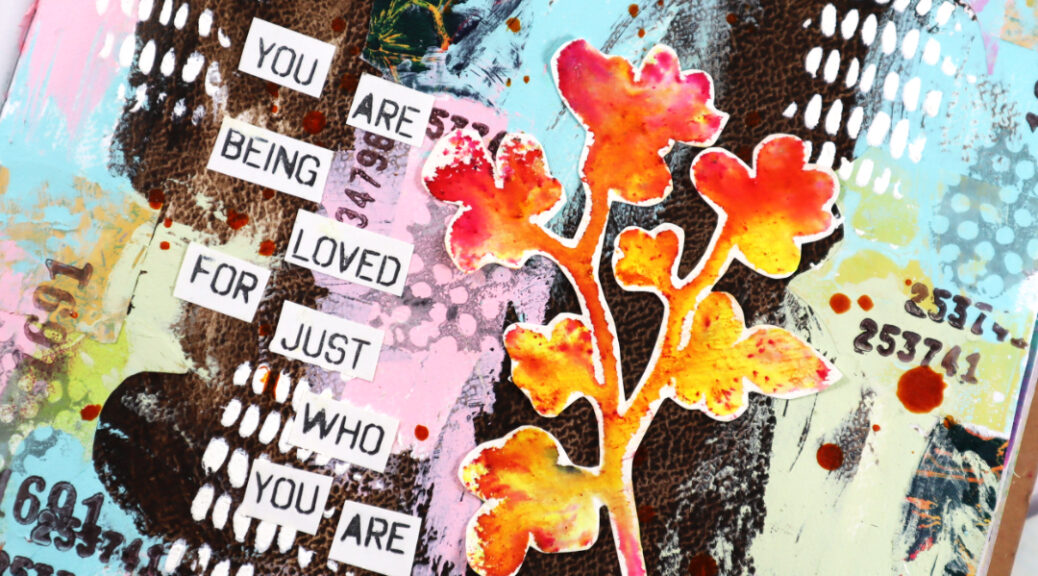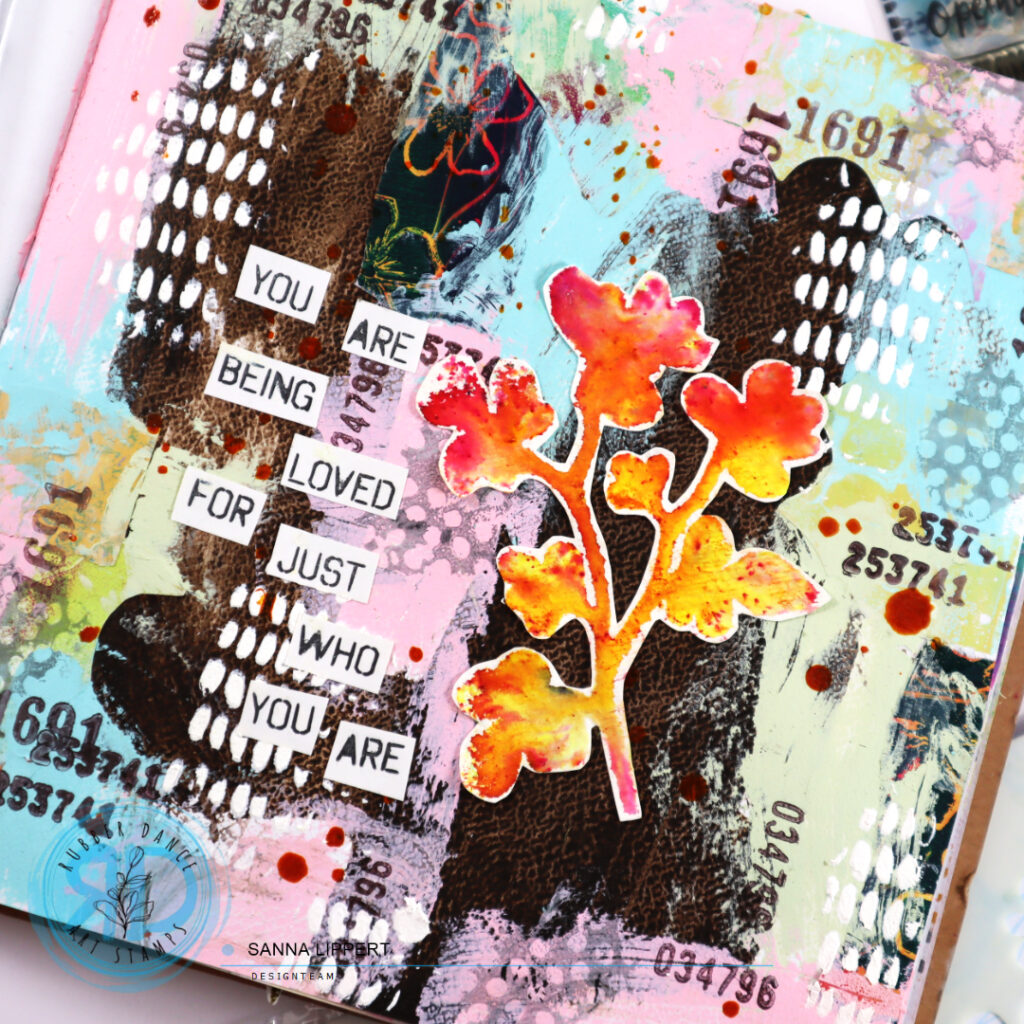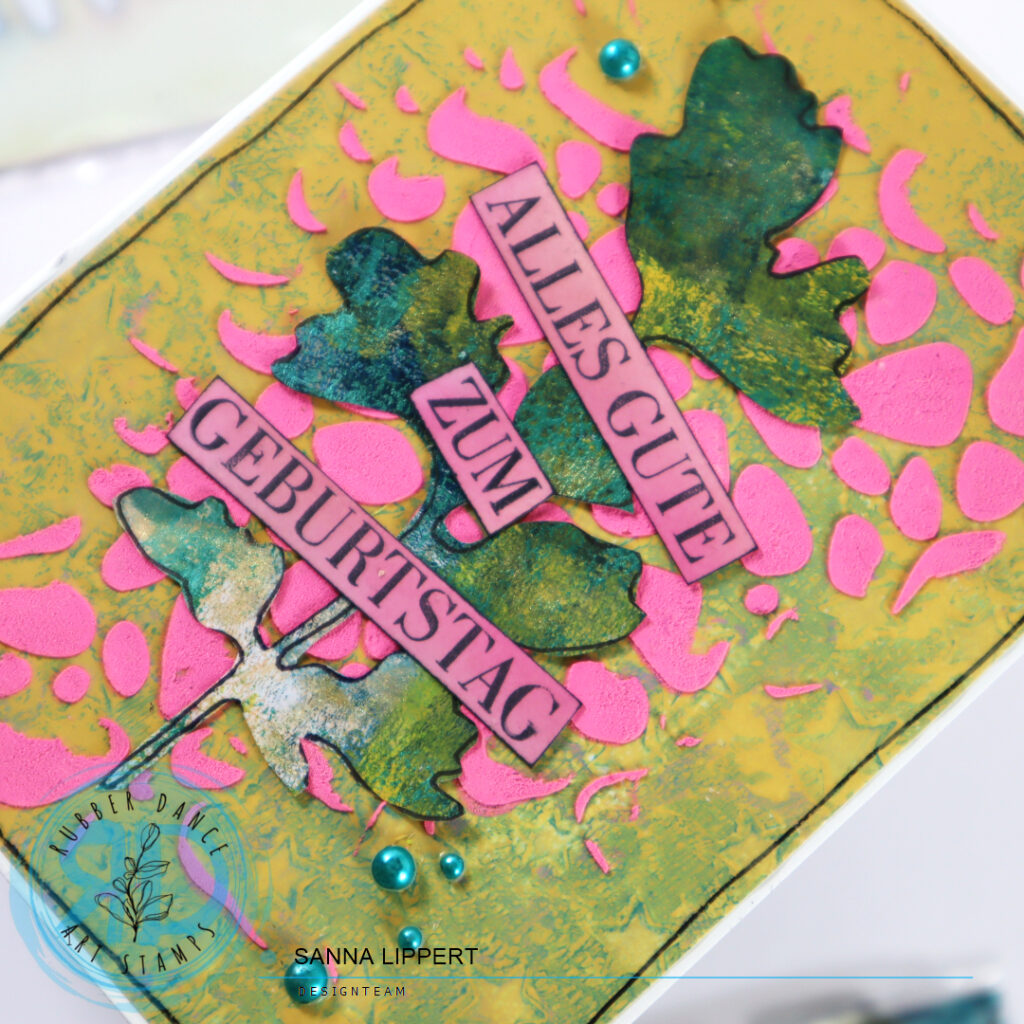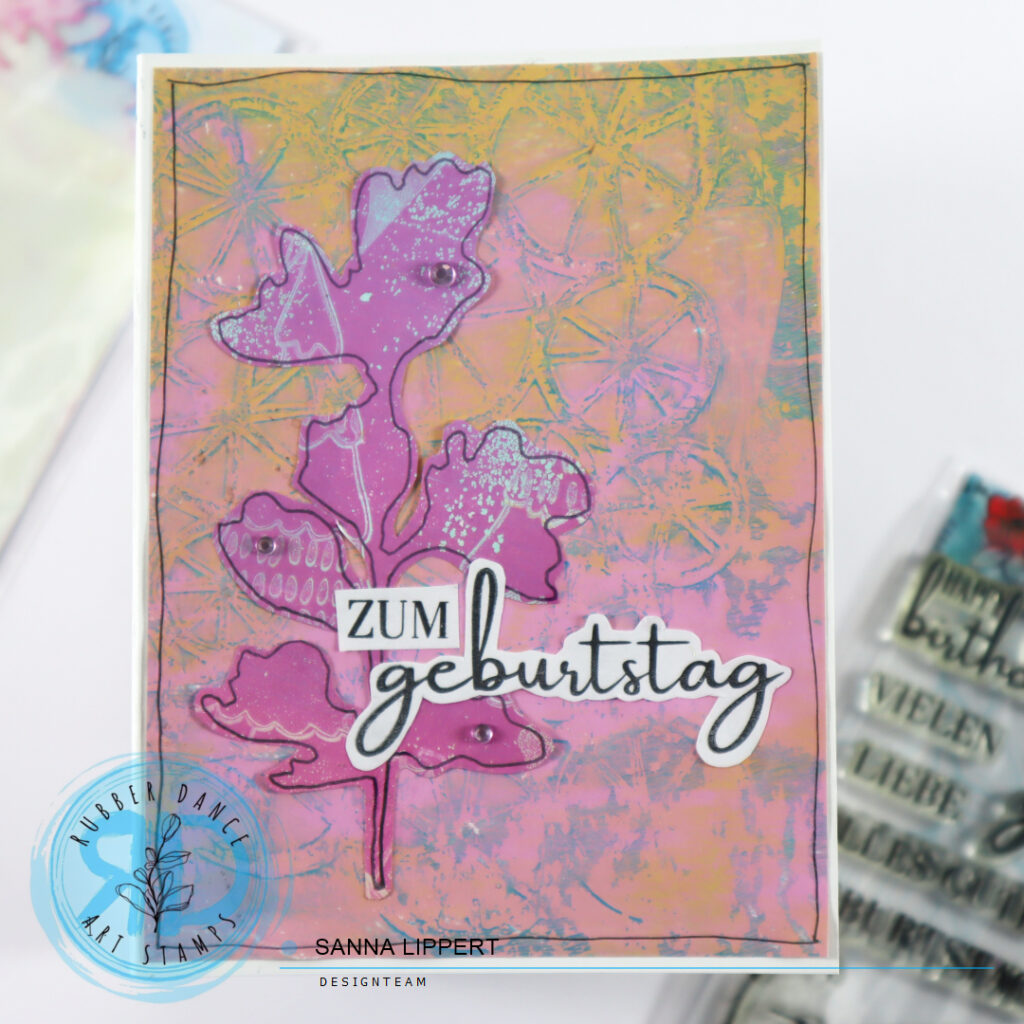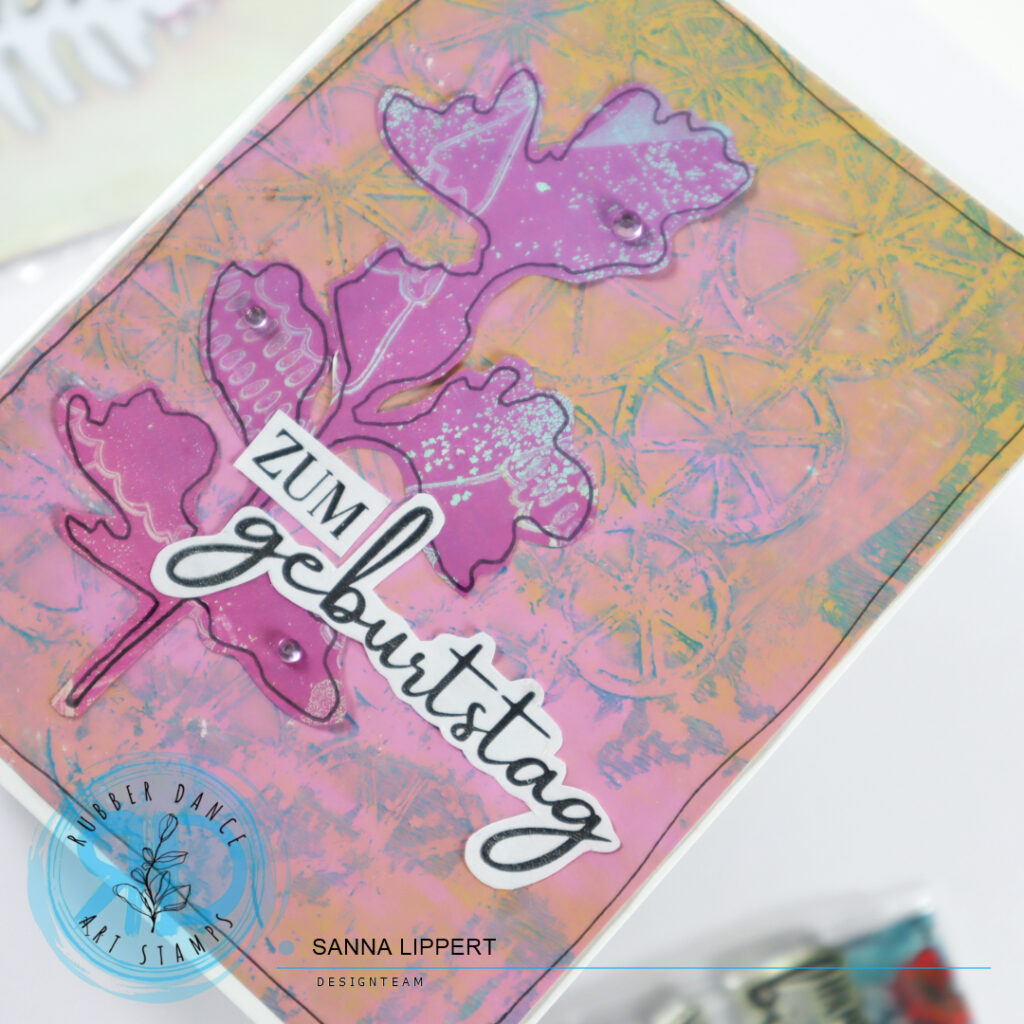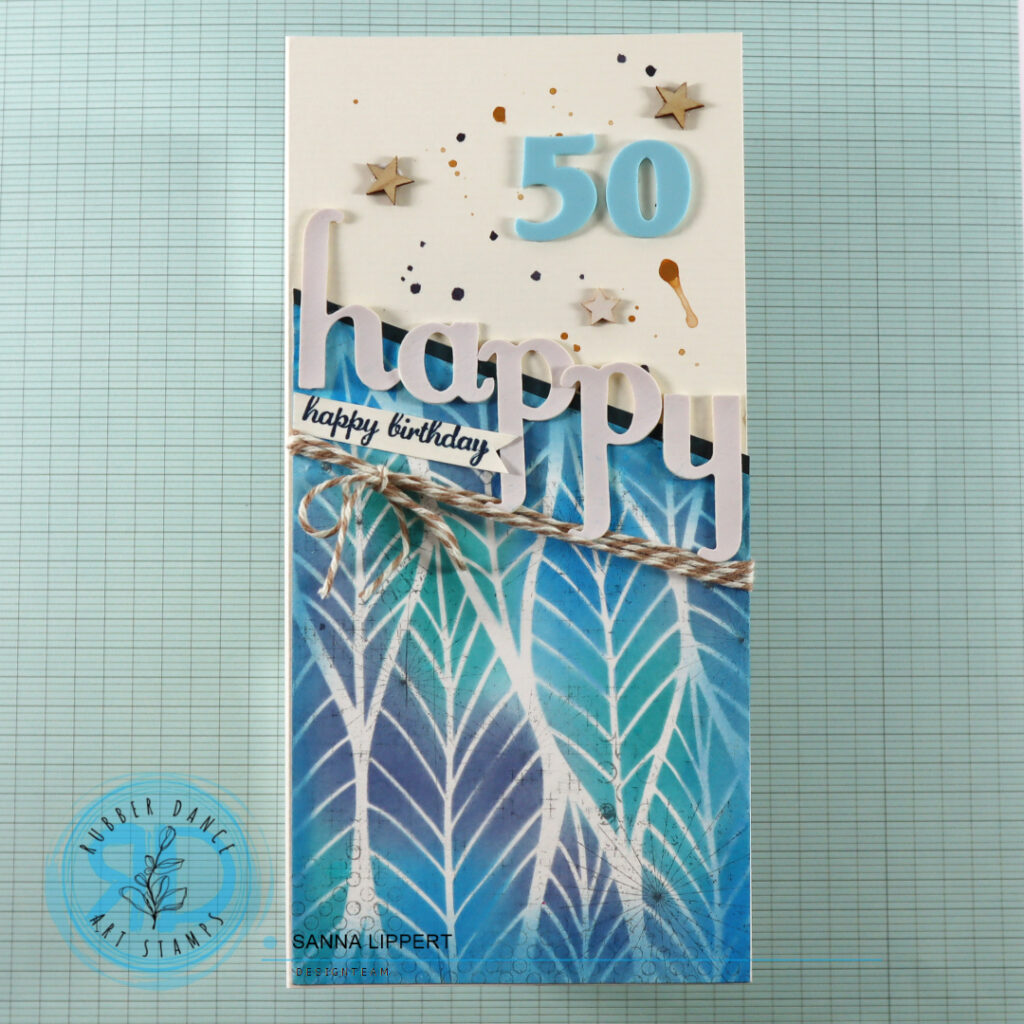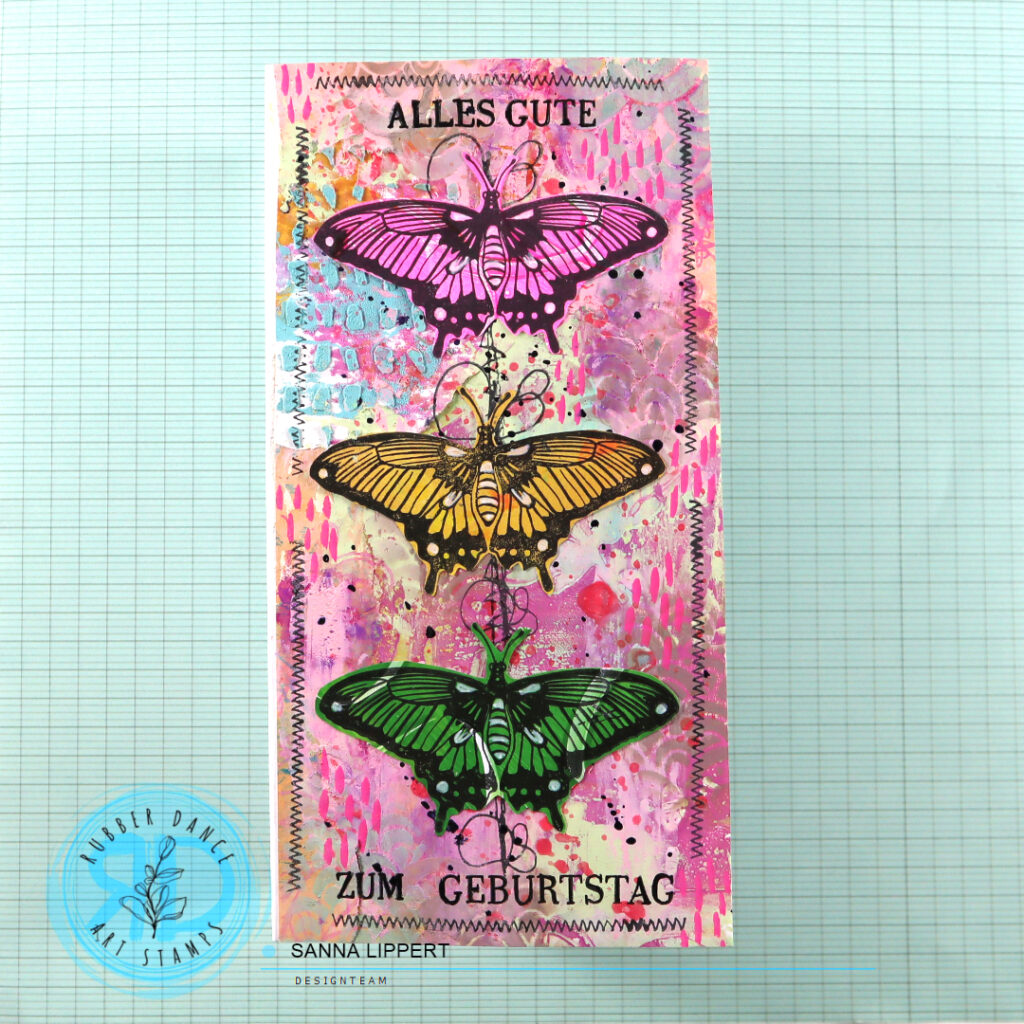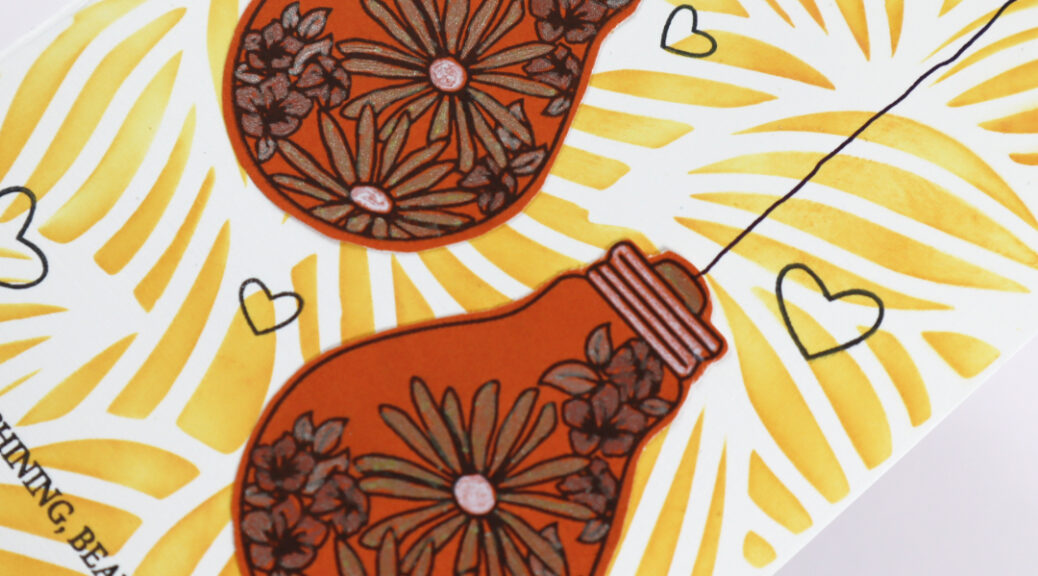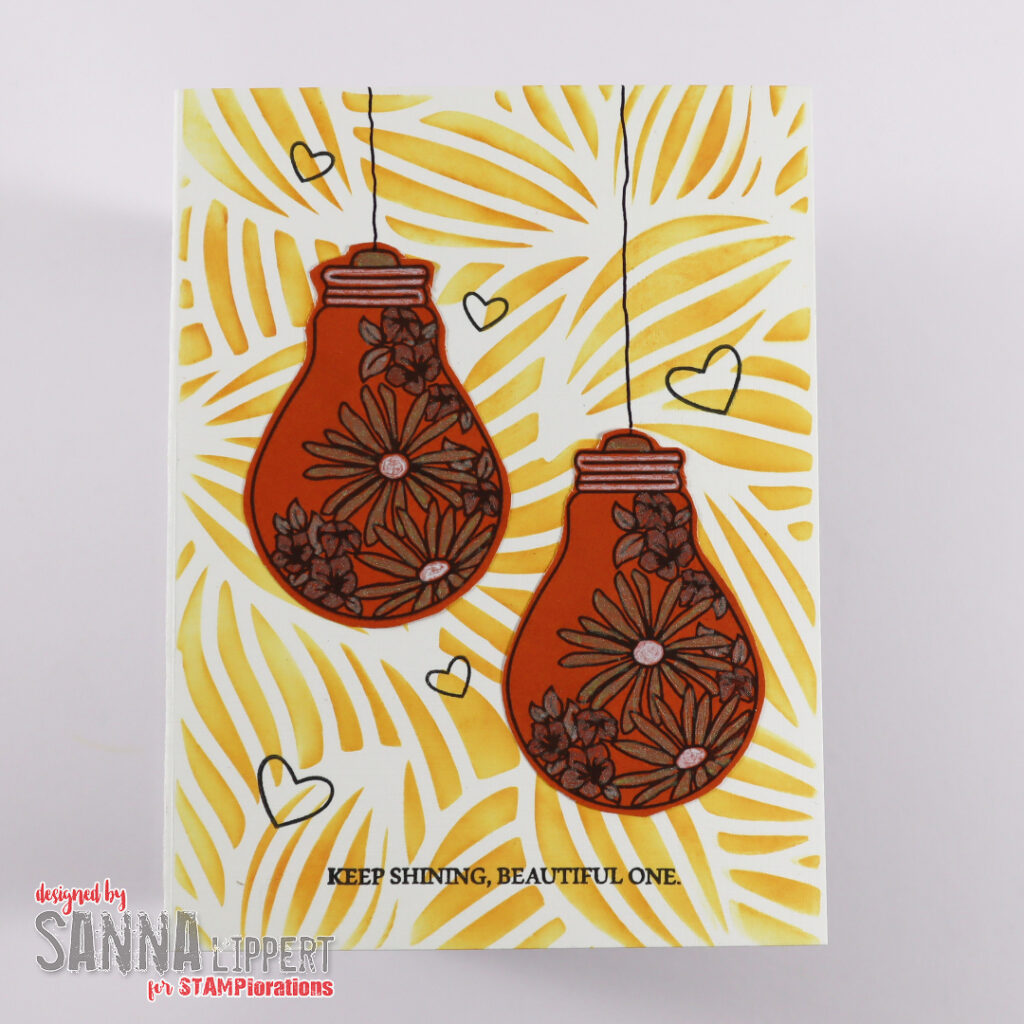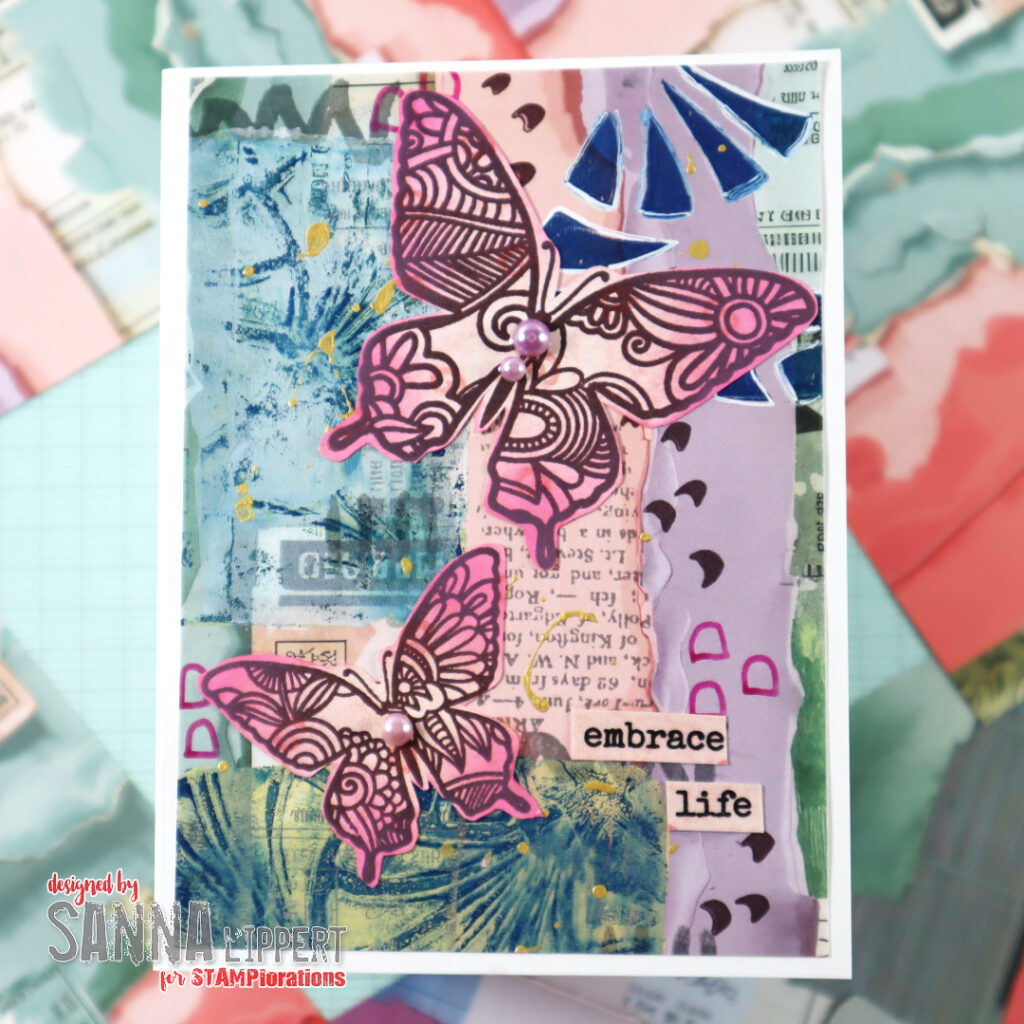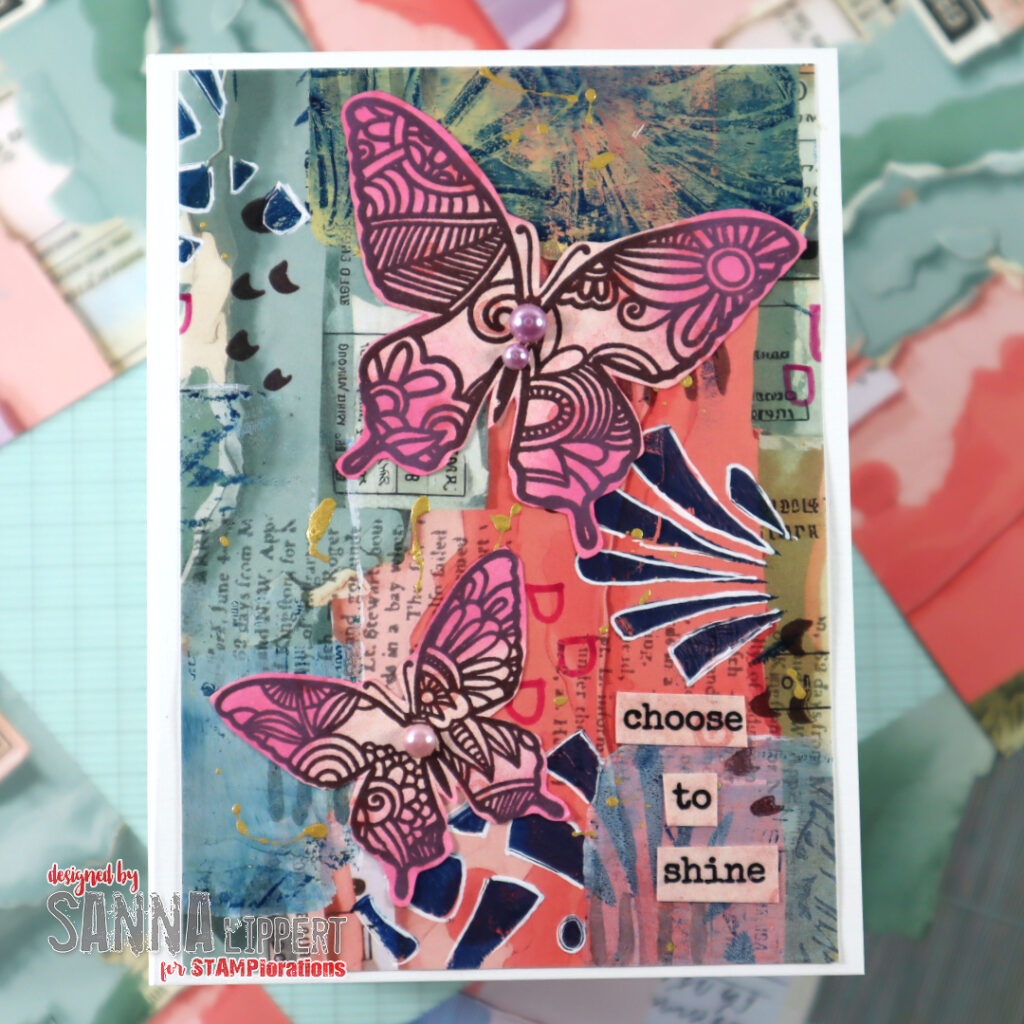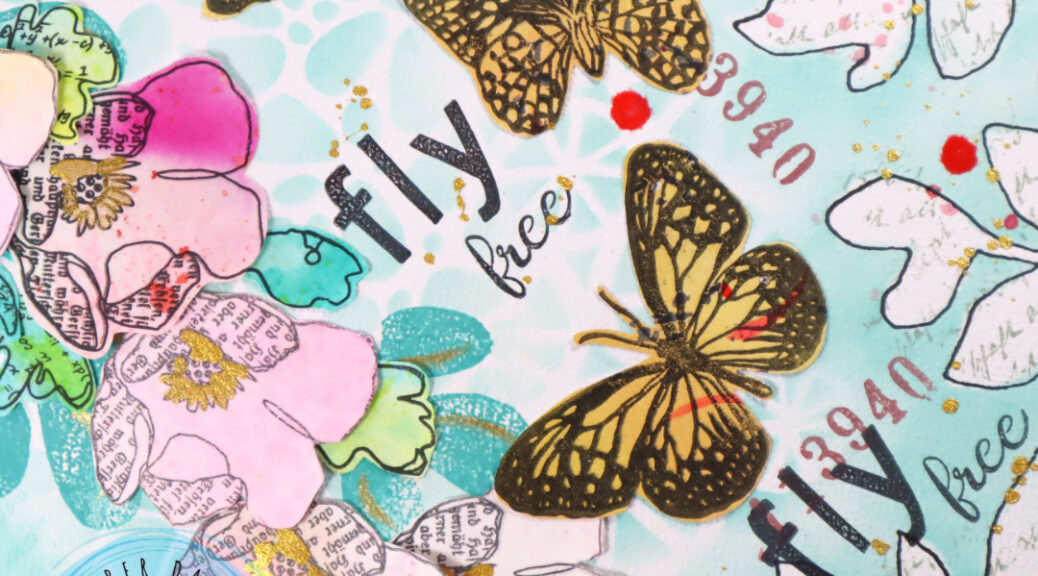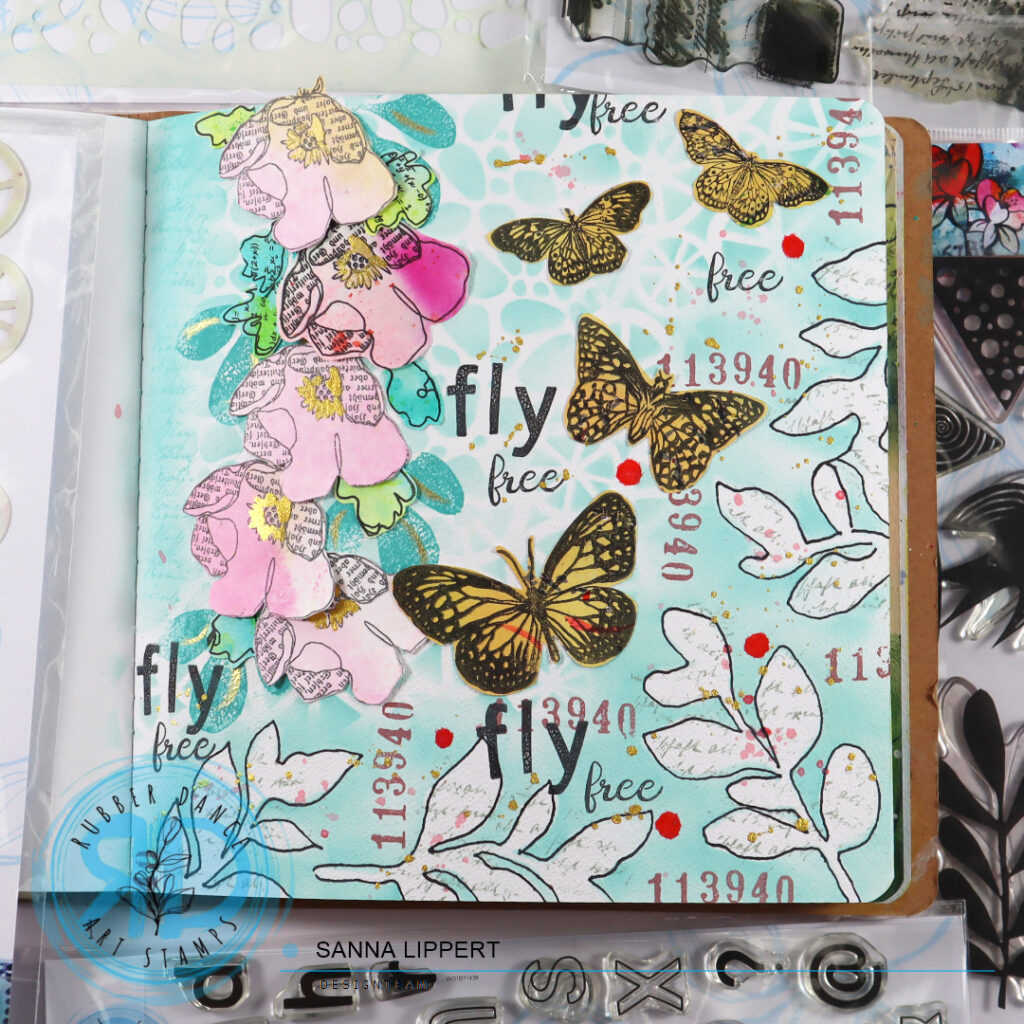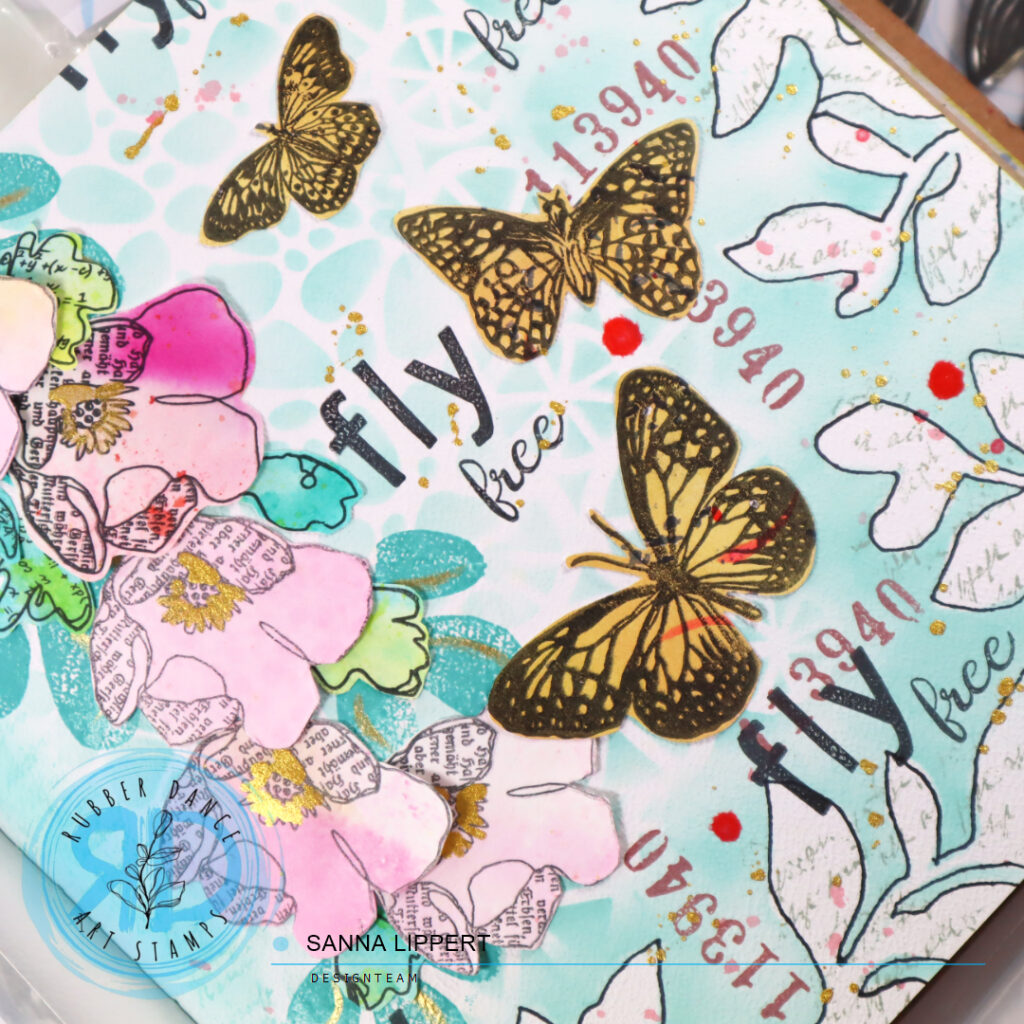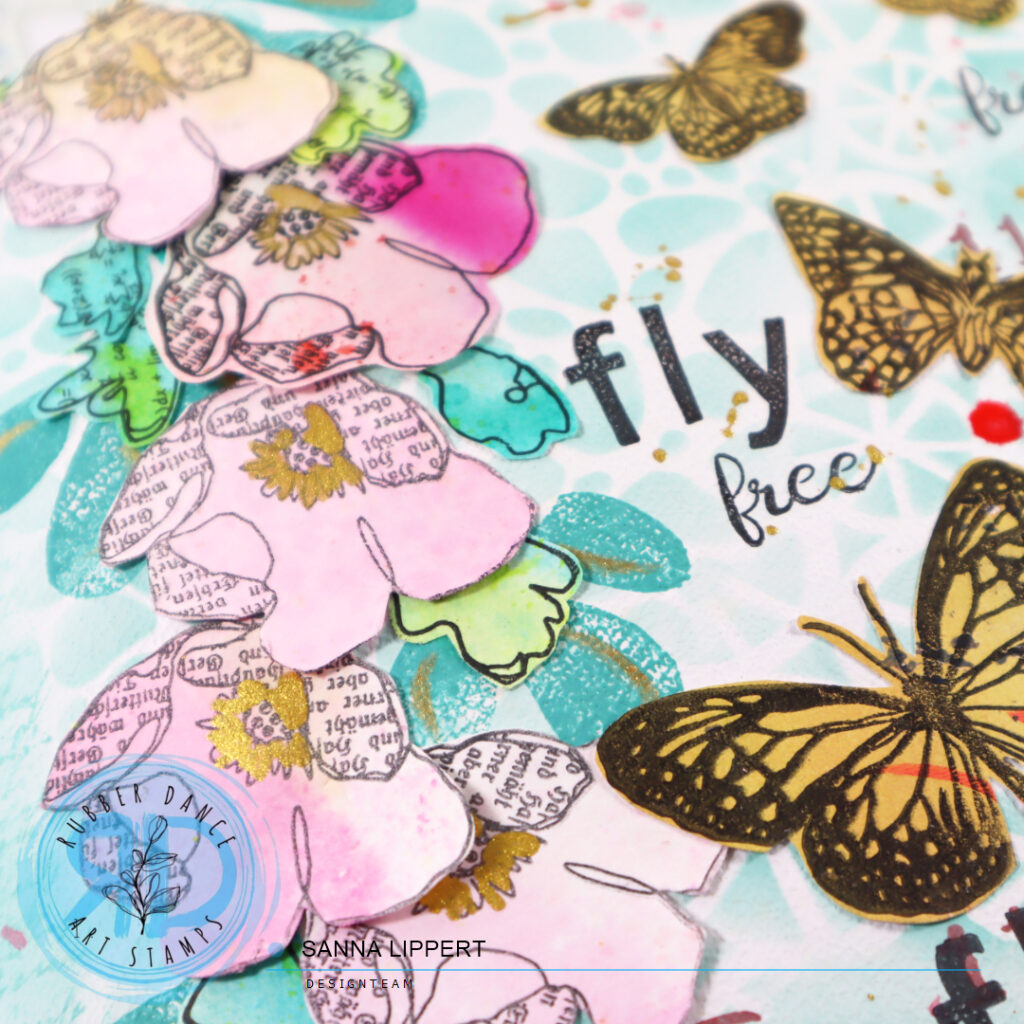
Hello, today I have a slimine mixed media card and a process video share for you. I´ve used the Big Ovals and Sketchy Leaves 5 stencils and Butterflies and Moths, Doodle Flowers 2, Mixed Sentiments 1 and Mix It up 5 stamps for this card project.

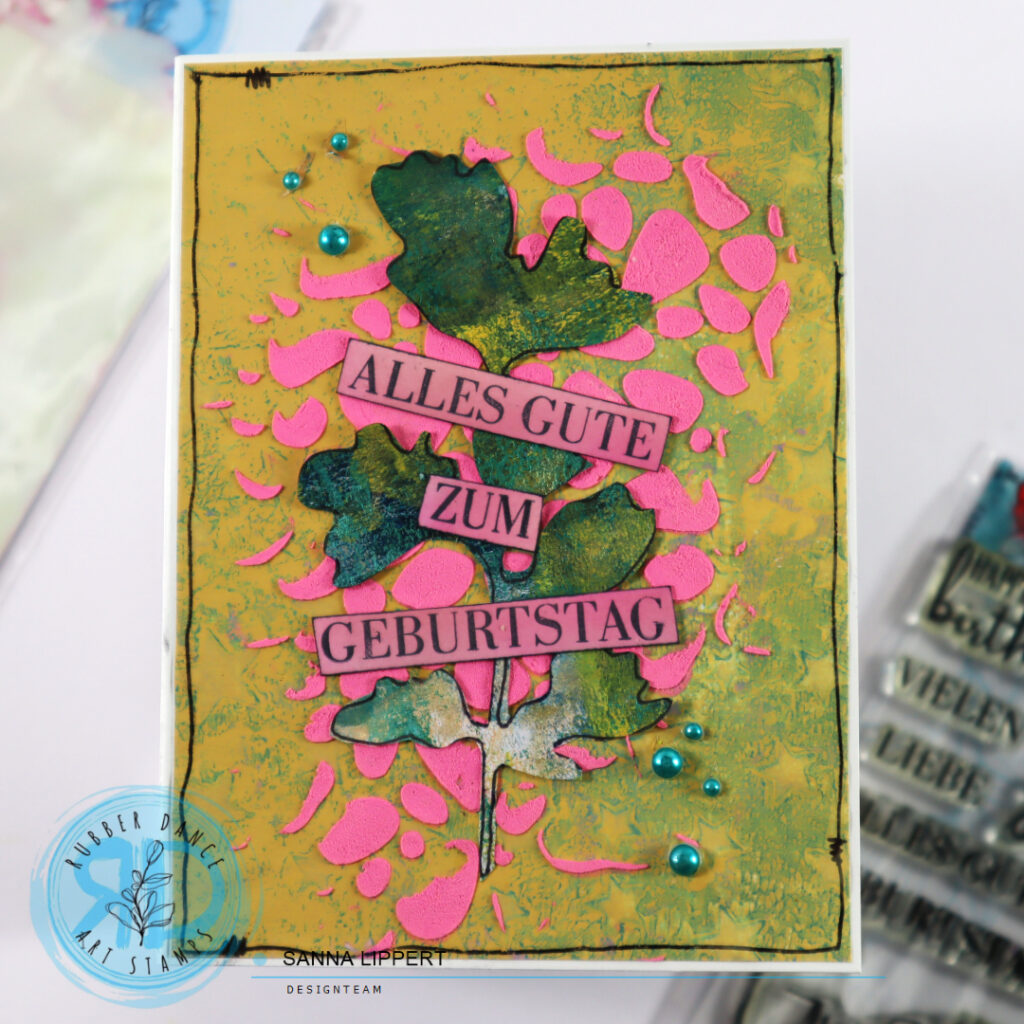
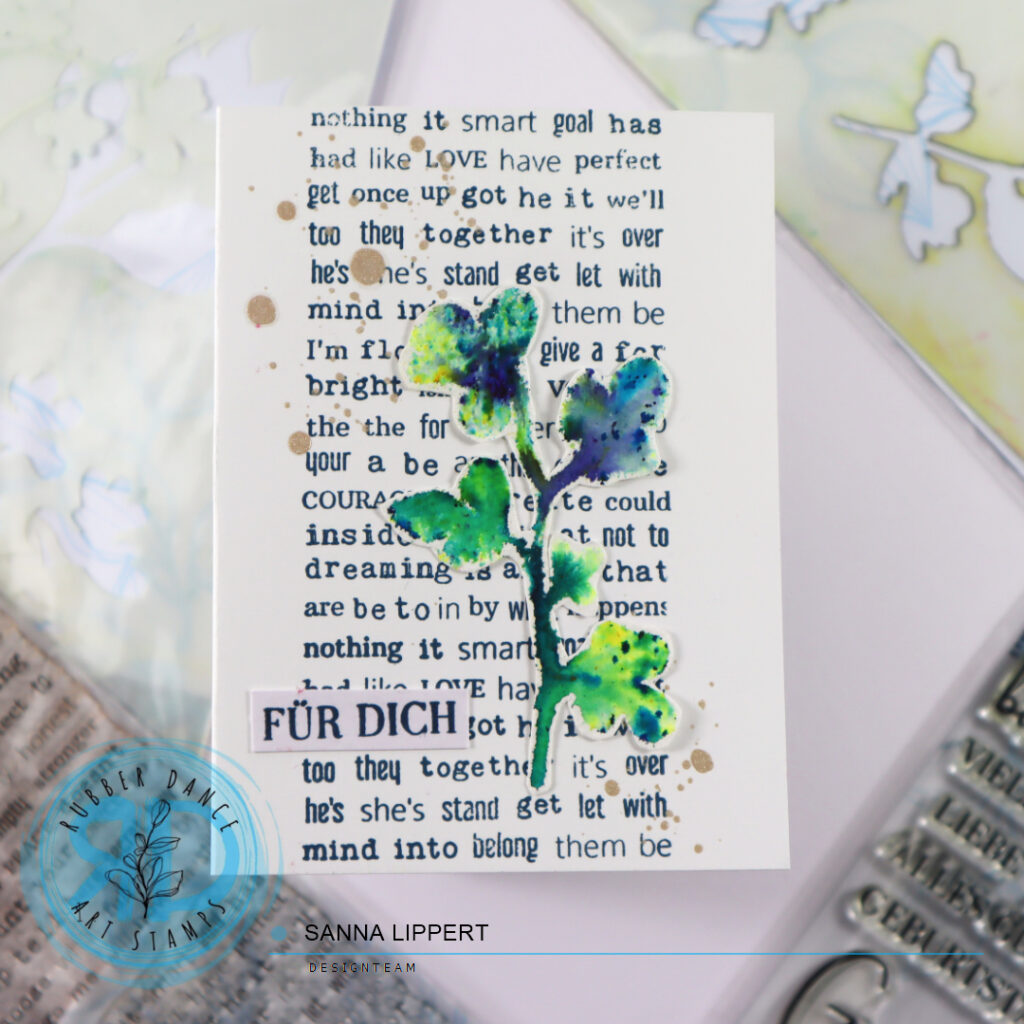
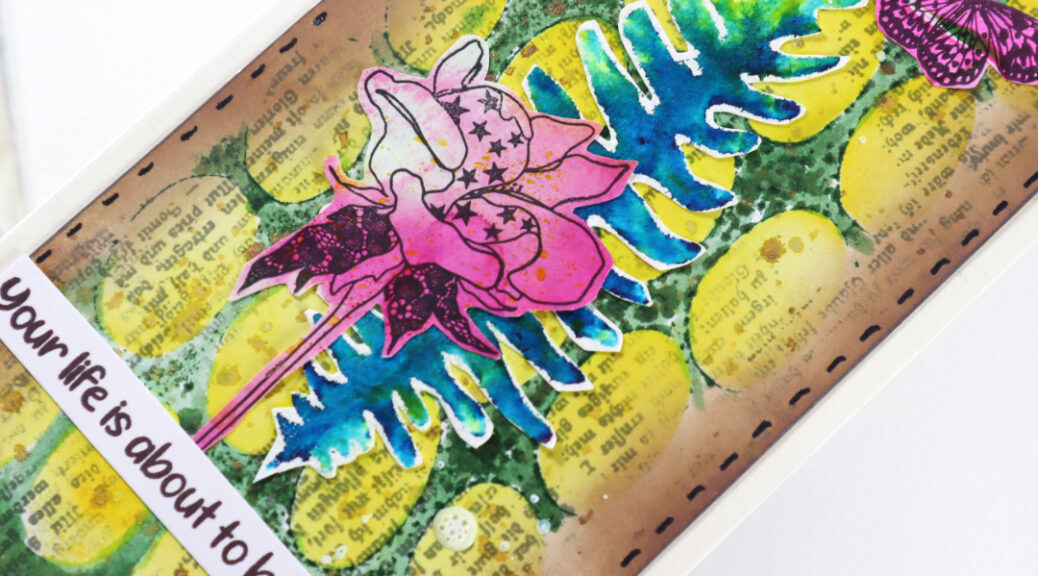
I started by spraying the Big Ovals stencil with a green spray ink, then lifting it from the surface and pressing the wet stencil carefully onto the thick cardstock. I let it rest (and the ink soak in onto the paper) and next applied “mustard seed” Distress Oxide stamp ink thru the stencil onto the paper. After that I removed the stencil from the surface.
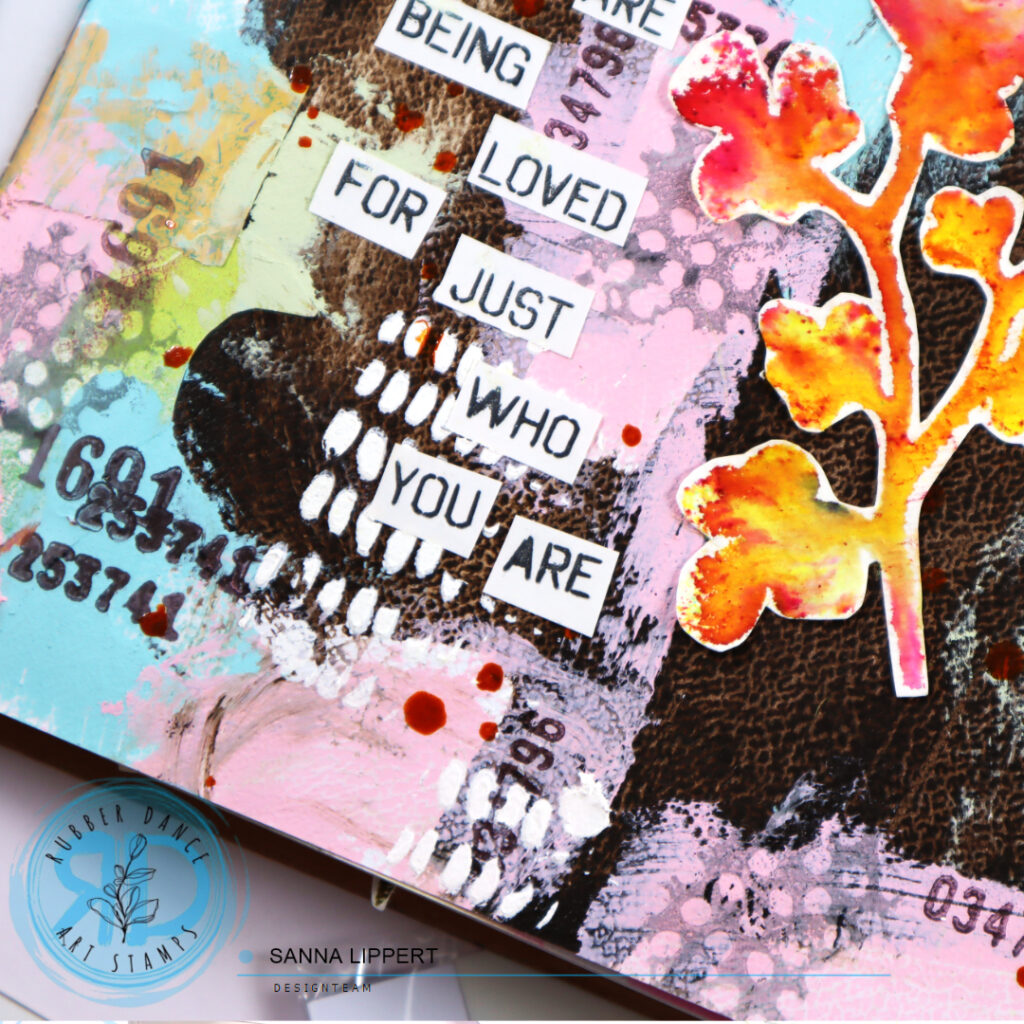
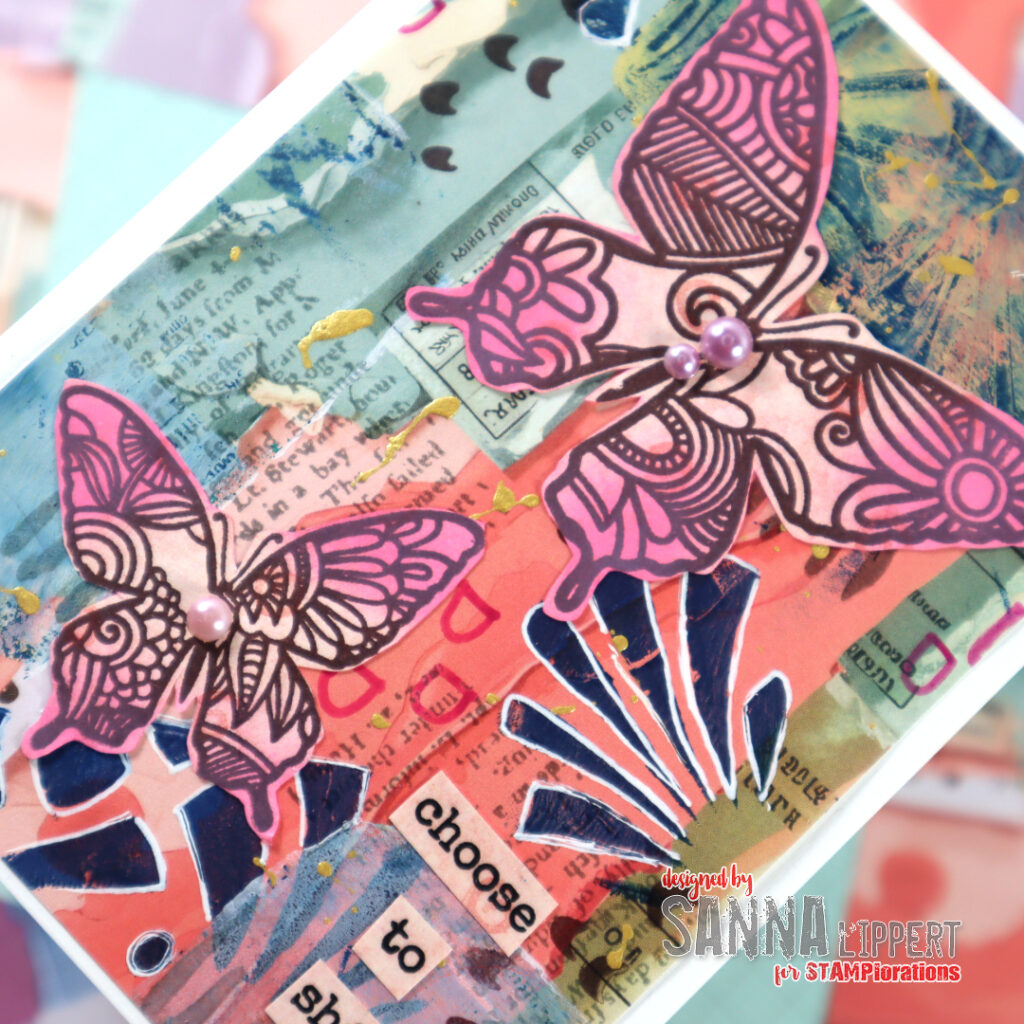
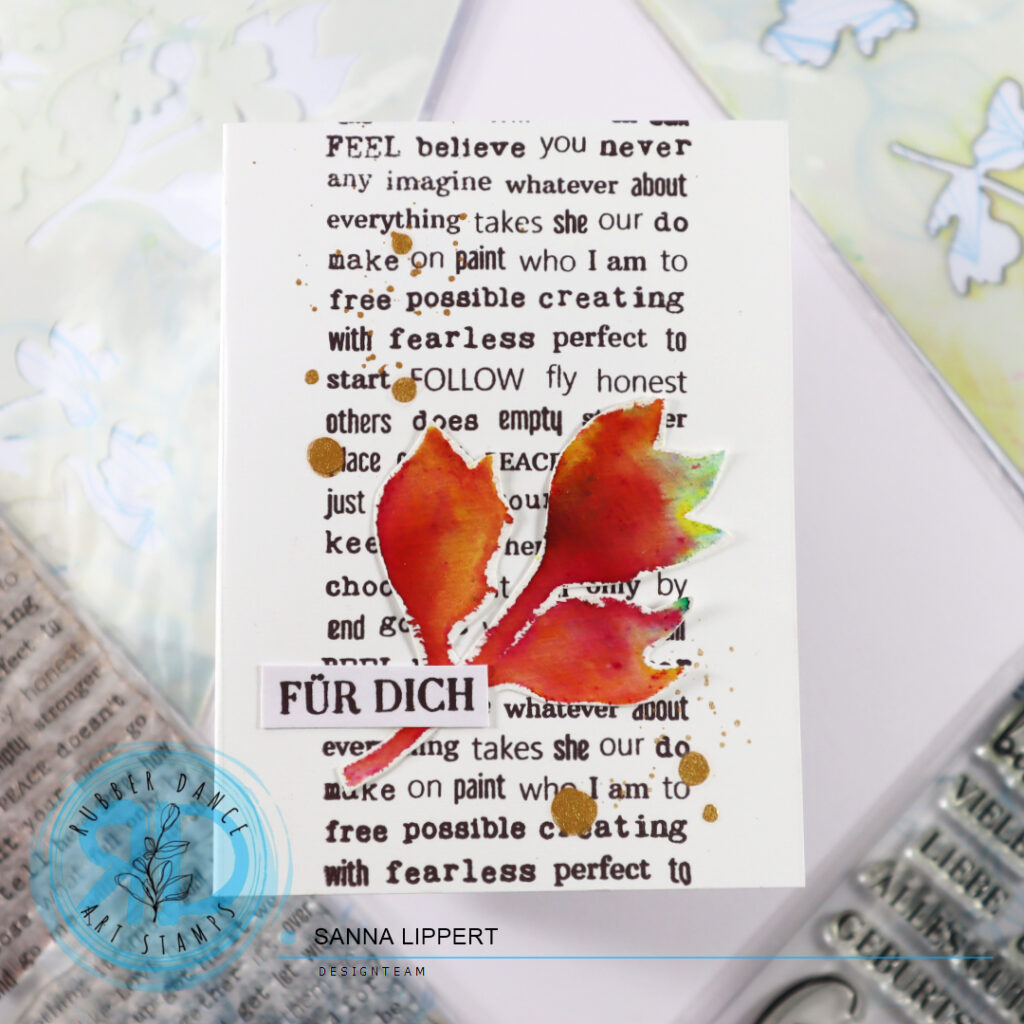
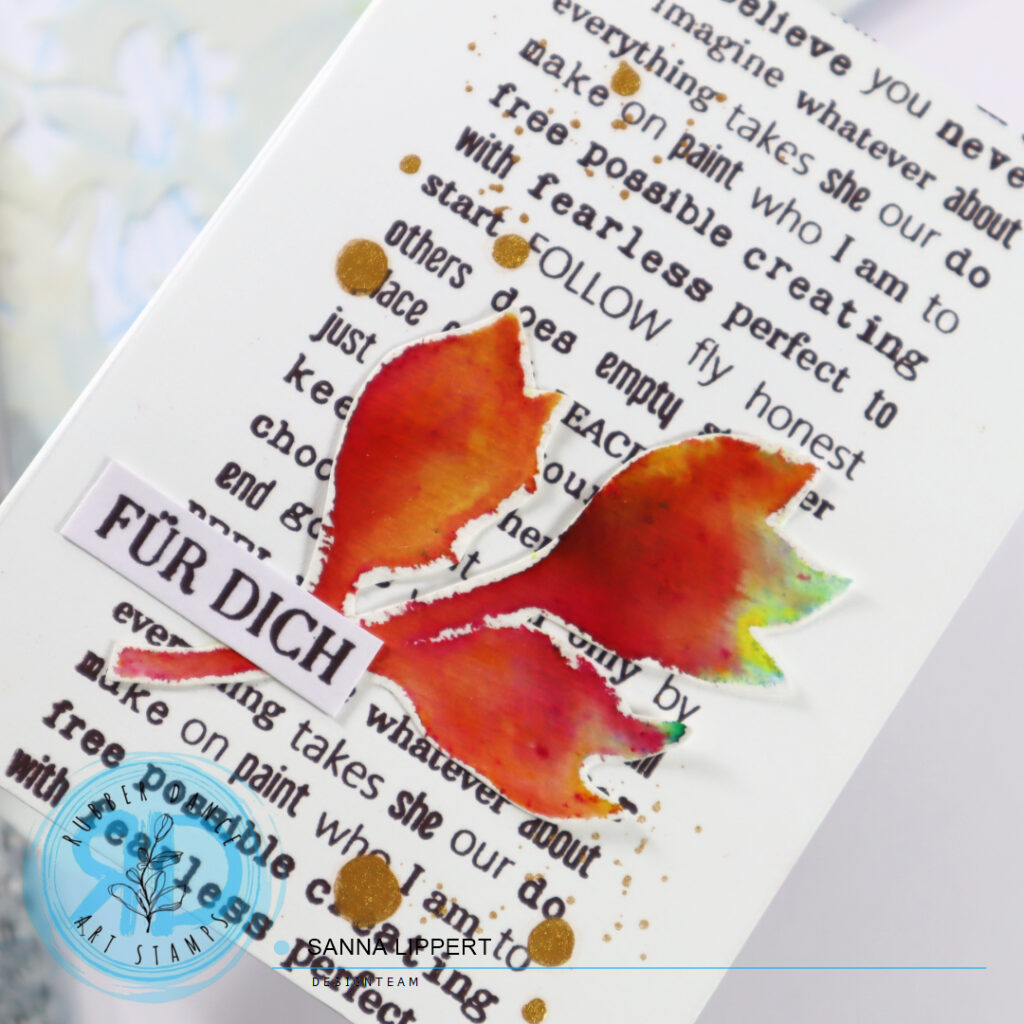
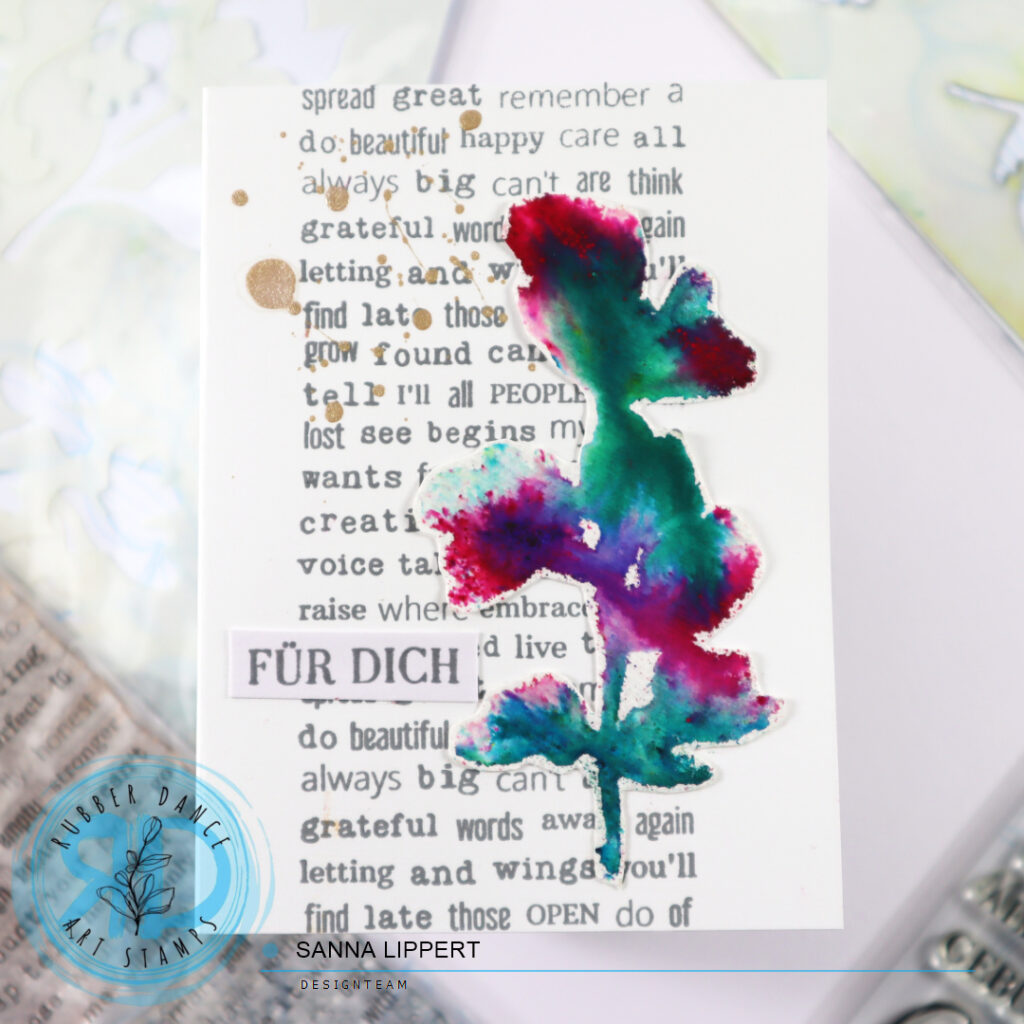
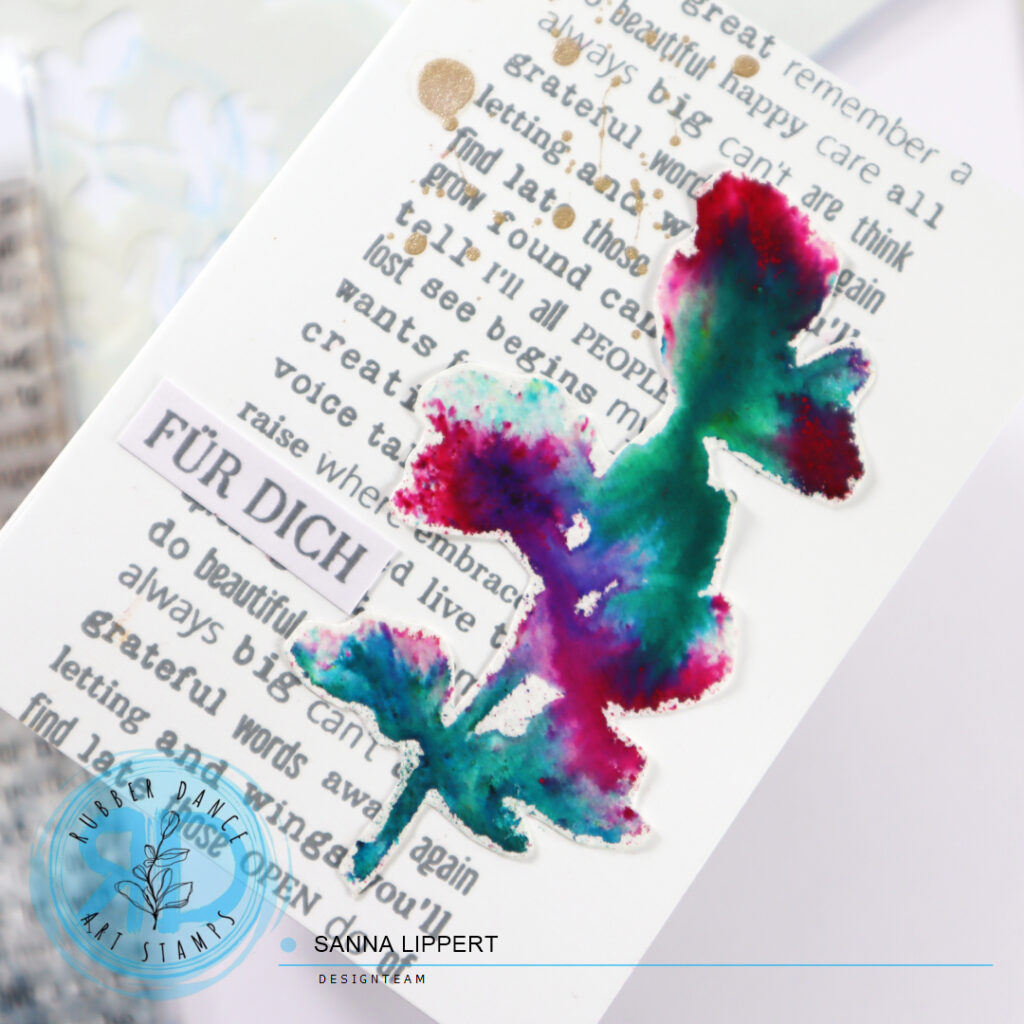
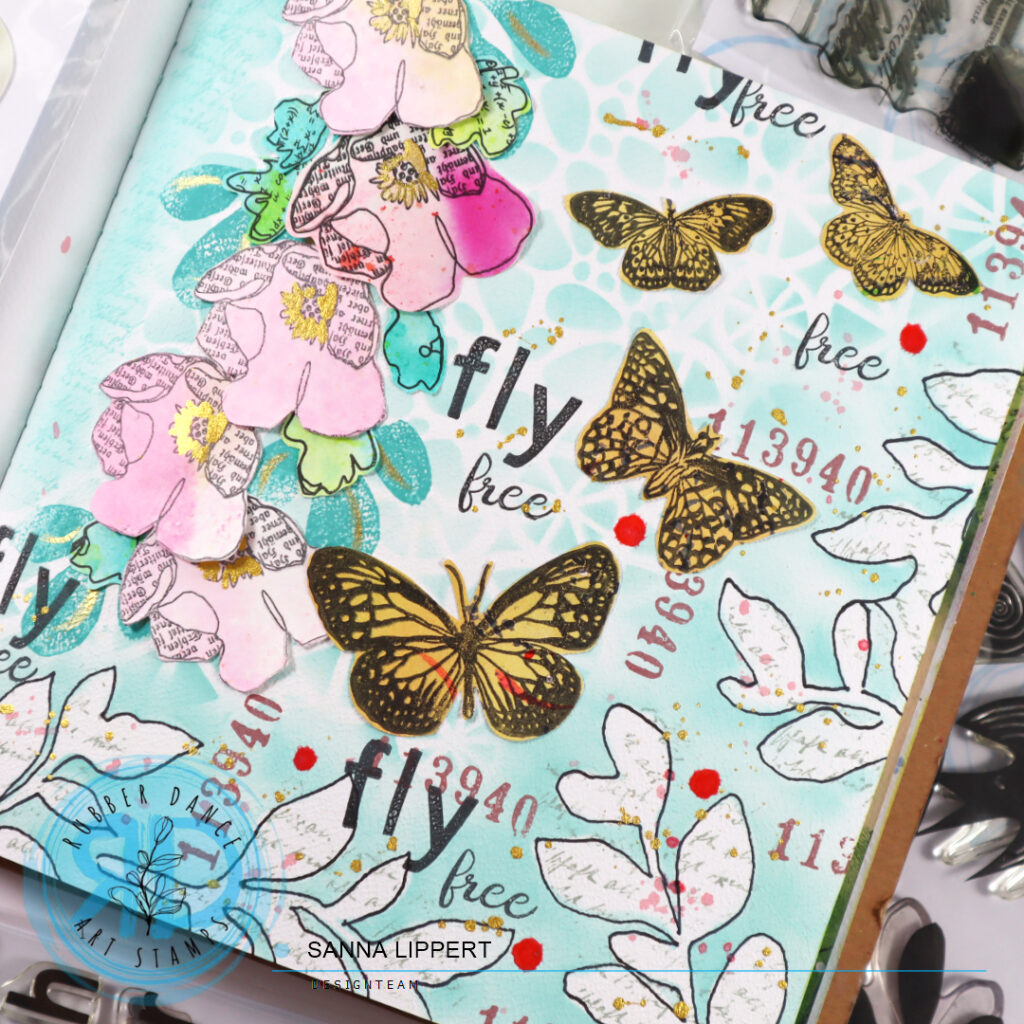
Next I took the Mix It Up 5 stamp set and stamped with the text pattern and grey stamp ink very randomly over the stenciled image, creating another layer. Then I took a golden brown spray ink and sprinkled some of it onto the surface. I let that layer dry, before moving to the next step.
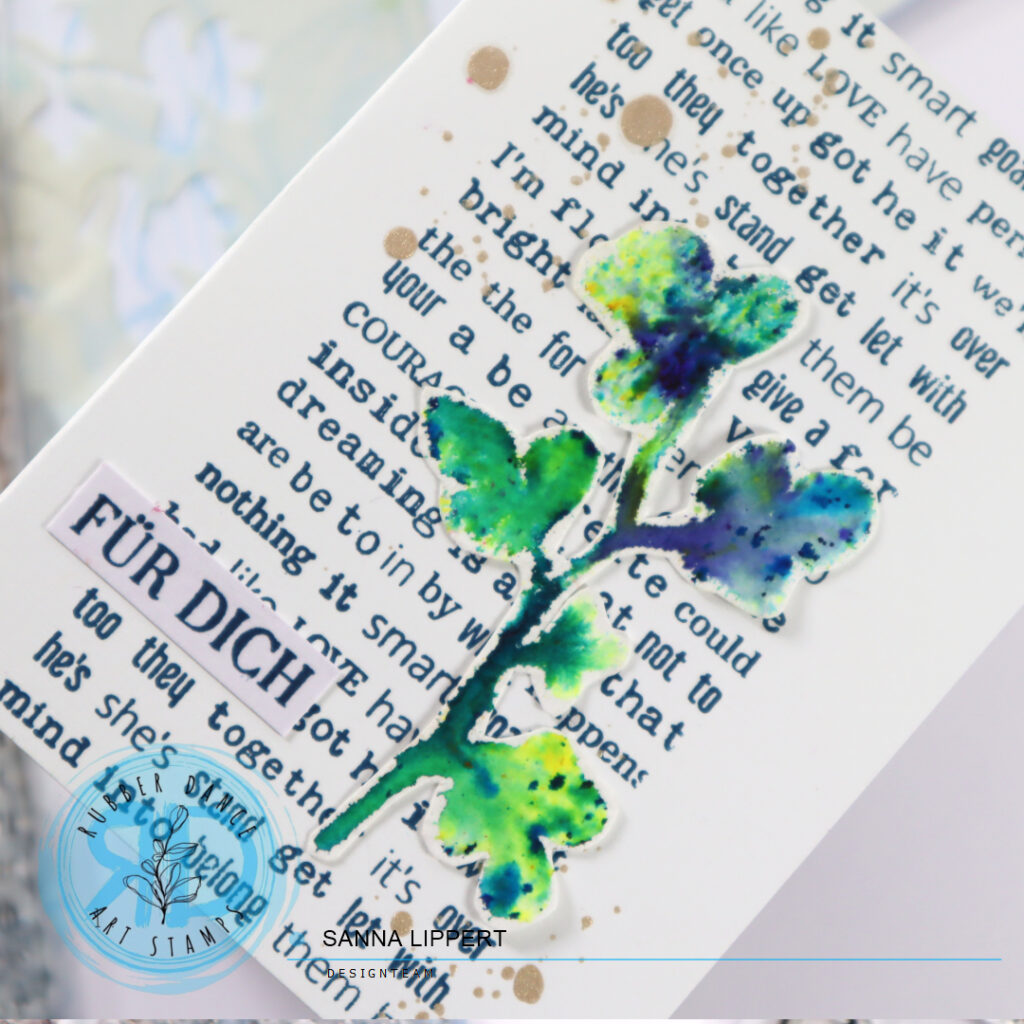
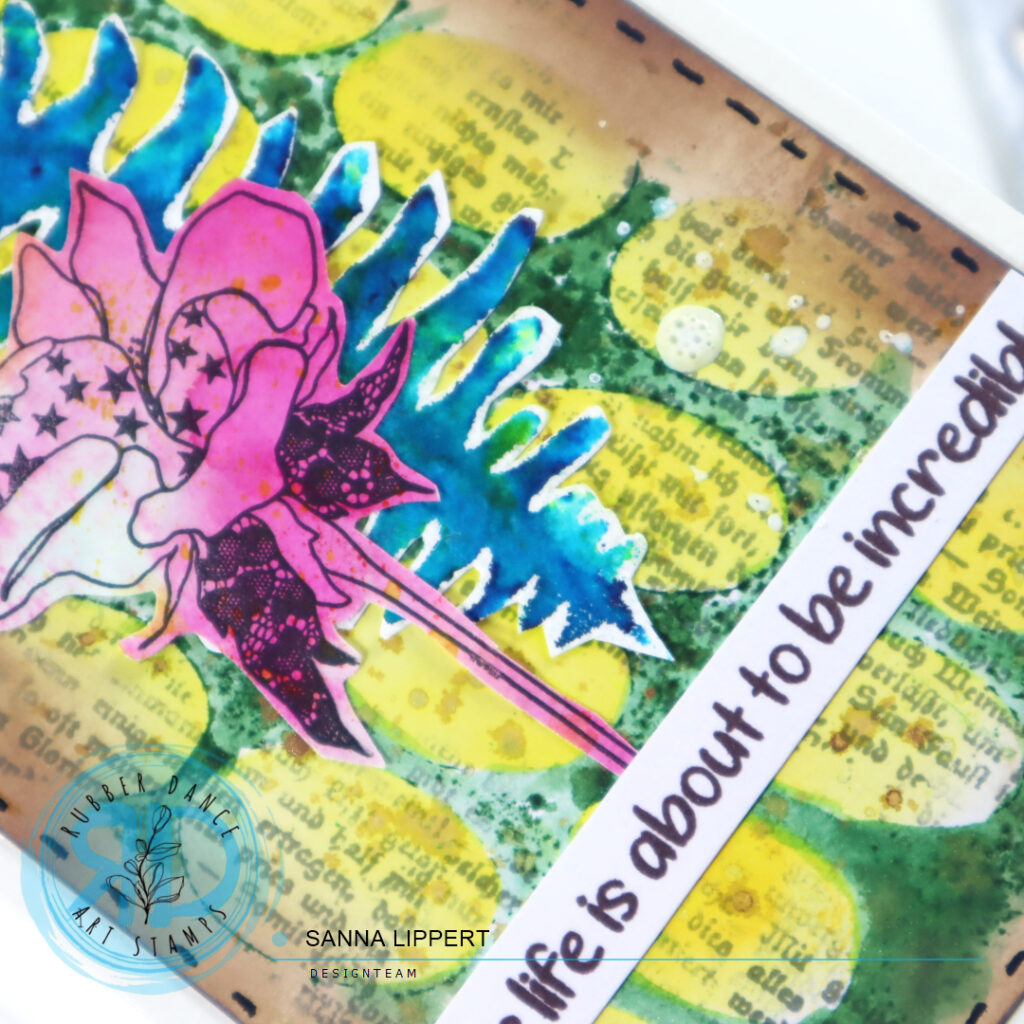
As my next step I blended brown Distress Oxide Ink with a blending brush around the edges of the paper to frame the stenciled image. I then drew some faux stitching with a black pen around the edges to add some sharpness to the piece.

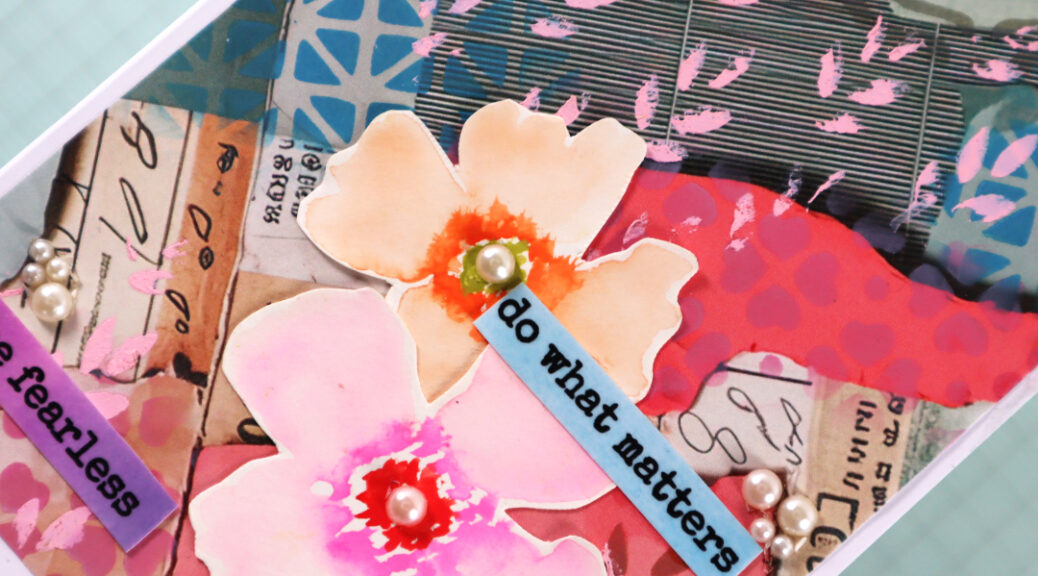
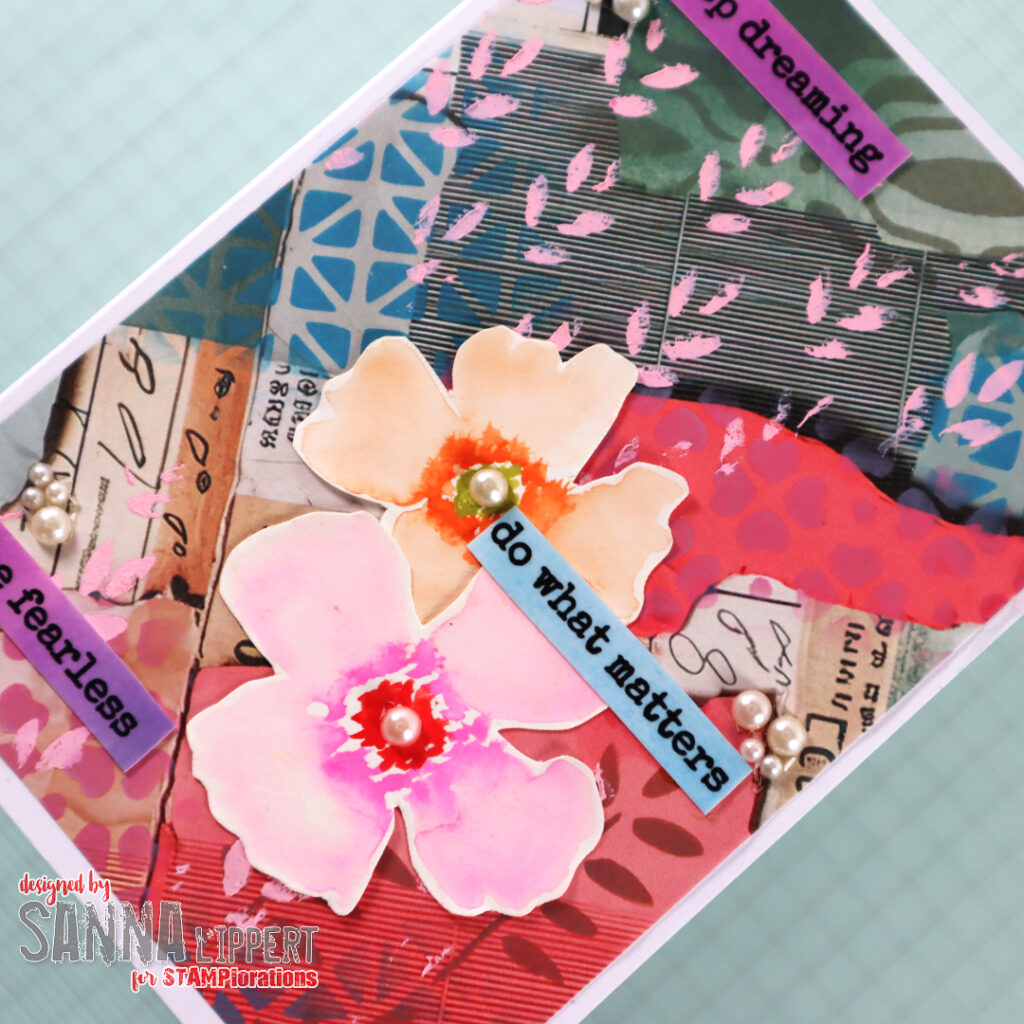
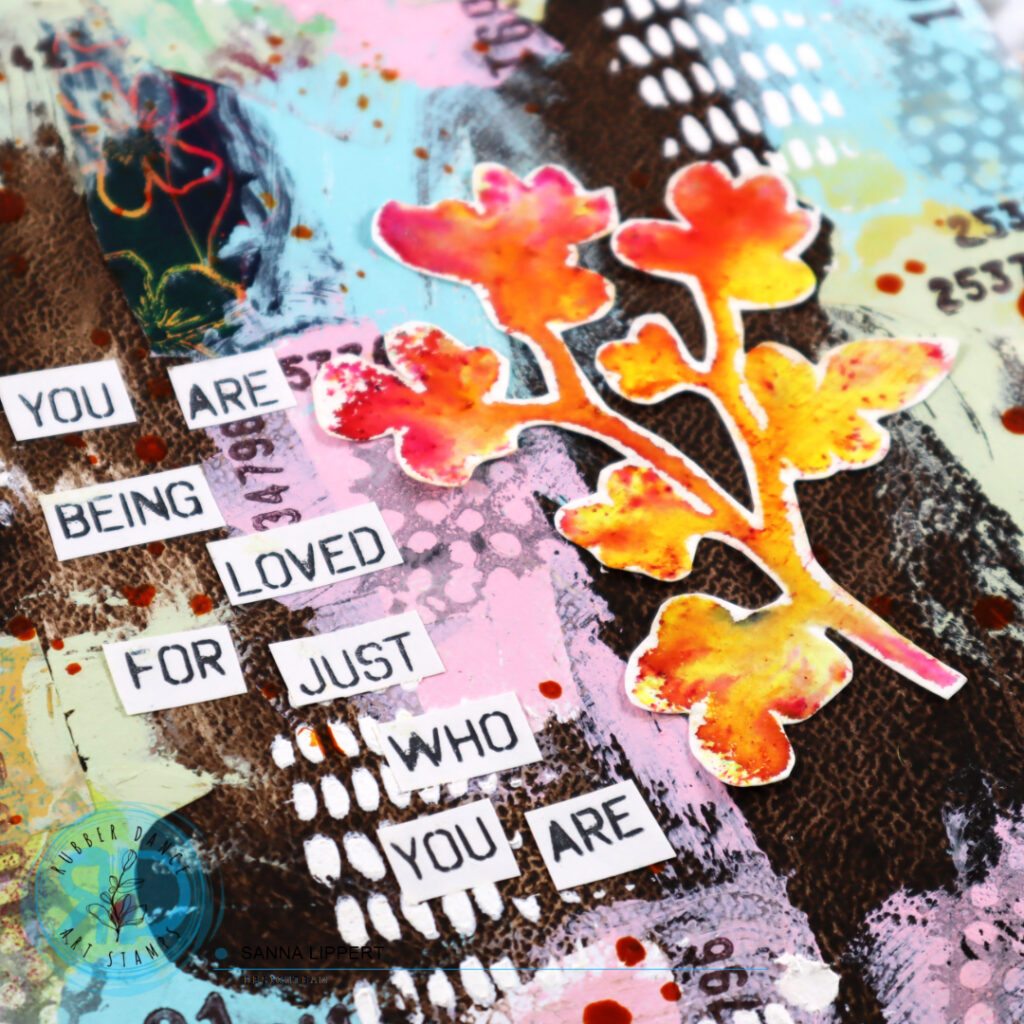
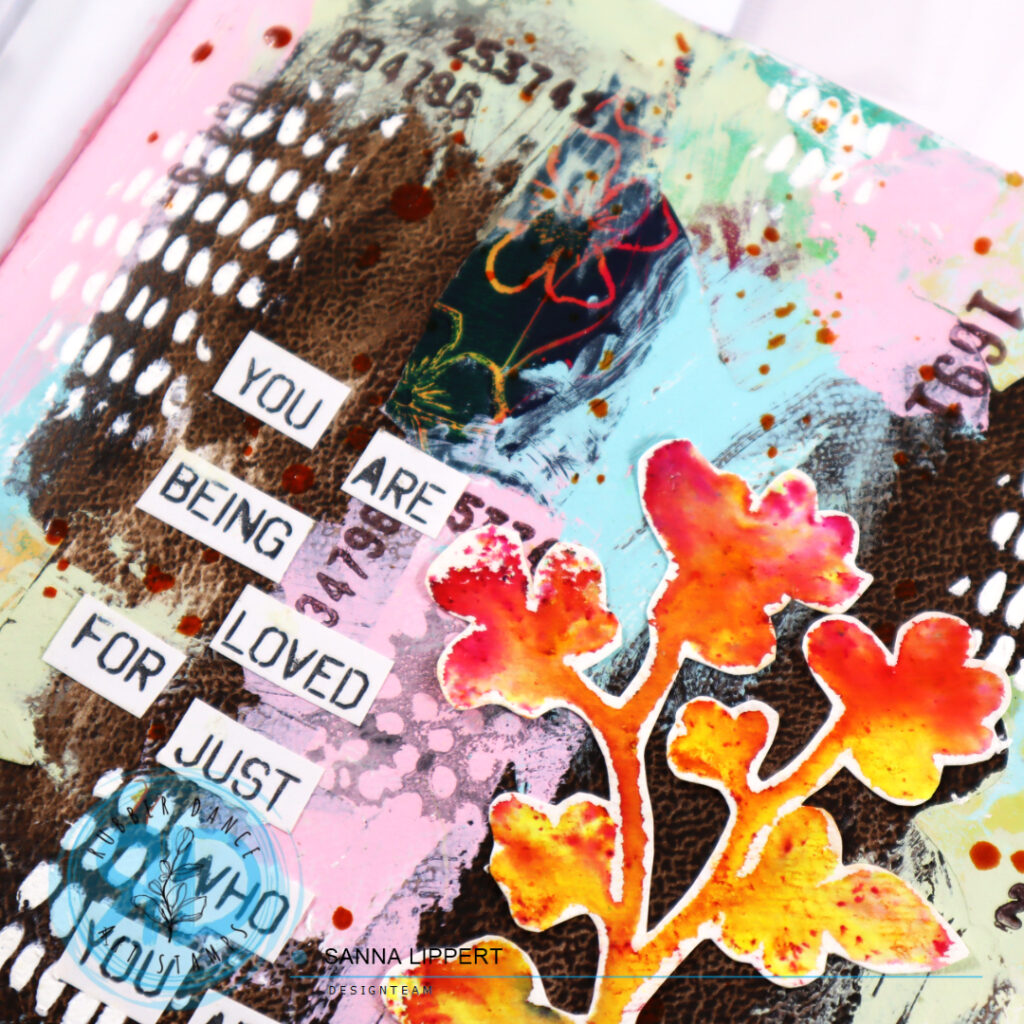
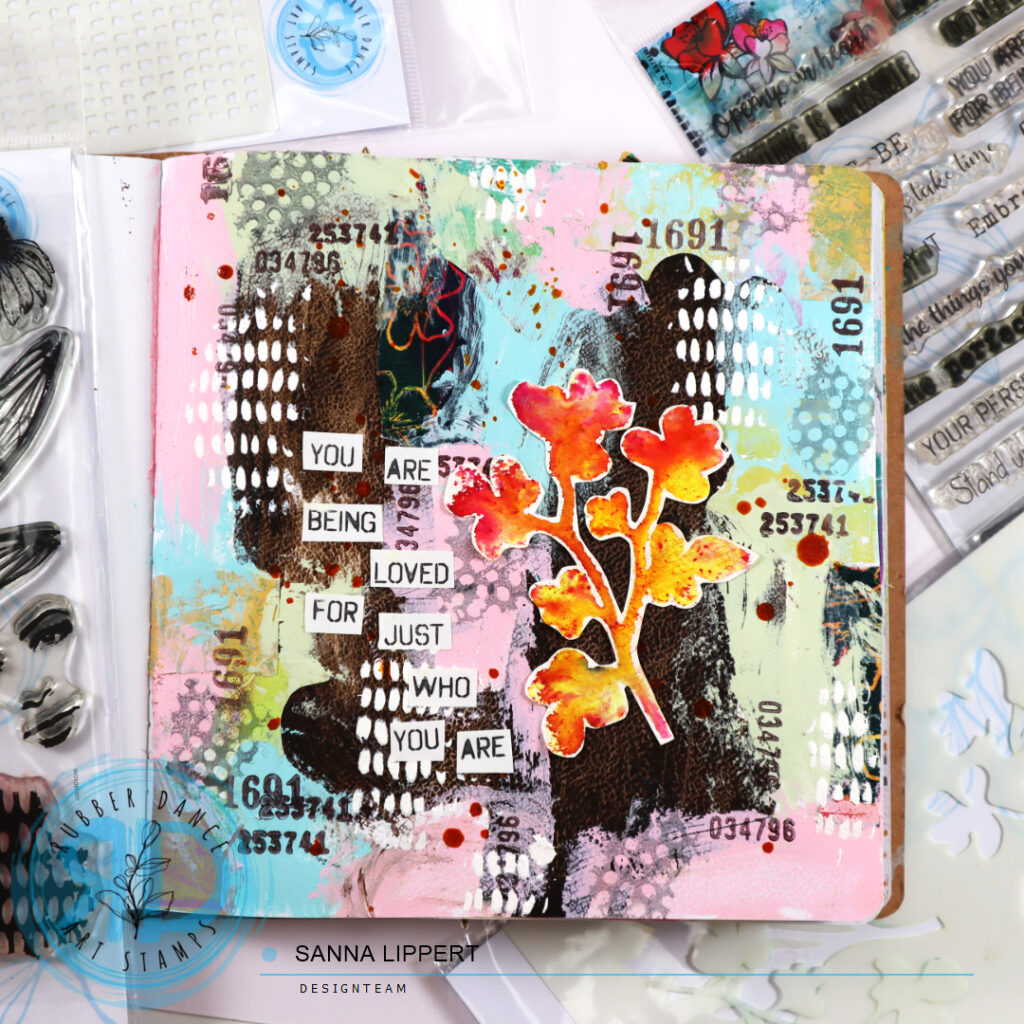
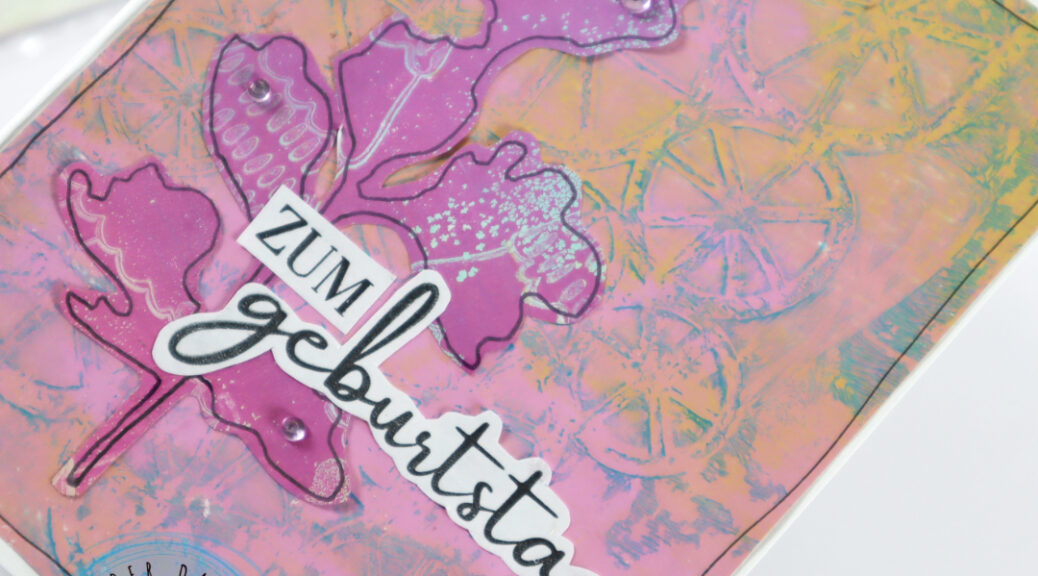
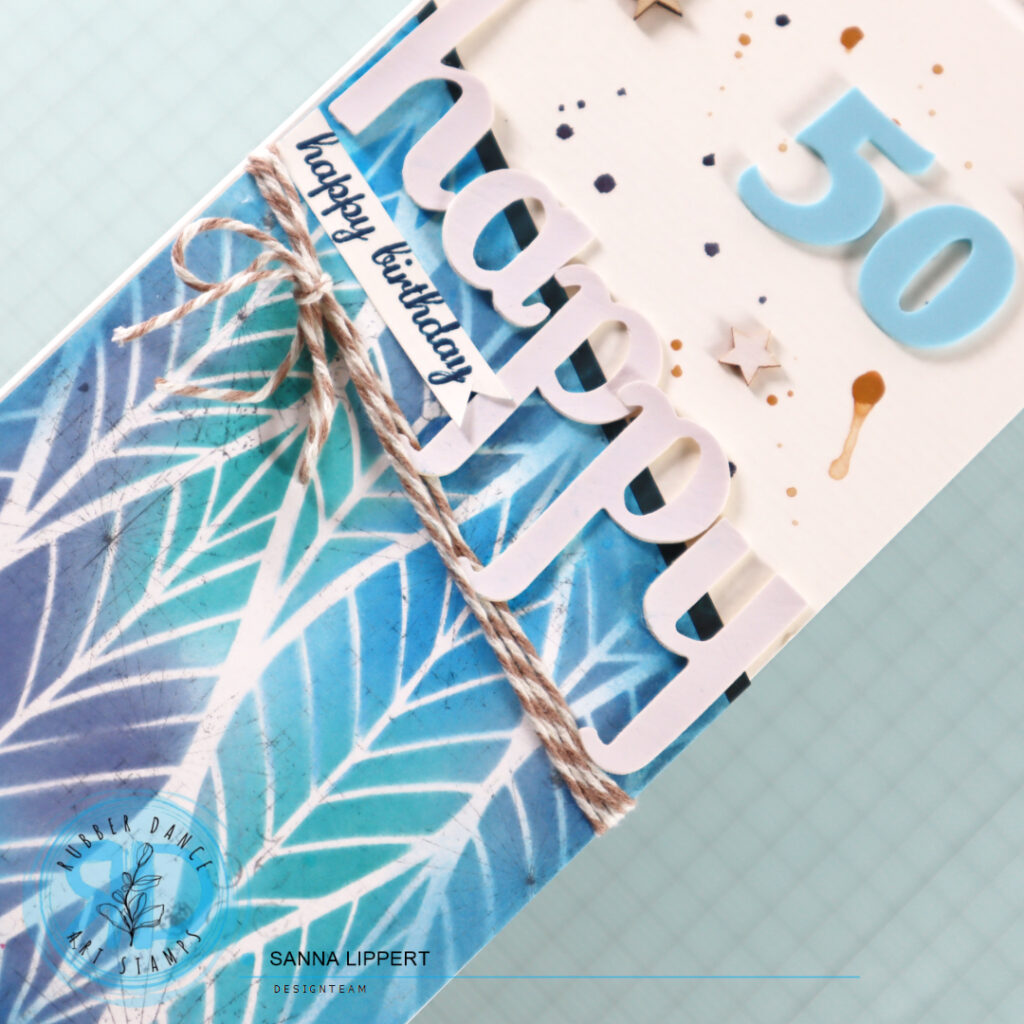
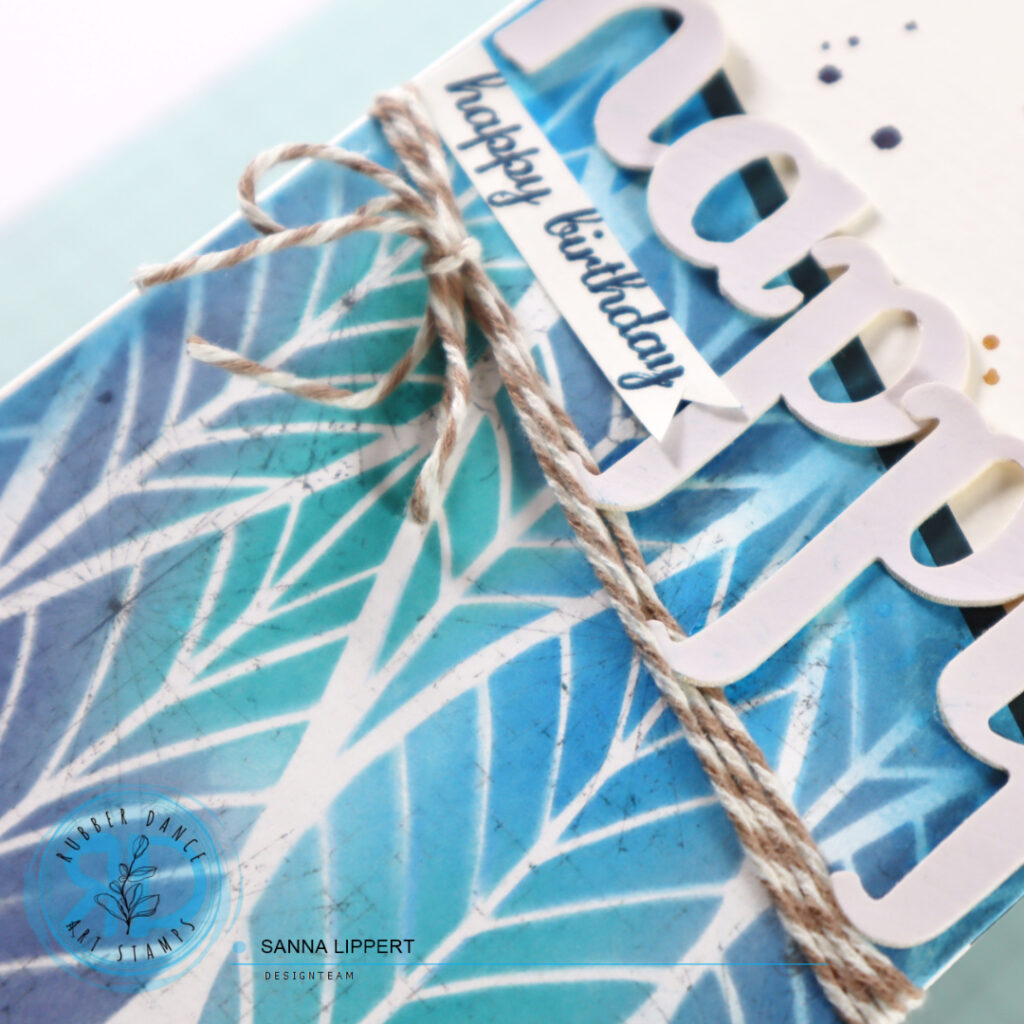
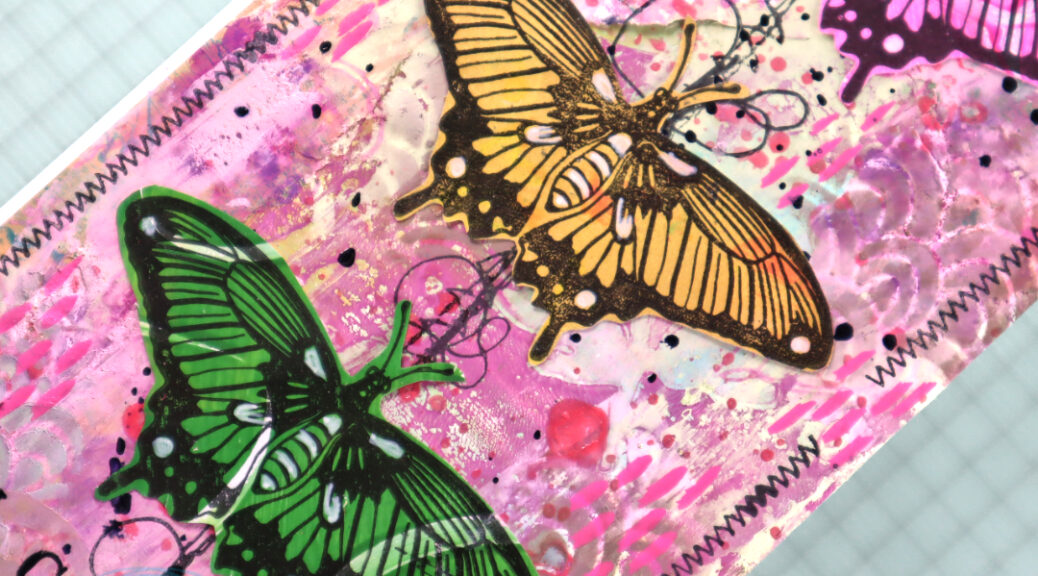
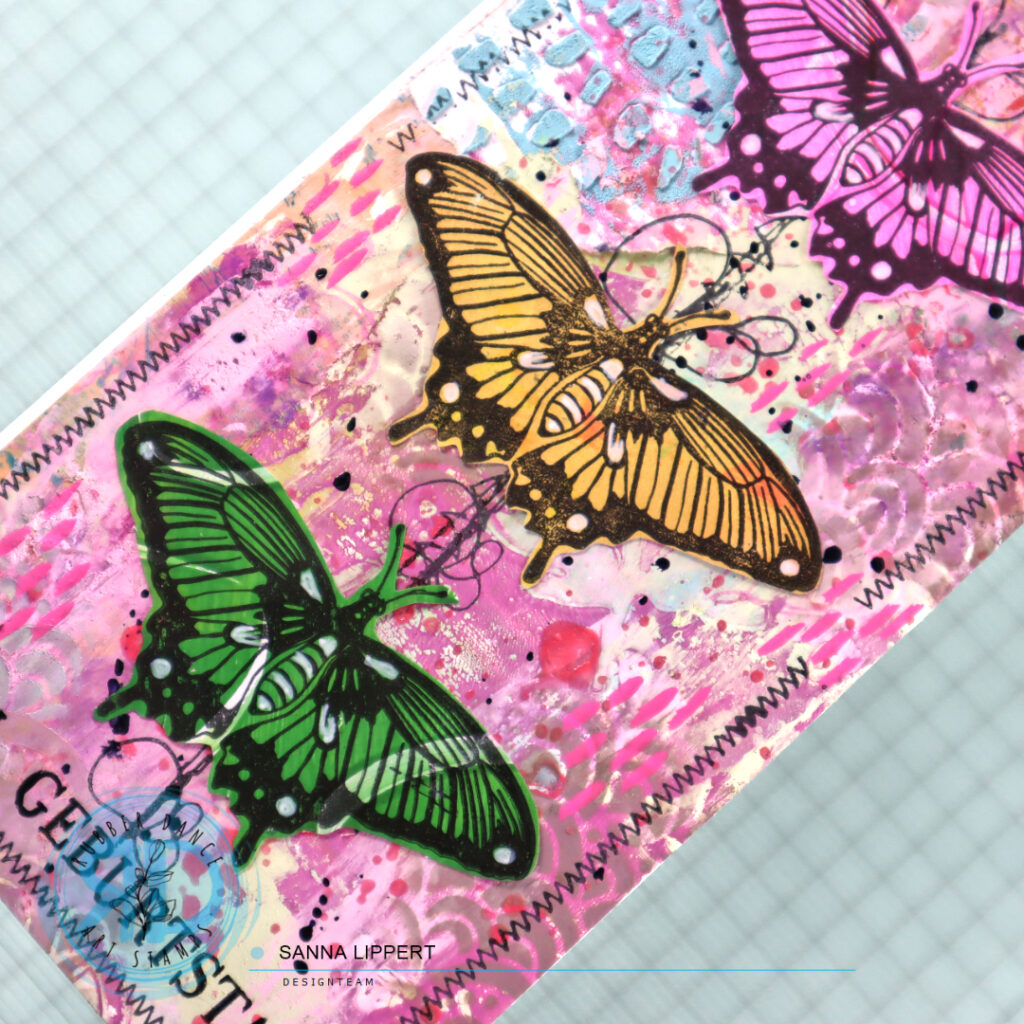
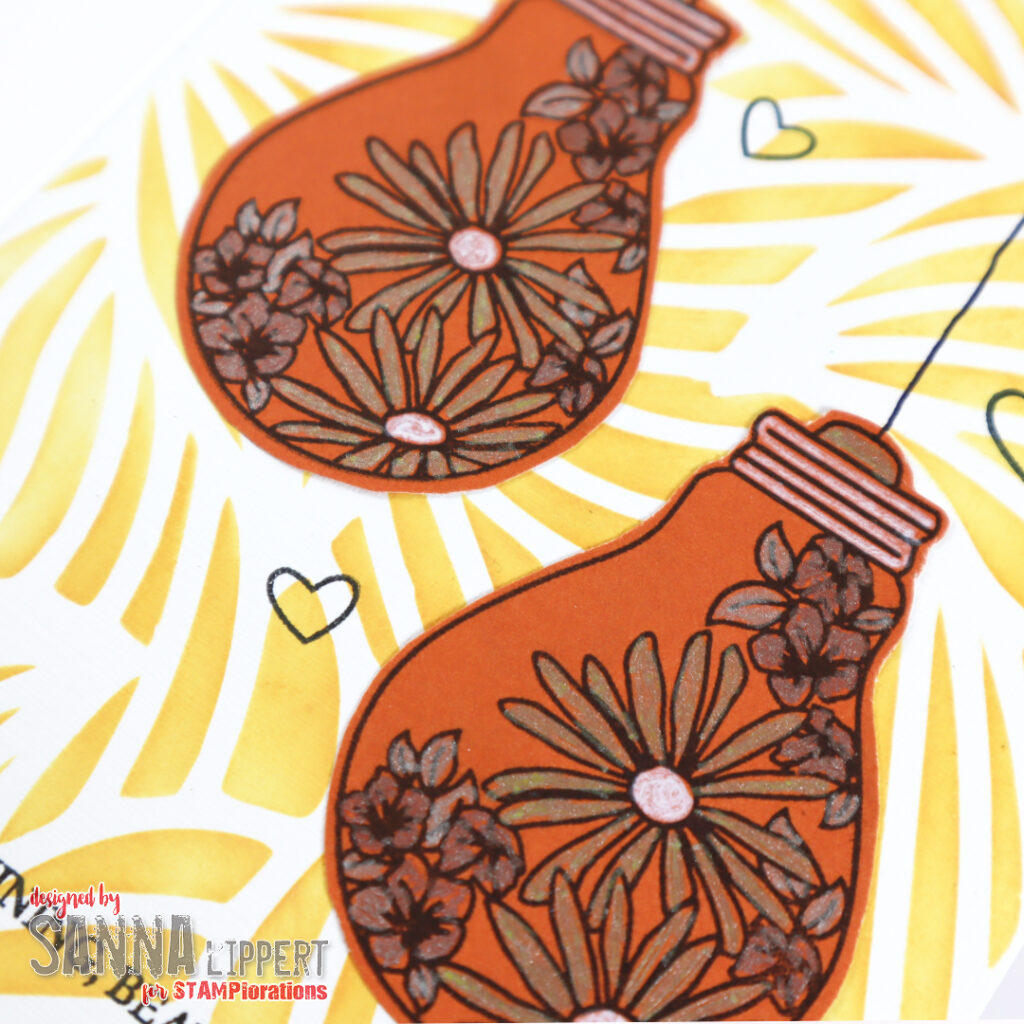
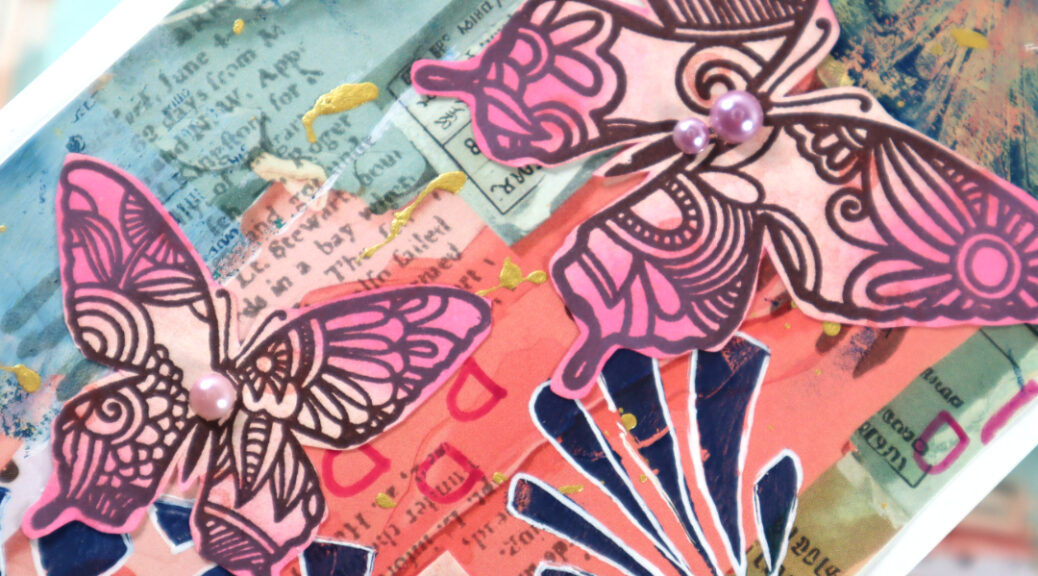
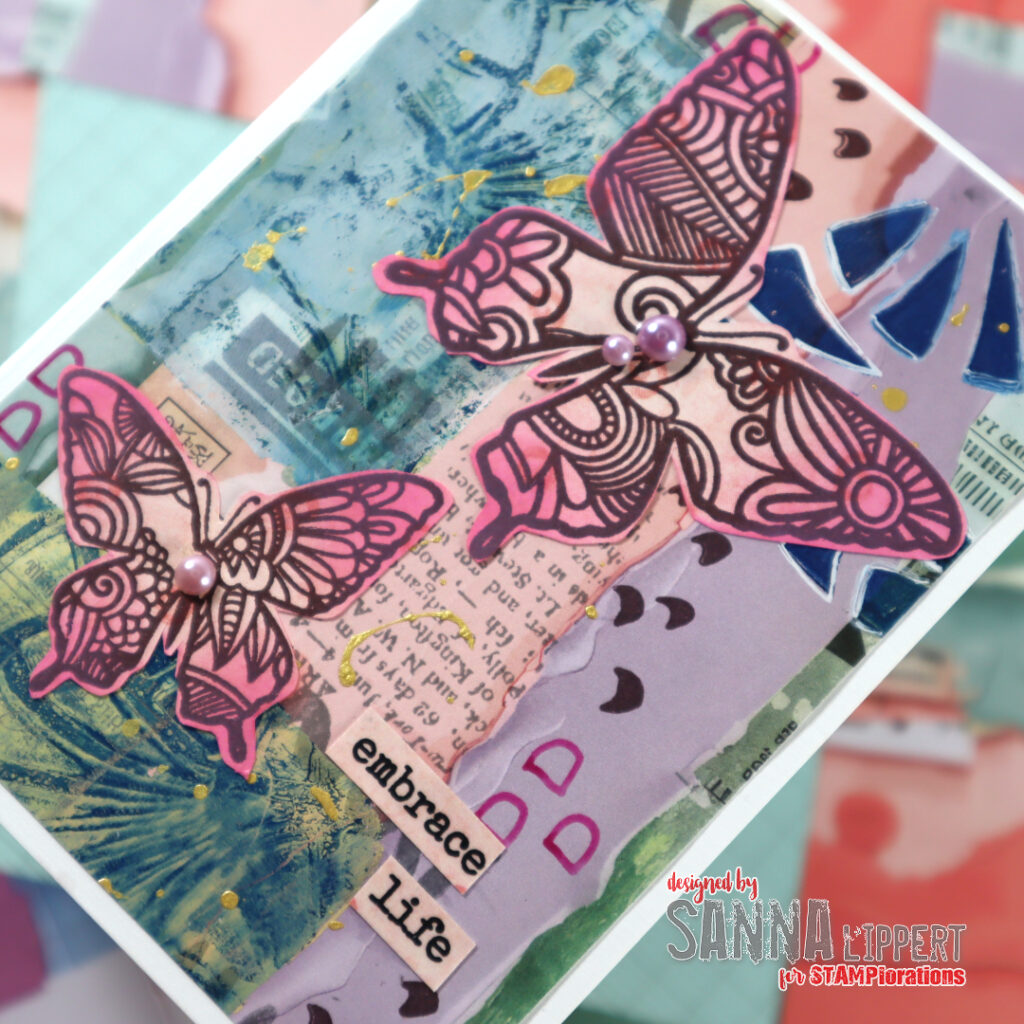
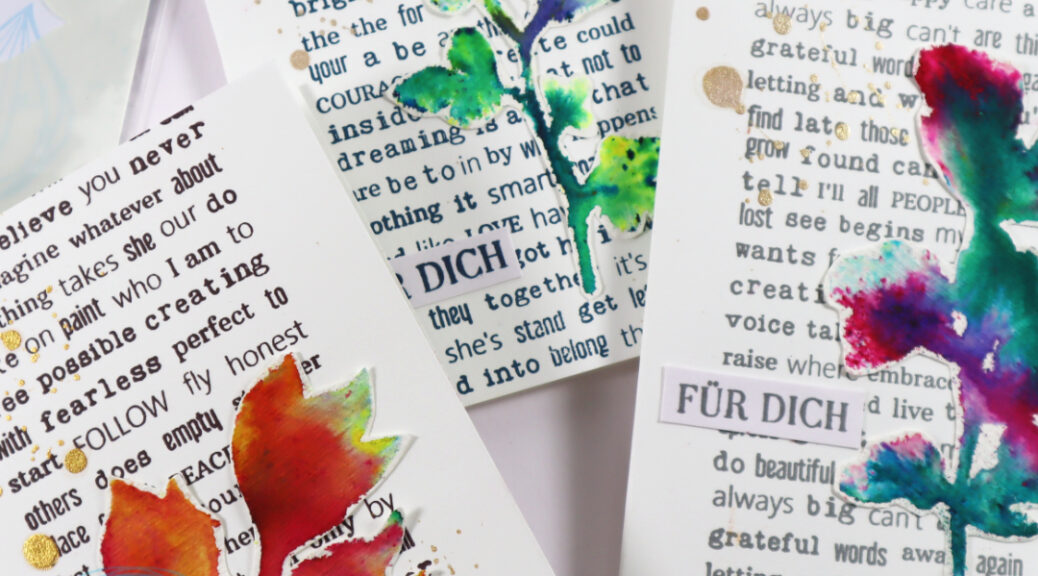
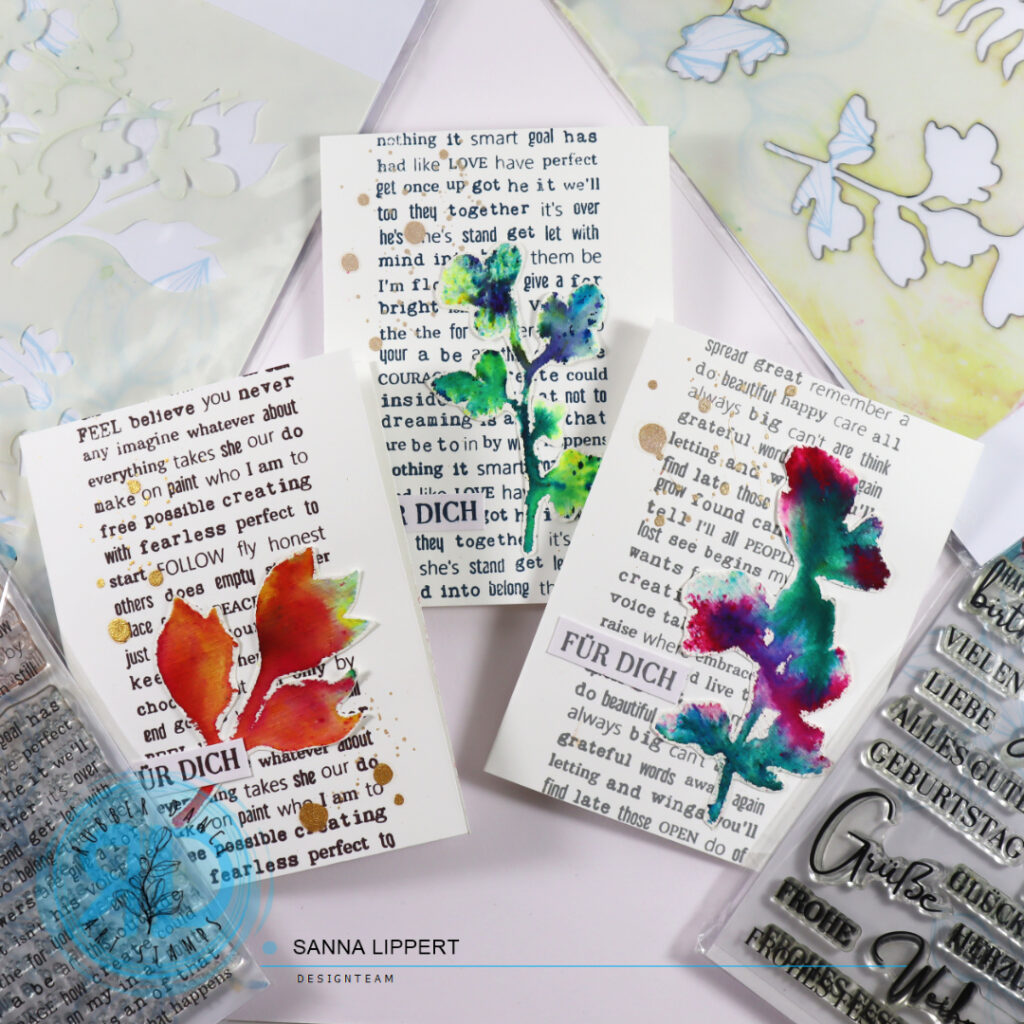
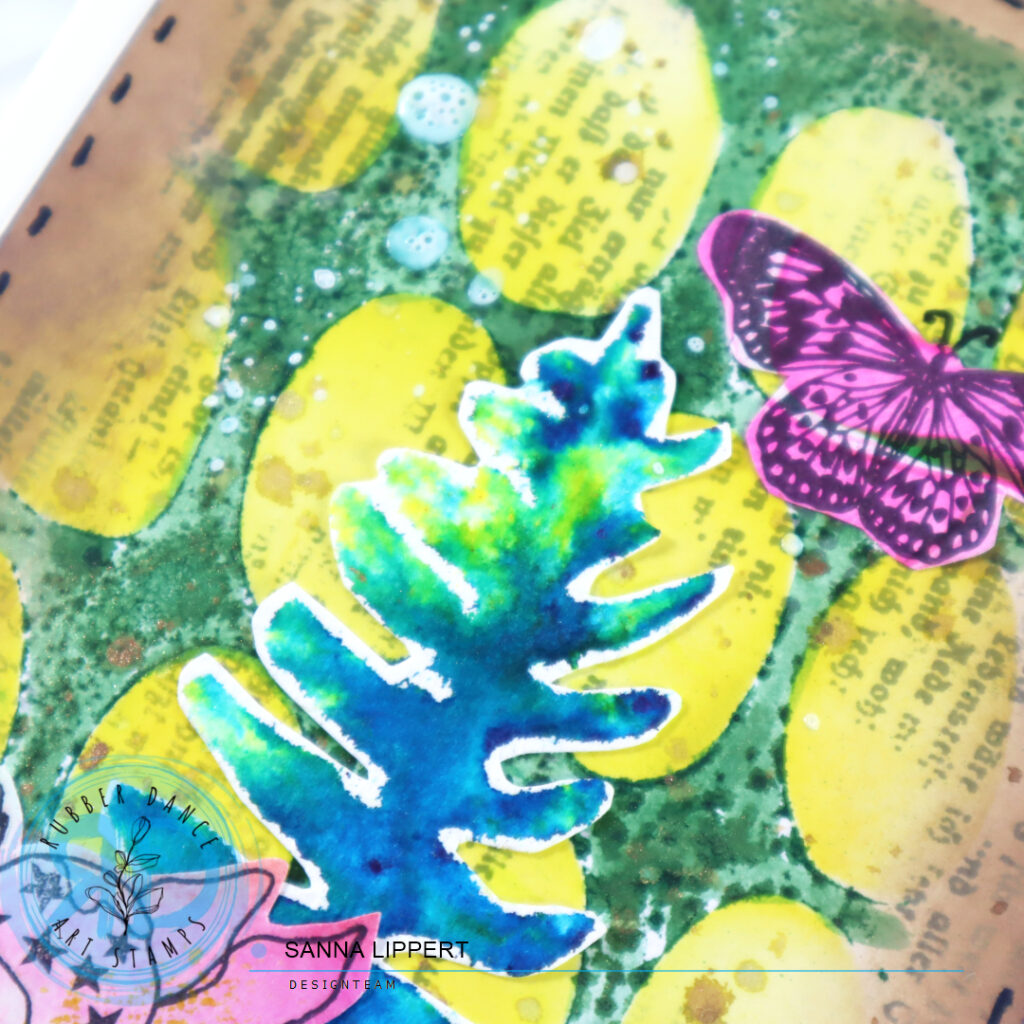
Finally, I gathered some collage fodder from my fodder stash (made with Skethcy Leaves 5 stencil and Brushos (video) and Distress Inks and Doodle Flowers 2 (video) as well as gelli plate and Butterflies and Moths (video). I arranged the images into a cluster of some sort and added a white sentiment strip to the card base. I used the Mixed Sentiments 1 stamp set with brown stamp ink for it. Before adhering the finished piece onto a white card base, I also added some white Gloss Spray splatters to the background for fun. I just cannot seem to create without splatters.
Here is the process video for you to watch:
I hope you get inspired by this idea and make some mixed media cards yourself!
Happy crafting,
xx, Sanna