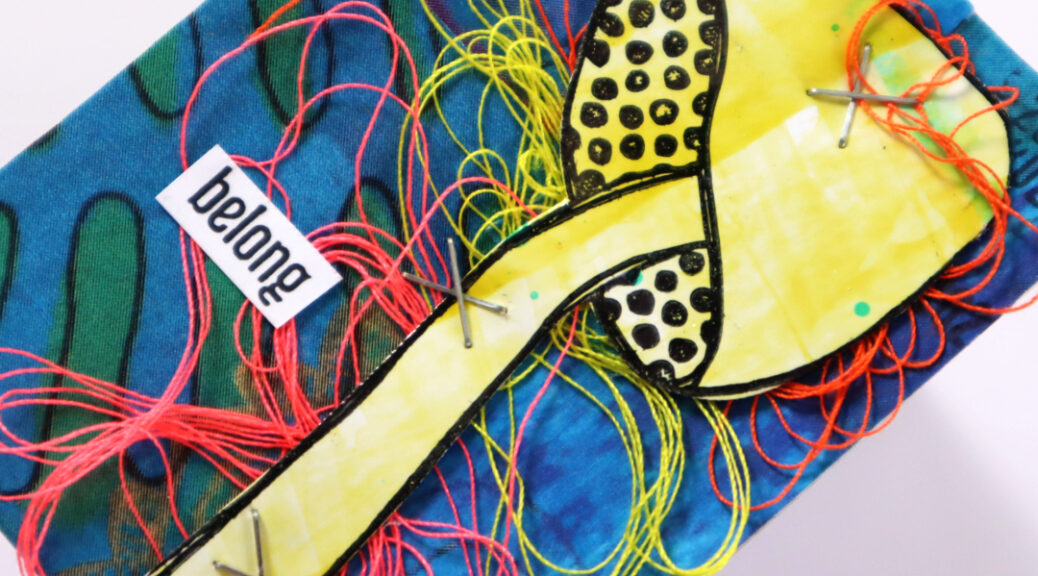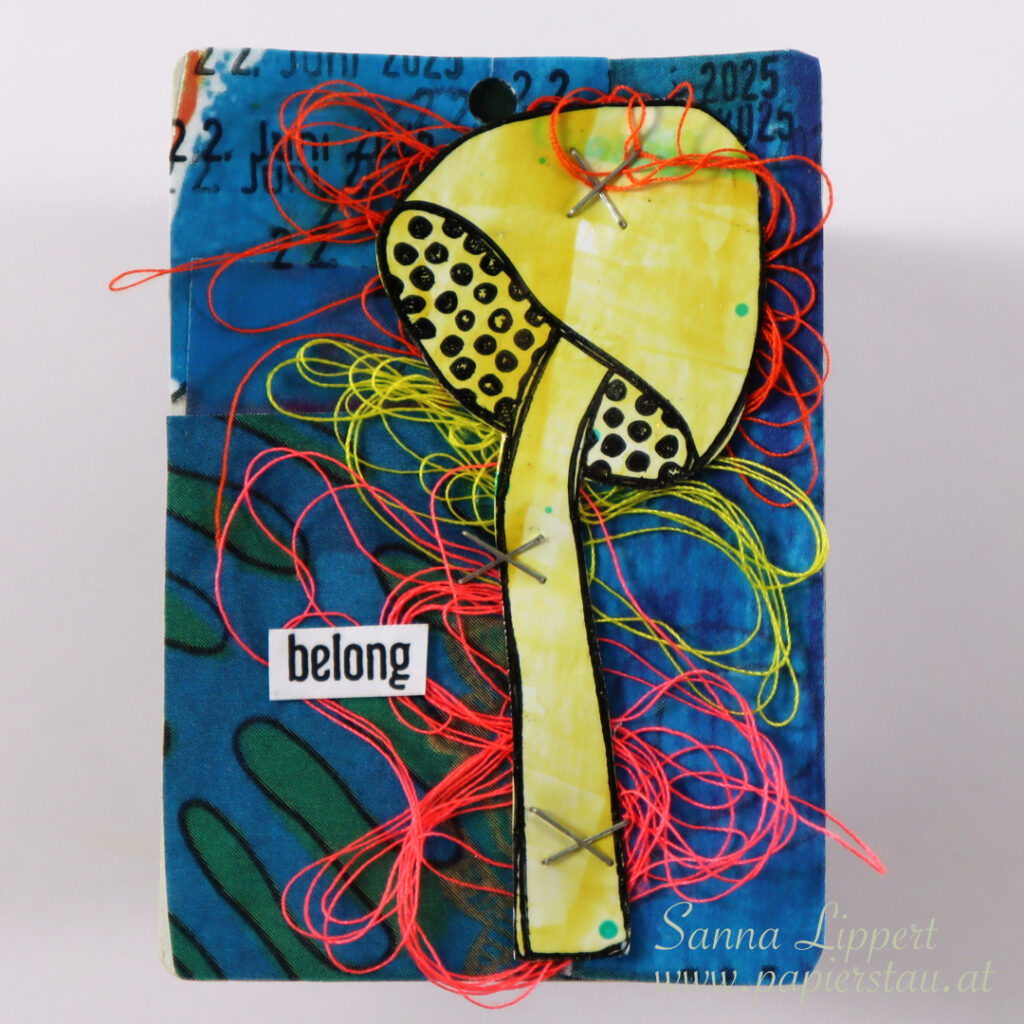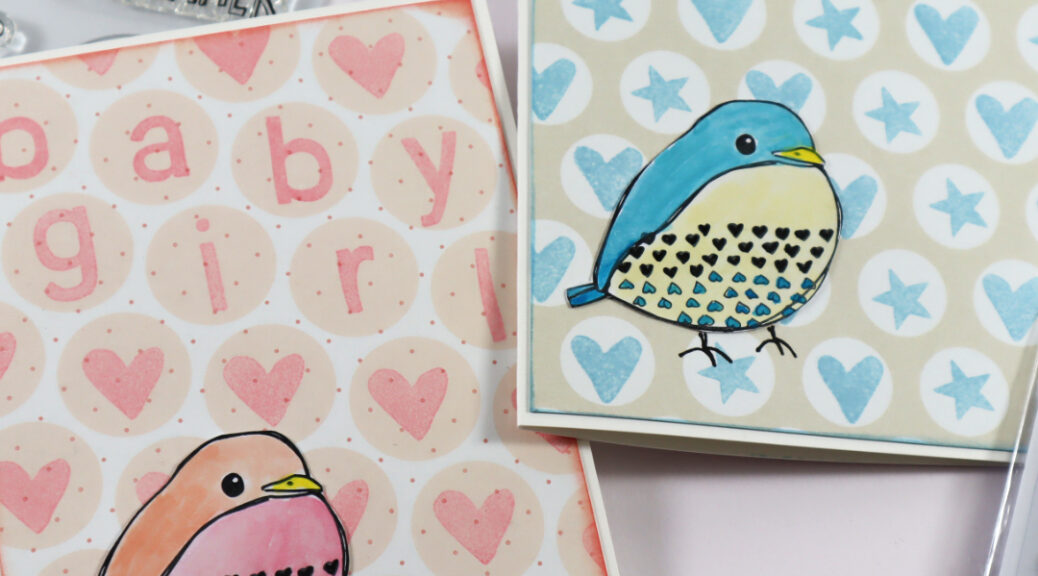
Hello, it´s my turn for a Rubber Dance project share again. I created a set of clean and simple styled cards using the Organic 2 stencil, Distress Oxide Inks and the new Weed Love stamp set.

These are the steps to the finished cards:

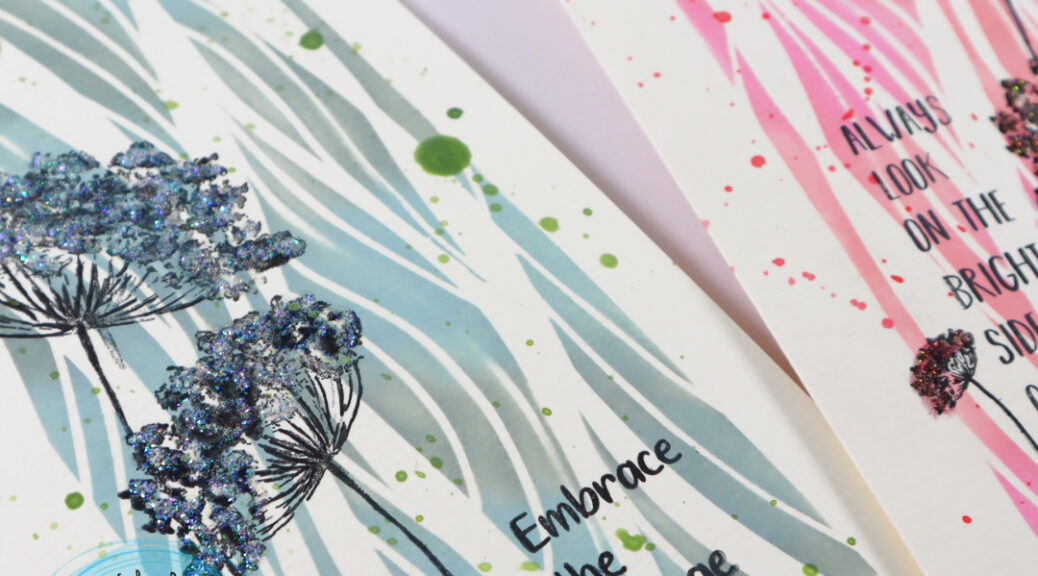
I started by placing the stencil onto a white slimline card base. I always use washi tape or painters tape to attach the stencil and to keep it from moving while inking. On this card I used “saltwater taffy” and “kitsch flamingo” and blended them together with a blending brush. On the grey toned card I used “iced spruce ” and “speckled egg” tones.

After that I added Weed Love stamp images using black stamp ink onto the card base.


Then I added some glitter glue onto the stamped “weeds” for texture and detail. I used Nuvo “Sherbert Shimmer” for the pink card and Stickles “Star Dust” for the grey toned card.

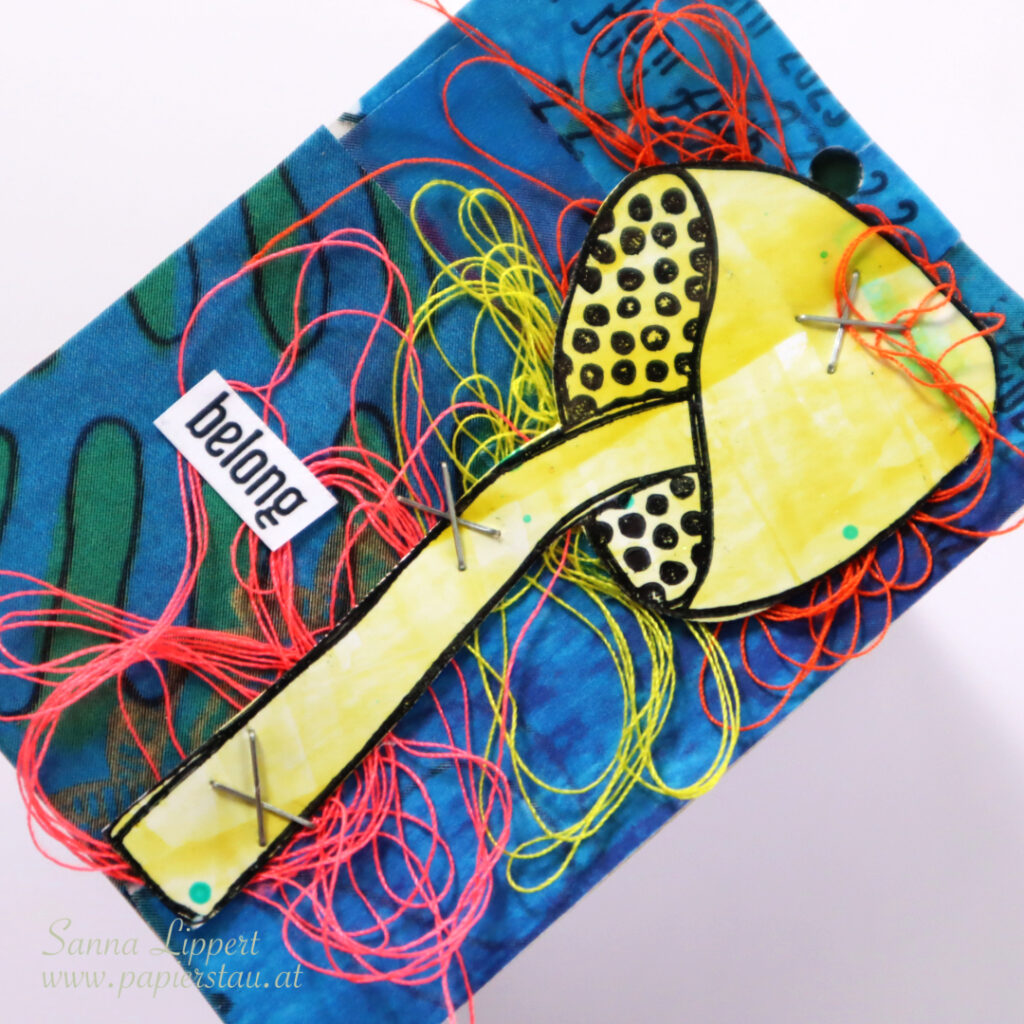
For stamping the sentence I used the Mixed Sentiments 1 stamp set and stamped a word a line in a vertical manner. On the photo you can see how I covered the rest of the sentiment with washi tape to get a clean stamping result of the single word each time.


For a more “artsy” finish, I added some Gloss Spray splatters in a matching tone to the rest of the card (Blushing and Aloe). If you prefer a cleaner look, you can leave this step out.


I really like how the Organic 2 stencil creates such an elegant backdrop for the Weed Love images. I hope I could inspire you with this card idea. Have fun stenciling!
xx, Sanna
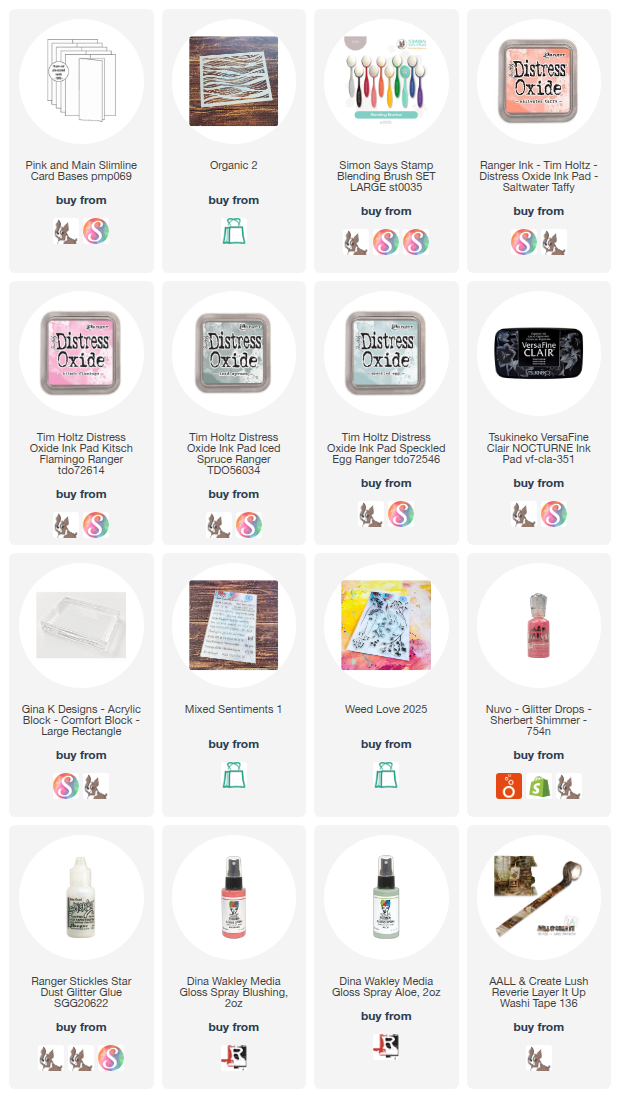
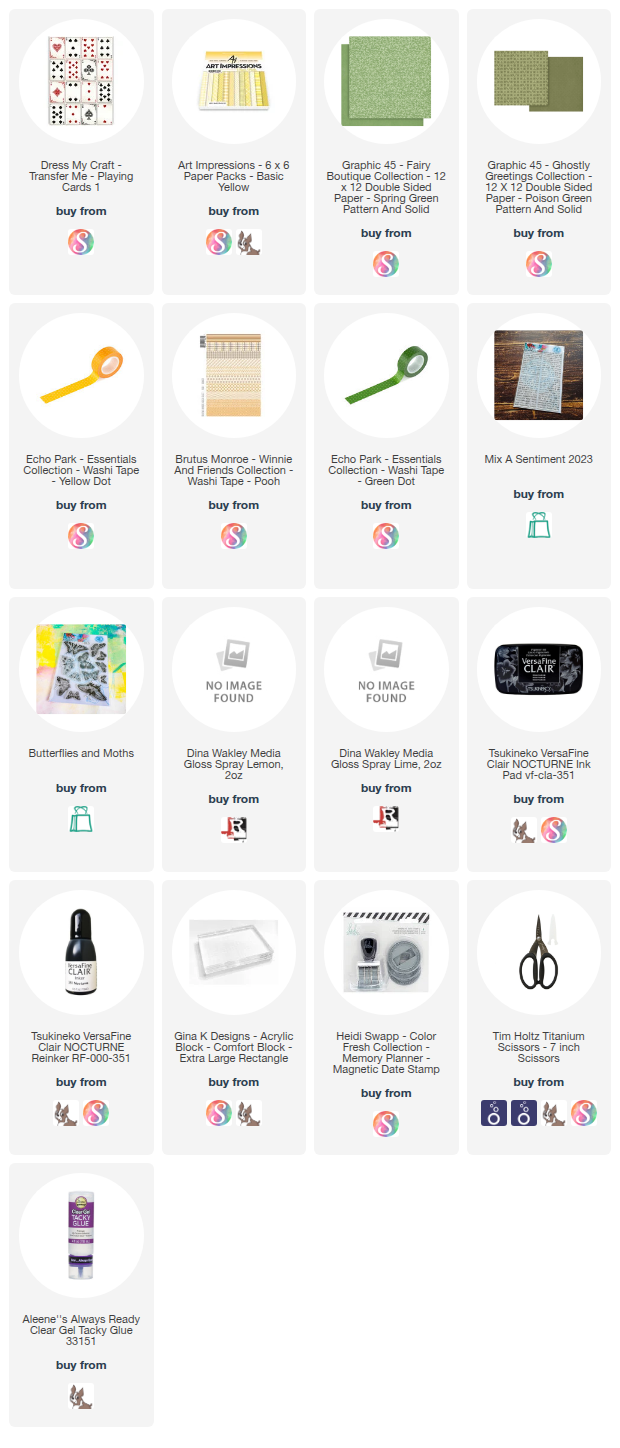
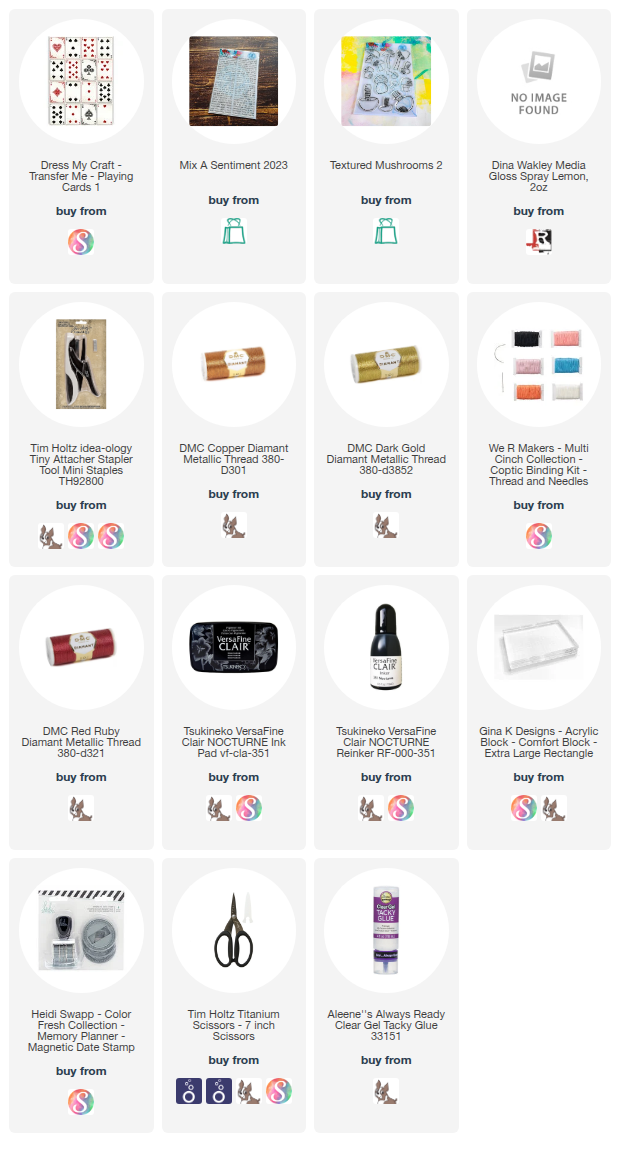
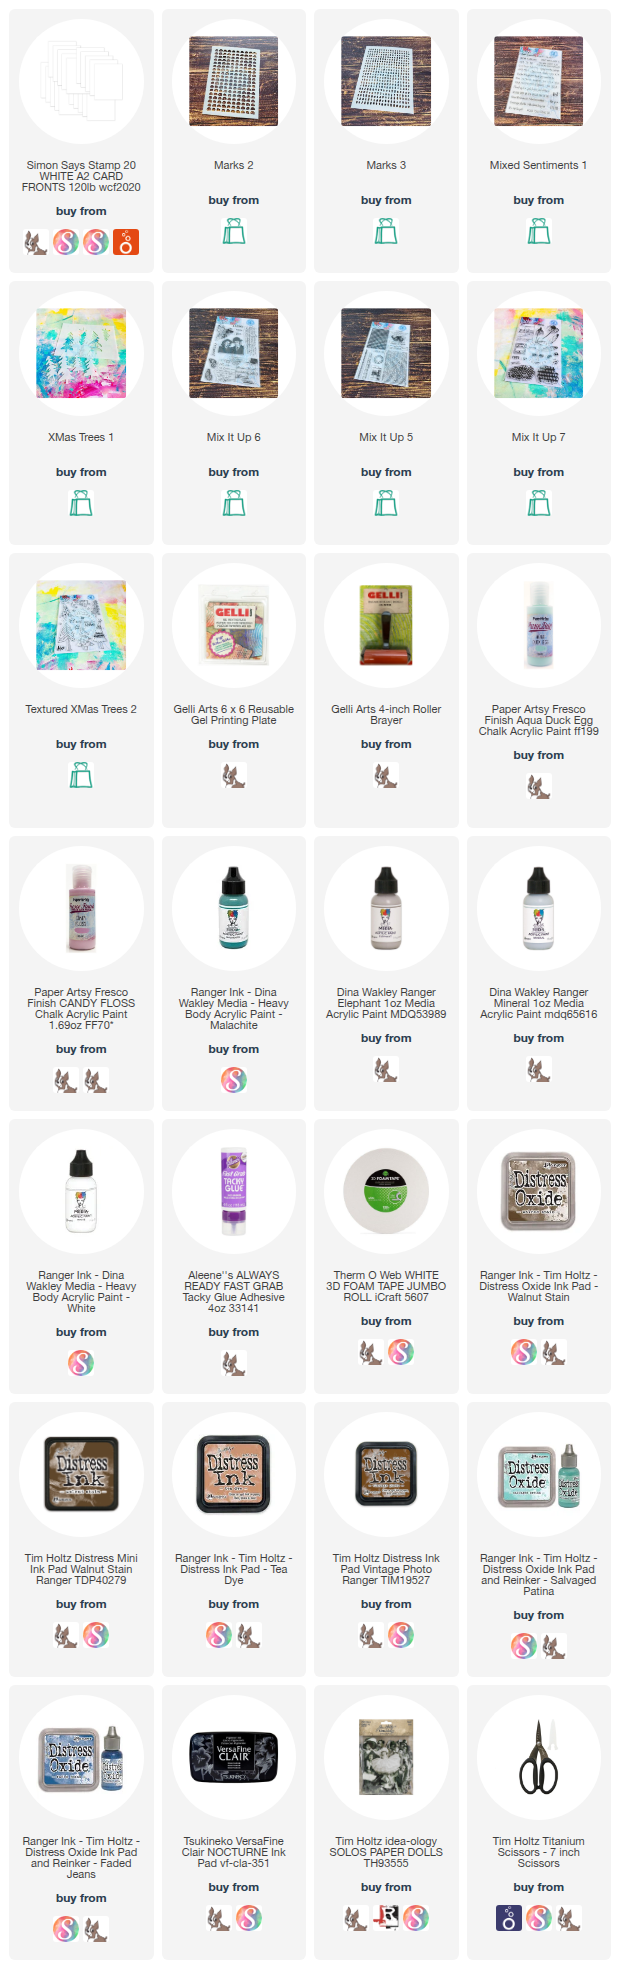
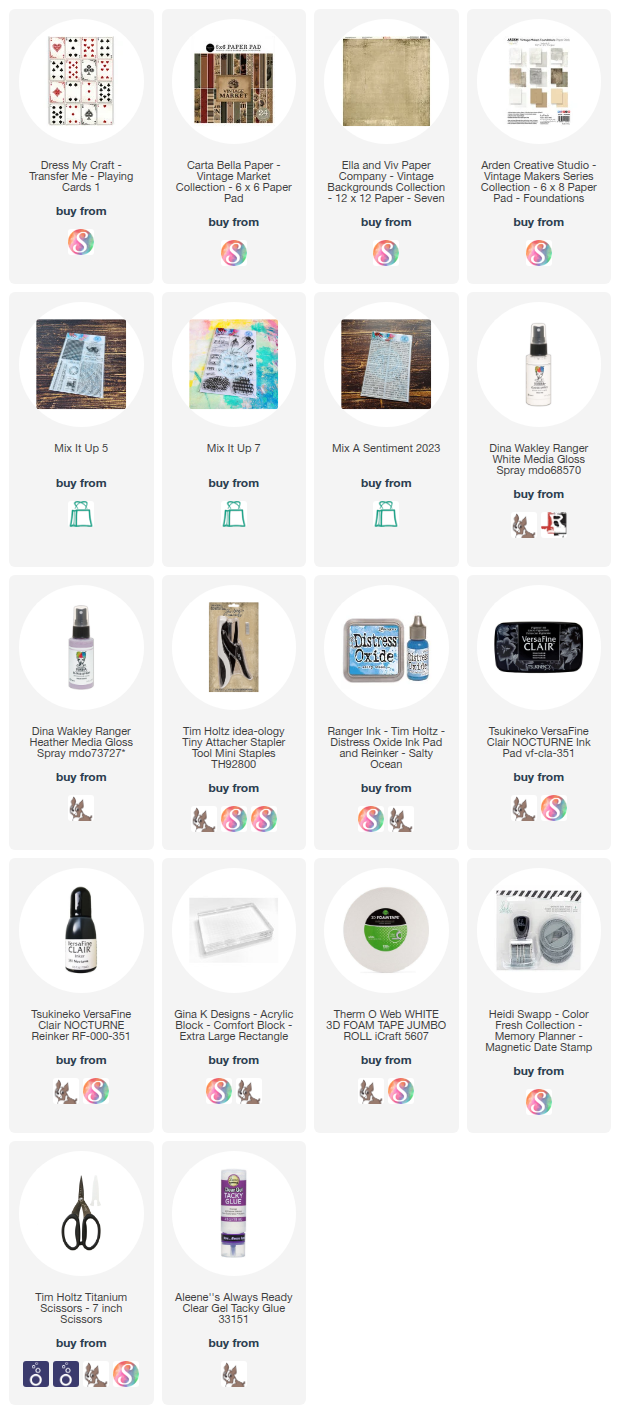
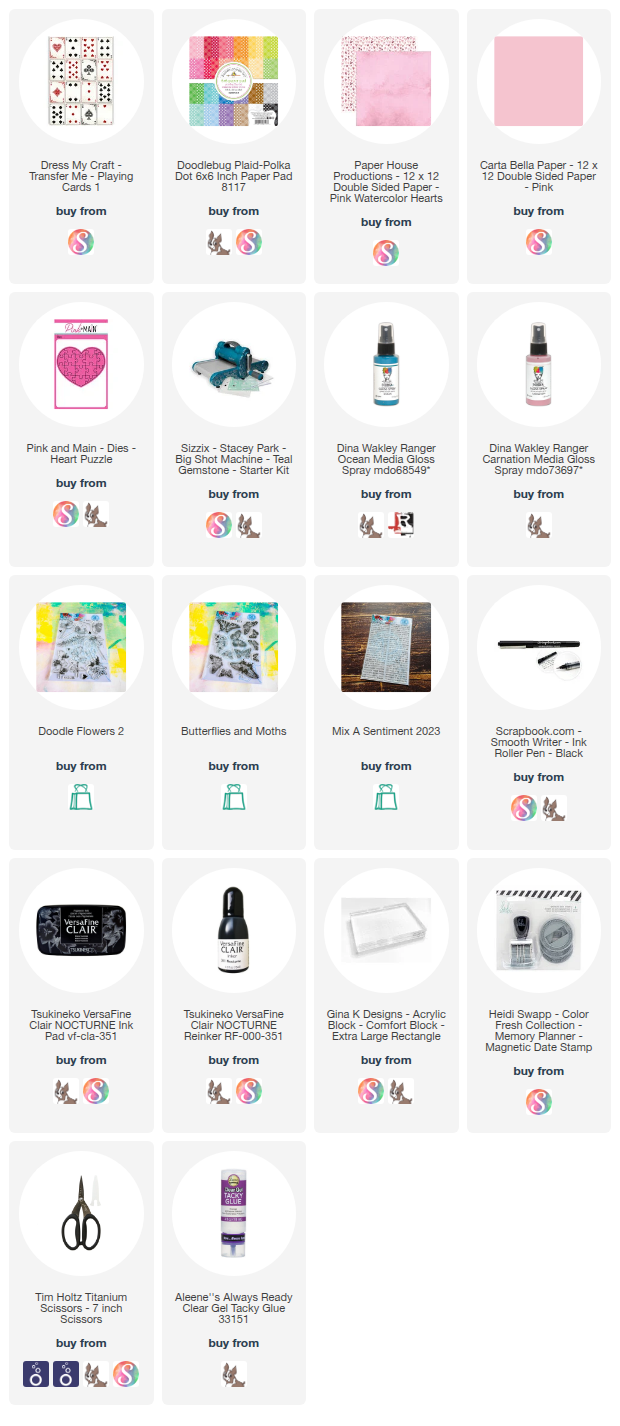
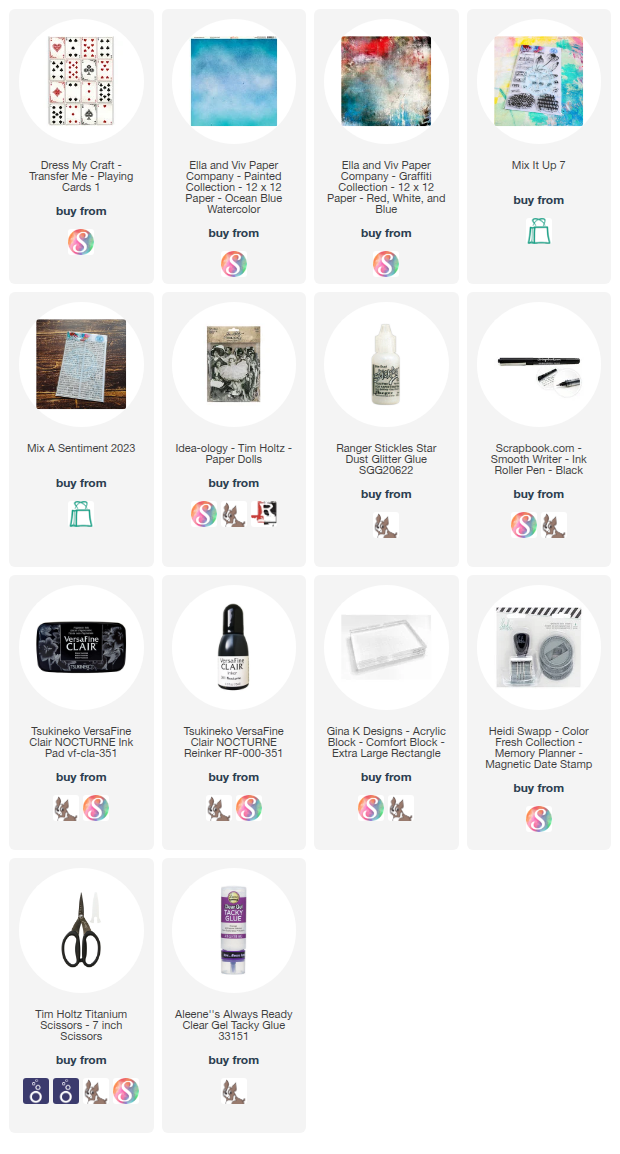
Supplies: