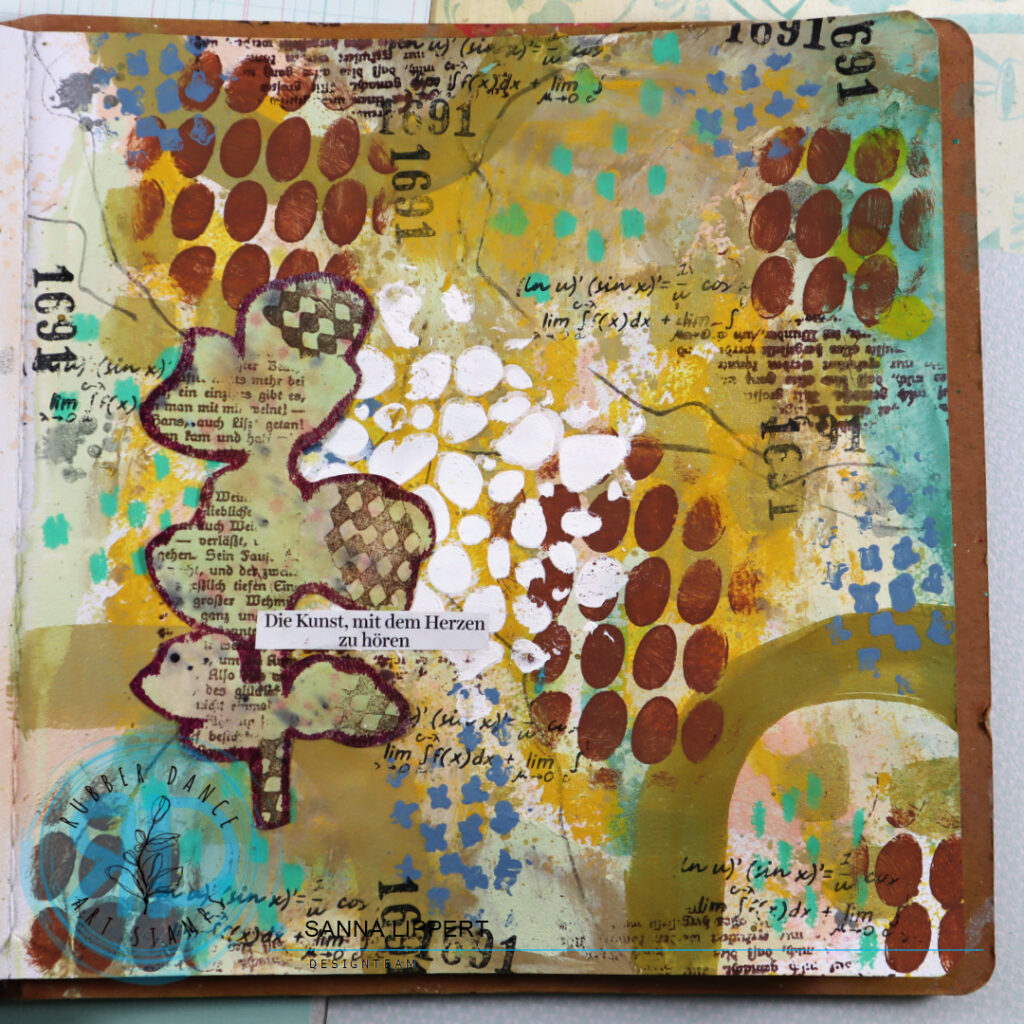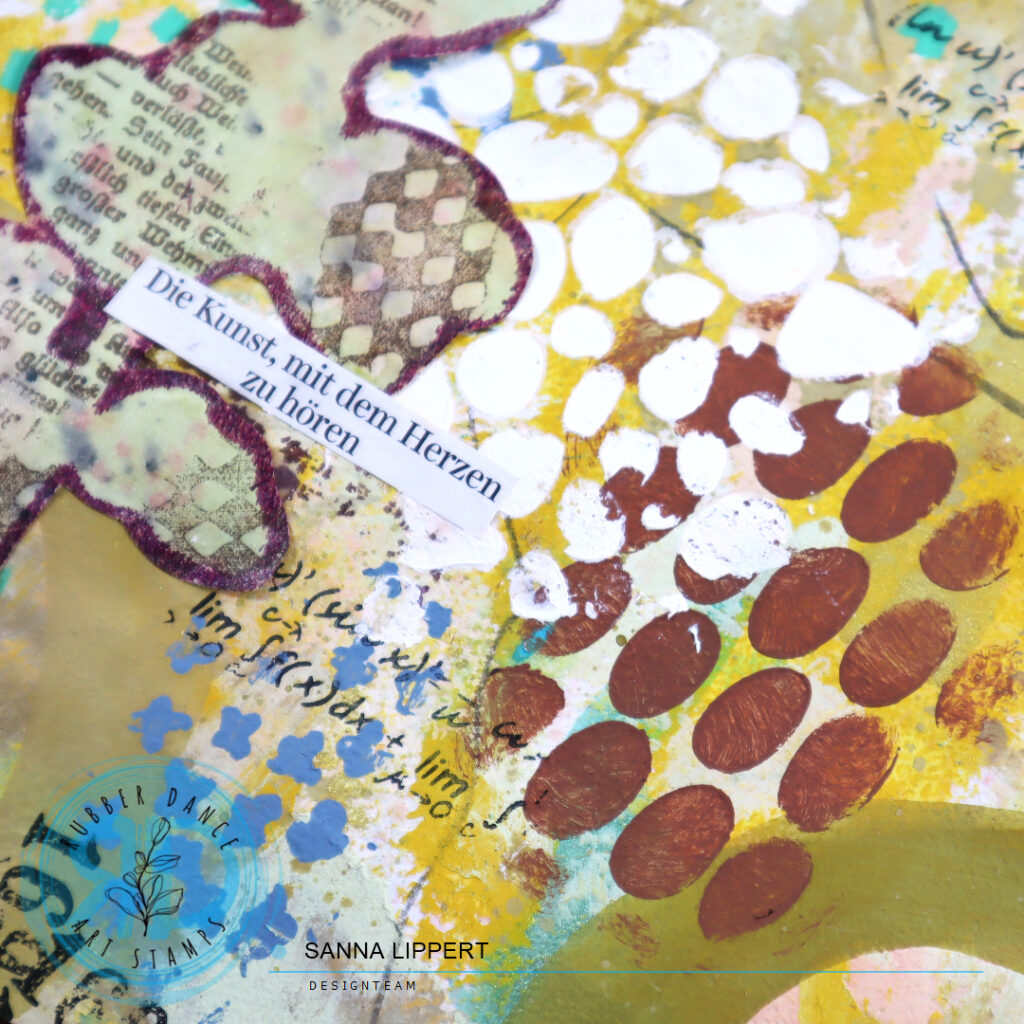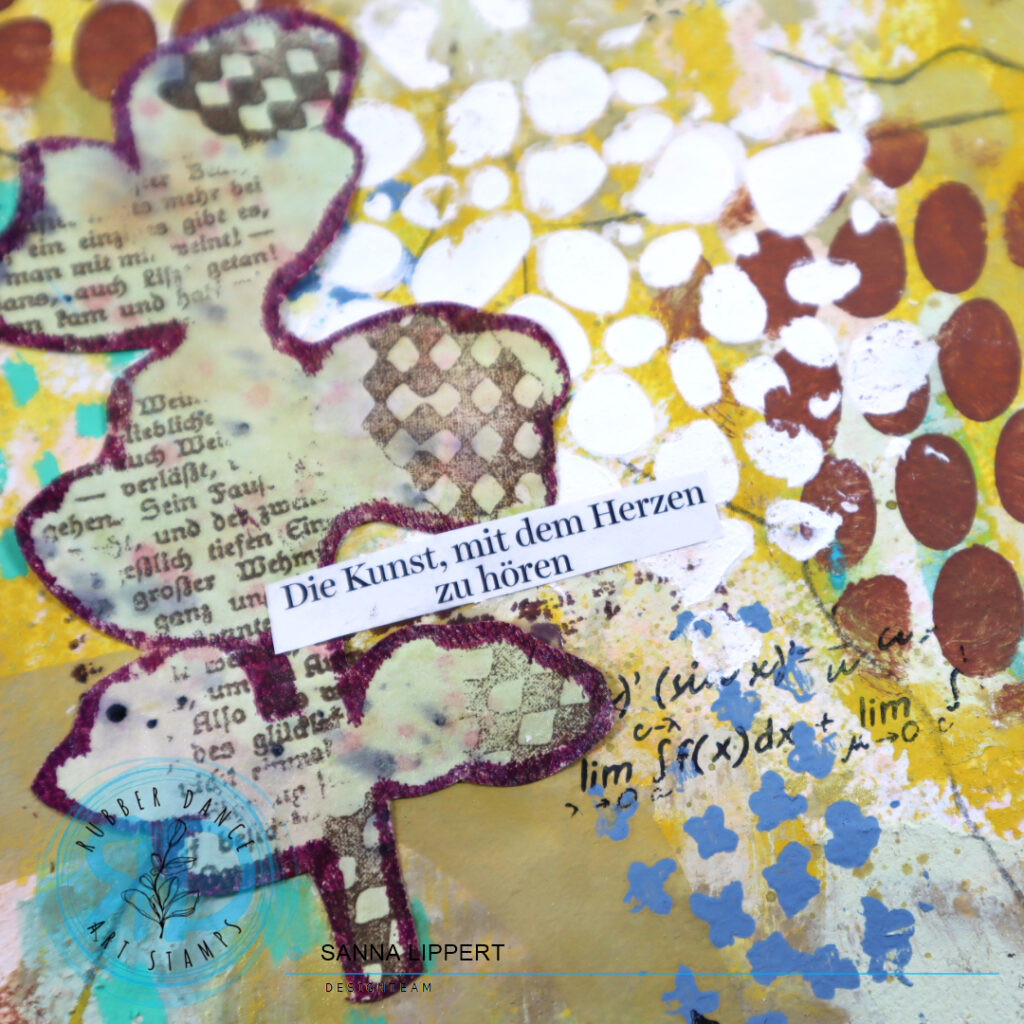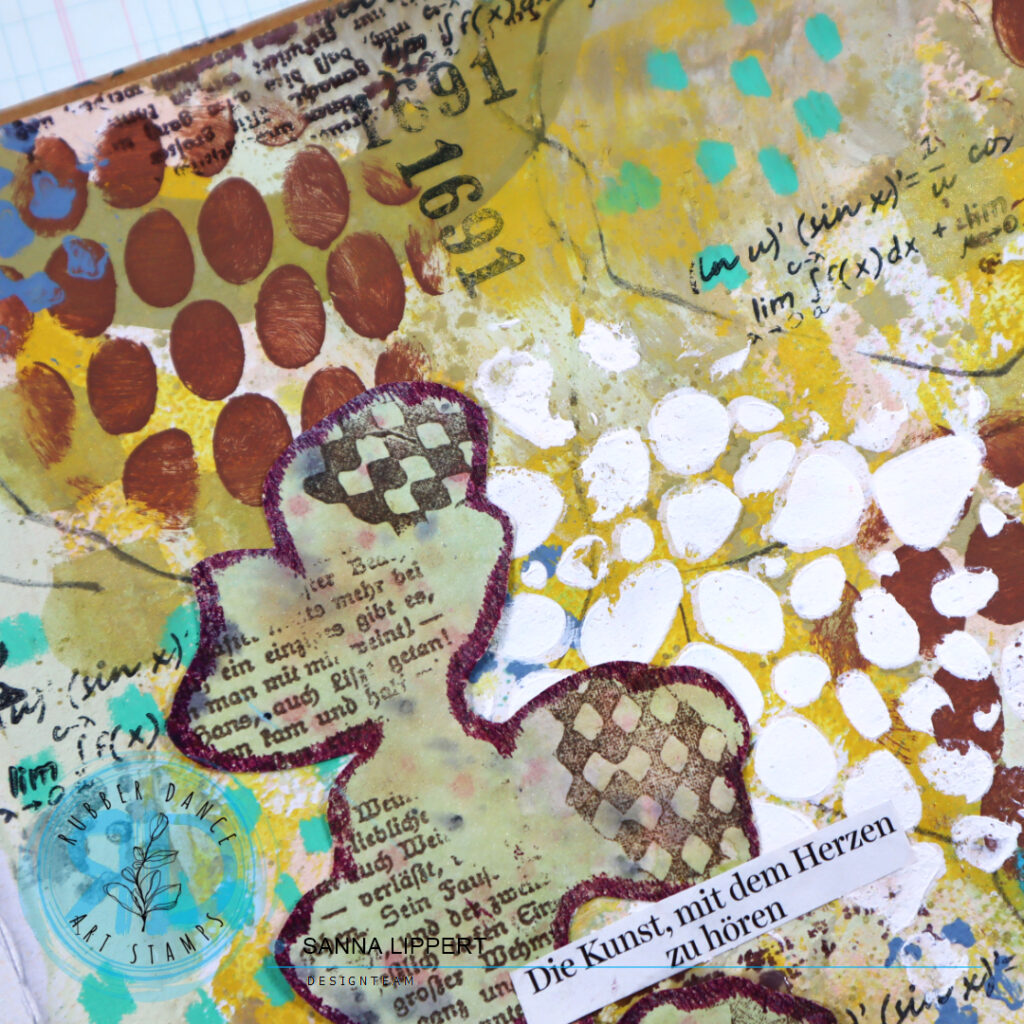
Tag Archives: Rubber Dance Stamps

60th birthday card idea

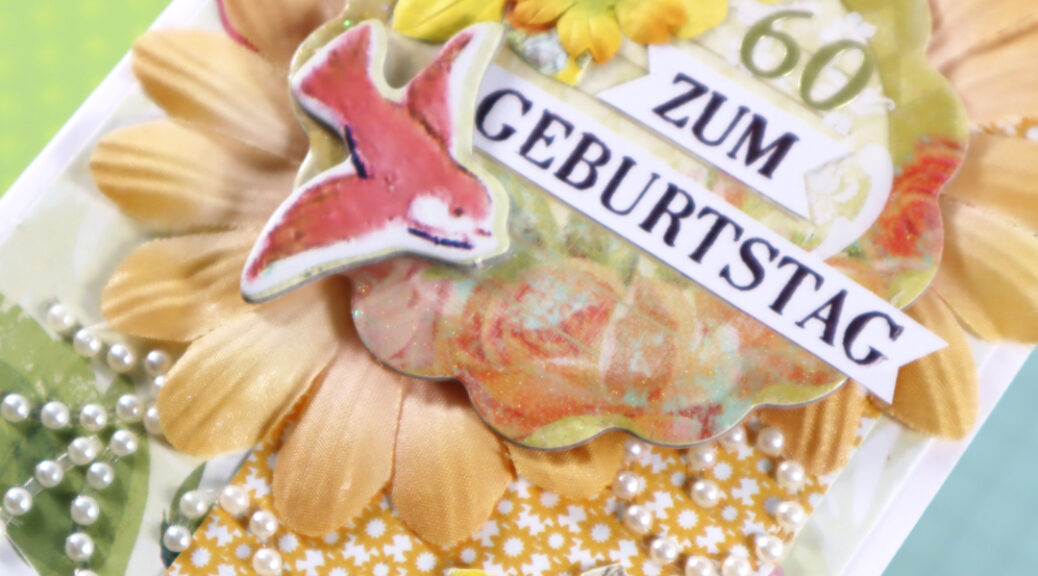
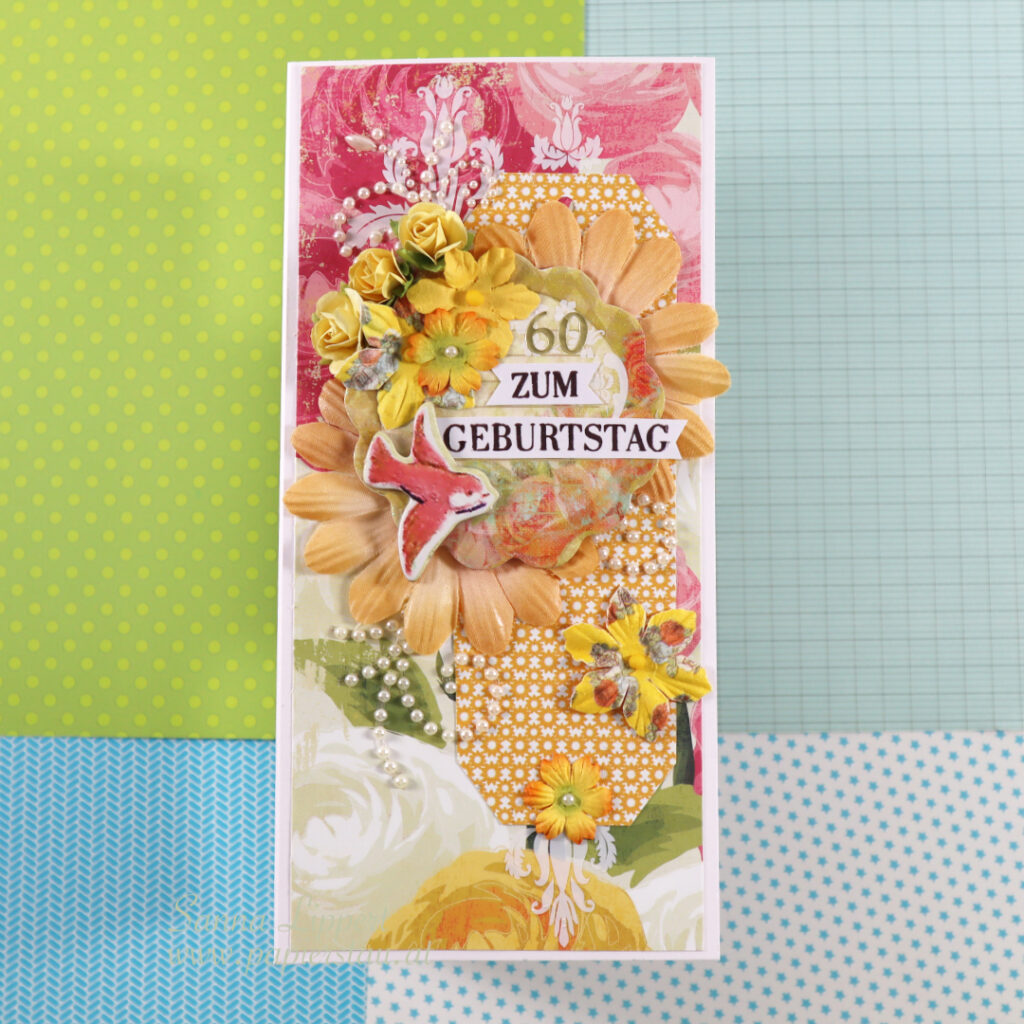
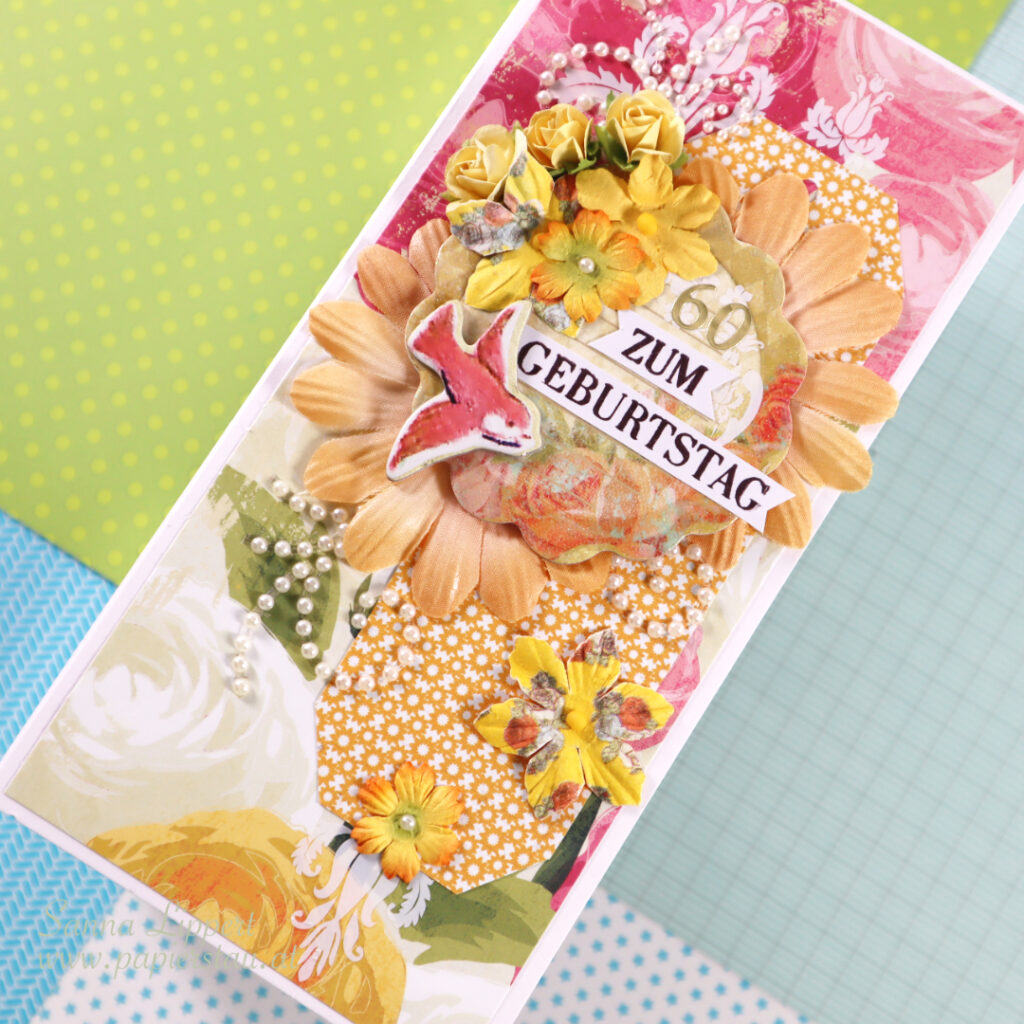
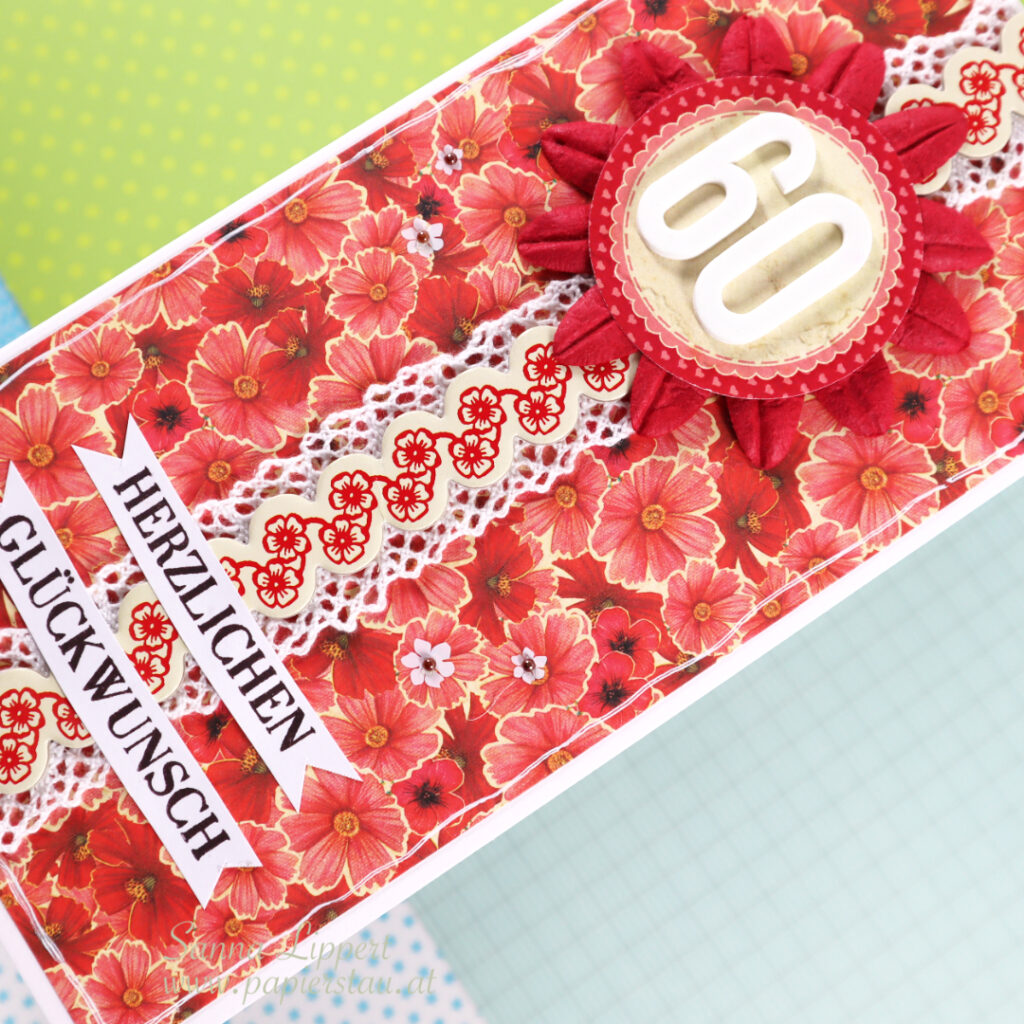
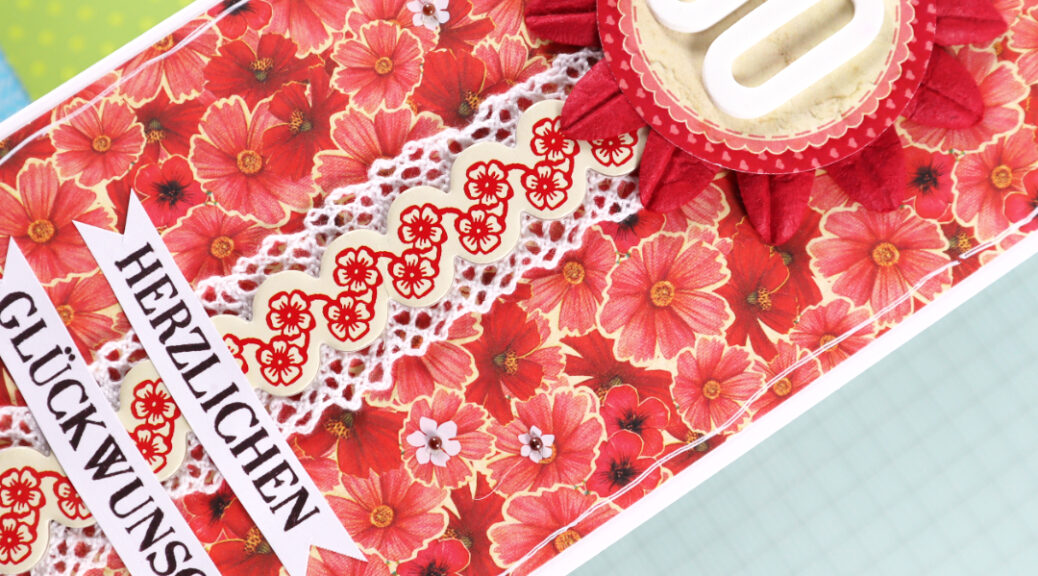
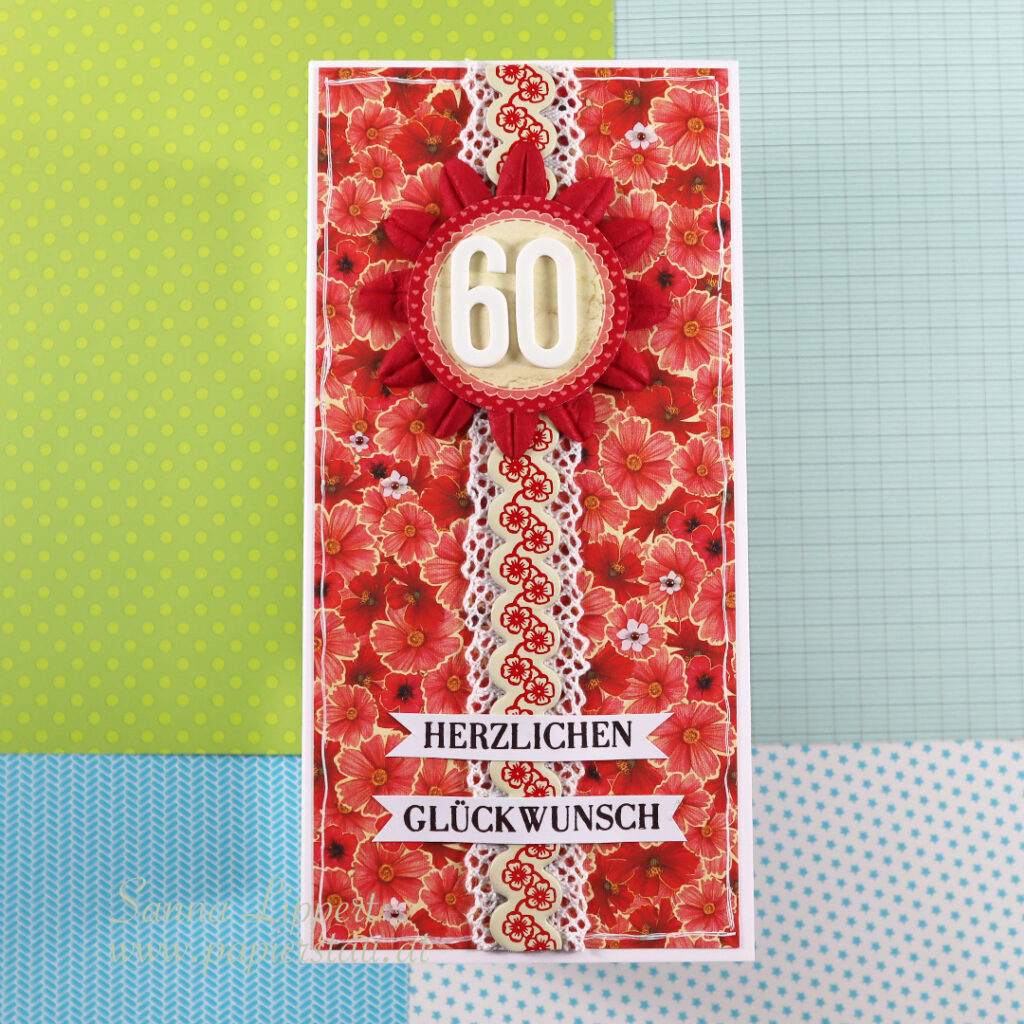
Hello and happy Sunday! Here is a slimline card I created for a 60th birthday.

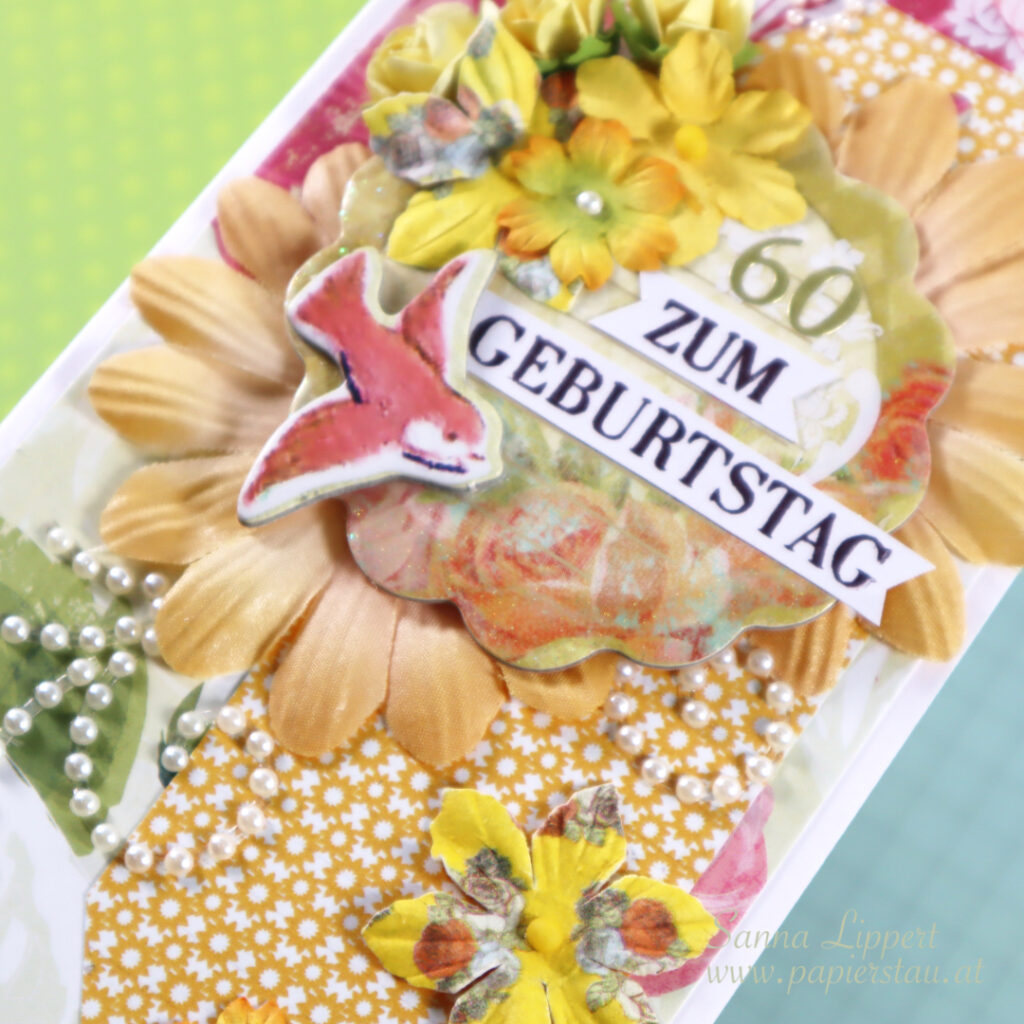
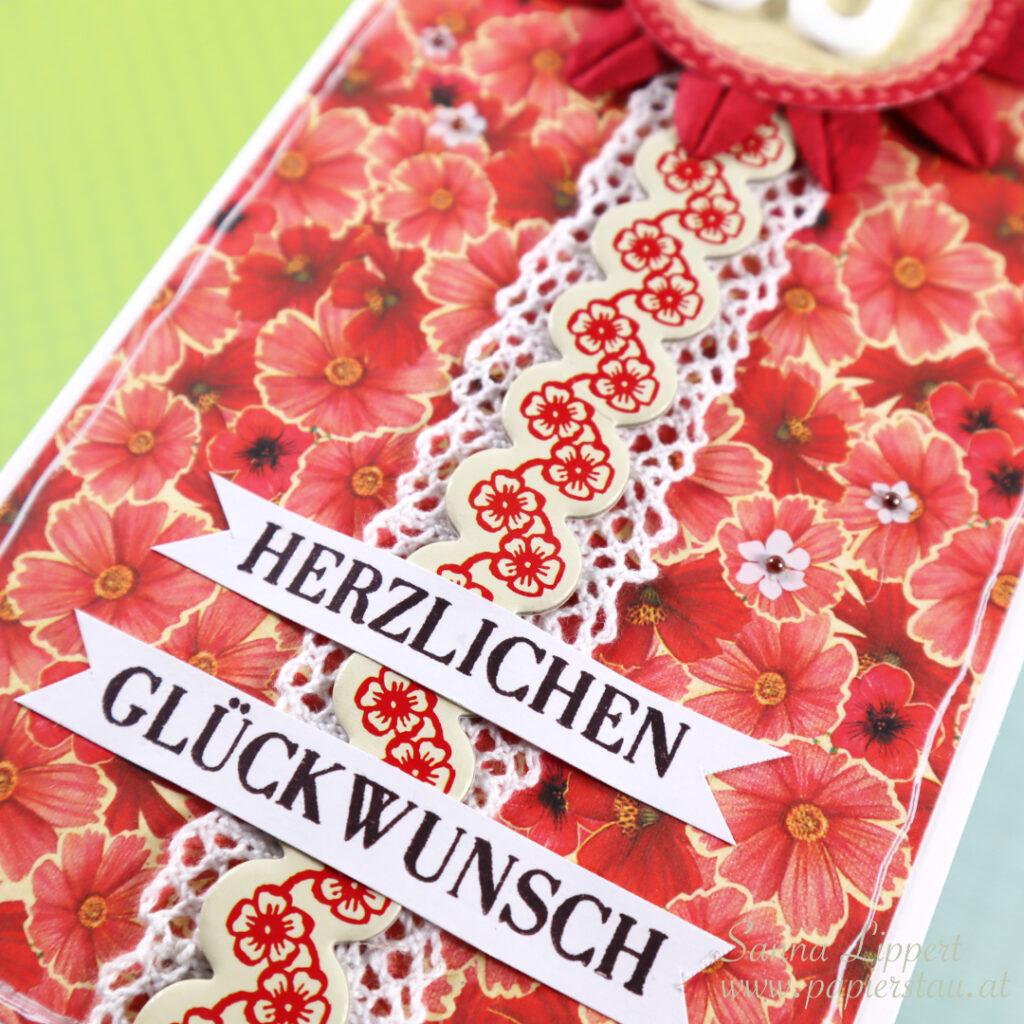
I´ve used patterned paper from my older stash with some lace ribbon and a chipboard border image from back in the day. Also added as a centerpiece is a paper flower in bright red and a ephemera piece to adhere the Thickers foam number onto. I´ve outlined the card with a white gel pen and finished the card off with a happy birthday sentiment by Rubber Dance (this set).

Also, on the close-up photos you can see some tiny white flowers here and there on the background. They are older rub-ons from my stash and I have added some half pearls into the middle for some extra texture.

I like how this turned out! Hope you get inspired!
xxx, Sanna

“Shine” Art Journal page process – Rubber Dance

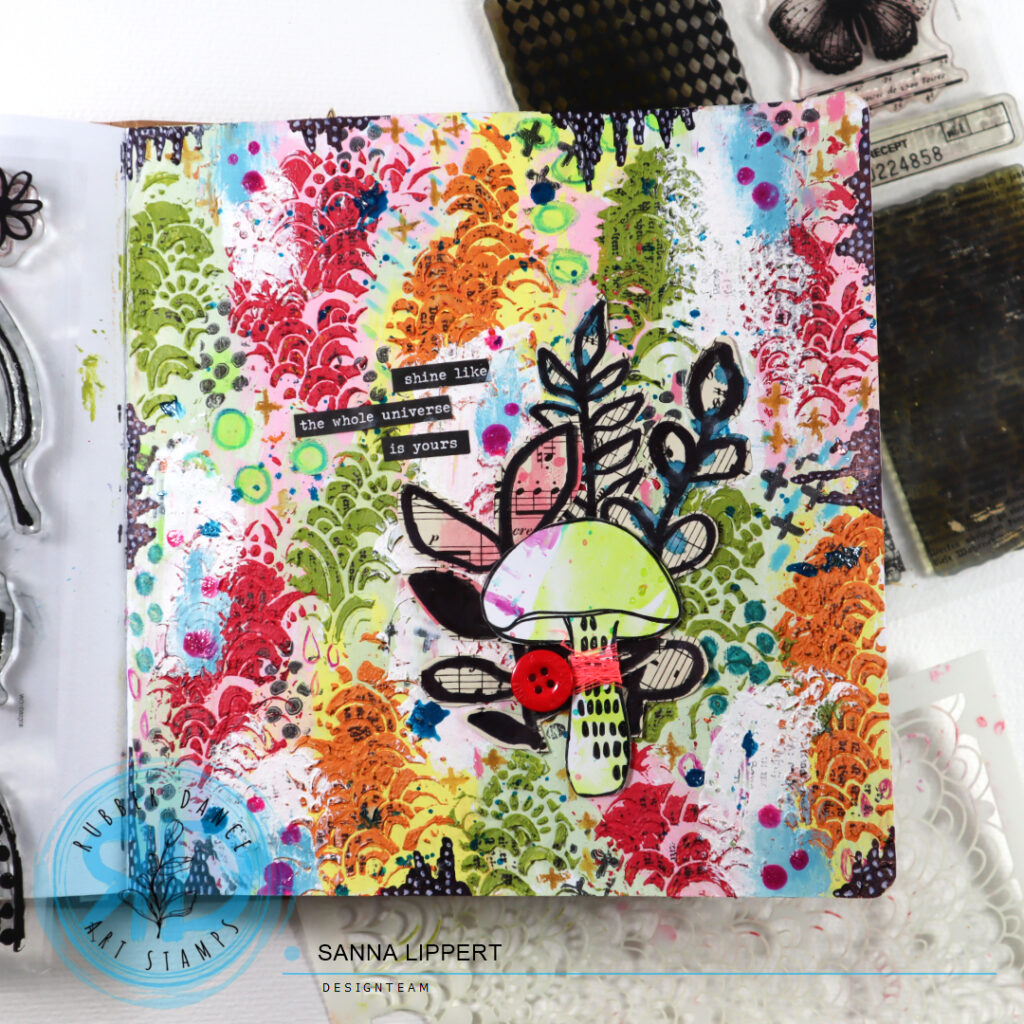
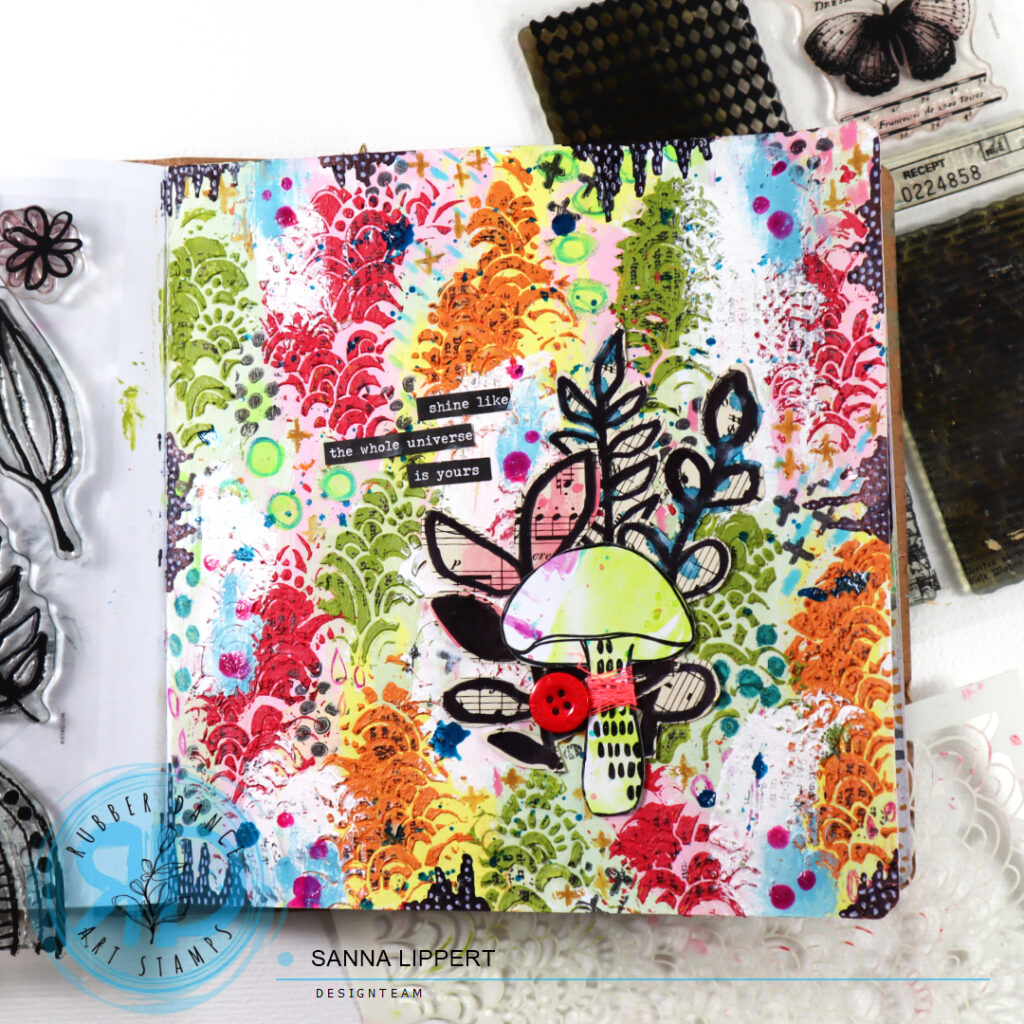
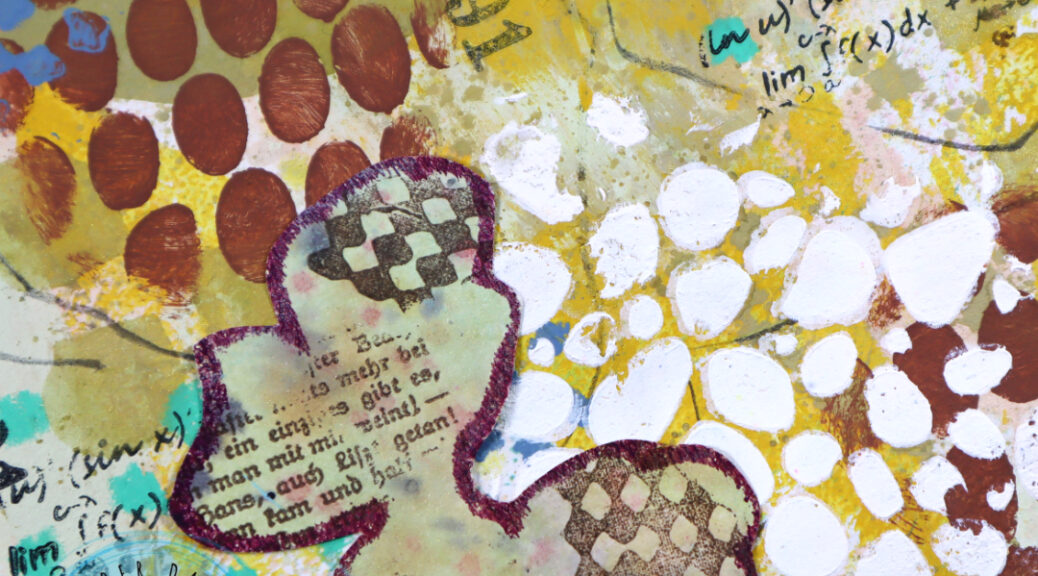
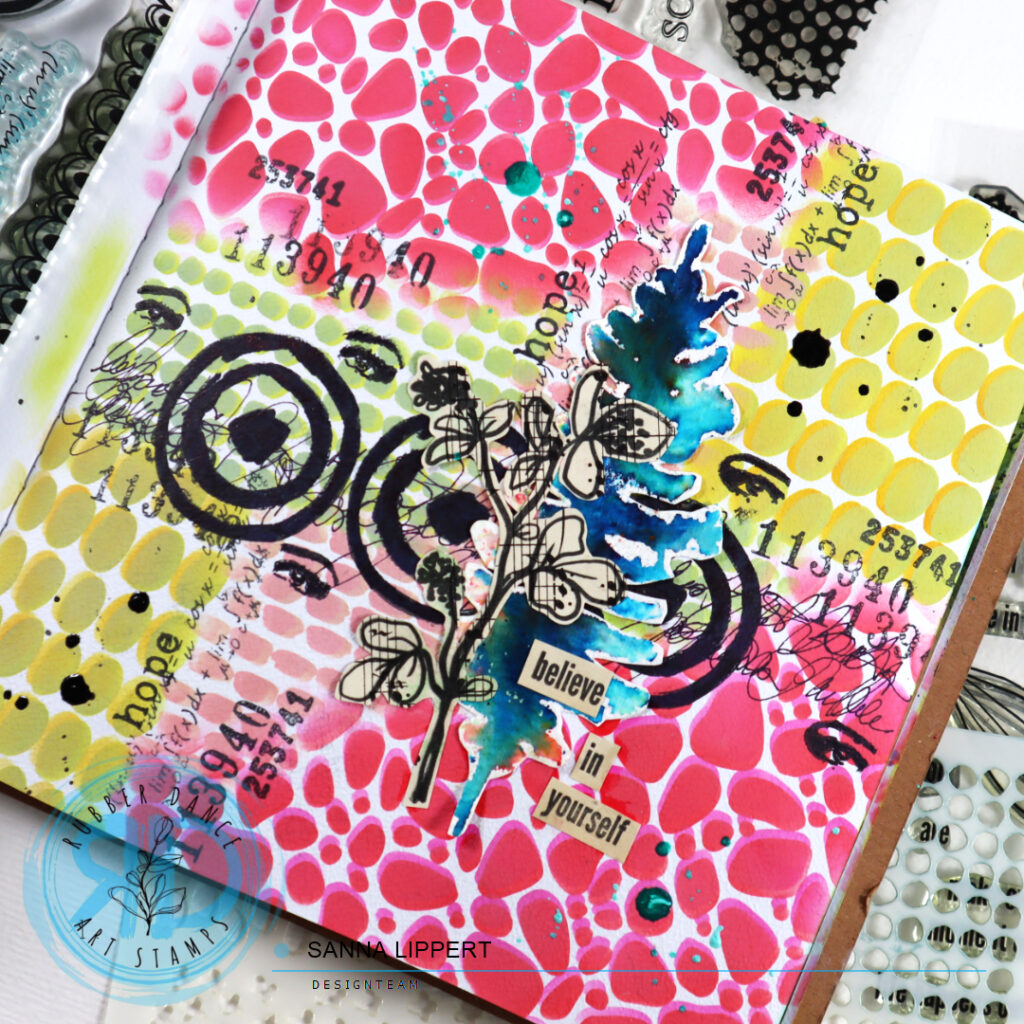
Hello, it´s Sanna here today with an art journal page process post and video. For this Art Journal page I used following products: Rainbows 2 stencil, Mix It Up 5, Textured Mushrooms 2 and Pencil Marks 8 stamp sets.

I started by adding light pastel Distress Paint tones onto the background and covering the page with them first. Next I took some texture paste and darker red, green and orange Distress Paint and mixed those together. Then I took the Rainbows 2 stencil and applied the tinted pastes onto the journal page thru the stencil.

Next I added some marks with Neocolor II´s onto the empty areas. I drew random patterns here and there. After that I took black stamp ink and made marks with Pencil Marks 8 stamp here and there. I then wiped some white Distress Paint over some areas with a palette knife.

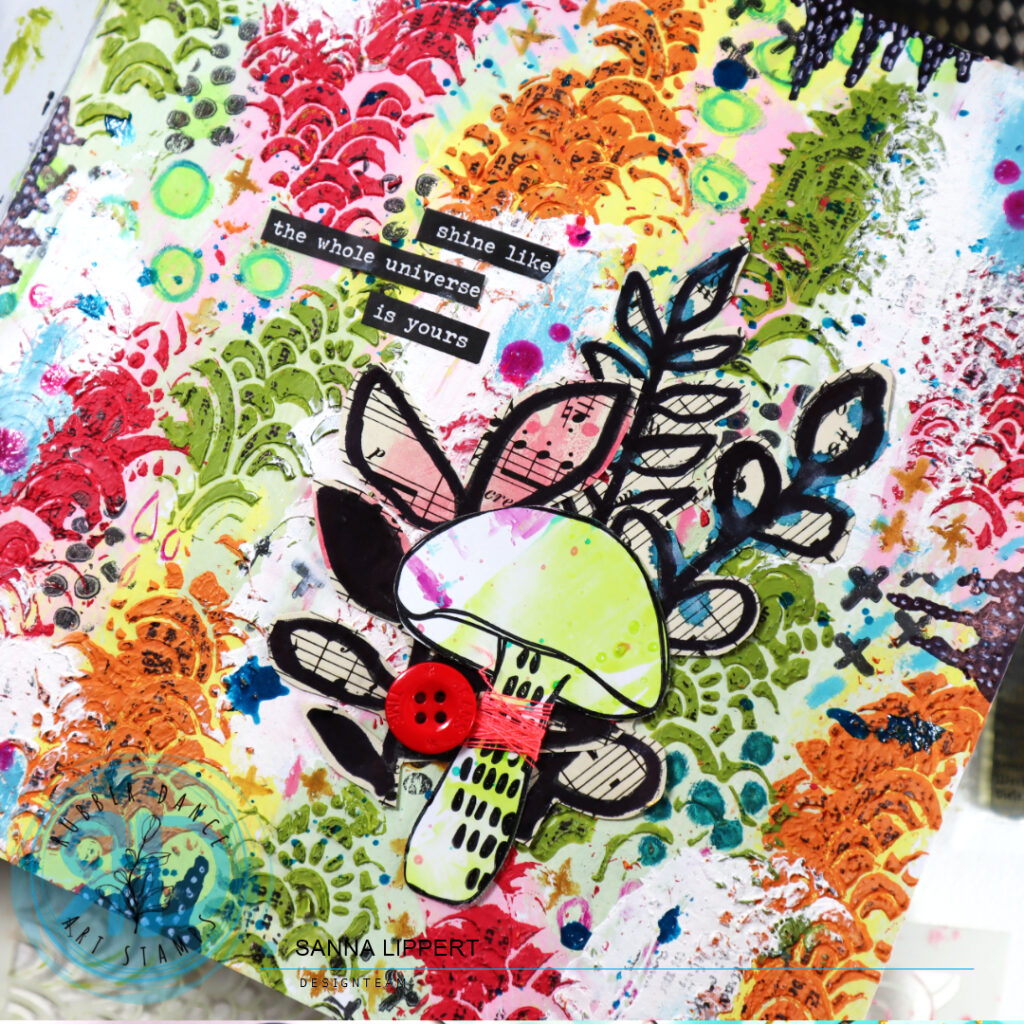
Next I took a piece of old music paper out, stamped leaves from Pencil Marks 8 stamp set onto it with black ink and fussy cut the images. After that texture pasted areas were dry, I stamped some text with black ink onto those areas using the Mix It Up 5 stamp.

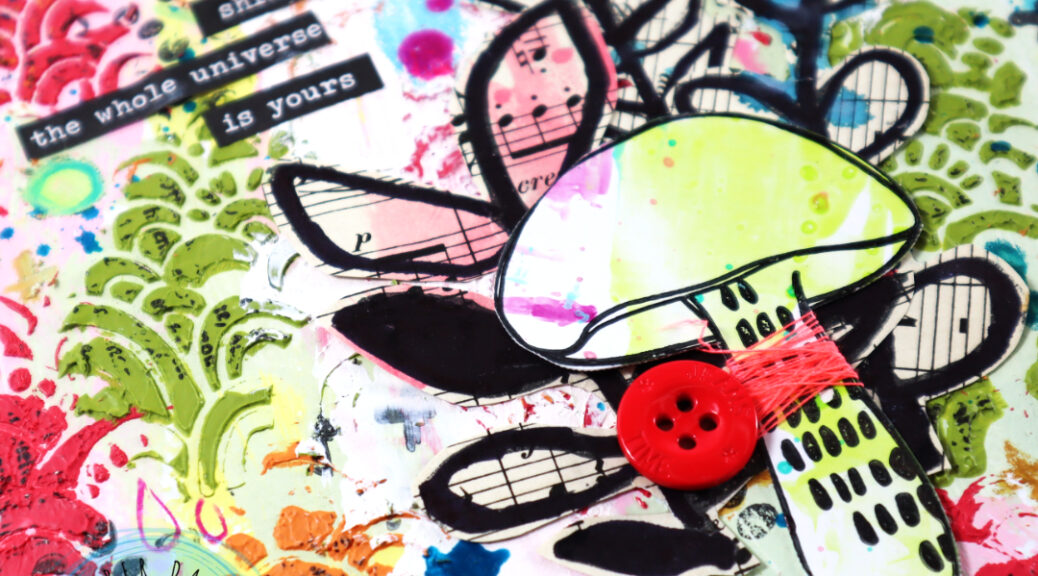
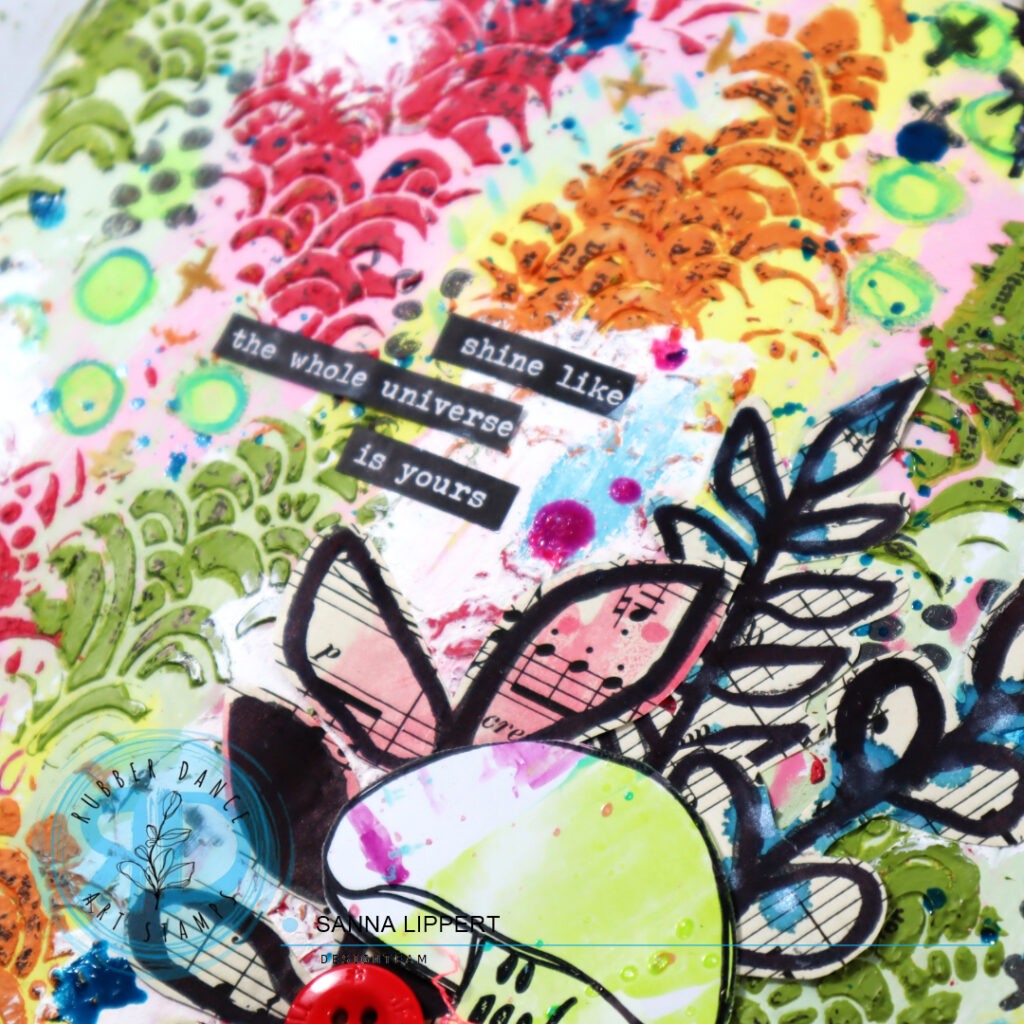
And of course I again had to add some ink splatters (I love using those!). I used Gloss Sprays for this purpose. Then I arranged the stamped, and fussy cut leaves into a cluster and took a previously made mushroom image to accompany them. I added some neon yarn around the mushroom and adhered a bright red button next to it.

Now that the focal point was done, I colored some areas around the edges with a black marker to add more contrast to the page. After that I did some mark making with a white gel pen onto them for additonal interest.

For finishing touches I added a sticker sentiment as a title. Some more Neocolor here and there, as well as pink Gloss Spray splatters, and the page was done.

Here is the full process video for you to watch:

I hope you like the ideas incorporated into this page. Have fun creating!
xx, Sanna

AJ page with layered stenciling and Distress Oxide Inks – Rubber Dance

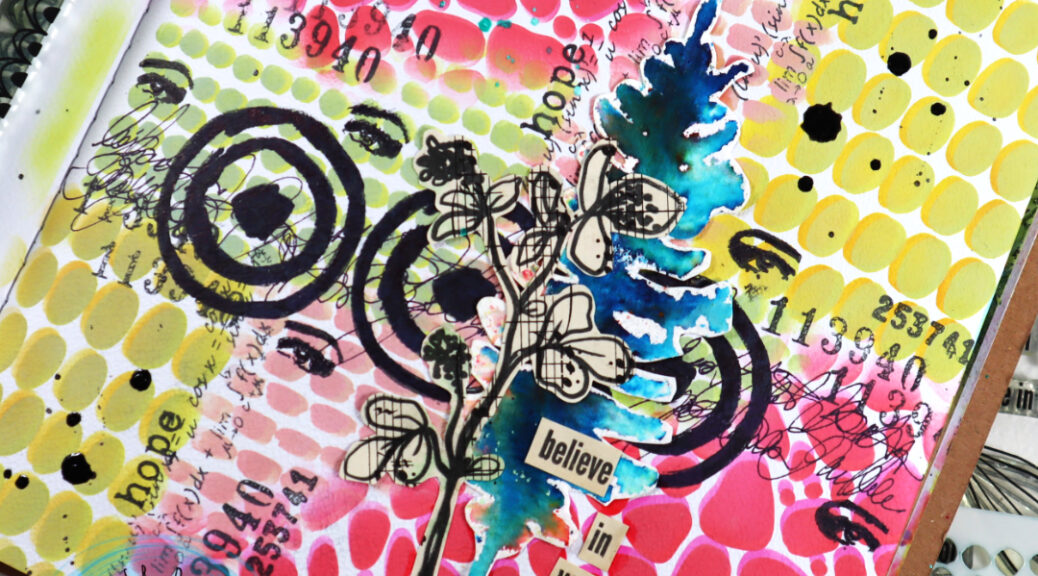
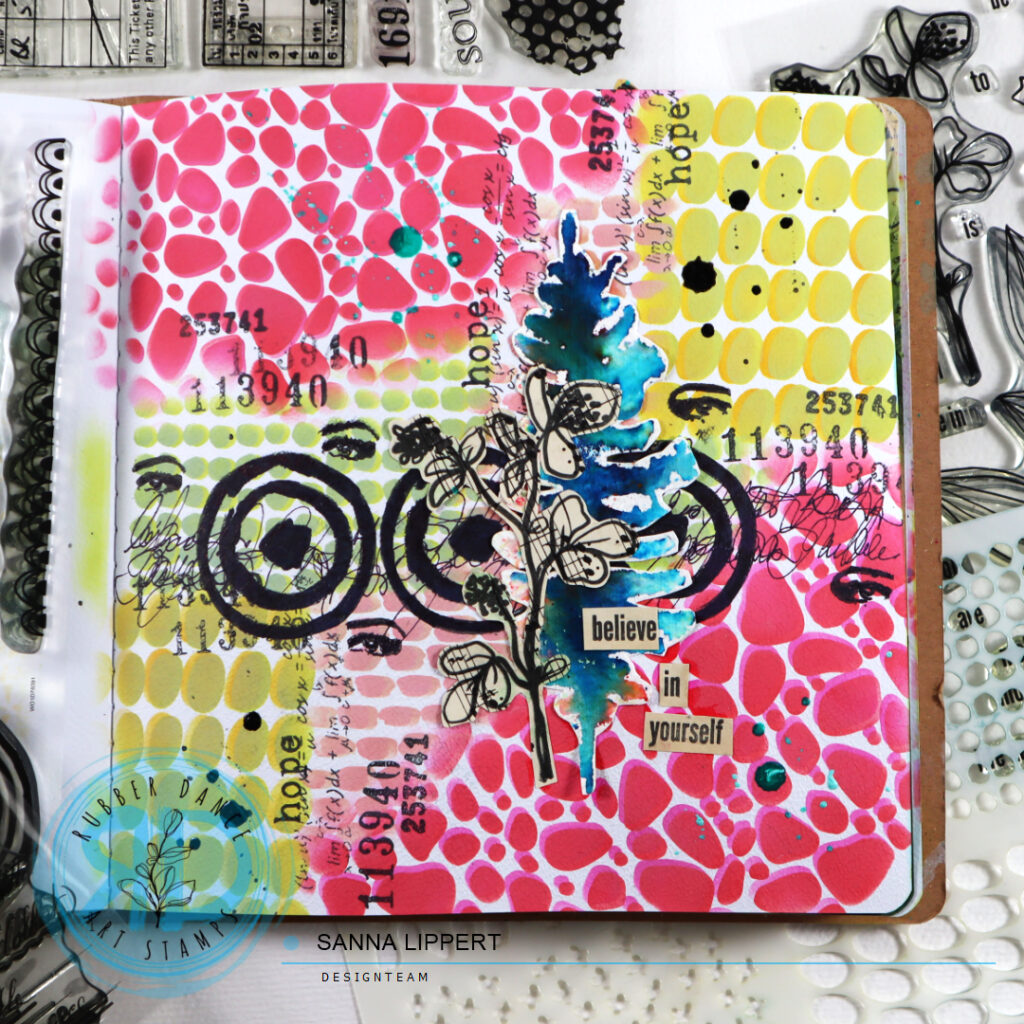
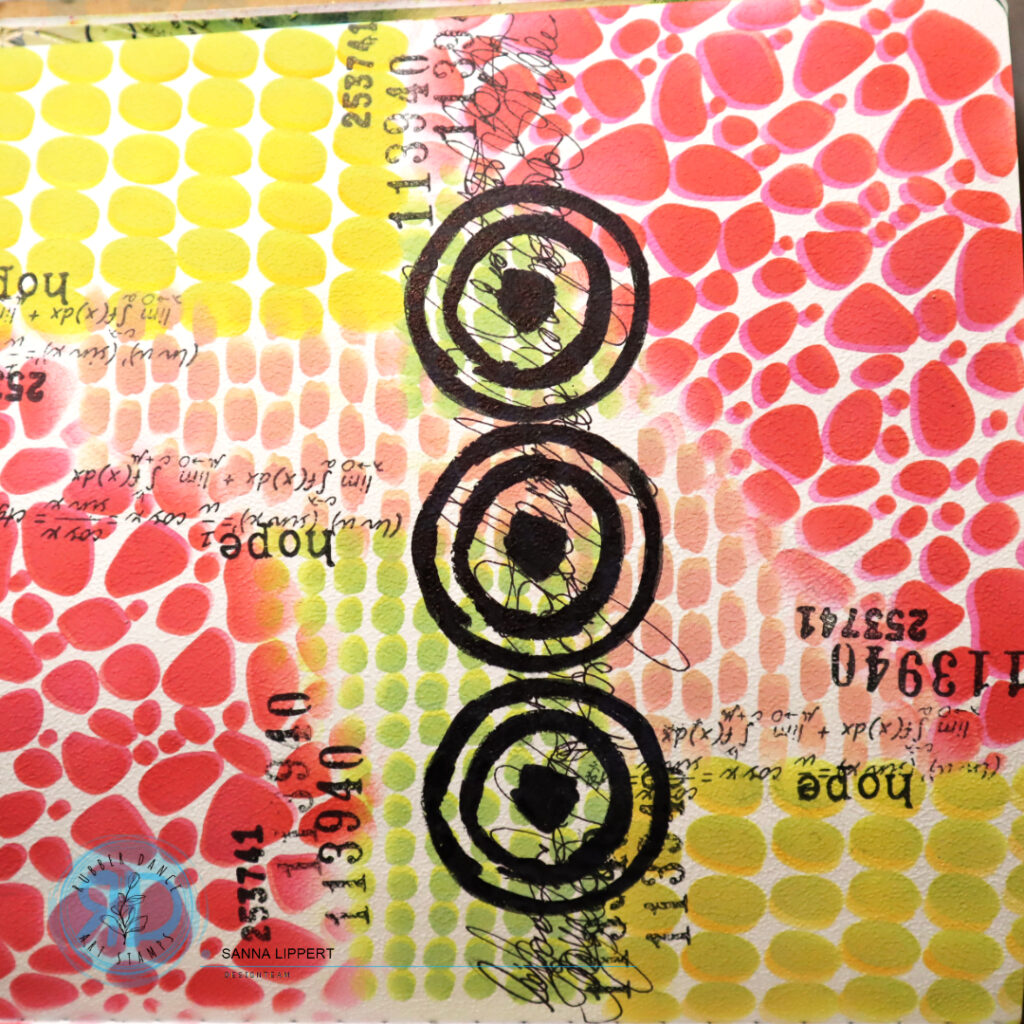
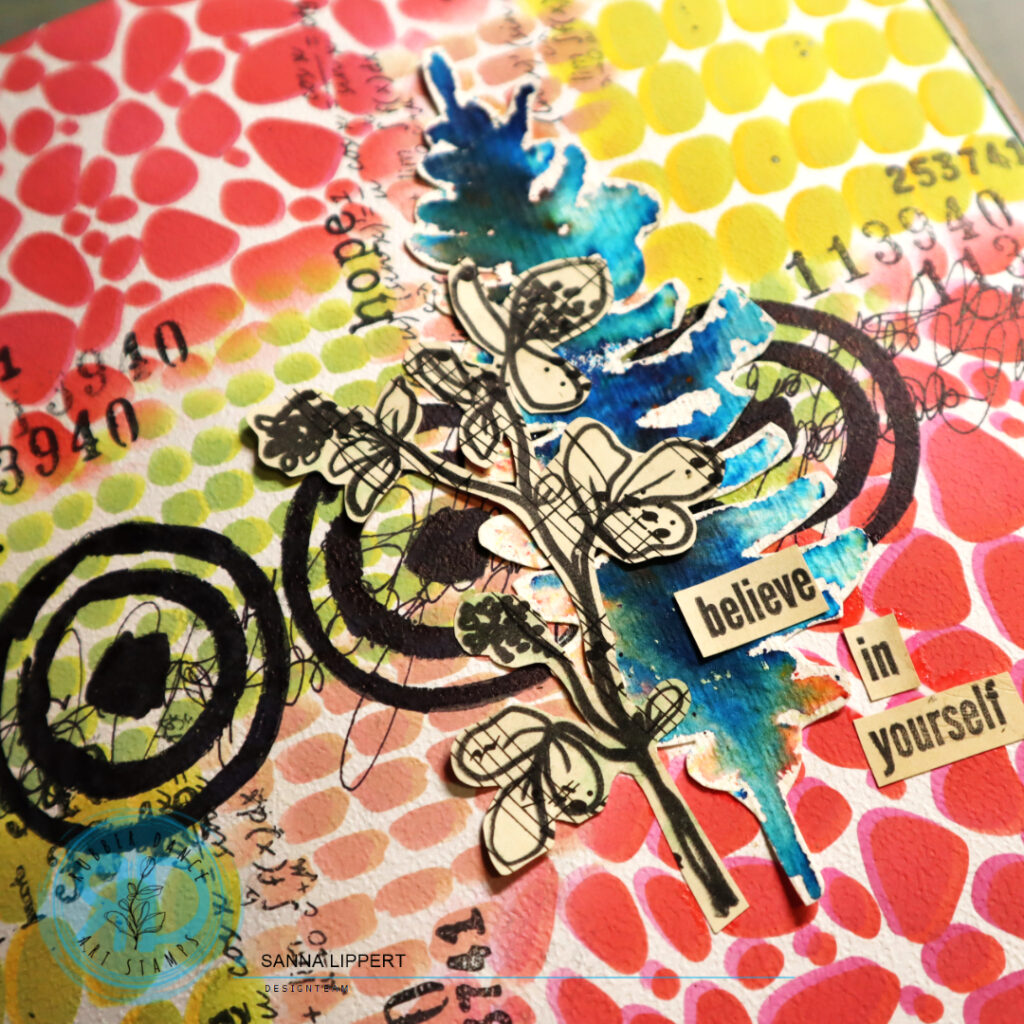
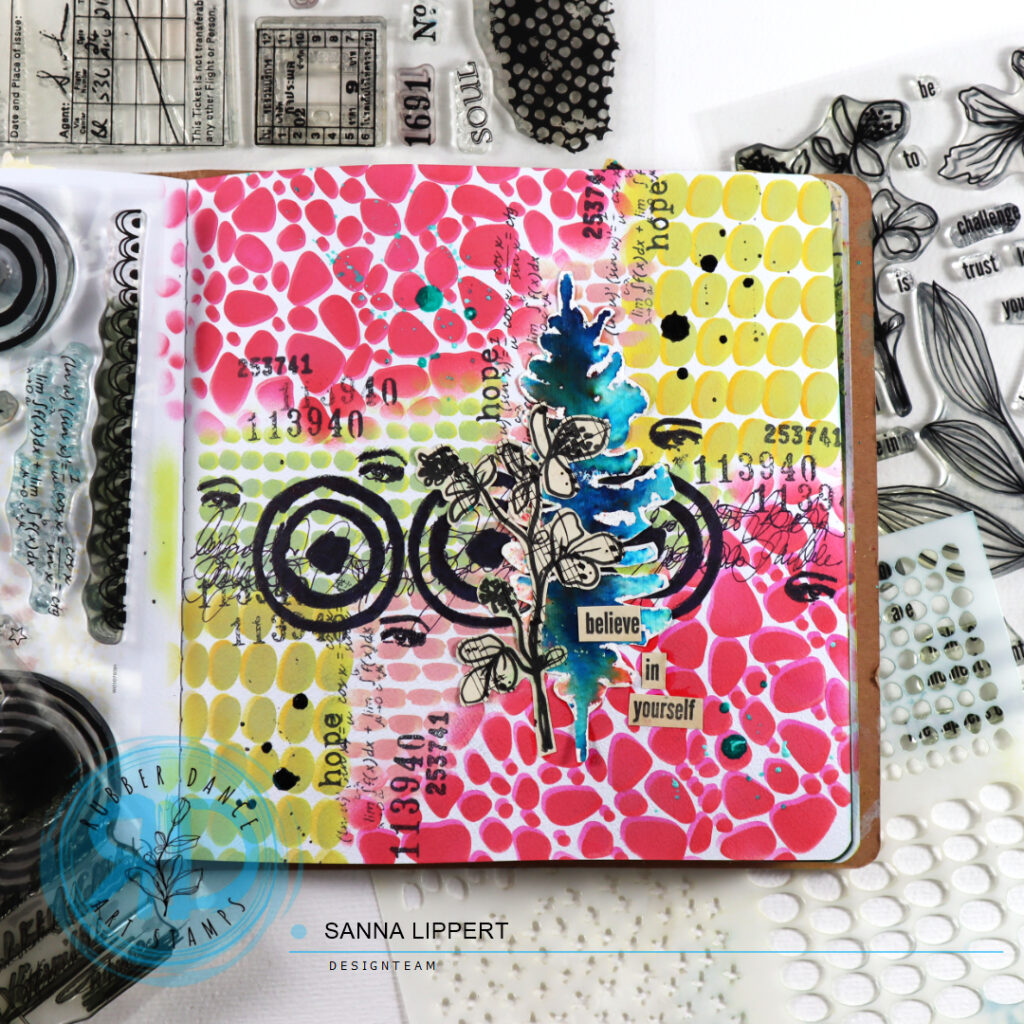
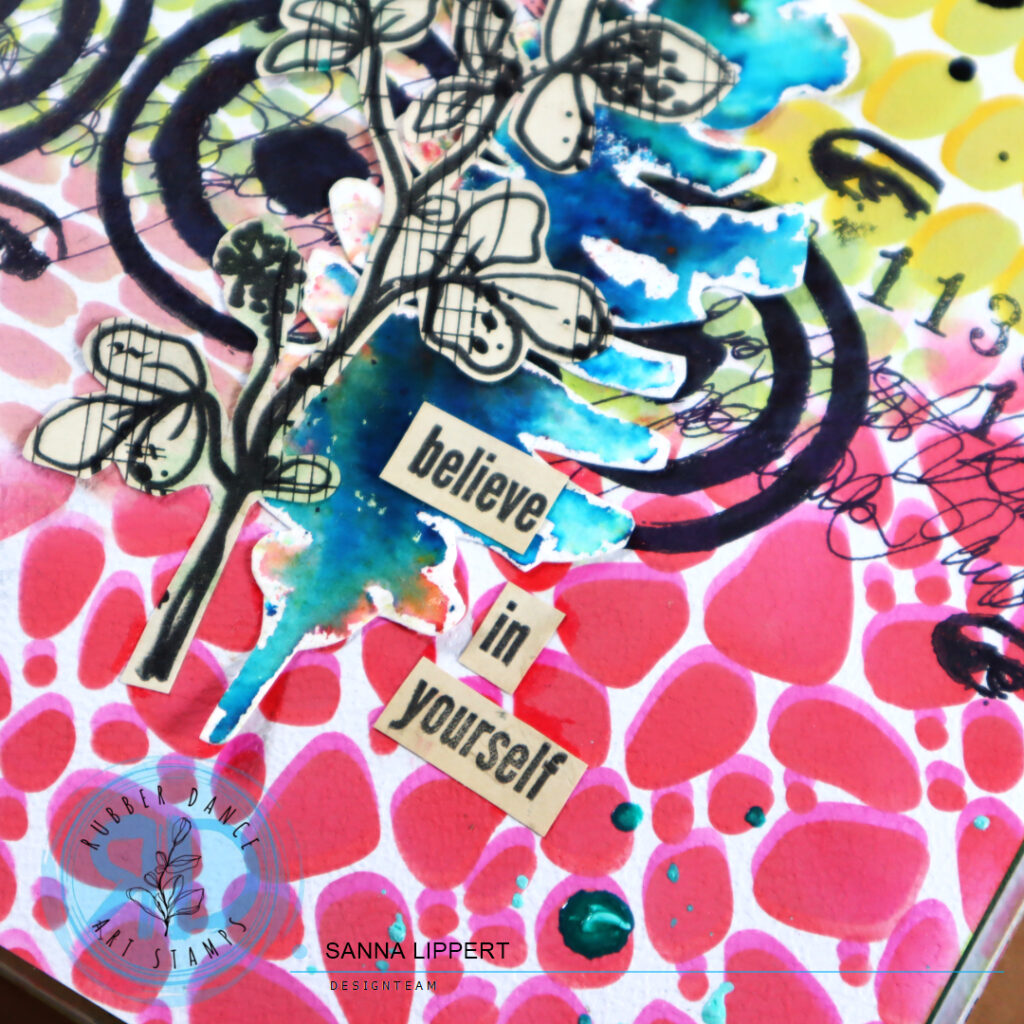
Hello, it´s Sanna here today with a layer stenciled art journal page share. For this project I used the following products: Organic 4 and Mini Textures 1 stencils as well as the Sketchy Leaves 5 stencil in the focal point cluster. The stamps used as a further layer and focal point feature following sets: Mix It Up 7, Mix It Up 4, Collage Leaves 3 and Mix It Up 6.

I started with the following steps:

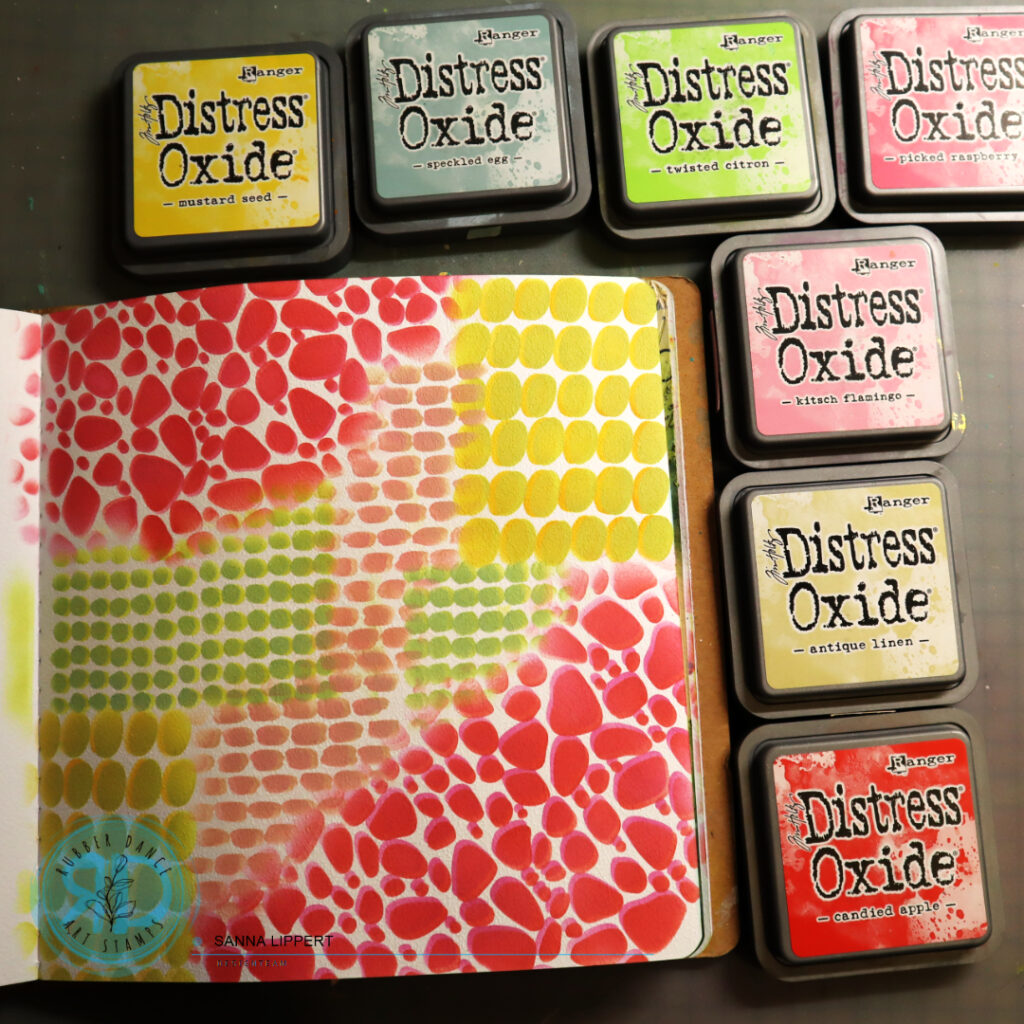
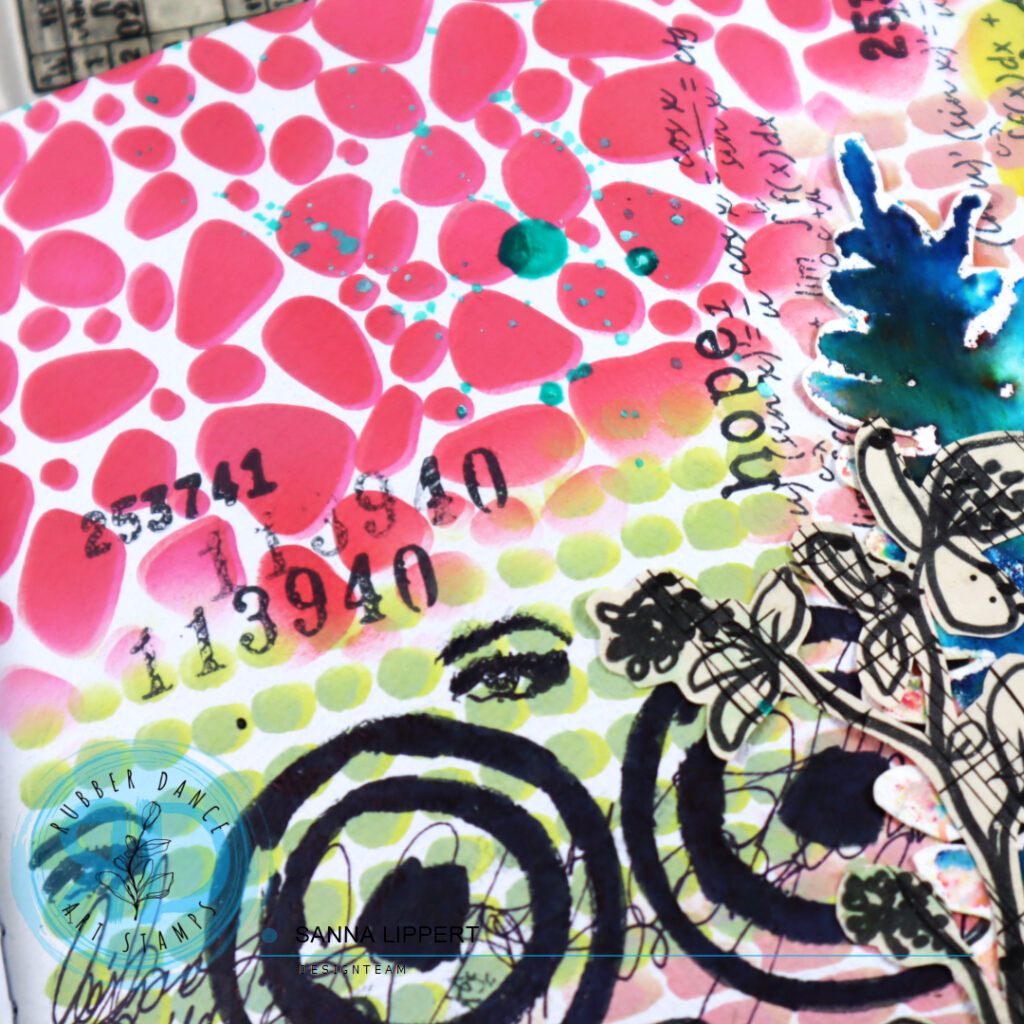
I first inked a lighter toned layer thru the above mentioned stencil onto the page, then slightly moved the stencil to create a 3D-effect and inked over the area with a similar tone, but slithly darker. That creates this really fun effect.

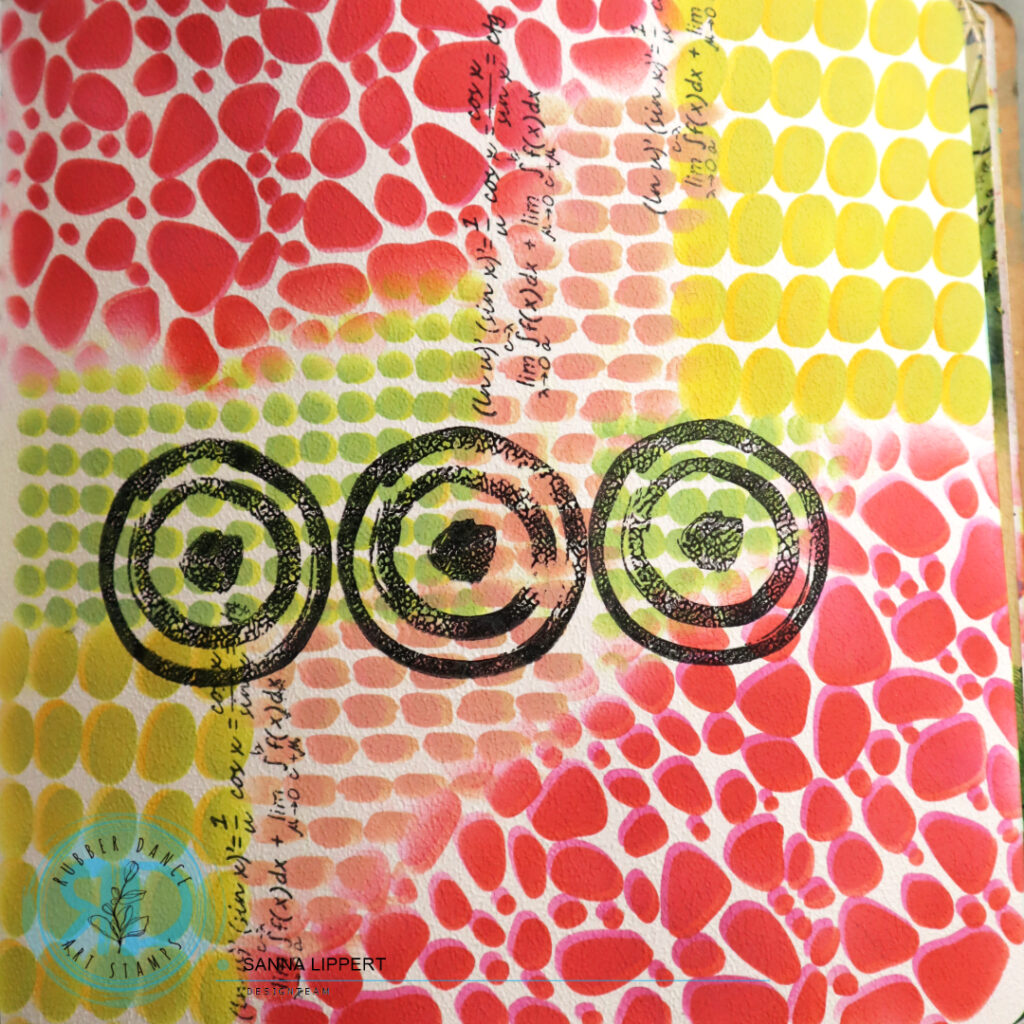
Next I took a black stamp ink and stamped some details with the Mix It Up 4 stamp set.

Followed with further stamping with the Mix It Up 6 and Mix It Up 7 stamp sets.

I also added some asemic writing to the background before creating a cluster of elements as a focal point. The blue collage fodder element is a previous make with Sketchy Leaves 5 and Brushos (see details here). The leafy flower is stamped on a music note paper with black ink (using Collage Leaves 3) and then fussy cut. Finally the sentiment was stamped on an old book page with the Collage Leaves 3 stamp set anf fussy cut to fit the page composition.

I also added some “turquoise” and “medieval” Gloss Spray droplets as detail and also added some stamped eyes in the process. They are from the Mix It Up 7 stamp set.

I love layering stencils and adding fun details to art journal pages with them. Then mixing some stamping with various stamp sets for contrast make creating art journal pages so much fun! I hope I could inspire you all abit with this page.

Have fun creating with Rubber Dance products!
xxx, Sanna

Tinted texture paste mixed media card – Rubber Dance

Hello everyone, I am up with a Rubber Dance project share today. I used following products: Rainbows 2 stencil, Mix It Up 5 and Pencil Marks 8 stamp sets.

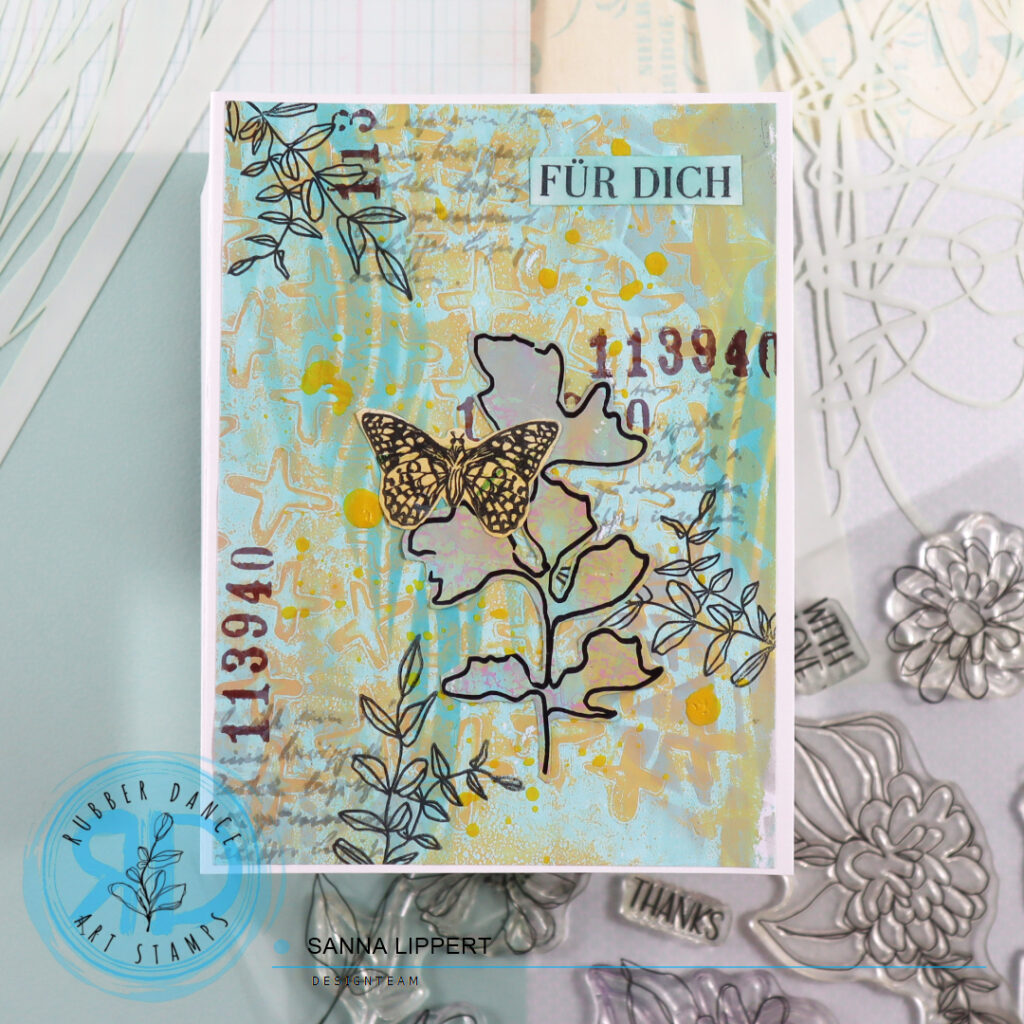
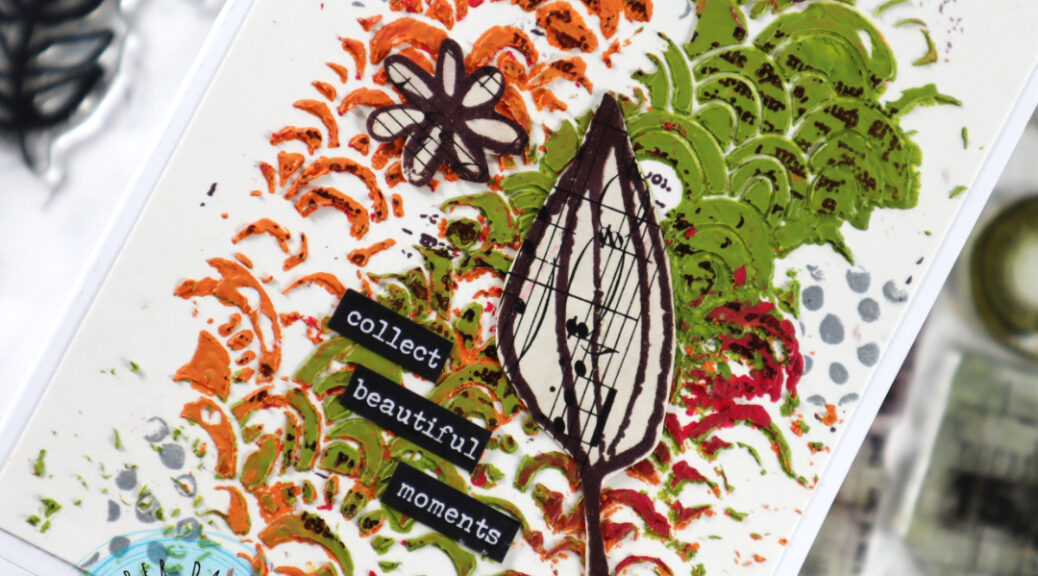
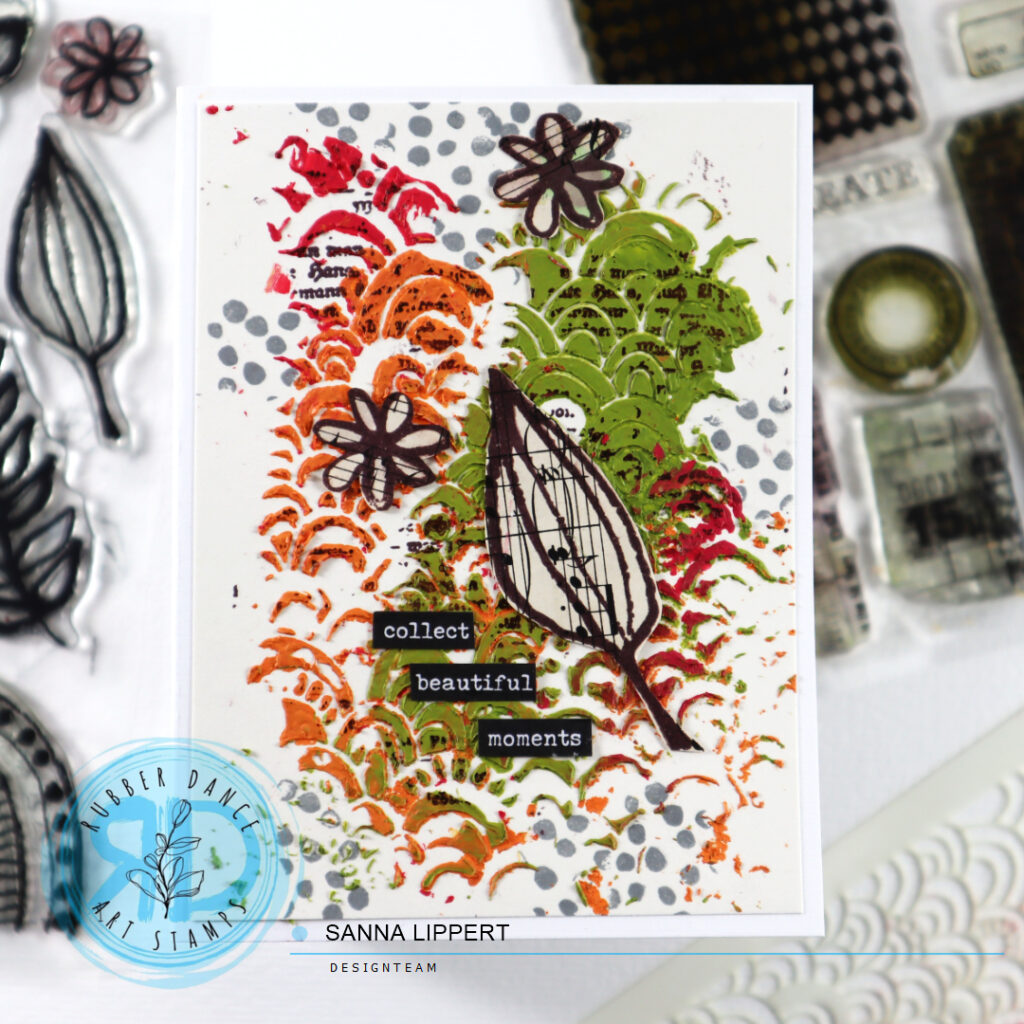
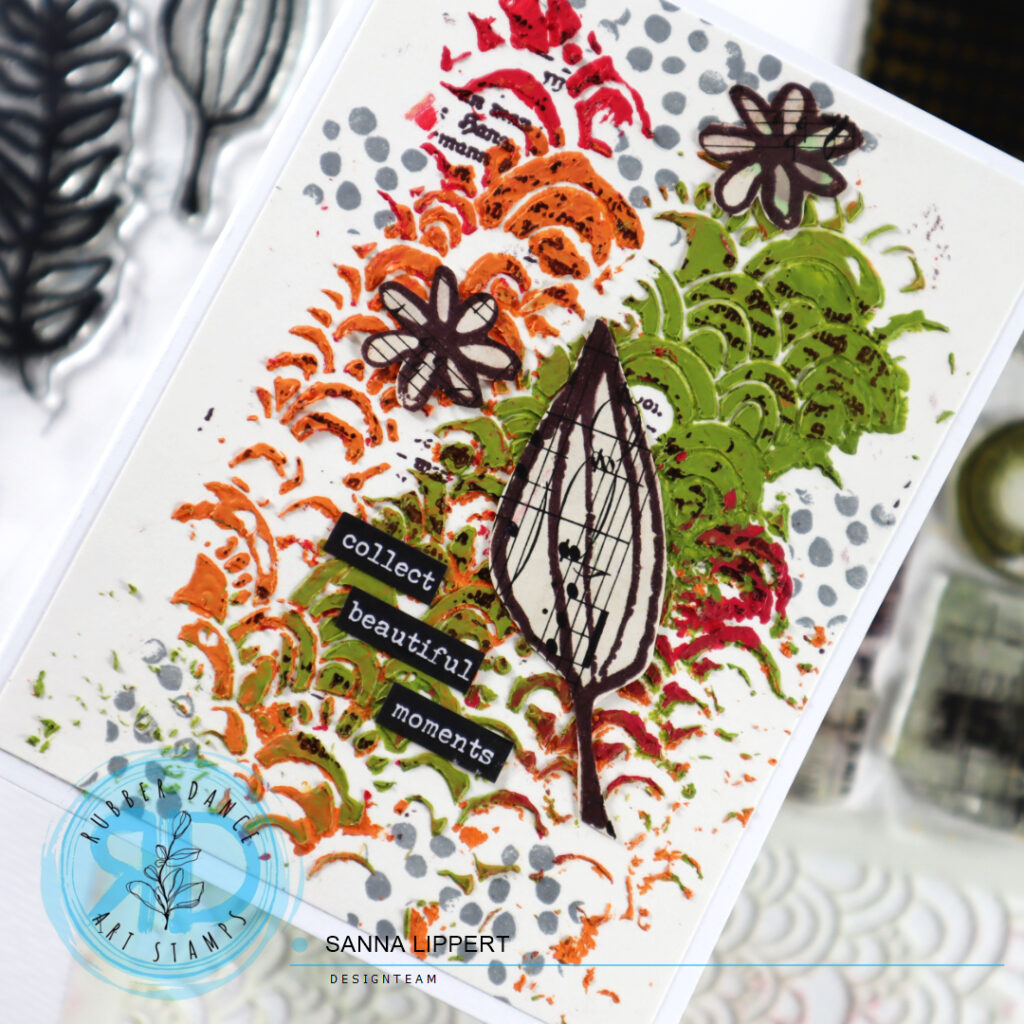
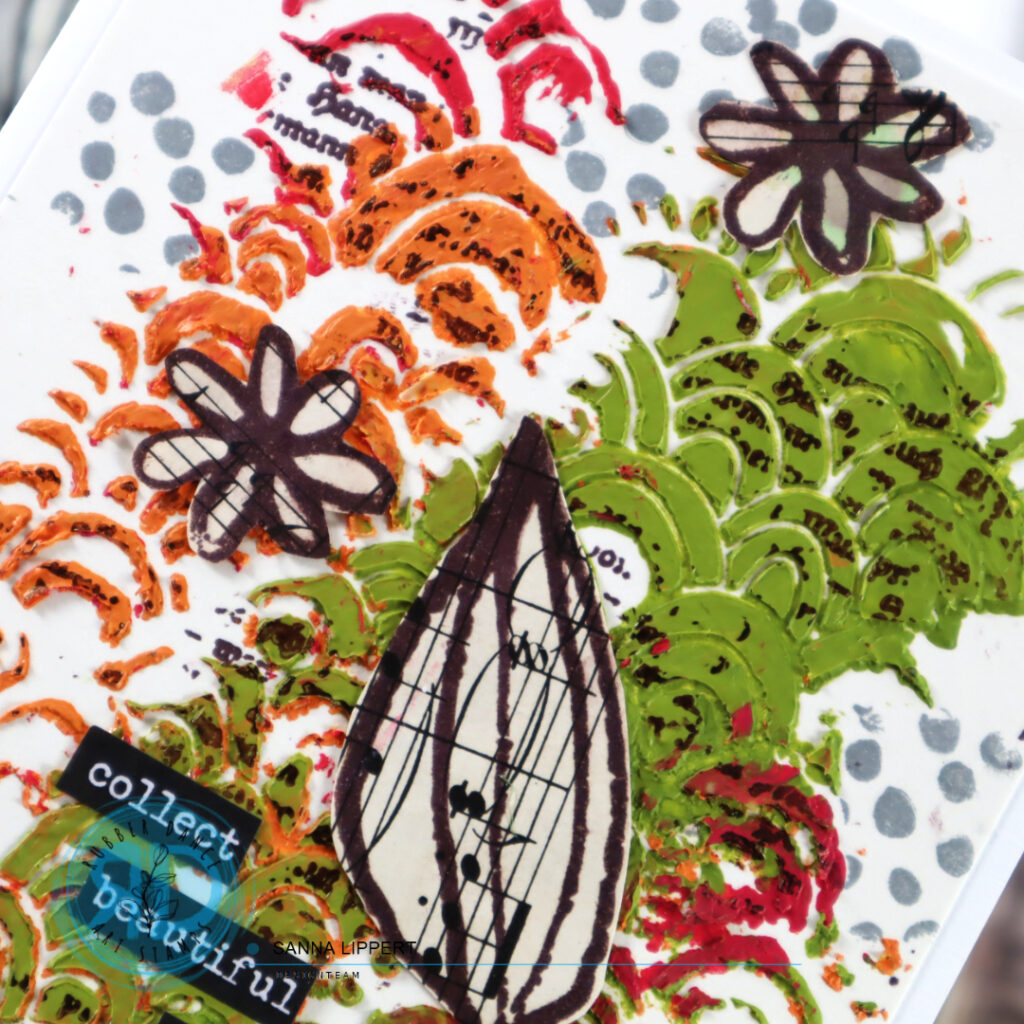
Like on my art journal page (see details here) I used the tinted paste residues from that project for this card background. I placed the Rainbows 2 stencil onto a piece of white paper and wiped the tinted pastes thru it onto the paper very randomly. I then let the pastes dry and added some stamping with the Pencil Marks 8 stamp and a grey stamp ink.

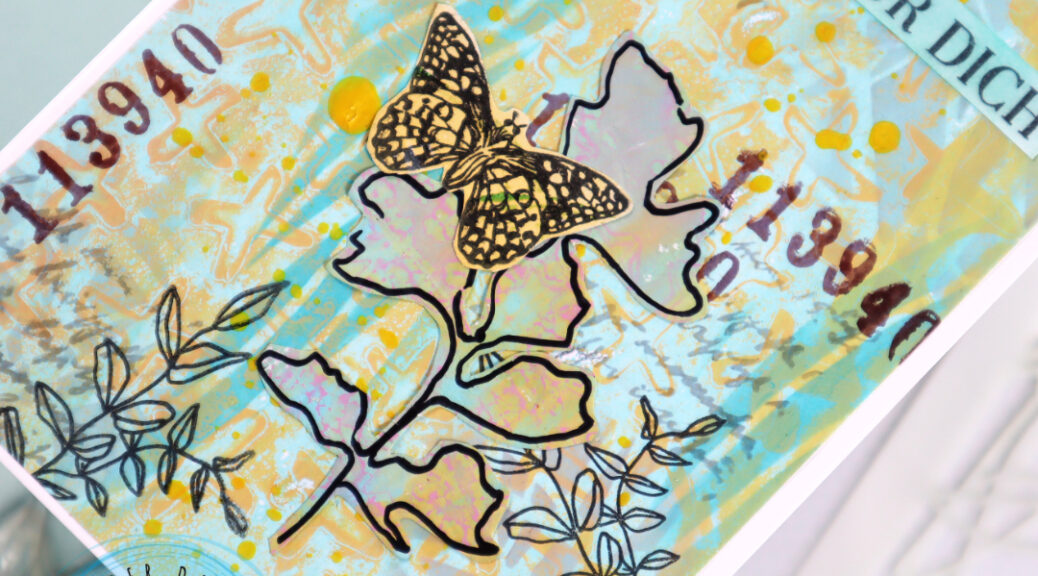
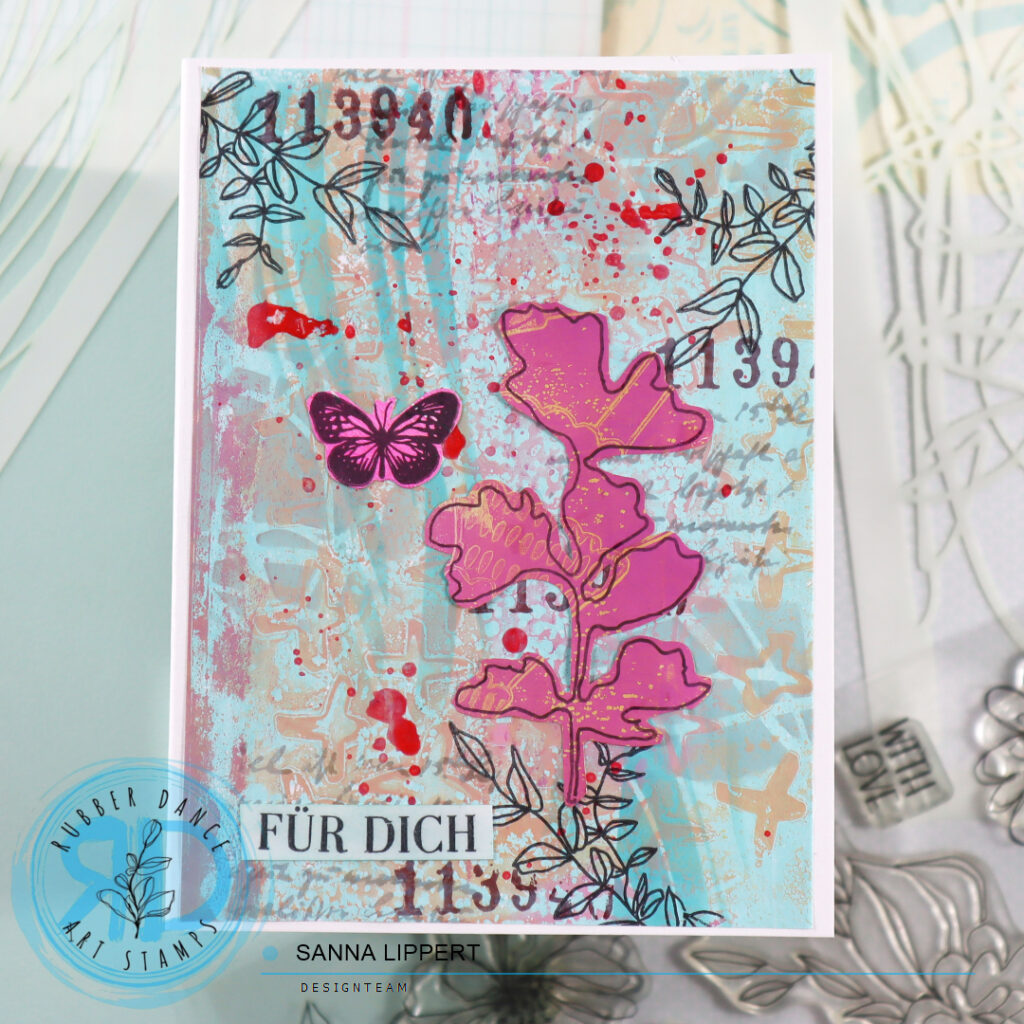
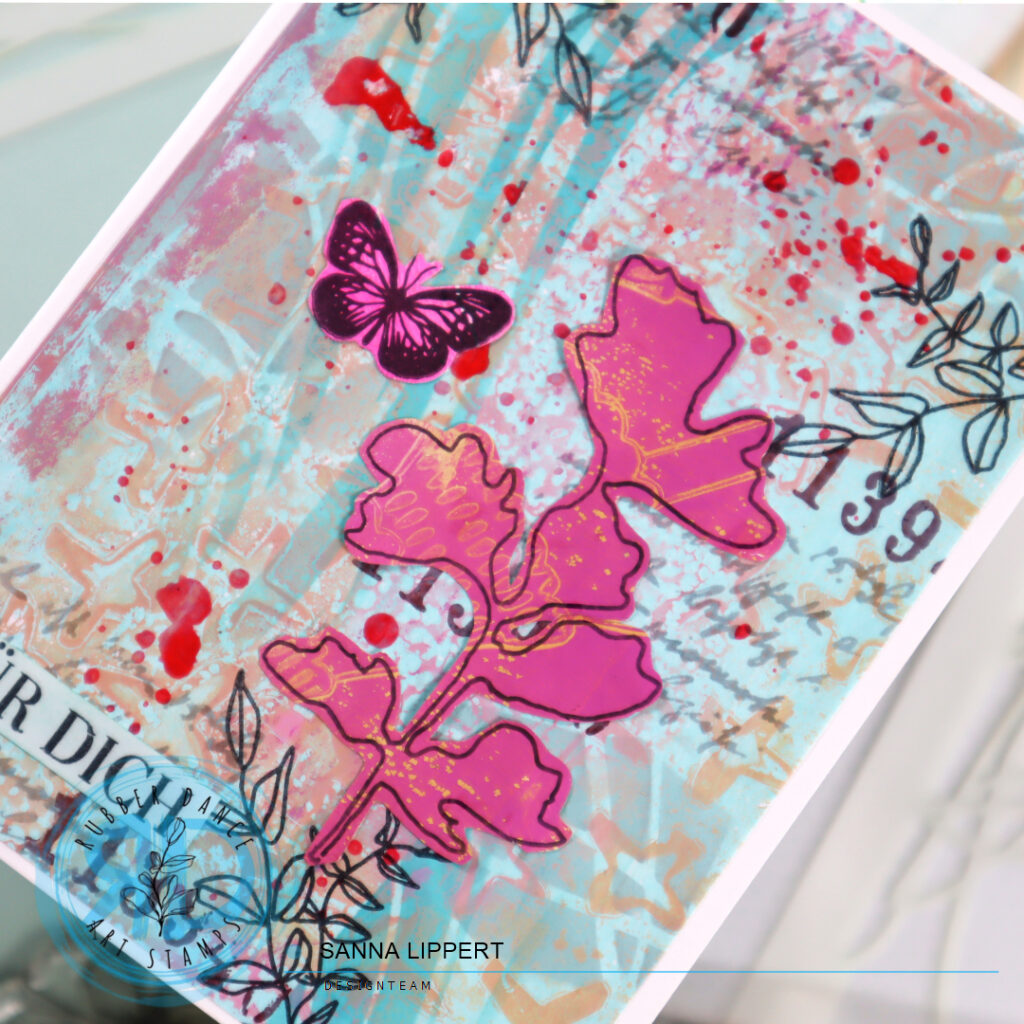
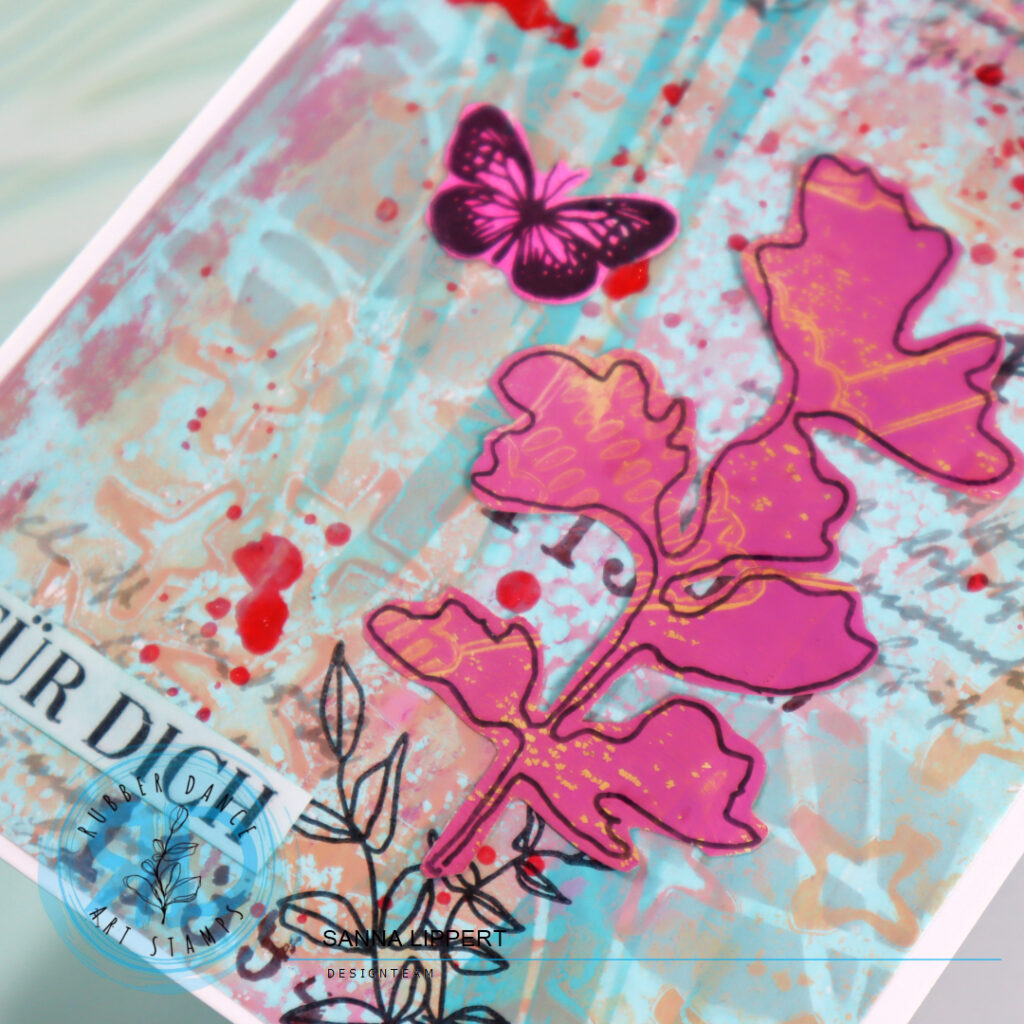
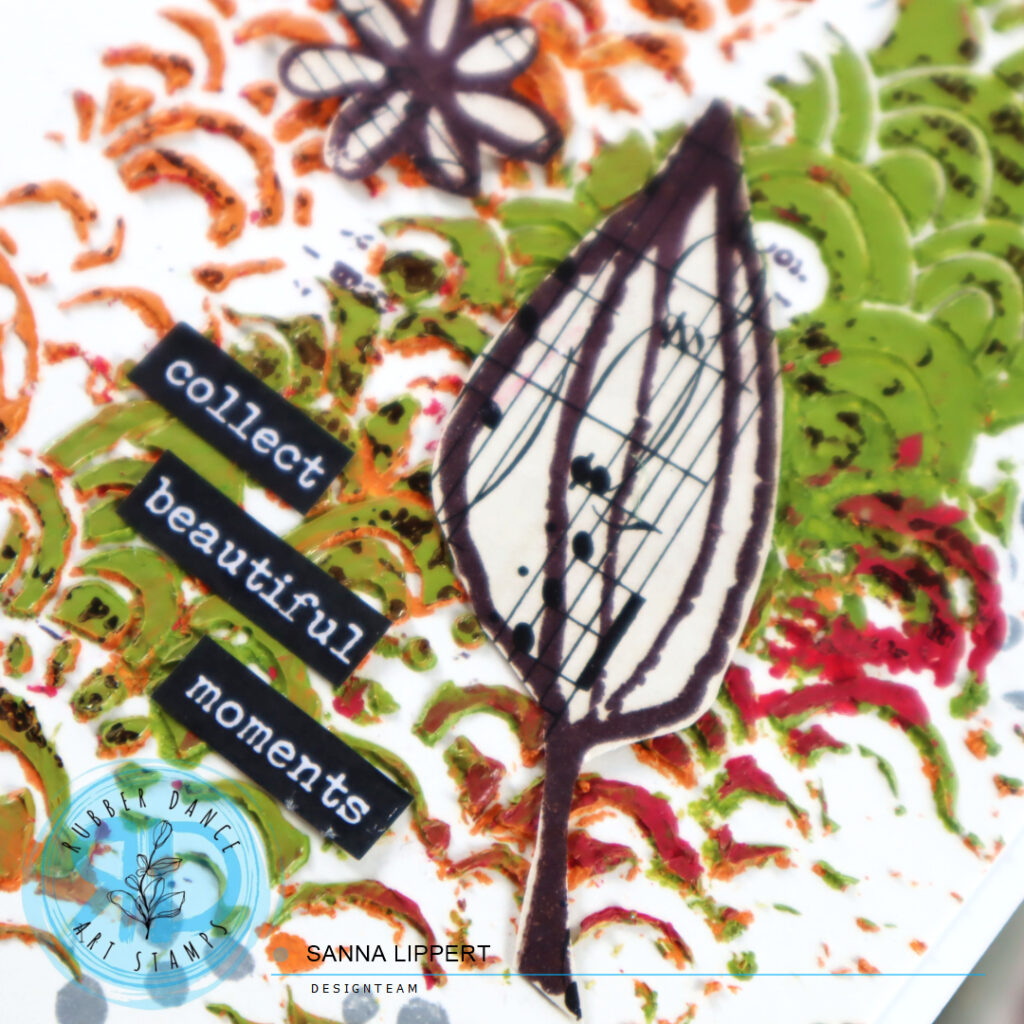
On top of the paste I stamped with the Mix It Up 5 stamp set and the text stamp with brown ink. It adds an interesting detail to the stenciled surface. I finished the card off with a sticker sentiment and stamped flower and leaf images from the Pencil Marks 8 stamp set. I stamped onto a piece of music paper here too, to add more interest to the images.

This is a great way to use up any leftover pastes and to create interesting looking starting points for cards. I hope you like the idea and grab some pastes to make fun card backgrounds of your own.

Have fun crafting,
xxx, Sanna

“True Love” card – Rubber Dance

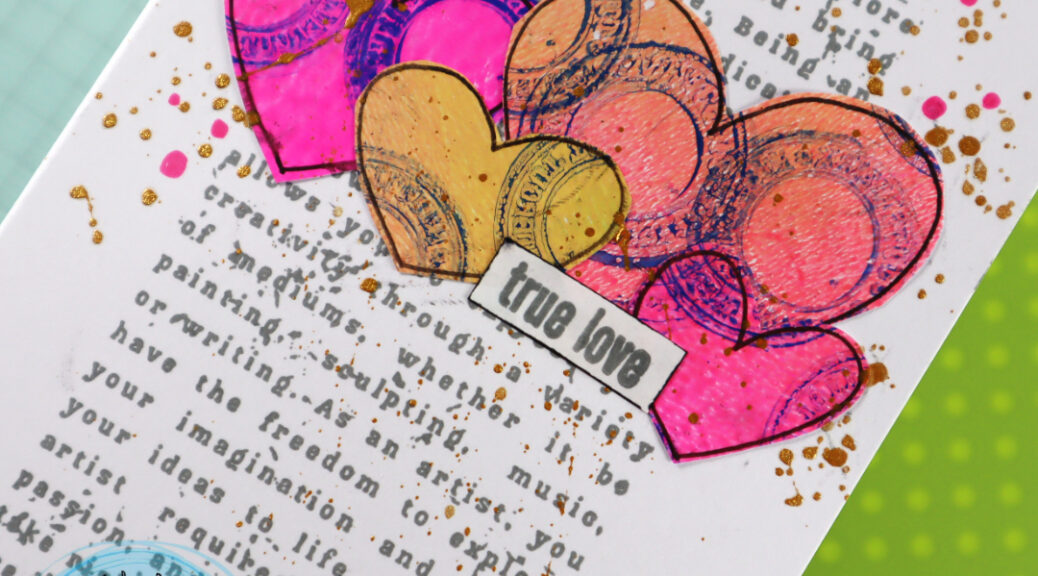
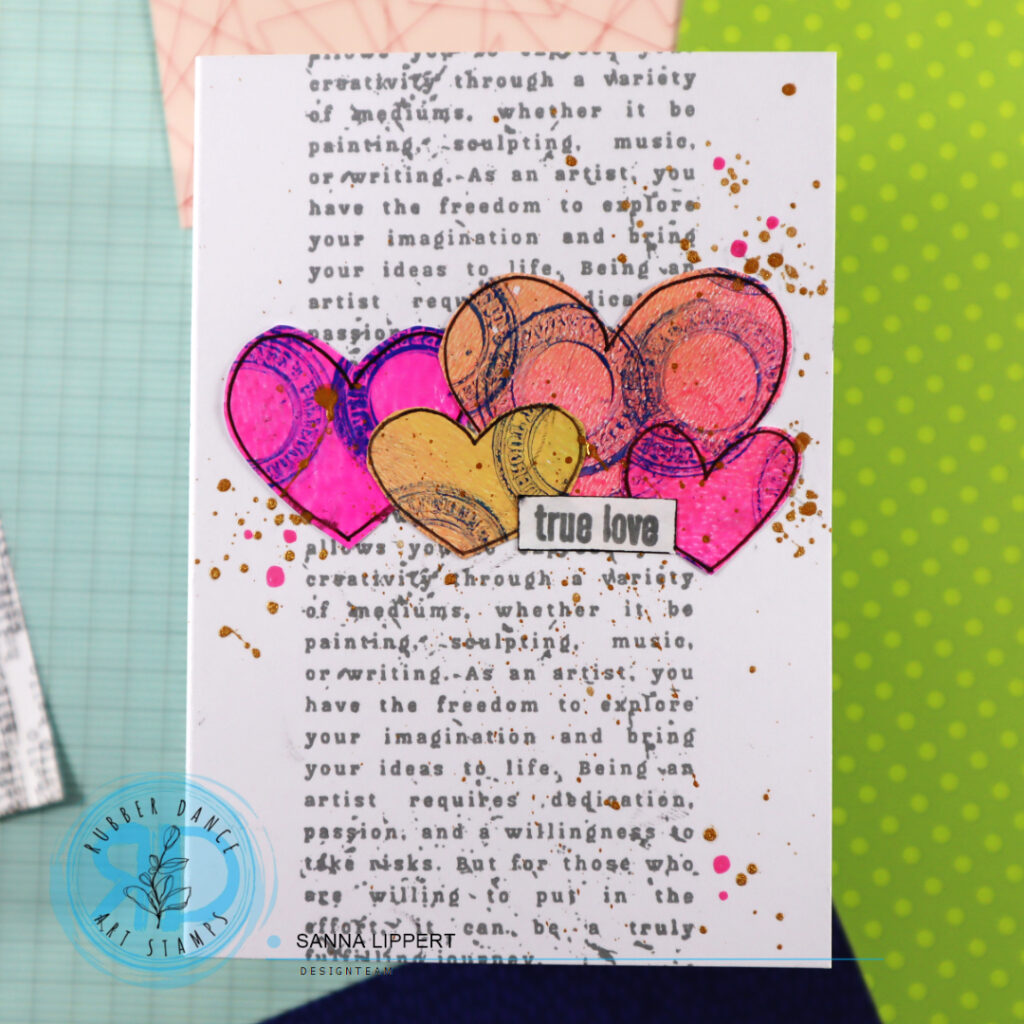
Hello, I´m here today with a really quick and easy card idea. I have quite a few gelli printed collage papers waiting to be used and here is one idea how to put those papers to good use. I used the Mix It Up 4 and Mix It Up 5 stamp sets as well as the Collage Leaves 3 stamp set on this card.

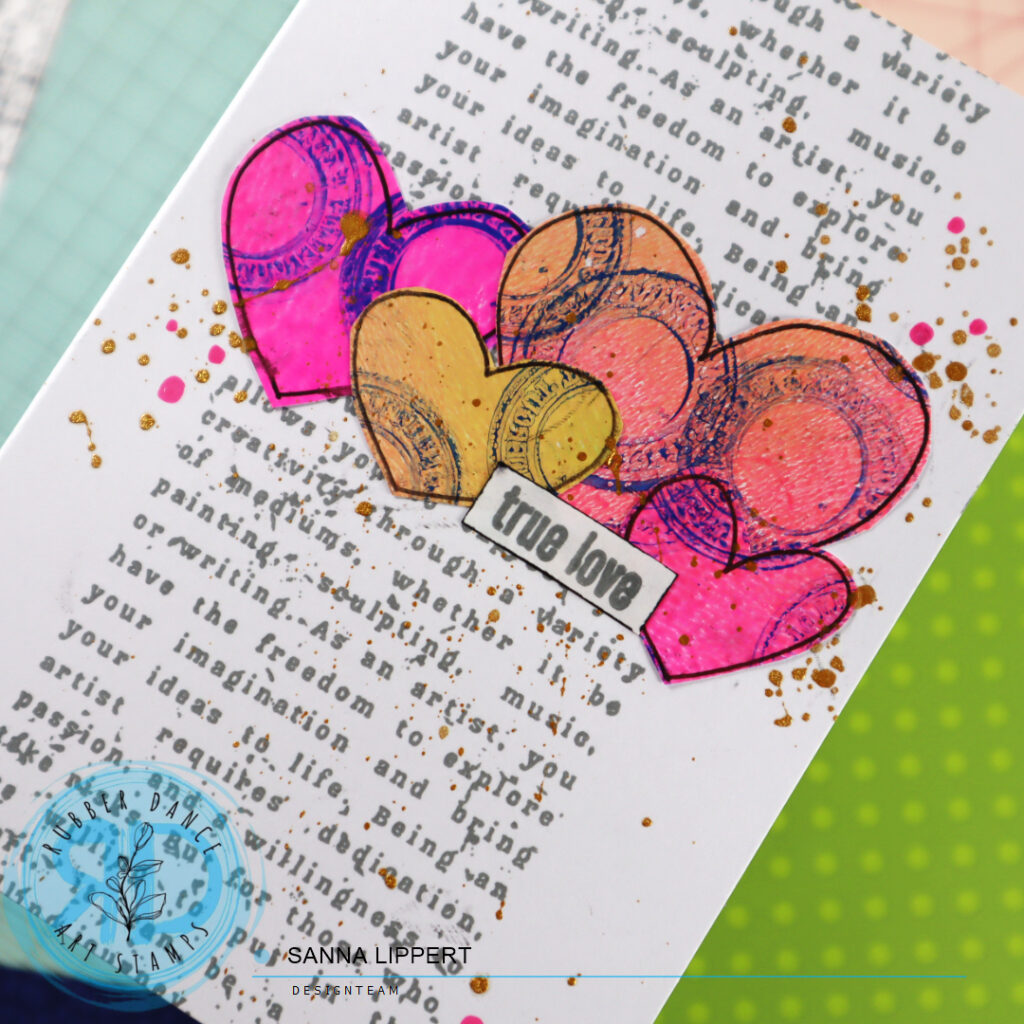
I started by pulling a bold colored gelli print from my collage paper pile – created with the Mix It Up 5 stamp set, acrylic paints and a gel plate. I drew some hearts onto that paper with a black gel pen, then fussy cut those hearts and took a white card base out. I then stamped with the Mix It Up 4 stamp set and a grey stamp ink onto the card base to create a background pattern.

Next I added some golden ink splatters and drew some pink circles with a Posca pen here and there. After that I arranged the hearts into a cluster and finished the card off with the Collage Leaves 3 stamp set sentiment.

Some times the collage papers turn out really bold in color and might be hard to use as is. By adding just tiny bits of them onto a calmer base the colors don´t overwhelm.

Here is a video on how I made gelli printed collage papers:

Hope you get inspired to play!!! Happy crafting,
xx, Sanna
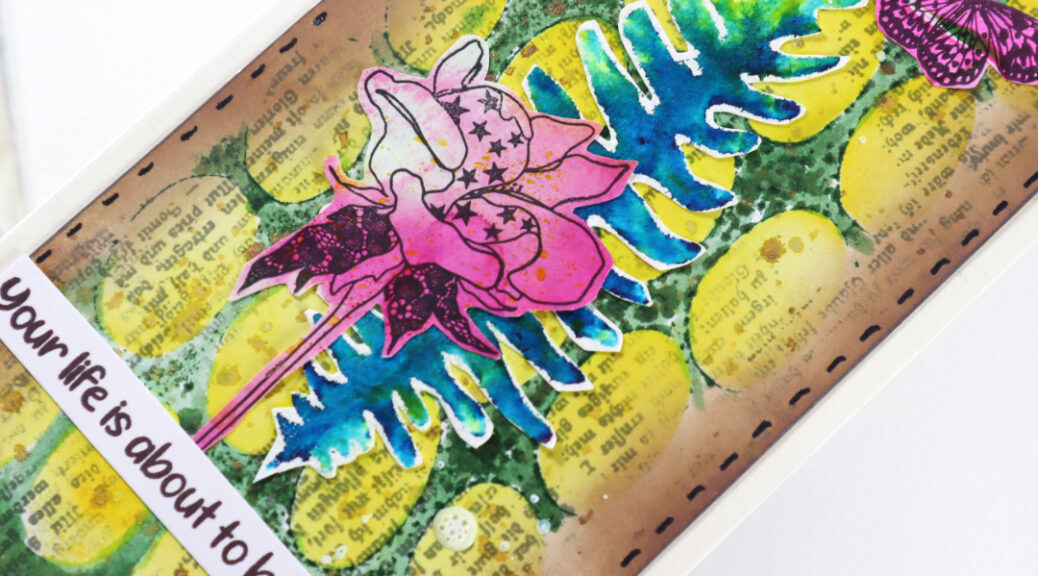
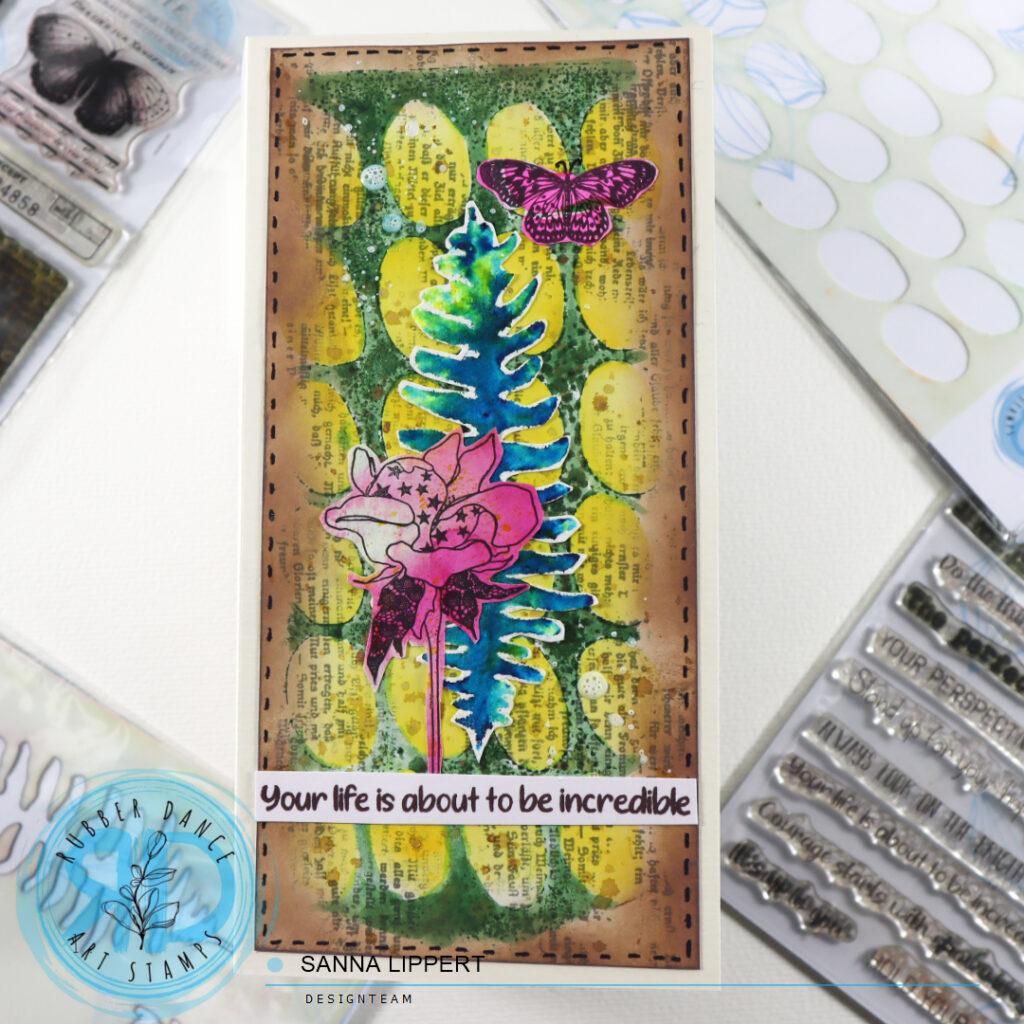
Incredible Life mixed media card with Distress Oxide Inks and spray ink – Rubber Dance

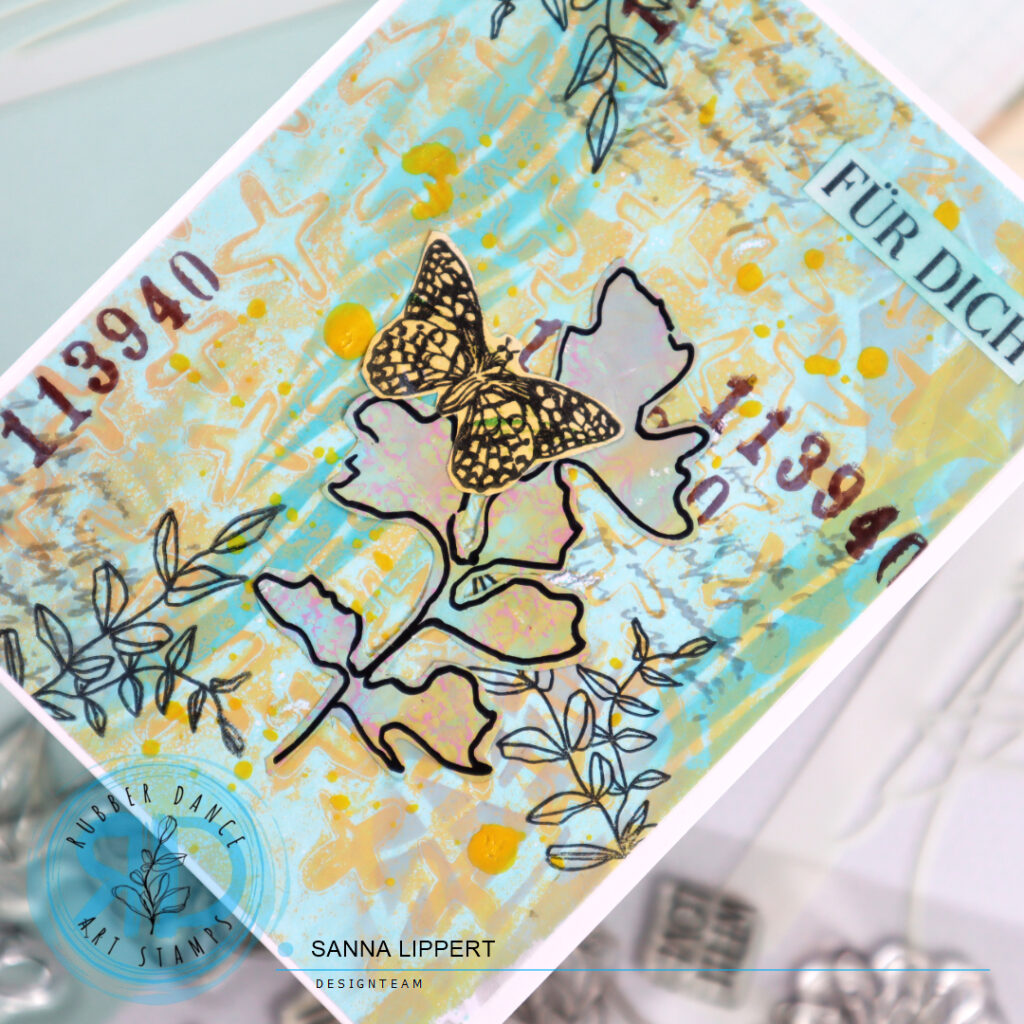
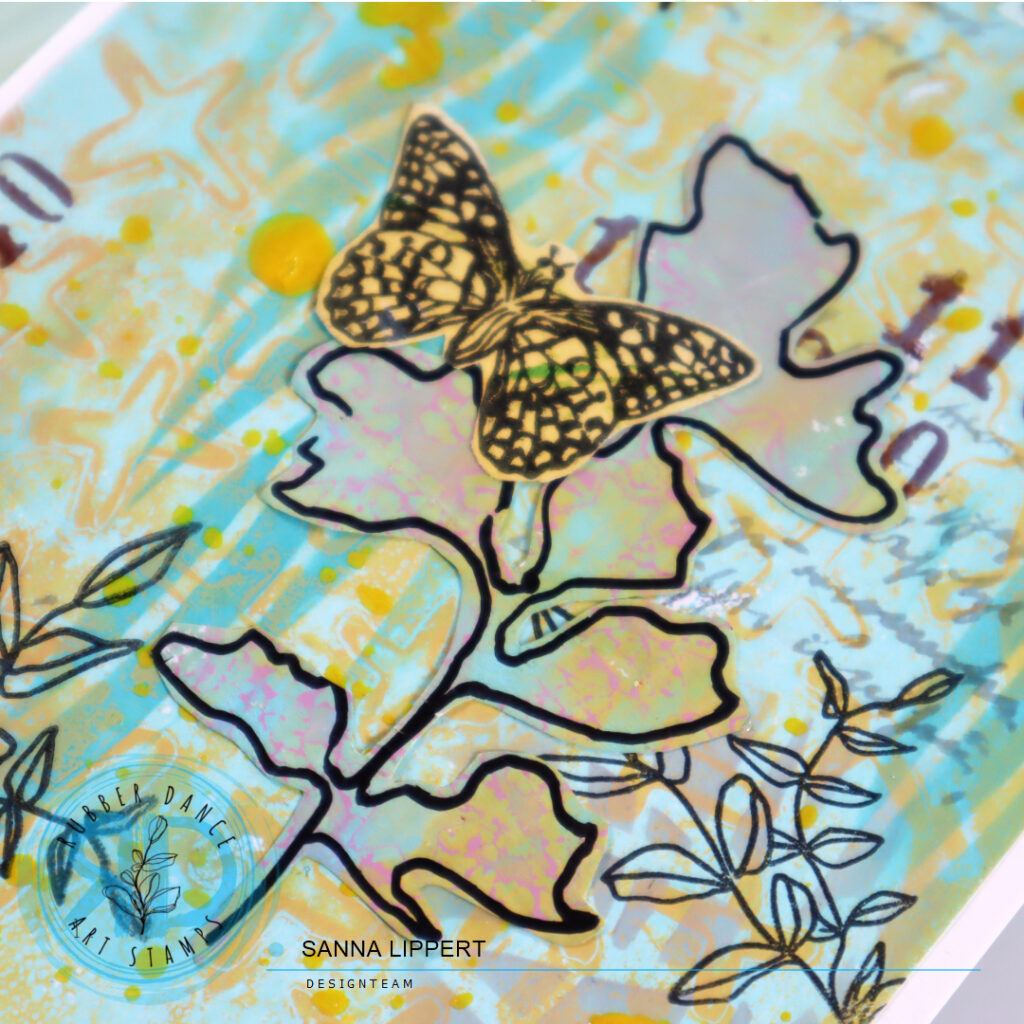
Hello, today I have a slimine mixed media card and a process video share for you. I´ve used the Big Ovals and Sketchy Leaves 5 stencils and Butterflies and Moths, Doodle Flowers 2, Mixed Sentiments 1 and Mix It up 5 stamps for this card project.

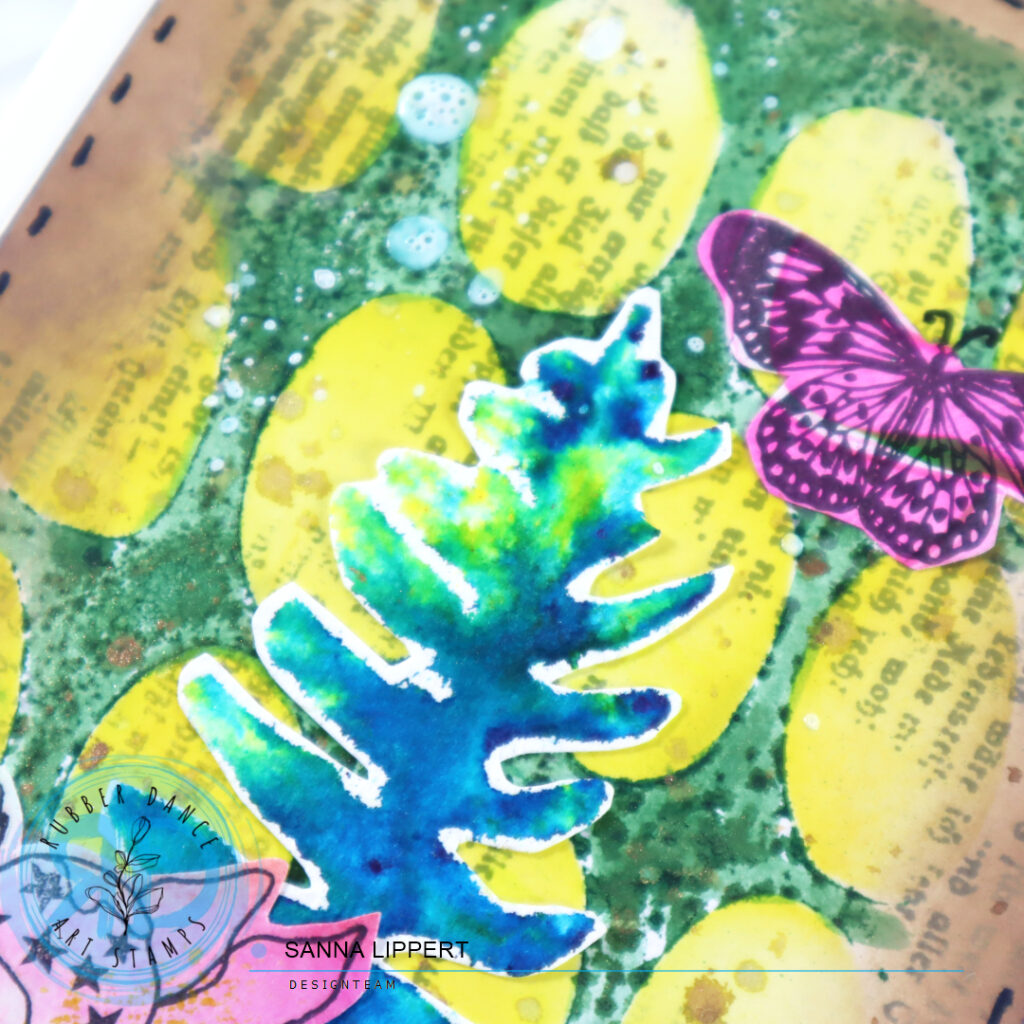
I started by spraying the Big Ovals stencil with a green spray ink, then lifting it from the surface and pressing the wet stencil carefully onto the thick cardstock. I let it rest (and the ink soak in onto the paper) and next applied “mustard seed” Distress Oxide stamp ink thru the stencil onto the paper. After that I removed the stencil from the surface.

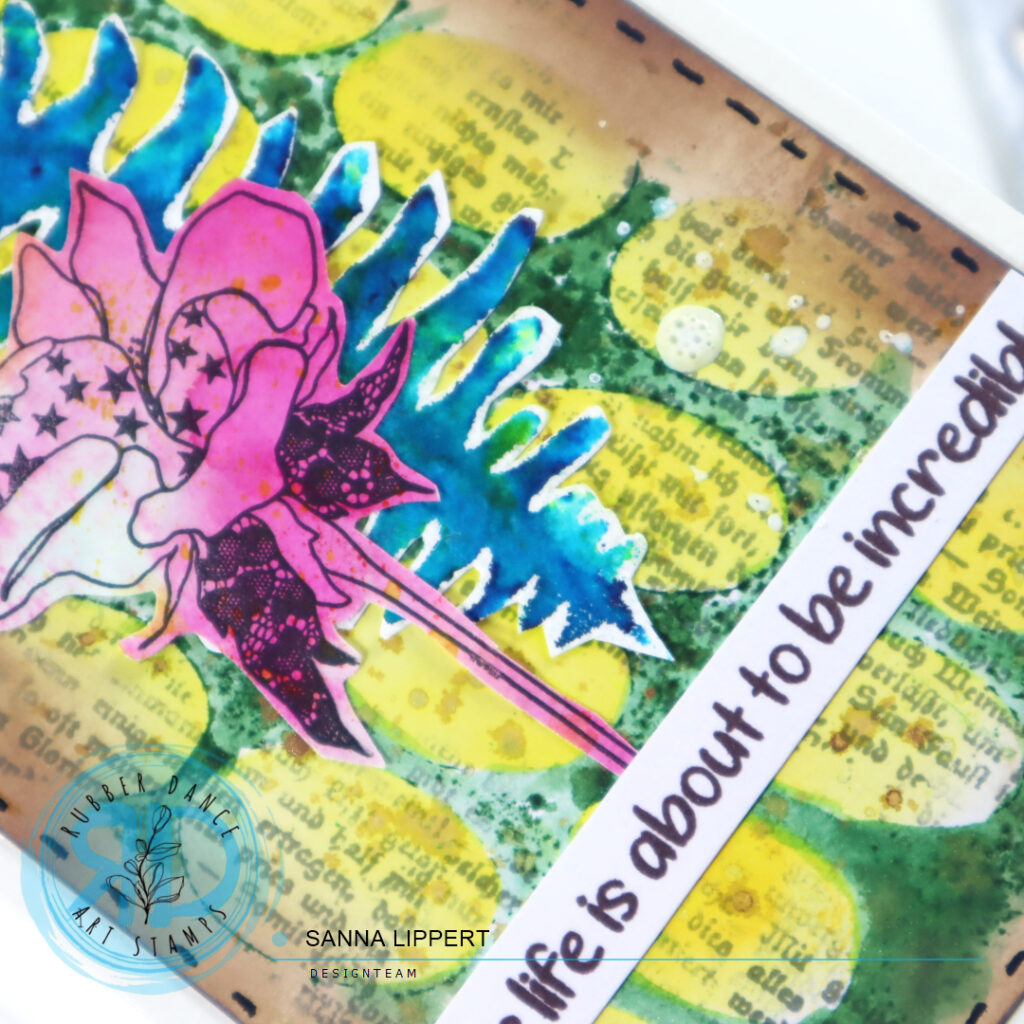
Next I took the Mix It Up 5 stamp set and stamped with the text pattern and grey stamp ink very randomly over the stenciled image, creating another layer. Then I took a golden brown spray ink and sprinkled some of it onto the surface. I let that layer dry, before moving to the next step.

As my next step I blended brown Distress Oxide Ink with a blending brush around the edges of the paper to frame the stenciled image. I then drew some faux stitching with a black pen around the edges to add some sharpness to the piece.

Finally, I gathered some collage fodder from my fodder stash (made with Skethcy Leaves 5 stencil and Brushos (video) and Distress Inks and Doodle Flowers 2 (video) as well as gelli plate and Butterflies and Moths (video). I arranged the images into a cluster of some sort and added a white sentiment strip to the card base. I used the Mixed Sentiments 1 stamp set with brown stamp ink for it. Before adhering the finished piece onto a white card base, I also added some white Gloss Spray splatters to the background for fun. I just cannot seem to create without splatters.

Here is the process video for you to watch:

I hope you get inspired by this idea and make some mixed media cards yourself!
Happy crafting,
xx, Sanna
“You Are” Art Journal page – Rubber Dance

Hello, it´s Sanna here today with another Art Journal page share. For this project I used the Mix It Up 7 and the Mixed Sentiments 1 stamp sets with the Mini Marks 1 and the Sketchy Leaves 7 stencils on this journal page.

I started by applying the ground espresso Distress Paint randomly with a palette knife onto the page. Next I took some leftover collage paper bits and adhered them around the edges to the page. After that I applied layers of Distress Paint in antique linen, spun sugar and tumbled glass to the background. Some parts of the residue collage papers got cover with paint, some didn´t. After that I added some stamping using the Mix It Up 7 stamp set and grey and brown stamp inks and the number stamps.

As my next layer I added some stamped “punchinella” pattern with a light grey stamp ink and the Mix It Up 7 stamp set here and there. As my next step I used the Mini Marks 1 stencil and Distress Paint picket fence to add some stenciling to the page. My paint is a bit older and thicker already, so it works great as texture paste here.

As my focal point I used a previosly made Brusho leaf collage fodder piece (see video here) and for the sentiment I stamped and fussy cut a sentiment from the Mixed Sentiments 1 stamp set. For final touches and additional interest I also had to add a few droplets of Gloss Spray in cheddar.

Here is the process video for you to watch:

Hope I could inspire you to play with Rubber Dance products in your own journal!

Happy crafting,
xx, Sanna
Collage paper birthday cards – Rubber Dance

Hello everyone! It´s Sanna here today with a set of gelli printed collage paper and fodder cards. For these cards I used the Wheels and Stars 1 stencils to create the background collage papers. For the focal points I used the Sketchy Leaves 5 stencil and the Organic 4 stencil. The sentiments are stamped with the Kartengrüße stamp set.

For the first card I used a collage paper I had made with acrylic paints and the Stars 1 stencil with my gelli plate. I then added some white texture paste I had tinted pink with neon acrylic paint thru the Organic 4 stencil onto the surface. I cut the paper in size and adhered it onto place. I then took the Sketchy Leaves 5 stencil and a piece of paint brayered paper and outlined the stencil image onto that paper. After fussy cutting I adhered it as my centerpiece to the card. I stamped the sentiment onto white paper which I had inked with pink ink to match the colors of the card. Some outlining with a black pen and some alcohol ink colored pearls for decor and the card was done.

For the second card I again used acrylic paints and a gel plate. This time with the Wheels stencil.

I created the leaf pattern the same way like on my first card, except I used another collage paper for this purpose. This time I added some rhinestones for sparkle and a fussy cut, on white paper stamped sentiment for detail.

I love using gelli printed collage papers! And I don´t mind if the prints don´t turn out perfect, but have just a hint of pattern on them. I find that makes them more artsy and interesting as a card background.

I hope I could inspire you to play with Rubber Dance stencils abit today!
Happy crafting,
xx, Sanna
Mixed media birthday card – Rubber Dance

Hello everyone! It´s Sanna here today with another birthday card share. For this card I´ve used Marks 3 and Rainbows 2 stencils with Butterflies and Moths, Kartengrüße and Stitching Borders stamps.

I started off with 3 different papers – some of them were gelli printed collage papers and others had texture paste stenciling on them. I adhered them onto the slimline card base and started adding Distress Paints in “spun sugar” and “antique linen” here and there. After the paint layers had dried, I placed the Rainbows 2 stencil onto the paper and added some Distress Oxide Inks thru the stencil onto the background. I used greys, browns and light greens here. I also added some black and pink ink splatters to the background as well as some Posca pen marks in bright pink.

After that I stamped outlining with the Stitching Borders stamp set and a line into the middle with black ink. Then I took some collage butterflies I had made previously and adhered those to the card as a centerpiece. I added some white gel pen details to them and finished the card off with a stamped birthday wish.

Who else is in love with the butterfly stamps? I could add them to almost every project I make.

Happy crafting,
xxx, Sanna
Leaf and tree collage fodder cards with Brusho´s – Rubber Dance

Hello, today I am sharing a video and a set of cards. For these cards I´ve used the Xmas Trees 2, Sketchy Leaves 7 and Sketchy Leaves 5 stencils as well as Kartengrüße and Mix A Sentiment 2023 stamp sets.
I started with a watercolor paper and places the stencil onto it. Next I misted the leaf and tree areas of the stencils with a water spray bottle. After that I removed the stencils from the paper and dabbed some Brusho powders onto the wet areas. The color particles immediately start to spread on the wet areas and create interesting looking leaf patterns.

I let the water dry on it´s own and after all the areas were completely dry, I dabbed any residue powder off the paper and fussy cut the leaves. I mixed various colors together to create interesting looking images.

After finishing the Brusho collage fodder, I used the Mix A Sentiment 2023 stamp set to stamp a background pattern to white card bases. I used grey, brown and blue ink tones for stamping. Then I added some golden pigment droplets here and there and added the fodder leaf as a focal point. I finished the cards with a stamped sentiment in the same color like the text on the background.

Here is a video of the steps for you to watch:

I have been wanting to try this technique out fo a while and I must say,
it´s a lot of fun to watch the powders create depth and lightness to the leaves on their own. Not a single leaf turns out the same.

Happy crafting,
Sanna