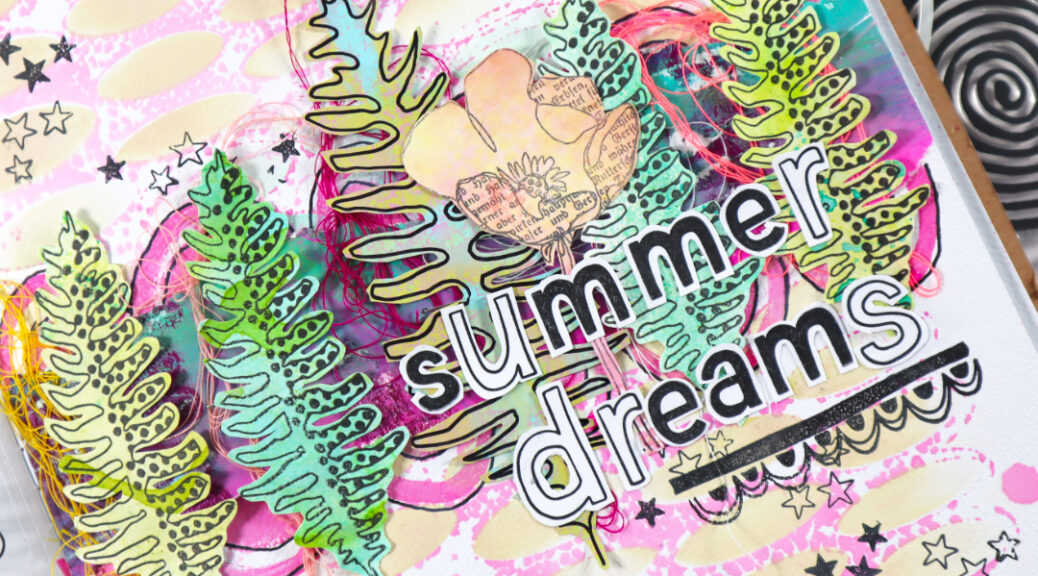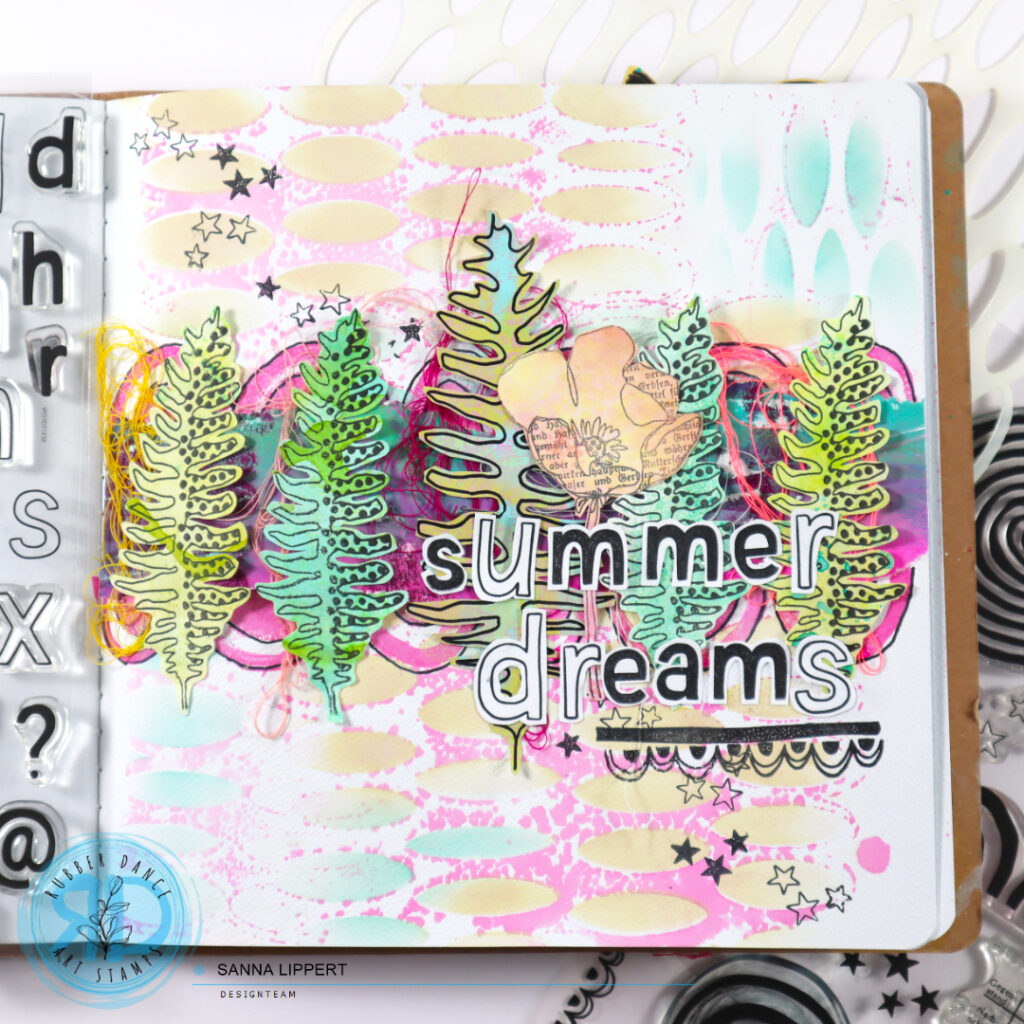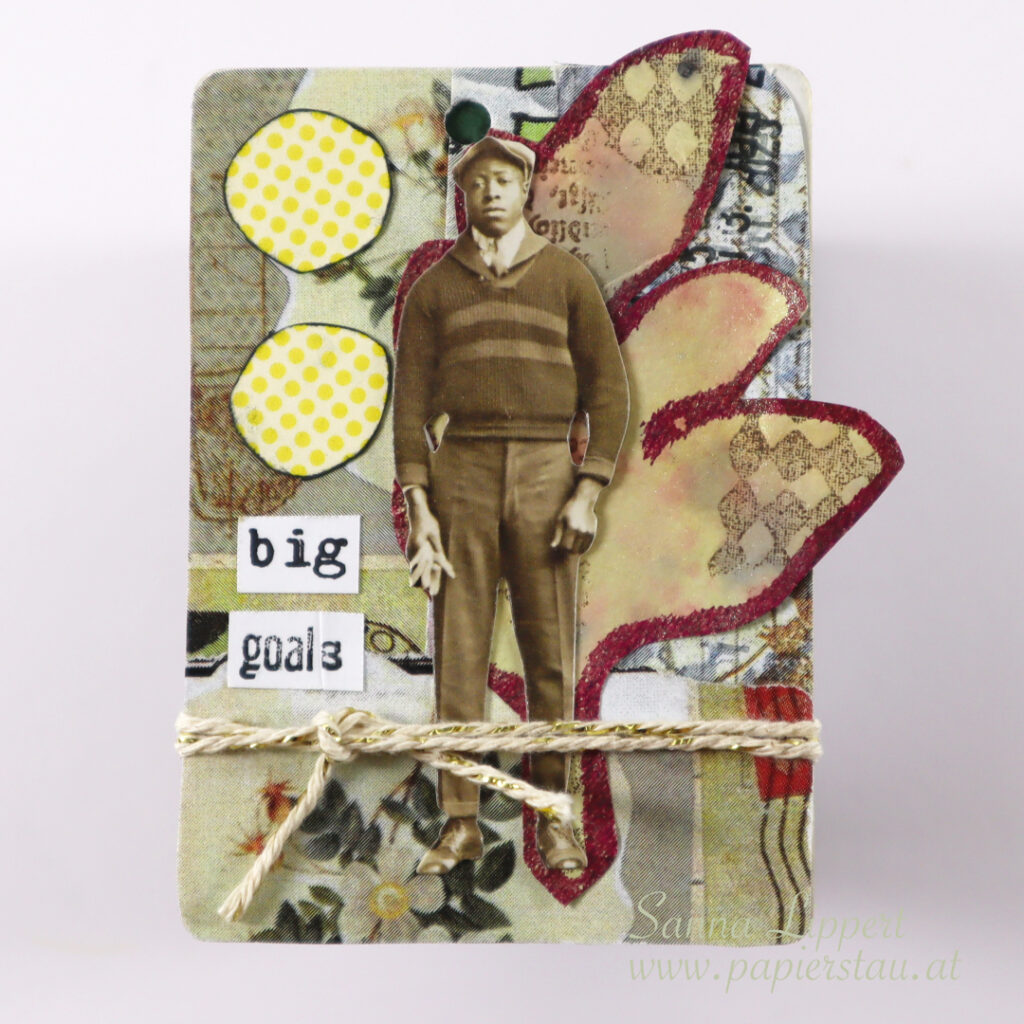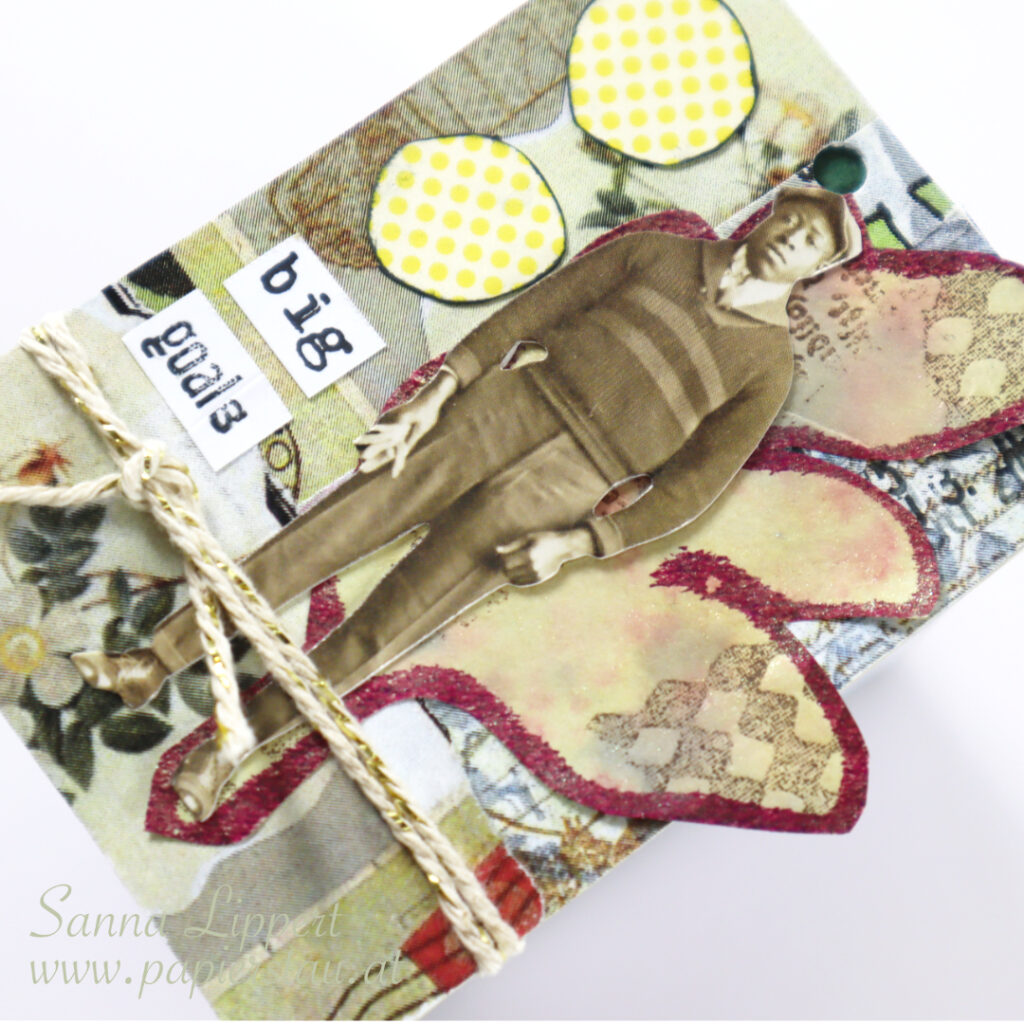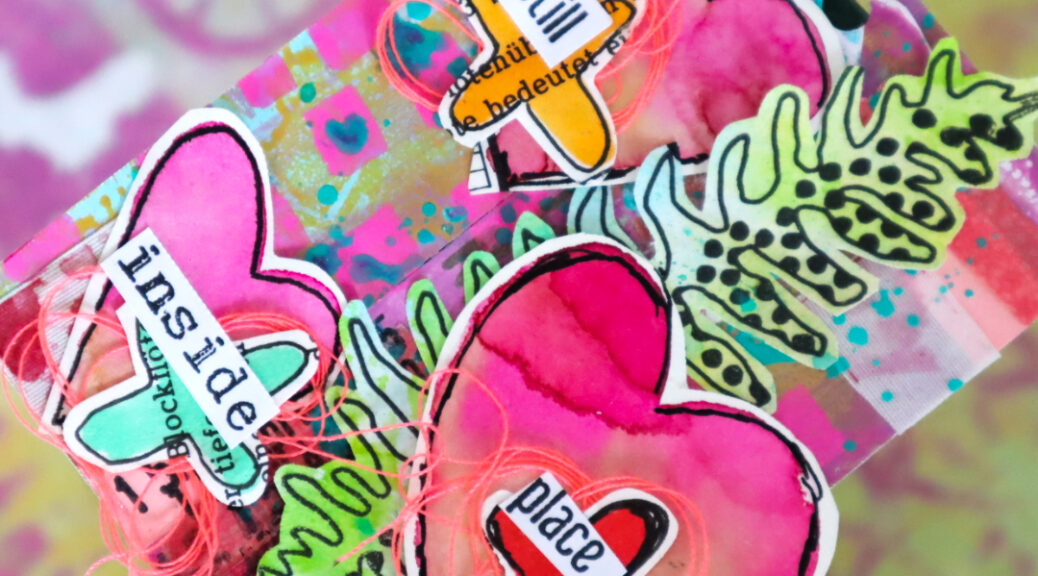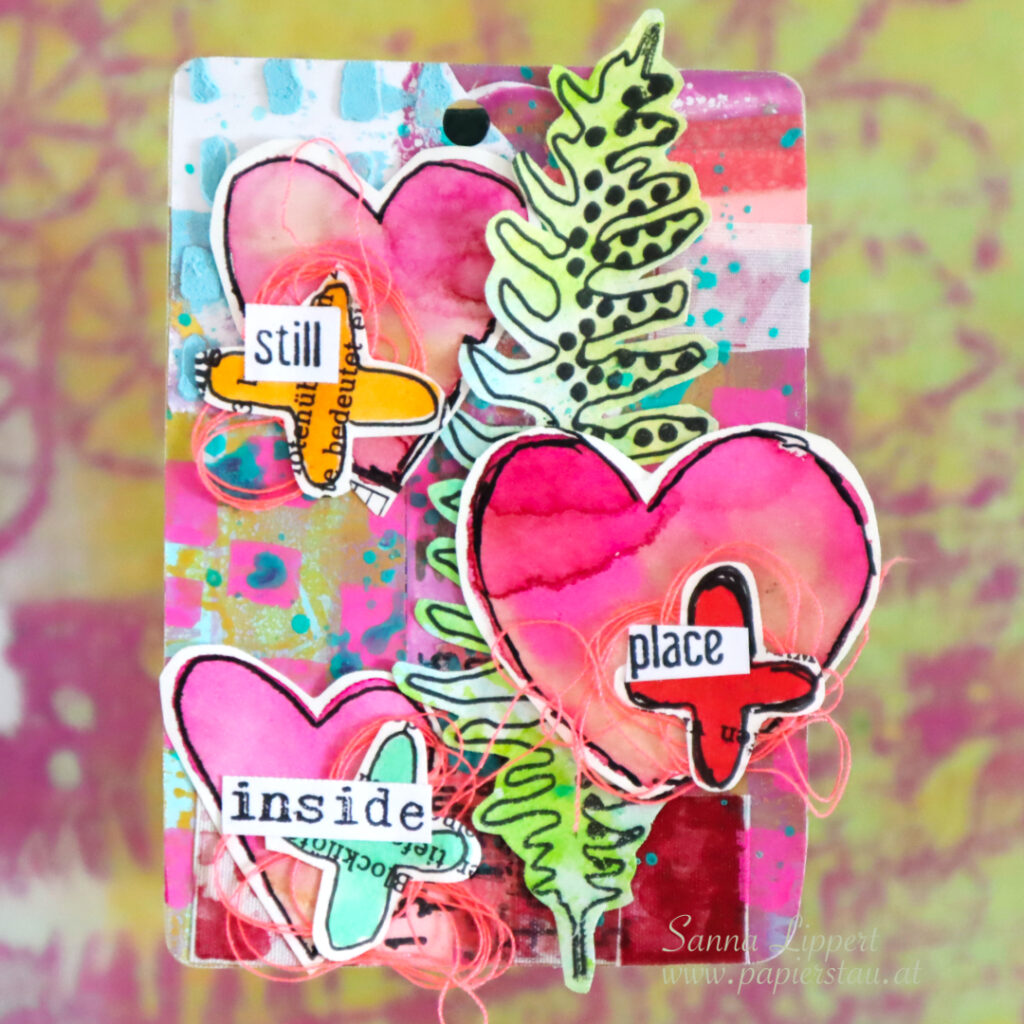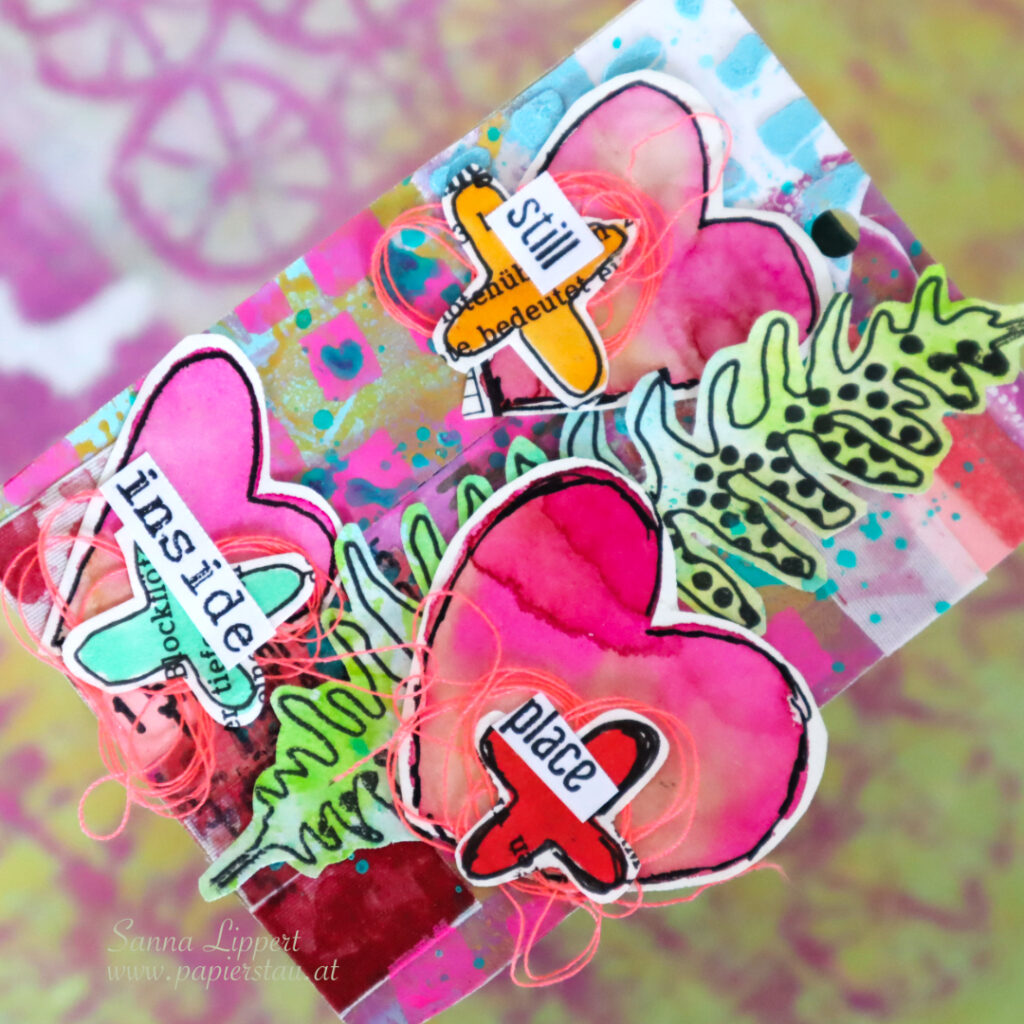
Hello and happy Wednesday! Here is my take on the ShanoukiArt Full Deck Challenge 34/2025: happy scraps.
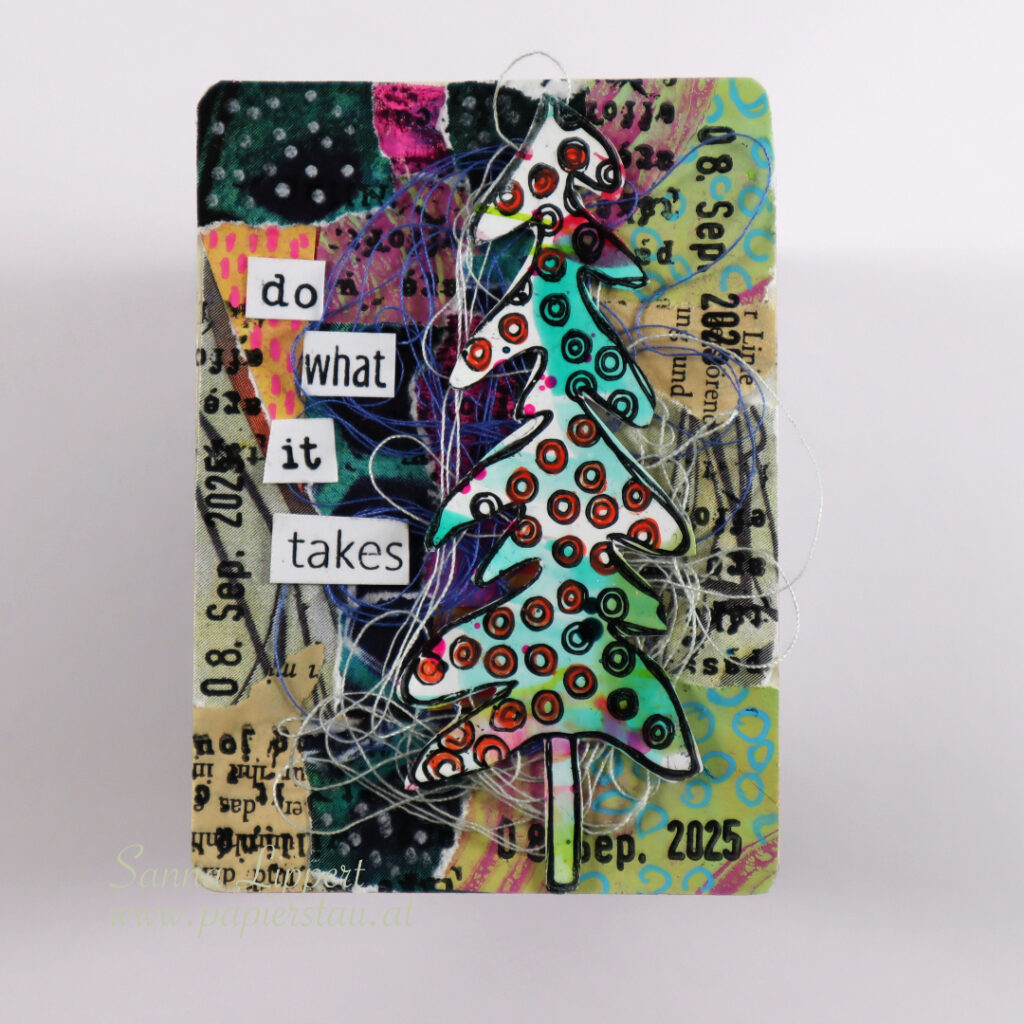
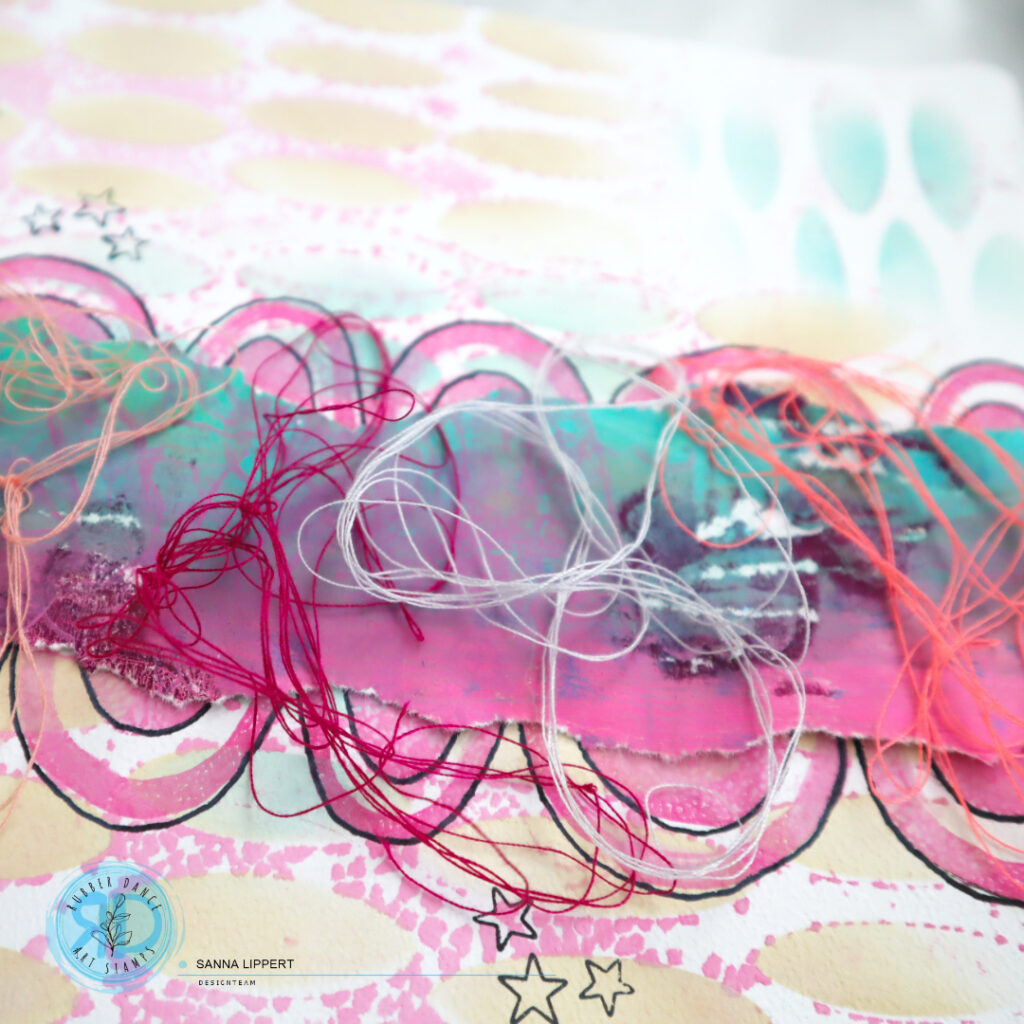
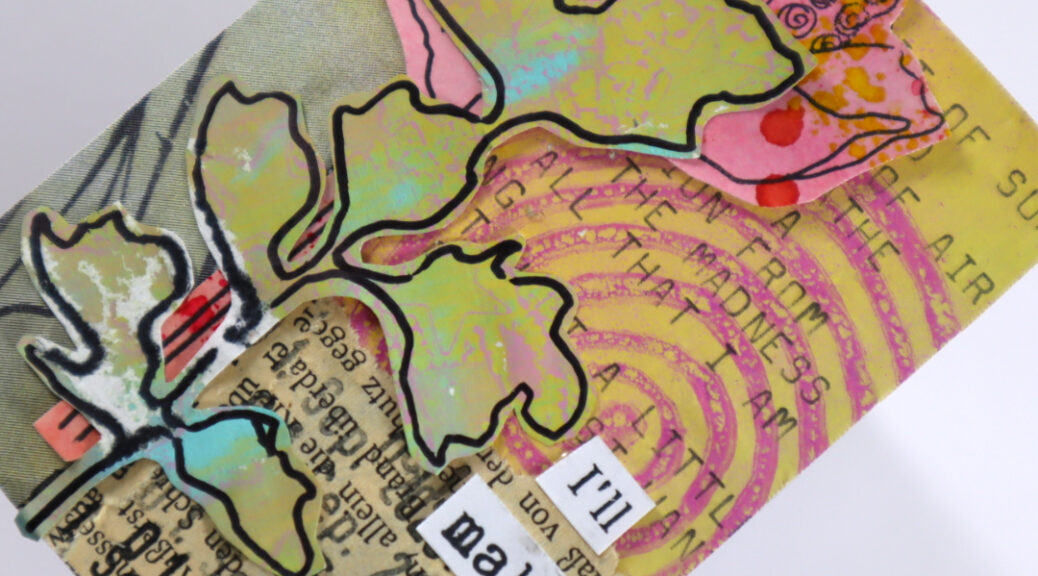
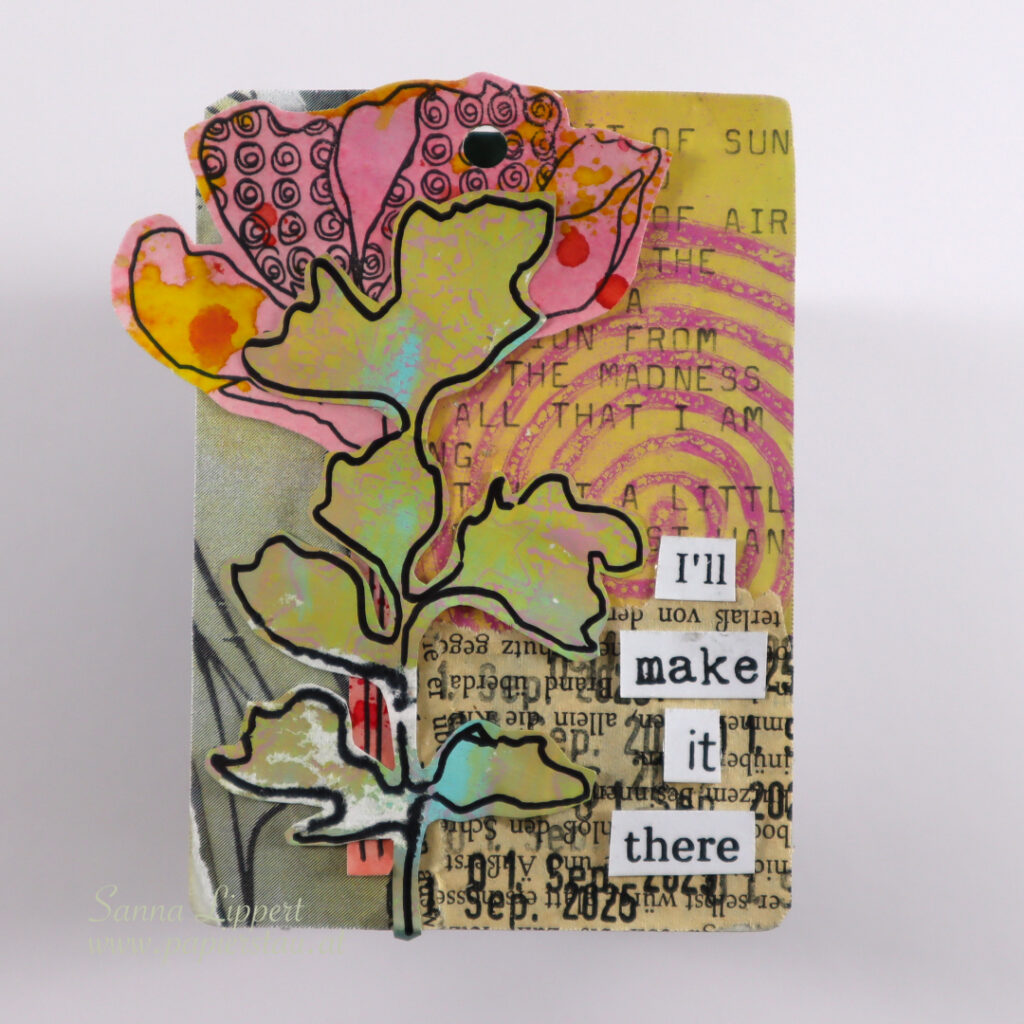
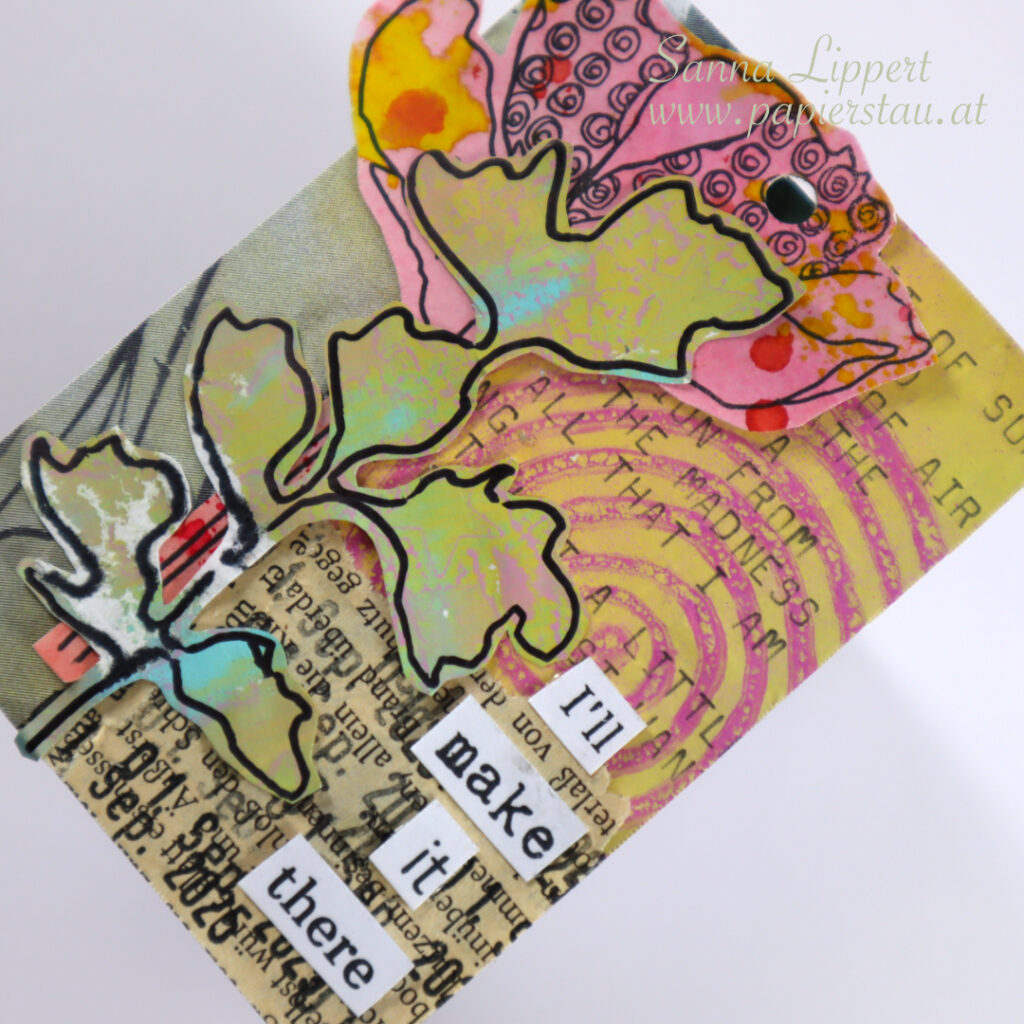
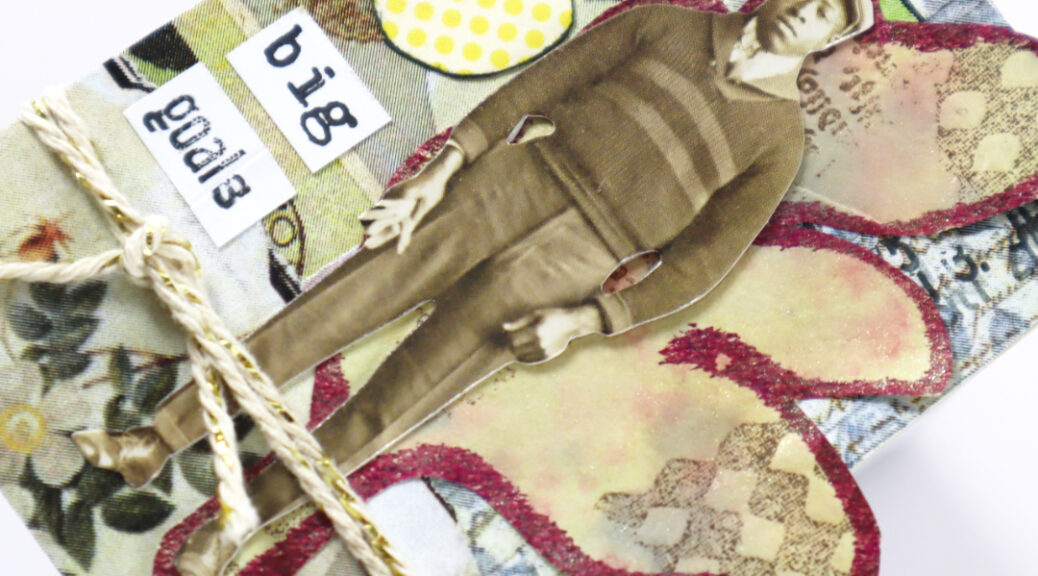
For this one I used plenty of leftover bits from the previous deck cards (old book paper, collage papers gifted to me by Yuna from Australia, gelli printed papers). I wripped them into tiny pieces and arranged them very randomly onto the deck card. The book paper and the gelli printed paper bits are my carry over items this time.
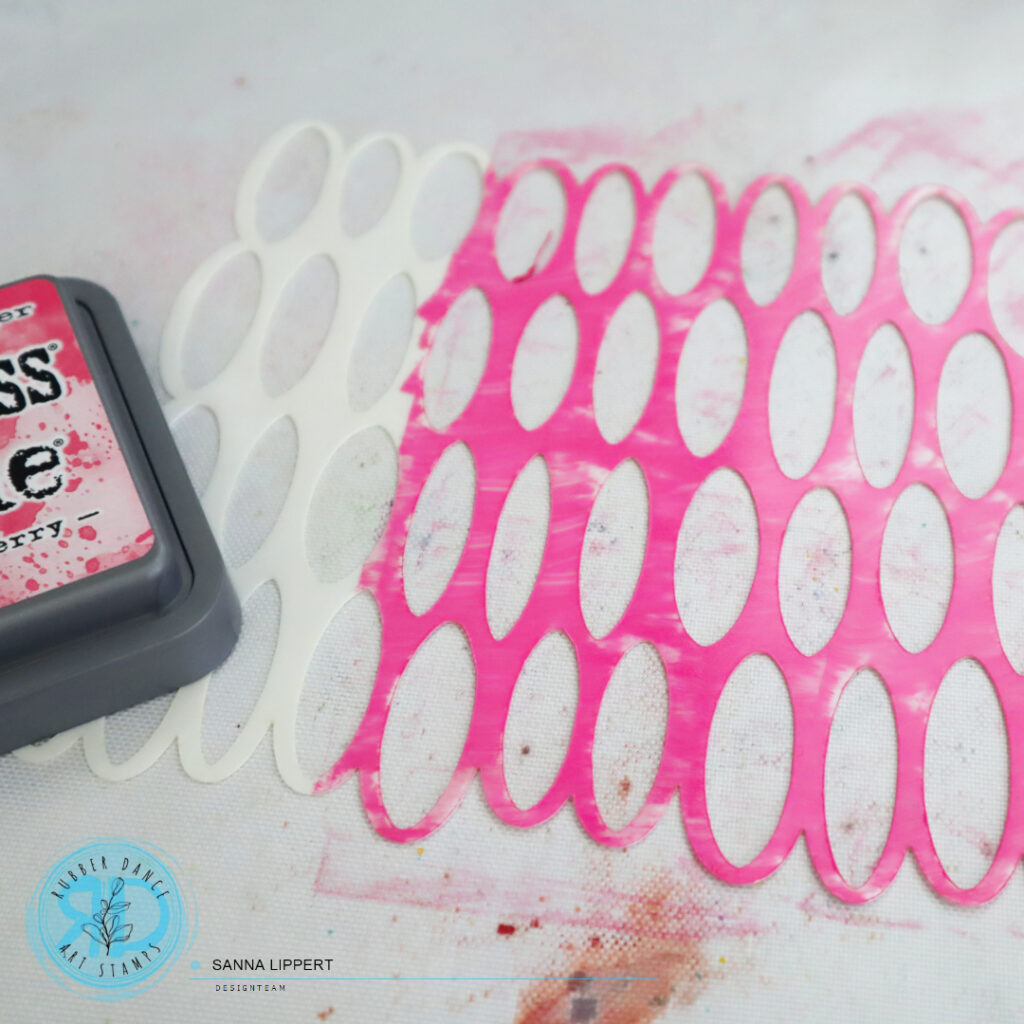
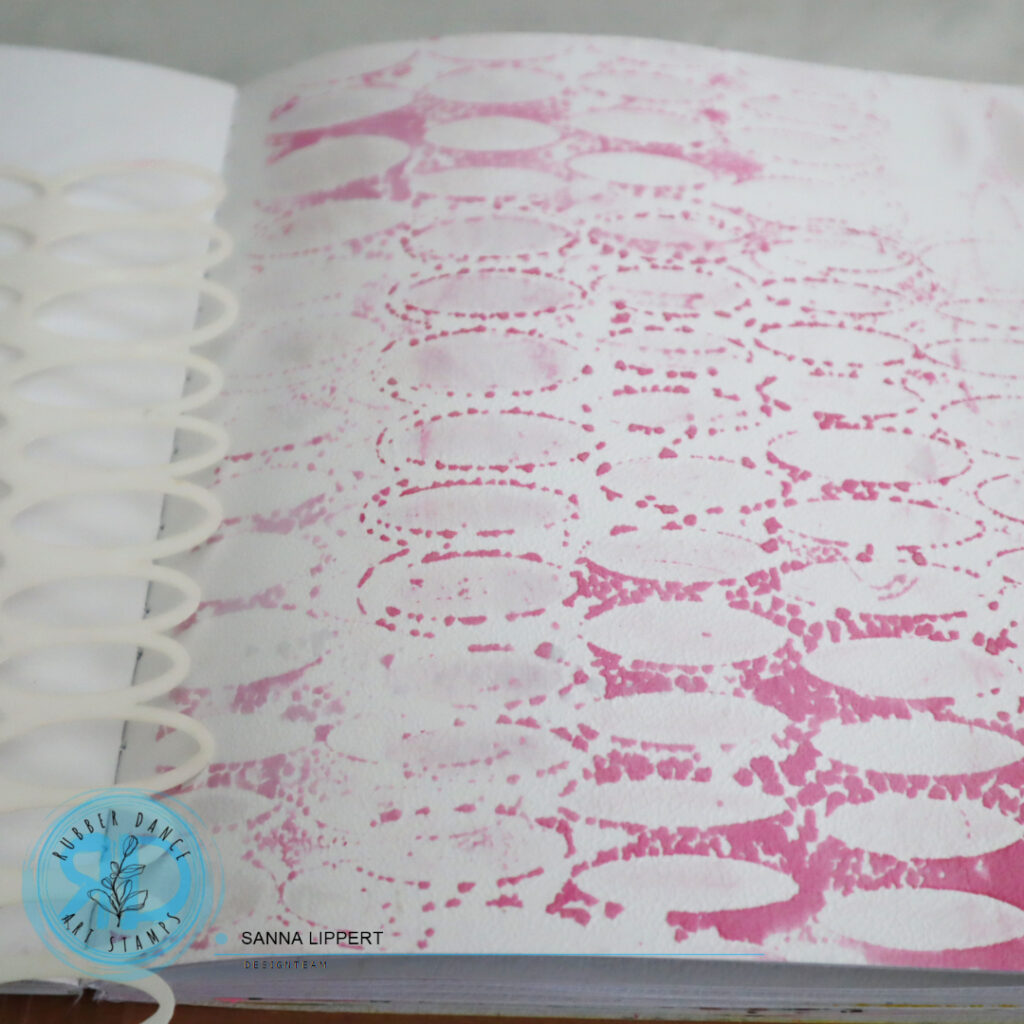
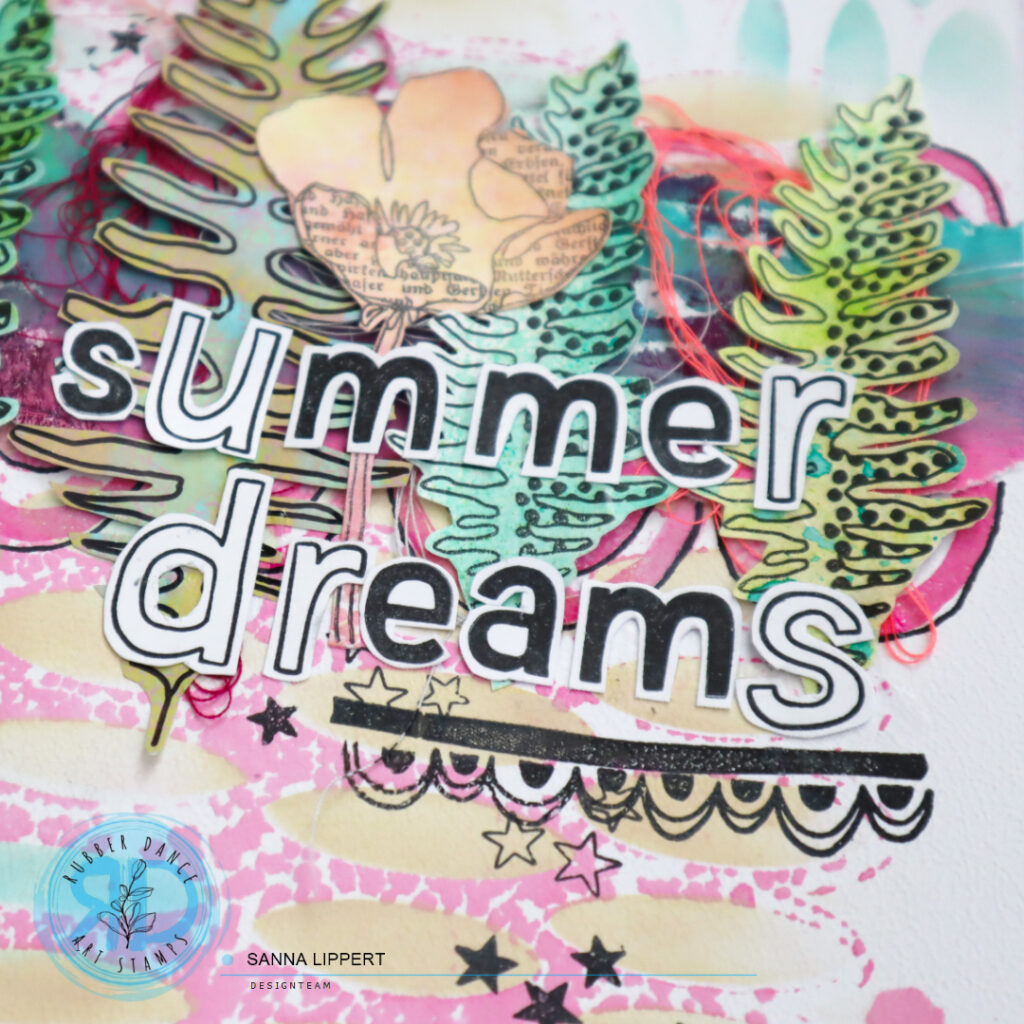
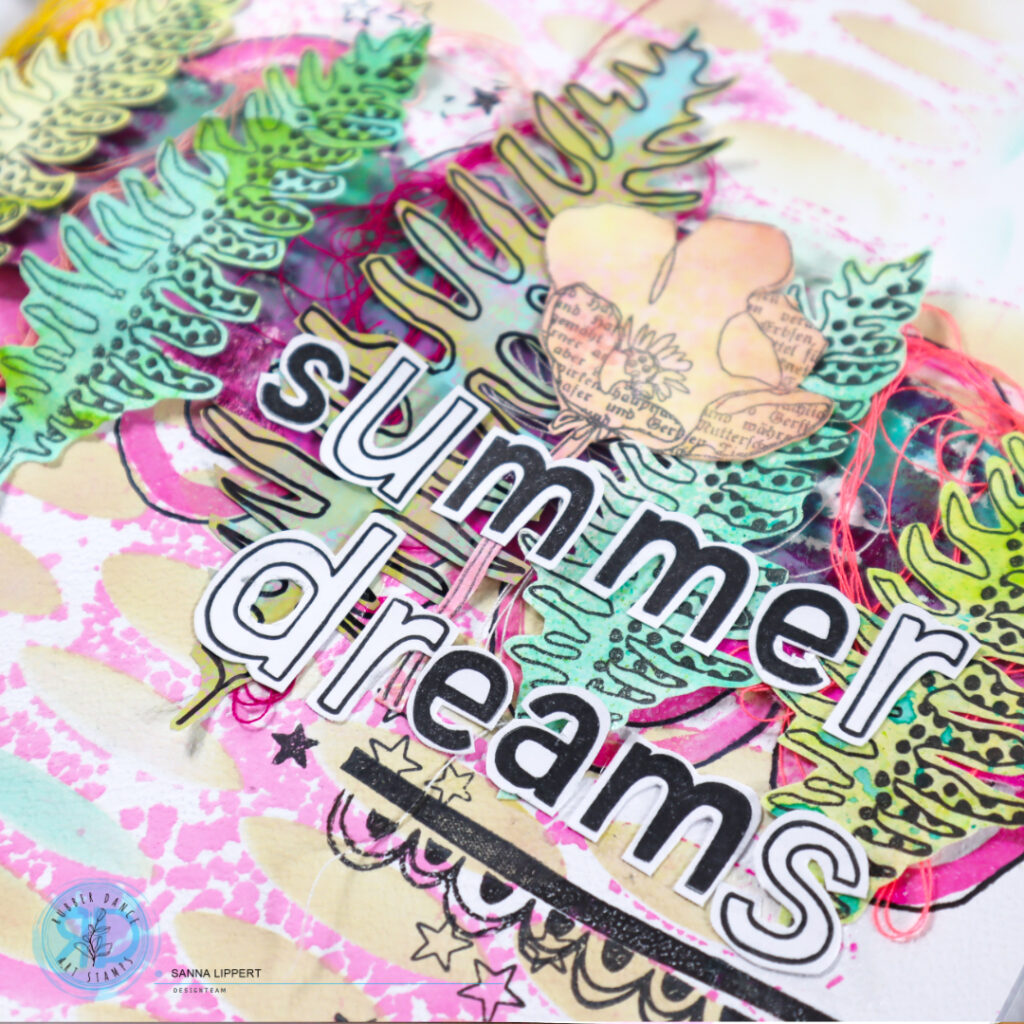
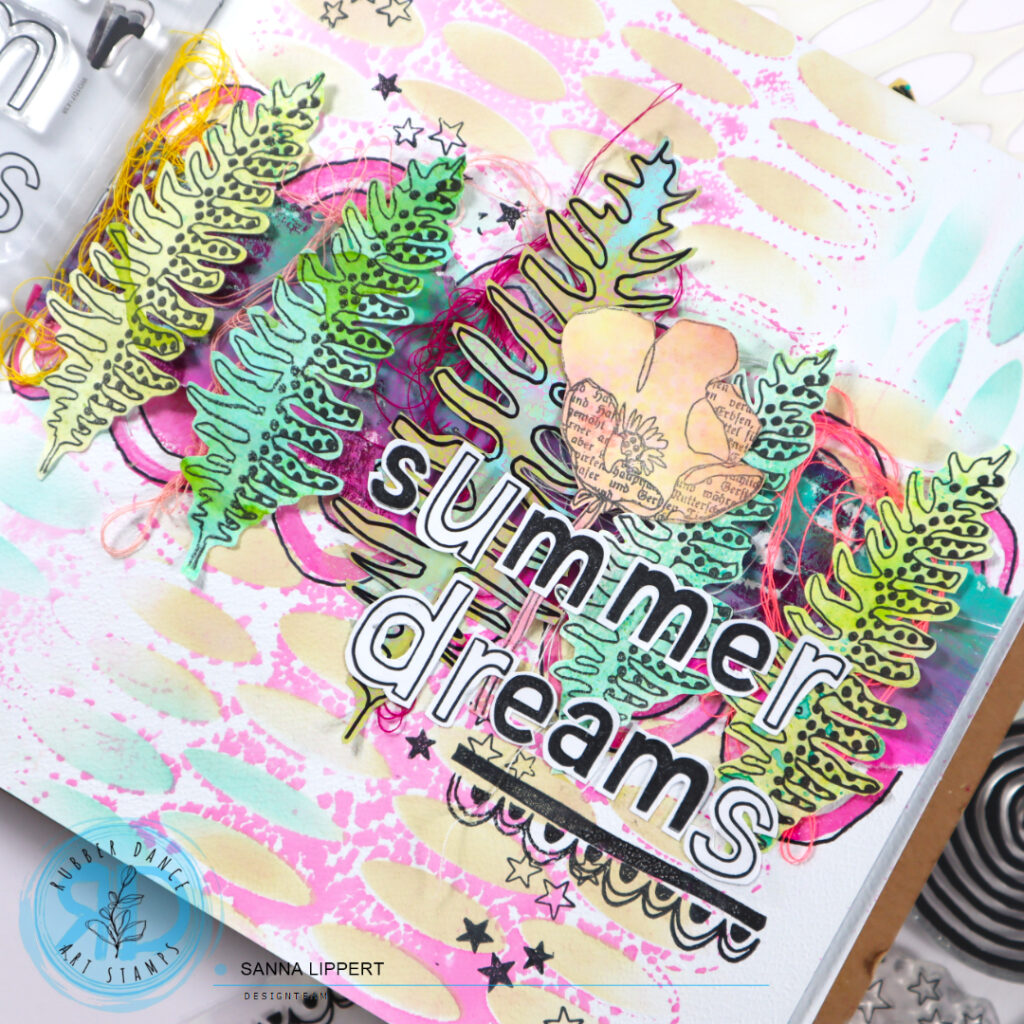
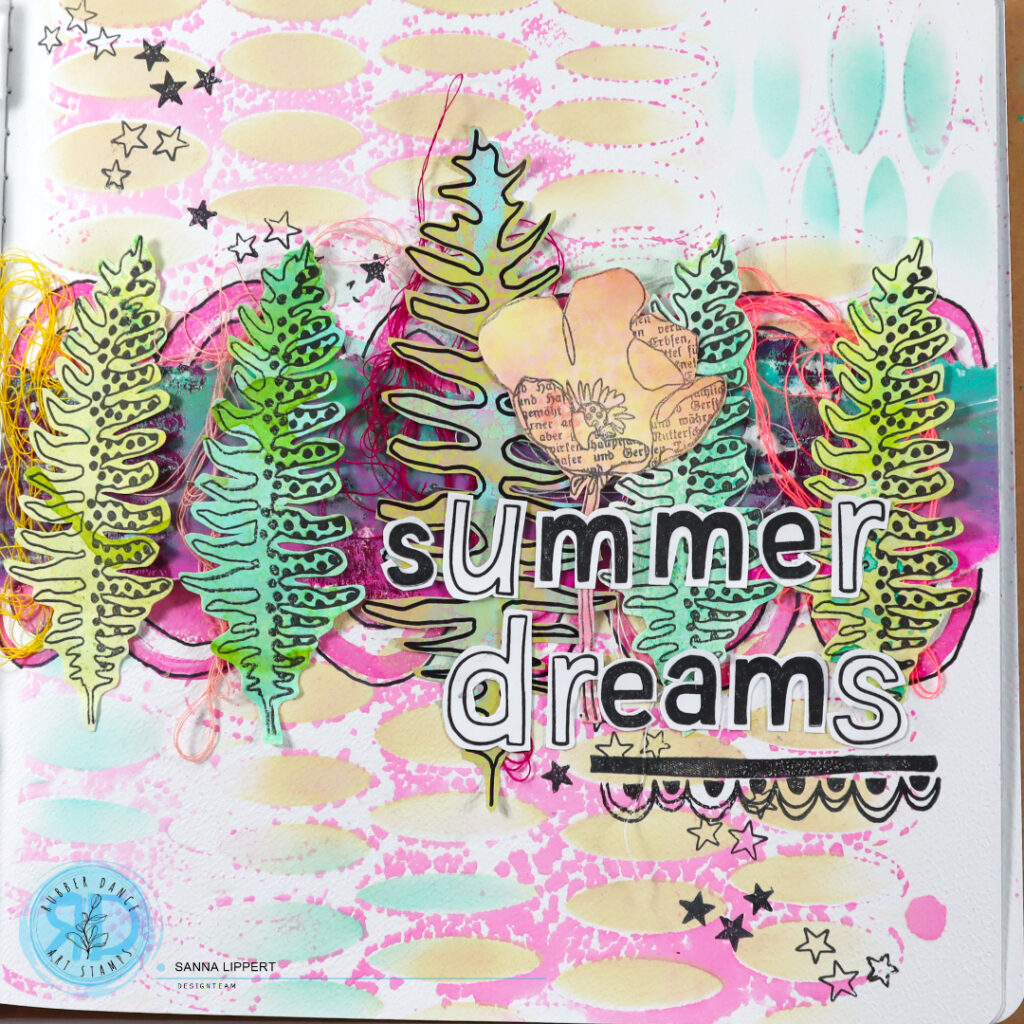
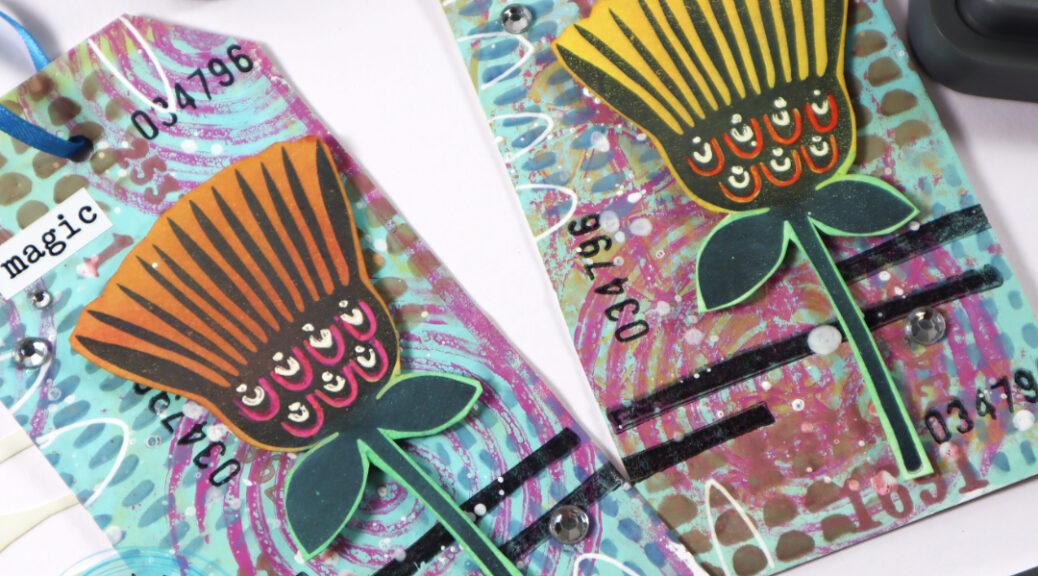
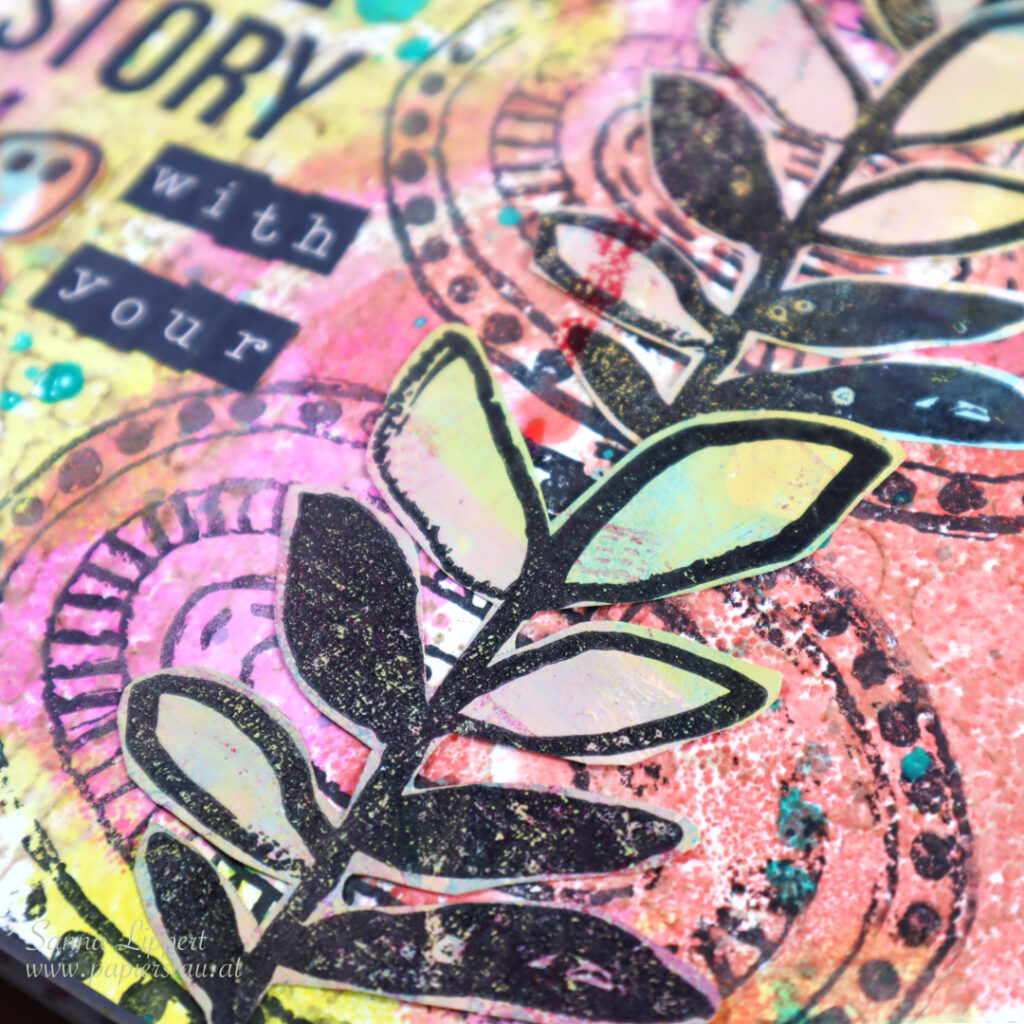
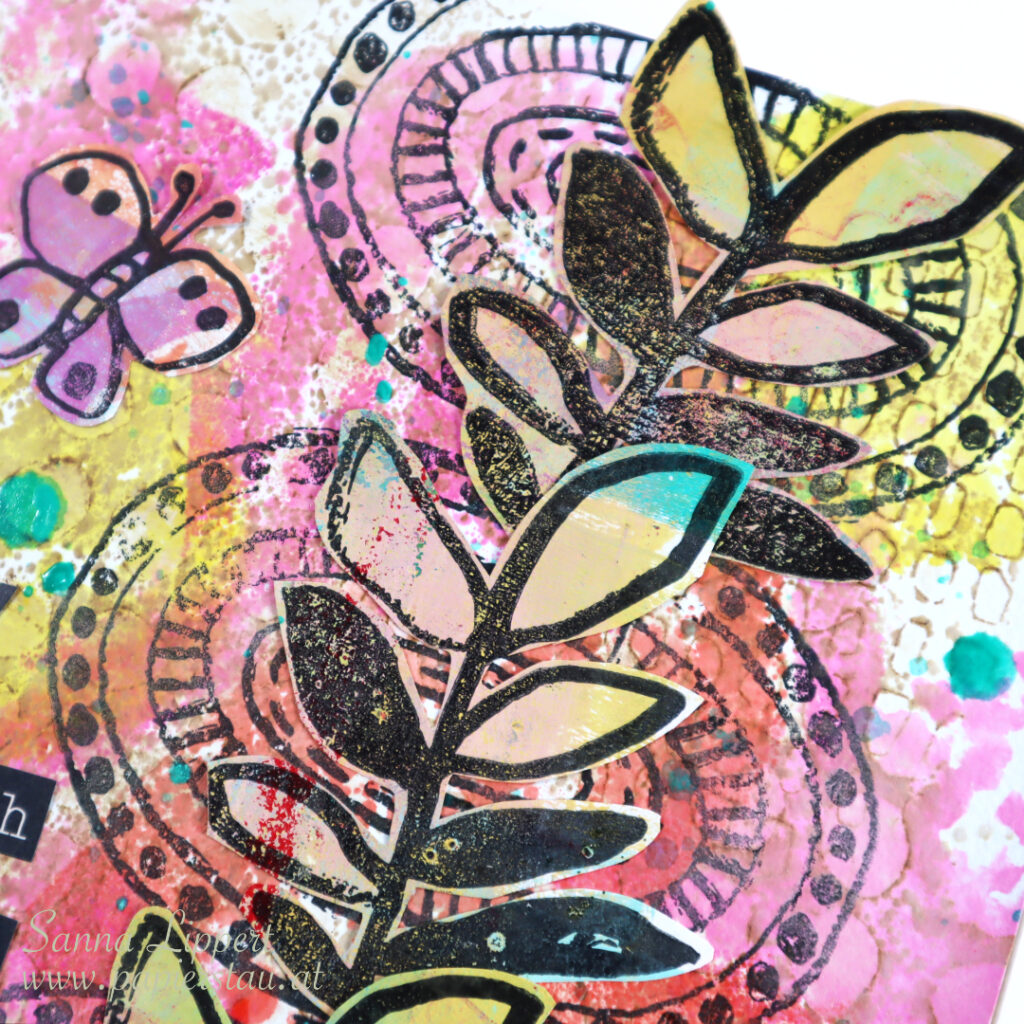
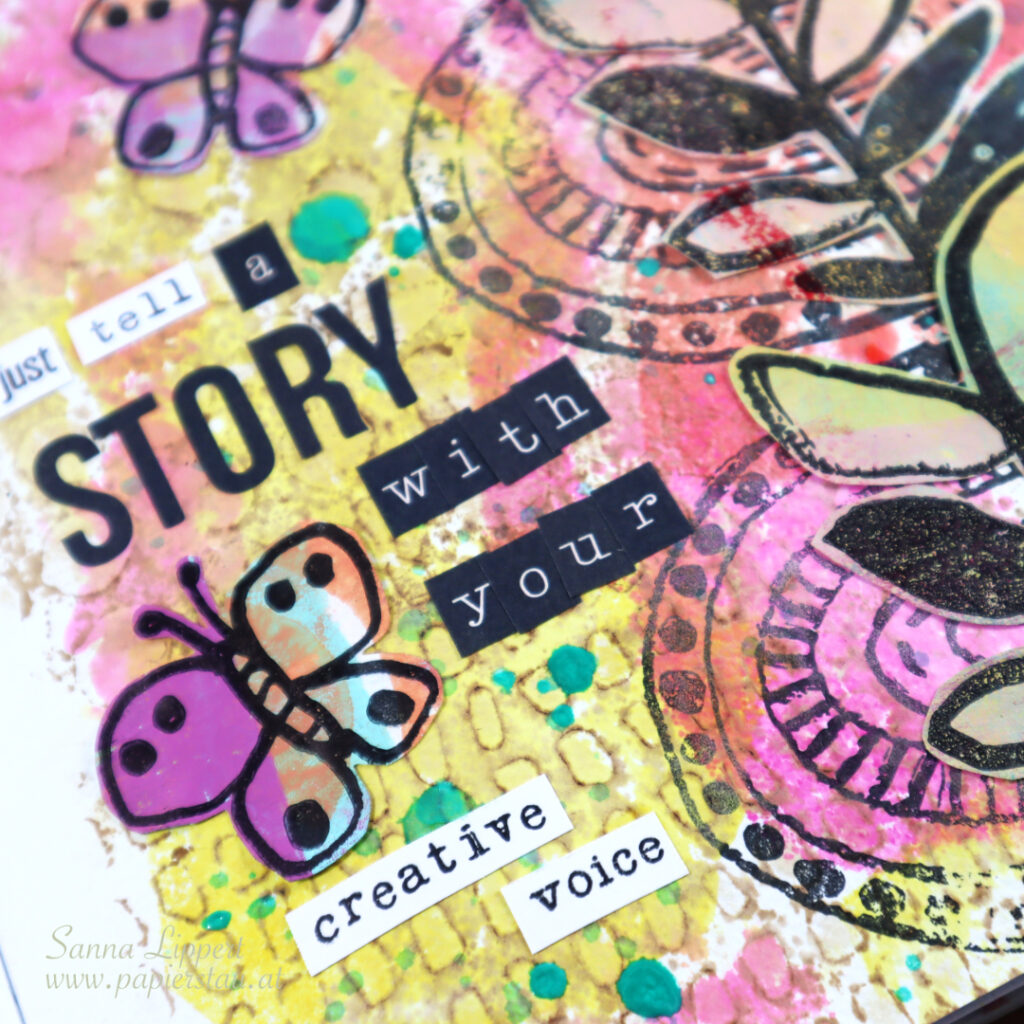
After that I added stamping here and there with the Mix It Up 4 stamp set (Rubber Dance). I also added my constant, the date stamp. Next I used some Posca pens to add details to the papers (white, pink and blue).
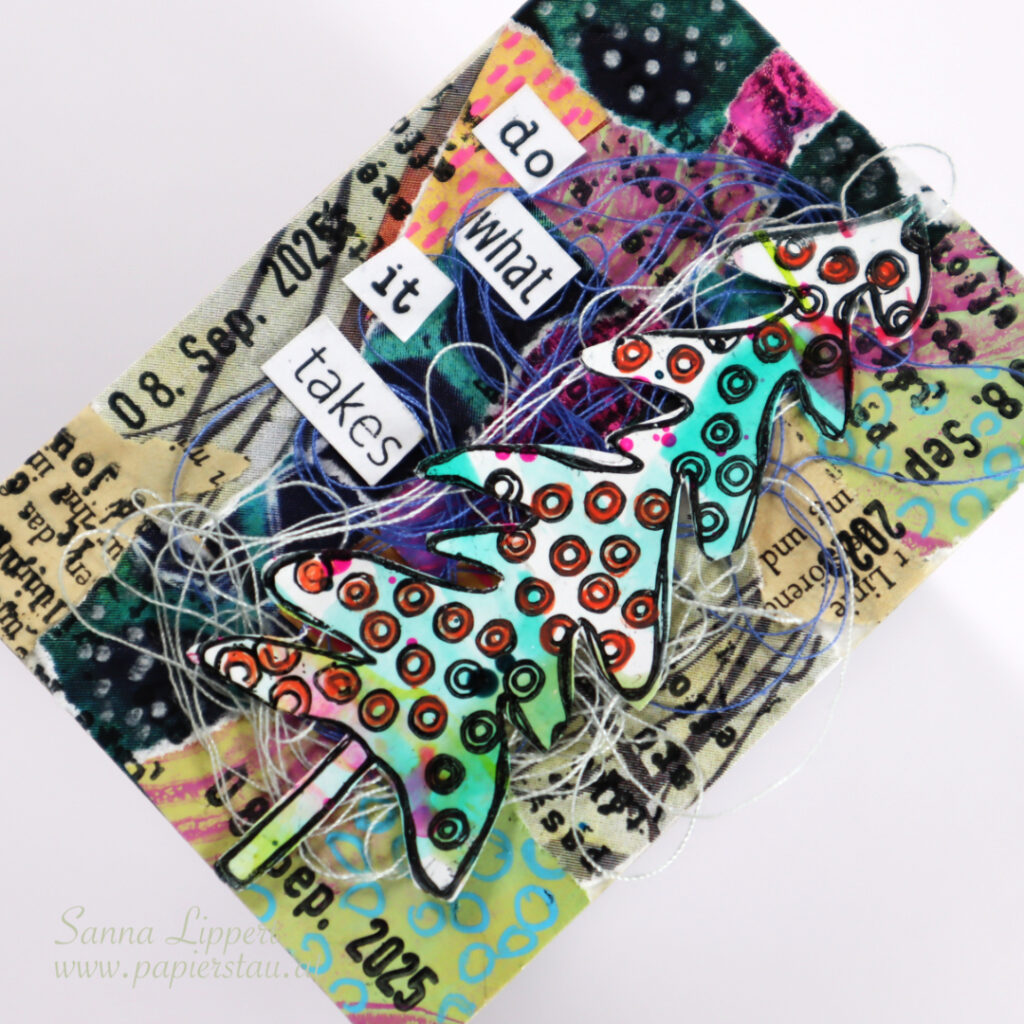
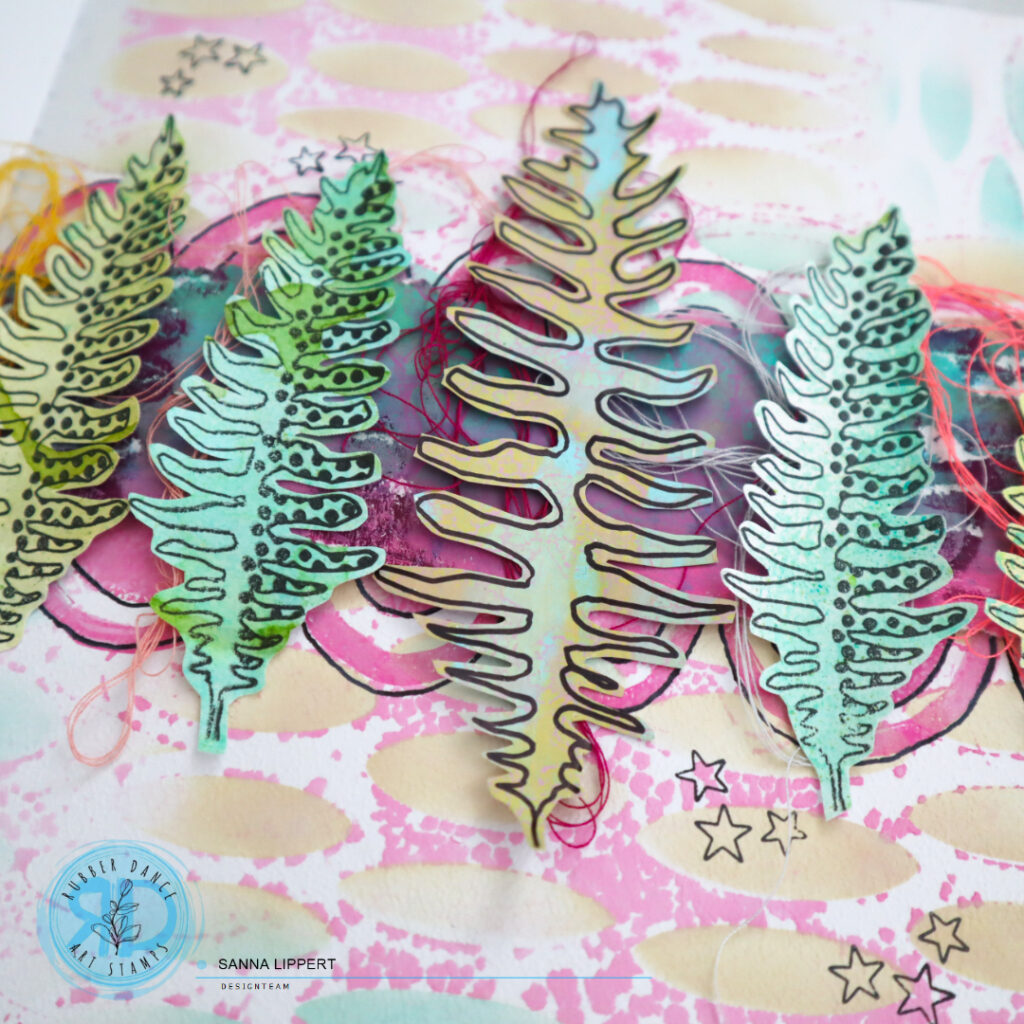
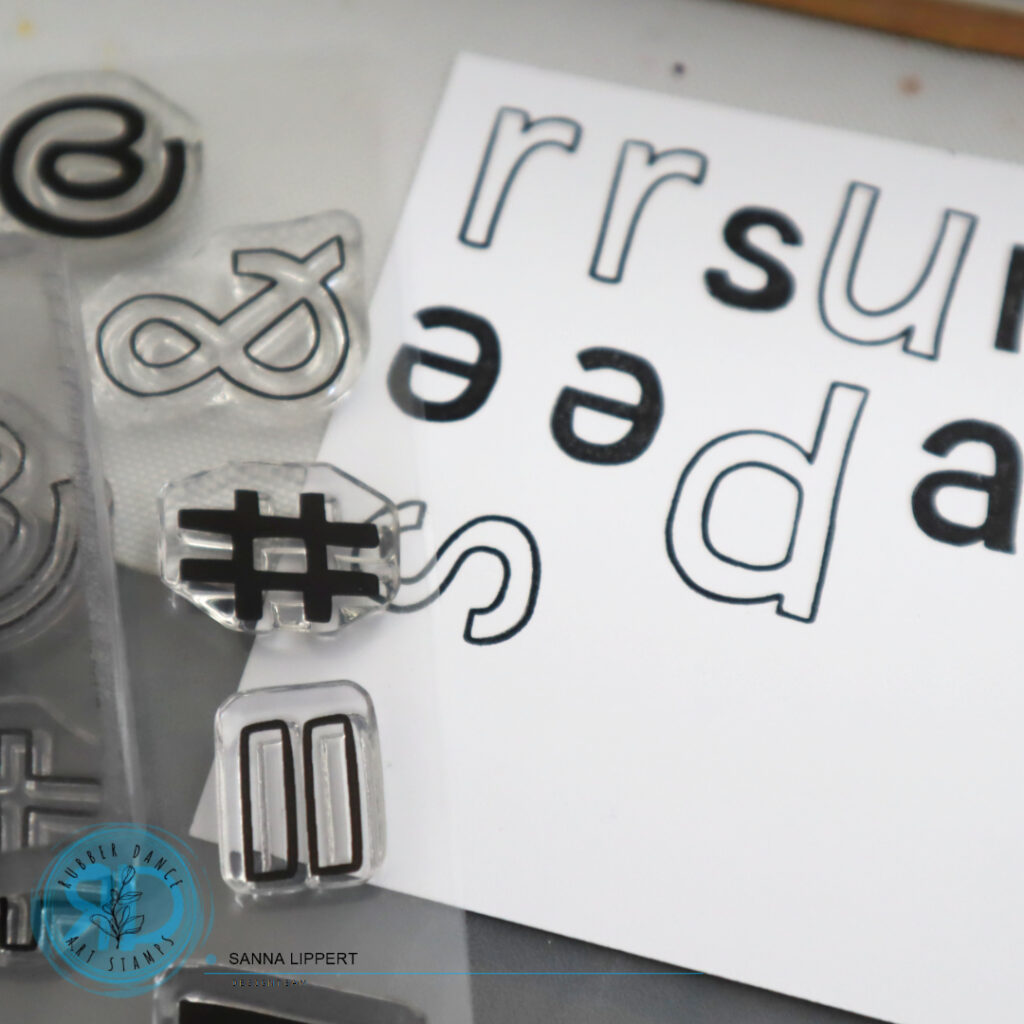
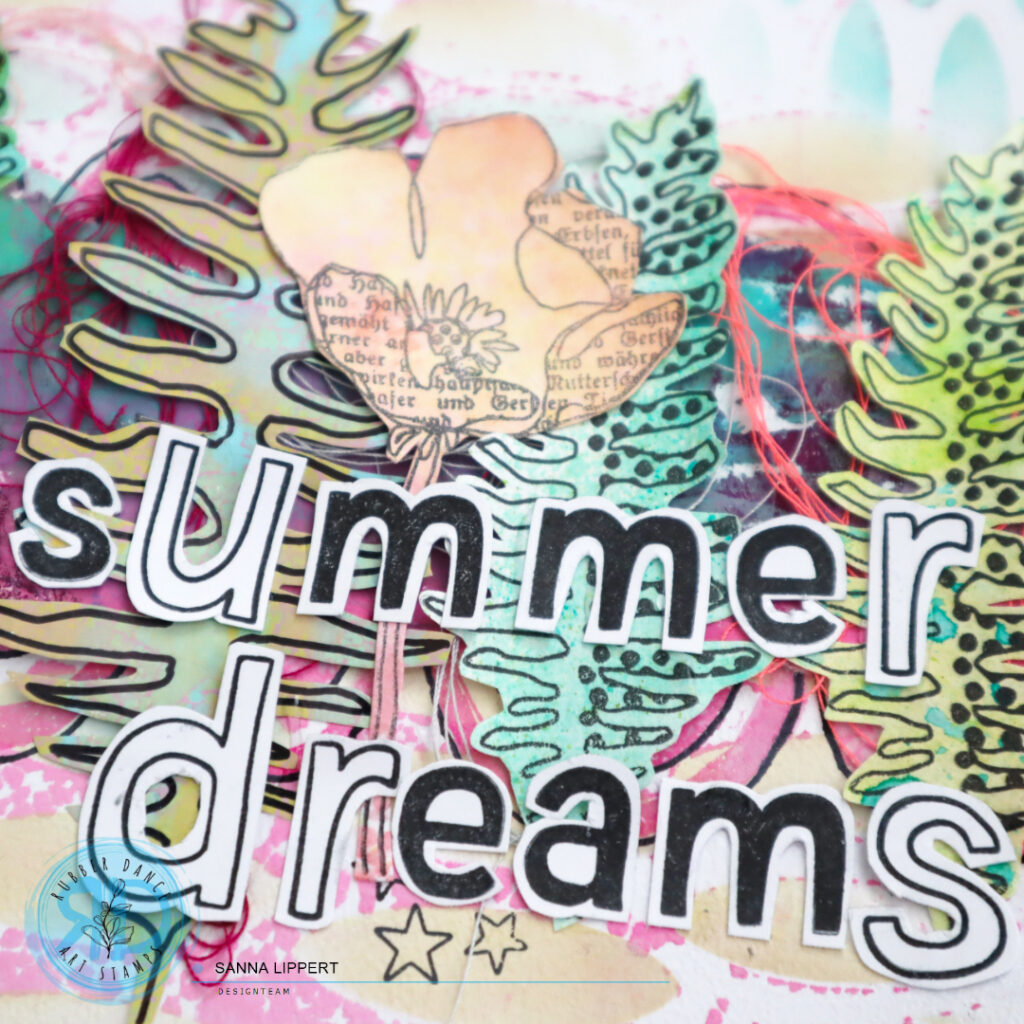
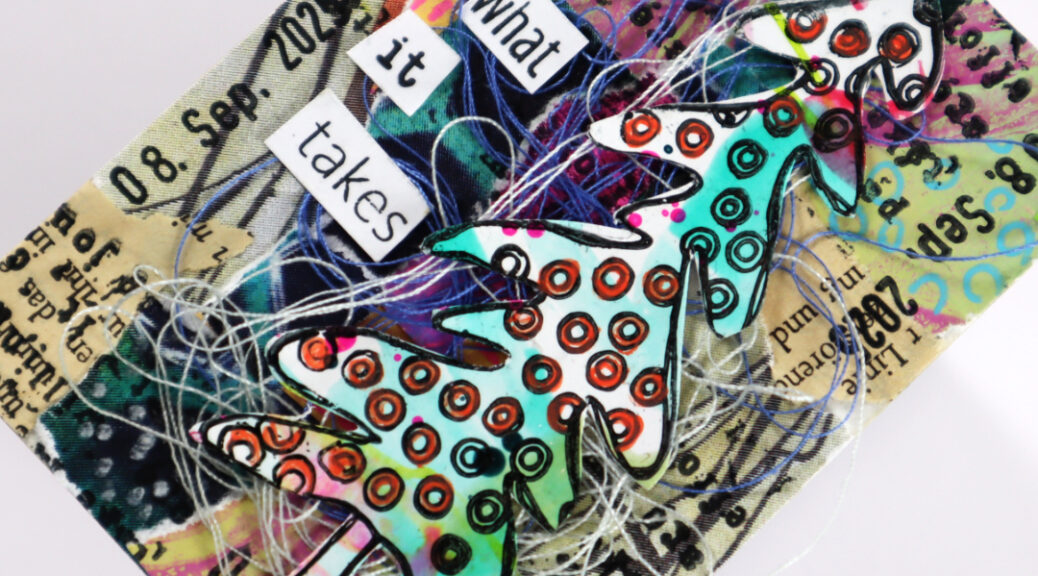
For the focal point I used a premade tree (Textured Xmas Trees 2 by Rubber Dance) and some yarn. The premade tree is done ona glossy paper with Dina Wakley Gloss Sprays and stamping. I then also added some orange Posca pen details to the tree. Then I finished the deck card with a sentiment (Mix A Sentiment 2023 stamp set).
Here is again the process video – have fun watching!
See you again next week with another FDC take!
xxx, Sanna