Tag Archives: Cardmaking
Mixed media card in grey

Today I am sharing a card, created with plenty of older product from my stash and some Tim Holtz Snippets.

For this card I used a Studio Calico paper as a base. This dates back to my SC subscription times. On top of that I have used a Tonic Studios stamp ink in grey with a Studio Calico number clear stamp.

After that I added some texture paste thru a Tim Holtz stencil and applied Glimmer Mist droplets in grey on top. Then I adhered the Snippets into a cluster and for additional interest some stamped stars that I colored red with a Posca pen.

Everything on this card is kept monochromatic and I really like all the layers on this card. And it is still flat, so easy to put into mail.

Thanks for stopping by,
xxx, Sanna

Supplies:
5 minutes Valentine´s card

Hi there! If you had just so much time in your hands and had to make a card, what would you do?

I grabbed my Dina Wakley paints and a palette knife and randomly created a blackground pattern with them. Then I fussy cut an image from the Dina Wakley collage collective book and adhered that on place. The sentiment is a stamp I bought years and years ago somewhere, but cannot remember where.

So I added the stamping next. After that I took some Simple Stories stickers and added them to the card with some rhinestones and outlined with a black pen. And all done – probably took me about 5 minutes! And still it´s a fun card with gorgeous colour to make someone happy.

Have a great day!
xxx, Sanna

Supplies:

Time flies – card

Hello and happy Monday! Here is another white space card with some stenciling and leftover bits and bobs combined to Tim Holtz ephemera.

The stenciling is done using a Tim Holtz stencil with Distress Oxide ink on the background. The green circles are leftover bits from my Christmas bauble cards and the strong blue strip is a leftover from an older Bruscho card project.

In addition to everything else I added some Tim Holtz emphemera on top of everything and finished the card off with green rhinestones and Tim Holtz small talk stickers.

Wishing you all a great start into the new week!
xxx, Sanna

Supplies:

Great Adventure – card

Hello and happy Saturday! Here is another card done with plenty of my favorite products and some white space again.

The piece of map is from an old road map book (gifted to me) and accompanied with some washi tape in black – I still adore black as contrast color and black washi always has a place in my craft room. The airplane is a rub-on on white cardstock and then fussy cut. The stickers are by Tim Holtz and the stenciling is done with a STAMPlorations stencil and Distress Oxide ink.

The green dots are Nuvo Glow Drops (they glow in the dark!!!) and add a fun detail to the card.

I had fun making this card! So what have you been upto lately? Are you planning on joining #the100dayproject this year? I am thinking of doing another year – or at least trying to do one. I might go onto the direction of making my own ephemera/embellishments for 100 days (thinking of using inks, paints, media and pens to do these). The challenge starts on February 18th…

Thanks for stopping by!
xxx, Sanna

Supplies:

Masculine birthday card

Hello and happy Tuesday! Here is another card with white space, but this time with a more masculine theme.

I used mainly black and brown for this card. The stenciling is again done using Distress Oxide ink with a STAMPlorations stencil. I also added a Tim Holtz sentiment sticker (small talk) and some leftover papers from Canvas Corp Brands to the card.

The brow star stickers go back the longest, I think. They are from my Studio Calico subscription days. This will make a great birthday card for a man, I think.

Happy crafting,
xxx, Sanna

Supplies:

White space birthday card

Hello and happy Sunday! I used to do layouts and cards with lots of white space back in the day and I find that style currently very appealing again.

There are still all the elements in there that I also like. Mixed media bits, stamping, stenciling and bits of ephemera/paper. But with white space.

I´ve used ephemera by Tim Holtz (snippets) with an AALL & Create stencil on the background. Ink is Distress Oxide ink and the paper bits are leftover pieces from various mixed media projects. The sentiment is stamped with a Create a Smile stamp.

I enjoy making this type of cards recently, so be prepared for a couple of more shares the next days ;-).

Happy crafting,
xxx, Sanna

Supplies:

Cardmaking tutorial – STAMPlorations

Hello everyone – this tutorial has been sitting and waiting for posting for a very long time, so I figured I´ll just share it now for random inspiration!!! With New Year just around the corner, let´s think of these cards as motivation for 2024 :). Here are three cards with Stamps, Stencils and Stickers. Hope you like them!

Card 1: 

For this card I used following products: Bloomdalascopic #7 stencil, Good Things clear stickers and Shine Bright stamp set. 

To create this card I did the following steps: 

Step 1: I first placed the stencil onto the card base and applied Distress Oxide thru it in three different tones (yellow, pink and blue). Then I removed the stencil and misted it with water to and pressed it onto a second card base (this is the beginning of card two), but since I did it at this point, I will also mention it already here. 

Step 2: Next I added the stamping using the Shine Bright stamp set and black ink. I bend the sentiment into a curve to follow the line of the stencil border. 

Step 3: After that I cut a piece of the same toned cardstock to adhere the Good Things clear sticker sentiment onto it, I fussy cut the piece into a banner/flag and inked the bottom are in the same yellow tone as I had used in the stencil pattern earlier. For more texture I also adhered the sentiment with 3D foam on place. 

Card 2:

For this card I used the following products: Bloomdalascopic #7 stencil, Trendy Butterflies stamp set and Shine Bright clear stickers.

To create the card I used the following steps:

Step 1: Like mentioned in the beginning, I took the already inked Bloomdalascopic #7 stencil and misted the Distress Oxide inked areas and then pressed the stencil onto the card base for a second image. 

Step 2: Create another similar background like on the first card and stamp a Trendy Butterfly onto it with black ink and then fussy cut the image. 

Step 3: Adhere the clear sticker onto a piece of cardstock, fussy cut into a banner and ink the edges pink.

Step 4: Add a few ink splatters onto the background for additional interest.

Step 5: Add a stamped sentiment directly onto the card base and adhere the butterfly on place using 3D foam.

Step 6: Finally use 3D foam and adhere the banner under the previously stamped sentiment and hte card is done. Here is the finished card once more: 

Card 3: 

For the third card I used the following products: Big Blooms Slimline Stencil, Bloom Doodles stamp set and Good Things clear stickers. 

And this is how I created card number three: 

Step 1: I placed the Big Blooms stencil on top a white slimline card base and added the same Distress Oxide colours thru it onto the card, like on the previous two cards.

Step 2: Next I stamped a row of flowers into the middle section of the card with black stamp ink and the Bloom Doodles set.

Step 3: For finishing touches I added the Good Things clear sticker (fussy cut into two parts!) onto cardstock and again cut them into banners/flags. This time I inked the ends of the banners with blue ink and adhered them with 3D foam to the card for more texture. 

So I´ ve basically used the same idea on all cards with same colours, but they still look different because I´ ve either changed proportions of stenciling or stamping or positioning on the card bases. I like to challenge myself this way to see with how many different variations I can come up with using one idea. 

I hope I could inspire you to pull out some stamps, stencils and stickers and play with them yourself!

Take care, Sanna

Supplies:

Christmas cards 2023 – part five

Hello and happy Tuesday! Here is another set of Christmas cards:

I used the same products and techniques on this card again. What can I say, these baubles are addictive :).

Here I went a bit wild and used an orange spray ink tone and added some dotted stamping on top. They look a bit like oranges, when you think about it ;-). I also added some stamping on top of the baubles.

For this one I used Vicky Boutin Warm Wishes paper on the background. On top I added a Studio Tekturek tag that I had left over in my stash. The embellishment (dog image) is from my older stash and the stamping is done with a Klartext stamp again.
There will be more cards to share, so do come back tomorrow again :). 
xxx, Sanna


Supplies:

Christmas cards 2023 – part four

Hello! Here is another set of Christmas cards I made for this holiday season:


For this card I used music note papers and stamped Klartext stamp images onto them, then fussy cut the trees and adhered them onto the card base. I then hand drew the “tree trunks” and decorated the trees with Nuvo Drops and some rhinestone stars. For stamping the trees I used Distress Oxide inks.

I also had to join the hand drawn Christmas bauble trend that is going strong on various social media sites this year. I used spray inks for “painting” the baubles and then outlined them with a black pen and added some golden glitter onto them and finished the card with a clear sticker sentiment.

And here is another try on the Christmas bauble trends. This time I use Lindy´s spray ink and made them all in the same colour and again outlined with a black pen and added details with a Signo uni-ball white pen. For finishing touches there is again a clear sticker sentiment.
And it was fun making these!

There might be more coming 😉
xxx, Sanna


Supplies:

Christmas cards 2023 – part three

Hello! Here is another set of Christmas card I made for this holiday season:

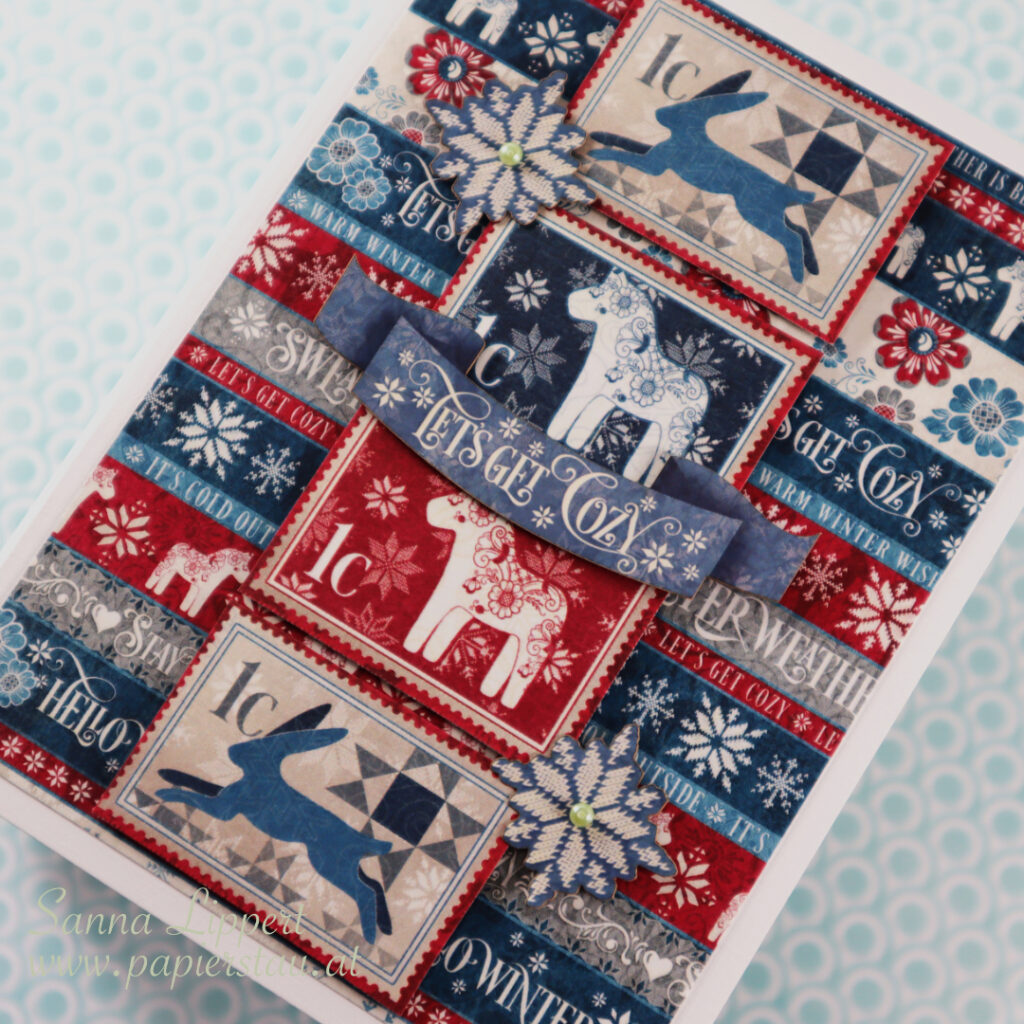
On the first one I used again a Martha Stewart snowflake punch and Vicky Boutin Warm Wishes collection papers. In addition to that I added star rhinestones and some faux stitching around the edges.

On this card I used solely Canvas Corp Brands papers. Also the printed fabric piece is from their collections.

For my last card I again used a Cuttlebug embossing folder with cardstock and then added some papers I had been gifted (sadly, don´t remember by whom). And then I again added s clear sticker for sentiment.

This year is very much a very clean and simple type of Christmas card year!
xxx, Sanna

Supplies: