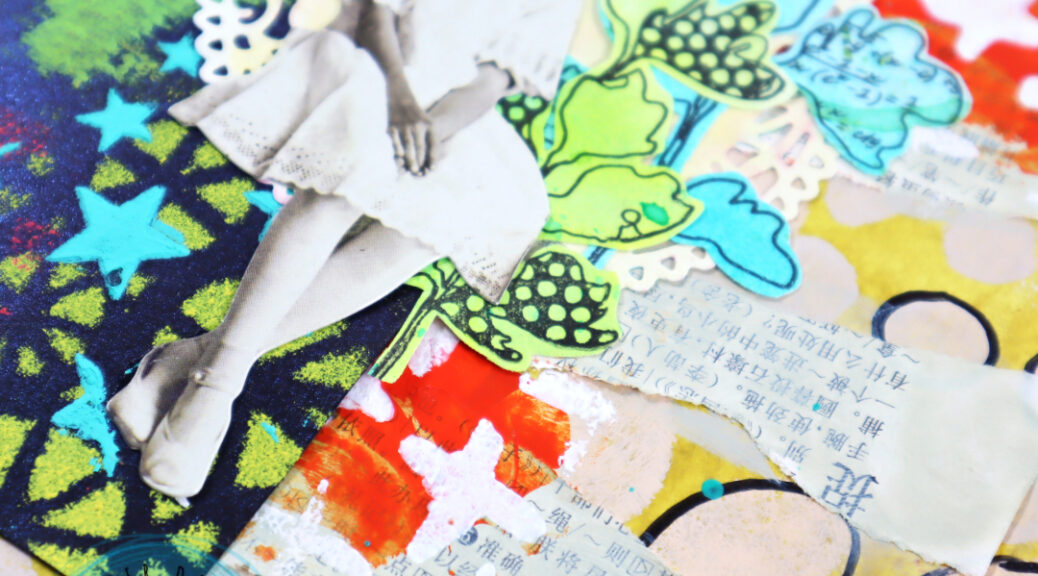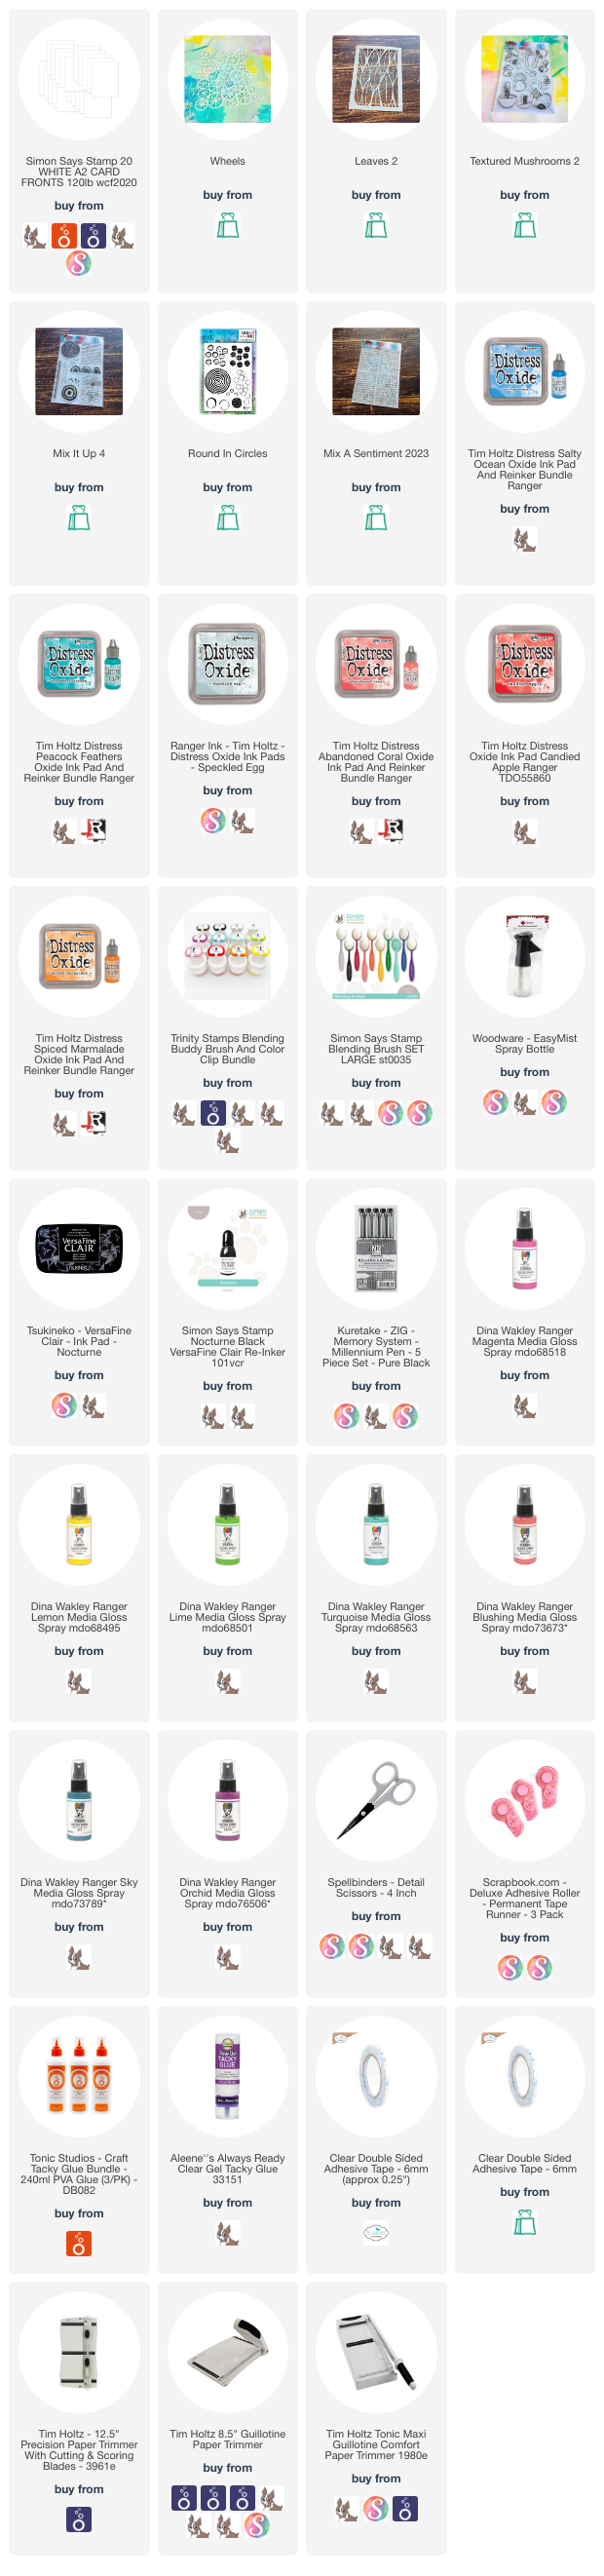
Hello, I am here today with a page from my art journal. For this page I used the Organic 4, Sketchy Leaves 6 and Wheels stencils and plenty of stamps: Carved Collection 6, Mix It Up 6, Butterflies and Moths, Doodle Flowers 2 and from A to Z.
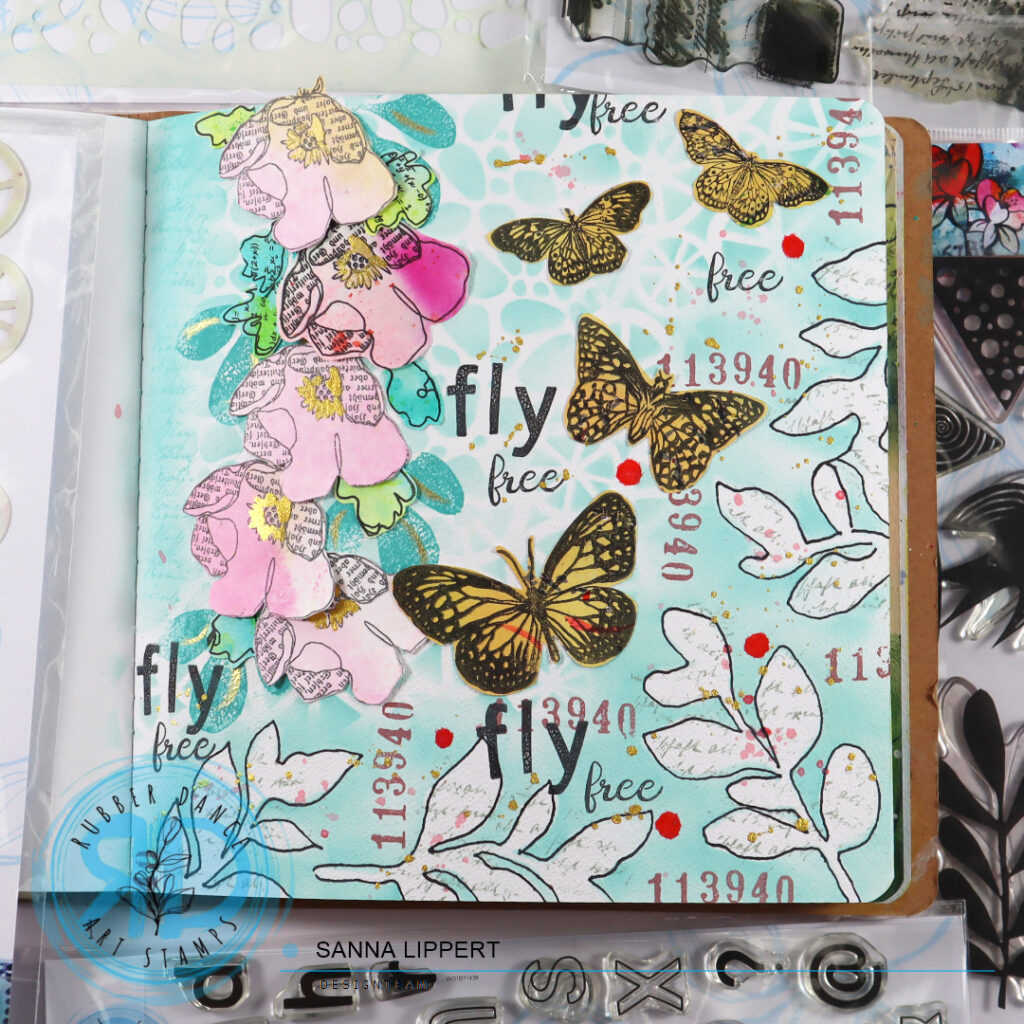
I started by placing the leaves and using them as masks with salvaged patina Distress Oxide Ink. I placed them onto the page and brushed the ink over them to the page repeatedly. After that I continued the background pattern with the Wheels stencil and the same ink tone, blending them into each other. Next I took the Organic 4 stencil and continued adding the same ink thru the stencil onto the page.
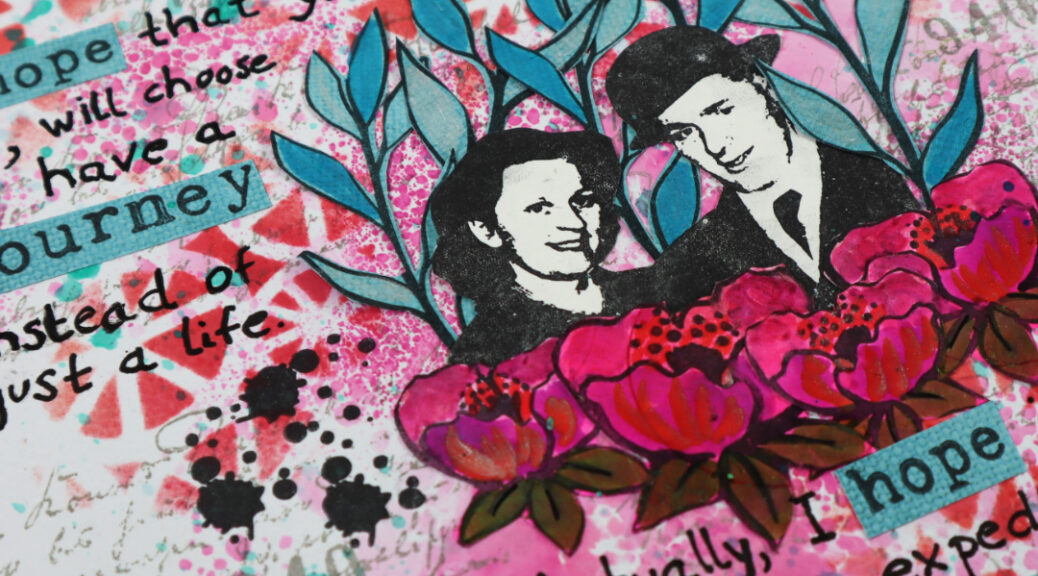
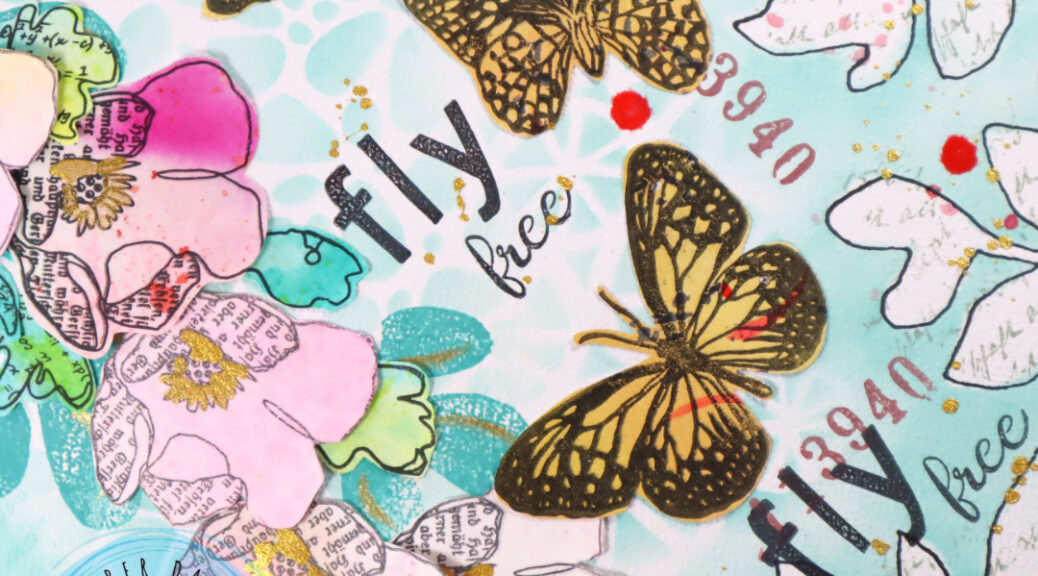
After finishing the inking, I took the iced spruce Distress Oxide Ink and stamped with Mix It Up 6 stamp set hand writing stamp over the white leaf areas very freely. Then I outlined the leaves with a black pen. This made them pop out of the background and I love the look it creates to the page. After that I used the number stamp from the same stamp set with aged mahogany Distress Oxide Ink to randomly stamp numbers next to the leaf patterns.
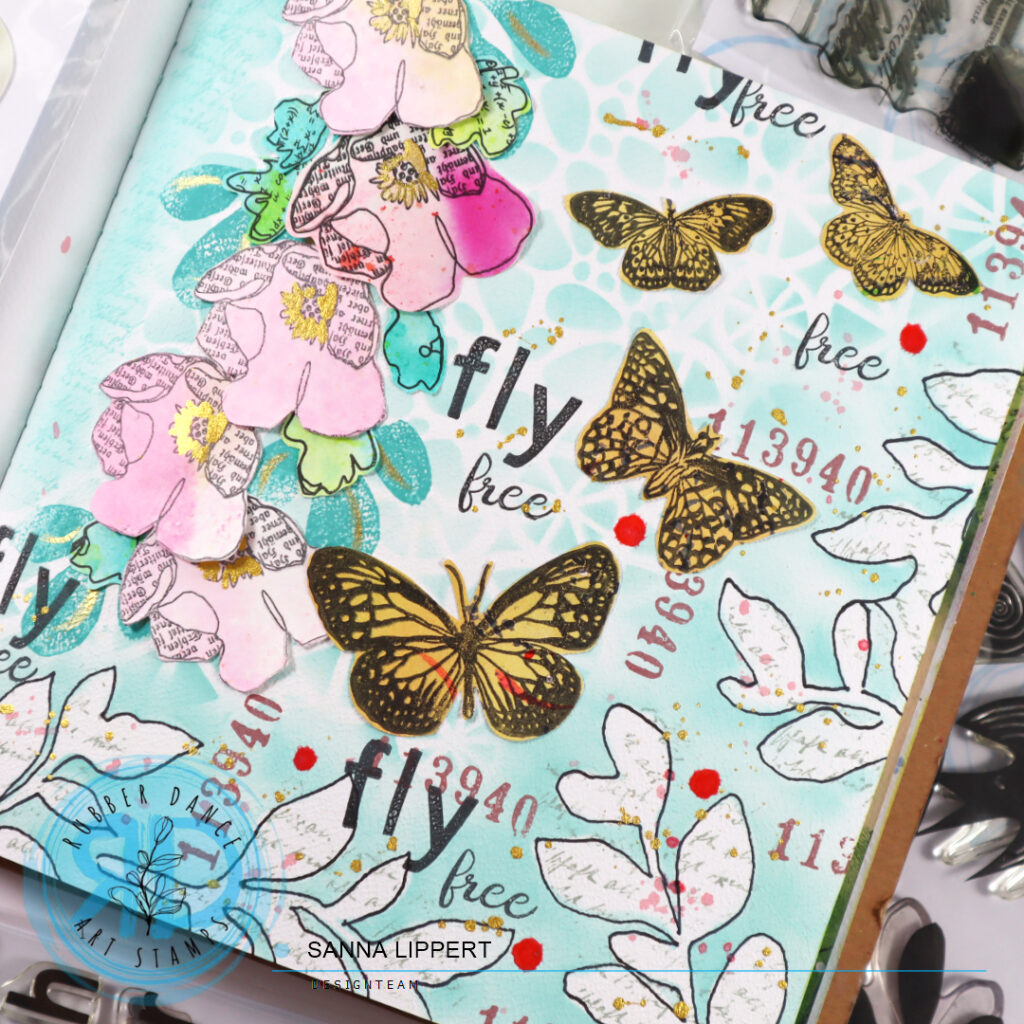


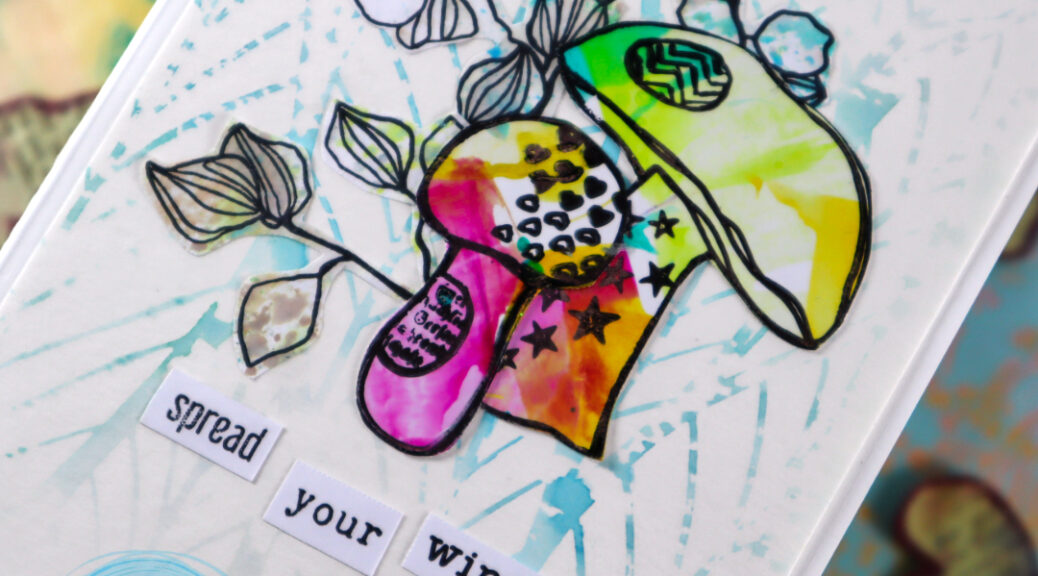
After that I took the peacock feathers Distress Oxide Ink tone and stamped a leaf pattern with the Carved Collection 6 stamp onto the page from top towards the bottom. I added golden pigment details with Gansai Tambi watercolors to them. Then I took some previously made leaf and collage fodder (see videos here and here) and added those on top of the stamped leaves overlappingly.
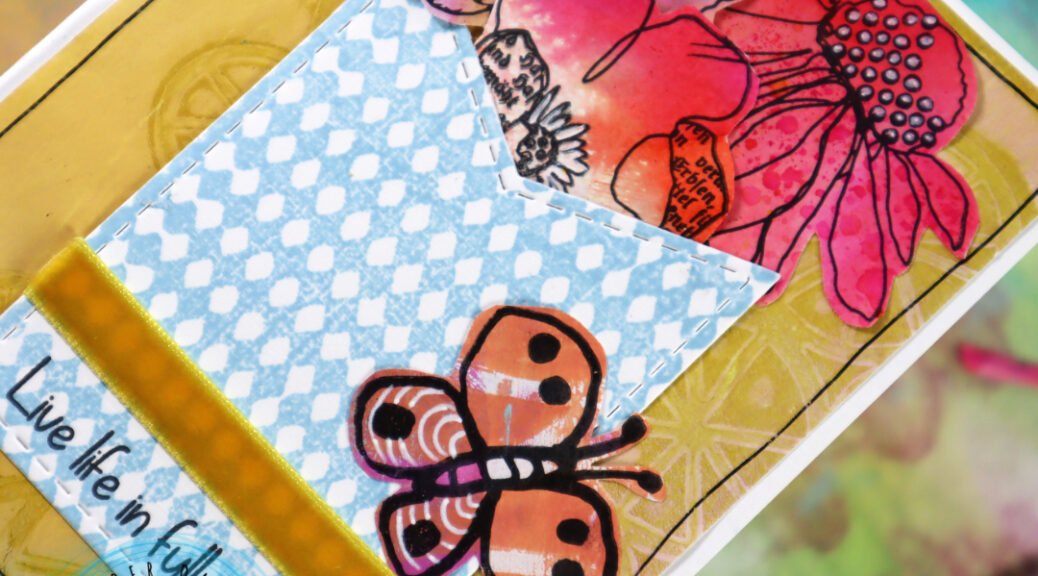
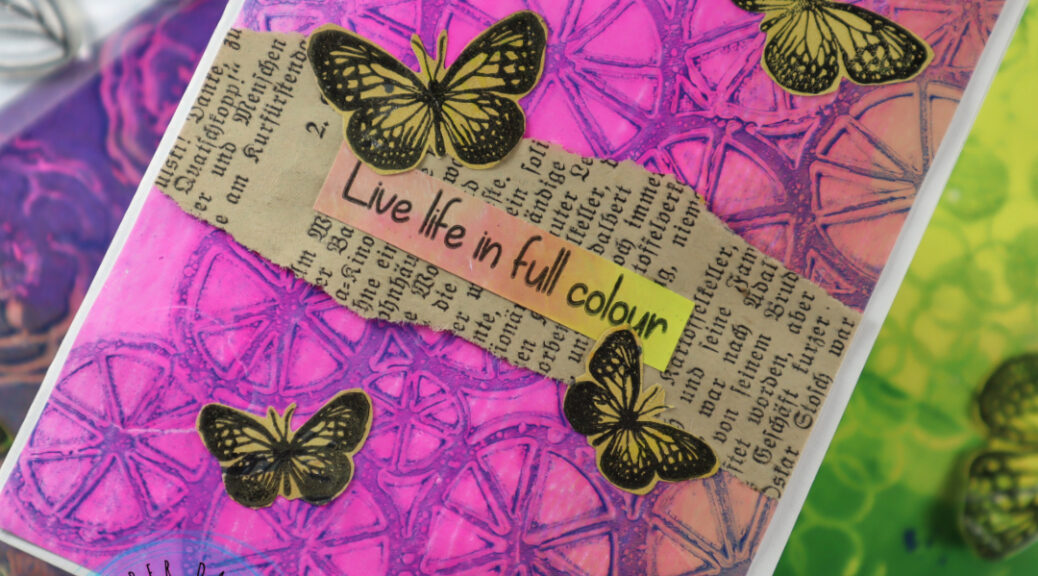
I also decorated the page with some yellow toned butterflies. These were also previously made collage fodder (with Butterflies and Moths stamp set) from my gelli printing sessions. For the text I used black ink and the word free from the Mix It Up 6 stamp set. The word fly is stamped with the A to Z set.
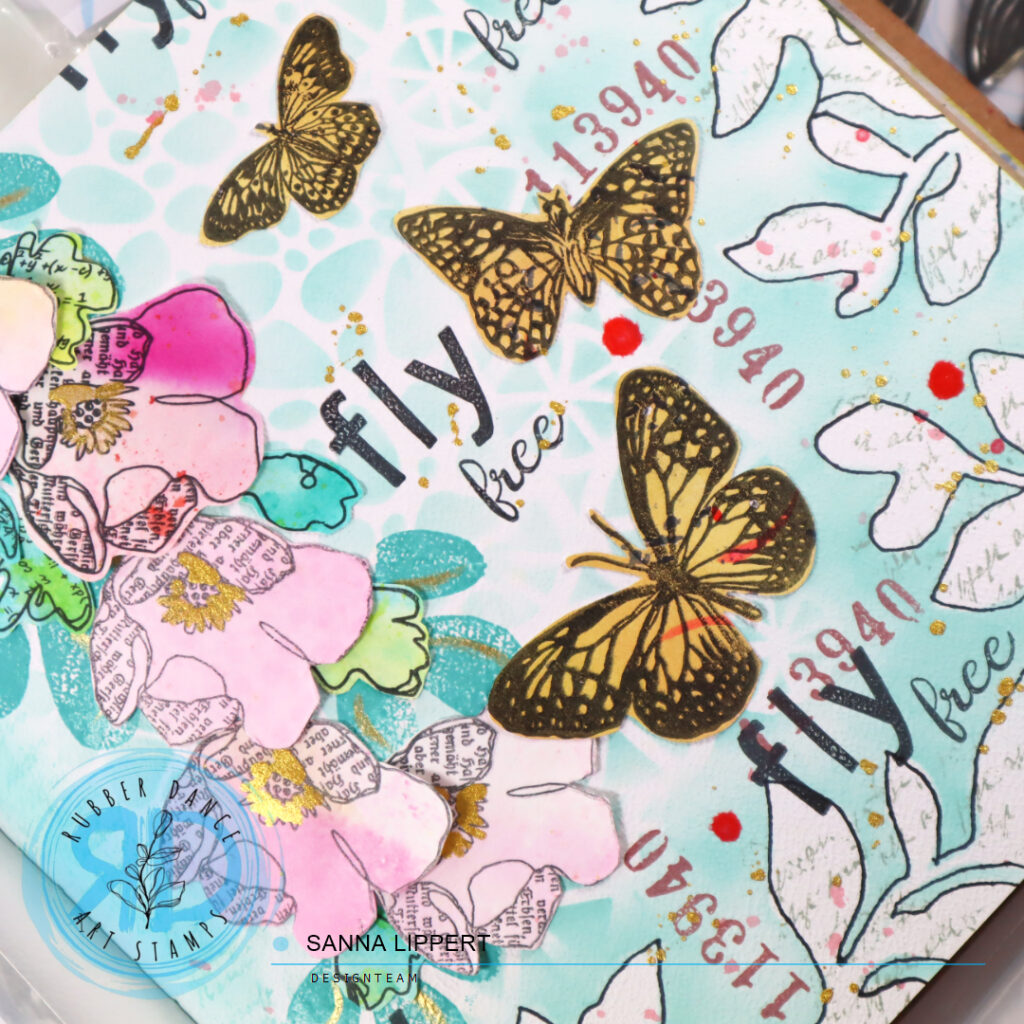
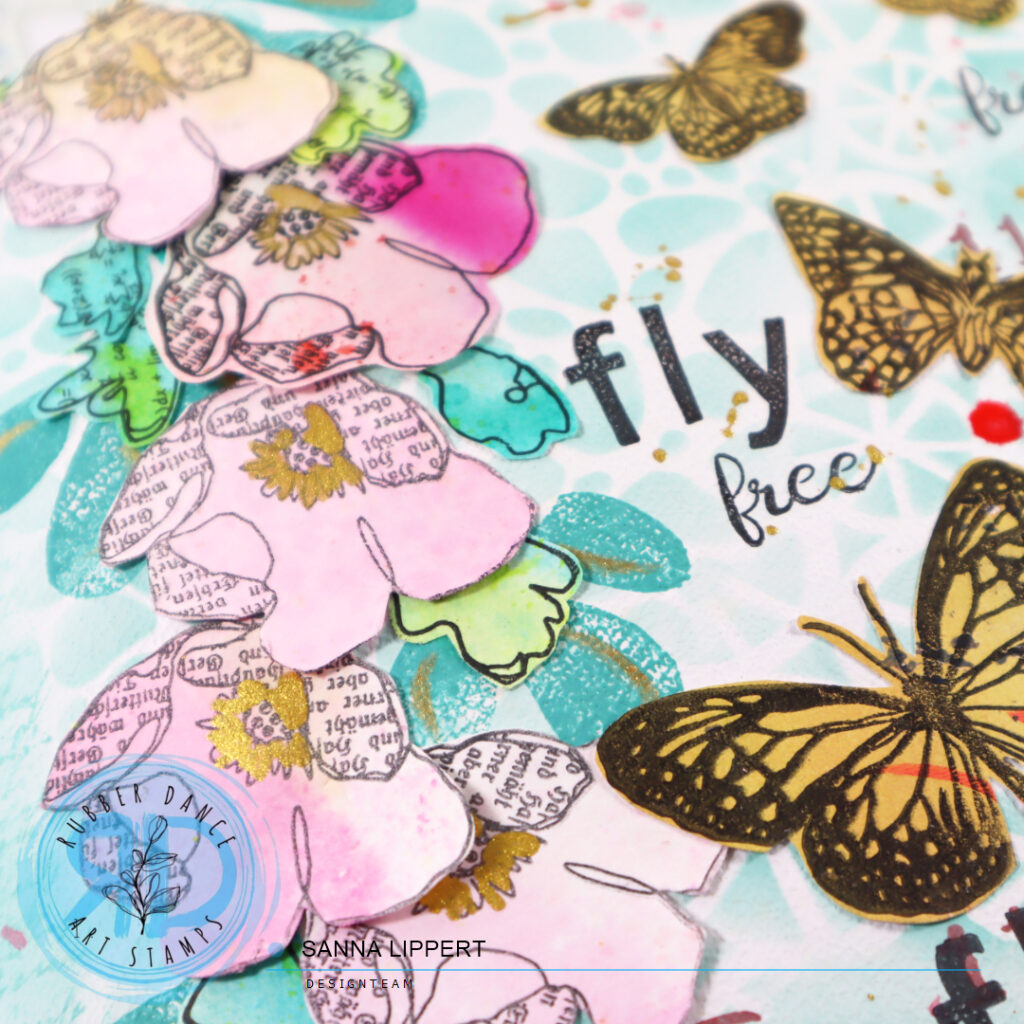
For finishing touches I also added some light written text stamping in the salvaged patina tone next to the pink flowers. It´s just a hue, but it adds some detail to the otherwise blank area. I also added some golden droplets and Gloss Spray in the tone blushing here and there.
For more details, here is the start-to-finish video for you to watch:
I really enjoy playing with stencils, creating collage fodder and then combining all these bits and pieces together in a project.
Happy crafting,
xx, Sanna